-
Posts
697 -
Joined
-
Last visited
Content Type
Profiles
Forums
Gallery
Events
Everything posted by rvchima
-
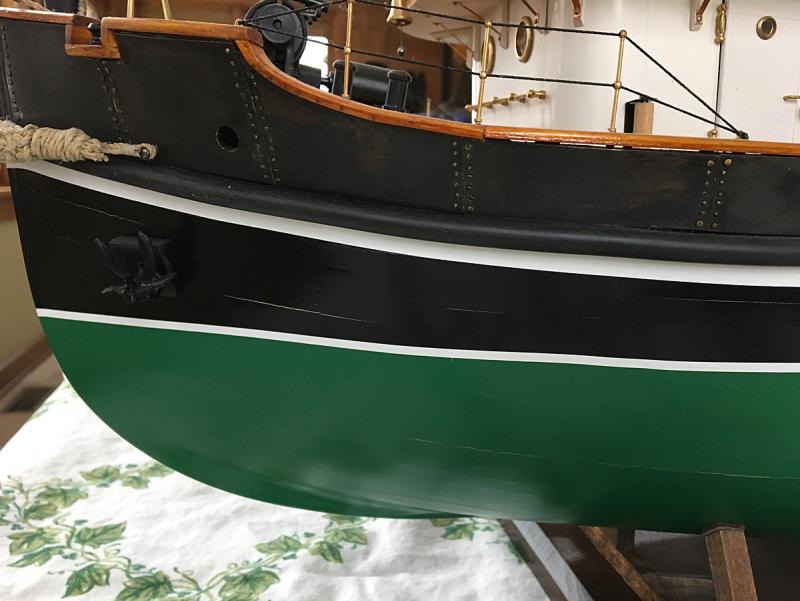
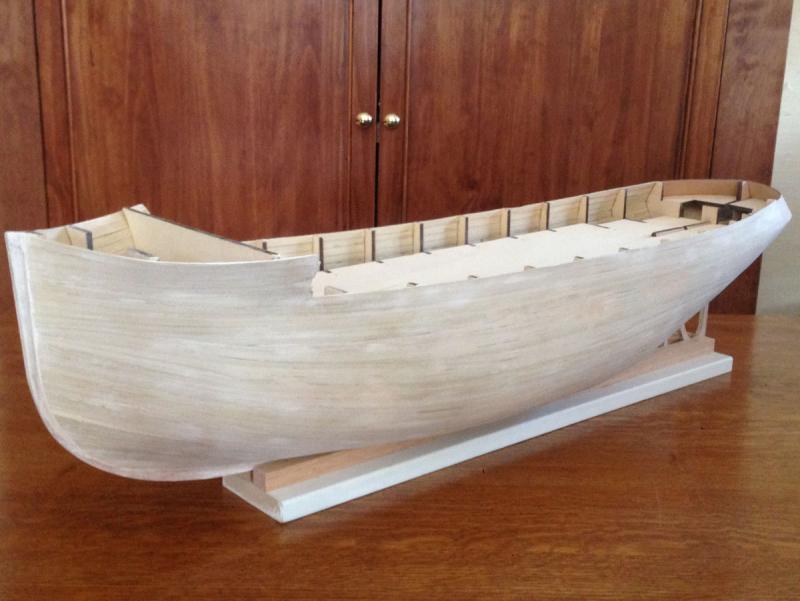
My Tugboat is Developing Leaks! I planked my Anteo tug boat in February of 2015 and completed the model in August. Here's the build log: Anteo Harbour Tug (Panart) This was my first double planked hull, and I was pretty proud of it. And now, less than two years later, the planking is separating at the glue joints due to seasonal movement of the wood. Of course I soaked the basswood planks before gluing them down to make them pliable, so they would have swelled to their maximum width when installed. Now it's winter, the air is dry, and the wood has shrunk. Is this a common problem? Is there any way to avoid it?
- 19 replies
-
- separation
- wood movement
-
(and 1 more)
Tagged with:
-
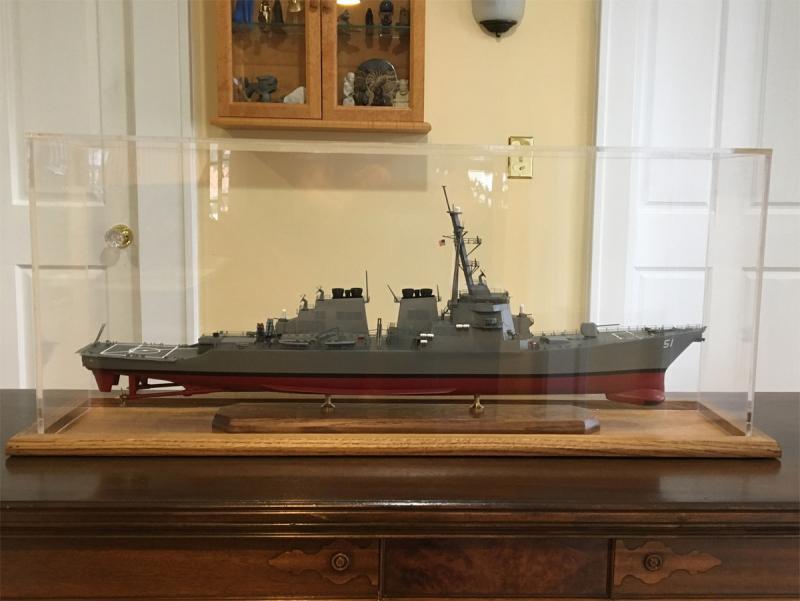
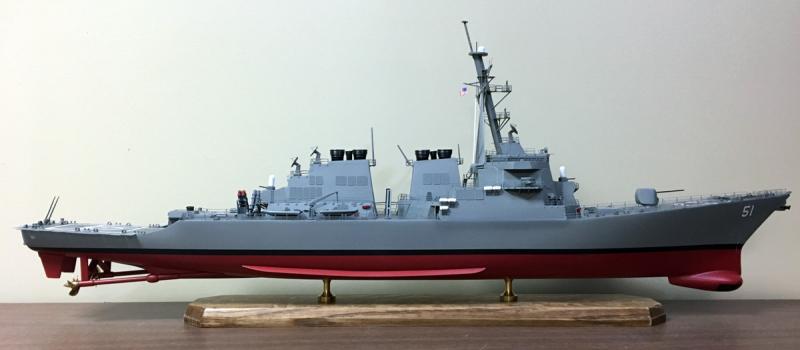
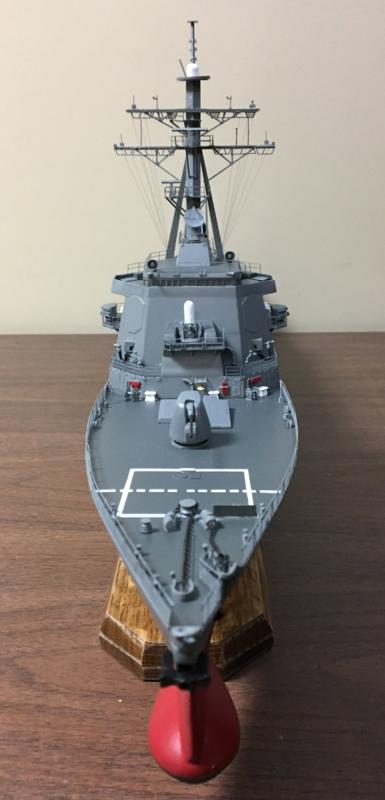
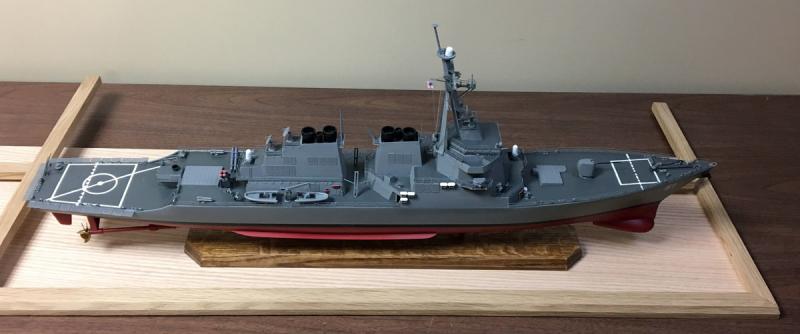
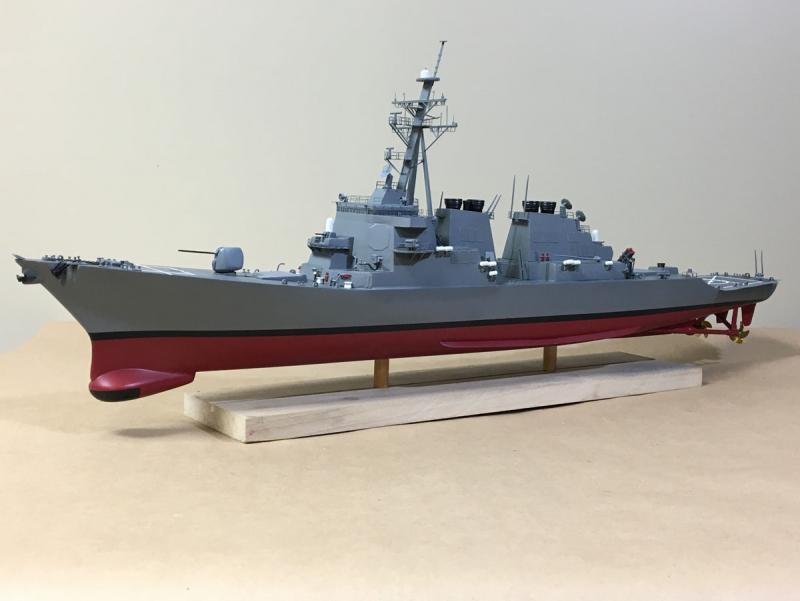
Case Completed I requested a quote for a bottomless plexiglass case from Premier Ship models in the UK. Their wooden framed case kits ship from England, but their plexiglass cases are made in the US. I got a call from Mr. Lawrence Sadler, their US representative in Florida. Larry took the dimensions and got a quote from the manufacturer in Tampa, FL. The cost was comparable to other cases I had checked on, but the shipping was quite low. The case arrived in about three weeks, packed in more cardboard, tape, foam, and bubble wrap than I have ever seen in one package! Of course it was in perfect condition. I had already milled the frame for the base, so I cut it to fit, glued it up, and stained, sealed, and varnished it. This is not the ship's final berth. I haven't quite decided where it will go in the house yet. Like a lot of you I'm running low on space for big models. Maybe I'll have to switch to miniatures.
- 68 replies
-
- Arleigh Burke
- BlueJacket Shipcrafters
-
(and 1 more)
Tagged with:
-
Tim, I am really enjoying your build. It's a totally different ship than the Arleigh-Burke that I just finished, but the BlueJacket construction is exactly the same. And those tiny AA guns are amazing!
- 227 replies
-
- BlueJacket Shipcrafters
- Stephen Hopkins
-
(and 2 more)
Tagged with:
-
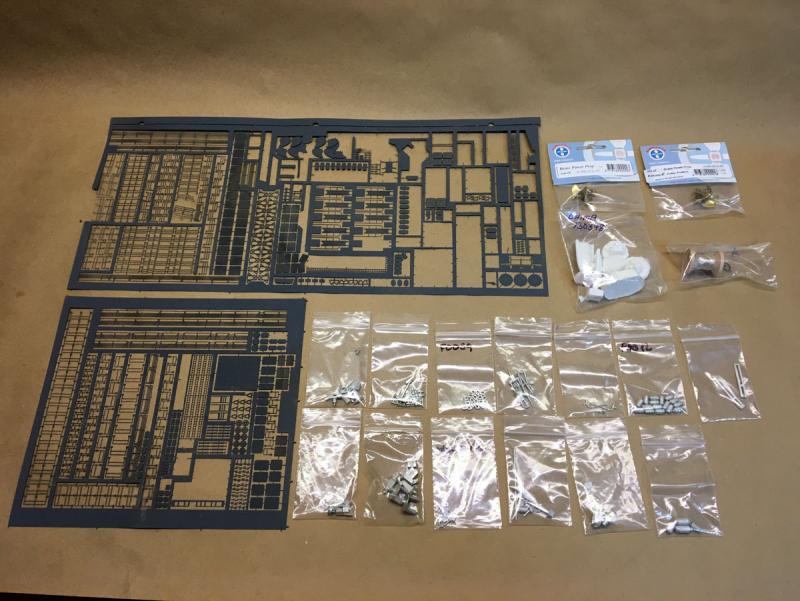
Summary - Arleigh-Burke Guided Missile Destroyer by BlueJacket Shipcrafters The Arleigh-Burke class of destroyers are an engineering marvel, and BlueJacket's kit builds up into an awesome model. There aren't too many models out there like this. If you're interested in a modern warship, this is a good choice. This is an expensive kit but most of the parts are high quality. The pre-carved hull is a big time saver, the cast metal parts are well made, and the photo-etched parts are beautiful. However many of the resin parts were quite rough and full of voids. I did think that at the cost the kit could have included brass props. I bought brass pedestals and the paint set from Blue Jacket. I had gallons of paint left over. It was nice to have everything on hand, but it would have been a lot cheaper to buy paint from the (not so) local hobby store. The kit had 5 pages of plans that were pretty good, but many of the parts were mislabeled. The instructions were terse and often in a confusing sequence. The photo-etched parts were nicely numbered but the cast metal parts were not identified at all, making it very difficult to find the right part. The model is listed as one of Bluejacket's most difficult kits, but in an early post I said that the construction had been pretty easy. Then I got to the photo-etched parts. They are beautifully made but they are very flexible, paint doesn't stick to them, and glue joints fail because the paint lets go. I had to pre-paint the parts then sand the paint back off the glue line. I also had to buy a photo-etch bending jig and a Glue Looper to work with them effectively. The model was an interesting build but the photo-etched parts were less fun. I'd rather be cutting wood. The model took 210 hours to build over about 3 months. That's an average build time for me. I just bought Caldercraft's kit of the HM Bark Endeavour for my wife to give me for Christmas. That should keep me busy a little longer.
- 68 replies
-
- Arleigh Burke
- BlueJacket Shipcrafters
-
(and 1 more)
Tagged with:
-
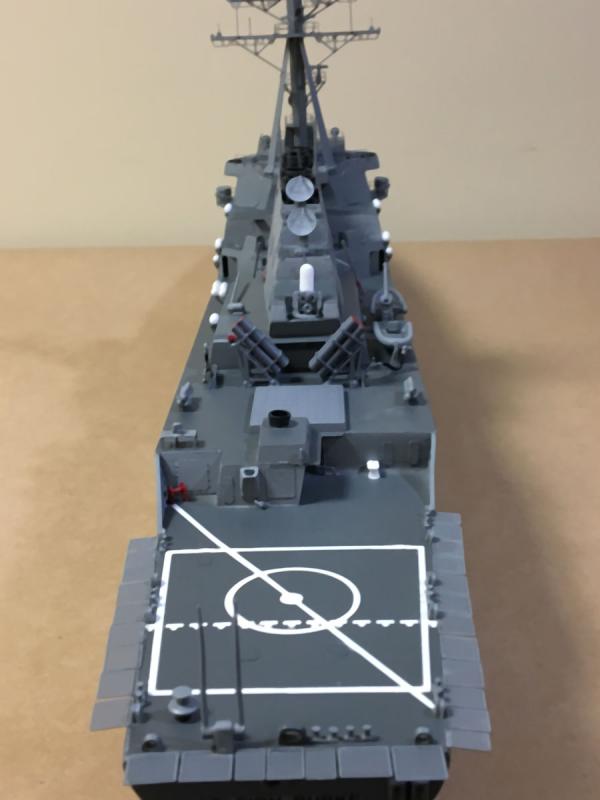
And She's Complete - 89 days, 210 hours Actually she's been complete except for the base since Dec. 5. Since my last post I added a lot of railings, a little rigging, and the rub-on transfers. You can see some of the railings here. The rigging is done with extremely fine metallic thread. There's no place to attach it, so it's just glued to the top of the yards and painted over with Haze Gray. I expected decals but the kit came with rub-on transfers. You position them on the model and rub HARD with a blunt dowel. In fact I had to rub so hard that the solid hull was dented under the waterline numbers. The kit had multiple copies of the numbers which was lucky because several of them were ruined by the rubbing. I used some nice quarter-sawn white oak for the base, and tapered the edges to resemble the angled sides of the ship. I ordered a bottomless plexiglass case just an inch bigger than the model on all sides. When I get the case I'll cut the bottom to fit and glue it up. So there's one more picture to follow.
- 68 replies
-
- Arleigh Burke
- BlueJacket Shipcrafters
-
(and 1 more)
Tagged with:
-
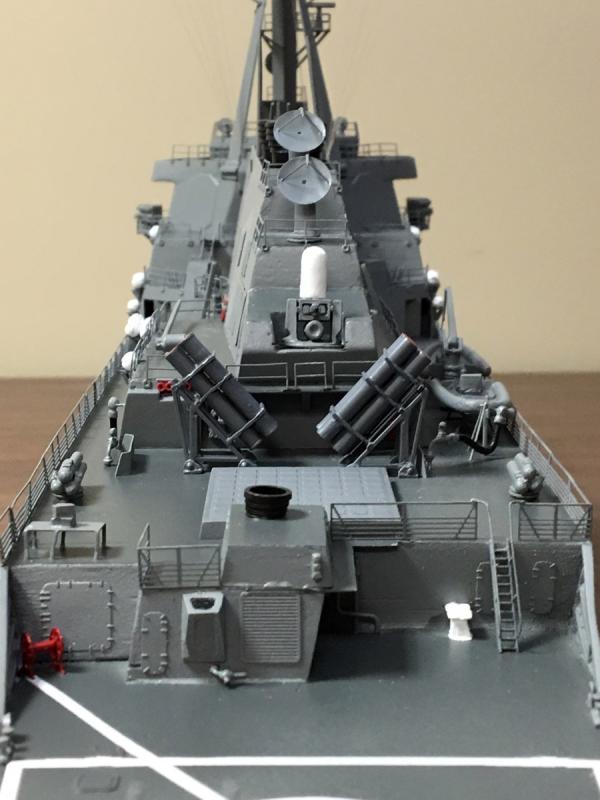
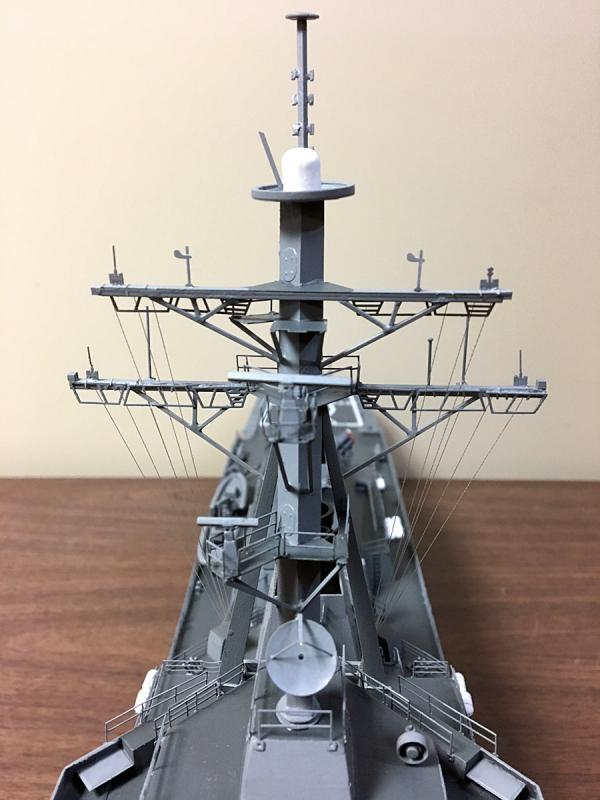
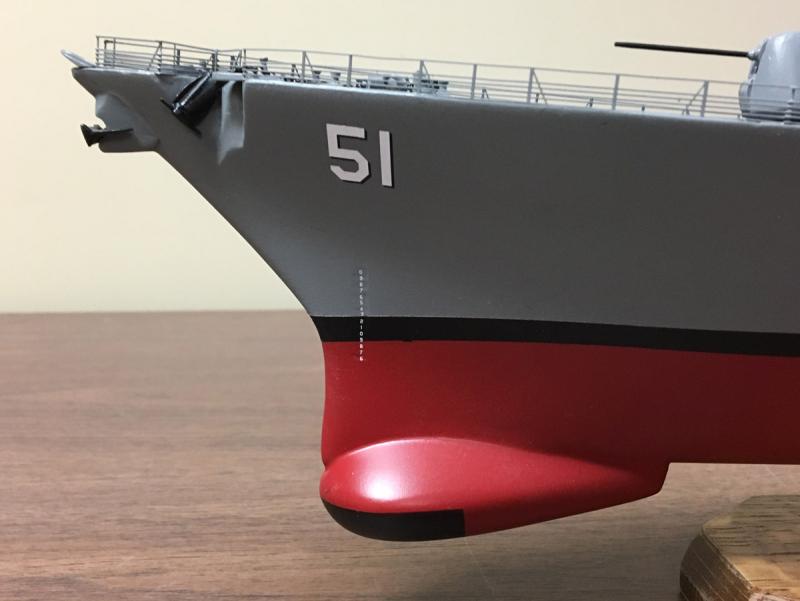
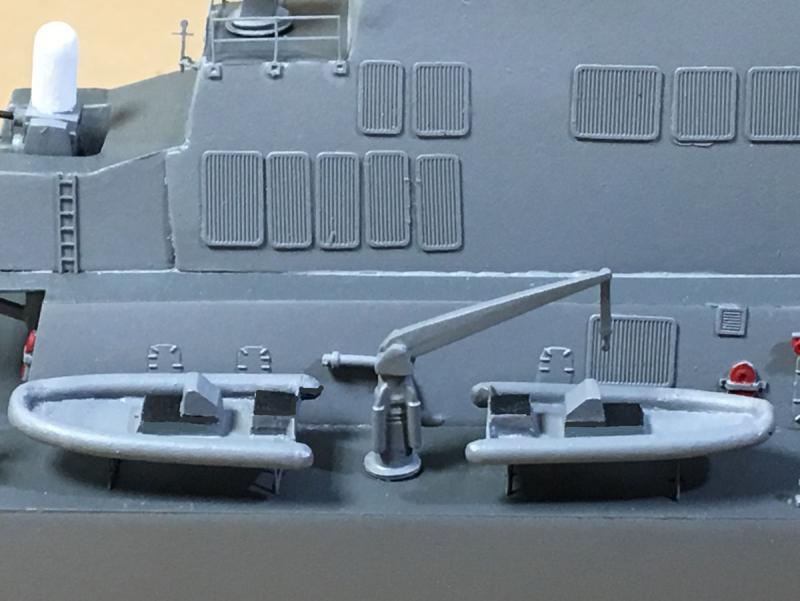
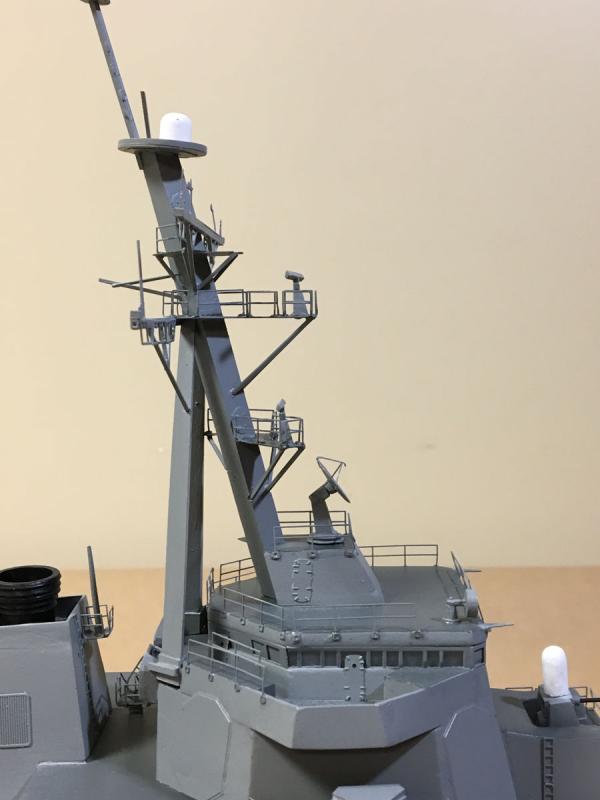
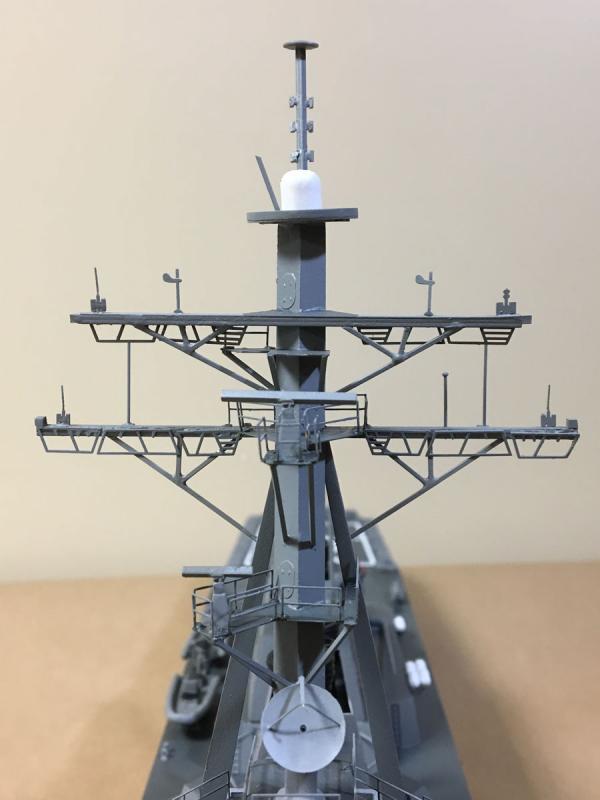
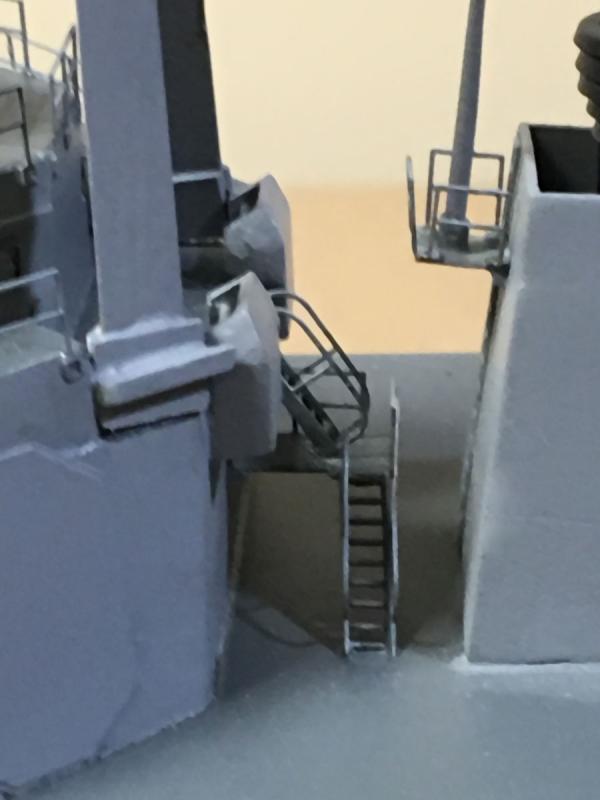
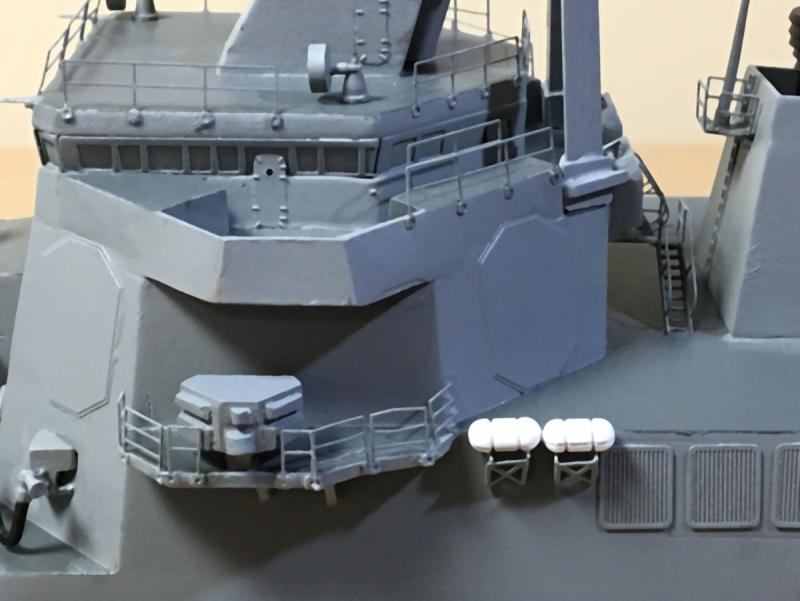
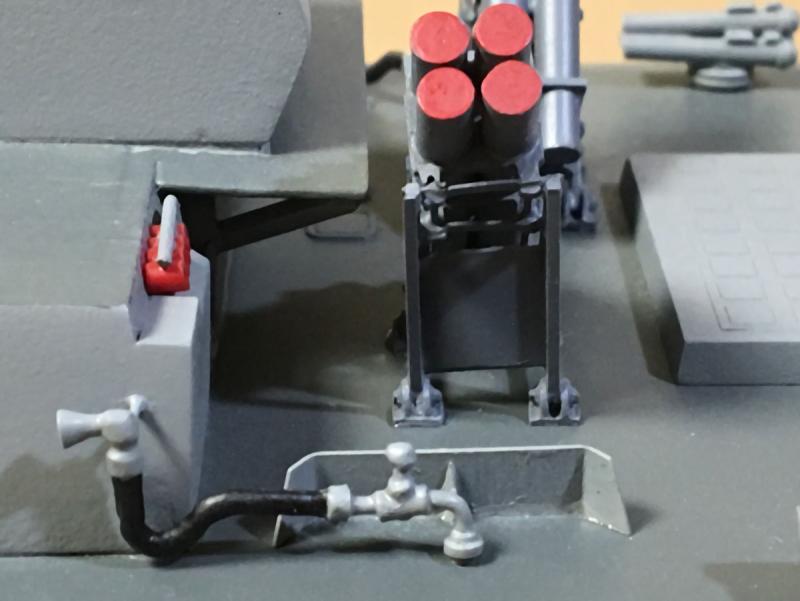
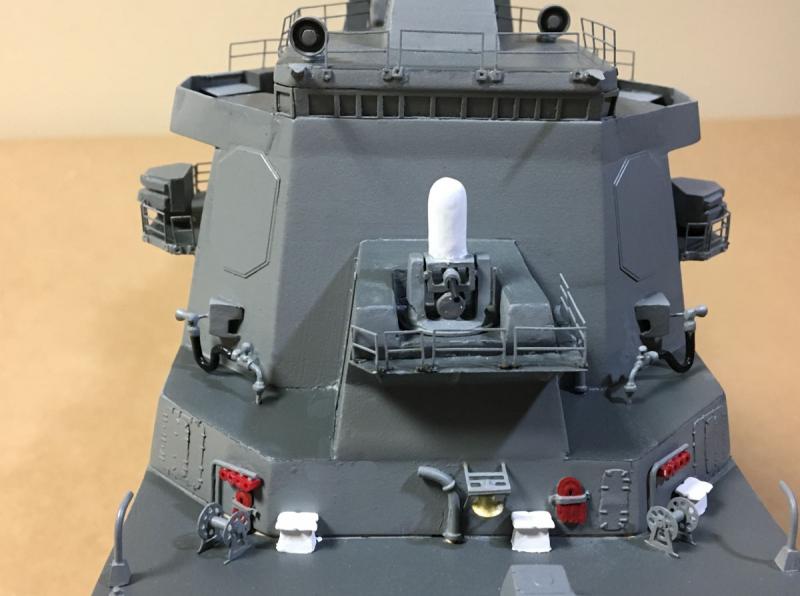
Mast I thought the mast was done a long time ago, but it turns out that each little platform has several railings to keep the sailors alive. I sure wish I had known about the railings when the mast was sitting safely in a fixture in my vise and not atop a bunch of other delicate parts. Refueling Hoses These refueling hoses were surprisingly hard to build. There are four of them. The valves and hoses are cast metal, but the hoses come straight. I couldn't even tell what they were until I'd used up everything else and was left with them for the hoses. They had to be drilled in the end to accept the valves, drilled in the nozzle to accept a .02 " mounting wire, and bent to fit the particular location on the model. Not easy. Boats The ship's two boats are made of poorly-cast resin. I even got a set of replacements from Blue Jacket, and they were no better. I filled, sanded, and filed, but there are still a lot of rough spots on the boats. CIWS (Close-In Weapons System) Gun Speaking of Close-In, I really hate these close-in photos. It's like when someone takes a close-in photo of your face and you can see every pore and nose-hair. Anyway, here's want the front of the ship looks like close-in. The ship's bell is cast metal. The paint set came with a full bottle of gold paint for the bell and the propellers (that I ended up buying elsewhere.) I'll say it again, At this price I think that Blue Jacket should include brass propellers AND A BRASS BELL with the kit. Stairs Way back on 10 October I complained that several little platforms kept breaking off, and that I had finally reinforced them all with a 1/32" brace underneath. I sure wish that I had realized then that the platform between the stacks should be at mid deck and not at the top. After I got it relocated I built these awesome stairs out of photo-etched brass pieces. It took about 7 hours, but wouldn't you like to climb that staircase? Missile Control Radar Every edge of this model is surrounded by photo-etched brass railings. I swear that they are so delicate that they bend when I walk into the room. Most railings are made up of lots of little pieces, like these railings around the missile control radar. They are mounted with tiny square tabs below each upright. The railings never seem to fit in the required space. It seems like the railings are sized exactly for each location, but that the square tabs are not accounted for. I end up cutting off parts of each mounting tab. It would be MUCH easier if the railings were made as a single piece that was bent to the contour of the base, rather than many individual pieces.
- 68 replies
-
- Arleigh Burke
- BlueJacket Shipcrafters
-
(and 1 more)
Tagged with:
-
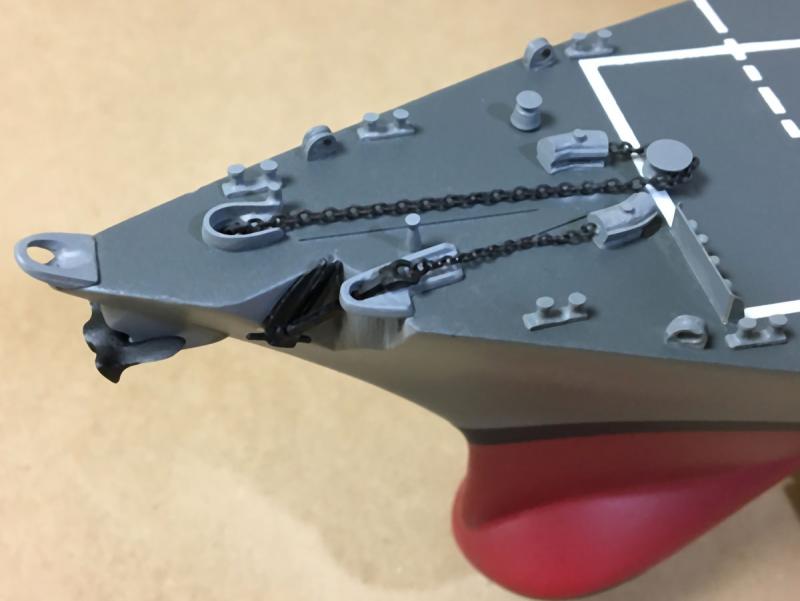
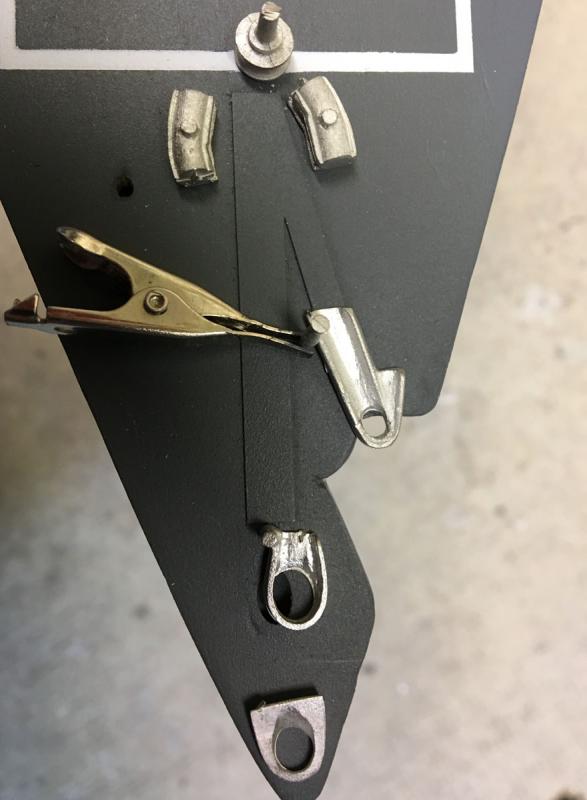
Anchors Aweigh Way back on 10 September I complained about having to make my own hawse pipe out of epoxy putty. I sure wish that I had realized then that the piece had to be thin enough to fit inside the narrow anchor flukes! Thank goodness for my Proxxon pen sander. I was able to remove about 1.5 mm from each side while it was still attached to the bow. The anchor chains seemed to be made of copper. The instructions said to paint them black, but I think that the links in the chain are smaller than paint molecules, so I used a black patina made for stained glass. That worked well. The chains disappear into cast-metal chain pipe covers. I sure wish I had realized that they should have holes in them for the chain before I installed them! Instead I butt-glued the chain to the ends.
- 68 replies
-
- Arleigh Burke
- BlueJacket Shipcrafters
-
(and 1 more)
Tagged with:
-
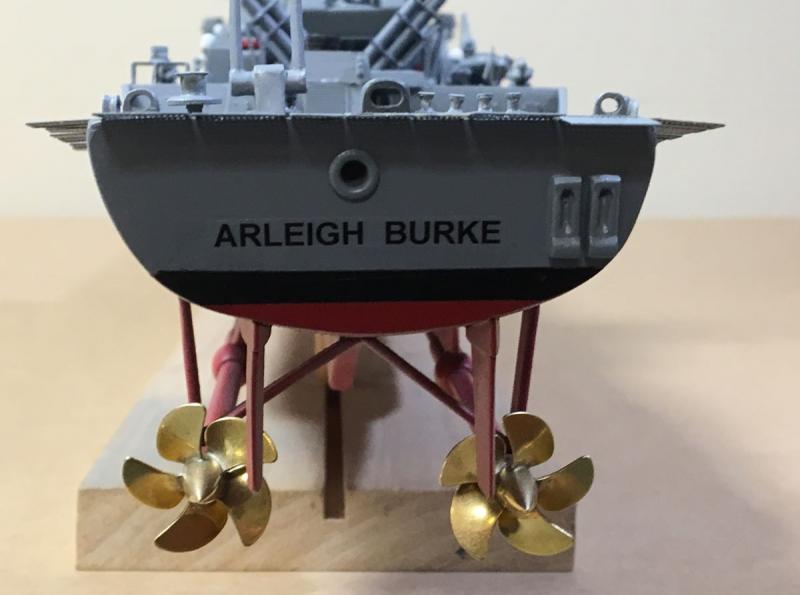
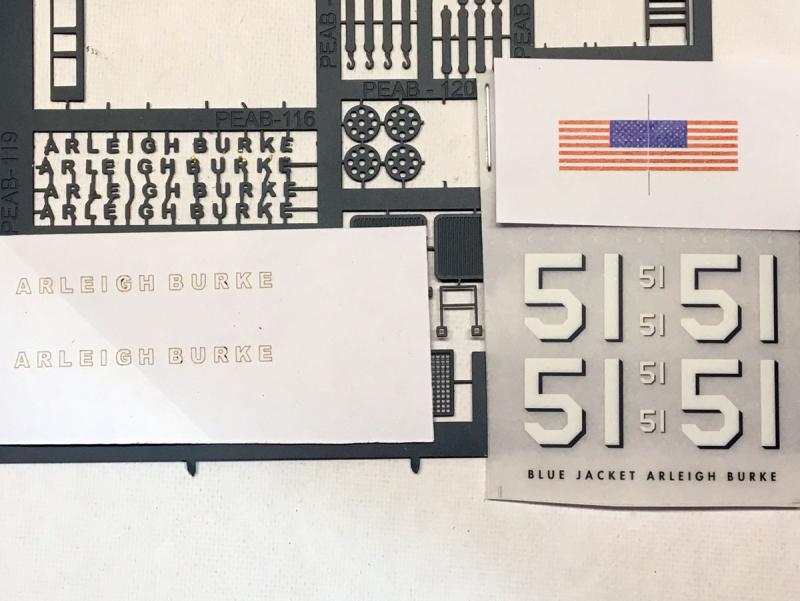
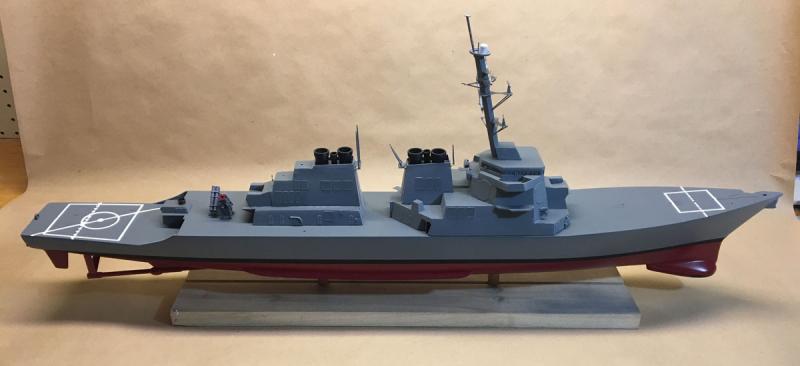
Haze Gray but not Underway Yet - 76 days, 194 hours Since my last post I've almost completed the Arleigh Burke except for hundreds of little railings. Here's what she looks like now. Decal Envy The kit came with a paper flag and a set of decals for the ship's numbering, but surprisingly it did not include an ARLEIGH BURKE decal for the stern. Instead it had a laser-cut self-adhesive mask for painting the lettering, and several sets of photo-etched brass letters. I tried the mask first, but it was impossible to remove the body of the "A" while leaving the little triangle in the center. I tried the brass letters second, but it was impossible to glue them in line without getting glue on the letters or scratching the paint off of them. Finally I printed my own decals on Papilio Inkjet Clear Waterslide decal paper. Yeah, you can see the border but that's the least of my imperfections.
- 68 replies
-
- Arleigh Burke
- BlueJacket Shipcrafters
-
(and 1 more)
Tagged with:
-
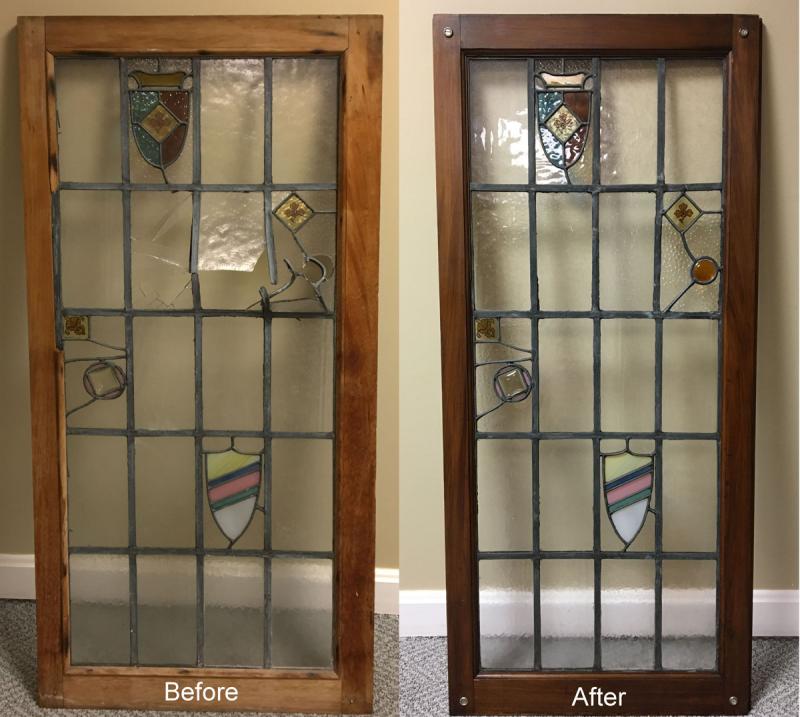
But I Digress I had to put the Arleigh Burke aside for a few days to repair three antique leaded glass windows for a friend. On each window I replaced several shattered panes, re-glazed all the glass, restored the patina, and oiled the wooden frames. Two down, one to go, then back to the Arleigh Burke.
- 68 replies
-
- Arleigh Burke
- BlueJacket Shipcrafters
-
(and 1 more)
Tagged with:
-
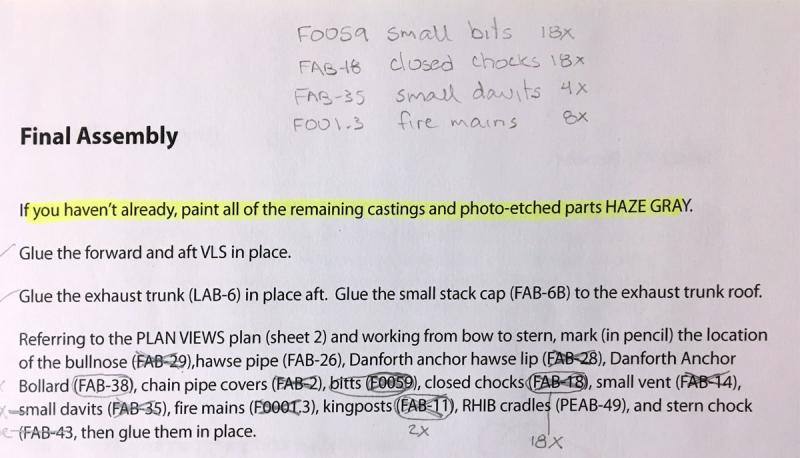
Final Assembly This paragraph says to find these parts and all of these parts, file them all down, paint them, figure out where they go, and glue them in place. Yikes.
- 68 replies
-
- Arleigh Burke
- BlueJacket Shipcrafters
-
(and 1 more)
Tagged with:
-
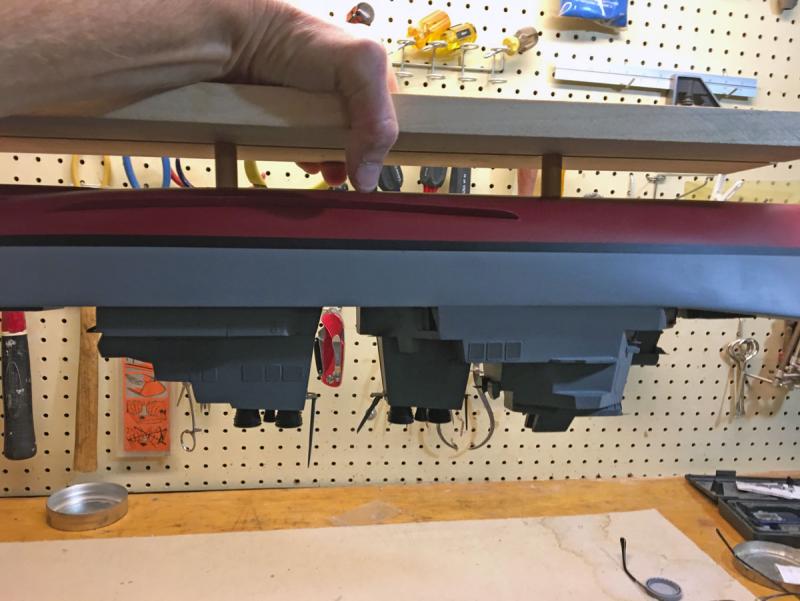
Superstructure Attached Well I got to page 50, "Final Assembly," and I still hadn't seen anything about attaching the superstructure. Eventually I found that I should have attached the forward superstructure on page 18, but I don't think the instructions say anything at all about attaching the aft superstructure or stacks. So I went ahead and attached everything. Here's proof.
- 68 replies
-
- Arleigh Burke
- BlueJacket Shipcrafters
-
(and 1 more)
Tagged with:
-
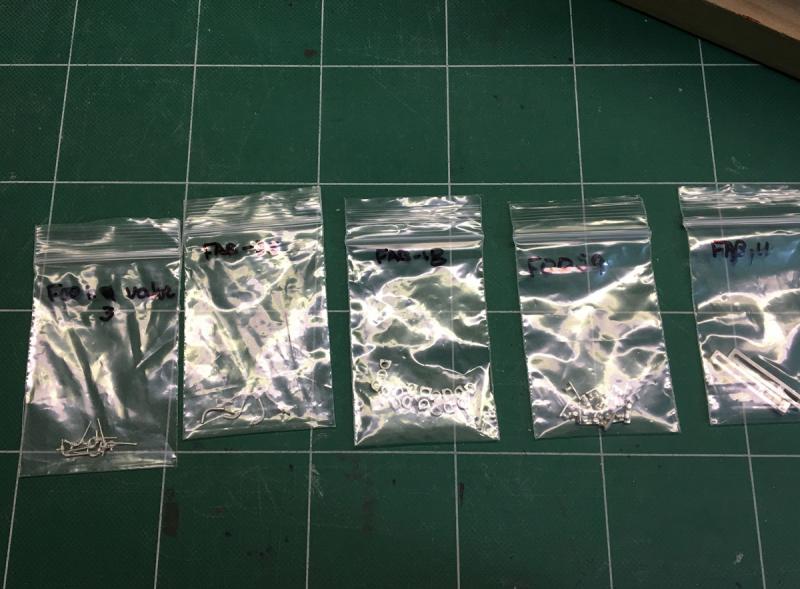
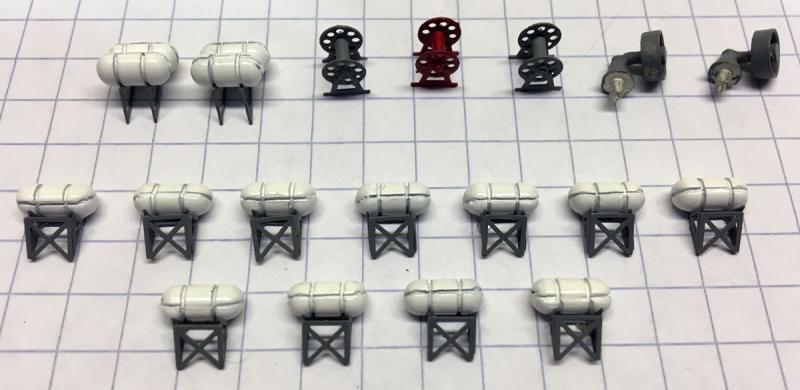
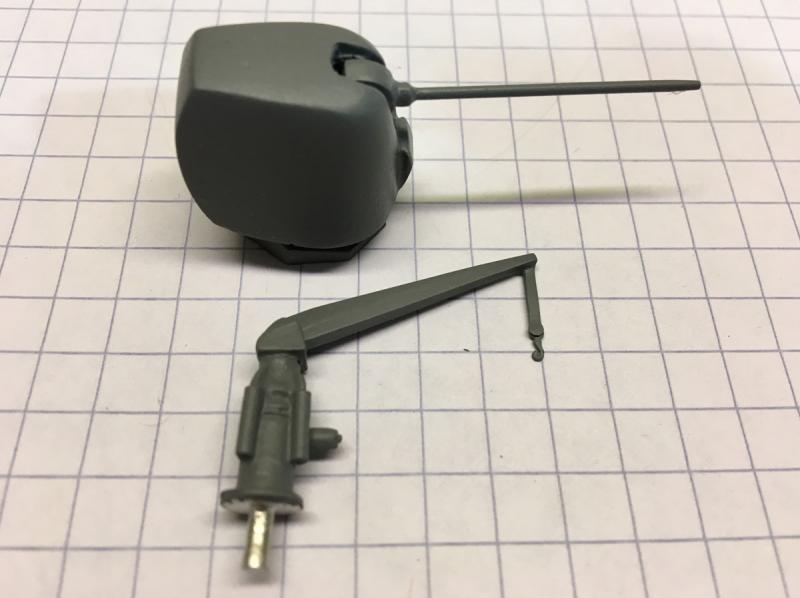
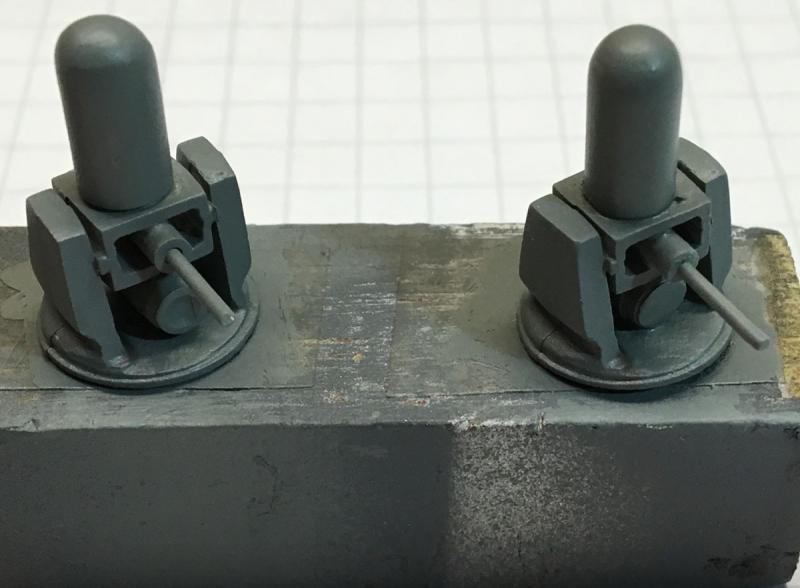
More Small Parts 5" gun mount & boat crane 2 double life raft canisters, 3 reels, 2 SATCOM antennas, 11 single life raft canisters
- 68 replies
-
- Arleigh Burke
- BlueJacket Shipcrafters
-
(and 1 more)
Tagged with:
-
PROPS! Did I tell you that I ordered propellers? The kit has you building your own using Britannia metal hubs, photo-etched brass blades, and gold paint. I didn't bother. Instead I ordered a pair of 1-inch diameter Raboesch brass power props from The Model Dockyard. They cost about 38 USD including shipping, but worth every D. I honestly think Bluejacket should include these props with the kit, even if they have to increase the price. At least make them available as an option.
- 68 replies
-
- Arleigh Burke
- BlueJacket Shipcrafters
-
(and 1 more)
Tagged with:
-
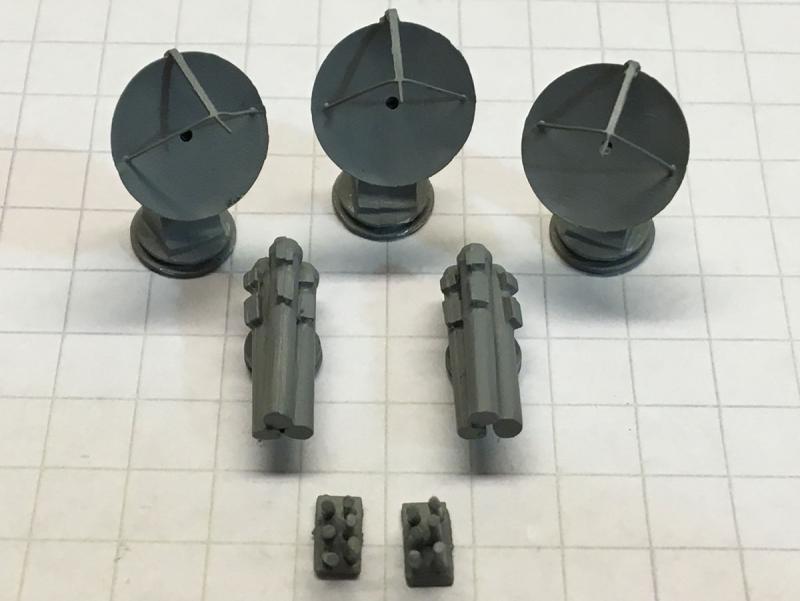
Miscellaneous Small Parts 3 missile directors 2 MK 32 torpedo tubes 2 SBROC launchers 2 R2-D2 droids
- 68 replies
-
- Arleigh Burke
- BlueJacket Shipcrafters
-
(and 1 more)
Tagged with:
-
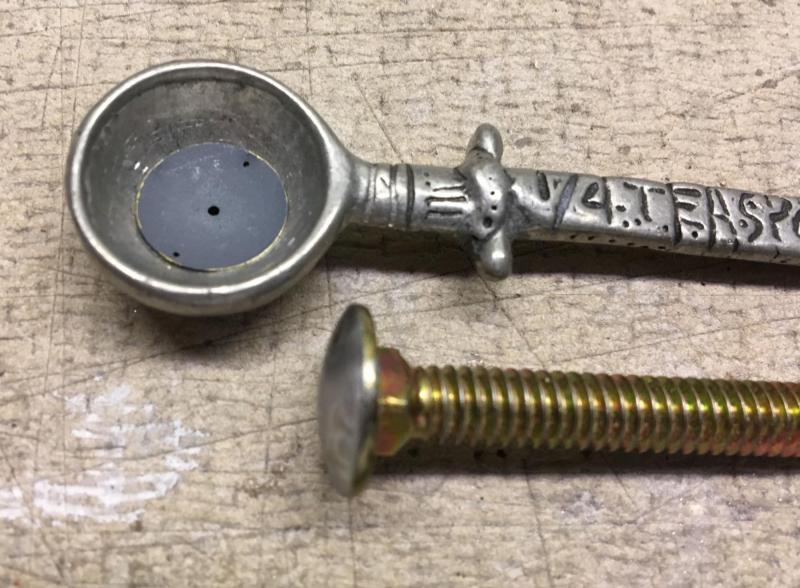
Dapping tool The instructions said to shape the missile director (radar) dishes with a dapping tool. I Googled "dapping tool" and discovered that my wife had the female part of one in the kitchen, and I had the male part in my bolt drawer. (Please don't tell my wife.)
- 68 replies
-
- Arleigh Burke
- BlueJacket Shipcrafters
-
(and 1 more)
Tagged with:
-
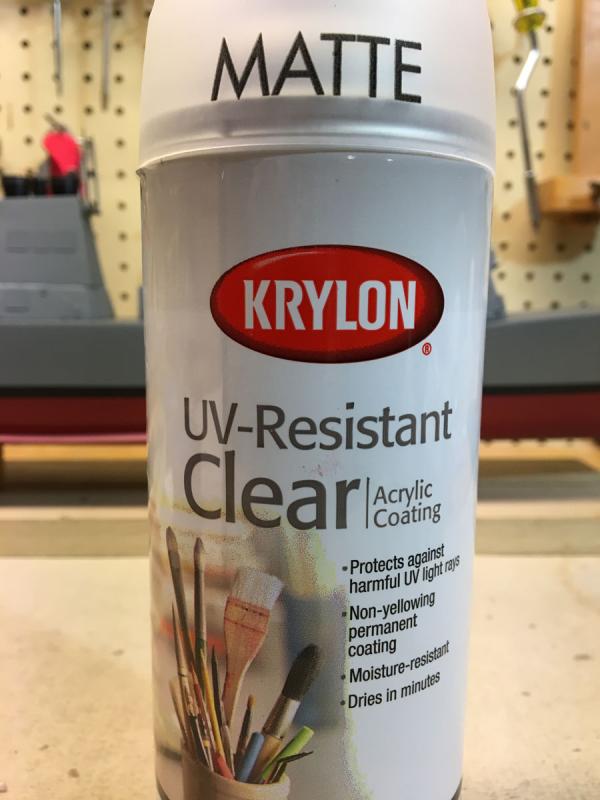
Top Coat I put 3 coats of Krylon Matte finish on everything. Nothing melted or dissolved. Most of the marks on the deck disappeared. I am really glad I did this.
- 68 replies
-
- Arleigh Burke
- BlueJacket Shipcrafters
-
(and 1 more)
Tagged with:
-
Great question, I've been wondering the same thing. Metal tools leave marks on the deck gray that I can't remove, so I would like to protect that with a top coat. Can anyone recommend a product that they like?
- 68 replies
-
- Arleigh Burke
- BlueJacket Shipcrafters
-
(and 1 more)
Tagged with:
-
It's Not Done Yet Lest you think that I'm almost done with this model, here's a photo of the parts that still need to be attached. Sigh...
- 68 replies
-
- Arleigh Burke
- BlueJacket Shipcrafters
-
(and 1 more)
Tagged with:
-
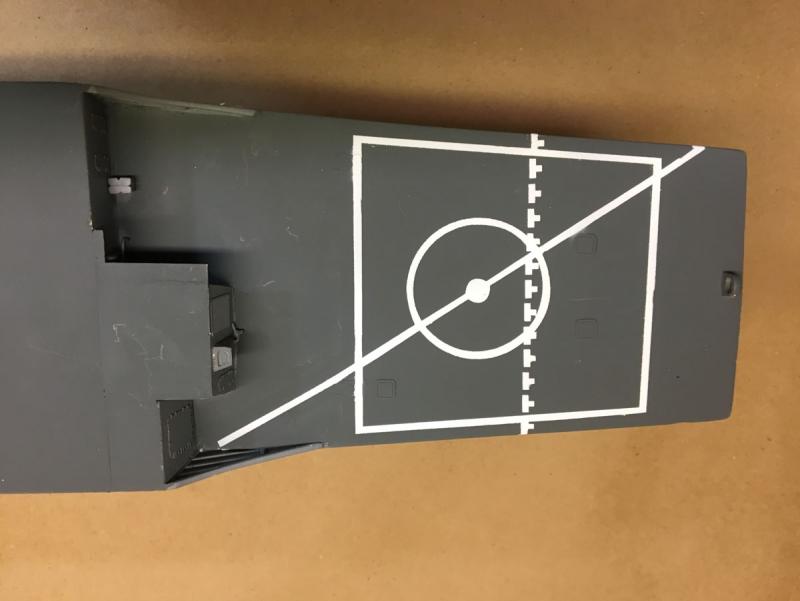
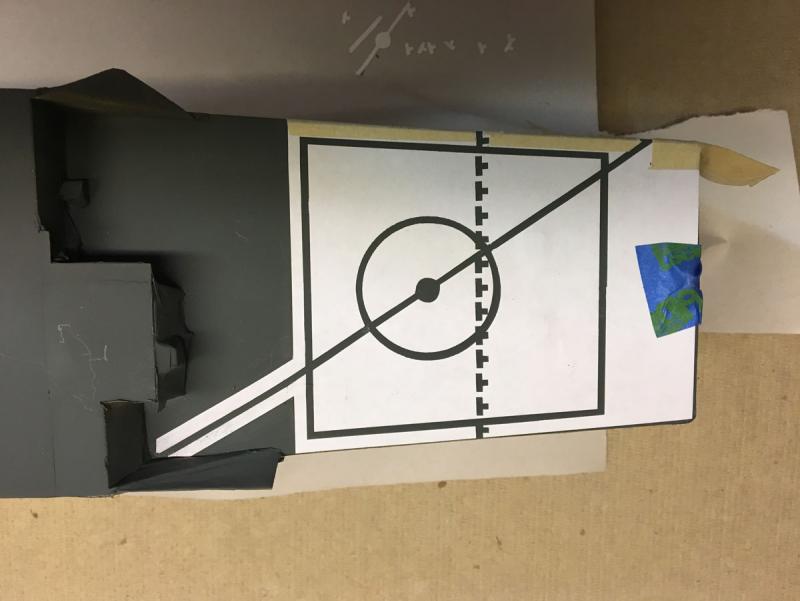
Painting 38 days, 120 hours My previous post about pin striping tape turned out to be a moot question. I was ready to paint and my tape still had not arrived. I painted the top of the hull with Testors Haze gray, masked that off, painted the bottom with Rustoleum Colonial red, masked that off, and painted the waterline with Testors flat black. I kept a couple of samples going to make sure that everything was compatible. The results were perfect. No touch up necessary. Then I masked the hull off and painted the deck with Testors Euro gray. The kit comes with self-adhesive stencils for the Helicopter landing markings. They are a little tricky to apply because when you remove the backing everything flops loose. Nevertheless, they went down OK. I airbrushed maybe 6 light coats of flat white, using a hair dryer between coats. Removing the stencils was pure terror. If I screwed up there was no recourse. But the results looked pretty good. Here's everything stacked up so far. It's starting to look like a real ship!
- 68 replies
-
- Arleigh Burke
- BlueJacket Shipcrafters
-
(and 1 more)
Tagged with:
-
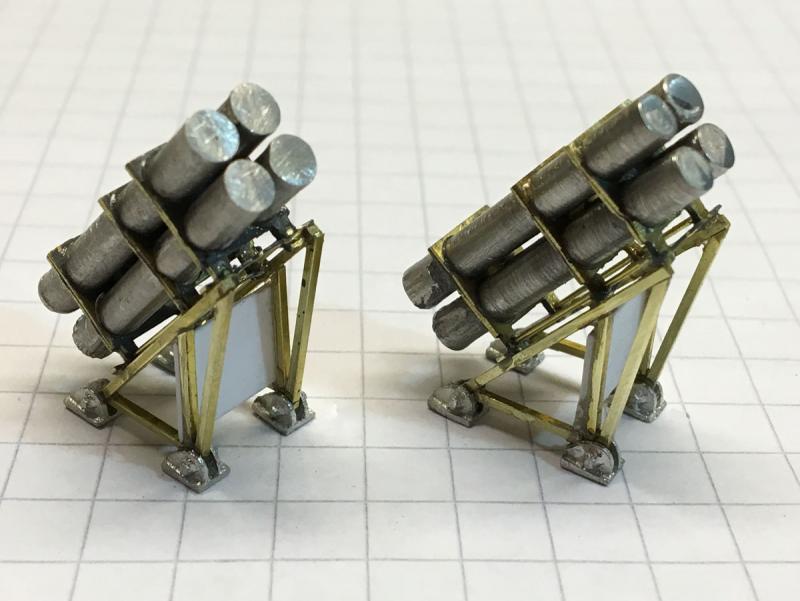
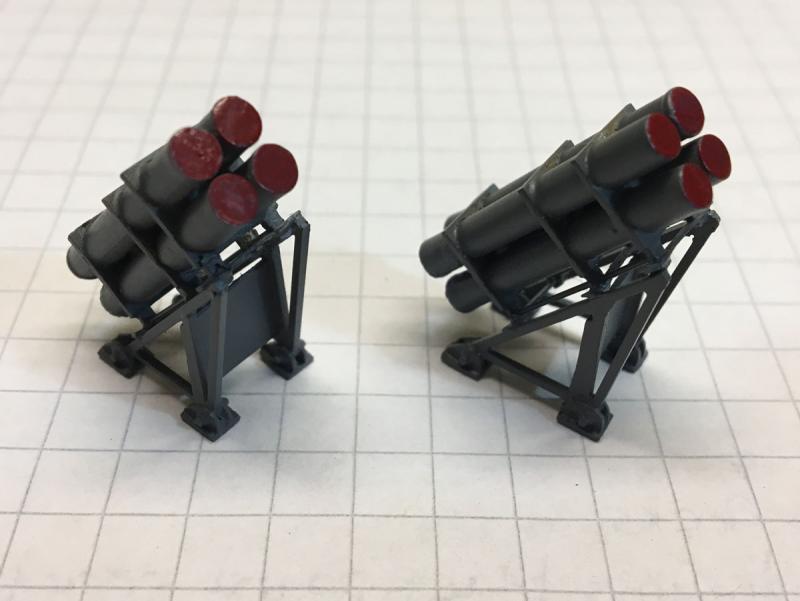
Harpoon Missile Racks These Harpoon missile racks couldn't have been much harder to build. I spent about 9 hours on the two of them. Each rack has 28 pieces: 6 photo-etched brass frames laminated into 3 double pieces. 4 cast metal tubes that don't fit in the frames without sanding. 2 pieces of brass wire along the bottom. 3 tiny photo-etched brass struts on the bottom. 8 brass pieces for the legs. I glued these together with CA. 1 styrene blast sheild. 4 cast metal feet. Does that add up to 28? I've lost count. They do look pretty good when they're done.
- 68 replies
-
- Arleigh Burke
- BlueJacket Shipcrafters
-
(and 1 more)
Tagged with:
-
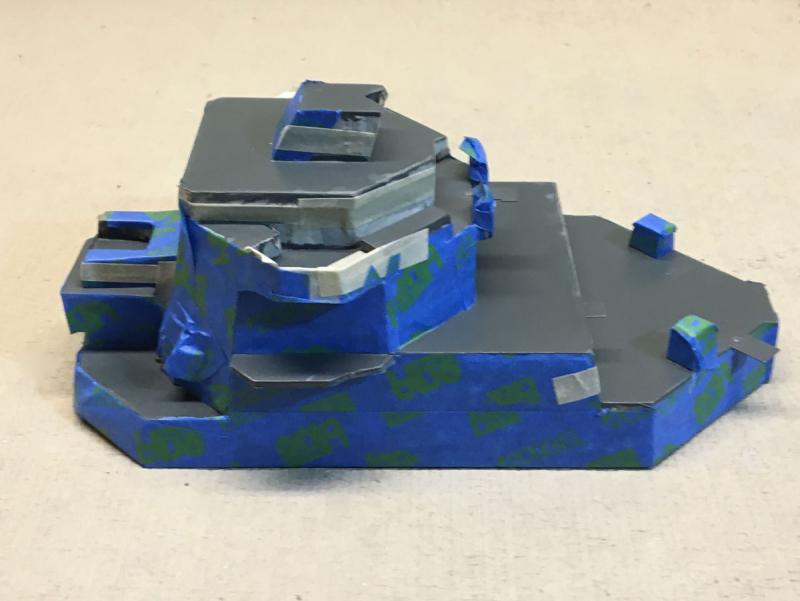
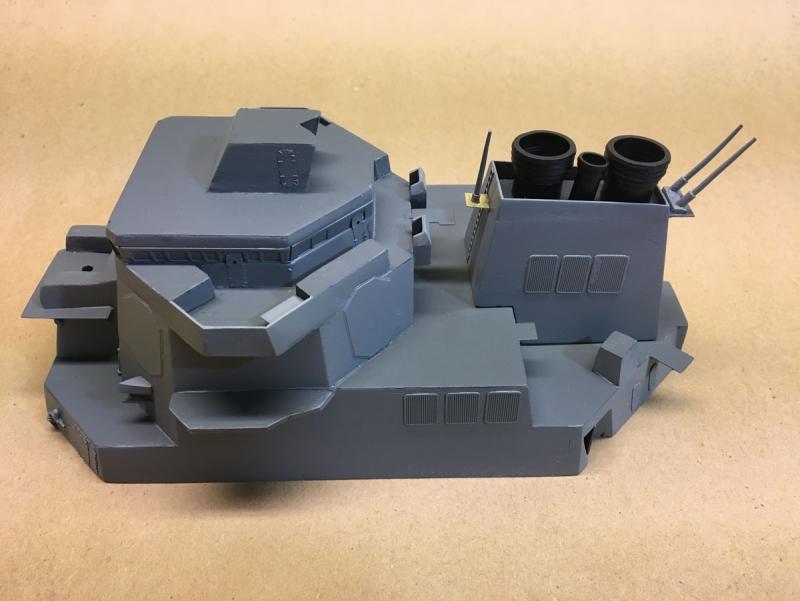
Masking tape model I've seen ship models made of card, bone, and toothpicks, so I thought it would be fun to make one out of masking tape. Ha ha, only joking. I REALLY did not want to mask off the entire forward superstructure to paint the decks, so I half-masked (half-assed) it and tried to paint it with a brush. I watched every boring video on Youtube about brush painting, and the results still weren't up to my generally low standards. So I bit the bullet and masked the hole thing off. Here's the result after a little retouching. There is very little difference between the Haze gray walls and the Euro gray decks.
- 68 replies
-
- Arleigh Burke
- BlueJacket Shipcrafters
-
(and 1 more)
Tagged with:
-
Pin Striping Tape? What do you all think of using pin striping tape for the waterline? I used it on my Amati U-boat and Panart Harbour tug. It looks good now but I worry that it will come off before I die and I'll have to fix it.
- 68 replies
-
- Arleigh Burke
- BlueJacket Shipcrafters
-
(and 1 more)
Tagged with:
-
Everything was fine until I put Krylon black over the Rustoleum. I'm back to that step but will try Testors black instead - on a test piece. The Rustoleum Colonial red satin actually looks great.
- 68 replies
-
- Arleigh Burke
- BlueJacket Shipcrafters
-
(and 1 more)
Tagged with:
-
Oh Nooo! Over the last couple of days I airbrushed Testors Haze gray above the waterline. I masked that off and sprayed Rustoleum Colonial red below. Last night I masked that off and sprayed the 1/4" waterline Krylon flat black. When I looked at it 1/2 hour later it was completely bubbled, crazed, and orange-peeled. I wish I had taken a photo to show just how bad it was, but instead I stayed up real late sanding everything off. Today I filled a lot of gouges, primed, and basically started over with the Haze gray. I also ordered some 1/4" matte black chart tape for the waterline. I might still try to paint it, but with a different paint.
- 68 replies
-
- Arleigh Burke
- BlueJacket Shipcrafters
-
(and 1 more)
Tagged with:
-
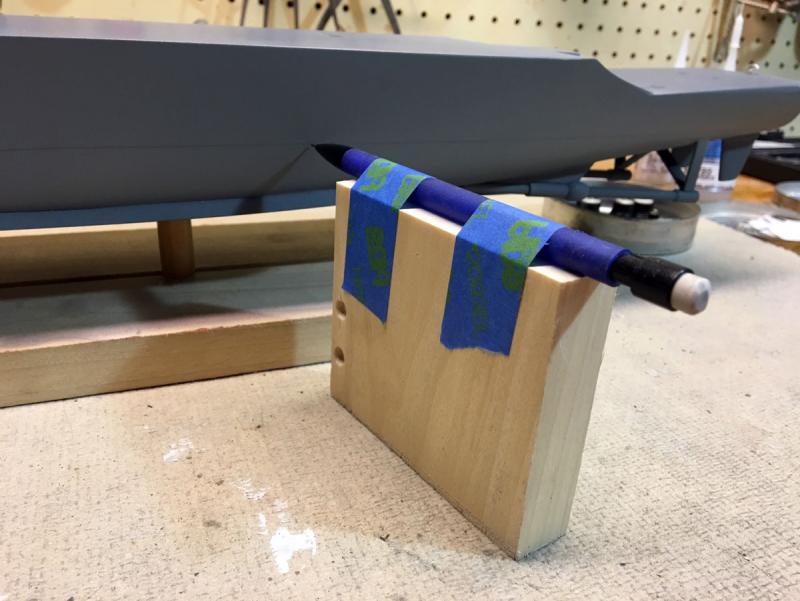
Getting Ready to Paint No need for a fancy jig to mark the waterline. So far I've sprayed the top of the hull Haze gray, masked that off, and sprayed a coat of red on bottom. Photos coming soon.
- 68 replies
-
- Arleigh Burke
- BlueJacket Shipcrafters
-
(and 1 more)
Tagged with:
About us
Modelshipworld - Advancing Ship Modeling through Research
SSL Secured
Your security is important for us so this Website is SSL-Secured
NRG Mailing Address
Nautical Research Guild
237 South Lincoln Street
Westmont IL, 60559-1917
Model Ship World ® and the MSW logo are Registered Trademarks, and belong to the Nautical Research Guild (United States Patent and Trademark Office: No. 6,929,264 & No. 6,929,274, registered Dec. 20, 2022)
Helpful Links
About the NRG
If you enjoy building ship models that are historically accurate as well as beautiful, then The Nautical Research Guild (NRG) is just right for you.
The Guild is a non-profit educational organization whose mission is to “Advance Ship Modeling Through Research”. We provide support to our members in their efforts to raise the quality of their model ships.
The Nautical Research Guild has published our world-renowned quarterly magazine, The Nautical Research Journal, since 1955. The pages of the Journal are full of articles by accomplished ship modelers who show you how they create those exquisite details on their models, and by maritime historians who show you the correct details to build. The Journal is available in both print and digital editions. Go to the NRG web site (www.thenrg.org) to download a complimentary digital copy of the Journal. The NRG also publishes plan sets, books and compilations of back issues of the Journal and the former Ships in Scale and Model Ship Builder magazines.


