-
Posts
697 -
Joined
-
Last visited
Content Type
Profiles
Forums
Gallery
Events
Everything posted by rvchima
-
Why Did Old Steam Tugs Have Masts? After some research I've found a few answers. Derricks could be rigged off the masts for cargo work. After about 1890 yards were left ashore, and staysails and trysails were carried as a "get you home" arrangement. Riding or steadying sails force the hull into the water to reduce the rolling tendency of long, slender hulls. To display three lights indicating that they are towing another vessel. Watch out for a long hawser. The book On the Hawse, A Tugboat Album by Steven Lang and Peter H. Spectre, Down East Books, 1980, has three photos of the Seguin - new in the late 1880s, at retirement in 1969, and unknown date. Two of the photos show towing lights on the main mast. The retirement photo shows the masts proudly decorated with flags. None of the photos show any gaffs. I may leave them off.
-
Thanks Nic. I also have not found evidence of sails. So what were the tall masts for? Perhaps for back up propulsion. Too early for radio antennas. All I can think of is that they were used for hoisting things on board. The lifeboat perhaps, although the davits would be used for that.
-
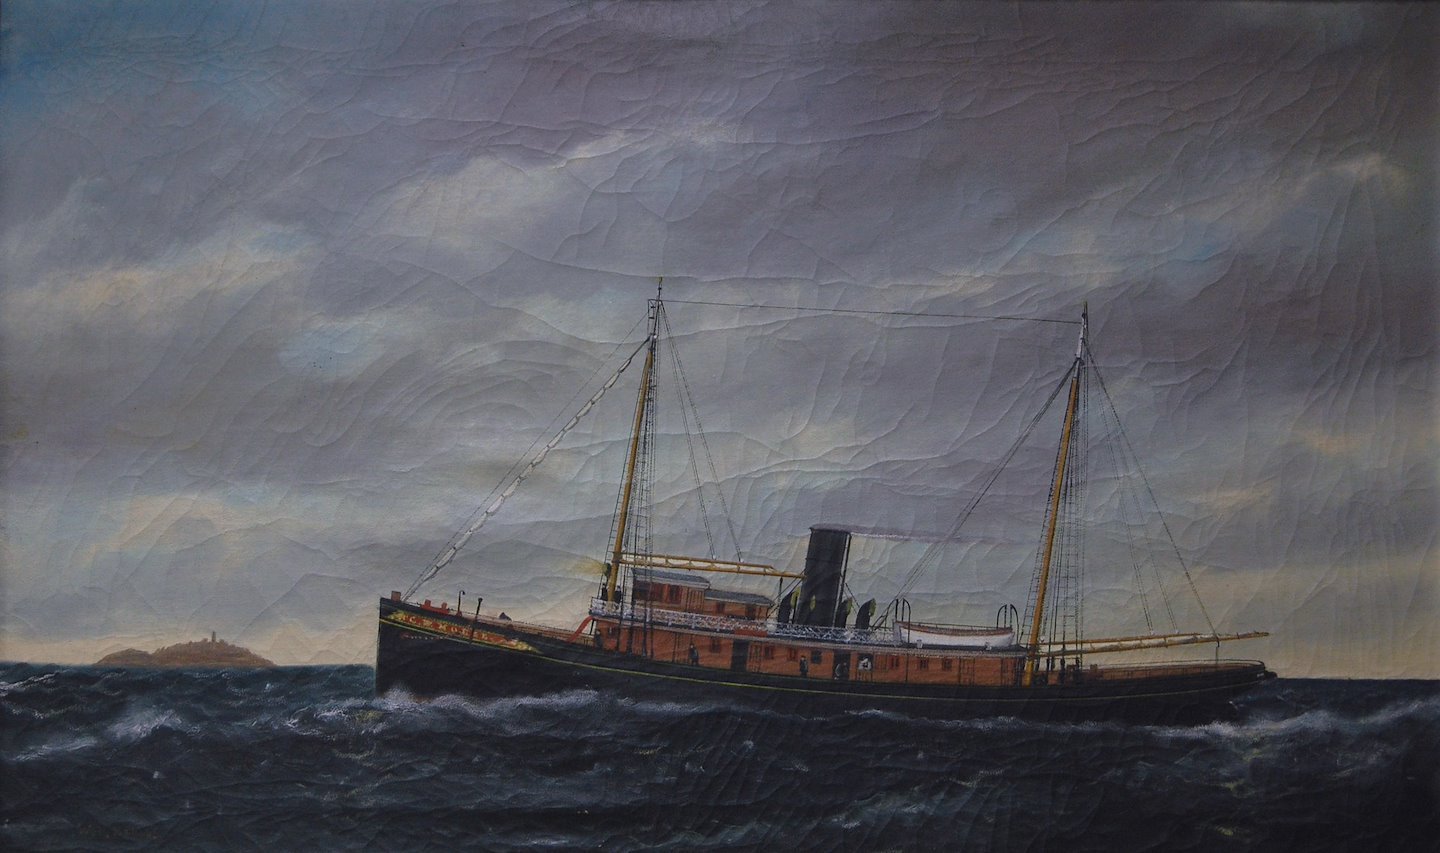
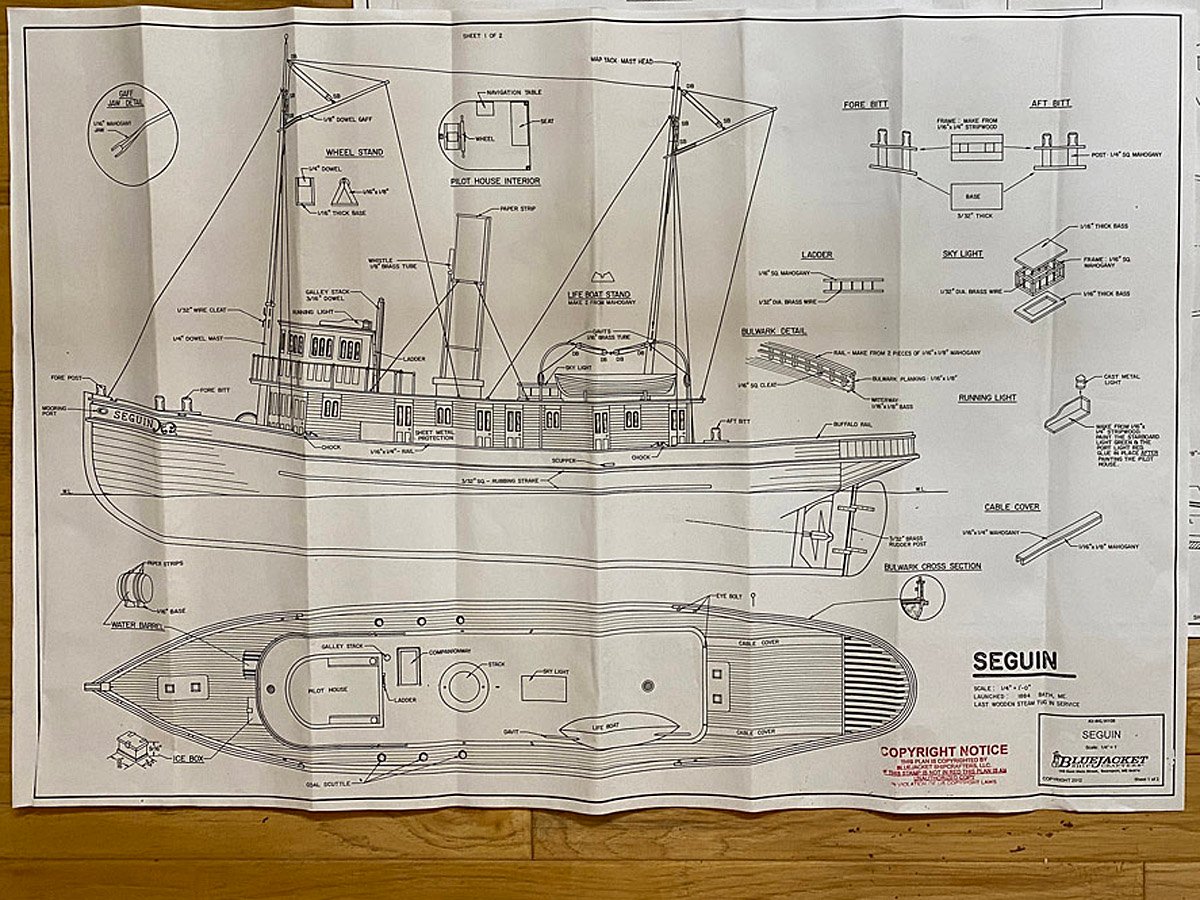
The plans show masts with upper gaffs that could be tipped or lowered. There are no lower yards for the bottom of a sail, if that is the correct term. I haven't seen any images of the Seguin with sails, but I did find this beautiful painting of the C. W. Morse with sails furled on the Maine Maritime Museum site. It looks a lot like the Seguin. I'm hoping Nic from Bluejacket will chime in.
-
Chris, Yes, I stain everything before gluing so that glue runout doesn't block the stain. Perhaps the stain blocks the glue instead. The stain had dried for a couple of days.
-
Question The Seguin has two tall masts fore and aft with gaffs atop. Were these for sails (on a steamer) or used as hoists ? Pardon my ignorance but I'll be building these soon and want to get them right.
-
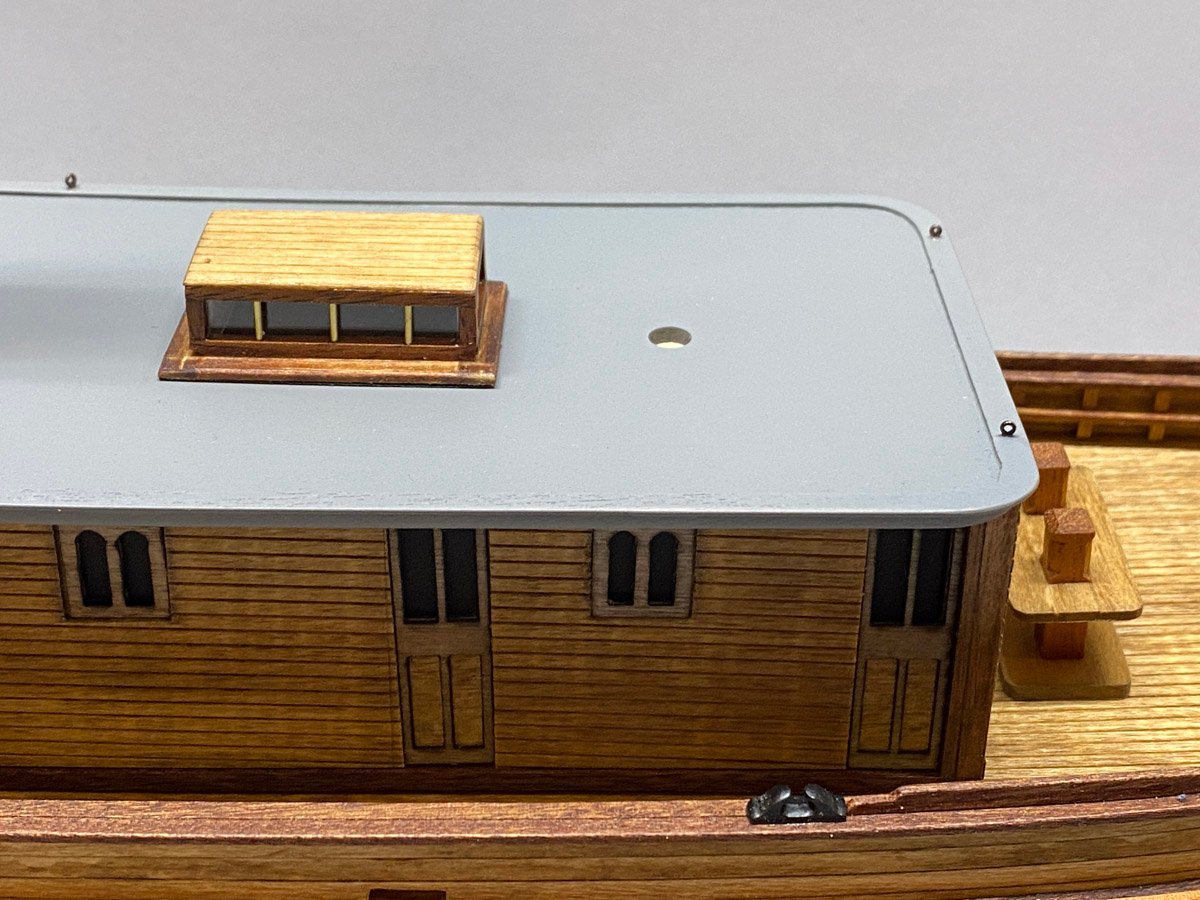
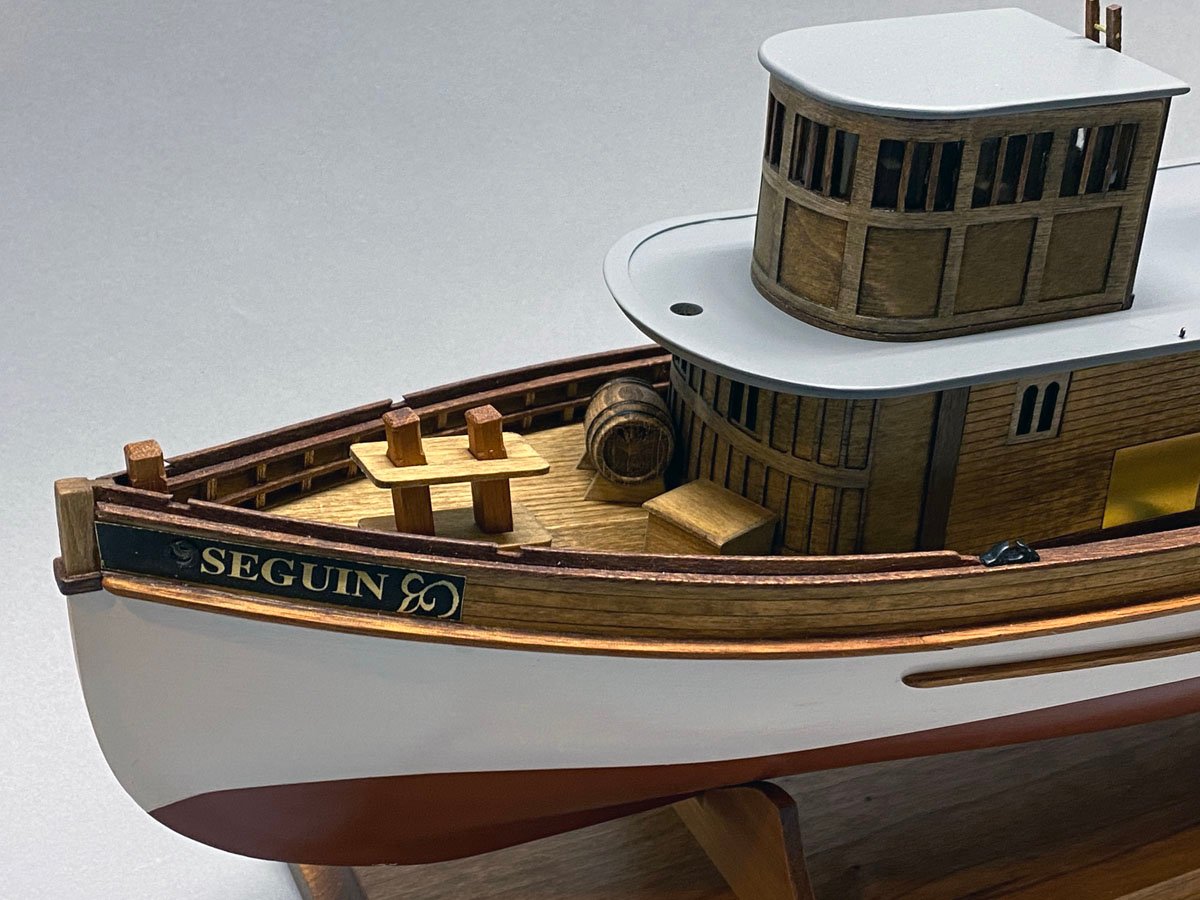
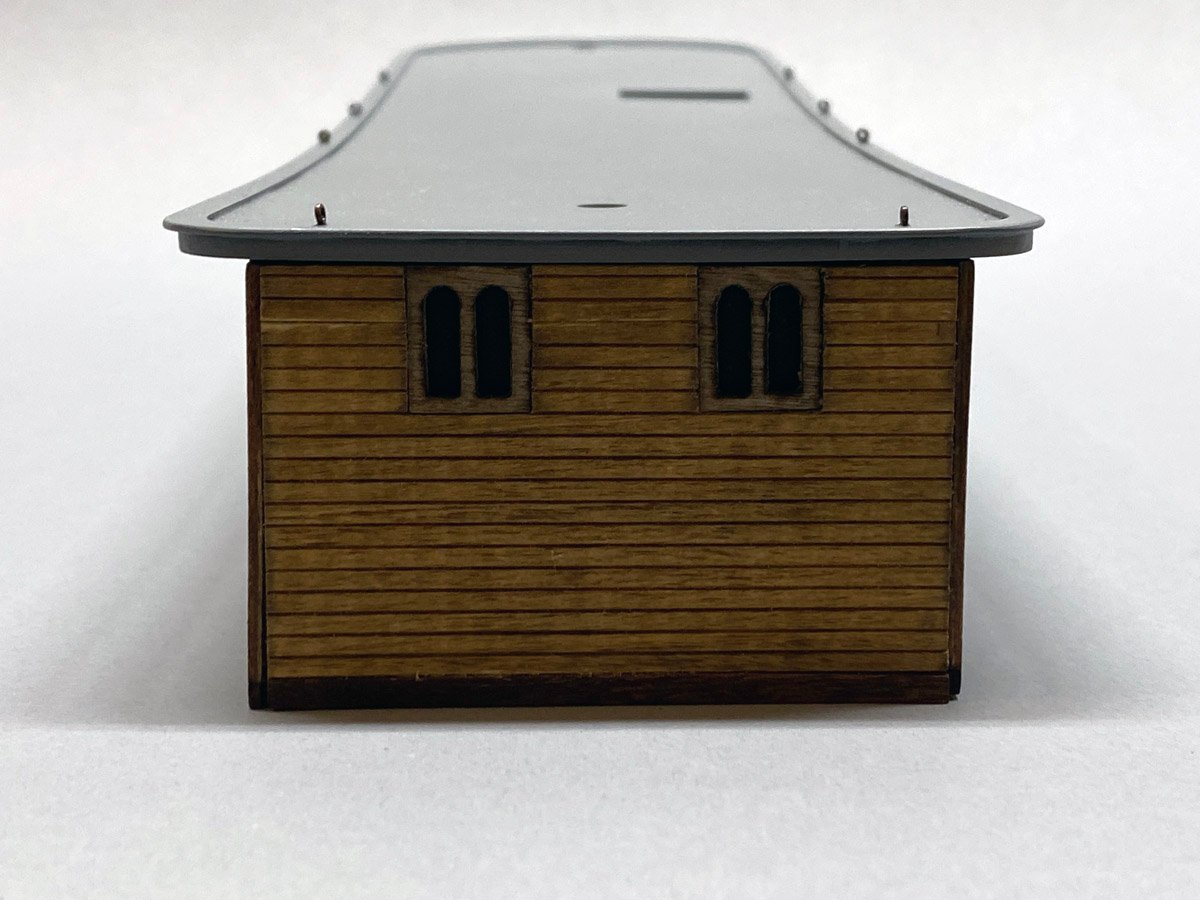
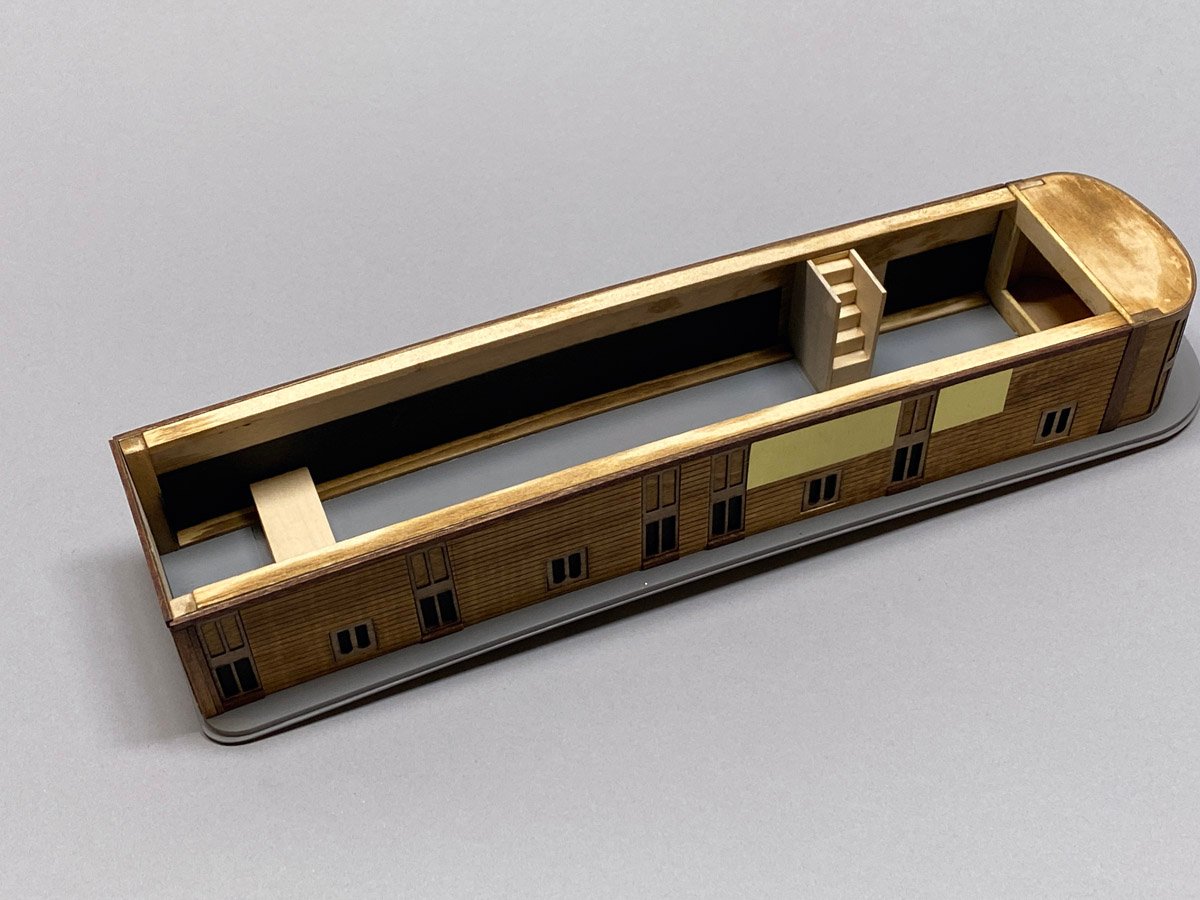
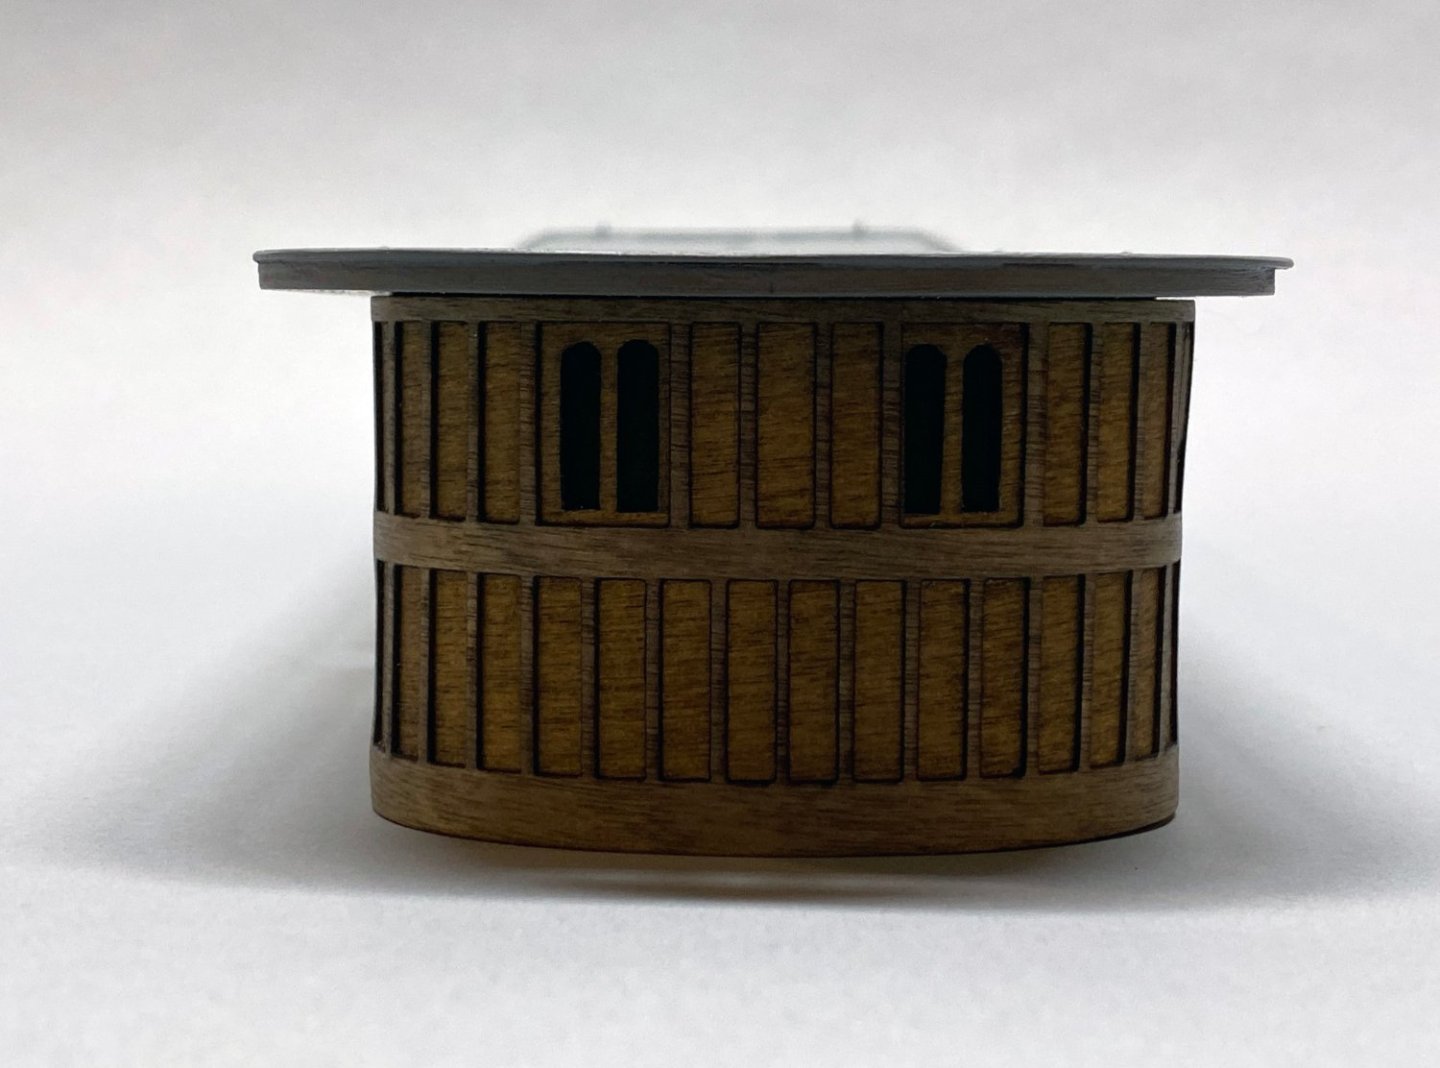
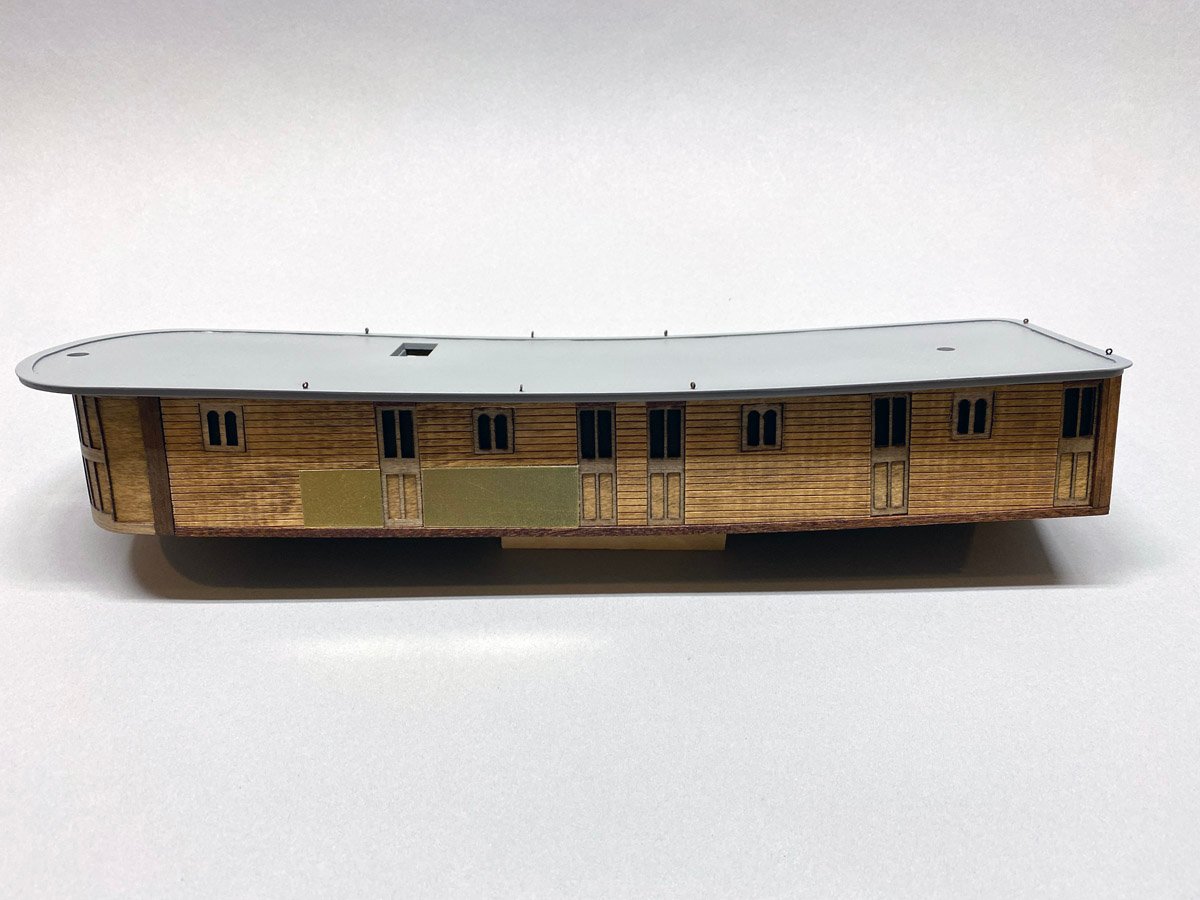
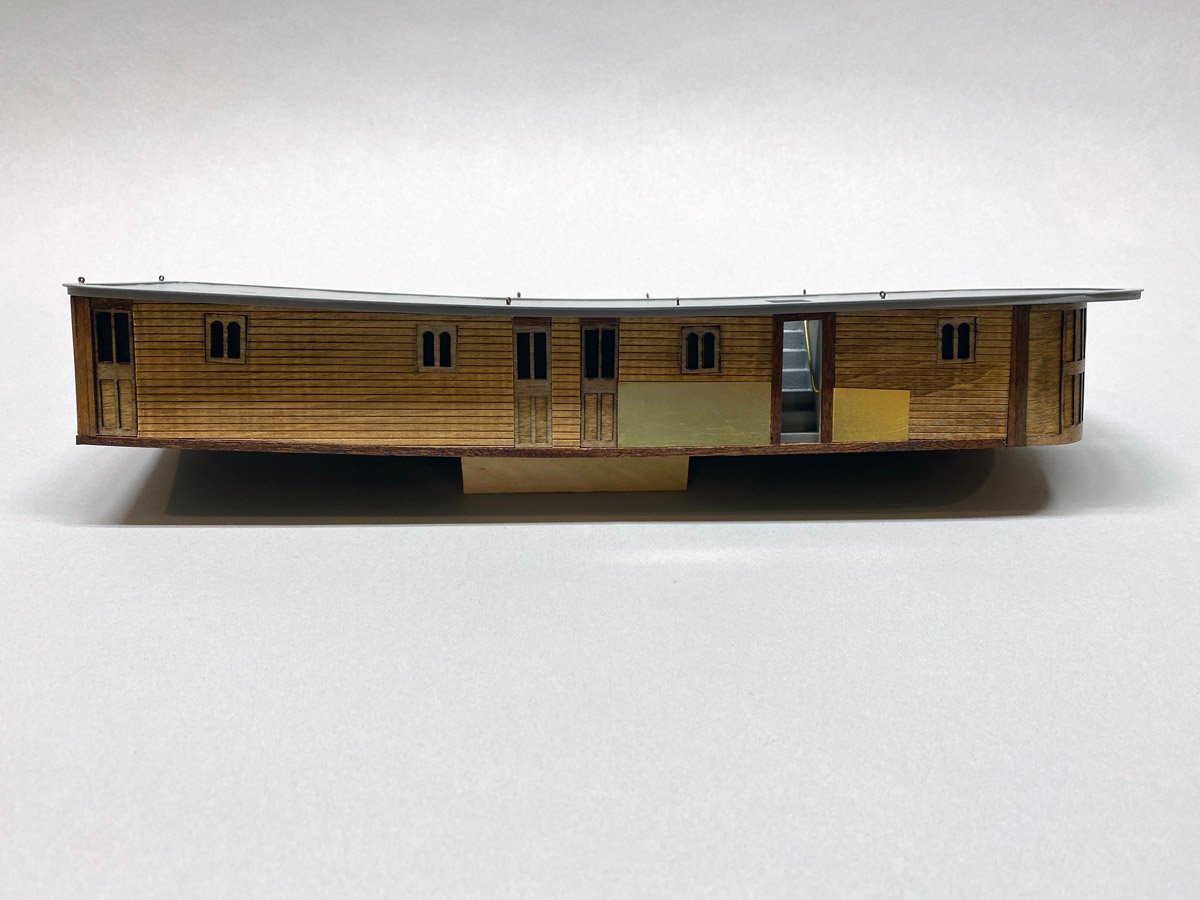
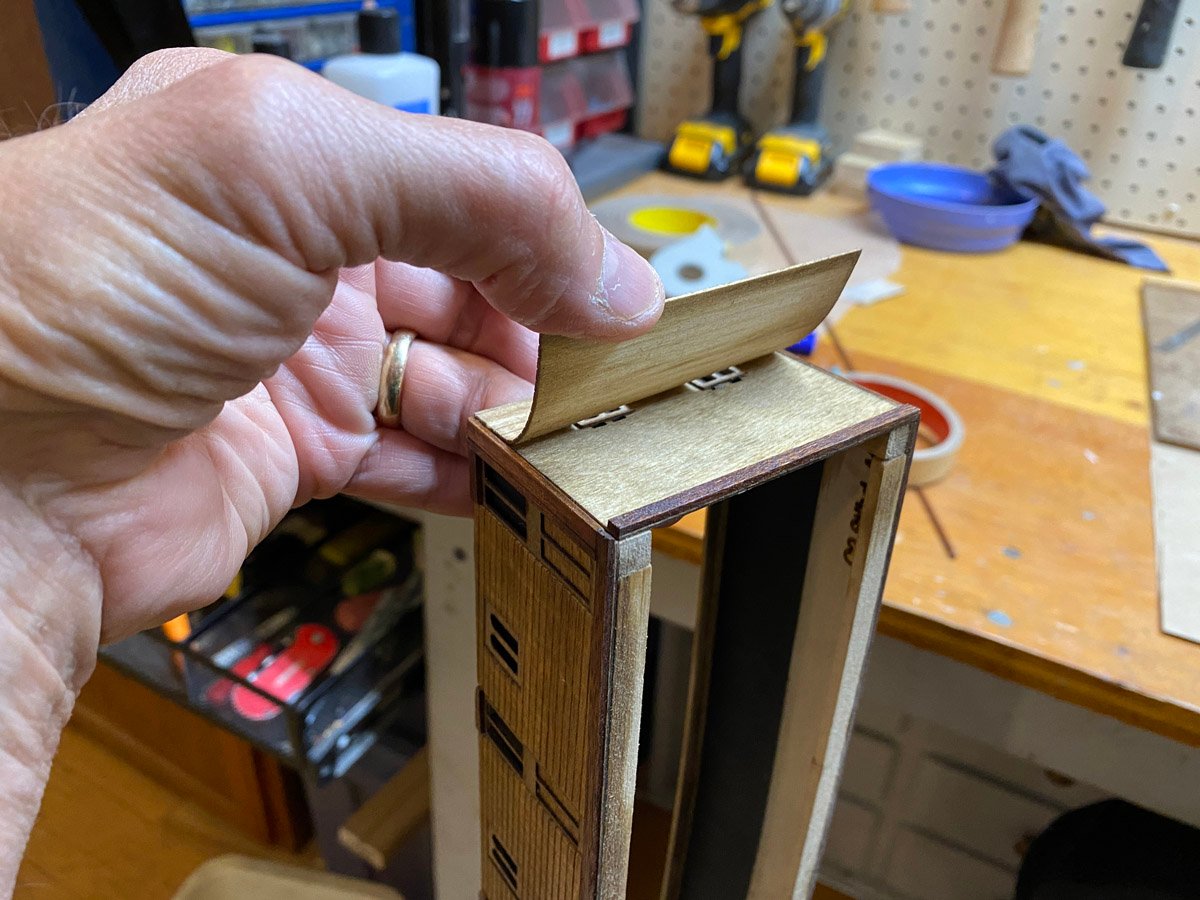
Cabin Complete I started laminating the plywood panels together using 3M Super 77 spray adhesive. It seemed like the perfect way to spread glue on all the laser cut doors and windows, but it didn't work. Pieces like this simply fell apart when I handled them, leaving a sticky mess on the parts. Luckily I only did a few parts before I realized the problem. After cleanup I re-glued everything with Titebond. I put a one-star review on the 3M web site, and they responded with a number to call. After a half hour on hold I talked to a customer service rep who said "Sorry it didn't work for you." Very disappointing. The cabin is very attractive with two types stained wood and brass panels for protection near the coal scuttles. There is nothing to see inside so I covered the windows with black paper. Note that the top and bottom are curved fore-to-aft to match the curvature of the deck.
-
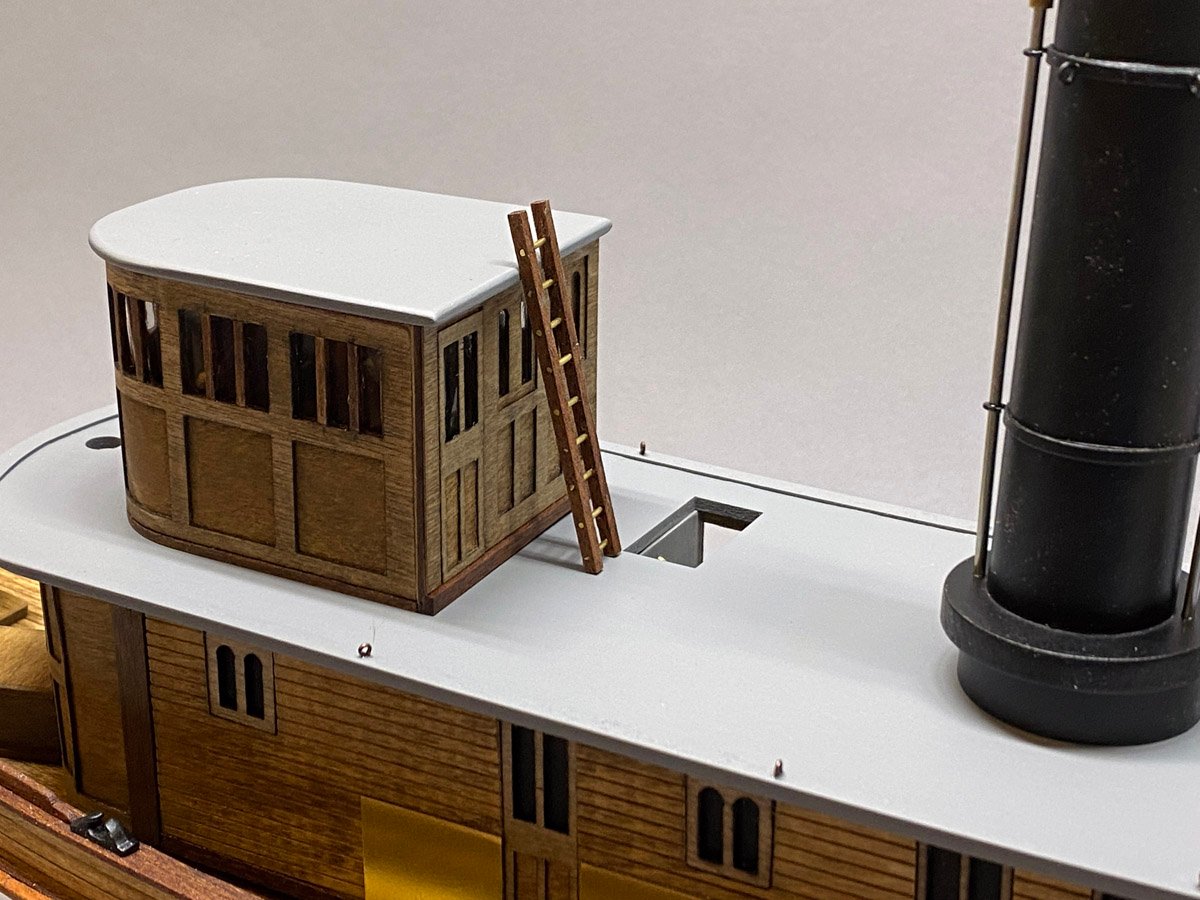
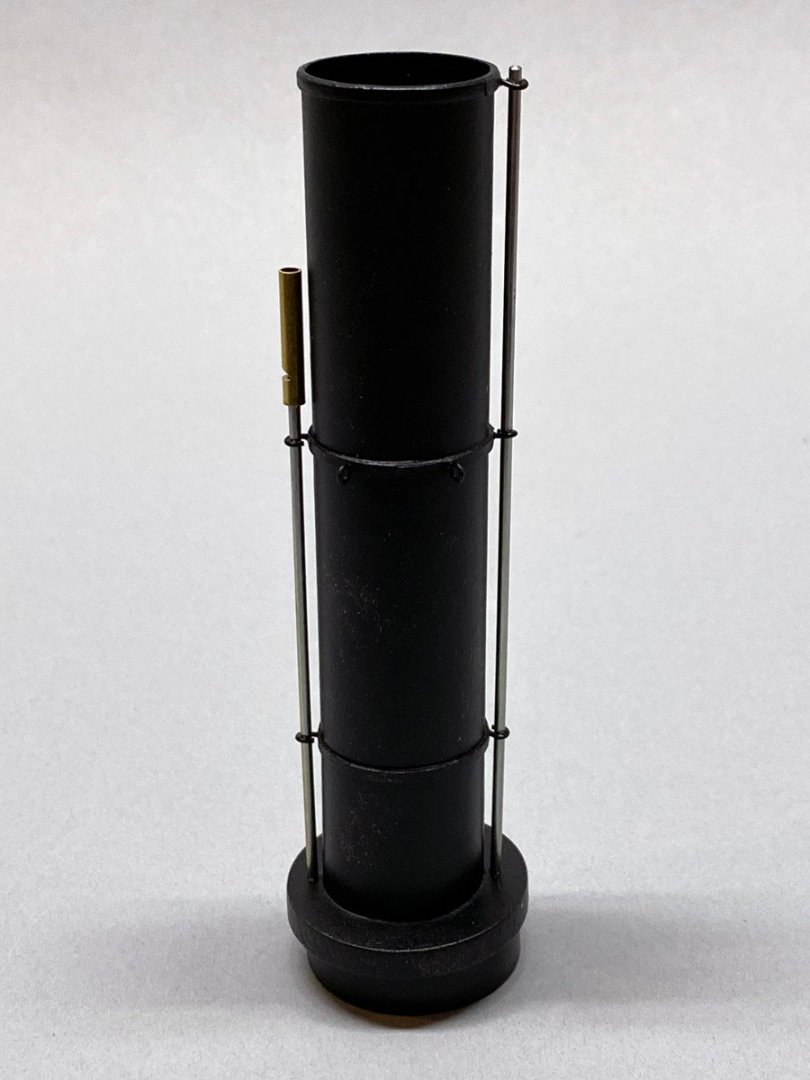
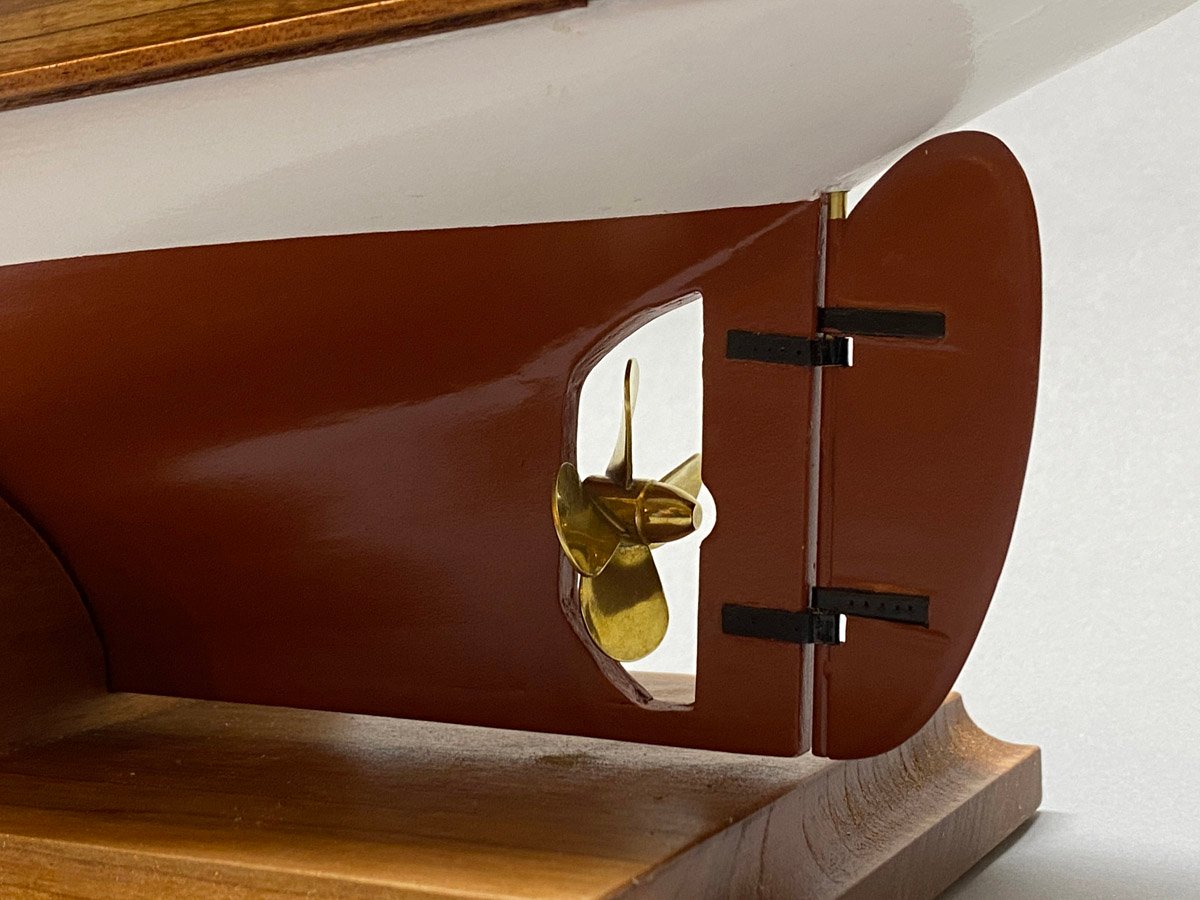
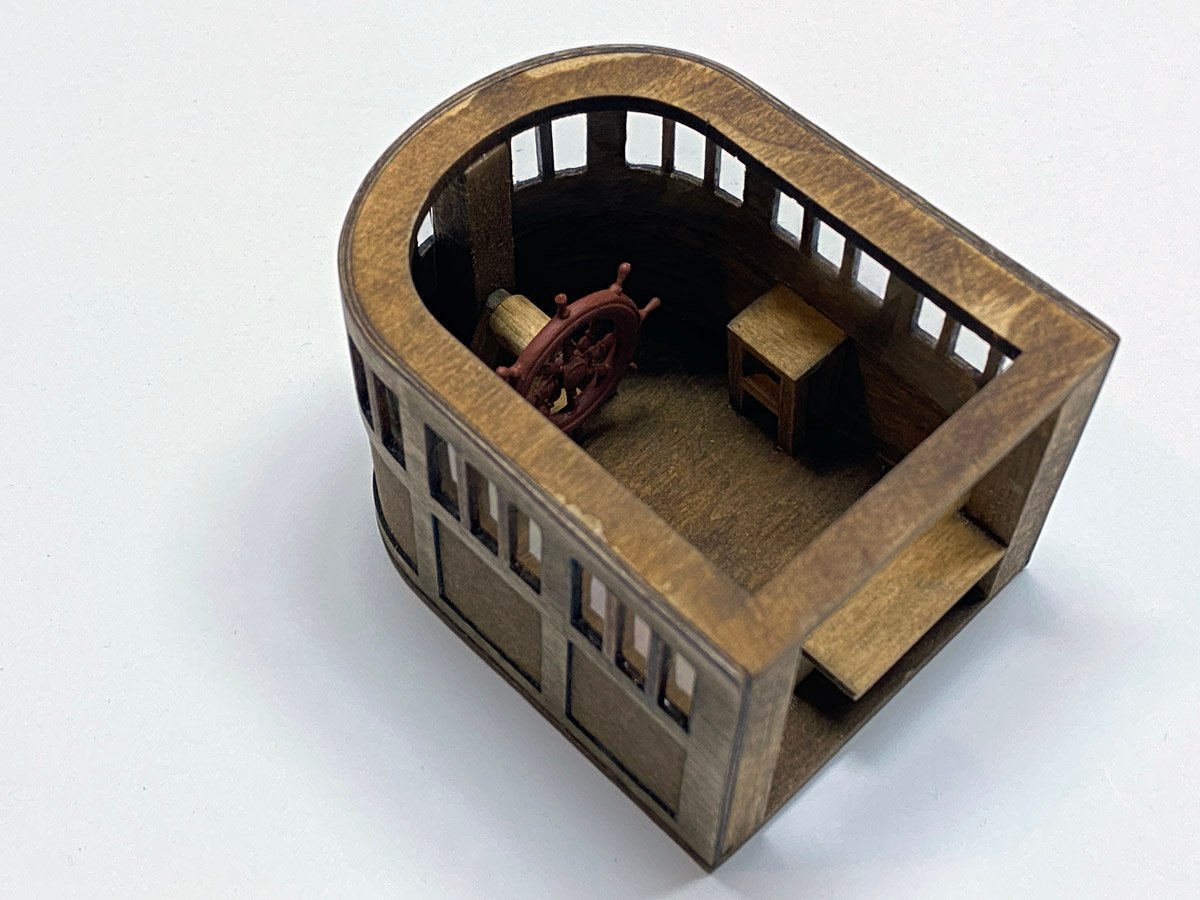
Pilot House Complete The pilot house and cabin are made from two layers of laser cut plywood laminated over a form. The inner layer is structural and the outer layer is decorative. On the pilot house the layers did not align well in the widows - the uprights of one layer obscured the other but I did not get a photo. I tried unsuccessfully to remove the inner layer, but gave up, cut out all the uprights, and replaced them with 1/16" square mahogany. Grate Improvements There was a joint between two deck segments that did not line up with the edge of the grate. Nic said I will put a coil of rope back there eventually, but I covered the joint with a strip of mahogany. Here's the Raboesch prop installed. I should open a Crate and Barrel Store. (Note to readers, Crate & Barrel is a home furnishings store throughout the US.) The stack is made from two segments of model rocket body tube and some random parts.
-
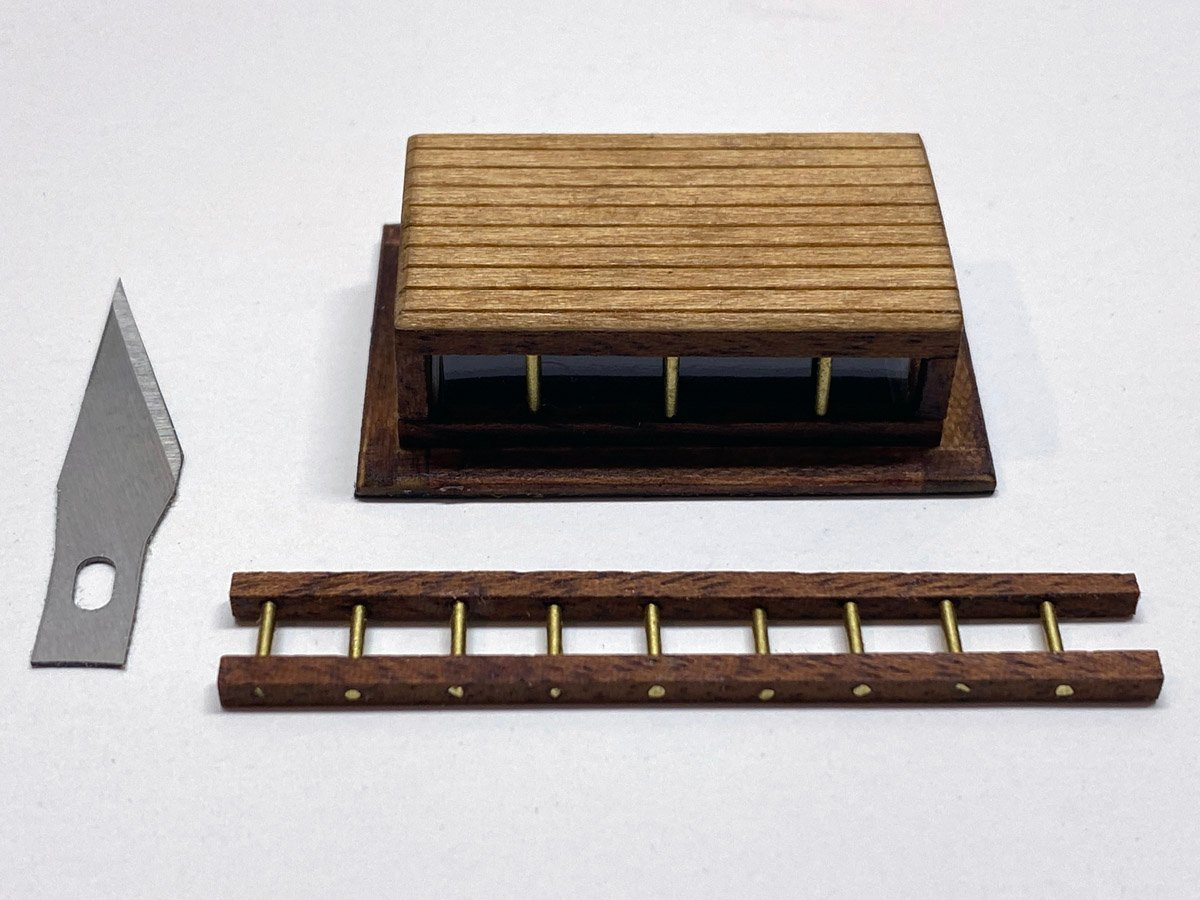
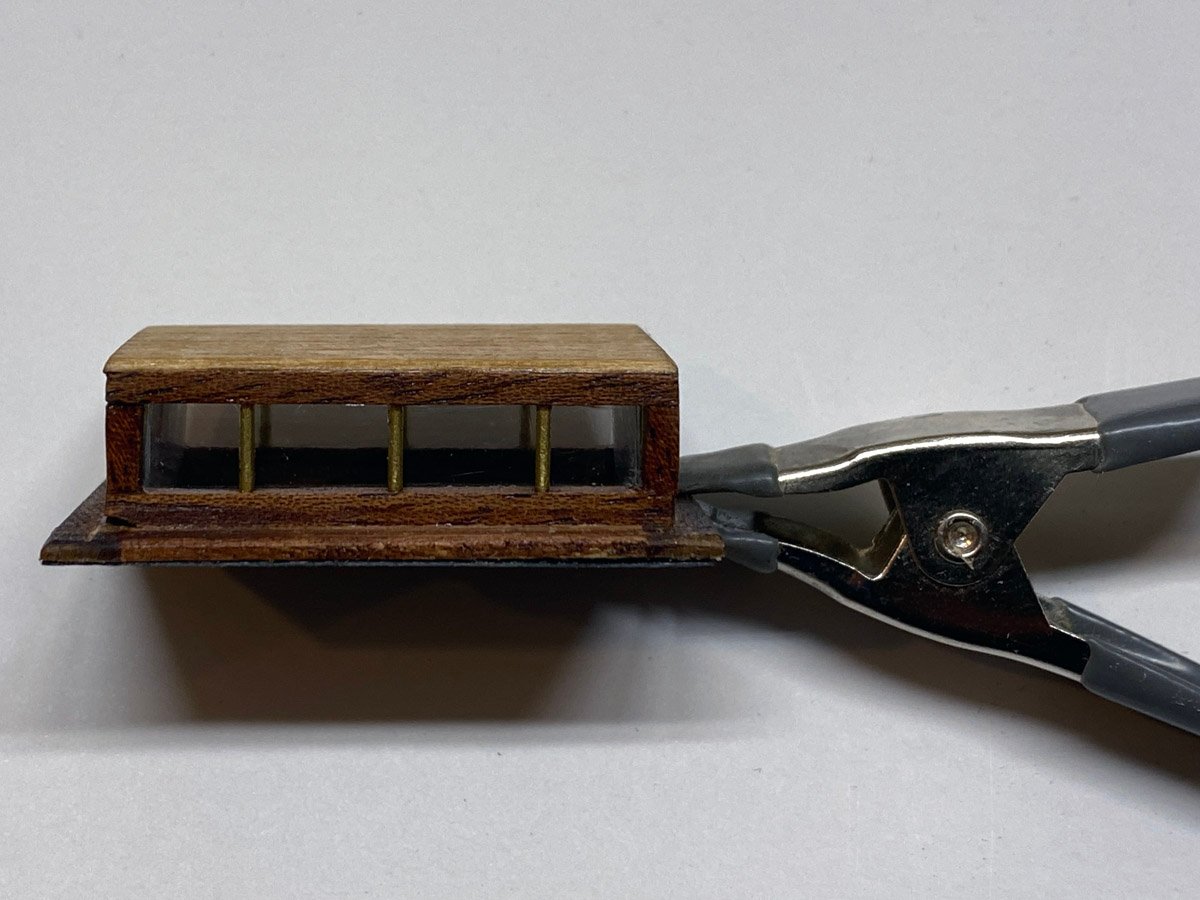
Pilot House & Skylight The pilot house has clear plastic windows with a few pieces of furniture inside. Here it is ready to button up. The skylight and ladder were fun to build. You cant go wrong with mahogany and brass. I put clear windows in the skylight too, but black paper on the bottom since there's nothing to see inside.
-
It must be painful to hide all that beautiful work under the deck. At least you have the photos to prove that it's there.
-
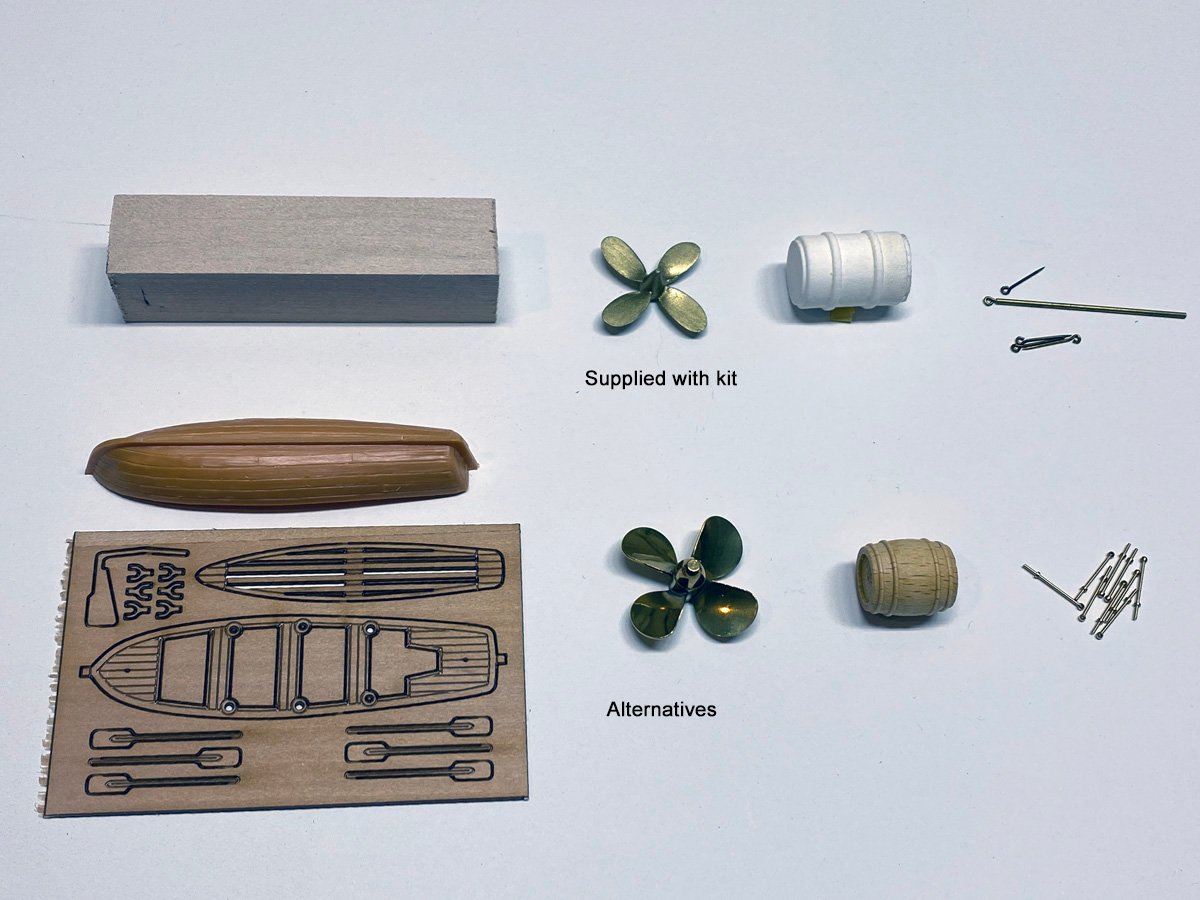
The plans show a lifeboat with a canvas cover, which could realistically be carved from a block of wood. I just wanted more detail. In fact I almost always replace a few parts in any model - we probably all do. I just happened to get everything at once in the mail and wanted to show what I was doing.
-
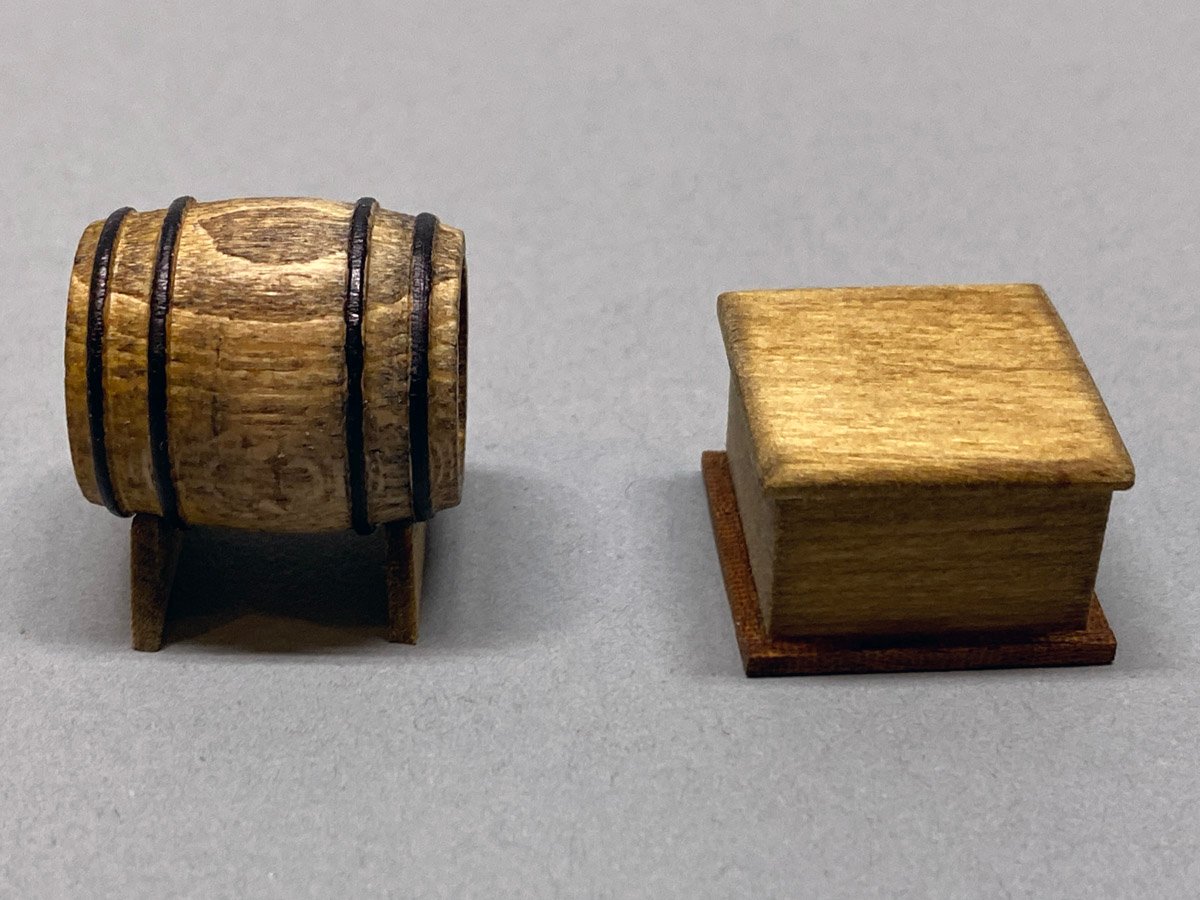
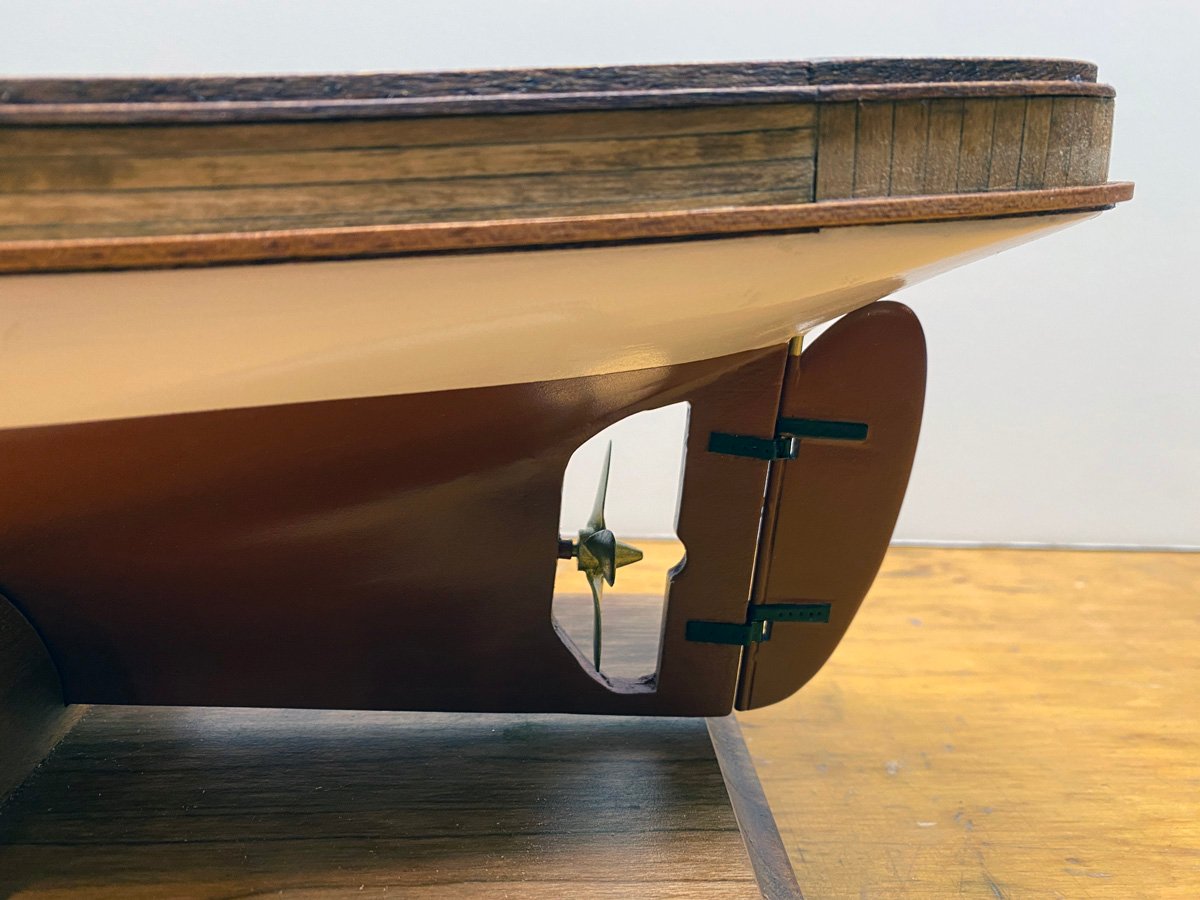
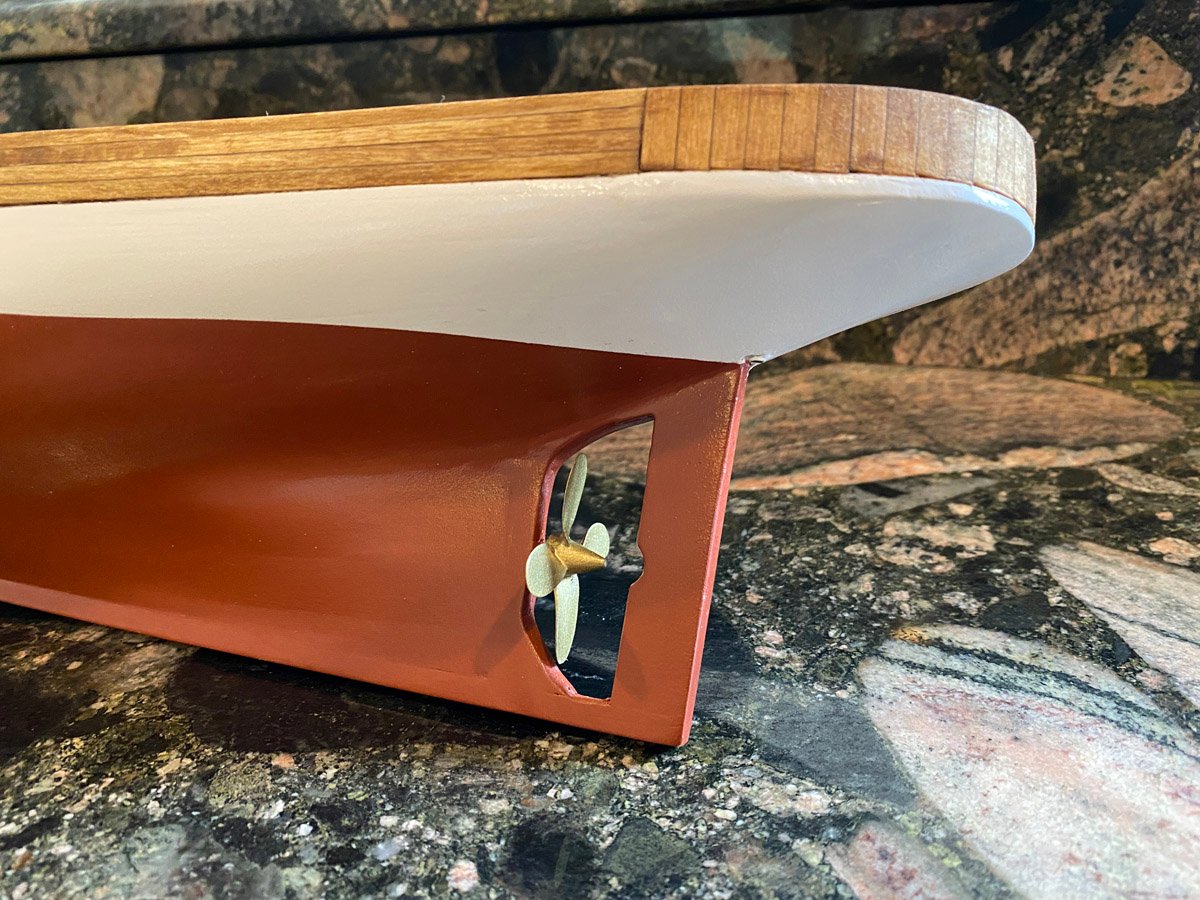
Alternative Parts Some of the parts supplied with the kit were not as nice as I'd like, so I bought alternatives from other vendors. Lifeboat Kit: Block of wood Alt: Lifeboat kit by Mantua with a plastic hull and wooden inserts Prop Kit: White metal prop painted with brass paint Alt: Real brass prop by Raboesch. Shape is not quite accurate but it looks good. Barrel Kit: White plastic barrel that's shaped more like a 55 gal. drum Alt: Traditional wooden barrel Stanchions Kit: Brass tube and bent pins Alt: Turned brass stanchions by Krick
-
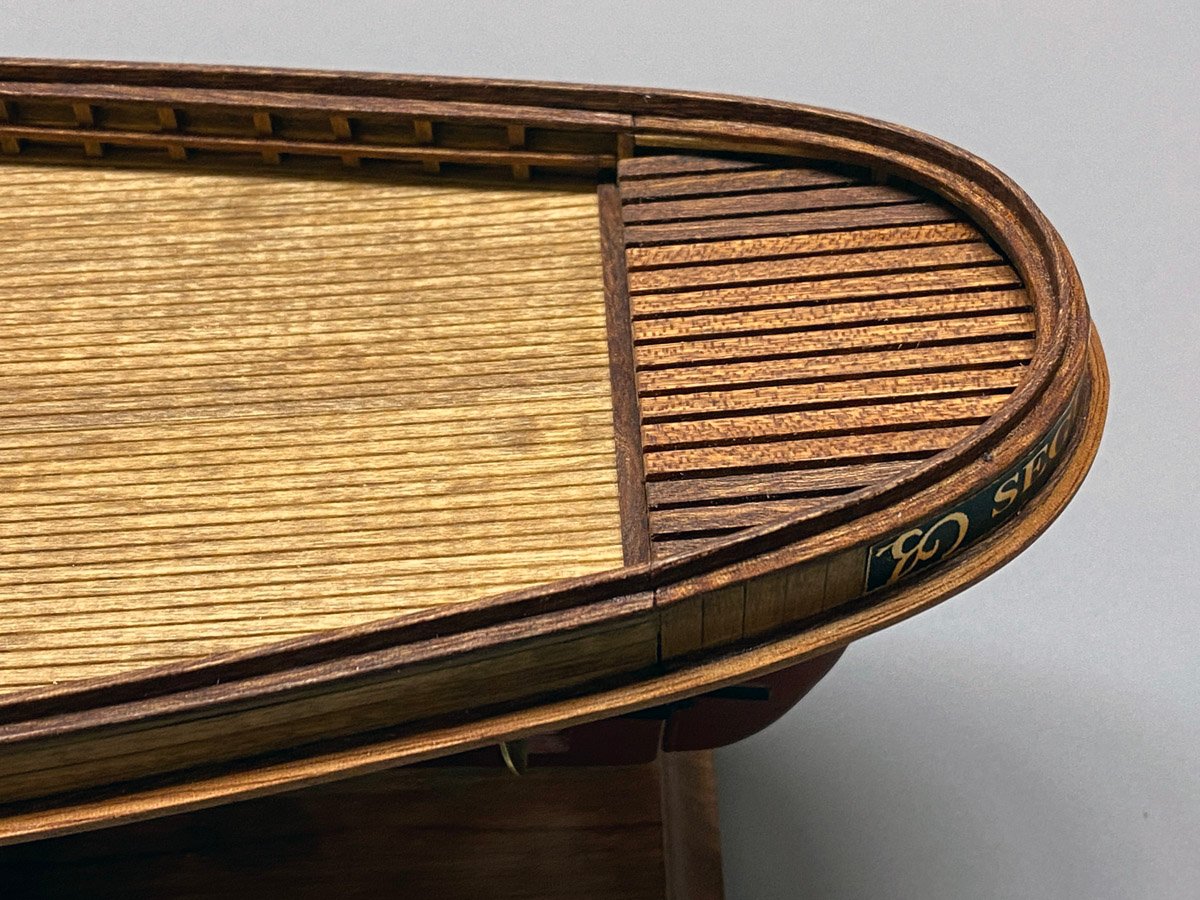
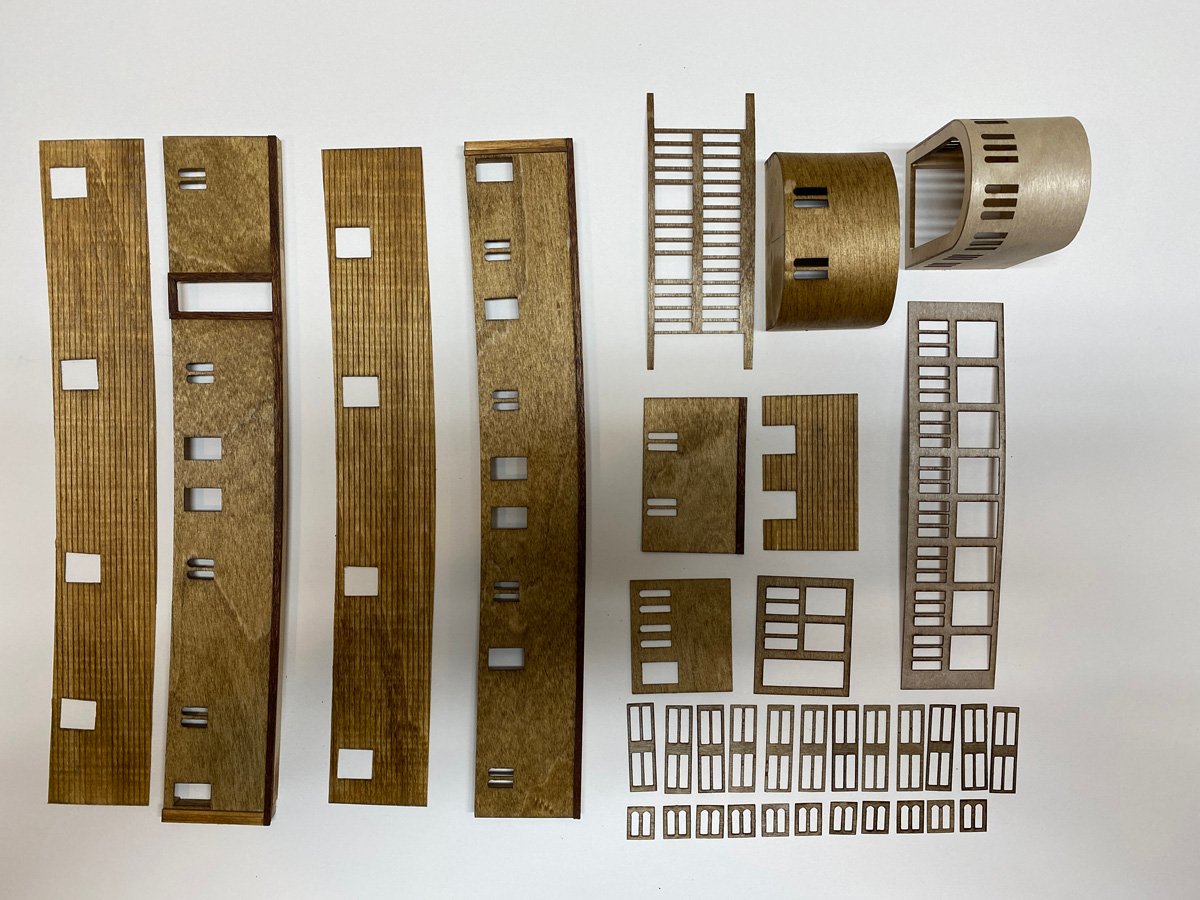
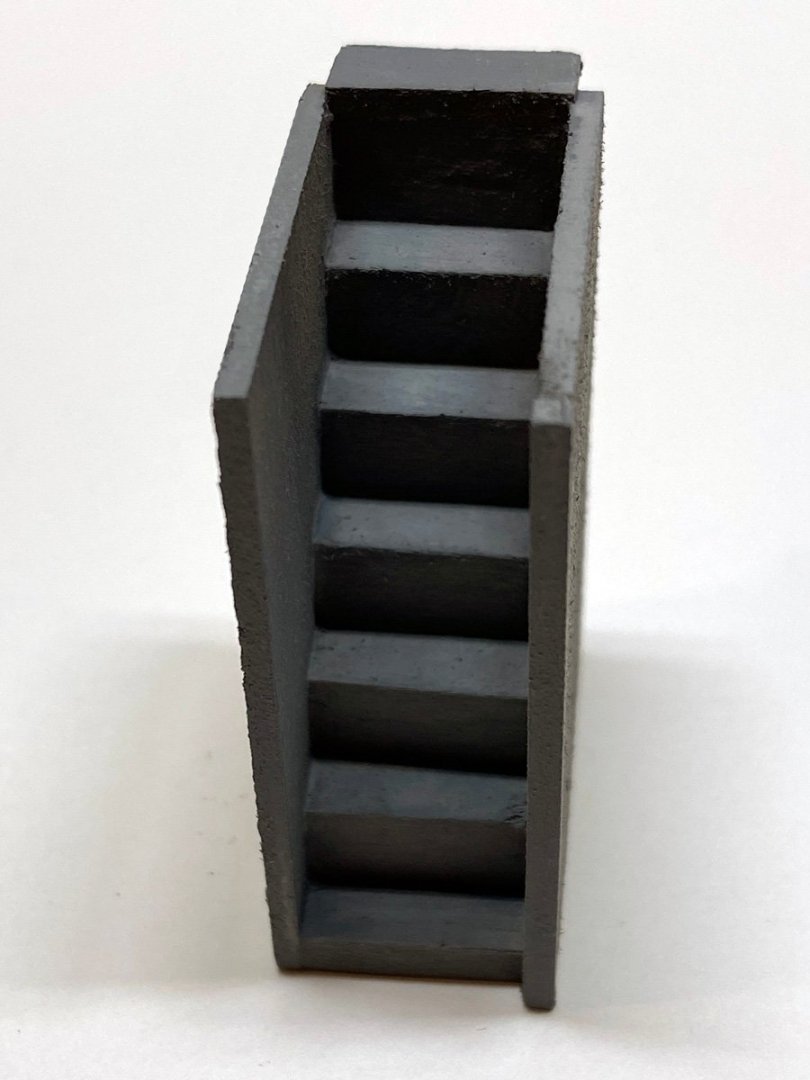
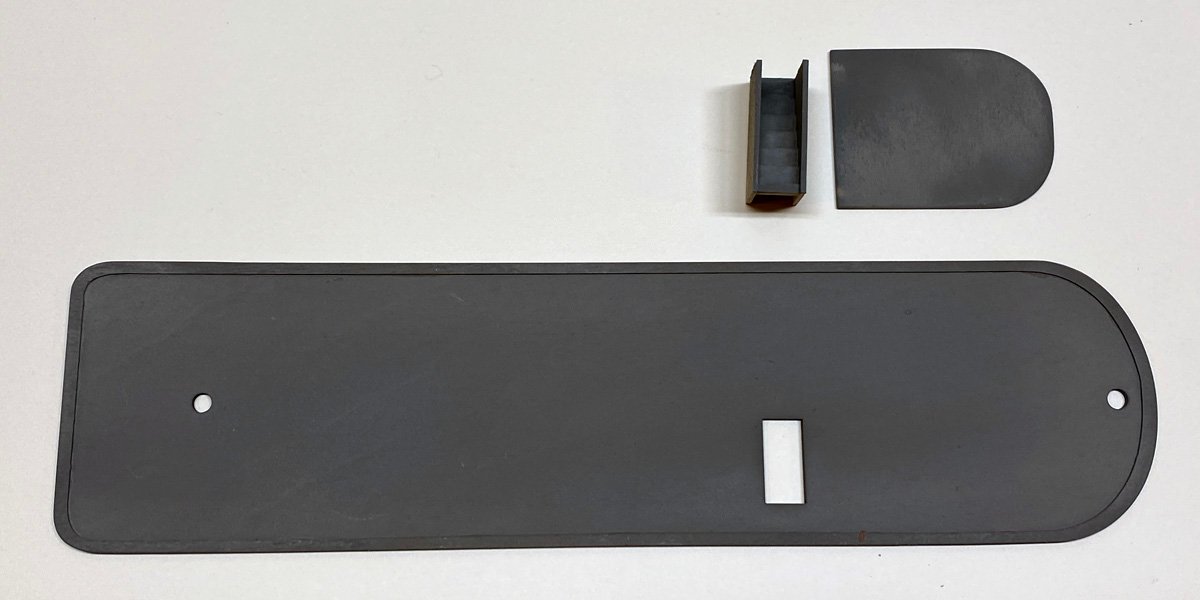
Cabin & Pilot House The cabin and pilot house are made from 0.96 mm laser-cut ply skinned with 0.86 mm scored basswood decking. The doors and windows are laser-cut 0.5 mm ply with a lot of char to sand off. That always leaves a charcoal mess. The cabin and pilot house fronts are framed with basswood, with the ply bent around wet and glued with CA. Easier than I expected. Last night I thought I stained everything, so of course today I found the pilot house on my other bench unstained. The roofs will be painted light gray. Here they just have a coat of primer and need to be sanded. The instructions say that the companionway (stairs) is optional, but the roof already has a hole cut for one. So you are going to make a companionway. There is no corresponding door cut on the starboard side, so I had to assemble the entire cabin with masking tape to see where the door should go. You can see it framed in on the left of the photo above. There is a rough sketch of the stairs in the plans but no dimensions or parts. Here's what I came up with. Those are mighty steep steps. Again this just has primer and needs sanding. Maybe I'll add a brass rail after it's painted.
-
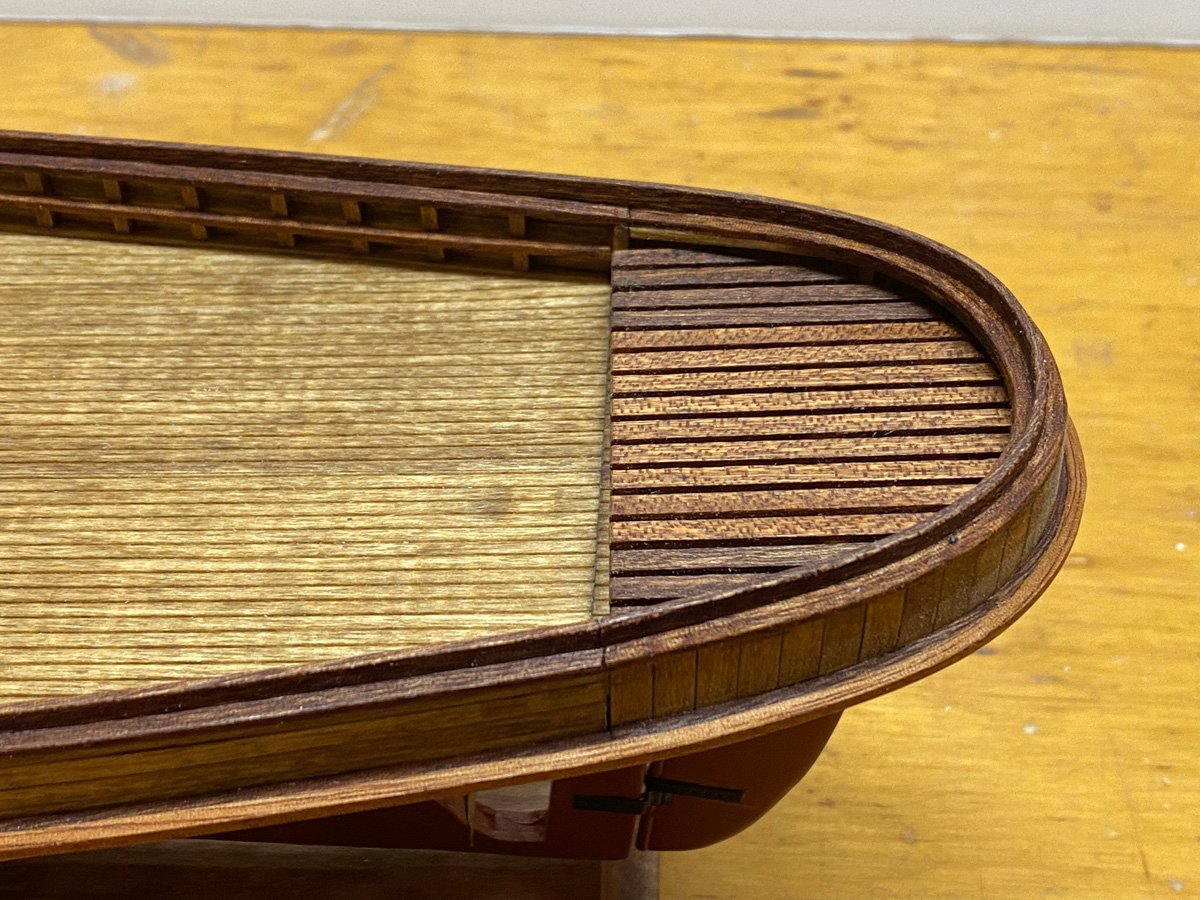
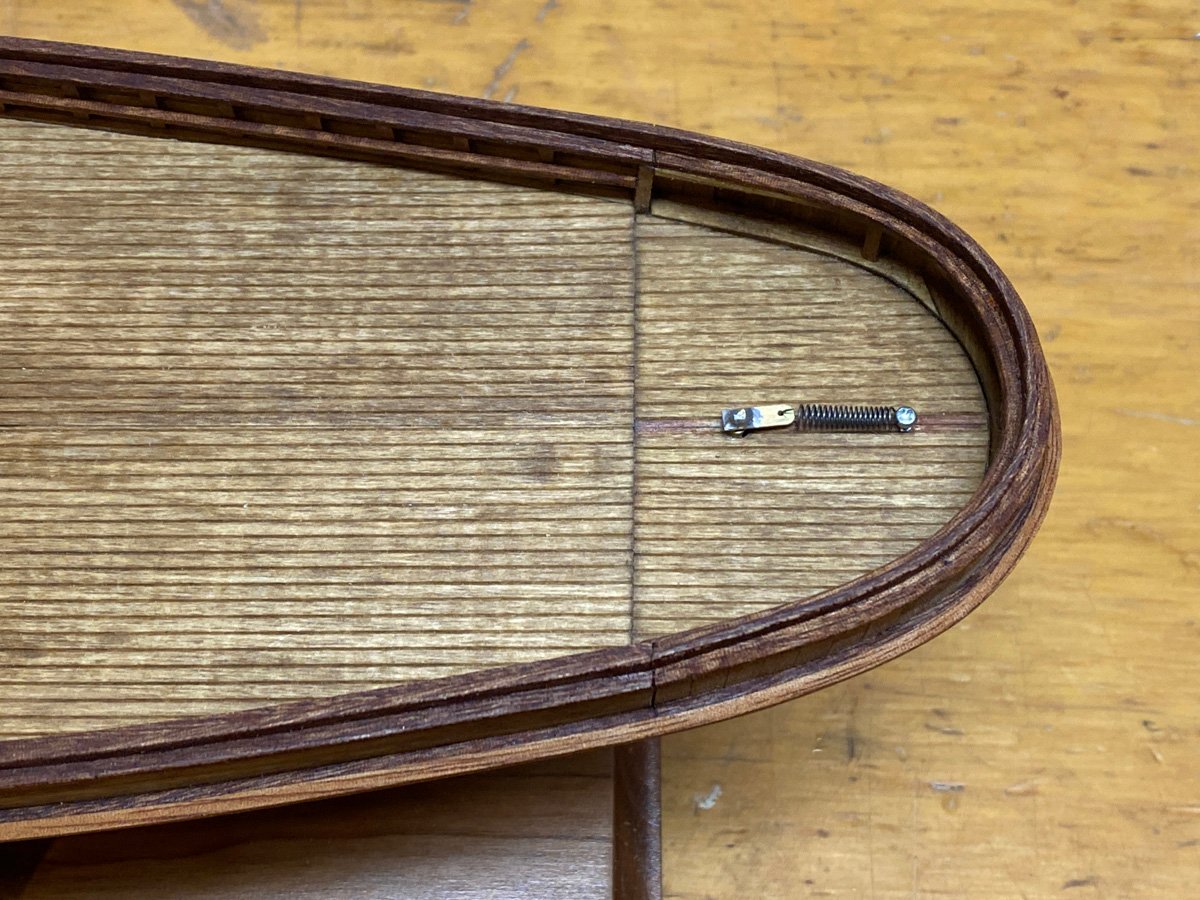
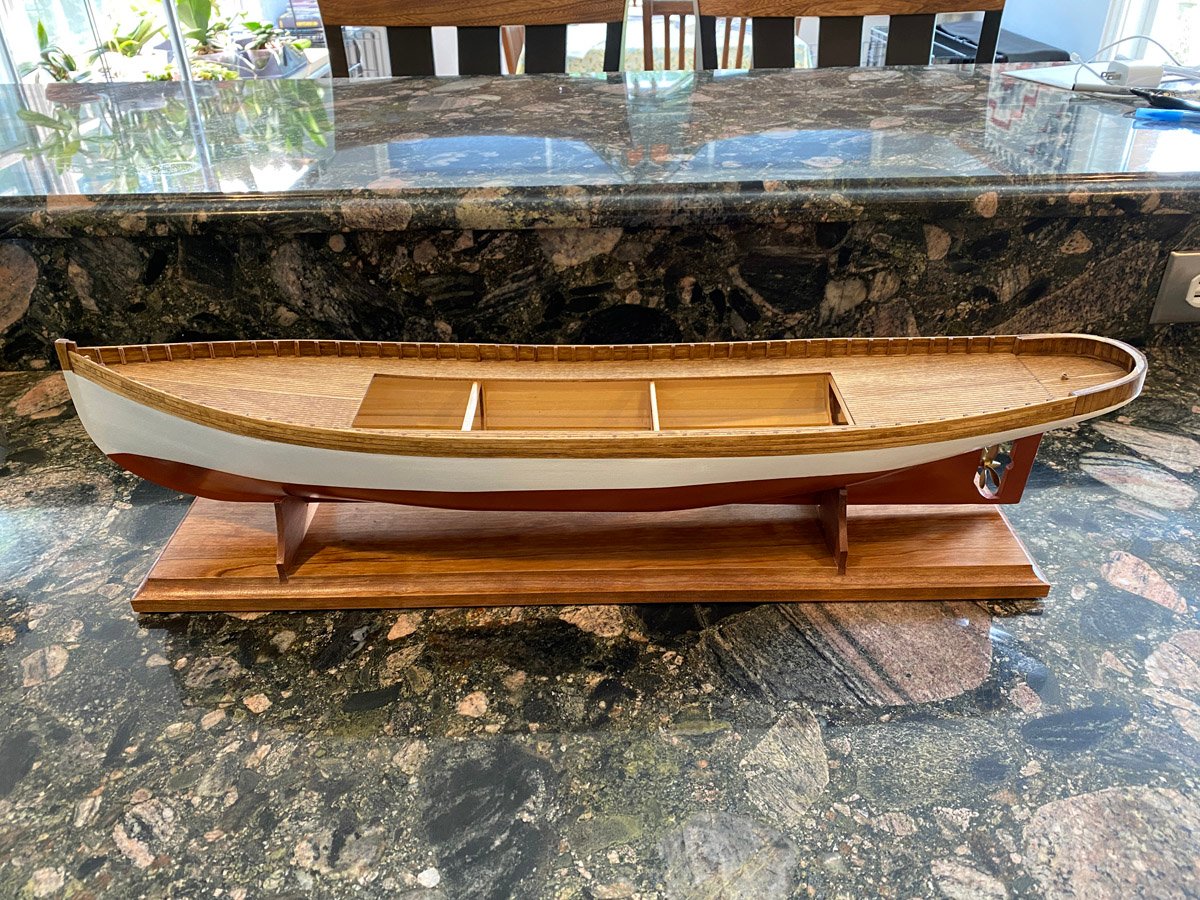
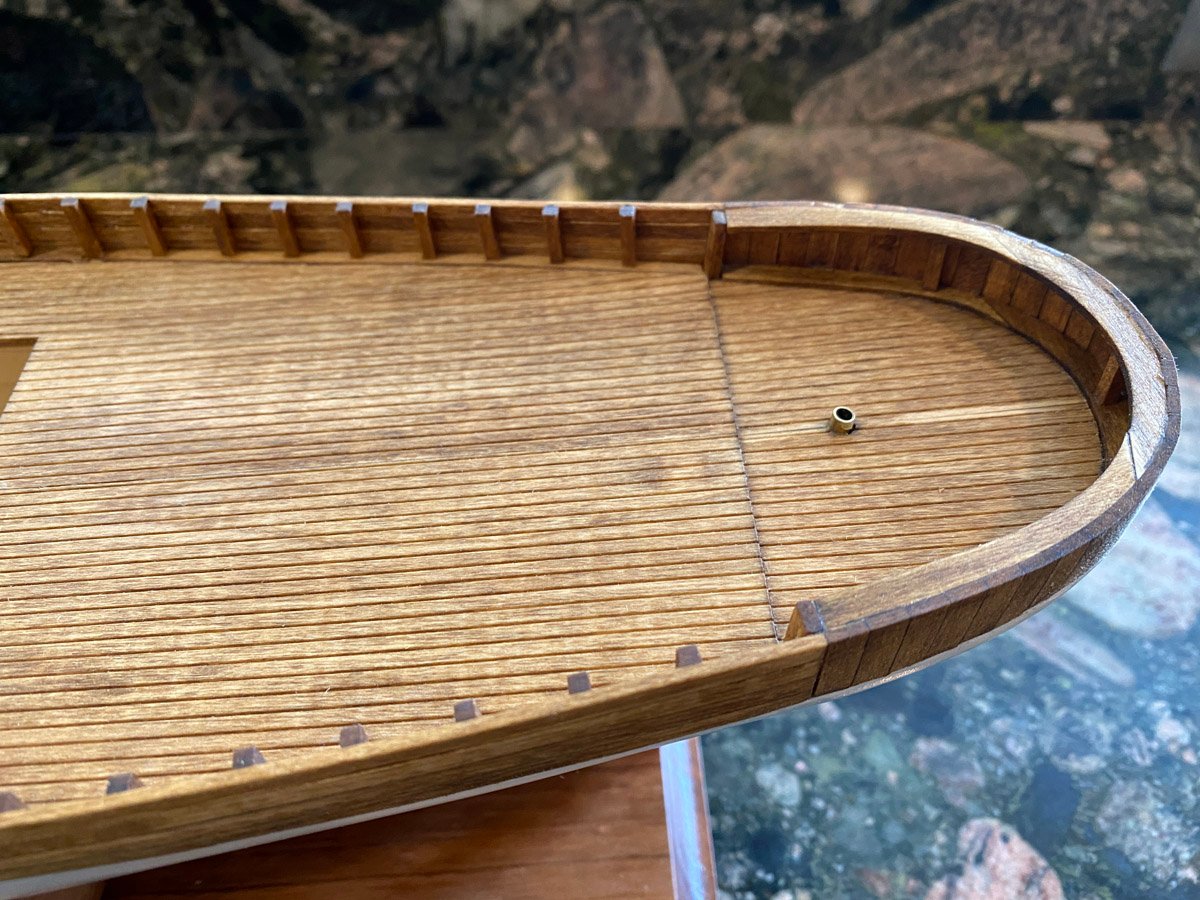
Hull Completed All the mahogany rails are attached and stained. I also attached 6 coal scuttles to the deck. The rudder is attached. I made an amateur error of gluing the hinges directly to the painted surfaces, and of course they peeled right off. I had to scrape the epoxy and paint off everything, reglue, and repaint. The white metal prop came with the kit. I painted it "brass" but I'm not happy with it, so I ordered a Raboesch prop from Cornwall Model Boats in the UK. While I was at it I ordered a lifeboat kit to replace the block of wood that came with the kit, and a wooden barrel. I added a spring to keep the rudder centered, and covered it with a great grate. I intended the grate to hide the joint in the deck but it came out misaligned. Oh well.
-
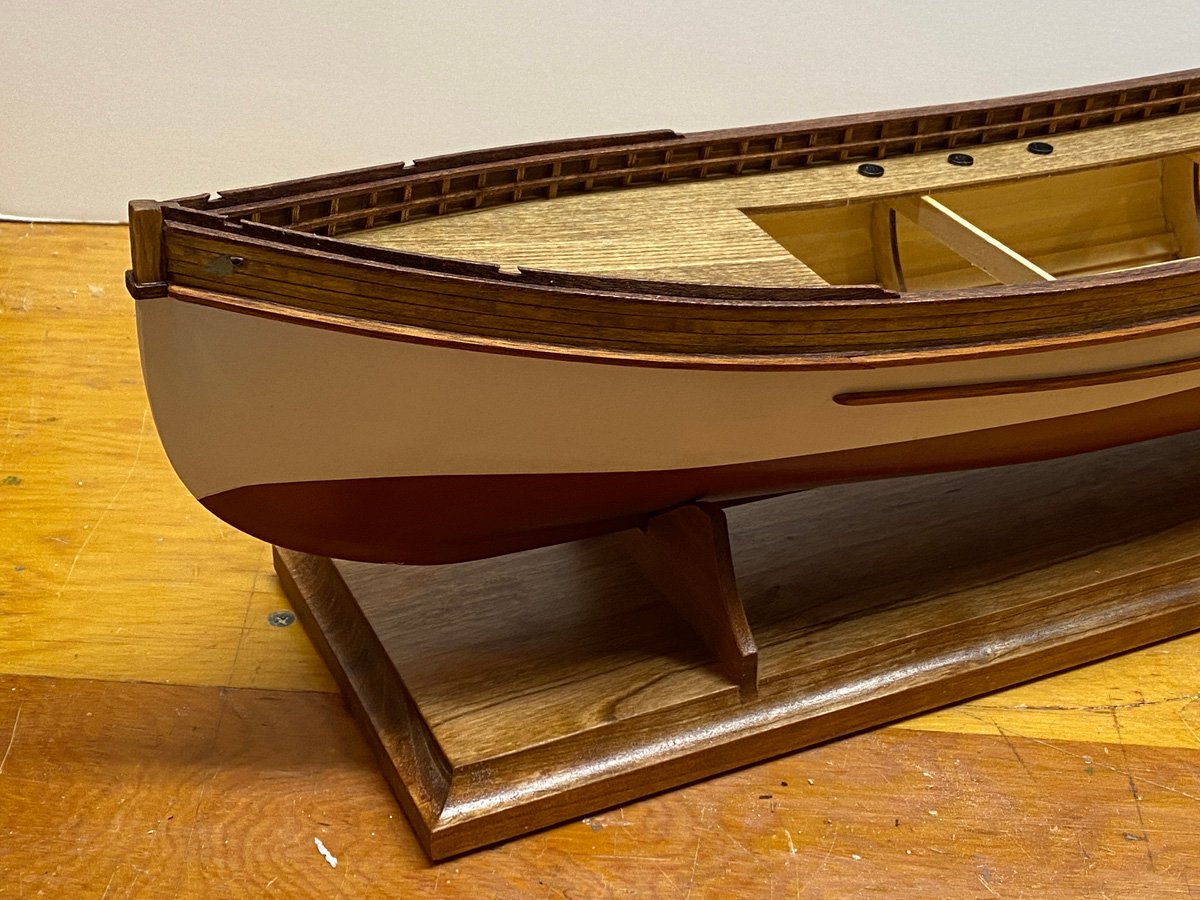
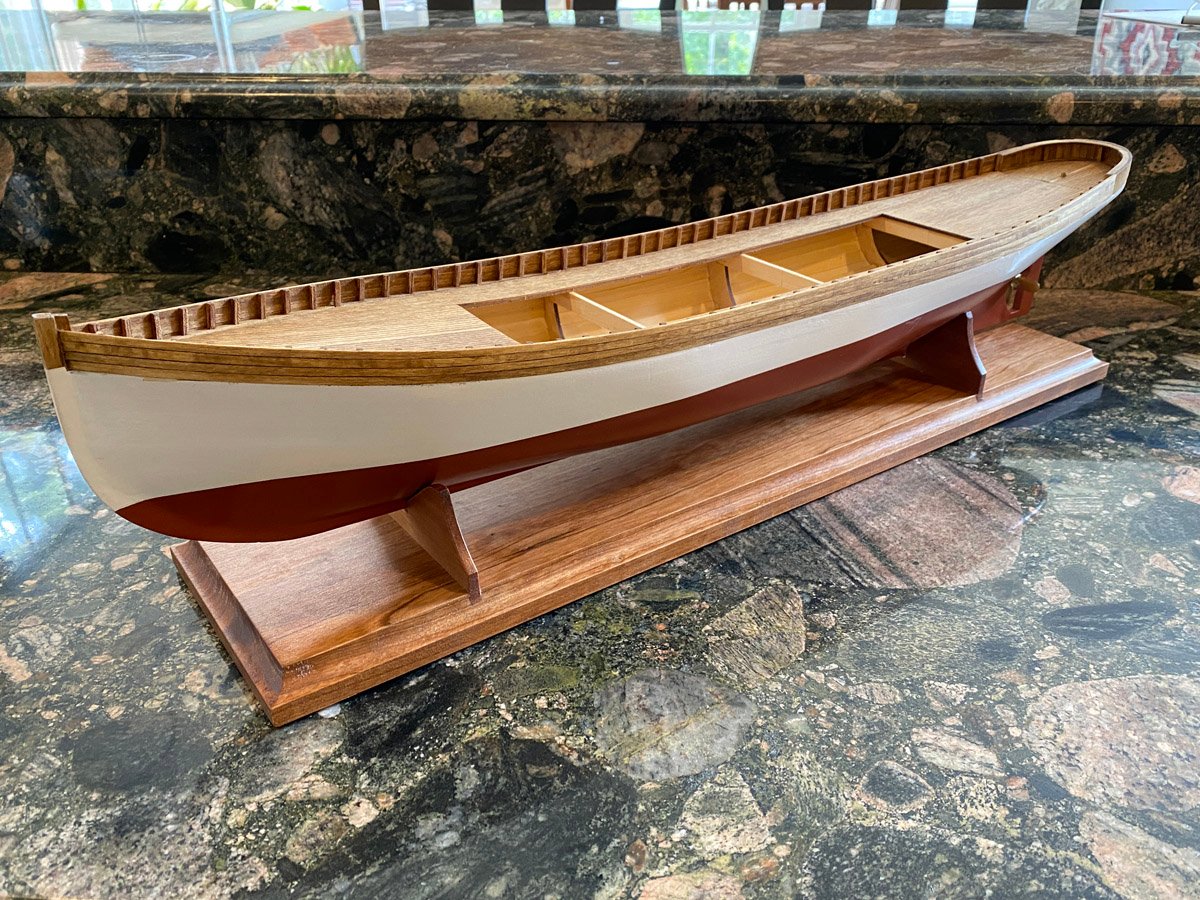
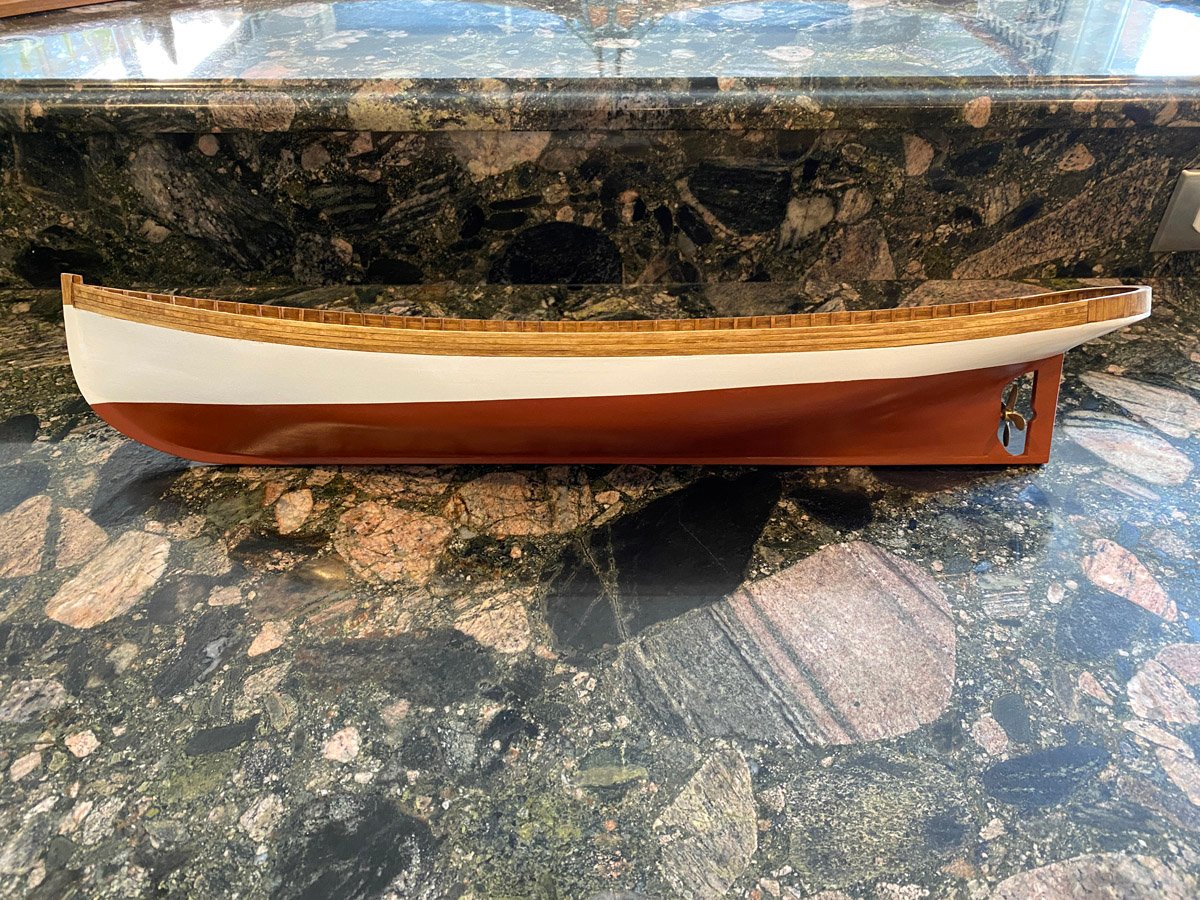
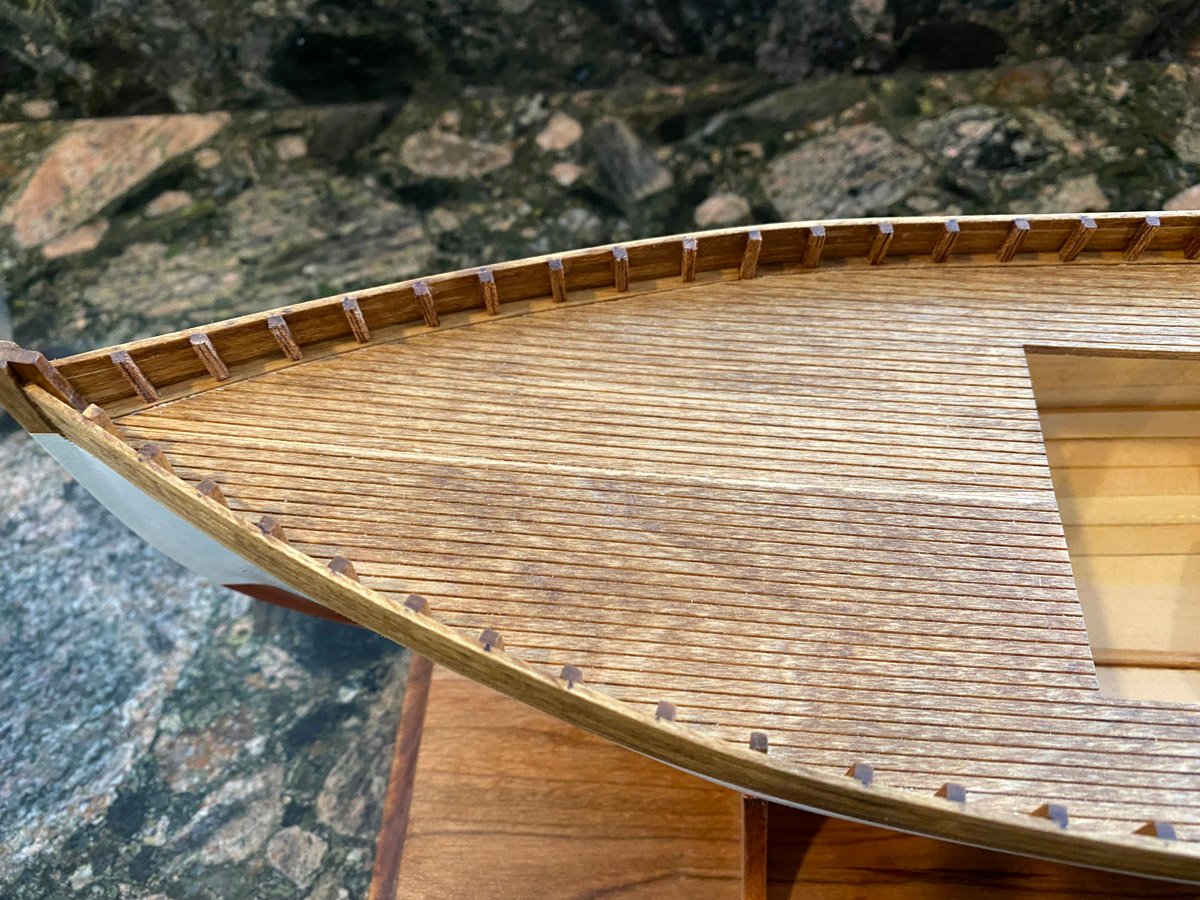
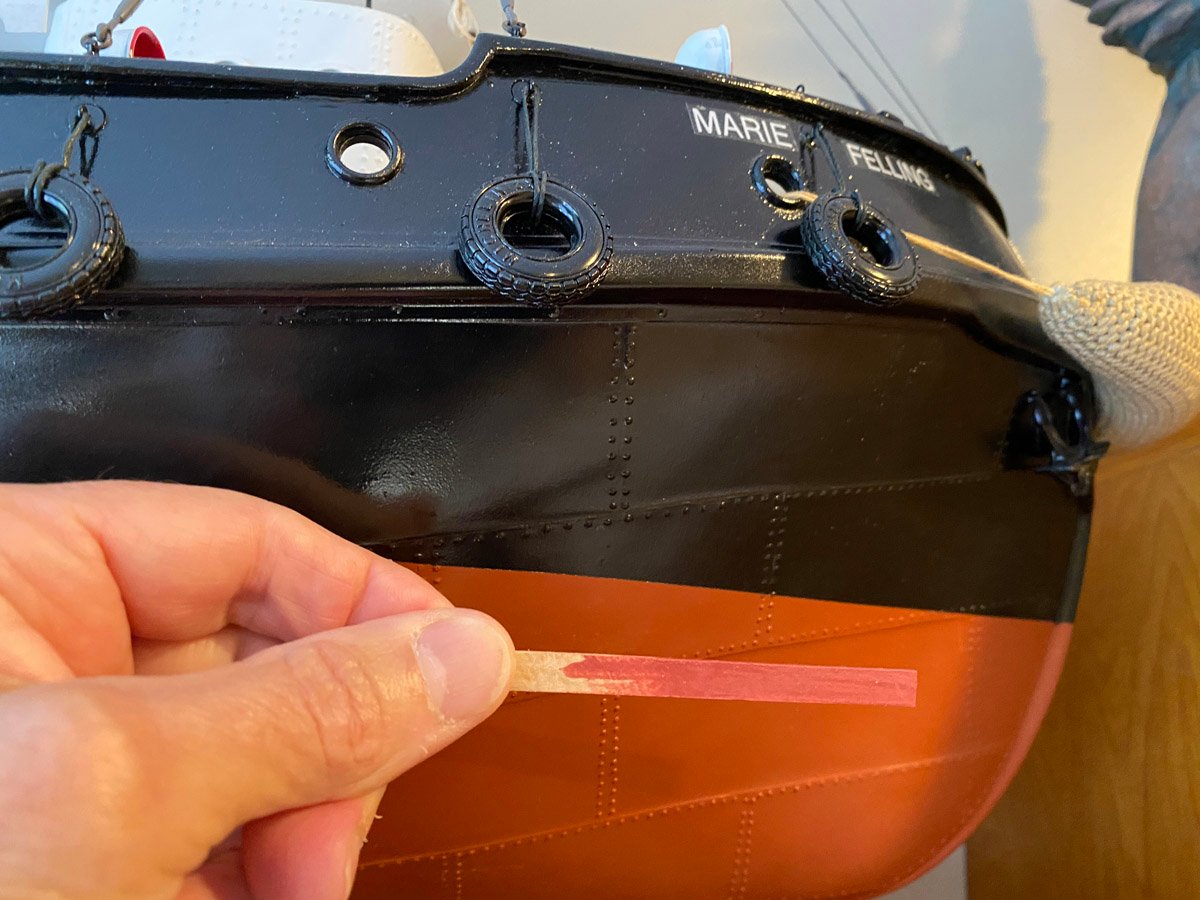
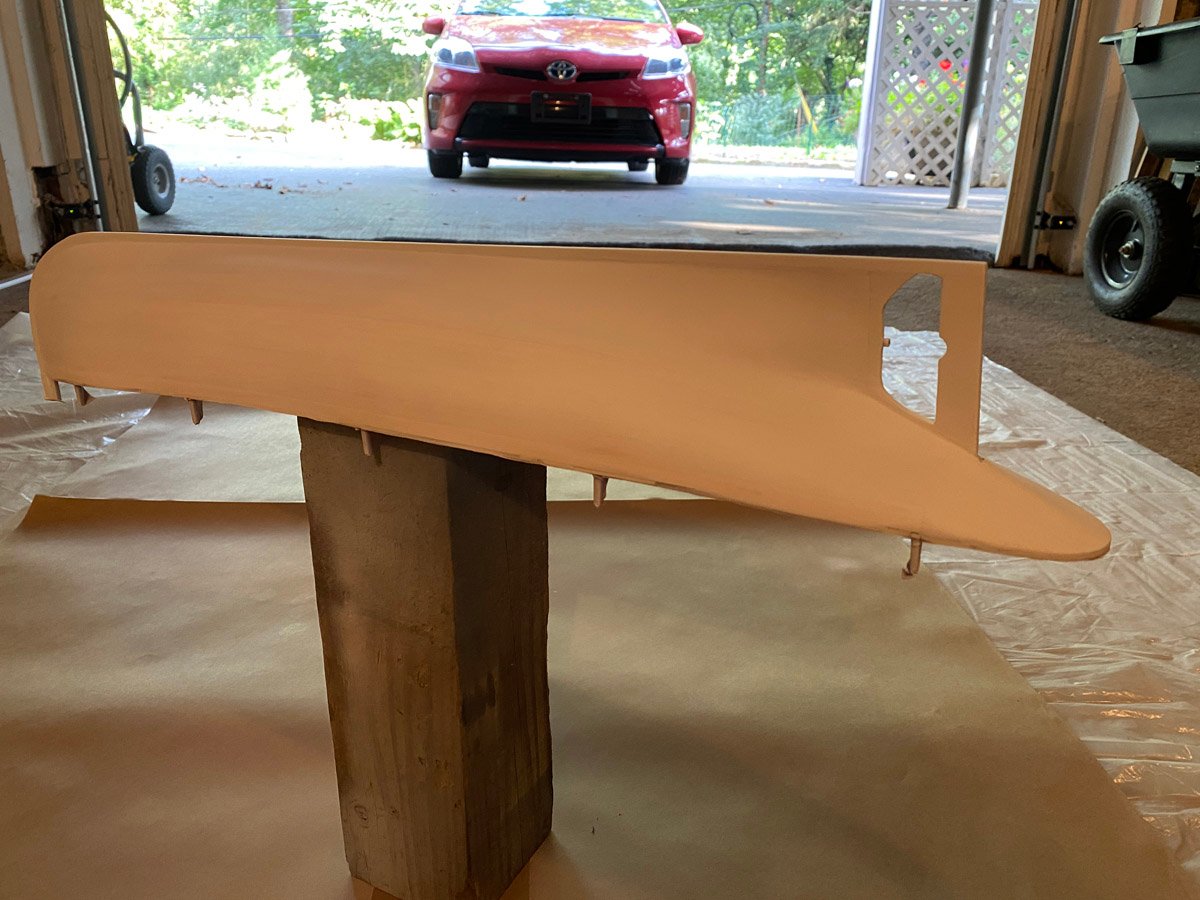
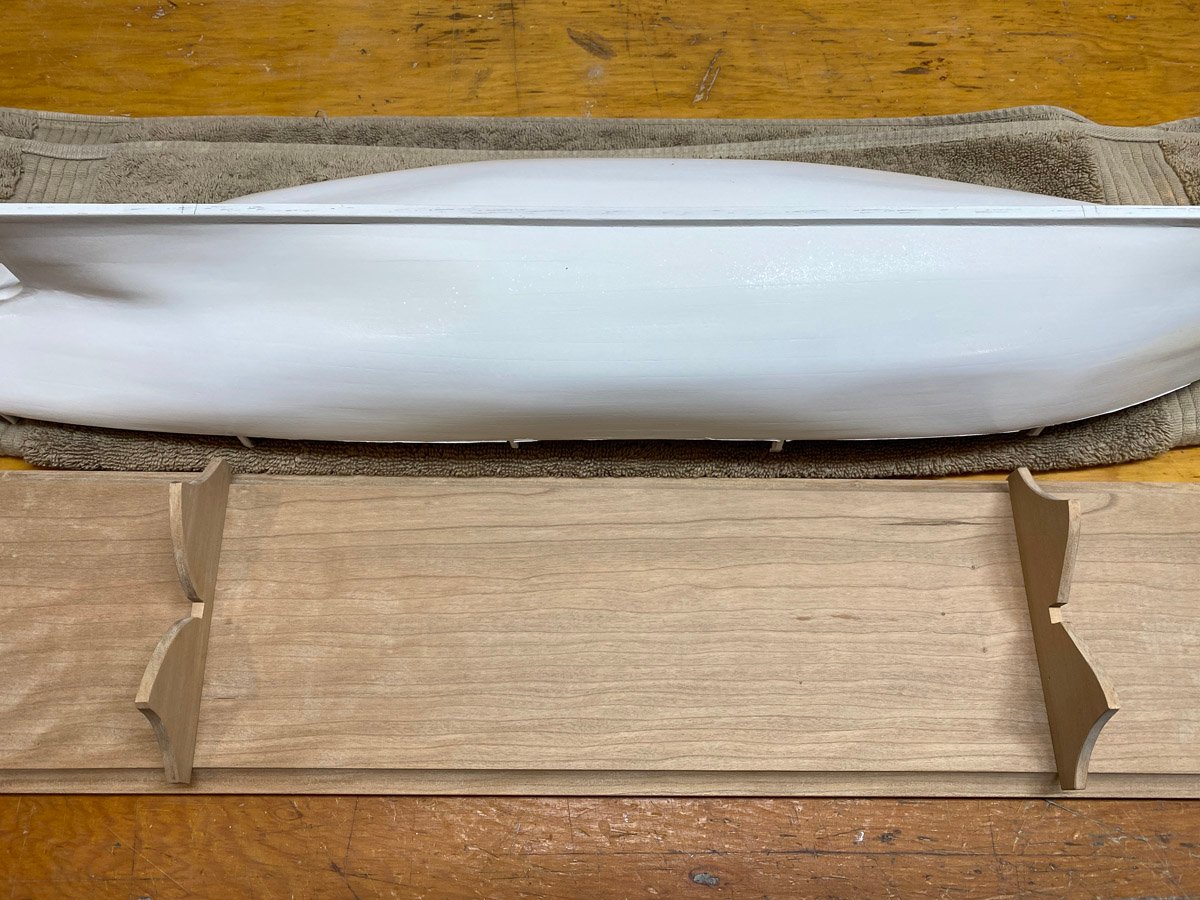
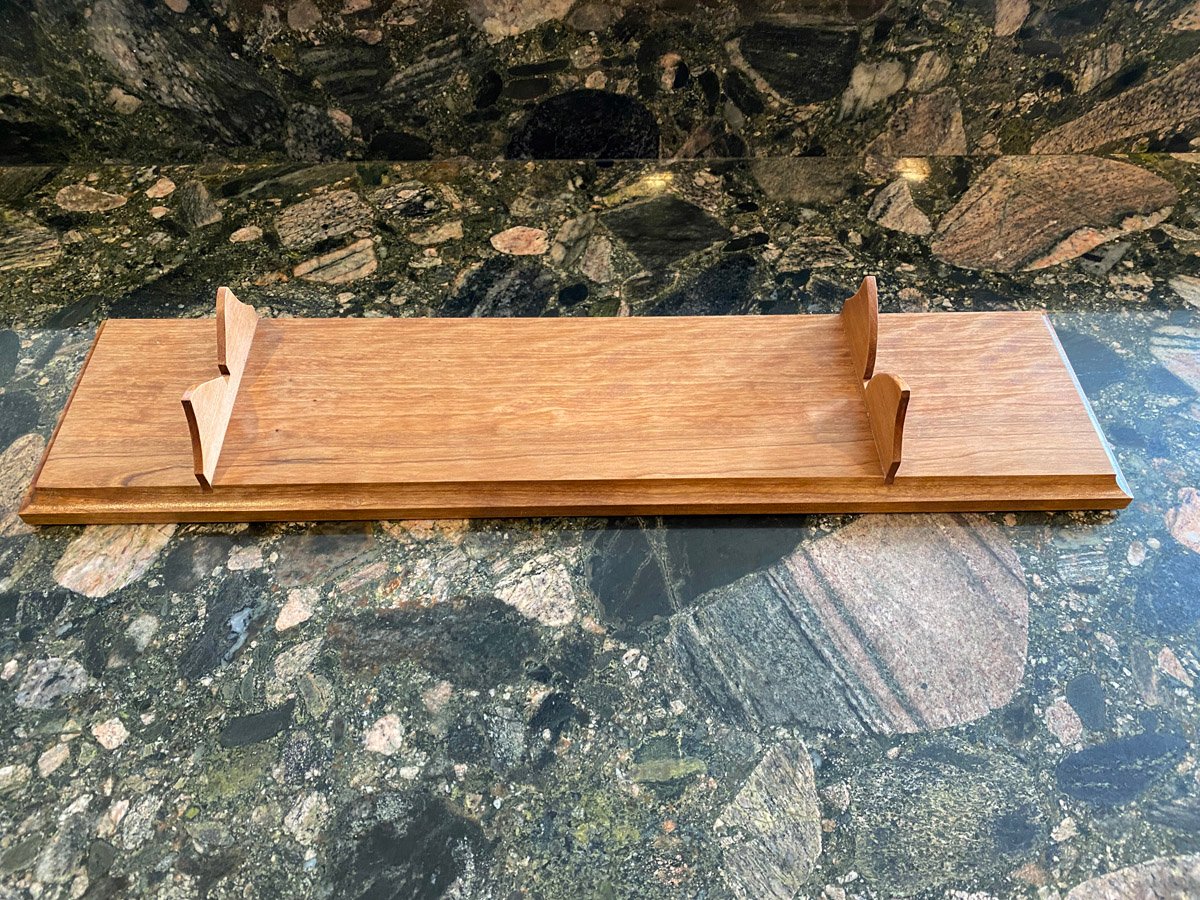
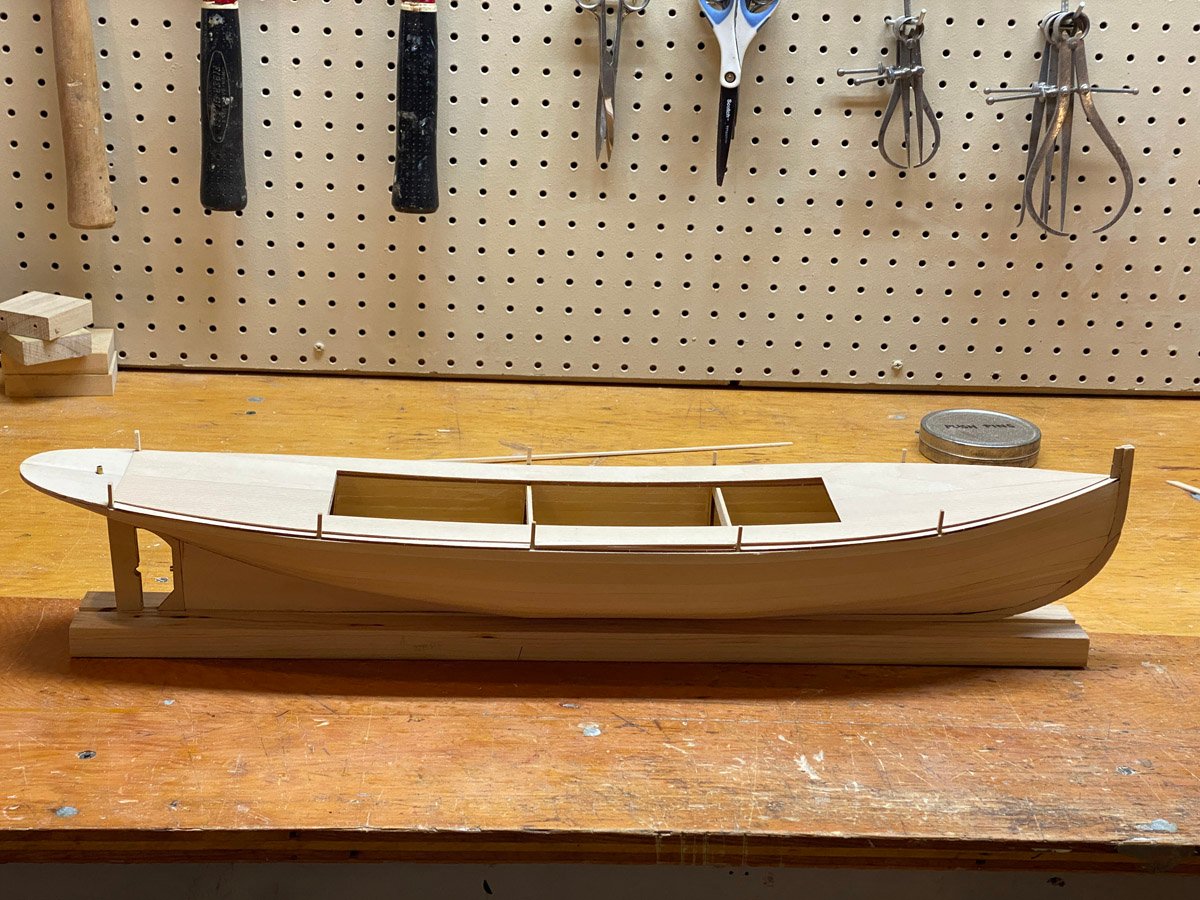
Hull Painted, Garboards Built, 65 hours, 51 days I put in about 20 hours since my last post, and the hull is looking quite nice. I opened my spray booth, AKA garage, primed the hull and painted the upper part white. My wife bought the optional cherry baseboard from Bluejacket. It was nicely made, but it was not as wide as the laser-cut cradle pieces. I dadoed the base, trimmed the cradles to fit, and stained the base with Watco natural penetrating stain. Very pretty. My wife also bought me the paint set from Bluejacket. It came with a 0.5 oz bottle of "anti-foul red" enamel that looked a lot like the paint on my Marie Felling tug. I still had half of a rattle can of that paint and used it on the bottom of the Seguin. After painting I attached the deck, waterways, bulwarks, about 80 vertical frameheads, and the stern planking. The nearly-complete hull weighs 8.8 oz or 249 grams. I'll bet that if I filled it with helium ... Next comes hand rails, side rails, and rub rails in natural mahogany. The side rails will cover the gap between the lower white and upper stained parts of the hull.
-
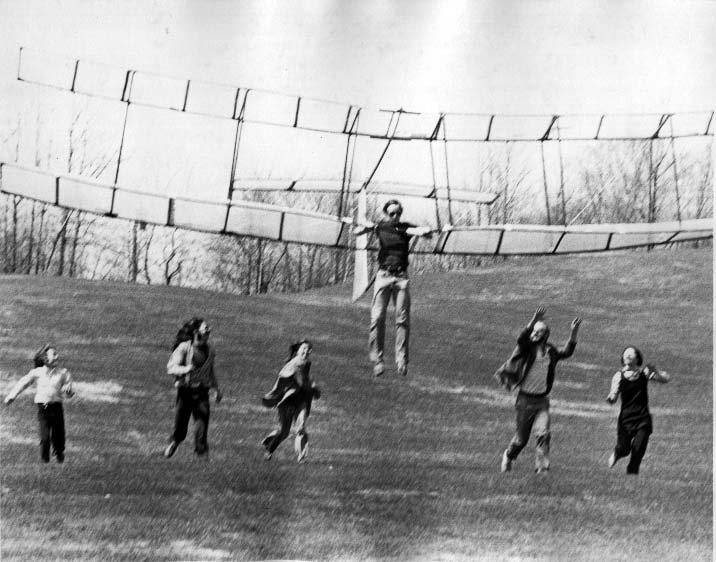
I Digress... We visited Kitty Hawk, NC over our Labor Day holiday earlier this month. Kitty Hawk is where the Wright Brothers made their powered flights in 1903. The sand dunes there are still a popular location for hang gliding, so my sons, their wives, and I took lessons and each made 5 flights. This is me on one of my recent flights, and back in 1971 in a hang glider that I made. That's my wife below my right foot.
-
I know exactly what you mean Harry! But before long you will love the final product. Your photos look great. It's interesting to see your work area, and even a hint of the NZ scenery out the window. Before you're done post a photo of your stack of partworks magazines.
-
Hi Nic,
I just wanted to let you know that I have a build log going for your Seguin kit. So far so good!
Rod
-
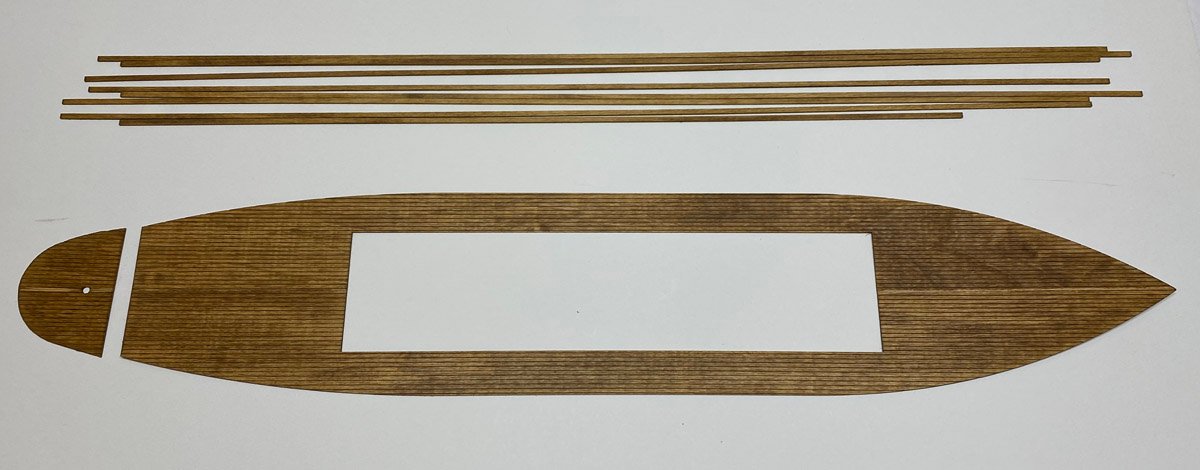
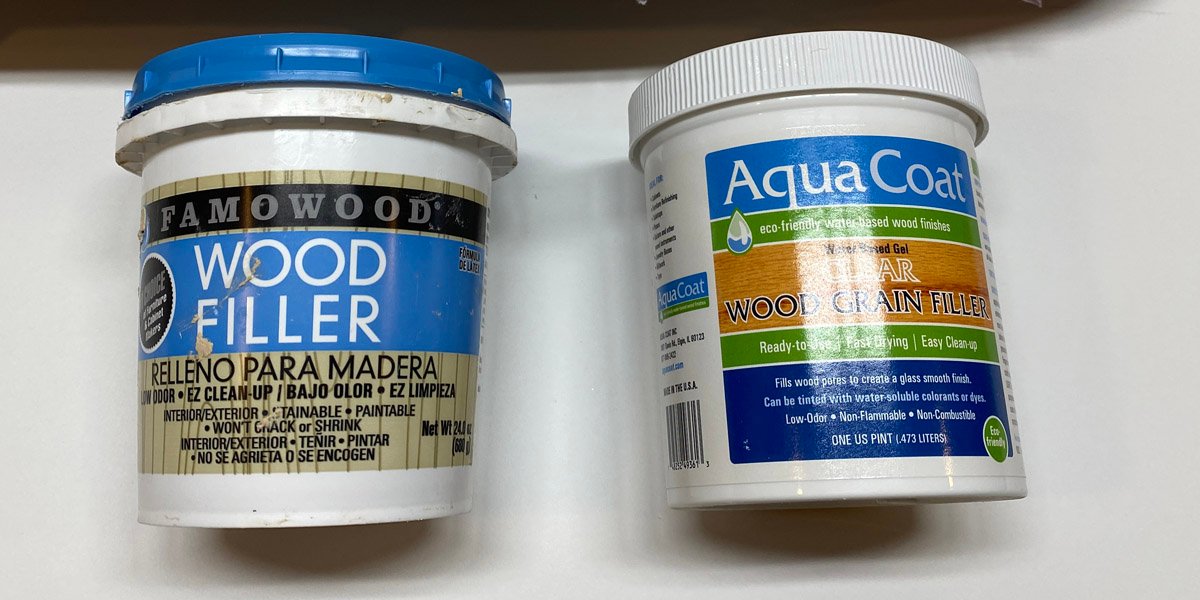
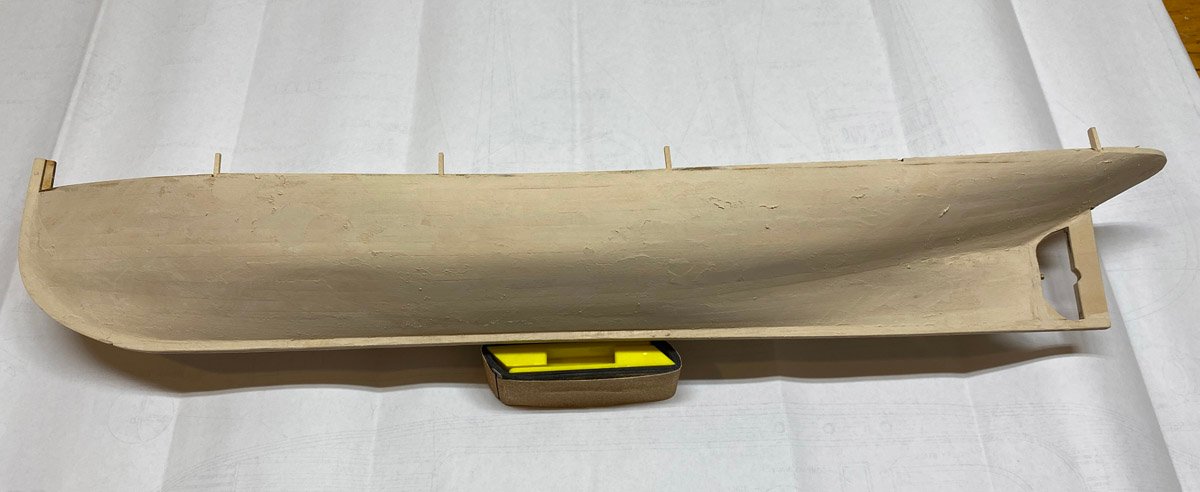
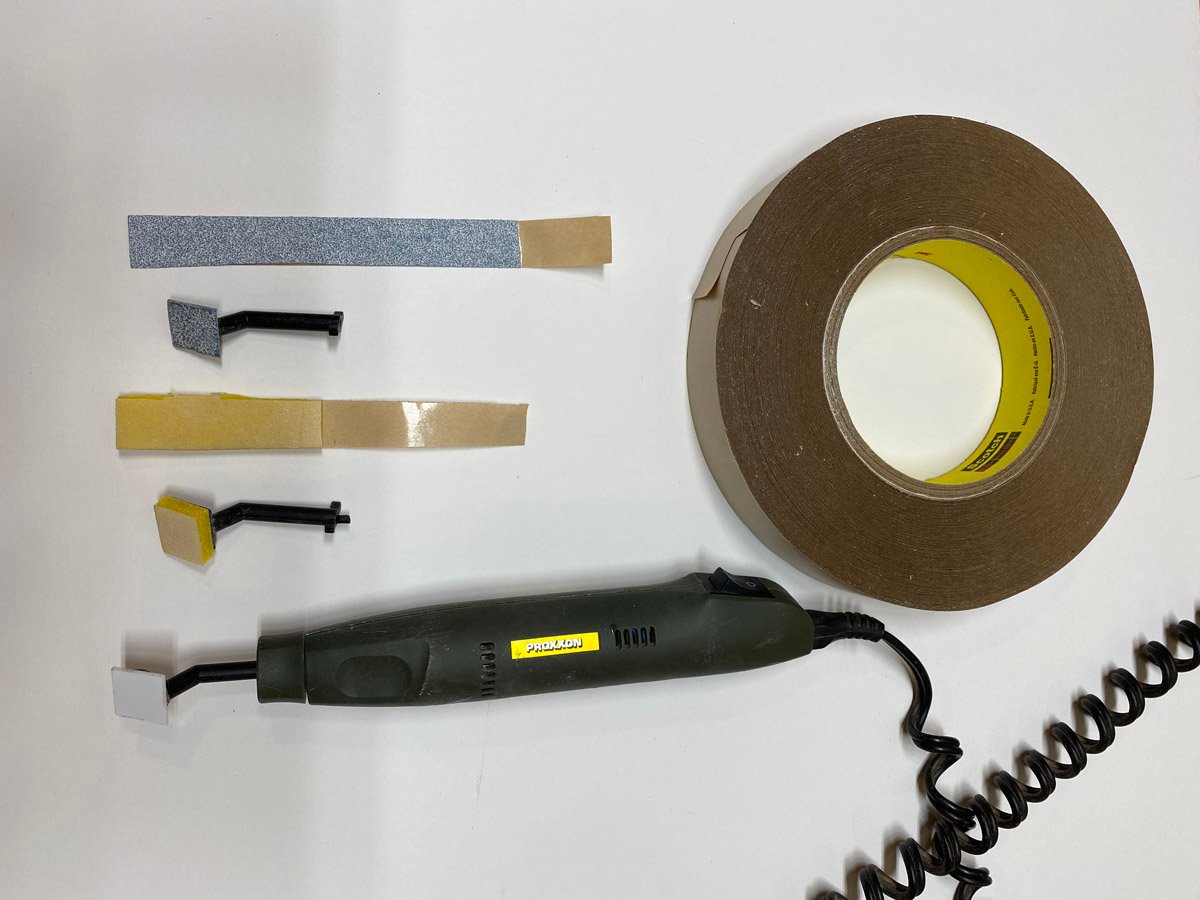
Some Progress on the Hull No, I haven't given up. We took a couple of long weekend trips and hosted a big block party, so between packing, driving, and yard work I haven't had much time to work on the Seguin. I have done a lot of filling and sanding on the hull, and just applied my first coat of primer. Then we'll see where the worst defects are. I applied two coats of Famowood thick wood filler, and sanded most of it off. It's for major cracks and minor reshaping. Then I applied 2 coats of Aquacoat thin filer. It's really for filling open-grained wood but it gives a mirror smooth finish on basswood. The hull looks pretty rough after the Famowood, but much better after the Aquacoat. It's tempting to add some stain and leave it au naturale, but with the filler and CA residue, I am afraid that the finish would be blotchy. I sanded the hull by hand with a thin foam sanding pad, and used my Proxxon oscillating sander for the details. Proxxon supplies some terrible sandpaper sheets with the sander, so I make my own with my favorite sandpaper and double-sided tape. I make long strips and just cut of a new piece when needed. I was having trouble sanding the tight curvature on the stern when it occurred to me to make tiny pads out of the foam. They work great! Why haven't I thought of that before? While I was waiting for the filler to dry I stained the deck and some basswood strips for the gunwales. They go on after the hull is painted.
-
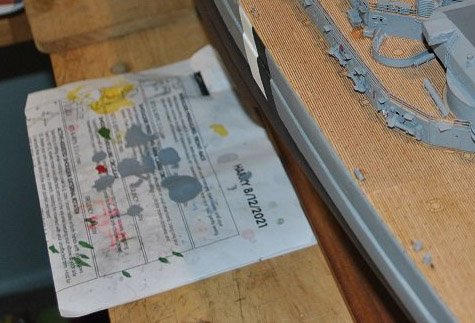
I like the photo with paint splatters all over the paper. That's what a workbench is supposed to look like. 😀
-
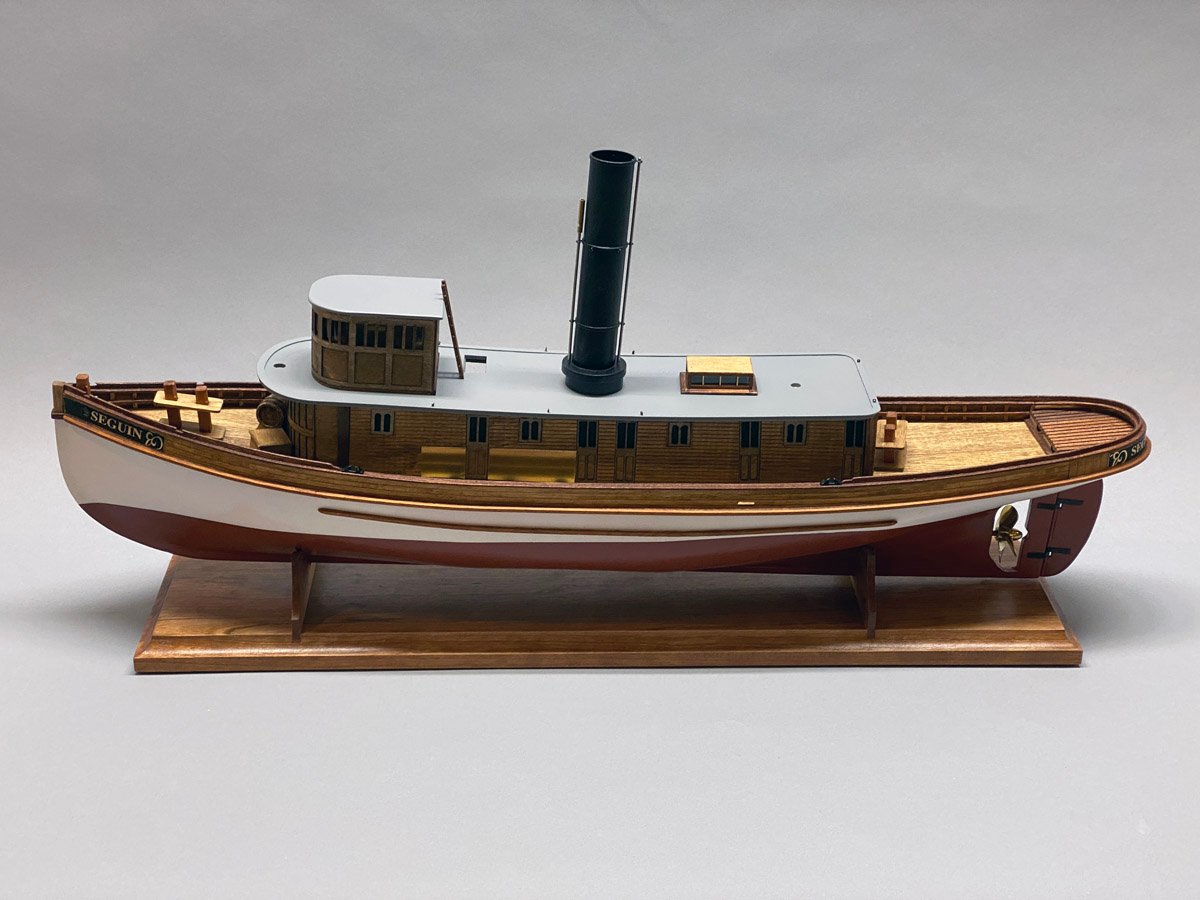
What a beautiful model! Outstanding work.
- 55 replies
-
- Nordlandsbaaden
- Billing Boats
-
(and 1 more)
Tagged with:
-
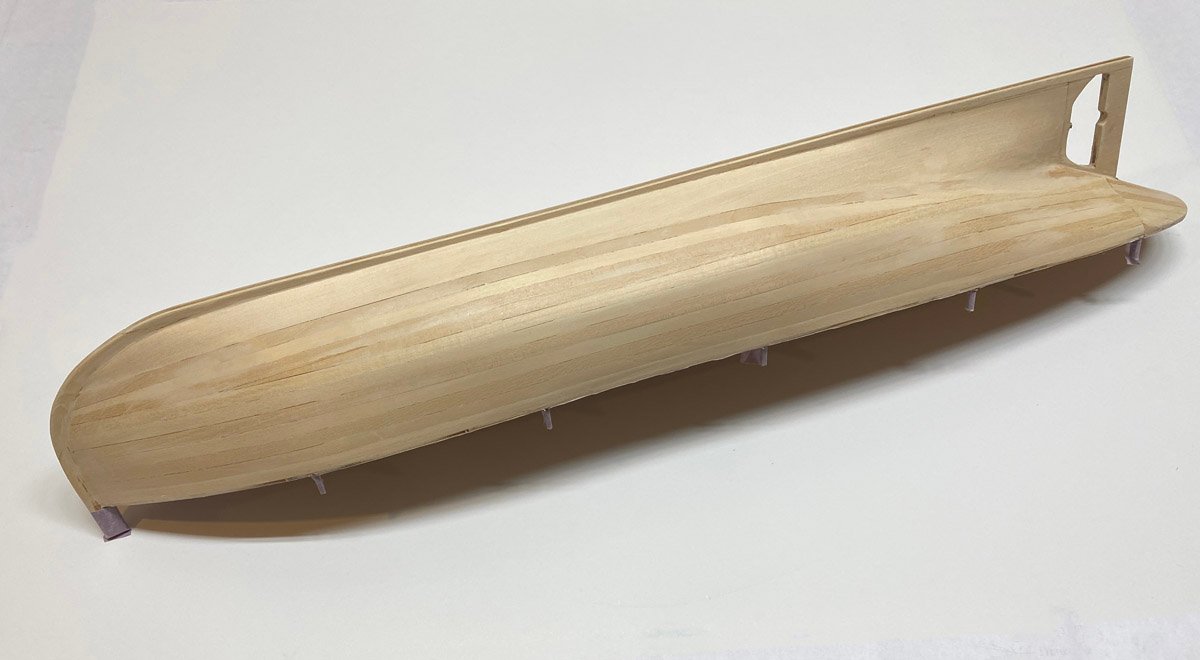
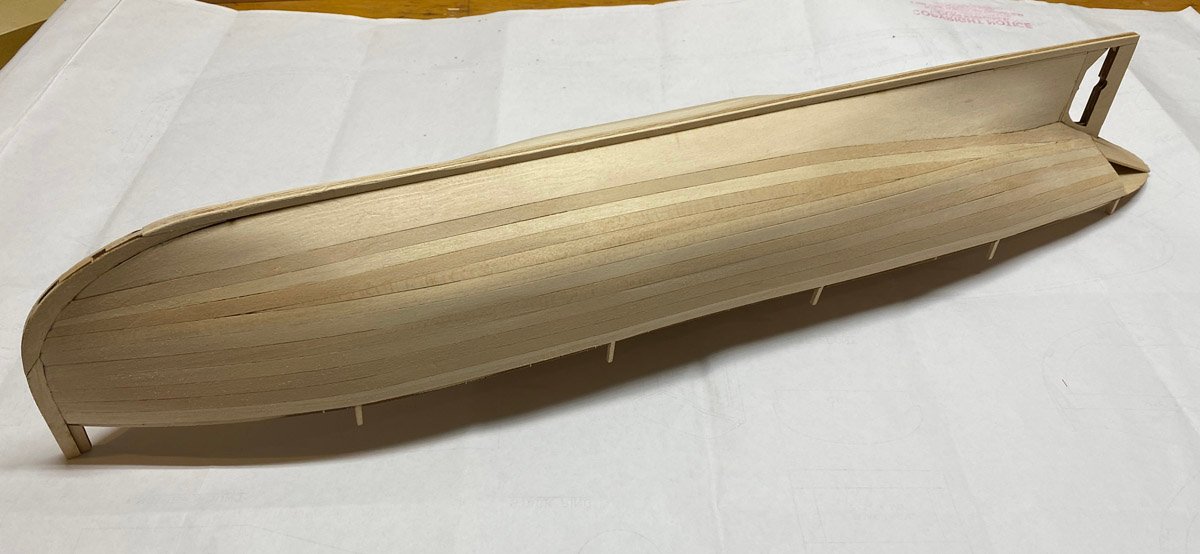
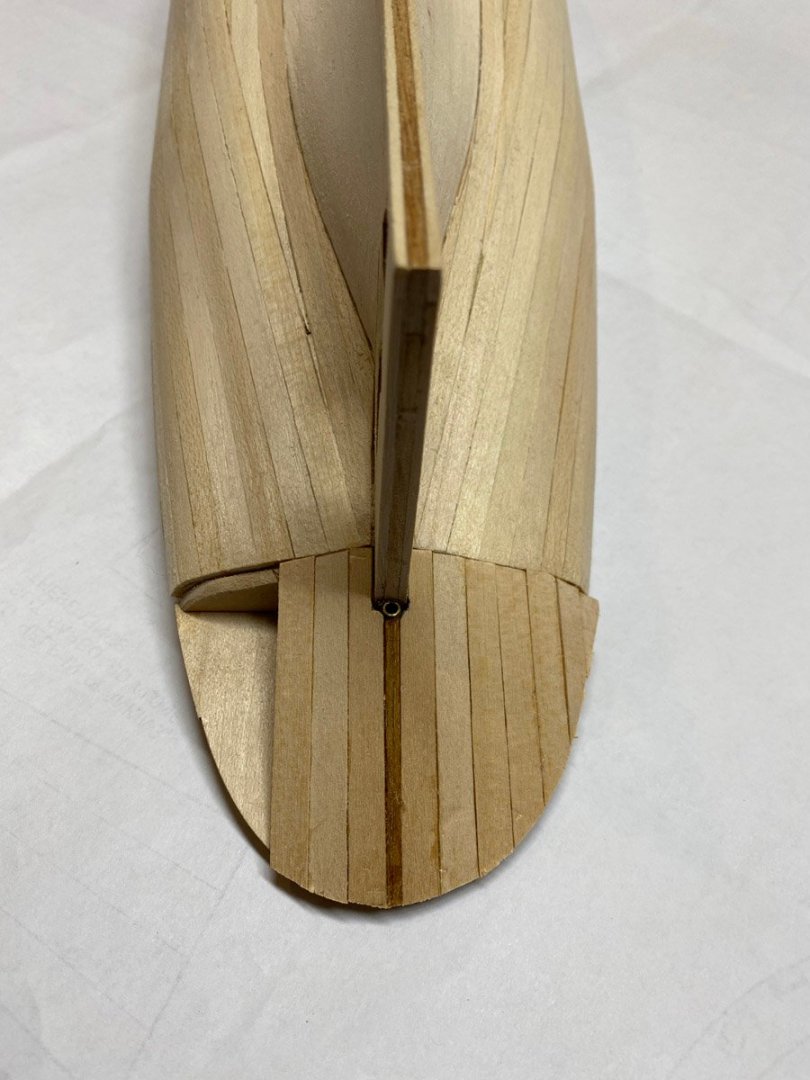
Planking Planking begins at the keel with the garboards. These are large, laser-cut pieces that didn't quite fit. The instructions say to score the aft parts of the garboards lengthwise on the inside to help them follow the compound curvature. I scored one, soaked it in water, and it promptly split when I tried to install it. That was patched later. The other side worked much better without the scoring. Planking continued down from the subdeck. I soaked the planks briefly in water, and glued them one frame at a time with medium CA and finger pressure. The gaps between the planks will require filler later. There is only one layer of planks, so no opportunity to fix this later. Models of the Seguin on-line often show a beautiful varnished hull, but the planks would need to be varnished before assembly. The instructions say that the original color scheme was copper red below the waterline, and white above. That's what I plan to do. "A little caulk and a little paint, make a carpenter what he ain't." She looks pretty good after a lot of sanding, but still needs filler. The hull is flimsy with only one layer of planks. I coated the interior liberally with Titebond glue, but couldn't reach everything because of the sub-deck. It would be difficult to make this model watertight for RC. I had my doubts about planking the stern like this, but after sanding the shape looks fine. The real deck needs to be fit before planking the bulwarks. I'll need to do some varnishing and painting before that. That means clearing out my spray booth, AKA garage, next.
-
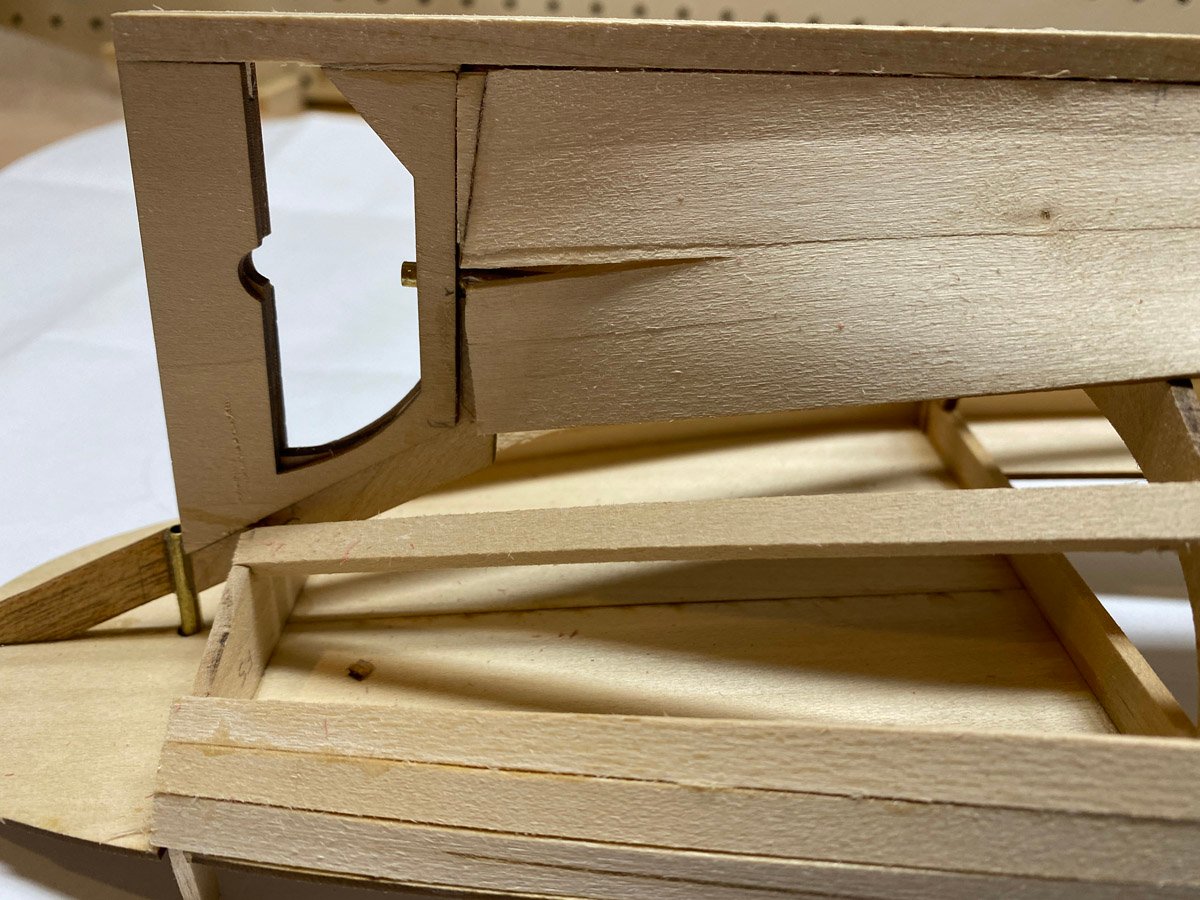
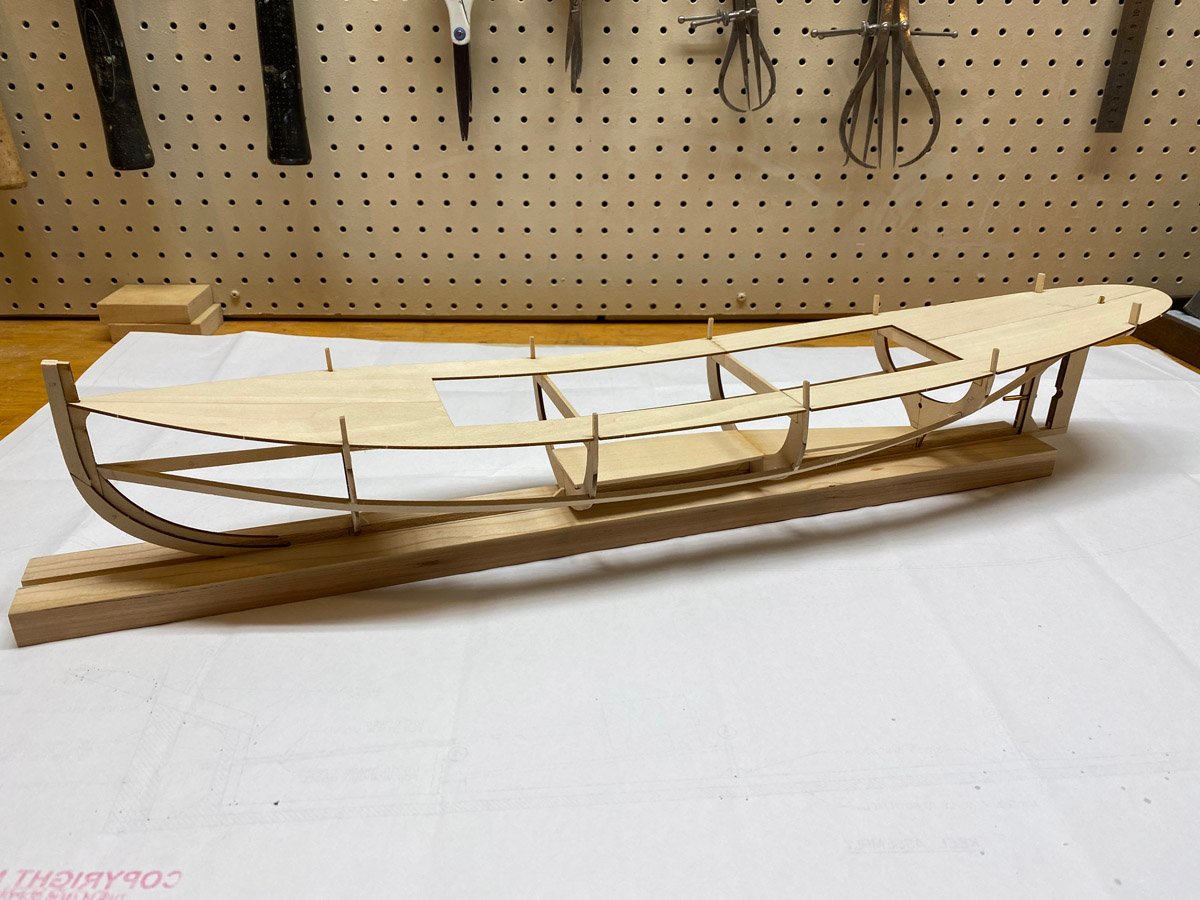
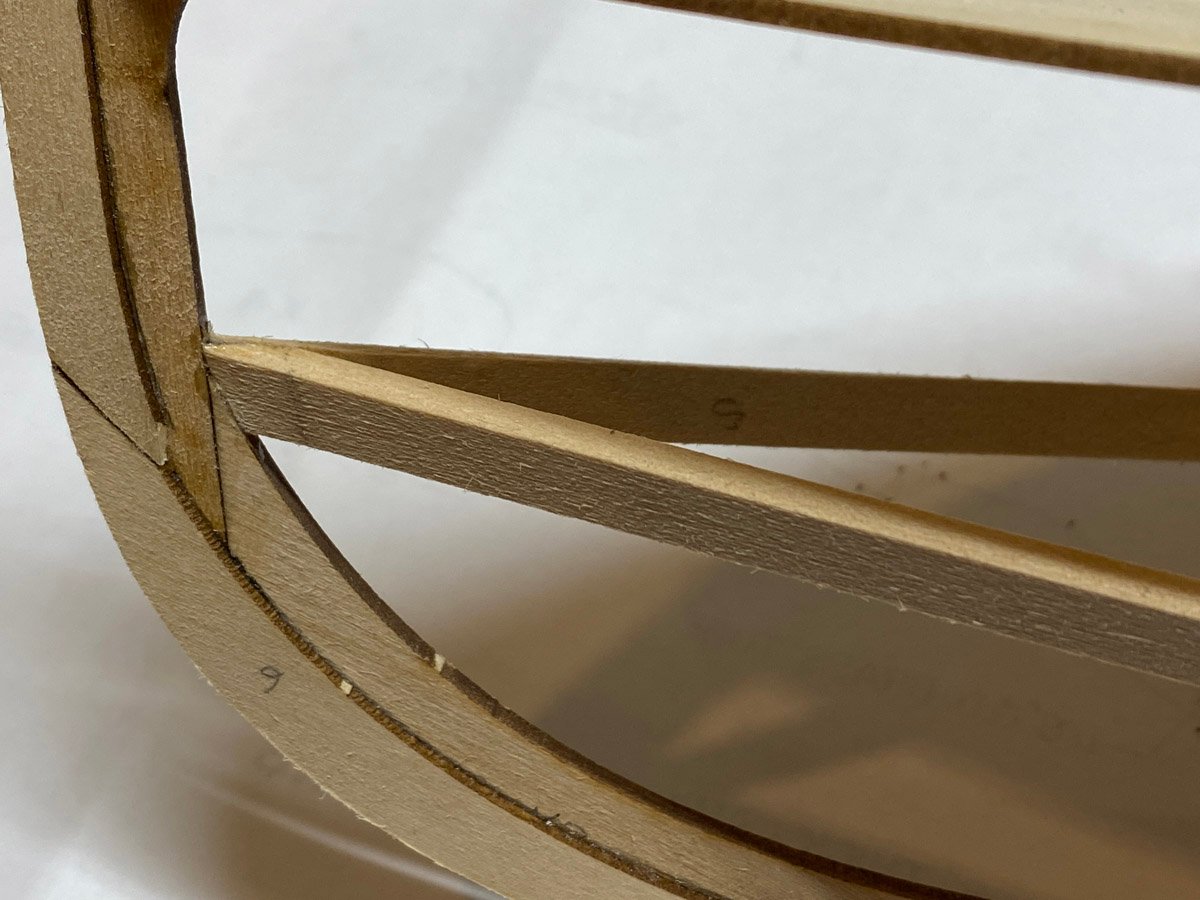
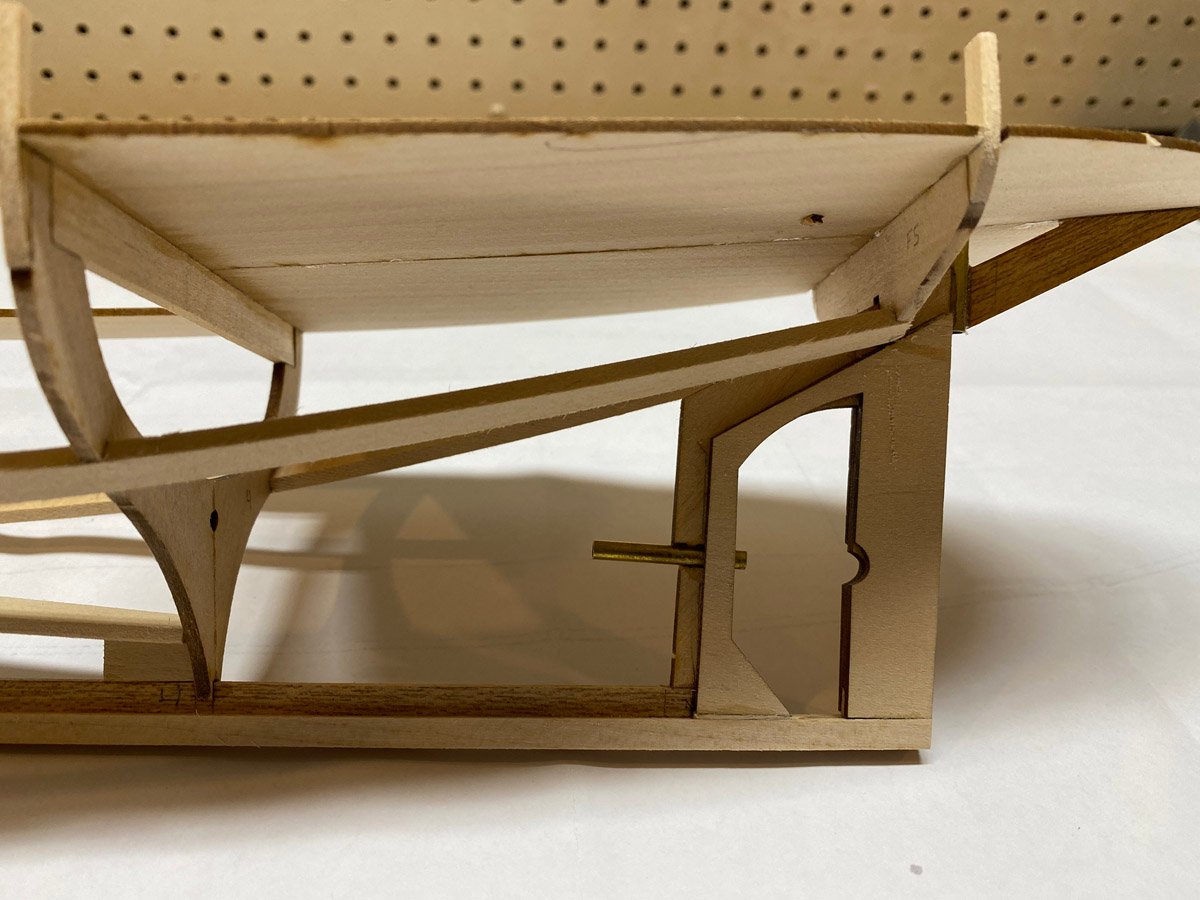
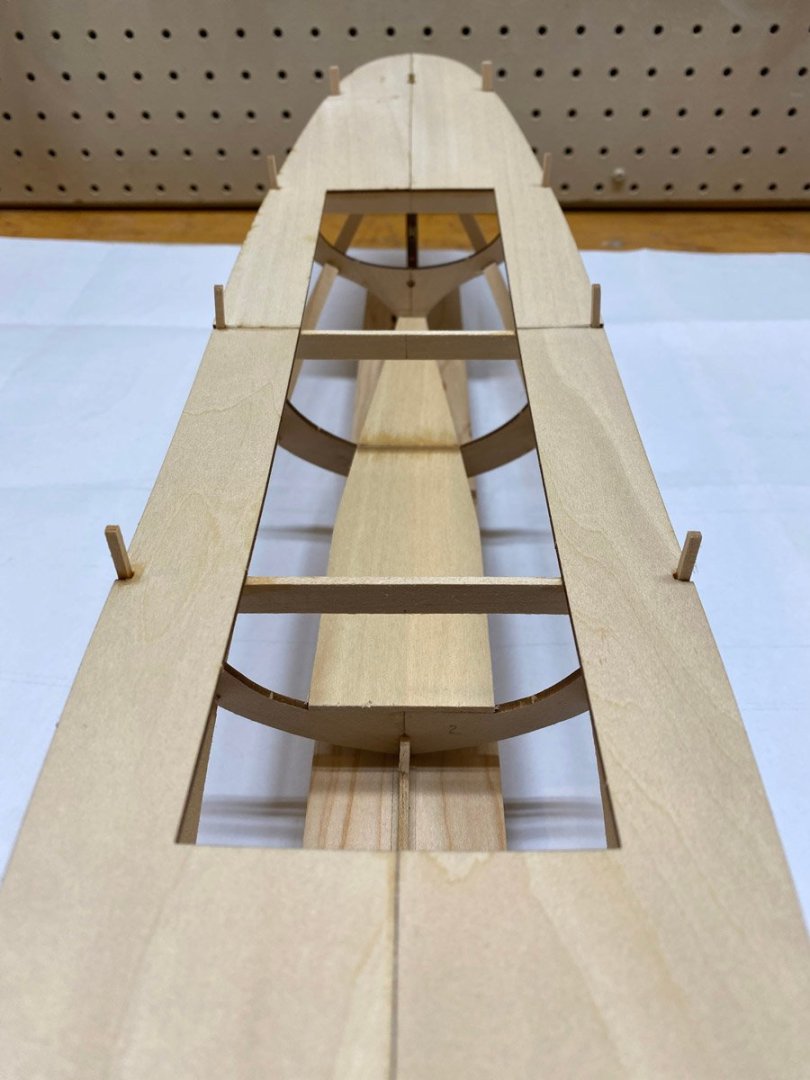
Framing Nice to see some new names. Thank you for following. I actually started building in early August and have put in about 25 hours so far. The framing and rough planking are complete. I didn't take enough photos but here's what I have. Yes, Gary, the model only has 5 frames, and one of them doesn't amount to much. The frames are built up out of laser-cut pieces and straight stock. They don't quite line up with the plans so you have to guess. The keel is built in 3 layers that leave a perfect rabbet for the garboards (first layer of planks.) Assembling the keel, frames, and upper deck was really tricky. I cut a dado in a long board to hold the keel, then tack glued the frames in place. I glued the 4 subdeck pieces together, transferred the width between the frame uprights to the subdeck with dividers, and enlarged the notches to fit. I carefully put the subdeck in place and held it down with tape. Then I flipped everything over and glued the deck to the keel and frames from front to back with CA. Whew. There are 2 heavy stringers for strength. Some of the pre-cut notches lined up, and some had to be enlarged. The joint at the bow took a lot of trial and error, mostly error. The stern has 2 brass tubes for the rudder and prop. The rudder tube has a beam attached to the rear deck that is quite flimsy at first. There is an interior tray for motor and servos. The plans show much larger pieces for the tray but it's not clear where they go. I am just building for display and won't use them anyway. Bottom view of the frame.
-
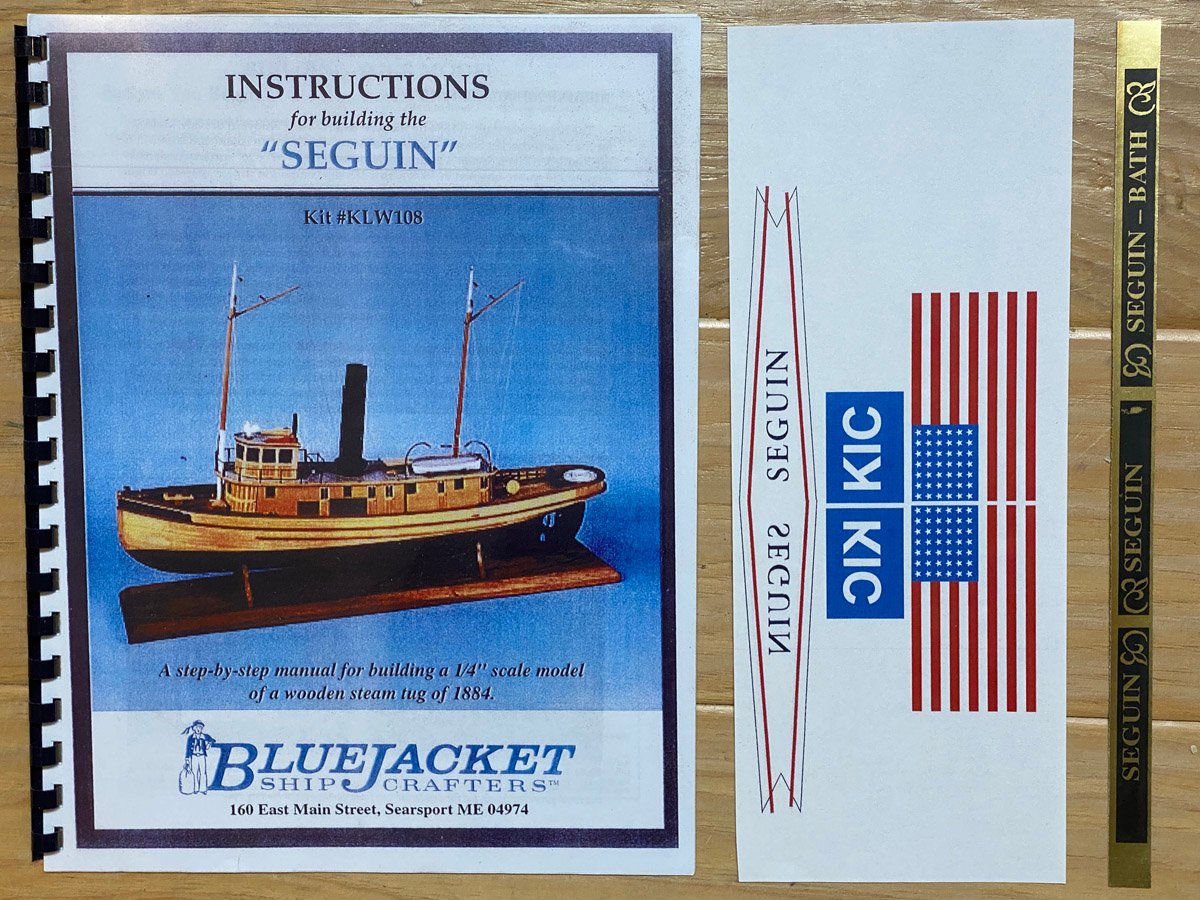
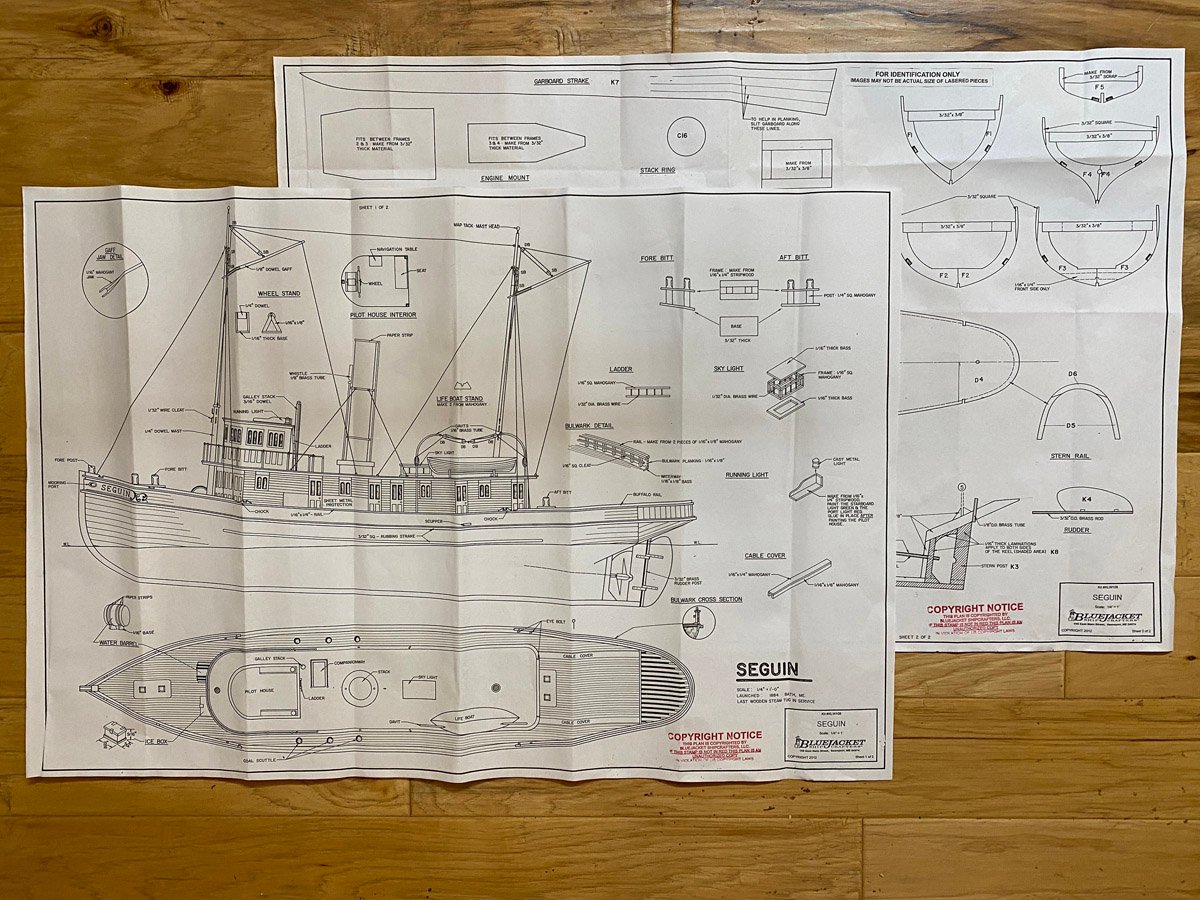
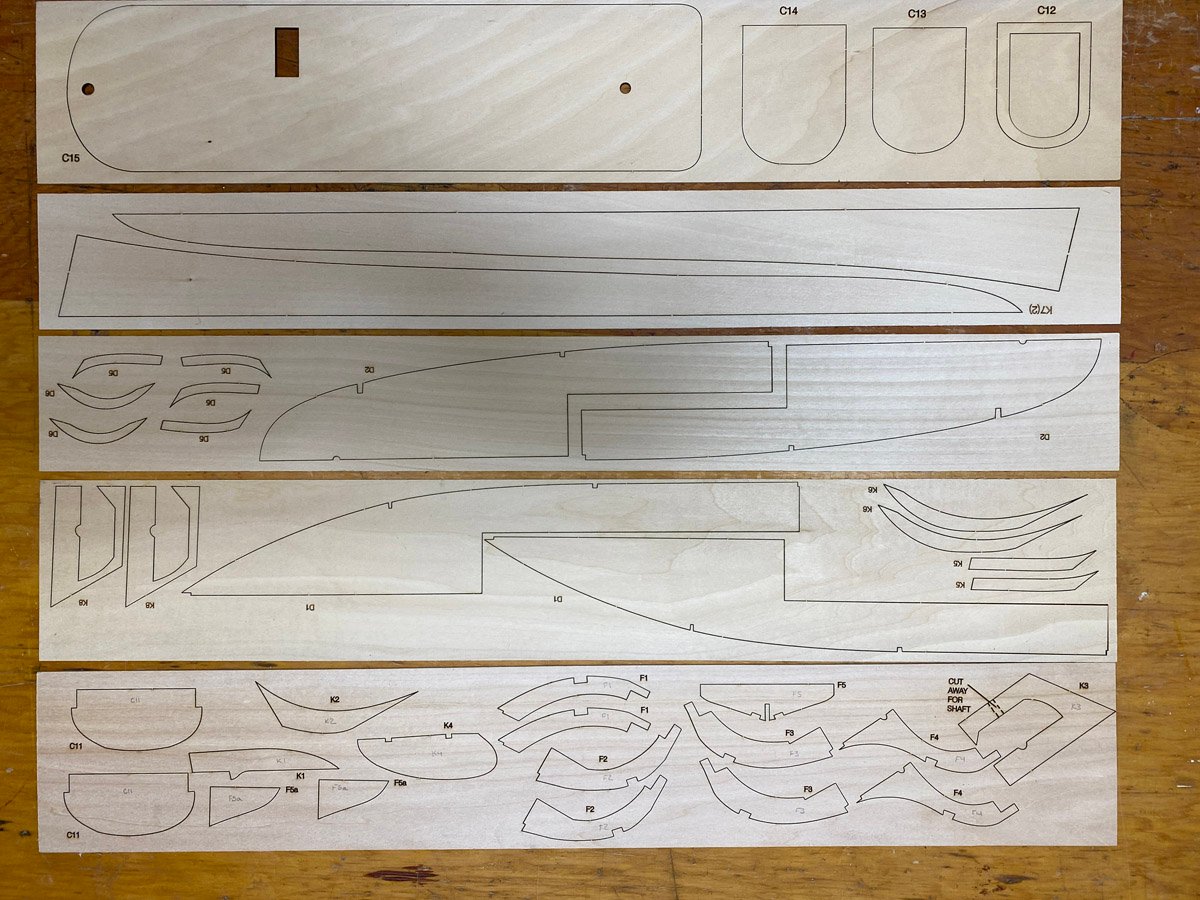
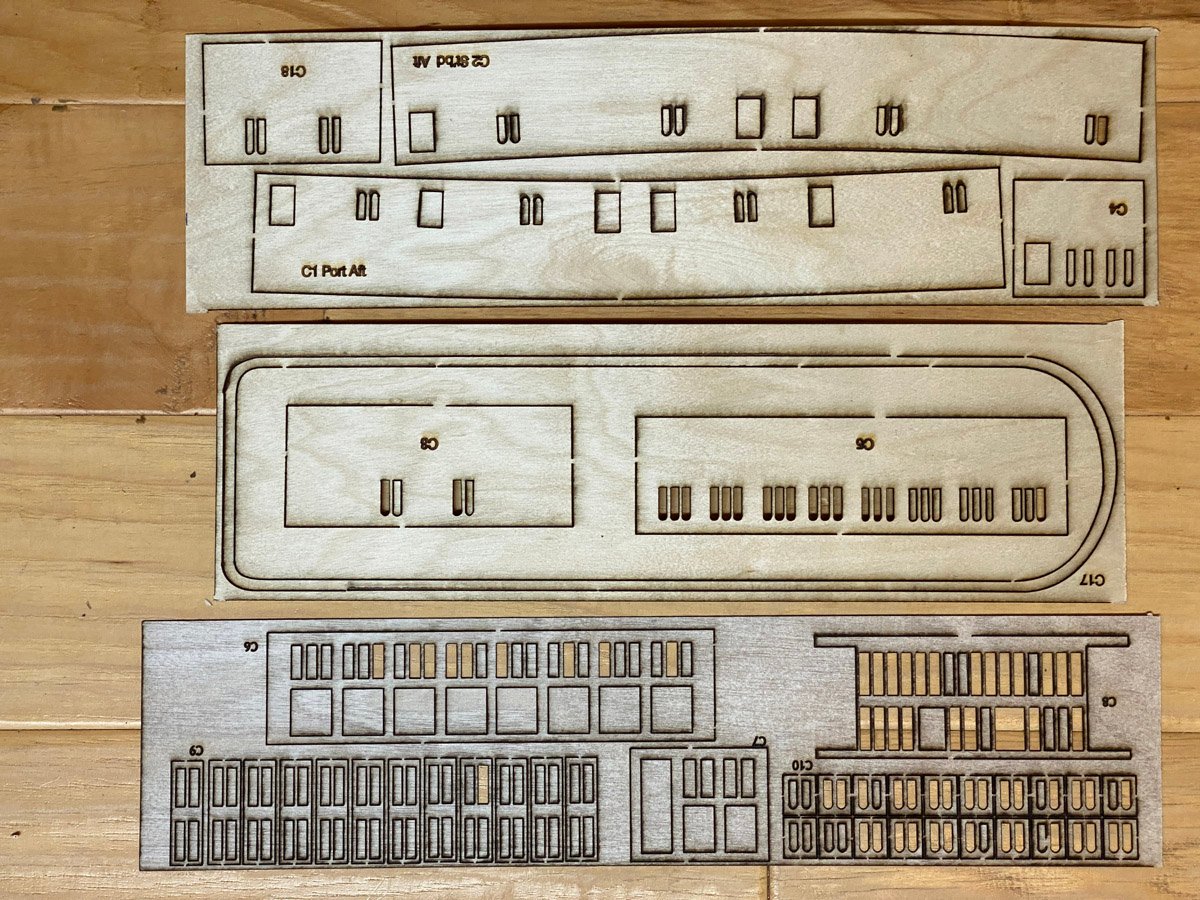
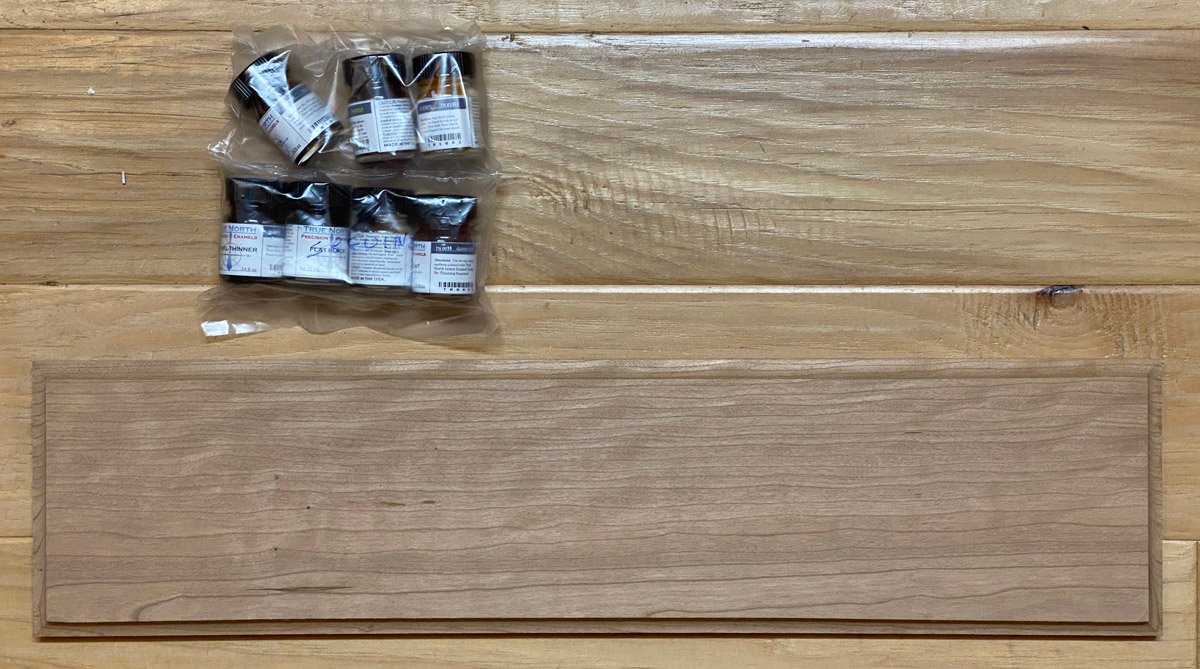
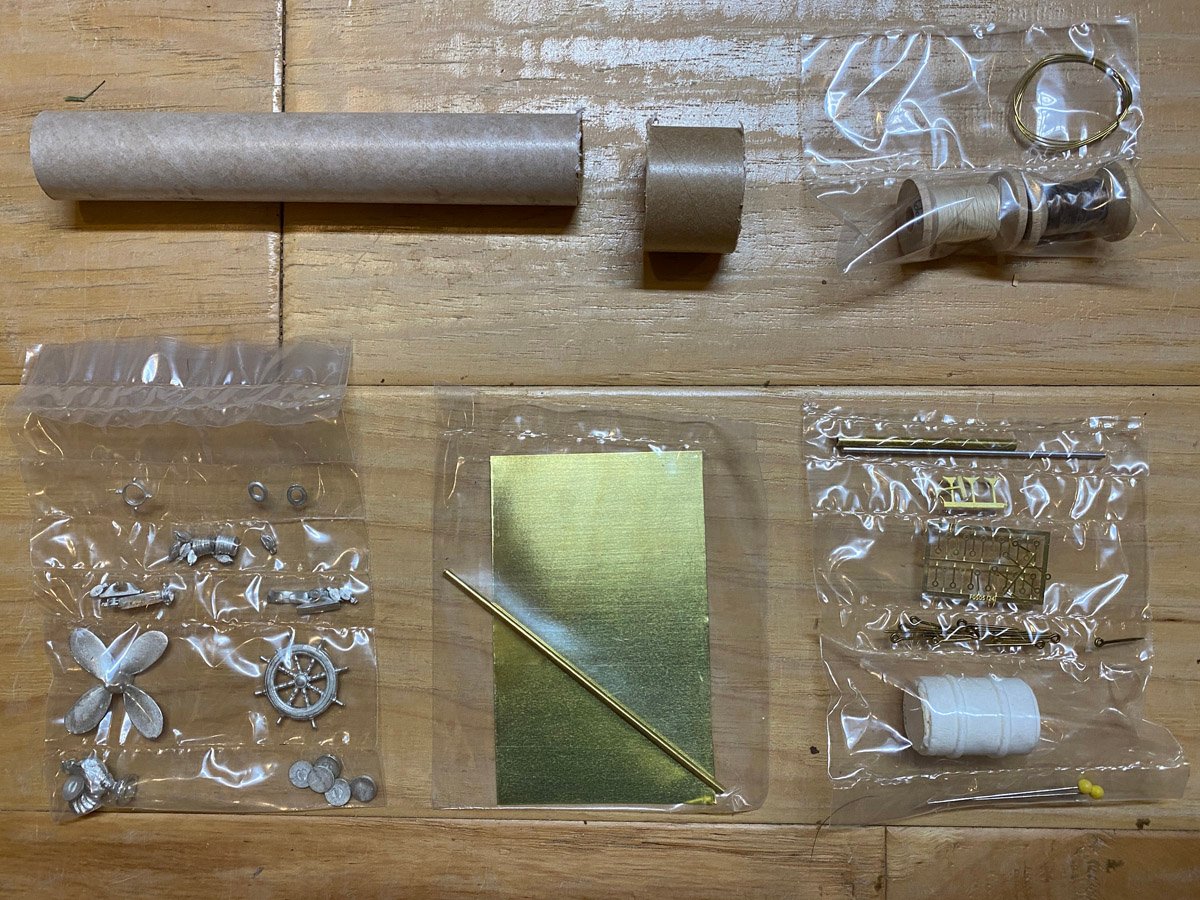
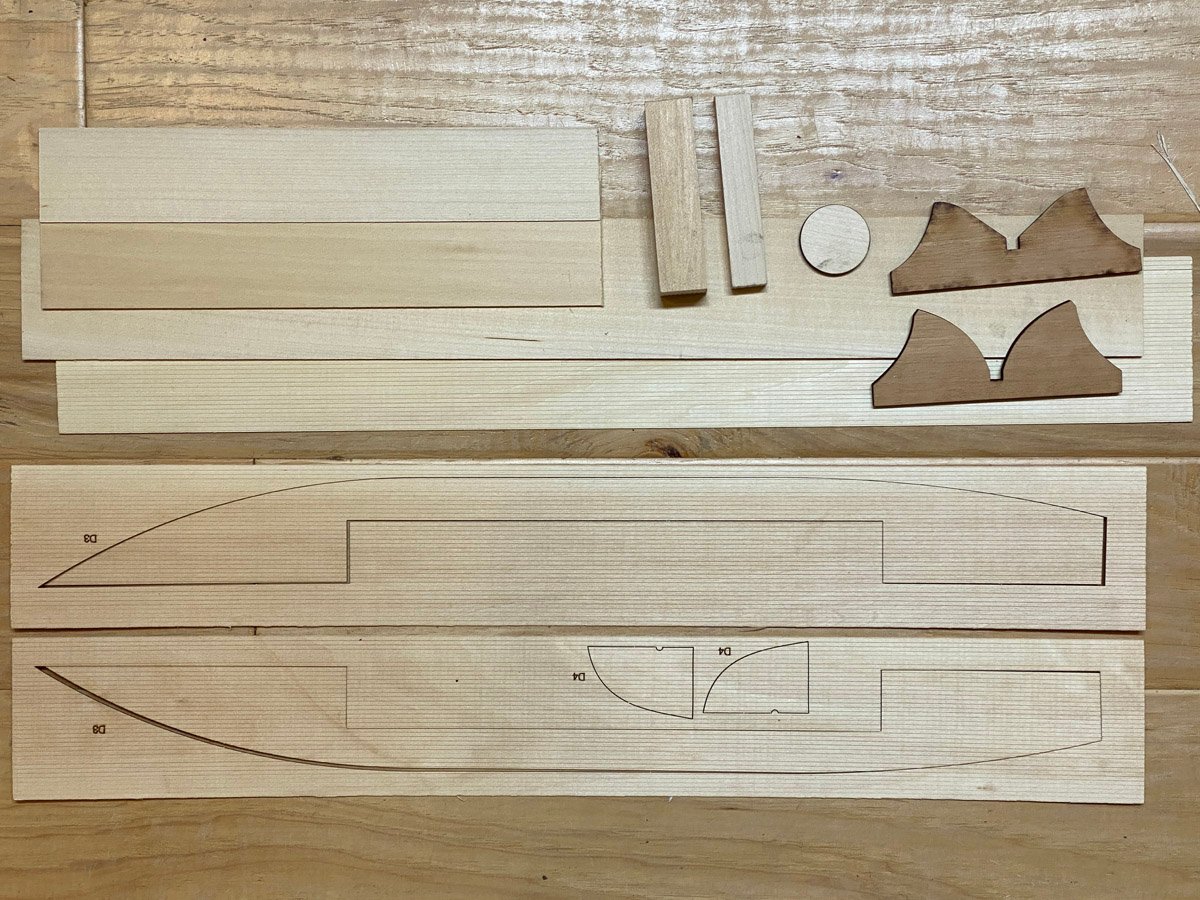
Introduction Back in May I was working to complete my Amati Bismarck model when my wife asked me what I wanted for my birthday. I thought that something smaller, with plenty of wood to cut, and no plastic or photo-etched parts, would be a nice change. I had actually had my eye on Bluejacket's Seguin kit for a while and asked for that. I built Bluejacket's Arleigh Burke destroyer in 2016 so I know that they make quality products, and I have bought lots of miscellaneous parts from them in the past and know that they provide good service. There are only two other build logs of the Seguin on MSW, and neither of them got very far. I hope to show some completed photos eventually. What's in the Box Instruction manual, flags, and nice gold-printed labels. There are lots of photos of cheap, souvenir models of the Seguin on line, but almost no nice photos of a completed model. The photo on the cover of the instruction manual is one of the best. The inside of the manual has been photocopied so many times that many of the photos are hard to make out. This really needs to be reprinted. Two sets of (almost) full-size plans for details and framing. Note that the plans say "For identification only, images may not be actual size of lasered pieces." They are very close, but I always prefer to trust the plans over the laser-cut pieces. Five sheets of laser-cut pieces, perfectly cut with minimal charring. Nicely scored decking and paneling, miscellaneous wood stock, and (cherry?) cradles for a stand. The instructions say to take the large solid block and remove anything that is not a lifeboat. I may look for an alternative. Laser cut pieces for the cabins. Basswood and mahogany sticks, and dowels. Cast prop and wheel, brass pieces, rigging thread, and poorly-cut model rocket body tubes for the stack. Oh no! There are some photo-etched eyelets in that bag! My wife bought the optional paint set and cherry base. I usually rout my own base but this one is very nice.
About us
Modelshipworld - Advancing Ship Modeling through Research
SSL Secured
Your security is important for us so this Website is SSL-Secured
NRG Mailing Address
Nautical Research Guild
237 South Lincoln Street
Westmont IL, 60559-1917
Model Ship World ® and the MSW logo are Registered Trademarks, and belong to the Nautical Research Guild (United States Patent and Trademark Office: No. 6,929,264 & No. 6,929,274, registered Dec. 20, 2022)
Helpful Links
About the NRG
If you enjoy building ship models that are historically accurate as well as beautiful, then The Nautical Research Guild (NRG) is just right for you.
The Guild is a non-profit educational organization whose mission is to “Advance Ship Modeling Through Research”. We provide support to our members in their efforts to raise the quality of their model ships.
The Nautical Research Guild has published our world-renowned quarterly magazine, The Nautical Research Journal, since 1955. The pages of the Journal are full of articles by accomplished ship modelers who show you how they create those exquisite details on their models, and by maritime historians who show you the correct details to build. The Journal is available in both print and digital editions. Go to the NRG web site (www.thenrg.org) to download a complimentary digital copy of the Journal. The NRG also publishes plan sets, books and compilations of back issues of the Journal and the former Ships in Scale and Model Ship Builder magazines.


