MORE HANDBOOKS ARE ON THEIR WAY! We will let you know when they get here.
×


KenW
-
Posts
1,230 -
Joined
-
Last visited
Content Type
Profiles
Forums
Gallery
Events
Everything posted by KenW
-
 Jon Congrats again. I like the plate as well. Let us know what your next build will be. Cheers.
- 974 replies
-
- 3
-

-
- rattlesnake
- mamoli
- (and 1 more)
-
Congratulations!! Your model looks great. Don't worry about how long it takes - this is a hobby right. As 'russ' states, "Tain't a hobby of you hurry". Where did you get the case? In particular the plexiglass plates. I can't get 1/8th inch thick; they tell me that it is too thin. Anyway, great job and enjoy your effort. Cheers.
- 974 replies
-
- 3
-
-
- rattlesnake
- mamoli
- (and 1 more)
-
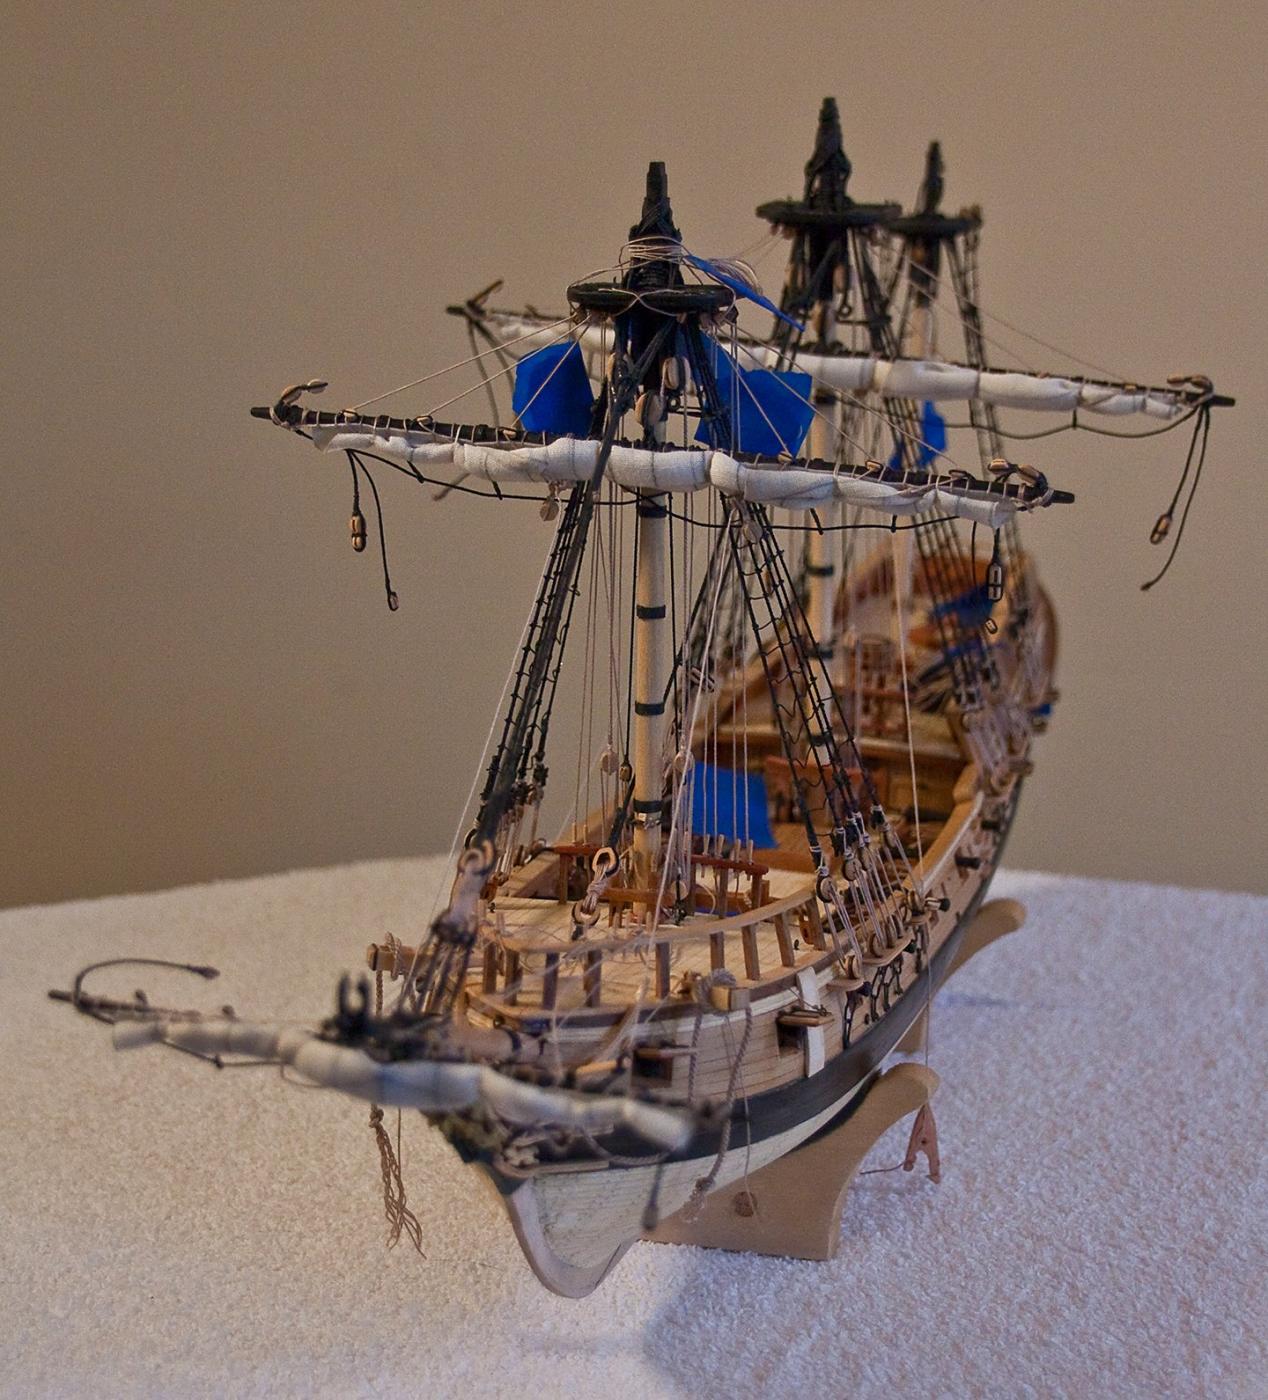
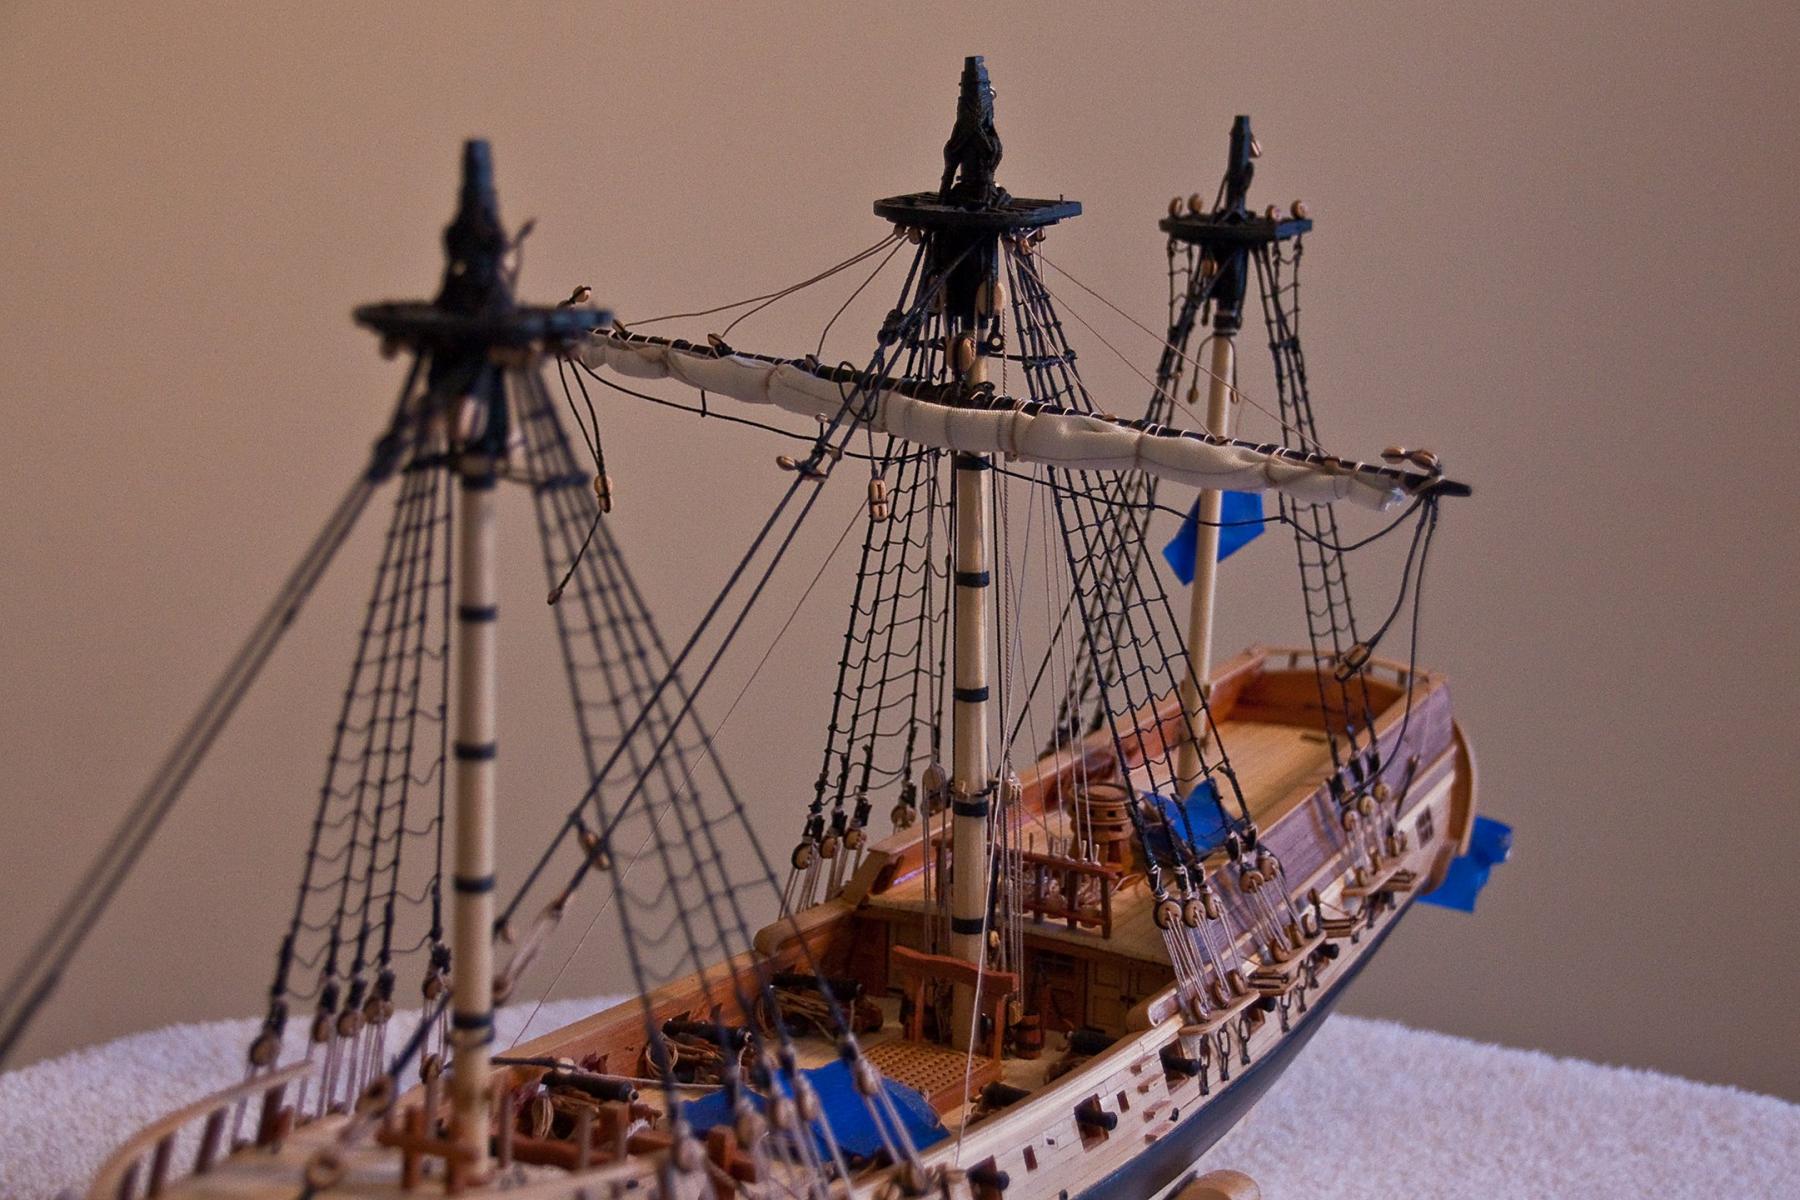
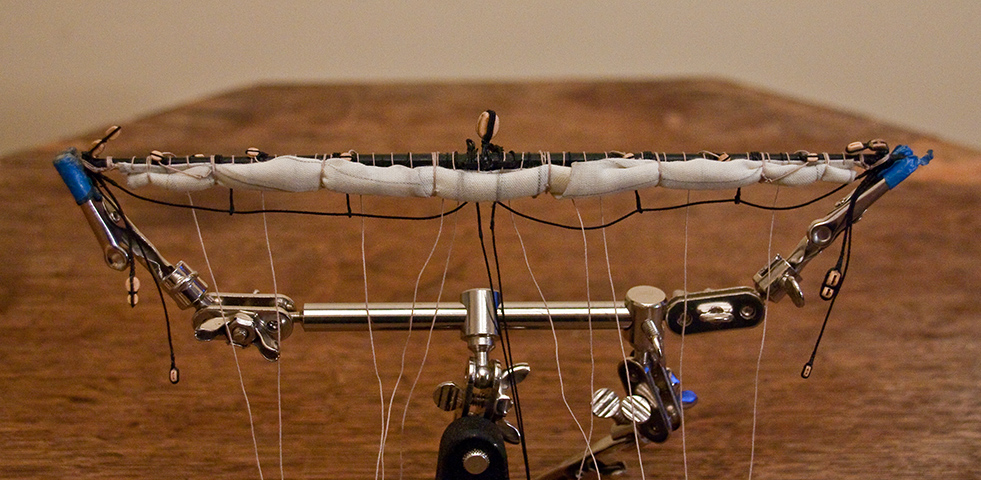
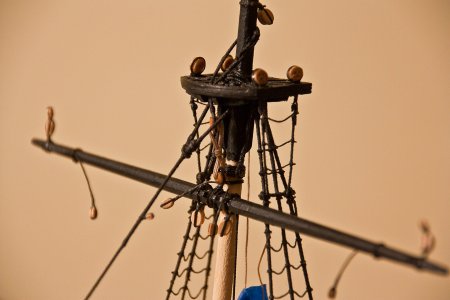
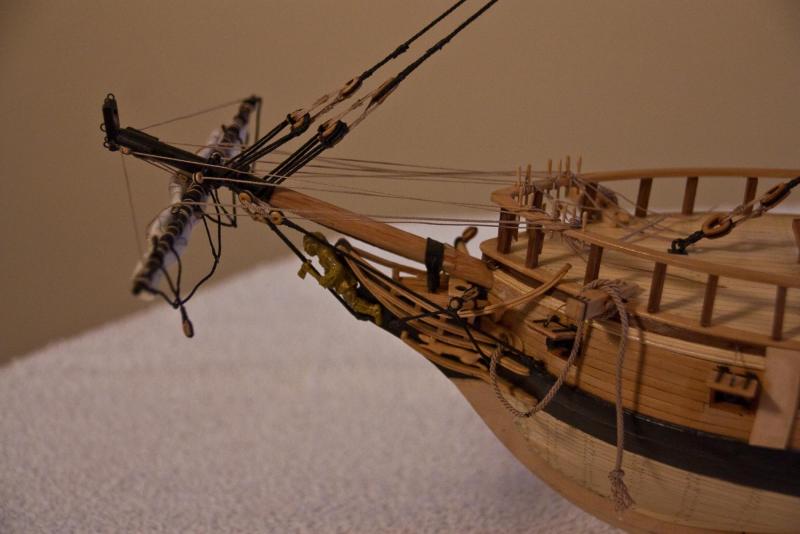
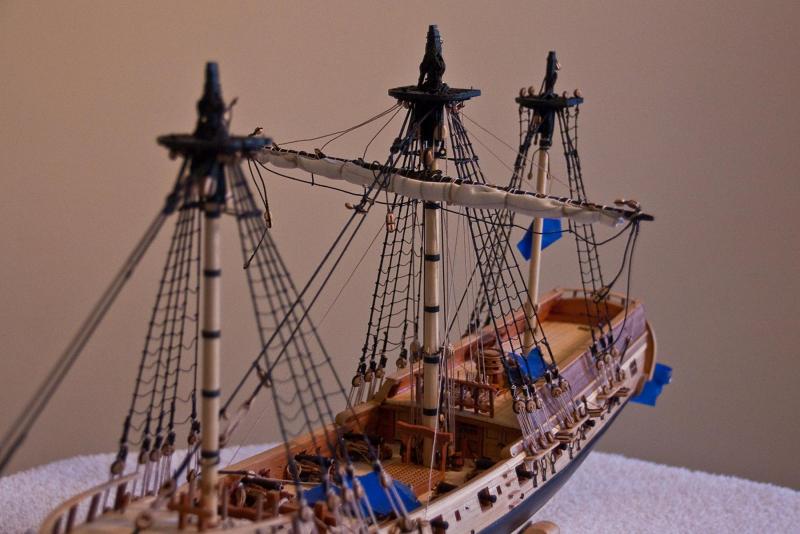
Just a quick update since my next task will certainly take a while. I made and mounted the jib boom along with its traveler ring setup. I took the design from Bob ‘rafine’. I liked the way his looked, so I did the best I could. That's a hook for the jib that is hanging under the boom. (It's also too big). Next I raised the cross jack yard. All my reading insists that there are no jeers holding the cross jack. After 1773 a sling with two thimbles was used, according to Antscherl. I used the truss that he and Lees describe in their books. Raising the cross jack: The cross jack is secured and trussed: Detail of the sling:

- 481 replies
-
- 5
-
-
- rattlesnake
- model shipways
- (and 1 more)
-
Your model is coming great. Great planning and execution. And I always like to learn new little tricks. Cheers.
- 420 replies
-
- 2
-
-
- captain roy
- lugger
- (and 2 more)
-
Great work. Thanks for sharing your method for making parrels. I have some ribs and wooden beads that I got from Italy, but they look too big for 1:64 scale. I will try your method. I did acquire some smaller beads (plastic) recently. I assume you used white glue to make the rib stack. If not, what type of glue was it? Cheers.
-
Thanks Russ and E.J. Some tapes will pull the lines apart, but I find that the blue painters tape does not and is ideal. Cheers.
- 481 replies
-
- 3
-
-
- rattlesnake
- model shipways
- (and 1 more)
-
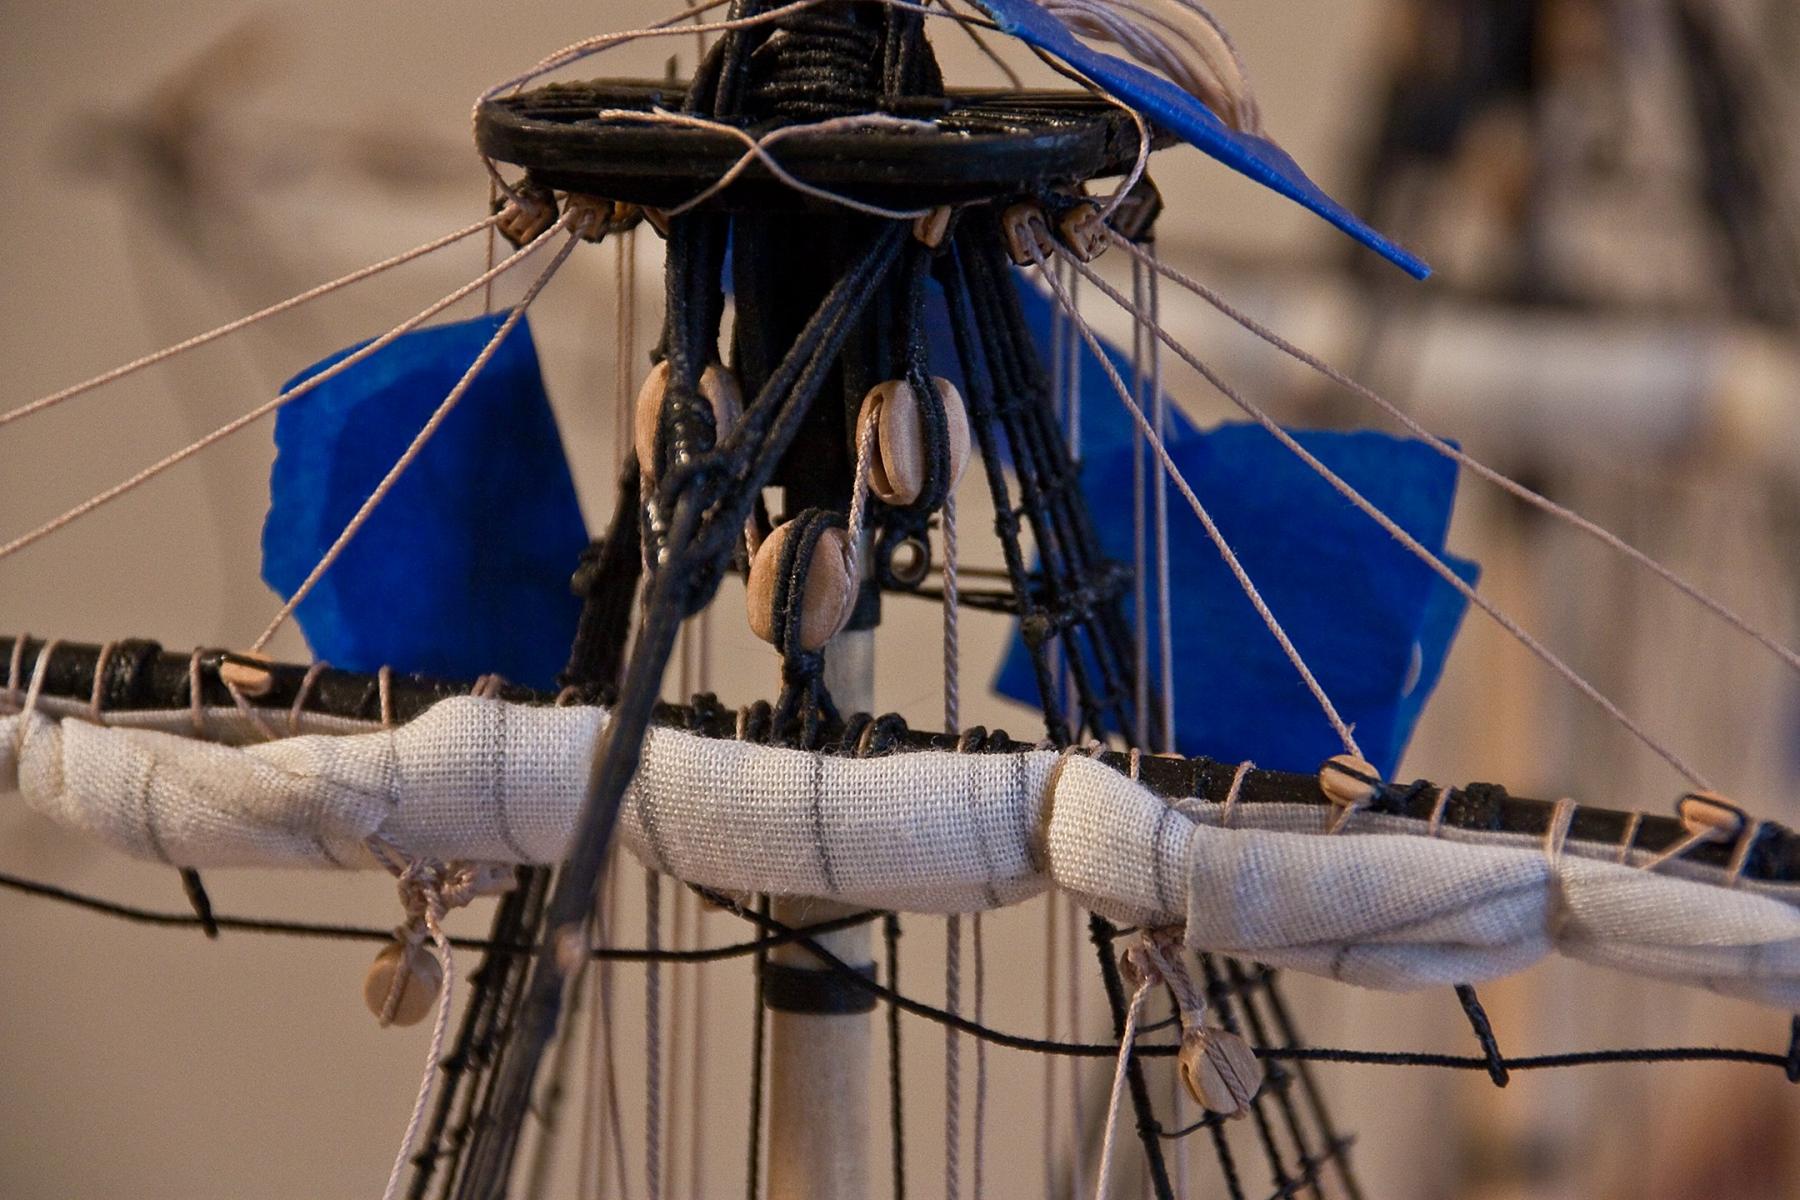
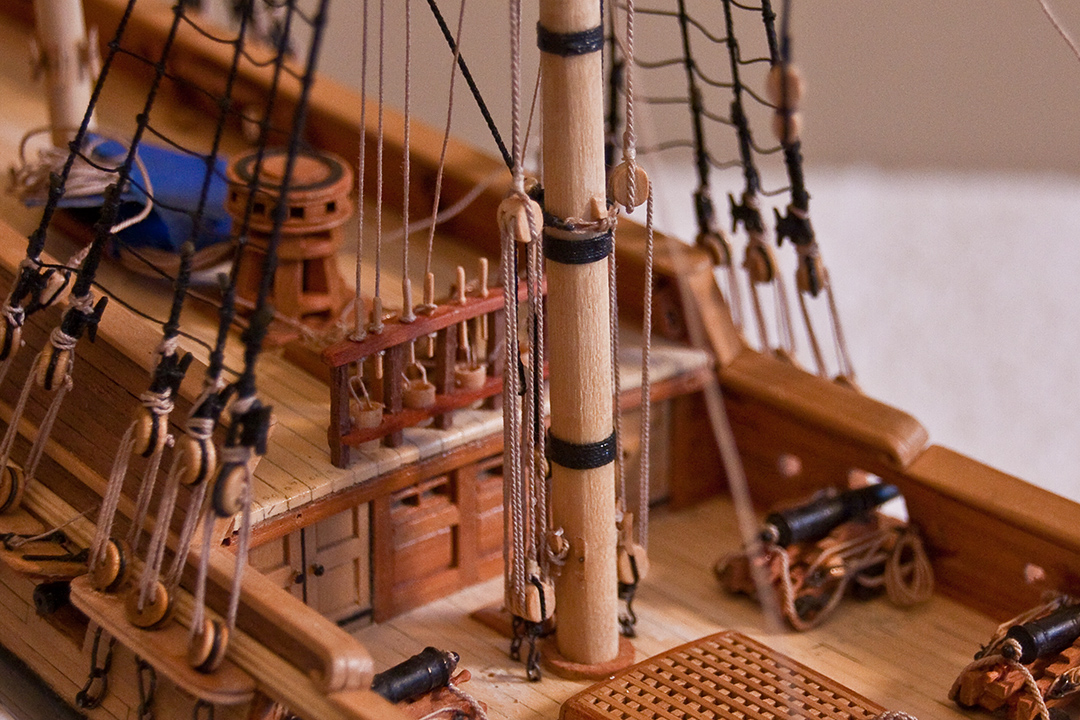
Continuing my work on the lower yards, I finished making the fore lower yard and crossed it to the fore mast. Everything was the same as the main lower yard. I made more belaying pins and put them into the fore breast rail. All the lines were belayed to the rail. I do realize that once I’m ready to tie them down permanently, I’ll have to tie them from the fore side of the rail. Next, I’m going to do the cross jack and the gaff/boom setup. And some photos of the details: The ‘M’ as described by Antschrel. The spritsail and sprit topsail brace lines are rapped in the blue painter’s tape. And here is the breast rail. The lines and pins aren’t glued yet.


- 481 replies
-
- 8
-
-
- rattlesnake
- model shipways
- (and 1 more)
-
I like your style of creating a model. It's like you create a 'kit', and then build it. Ever think of making your plans available to the MSW public? Very impressive.
- 420 replies
-
- 3
-
-
- captain roy
- lugger
- (and 2 more)
-
Hey Russ. Looks like it will be a great model! I like the way your models are of boats with local history. The plans you're using - are they of your design? A very impressive start and looking forward to following along. Cheers.
- 420 replies
-
- 2
-
-
- captain roy
- lugger
- (and 2 more)
-
I agree with Mr. Seiler. I can't imagine doing a scratch build without power tools. Cheers.
-
I've never built a model from scratch, but there are a couple of sites that can supply you with different kinds of wood. One is Crown Timberyard, and also I've heard good things about "Wood Project Source". Both have links on the MSW home page. You can always send an email message to Chuck Passaro, he's really great with offering help. His handle is "Chuck". Have fun.
-
Thanks Dave and Russ; and thanks for the 'likes'. Cheers.
- 481 replies
-
- 1
-
-
- rattlesnake
- model shipways
- (and 1 more)
-
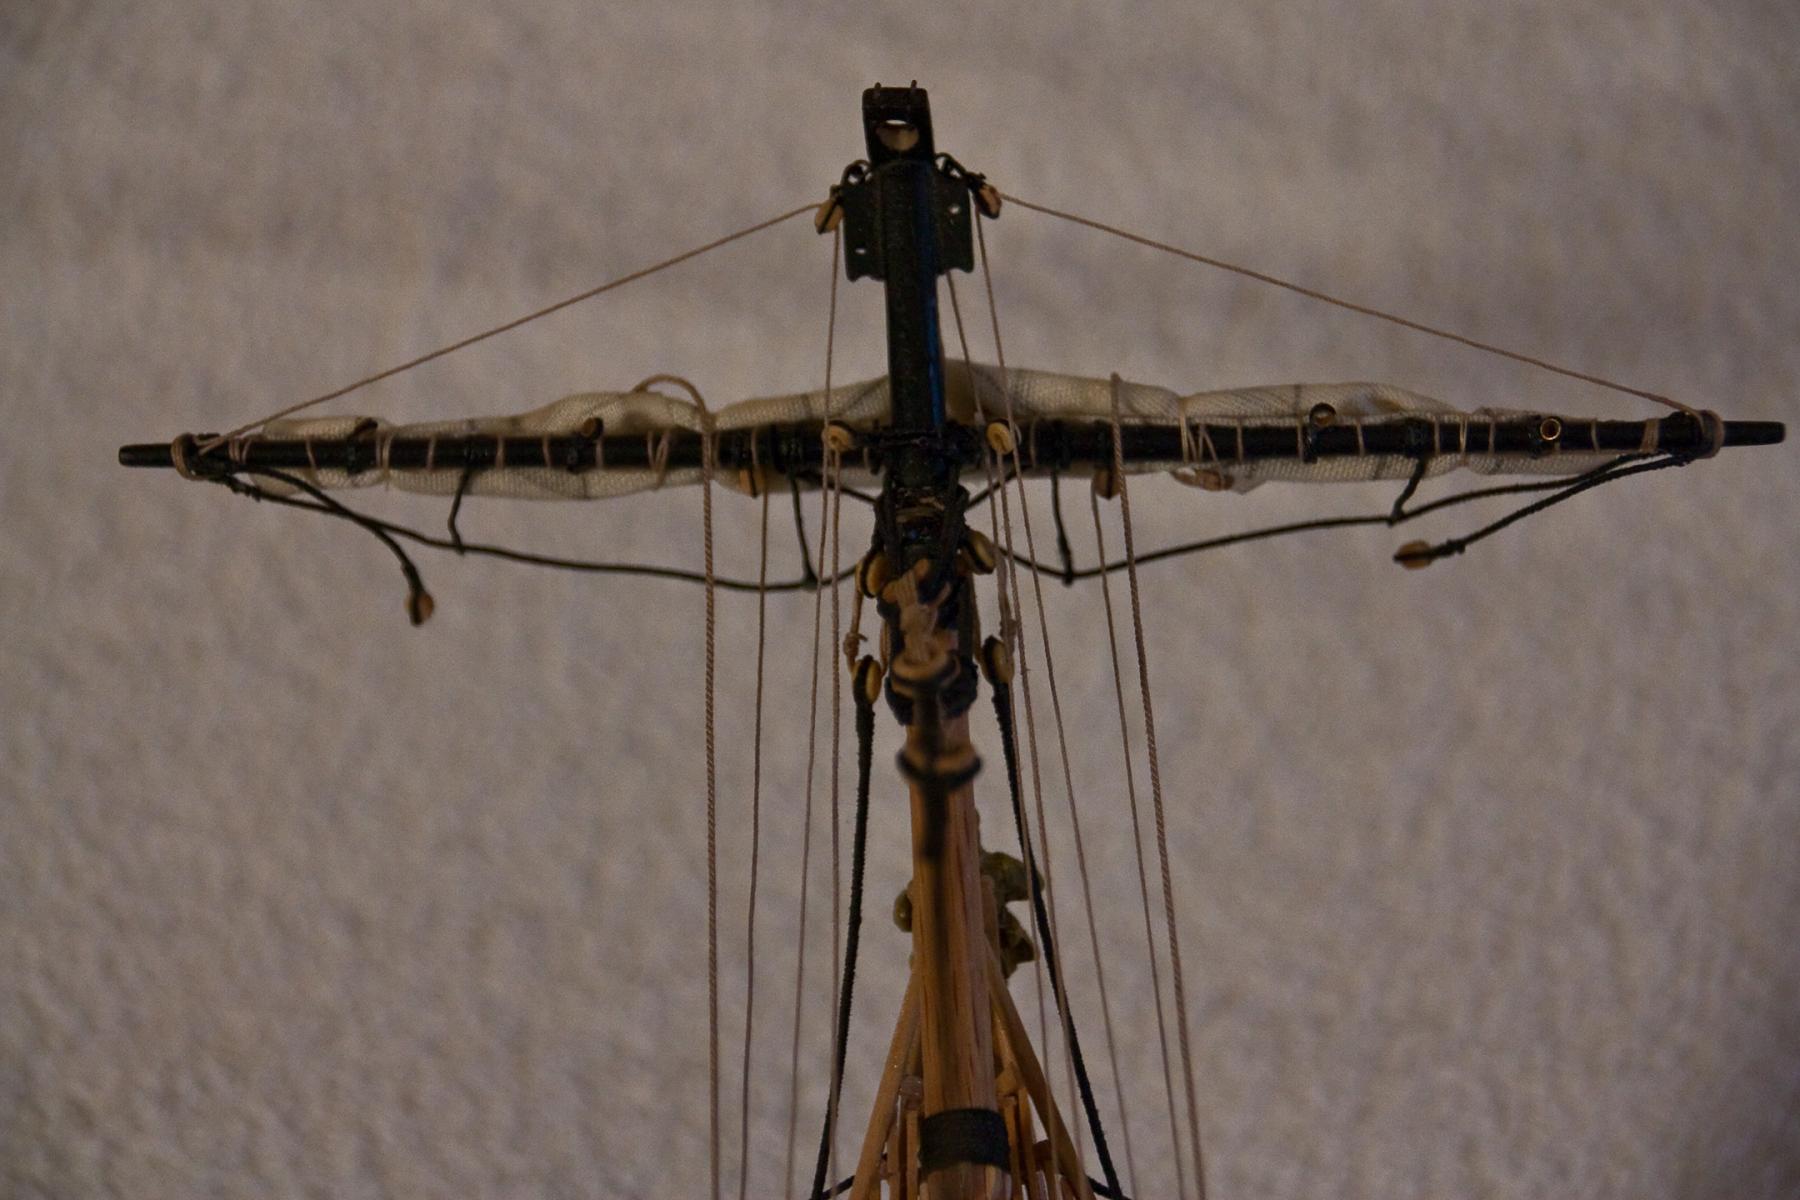
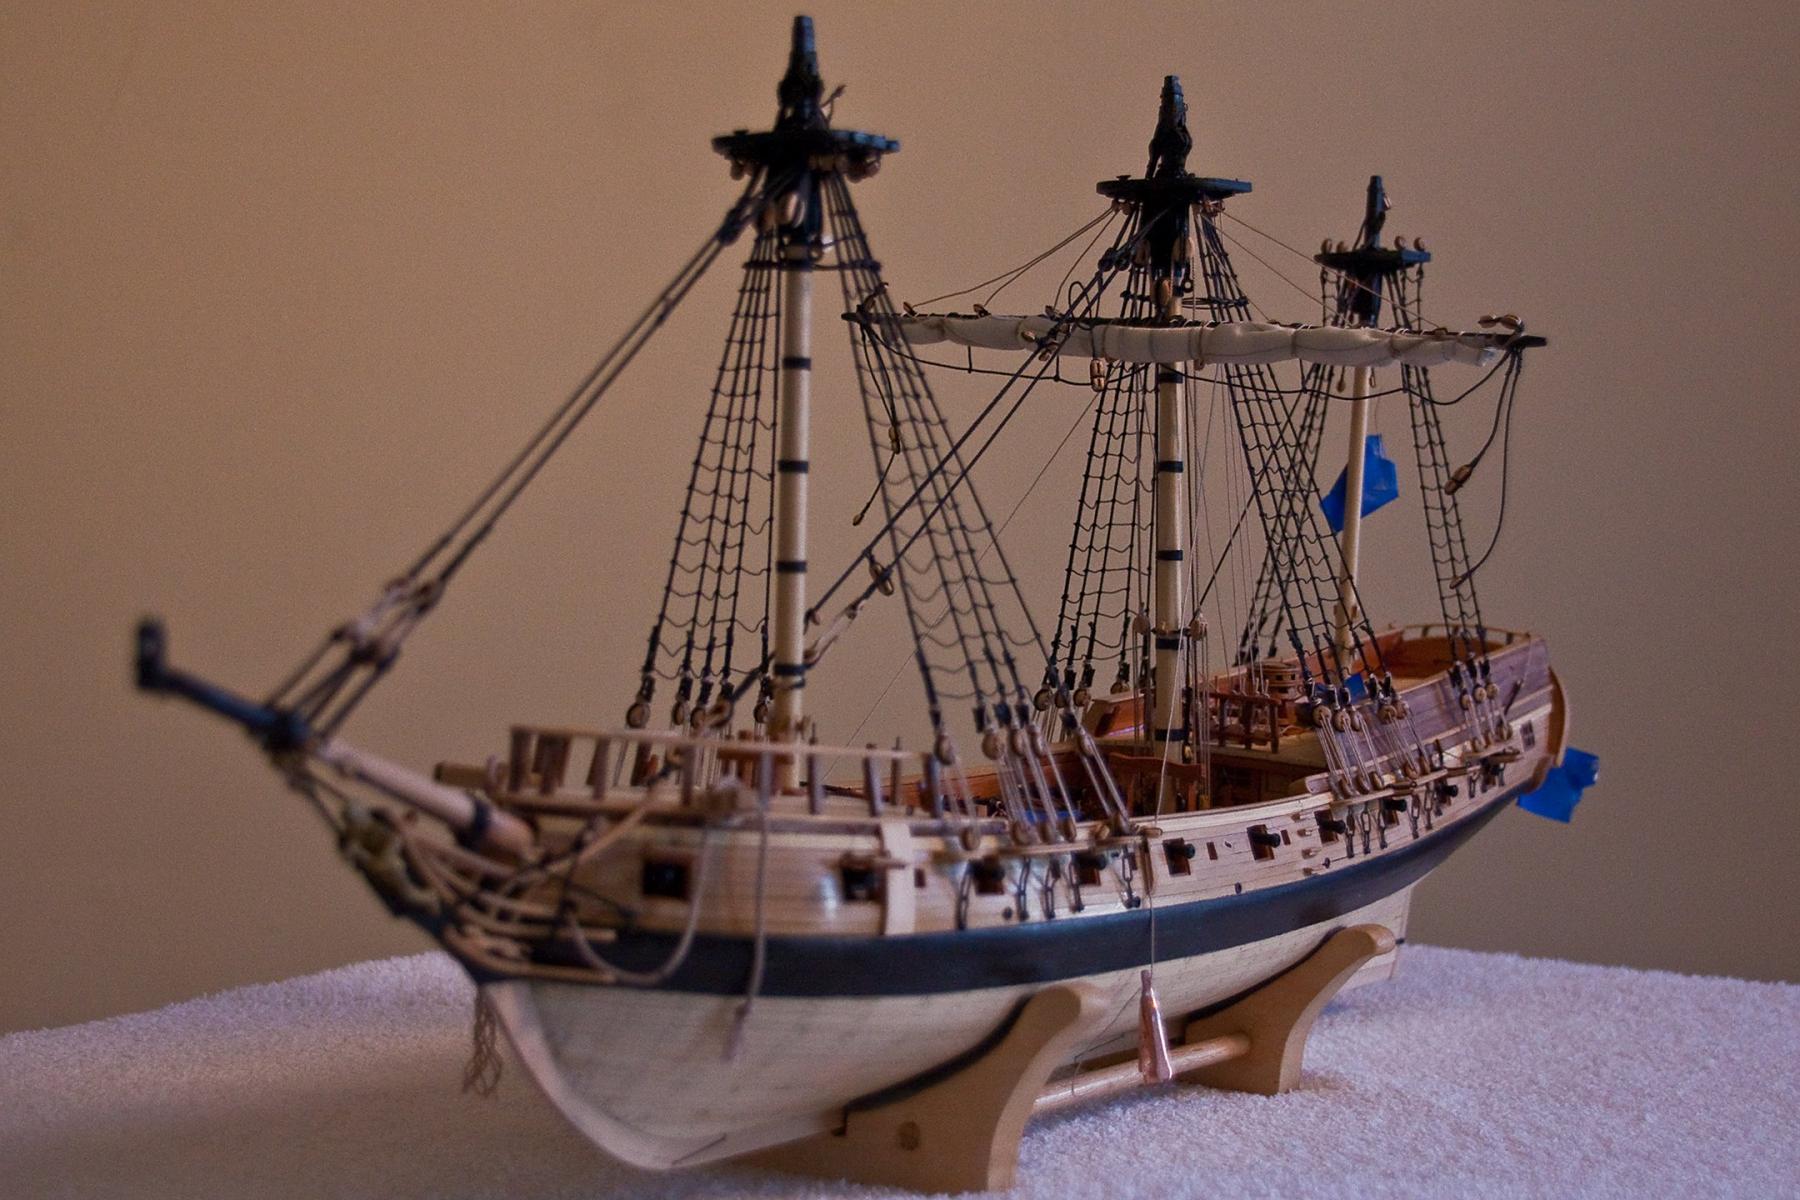
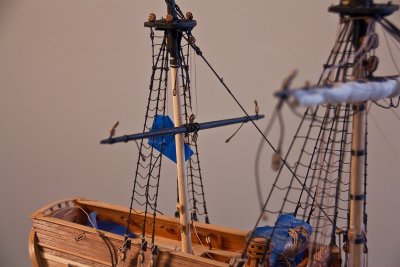
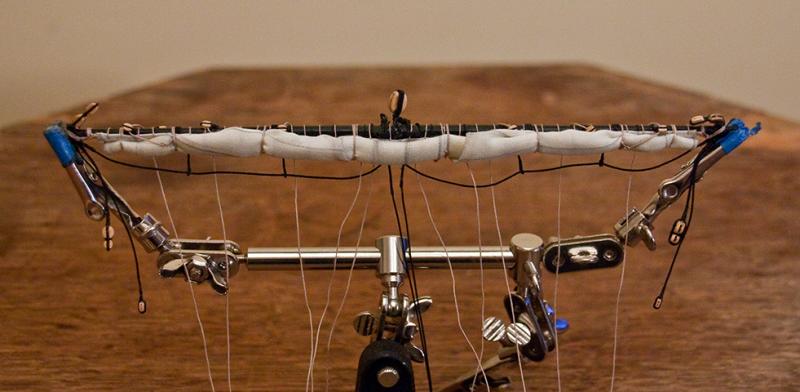
Well, my spritsail is bent to the yard and the spritsail yard crossed to the bow sprint. (I hope I have all the terminology correct). Again, none of the lines are glued into place; and the belaying pins are not glued to the rail either. Also, the spritsail yard is not pined. So it will be positioned later as there will be a lot more lines to keep an eye on.
- 481 replies
-
- 13
-
-
- rattlesnake
- model shipways
- (and 1 more)
-
Great work on the deck furniture. Where did you get the bell? Cheers.
-
Thanks Russ and the 'likes'. So Russ, what is your next project. I enjoy following you modeling. Cheers.
- 481 replies
-
- 1
-
-
- rattlesnake
- model shipways
- (and 1 more)
-
There is also a mention of an Independence in Edgar Stanton Maclay's, "A History of American Privateers" published in 1899. On page 71 he states, "The 6-gun schooner Independence, Captain Nichols, in September, 1776, captured six vessels; ". No mention of where it sailed from. Apparently, there were a lot of privateers with non-unique names at that time.
-
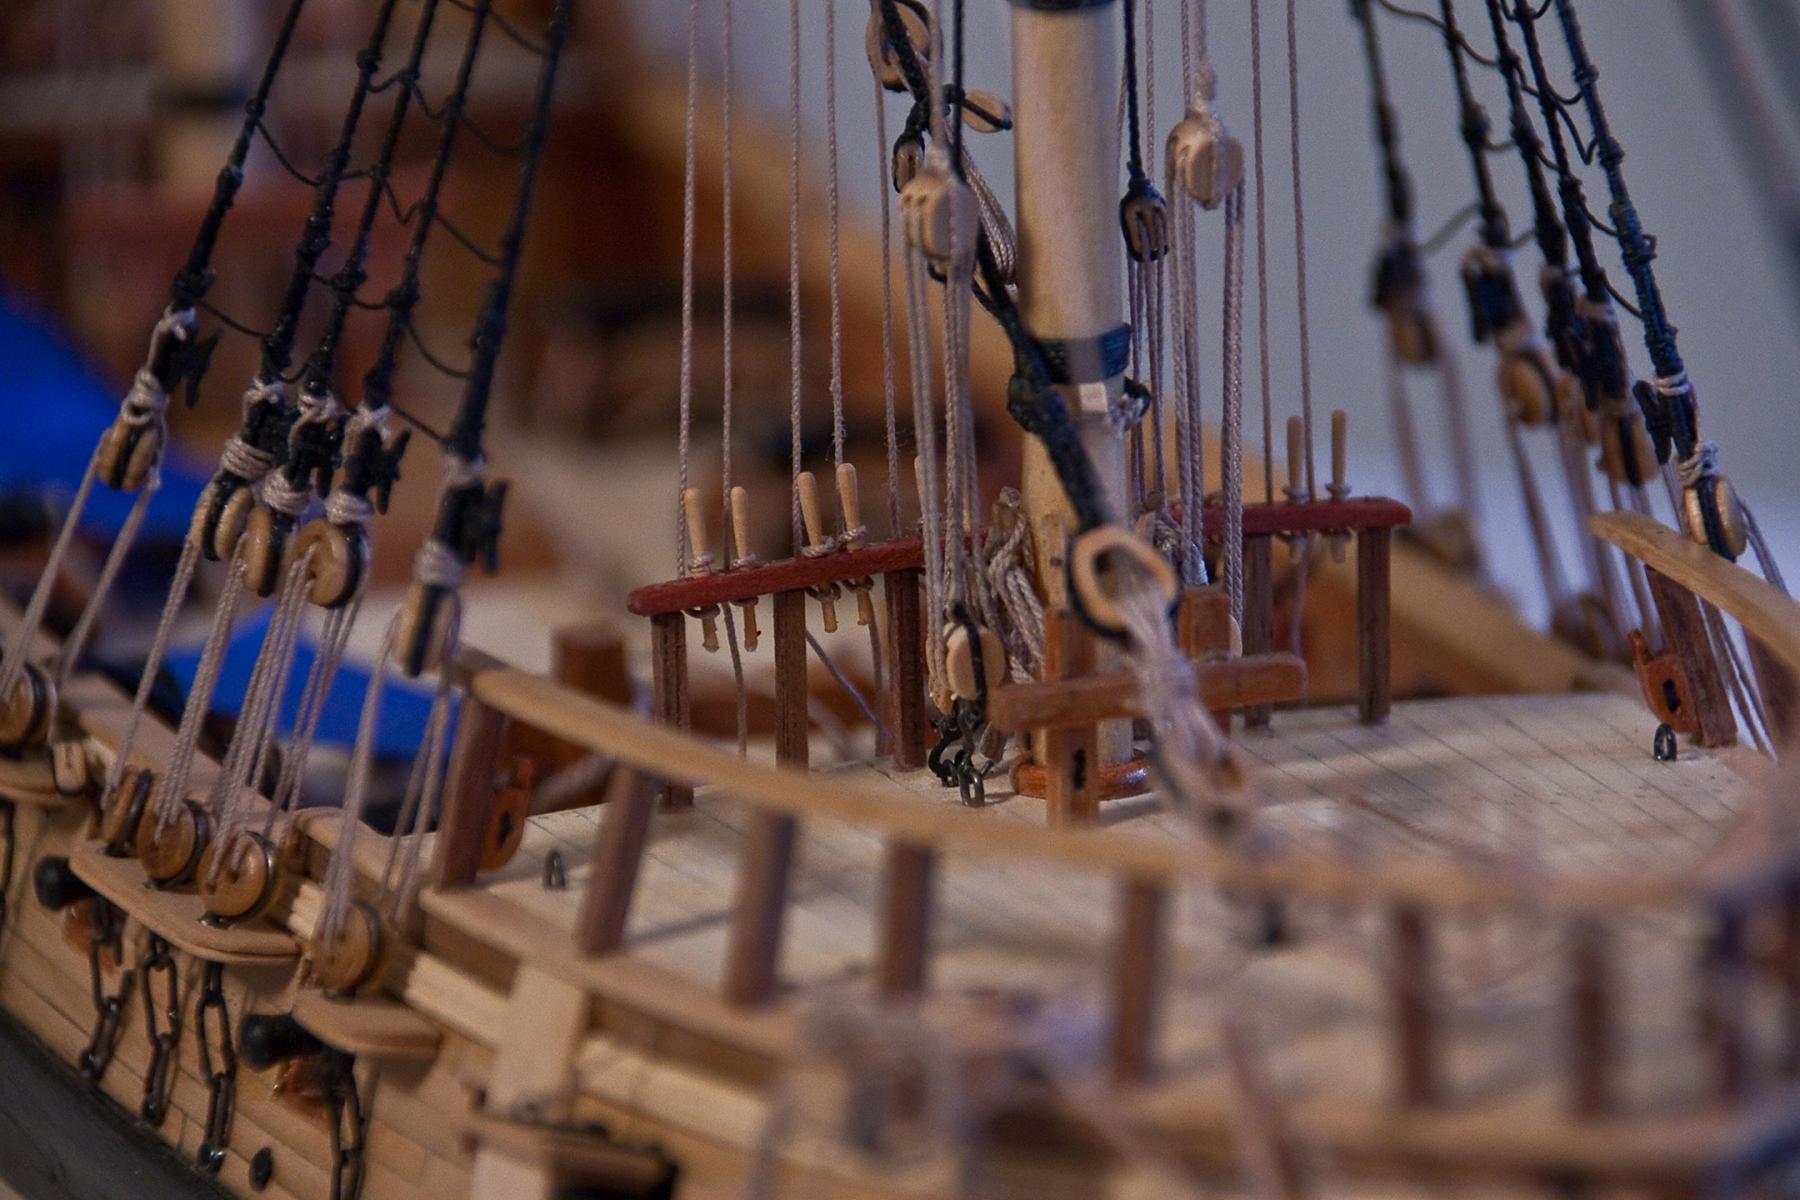
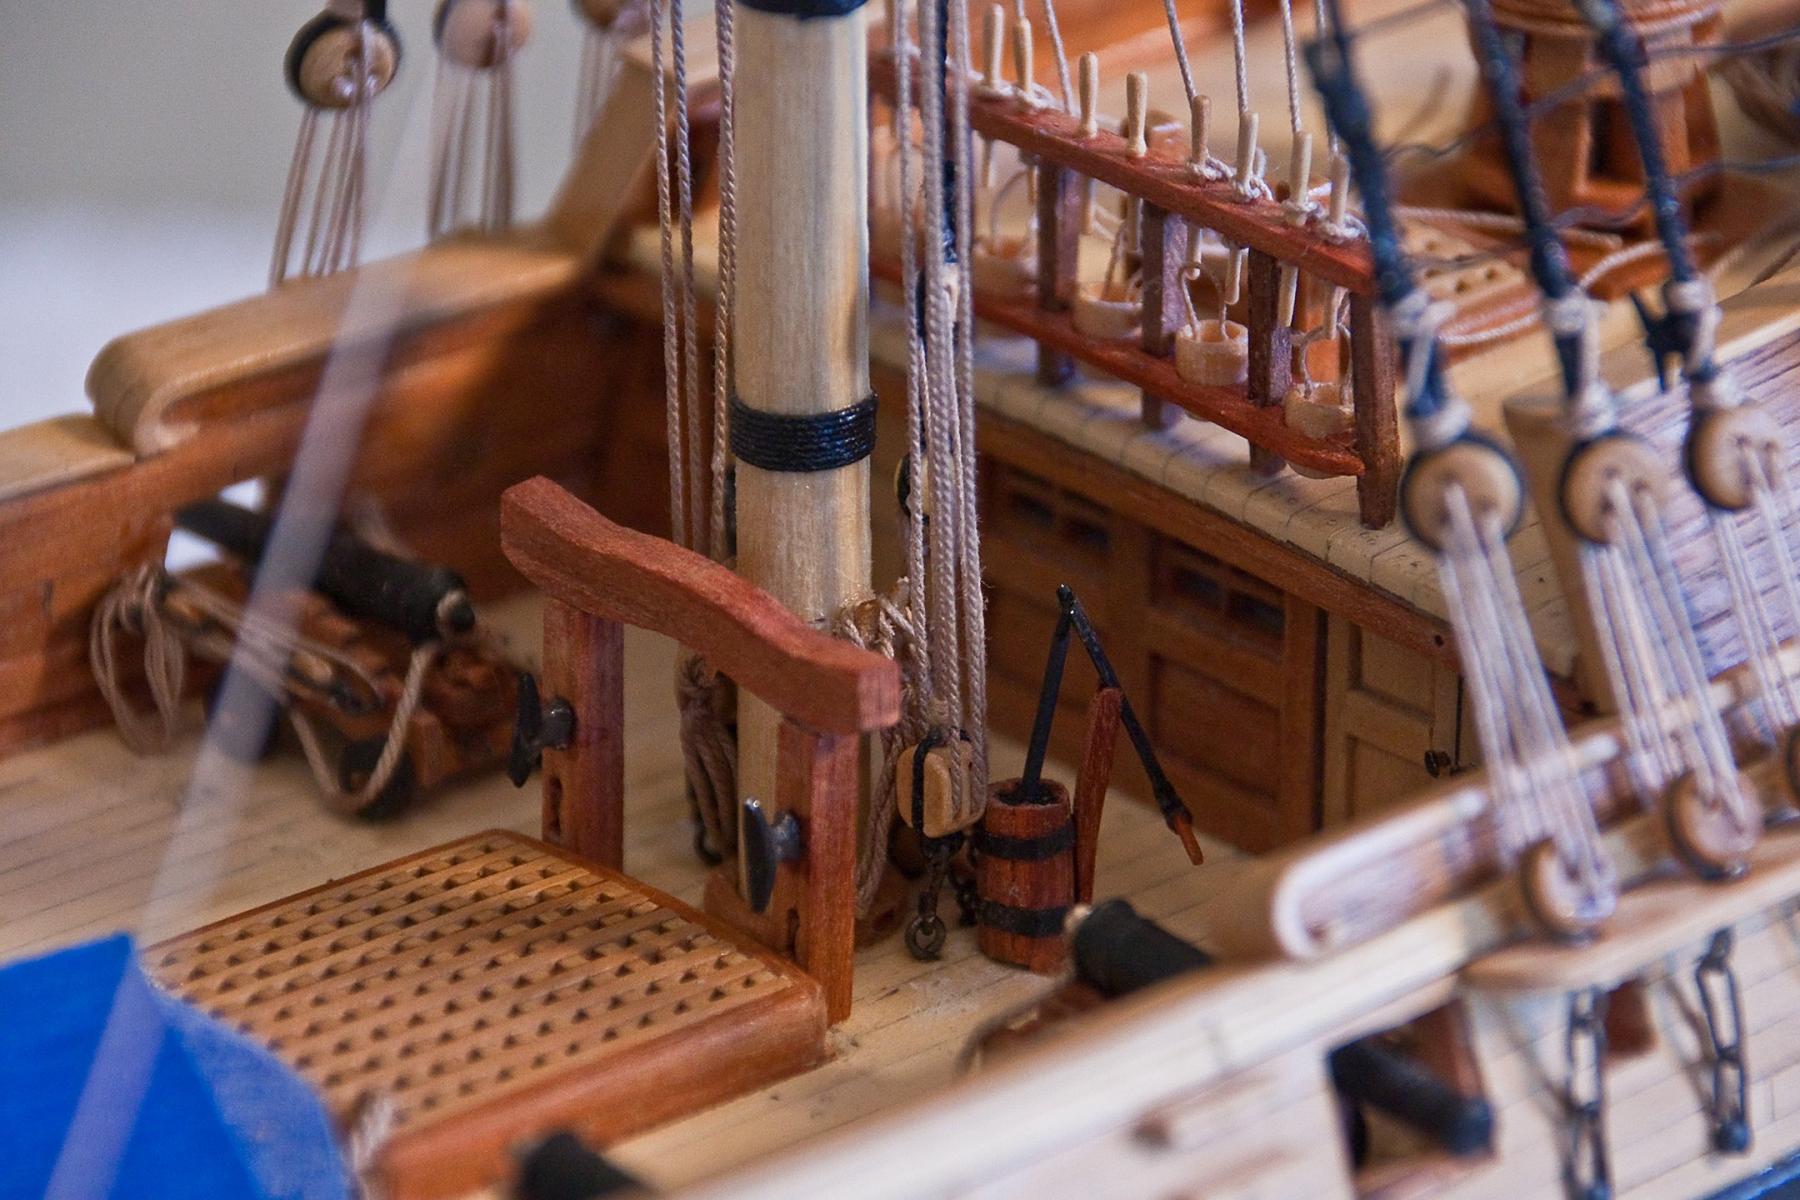
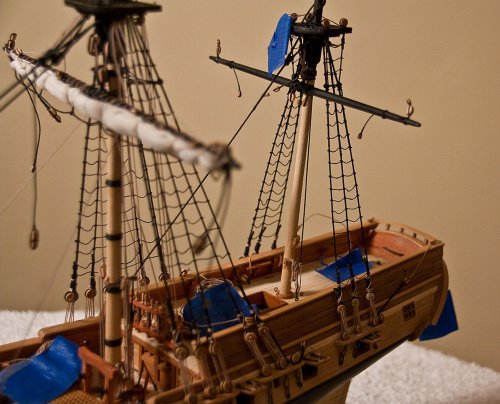
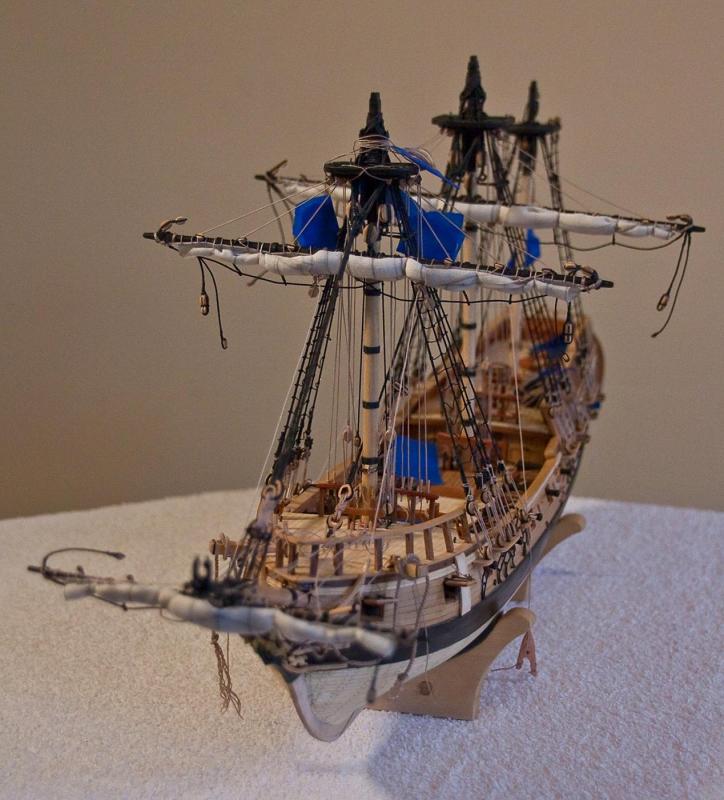
Here is a quick update. As per Jon’s recommendation, I added some of the deck furniture (the pumps and large gallows) as well as the coils for the jeer tackle. However, I don’t think I’ll be mounting the ship’s boat until the sheet is tied off; and the platforms will be the last to be installed. I’d like to point out that the main lower yard is not pinned. It is held in place only by the truss and jeers. So if it looks out of alignment, it will be corrected when I get to the lifts and braces.


- 481 replies
-
- 12
-
-
- rattlesnake
- model shipways
- (and 1 more)
-
Great work Bob. I really like how those crows feet stand out within all that rigging. All I can say is, "WOW!" Cheers.
-
Thanks Jon. So far, I think I'm O.K. I'm worried about the tackles for the ship's boat, but I have a plan. Time will tell.
- 481 replies
-
- 2
-
-
- rattlesnake
- model shipways
- (and 1 more)
-
Thanks Jon. And yes, all the furniture has been made. Now that the truss and jeers tackles have been completed, I will be installing the bilge pumps and gallows soon. I have made the extra fore top mast to hold the ship's boat, but not the fore topmast yard yet. The extended platform and stairs are also ready to go. I'm trying to work form the center out; and I was especially concerned about that small deck space around the main mast. Cheers.
- 481 replies
-
- 2
-
-
- rattlesnake
- model shipways
- (and 1 more)
-
Thanks Russ and E.J. as well as the 'likes'. And I agree, eventually there will be no "open work space". Cheers.
- 481 replies
-
- 2
-
-
- rattlesnake
- model shipways
- (and 1 more)
-
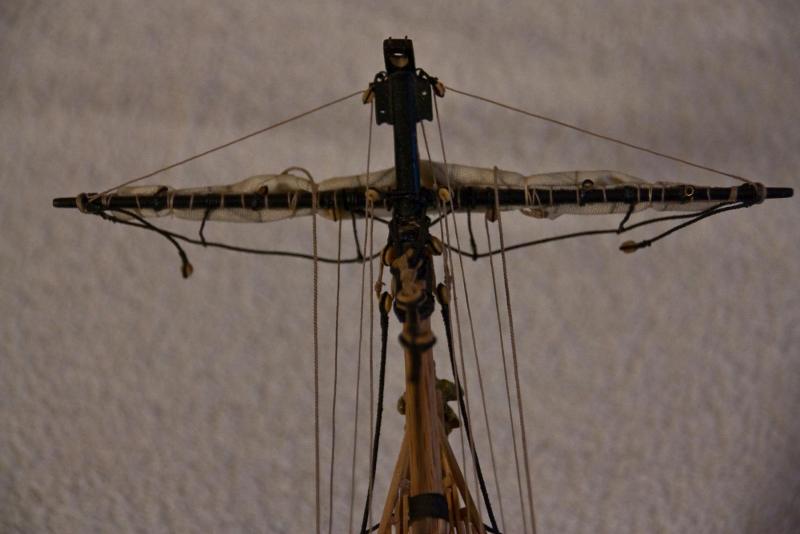
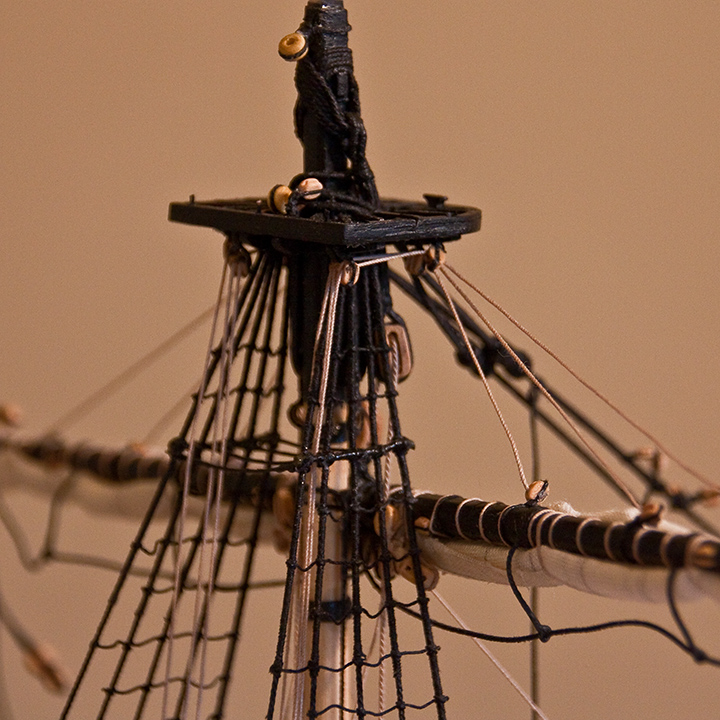
Well, I made the main lower yard and crossed it to the main mast. At this point, I think doing the lower yards now was a good idea. Those buntlines and leech lines were easily rigged and I don’t foresee any problems. So I’ll do the lower fore yard next. As for the details – the first step was to construct the main lower yard. All the blocks have been added as well as the horse and stirrups. Notice that the jeer block is double stropped, as per antscherl. I want to show the model with sails furled. So, the next step was to make the sail along with its lines, etc. Then the sail was bent to the yard. Notice that I included the head cringles and earings before lashing the sail. Next the yard was crossed to the mast and the truss and jeers were rigged. These lines were tied off permanently. The various lines (bunt and leech and clue) were belayed to their pins. These lines are not permanent. I did redo the port side leech line so that it passed between the catharpins after the photo was taken. Belaying pins were added to the main breast rail above the buckets since I am short of tying off points. Notice I still need to add rope coils where the jeer ties tie off to their cleat. I’m thinking that before adding the top masts, I should also do the crowsfeet, and the spritsail yard first as well.


- 481 replies
-
- 14
-
-
- rattlesnake
- model shipways
- (and 1 more)
-
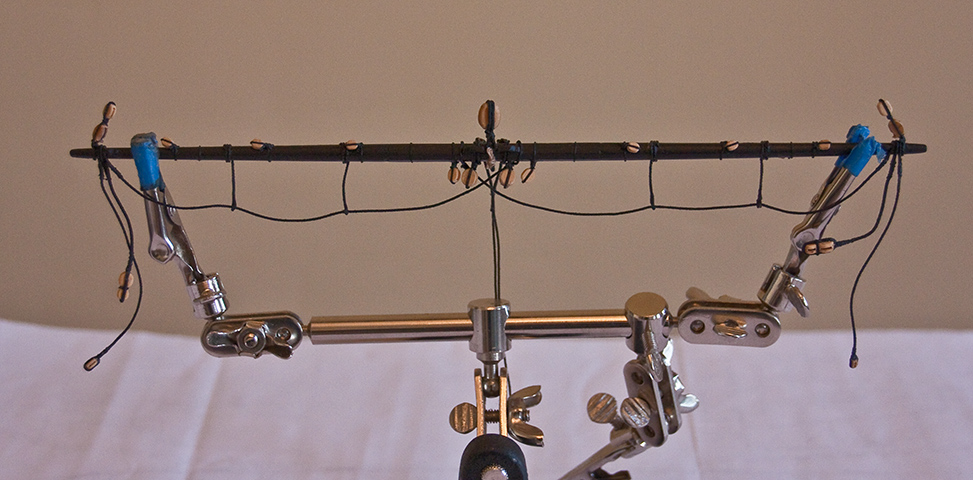
Can you make a traveler ring for those of us working on 1/64 scale? I feel it should have a 3/16 inside diameter.
- 1,051 replies
-
- 3
-
-
- cheerful
- Syren Ship Model Company
- (and 1 more)
-
I hope everyone has a very happy holiday season and that 2017 is a whole lot better than 2016. Cheers
- 481 replies
-
- 5
-
-
- rattlesnake
- model shipways
- (and 1 more)