HOLIDAY DONATION DRIVE - SUPPORT MSW - DO YOUR PART TO KEEP THIS GREAT FORUM GOING! (Only 72 donations so far out of 49,000 members - Can we at least get 100? C'mon guys!)
×


KenW
-
Posts
1,231 -
Joined
-
Last visited
Content Type
Profiles
Forums
Gallery
Events
Everything posted by KenW
-
 I hope everyone has a very happy holiday season and that 2017 is a whole lot better than 2016. Cheers
- 481 replies
-
- 5
-

-
- rattlesnake
- model shipways
- (and 1 more)
-
I should add that there was at least one other privateer called the Rattlesnake during the American revolution. One other was reported in a Philiadelphia newspaper and that ship was run aground in 1779 or 1780 and burnt. The MS kit is based on the lines taken off the ship that was built in and captured off Boston as per the website above.
-
WOW! Excellent work! It seems that perhaps the secret is that the crowsfeet are pulling at the same angle as the stay, rather than against the stay. It has the look like it belongs. Amazing.
-
I must add my congratulations on a terrific build. She will be the 'belle of the ball' at the regatta in July. I have a question for you: I've noticed that several boats like yours have a topsail that extends below the gaff. Will the extended portion of the sail be somehow move to the other side when the boat changes tack? Or does is it always on one side regardless of the tack? Also, what is the method for furling that main topsail? Are there blocks, etc. specifically for that? Thanks and cheers.
-
Thanks Russ, EJ and Dave; as well as the 'likes'. Fortunately (or unfortunately) an American privateer was not obligated to follow the British Admiralty conventions. I can pretty much do whatever I want, but there's no way to know how the boat really looked. Cheers.
- 481 replies
-
- 1
-
-
- rattlesnake
- model shipways
- (and 1 more)
-
Great work, as usual. I really like the way all the shrouds line up on the masthead. Superb!
-
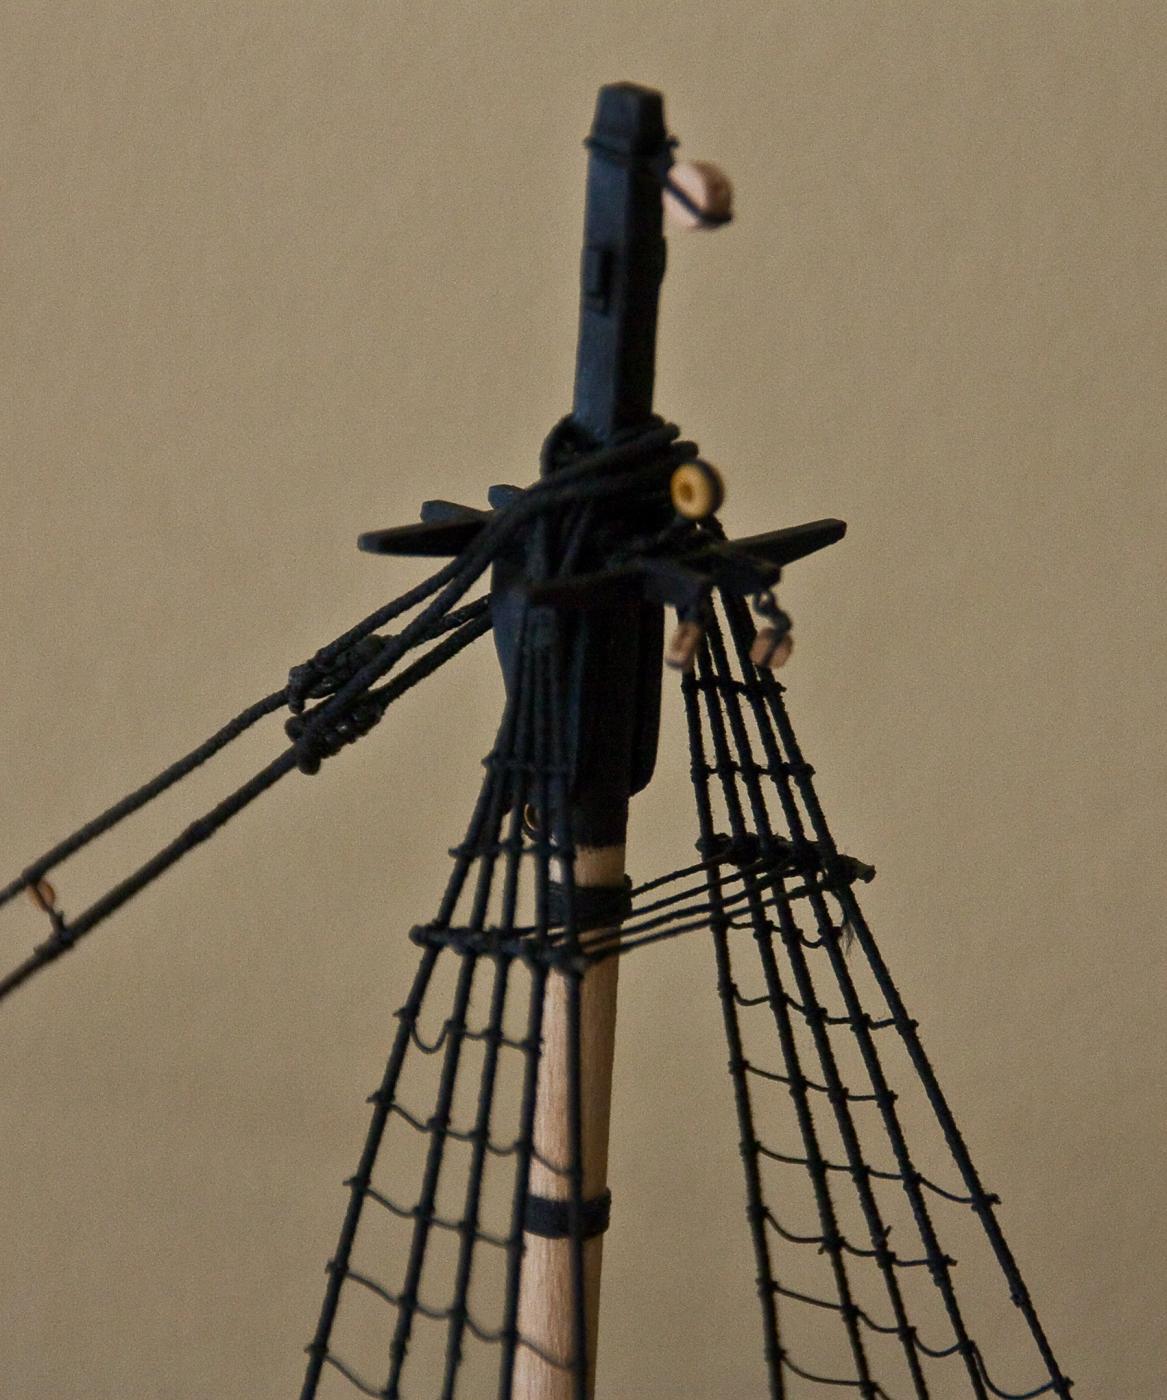
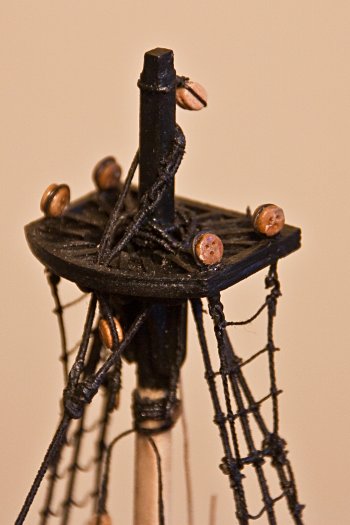
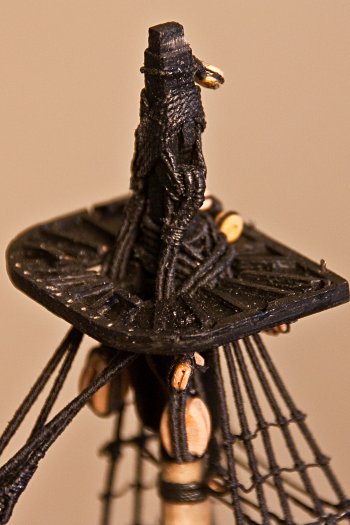
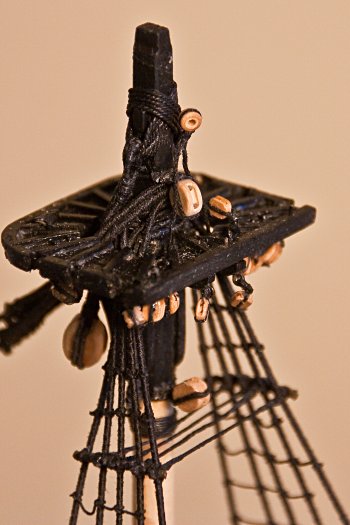
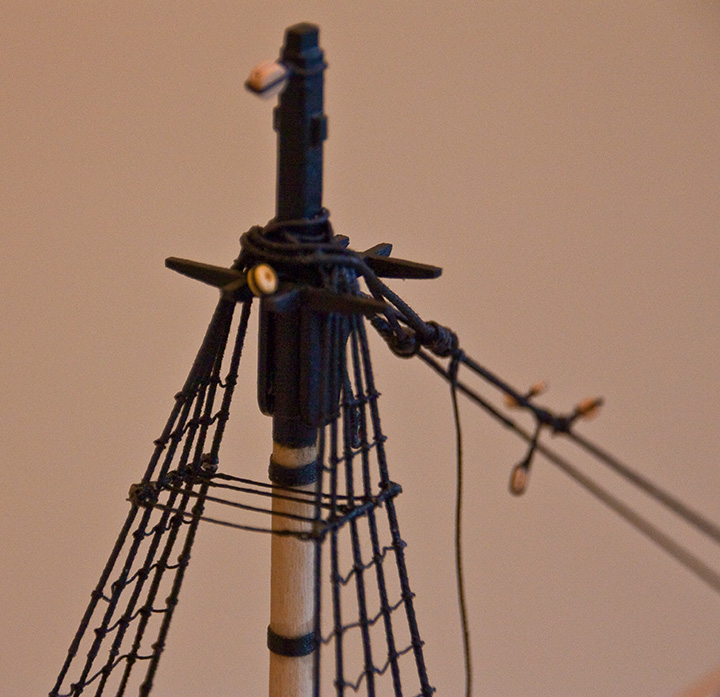
It’s been a whole month since my last post. In that time, I’ve been making many changes to my work. I added the tops and the lower topmast dead eyes. However, the futtock plates tails appear to be too long. So I removed the deadeyes and redid the plates. They were added to the mizzen top only; and their futtock shrouds were installed and ratted down. I’ve been following Antcherls’s book, and I notice differences in the rigging plans for a sixth-rate (which includes a 20 gun ship) and the plans drawn by Campbell and Hahn. So I have to decide which plans, or combination of plans, to use. In the end I made the following changes: 1. I added the mizzen lower yard sling to the mizzen masthead. All of my books state that there are no jeers on the cross-jack. The cross-jack will be suspended by a sling using thimbles (Antscherl, pg. 107 & 105). 2. The mizzen topmast stay attaches to the main top masthead by a thimble instead of a block (Antscherl, pg. 72). I also added the jeer blocks and their tye lashings. The block has the recommended double strop. 3. I added a main topmast preventer stay. It just didn’t seem right that there is a fore topmast preventer stay but no main topmast preventer stay. The main topmast stay’s block was moved down to just above the shrouds and a block for the preventer stay was added just below the hounds (Lees, pg. 56). I also added a main topgallant stay span with a thimble seized into the foremast trestle trees (Antscherl, pg.84) The cross-jack top with futtock shrouds and a sling with thimble: The main top with jeers blocks lashed and mizzen topmast stay thimbles: The fore top with jeers blocks lashed, plus the main stay and preventer stay blocks and main topgallant stay span with thimble: I’m sure there will be more modifications to the MS kit rigging plans as work progresses. While making all these changes, I couldn’t help but notice how wide open the space under the fore and main tops is. It seems that it will be easy, at this stage, to add the main lower yard and tie its truss and rig its jeers. Also, the bunt and leech line blocks are easily accessible. So I’m considering, at this point, making the main lower yard and then experimenting. None of the lines would be permanently tied off. And I will be able to remove anything if it turns out that my idea doesn’t work out and something is in the way. It should be interesting. If it all works out, I’ll add the fore yard (and probably the cross-jack yard) as well.
- 481 replies
-
- 11
-
-
- rattlesnake
- model shipways
- (and 1 more)
-
Congratulations! Your model looks like you can almost "taste" its completion. Shouldn't take much longer. It looks like an outstanding model. Be happy; be proud. Cheers.
- 974 replies
-
- 3
-
-
- rattlesnake
- mamoli
- (and 1 more)
-
Hey Mike. Nice, beautiful clean work. I wish I could do the same. Great model. See you Tuesday, hopefully. Cheers.
- 452 replies
-
- 3
-
-
- cheerful
- Syren Ship Model Company
- (and 1 more)
-
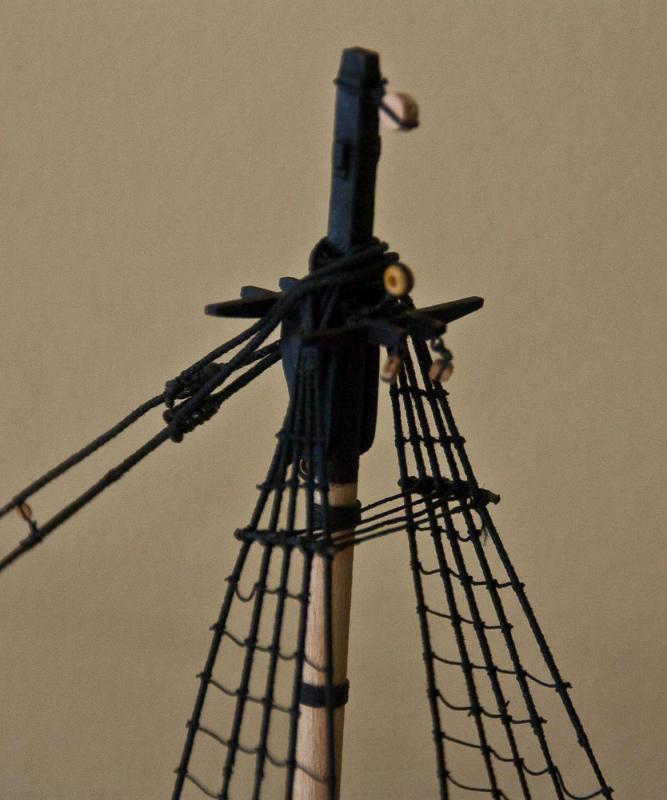
The fore shrouds were completed so I finally have all the lower shrouds on the ship. Again, there are no sheer poles as per Antcherl’s book. Catharpins were also added; and I used the same method of constructing them as on the main mast. It only took 7 tries this time to get four catharpins the same length. And, finally, the fore stays were installed. Following Antcherls’s book, my next task is to make and add the tops.
- 481 replies
-
- 14
-
-
- rattlesnake
- model shipways
- (and 1 more)
-
WOW! Thanks guys. I like all of these suggestions; and will try them out. Thanks again.
-
Tribarltron - I ordered this tool as well. I'll see which can handle the very small dowels I'm using. Thanks.
-
Thanks Prowe. This tool is cheap enough so I will try it out. My only concern is that I want to find the center of very small (1/32 or 1/16) dowels. Thanks also to Thibarltron. I will research this tool.
-
Is there a trick or jig that I can use to get the exact center of a dowel? Should be able to work with various sizes of dowels. Thanks.
-
This may be a stupid question but ... Back in Sept. (entry #225), you were making your lower mast. You wanted to "delineate and complete the square section" before you rounded of the rest of the mast. You made saw cuts - and you "used an off cut to establish the proper depth". What is an "off cut"? Thanks.
- 452 replies
-
- 3
-
-
- cheerful
- Syren Ship Model Company
- (and 1 more)
-
Great work! Glad to see you don't 'forget' the Independence.
-
Yeah Jon, that sounds like a good idea. I may try that out on the fore mast. Thanks.
- 481 replies
-
- 2
-
-
- rattlesnake
- model shipways
- (and 1 more)
-
Thanks. Jon: First I measured the distance between the two foremost shrouds. Then, I cut pieces of line, all the same length, allowing for the splices. I splice loops in each end of the lines, measuring as I go to try to get four the same length as the distance between the foremost shrouds. After about 10 tries, I got the four I needed. The hard part is getting four the exact right length.
- 481 replies
-
- 2
-
-
- rattlesnake
- model shipways
- (and 1 more)
-
Thanks Russ, E.J., Bob and Don; as well as all the 'likes'. I'm still trying to decide if it's worth it to snake the two main stays. Cheers
- 481 replies
-
- 2
-
-
- rattlesnake
- model shipways
- (and 1 more)
-
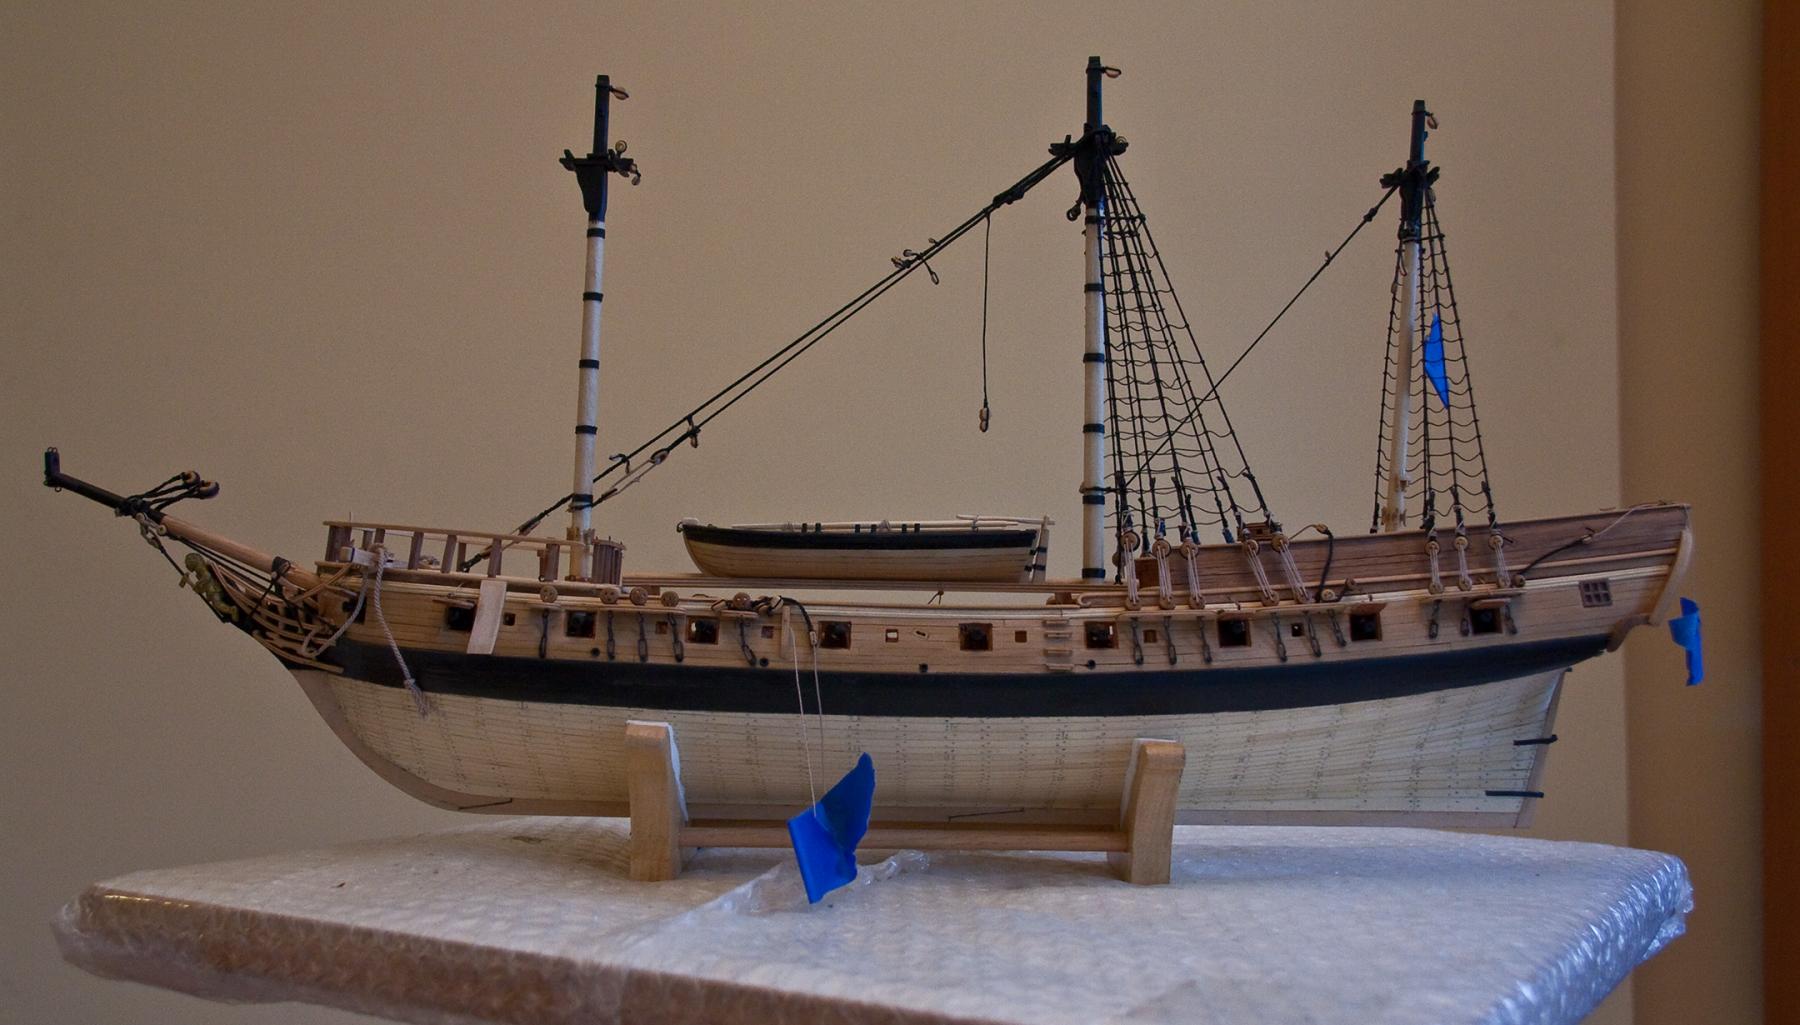
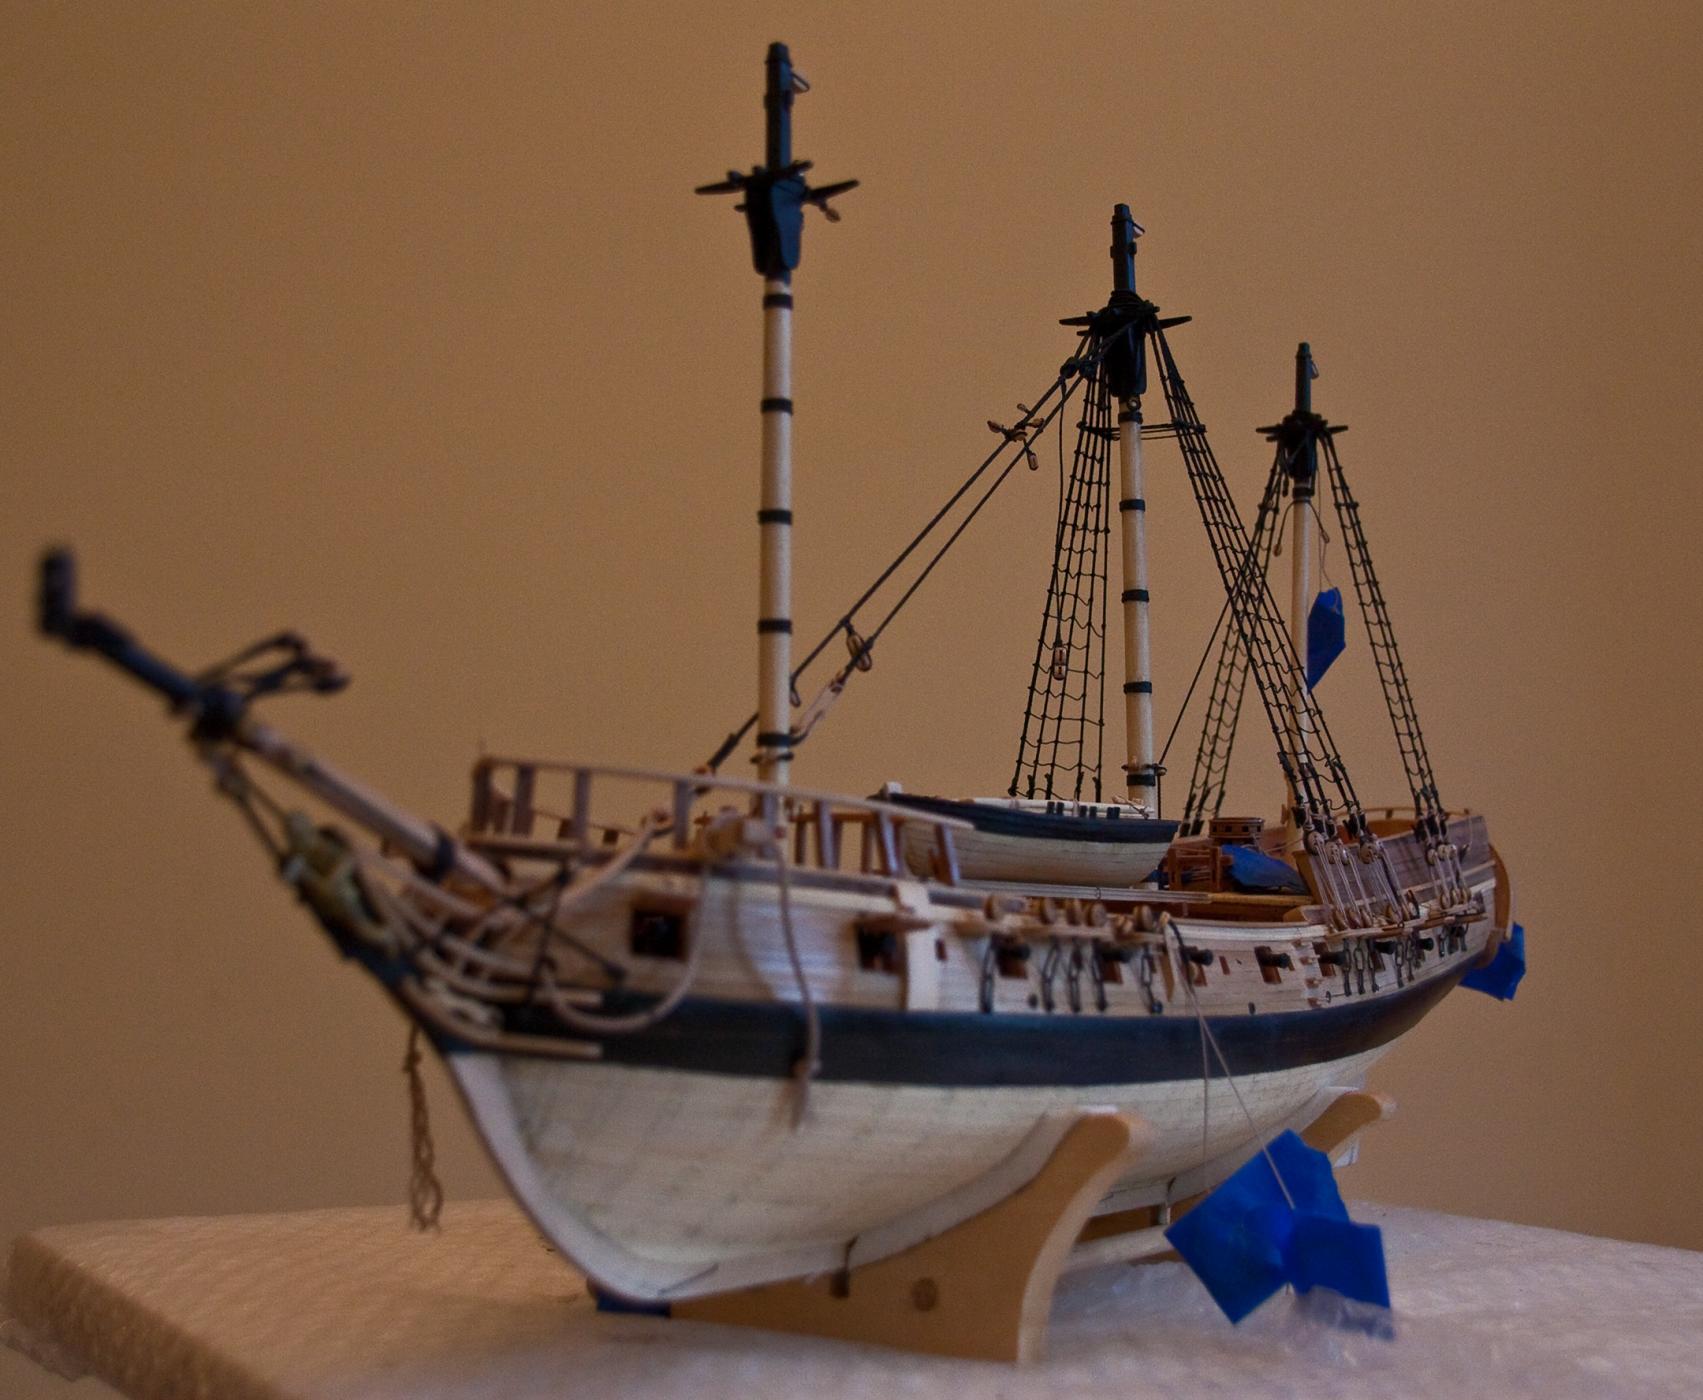
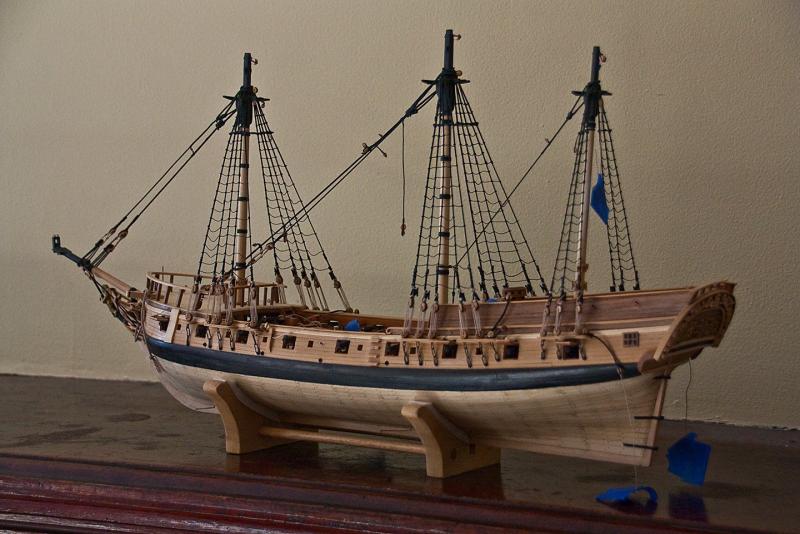
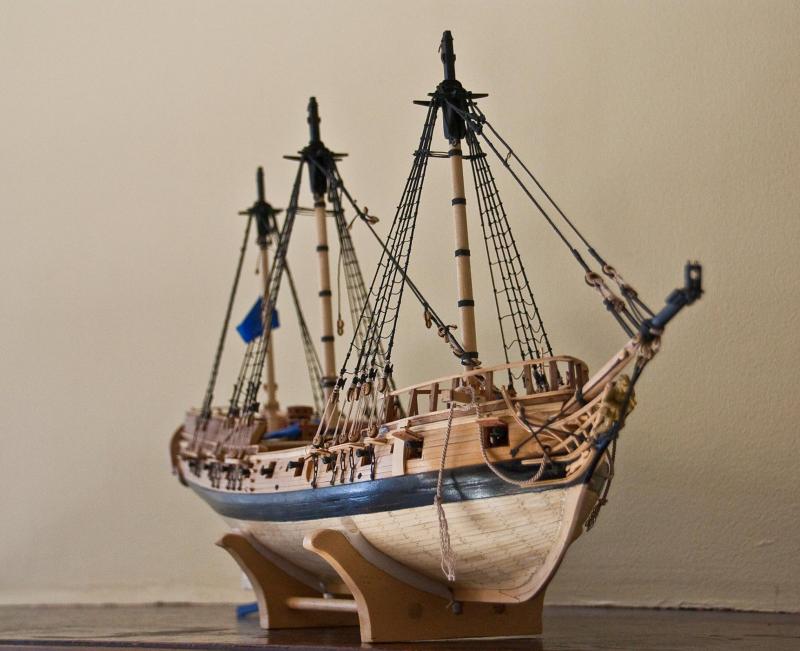
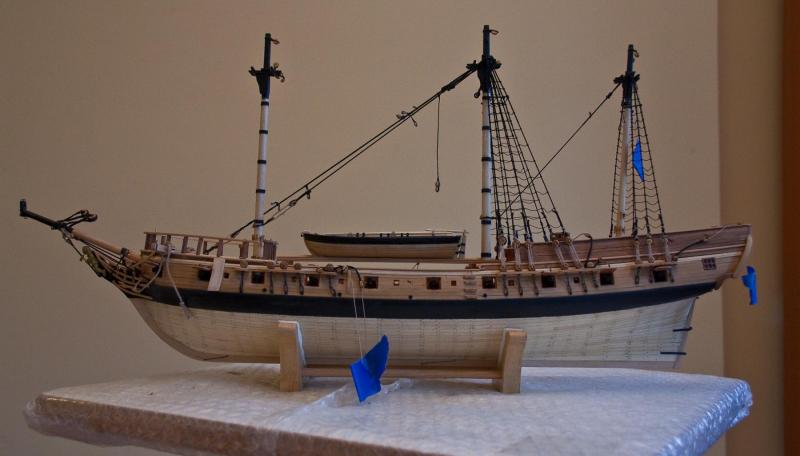
Another long period with no updates to the log. I’d work a lot faster if I didn’t make so many mistakes. And I promised myself that if it’s not right, I would tear it out and do it again. So the main shrouds are installed, and ratted. (I ratted the mizzen shrouds, as well.) The mizzen and main stays were also added. All the blocks, etc., that attach to the stays were put in place before the stay was permanently installed. Included is the main stay tackles used to launch the ship’s boat. For the photos, I temporarily added the gallows along with a couple of spare dowels so I could see what the boat looks like. So far, so good. And I want to point out that I added catharpins to the main shrouds.

- 481 replies
-
- 9
-
-
- rattlesnake
- model shipways
- (and 1 more)
-
Great work as usual. It looks like each bowsprit guy is hooked to an eyebolt that already has a block seized to it. Is that true? Cheers
- 1,051 replies
-
- 4
-
-
- cheerful
- Syren Ship Model Company
- (and 1 more)
-
Excellent work. And the photos don't show how outstanding your workmanship really is.
- 452 replies
-
- 5
-
-
- cheerful
- Syren Ship Model Company
- (and 1 more)
-
Thanks. I'm planning to build this ship in the future. So I'll have to re-read you earlier posts at some point. Can't wait to see your finished product. Your skills are outstanding. Cheers.