HOLIDAY DONATION DRIVE - SUPPORT MSW - DO YOUR PART TO KEEP THIS GREAT FORUM GOING!
×


KenW
-
Posts
1,231 -
Joined
-
Last visited
Content Type
Profiles
Forums
Gallery
Events
Everything posted by KenW
-
 Great work Chuck. Can't wait to see it on Tuesday.
- 1,051 replies
-
- 3
-

-
- cheerful
- Syren Ship Model Company
- (and 1 more)
-
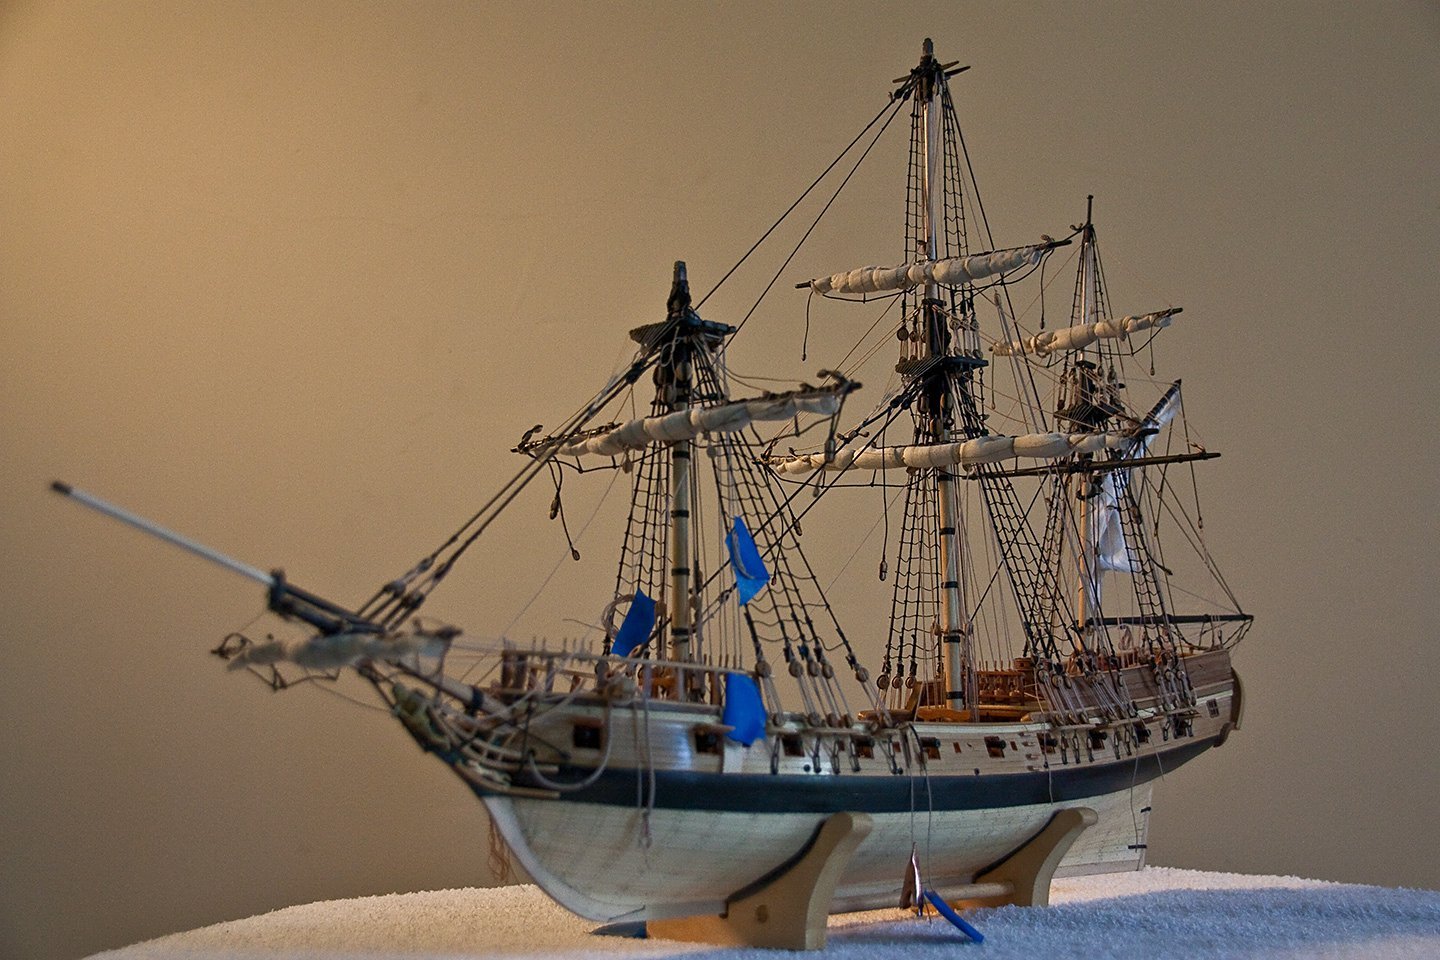
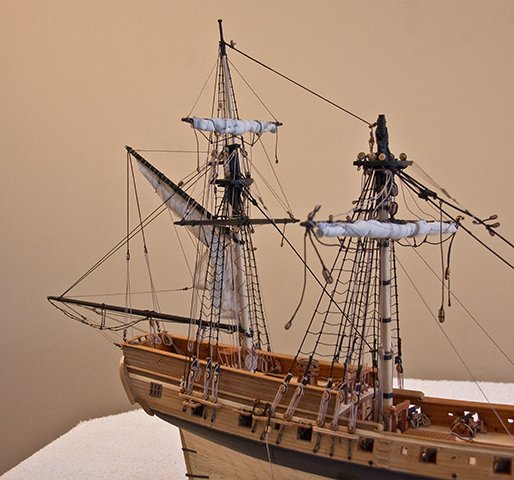
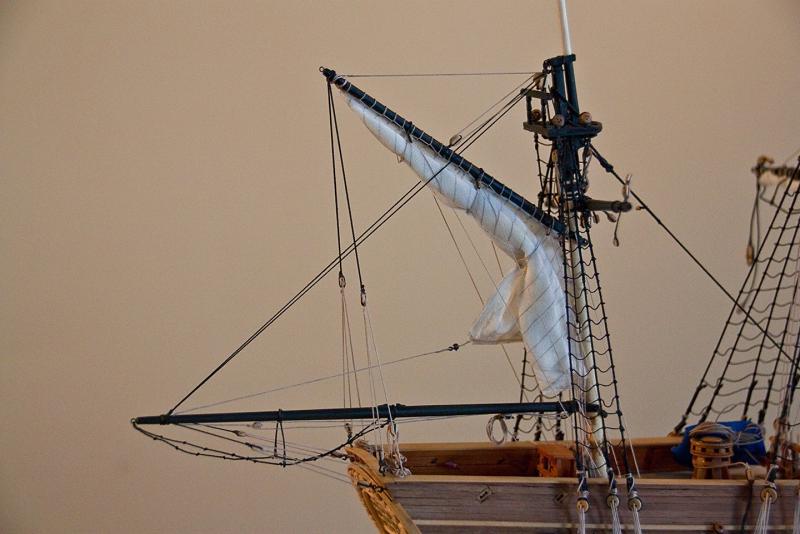
I finally added the fore topmast and its topsail yard and sail. Everything is the same as the main topsail mast, yard and sail. I also rigged the fore topsail stay and preventer stay. I have not rigged the jib stay at this time. There are a lot of lines to be added to the bow area, and I’m worried that lines will have to be added in a set order, and I’m not sure yet what that order is. I’ll be doing the main top gallant next and, hopefully, tying of some of those lines that have been left dangling.
- 481 replies
-
- 10
-
-
- rattlesnake
- model shipways
- (and 1 more)
-
Great workmanship. You brush on some weathering powder and then "buff it off." What do you use to buff it? Thanks.
- 1,051 replies
-
- 4
-
-
- cheerful
- Syren Ship Model Company
- (and 1 more)
-
Congratulations again.
-
Great looking model Bob. The usual well crafted and clean workmanship. Cheers
- 682 replies
-
- 3
-
-
- halifax
- lumberyard
- (and 1 more)
-
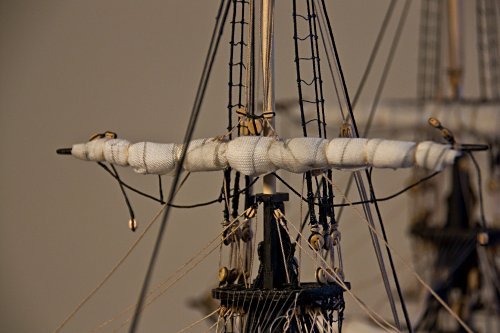
Thanks Russ and Jon. And, yes, the sails are full size rolled up. Since my last model had sails half size rolled up and seemed small, and this model is full size, then I agree with Russ: I'll try 2/3 or 3/4 next time. I also want to try silkspan. Cheers.
- 481 replies
-
- 1
-
-
- rattlesnake
- model shipways
- (and 1 more)
-
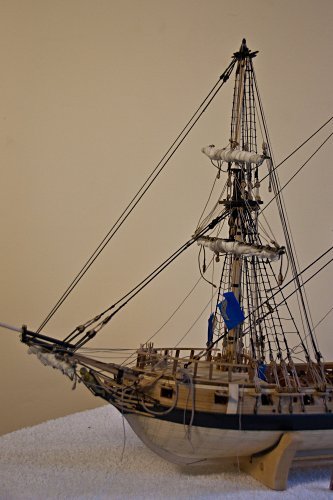
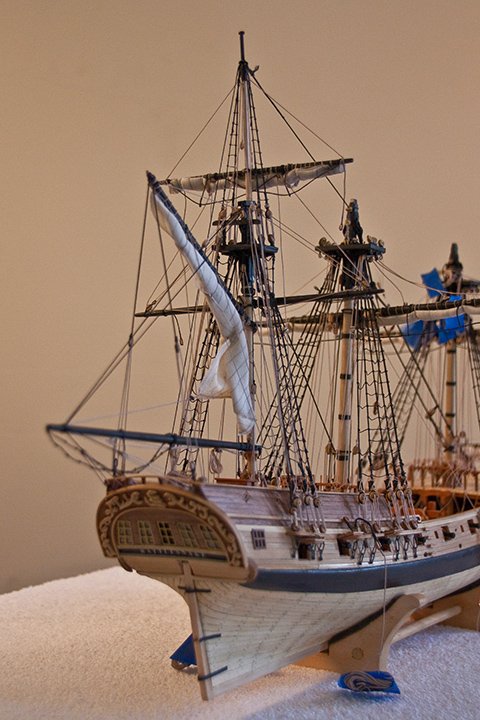
I’ve added the main topmast and main topsail yard with its sail. The area of this sail is really large, even larger than the main course on my model. I’m starting to wonder if I should be making the sails to be full size. I thought that the sails on my last model, which were half size, were too small; now I’m thinking these may be too big. No turning back now, however. My sail plan is a cross between David Anscherl’s and the kit’s plan drawn up by George Campbell based on Harold Hahn’s plans. My decisions are based on what I feel looks and/or seems right. Most of the lines are still not tied off. I’m waiting until the top gallant lines are all in place. Now I’m off on a 12 day vacation, so the shipyard will be quiet for a while.


- 481 replies
-
- 15
-
-
- rattlesnake
- model shipways
- (and 1 more)
-
You have a really great model going there! One question: How did you determine which woods, and their pattern, for the hull? Was that part of the kit's instructions? Thanks.
- 608 replies
-
- 3
-
-
- la couronne
- corel
- (and 1 more)
-
On the Chaleur and Hannah, the fore mast boom rest causes the boom to be 'levell' with the main mast boom. That looks right to me. On the other hand, a lot of photos of these type boats have a loose-footed sail on the fore mast. I'd choose between these two options. Just my 2 cents. Cheers.
-
Thanks for the kind words Dave, Russ, E.J., Don, Bob, Jon and Tom; as well as to all the 'likes'. Cheers.
- 481 replies
-
- 1
-
-
- rattlesnake
- model shipways
- (and 1 more)
-
The mizzen mast is fully rigged. It involved adding the topsail yard and sail. All the lines had to be tied down while not interfering with the lines going to the small pin rail that I added for the spanker brails. Everything looks good at this point. There are still a couple of ‘empty’ pins, but they will be used later for various braces. I learned on my last build that braces are best left to last. So now it is on to the main mast.

- 481 replies
-
- 16
-
-
- rattlesnake
- model shipways
- (and 1 more)
-
Your build is really looking good. Working with the grain is always a good idea. Cheers
- 420 replies
-
- 2
-
-
- captain roy
- lugger
- (and 2 more)
-
Can't wait to see your latest build. I'm really into the colonial period, and I like the look of that ship. Good luck and Cheers.
- 682 replies
-
- 3
-
-
- halifax
- lumberyard
- (and 1 more)
-
Really great job; I enjoy watching your log. What scale is the sailor? Cheers.
-
Congratulations! Another skillfully constructed model. I've enjoyed your logs for a few years now, so I look forward to the next one. Cheers.
-
Looking great Mike. Hope to see you at the next meeting. Cheers.
- 452 replies
-
- 3
-
-
- cheerful
- Syren Ship Model Company
- (and 1 more)
-
Thanks Jon. I should look into the press stand. Did the X-Y table come with the drill press stand? Cheers.
- 481 replies
-
- 1
-
-
- rattlesnake
- model shipways
- (and 1 more)
-
Thanks Russ and E.J. I was leery of the fly fishing line myself, but am pleased with the way it turned out. The line isn't that easy to work with, however - very thin.
- 481 replies
-
- 2
-
-
- rattlesnake
- model shipways
- (and 1 more)
-
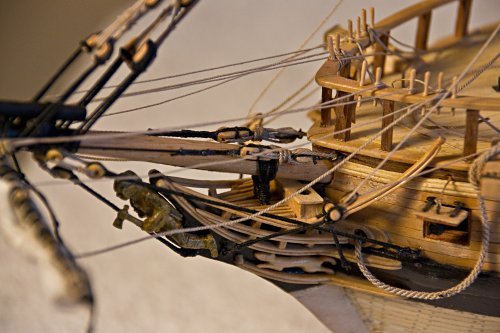
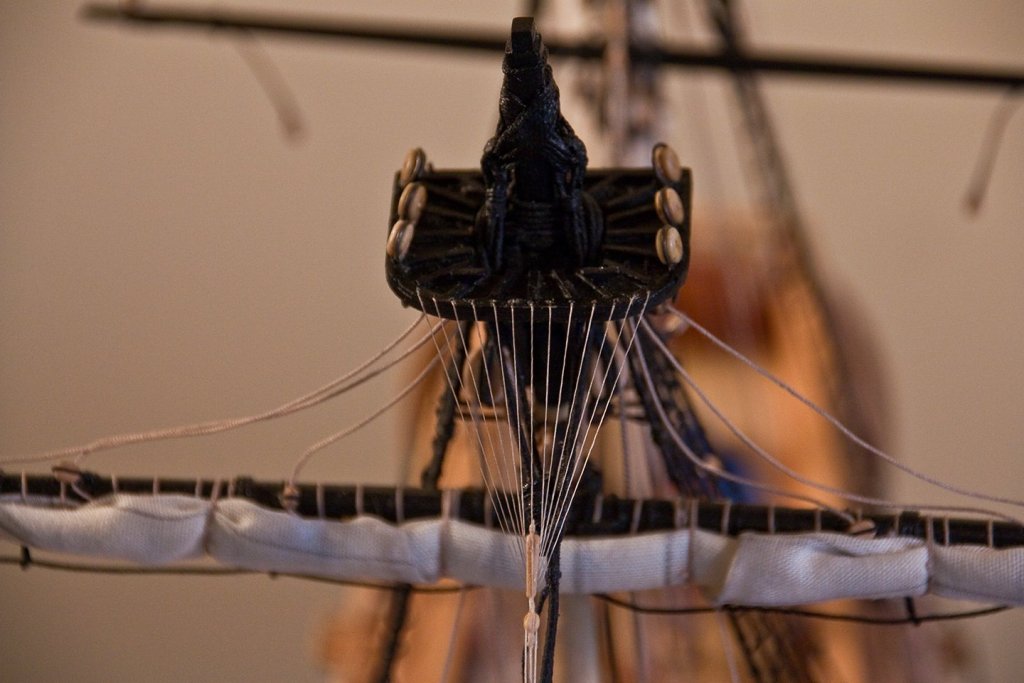
The crowsfeet weren’t as hard as I thought. The hardest part was making the euphroes. I don’t have a power drill, other than my Dremel. I made the euphroes with my hand held drill. I used a 1/8 x 1/16 strip and used my xacto to make a score down the middle of the 1/8 side. The score helped keep the holes lined up, and just used my awl to mark where the holes should be. After the holes were drilled, I used a sanding stick to get the width and thickness down to where it should be. The crowsfeet line I used was that recommended by Antscherl. The line was fly fishing line with a weight of 6/0, and it’s very thin. It was hard to capture on camera.

- 481 replies
-
- 14
-
-
- rattlesnake
- model shipways
- (and 1 more)
-
What kind of lathe are you using? It looks like it is more than just your dremmel, yet it can deal with small pieces of wood. Excellent work on the model.
- 653 replies
-
- 3
-
-
- trabakul
- marisstella
- (and 1 more)
-
I'll follow your build, but I don't think I do anything special. I just plod along like everyone else. I really like going to meetings of my local club. Hopefully you have one near by. Cheers.
- 481 replies
-
- 1
-
-
- rattlesnake
- model shipways
- (and 1 more)
-
Thanks Russ, E.J., Dave and Jon; and the 'likes'. I'm including crowsfeet because they are on Harold Hahn's plans. As usual, I'm following Antscherl's method as described in his, "The Fully Framed Model", volume 4.
- 481 replies
-
- 1
-
-
- rattlesnake
- model shipways
- (and 1 more)
-
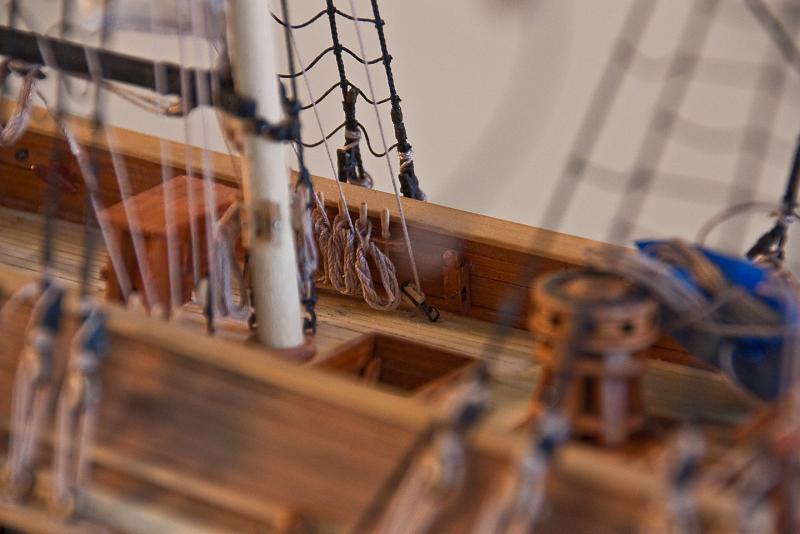
The mizzen ‘spanker’ has been bent and the gaff crossed after many mistakes. But with some perseverance the task was completed. The ‘spanker’ was brailed which required a total of six lines that needed to be tied off. I previously added a small pin rack holding 4 belaying pins on each side and used three per side for the brails. The remaining one will be used later. I actually have a rigging plan that will use the MSW kit’s plans, with expansions to account for the ‘extra’ lines I need to show the furled sails. Anyway, it’s on to the dreaded crowsfeet.
- 481 replies
-
- 12
-
-
- rattlesnake
- model shipways
- (and 1 more)