HOLIDAY DONATION DRIVE - SUPPORT MSW - DO YOUR PART TO KEEP THIS GREAT FORUM GOING! (Only 24 donations so far out of 49,000 members - C'mon guys!)
×

Diver
-
Posts
402 -
Joined
-
Last visited
Content Type
Profiles
Forums
Gallery
Events
Everything posted by Diver
-
Good morning Harry. The decking material ranges in size from .19mm to .36mm. The majority are about .30mm. As said earlier, some of the planking is useless. If I run out of good stuff I will try and make my own. This is an enjoyable build, but I think a build sheet should accompany the Videos. A novice with no experience may run into problems. I consider myself an experienced novice, still lots to learn.
- 68 replies
-
- 1
-

-
- Sanson
- Artesania Latina
- (and 2 more)
-
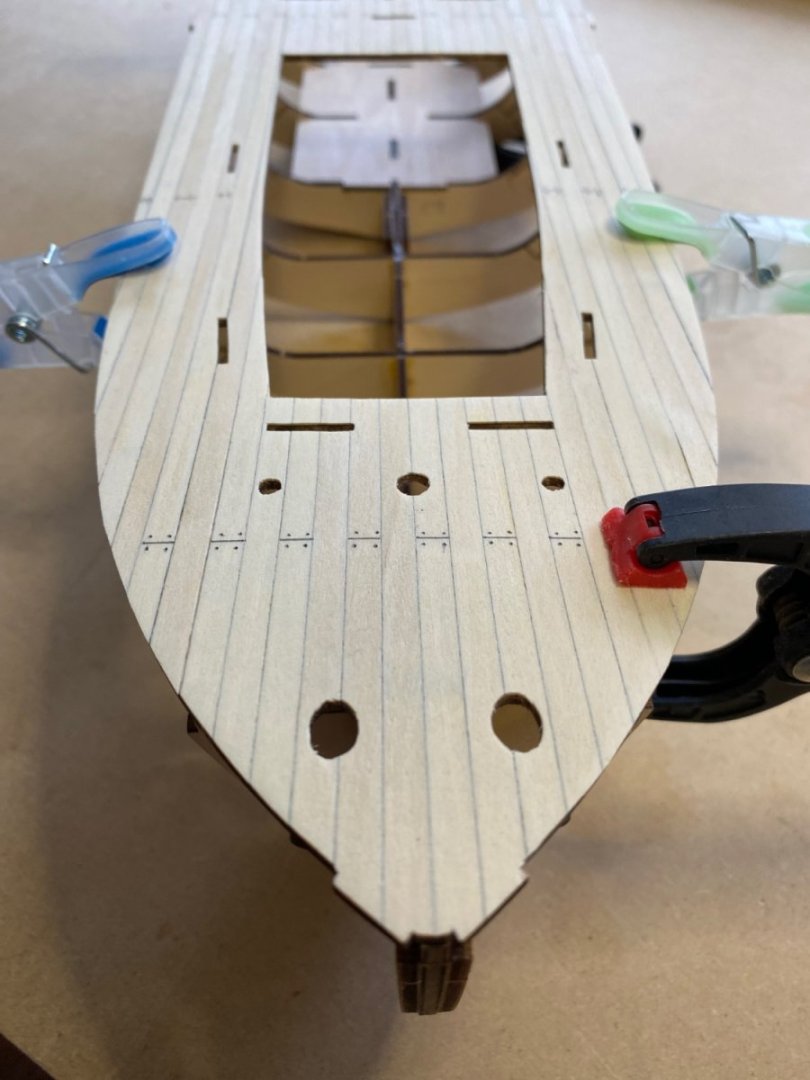
Disaster averted. I managed to un glue the joints and raise the deck enough to clean everything up. I will give a light sand after the new glue dries, should be OK.
- 68 replies
-
- 7
-
-
- Sanson
- Artesania Latina
- (and 2 more)
-
I am going to have to have a serious look at correcting this issue. The bulges may interfere with the installation of the waterways when they are installed. Any suggestions greatly appreciated. We are off to Ottawa tomorrow for a couple of days, some hobby shops must be visited. I need some material so I can complete the Syren Medway longboat rigging.
- 68 replies
-
- 1
-
-
- Sanson
- Artesania Latina
- (and 2 more)
-
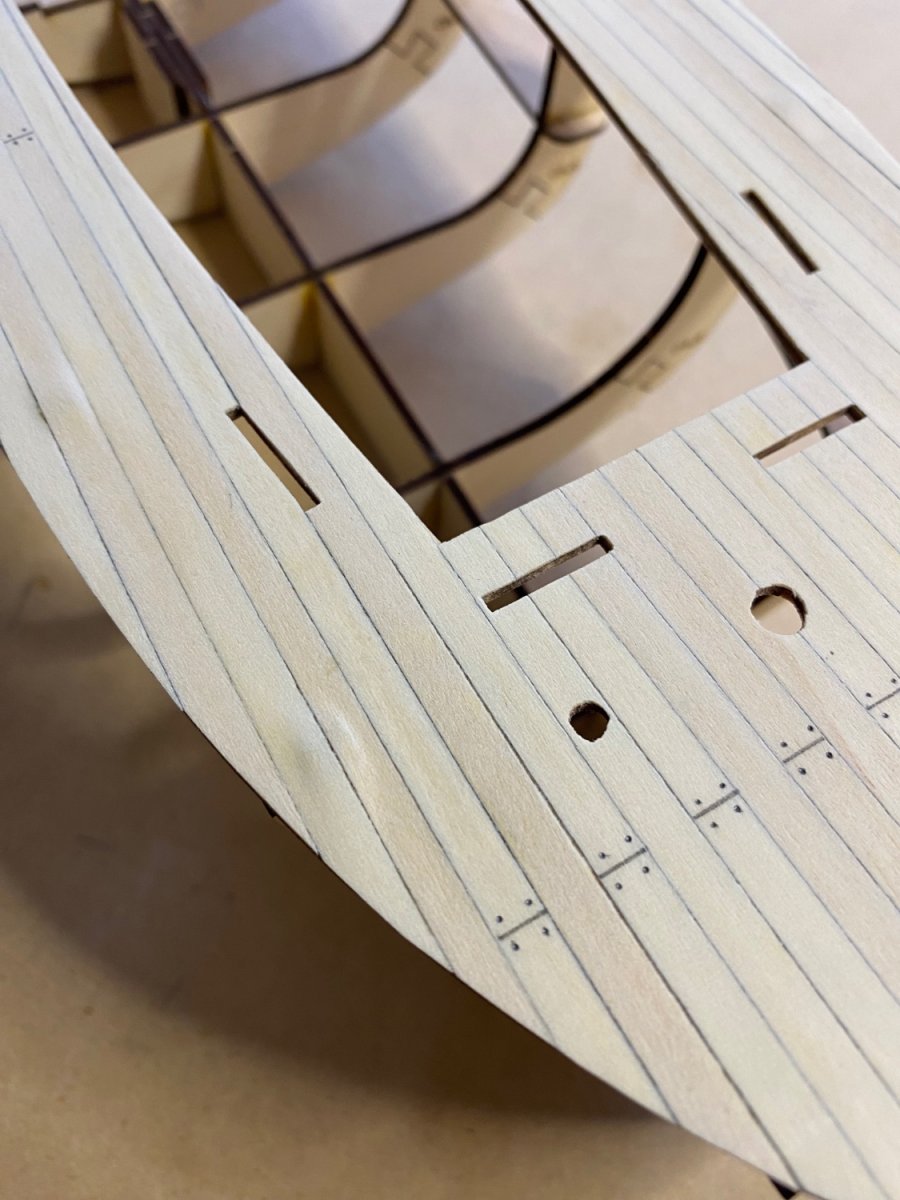
Last night the planked deck was glued to the frames and clamped. I must of had to much glue in holes that go over the frames as there are now some noticeable bulges near the stem. The planking is so thin that I will not be able to sand them out. They are close enough to the bulwark that they will be out of site. If not, some type of deck furniture will be used. The tops of the frames were sanded and tapered so this is a warning for any future builders

- 68 replies
-
- 2
-
-
- Sanson
- Artesania Latina
- (and 2 more)
-
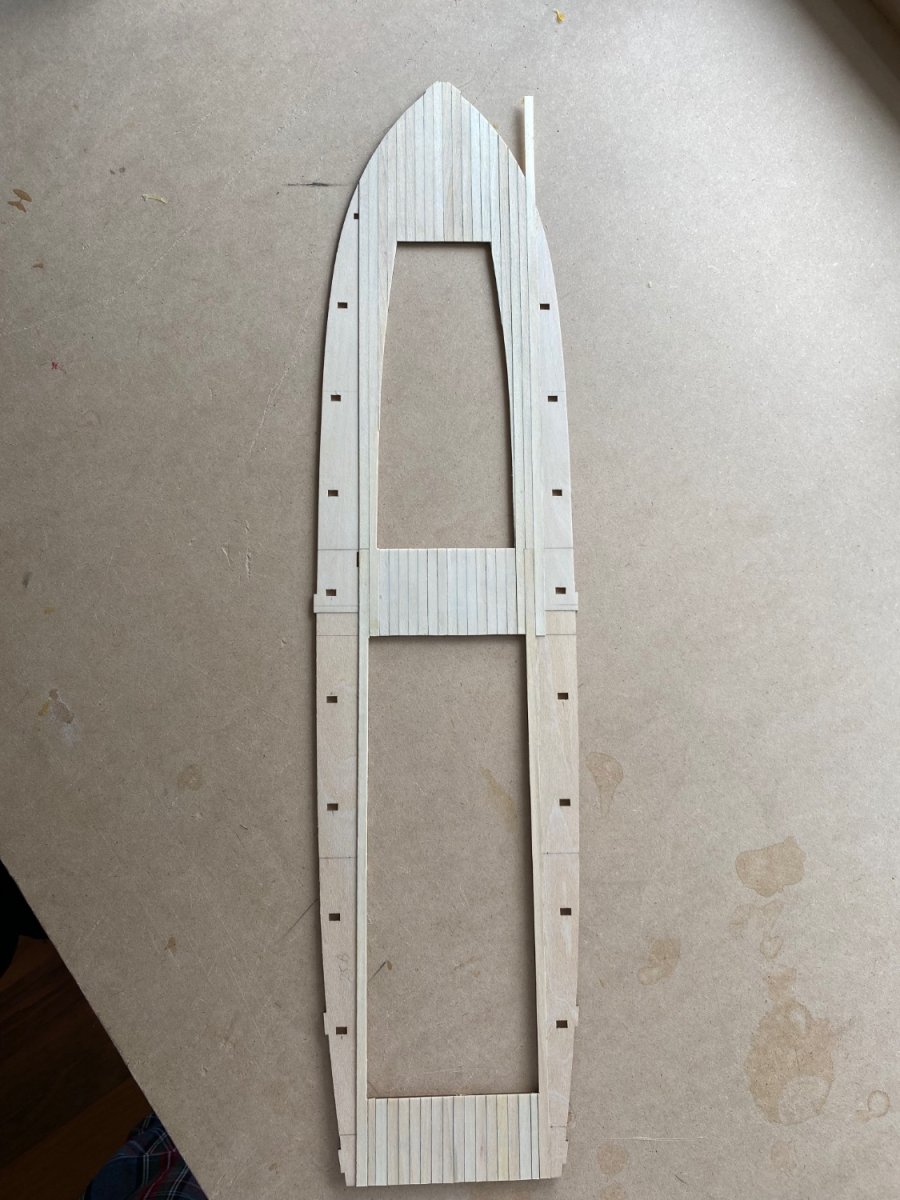
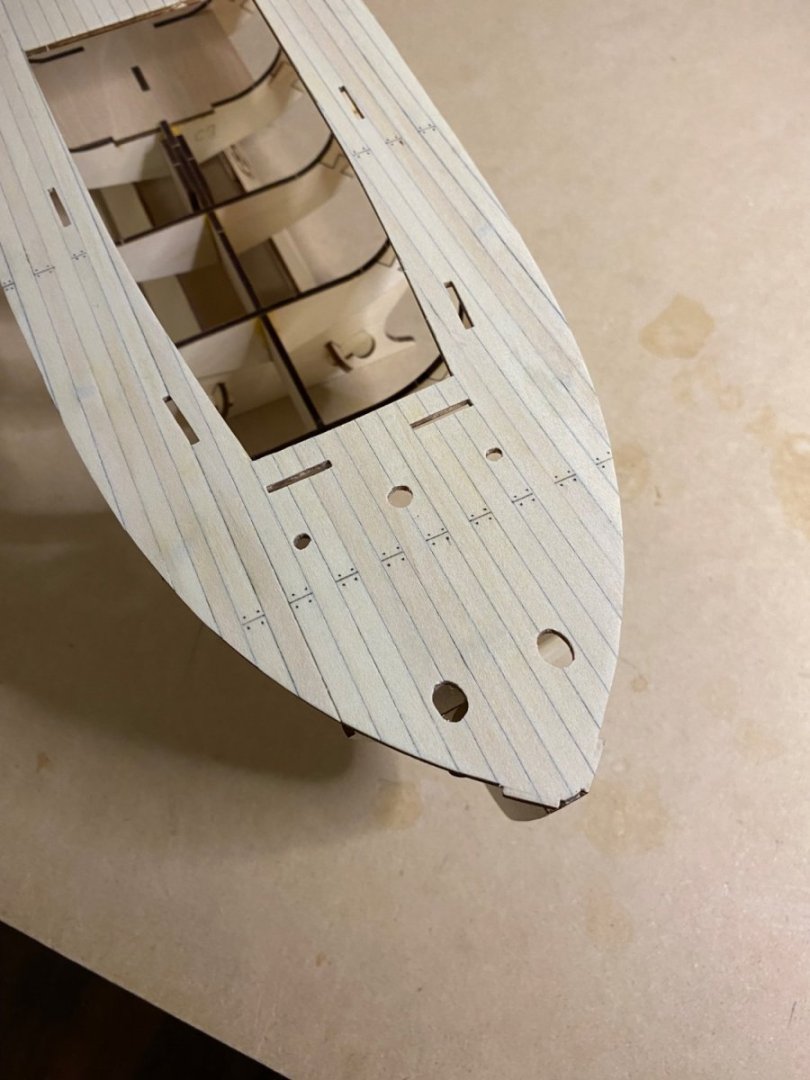
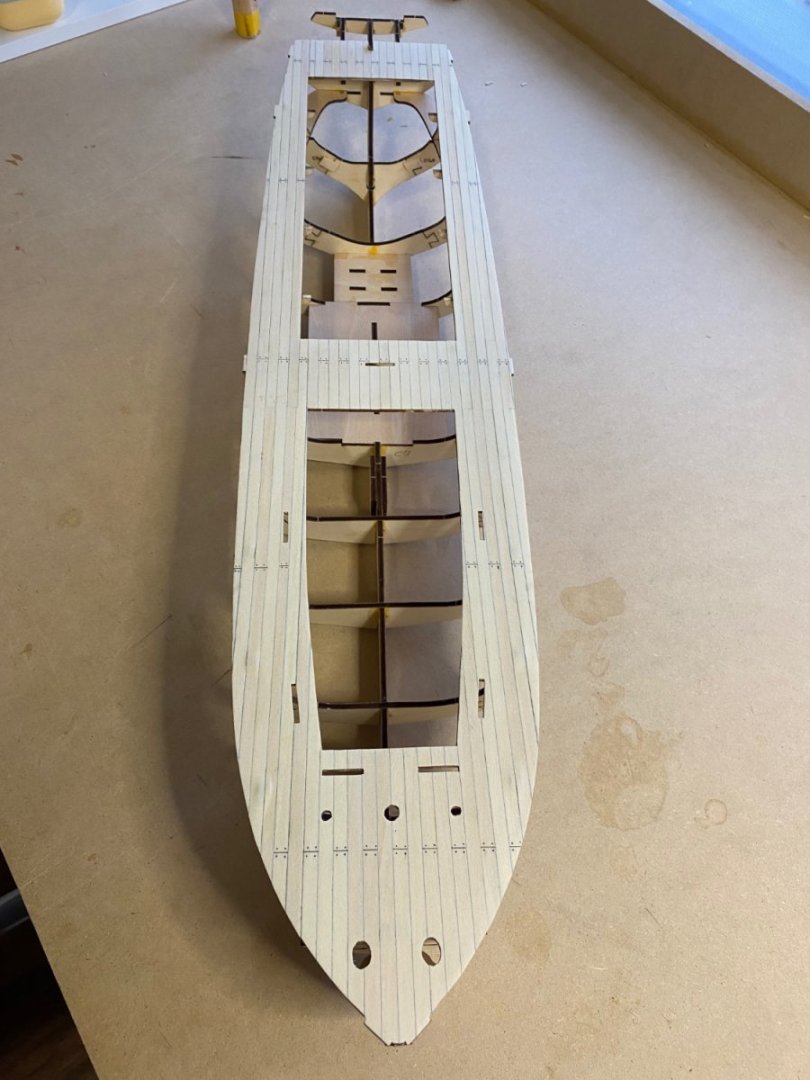
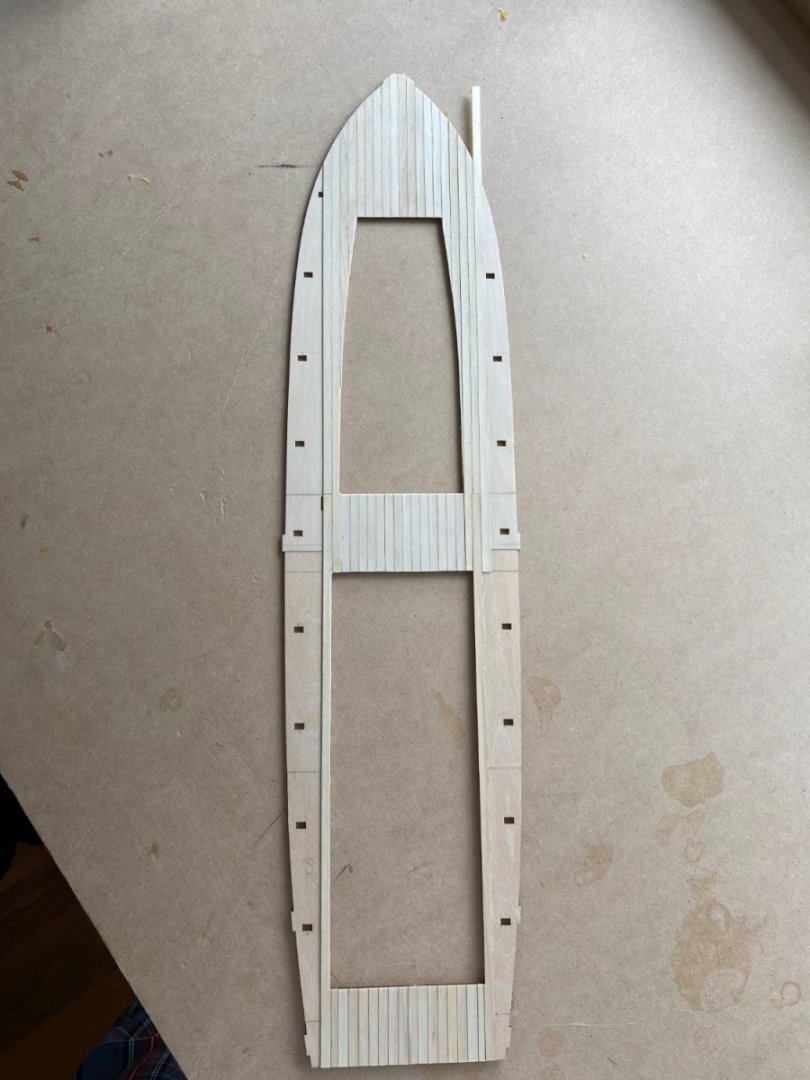
The main deck planking is complete, and dry fitted to the keel and frames. All seems to line up properly. Next step is to put a finish on the deck before gluing. The construction video has you pencil lines on the deck after planking is complete. I pencilled one side of each plank before installing, I think it looks good.
- 68 replies
-
- 3
-
-
- Sanson
- Artesania Latina
- (and 2 more)
-
Started planking the main deck. A centre line was established and the the first planks are the short ones amidships. Right away a problem was noticed that not all things are equal. I had to take a small sliver out of one plank, and then make a thinner plank to finish that run. Planks were the run straight to the stern and two smaller planks were fitted to keep things equal. The rest should present no problems. The deck planking in this kit is not very uniform. They are different widths and thicknesses. Some are so thin they are unusable
- 68 replies
-
- 3
-
-
- Sanson
- Artesania Latina
- (and 2 more)
-
There is a kit from Artesania Latina that they list as an option for the Sanson. It might just be a generic kit for all there models, but it comes with ever thing needed.
- 68 replies
-
- 1
-
-
- Sanson
- Artesania Latina
- (and 2 more)
-
Thanks for looking in. Not sure if I will go RC or not. Will make the decision soon. I will be doing the LED lighting kit.
- 68 replies
-
- 1
-
-
- Sanson
- Artesania Latina
- (and 2 more)
-
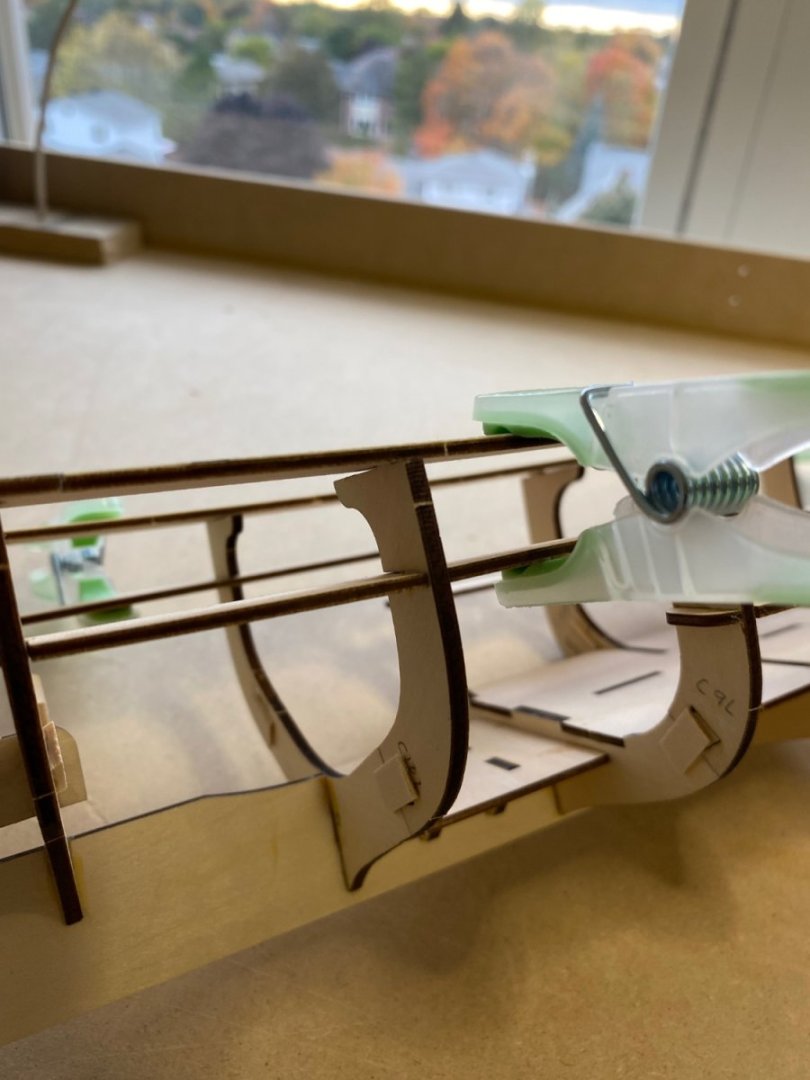
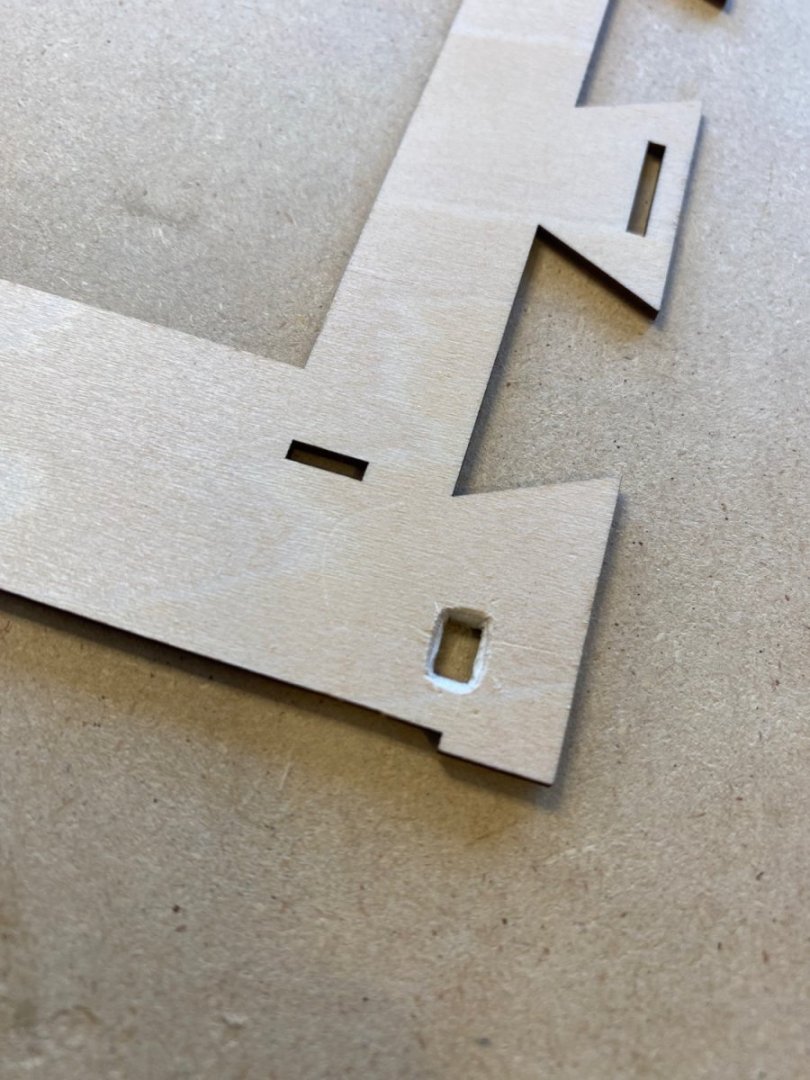
I get smarter in my old age. The deck was dry fitted, and some chamfers filed into the holes that go over the frames. It was easier to do this now, it would be near impossible once the deck is planked
- 68 replies
-
- 3
-
-
- Sanson
- Artesania Latina
- (and 2 more)
-
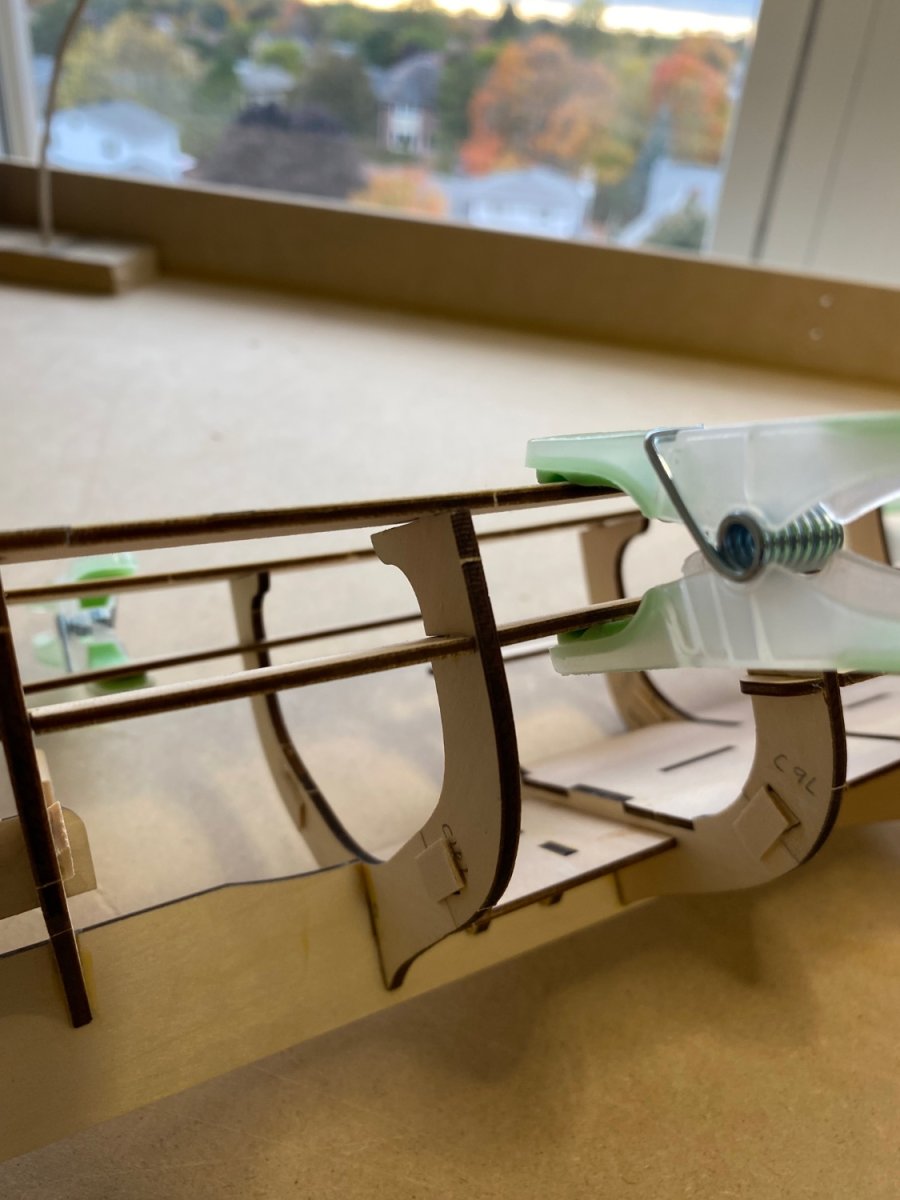
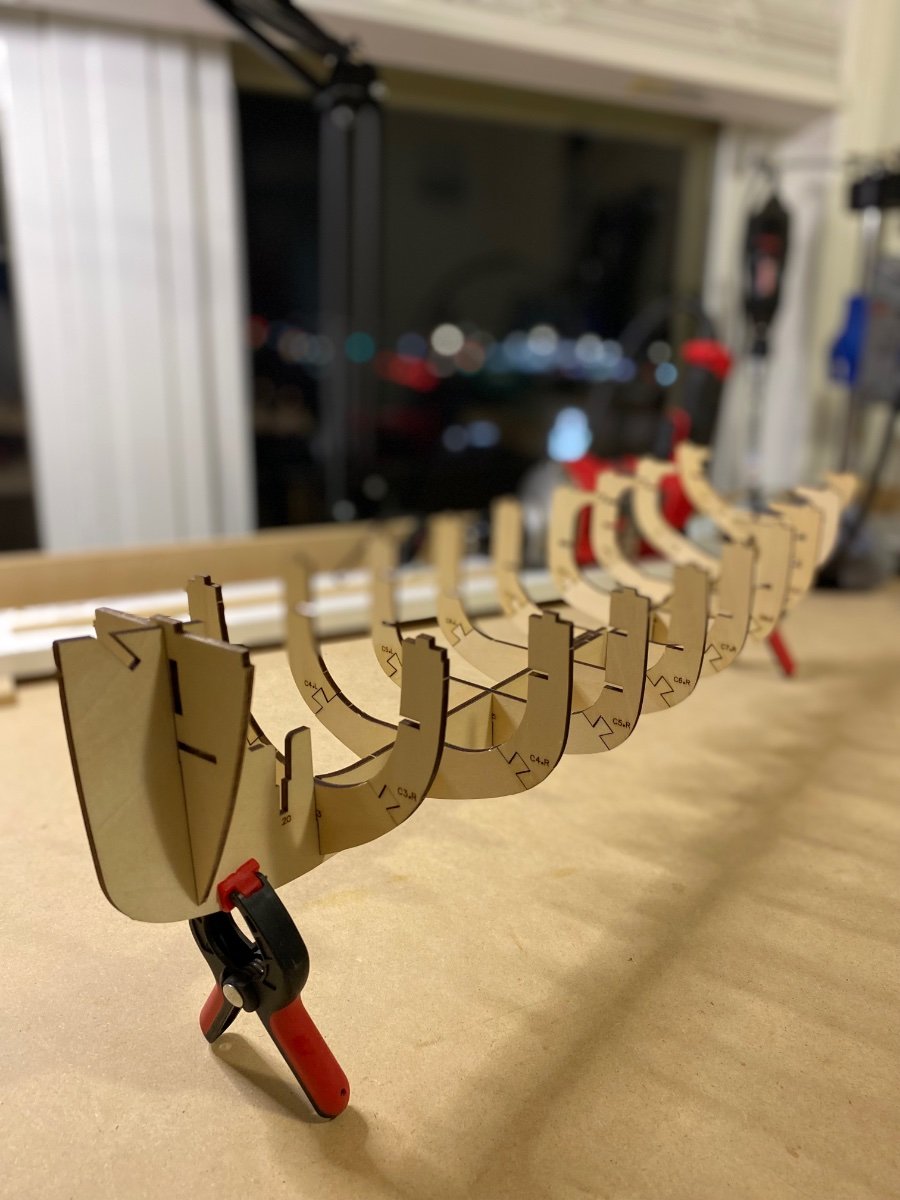
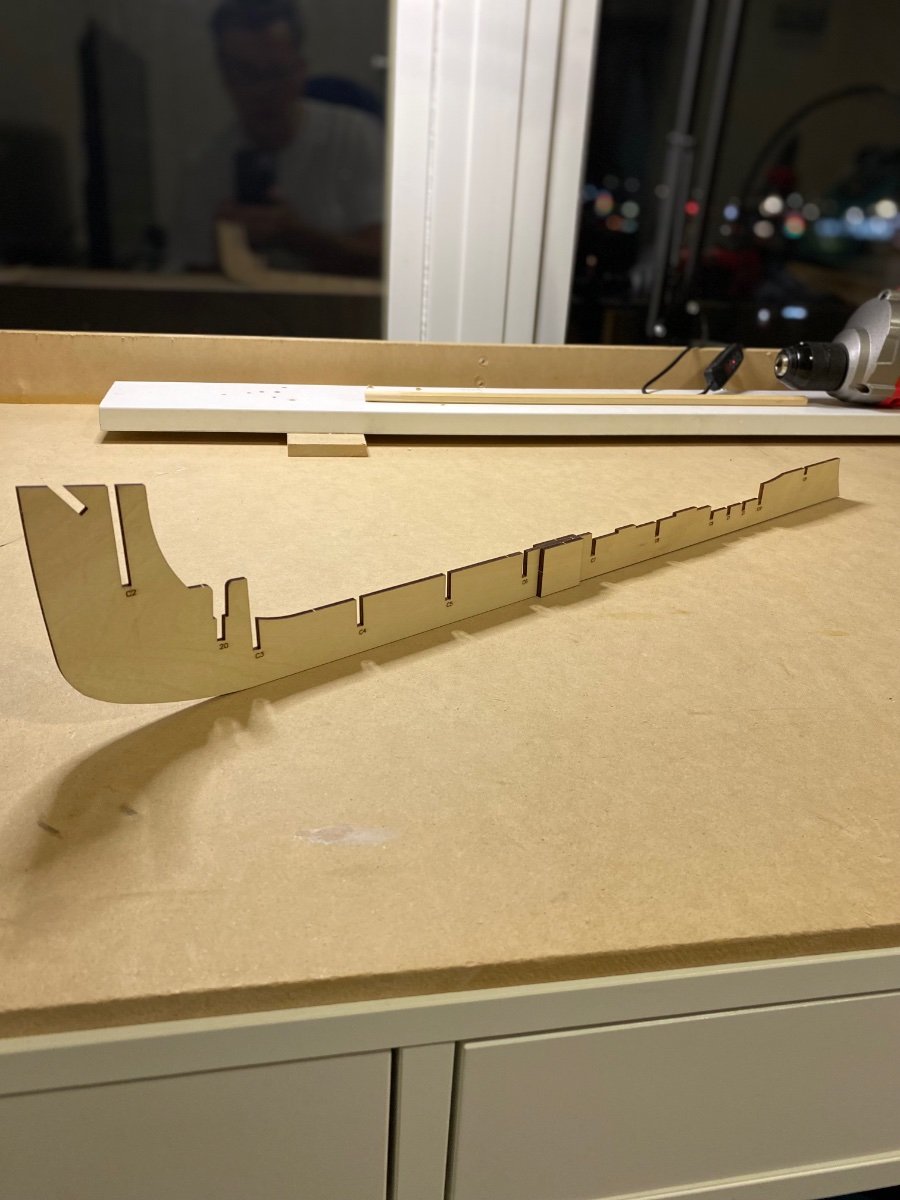
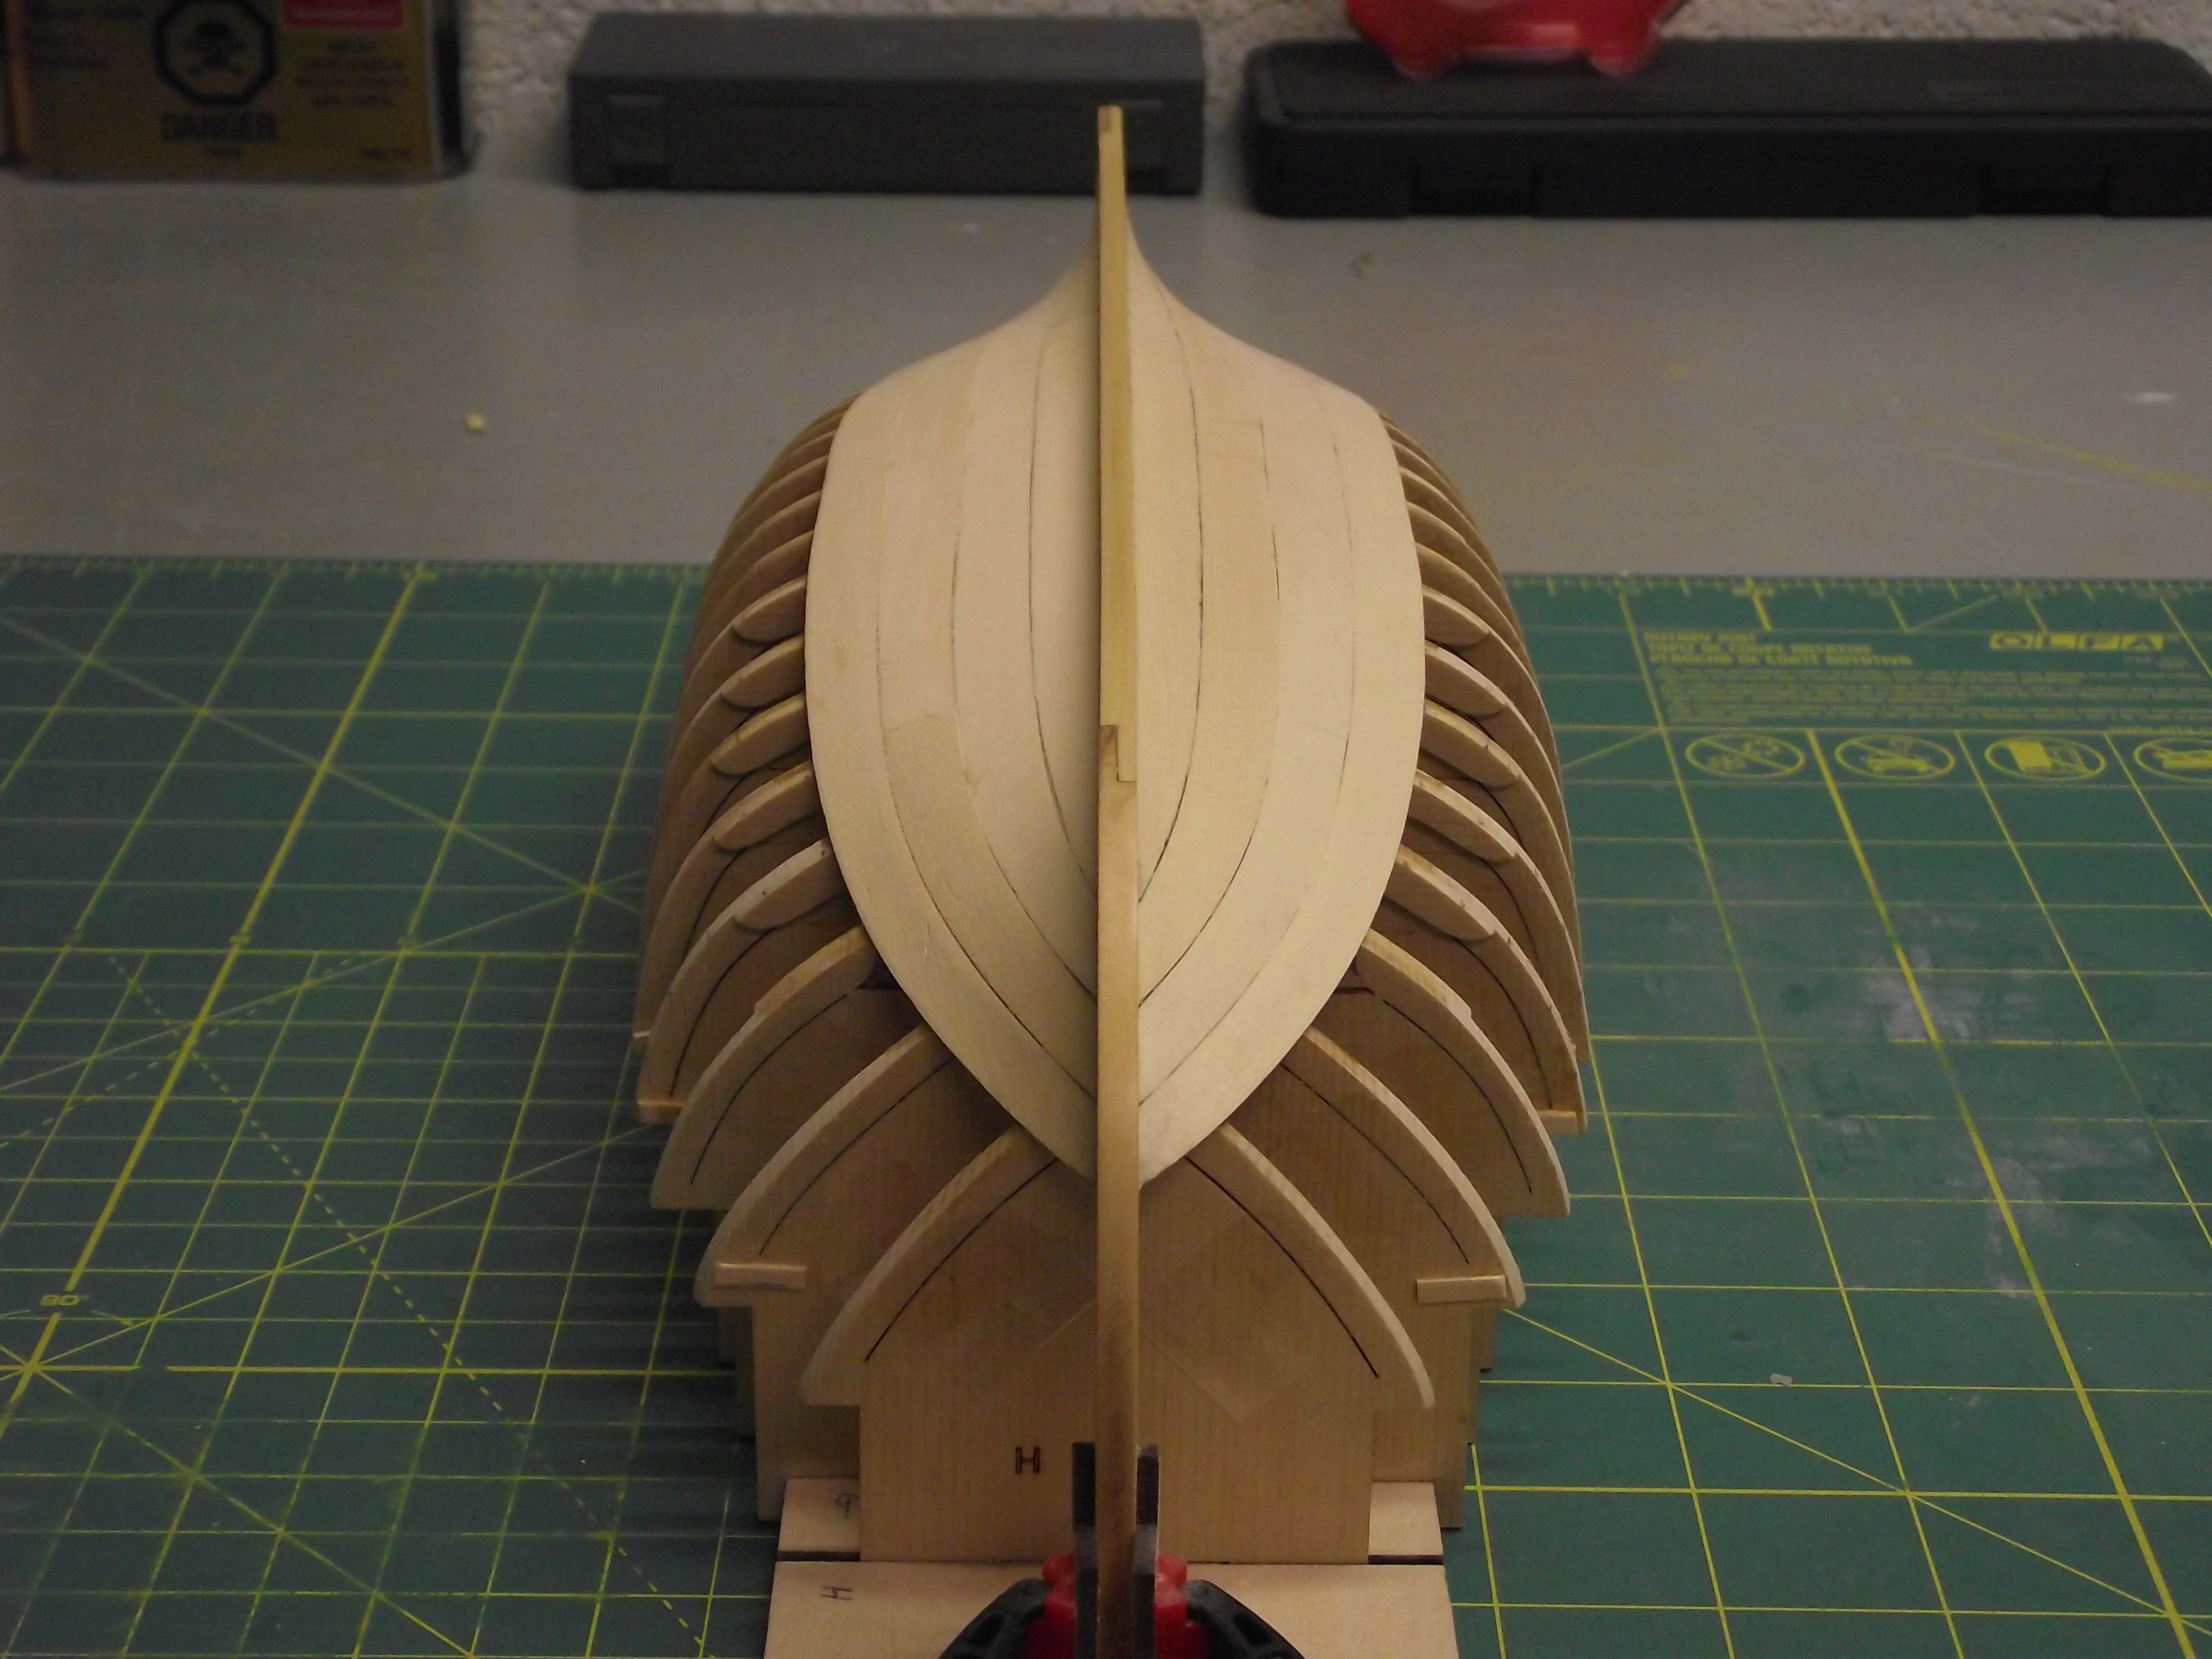
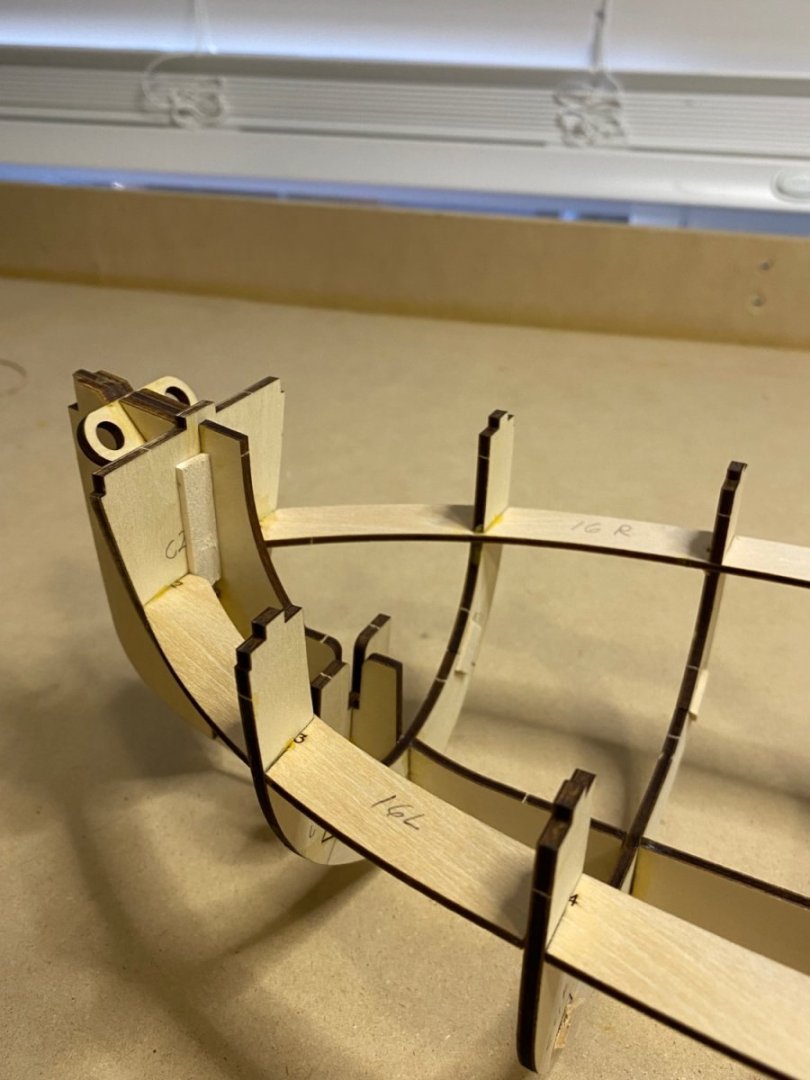
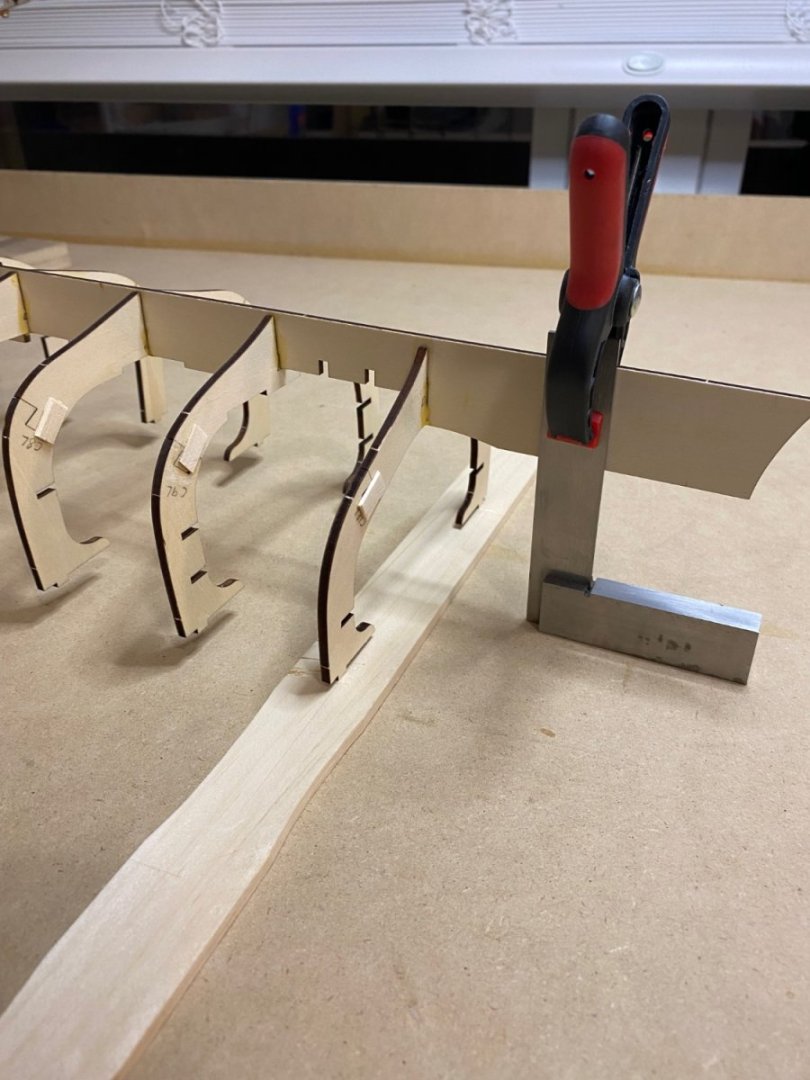
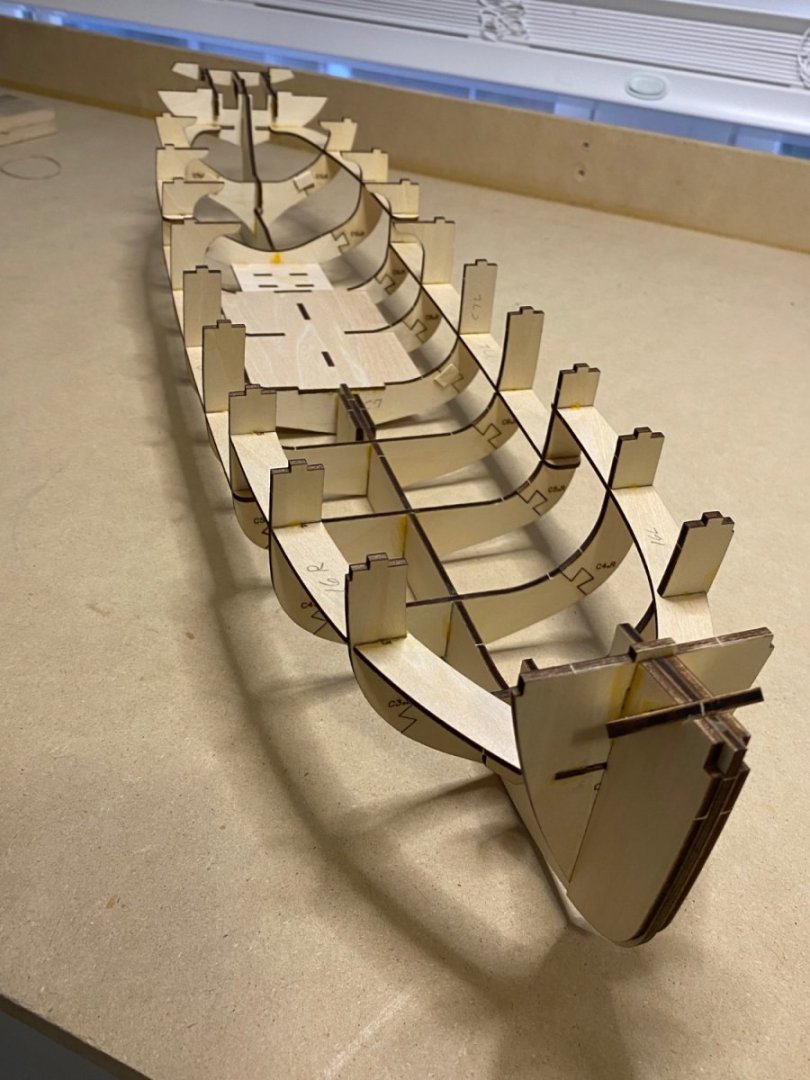
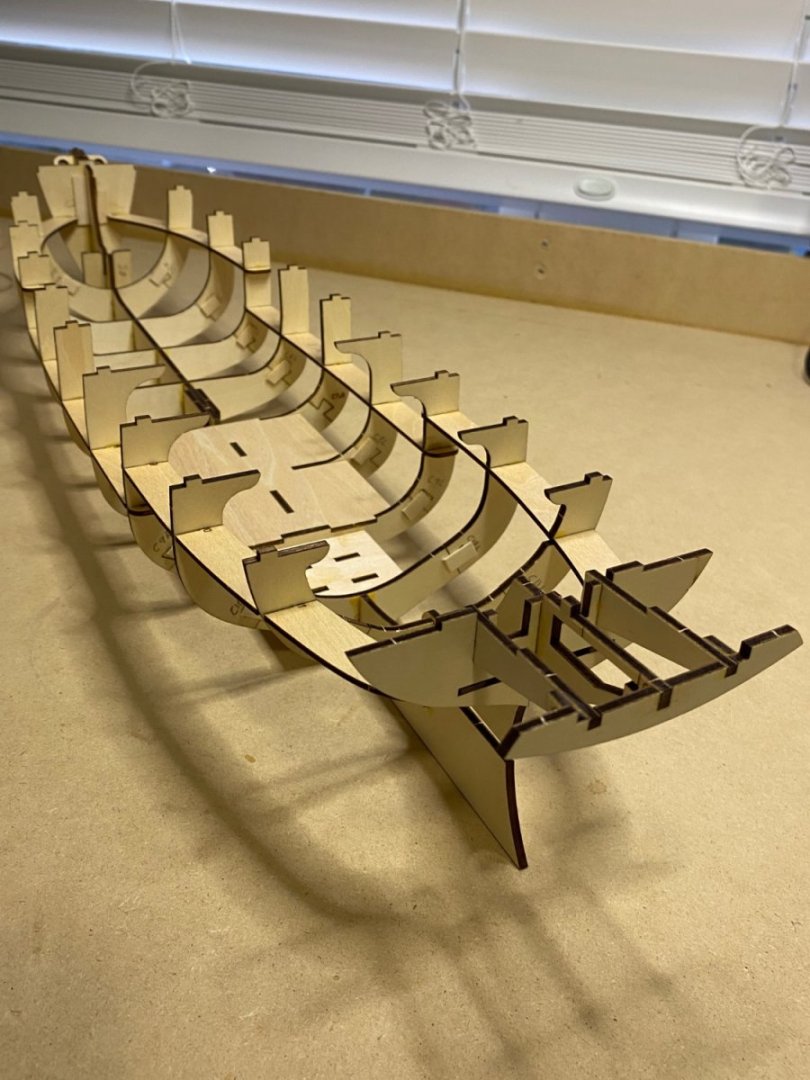
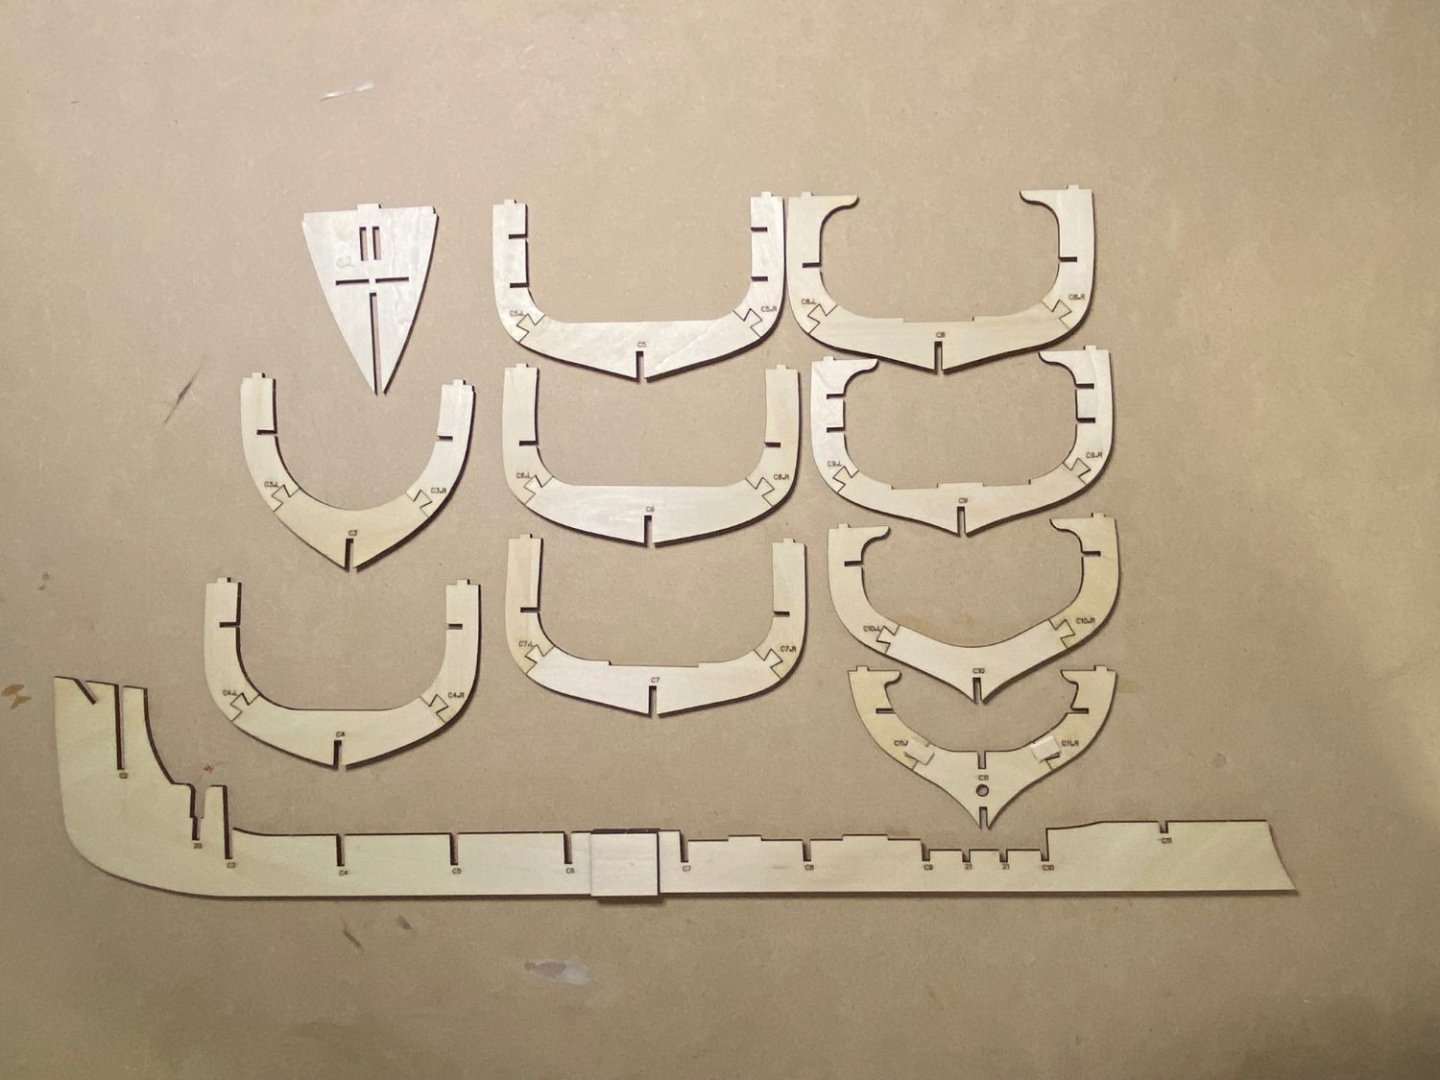
I have completed chapter one. The horizontal piece near the stem kept creeping back from the frame. I glued a piece of scrap in, problem solved. To get the frames 90 degrees to the keel Glue was applied, frame installed, and then inverted and a square clamped on . All frames 90 are .degrees to the keel. The fit off all the joints are a bit sloppy so care must be taken to get good fits. On to chapter two
- 68 replies
-
- 4
-
-
- Sanson
- Artesania Latina
- (and 2 more)
-
I have not yet decided about installing the R/C bits. My plan is to build it watertight and ready for R/C. The You Tube videos do not show how the parts would be installed, but there is ample room in the hull, I think. As I get further along a final decision will be made.
- 68 replies
-
- 2
-
-
- Sanson
- Artesania Latina
- (and 2 more)
-
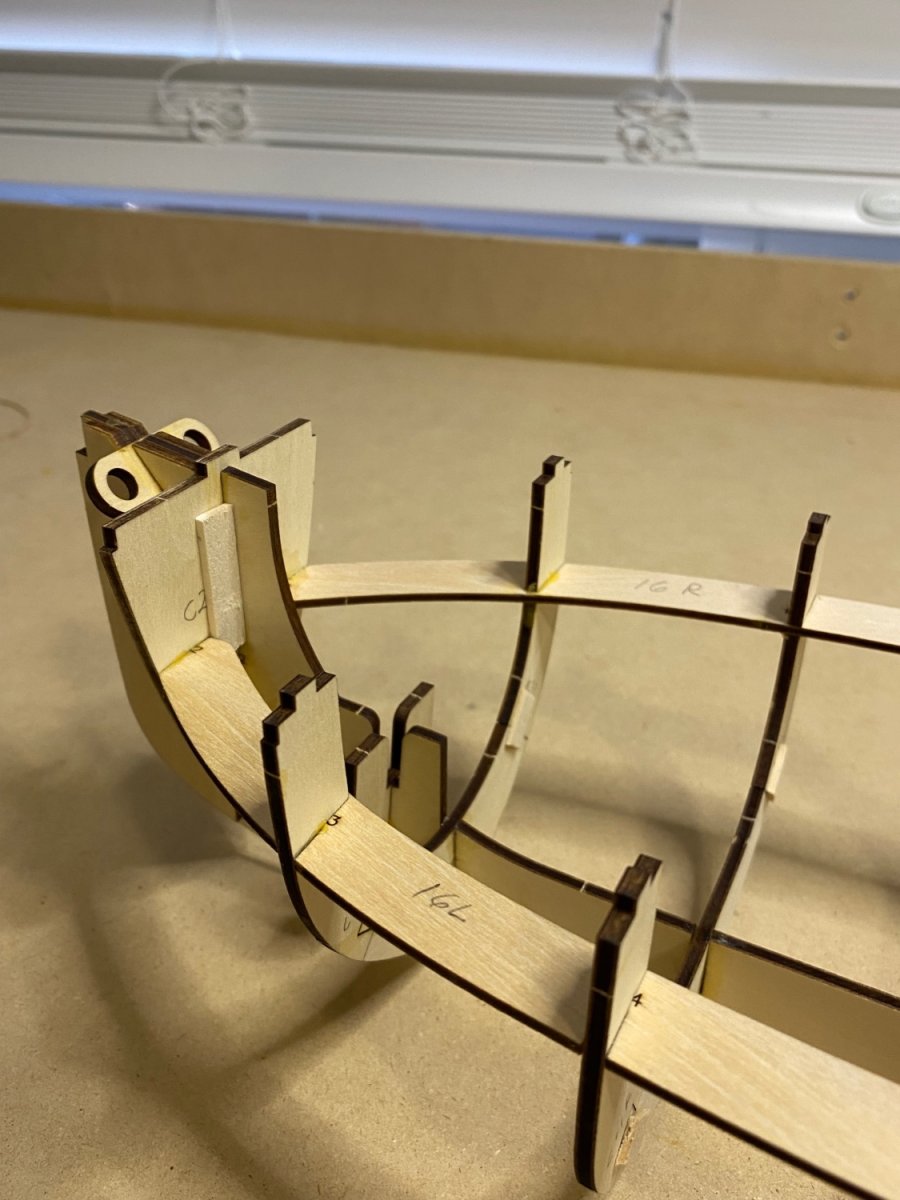
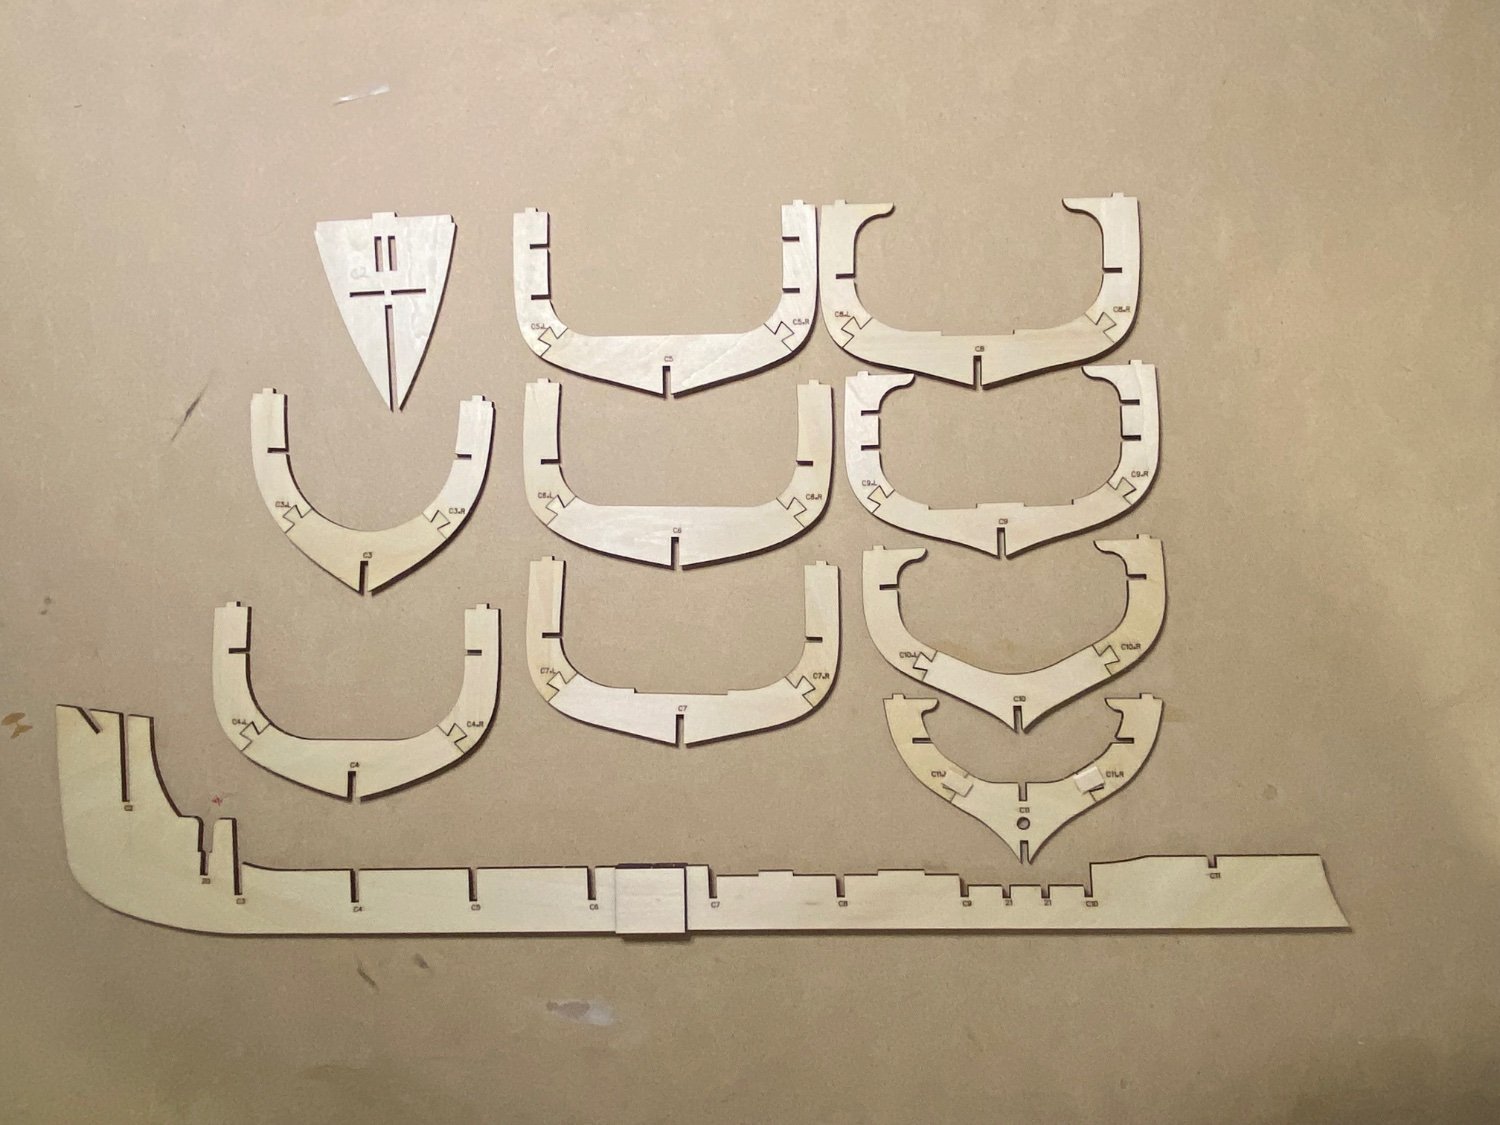
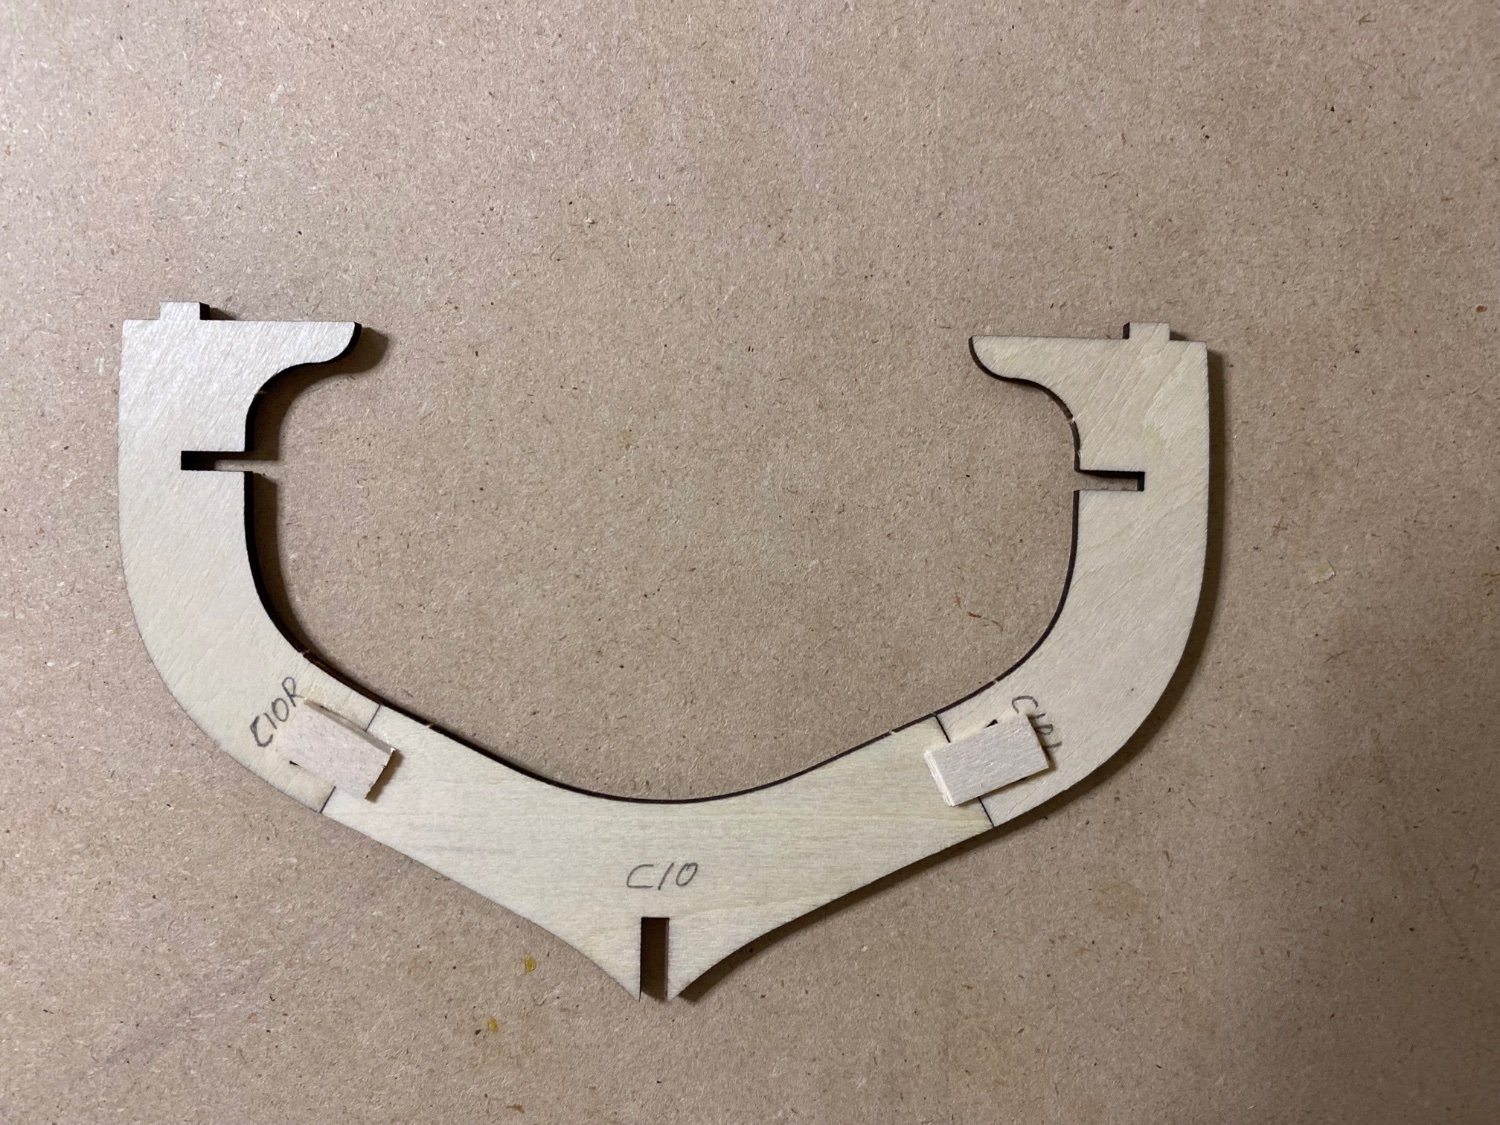
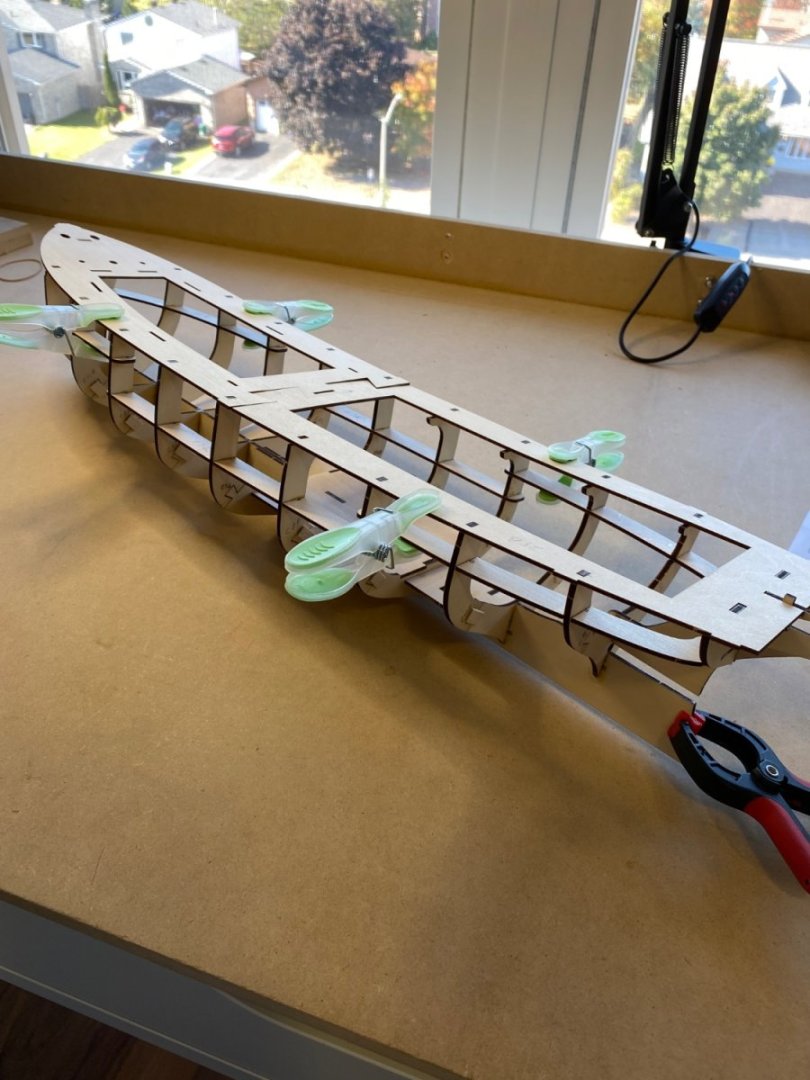
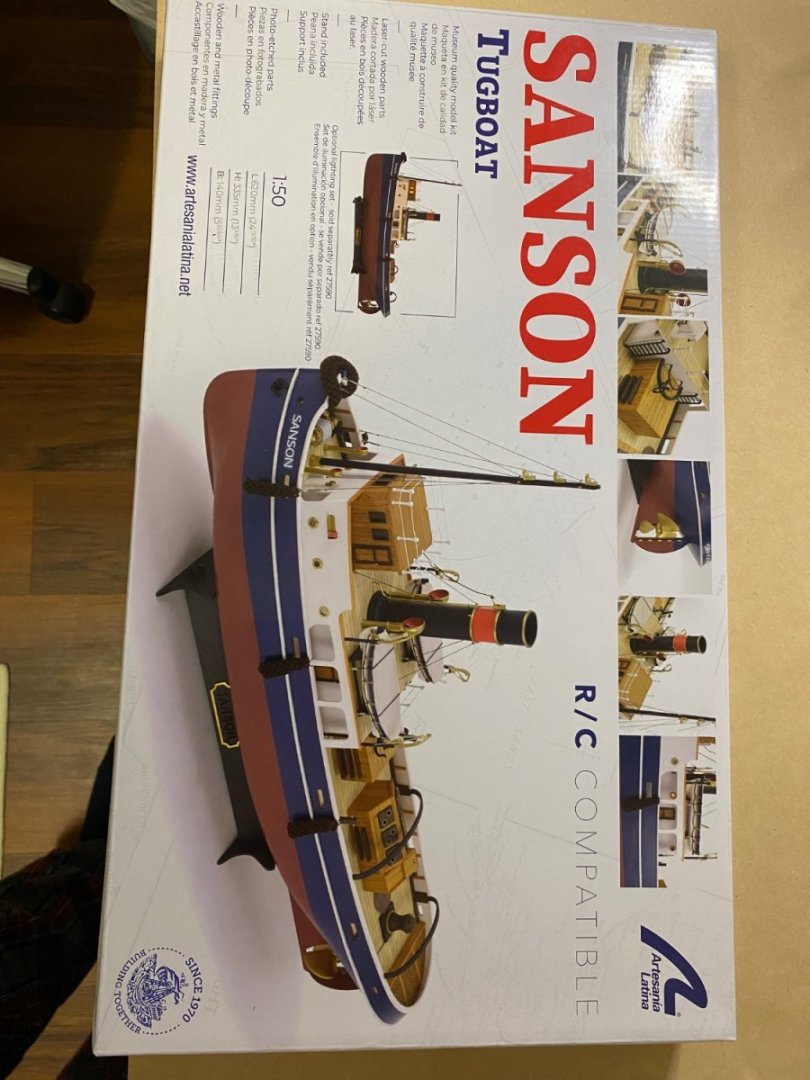
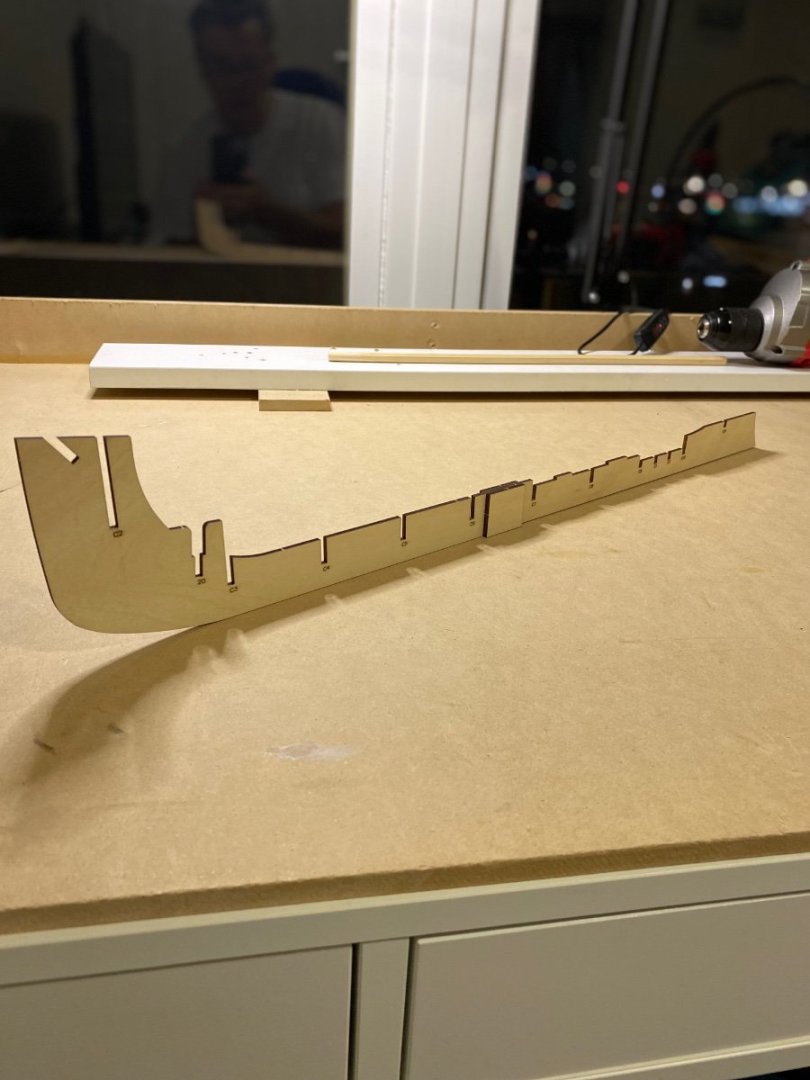
I have started my second build, the Sanson Tug. There are no instruction included with this kit, it is done through You Tube videos, 18 in total. The 3 piece frames and keel are all glued up. The dove tail joints are all a bit sloppy so reinforcement was added to one side. I will add the frames to the keel next and add the longitudinal braces. #11 frame is very loose so special care will be taken.


- 68 replies
-
- 8
-
-
- Sanson
- Artesania Latina
- (and 2 more)
-
Bugatti Type 35B by CDW - FINISHED - Italeri - 1:12 Scale
Diver replied to CDW's topic in Non-ship/categorised builds
Just looking at the front suspension, there would not have been much travel with this set up. -
Bugatti Type 35B by CDW - FINISHED - Italeri - 1:12 Scale
Diver replied to CDW's topic in Non-ship/categorised builds
Now you need some mechanics tools on the floor -
Thanks Bob. I am looking forward to chapter 5
-
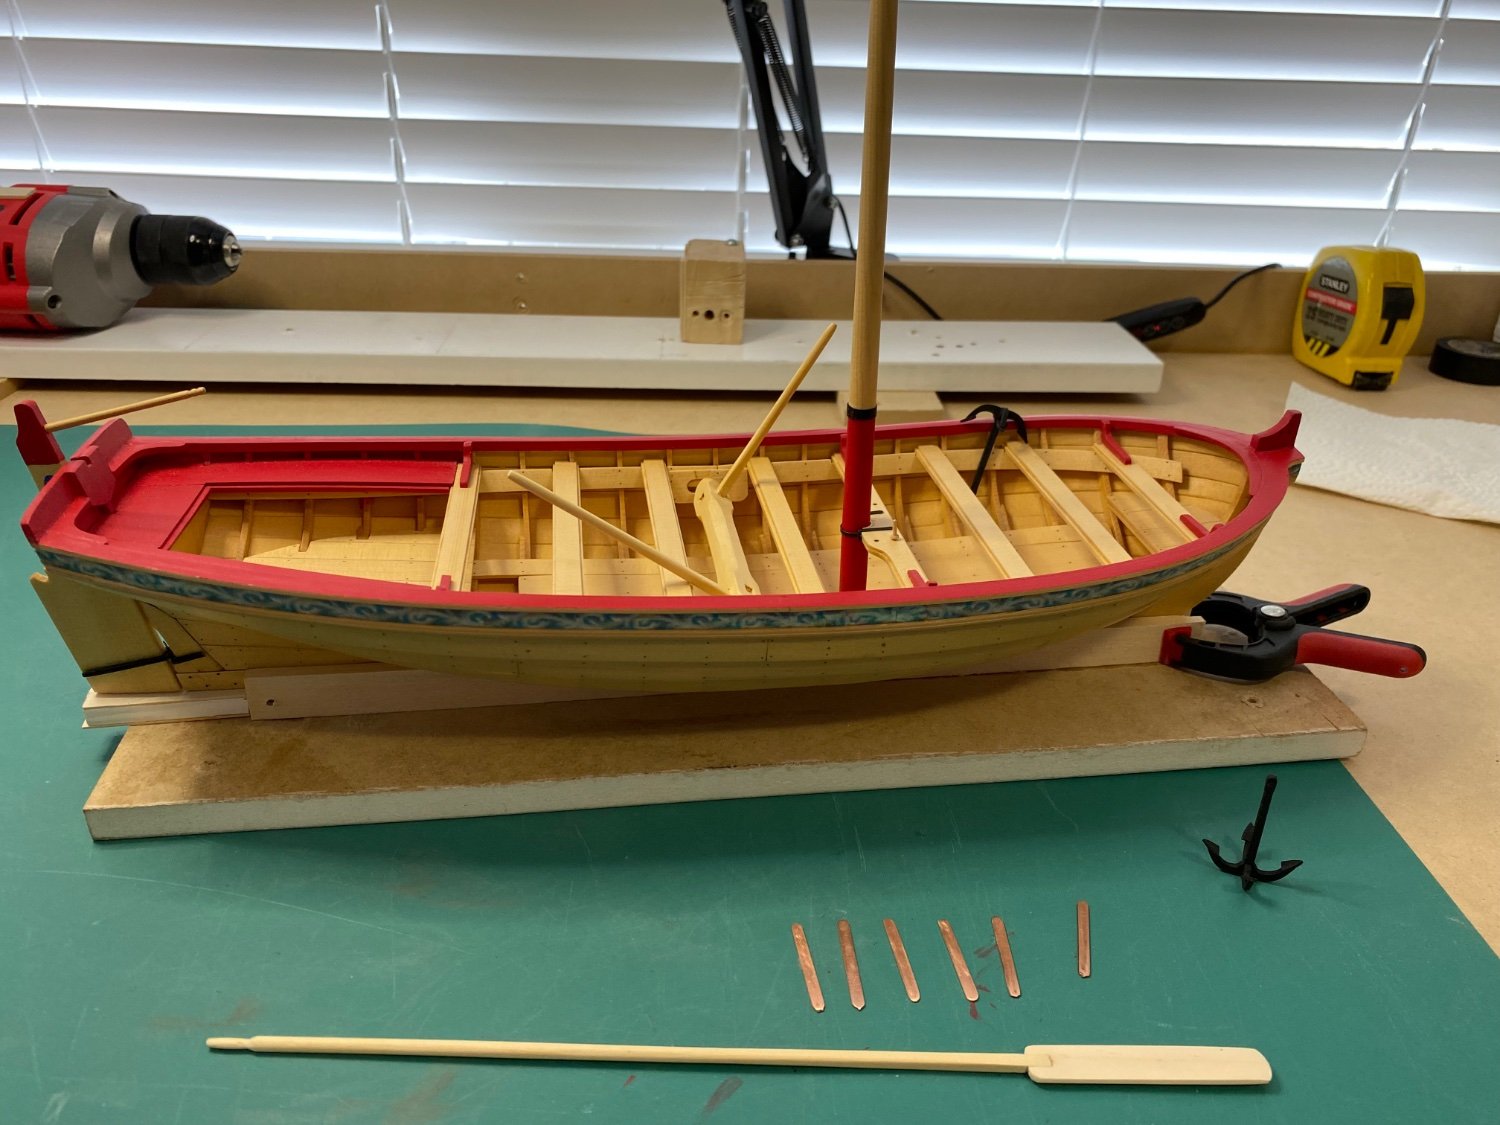
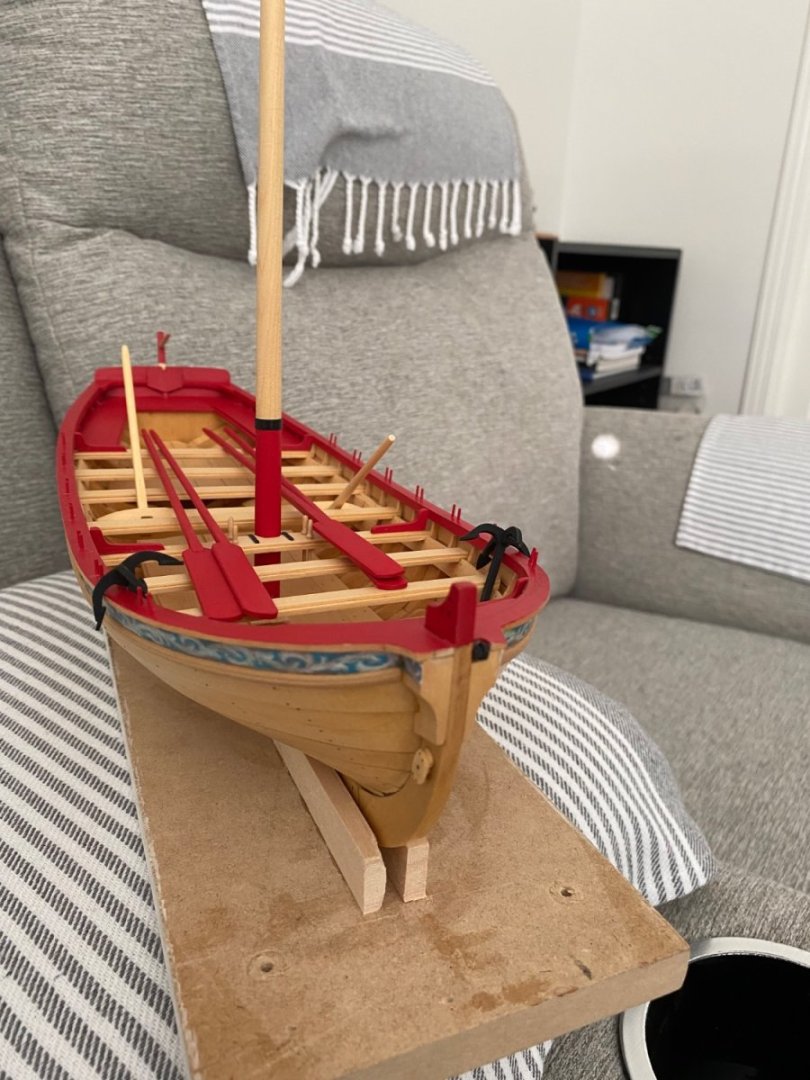
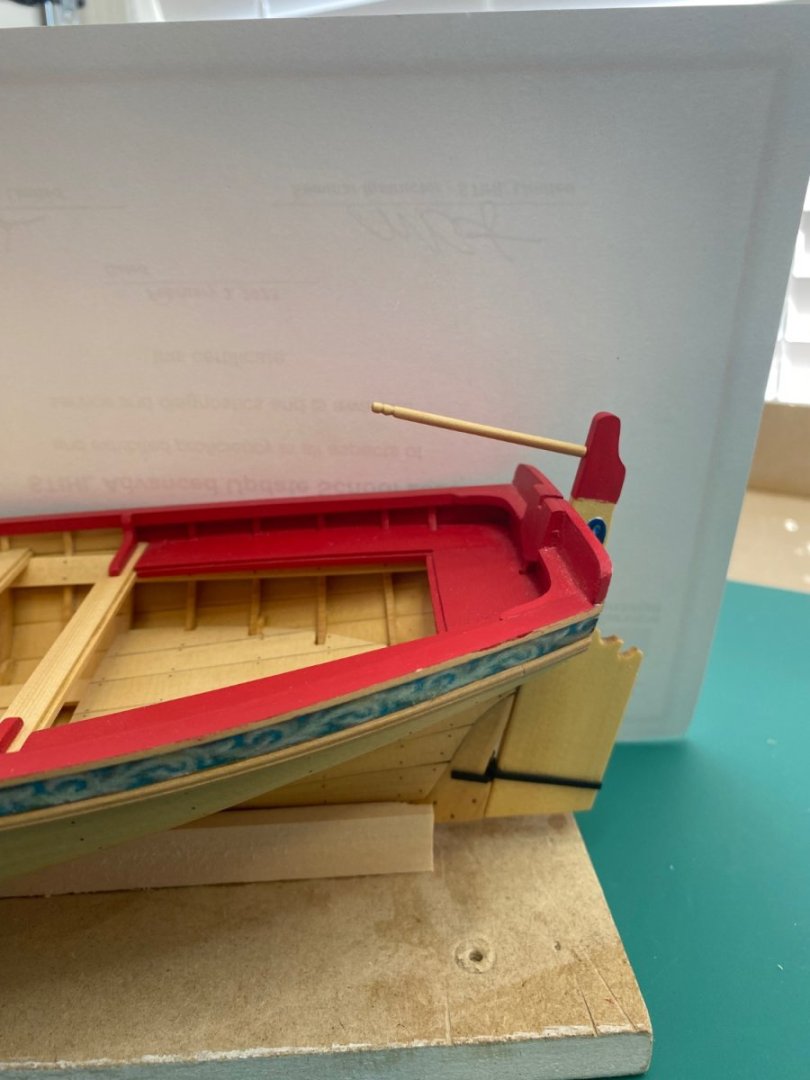
Chapter 4 is finished . Onto the sticks and strings. I see all my mistakes and things I should have done better, but overall I am happy with the outcome. It has been a valuable learning period. Thanks to all who have helped and supported me thus far. Sorry about the photo quality, done with my I phone.


- 217 replies
-
- 10
-
-
- medway longboat
- Syren Ship Model Company
- (and 1 more)
-
I am a sucker for tools, or I used to be. I only buy tools as needed now, to easy to buy what looks good in advertisement only to have it sit on a shelf. Many great models have been built with the most basic tools. I have learned over the years to buy Quality over Quantity, cheap tools can be very disappointing.
-
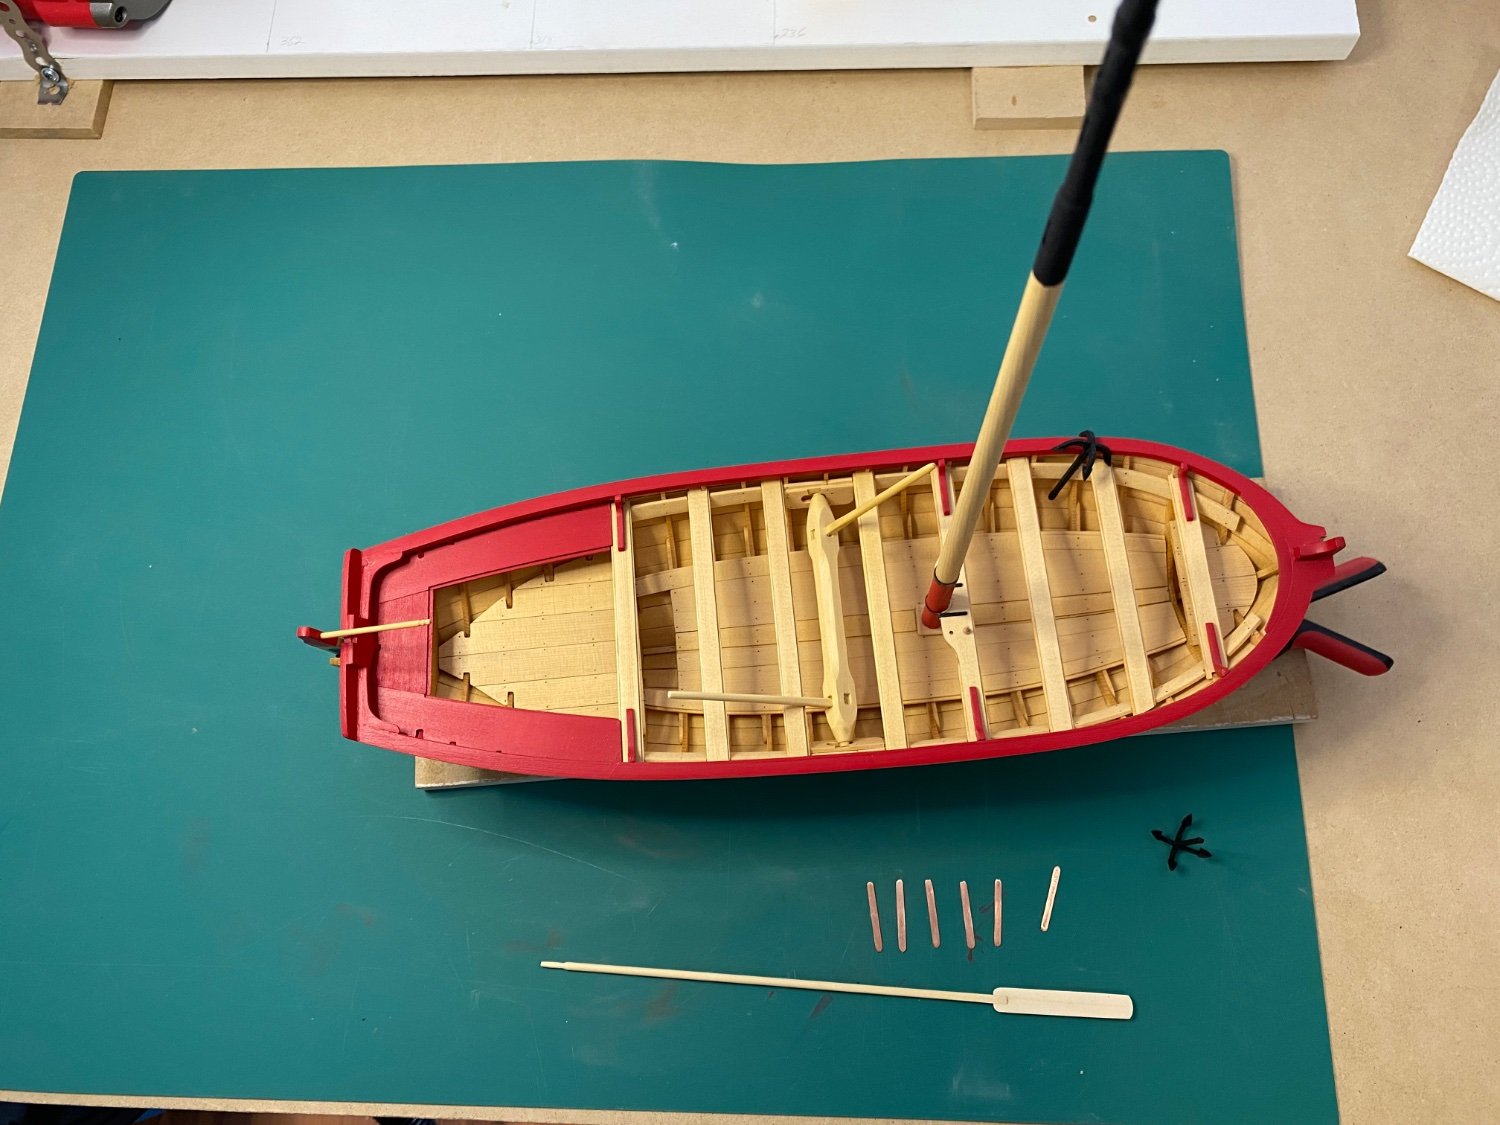
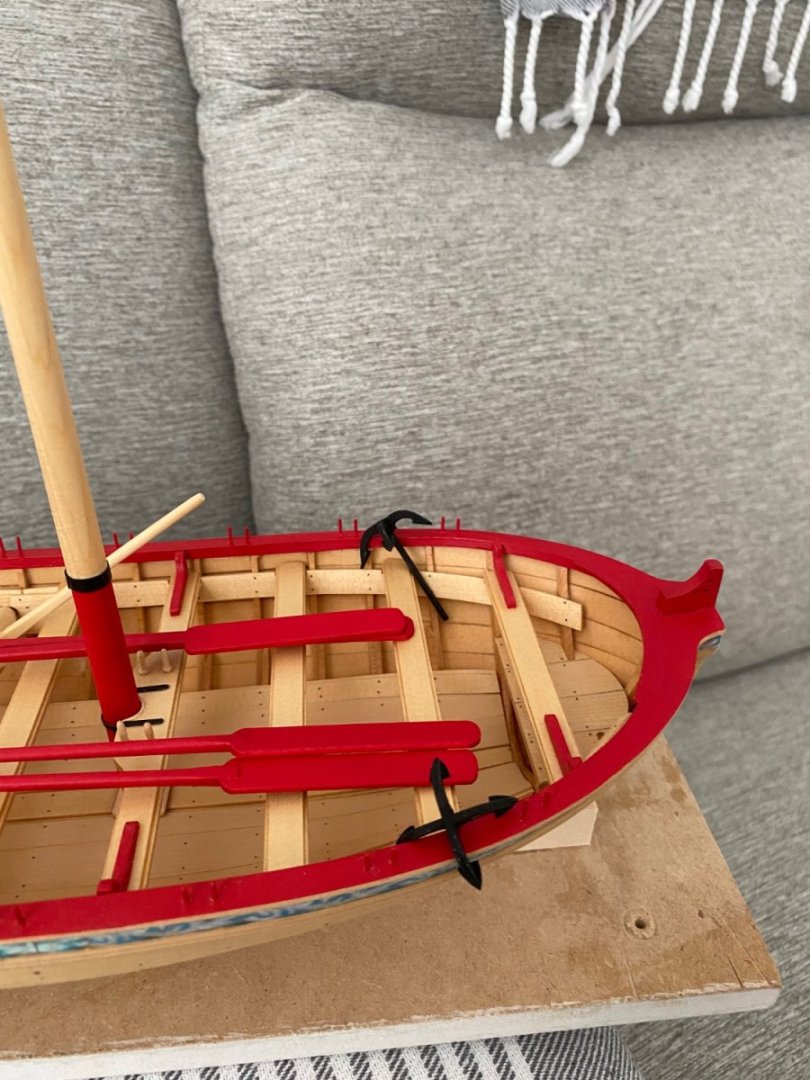
Made it back from the west coast after a 2 hr flight delay. Had a great time in Victoria and Seattle going to some different museums. I started making the thole pins today, 2 down, 22 to go. On the actual long boat would the Thole pins have been permanently mounted or removable?
-
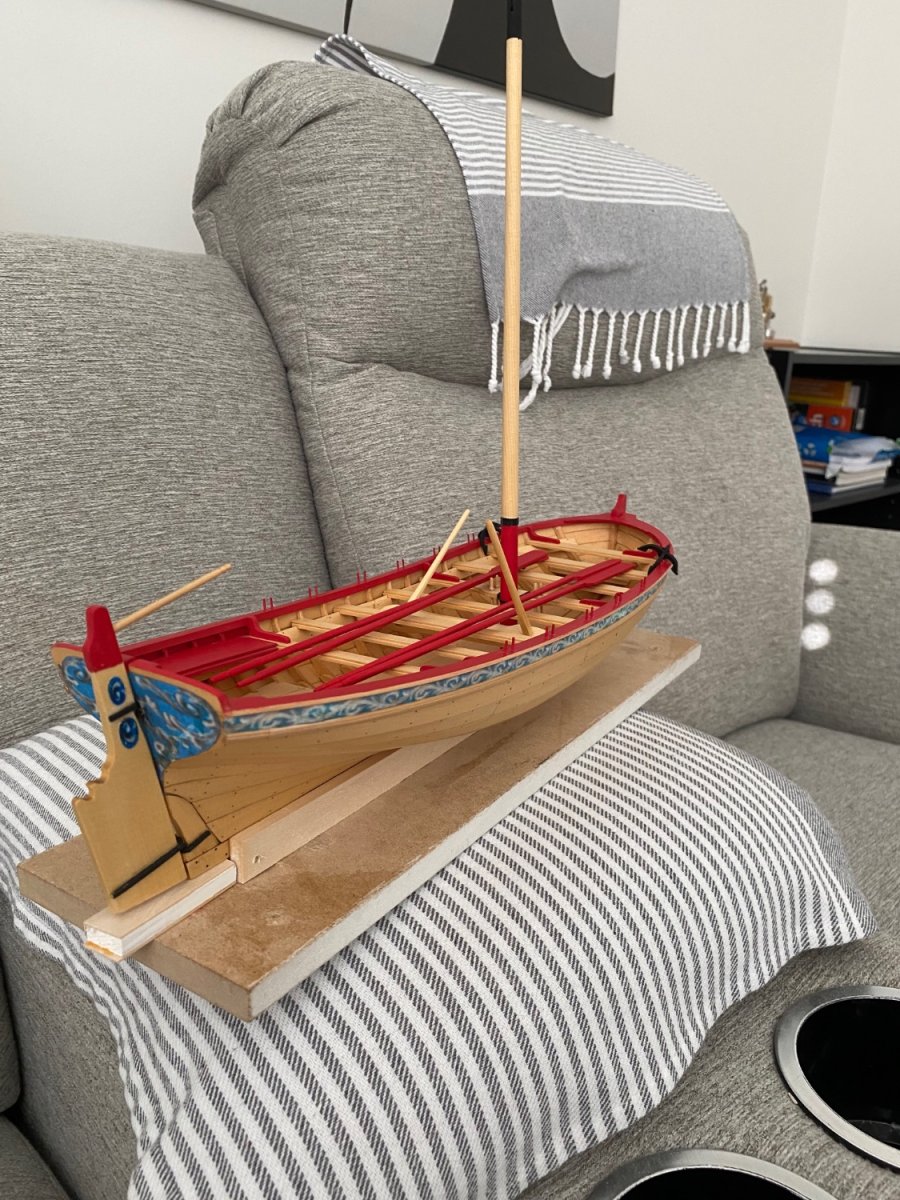
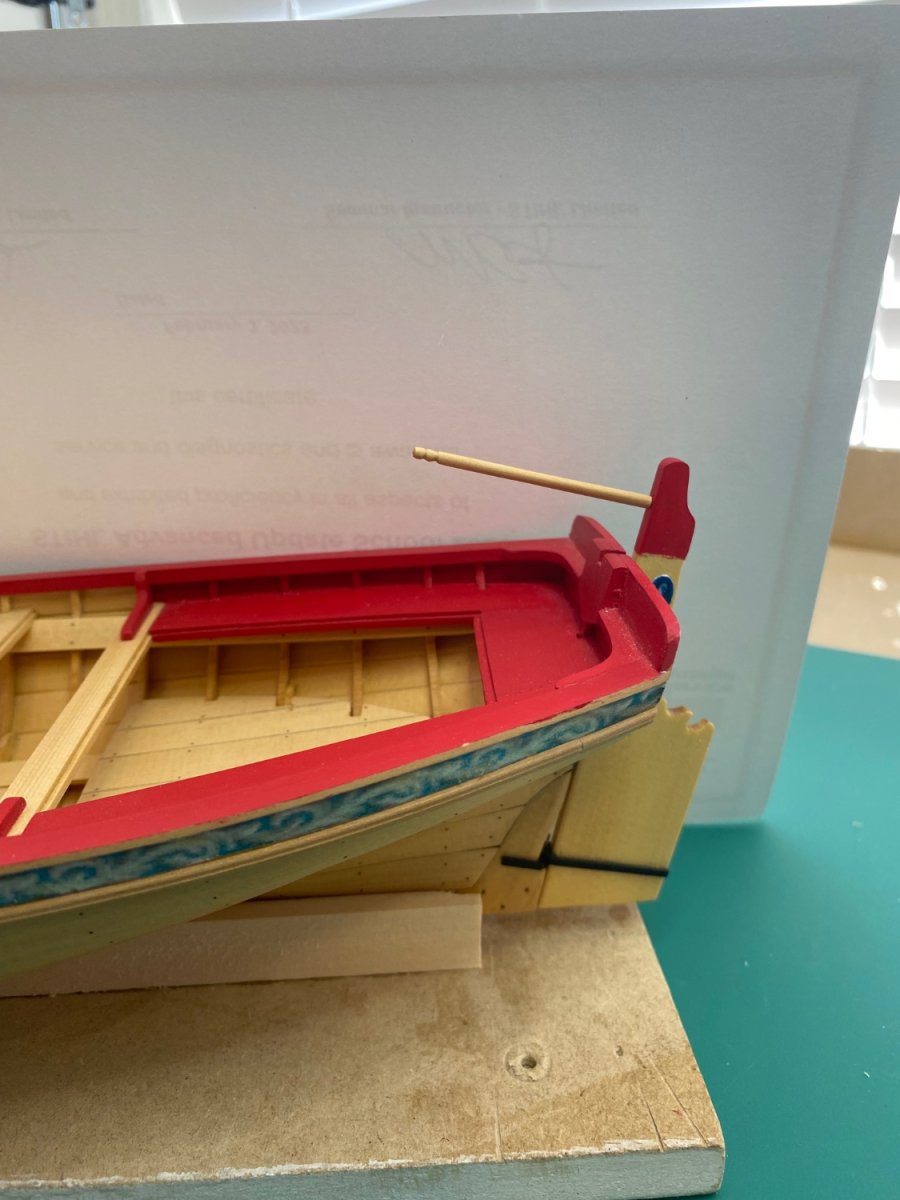
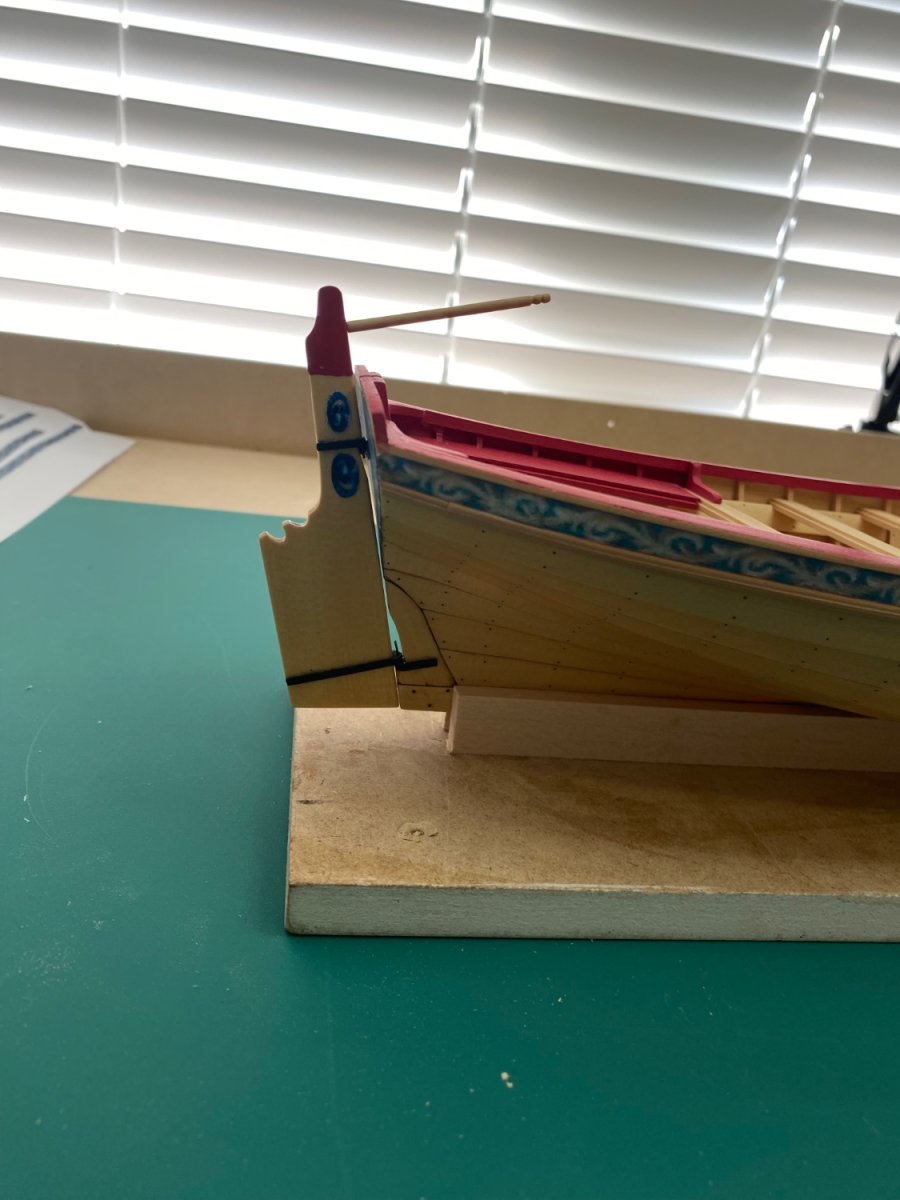
The end is near. The mast is made and ready for permanent mounting. I did manage to break the rudder of again and had to scratch build new hinges. The rudder stays off until completion. Just have to finish shaping and blackening of the chain plates, make 3 more oars and the thole pins. There have been times when I never thought I would get this far. Off to the west coast for a holiday and then back to start rigging. As of the 3rd of Sept. I am retired.

- 217 replies
-
- 6
-
-
- medway longboat
- Syren Ship Model Company
- (and 1 more)
-
A question to all builders. I have been unable to source brass flat stock to make the chain plates for the Medway. Today I took some 14-2 copper house wire, annealed it, and flattened it out to the size needed. Is there any reason that This should not be used on the build, and if so,why? Thanks in advance.
- 217 replies
-
- 1
-
-
- medway longboat
- Syren Ship Model Company
- (and 1 more)
-
Love the look of your build. I recently purchased the up dated version of the Sanson. When I finish rigging my Syren Medway longboat I will be staring on the Tug. I was going to omit the lighting but seeing yours I have changed my mind. Bravo Zulu on you build
- 118 replies
-
- 1
-
-
- sanson
- artesania latina
- (and 1 more)
-
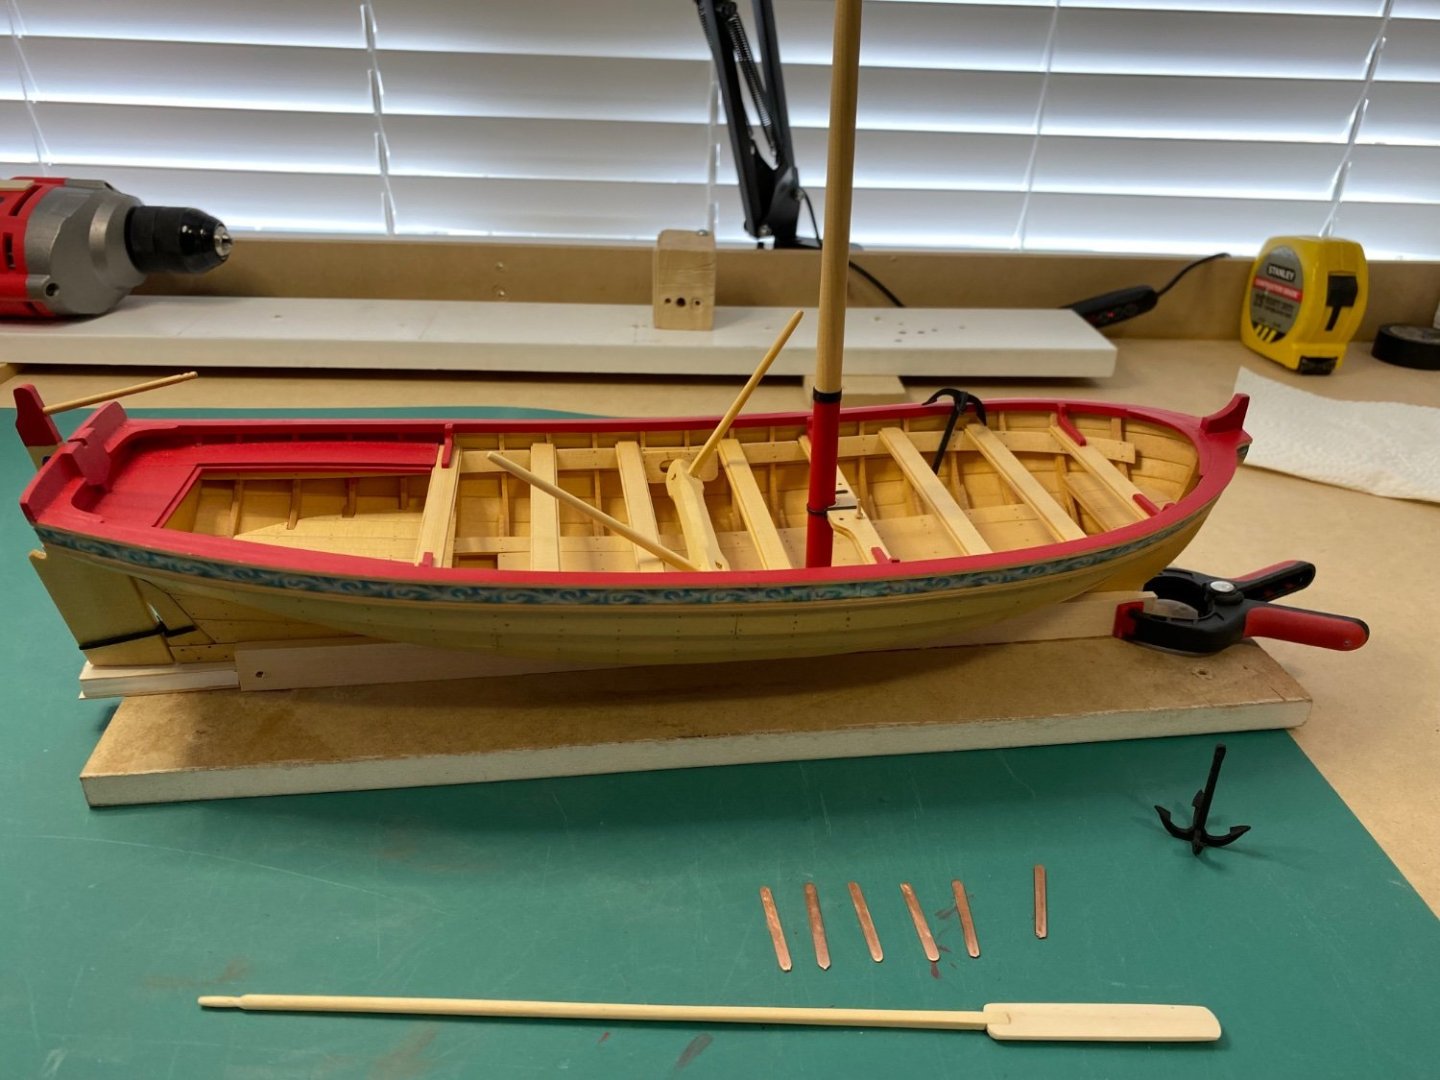
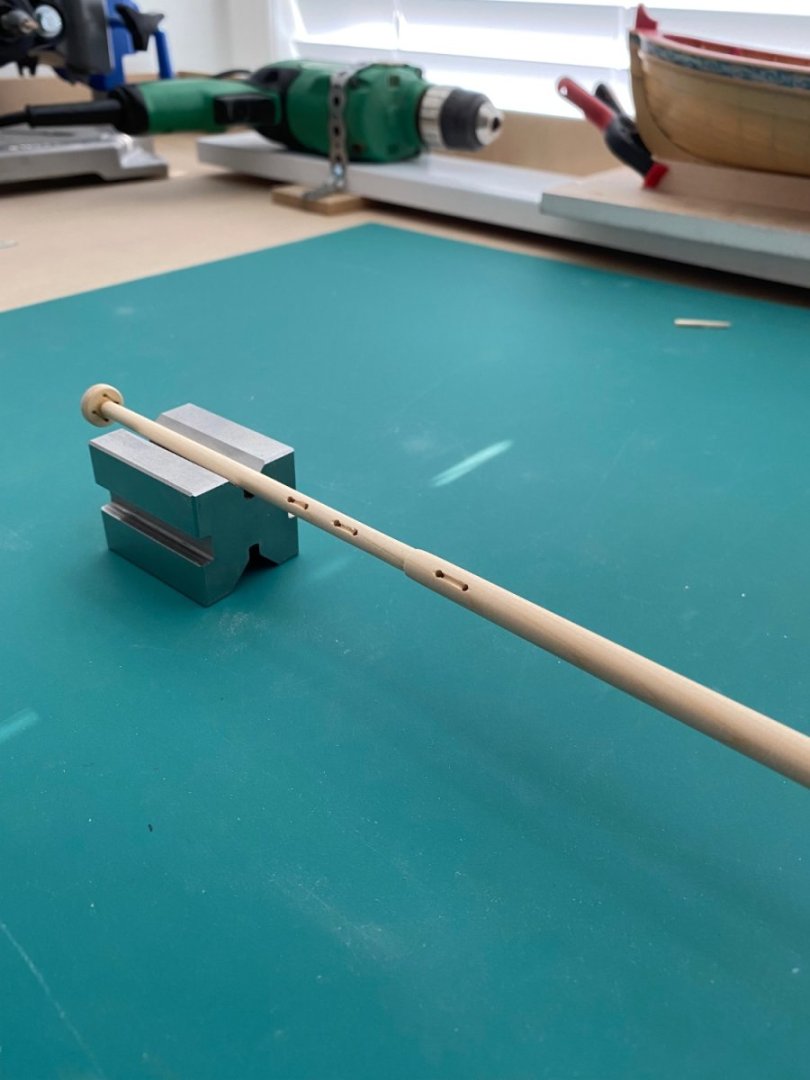
Ever since I purchased this build I have been apprehensive about doing the mast. Over the last few evenings the square stock was shaped and sanded as per Chucks instructions and this is the final result. In my opinion it has turned out well. Just have to do some touch-up sanding and painting. The one thing I would do differently is I would not have done the metal work for the mast thwart until the mast was made to size. It would have been easier to size the metal to the mast.

- 217 replies
-
- 6
-
-
- medway longboat
- Syren Ship Model Company
- (and 1 more)
-
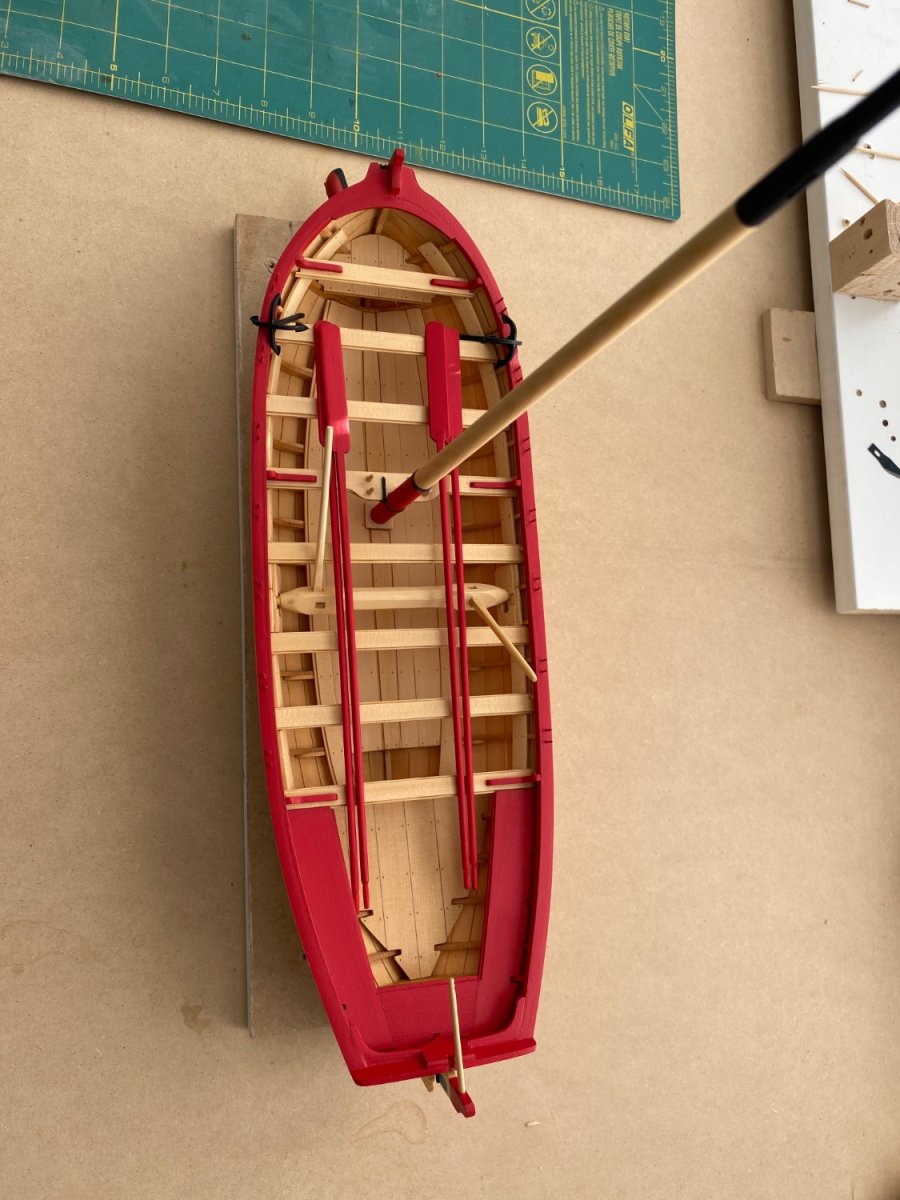
Had an accident in the shop. I recently got the rudder and tiller done, only to drop something and brake parts of it off. I have managed a fix, and only on close inspection can you see it. Have ordered a draw plate from Byrnes and will use it for the thole pins. The mast thwart is still not glued in, I will finish shaping the mast first. That will pretty much finish chapter four other than the oars


- 217 replies
-
- 3
-
-
- medway longboat
- Syren Ship Model Company
- (and 1 more)