Diver
Members-
Posts
402 -
Joined
-
Last visited
Content Type
Profiles
Forums
Gallery
Events
Everything posted by Diver
-
- 68 replies
-
- Sanson
- Artesania Latina
-
(and 2 more)
Tagged with:
-
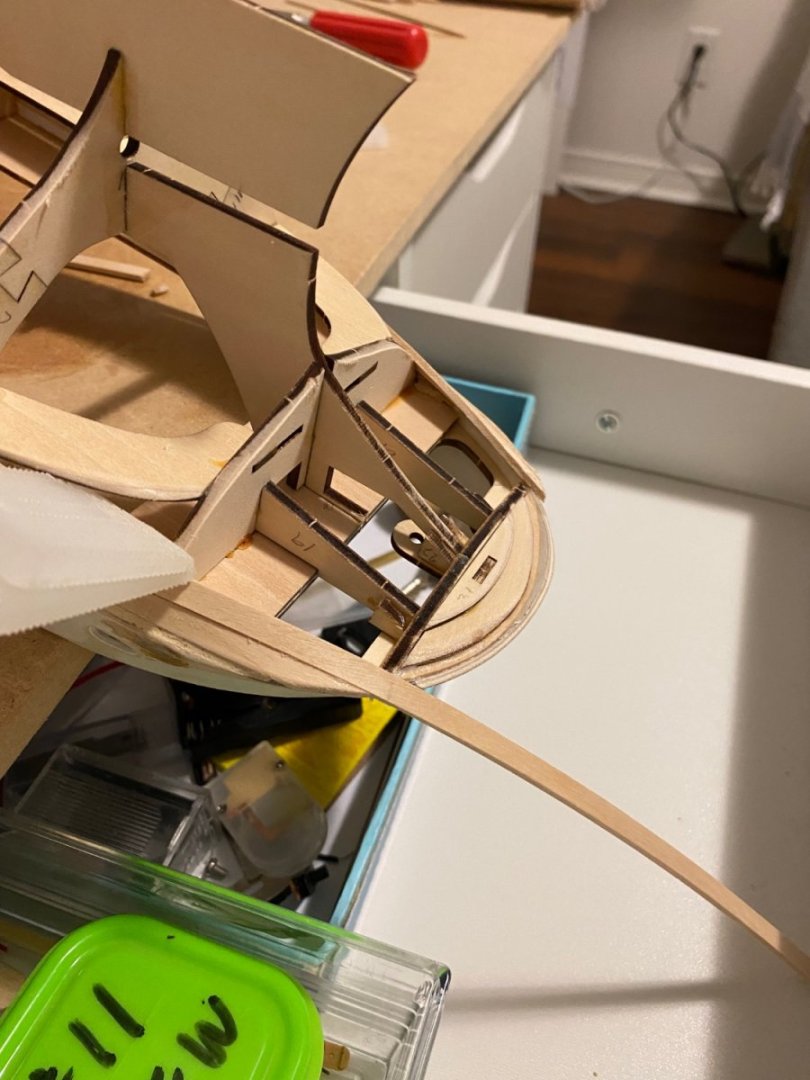
Thanks everyone for looking in on my question. I do shape my planks to the hull profile,( as per Chucks videos), but am going to complete this build with TiteBond. It will take longer clamping and waiting for the glue to set up but I think this is the best way. I find CA very frustrating to work with.
-
Hello everyone. I am in the process of trying to plank the up dated Sanson tug. The planking strips are birch and the frames are ply. The frames are properly fared with no char but I am having no success using CA. I took 2 short pieces of the planking, glued them together with CA. After sitting for 1/2 hour they popped apart with very little effort. I tried to moisten the plank but still no luck. The planks seem to adhere in some areas but not others. Any advice accepted.
-
This build is really testing my patience. I have started the planking but am running into an issue. CA is being used to secure the planks to the frames, Some times. It holds in some places, and in other places it will not stick. I went out and purchased a new bottle today, but still have the same issue. The frames are properly fared and there is no char. Any suggestions to what I can do before this build becomes a fire starter.
- 68 replies
-
- Sanson
- Artesania Latina
-
(and 2 more)
Tagged with:
-
Hello from Perth, Ontario - On to Victory!
Diver replied to Malcolm Brown's topic in New member Introductions
Welcome aboard from a fellow Ontarion. I am down in Kingston.- 31 replies
-
- Victory 1:100
- Heller
-
(and 1 more)
Tagged with:
-
Welcome to the site from a fellow Canuck. I would have never been able to complete my Syren Longboat without the help from the members here.
-
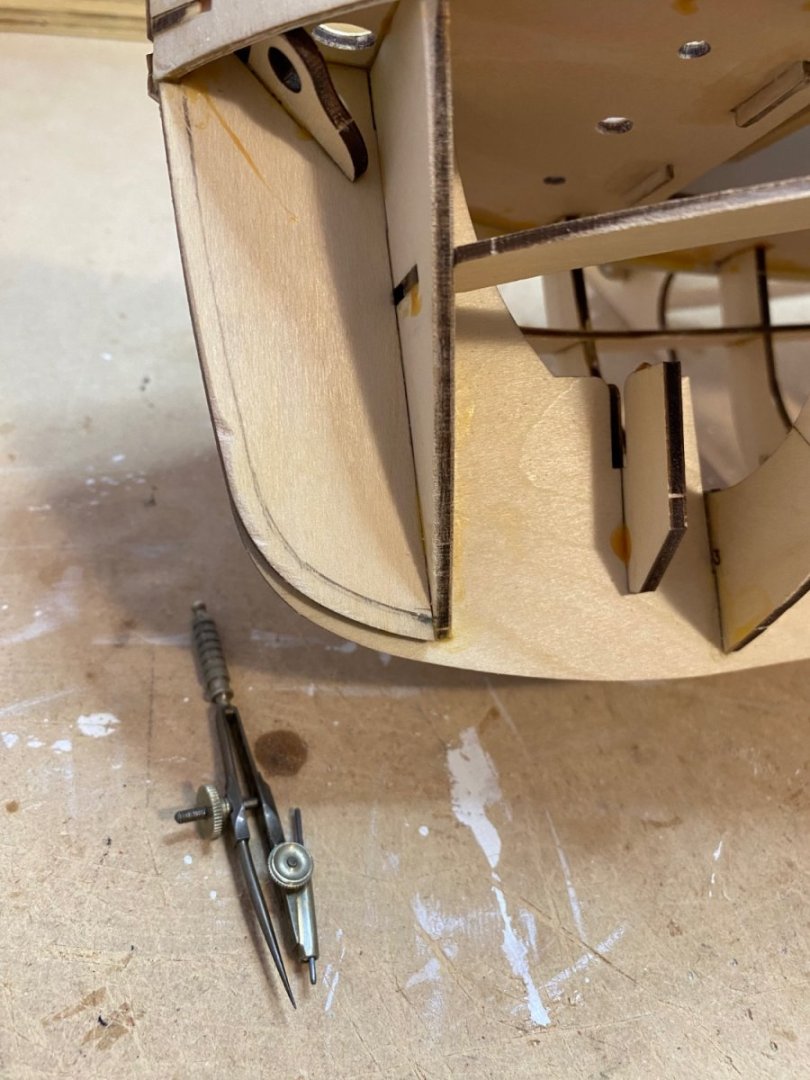
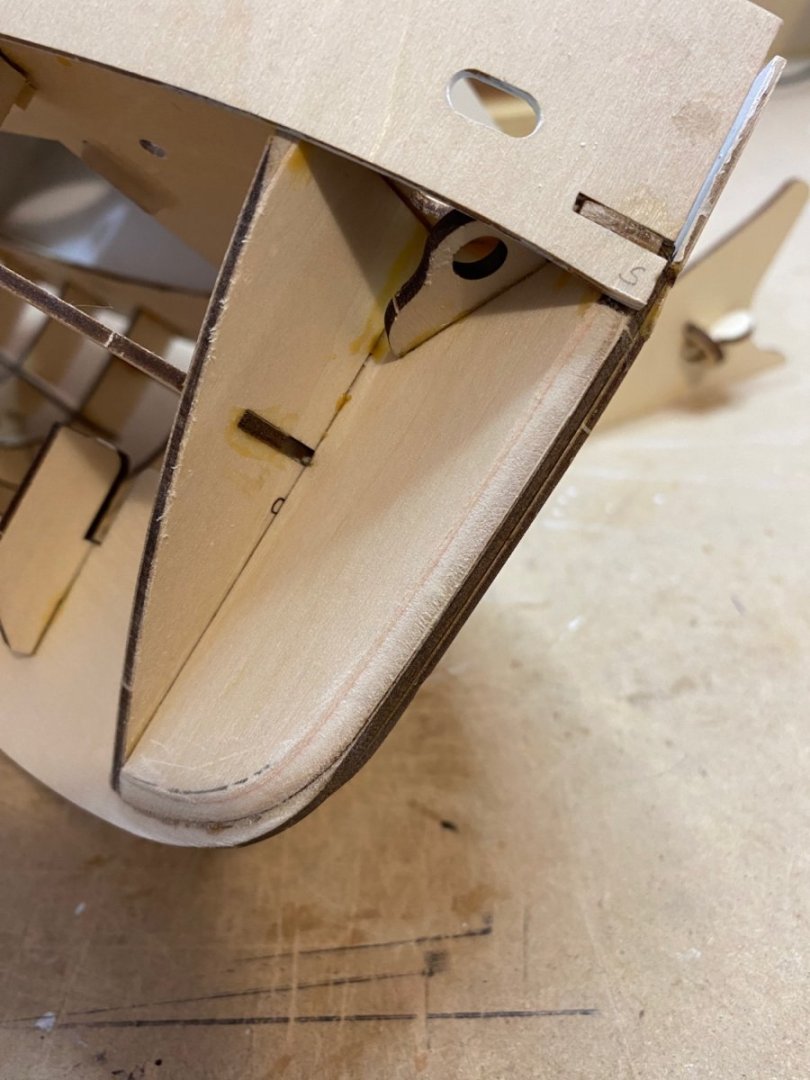
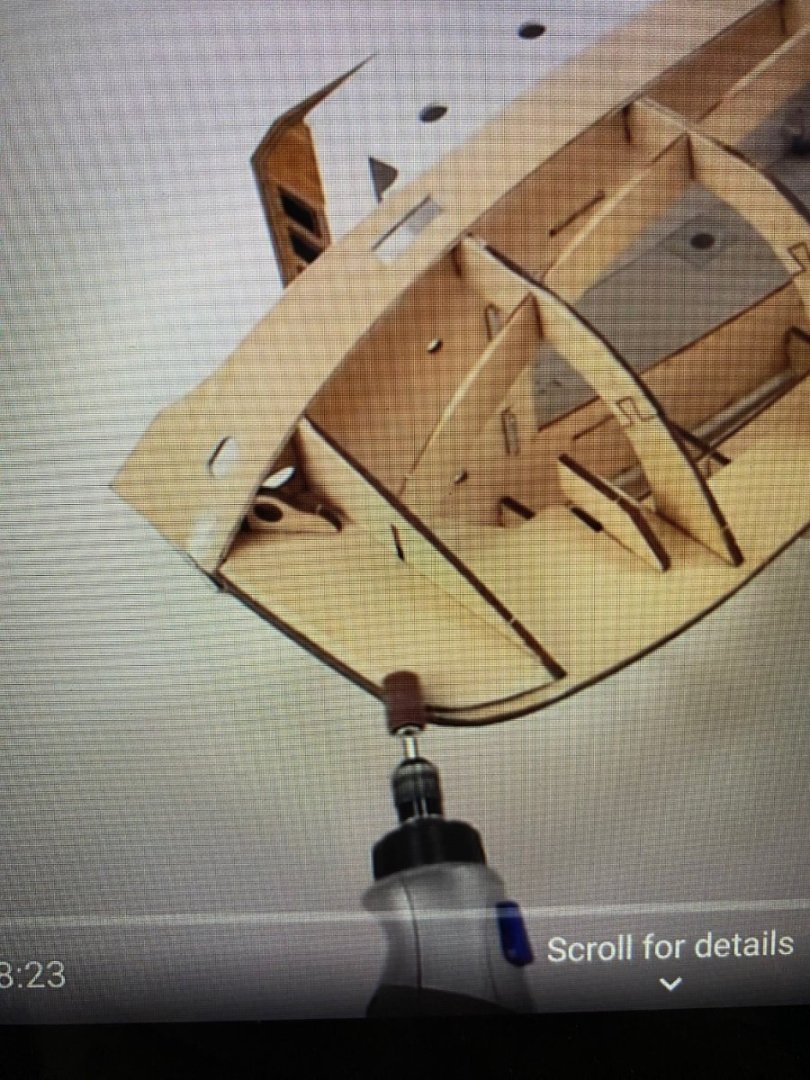
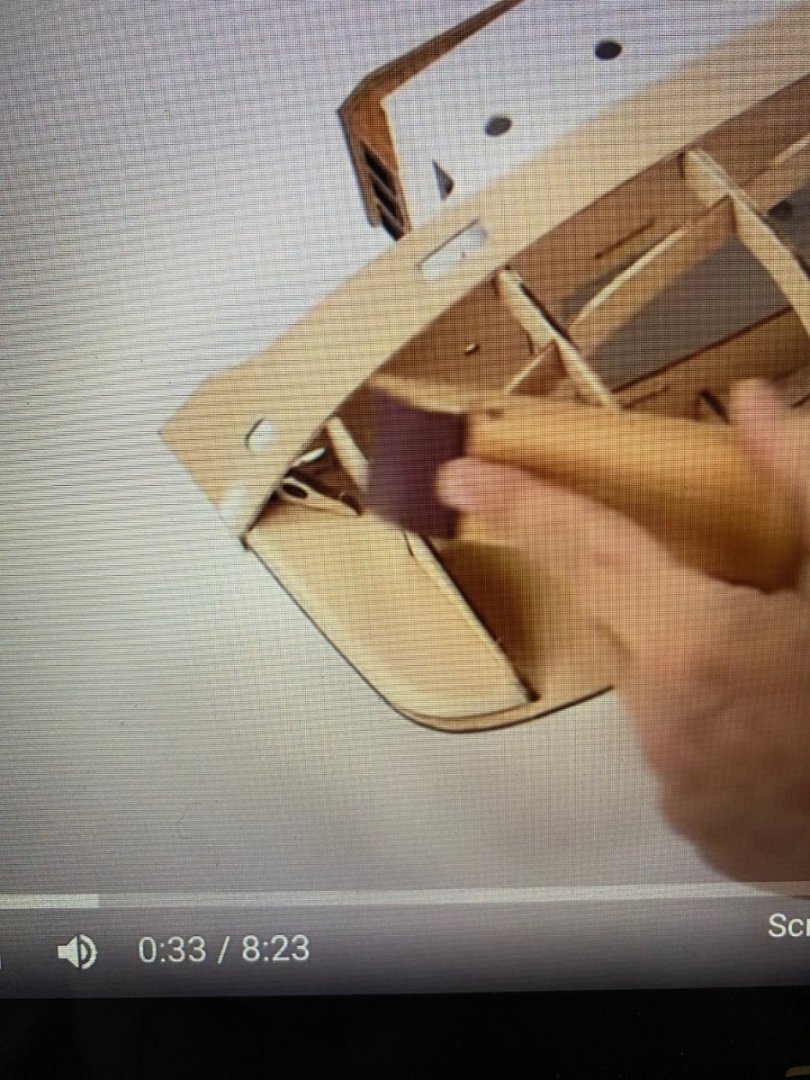
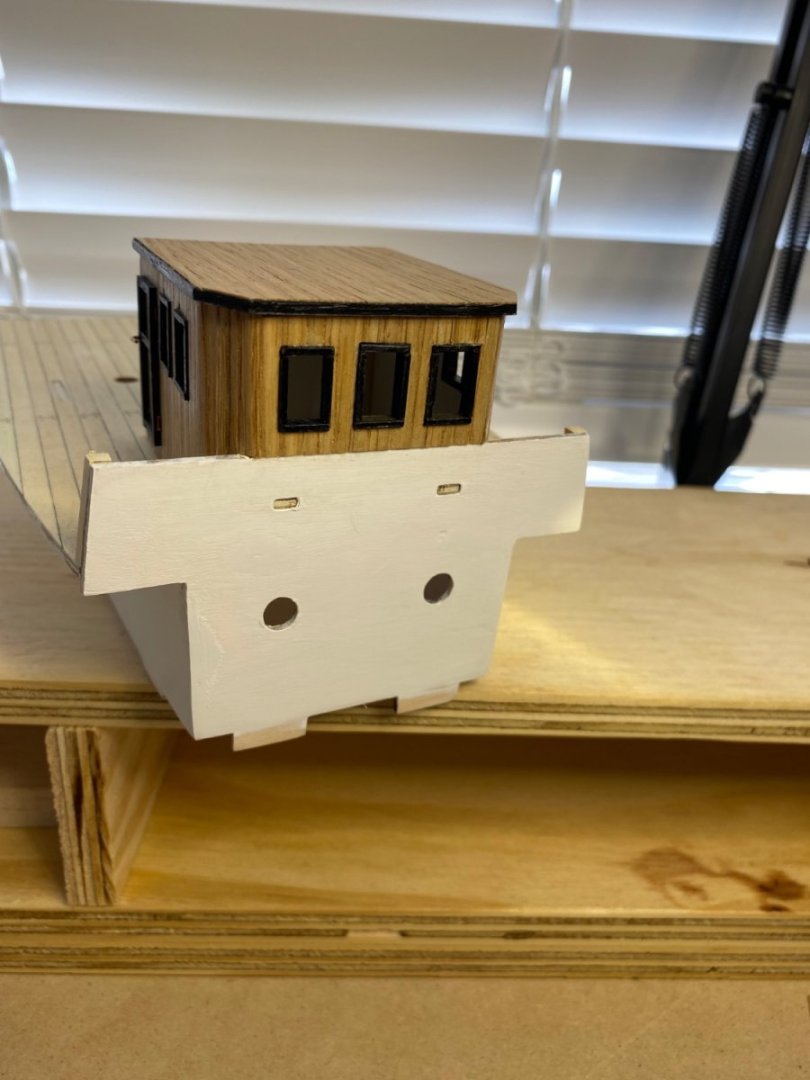
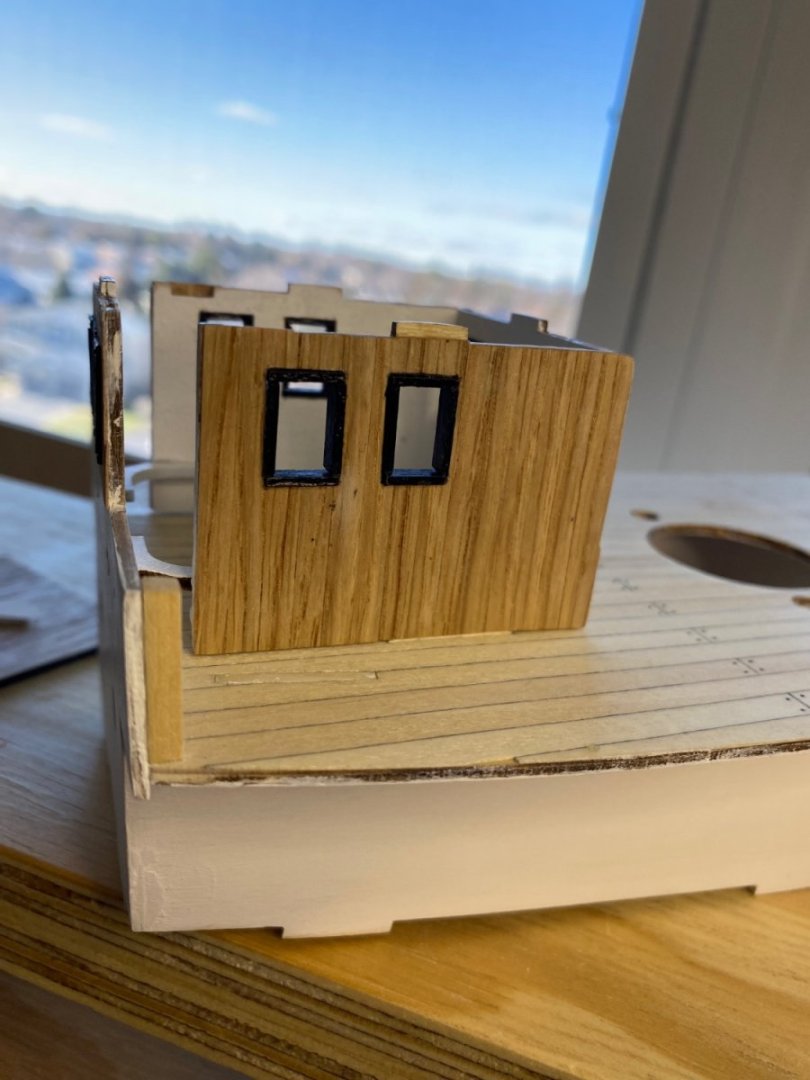
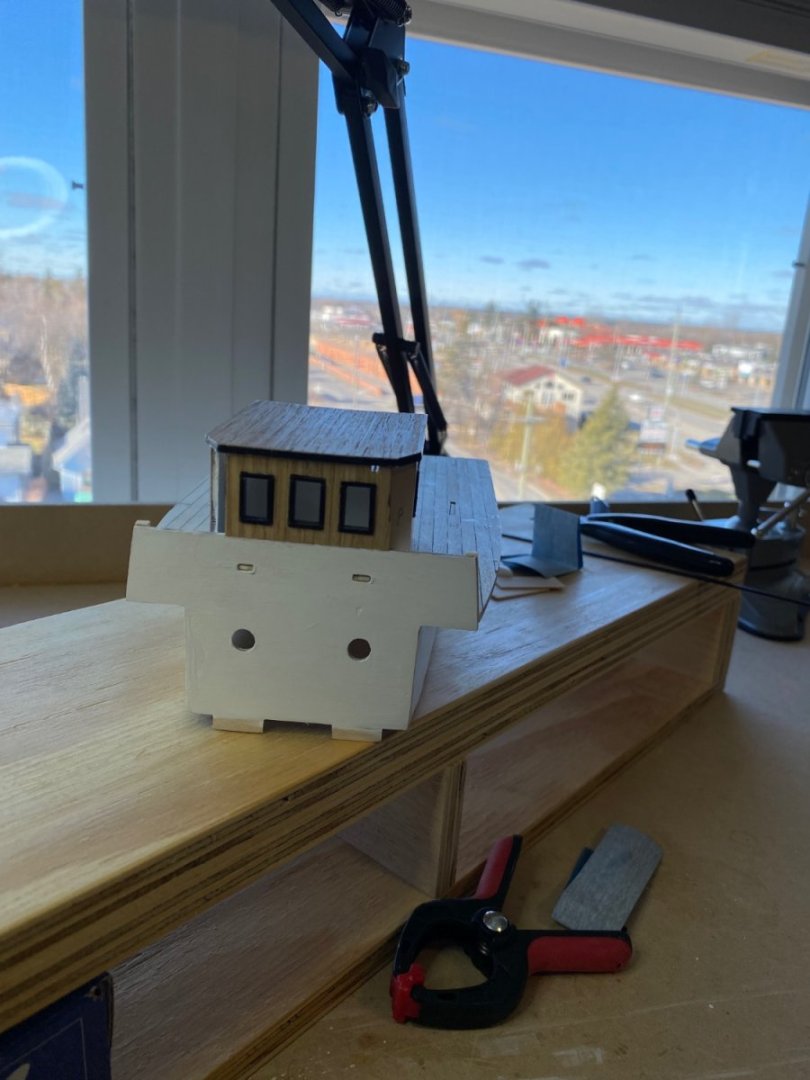
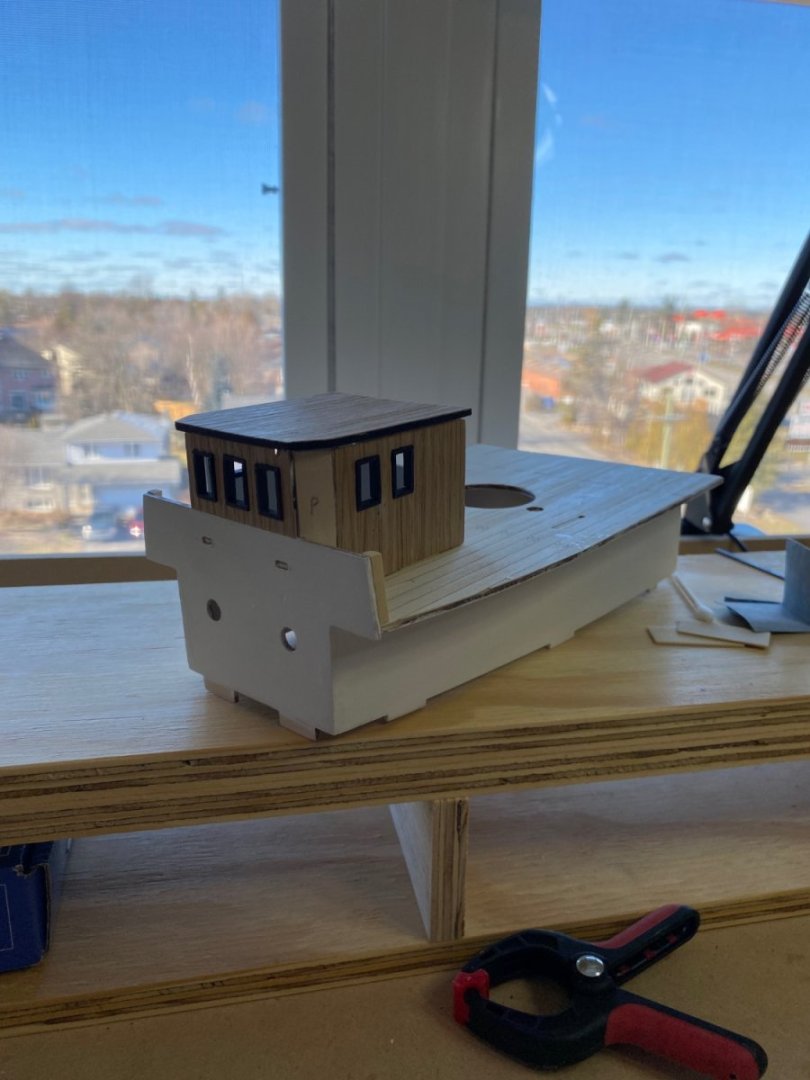
Making some progress on the build. Chapter 6 complete with a few head aches on the way. The major components go together with alignment tabs, but not everything lines up as it should. The front of the wheel house and the bulwarks would not have been able to be glued without the addition of some filler pieces. The absence of drawings leave some things to be figured out like the beveling of the stem. I used my Edwardian compass and drew a line that looks correct to me and then sanded and filed it until it looks like the construction video. On to fairing and planking now.
- 68 replies
-
- Sanson
- Artesania Latina
-
(and 2 more)
Tagged with:
-
Welcome aboard from a fellow Canuck.
-
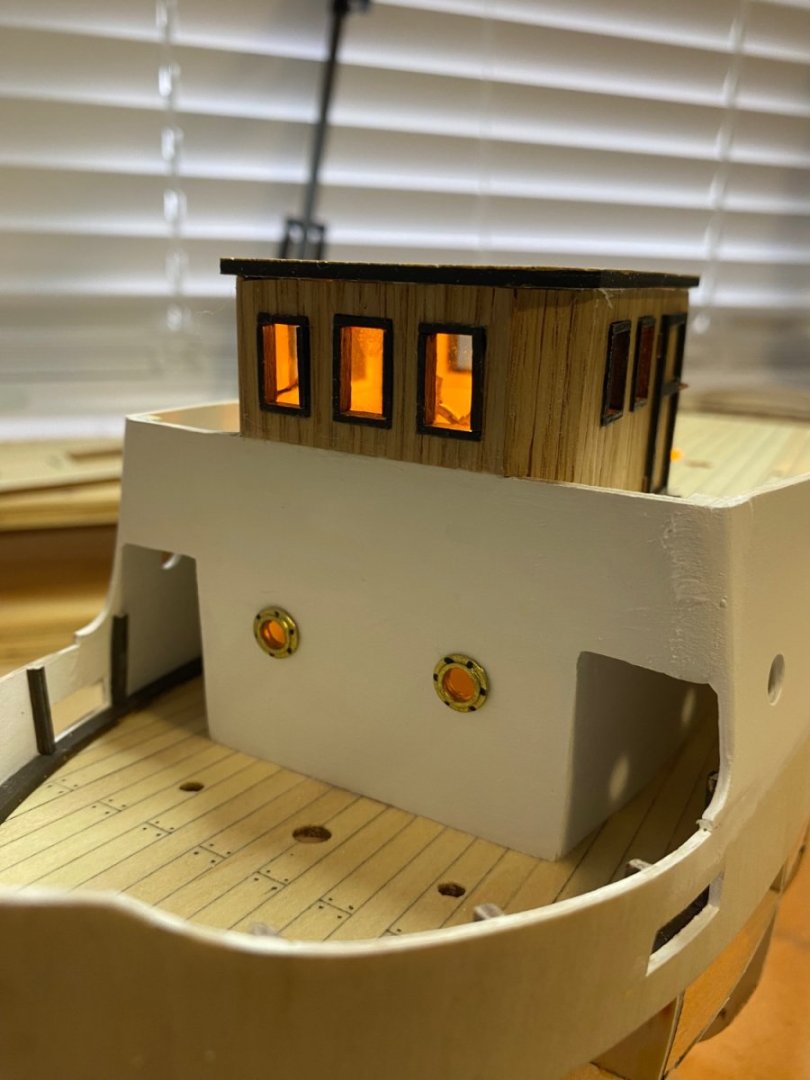
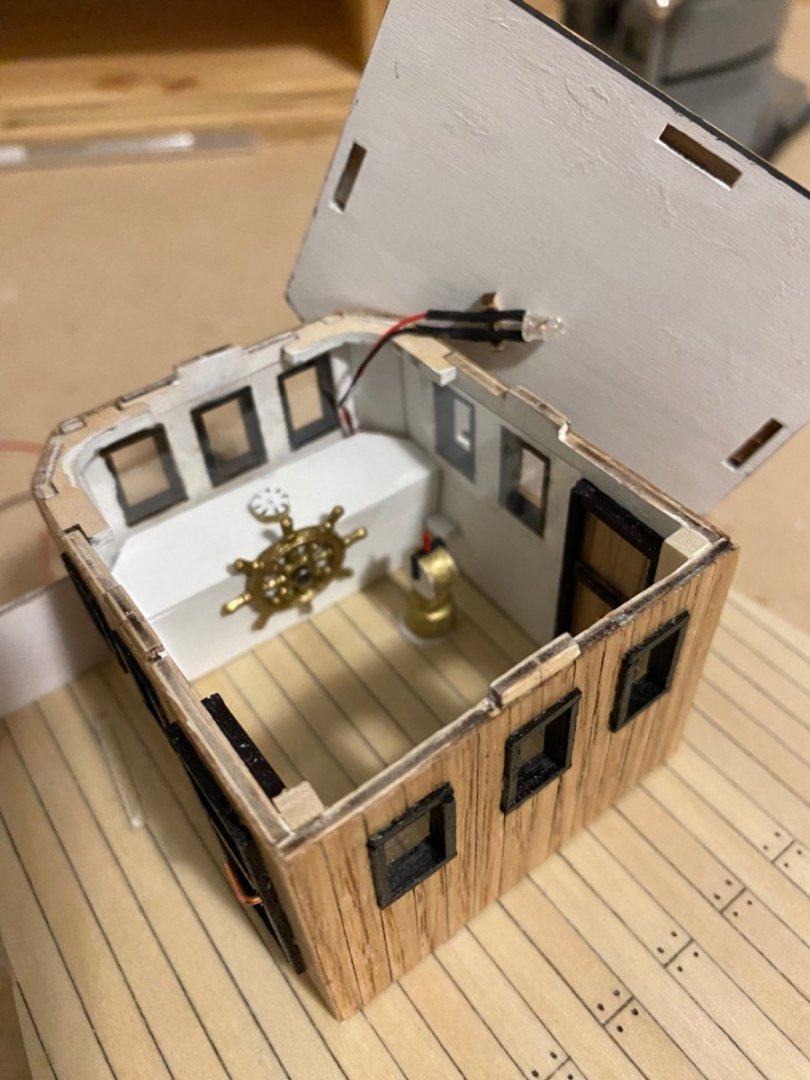
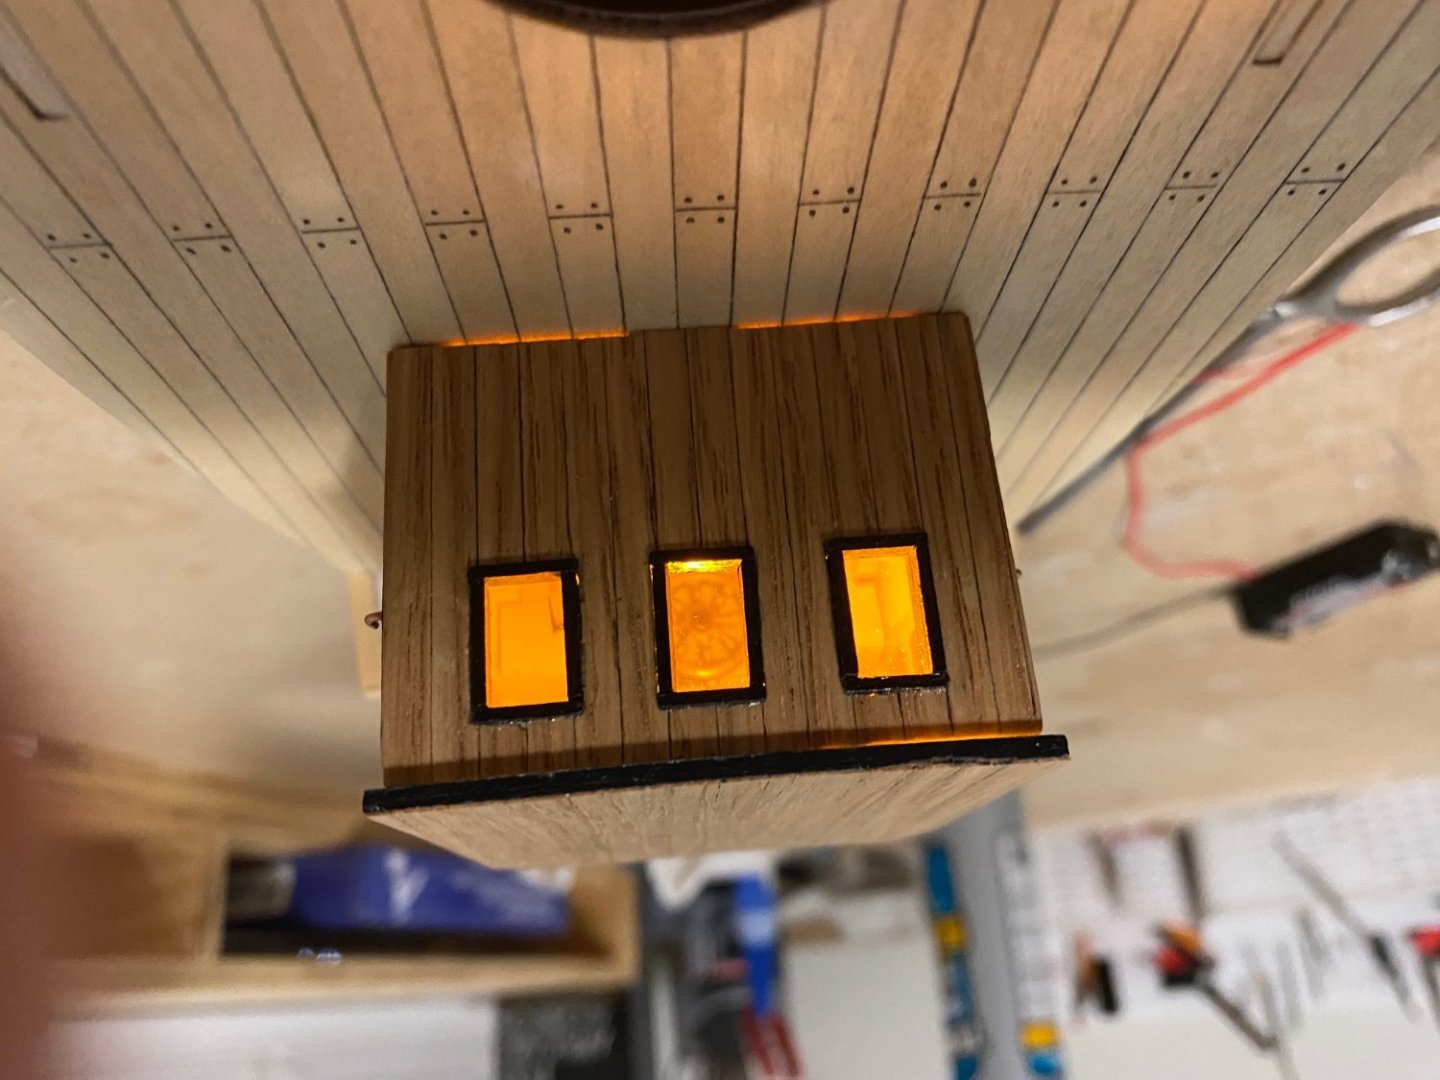
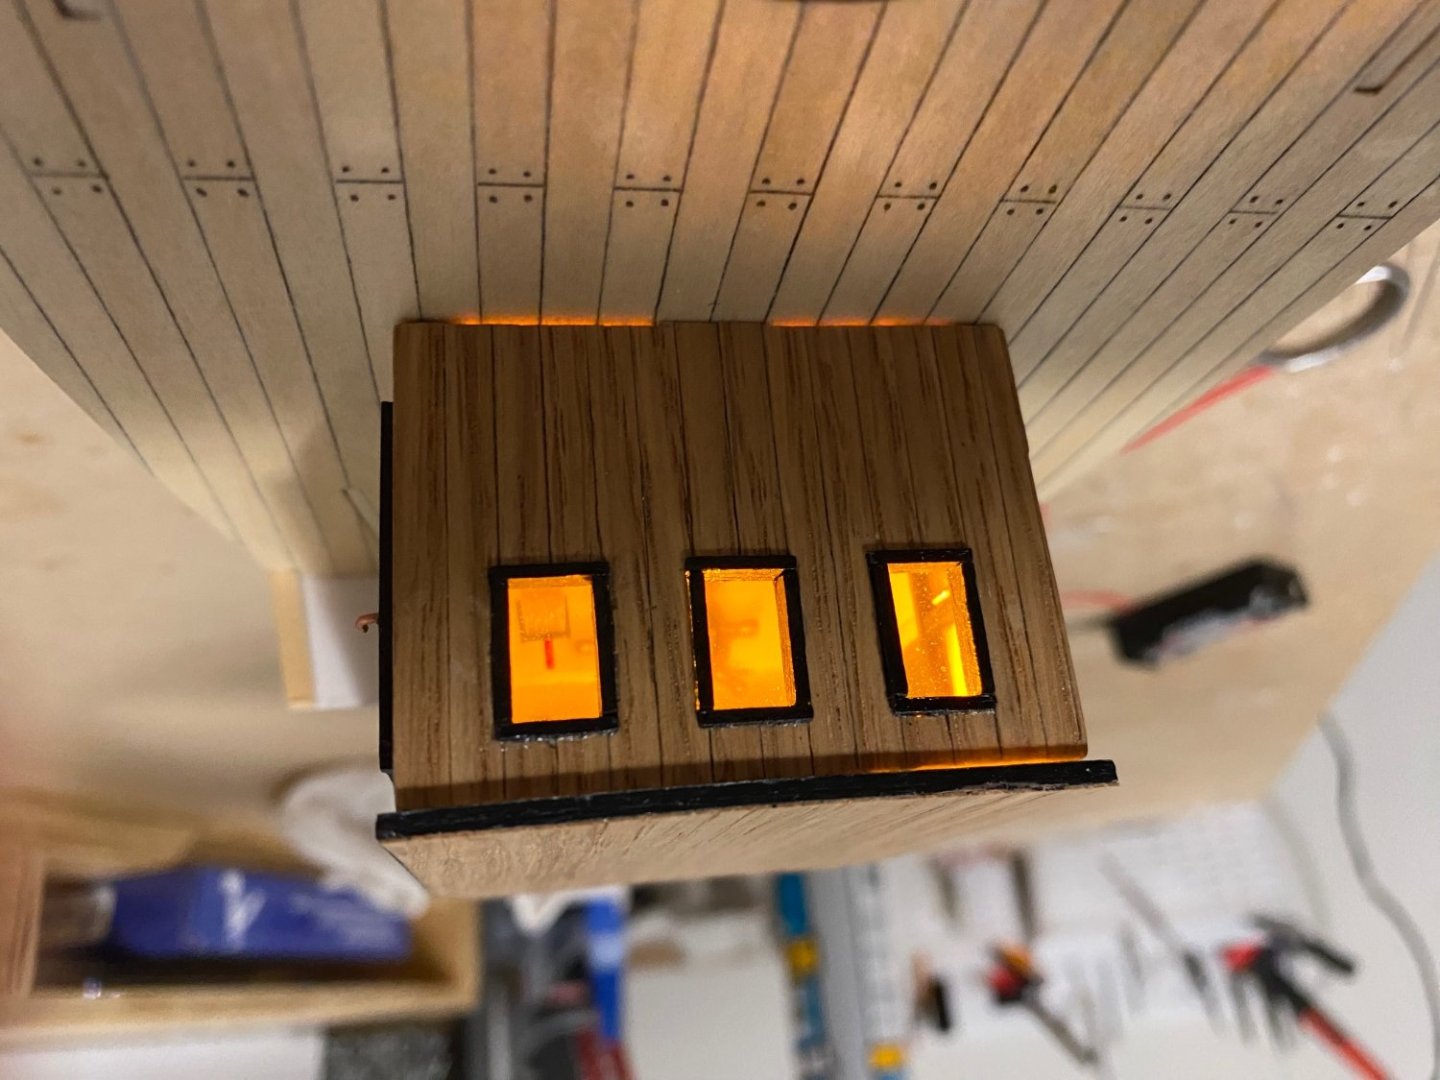
Some times I try things just because I can. The build has no wheel house furniture but I tried my hand at some. They are barely visible with the roof on , but they are there . The roof is only on temperarlaly and the trim has to go on the base of the wheel house.
- 68 replies
-
- Sanson
- Artesania Latina
-
(and 2 more)
Tagged with:
-
Just looking at my photos and see some missing veneer on the stbd side above the windows. Something else to repair, sigh
- 68 replies
-
- Sanson
- Artesania Latina
-
(and 2 more)
Tagged with:
-
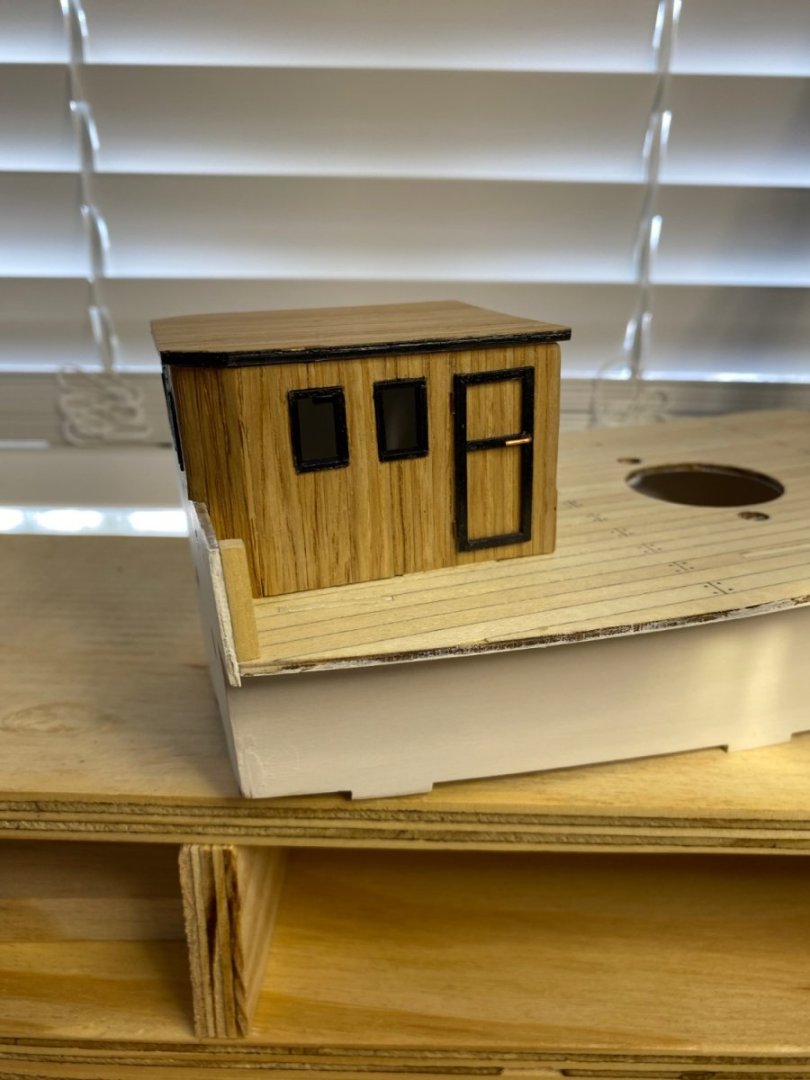
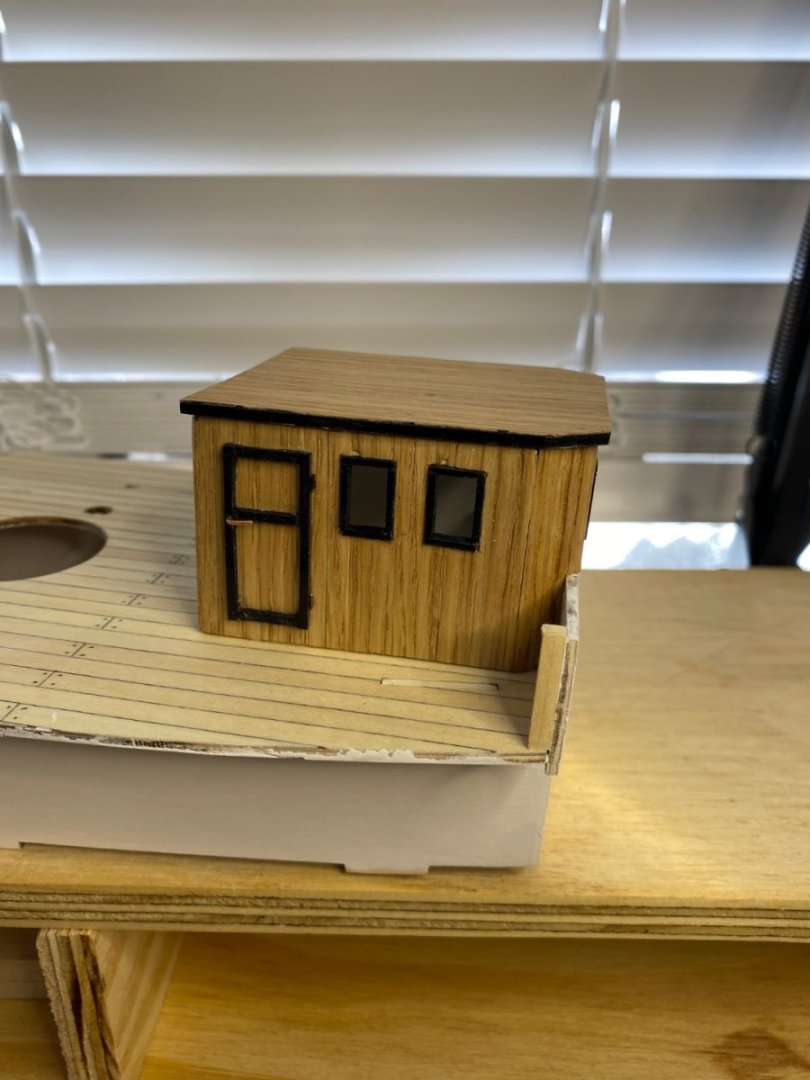
I must admit doing the window sills was very tedious but persistence payed off. The doors were straight forward and bring the house to life. I am going to try and scratch build some decor for the wheel house, ie compass platform, wheel and engine telegraph. They will be hard to see but they will be some what visible. There will also led light in the pilot house. As said before, this kit would be better with some drawings and instructions book.
- 68 replies
-
- Sanson
- Artesania Latina
-
(and 2 more)
Tagged with:
-
A little New Year’s Eve work. I have installed the oak veneer on the Pilot house and did the window sills. In hind sight I would have installed the window sills before assembling the pilot house, and then done the veneer. There is some veneer to be replaced before proceeding and another coat of WOP.
- 68 replies
-
- Sanson
- Artesania Latina
-
(and 2 more)
Tagged with:
-
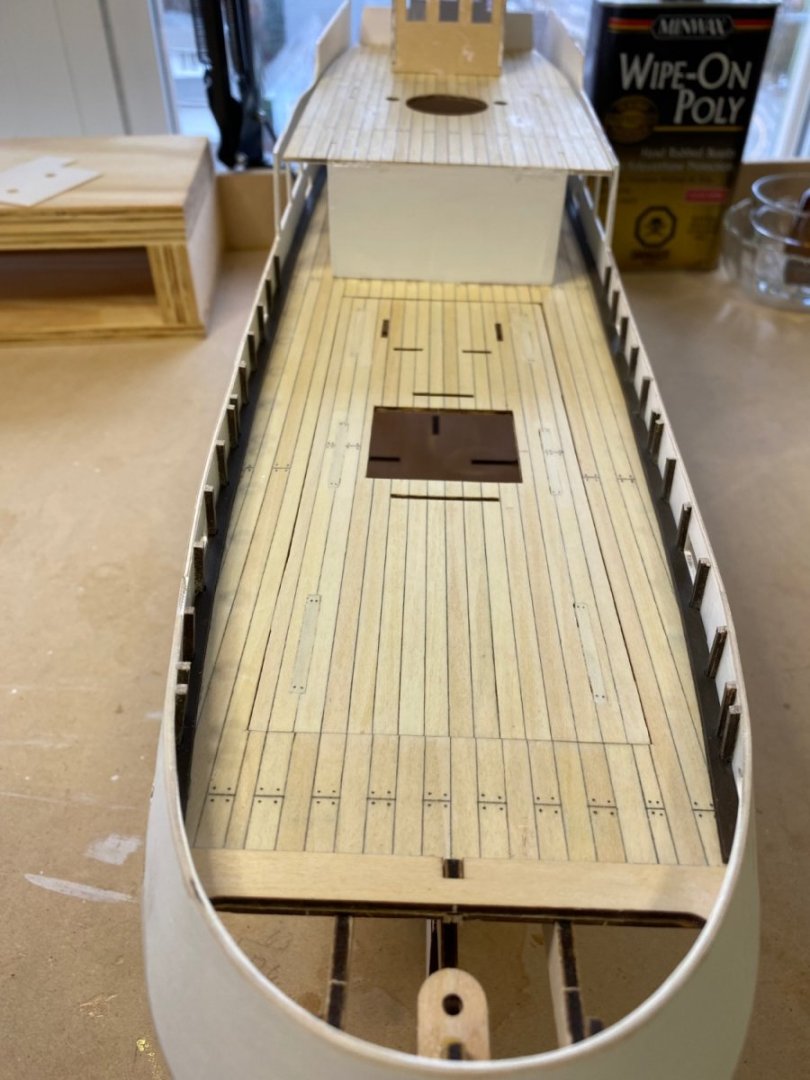
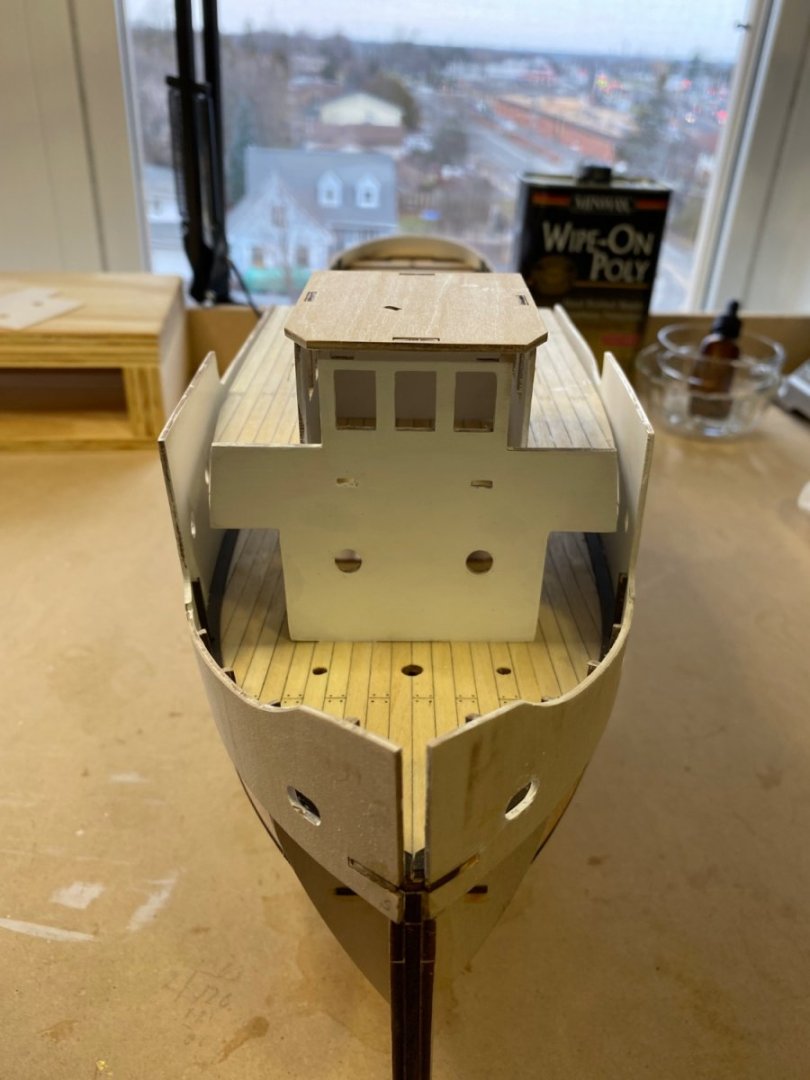
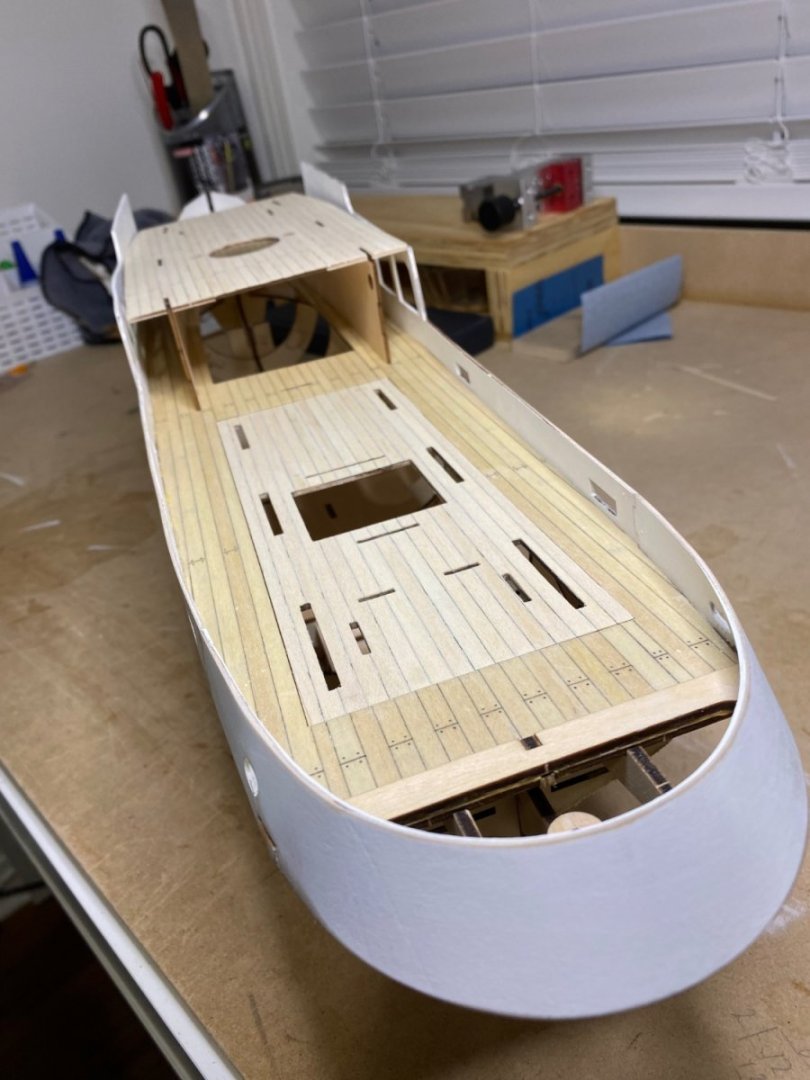
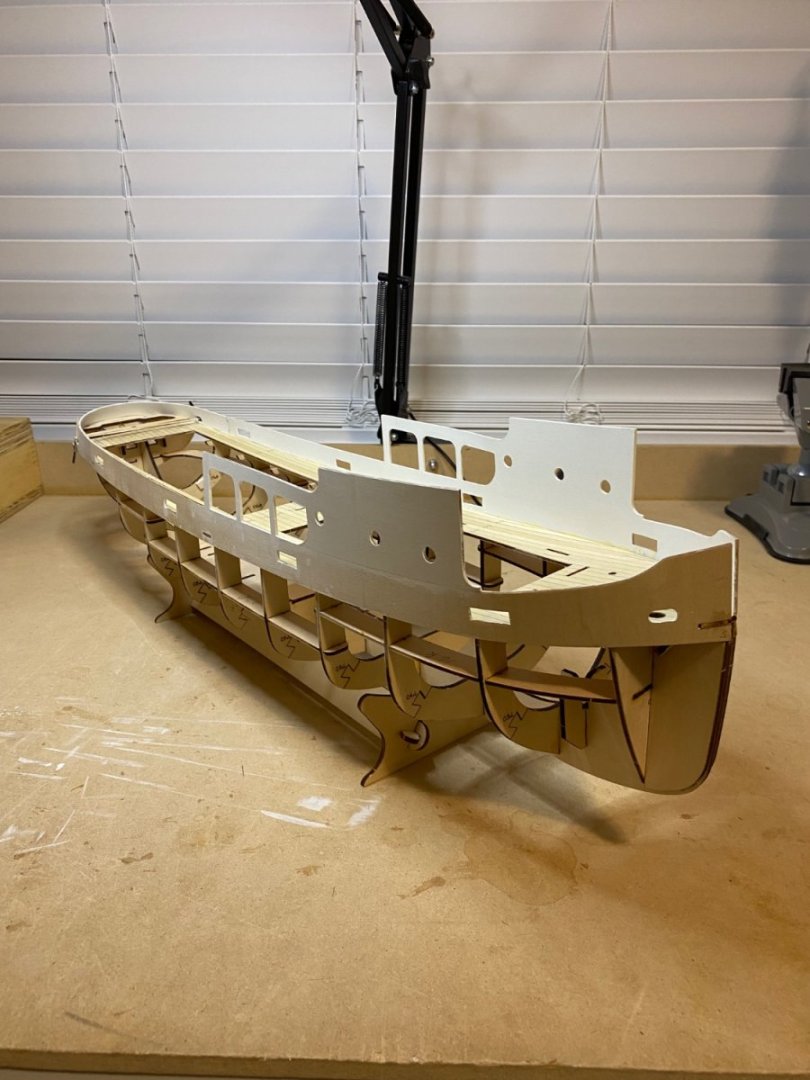
Have a little more done on the build. The waterways and uprights are installed. I am not overjoyed in the quality of wood in this kit. The 3mm plywood for the gunnels is very fragile plus it has laser etching to show paint lines. The slightest pressure and the wood de laminates. The forward water way came in one piece but I cut it in half to make installation easier. I purchased the AL paint kit for this project and am not impressed. I am new to model painting but after 5 coats of white I think I should have better coverage. Everything was prepared with 400 grit paper before painting. I also do not like the puzzle joints for assembling the deckhouse etc. It takes a lot of filling and sanding to make them disappear. The deck house and bridge are only dry fitted to check locations. I think I will add some furniture to the bridge, Ships wheel, compass etc.
- 68 replies
-
- Sanson
- Artesania Latina
-
(and 2 more)
Tagged with:
-
Hello Tyler from a fellow Ontarion, (Kingston). Be sure to post build logs for your projects.
-
Hello All. I am about to paint some parts of my Sanson tug by AL. I have purchased the AL paint kit and need advice on how to brush paint this model. The paints are water based acrylic and I would like to know if they should be thinned, and what brushes are best. What would be used as a thinner for these paints? Thanks in advance. Bob
-
- 68 replies
-
- Sanson
- Artesania Latina
-
(and 2 more)
Tagged with:
-
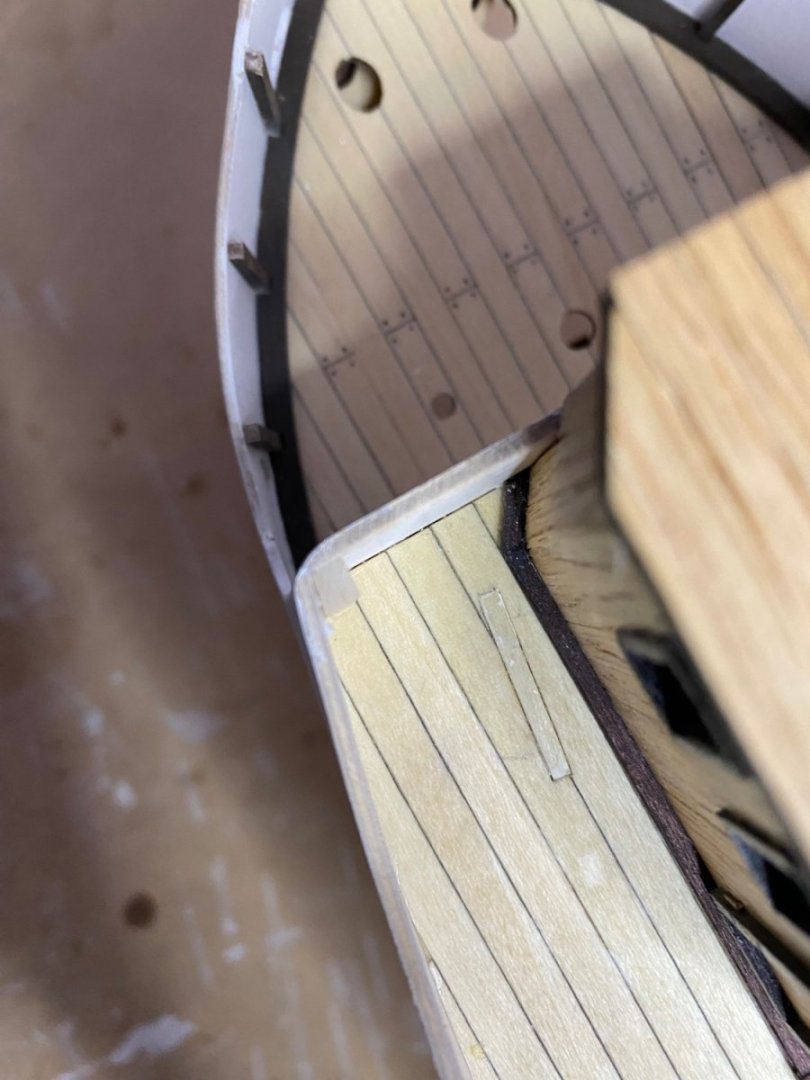
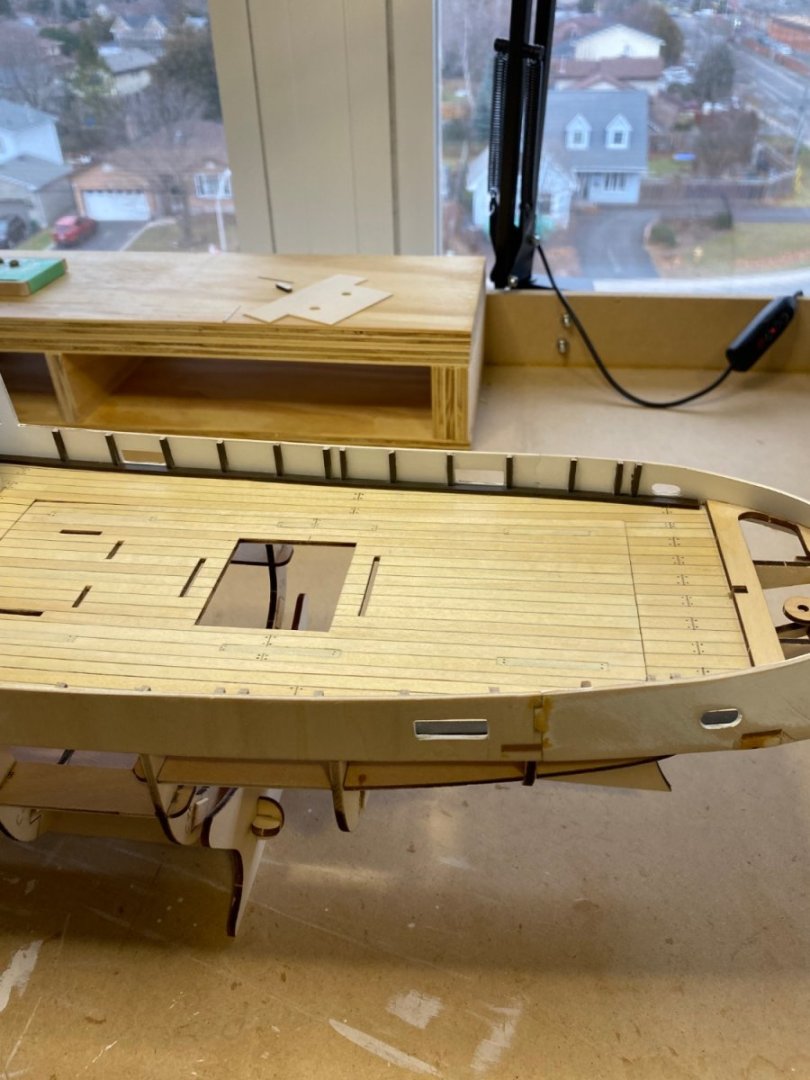
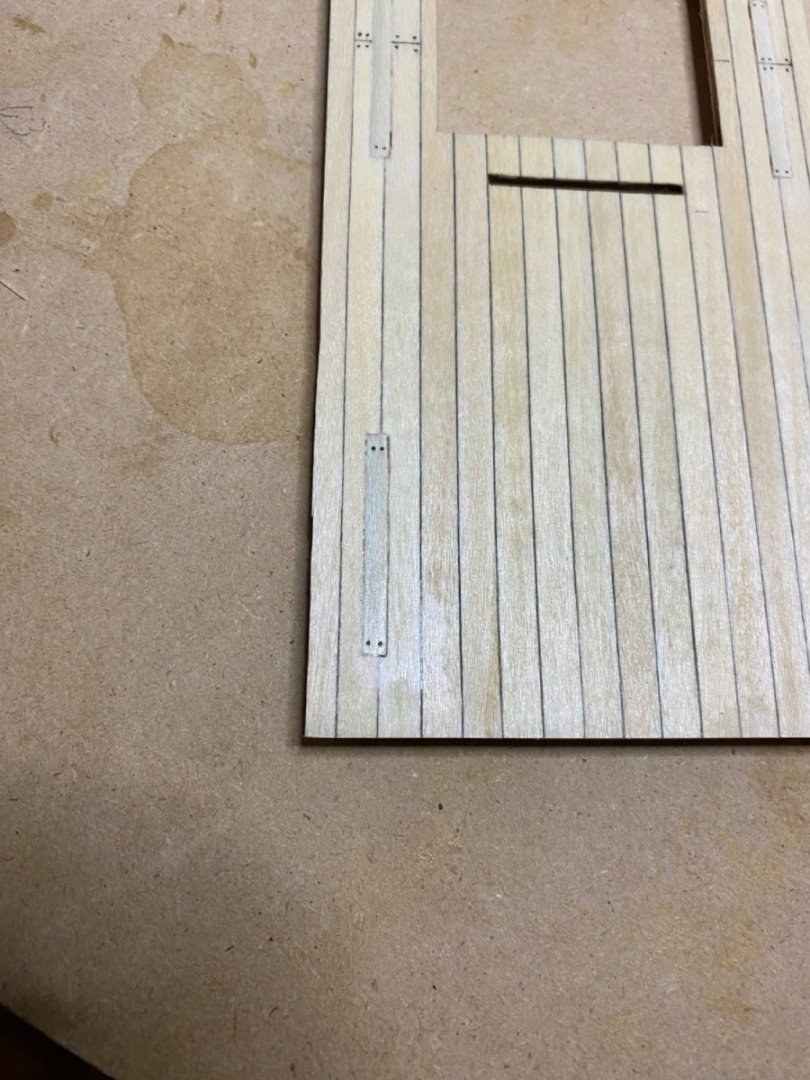
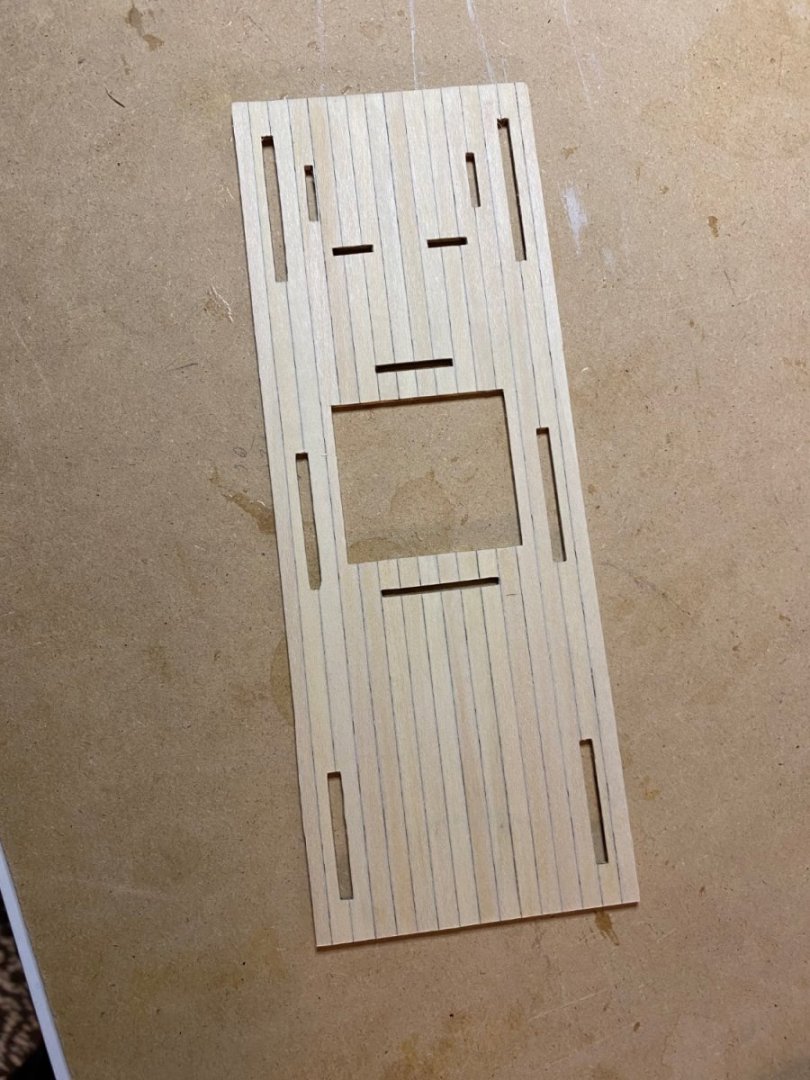
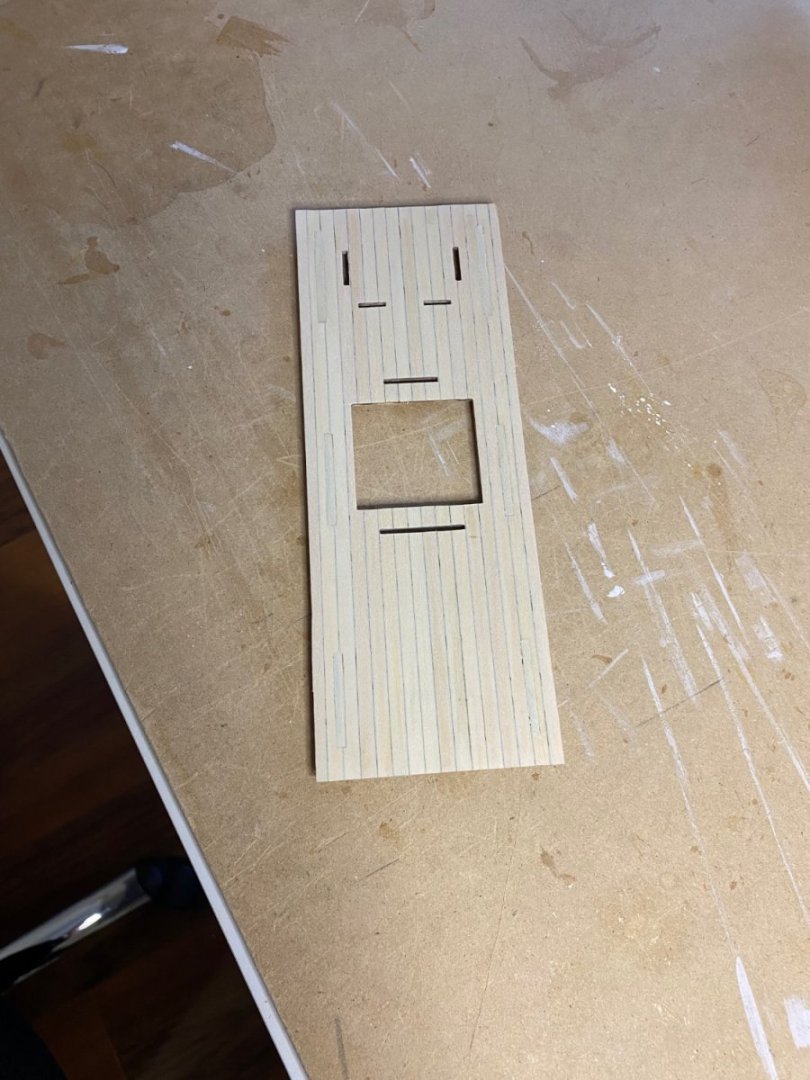
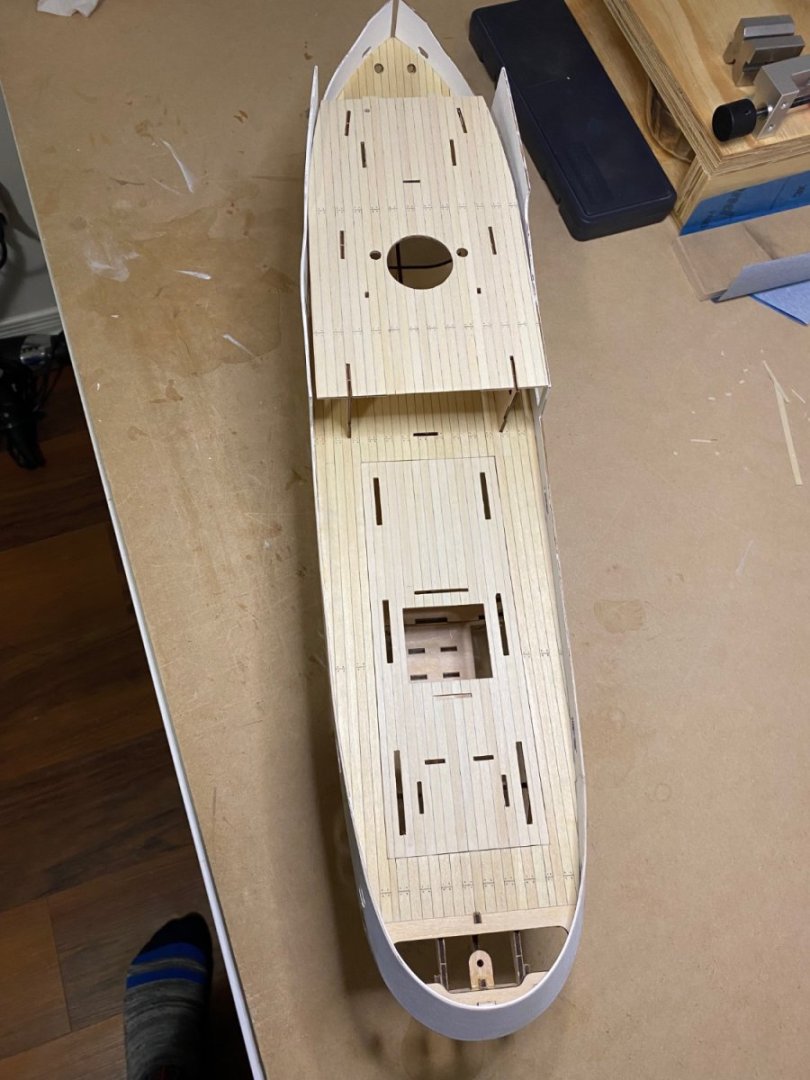
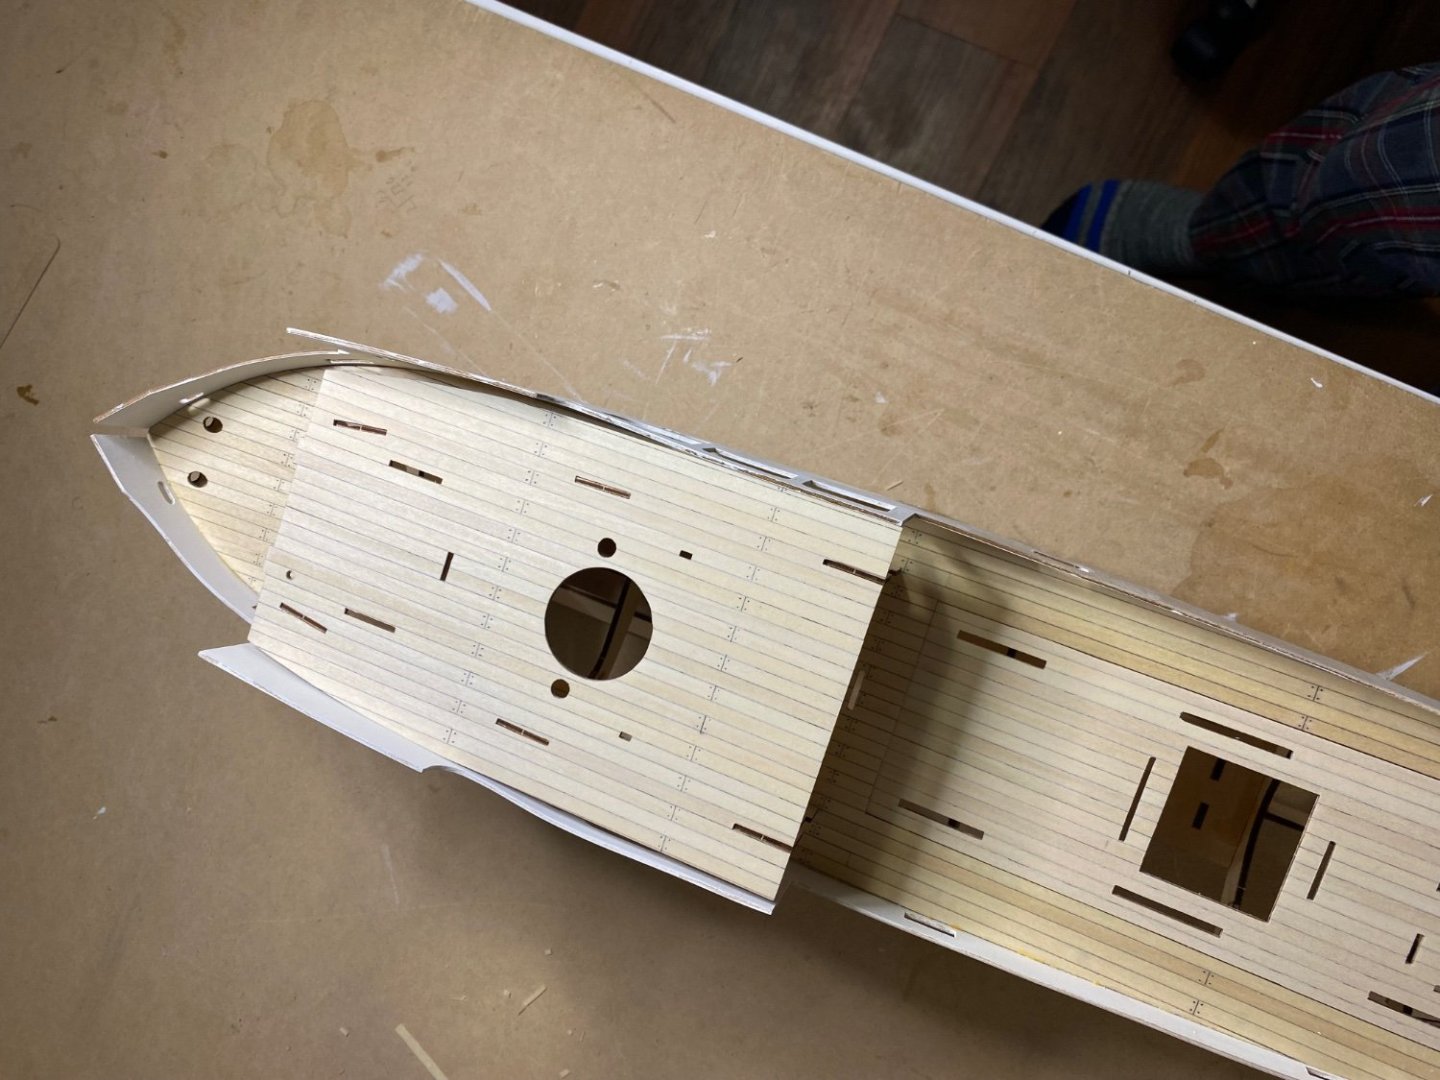
The problem and the Fix. I got ahead of myself and carved out the planking on the left and right side. Here is my photos of before and after. I will have to do the same repair on the bridge deck just before it gets secured. Fortunately, this is a part of the deck with a lot of furniture. I will do a bit more sanding and filling before the WOP goes on.
- 68 replies
-
- Sanson
- Artesania Latina
-
(and 2 more)
Tagged with:
-
Welcome to the site from Ontario Canada. I was in Norway in 1986 in the Narvik area for a few months. Beautiful country.
-
Thanks for looking in Bob. It really frustrates me when I do avoidable mistakes. I did all the planking and then proceeded to cut slots that should have remained covered with the planks. I am working on a fix and will post photos when done. This is an enjoyable build and I really like the look of the Tug. As mentioned earlier, I do think and instruction booklet would supplement the build videos.
- 68 replies
-
- Sanson
- Artesania Latina
-
(and 2 more)
Tagged with:
-
Today some more planking was done on the deck pieces. Unfortunately I got ahead of myself and cut out some decking that should have remained. This is we’re I think drawings should be included with a kit. My bad but I will be able to fit some replacement decking later on. A dry fit was done to ensure that my fix will work. Some more sanding on the decks and then some WOP will be applied. Reminder to self: SLOW DOWN and look ahead.
- 68 replies
-
- Sanson
- Artesania Latina
-
(and 2 more)
Tagged with:
-
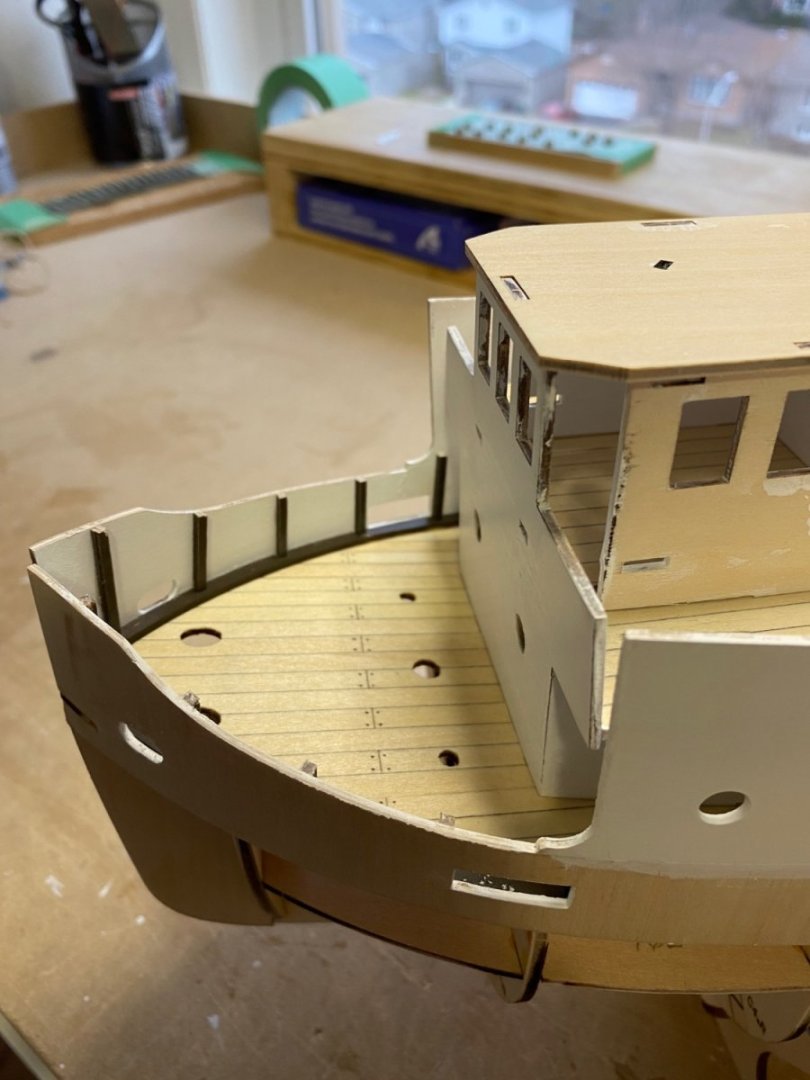
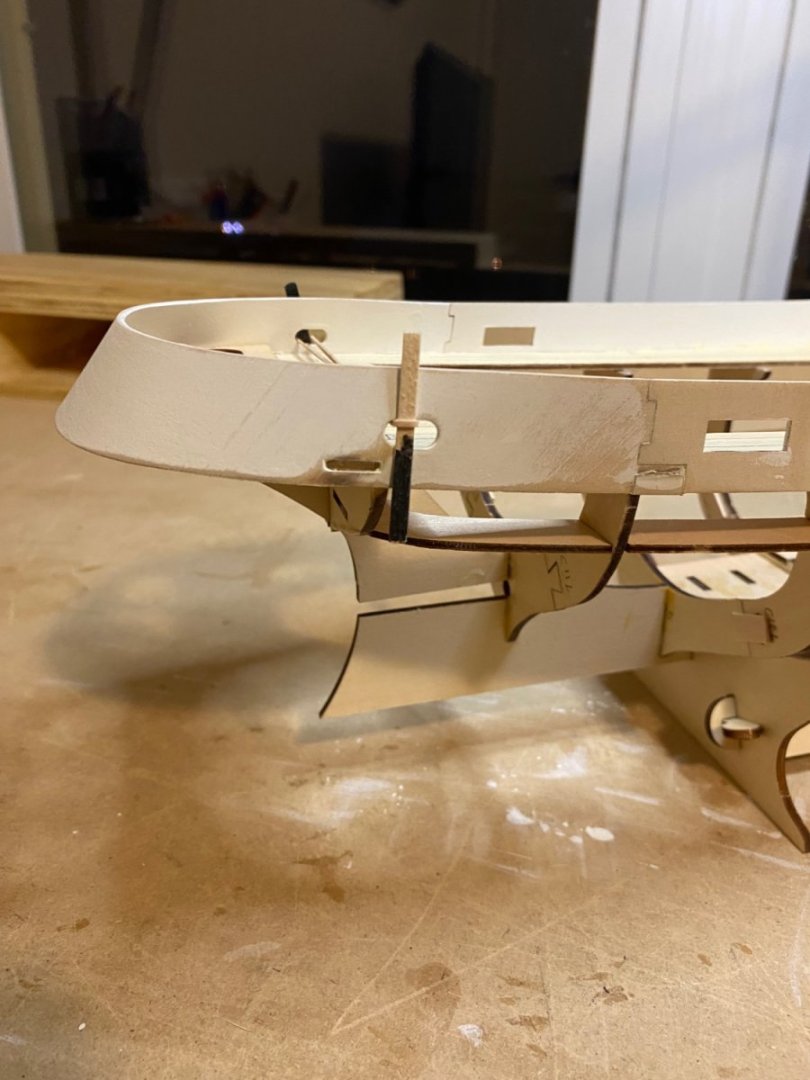
Thanks for looking in. I think that the stern bulwark could be better designed. They are asking a lot, compound curve over a tapered frame, with a single fragile piece.
- 68 replies
-
- Sanson
- Artesania Latina
-
(and 2 more)
Tagged with:
-
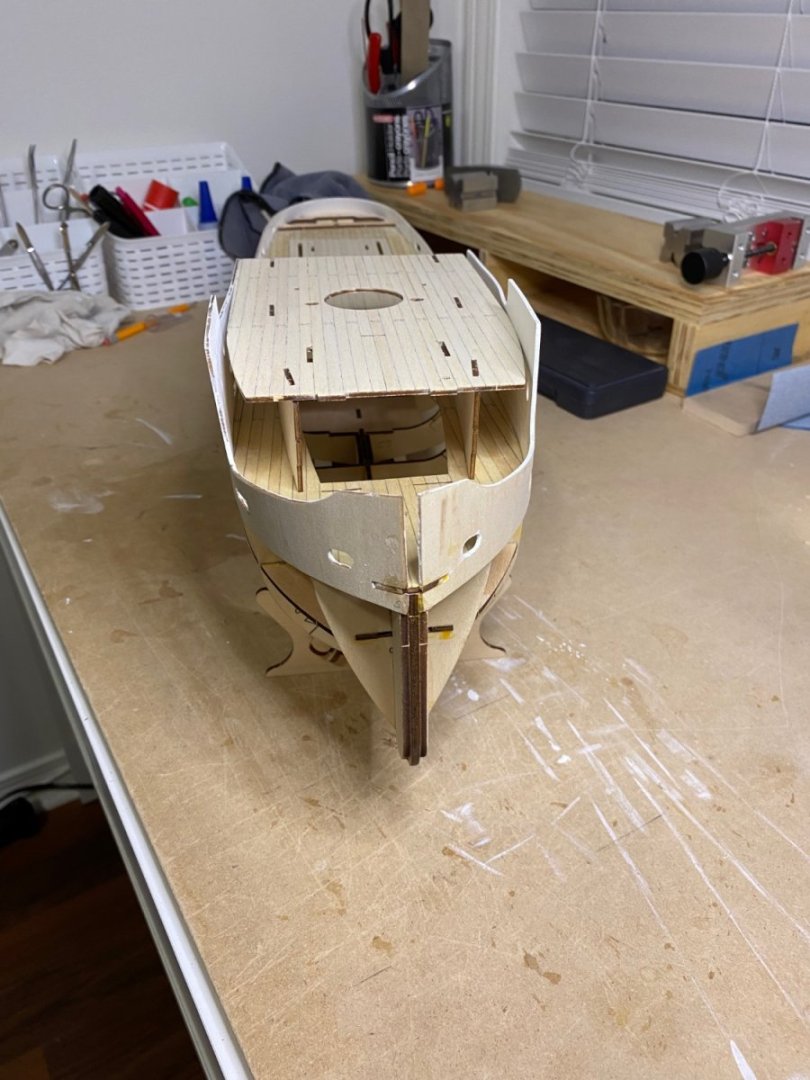
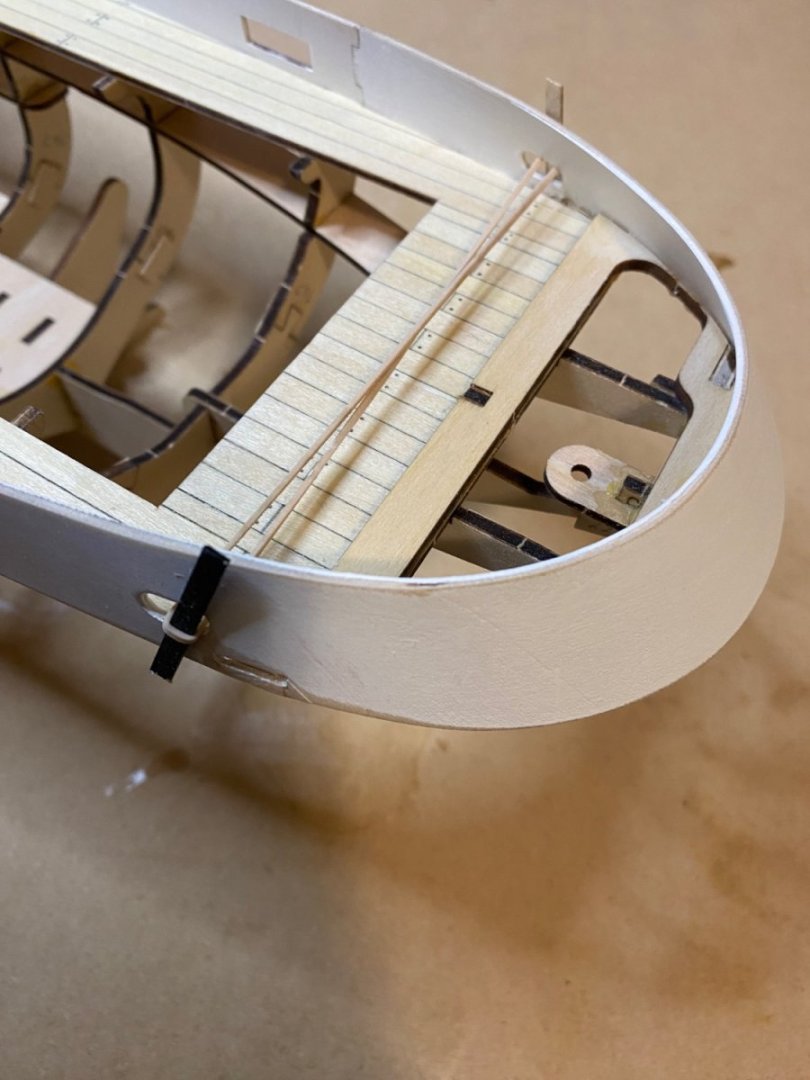
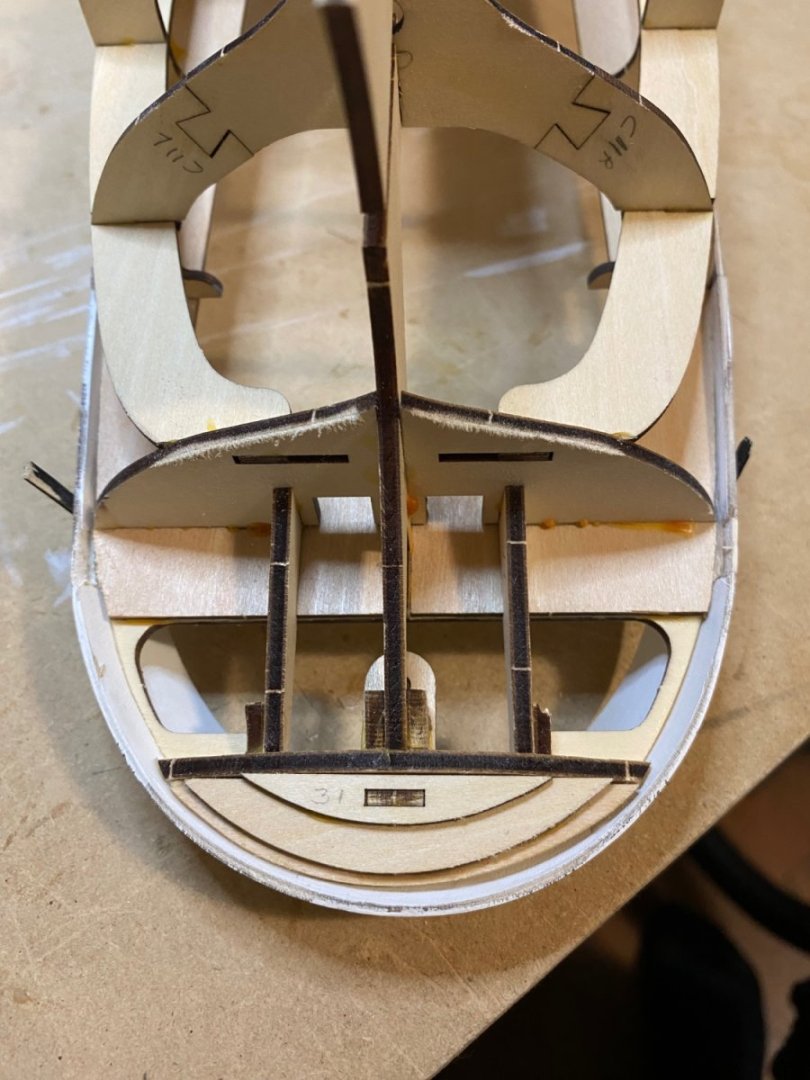
I took some time off from Sanson to complete my Syren Medway longboat. I have installed the bulwarks and the curved bit around the stern. This piece was heated with steam and shaped around a can of tomatoes. To hold its shape while it cooled a rubber band was put between the two holes with scrap wood to hold it.. Shaping the stern was a lot of sanding and dry fitting, and I still had to do some carving after it was glued in place. The tabs that are built into the deck to position this piece are more hazard than help. I just ordered the paint kit and LED light kits from Ages of Sail so I will be able to proceed.
- 68 replies
-
- Sanson
- Artesania Latina
-
(and 2 more)
Tagged with:
-
Ryland, your support and help with this build is what kept me going at times. The gift of the black mono was greatly appreciated.
- 217 replies
-
- medway longboat
- Syren Ship Model Company
-
(and 1 more)
Tagged with:
About us
Modelshipworld - Advancing Ship Modeling through Research
SSL Secured
Your security is important for us so this Website is SSL-Secured
NRG Mailing Address
Nautical Research Guild
237 South Lincoln Street
Westmont IL, 60559-1917
Model Ship World ® and the MSW logo are Registered Trademarks, and belong to the Nautical Research Guild (United States Patent and Trademark Office: No. 6,929,264 & No. 6,929,274, registered Dec. 20, 2022)
Helpful Links
About the NRG
If you enjoy building ship models that are historically accurate as well as beautiful, then The Nautical Research Guild (NRG) is just right for you.
The Guild is a non-profit educational organization whose mission is to “Advance Ship Modeling Through Research”. We provide support to our members in their efforts to raise the quality of their model ships.
The Nautical Research Guild has published our world-renowned quarterly magazine, The Nautical Research Journal, since 1955. The pages of the Journal are full of articles by accomplished ship modelers who show you how they create those exquisite details on their models, and by maritime historians who show you the correct details to build. The Journal is available in both print and digital editions. Go to the NRG web site (www.thenrg.org) to download a complimentary digital copy of the Journal. The NRG also publishes plan sets, books and compilations of back issues of the Journal and the former Ships in Scale and Model Ship Builder magazines.

