Maury S
-
Posts
1,490 -
Joined
-
Last visited
Content Type
Profiles
Forums
Gallery
Events
Everything posted by Maury S
-
Thanks for the comments. I have those photos (1930s) which have been a big help throughout. I agree the method on the left is cleaner and certainly easier to execute. Maury
-
Thanks...Both are "correct" in general...just trying to narrow down which method looks better. Maury
-
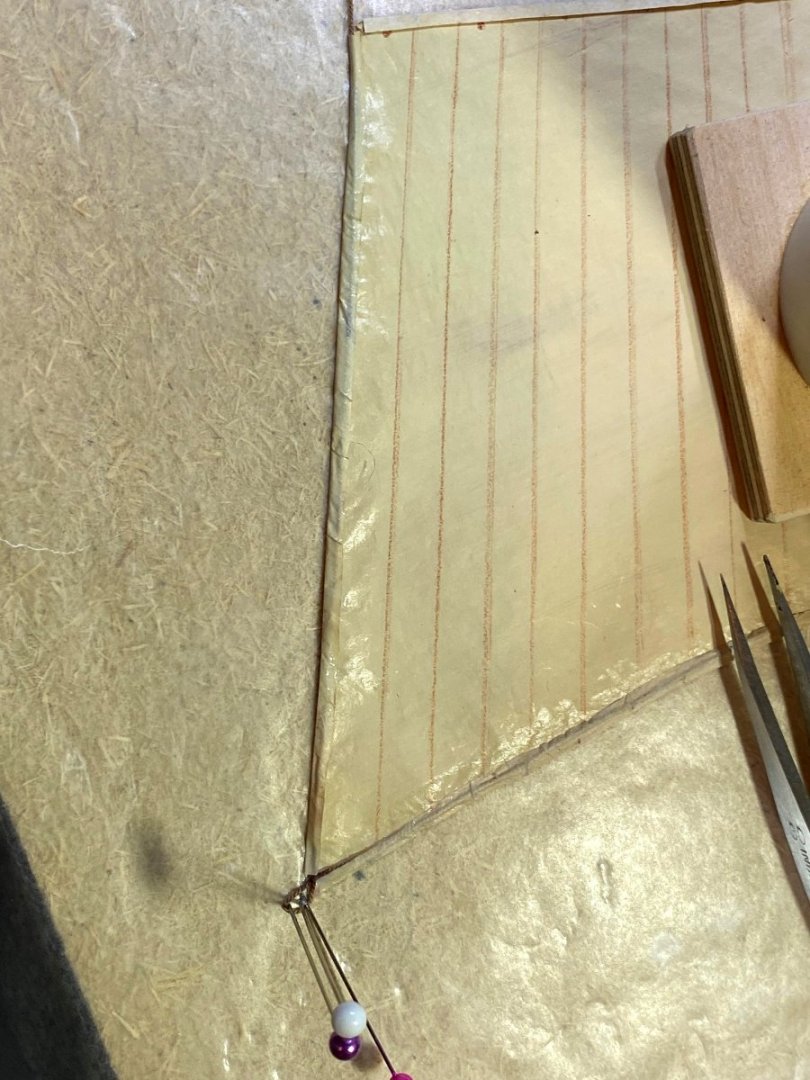
Which of two shown methods of lashing LOOKS better for the late 1800s American fishing schooner at 1:48 scale? Thanks for comments Maury

-
 Sail lashing comparisons. Which of the two methods shown above is correct or looks better? Maury
-
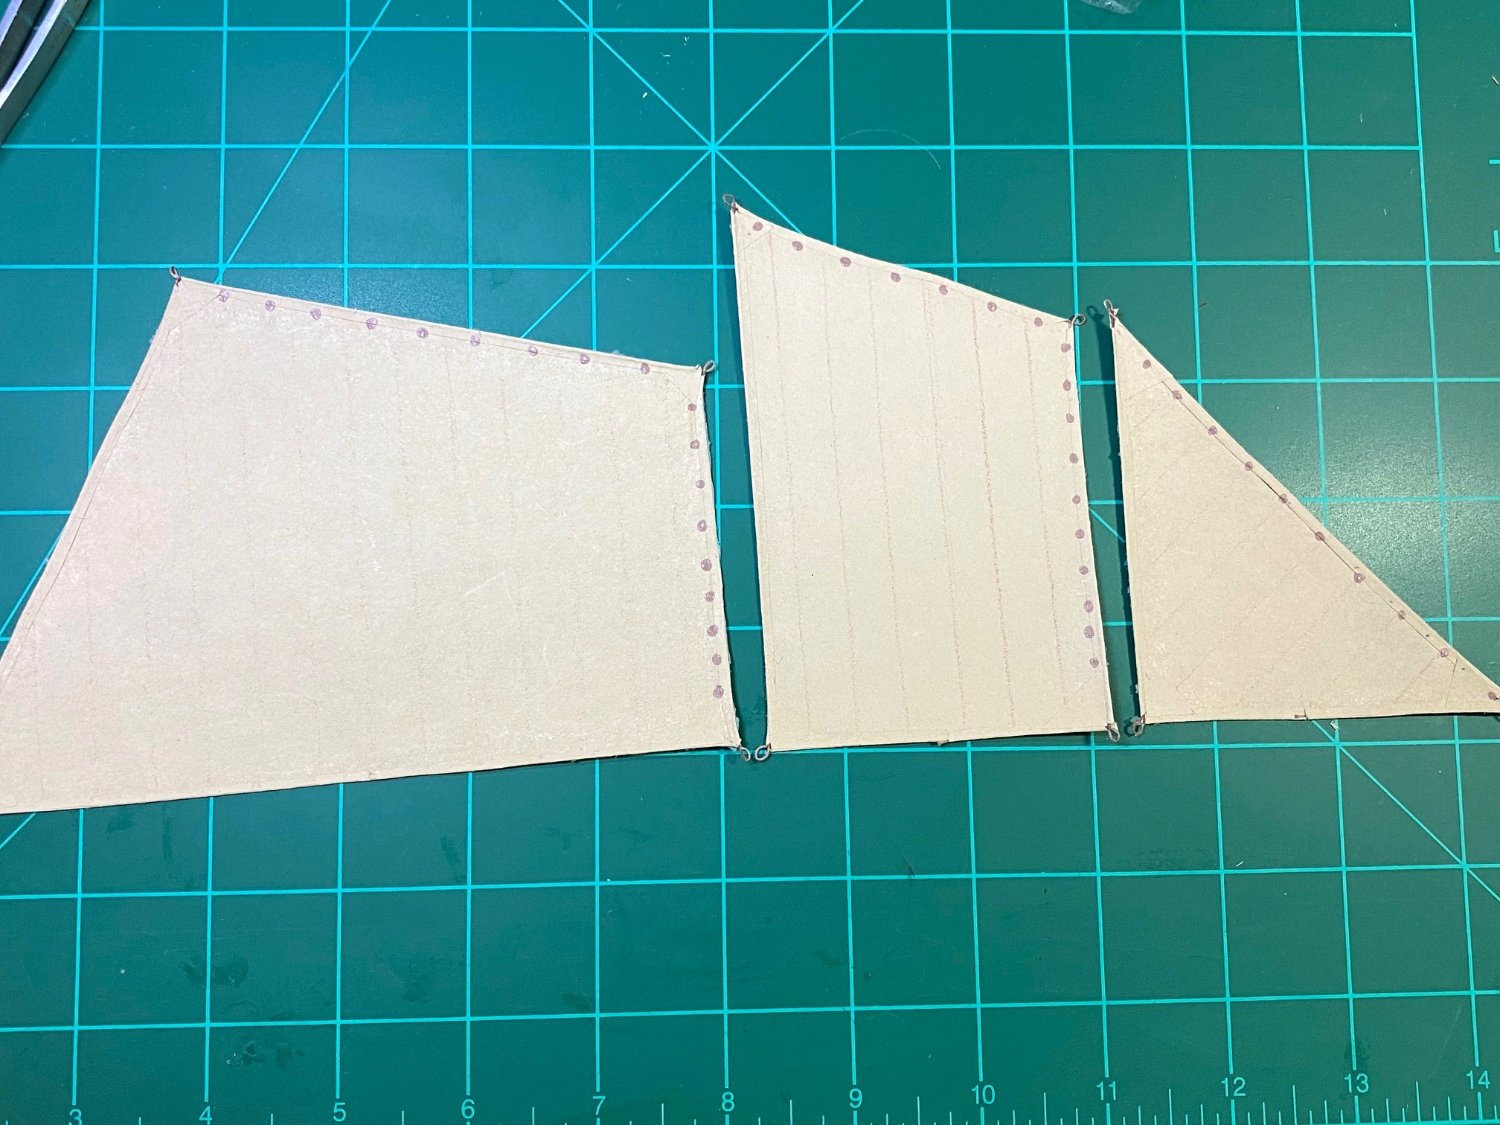
Sails completed...boltropes installed, corners reinforced, grommets painted on and ready for drilling: TIP: Working with the matte medium, I had to find something to work on that would not stick...wax paper is often used. I ended up using (cooking) parchment paper. No wax, and nothing sticks. I used (weighted) scraps to hold down the folds over the boltropes while the medium dried and they all came out smooth. Maury

-
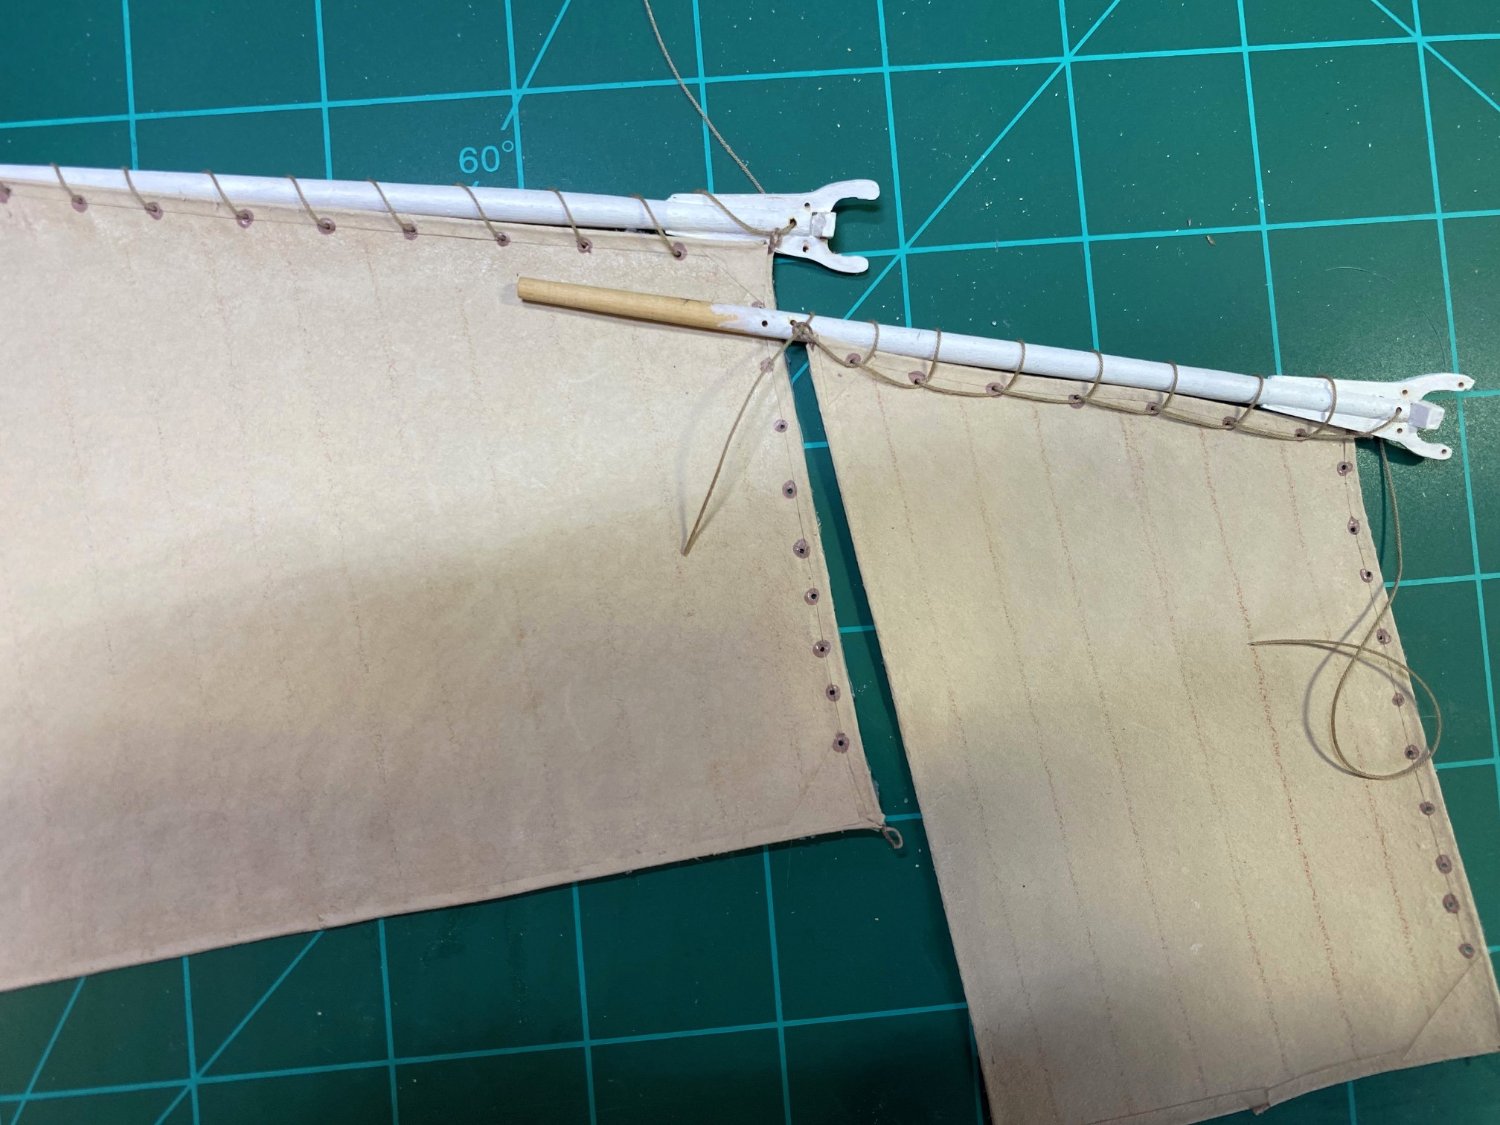
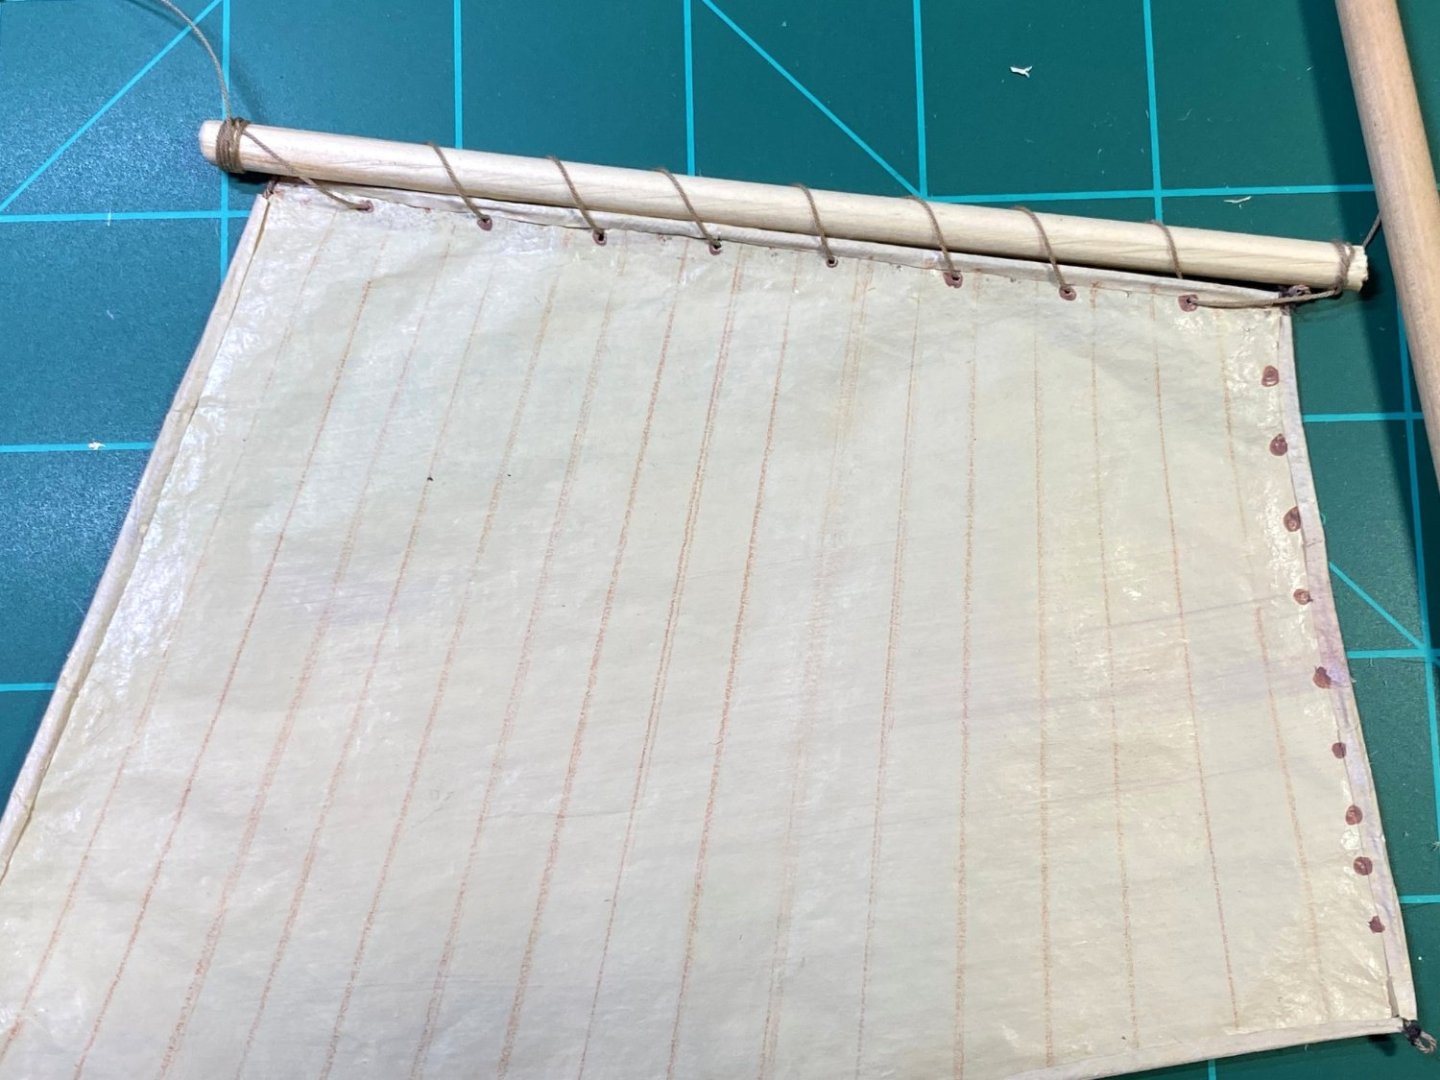
Practice securing the mainsail to the gaff, all on a scrap dowel and the practice sail. The final version will have the line running through the cringes at the upper corners. Once the grommets are drilled, they don't stick out. I just have to be careful about keeping the paint "dots" to less than .05" (2.4" full scale). Maury
-
Glossy matte medium issue resolved...Serious stirring up the bottom, putting a couple glass marble in the bottle and vigorous shaking for several minutes brought the matting material into the mixture.
-
Sail color still a little browner than the photo...

-
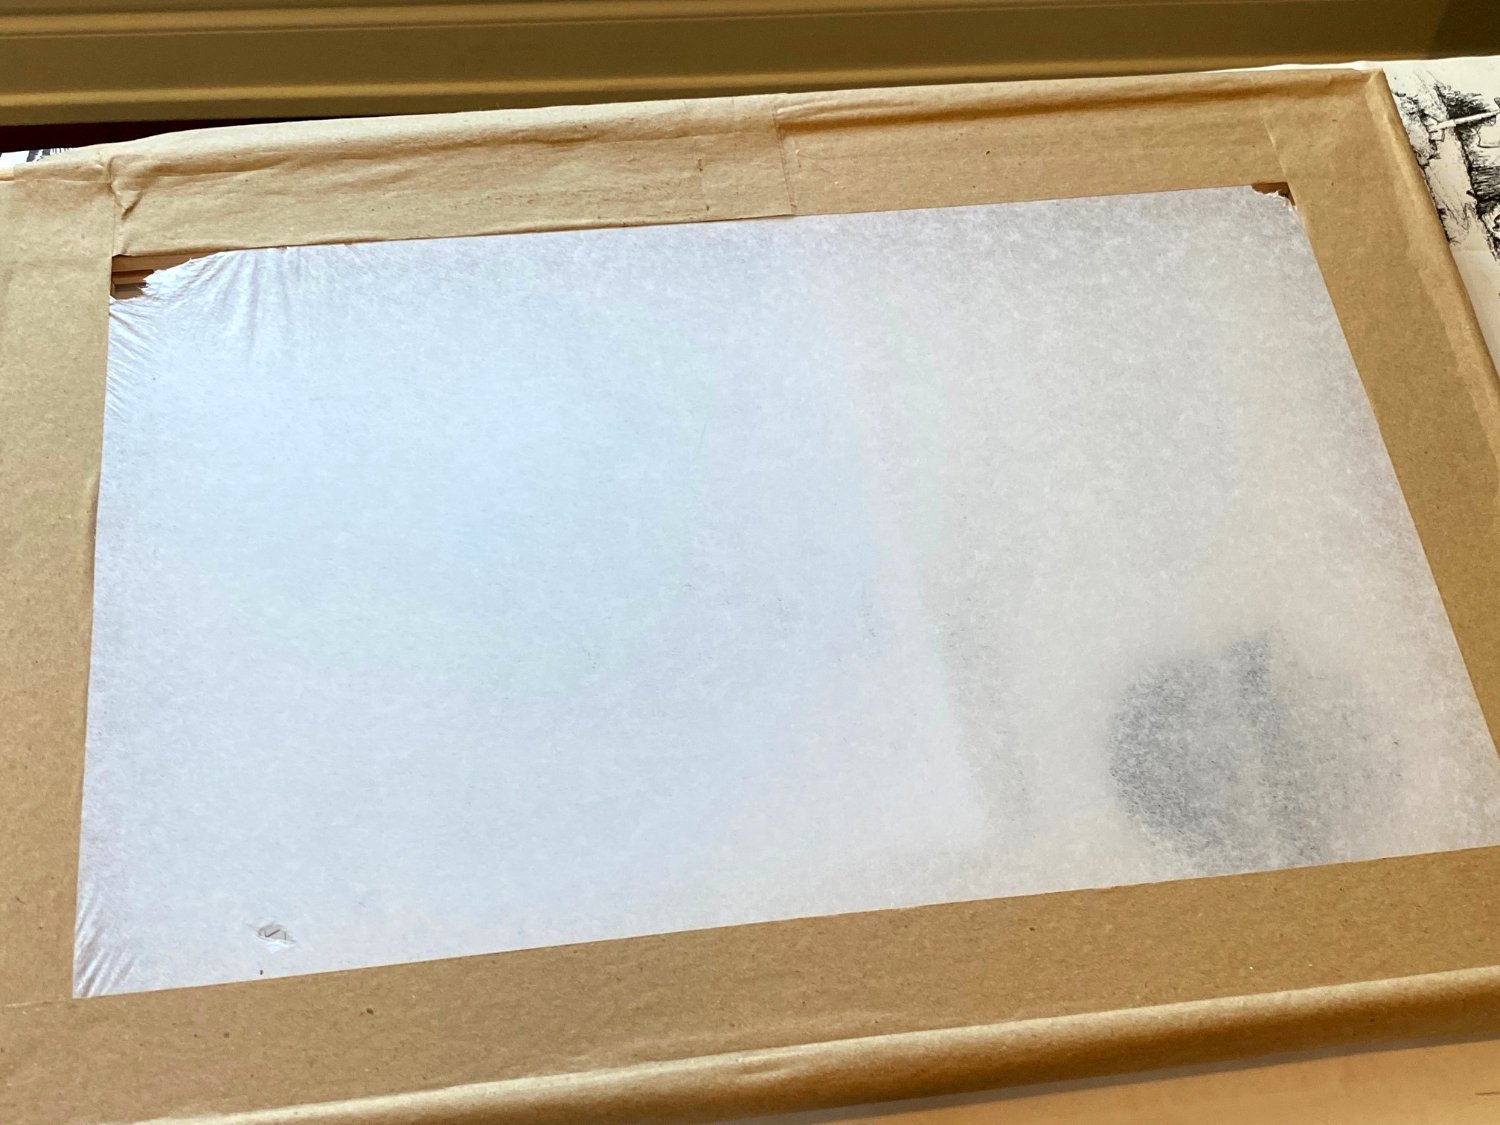
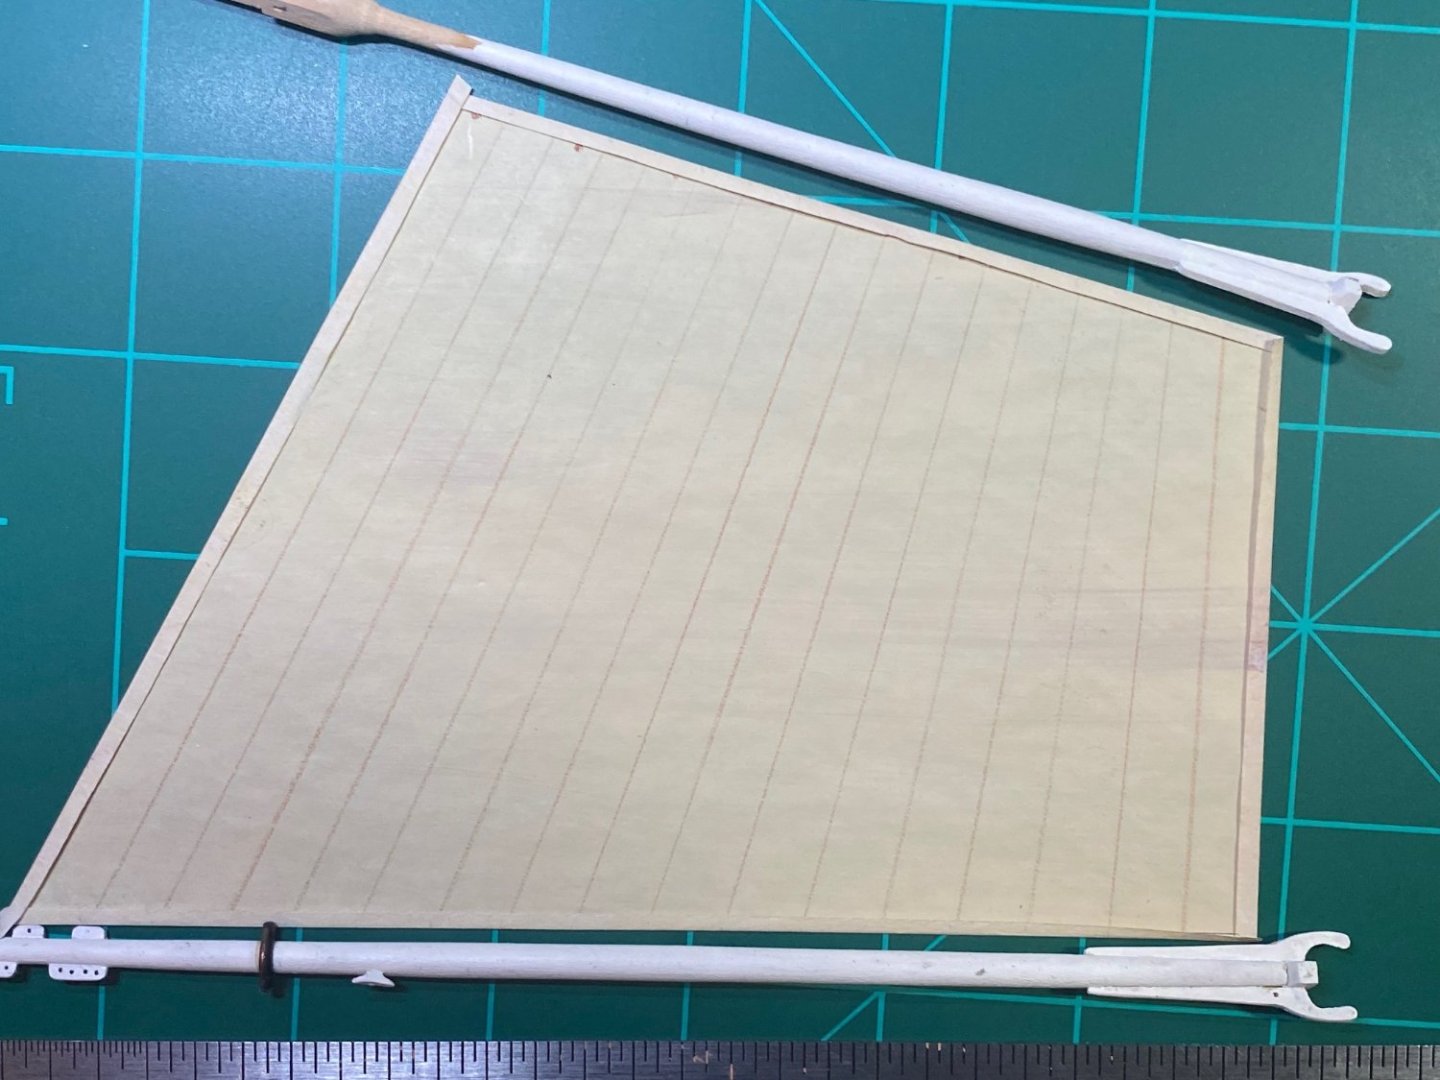
New Silkspan arrived so I set it up on the frame but this time I soaked the material for maybe 15 seconds before mounting and taping to the frame. Much easier to handle that way. Tight as a drum and no tears. After drying on the frame overnight, I mixed a new batch of paint a bit darker than the first attempt and applied two thin coats with a 4" roller. The color is darker than the photo shows, Half-way to the color of the gummed tape in the photo above. A piece of my first attempt is shown along side (and it to is darker than the photo. Still trying to figure how to eliminate the gloss from the matte medium as described in the prior post. Experiments with the smaller (.012") line for the bolt ropes (1.8" diameter instead of 2.75") looks better. Maury


-
Druxey, I used to have one of those architect's bow pens from my father's set (long since lost). I'd be scared to go anywhere near using that instrument. More practicing...installing the boltropes (one word?). I started in the middle of the foot since that are will be hidden by the furling. Per David Antscherl's Sail Making Supplement [SMS] I used Matte Medium to tack some .018" (.45 mm) light brown rope (2.75" diam. at scale) (SyrenShipModelCompany.com) and wait for it to dry before moving along the edges of the sail. At each corner I laid a loop (cringle) that will eventually be lashed. Folding the 1/16" tab over the rope and painting matte medium as I moved along. The matte Medium is showing up glossy. Any solution? Is the boltrope an appropriate scale (1:48) size? I could go down to .012". Comments? Maury

-
Thanks, Druxey. By wider, do you mean a thicker line (less sharp pencil) or maybe a double line? Maury
-
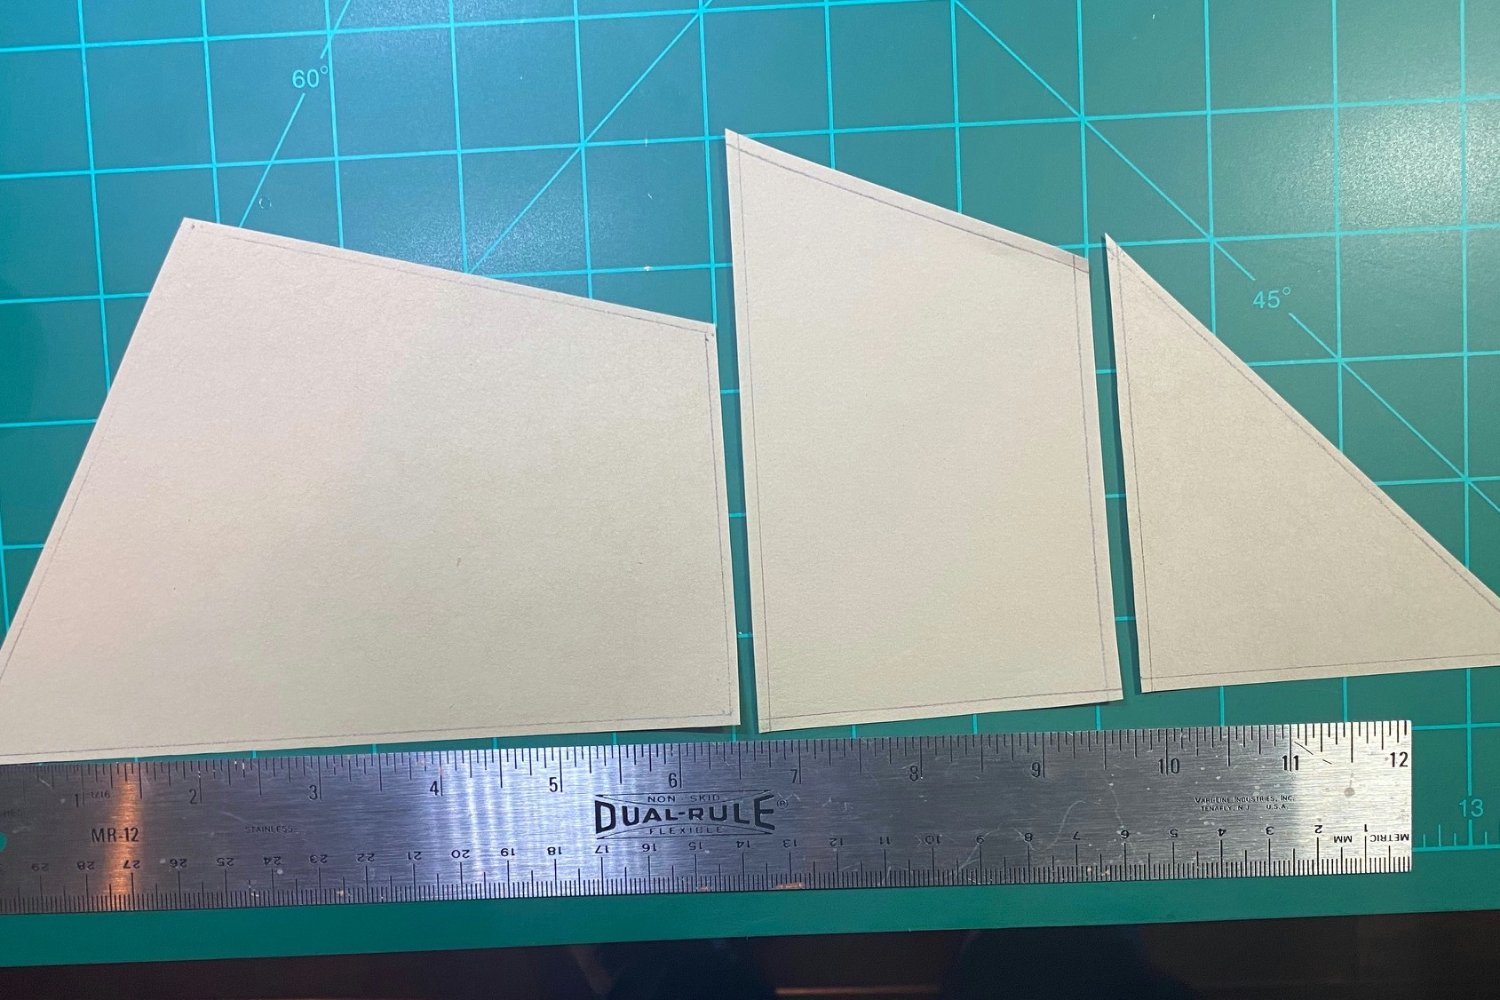
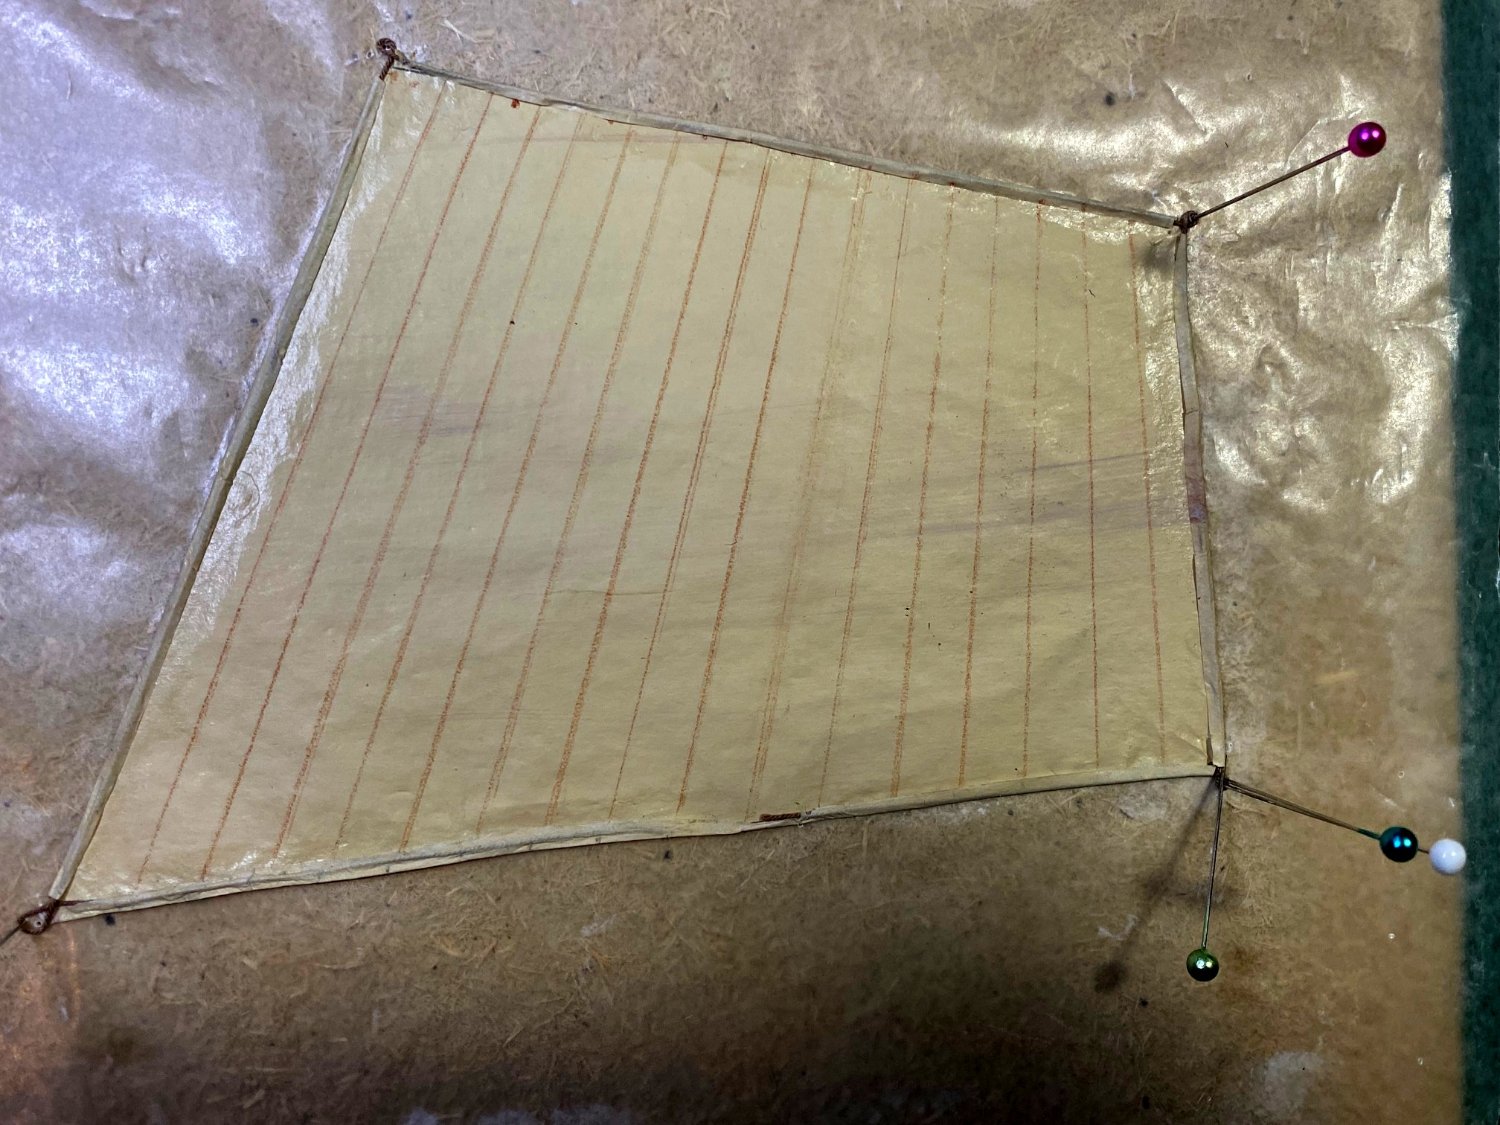
So this is all for practice while I wait for some more silkspan... I laid out the scaled-down main sail, marked the panels with a medium brown pencil and folded over about 1/16" all around for the boltrope. I simply laid a steel ruled (no cork backing) along the edge of the sail and ran my finger nail along to crease it, folded over and pressed the steel ruler. Matte medium should secure the rope. It's looking better than I feared for a first try. It's going to be furled so no reef points... Maury
-
I have an airbrush but never used it...maybe it's time for some more experimentation! Kurt Van Dam has posted many times on airbrushing. He's probably done this before. Maury
-
Painting the silkspan tore it with the softest brush in our collection. I don't like the color but the tearing is a problem. Next time I'll support the material and maybe use a more dilute paint. Any suggestions? Maury
-
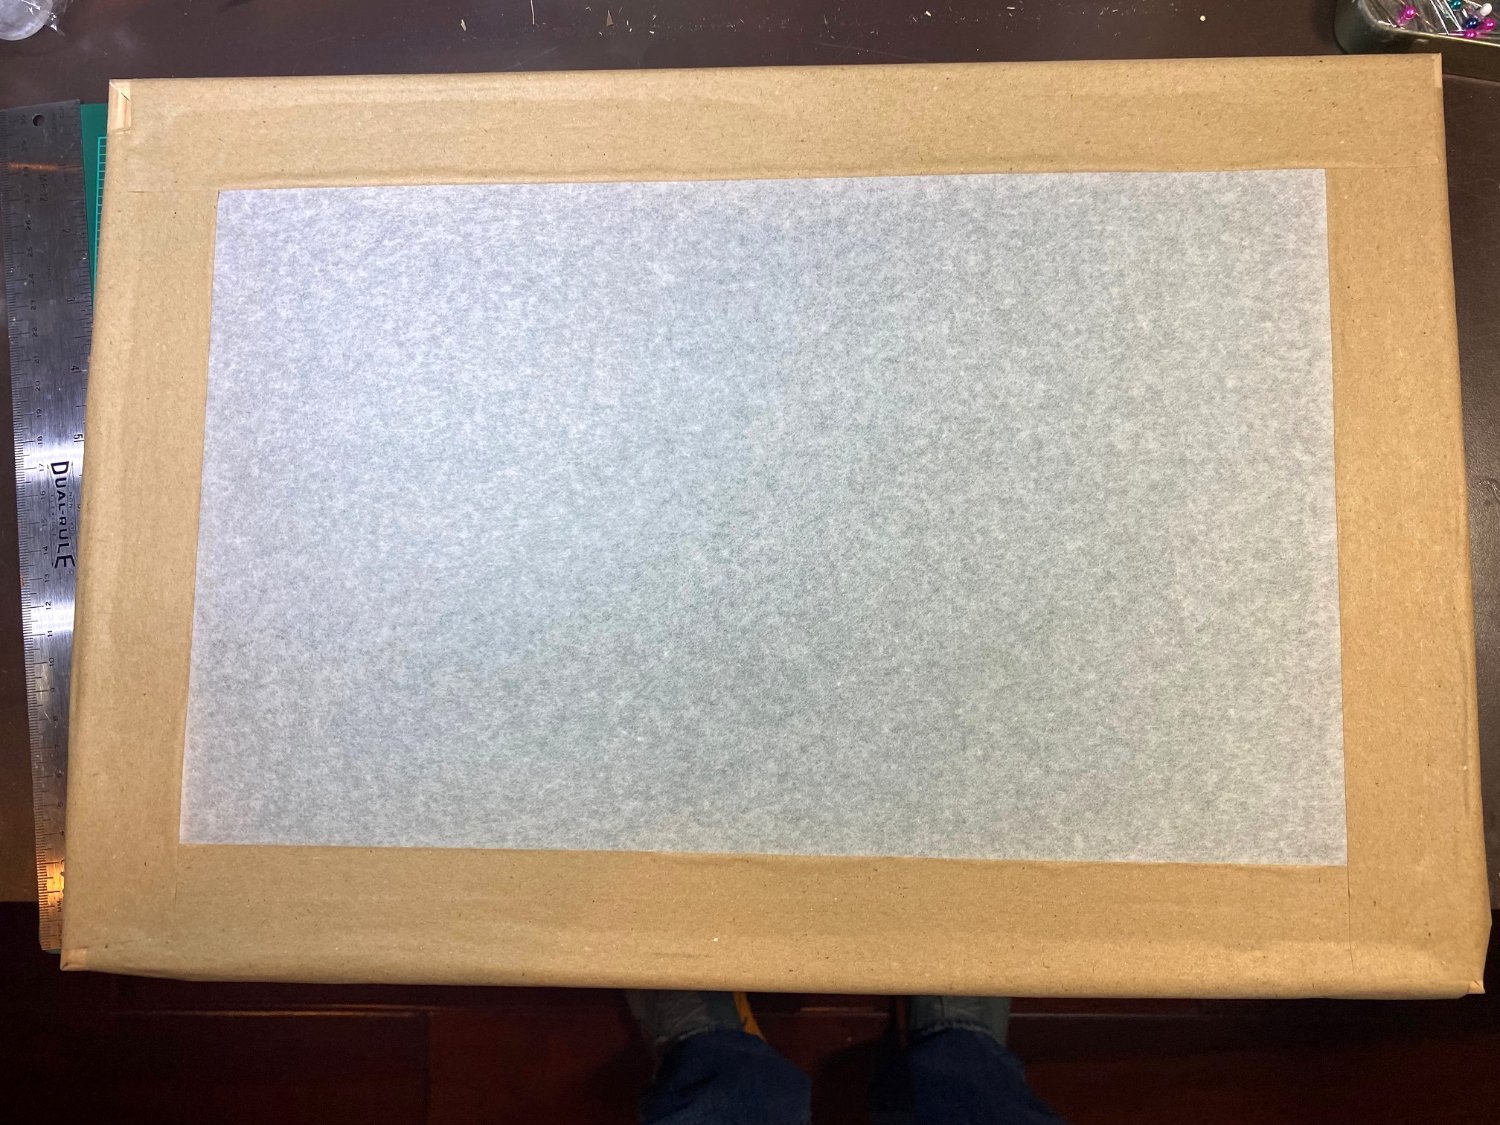
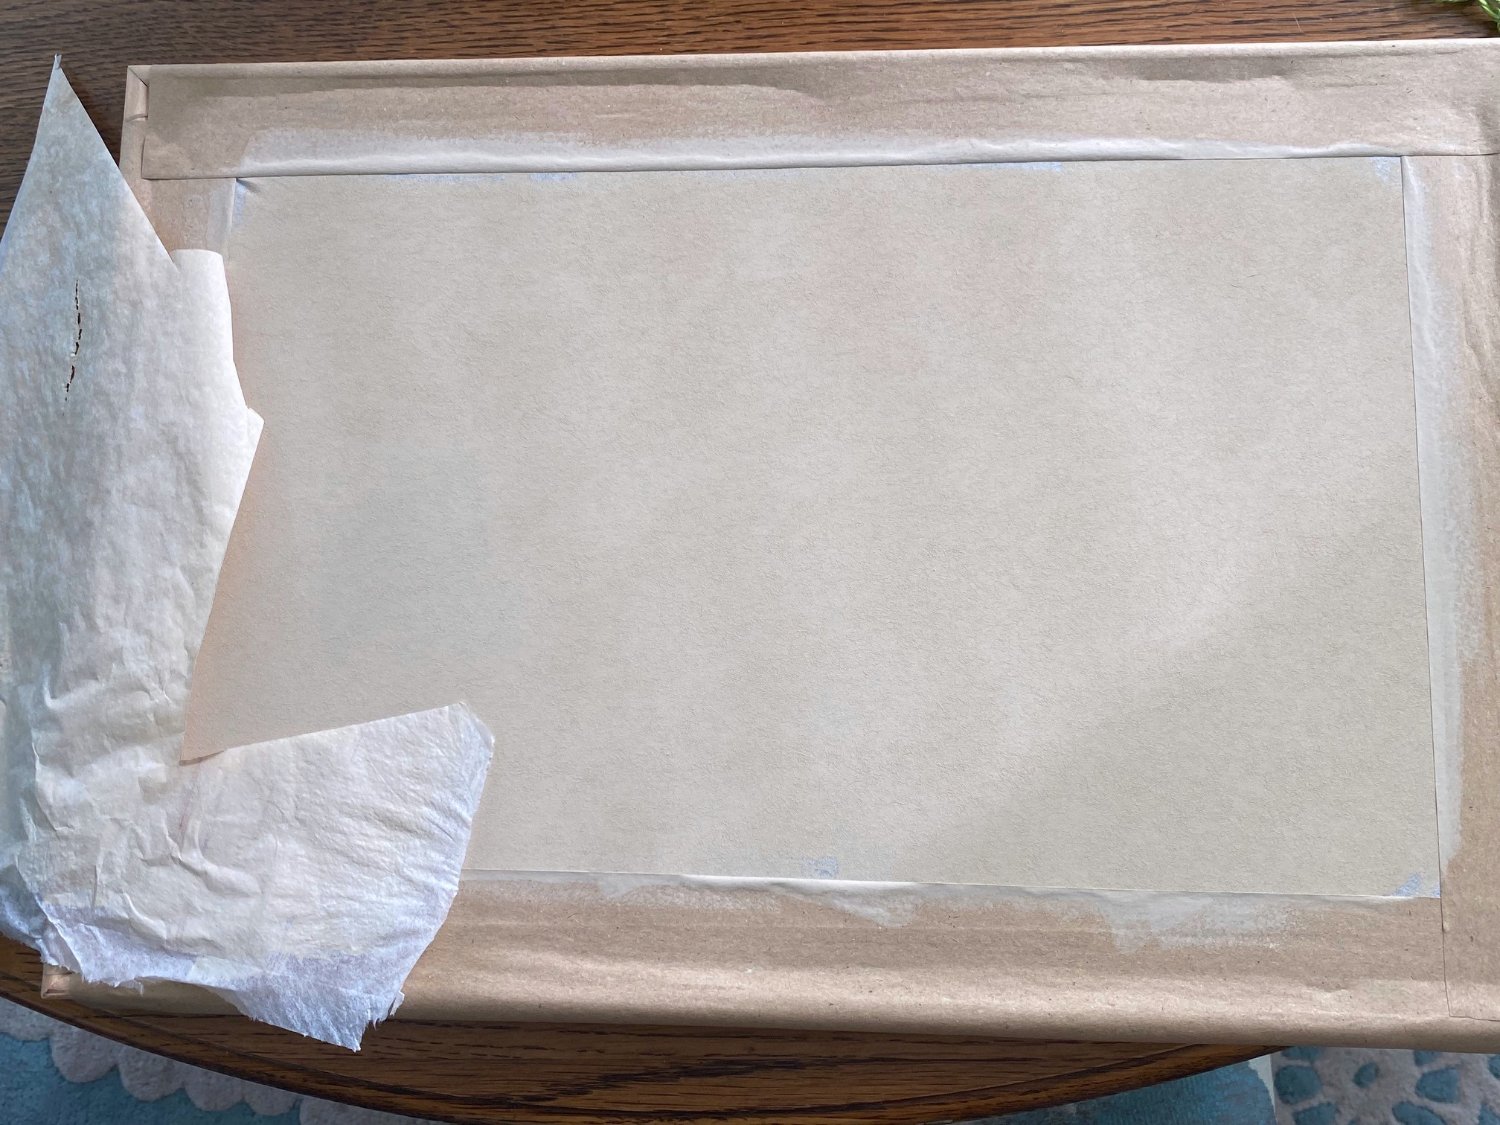
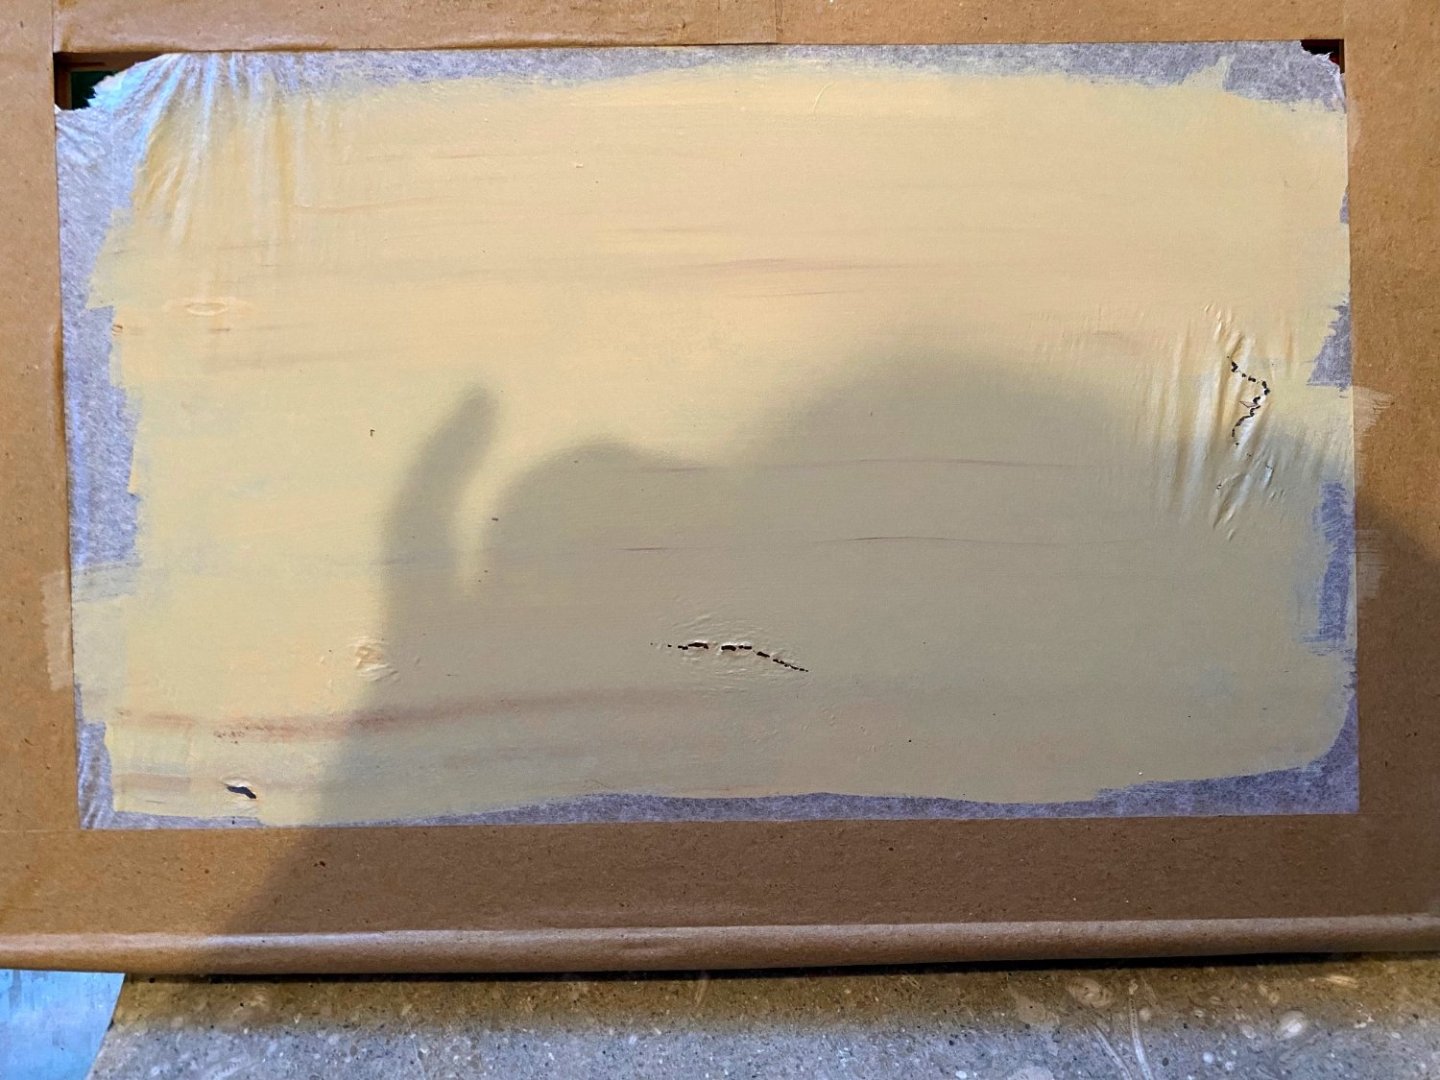
I can't believe it's been since April when I last posted. A few issues have kept me out of the shipyard and at least I'm in the sail loft for now. This is my first attempt at sails. Silkspan is the material of choice and David Antscherl's Sail Making Supplement is my primary, but not sole source of technique. First came the wooden frame...straight forward. Next is to soak the silkspan in water "for a few minutes", lift it out and let the water run off...at which point the material ripped apart. Next try was to leave the material in water for less than a minute, lift it out and lay it on the frame. It still tore near the corners but full enough to use the gummed paper tape to hold it to dry. I came out tight as a drum as David indicated. You can see the tears and som wrinkles near the corners but plenty of material for a first try. The dark blotch in the lower right is an image behind the material as it is very translucent. Next is painting... Maury

-
Chuck, You've become a master at designing and executing. I think we're all amazed and thrilled at what you are doing! Maury
-
Very nicely done, indeed. Maury
-
big improvement. Maury
-
David, How do you know / remember all this stuff?😊 Maury
-
great model and great photos Maury
-
NAIAD 1797 by Bitao - 1:60
Maury S replied to Bitao's topic in - Build logs for subjects built 1751 - 1800
Where's the dust? Maury -
Business Expense for you. Nice set! Maury
-
Detecting PVA with UV light
Maury S replied to bridgman's topic in Painting, finishing and weathering products and techniques
A source is Luthiers Musical instrument glue. Used it for years. A black light shows all the smears that need to be rinsed off. Maury -
Worth watching
-
- 4
-

-