HOLIDAY DONATION DRIVE - SUPPORT MSW - DO YOUR PART TO KEEP THIS GREAT FORUM GOING! (Only 27 donations so far out of 49,000 members - C'mon guys!)
×


Maury S
-
Posts
1,490 -
Joined
-
Last visited
Content Type
Profiles
Forums
Gallery
Events
Everything posted by Maury S
-
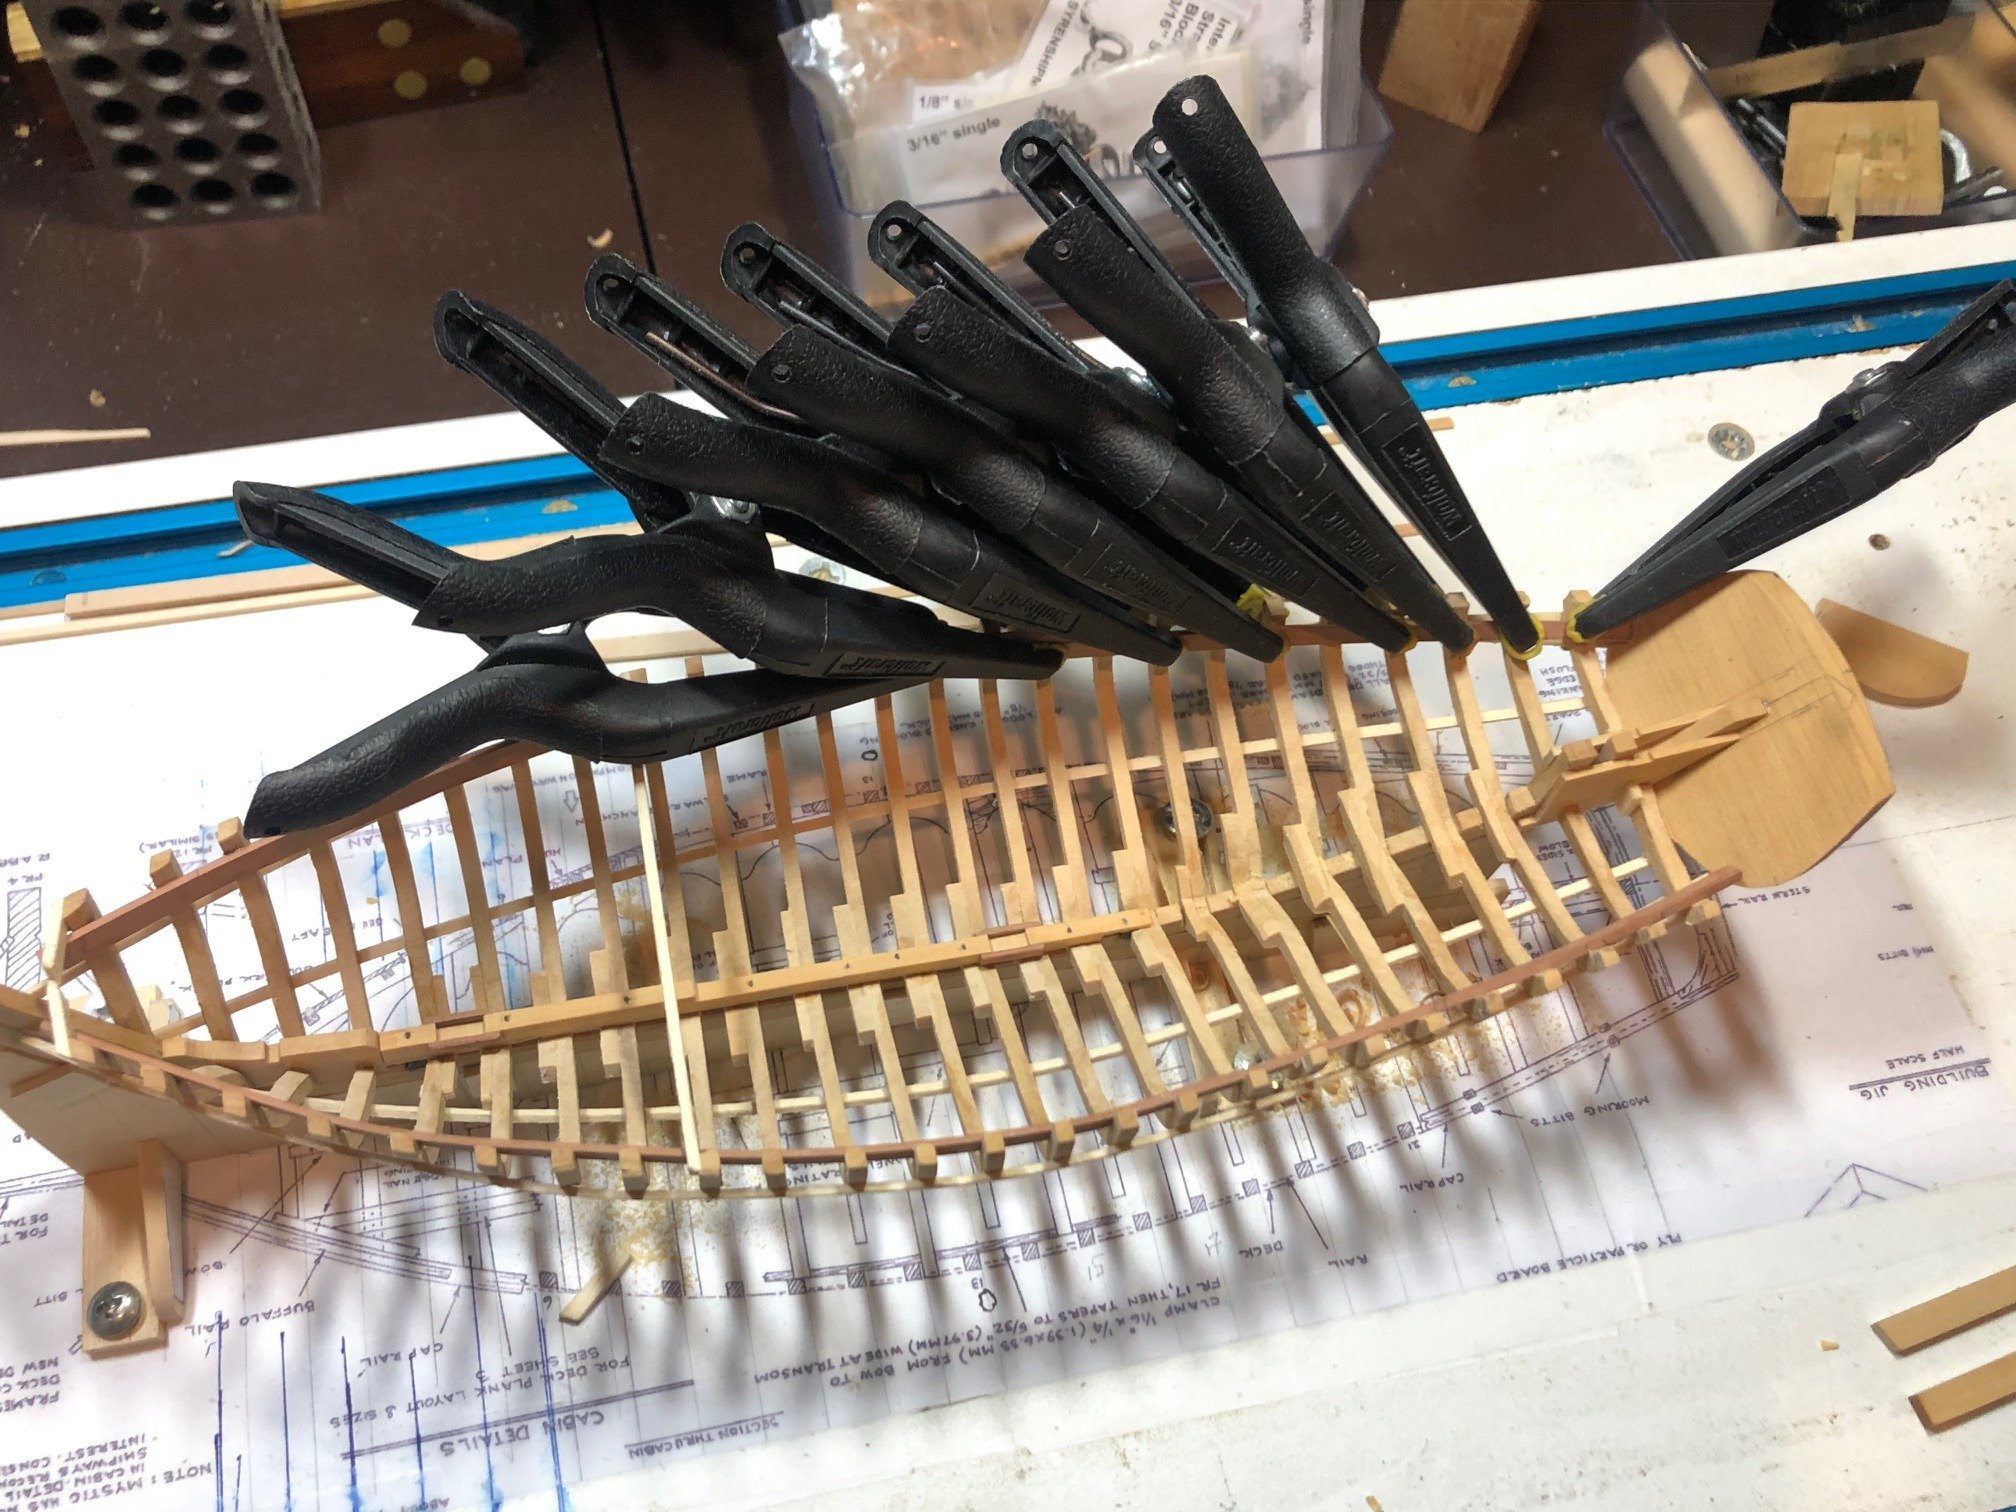
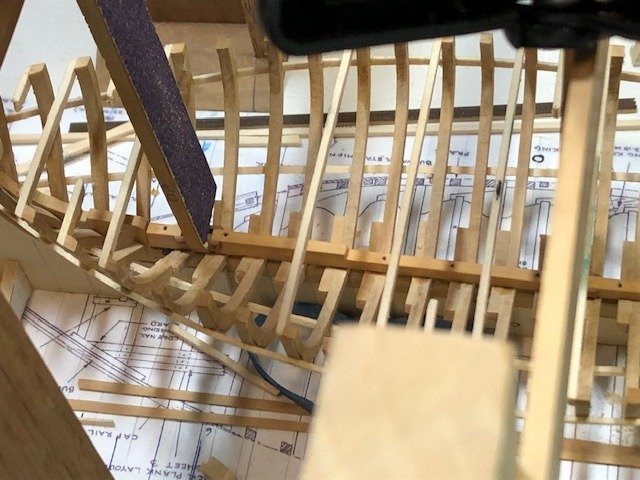
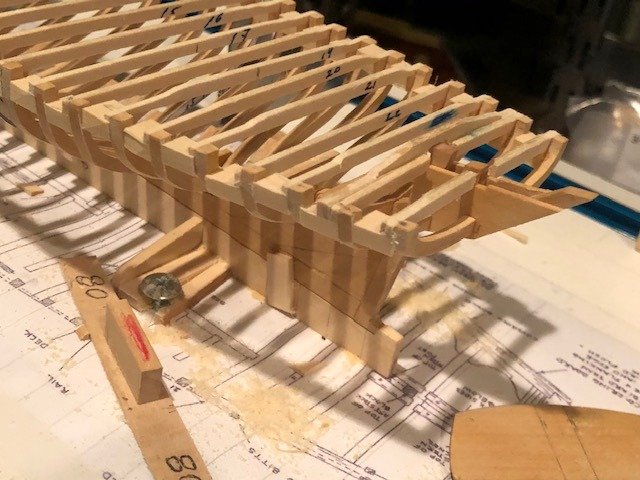
 Clamps are going in, set at the depth of the deck beams below the tops of the frames, After the glue set... The top edge of the clamps, where they twist near the stern, will be chiseled off so the beams will seat well. Maury
-
Druxey, Would you kindly explain the difference and how you deal with same. Maury
- 433 replies
-
- 3
-

-
- open boat
- small boat
- (and 1 more)
-
Nicely done. Maury
-
Steve, She's a great subject. If you do a waterline model you lose the image of a centerboard boat. I considered building her, but size limitations prohibited same. Good luck with the project. Maury
-
Thank you Druxey. Her lines are wonderful. Perhaps that's why she survived for so long. Allan, I think some of the planking will be left off. Just haven't decided the motif for doing so. Perhaps partial as if being repaired, or just leave off all the planks on one side from the garboard up to what would be a wale... She will be painted in the Noank traditional green below the bulwarks and above the red oxide bottom. I understand Slade Dale was not thrilled with Mystic electing to paint her black. We'll see. Maury
-
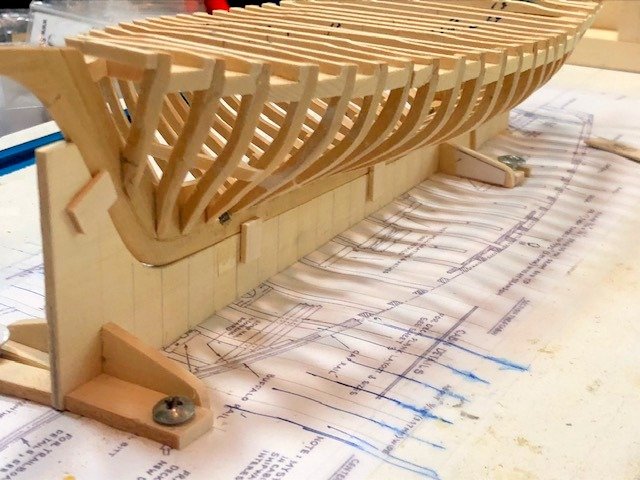
Cross braces and spacers removed. Internal fairing continues slowly. The line of the top of the clamps is marked on the frames. The clamps are 7.5" x 2.4" and taper from frame 17 - frame 25. The shape is yet to be determined. It seems a pretty natural sheer in the fore half. Need some spiling or bending in the aft section. Maury

-
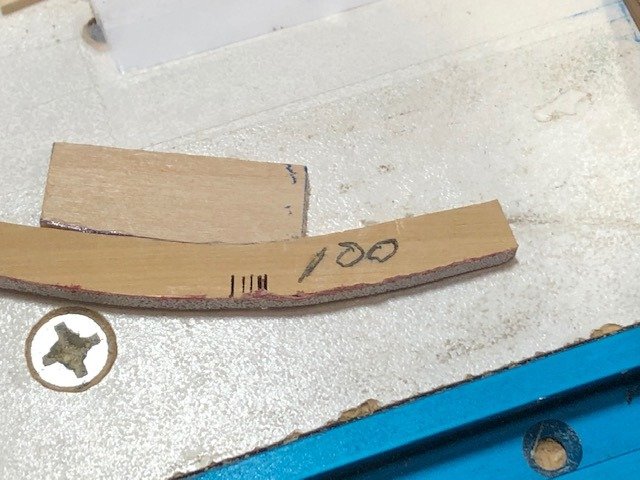
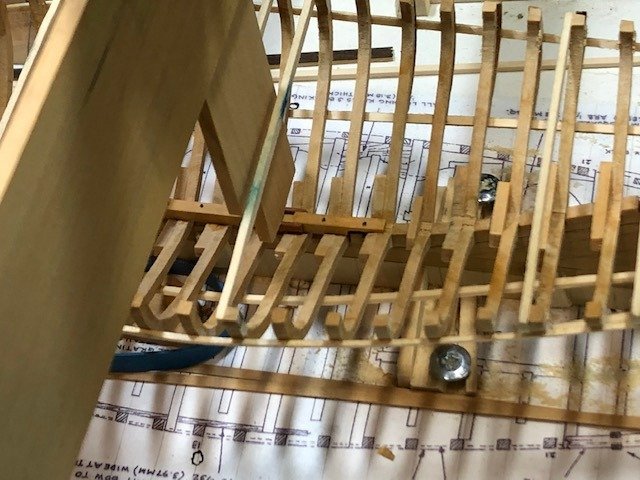
The spacers are removed and some of the cross-braces are taken out so I can install the keelson. I have a lot of odd-shaped sanding sticks that come in handy. This one was used to smoothe the tops of the frames. Just an old frame part with 80 grit paper cemented on. The keelson is notched with side supports to create the mast steps. Once the keelson fits on snug, it is glued and held in place fore and aft using the gantries. This will help stabilize the frames so I can start fairing the insides to accept the clamps and ceiling planks. Maury
-
Still working on removing the spacers between the frames. That involves putting some stress on things even with lots of ISO. Next time, don't do it that way. I even used softer AYC (end-grain only) and cheap white school glue and they are still too well glued in. Maybe the white glue does not react to the ISO as I had assumed. I'm going to have to cut out some of them. Maury
-
It seems to me that the pattern of the individual gratings is square to the outer edges of the chevrons, but the line of holes is across both halves. Tiny Trapezoids? Maybe an illusion. What amazing work. Maury
- 433 replies
-
- 5
-
-
- open boat
- small boat
- (and 1 more)
-
I think I'll run the beams thru a setup on the mill. That will make the bottom edge match the upper. Maury
-
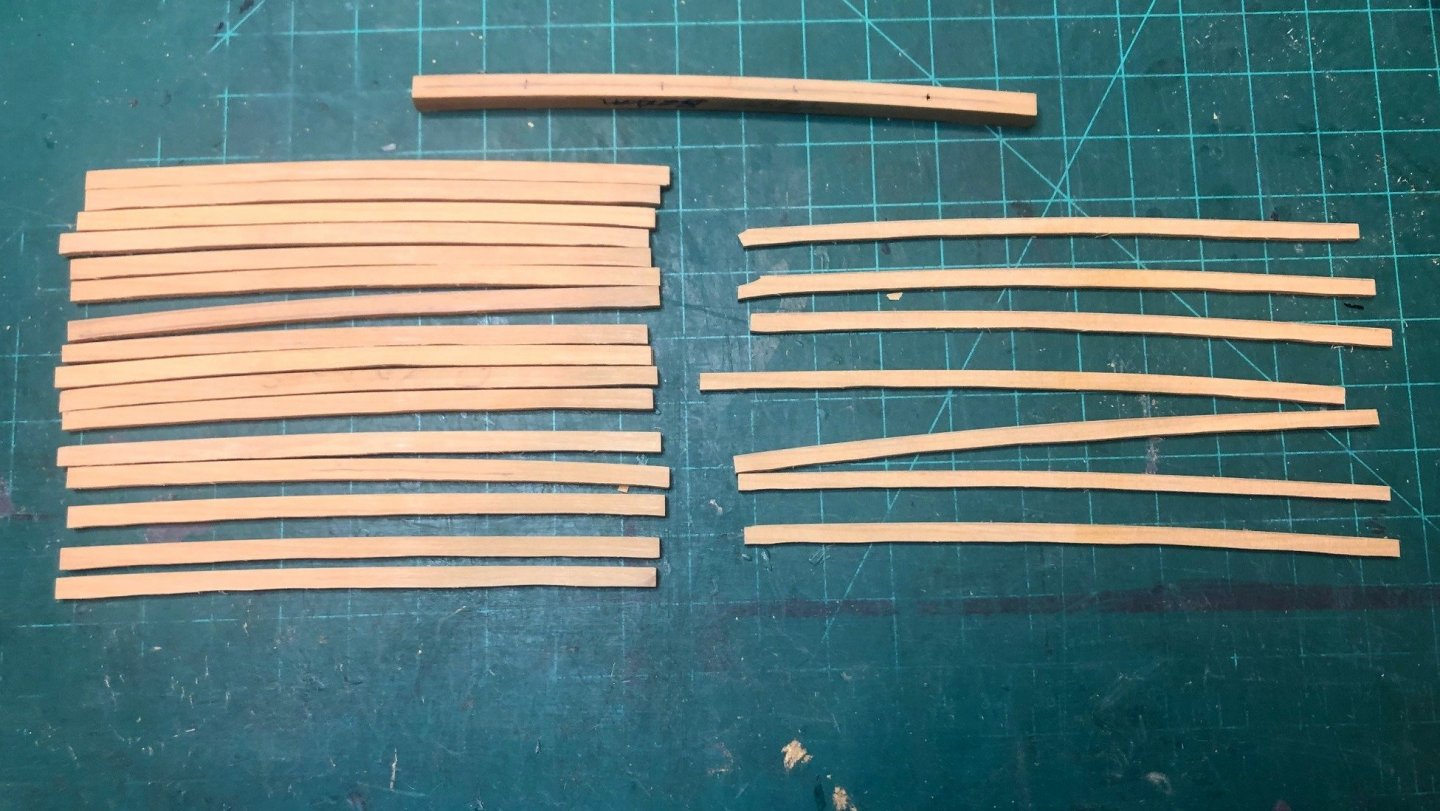
While waiting for the ISO to do its work on the spacers (BTW, the cheap school glue is just as difficult to dissolve as the good PVA) I made the deck beams. I have a good template beam for the appropriate round-up. I thicknessed some 1/8" stock down to 5" (@ scale) and marked enough convex edges as I'll need. I rough cut the line a bit proud on the scroll saw, then finished them off on the disc sander. (the top side is the critical edge). With a compass, I marked the 5" depth and roughly finished the concave side on the oscillating spindle sander. The main beams are 5" square and the intermediate beams 4" square. Back to the ISO. Maury
-
comely ADJECTIVE archaic humorous (typically of a woman) pleasant to look at; attractive. synonyms: attractive · good-looking · nice-looking · beautiful · pretty · handsome · lovely · stunning · striking · arresting · gorgeous · prepossessing · winning · fetching · captivating · [more] agreeable; suitable Yep. Maury
-
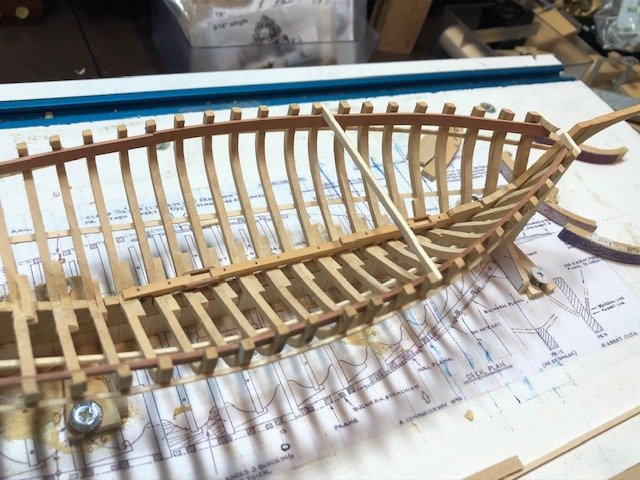
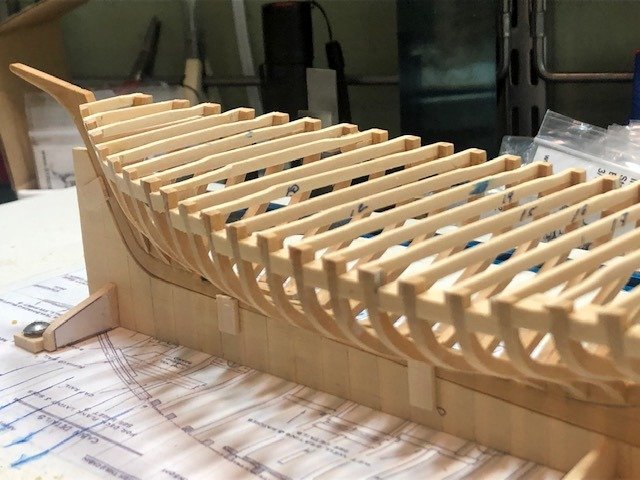
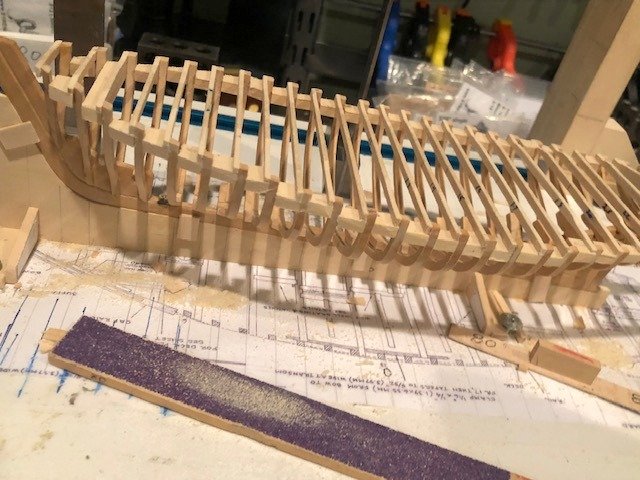
Temporary battens installed. This pointed out a few areas that needed building up. I have some .025" box that I can use here. Once they are glued in, I can start on removing the spacers and most of the cross-braces. After the inside of the frames are fair and the clamps are in place, I can re-fair the outside of the frames. Maury
-
The things we can learn from model railroaders!!! Maury
-
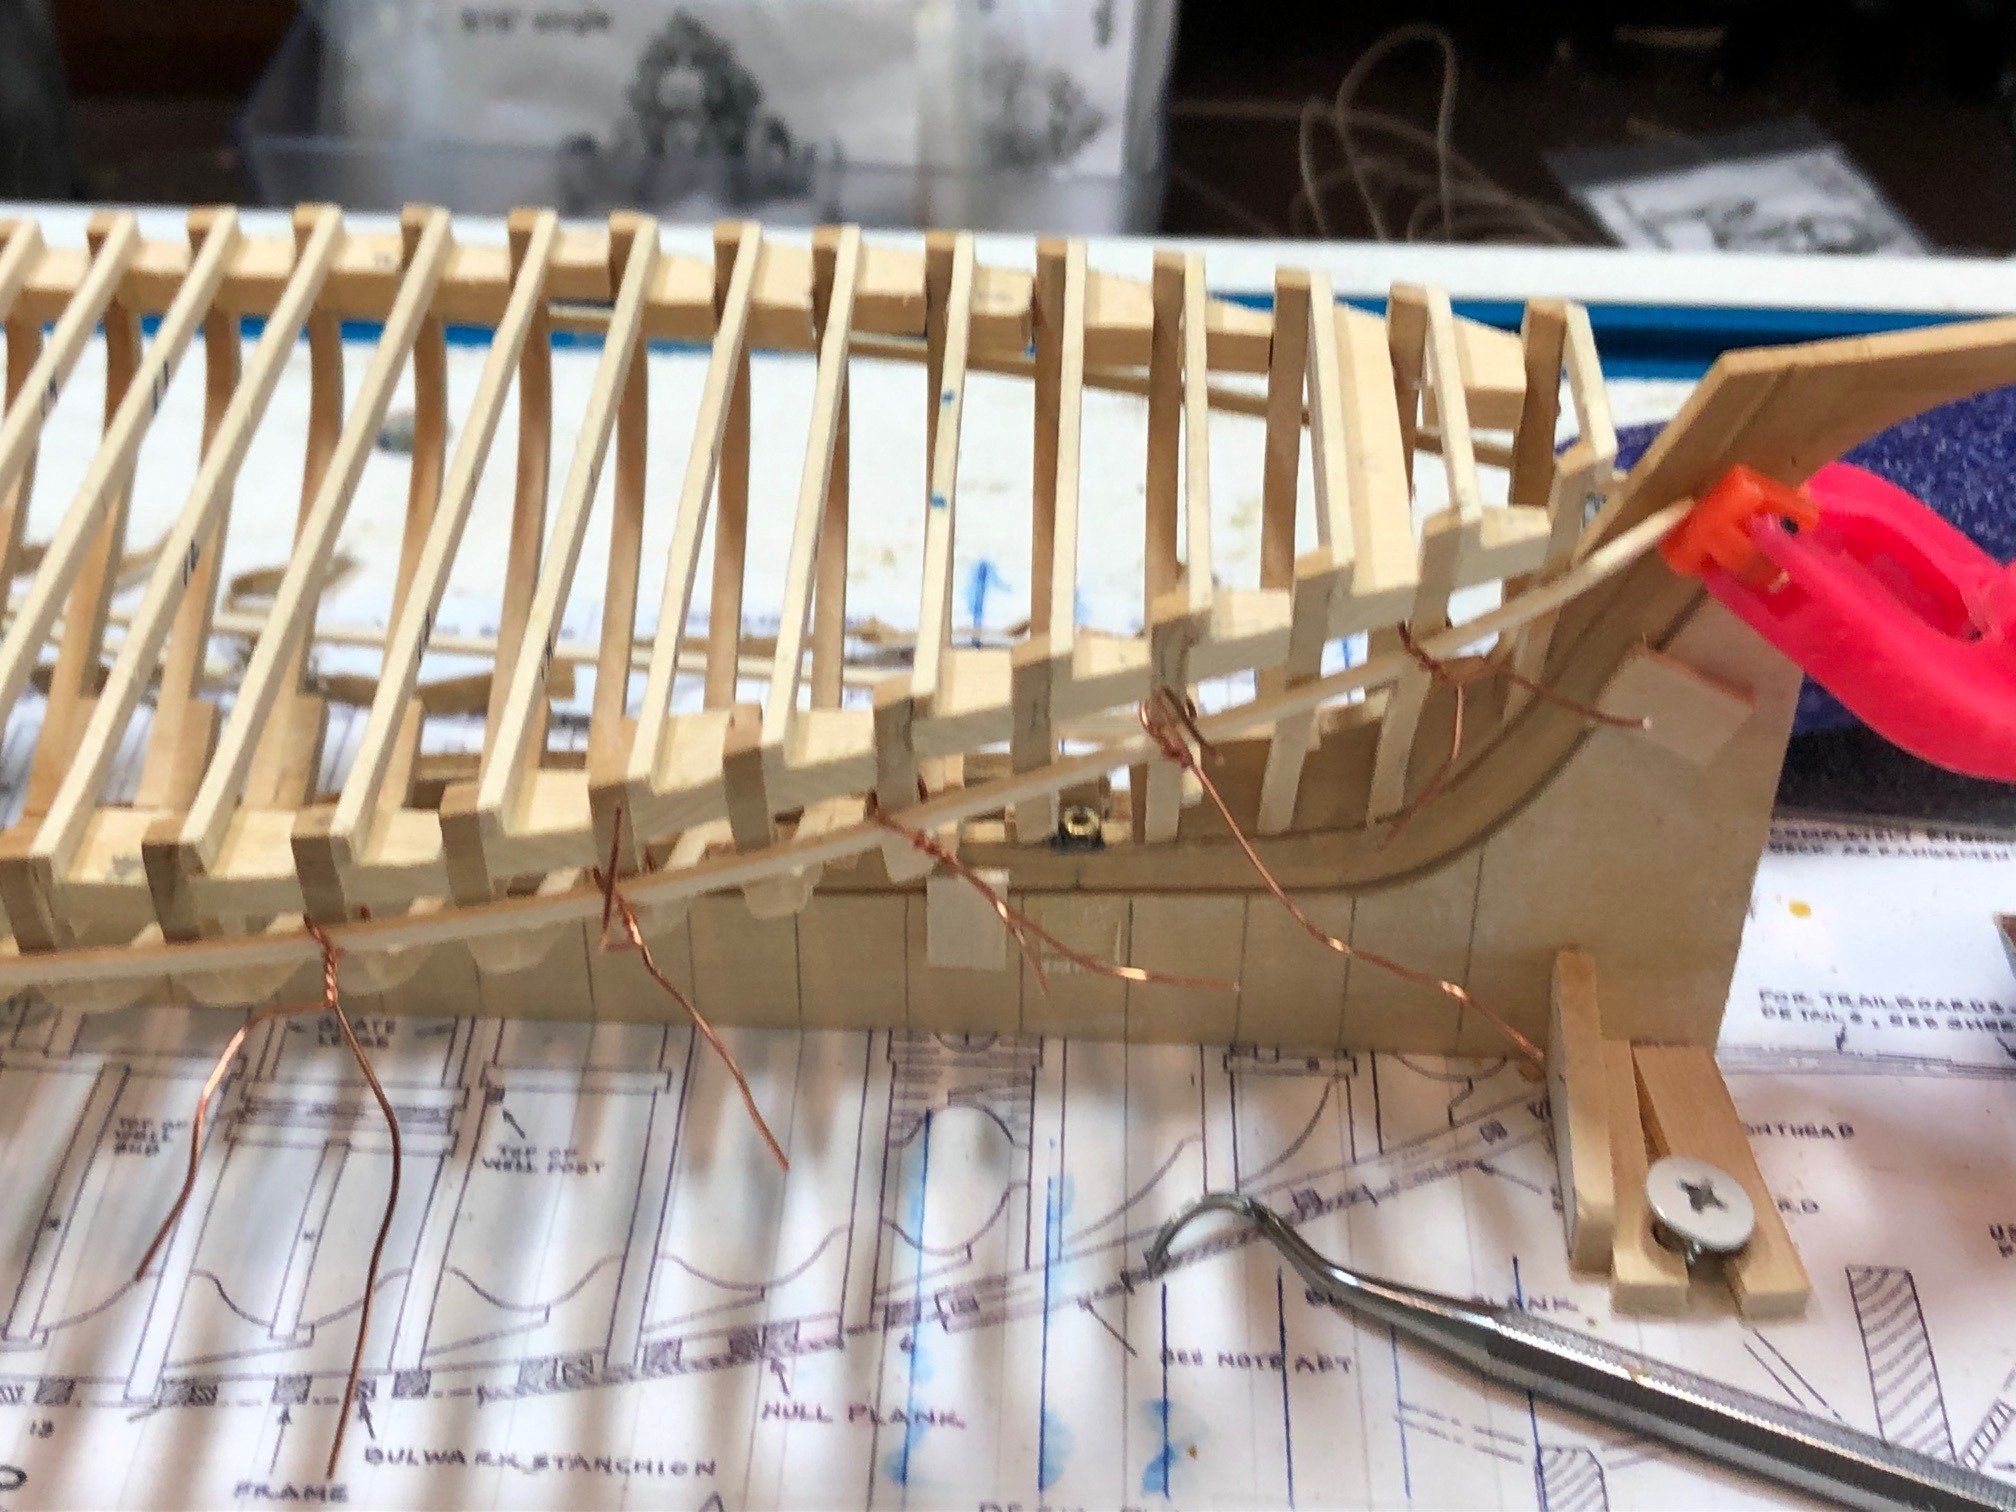
The temporary battens are being installed. Held in place with wire twists 'til the school glue dries. The run of the batten is fair but it's not critical as it's temporary until the clamp on the inside is installed. The plan is to invert the boat and wet the spacers (one or two at a time) with iso-soaked cotton swabs until they come undone. Hopefully, gravity's impact on the liquid will prevent the battens from getting wet and popping off. Maury

-
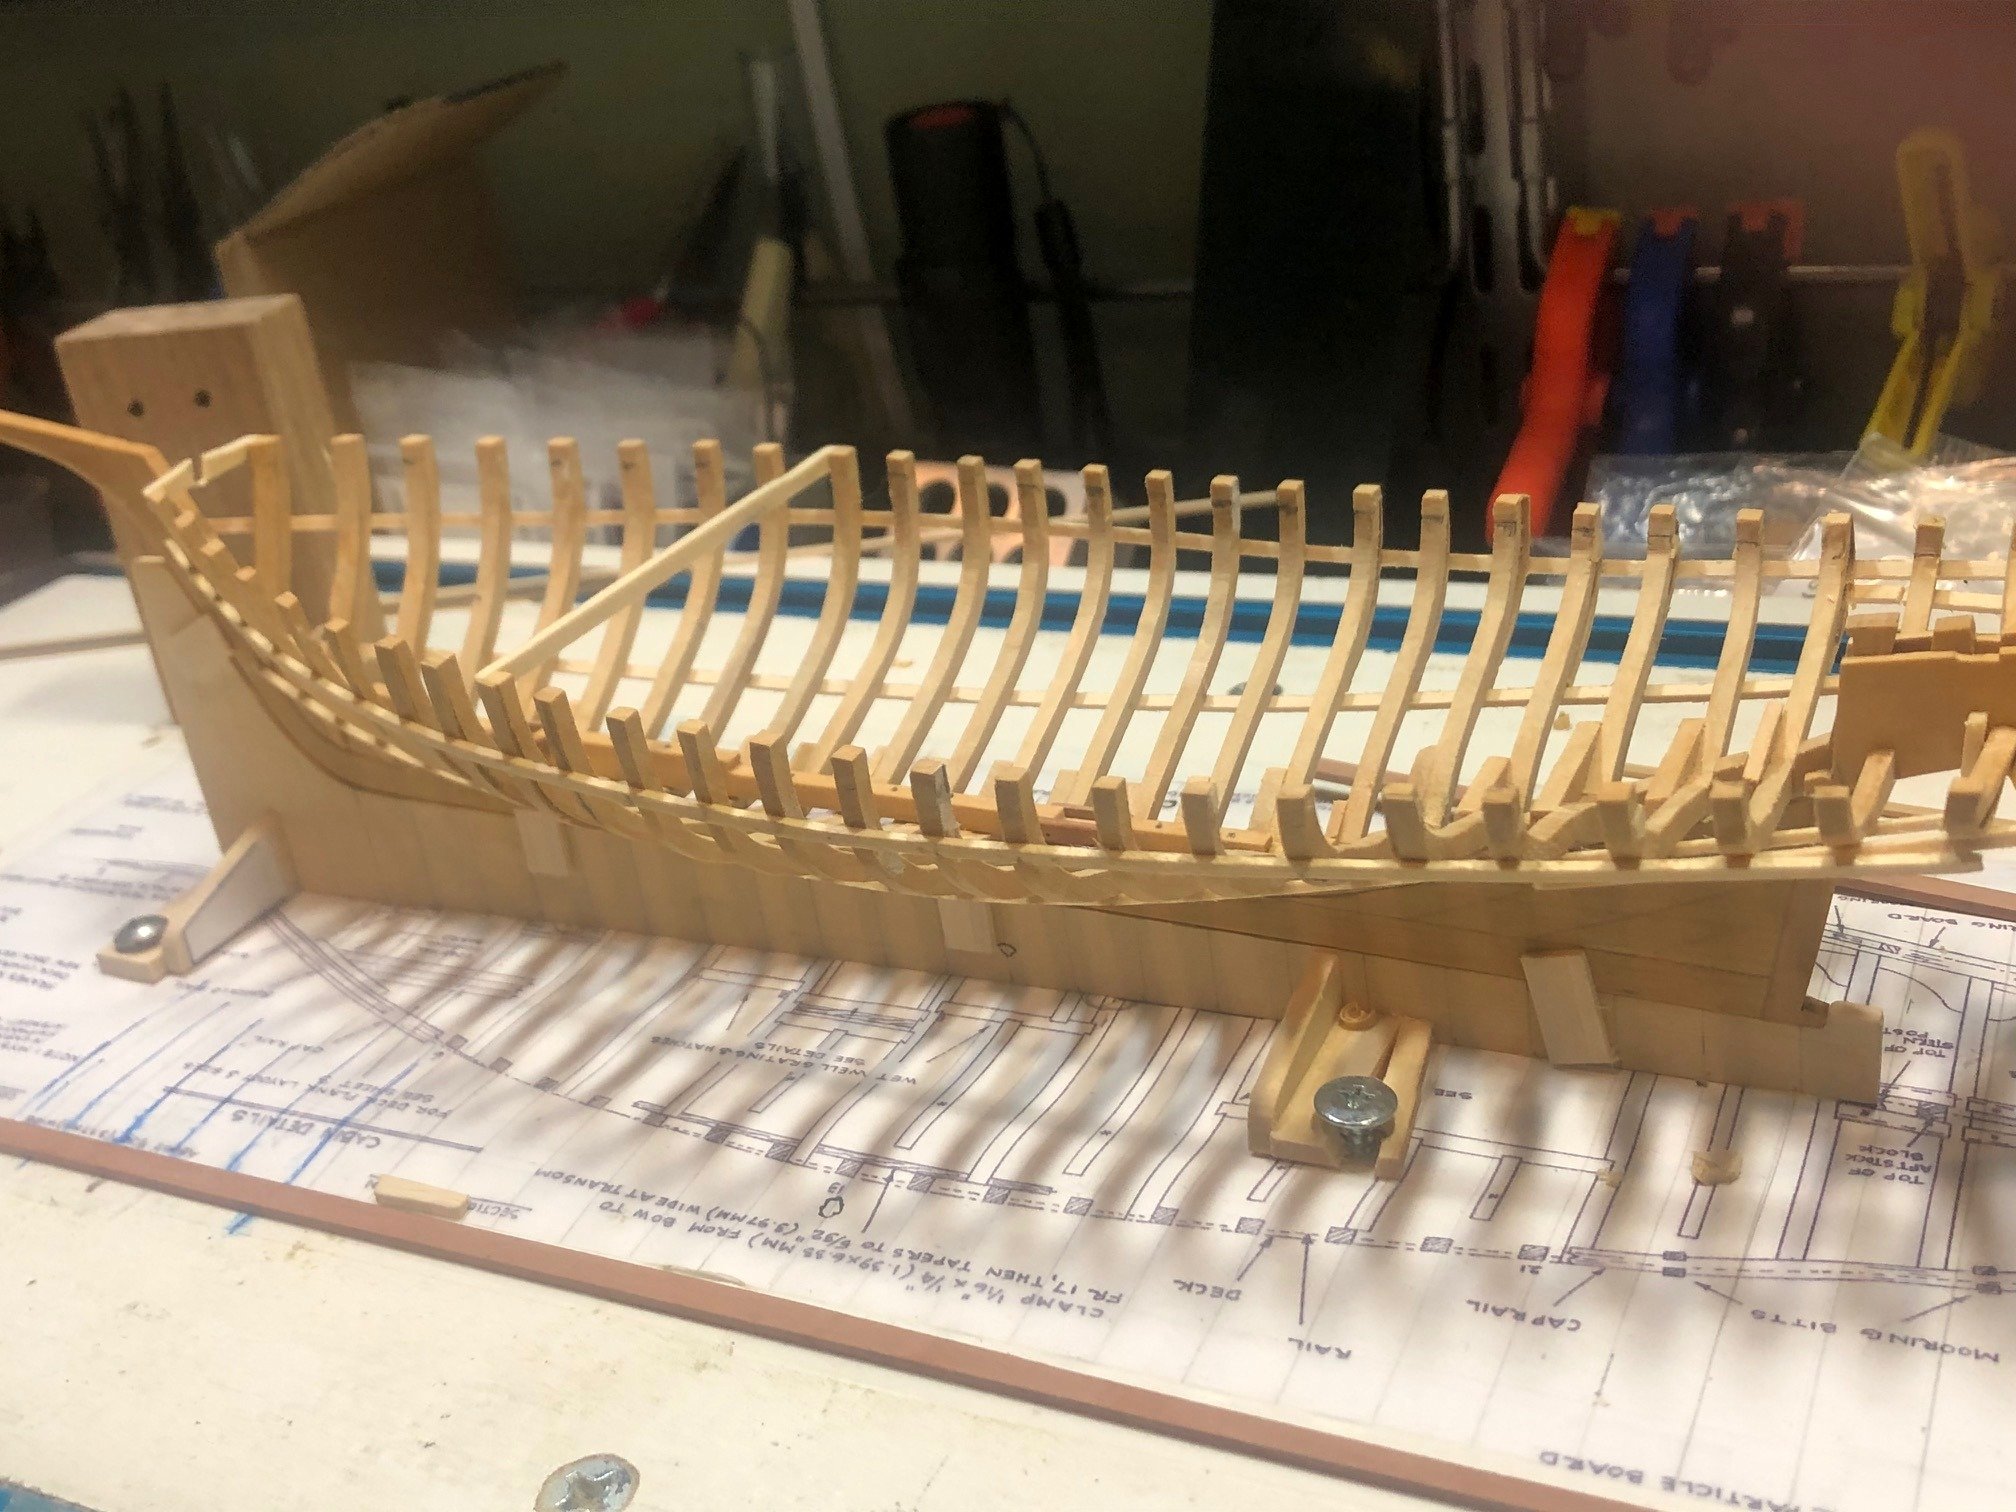
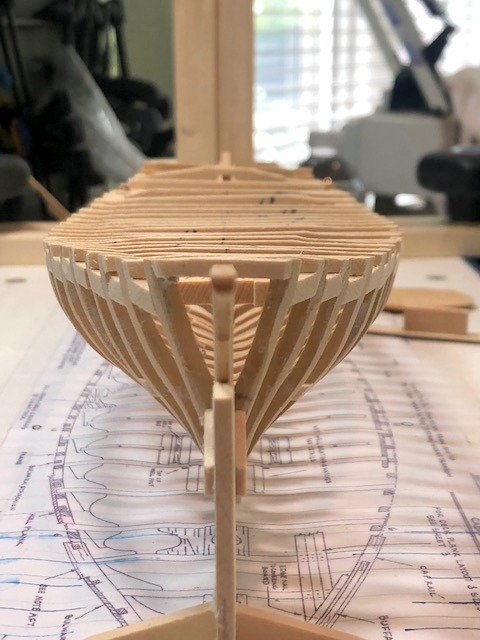
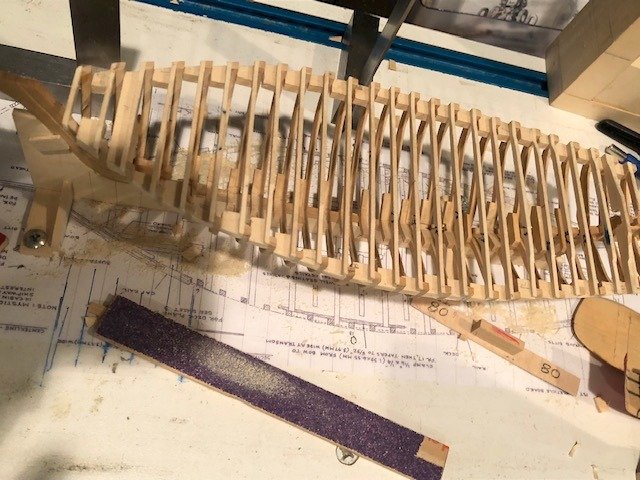
Fairing continues: I had to remove a couple of the frame pairs and re-install so the bottoms lined up with the rabbet. Lots of sanding with 80 grit to bring everything fair. With the re-set of the errant frames, I have to re-fair the sheer. The last frame tops are way too high. Next will be a couple of temporary battens to attach the transom and then remove the spacers and cross-braces. Maury
-
Druxey, So the frames do not butt up against the keel or the opposing frame part? Will a keelson go on top of the frames? The jig is tapered so the bend is different as you move fore and aft? The frames appear to be tapered before being bent. Maury
- 433 replies
-
- 3
-
-
- open boat
- small boat
- (and 1 more)
-
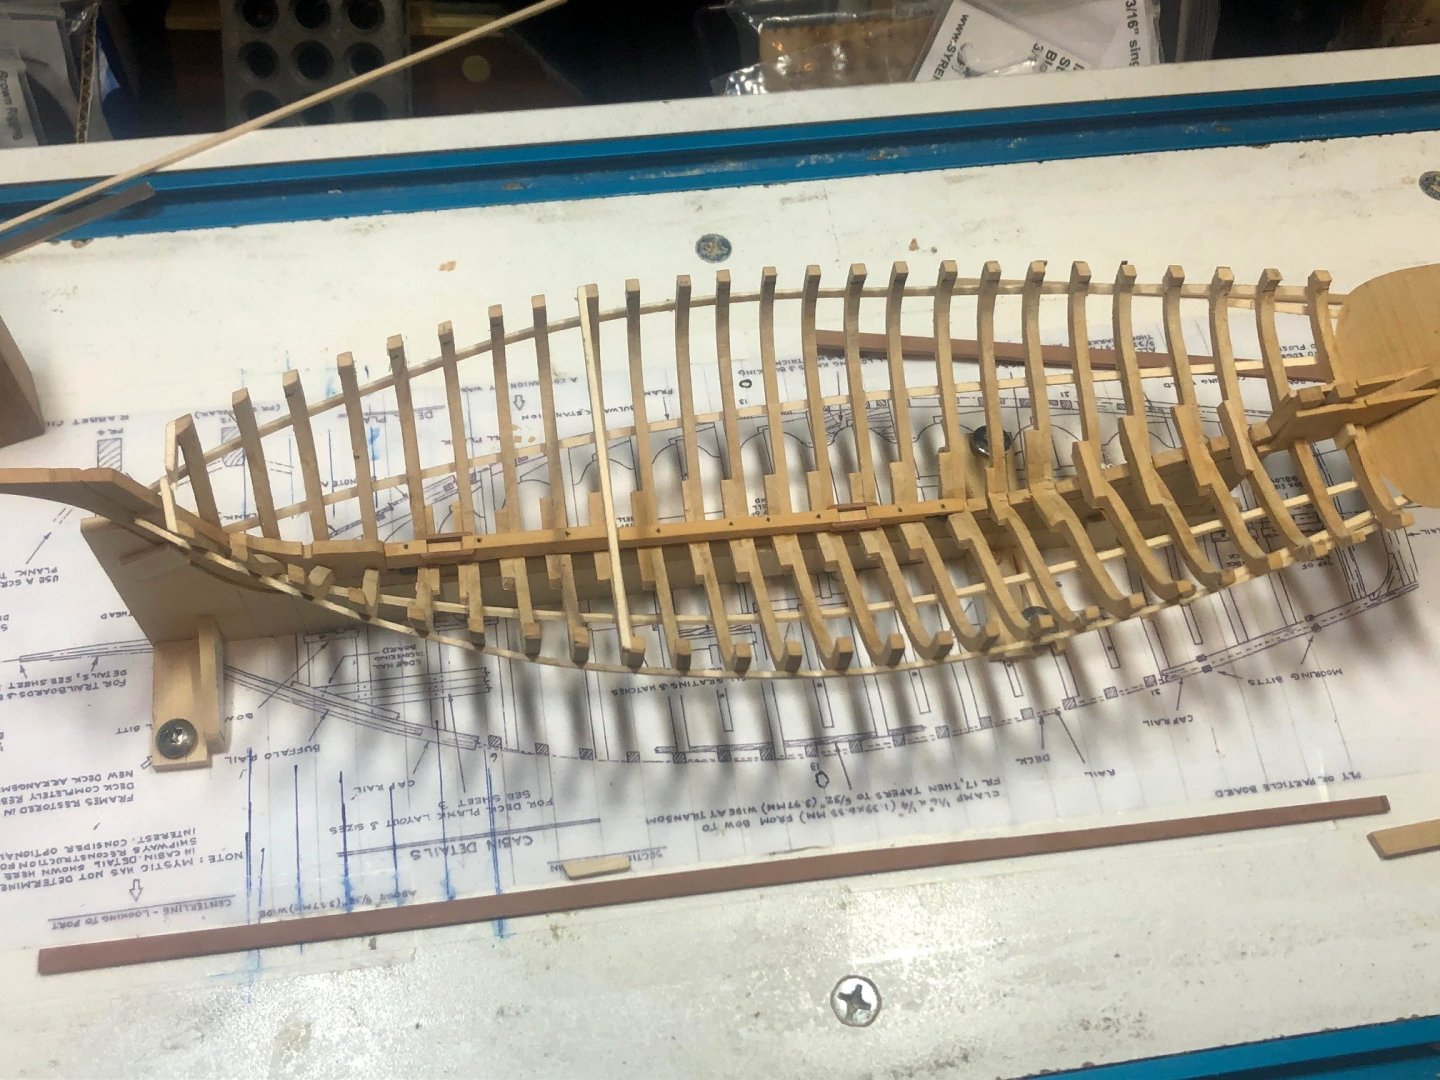
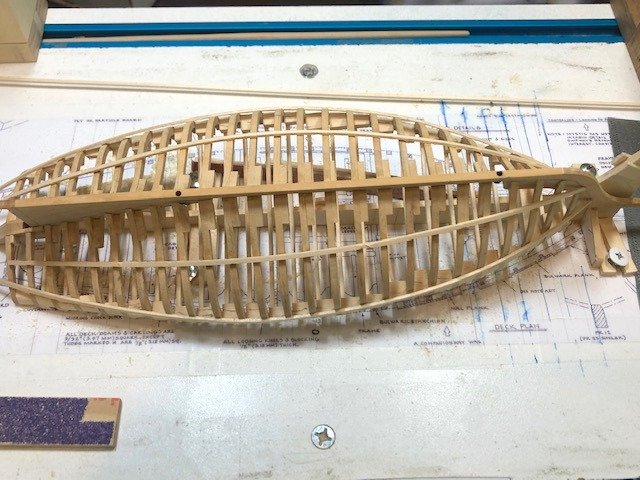
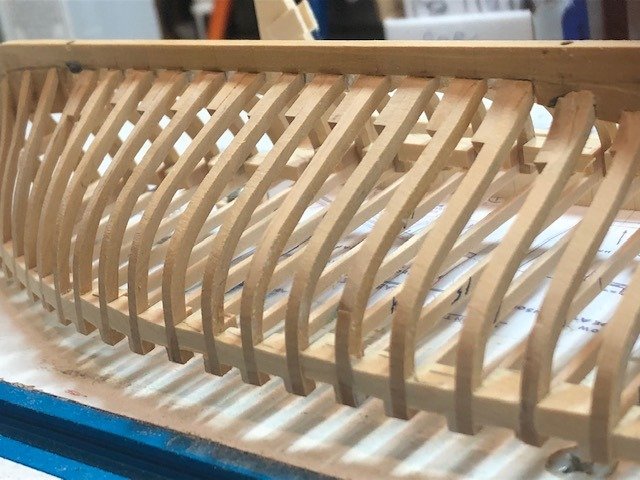
Rough Fairing: Now that all the frames are in, it's time to start fairing. The skeleton is pretty solid as is and I'm not concerned with 80 grit paper breaking and of the frames. The spacers do a good job of holding everything together. I did some of the sheer fairing while the boat was held on the building board. I check elevations as I go along. Once well faired, temporary battens will be run somewhere near the top of the frames and another near the turn of the bilge. They will hold the transom in place (side to side) and provide rigidity so the spacers and cross battens can be removed. That will be a challenge...dissolving the glue on the spacers without loosening the battens. Maybe some of those "Special planking repair" clamps that Druxey used on the longboat. Maury
-
I see you used the special "planking repair clamps". Would you now recommend sticking to holly, or some other prophylactic? Now on to the making and installing of the remaining frames? Maury
- 433 replies
-
- 5
-
-
- open boat
- small boat
- (and 1 more)
-
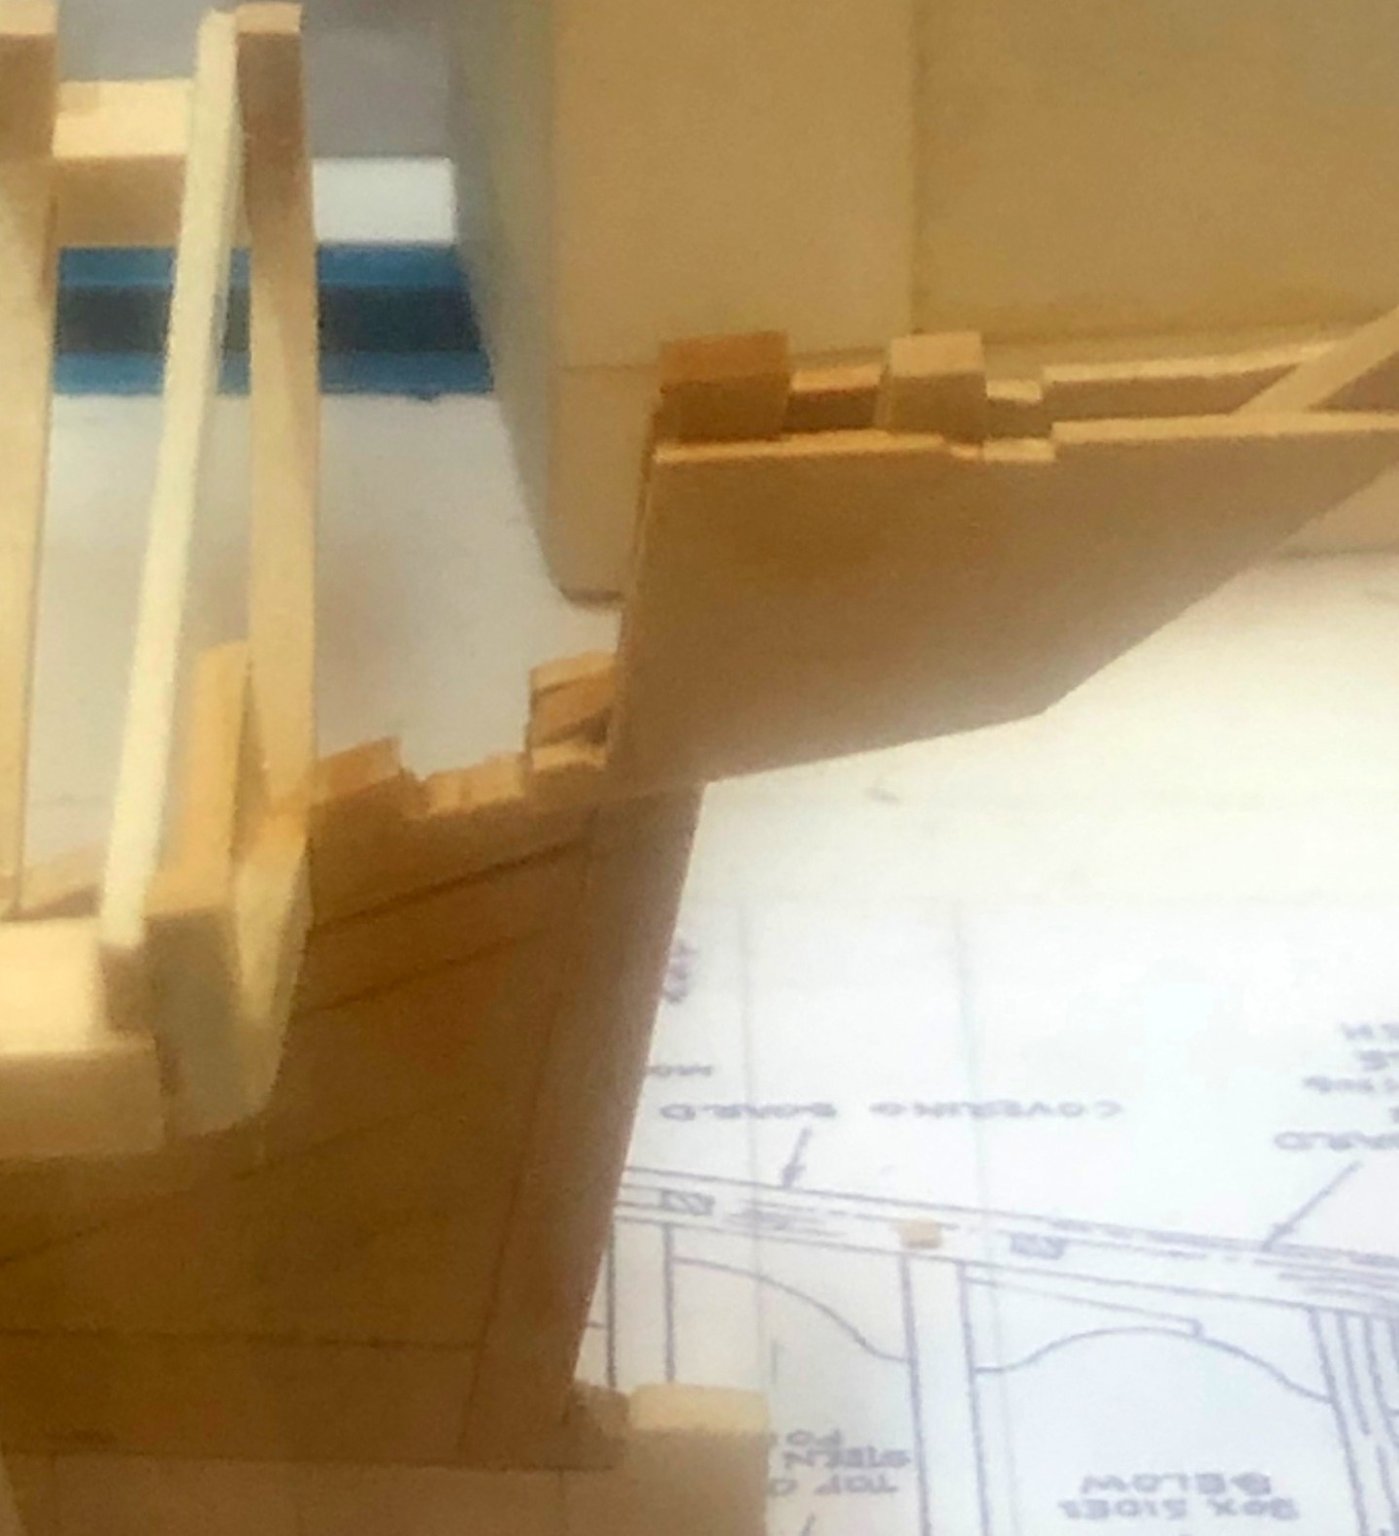
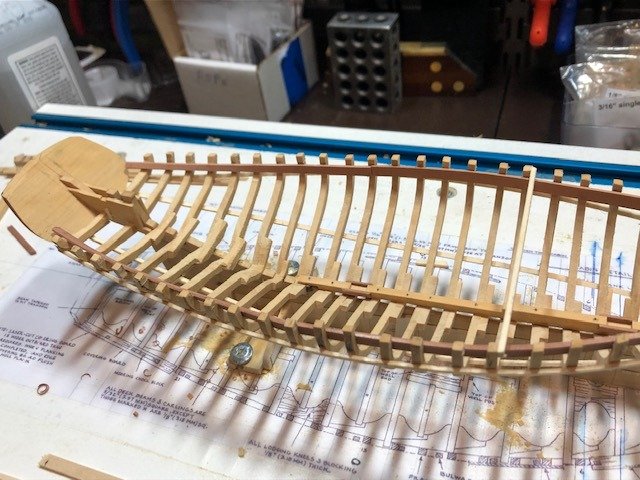
As I proceeded aft with the framing, I noticed the bottom of the horn timbers did not line up with the rabbet. The darker line at the top of the deadwood is the rabbet.The horn timber unit needed to be removed and replaced. Soaking with ISO every 15 minutes and wrapping with Saran Wrap to keep the alcohol from completely evaporating managed to loosen the section after about an hour. After replacing the timbers, I extended the rabbet across the stern post. Maury

-
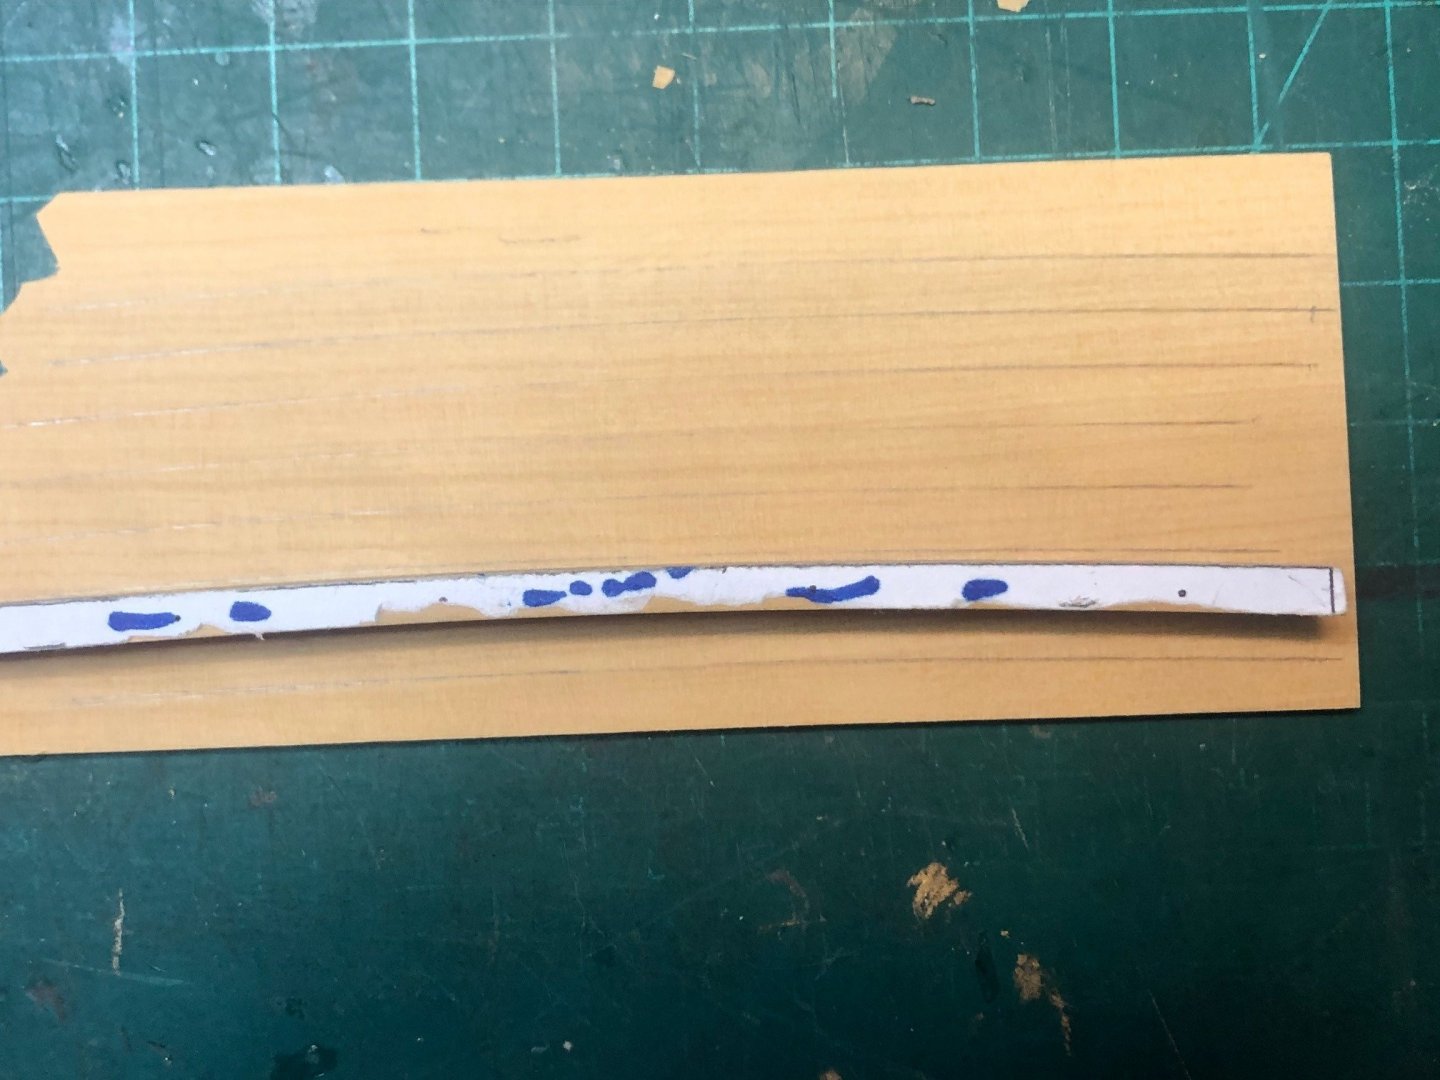
careful wet wiping after each plank! That's why I went to the Luthiers PVA with the ultraviolet dye so I know where I've got a smear that needs attention. Maury
- 433 replies
-
- 5
-

-
-
- open boat
- small boat
- (and 1 more)