HOLIDAY DONATION DRIVE - SUPPORT MSW - DO YOUR PART TO KEEP THIS GREAT FORUM GOING!
×


fmodajr
-
Posts
868 -
Joined
-
Last visited
Content Type
Profiles
Forums
Gallery
Events
Everything posted by fmodajr
-
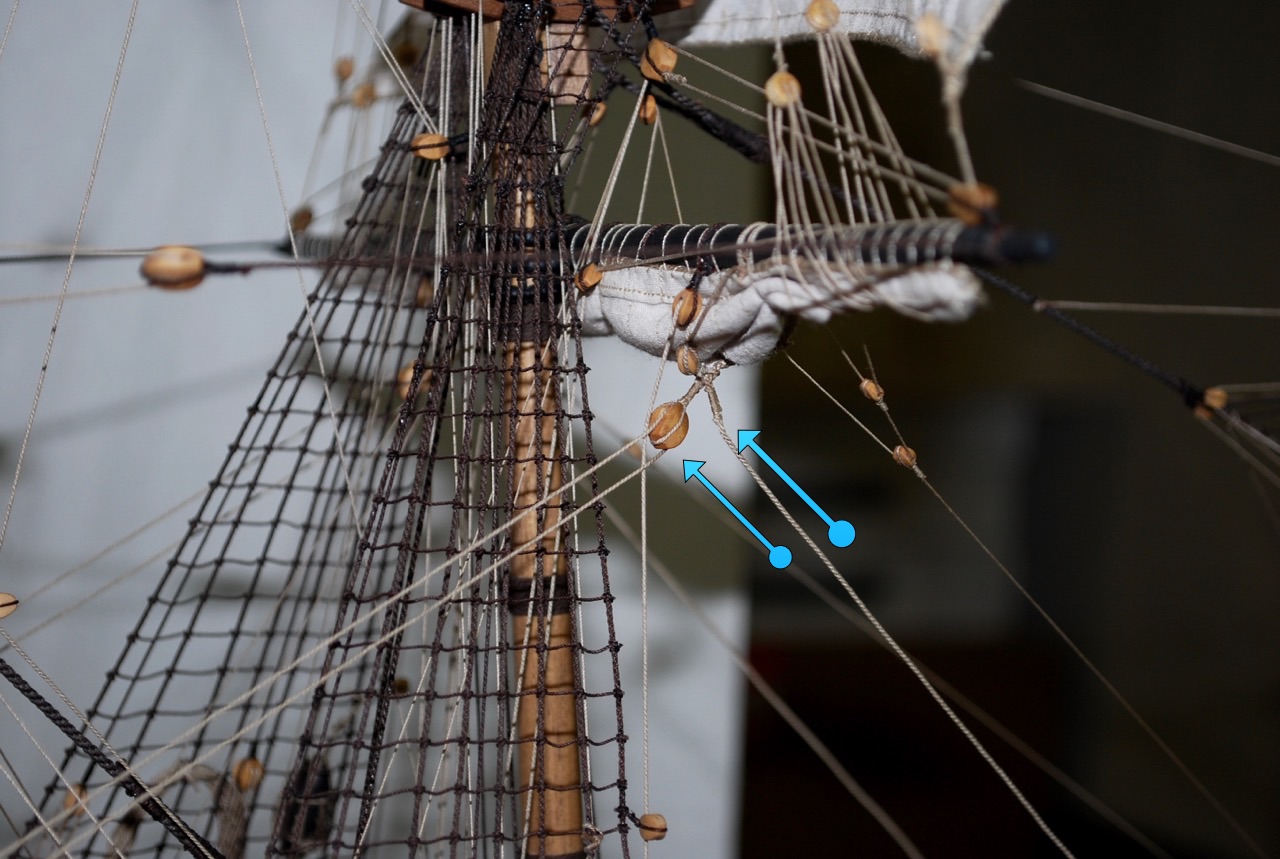
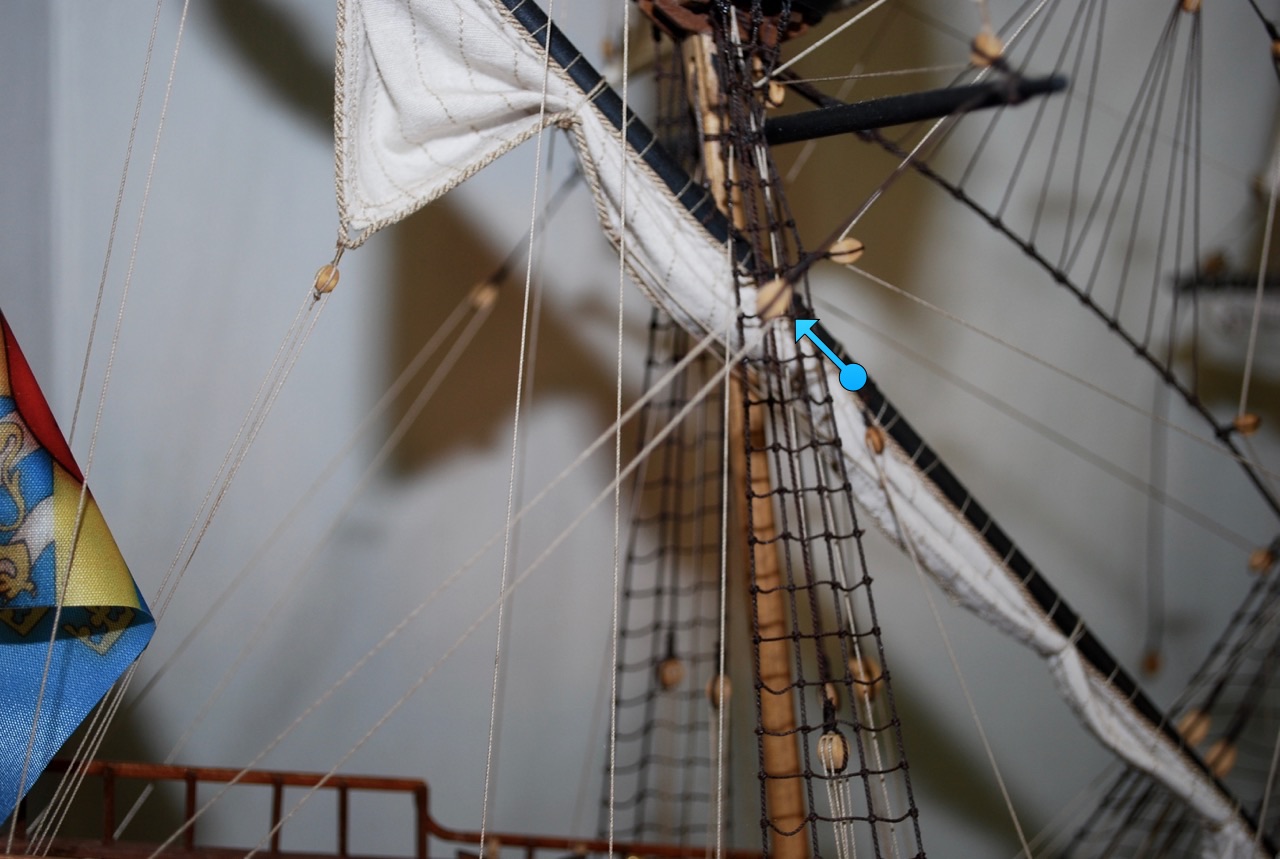
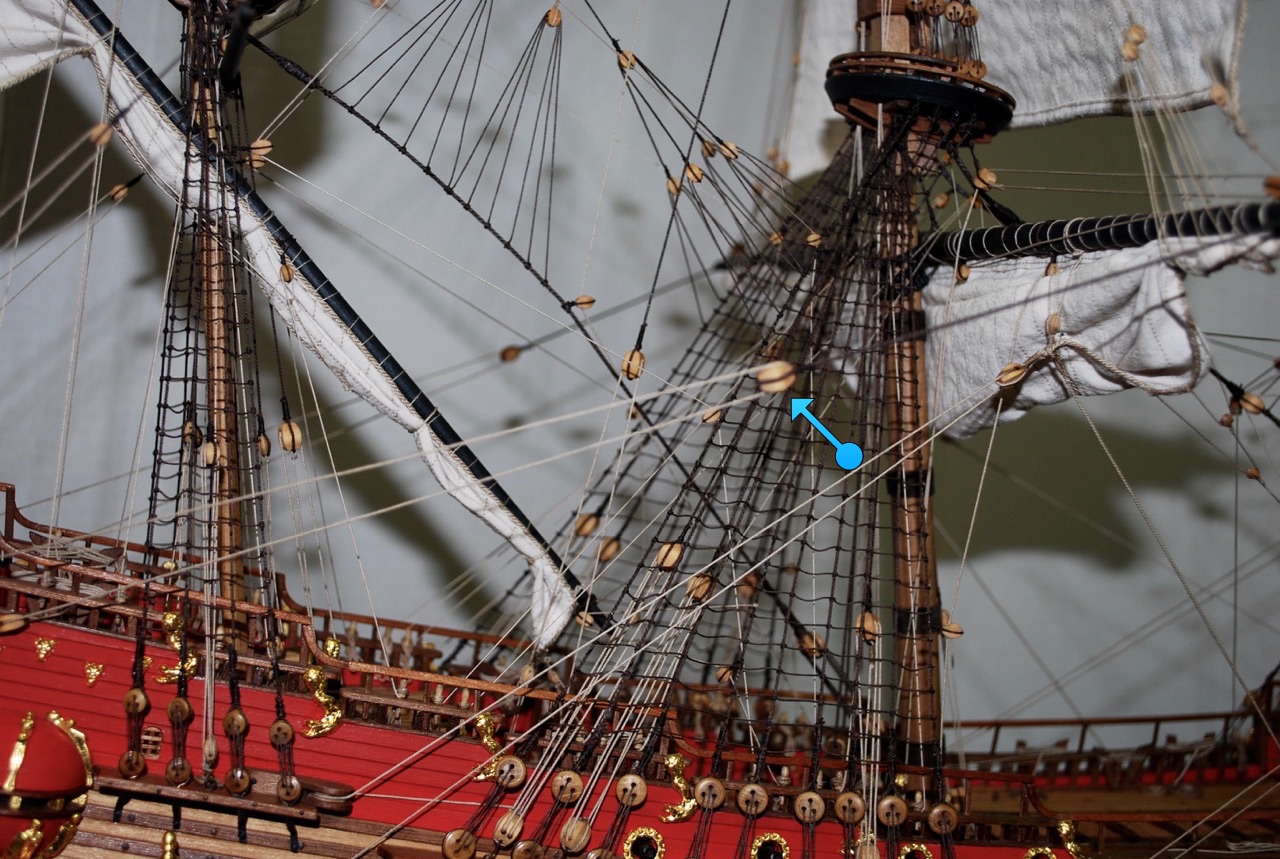
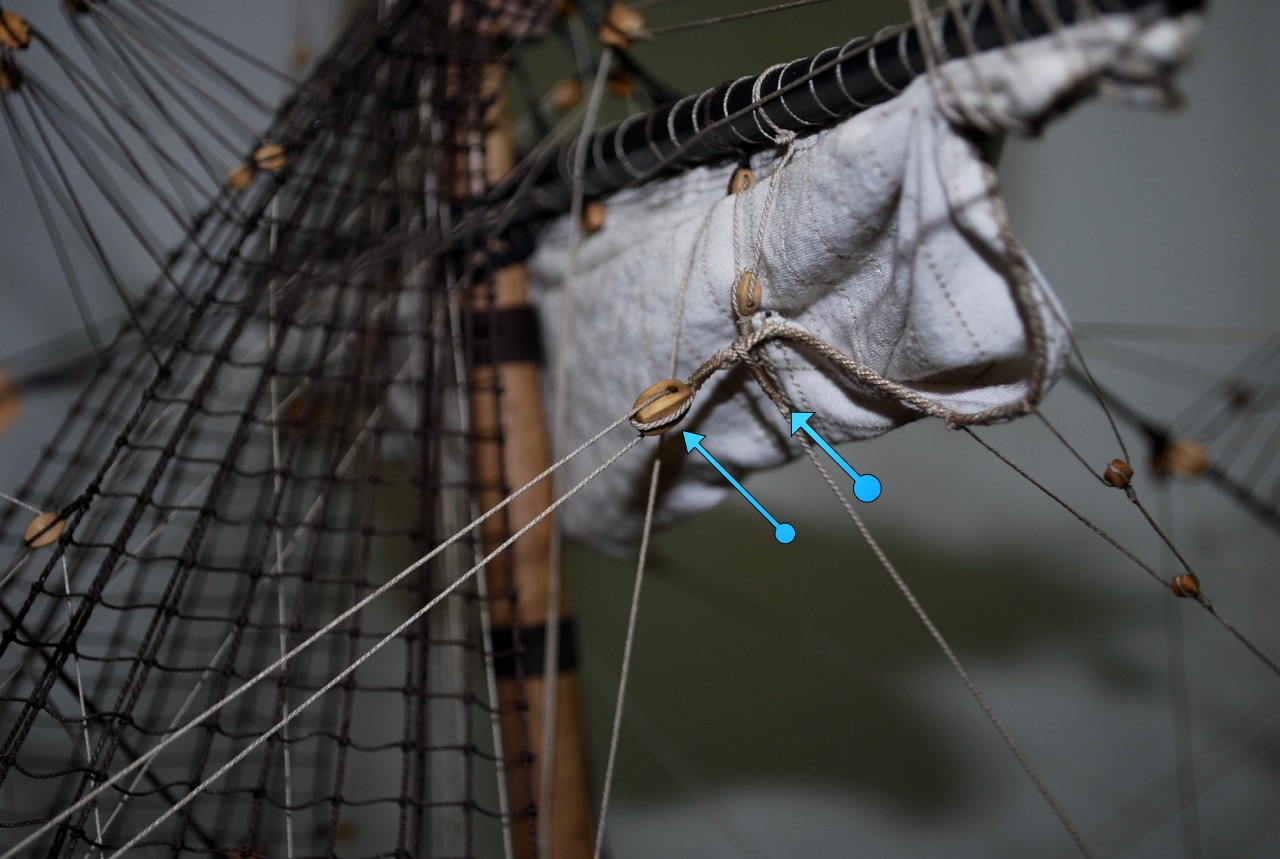
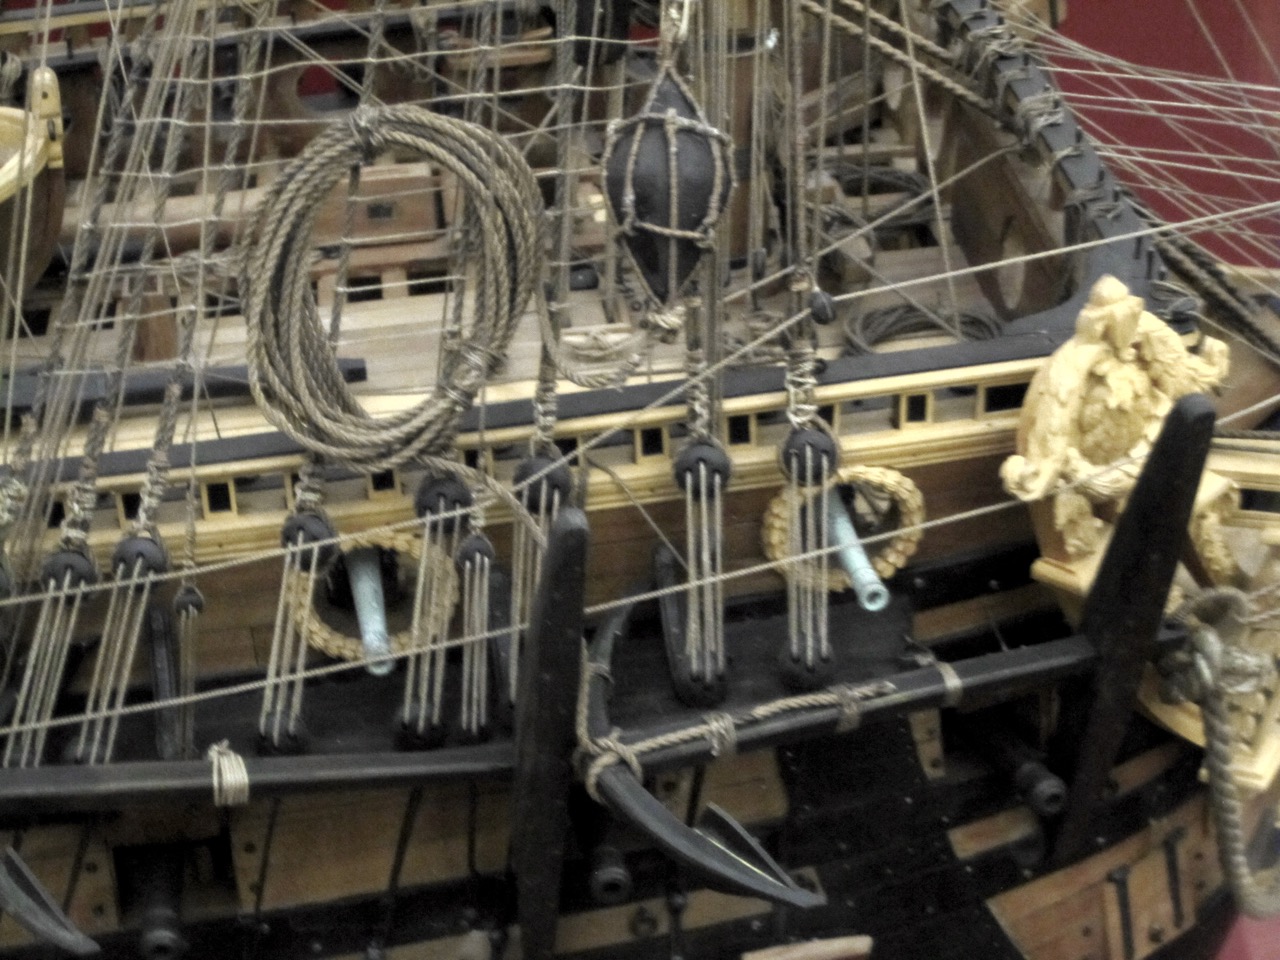
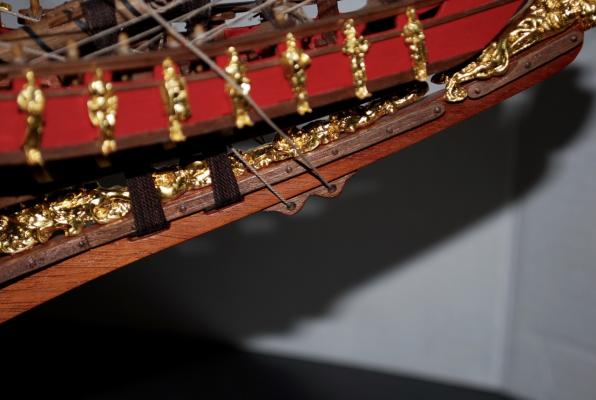
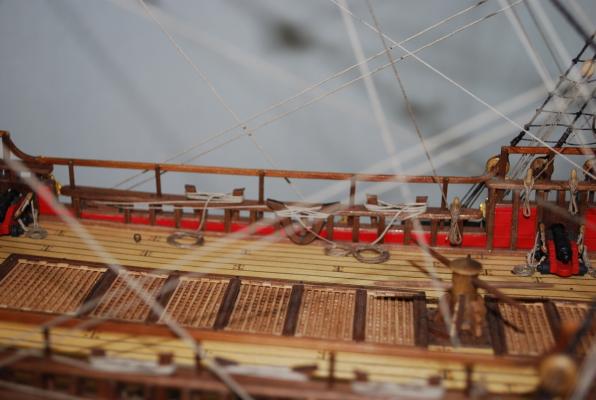
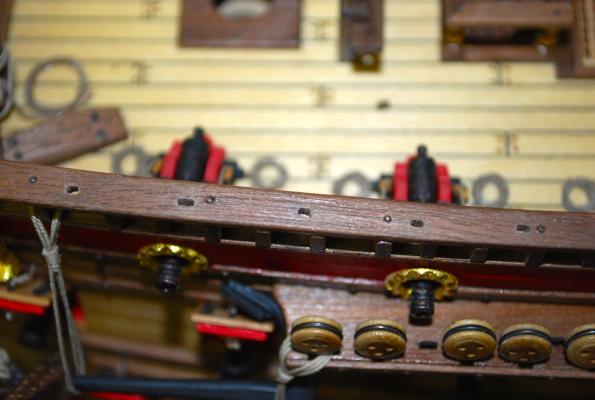
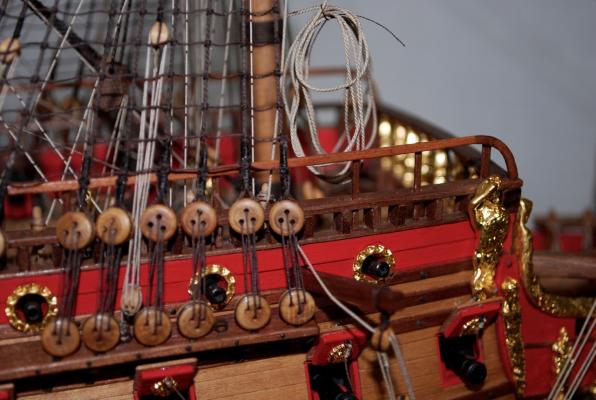
 Continuing on: Next I installed the foresail sheet lines. The lines go thru the block (see left arrow) Then down thru one of the triple block assembly (built into the railing). Now the foresail tack lines. Attached to the sail (see right arrow on photo) Thru the hole under the beak and back into the cleats on the bow railing. The last lines rigged are the lower spritsail sheets. This line comes from the corner of the sail, thru an eyelet on the deadeye platform to a block. Then another line goes from the block, into the triple railing block and finally onto the cleat. View of lines terminating on the cleats midship


-
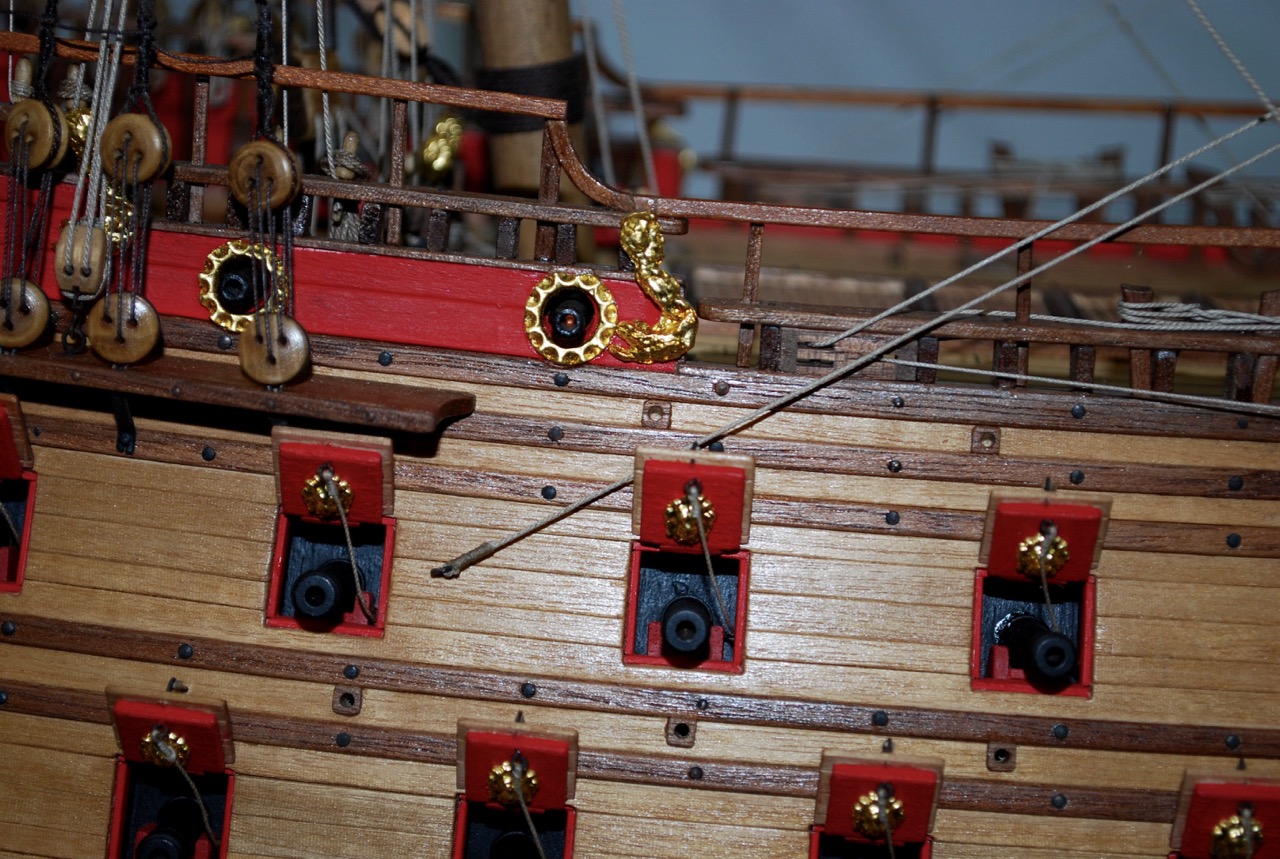
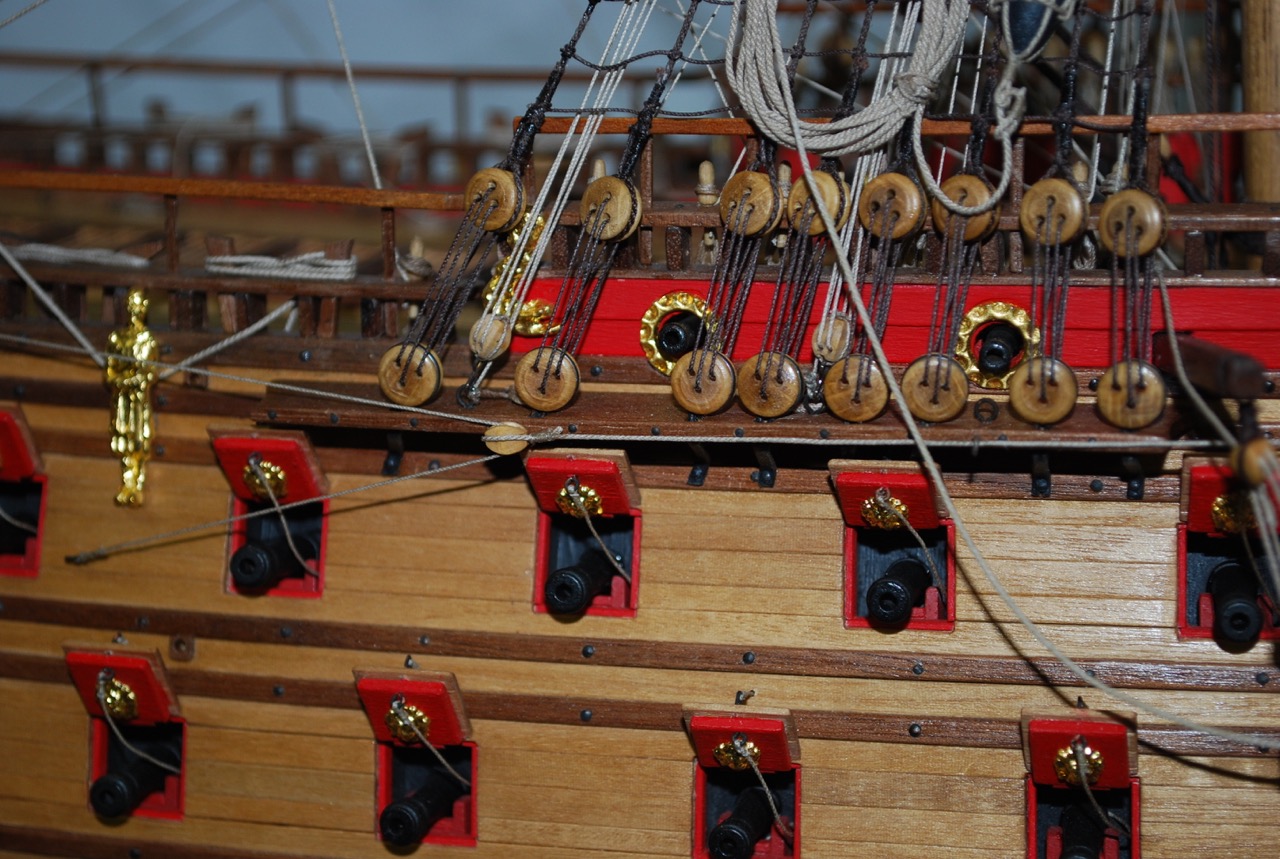
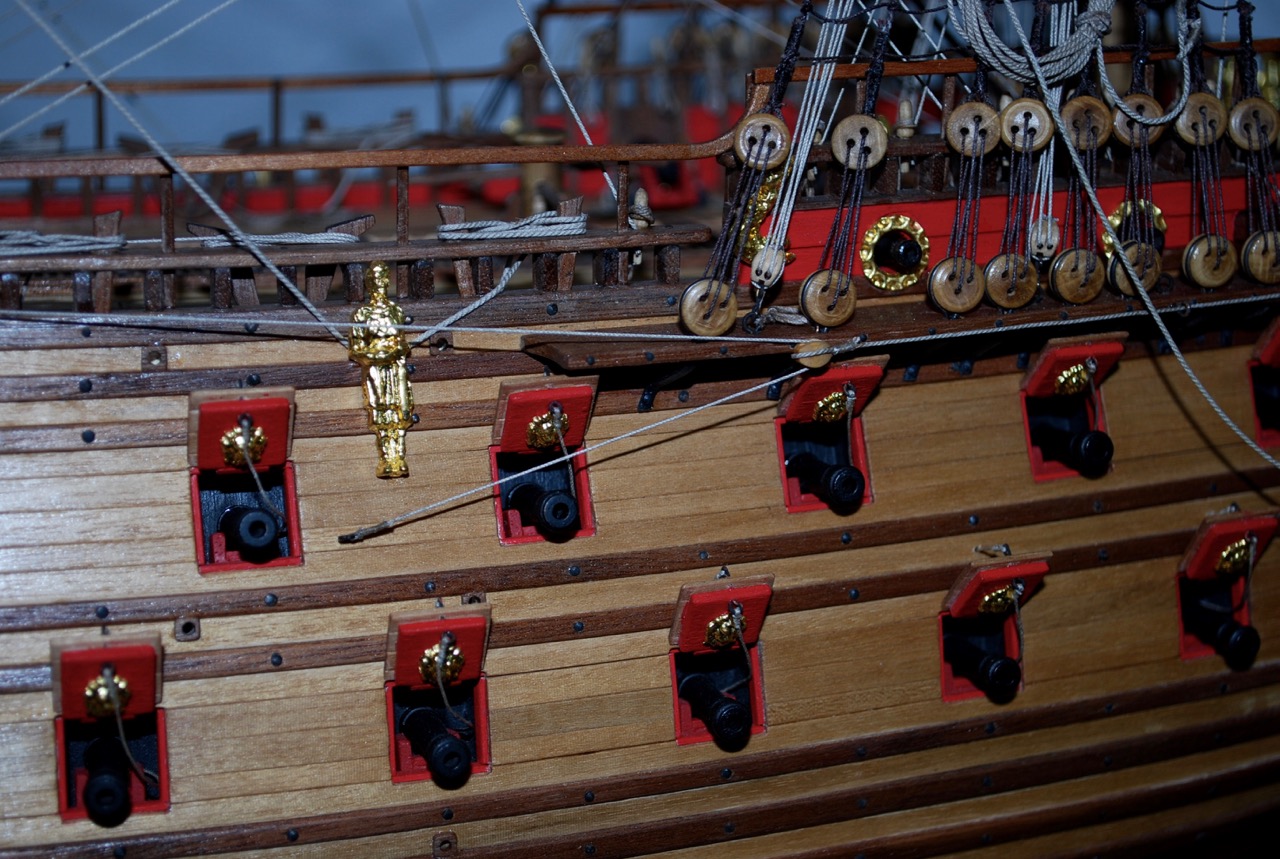
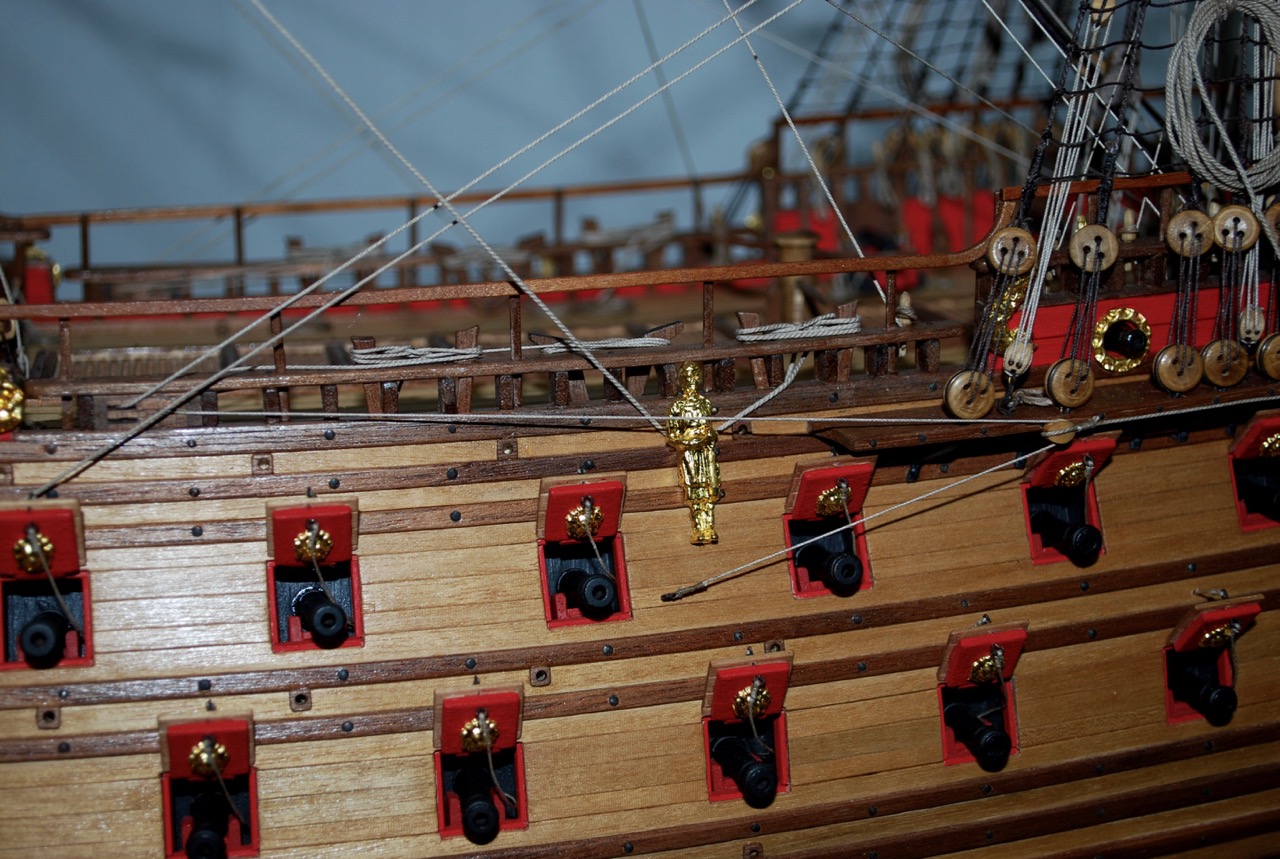
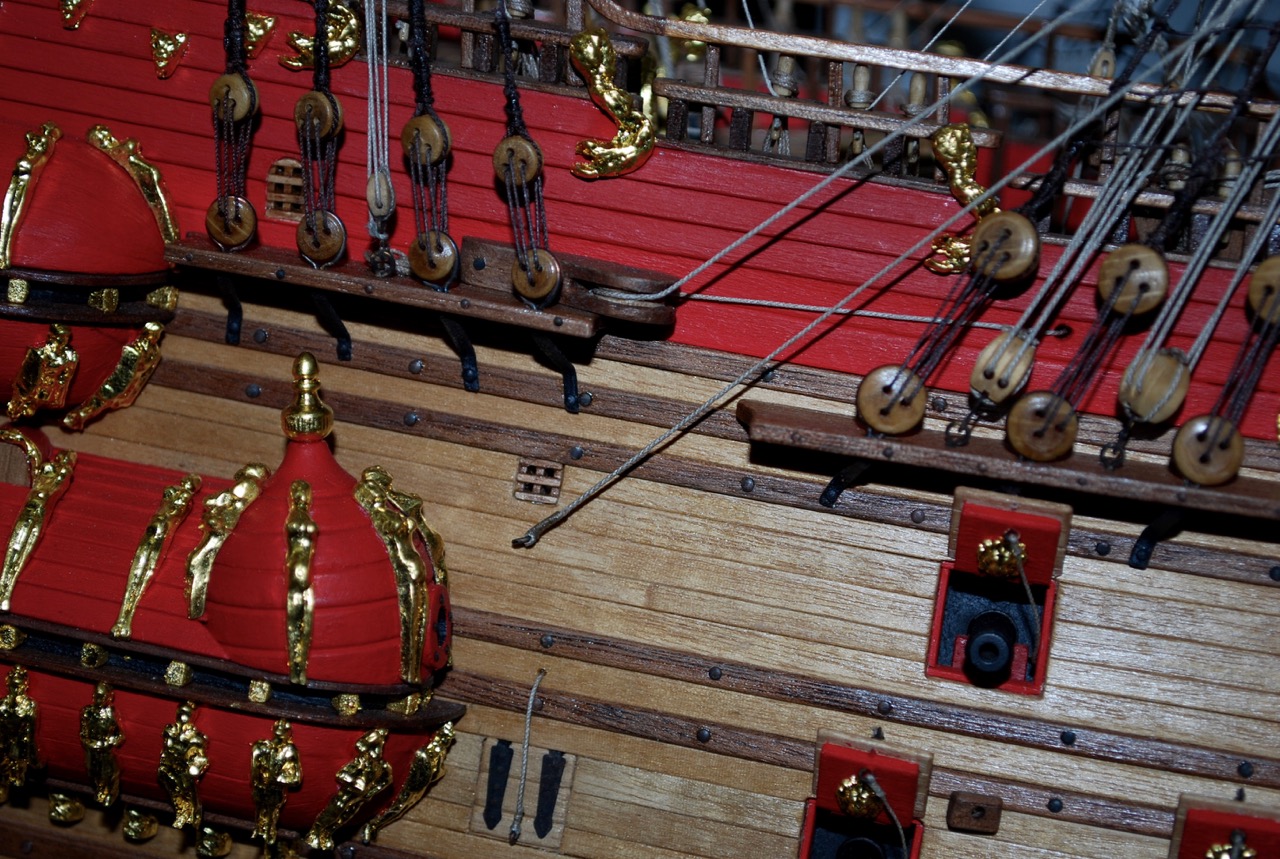
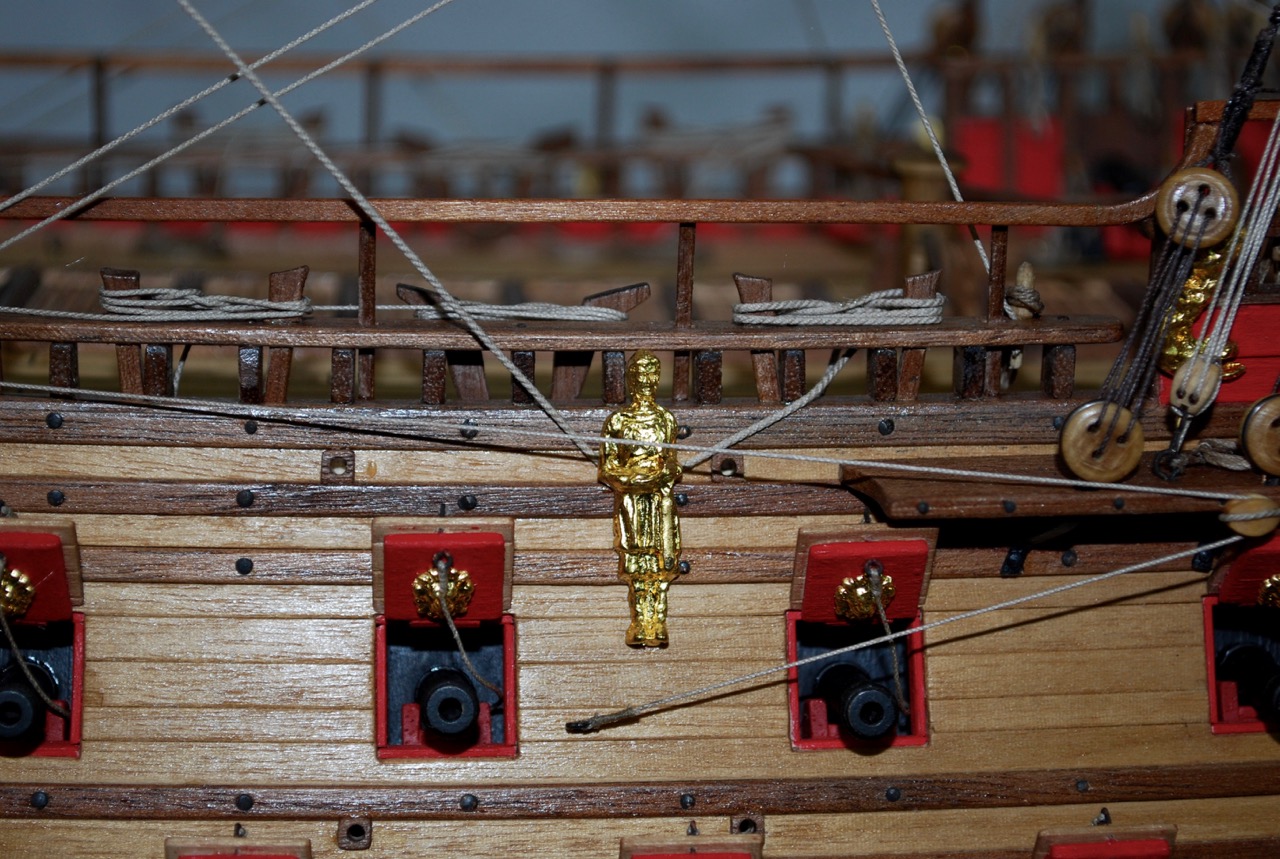
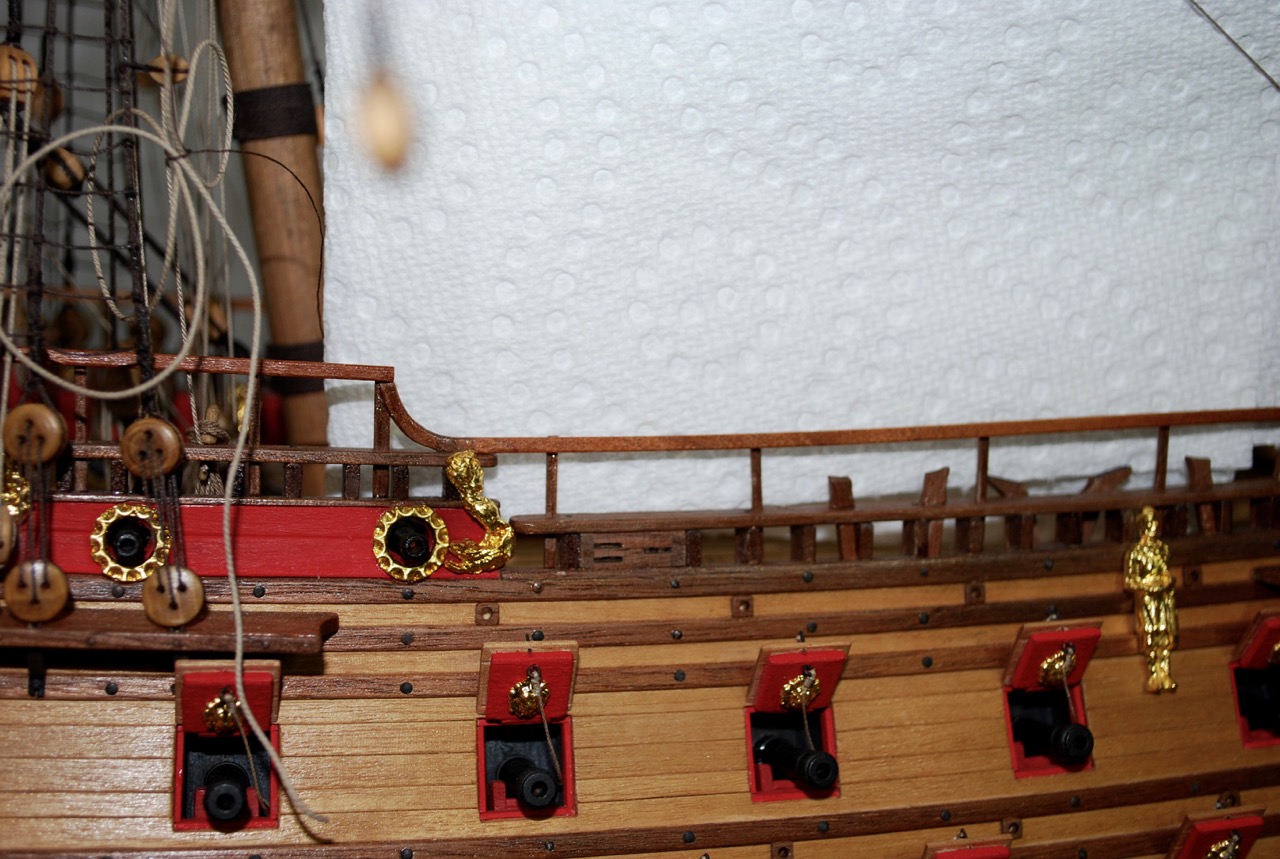
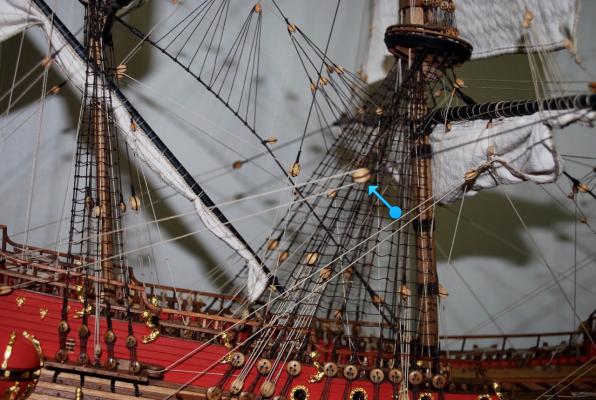
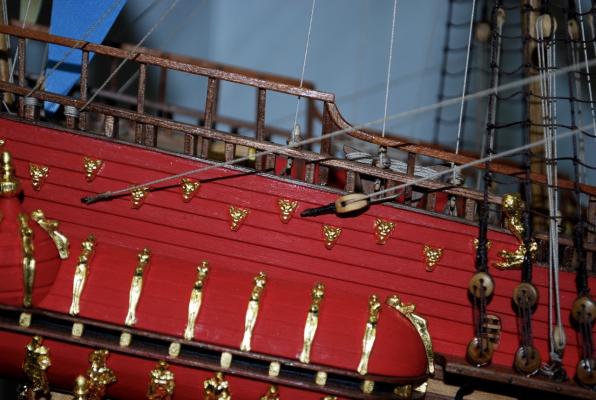
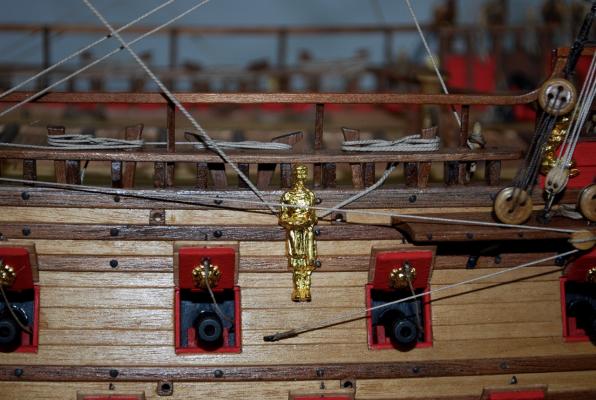
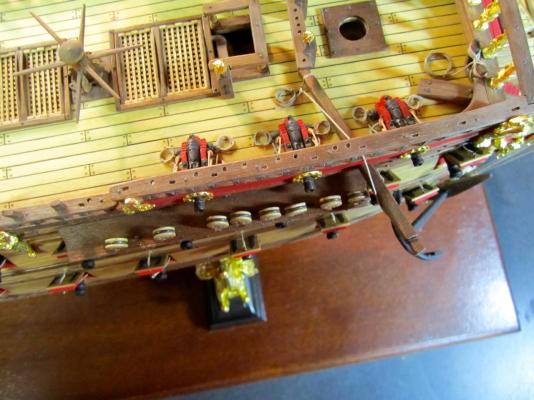
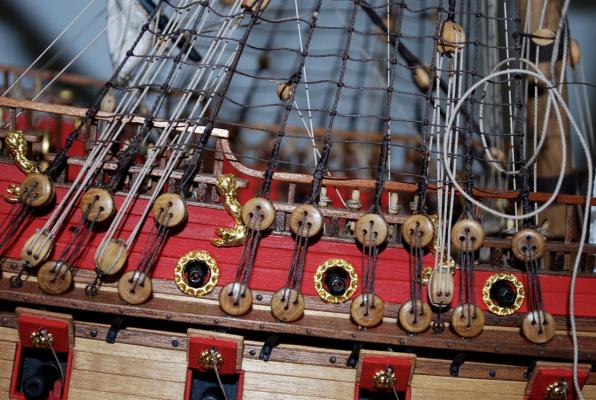
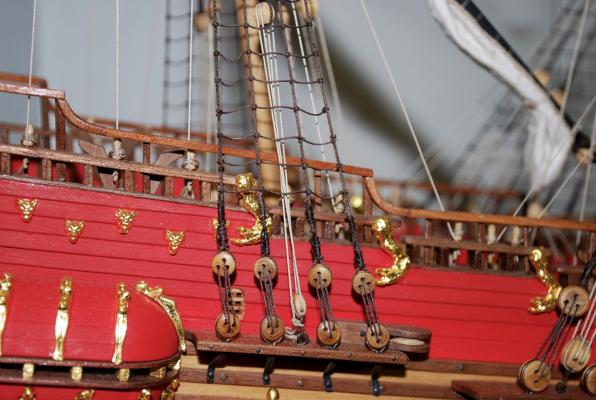
Hello! This past week, I finished all the remaining rigging on the model. (I hope!!!) On the lower mizzen yard, I finished the yard braces. As with all the other rigging on the ship, I used the Vasa Museum plans that were made in the early 1980's. So with this in mind, I tied the mizzen yard braces back to the railing at the stern, instead of using the Corel plans (which show the brace lines going forward from the yard) Next, I finished the lower mainsail yard braces. Then I finished the lower mainsail sheets. The sheet lines go thru the block (at the left arrow), then thru the large block on the 2nd photo, thru a hole into the ship. Finally, for the lower mainsail, I finished rigging the tacks. In the photo see the arrow to the right. Then the line goes behind the figurine and onto the cleat on top of the railing.


-
Hi Karl! Thanks for checking in and for your comments! I don't know if the Vasa even had the buoys, but I was encouraged when I saw a reference to them in Landstrom's book "The Royal Warship Vasa". (Pg 117). Back to the model tonight to finish up the last of the rigging, then onto the lantern. Also, thanks to everyone for stopping in to view the log! It is appreciated. Frank
-
Hi Keith, Thanks for the explanation! I understand now what Mark is doing! thanks, Frank
-
Hi Michael, Nice job on those blocks! Those are the Syren blocks correct? Also, very nice looking shrouds rigged one on top of the other to the mast. Very neat work and authentic looking! Frank
-
Hi Mark, Looking real nice! Quick question: Was there not enough cannon supplied with the kit? I noticed you said you put in some extra spare ones you had. thanks, Frank
- 652 replies
-
- 1
-

-
- royal william
- euromodel
- (and 1 more)
-
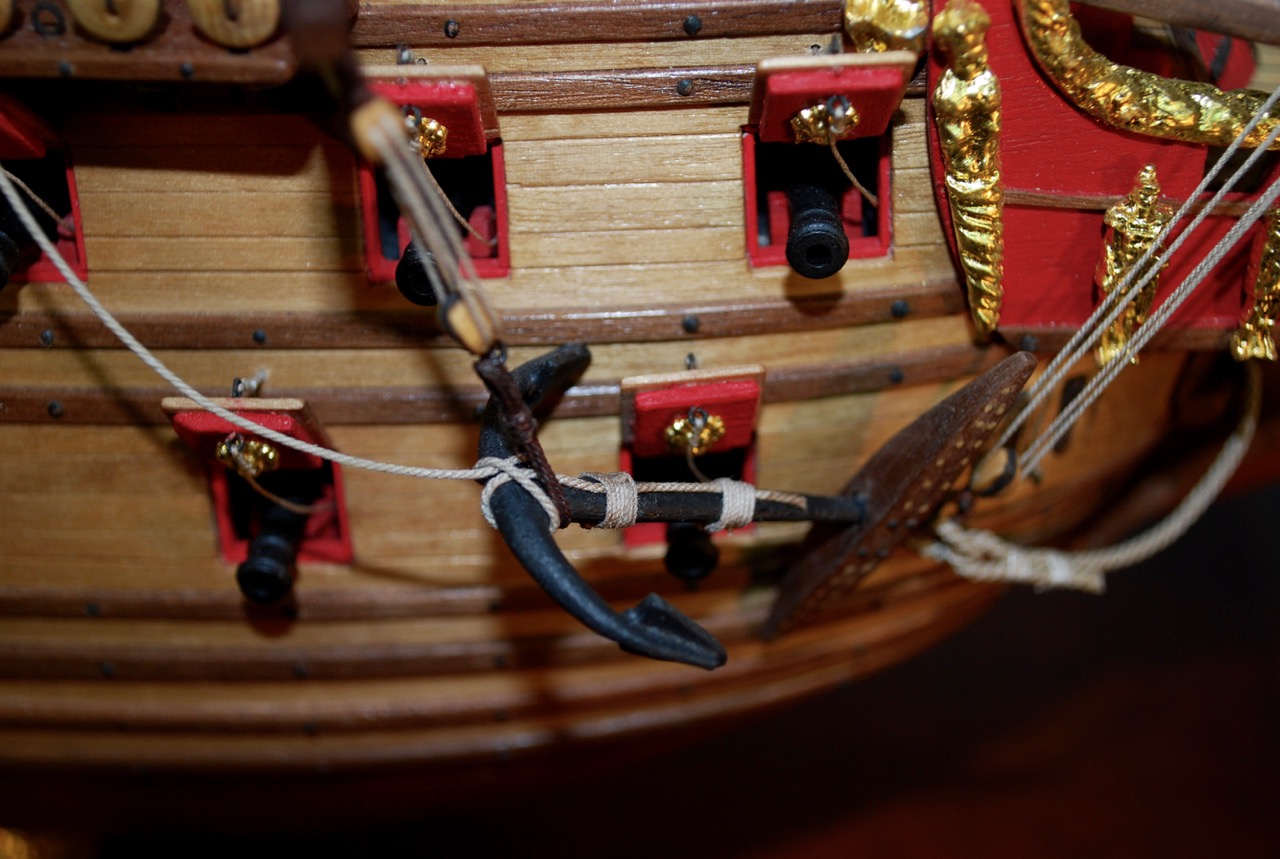
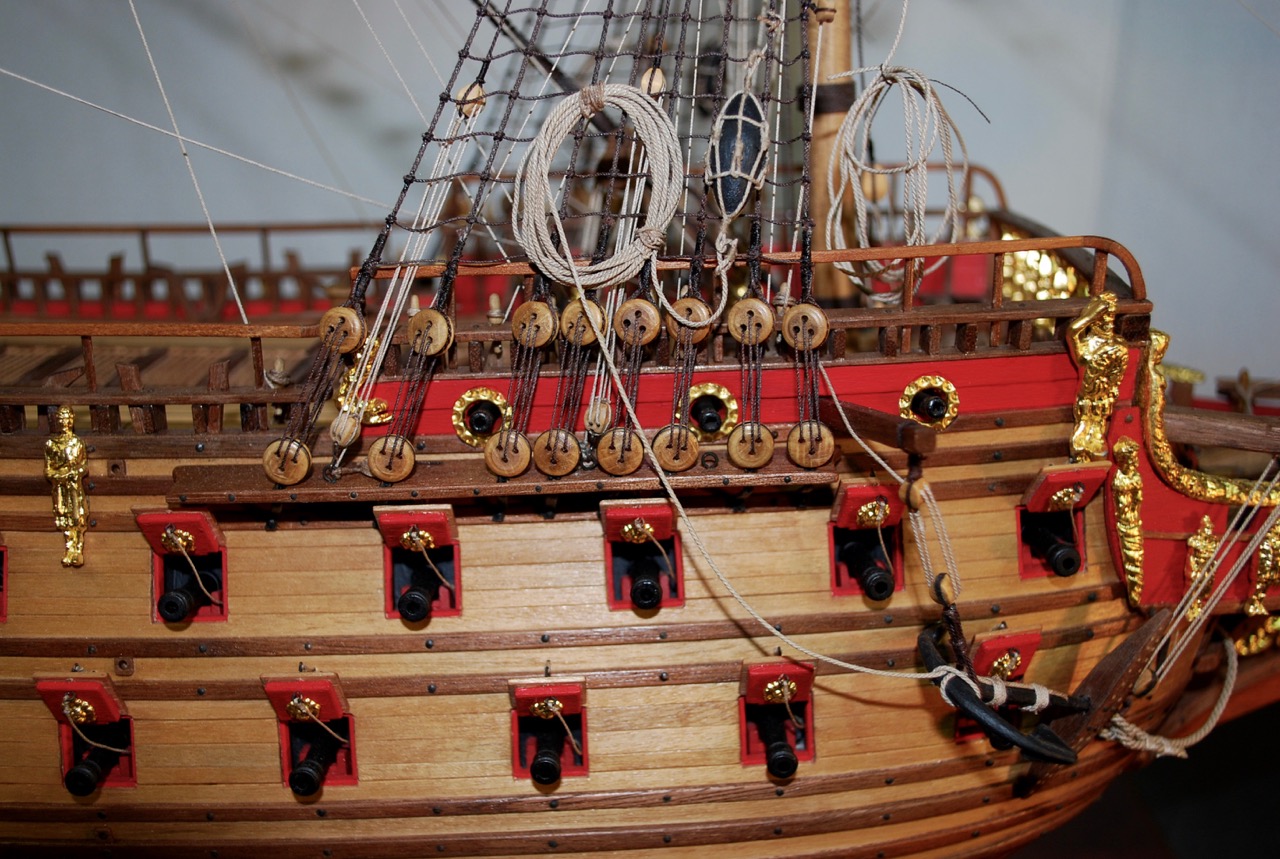
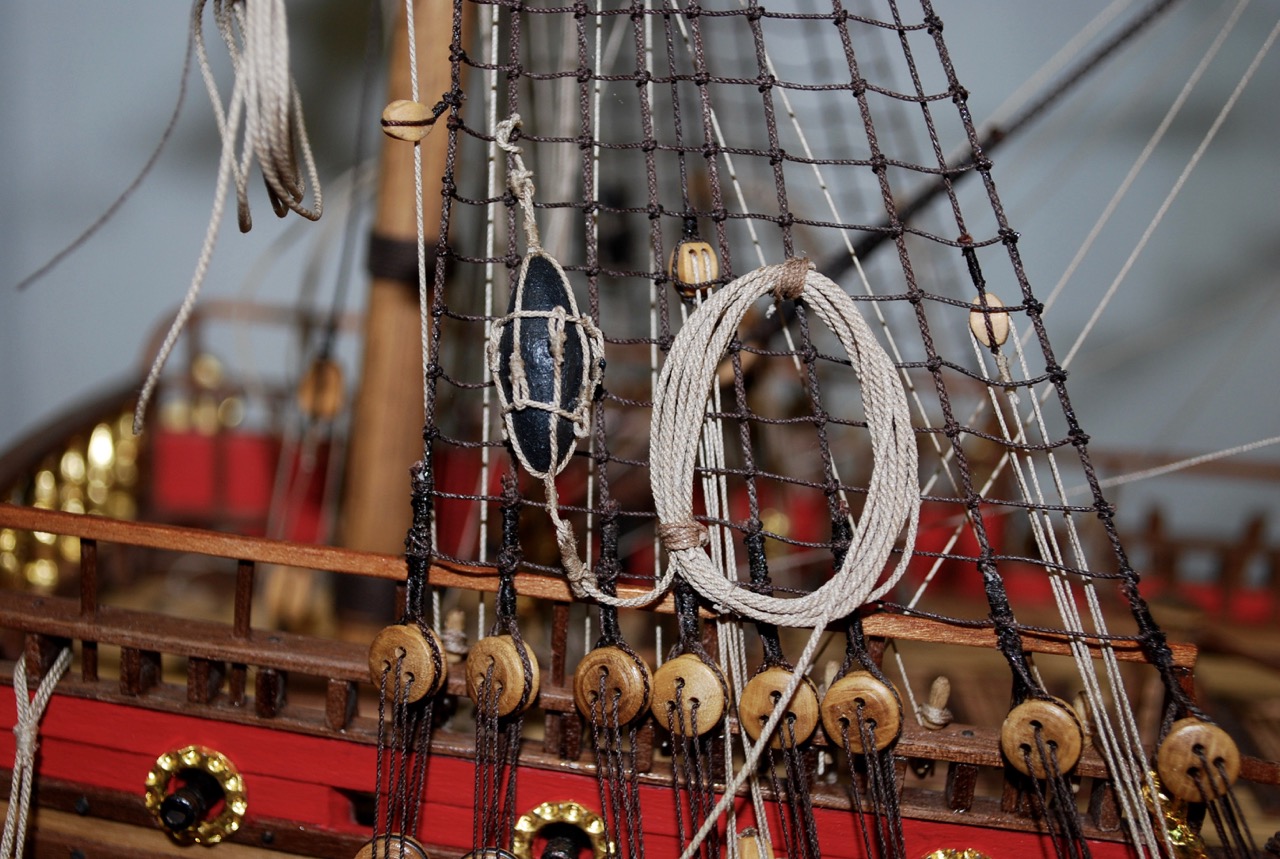
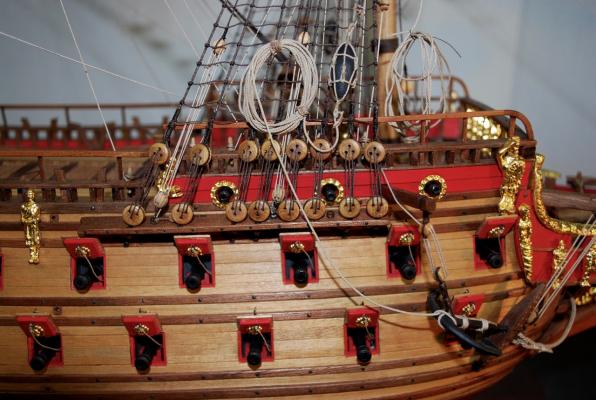
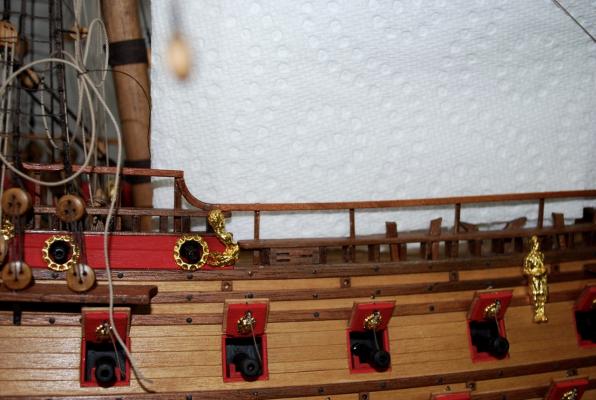
Continuing on, Now I took the buoy assemblies and fastened them to the foremast shrouds and anchors both sides. Buoy assembly on shroud starboard side Line attached to starboard anchor Full view of starboard side Buoy attached to port shrouds Line tied to port anchor Finish view of port buoy Now I am on to finishing the rigging of the lower yards and sails. Getting closer to the end! Thanks for visiting! Frank


-
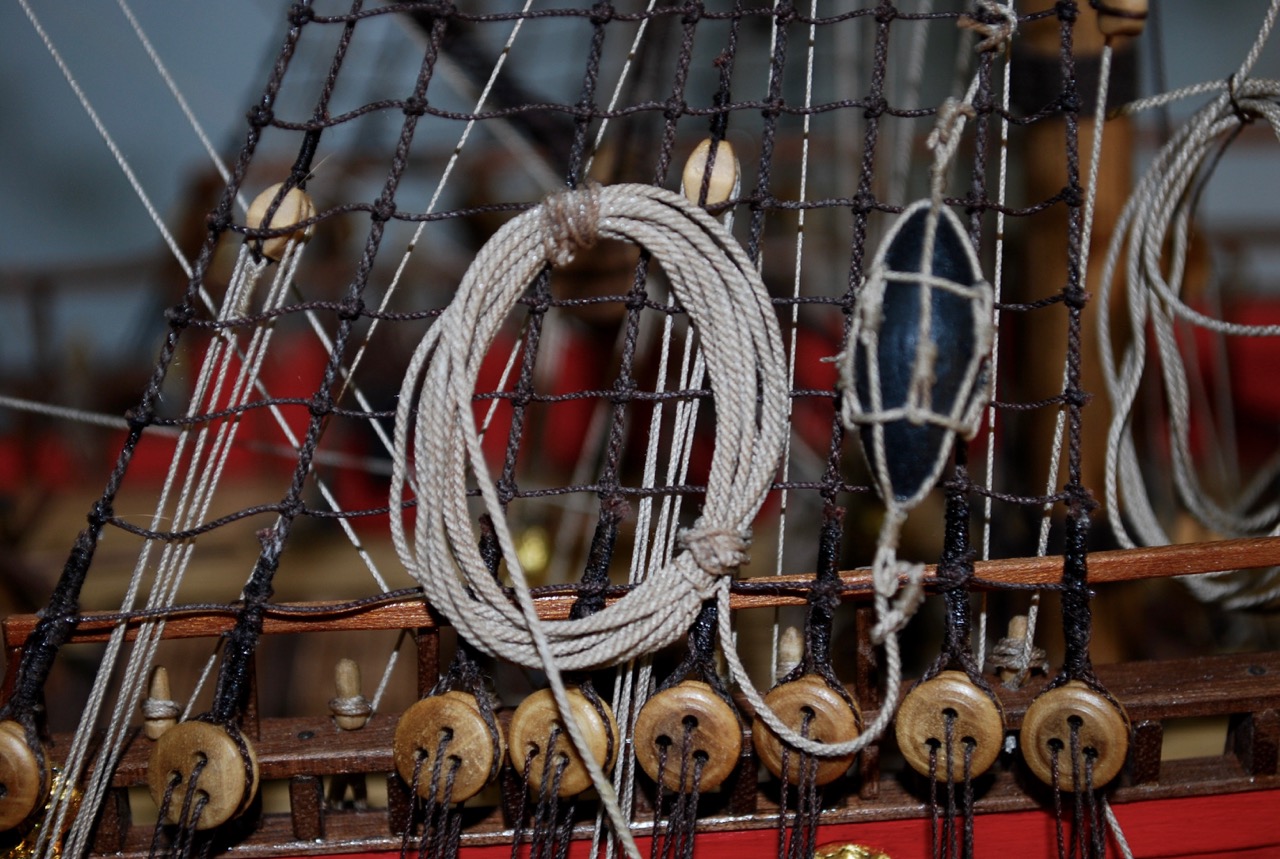
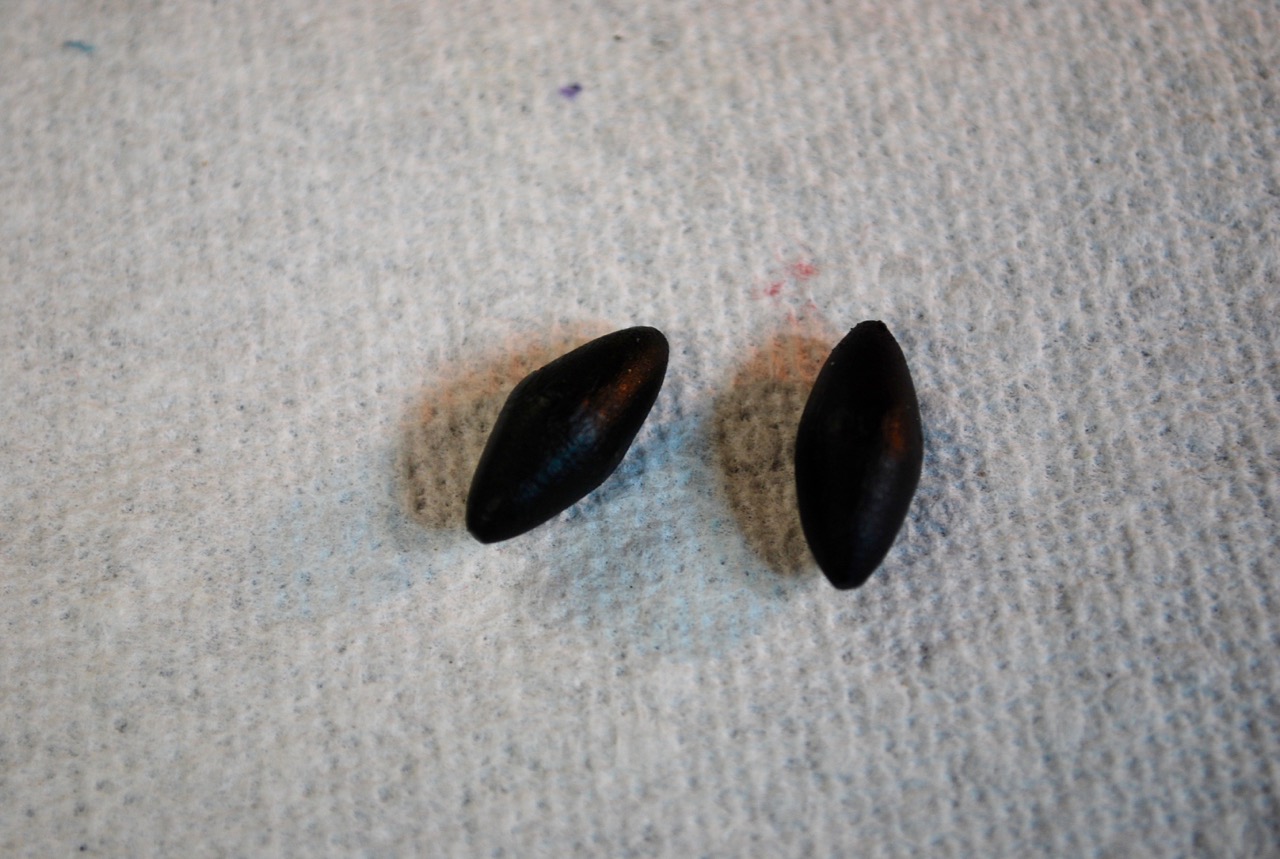
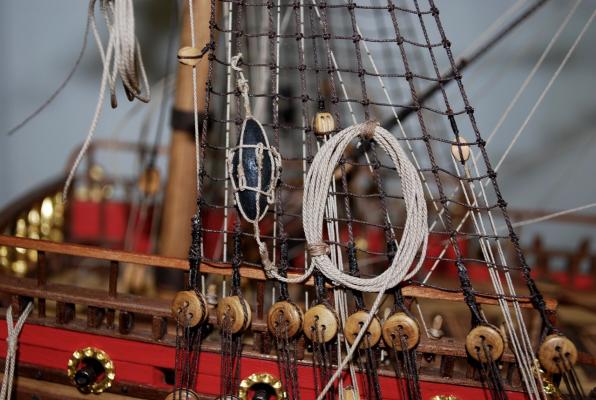
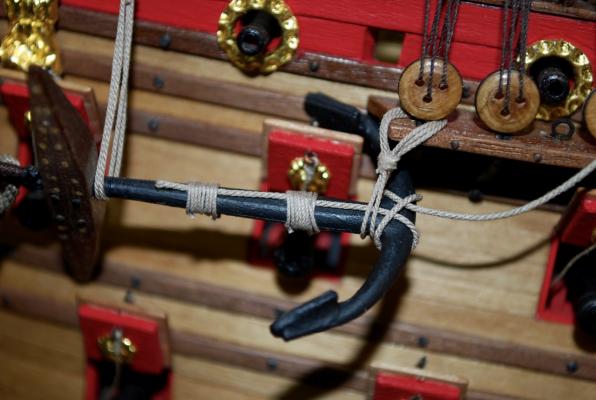
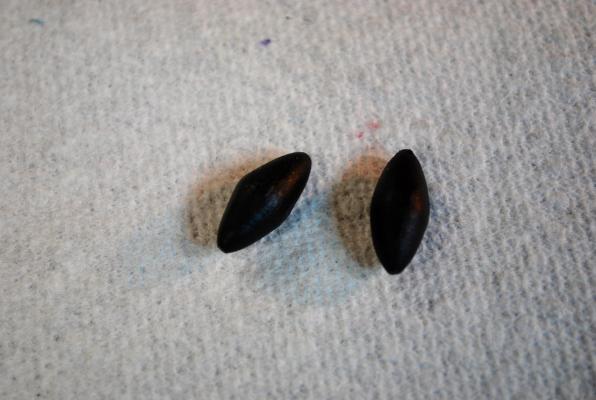
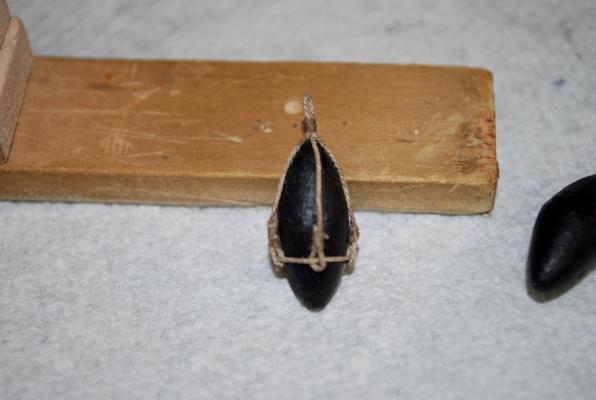
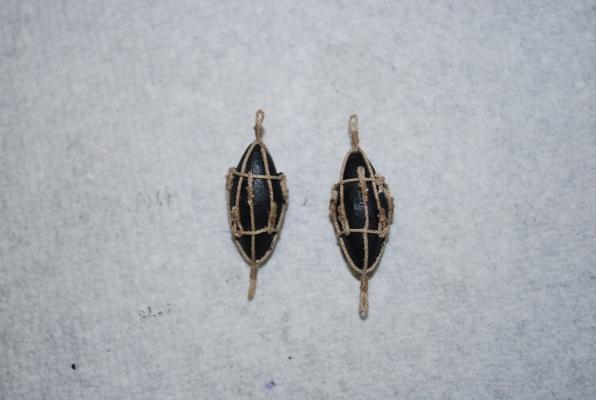
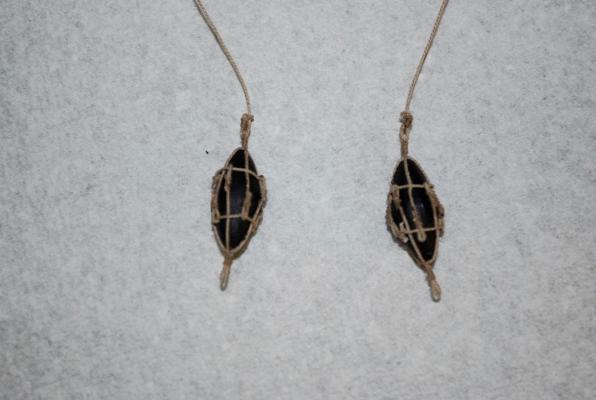
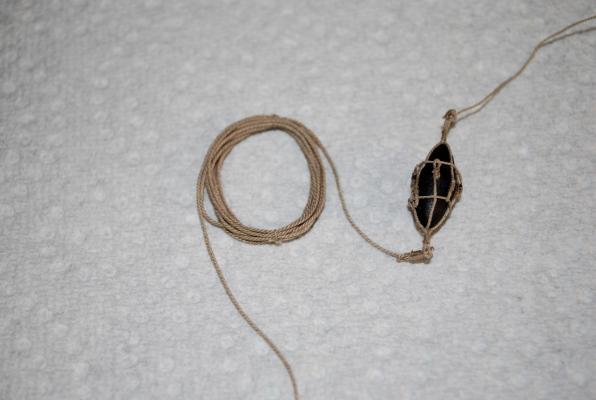
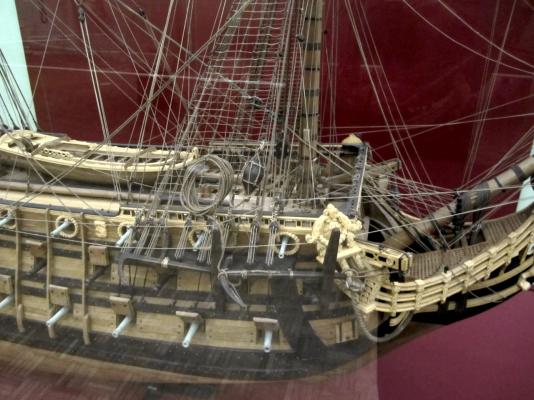
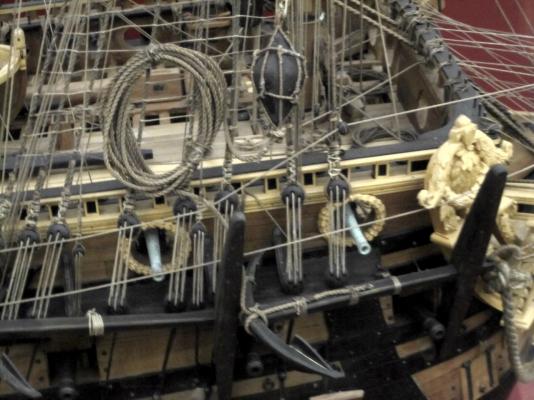
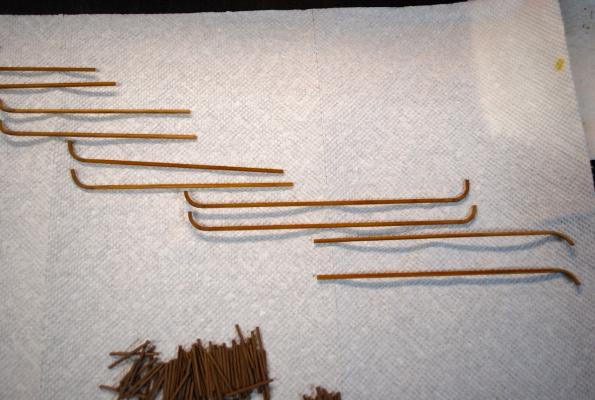
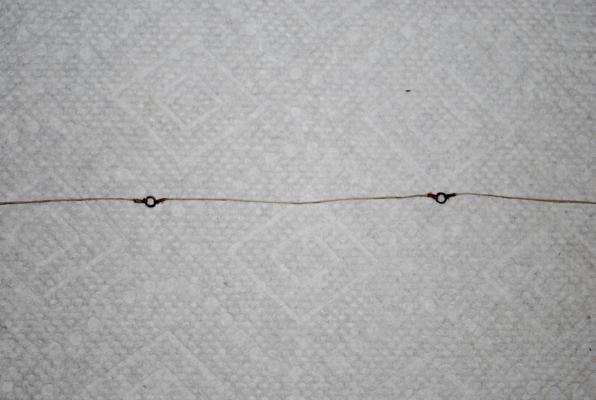
Hello, Below are photos of the finished buoys for the anchors. I sort of "winged" it on the building of these buoys. I found a small sketch of one in Landstroms book on the Vasa, along with some other diagrams from different ship modeling reference books. However, non of these had reference dimensions that I could use. I tried to follow the photos I took at the Paris Maritime Museum (see previous posts), but I believe the pictures came from a ship of a different time period!! First I took a wood dowel and shaped it, making it conical on both ends. Then I painted them black Now I made 4 sets of these lines (4 sets of the one on the left with no eye on top and 4 sets on the right with the eye) From the top, I first laid in the set without the eye and then rotated the buoy 90 deg and laid in the 2nd set with the eye. Finally I ran a line thru the 4 eyelets under the centerline of the buoy. I flipped the buoy around and repeated the step above. Photo of buoys I now attached a line thru the top of the buoy eyelet. This line will hold the buoy to the shroud on each side. Finally, I attached a thicker line to the bottom eyelet and wrapped the line in a circle a few times and let it set with some white glue sprayed on. This line will go down and attach to the anchor.


-
Hi Michael, Thanks for your comments! Thanks for giving me the push to start my log. If you remember, I started following your fine log, followed up by you encouraging me to get mine going. Thanks! Yes, I think I will have to find a forum in order to start a "stagecoach" log. I've never built anything except for model ships, so this should be interesting! Anyway, still a couple of months left to go on Vasa! Thanks, Frank
-
George and Jan, Thank you for your comments! It is appreciated! Jan, yes this is a big model and the case will be even bigger! I'm sure that there will be a "tug of war" between my wife and me as to where the ship ends up in the house. We'll see how that goes Thanks, Frank
-
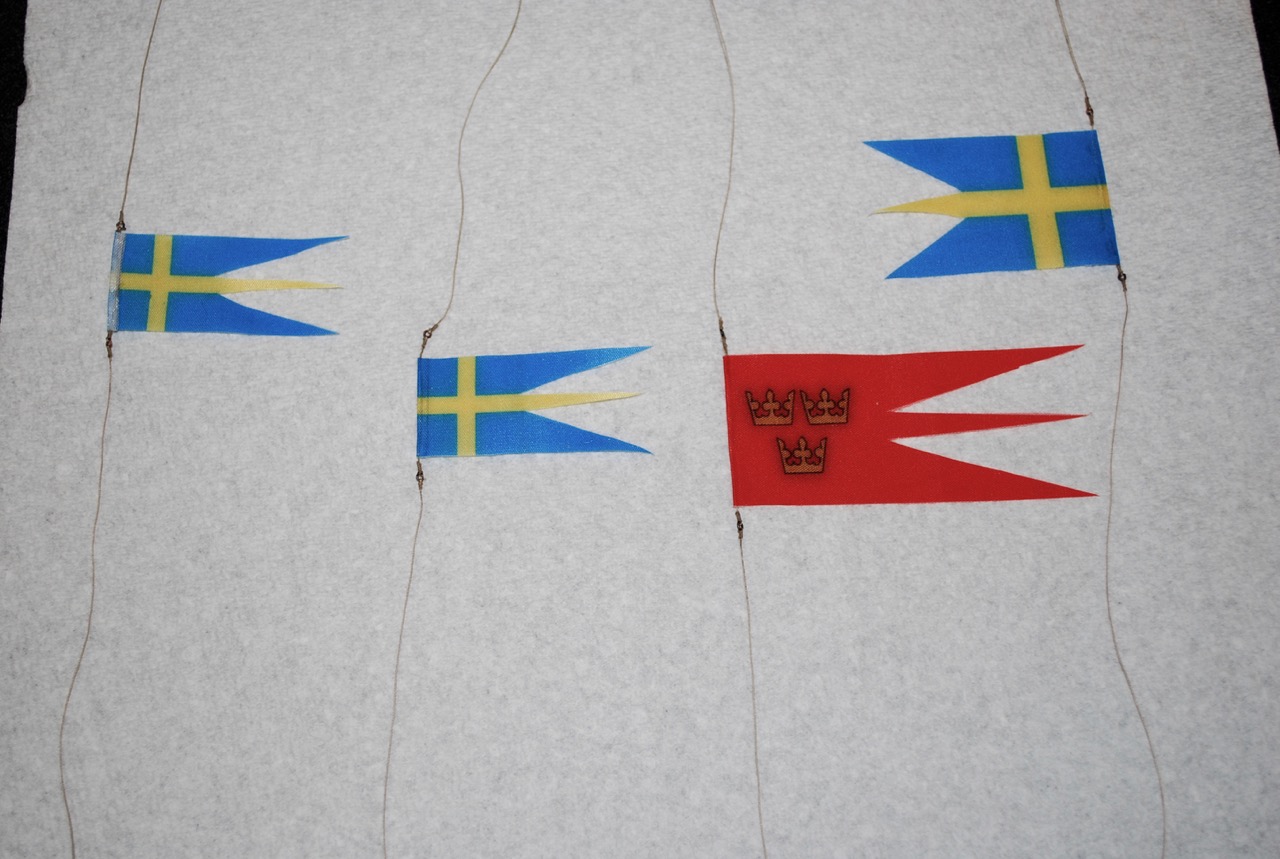
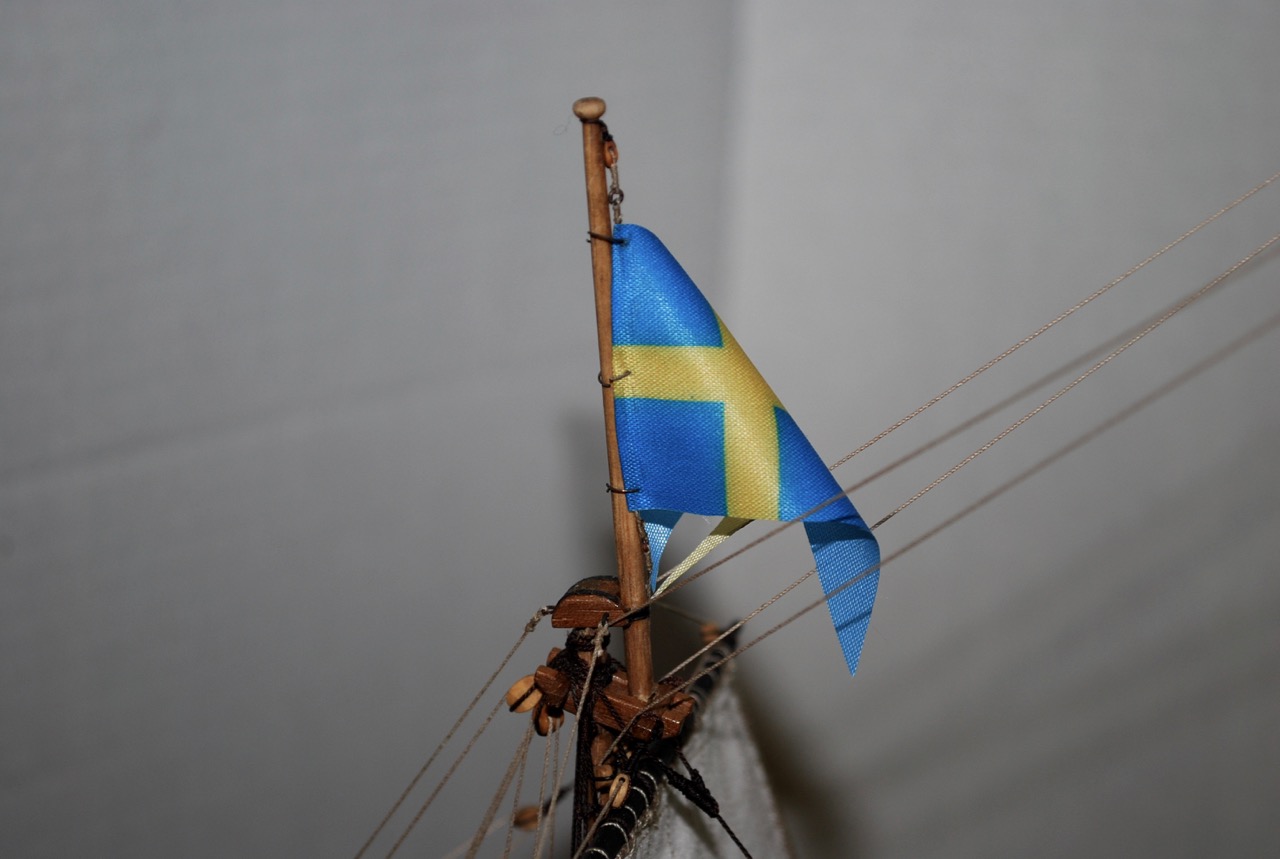
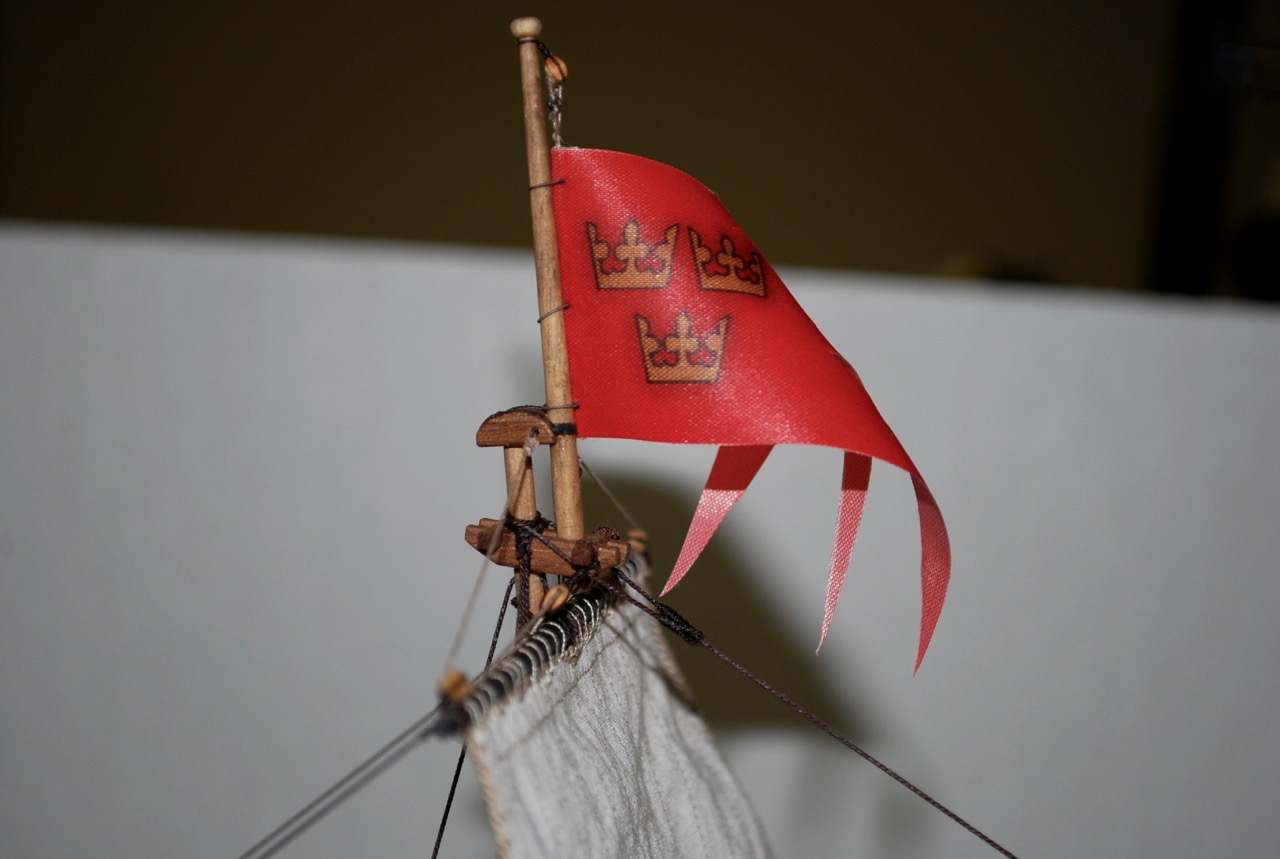
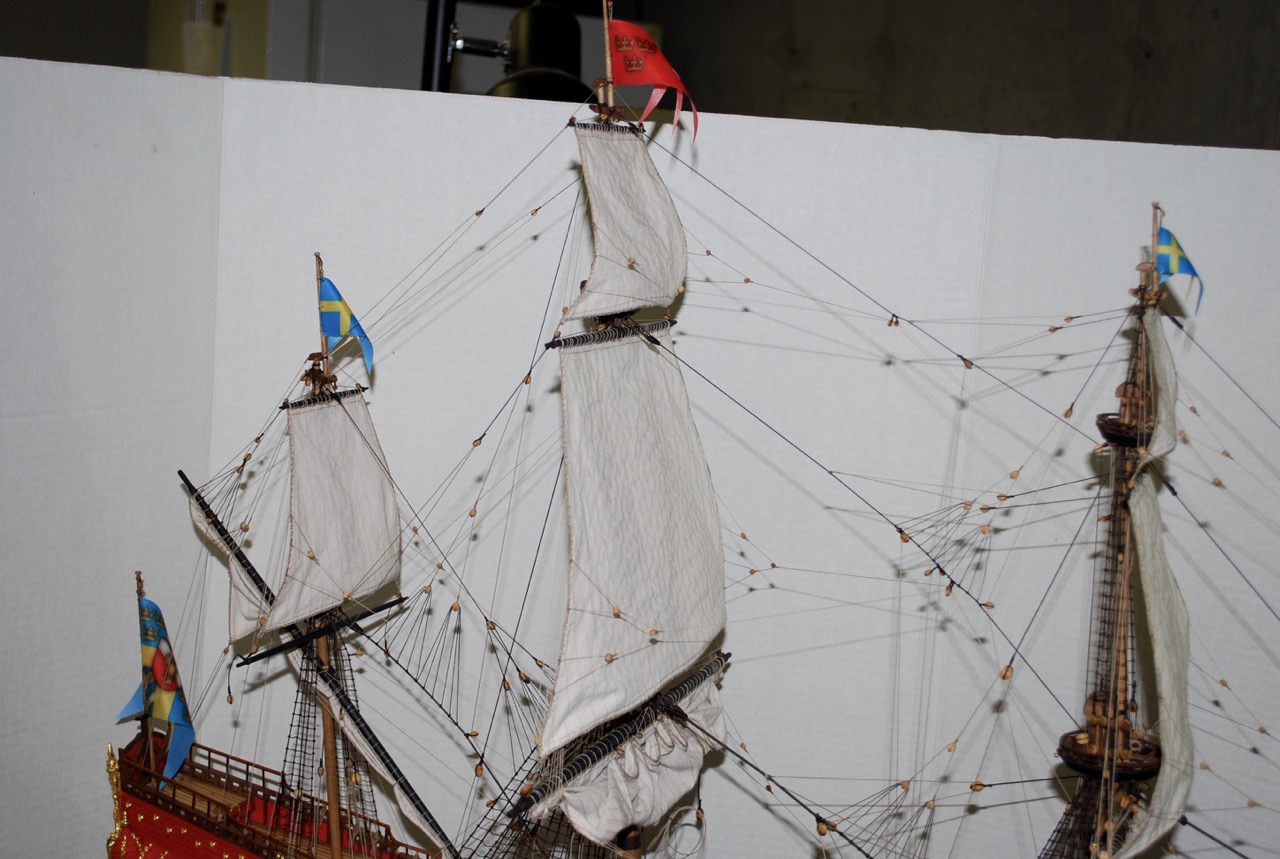
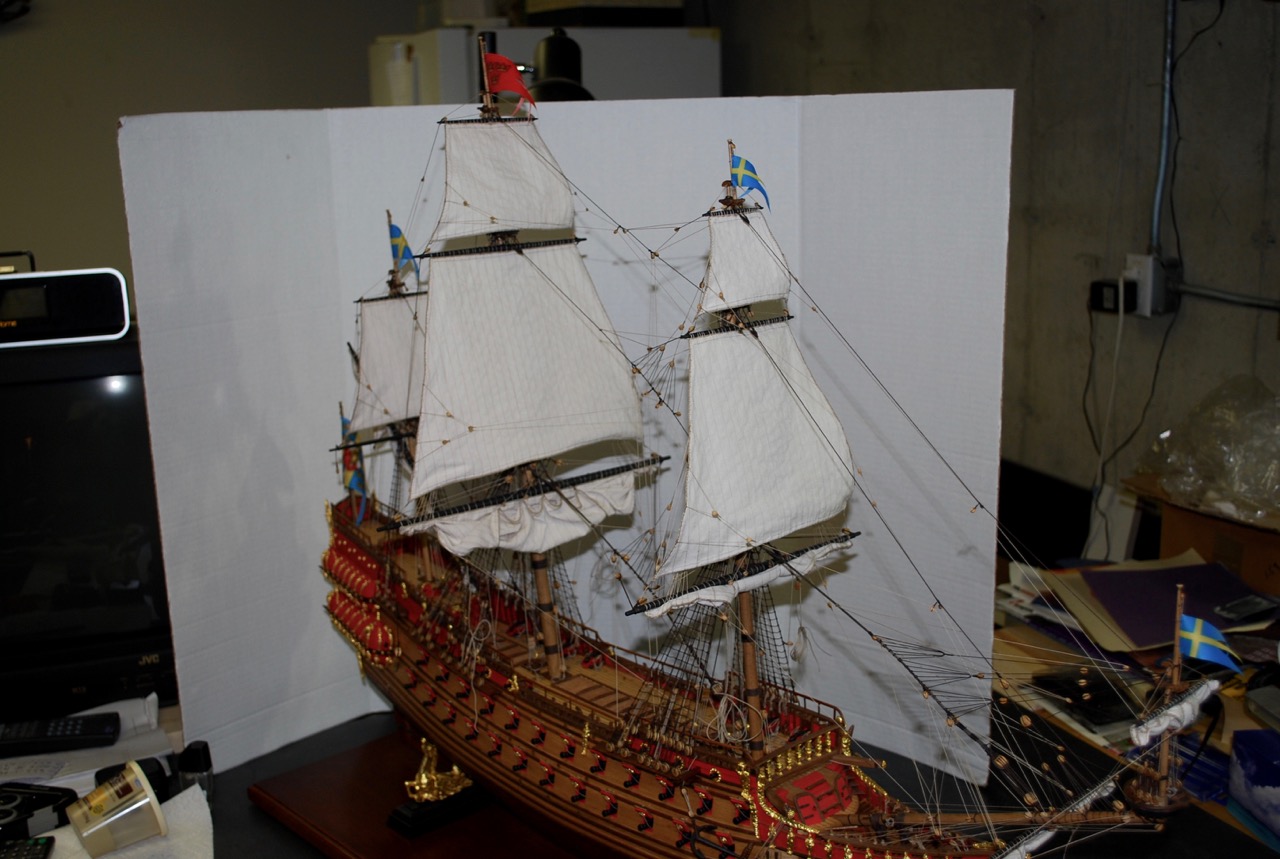
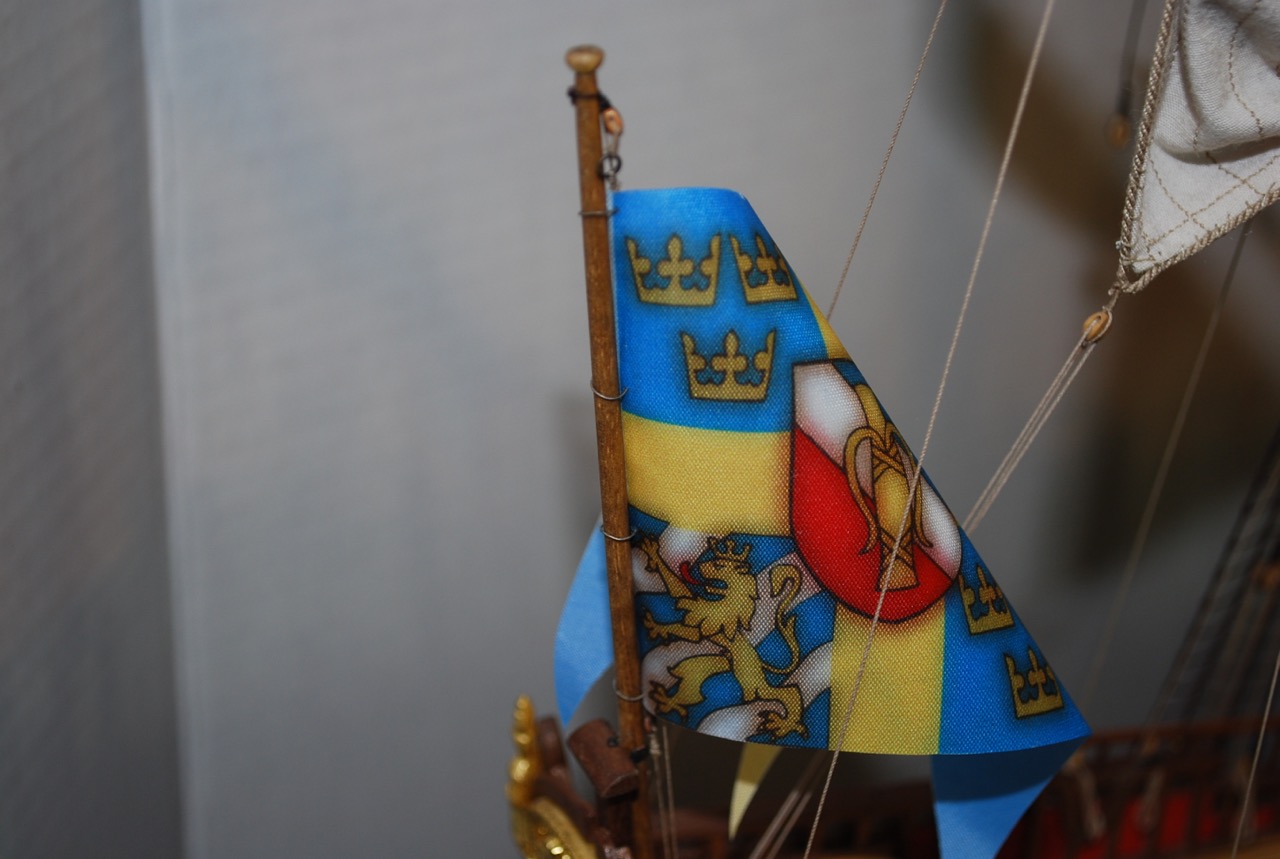
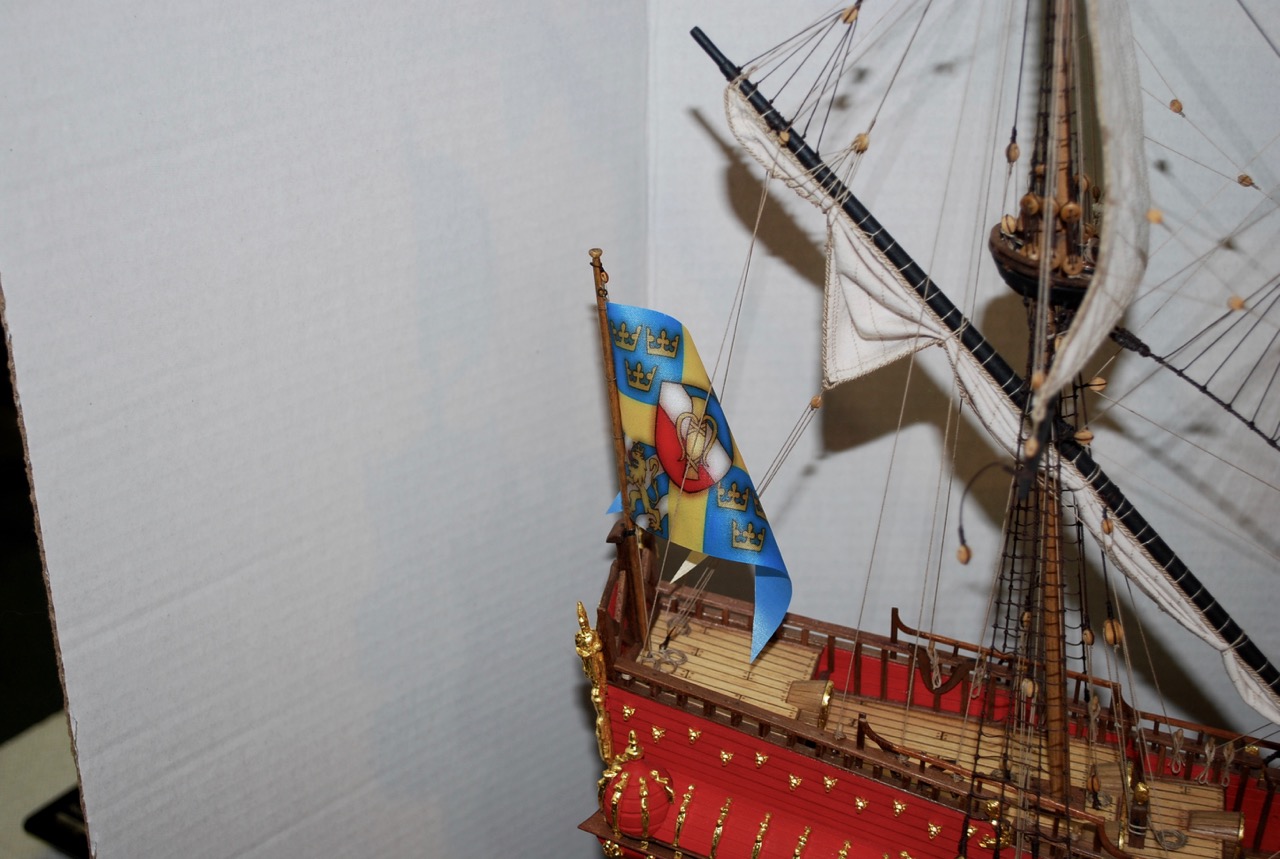
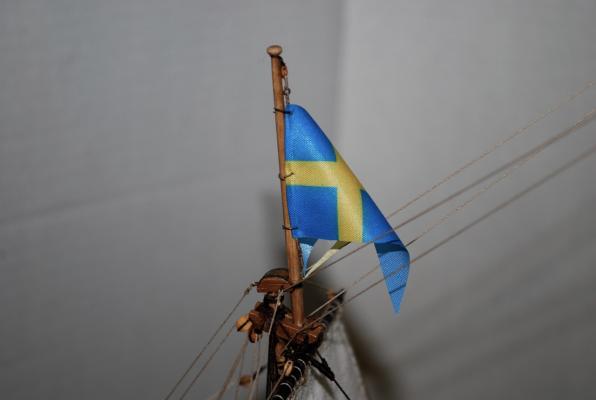
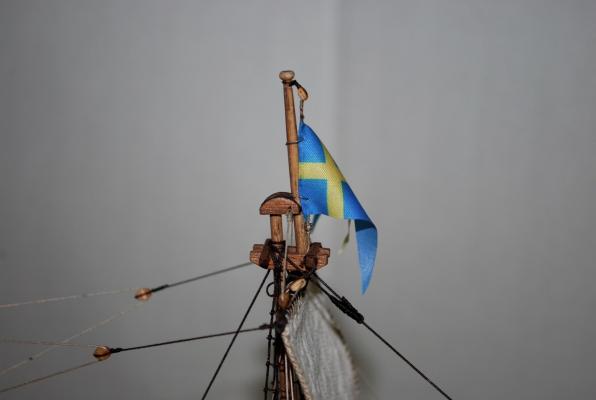
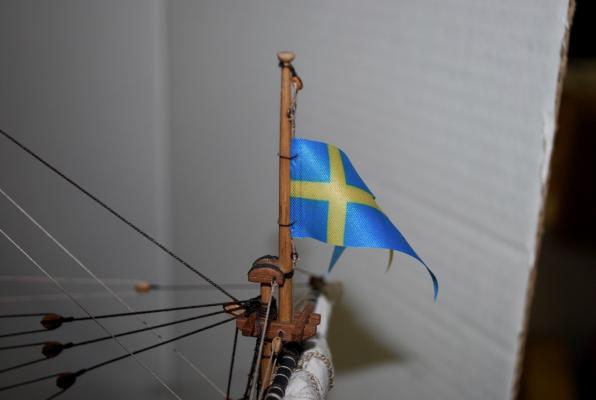
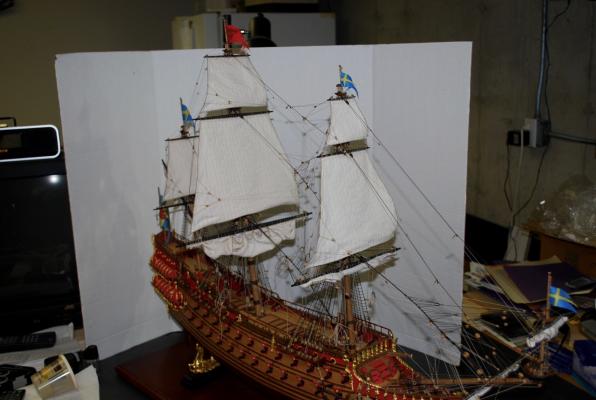
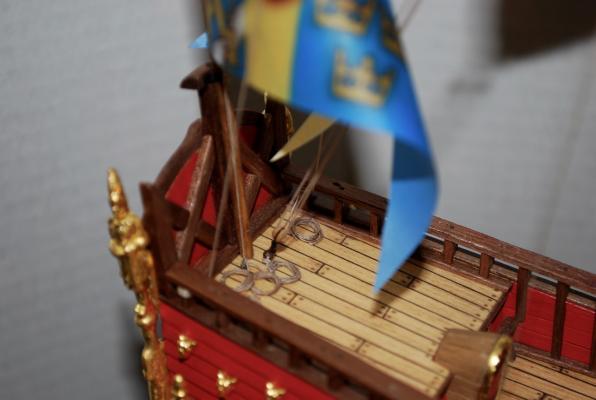
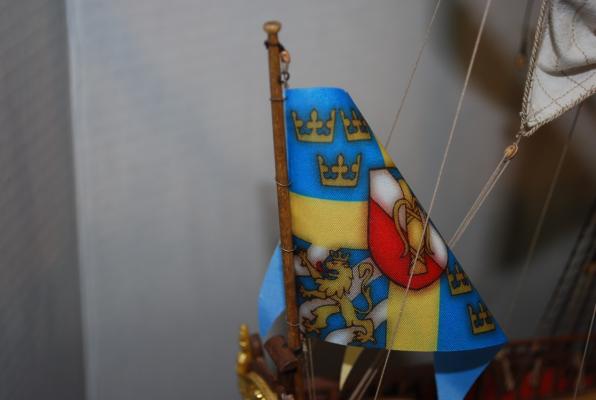
Hello! Just a minor update. I finished up and installed the remaining flags onto the model. As with the stern flag, I rigged up some eyelets and glued the rigging lines to the flags. The mizzen mast flag installed The mainmast flag installed The foremast flag installed The bowsprit mast installed Overview of model with all flags installed I have been working on the buoys for the anchors and so far so good. Hopefully I'll finish them and post some photos of my process next week. Thanks for visiting! Frank


-
Mark, Great job so far and nice attention to detail! I loved the idea of bleaching the wood for the deck planking. It really came out nice! I will have to experiment with this method in the future on different woods to see the effects. Frank
- 652 replies
-
- 1
-
-
- royal william
- euromodel
- (and 1 more)
-
Hi Karl, Thanks for sharing the great photos. The stagecoach looks beautiful. When I finish the Vasa and start my stagecoach, I will definitely be asking you for more photos!!! Thanks, Frank
-
Hi Michael, Thanks for sending the link. It is appreciated! I looked thru my photos from my visit to the Paris Maritime Museum in 2014, and I found these. At least this will give me something to base the buoy size and shape on. Thanks, Frank
-
Thanks for the drama series recommendation Michael! I will definitely add it to my viewing list! I have been starting to do some research on the anchor buoy's for the Vasa. I am able to find lots of sketches, but I am having trouble finding out what the length and width of one should be with respect to the size anchors on the kit. I will keep looking at my reference books, but if anyone can point me in the right direction, it would be appreciated! For those people visiting this log, thanks again for the "likes"!! Frank
-
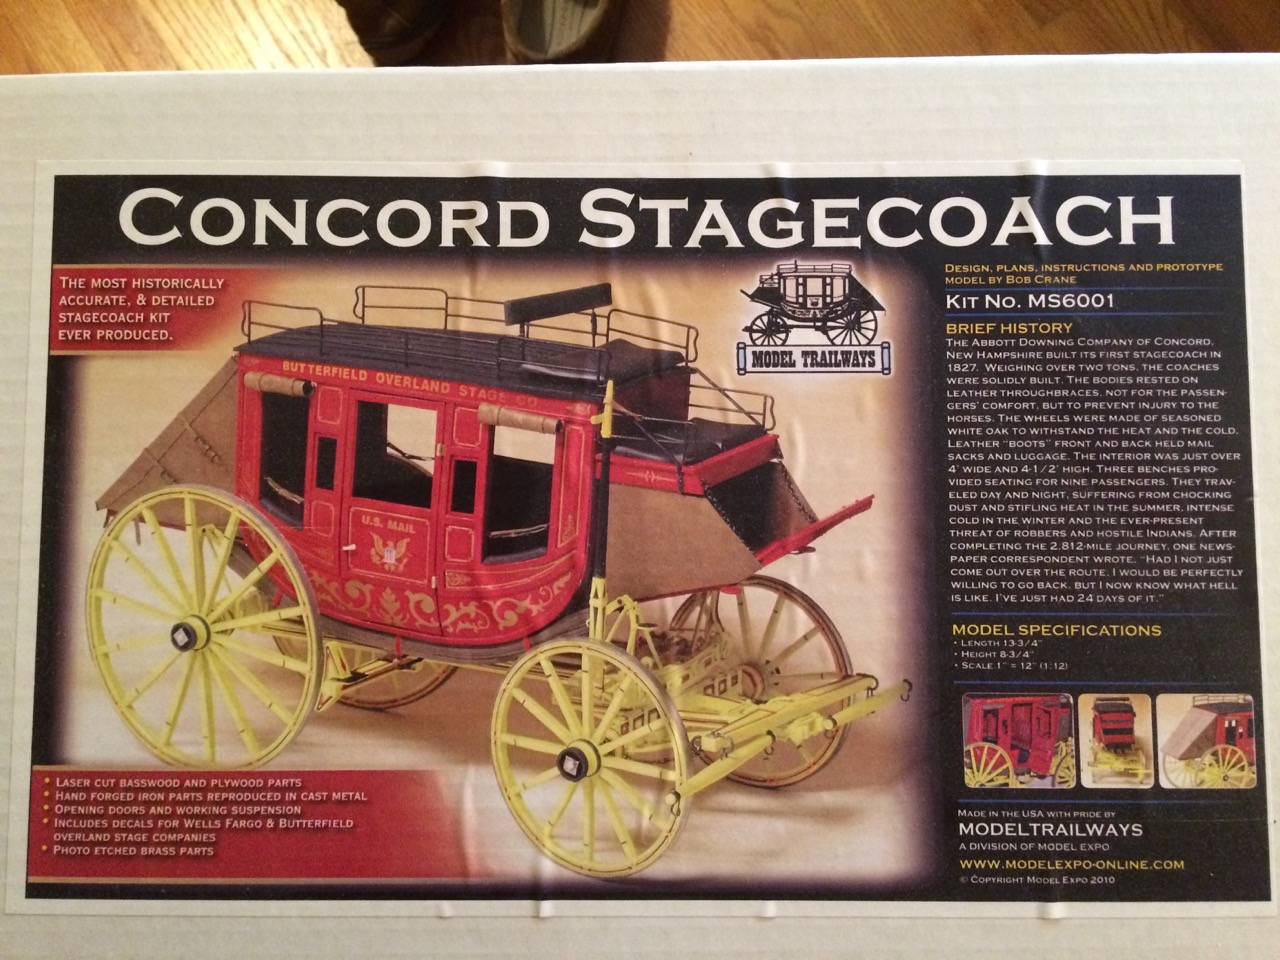
Thanks for your comments Mark! I know we are not supposed to go off topic, but here is a photo of the stagecoach kit I have. It will be a fun diversion! Anyway, back to assembling the rest of the flags on the Vasa. Trying to figure out where the flag rigging lines terminate. On the bowsprit it must terminate on the platform. Maybe the others do also. Thanks, Frank

-
Hi Michael! Happy New Year! Nice to hear from you. So I have a couple more months to go on the Vasa and then I have to finish the case I started building for it. After that, and sitting under my table, is a Concord Stagecoach kit by Model Expo. (kit no. MS6001)!! I figure this will be a nice 6 month diversion for me while I take my time and investigate my next ship model options. So many nice ship models out there that interest me. It will be tough trying to figure out what I want to do next! Thanks, Frank
-
Hi George! Thanks and yes I am nearing the end. I hope to be done in a couple of months and then start finishing the case for the model! Frank
-
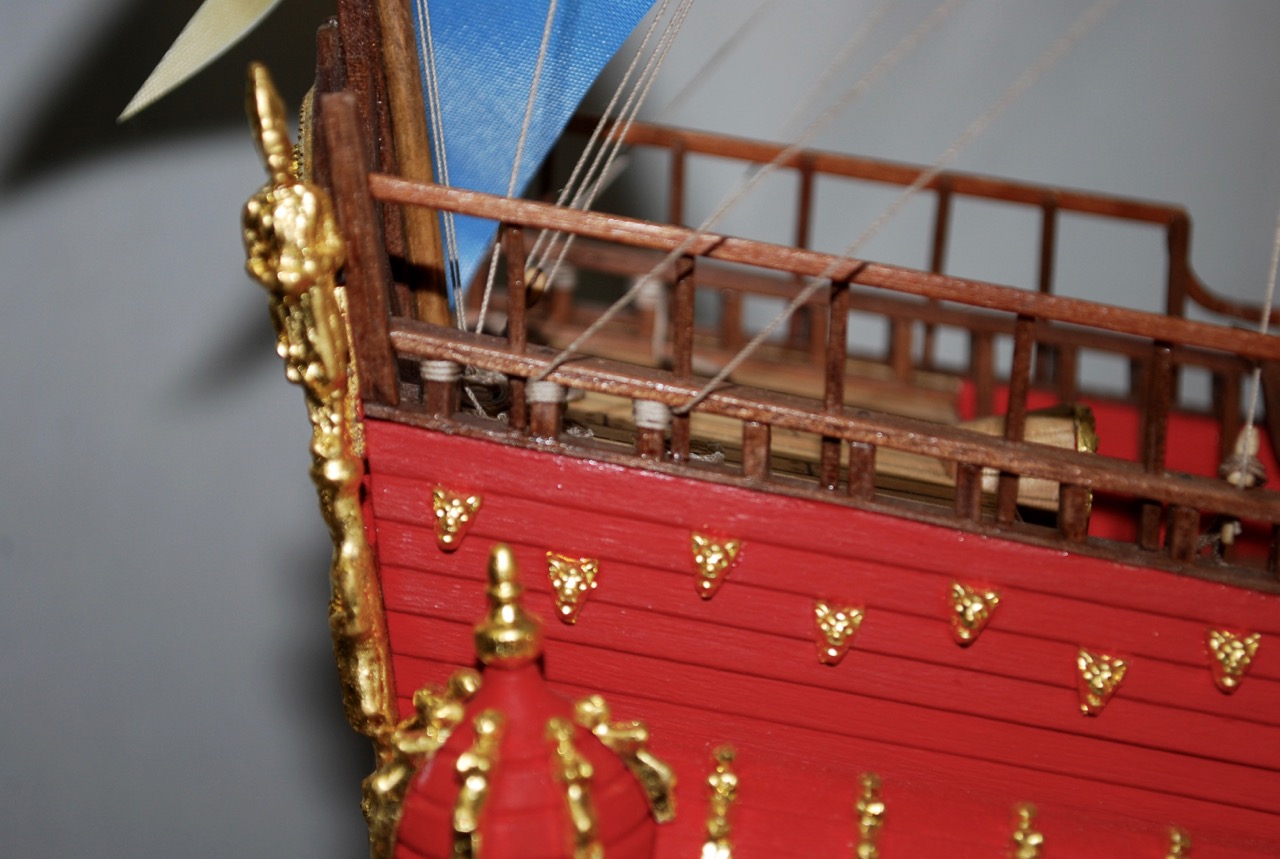
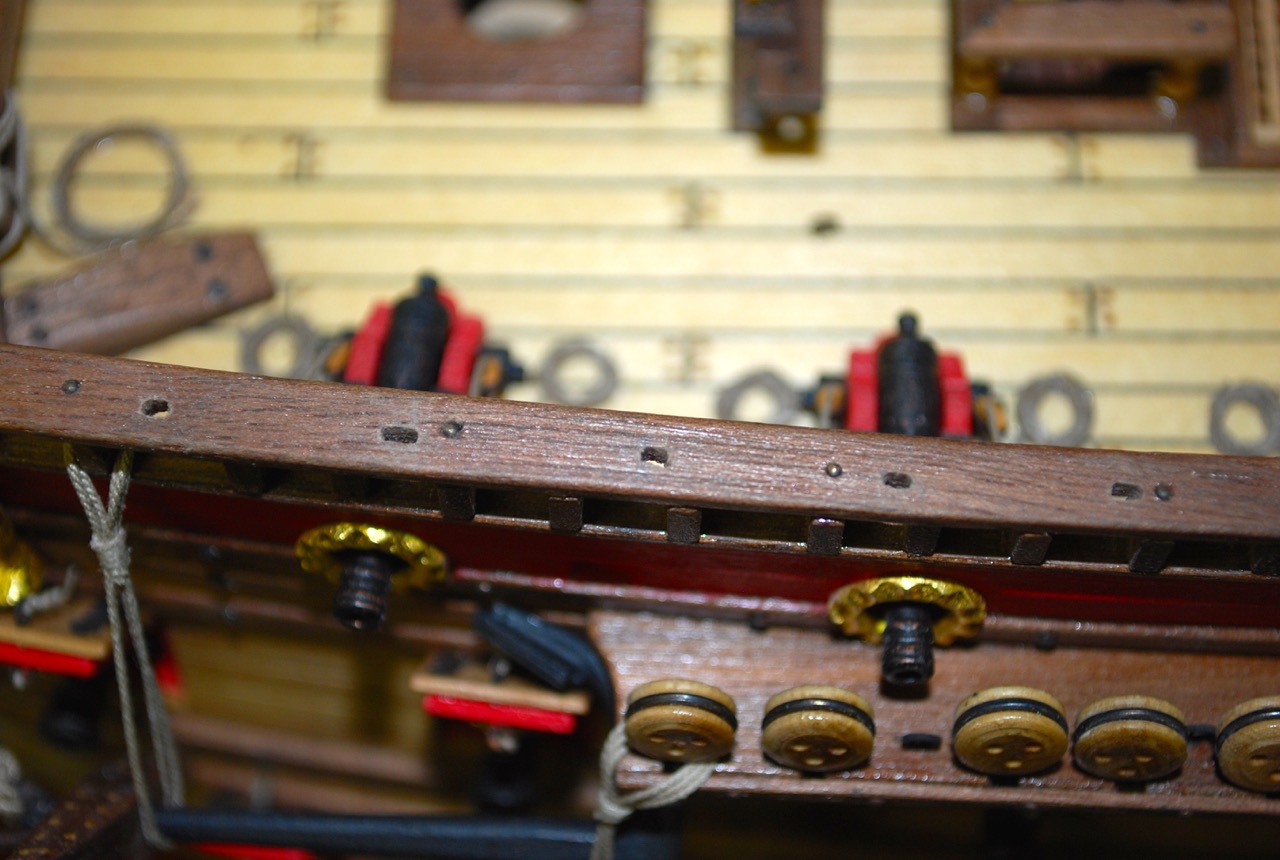
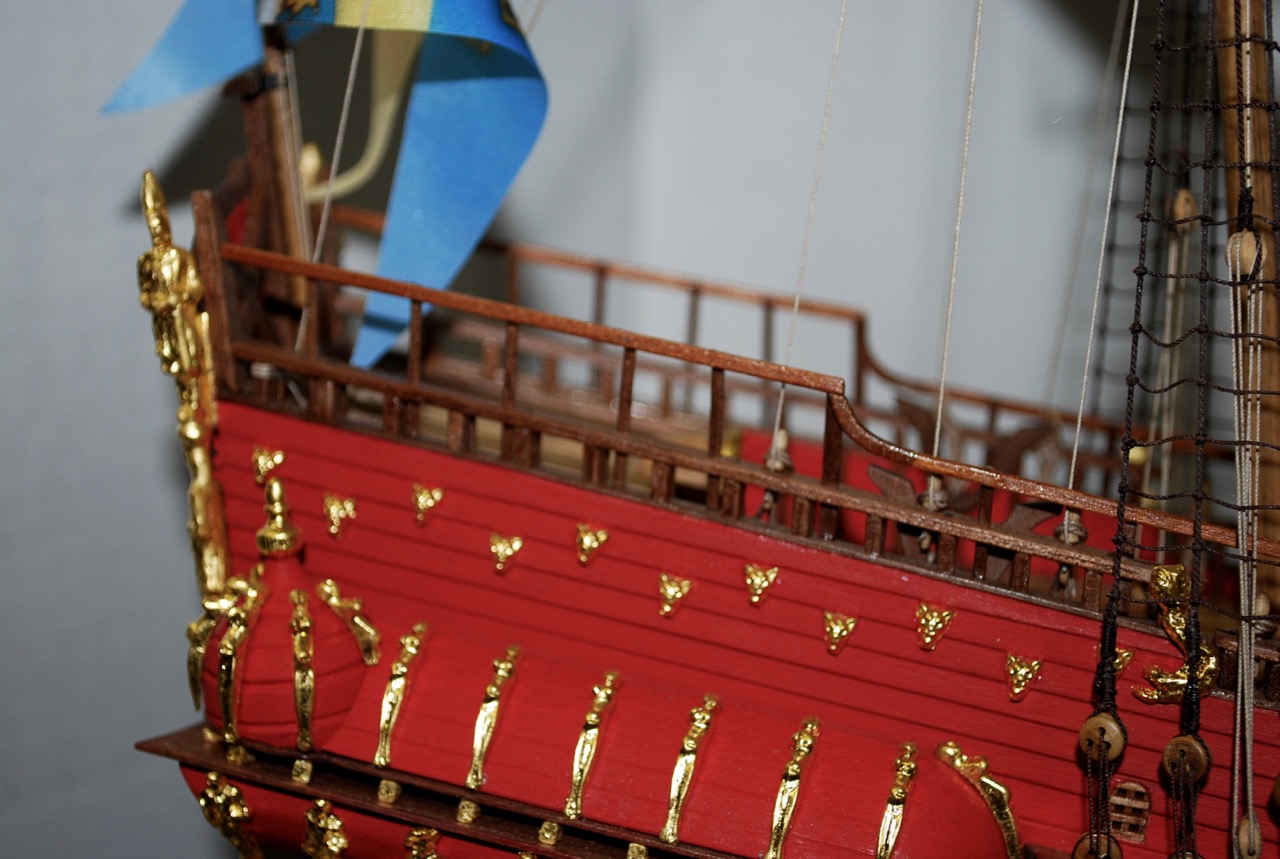
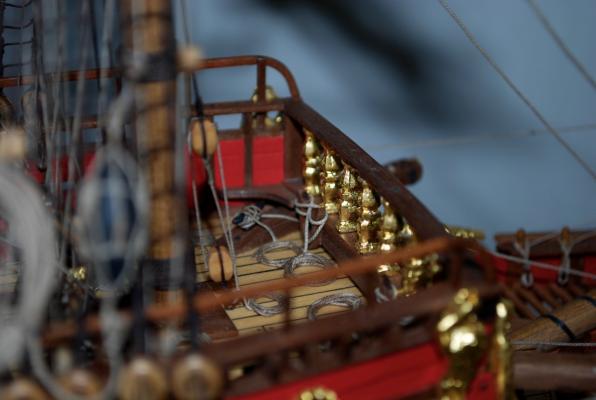
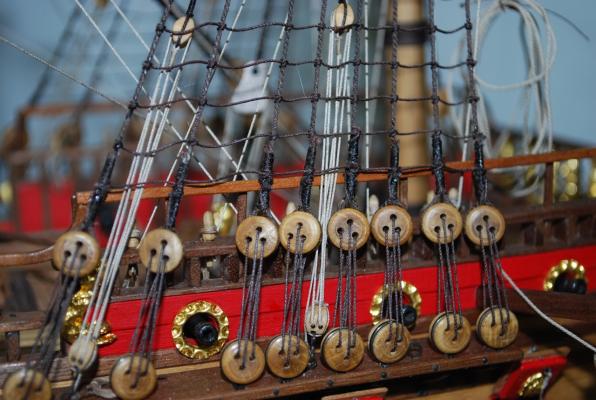
Now I moved on to my dreaded upper railing system Now that I finished it, I am glad that I waited until this point in the build to install the upper railing. If I had done it earlier, I would have had a hard time with the belaying pins and line wraps. Also, I am glad I pre-slotted the lower railing earlier in the build. It would have been almost impossible for me to have slotted the lower railing at this stage. However, it was still difficult to install the upper railing at this point. I had the most problems trying to work behind all the shroud areas. I am thankful to be done! Earlier in this log, I have some photos of the steps I took to make the railing pieces and some photos of the slotted lower railing. Here is a re-posting of a couple of those photos. Photos of the finished upper railing. I left them natural (decided not to paint them white) in order to match the look of my model. I am nearing the end of my build. My next steps are: 1. Finish installing the remaining 4 flags 2. Make and install the anchor floating bobbers (is that what they are called??) (1 on each side) 3. Finish the remaining lower sail rigging 4. Work on the stern lantern As always, thanks of visiting and thanks for the "likes"!! Frank

-
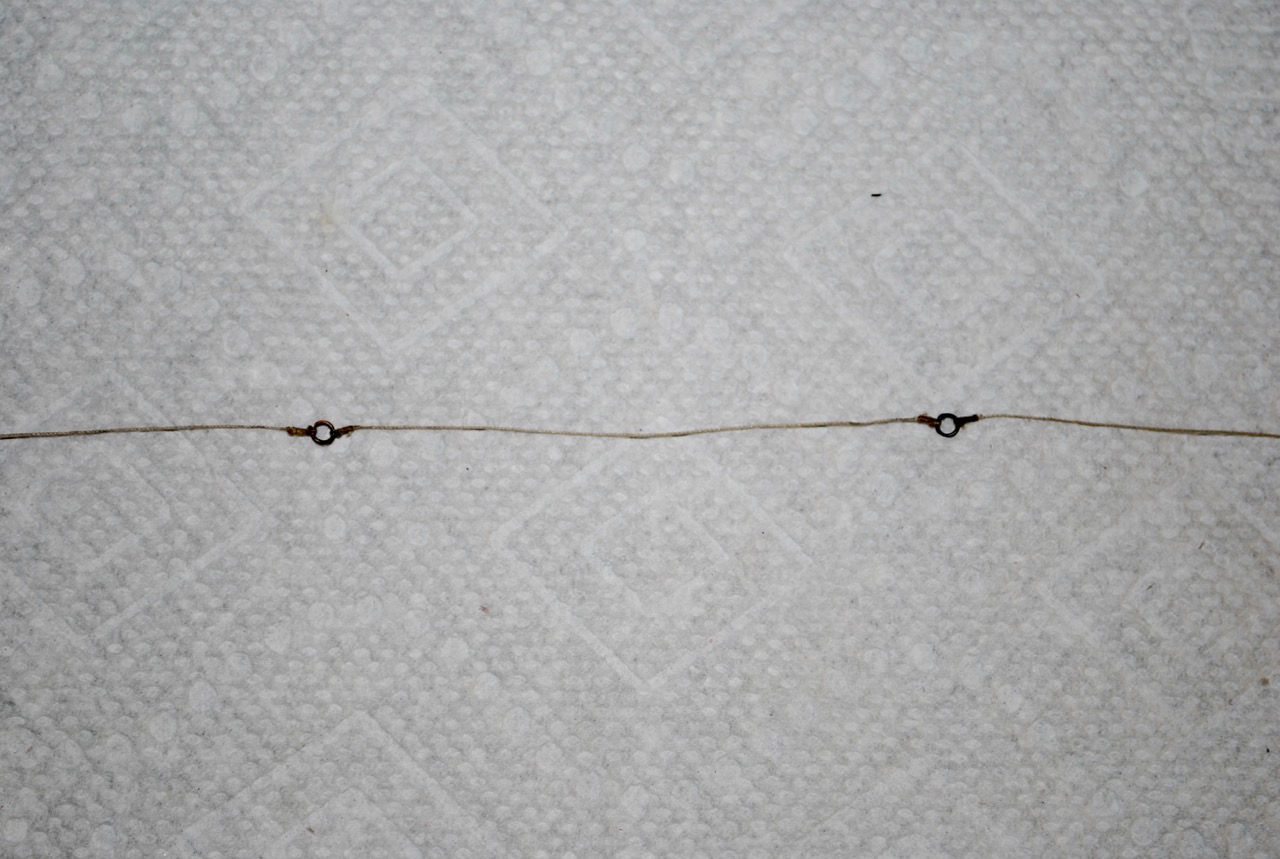
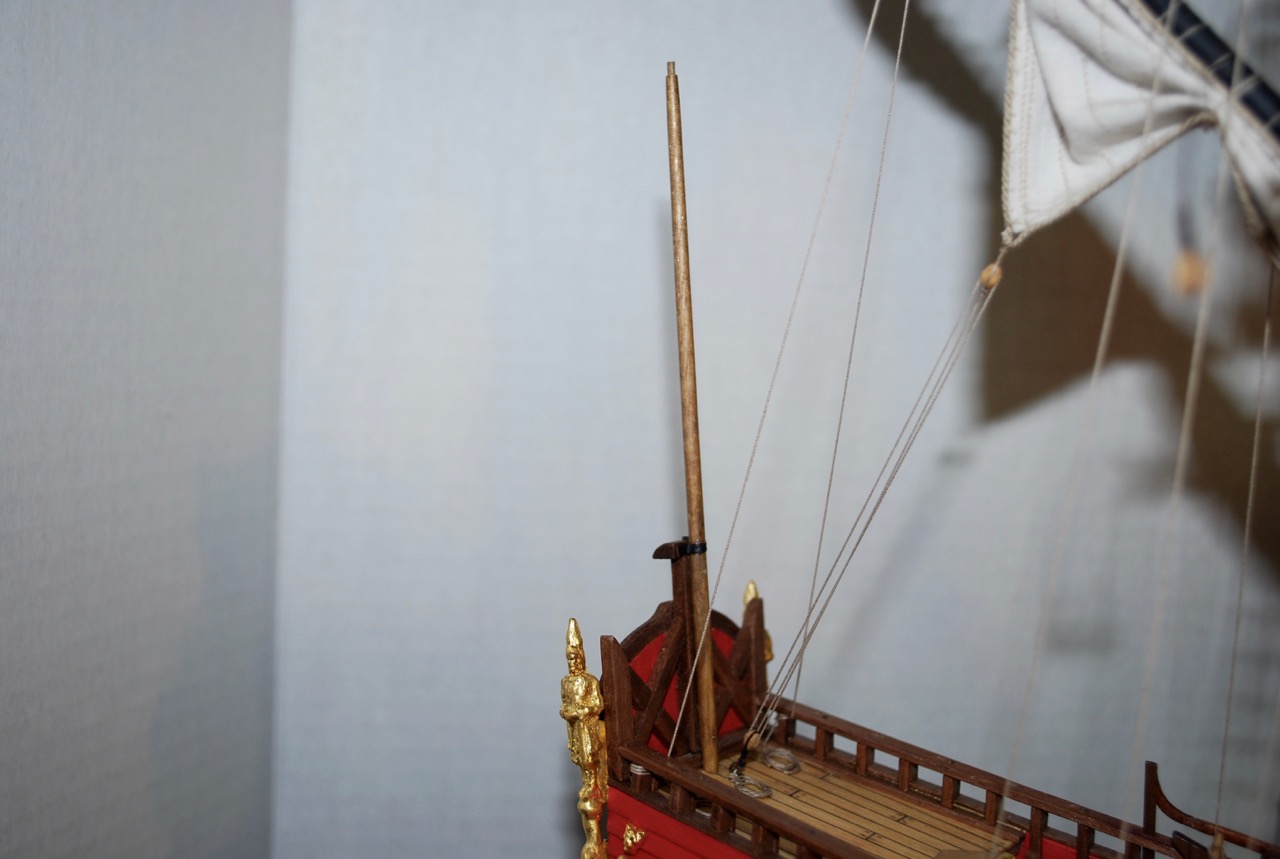
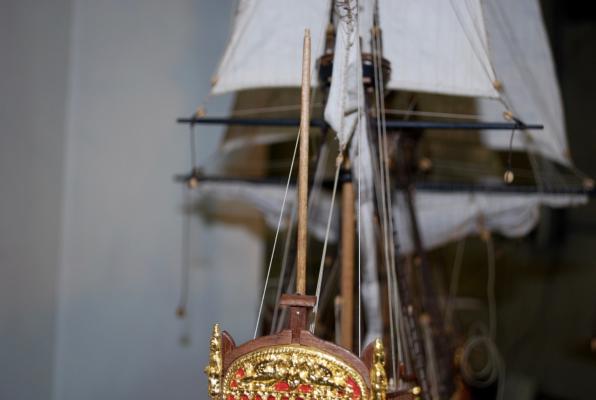
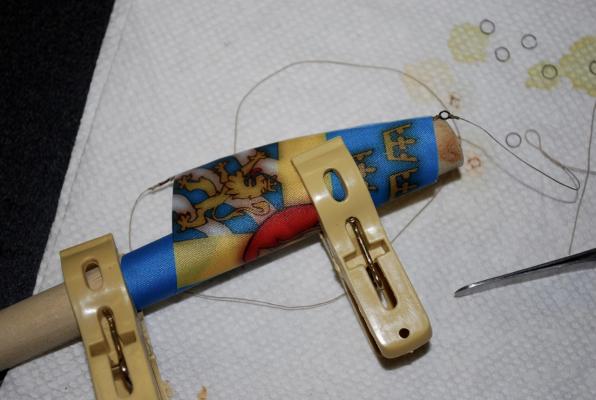
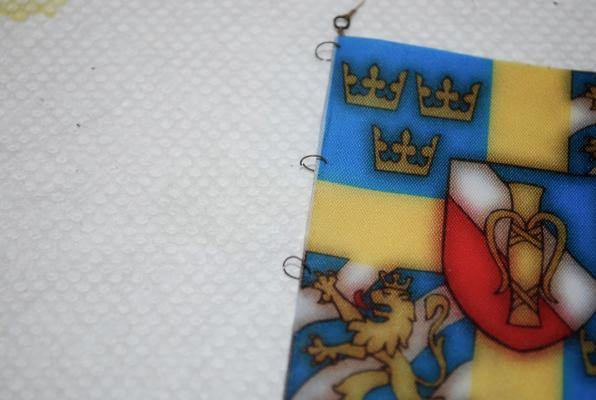
Hello and Happy New Year! Before finishing the upper railing, I thought I should finish the installation of the large stern flag (while I had easy access! ) First I attached lines to two small rings set apart by the width of the flag. I then made and shaped the flag pole. After sanding and staining, I attached it to the stern with some pins. I left off the top cap for now, until I finish with the flag I took the rigged line (in the first photo) and wrapped the edge of the flag fabric around it and glued it using fabric glue. Then I wrapped the flag around a stick, and left it for a day, in order to give the flag some curved droop. As a side note, the flags that came with the kit are fine on 1 side, but the colors are really faded on the back side, which is not great. So I will try to hide the back side as much as possible I blackened and added some thin brass rings that will hold the flag to the pole. I slid the rings onto the pole from the top. Then added a small block to the pole, along with a small eyelet to the deck for the rigging. Finished flag with the top cap glued on.


-
Hello Mark, Just catching up on your build so far. Very nice work on what looks to be a difficult build! I look forward to following your progress! Frank
- 652 replies
-
- 2
-
-
- royal william
- euromodel
- (and 1 more)
-
Hi Michael, Happy holidays to you as well! Glad that you are taking a few days away from your build. When things get frustrating for me, I like to walk away for a couple of days. Things are usually better and clearer when I get back to the build! Am a bit ahead of you on my build, so if you need to compare notes, just let me know!! Frank
-
Hi Michael, Too funny!! Yes, 4 to 5 years to build and 5 minutes to sink! Sounds like my model! Thanks for your kind comments, Frank
-
Hi Mark, Thanks for the photo. I totally understand now how you made the windows!!! I will do the same on my lantern. Thanks for all the help, Frank