HOLIDAY DONATION DRIVE - SUPPORT MSW - DO YOUR PART TO KEEP THIS GREAT FORUM GOING!
×


fmodajr
-
Posts
868 -
Joined
-
Last visited
Content Type
Profiles
Forums
Gallery
Events
Everything posted by fmodajr
-
 Michael, Great job in bringing the Corel supplied triple blocks back to life! They sure did look horrible coming out of the Corel box! As for the rigging, we feel your pain! It seems like we are spending more time researching and trying to make sense of everything than doing the actual rigging! Mark (Marktiedens) log is a great resource. He seems to be getting the Vasa rigging closest to how it might actually have been! Look forward to seeing your progress. Frank
 -
Hi Max, Thanks for your comments! It does work both ways however! I've learned so much from viewing other great logs and I've gotten many wonderful ideas that hopefully will improve my work. Thanks again, Frank
-
Hi Michael, Great job on those platforms! It is hard for me to tell from your photos, but make sure the width of the open rectangle in the center of the platforms is wide enough to accommodate both the masts and the shrouds. It can get very tight in there! Frank
-
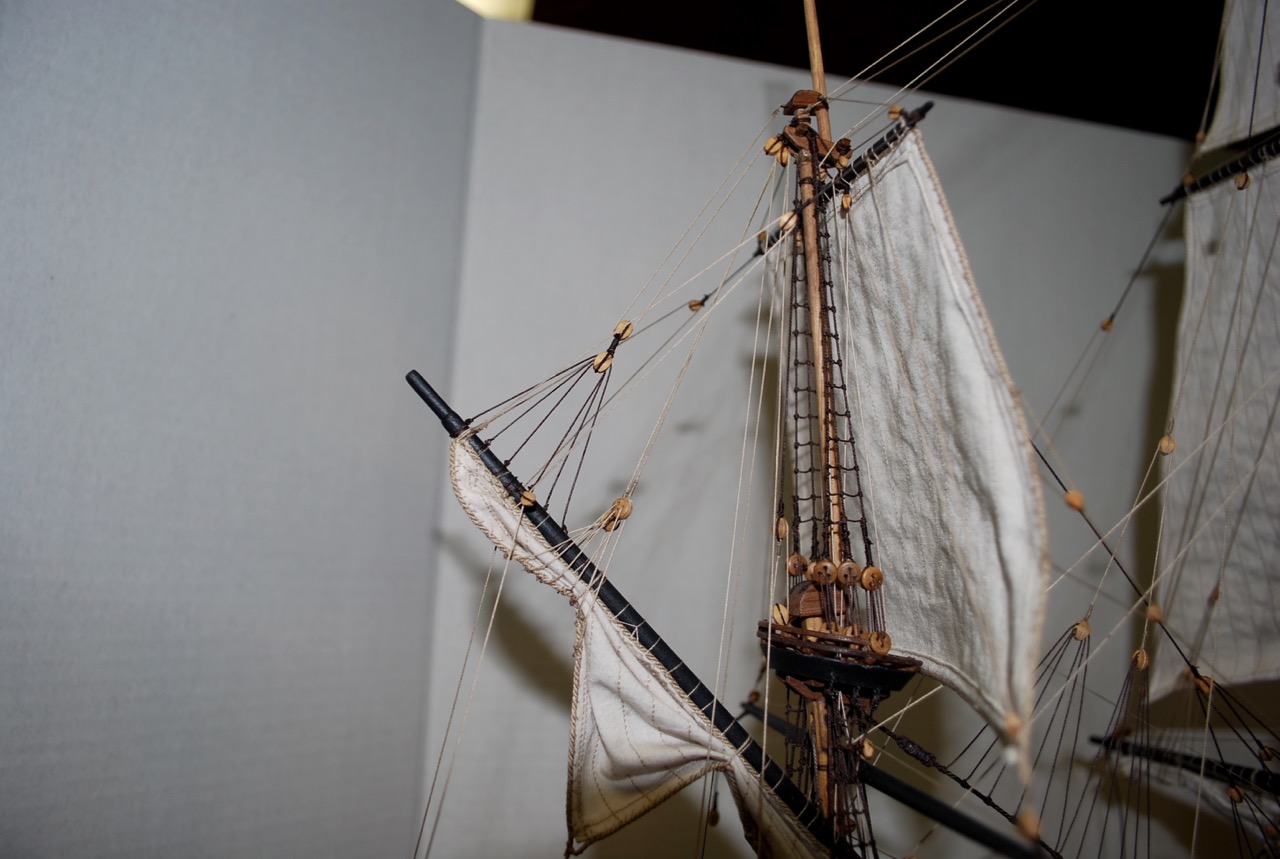
Hi George and Mark, Thanks for visiting! I understand your concerns, but the lower yard can still be rotated easily. Also, since the sail is furled, there is plenty of room to work around. I did it the same way on the lower, partially furled lower main sail! It is easier for me to attach the parrels and halliards with the shrouds not in the way! For the upper shrouds, I will install them first before adding the full open sails. Thanks again for the "Likes" Frank
-
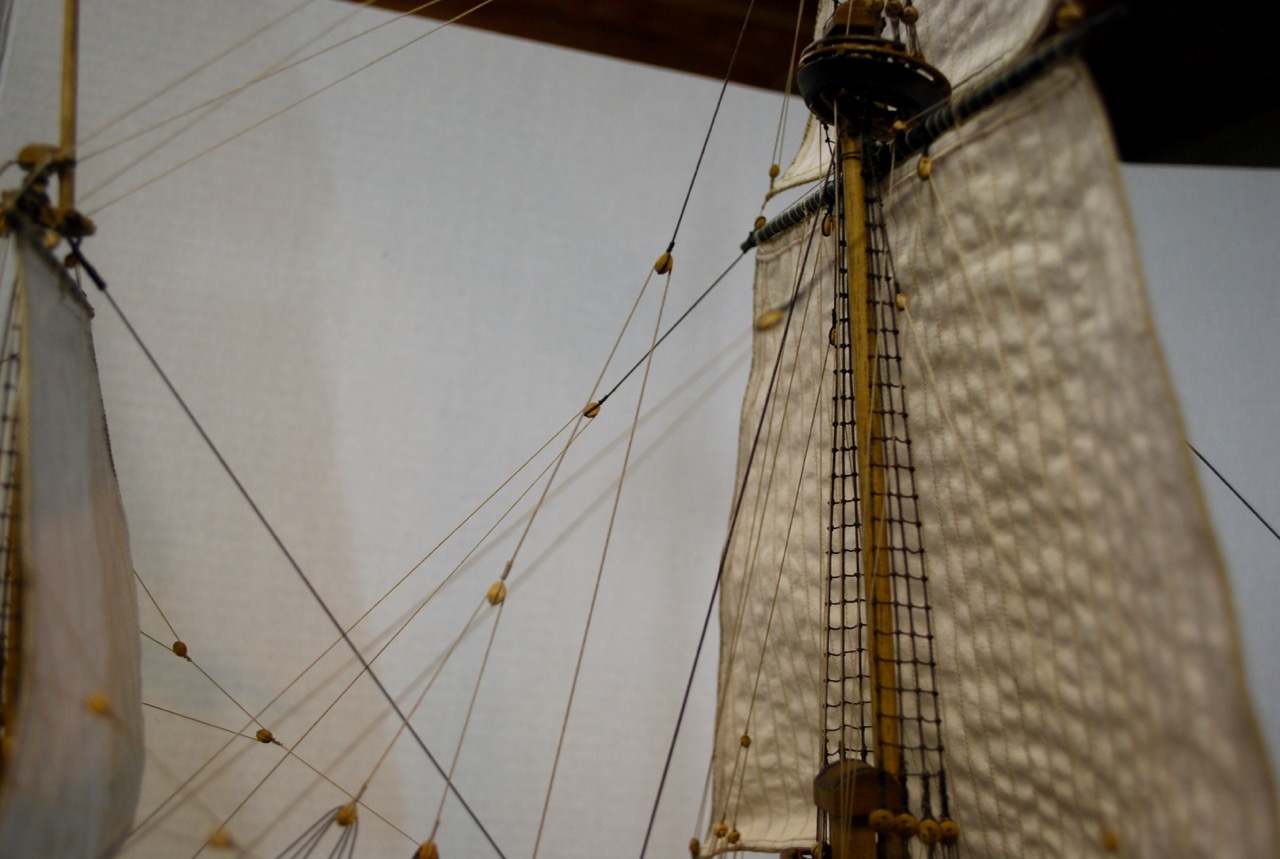
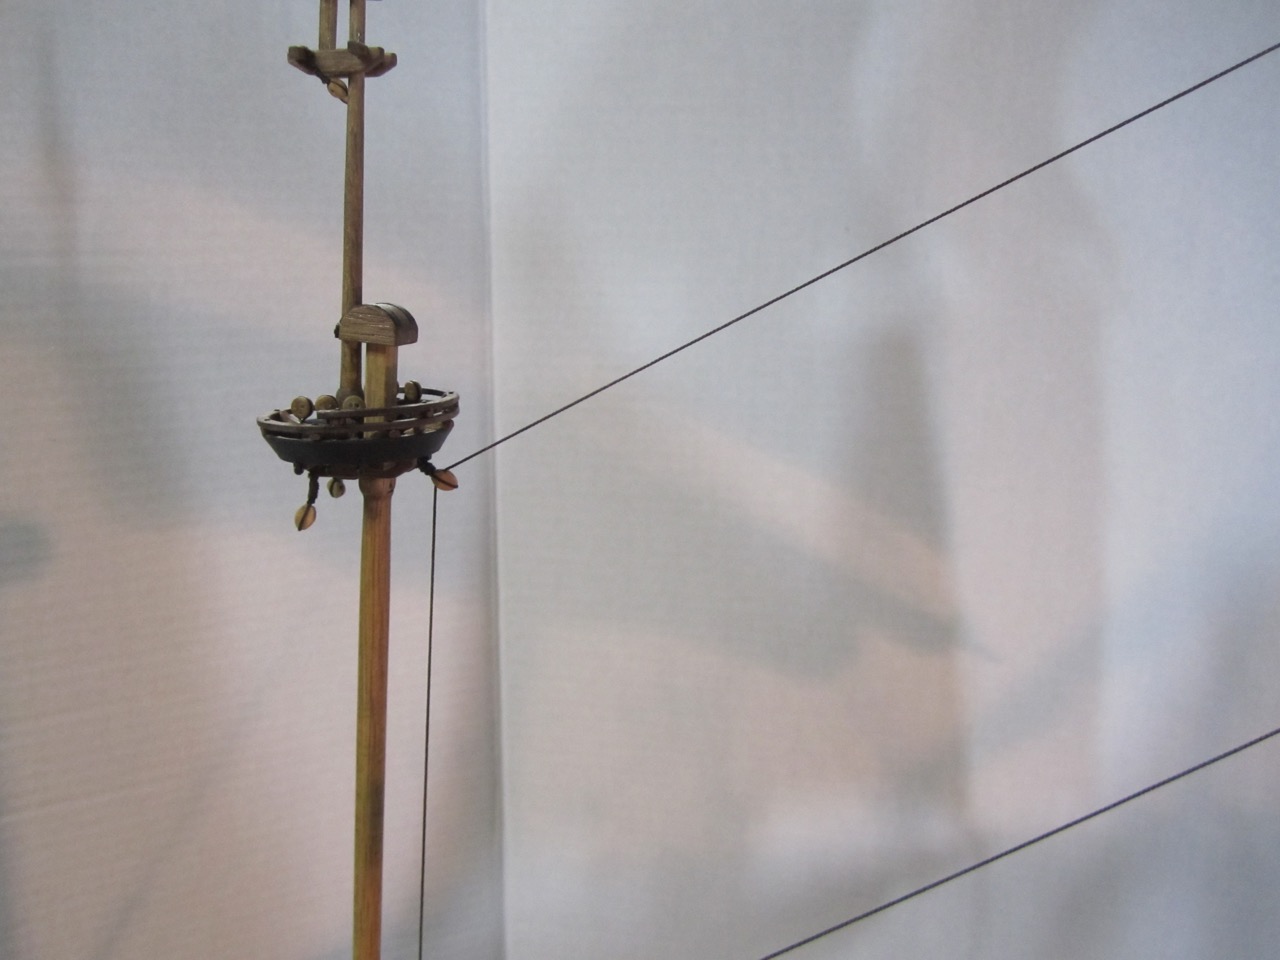
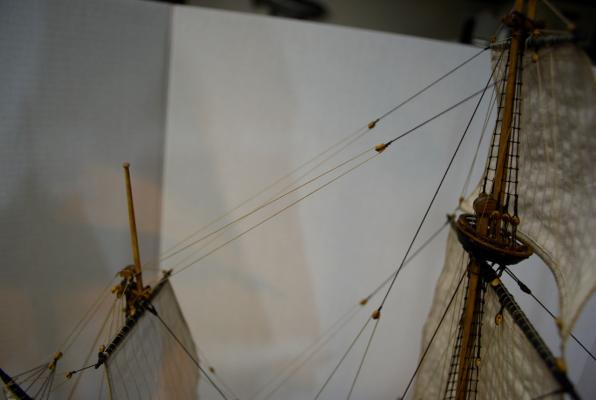
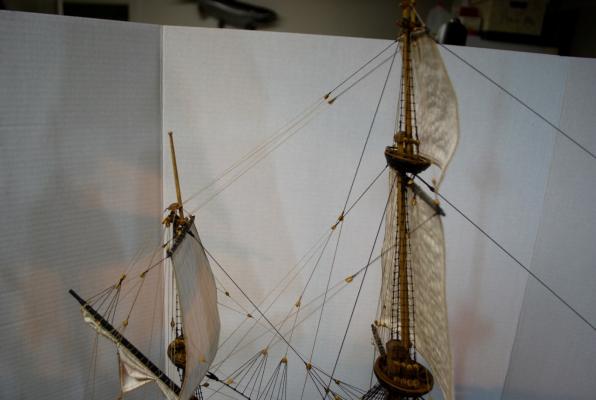
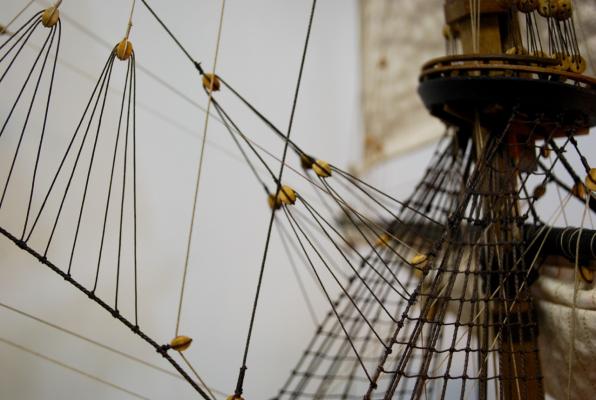
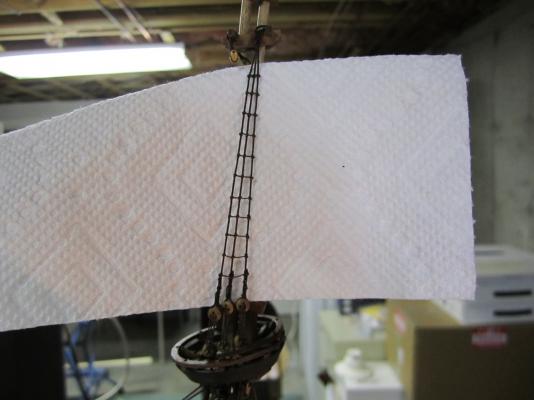
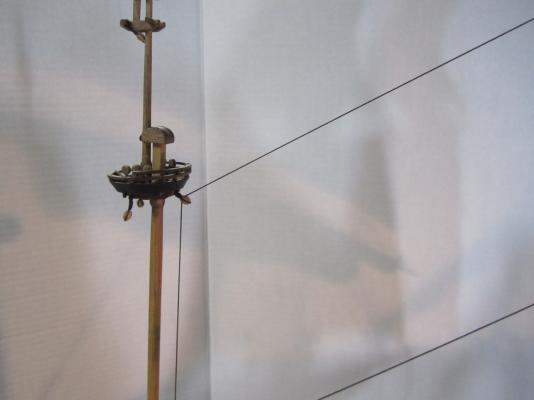
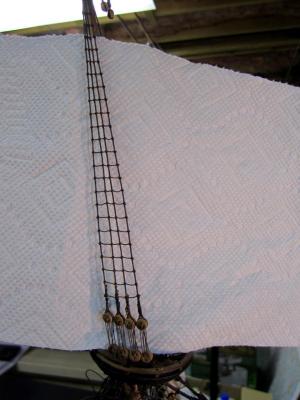
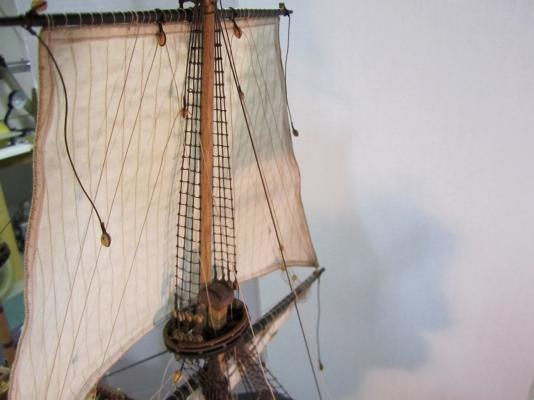
Continuing on! Attaching the Lower yard to the Foremast Yard Positioned on Foremast Overview Now I am ready to start working on the lower shrouds, ratlines, and stay for the lower Foremast. Thanks for visiting, Frank
-
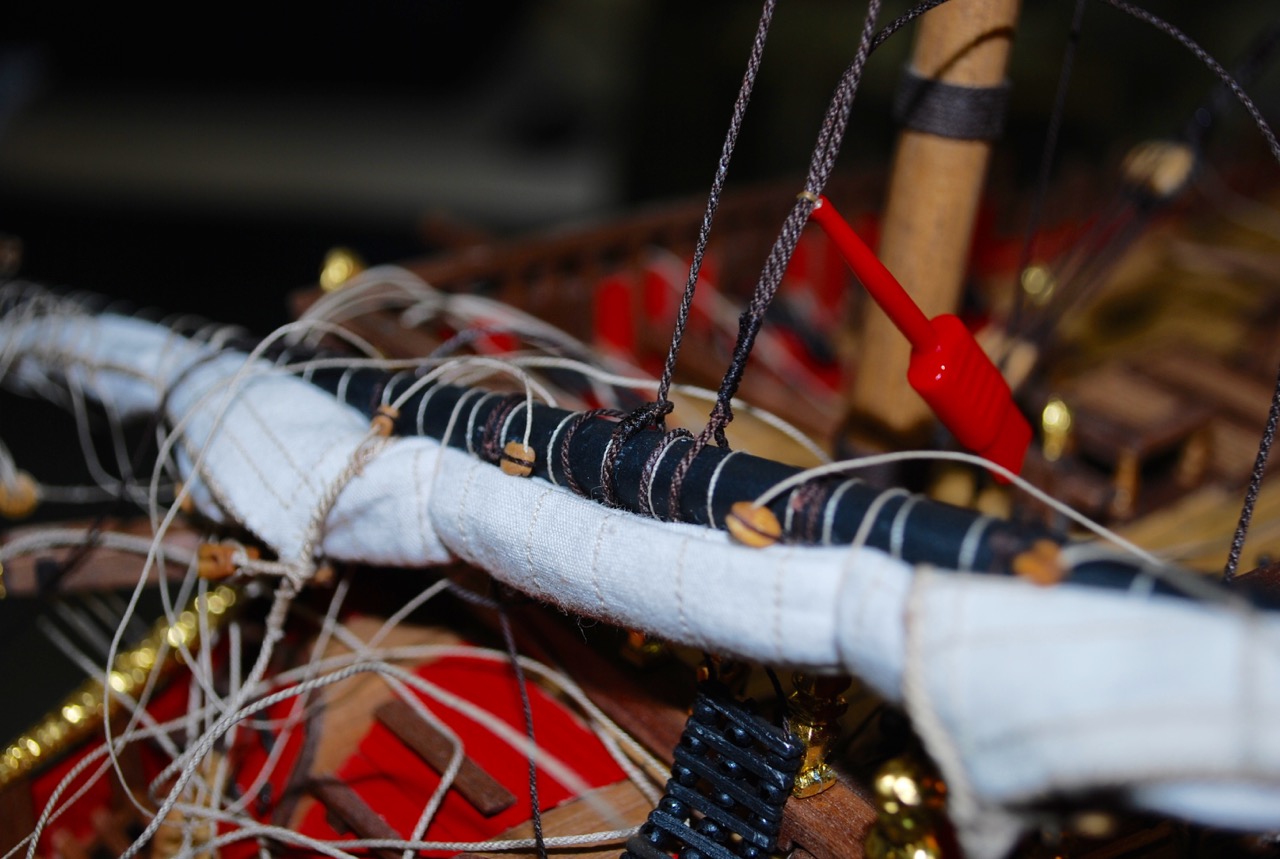
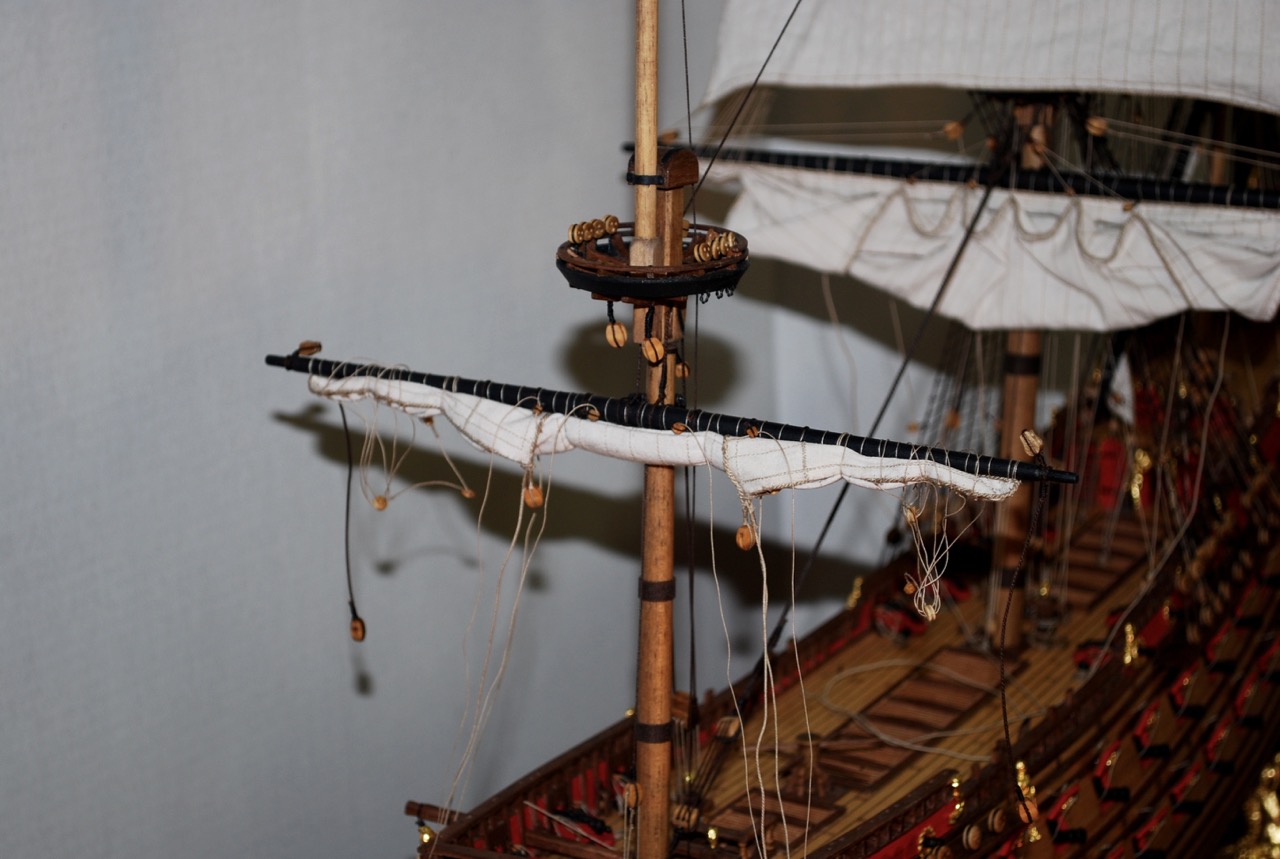
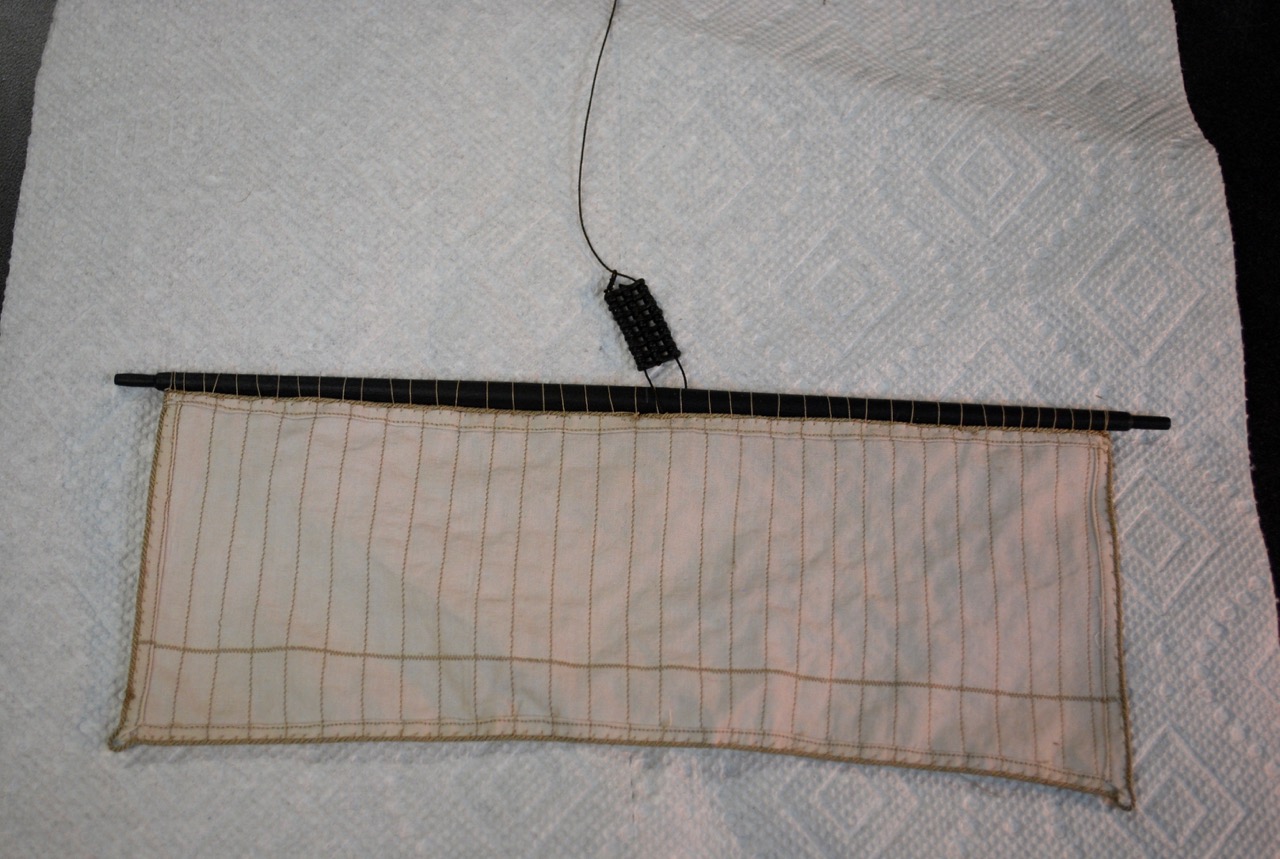
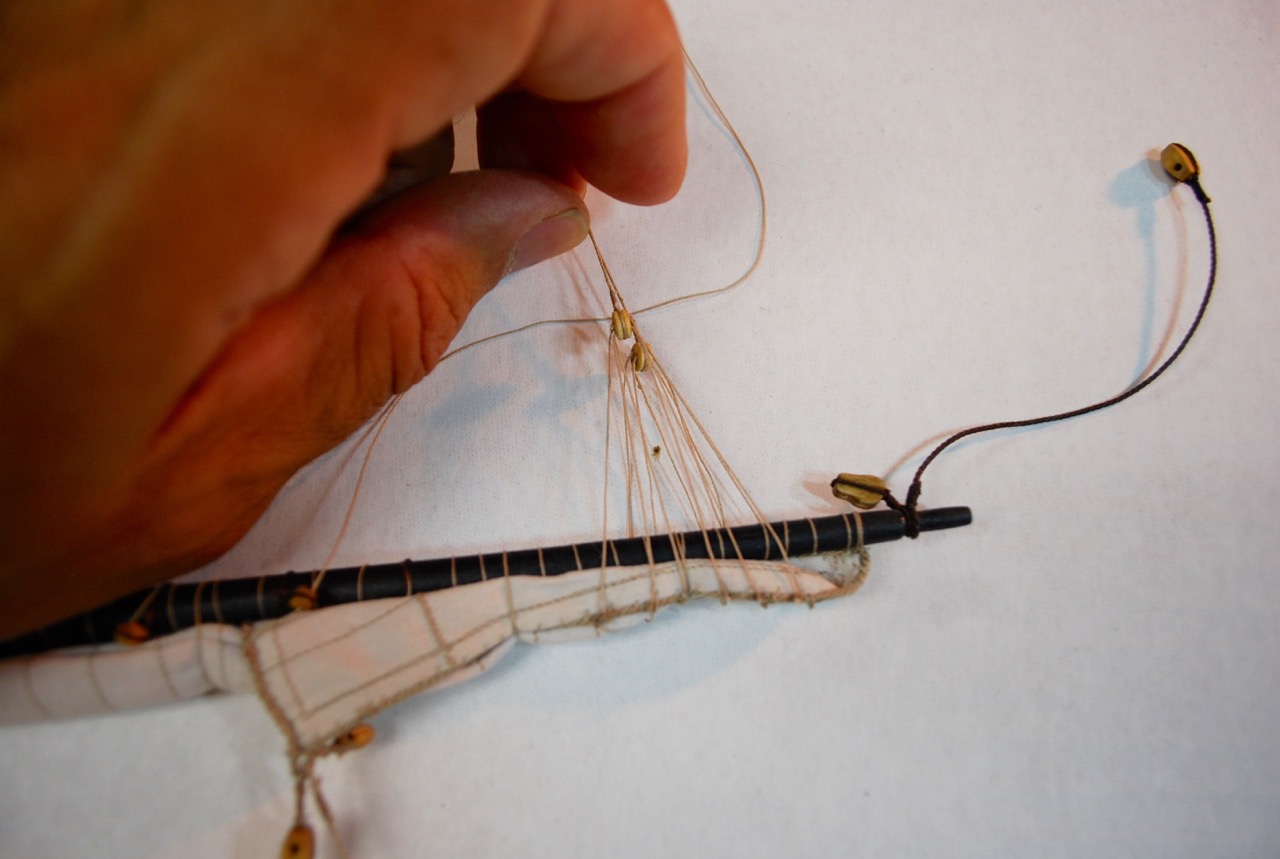
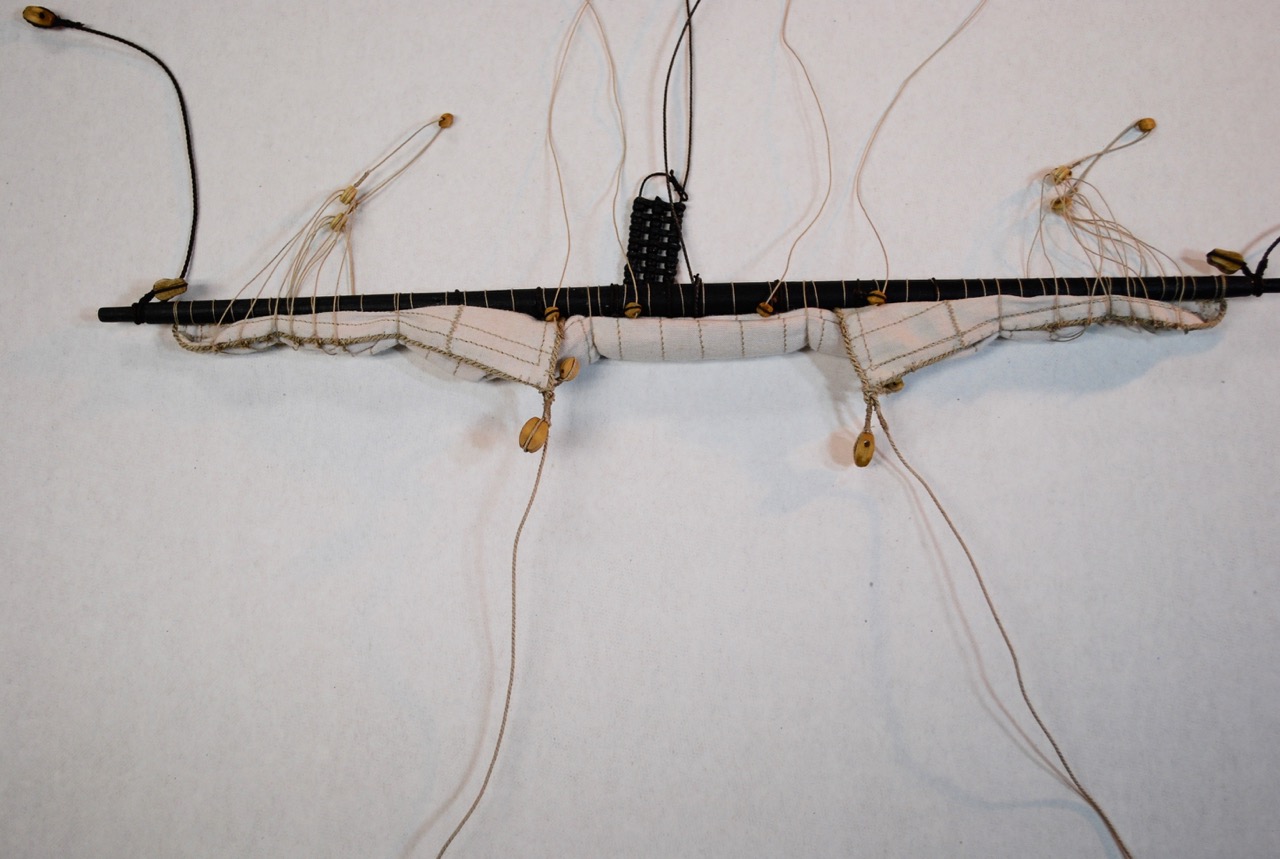
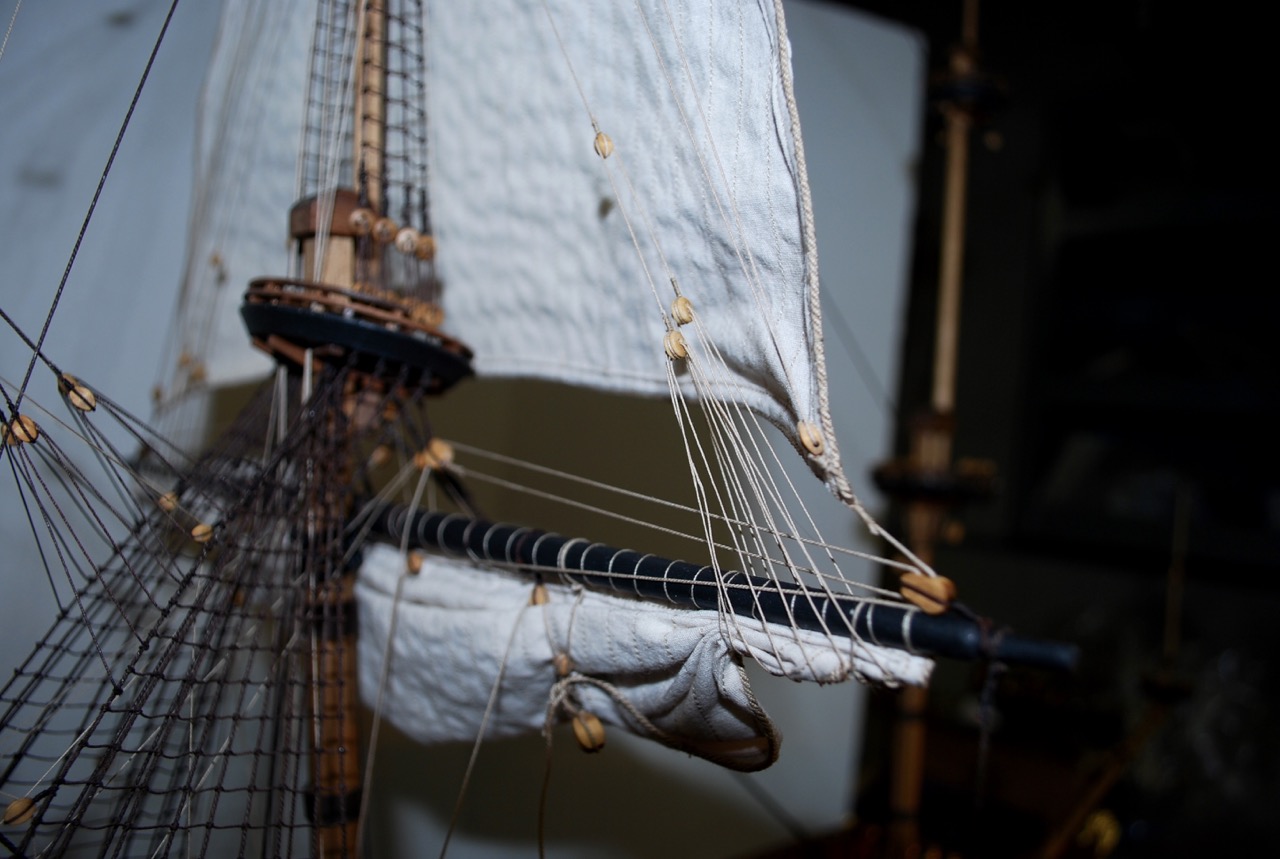
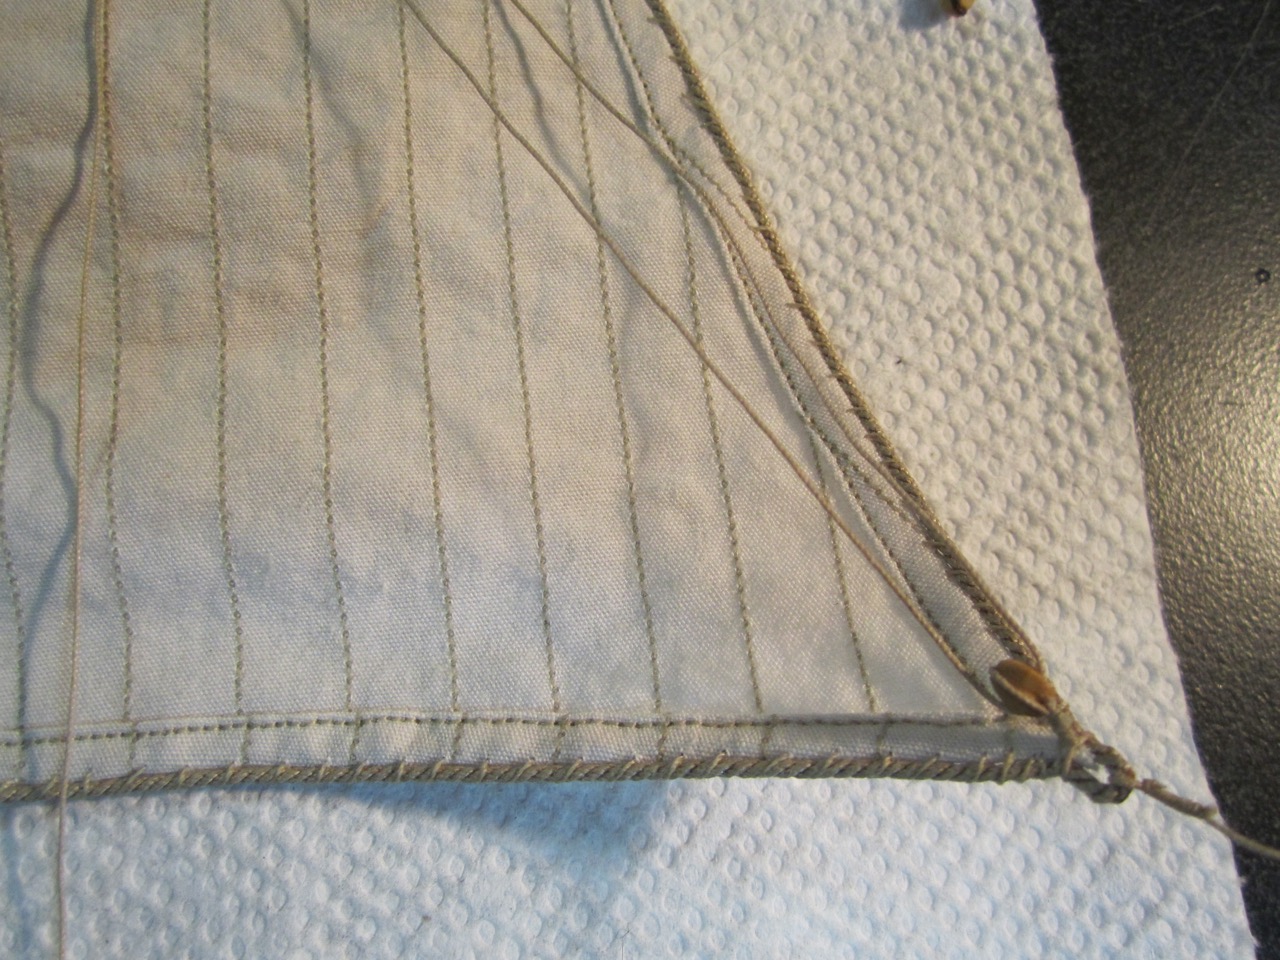
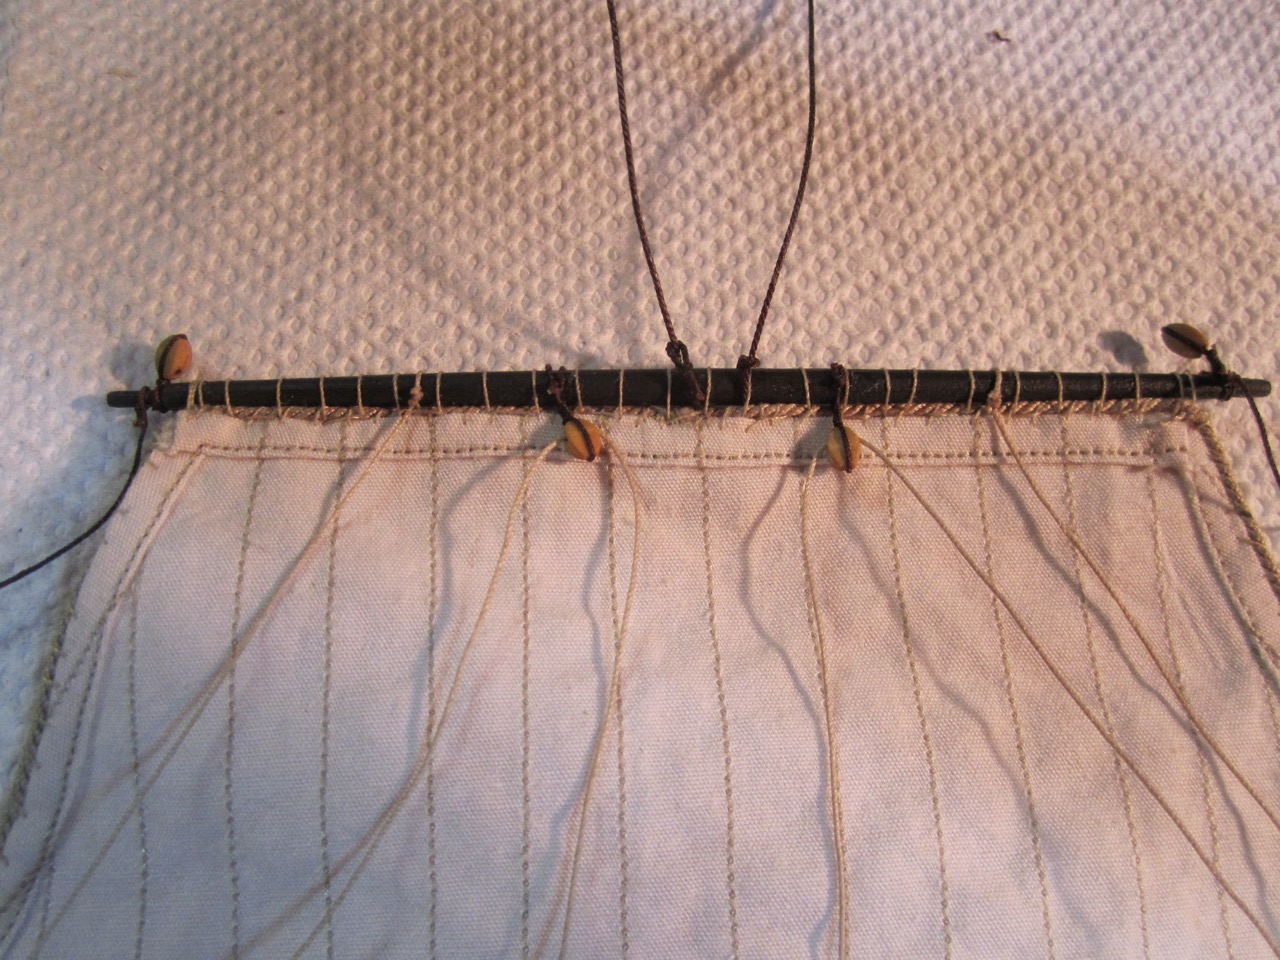
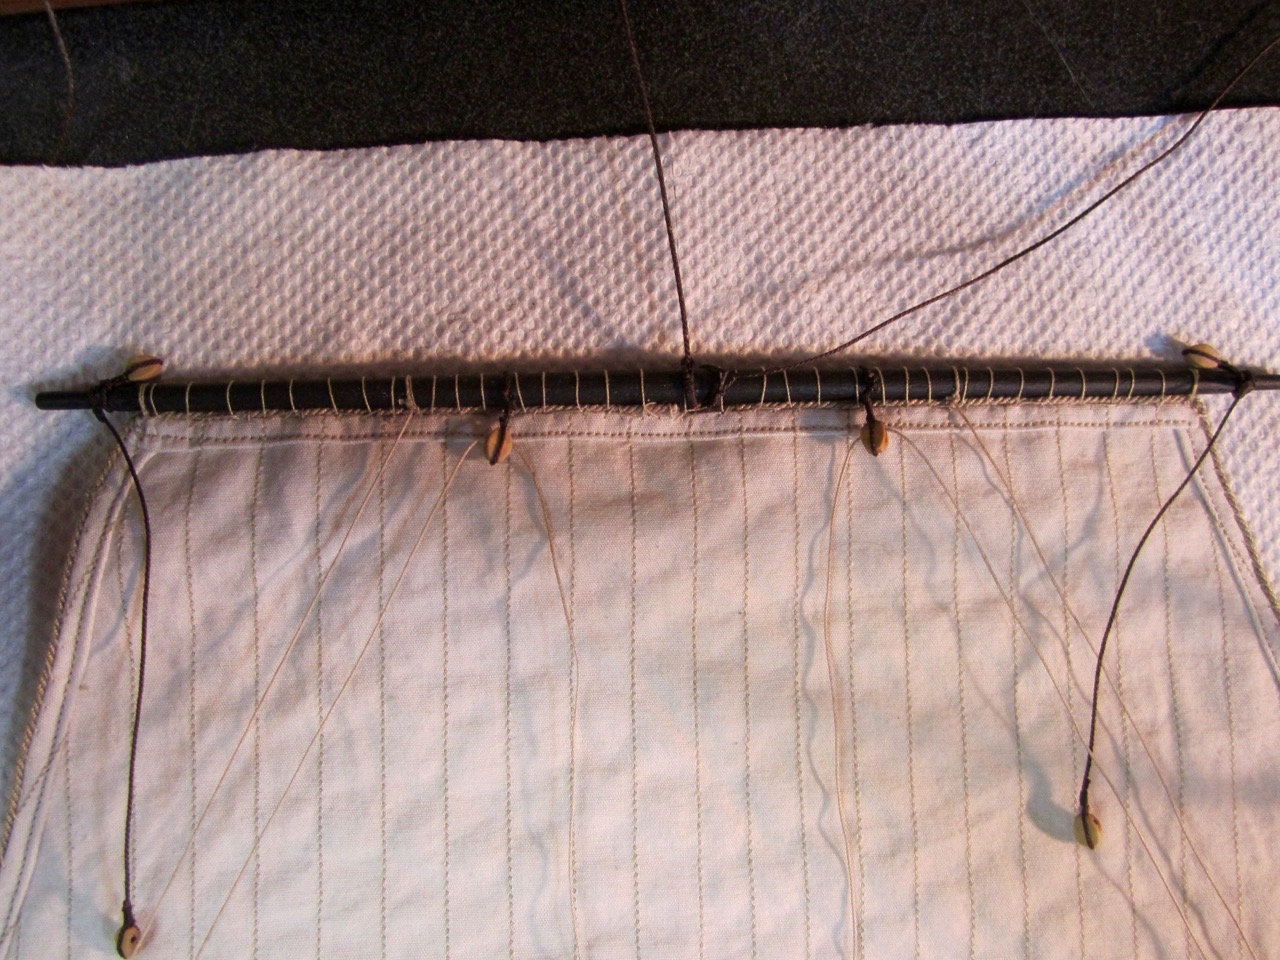
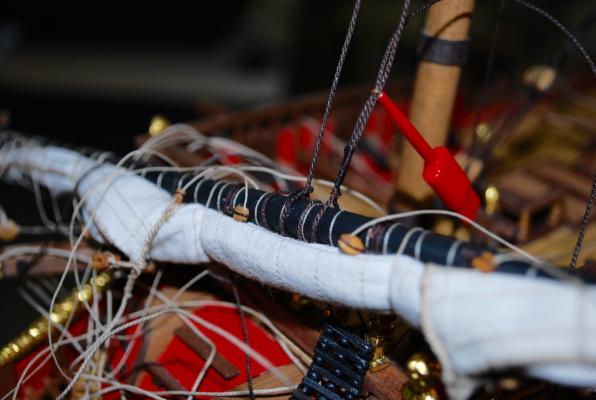
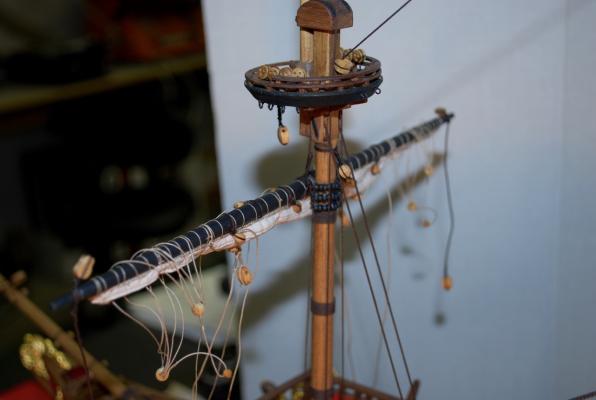
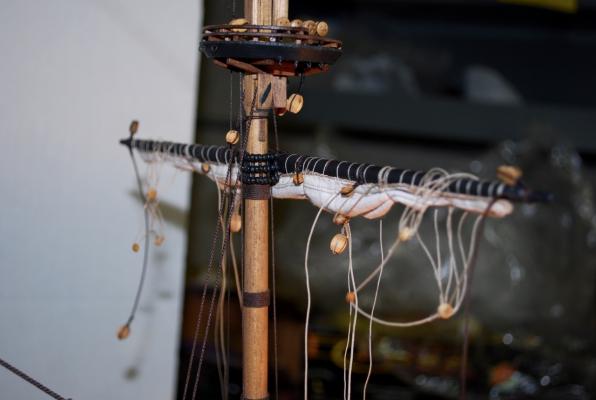
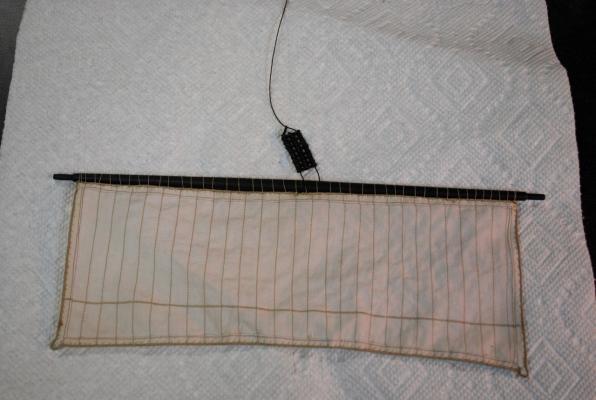
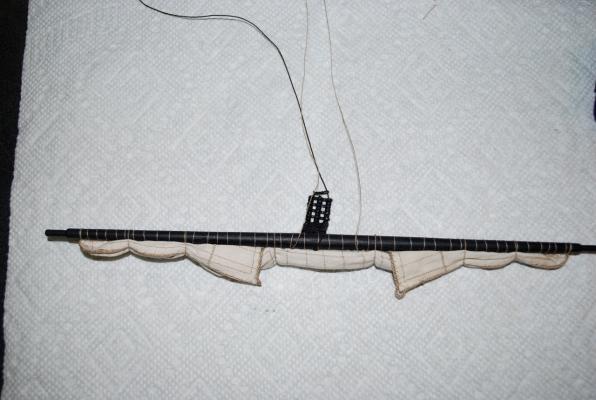
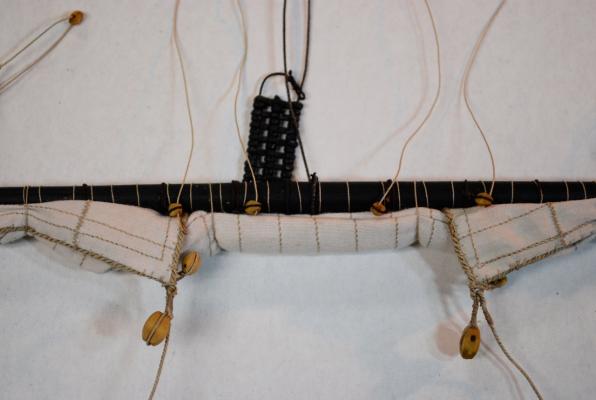
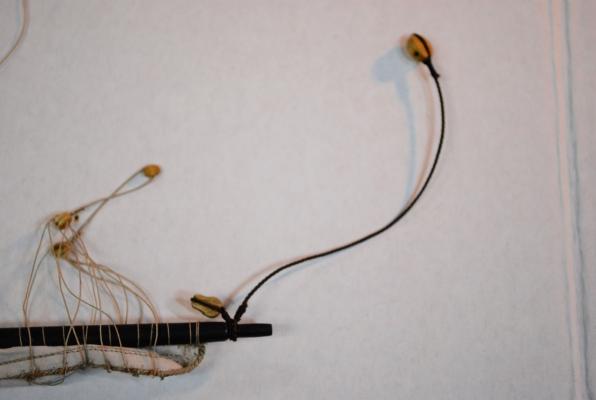
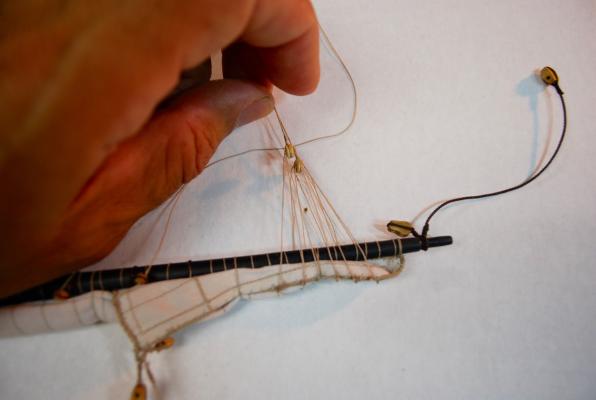
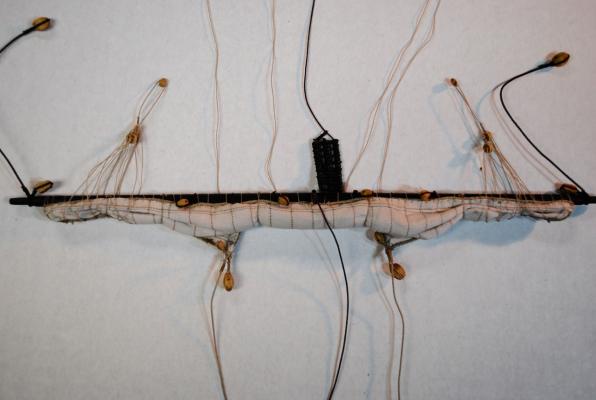
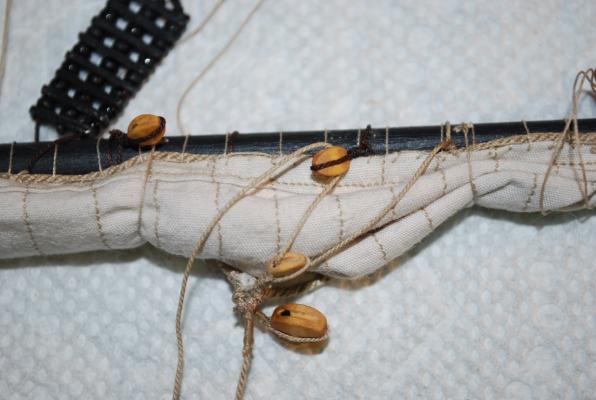
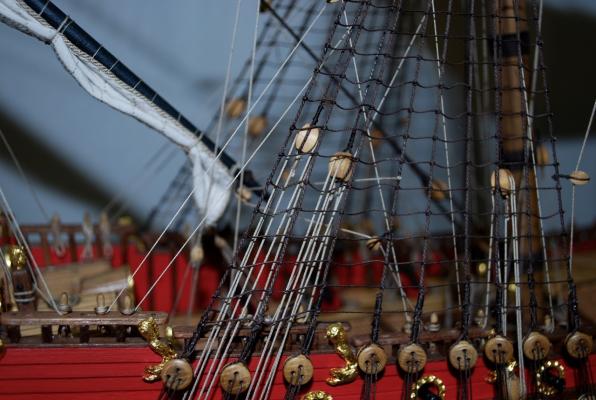
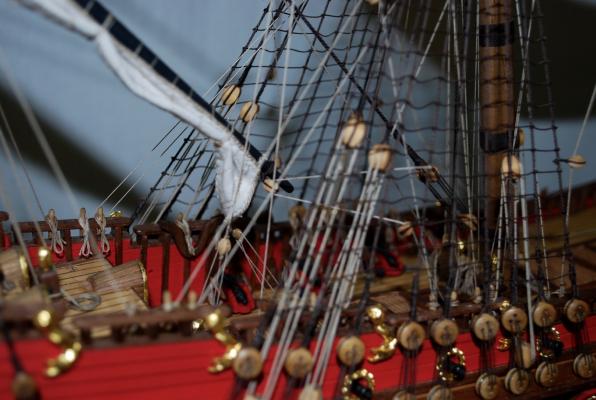
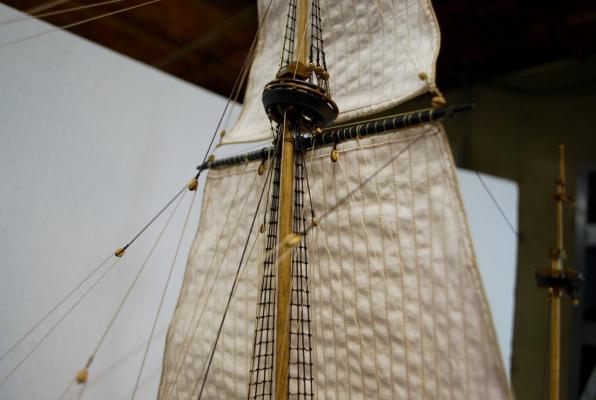
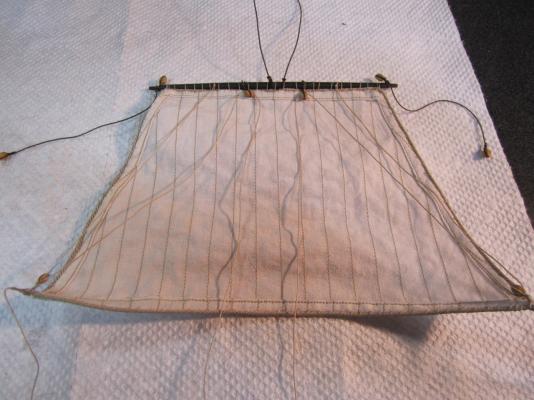
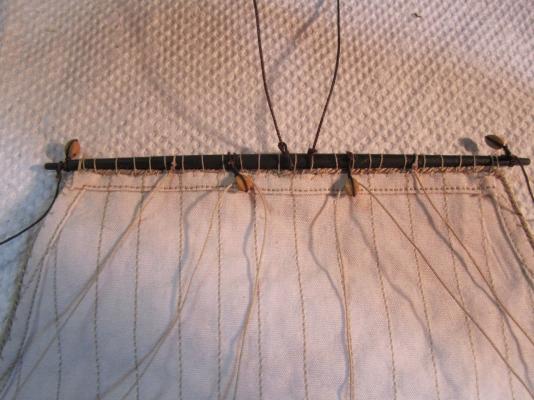
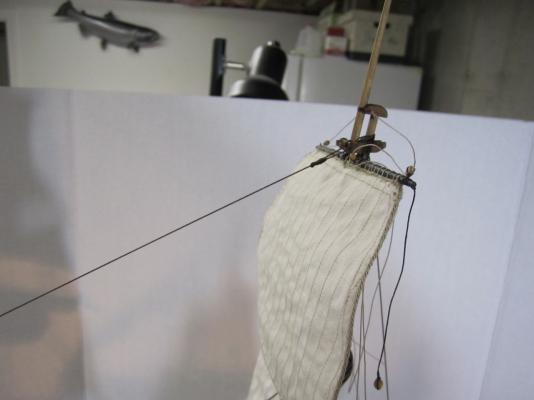
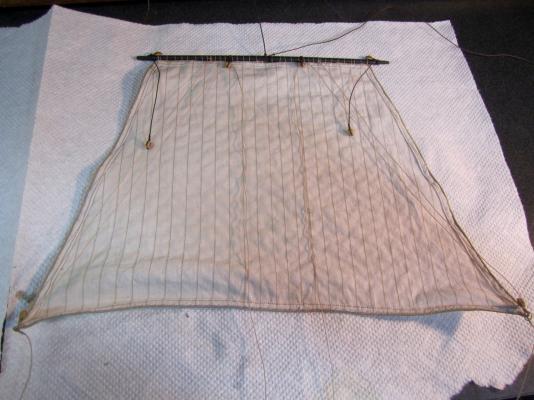
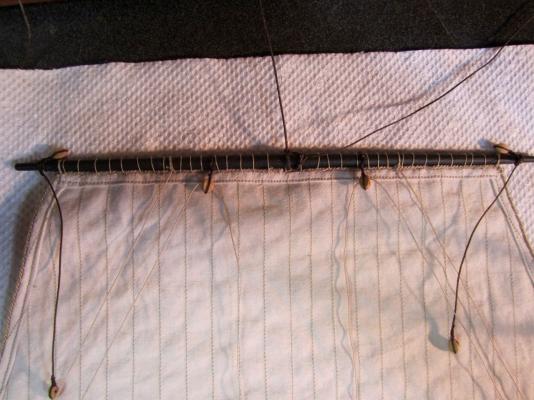
Hello, Thanks for visiting and all the "likes". It is appreciated. I have started working on the lower foremast sail and yard. Previously, I made up this sail and manually sewed the bolt rope around the edges. Since I decided to furl this sail, I removed 1/3 of the sail at the bottom (so sail looks short) so that it would not be too bulky when rolled up. Lower Foremast sail attached to yard Next I took each bottom end and folded them past the top of the yard. I then, starting from the bottom, rolled the sail tightly up to the yard and pulled the ends back over the sail. Once done with this, I tied the sail to the yard in a few places. Now I added the various blocks and rigging to the yard and sail. View from front of sail View from back of sail Sail Cluelines attached


-
Michael, A well done job on the platforms! The amount of effort you are putting on them is very evident. I look forward to seeing them on the masts! Frank
-
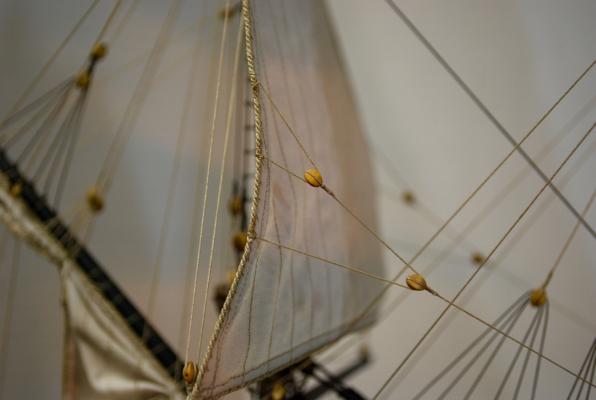
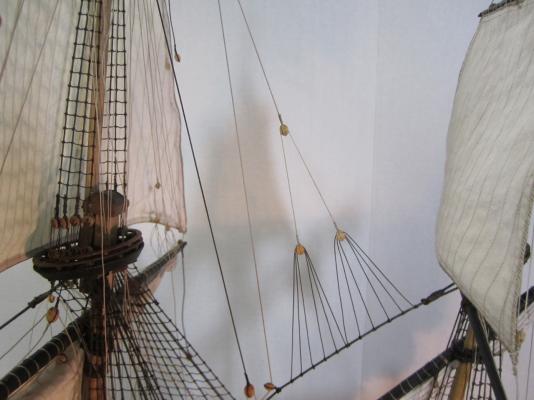
Continuing withe the photos: Mizzen Topsail lines: Main Topgallant brace Mizzen Sail Bowlines Overview Photos Thanks for all the previous likes! Now I am off to start on the Foremast. Frank
-
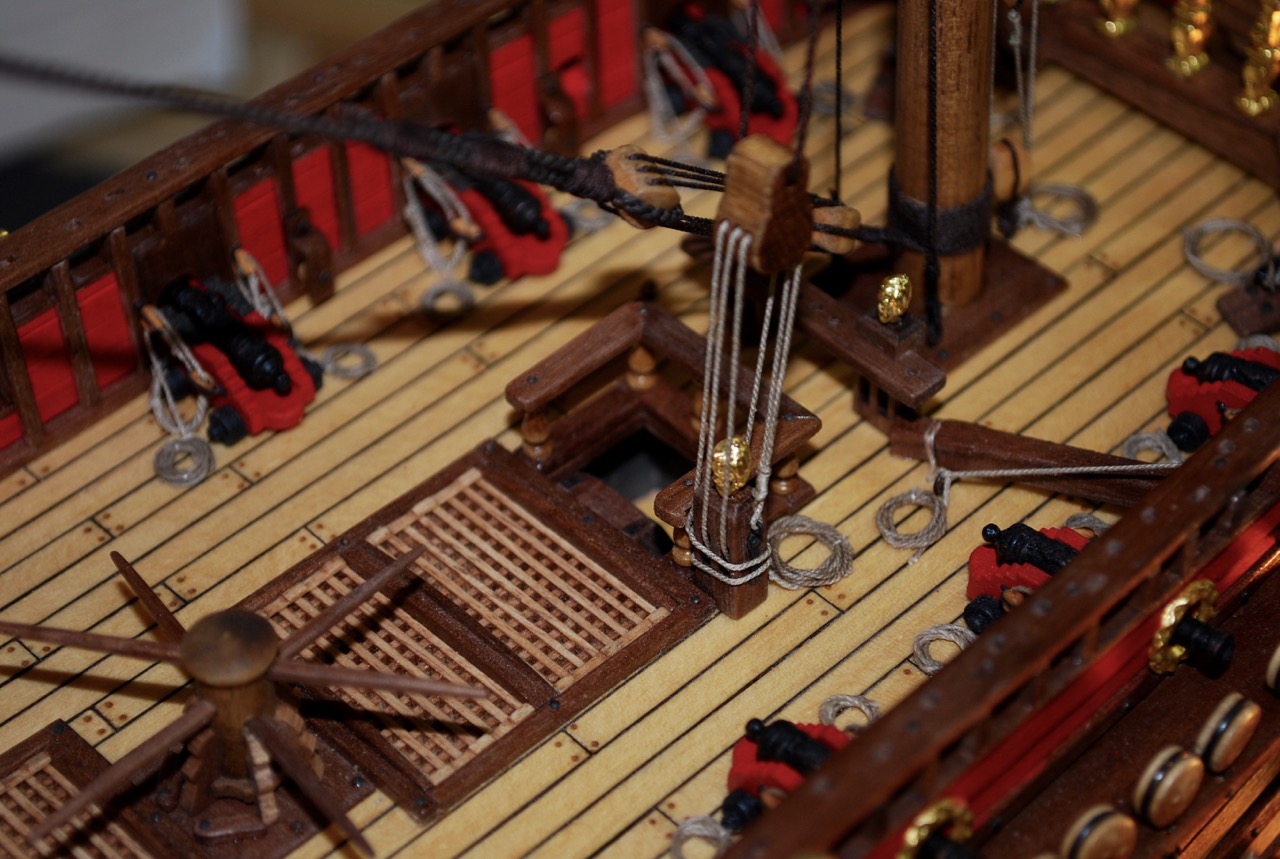
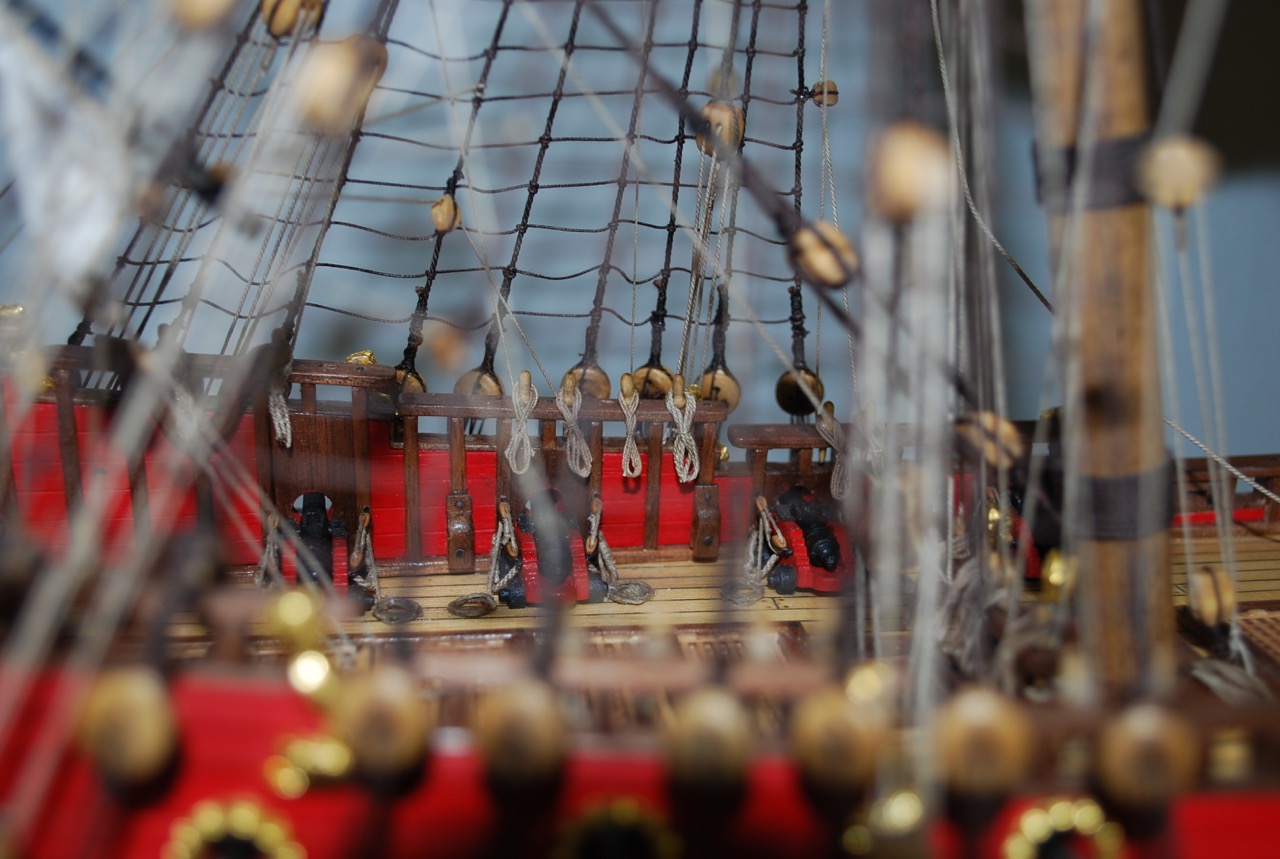
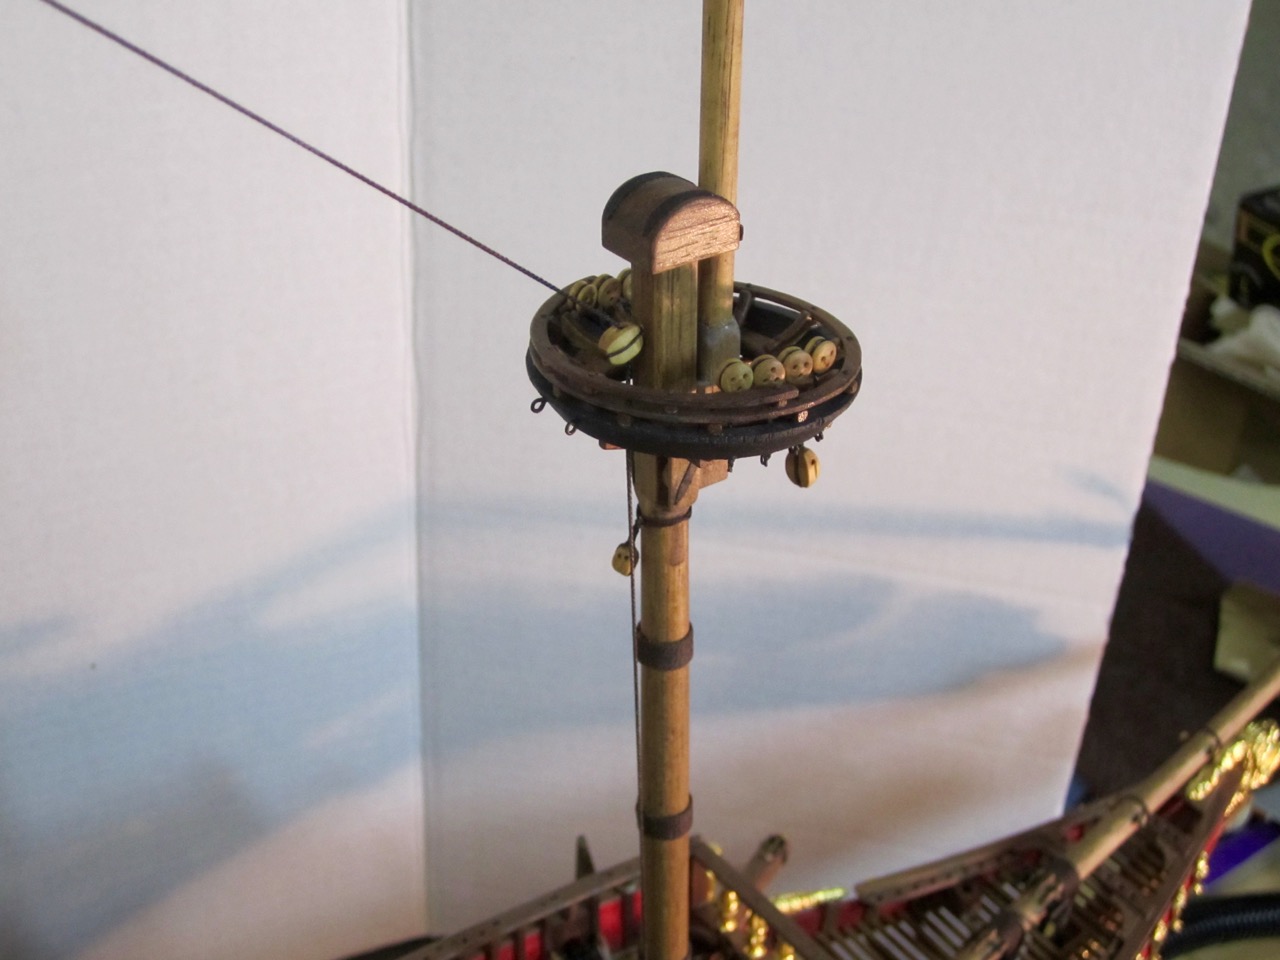
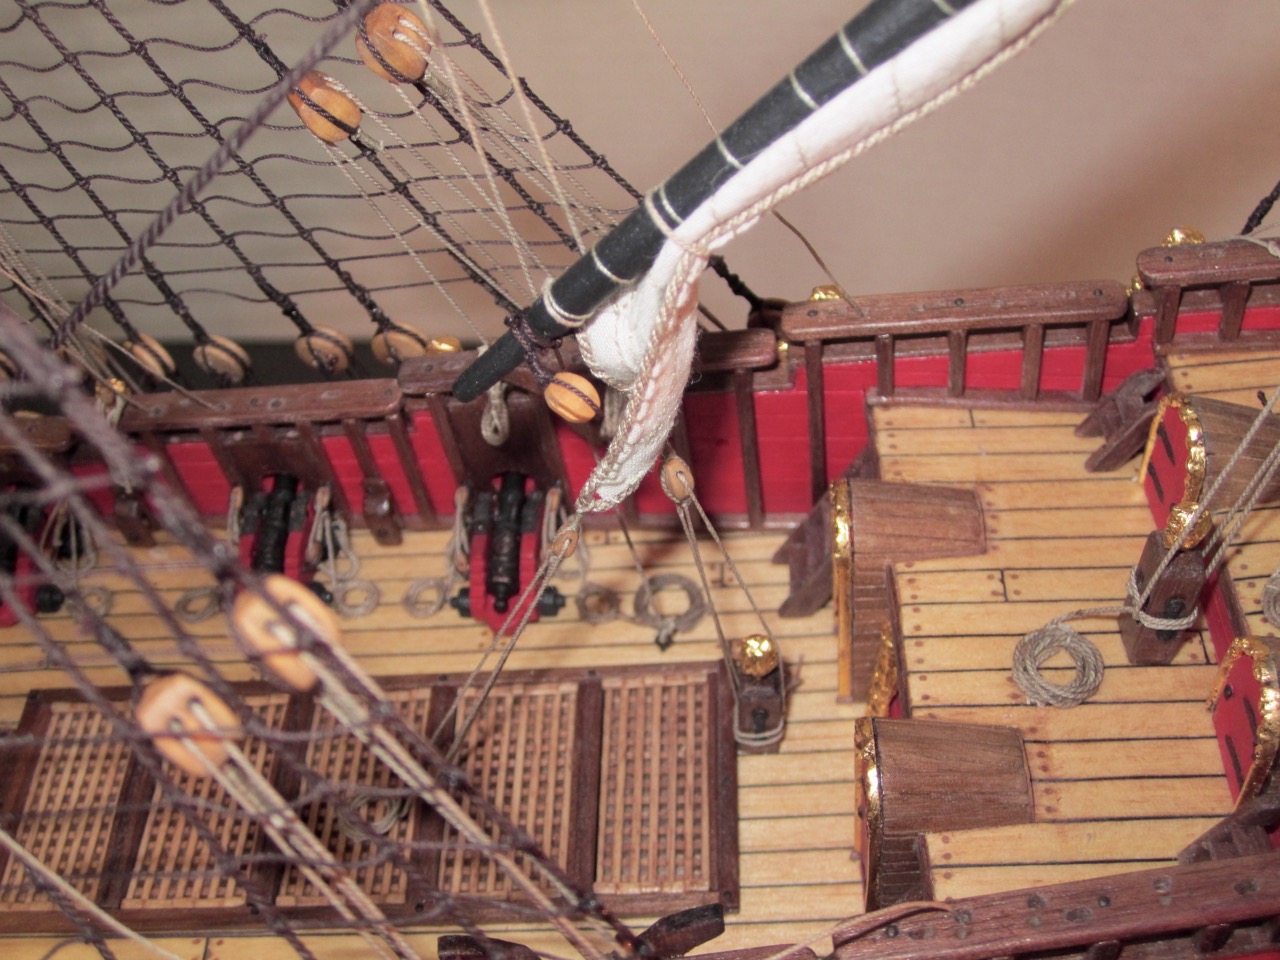
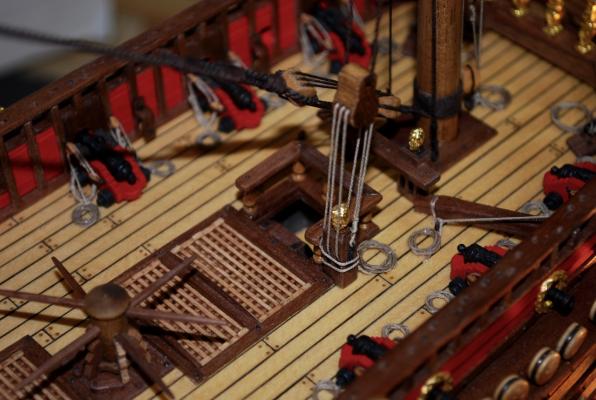
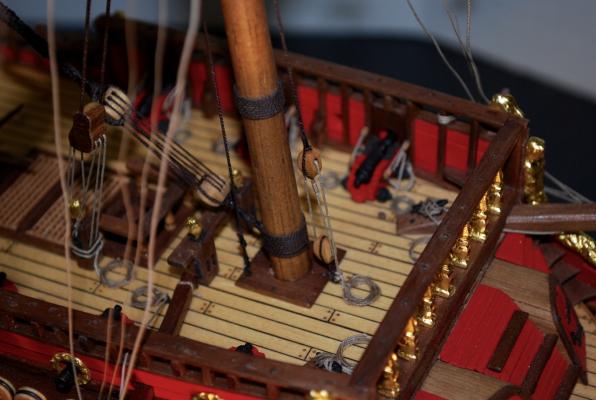
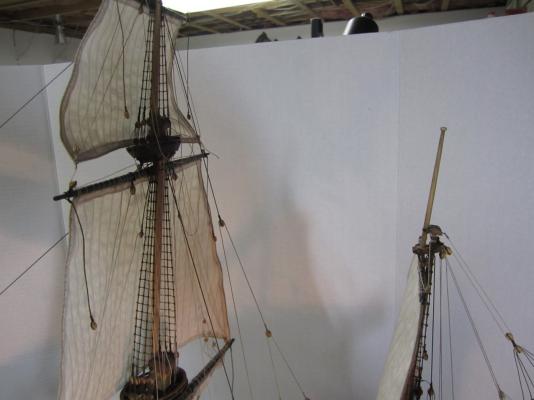
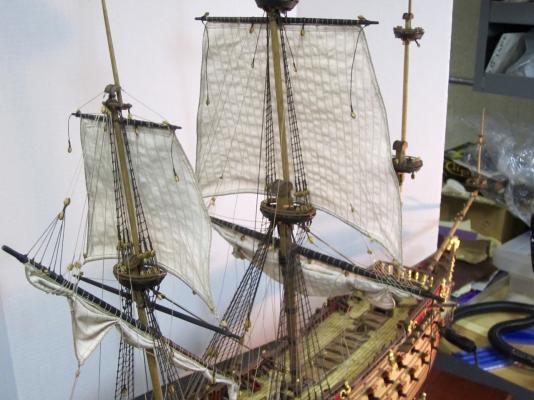
Hello! Before starting the sails and yards for the foremast, I decided to finish rigging the mainmast and mizzenmast yards and sails. I did this for a few reasons! 1. I was worried about getting my hands and fingers between the tight spaces in-between the mainmast and mizzenmast. 2. I wanted to finish and tie down all the lines to the belaying pins on the inside of the rails before I attach the already made delicate upper railing system. 3. I needed a break from all the shroud and sail sewing work! The following pictures show the results. Note: I did not finish rigging the lower mainmast and mizzenmast yard and sail braces, tacks, and sheets because I want to install that upper rail system first. These lines would only be in the way if I finished them now. Mizzen top Stay Lines fastened from the mizzen boom Belaying pins (inside of the upper railing system still to be installed) Mainmast lifts, sheets etc Mainmast topsail braces, cluelines and sheets


-
Michael, The person who finished the Pegasus did a great job! Was it a friend or a professional company? I think they will fit right in with the style of painting you did on your figurines! Frank
-
Great job Michael! I like your amusing thoughts about those figurines between the doors! Frank
-
Hi Jan, I look forward to hearing more about this tool. Anything that can make the rigging process easier and better would definitely be of interest!! Frank
-
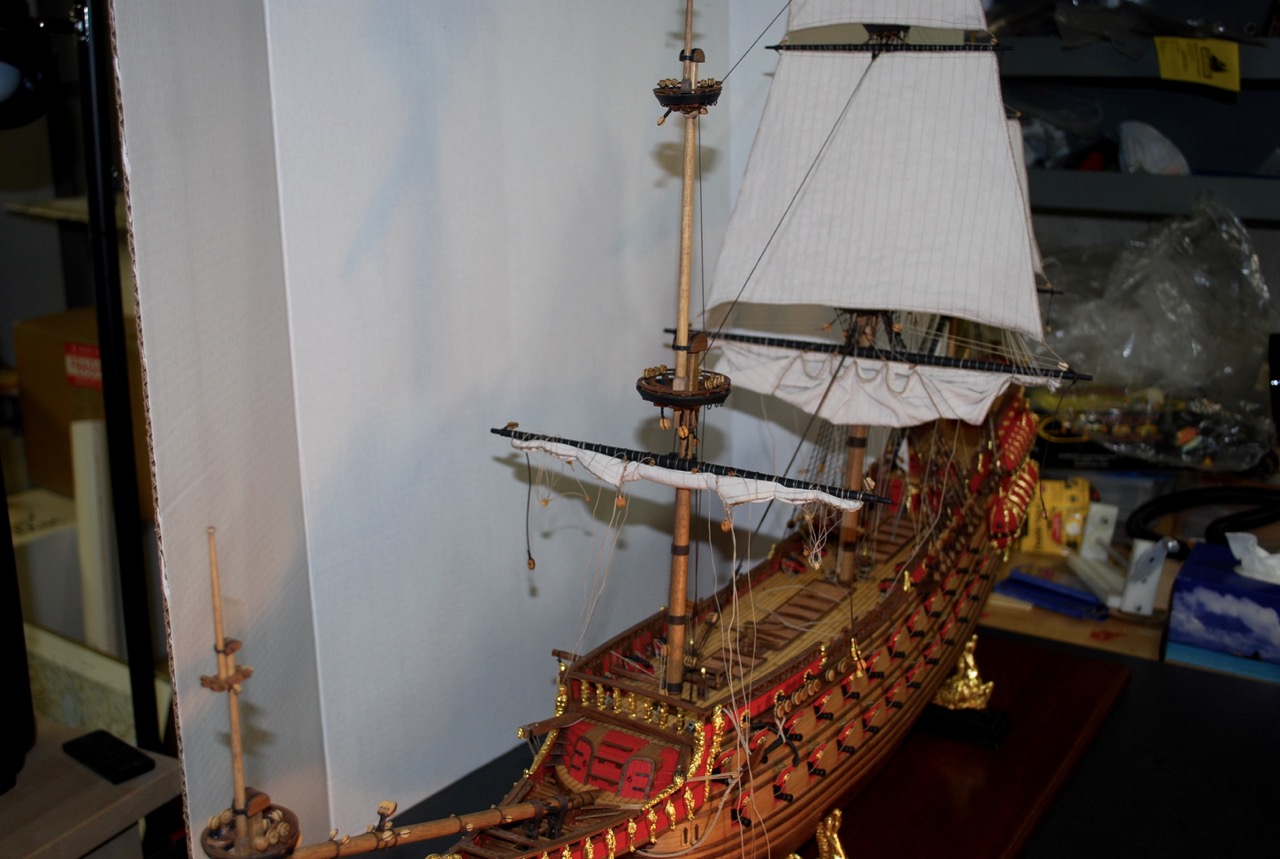
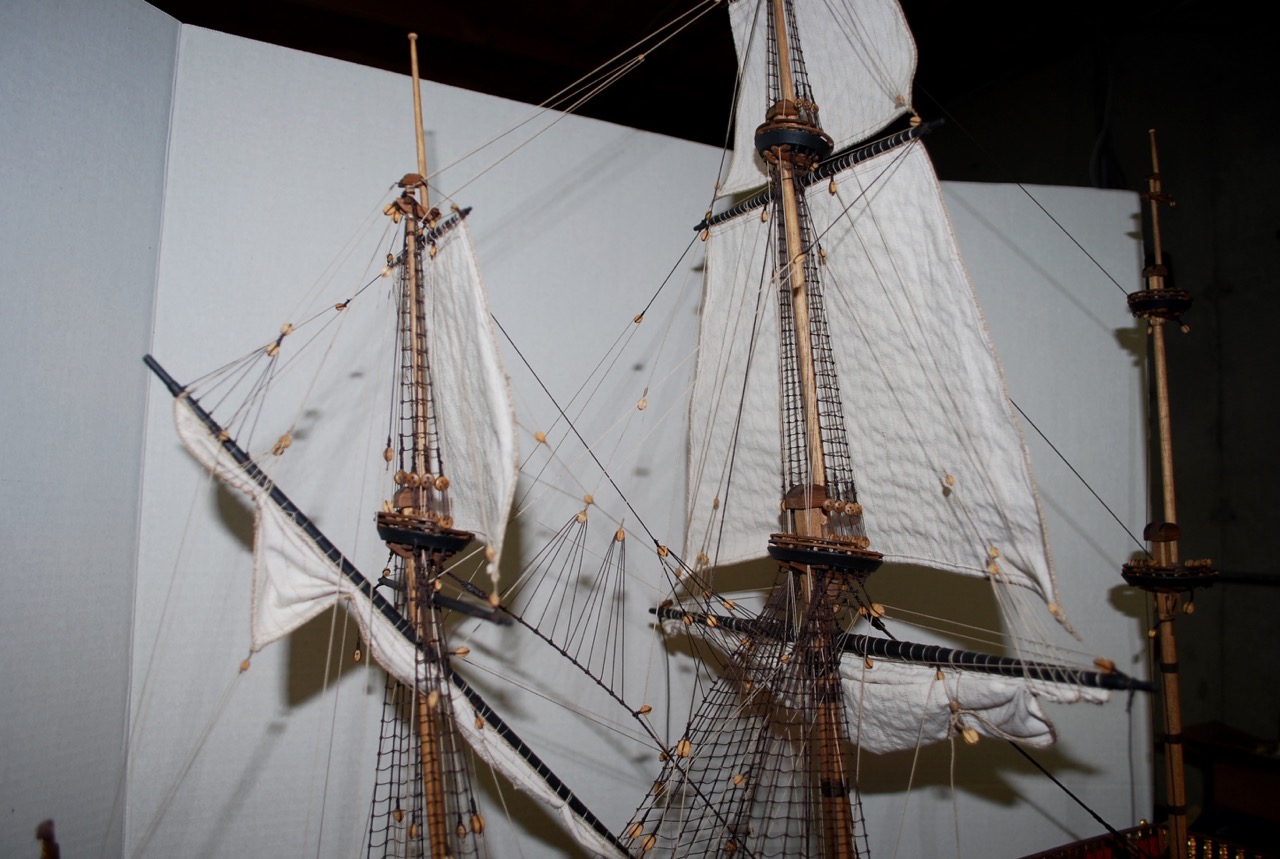
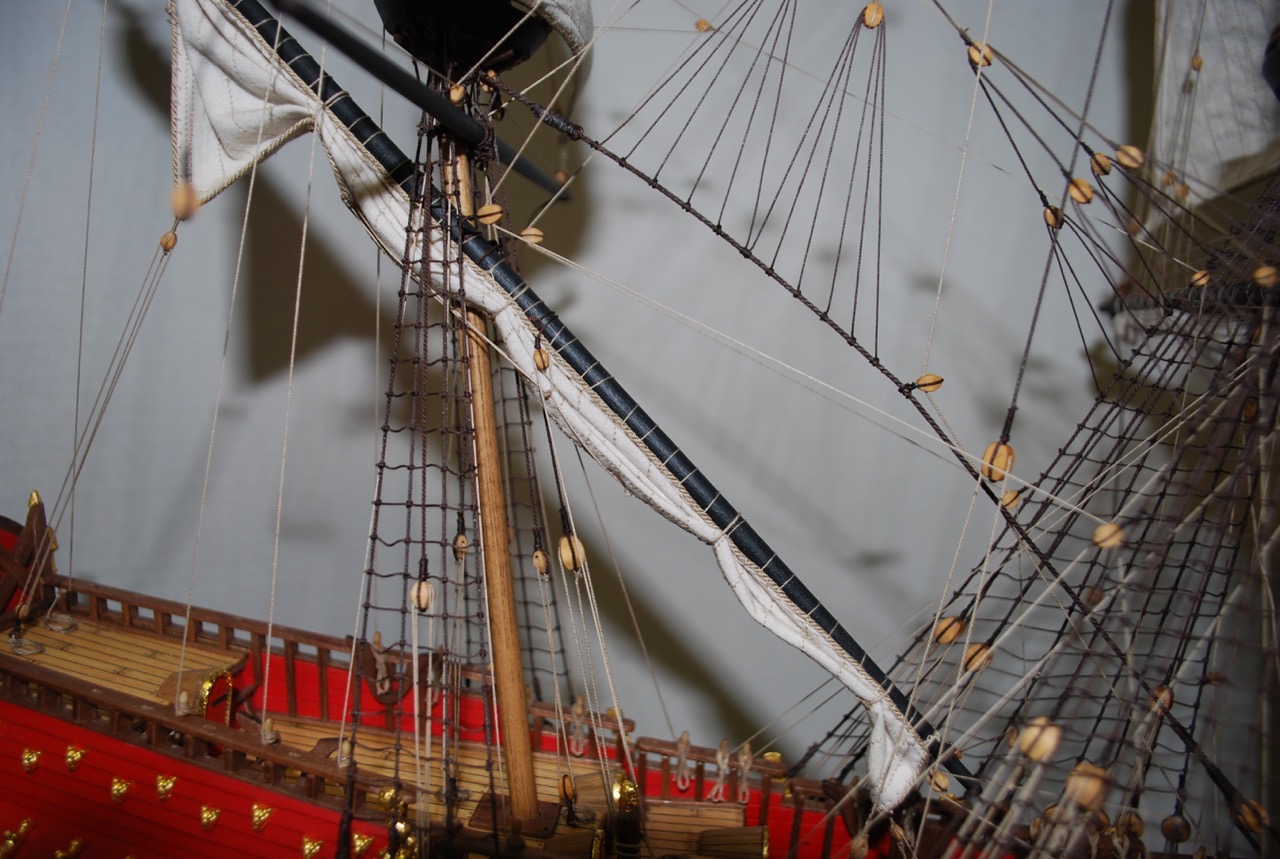
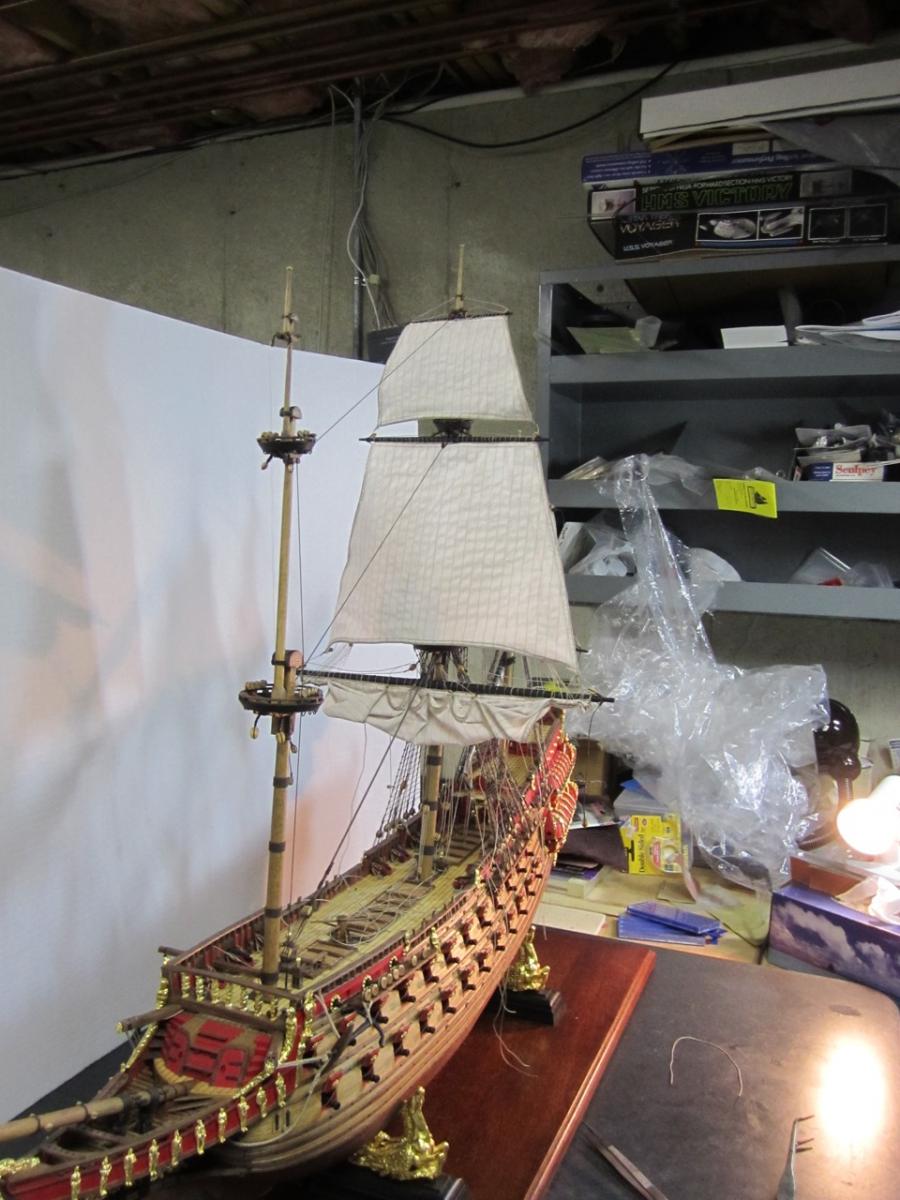
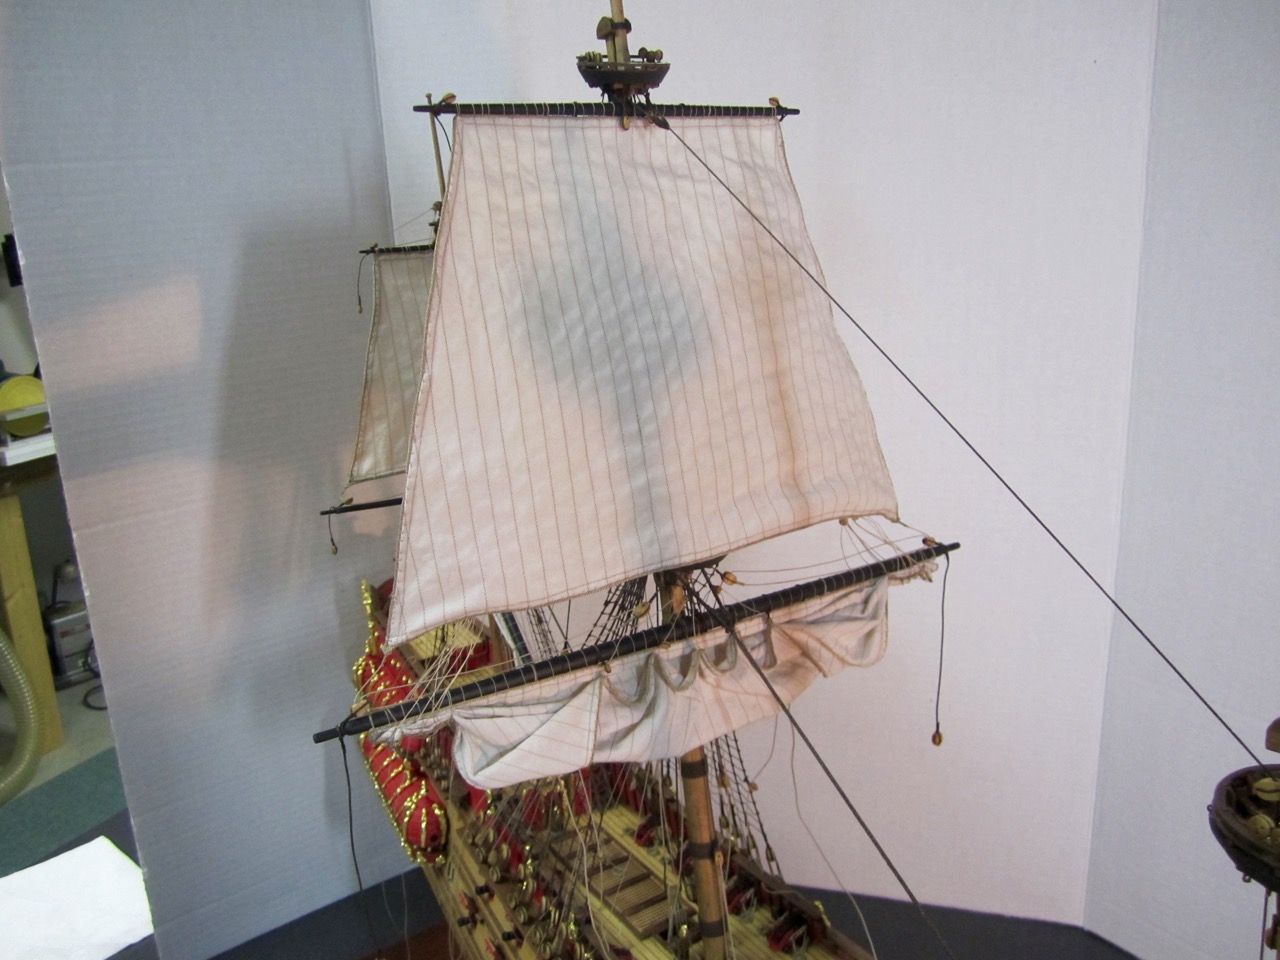
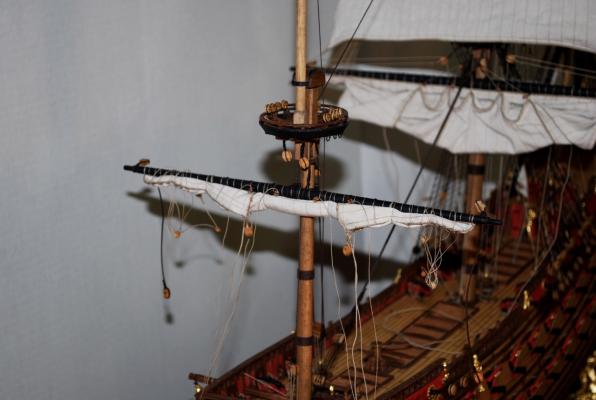
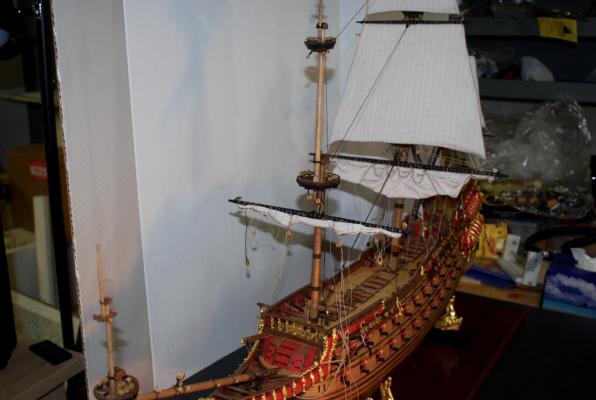
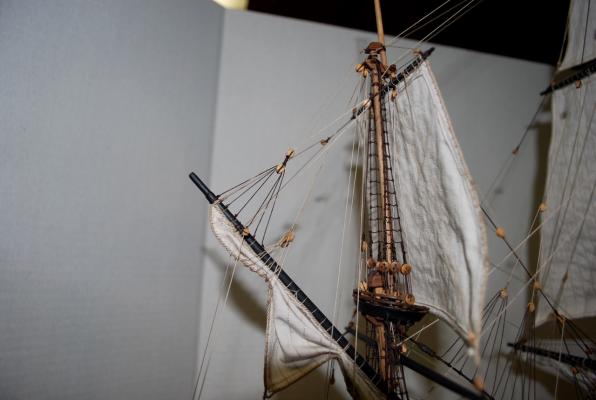
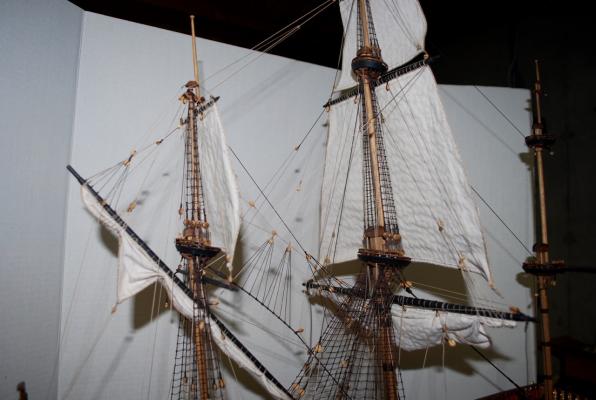
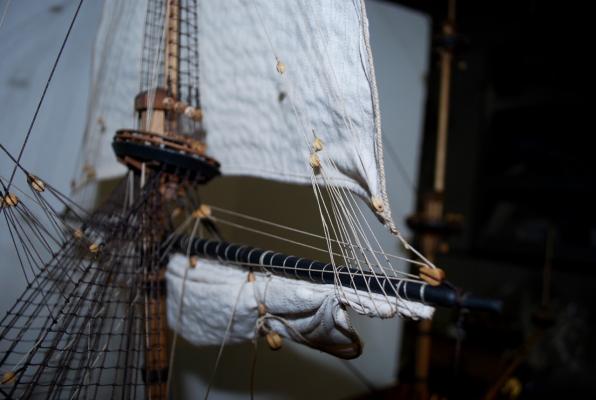
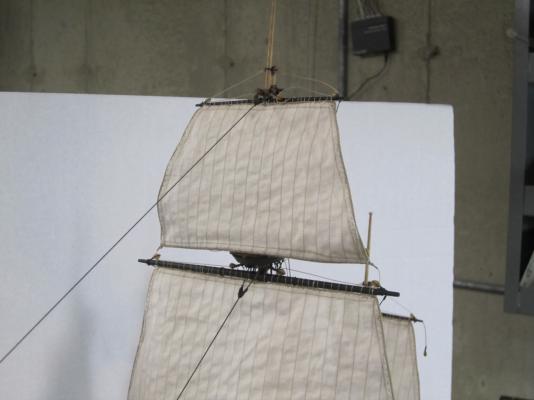
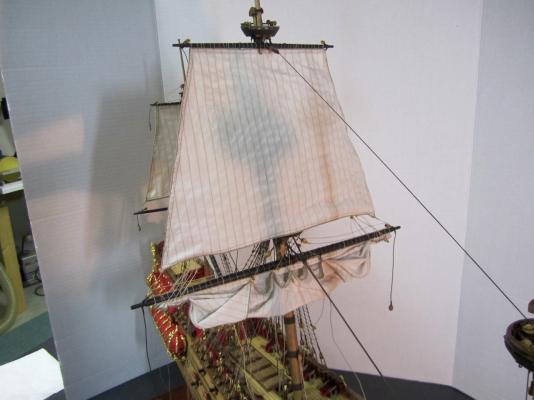
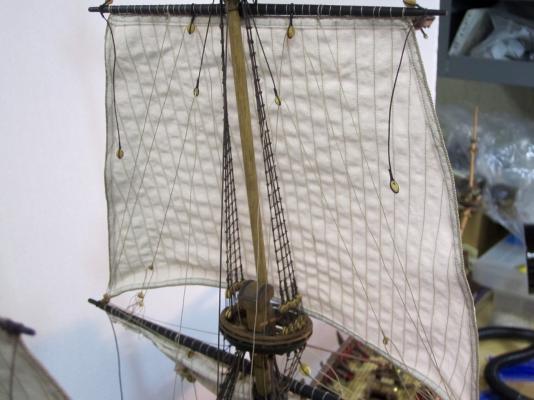
Hello! It has been slow going on my build this past month. It has been a wonderful summer here up in the east coast with too many outdoor activities taking up my time! I started working on the installation of the topgallant mainmast sail. First, I added the upper topgallant shrouds As with the other sails, I tried to "pre-rig" as much as possible before attaching the sail and yard to the mast. Topgallant sail and yard attached to the mainmast. Now I added the top stay from the mainmast to the foremast and down to the deck. Next I finished the halliard to the lower stay and deck. Photo of sail in place (but not leveled yet!) Now I would normally start working on the foremast. However, I am worried about getting my fingers and tools in-between the mainmast and mizzenmast in order to finalize and tie down all the running rigging from the mainmast sails. So I think I will begin to level and tie down most of the mainmast lines to the deck and belaying pins, while I can still get in there! Thanks, Frank


-
HI Michael, No problem! I think I've gotten a lot more information out of your log than vise versa! Thanks, Frank
-
Hi Michael! Wow! You are definitely going all out with your ship! Very nice use of your equipment. I hope you are successful! Frank
-
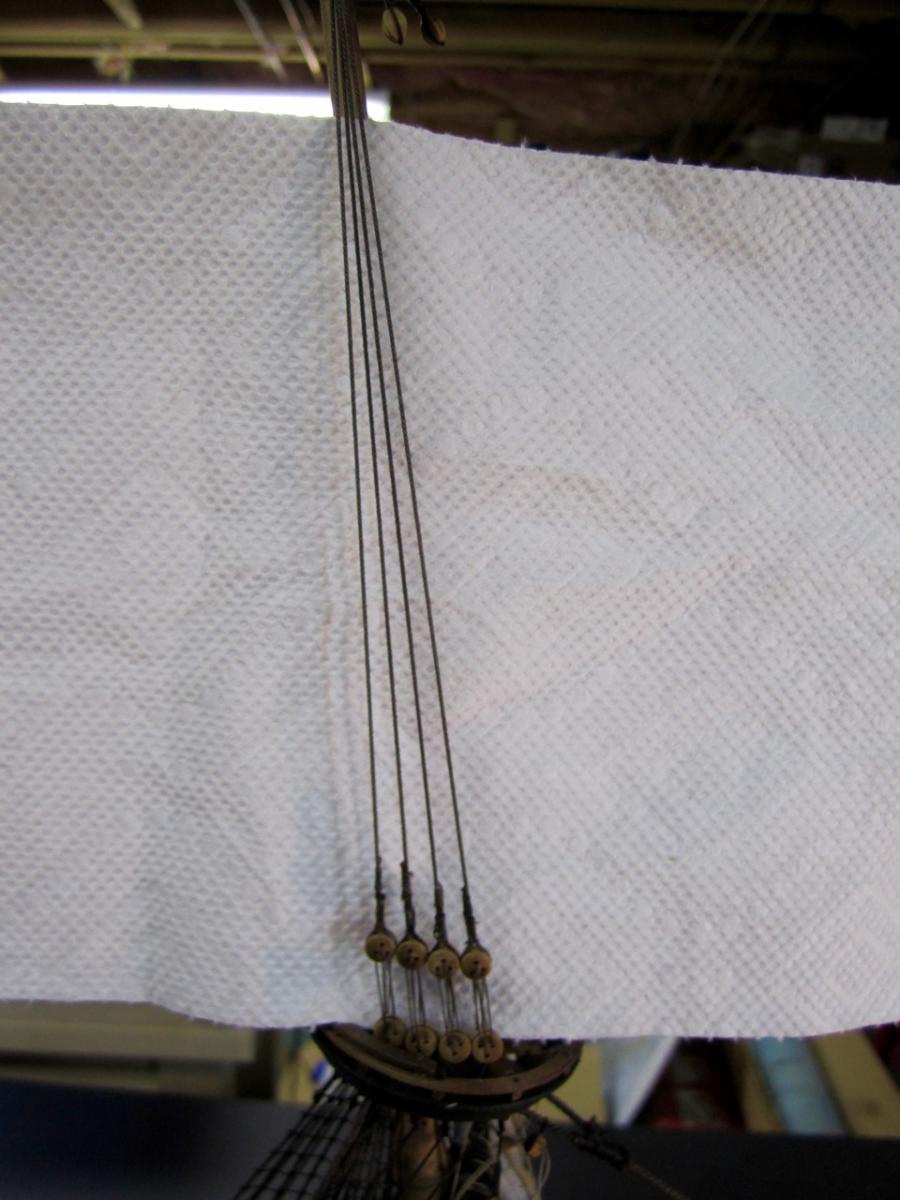
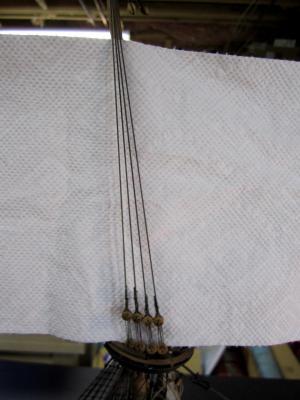
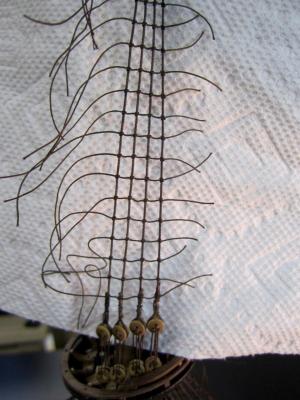
Hi Mark, I hope all is well. So what I did is start by tying the line to the stay line right above the top of the upper block. (I tied it into the seizing, so it blends in.) then I ran the line down to the back side of the first hole of the lower triple block, back up to the front side of the first hole of the top triple block, beck down to the second hole of the lower block, back up to the 2nd hole of the upper block, down to the third hole of the lower block, up to the 3rd hole of the upper block, then back down and tied off to the the seizing area behind the lower block. I hope this helps. If not I can make a sketch for you. Thanks, Frank
-
Hi Mark, Thanks for the information on the mast tackles. I will see if I can safely remove one of mine on the mainmast. Thankfully, I haven't put them in on the foremast yet! Frank
-
Hi Mark, Nice work on the masts tackles! So a question for you. I probably made a mistake, but on the Vasa plans that I have from the museum, it shows 3 mast tackles on each side of the main mast and foremast. I see you have 2 on each side. Are the plans I have not correct? Or do you have updated information? Thanks for your help, Frank
-
Thanks for your kind comments George! And Mark, Jan, and Michael thanks for the "likes"!!! I have to take a week off, then it is on to the Top gallant sail! Frank
-
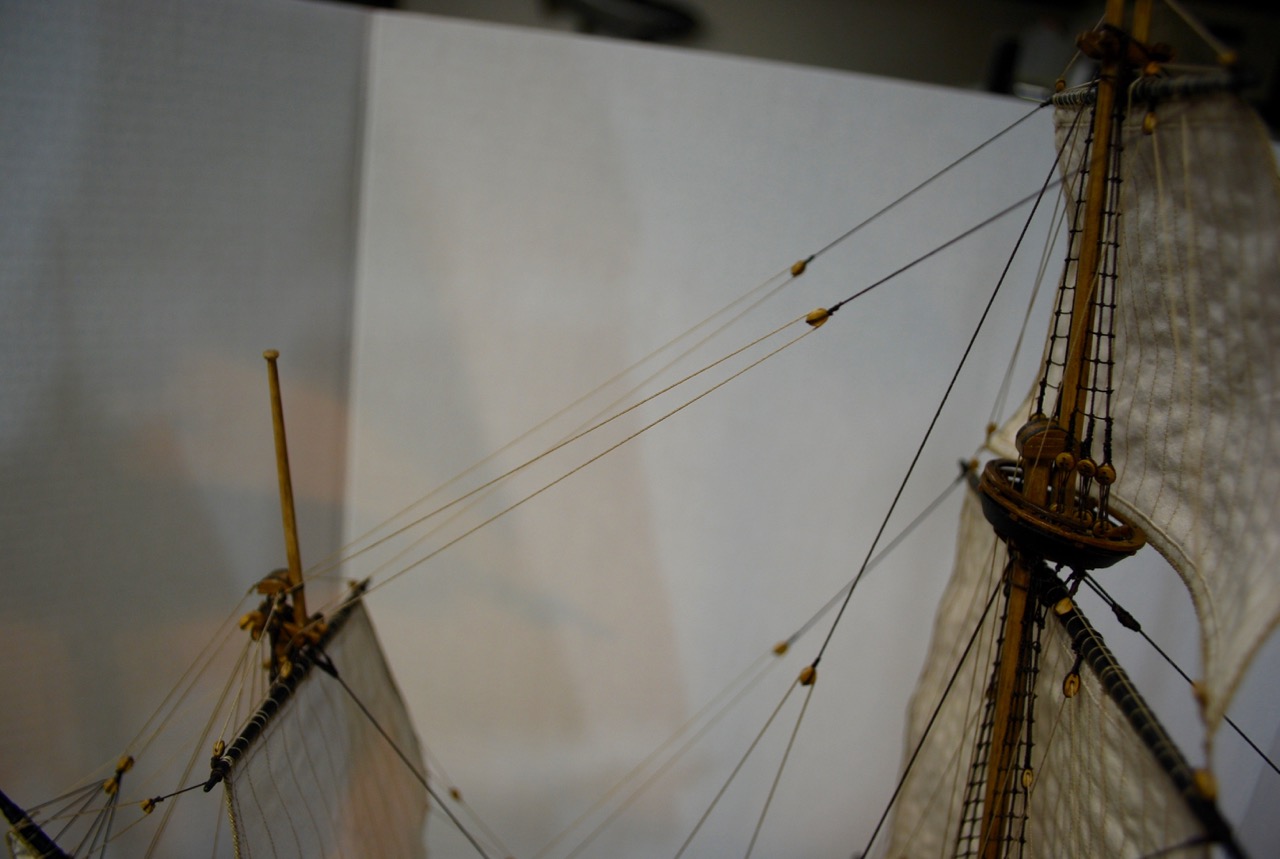
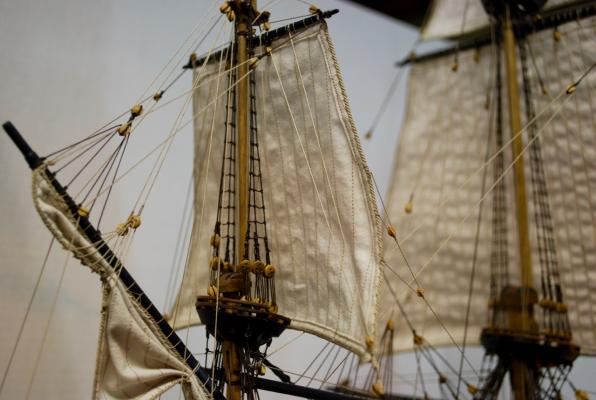
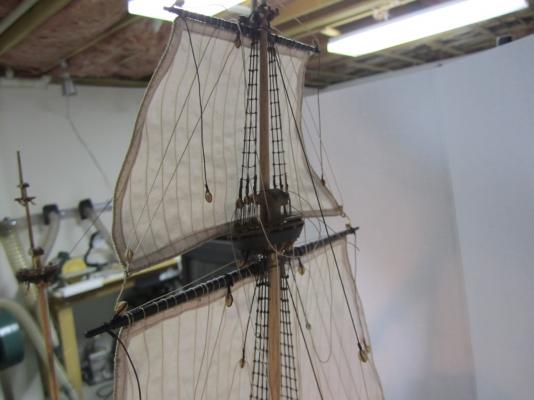
Thanks for visiting! I started working on the upper sections of the mainmast. First, I finished the shrouds for the mainmast top sail. Secondly, I prepped the mainmast top sail with blocks and rigging lines Next I mounted the top sail onto the mainmast. All the rigging lines are not tensioned (Except for the halliard) and the sail is not yet leveled and fitted. At this point, I am making sure I know where everything is supposed to go! The mainmast top stay fitted thru the foremast block The Halliard lines fitted to the knight head. My next step will be to repeat the above process for the mainmast topgallant sail. After I am done with that, I think I will start to finish setting all the lines for the mainmast and mizzenmast before I move on to the foremast sails and shrouds. Thanks, Frank

- 493 replies
-
- 11
-

-
Very nice work on the sheaves, Michael! By the time you are done with your Vasa, you will be giving lessons to us on how to use that milling machine!!! Frank
-
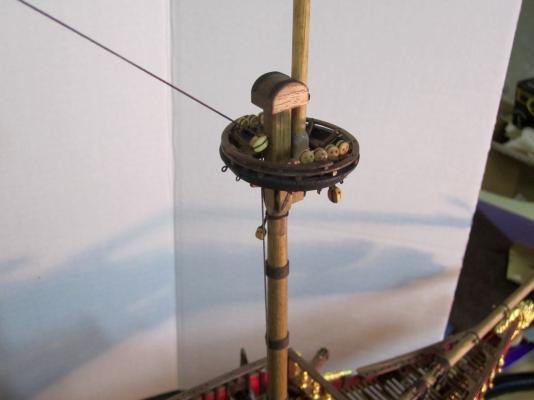
Mark, Your platforms are the nicest ones I seen out of the many Vasa logs I have visited! Great job, Frank
-
Michael, Peter's idea is a great one and the way I would go also. Thankfully you found some extra wood! Good Luck! Frank