HOLIDAY DONATION DRIVE - SUPPORT MSW - DO YOUR PART TO KEEP THIS GREAT FORUM GOING!
×


fmodajr
-
Posts
868 -
Joined
-
Last visited
Content Type
Profiles
Forums
Gallery
Events
Everything posted by fmodajr
-
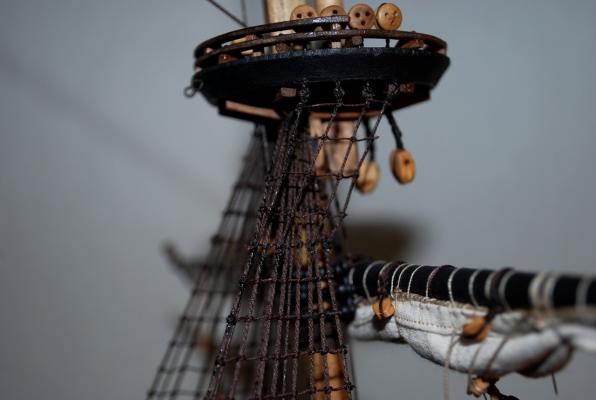
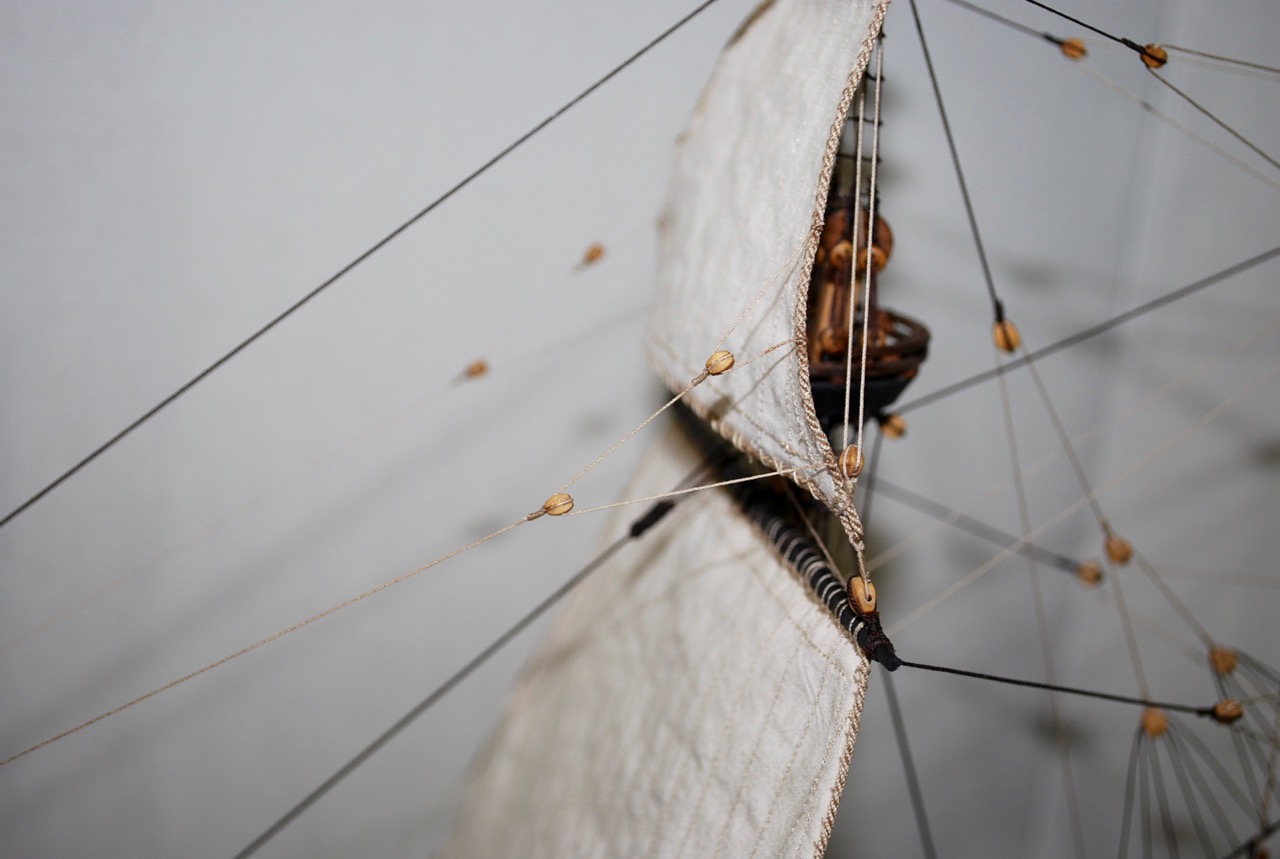
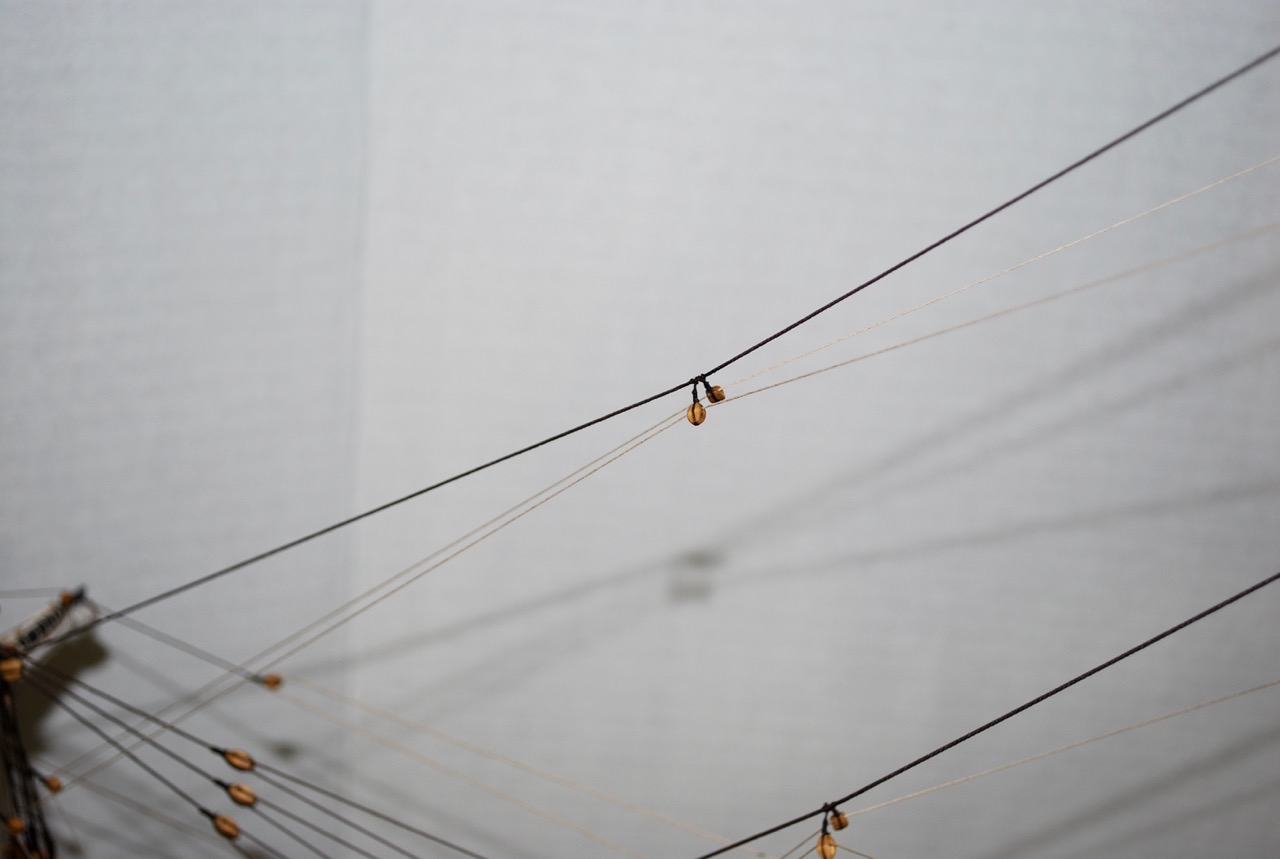
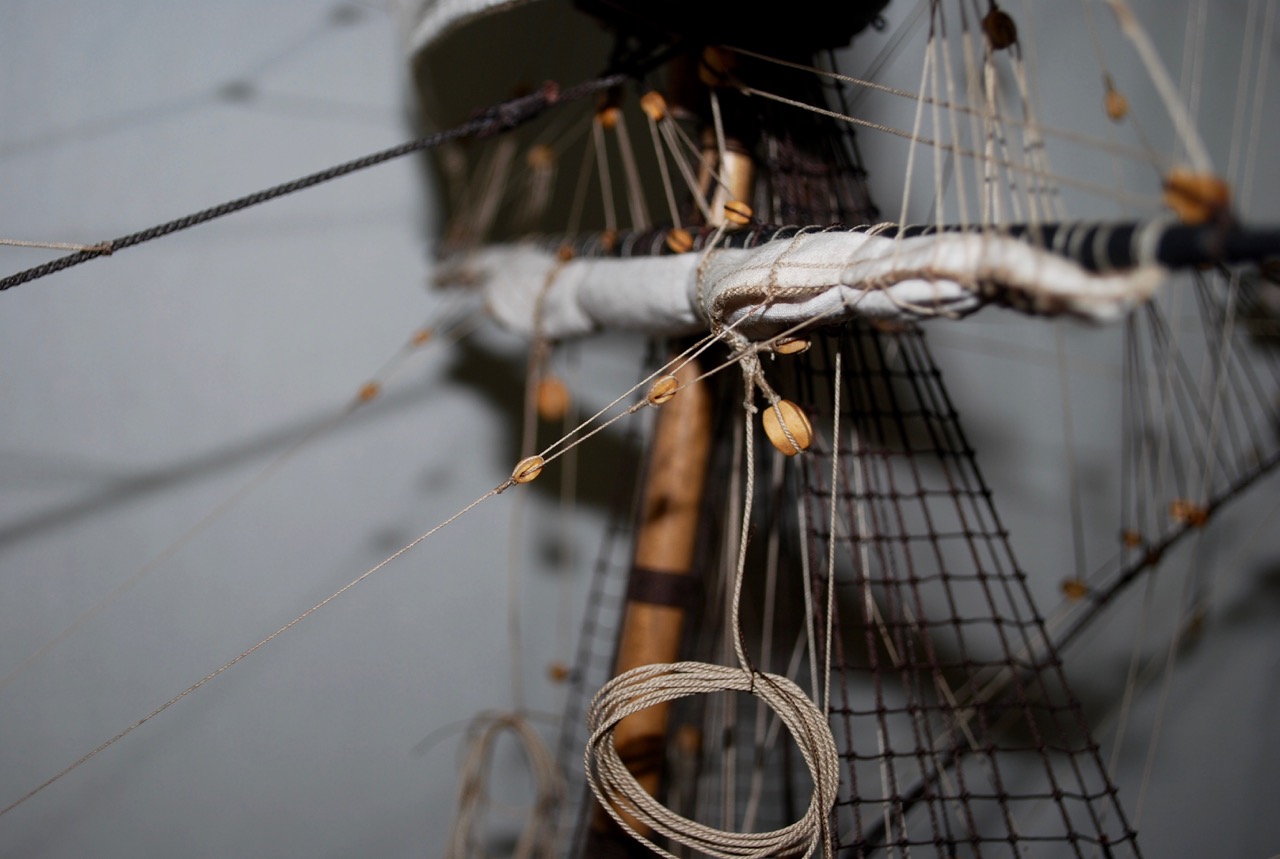
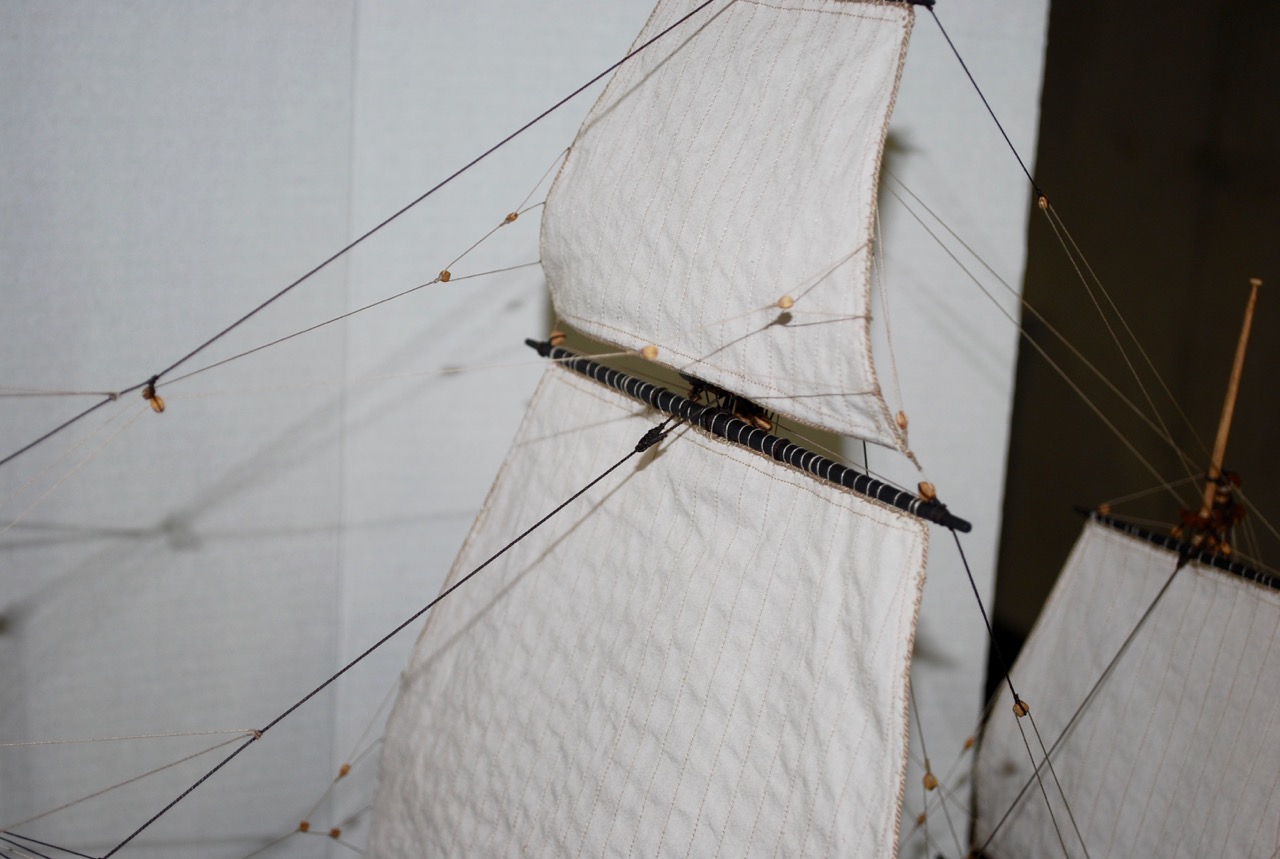
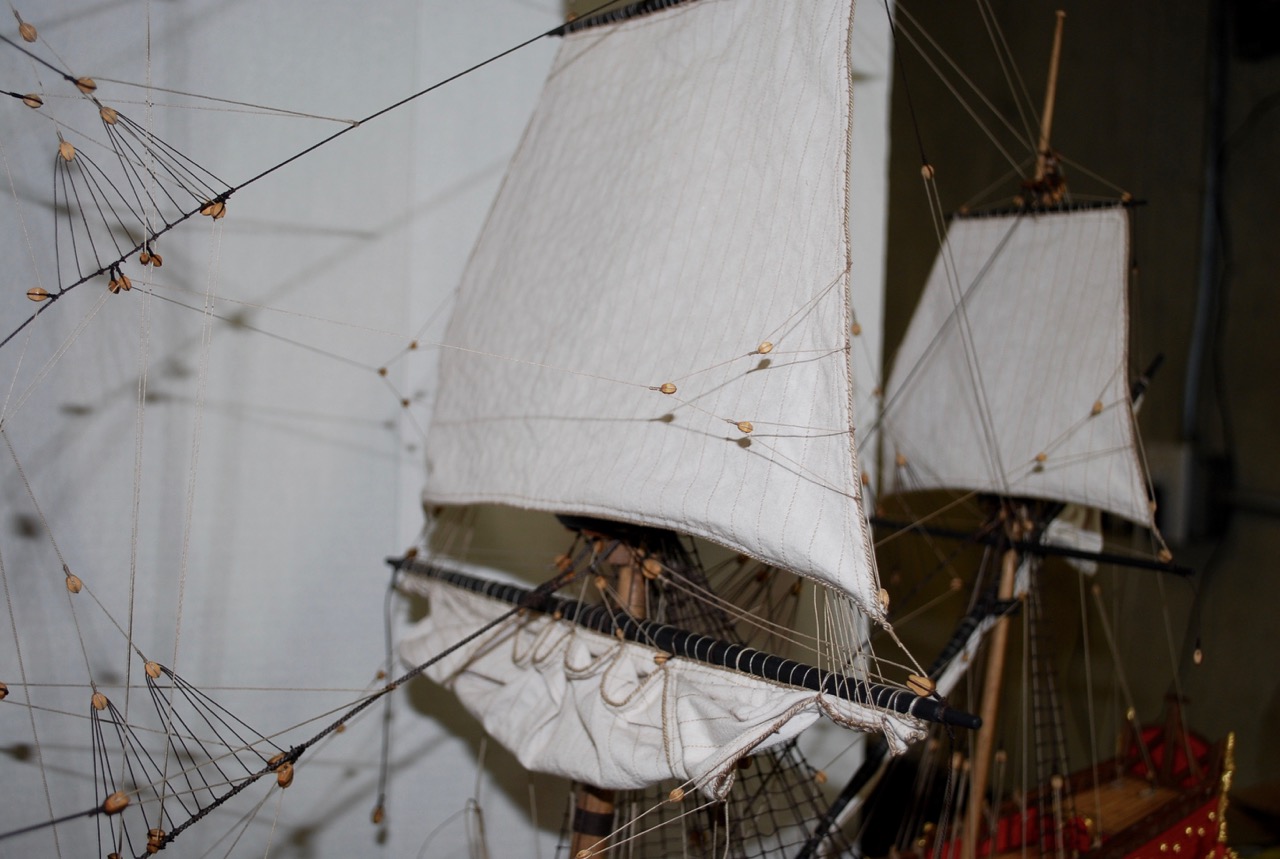
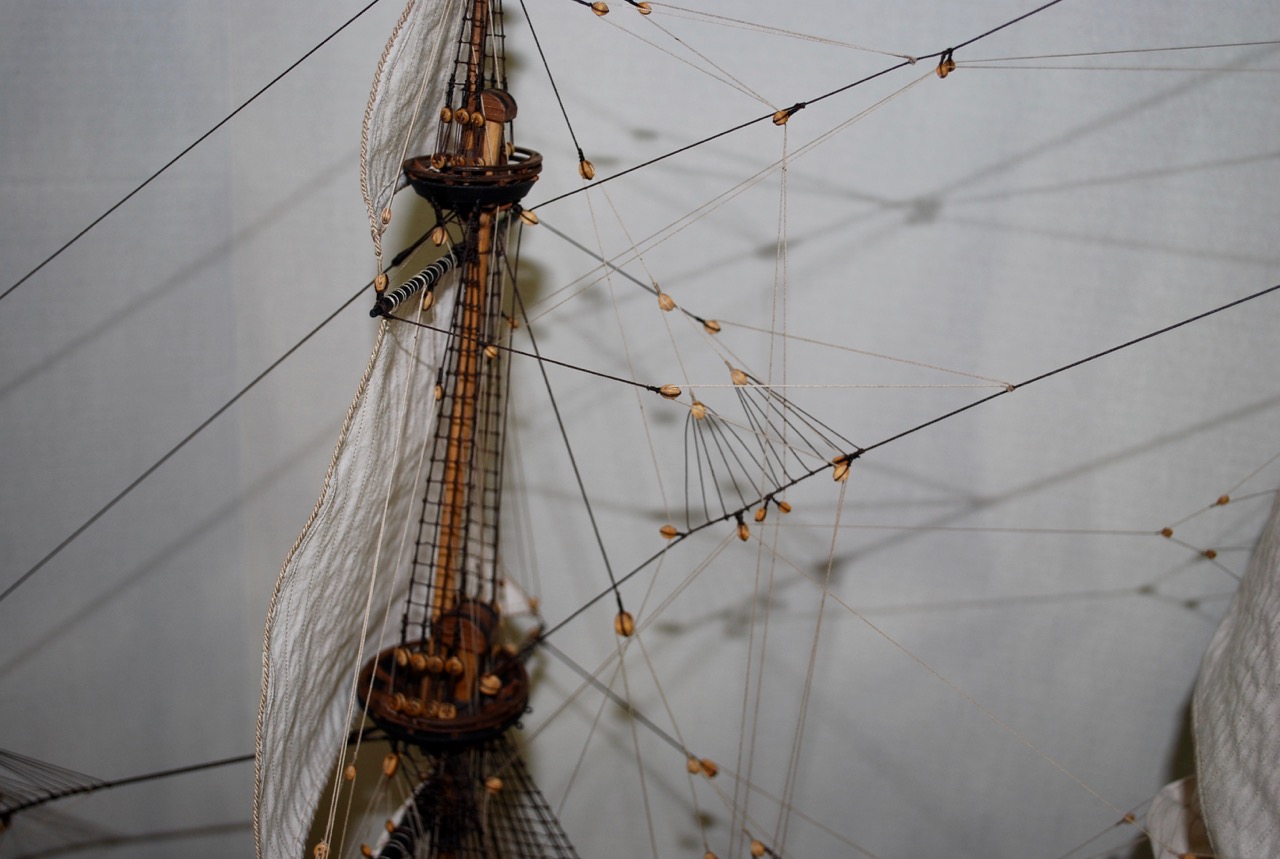
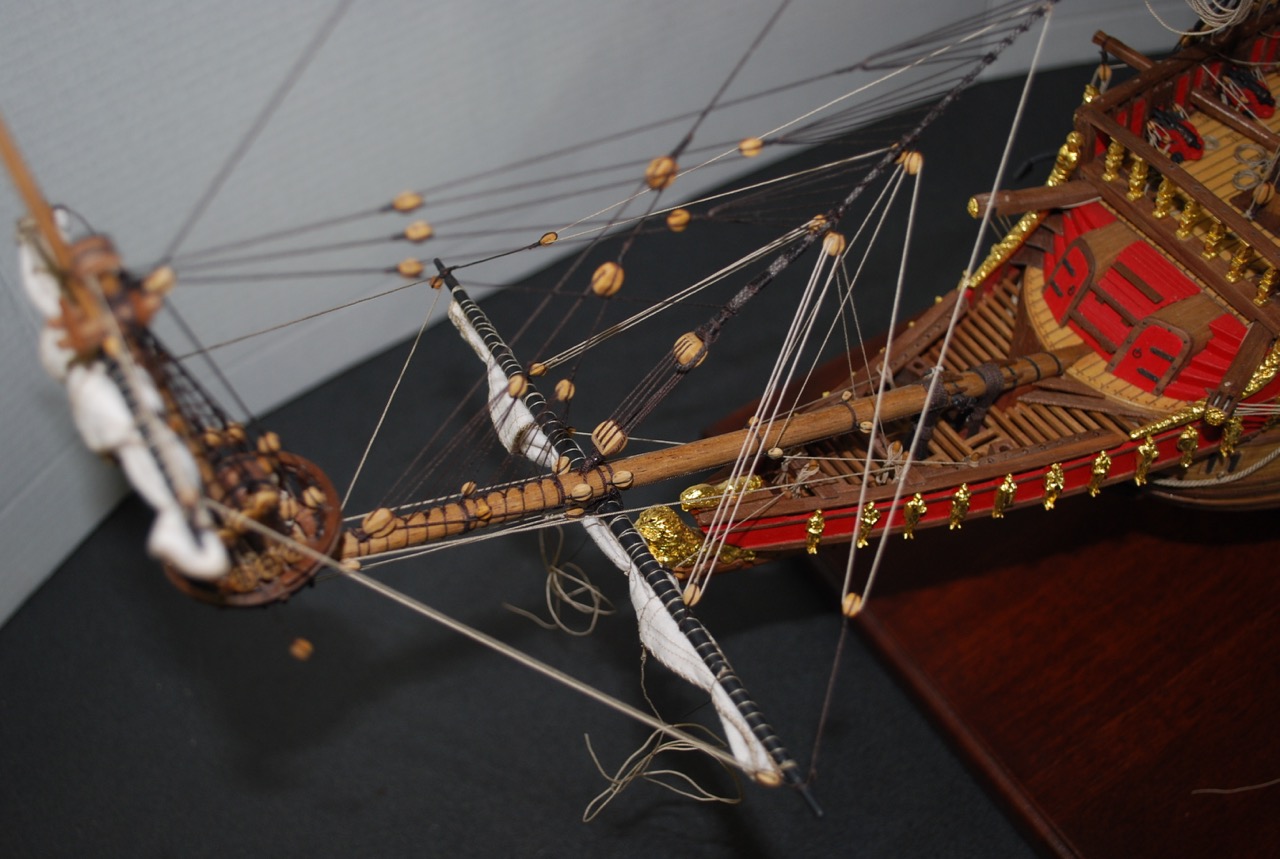
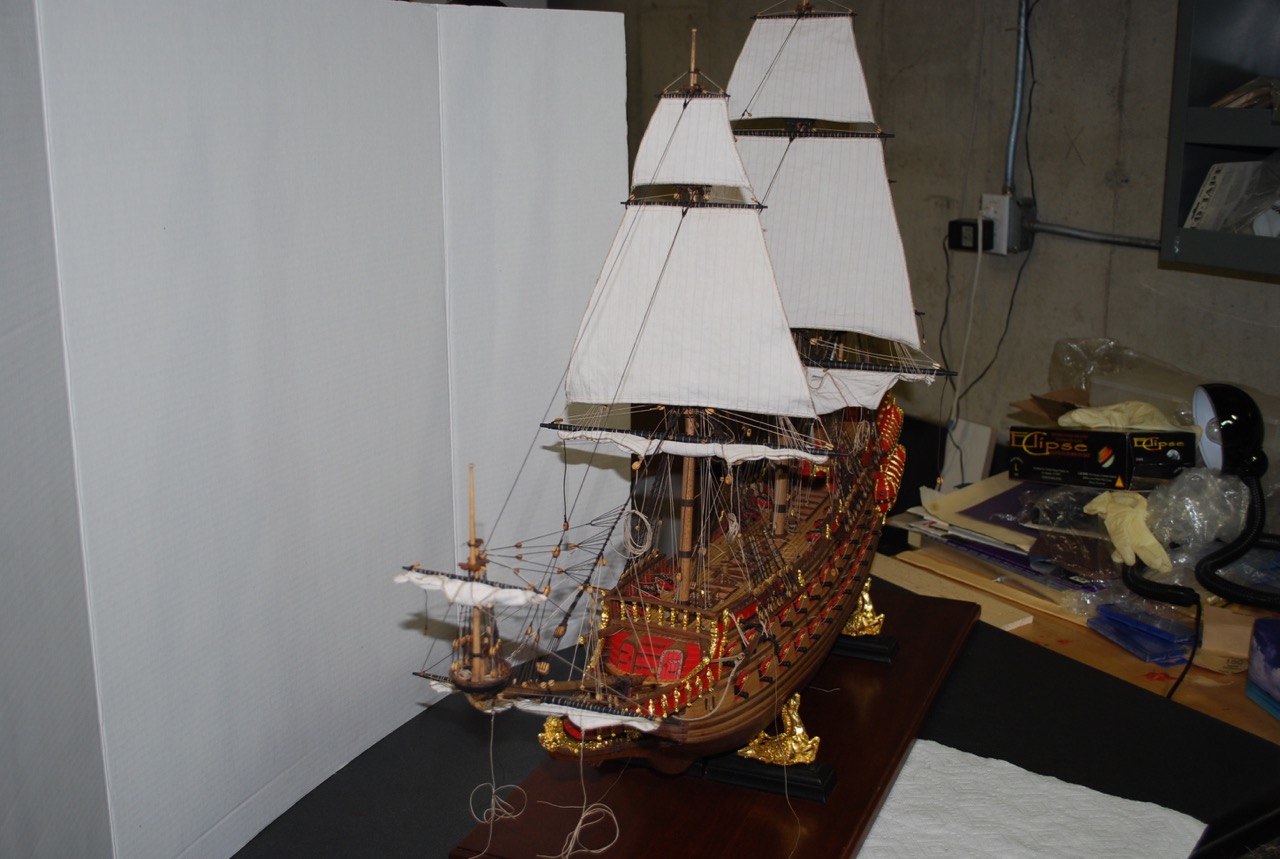
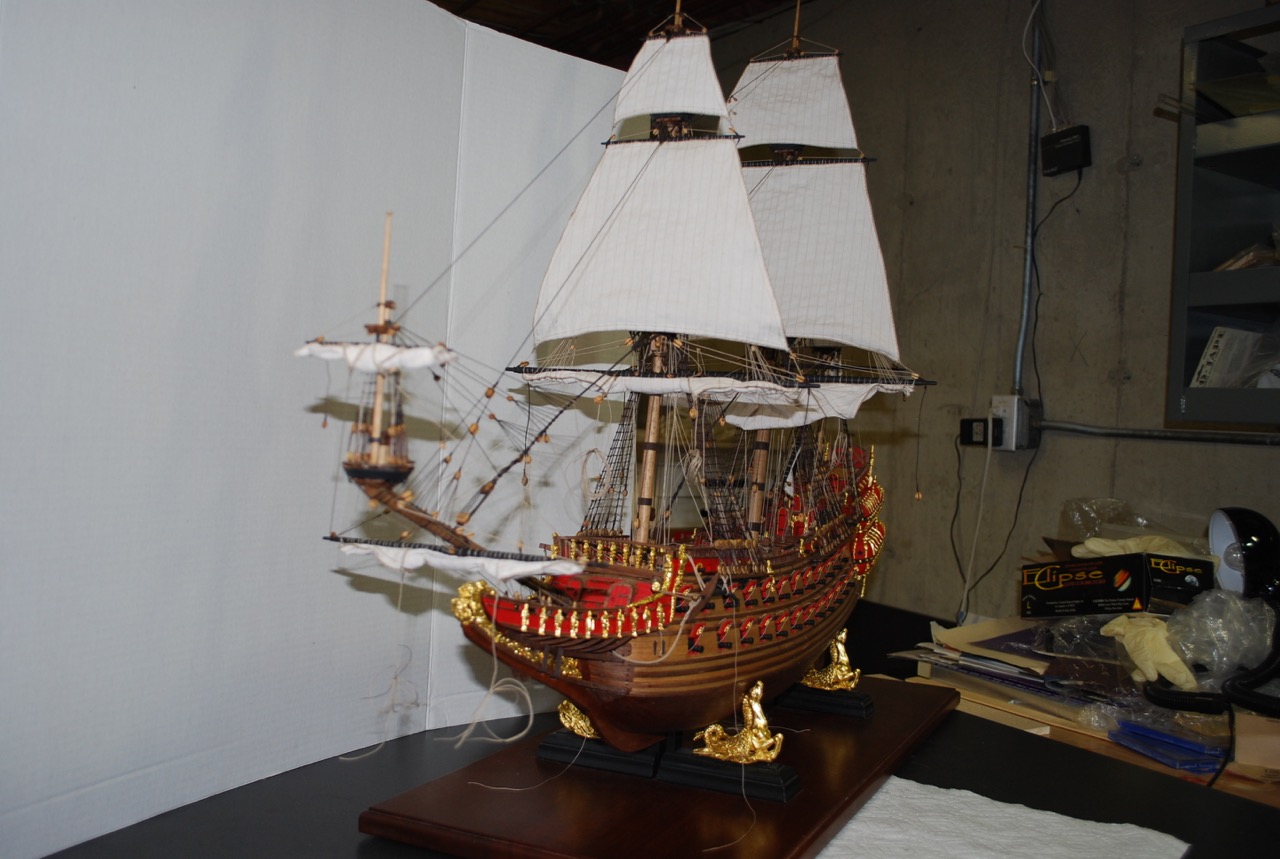
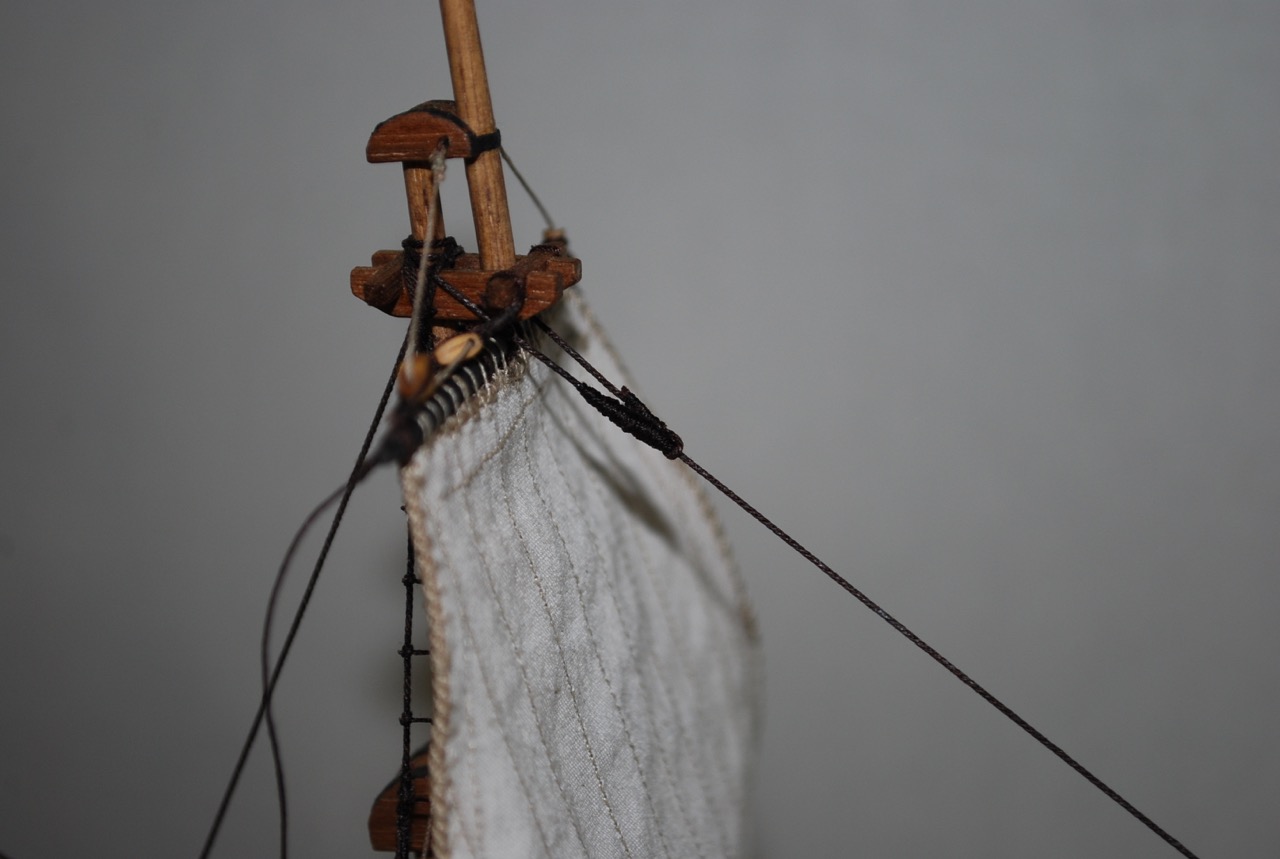
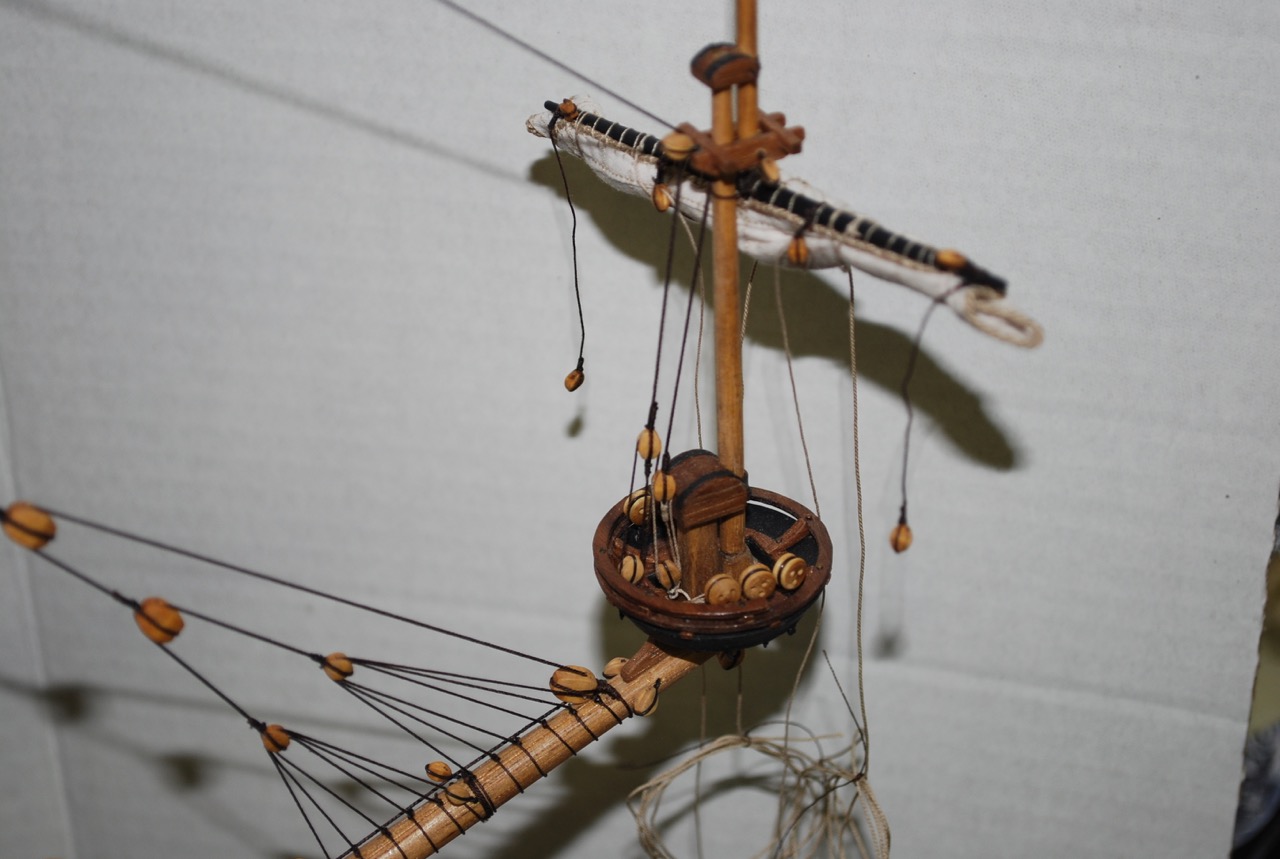
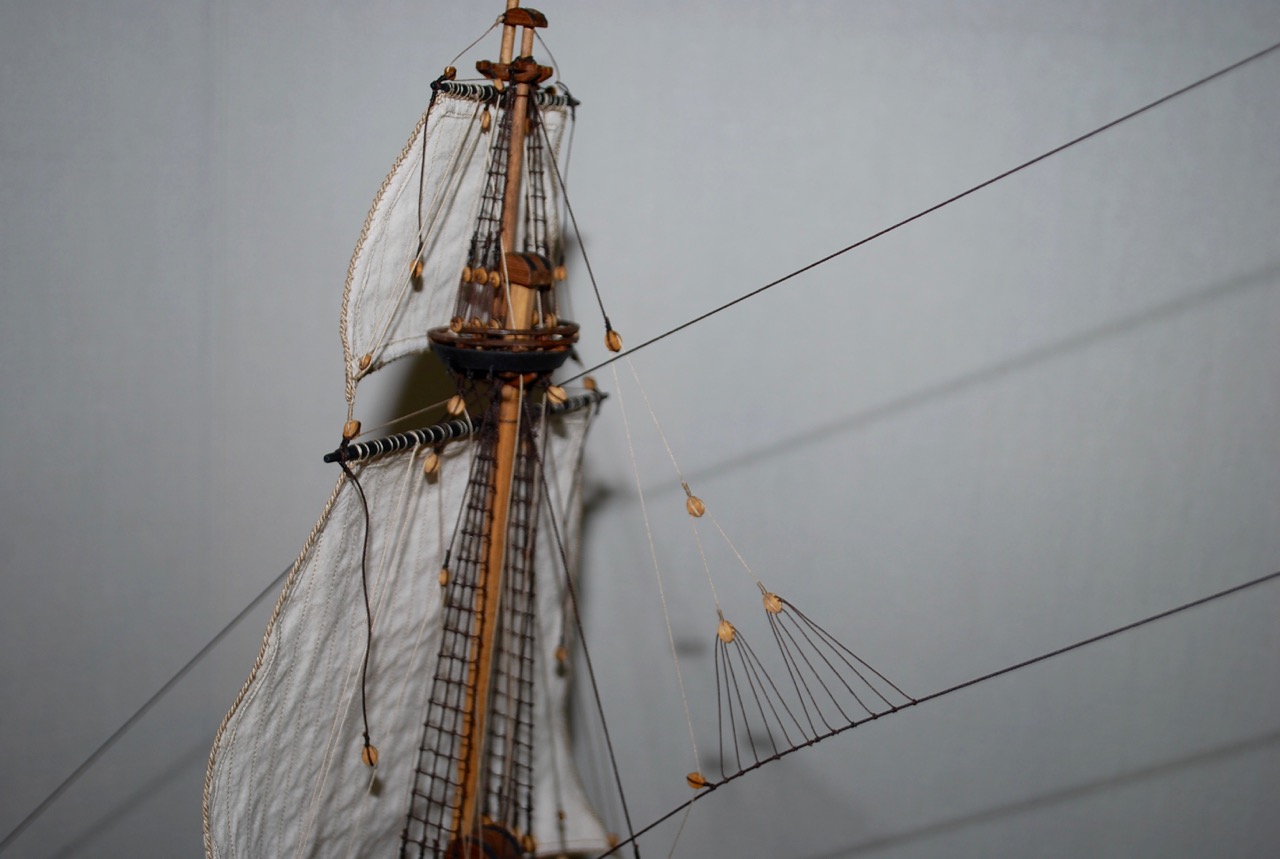
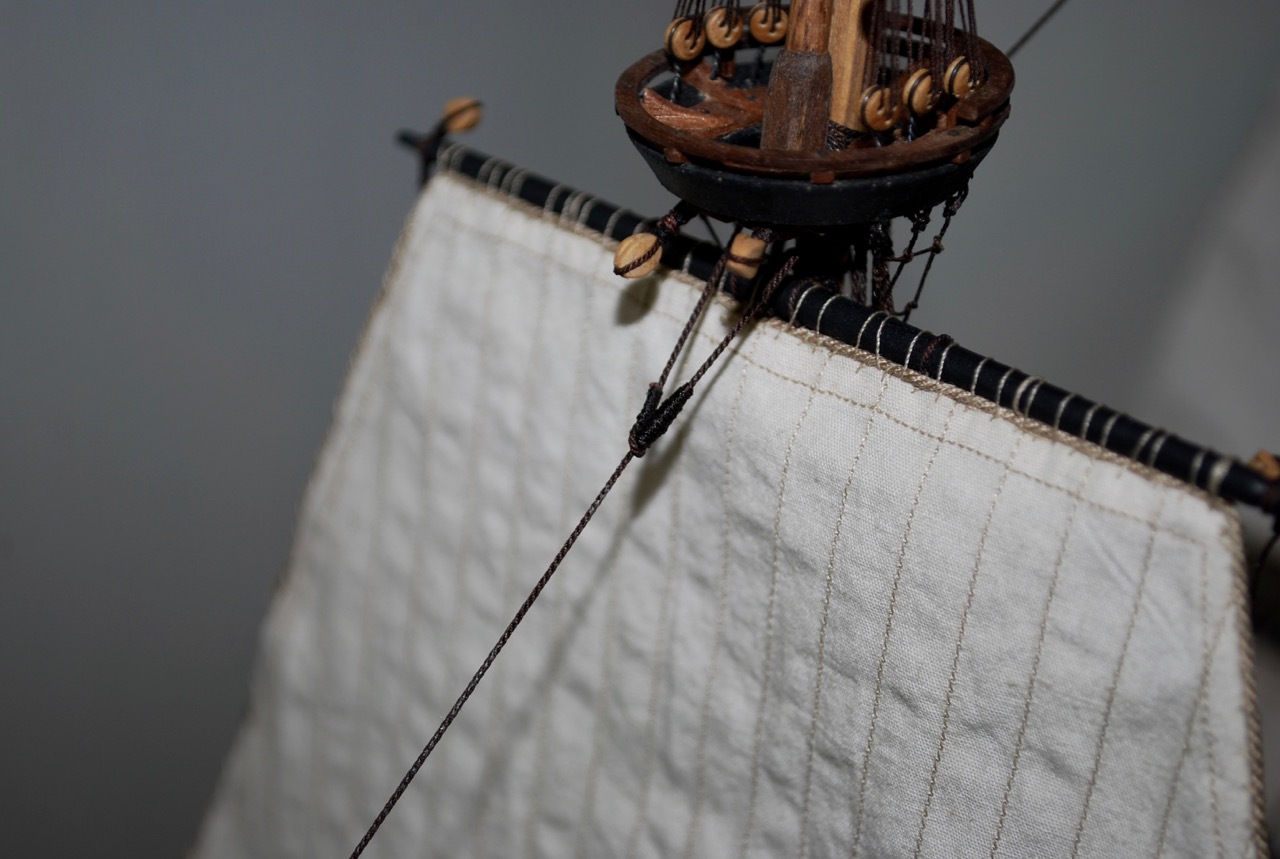
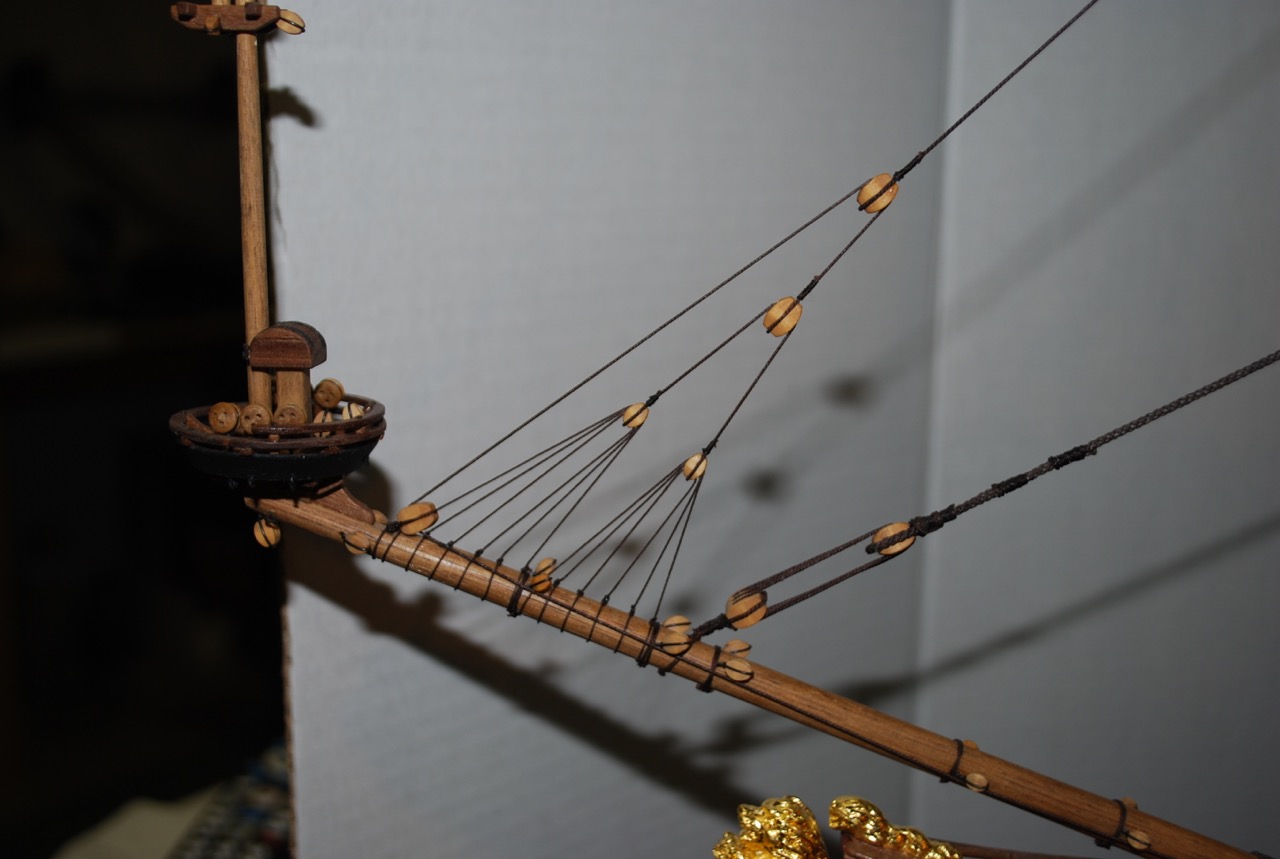
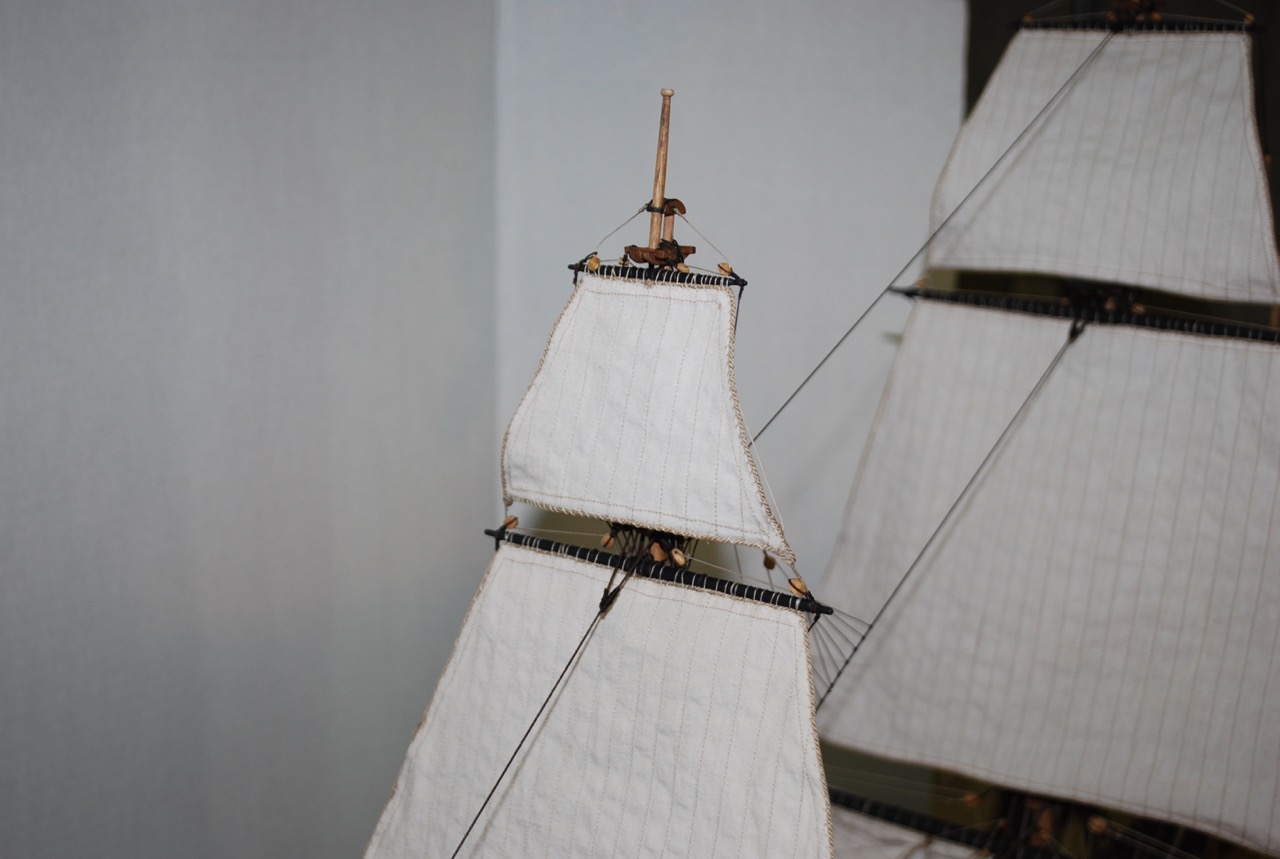
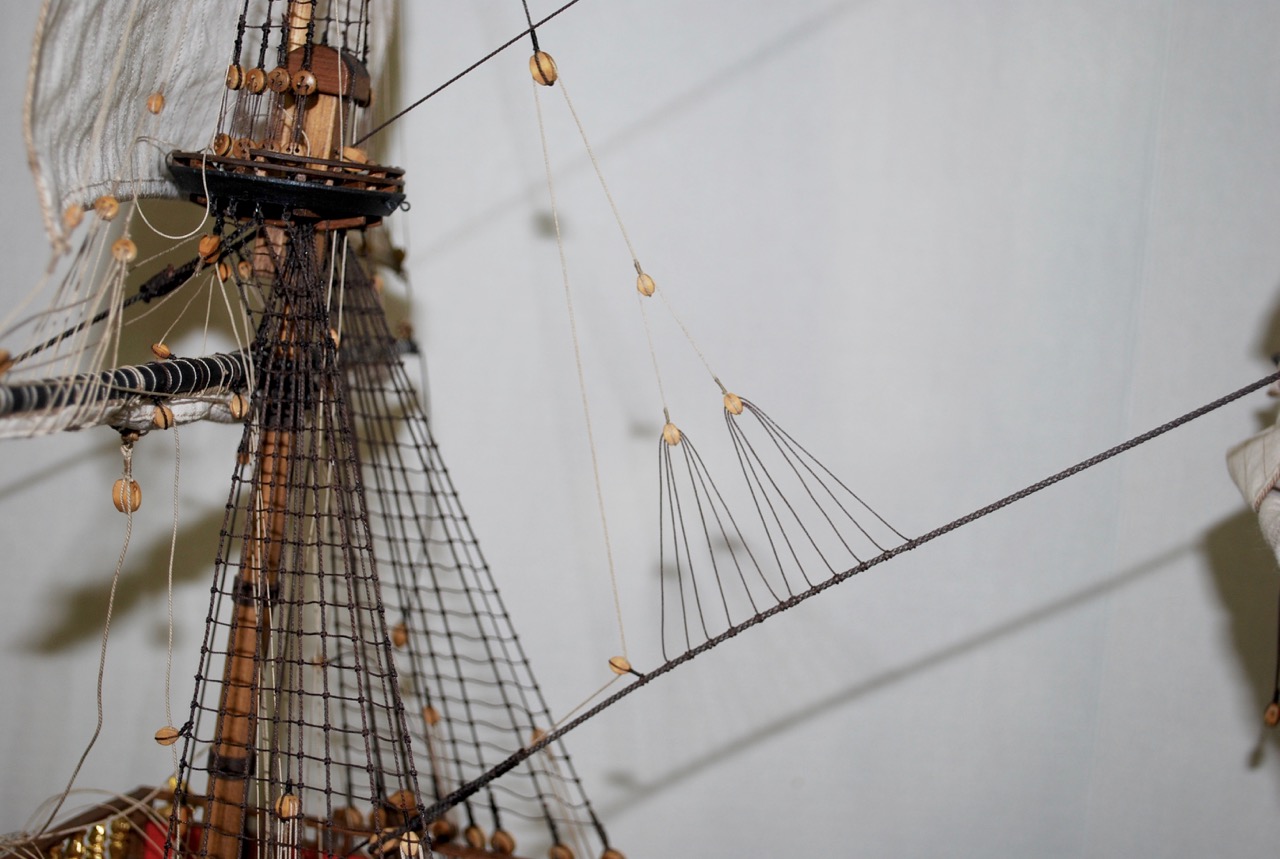
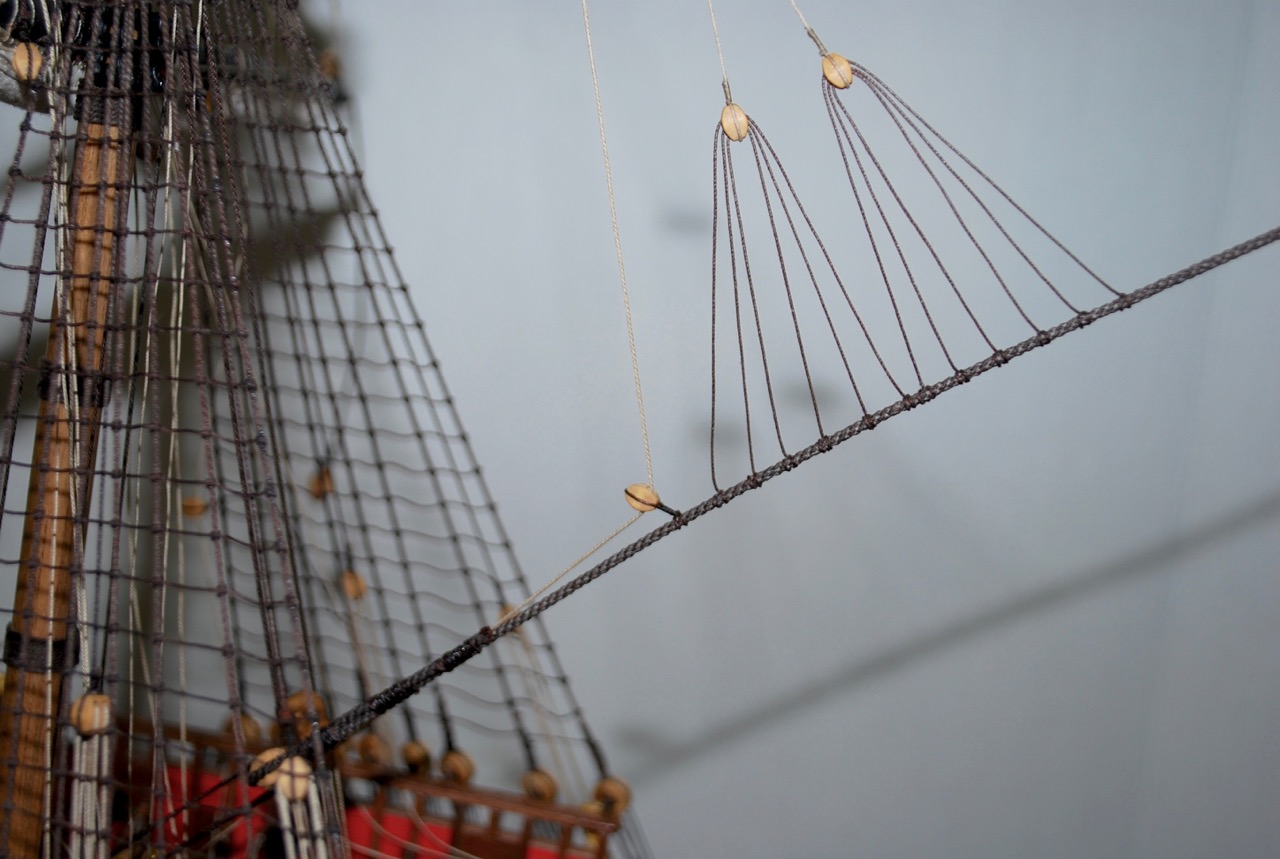
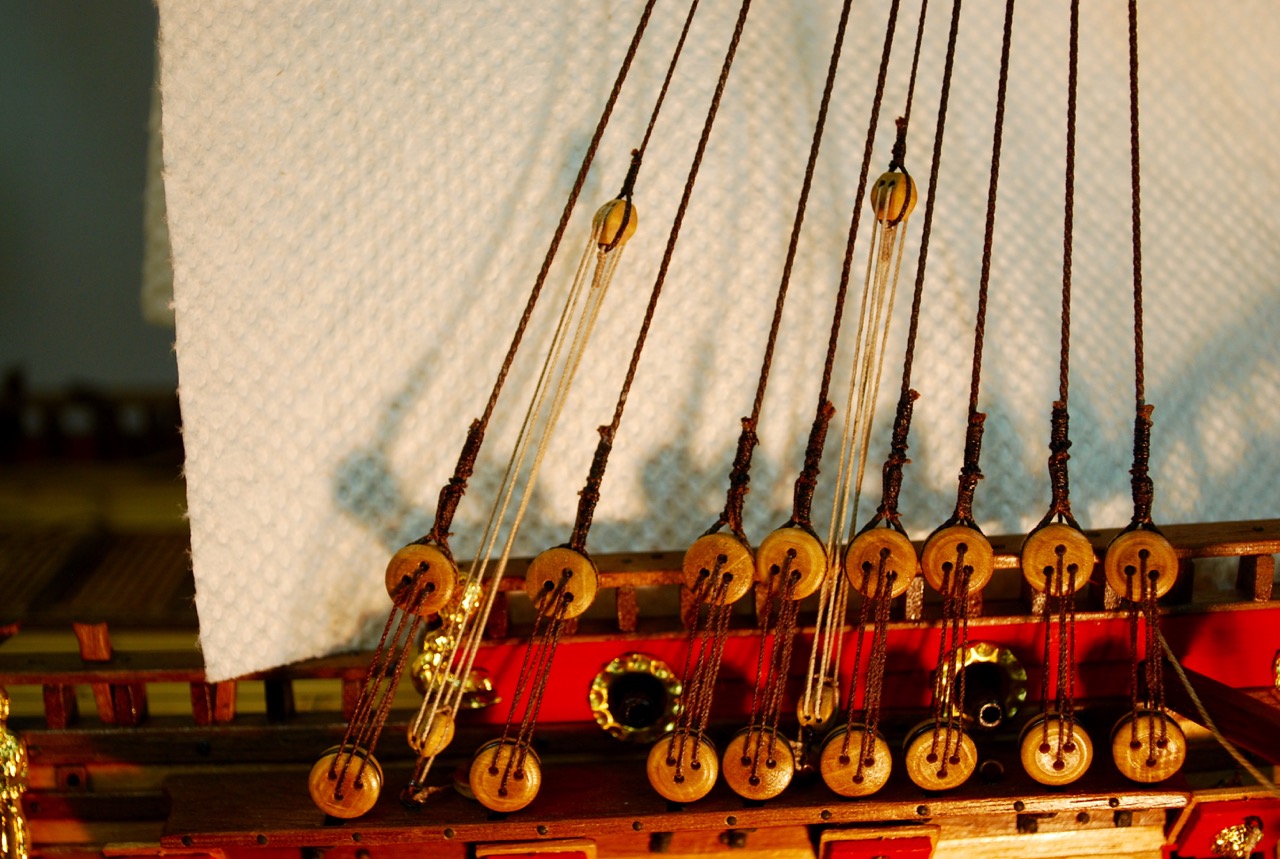
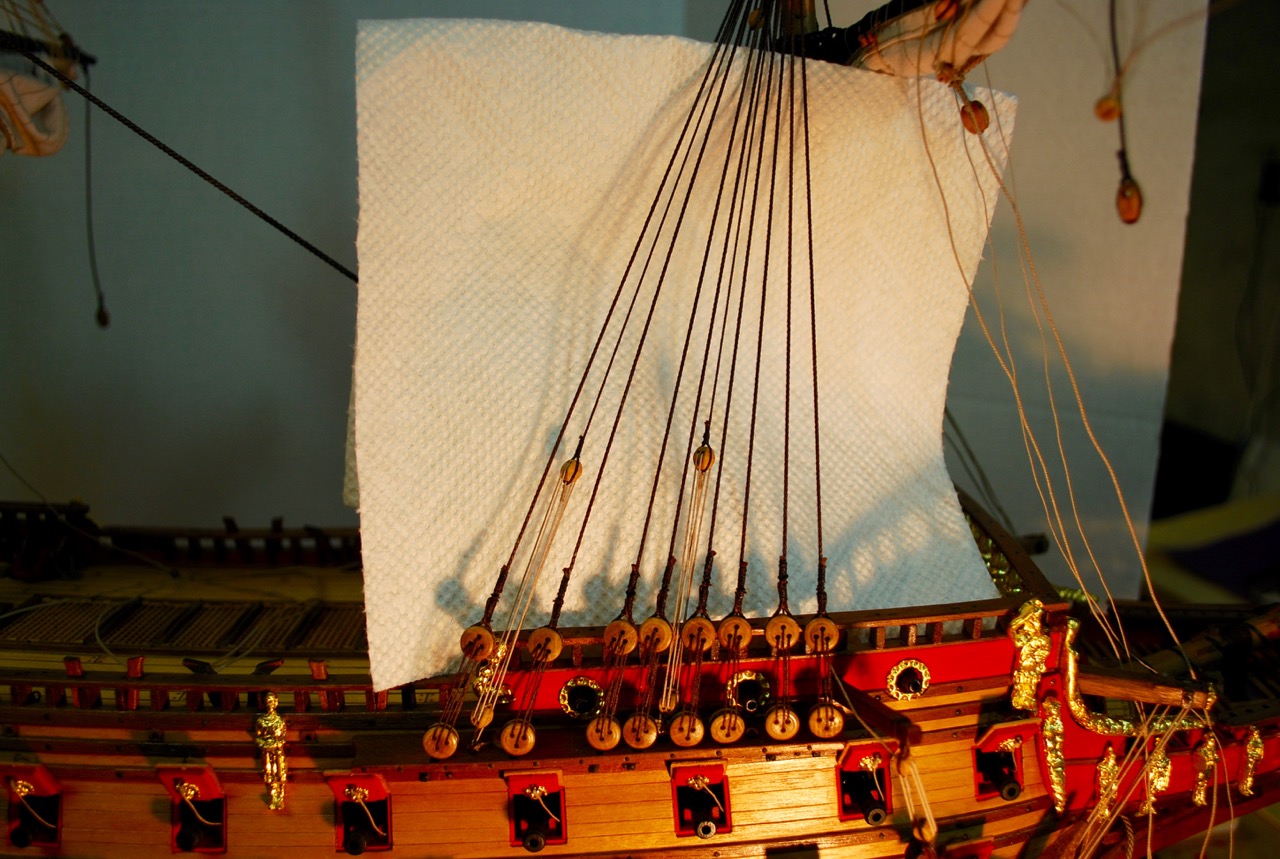
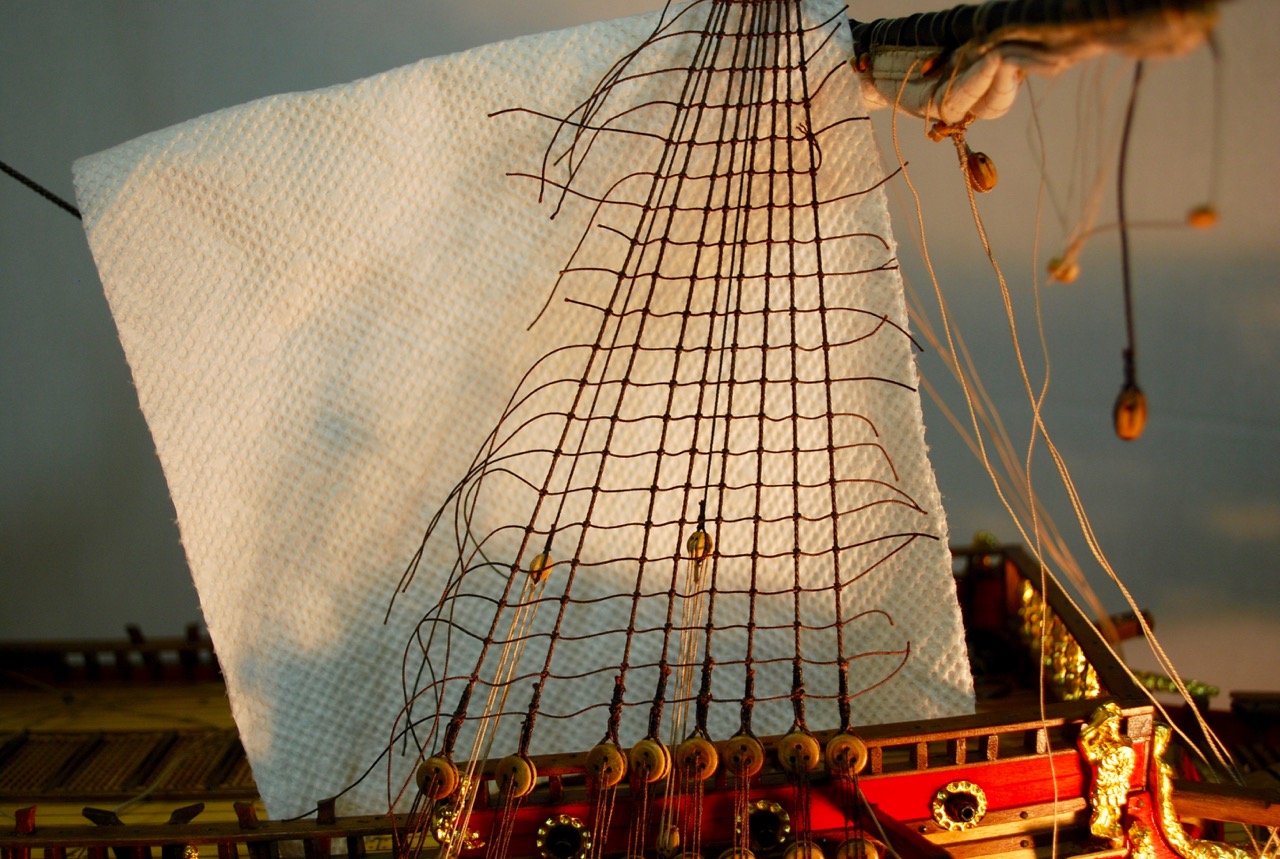
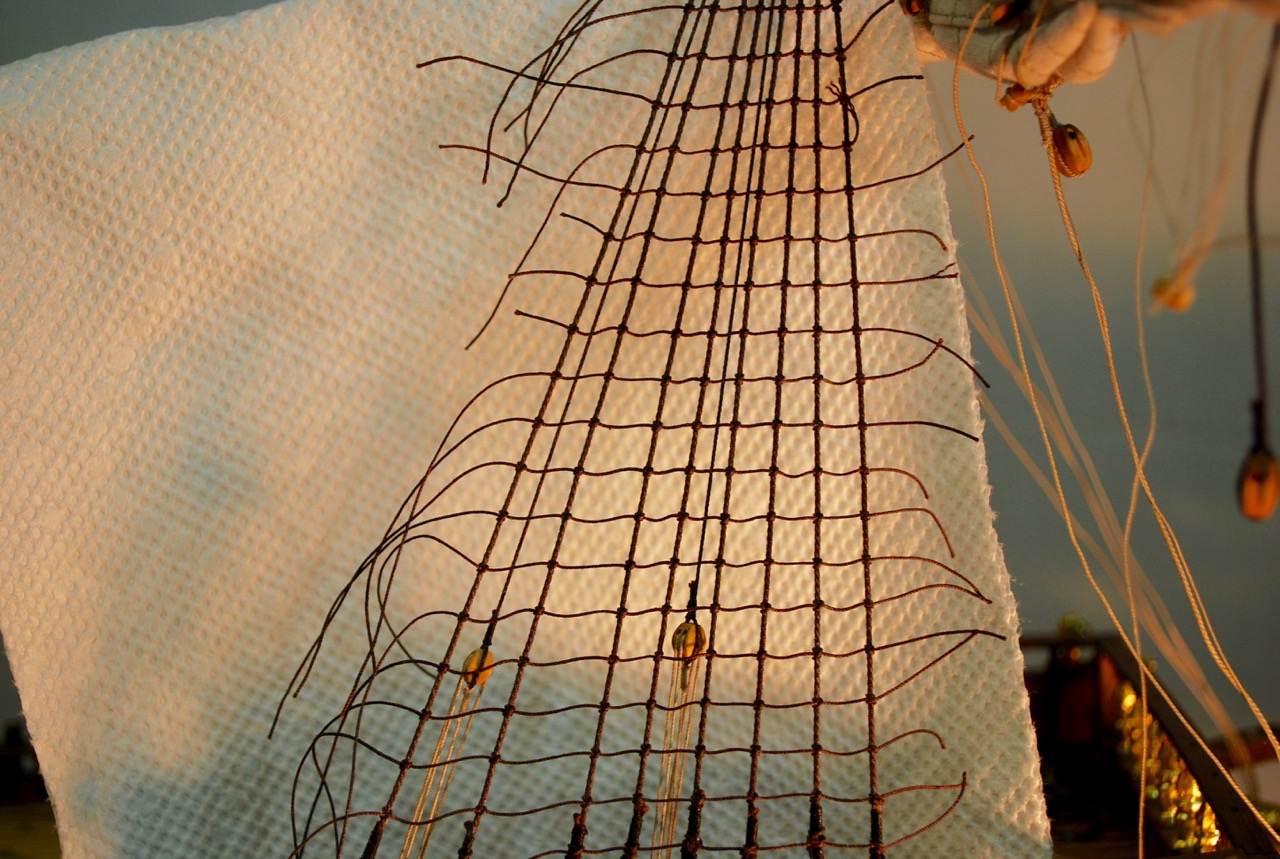
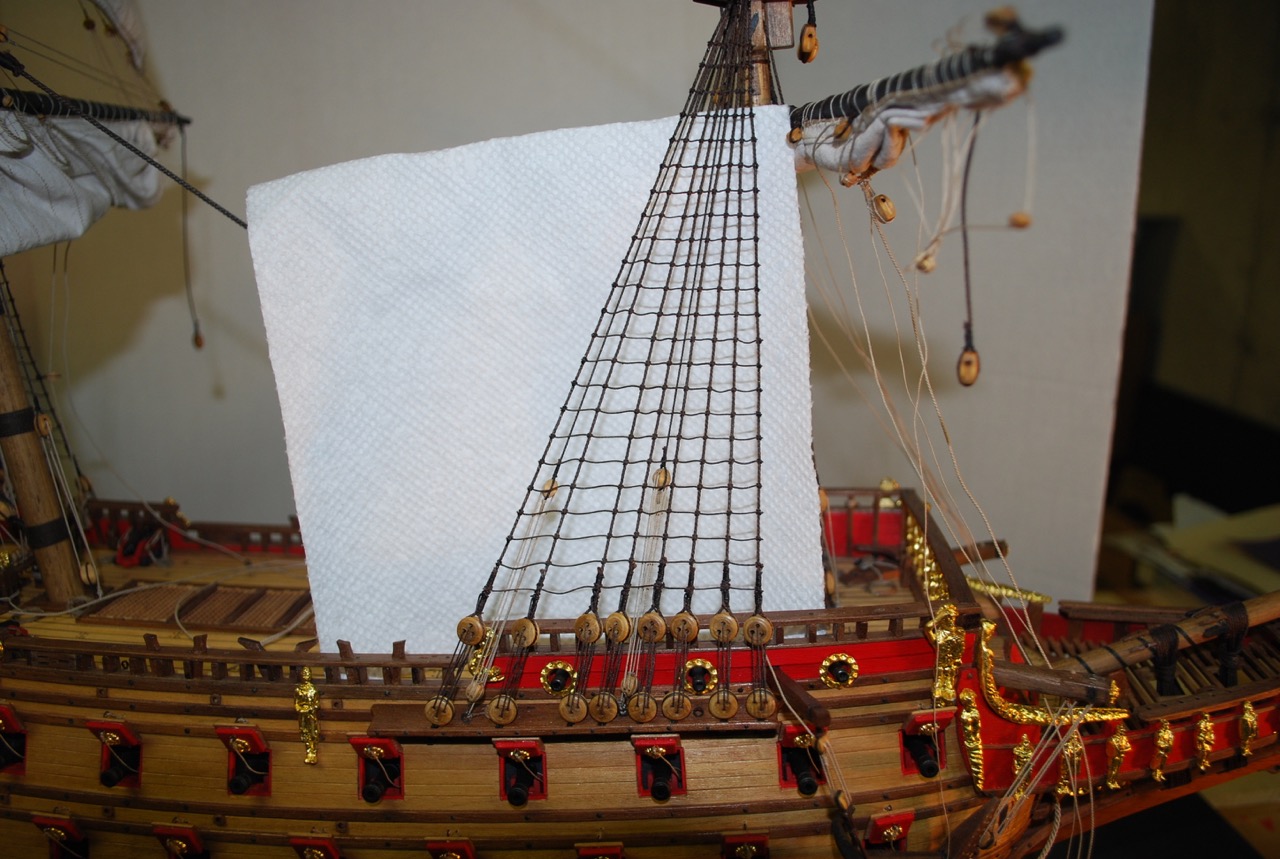
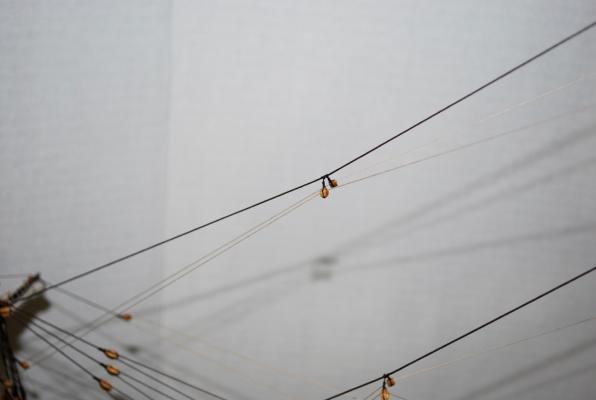
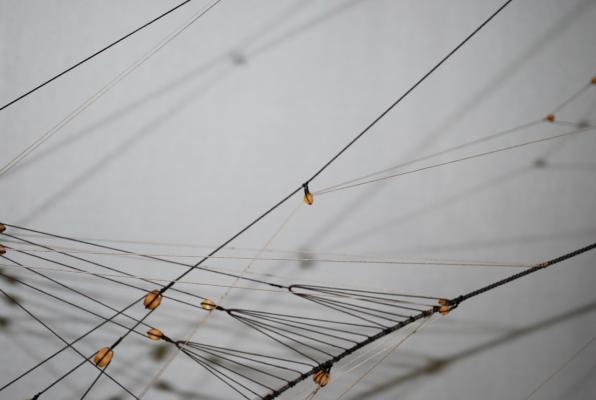
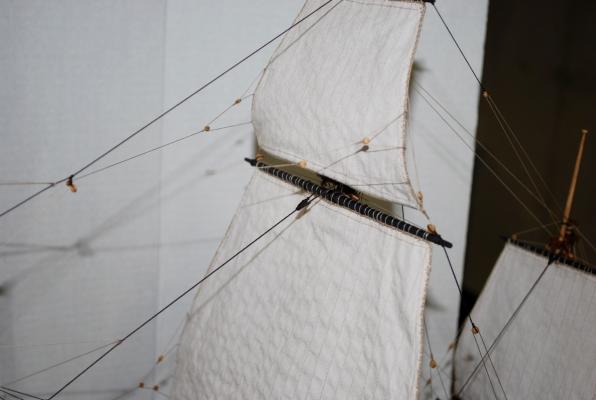
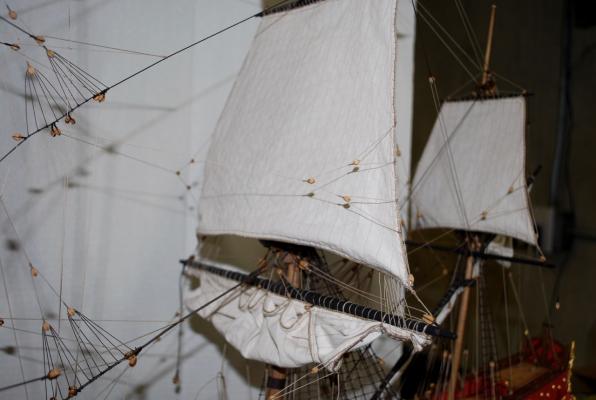
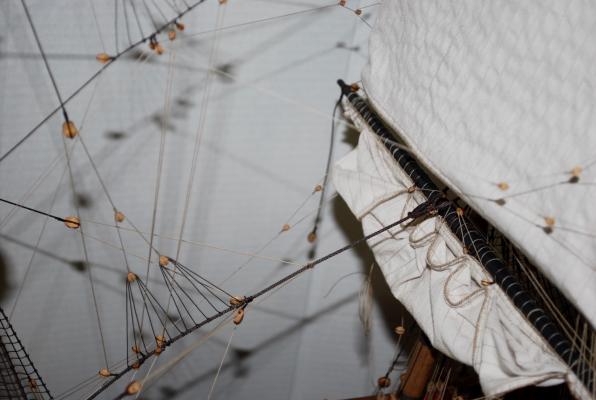
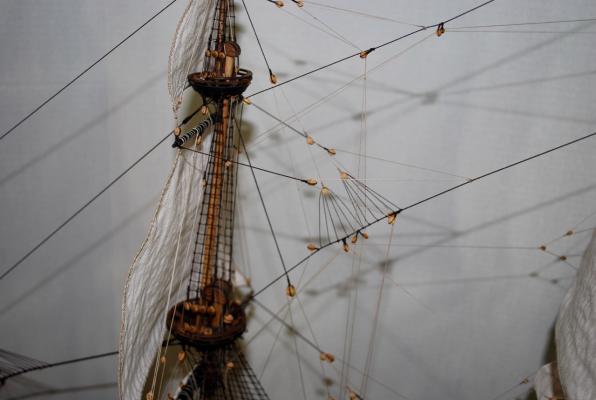
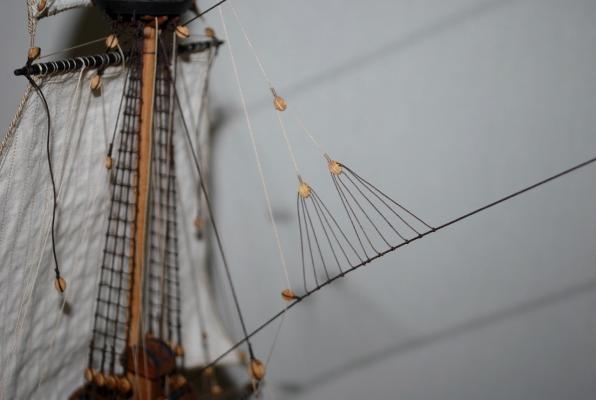
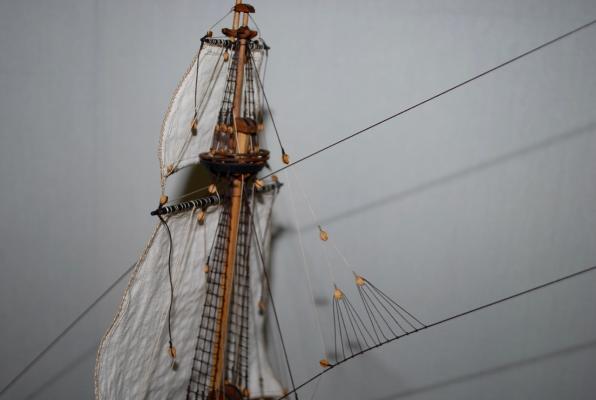
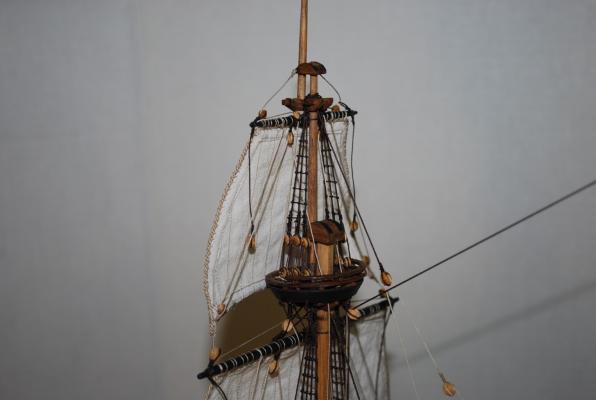
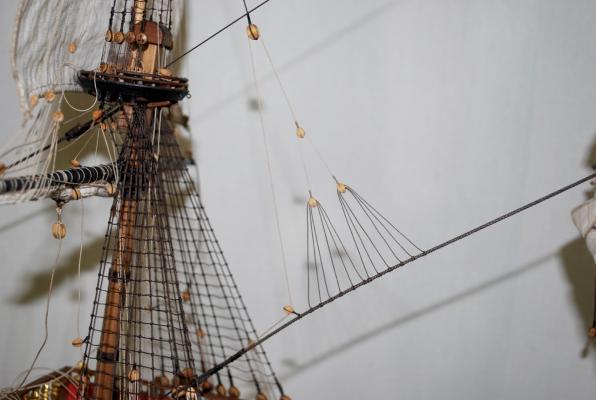
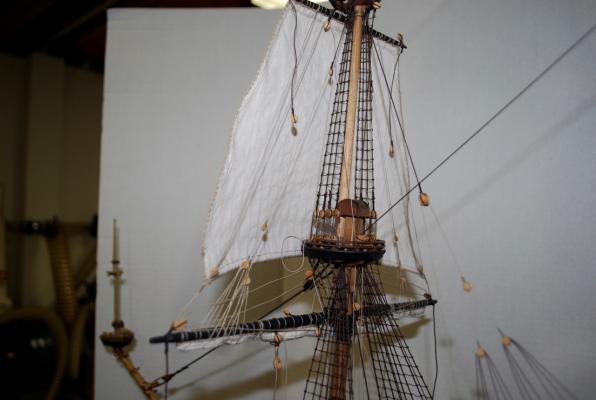
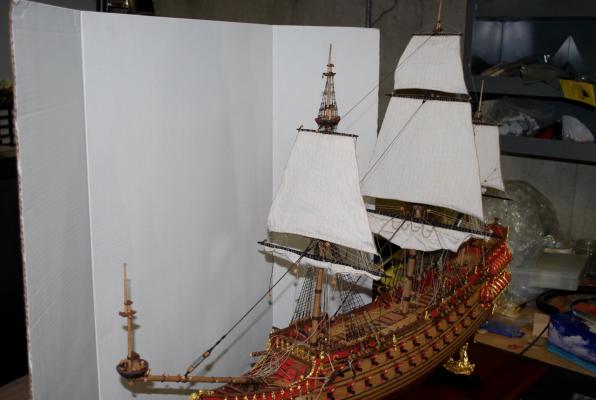
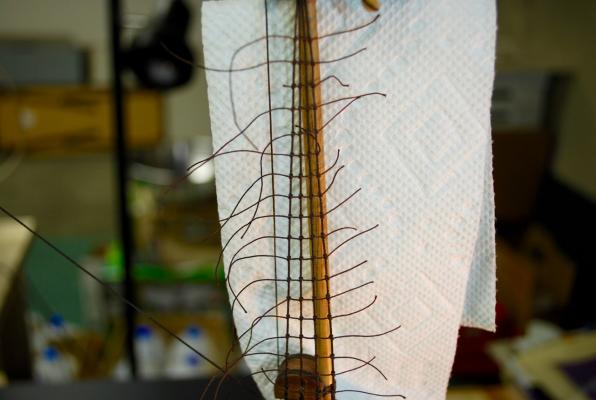
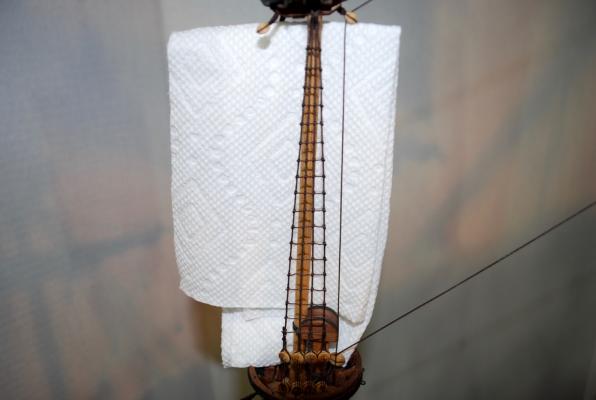
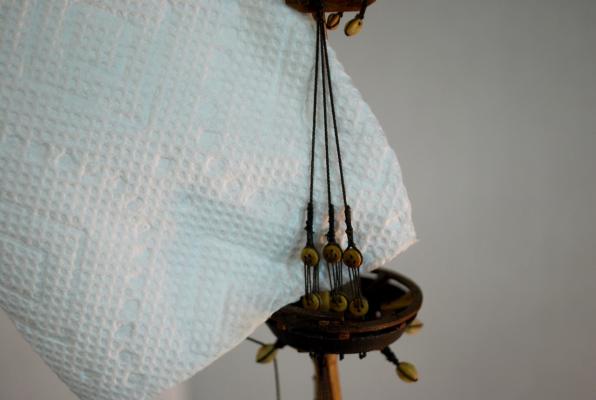
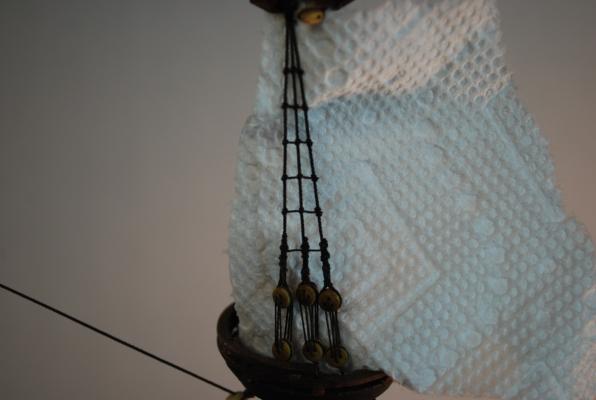
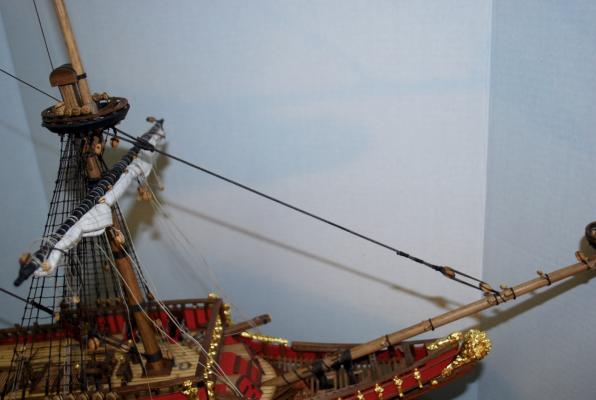
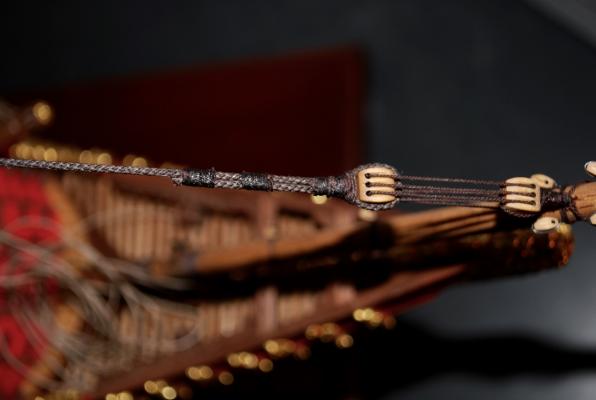
 Hello! I did some more work on the foremast sail bowlines and I finished rigging the top spritsail braces. The foremast topgallant sail bowlines also passing thru blocks on the top stay. The foremast top sail bowlines also passing thru blocks on the middle stay. The foremast lower sail bowlines The top spritsail yard brace rigged All the bowlines and spritsail braces passing thru the blocks on the bowsprit mast The bowlines and braces at their final belaying pin locations I am almost done with all the rigging on the ship. The remaining lines to go on the ship are: 1. Lower spritsail sheet 2. Lower foresail sheets and tacks 3. Lower main sail sheets, tacks, and braces 4. Lower mizzen yard braces I will install these lines after I finish the delicate upper railing system on the model. So, my next steps are to: 1. Install and rig the stern flag pole and flag (while I can still get my hands in that area) And 2. Install the upper railing system on both sides of the ship. Thanks for visiting my log and for the previous "likes" !!!! Frank
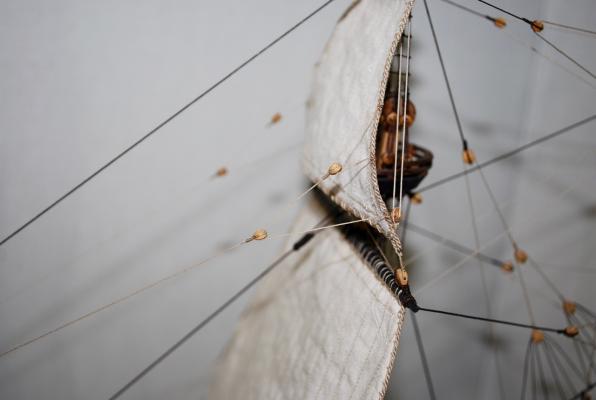

- 493 replies
-
- 10
-

-
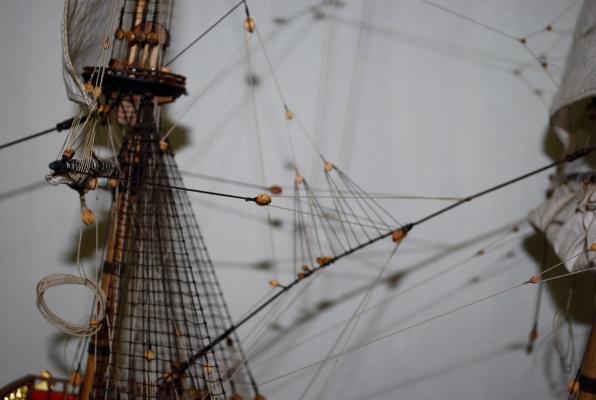
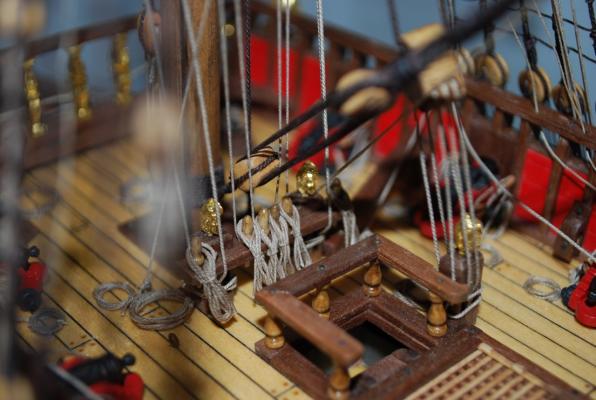
Hello! I was able to finish up some more rigging between the foremast and mainmast. Main topgallant sail bowlines Main topsail bowlines Main lower sail bowlines (middle of picture on far side of sail) Fore topgallant yard braces Fore top yard braces Fore lower yard braces Lines finding their way to the deck railings Overview of work between the foremast and mainmast. One thing I am having a lot of trouble with is in trying to minimize the distortion of the main stays due to all the lines and blocks being attached to them. My next step is to finish up the bowlines on all 3 foremast sails! Thanks again for visiting and for all the "likes" Frank


-
Hi Karl! Thank you for your "big help" in helping me get the sail sizes and configurations correct! Your very fine log got me started into finishing my Corel ship with the addition of sails! Frank
-
Hello Michael and Ulises, Thanks for checking in! It is appreciated! Thanks for your kind comments, Frank
-
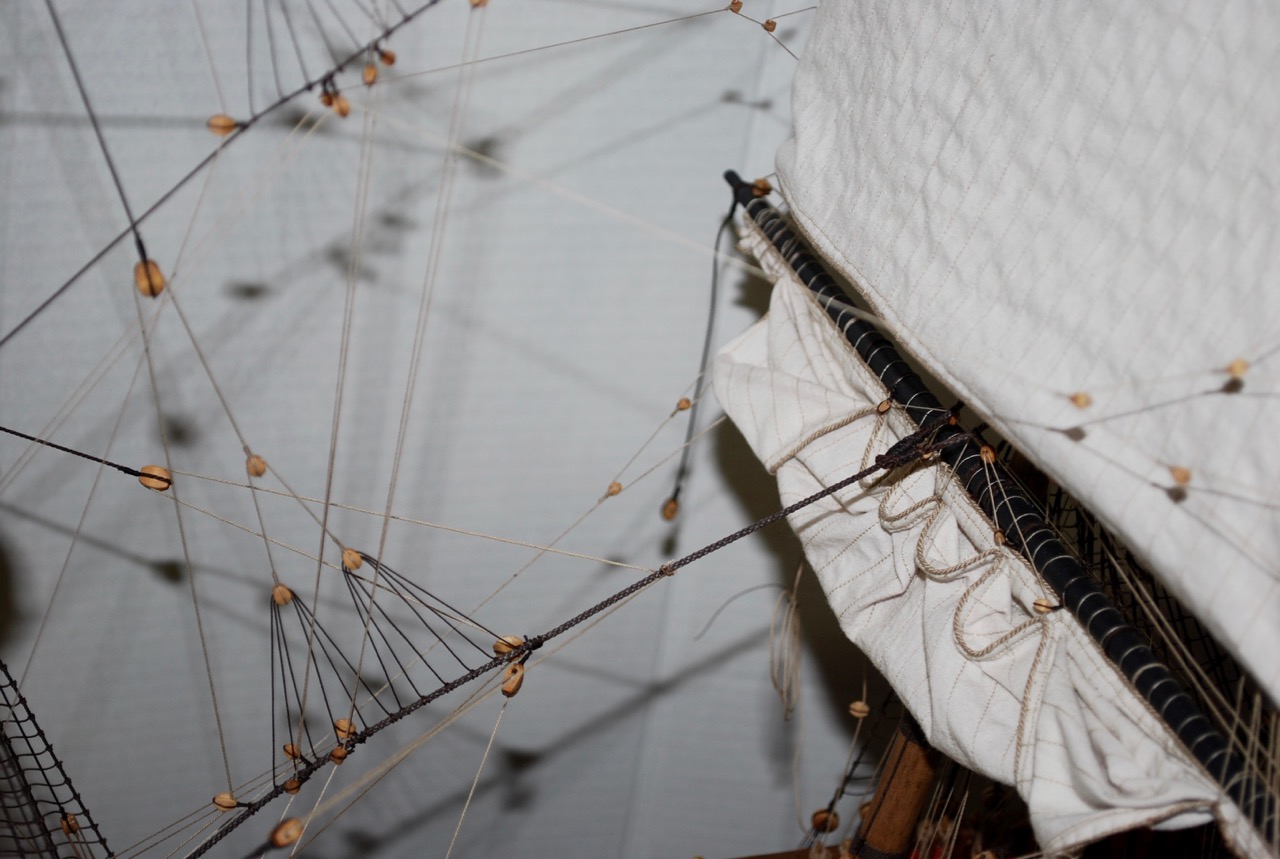
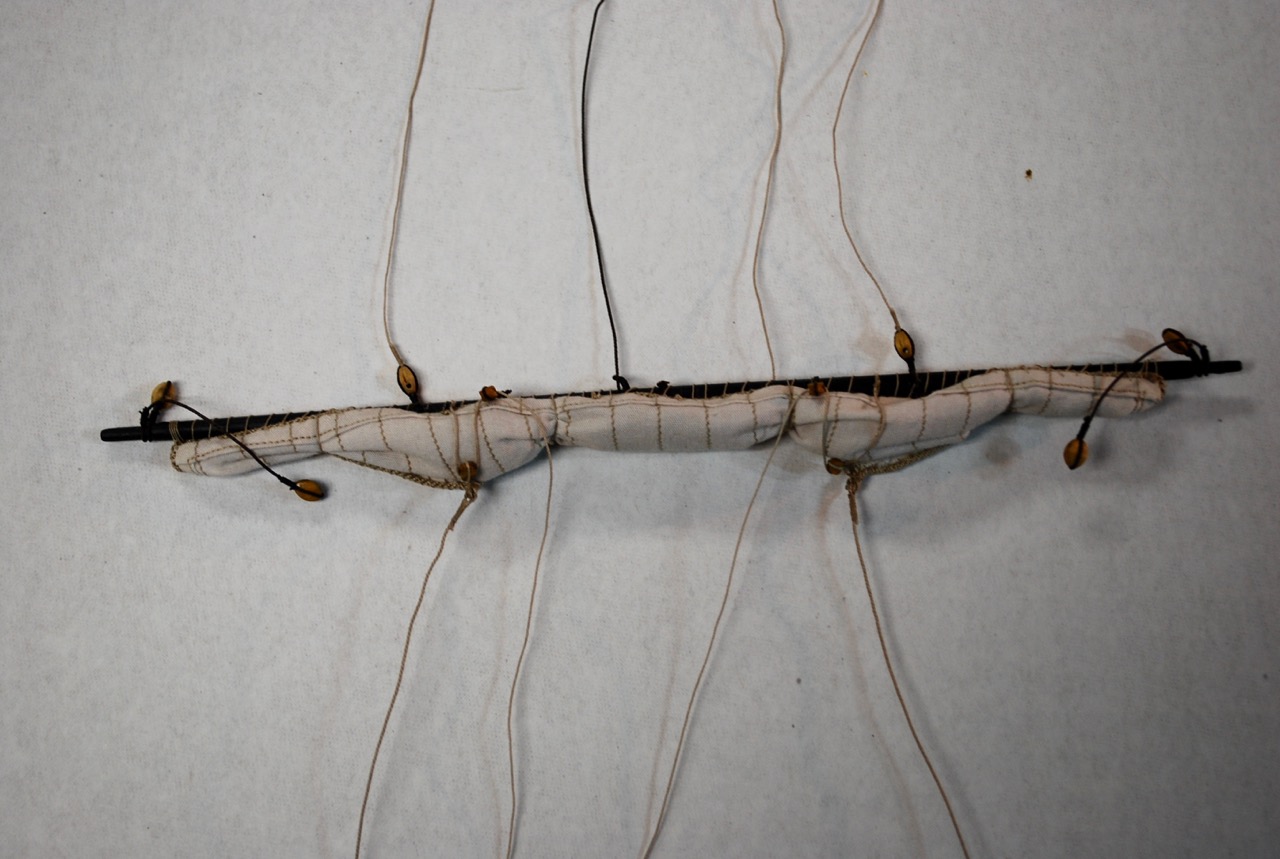
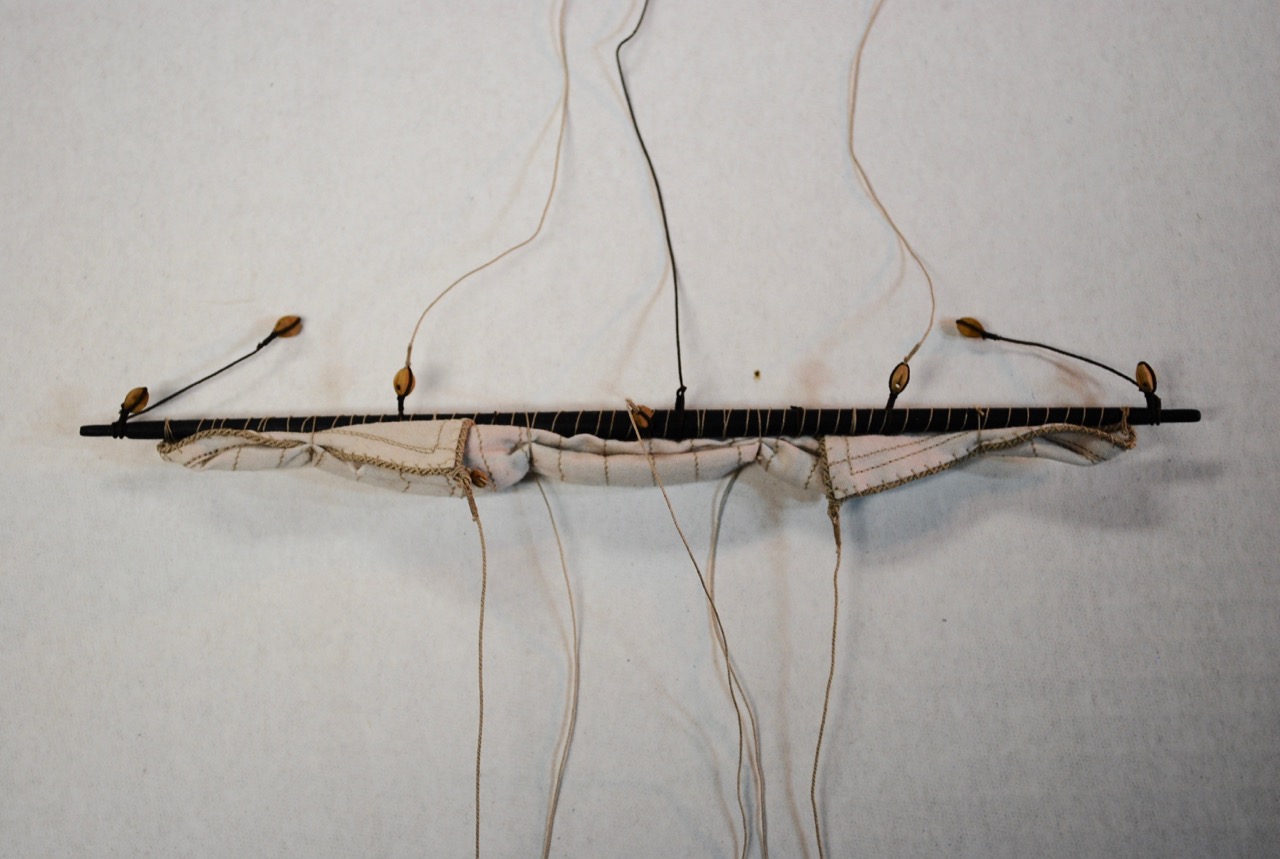
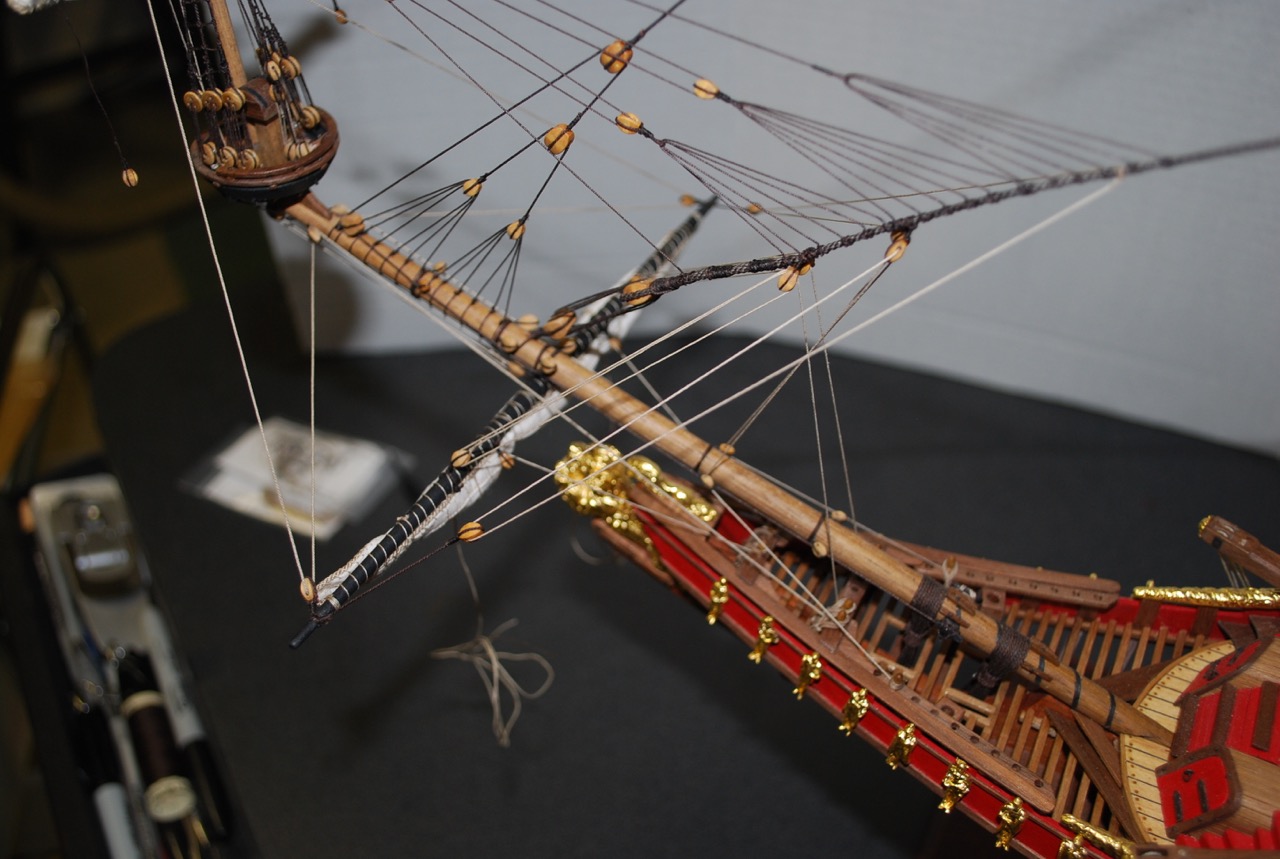
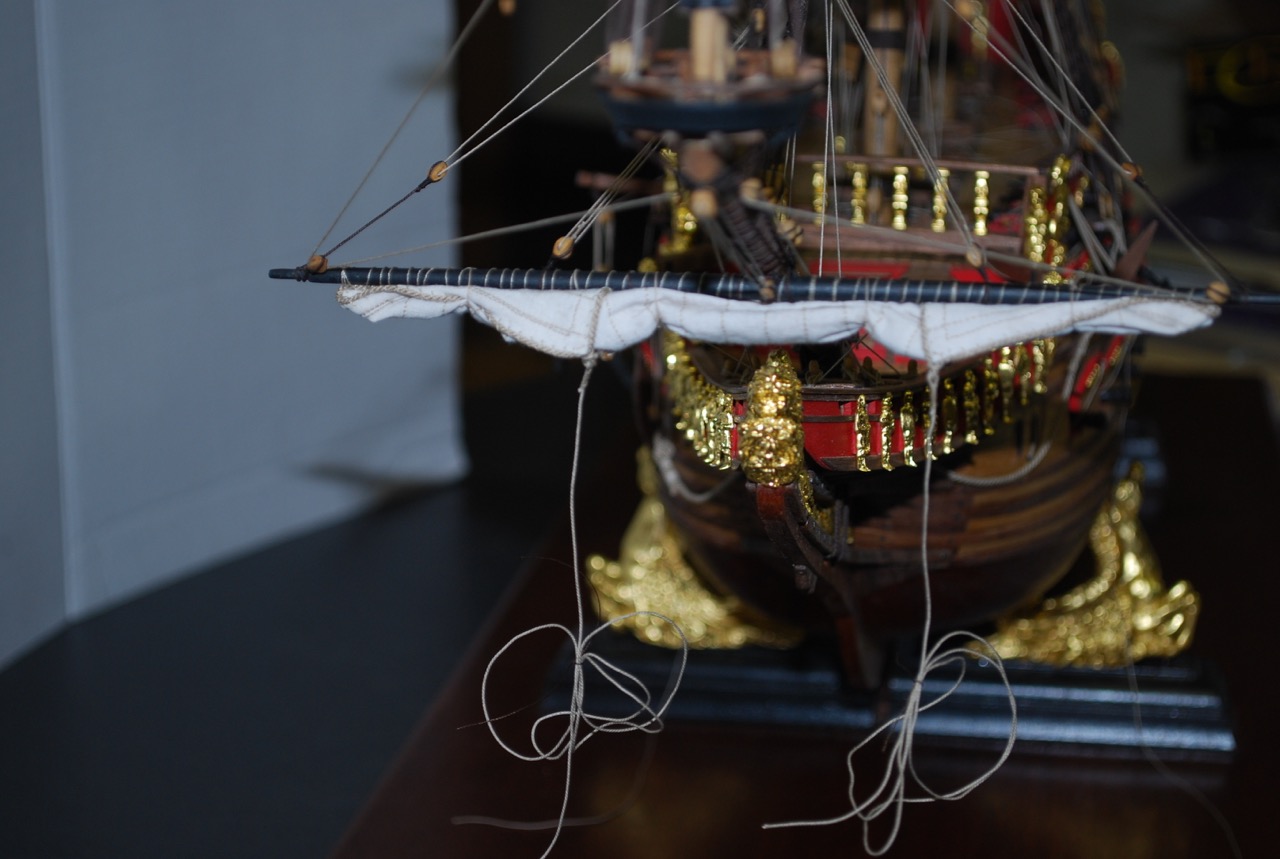
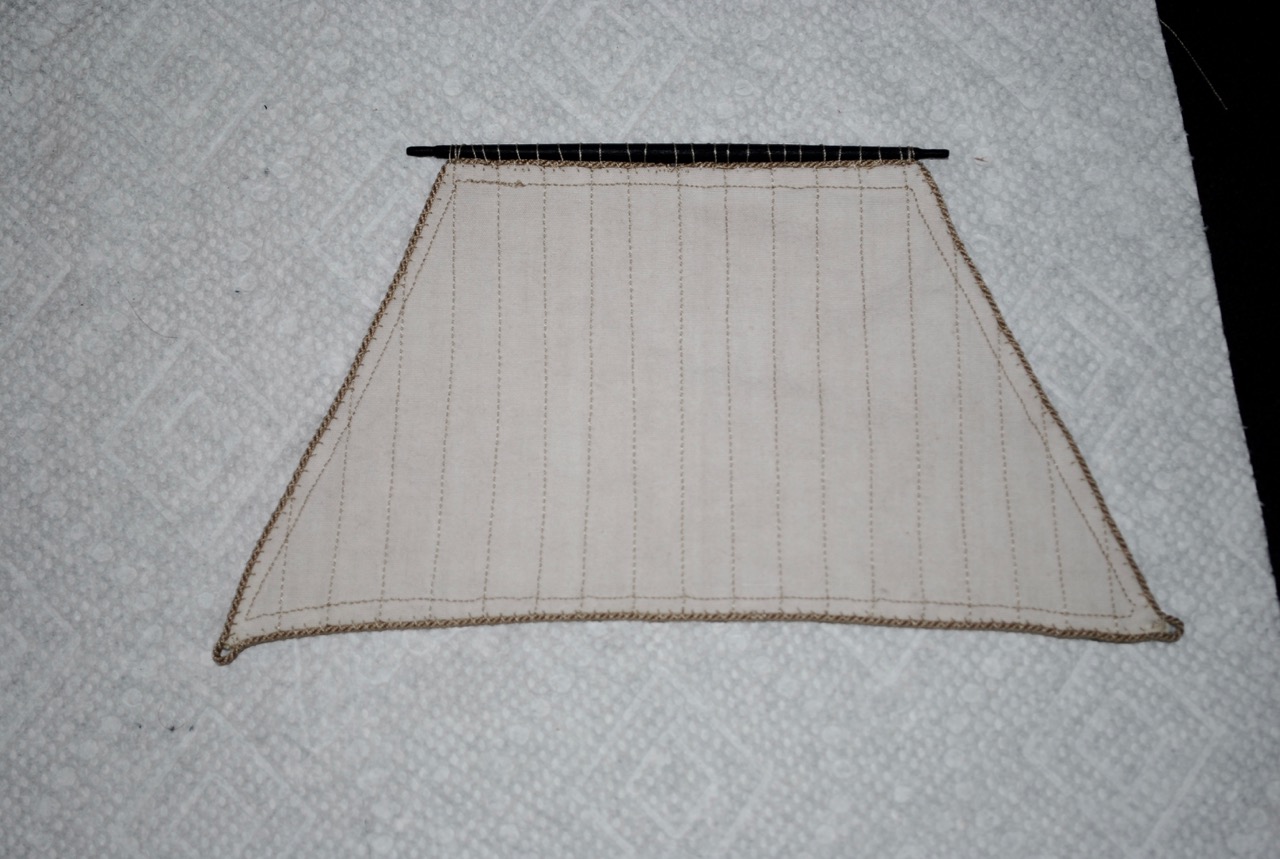
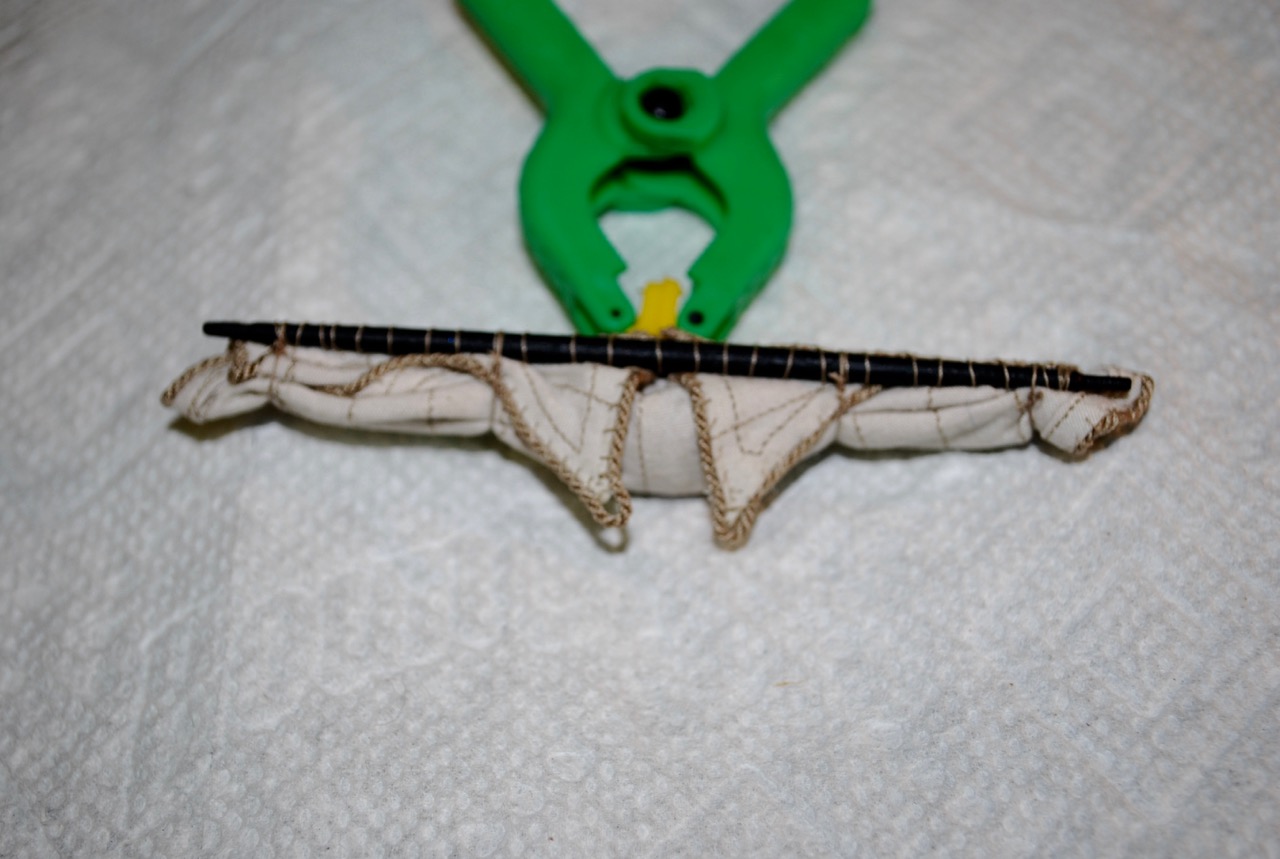
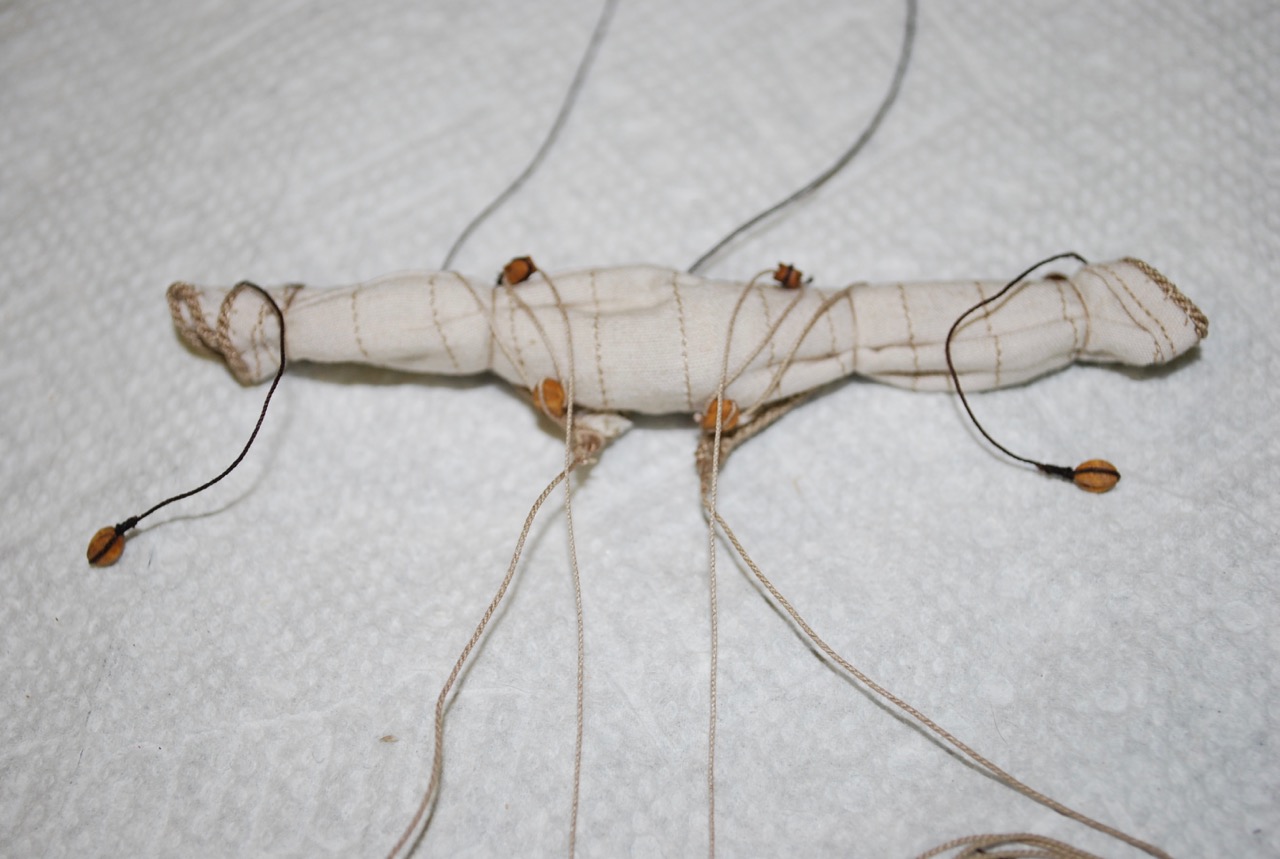
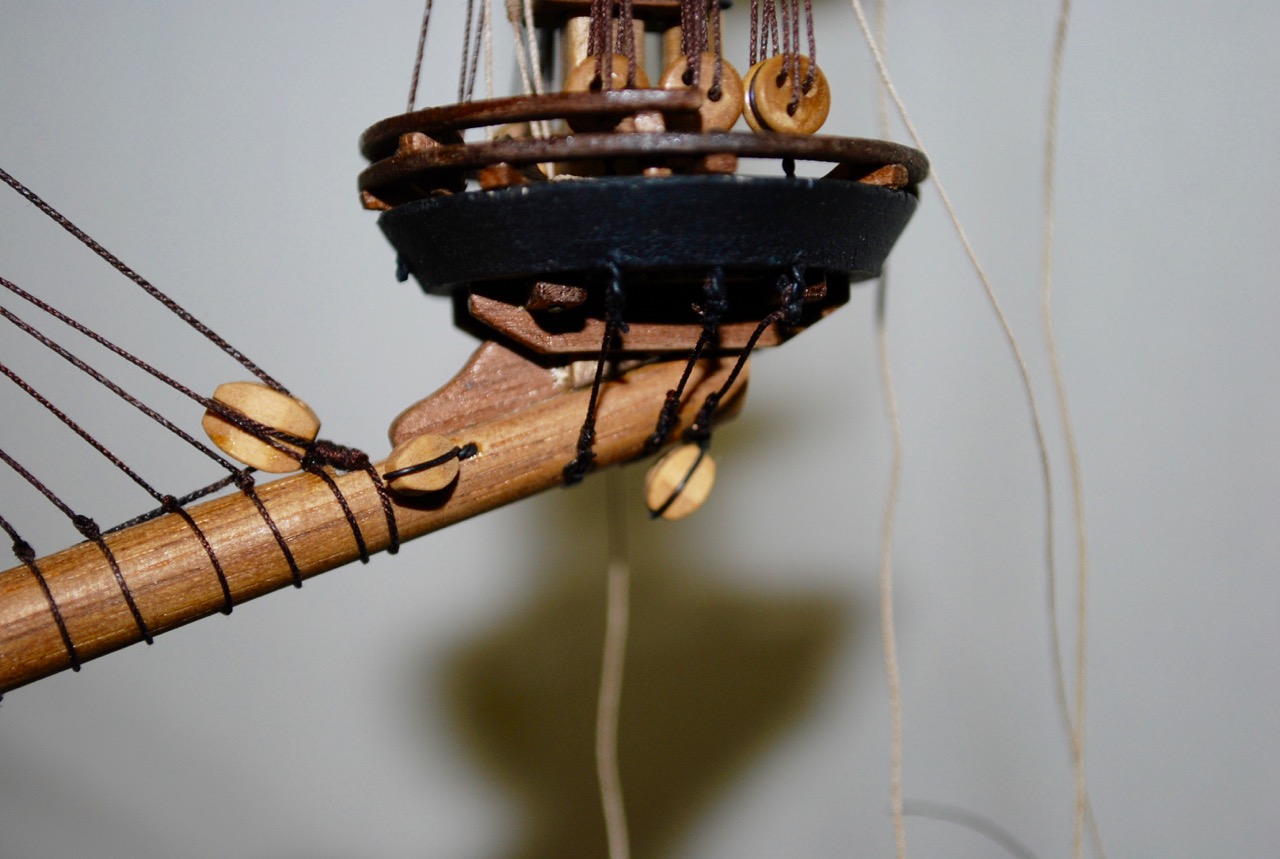
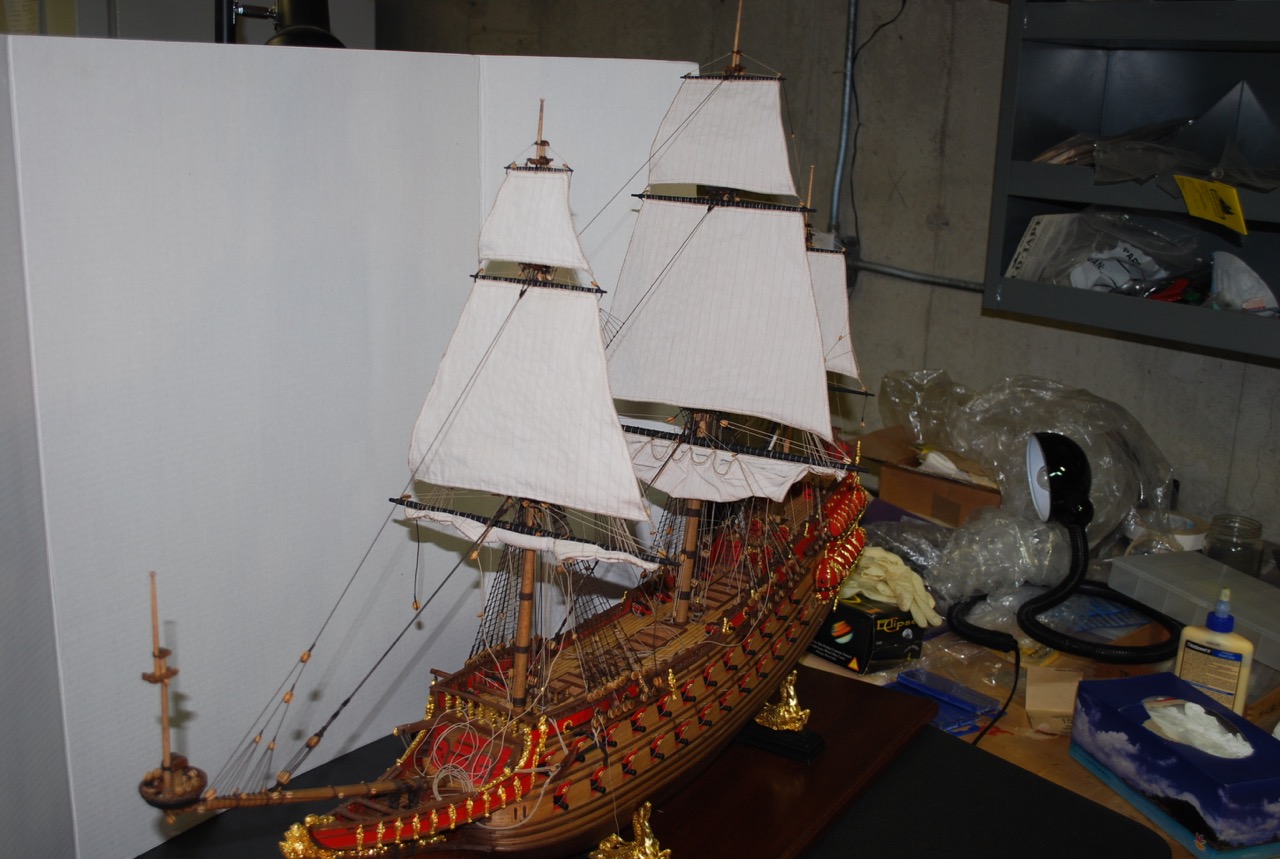
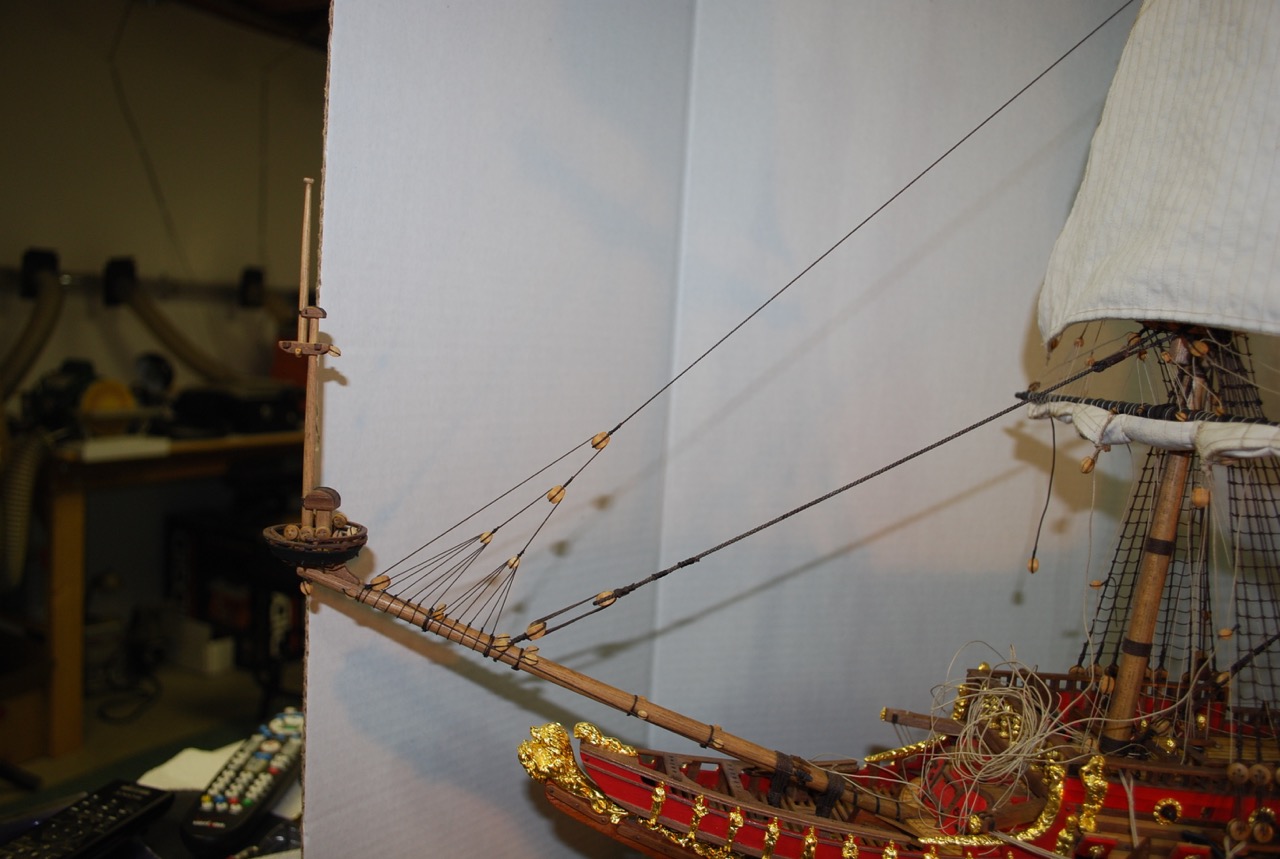
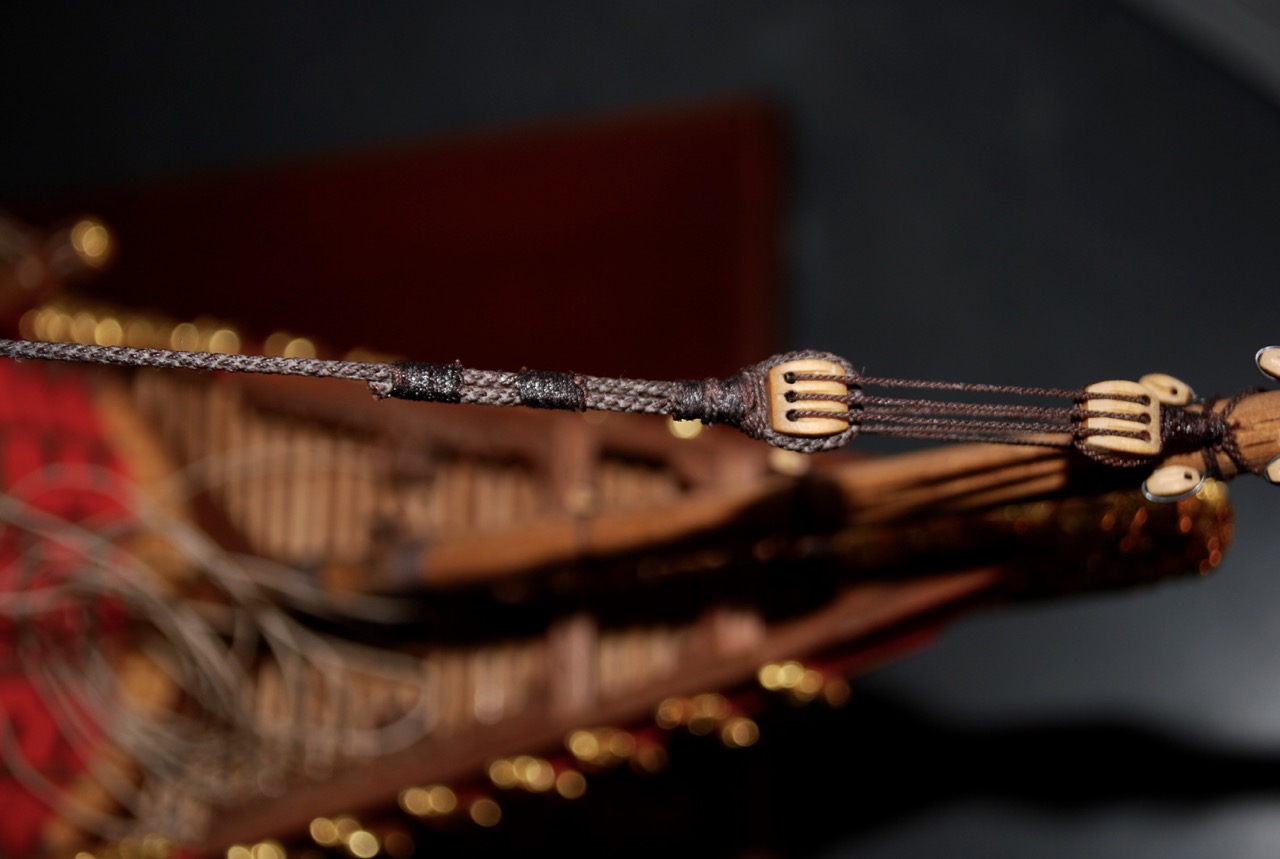
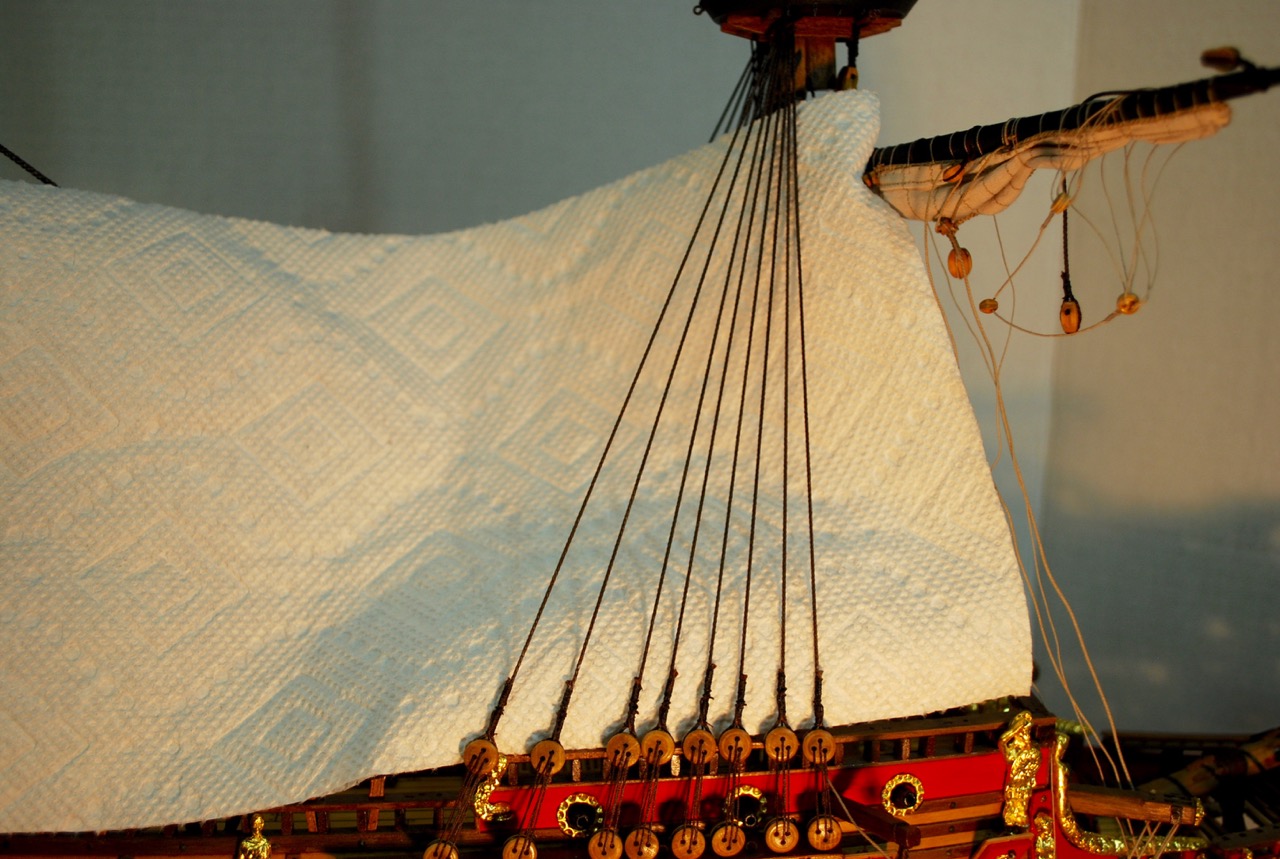
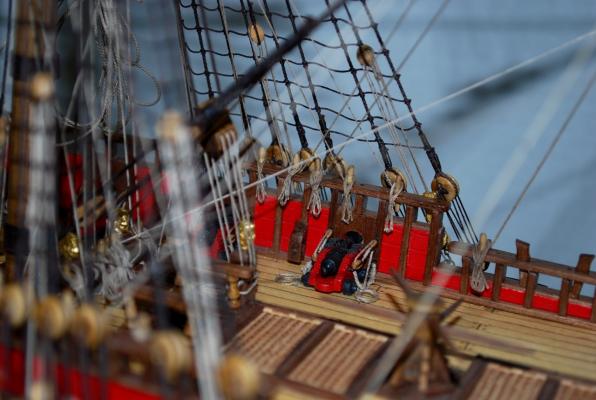
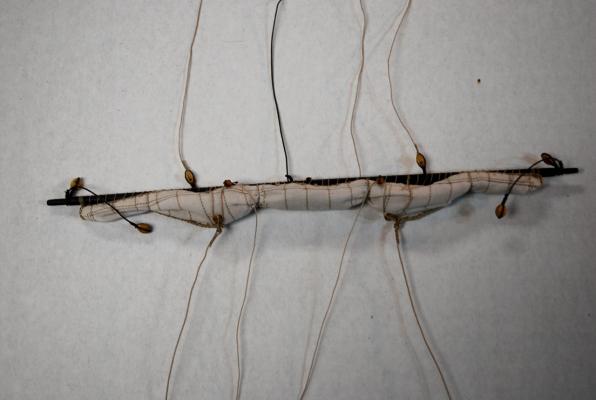
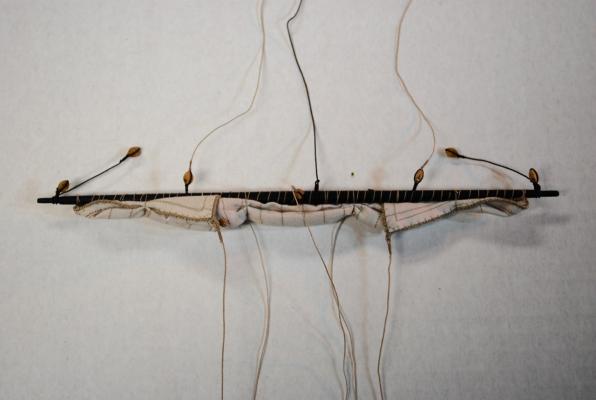
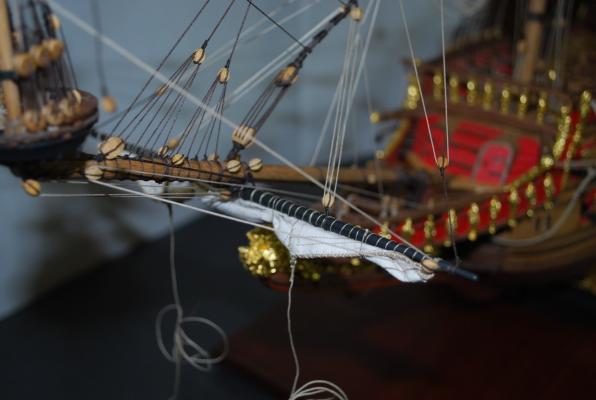
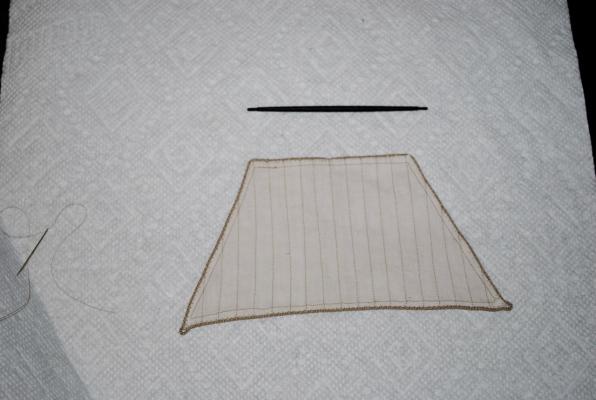
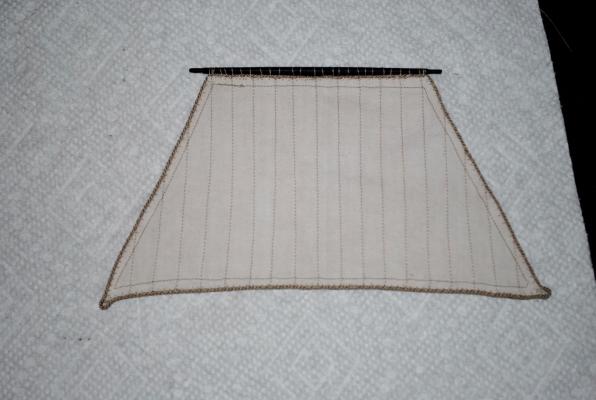
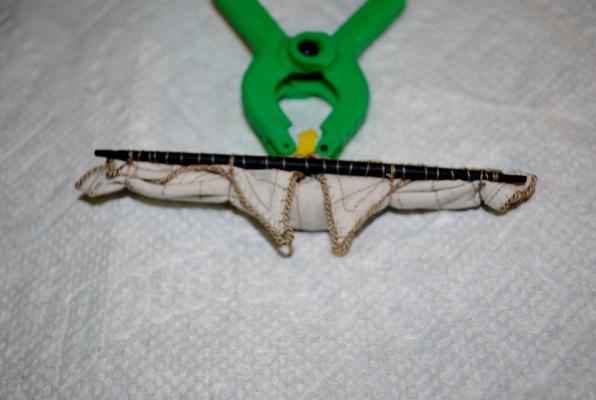
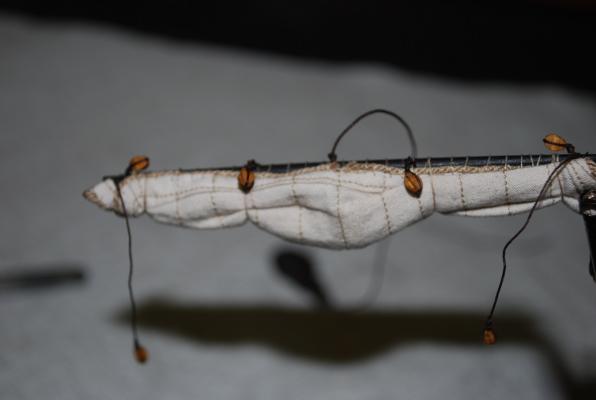
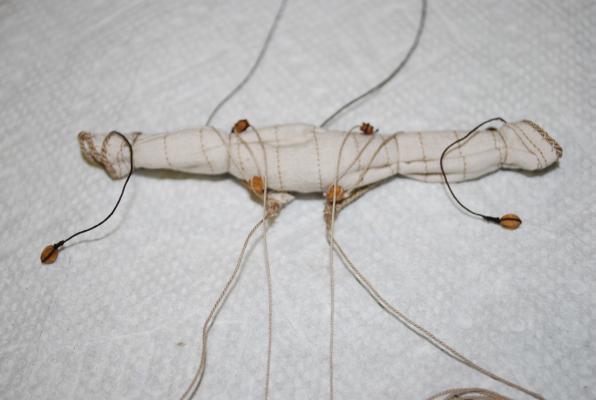
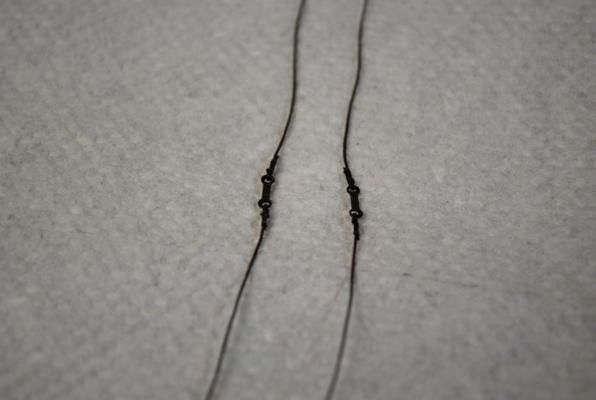
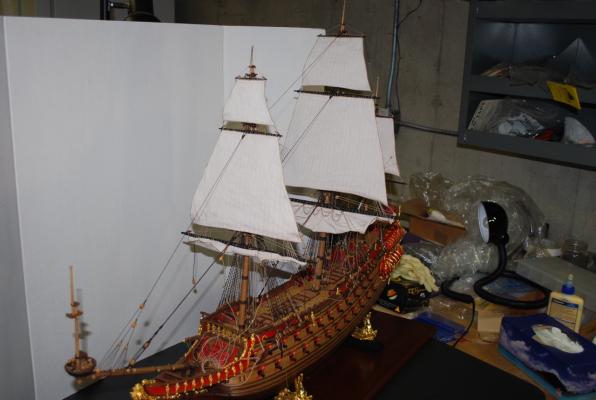
Continuing to make some progress on the model! I finished up all the standing rigging by installing the lines from the bowsprit to the lower foremast stay. That should do it for the standing rigging. I also finished working on and installing the last sail. The lower spritsail. As with all the other furled sails, I took off 1/3 of the sail height in order to make the furling easier. Then I attached the sail to the yard. I liked the way this furled sail turned out. (Better than the topsail!) Pre-rigging of blocks and lines to back and front I fixed the sail to the bowsprit and finished most of the rigging. I left some of the rigging dangling until I rig the bowlines from the foresails. (It will be easier getting the bowlines in place before the rest of the lines are installed) Overview of the model at its current state Next, I will go back to finishing the rigging lines from the foresails and the bowlines from the main sails. (Basically, work on the lines between the foremast and mainmast) Frank


-
Your rigging is looking good! Well thought out! Frank
-
Thanks Mark! As I stated above, I wasn't too happy about the bulkiness of the bowsprit topsail. However, I am confident I can repair the look when I finish the rigging. If not, back to the sewing machine! Last night I furled the lower spritsail (photos coming soon), and I was much more satisfied with the way it looked on the yard. Finishing up with the rest of the standing rigging now. Thanks for your comments, it is appreciated. Frank
-
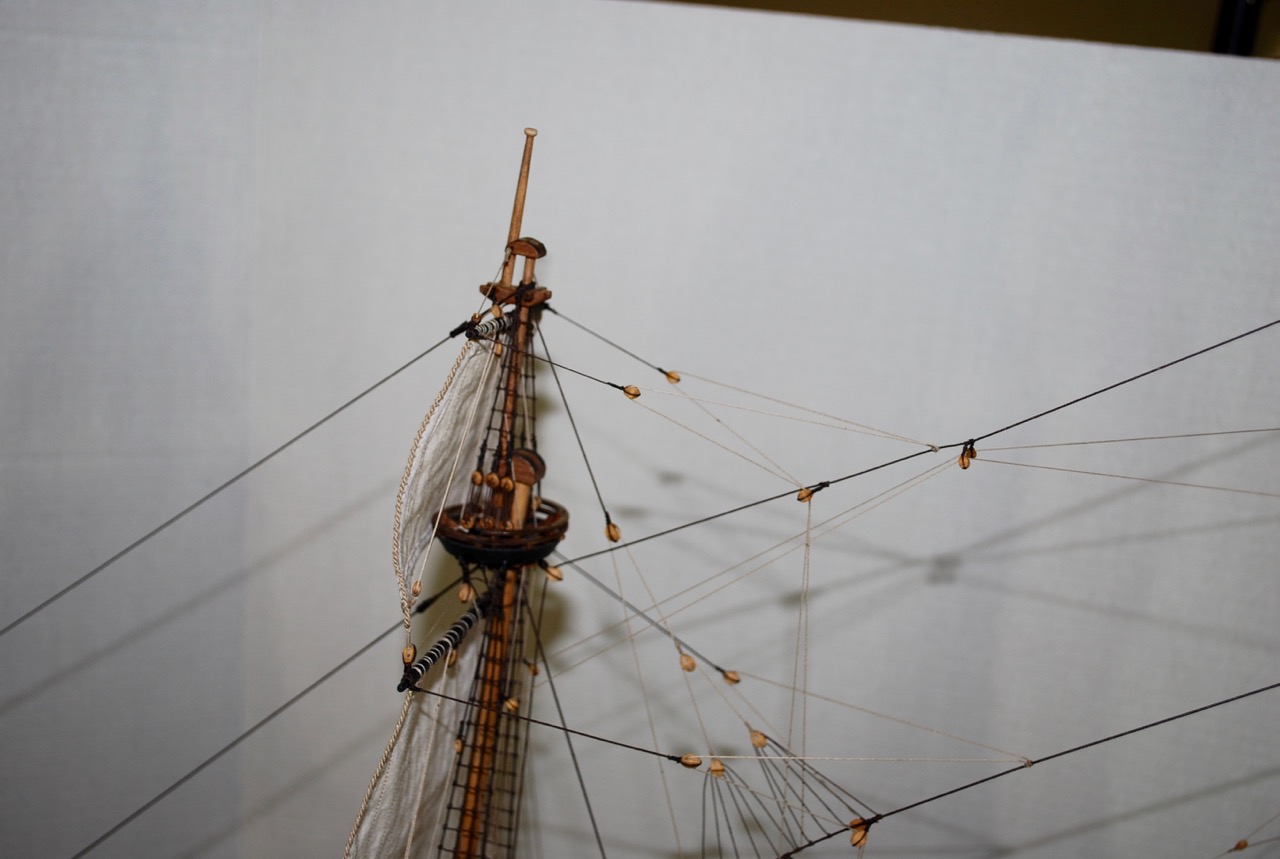
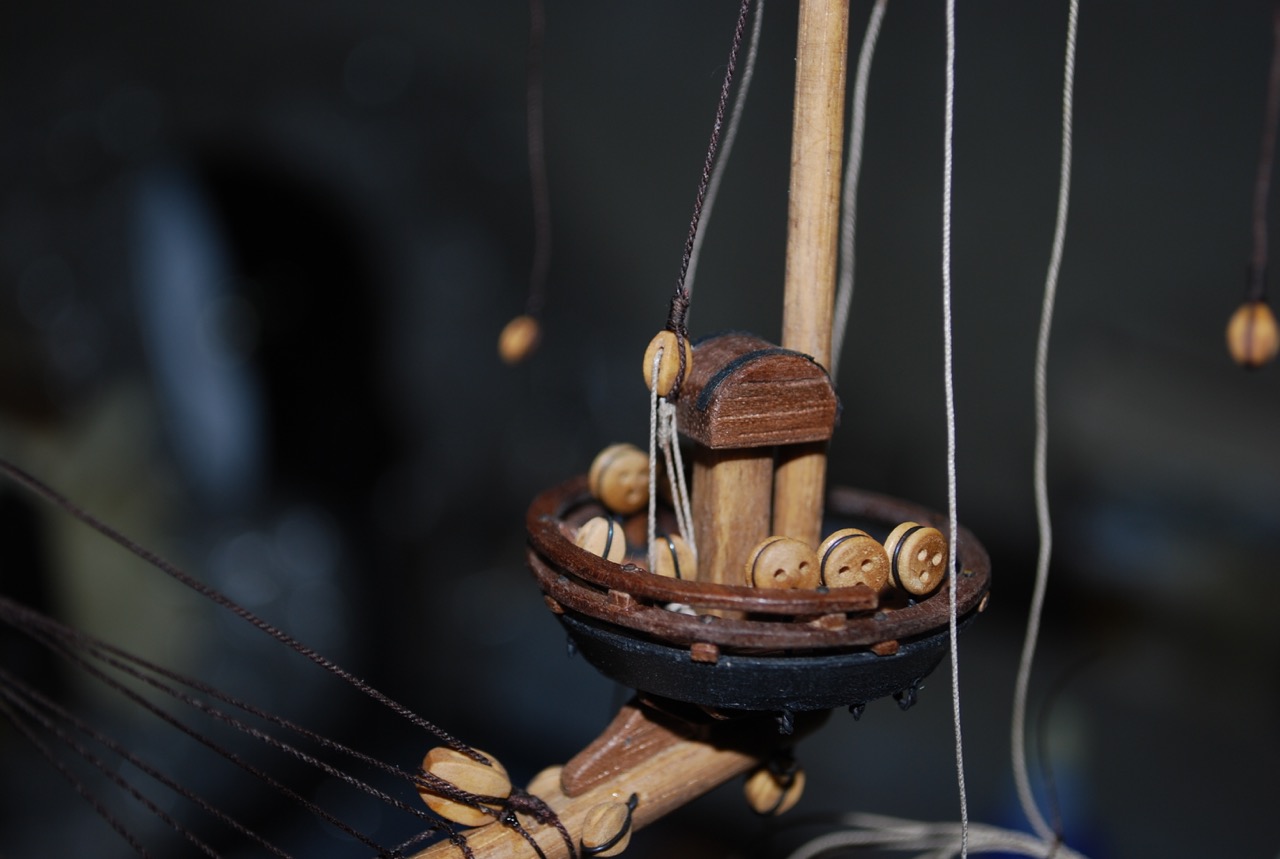
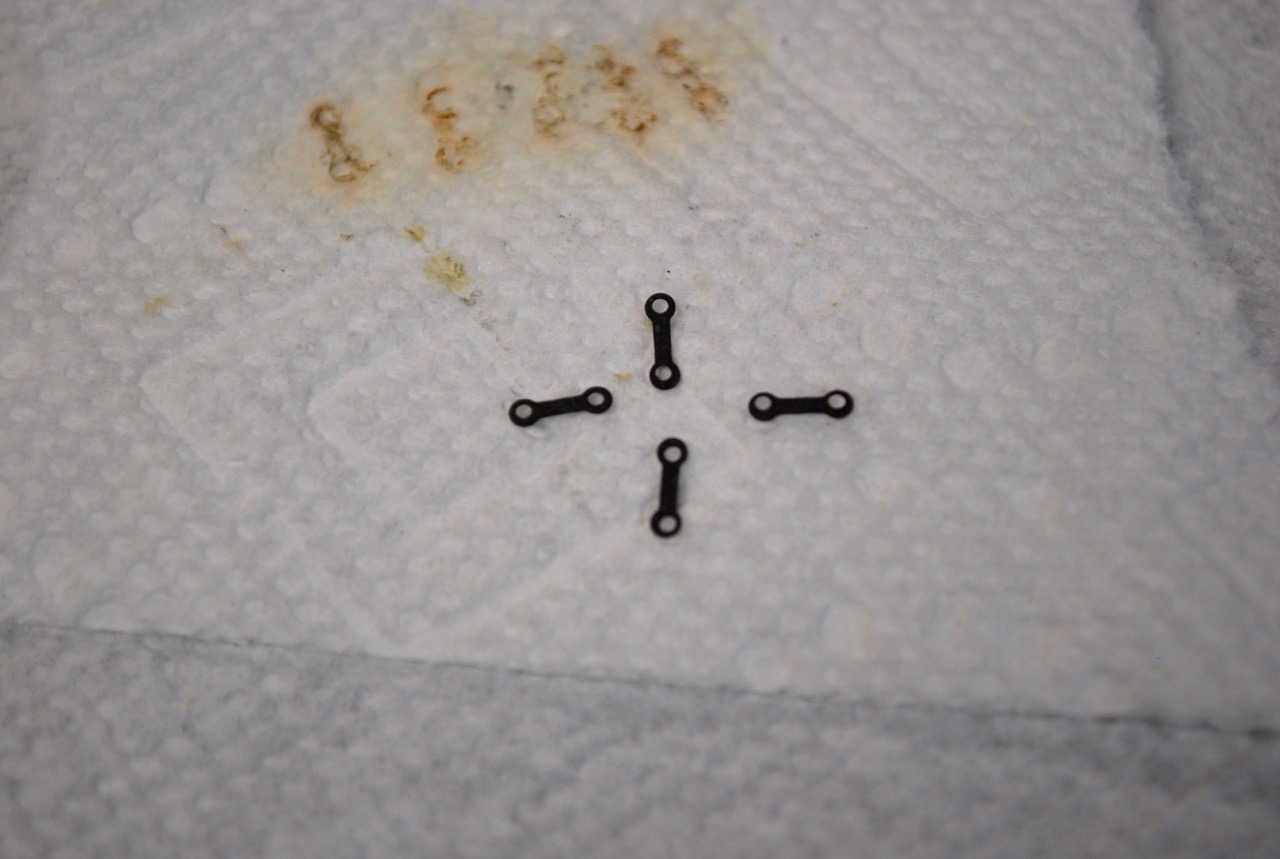
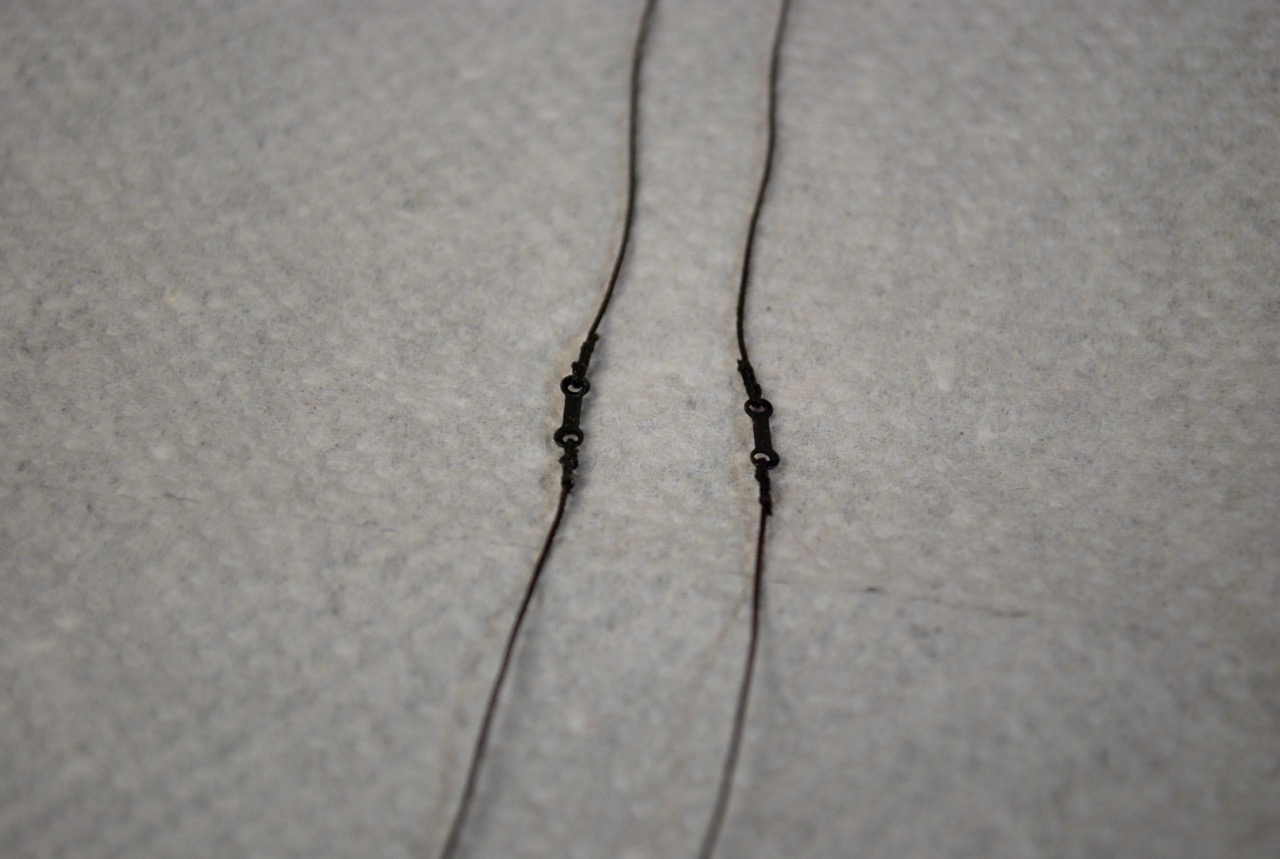
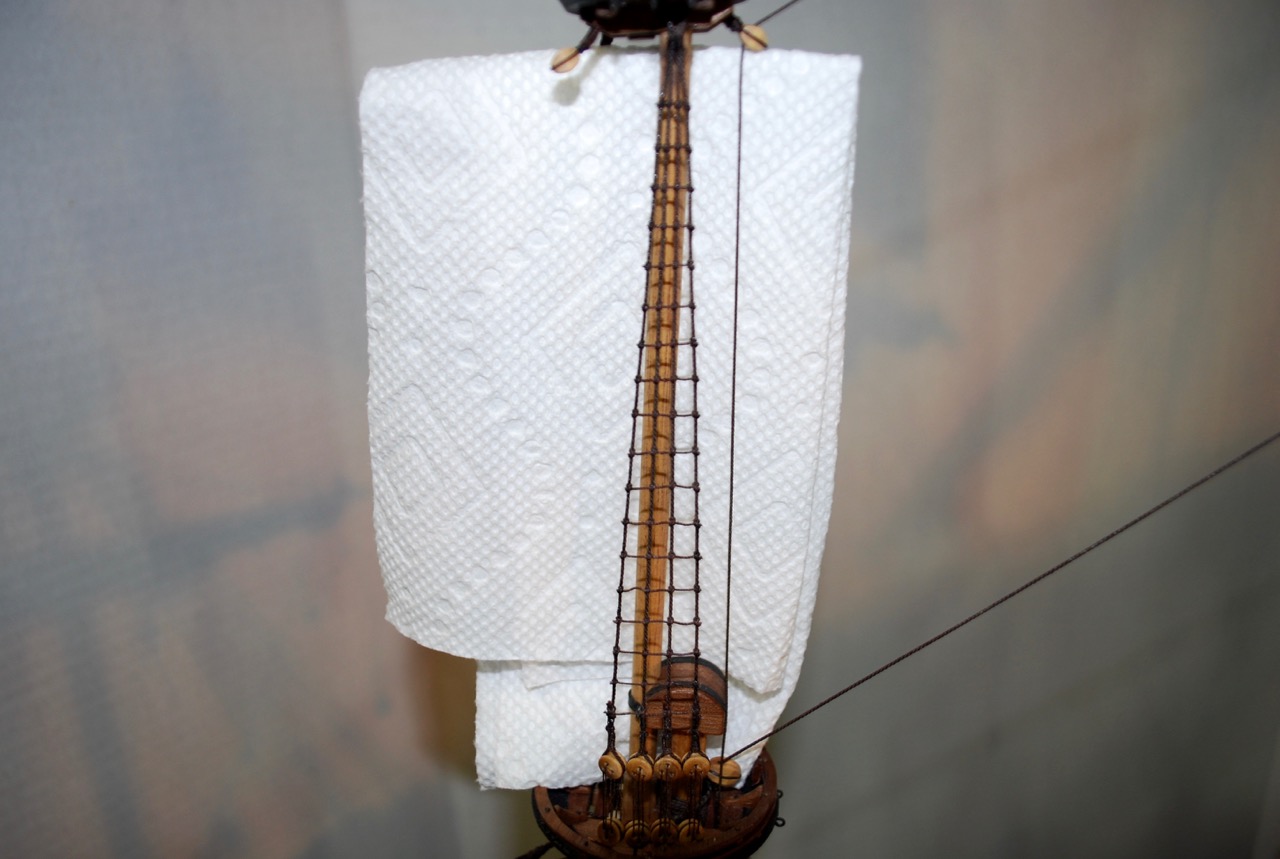
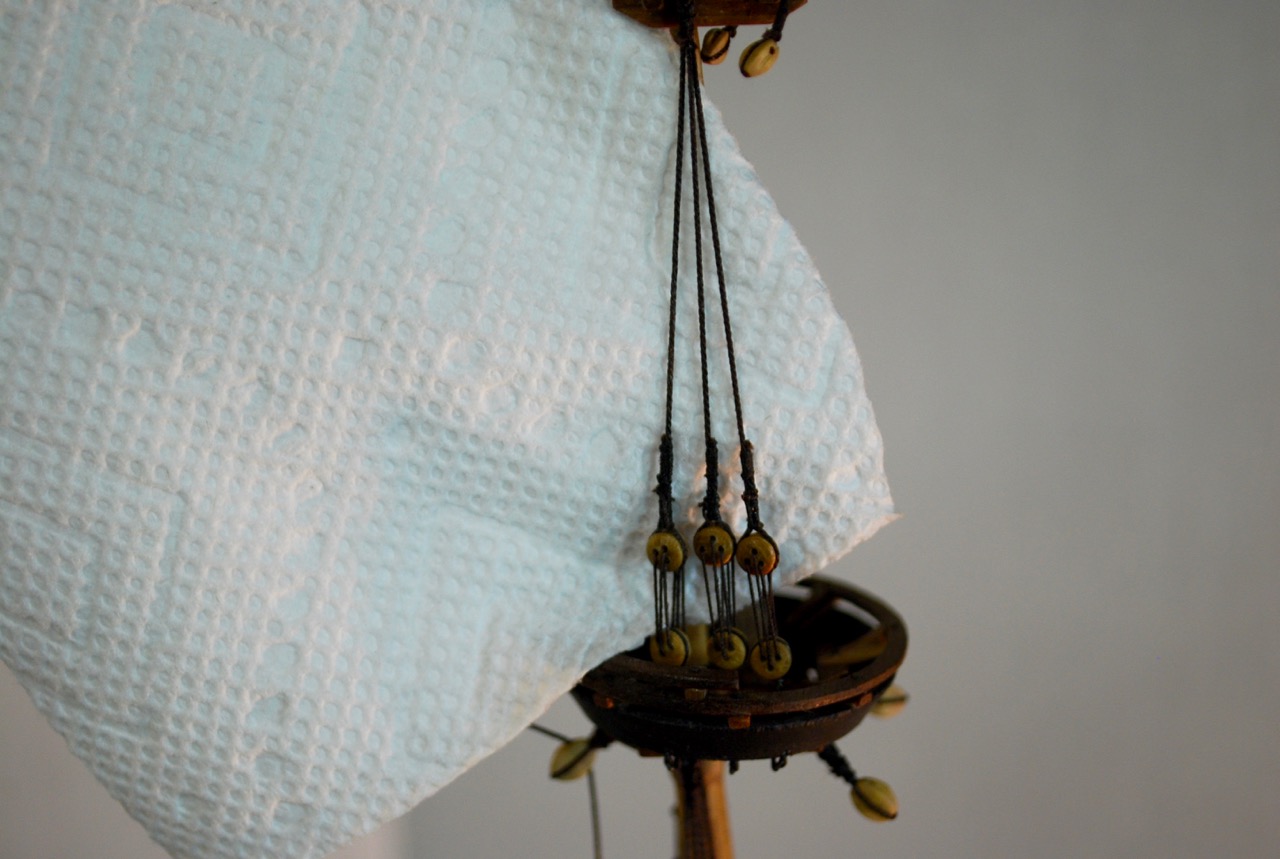
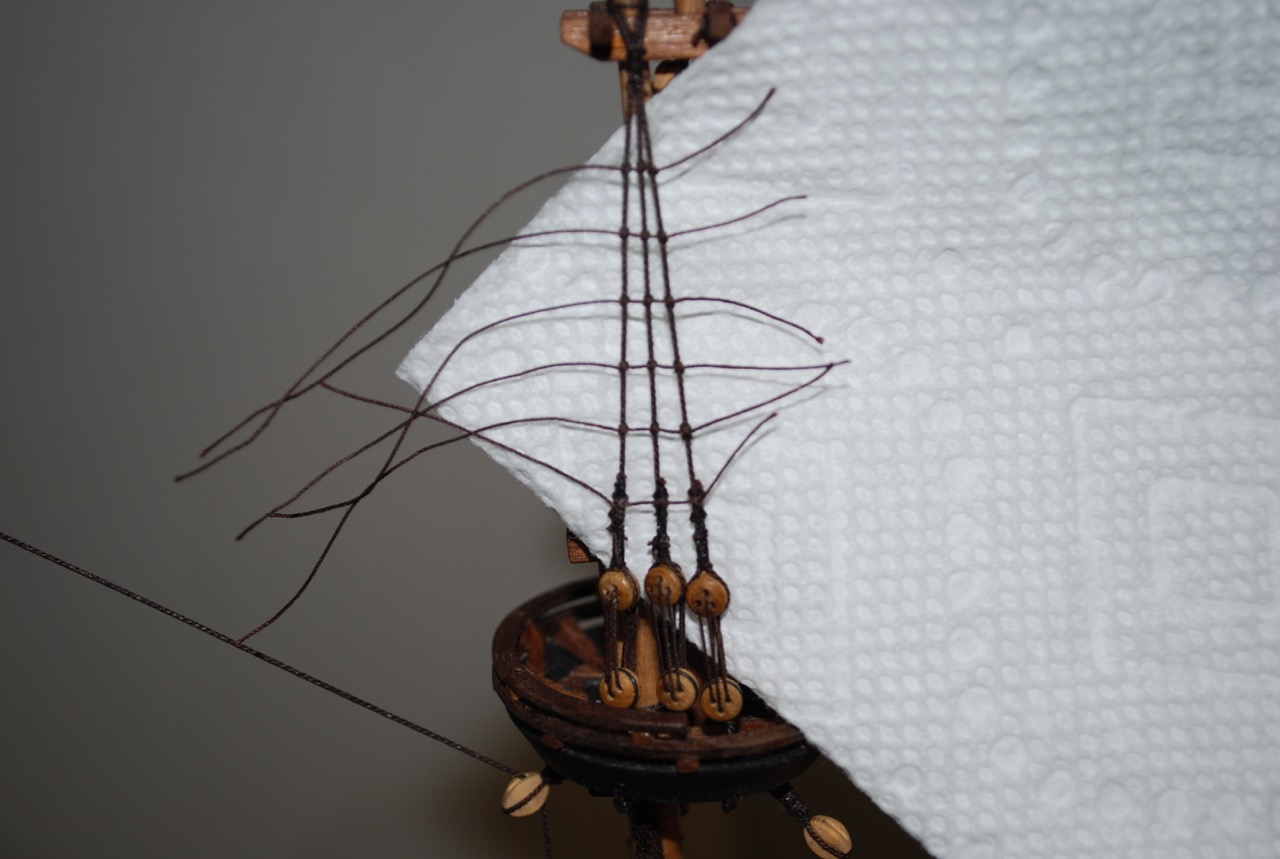
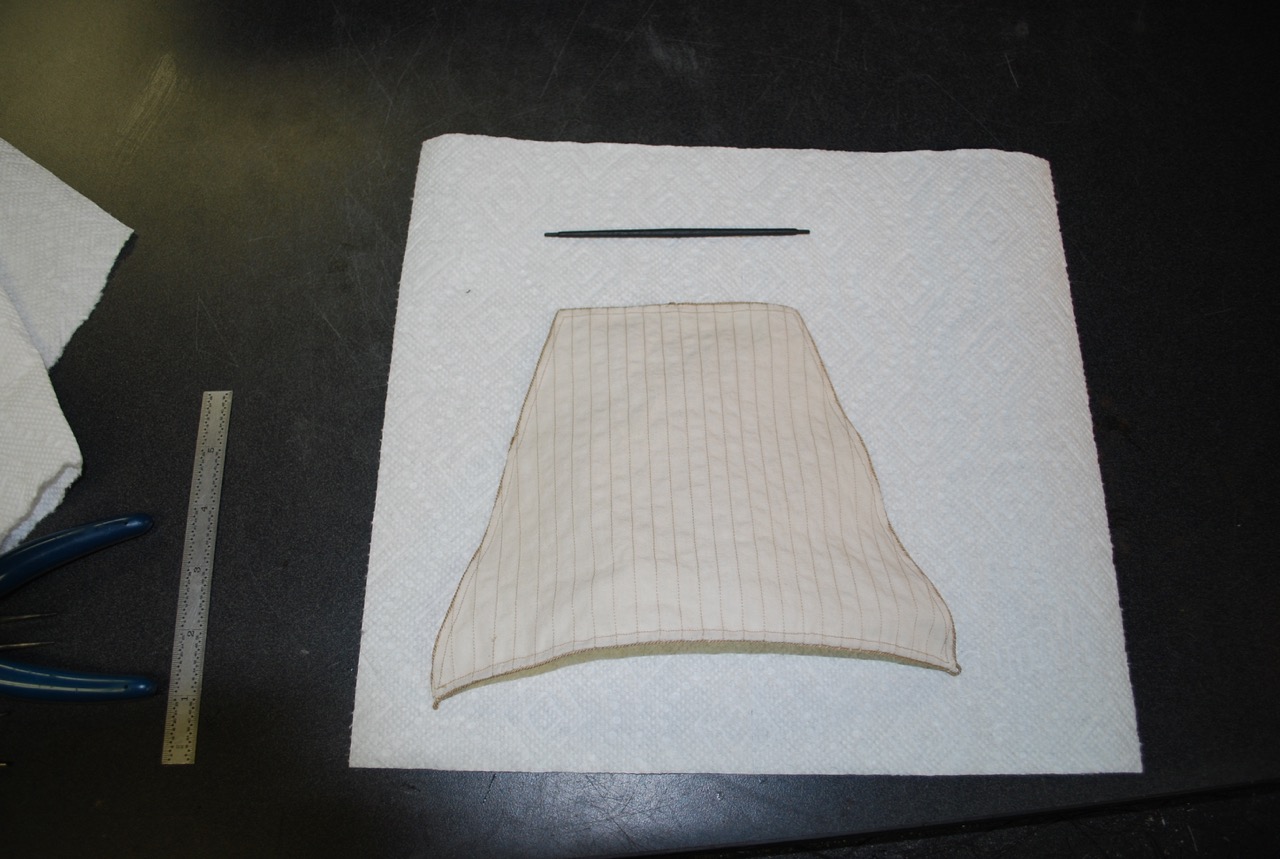
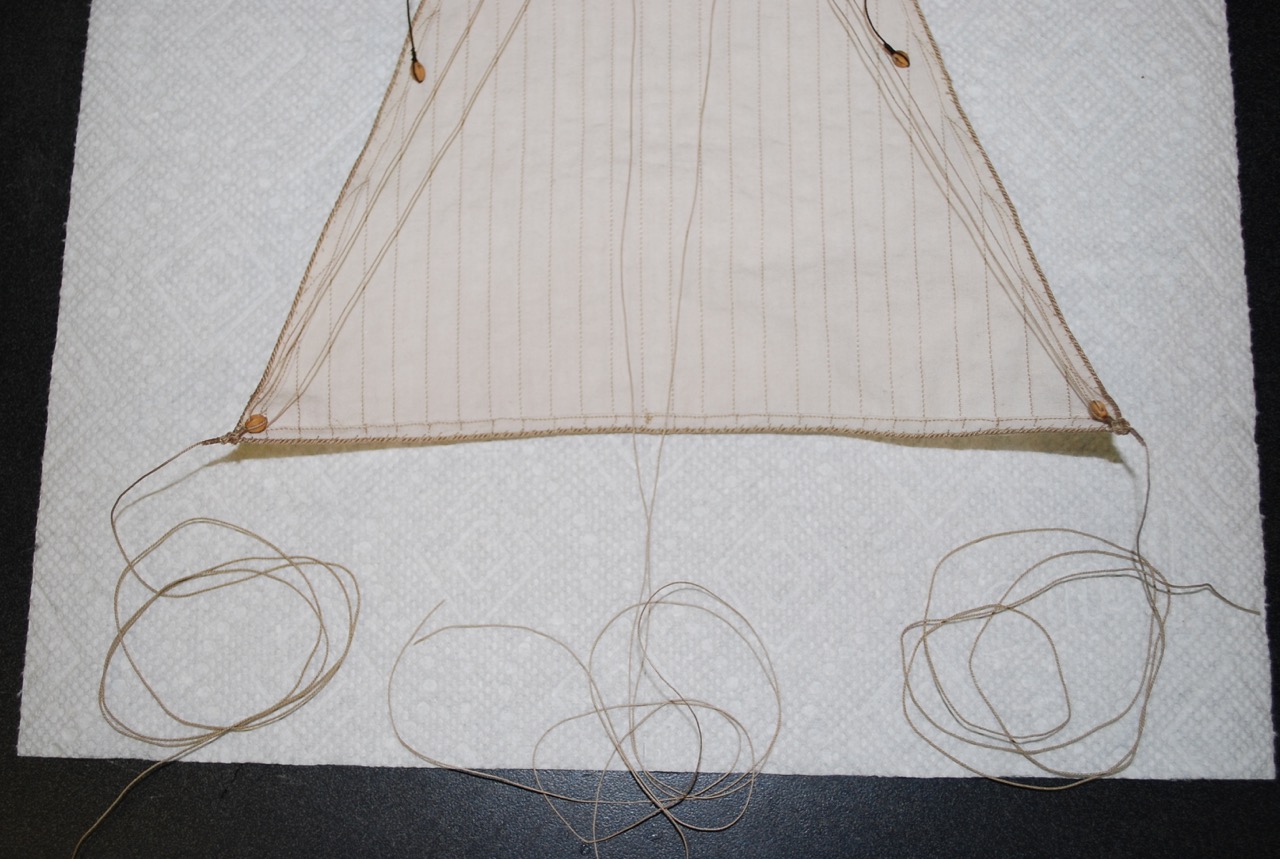
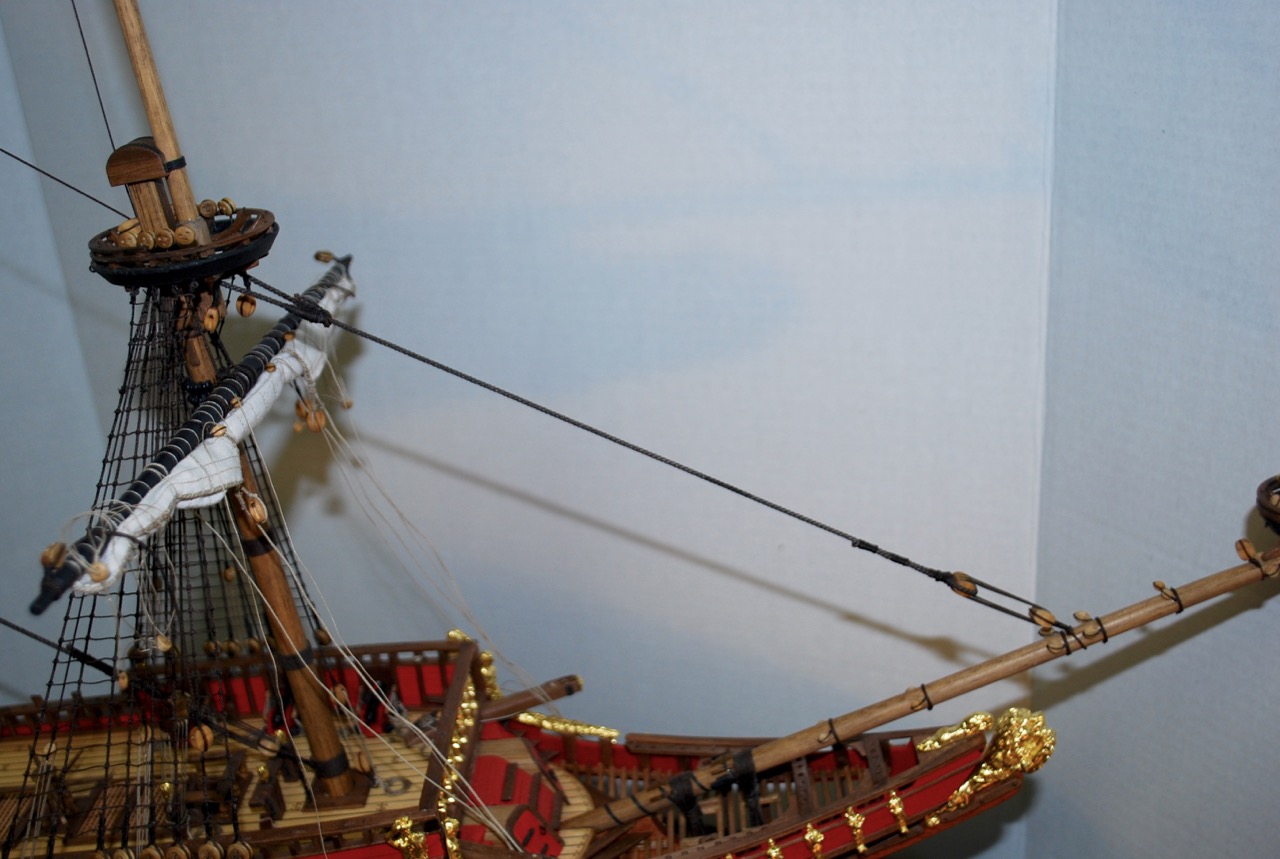
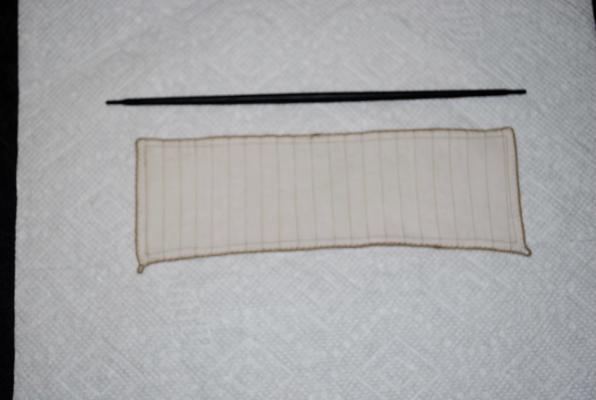
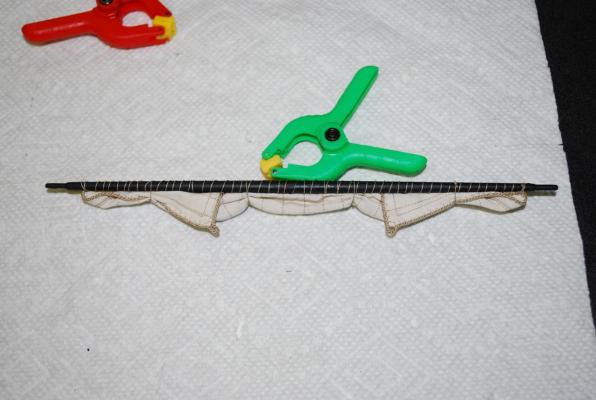
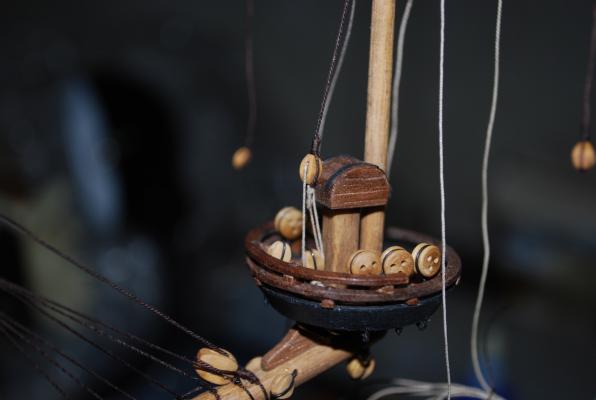
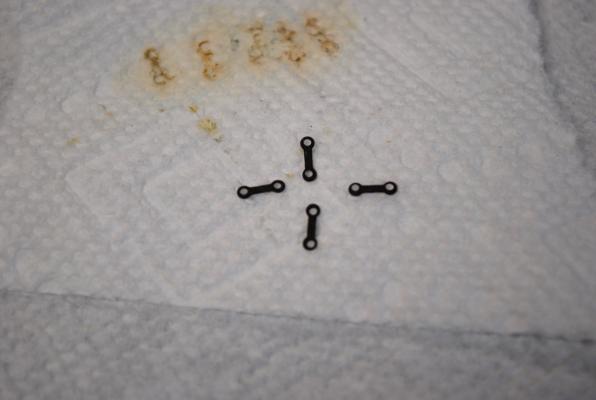
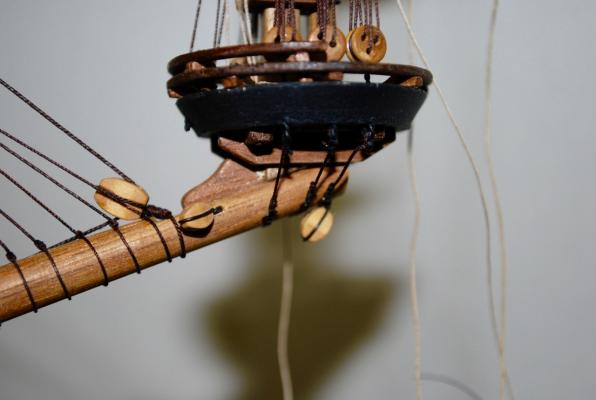
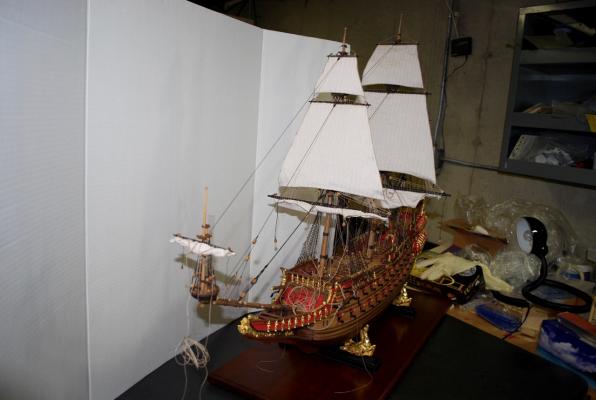
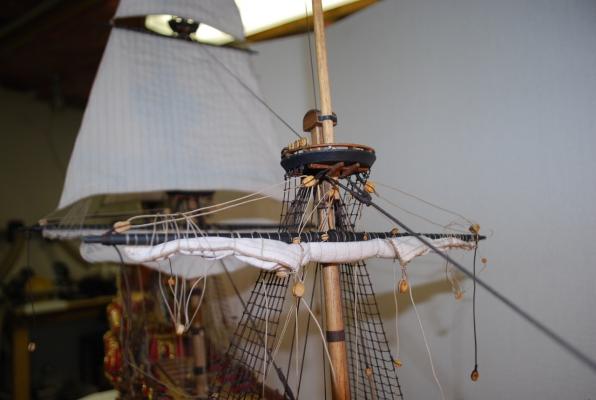
Hello, I have been working on the bowsprit topsail. When I made the sail, I cutoff about 1/3 of the sail so that it would furl better. However, I think I should have cut off about 1/2 of the sail instead. (this sail is unusually large compared to the yard) When I furled this sail, it still looks a little too bulky. Oh well! I am pretty sure that when I put tension on all the running rigging attached to this sail I will be able to flatten it some more. We'll see. Sail mounted onto yard. Blocks and rigging added to sail Sail and halliard rigged to platform Finished foremast topgallant stay mounted to foremast and bowsprit platform Blackened brass fittings rigged and mounted under platform View of ship status so far. Next I will be finishing the standing rigging from the bowsprit mast to the foremast lower stay. Then I will work on attaching and mounting the spritsail. Thanks for visiting and for the "likes"! Frank


-
Thanks Michael, I am still a few months away from being done, (Finish bowsprit sails, upper railing system, rigging of lower sails, anchor buoys, stern lantern and flags), but starting on the base is a nice little diversion and break from all the rigging on this ship. Frank
-
Hi Michael, It is fun watching your progress! Nice job and I hope that all your pre-rigging will make things easier later in the process! Frank
-
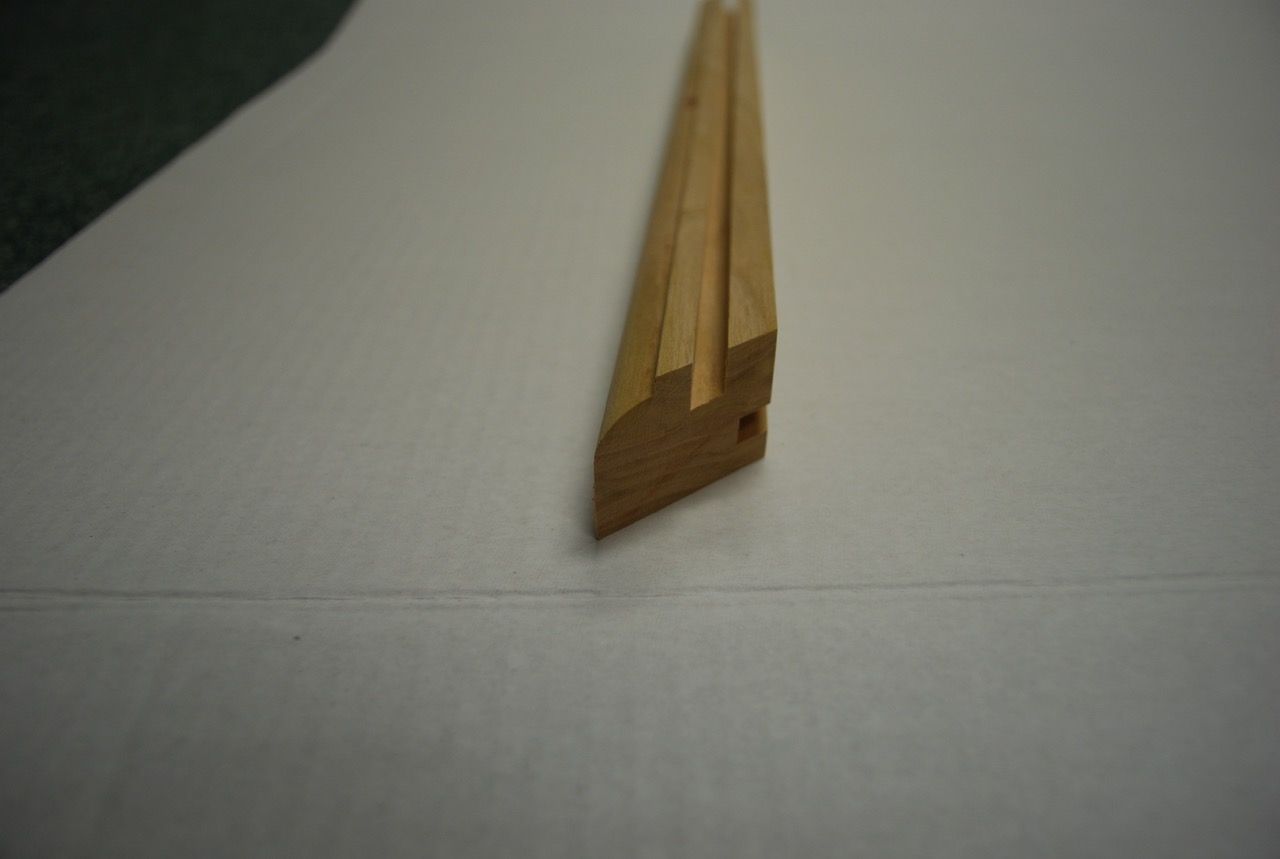
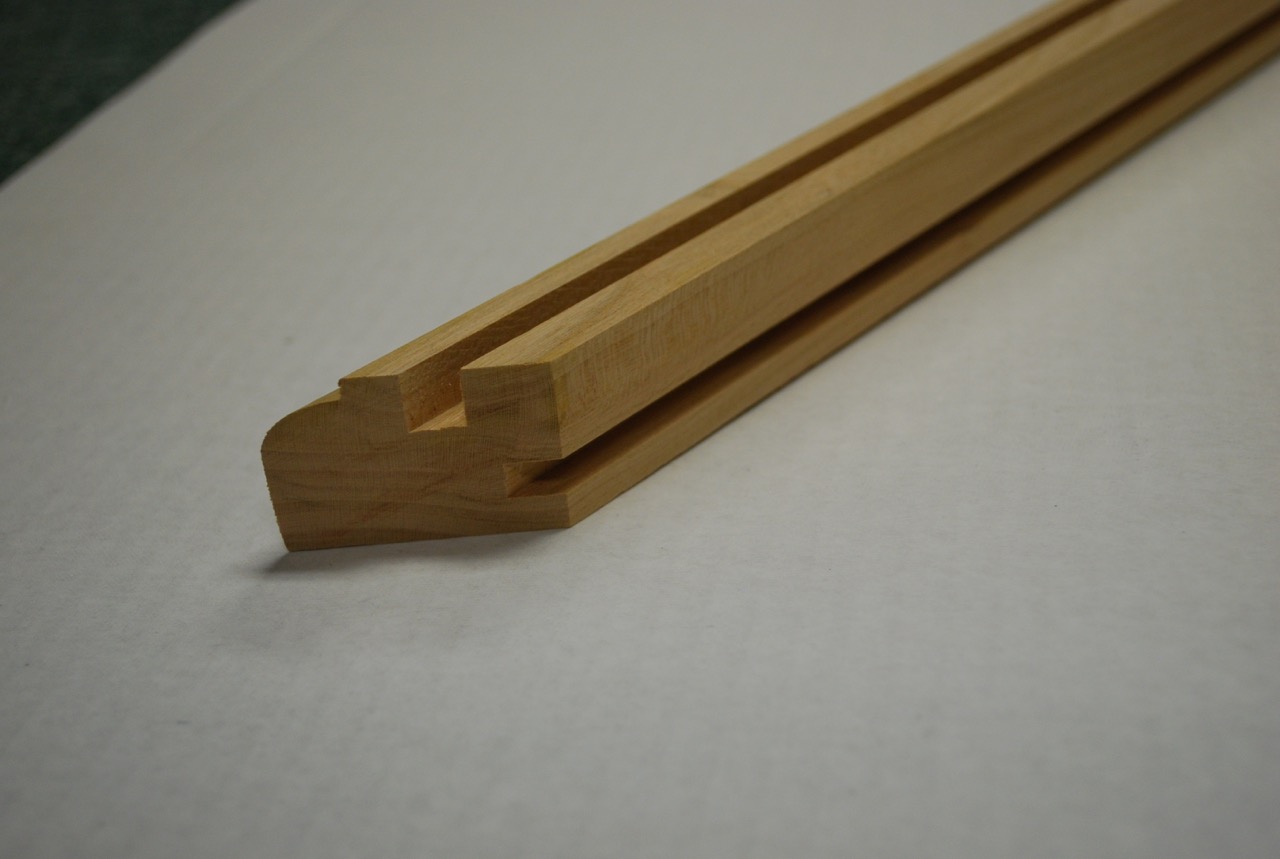
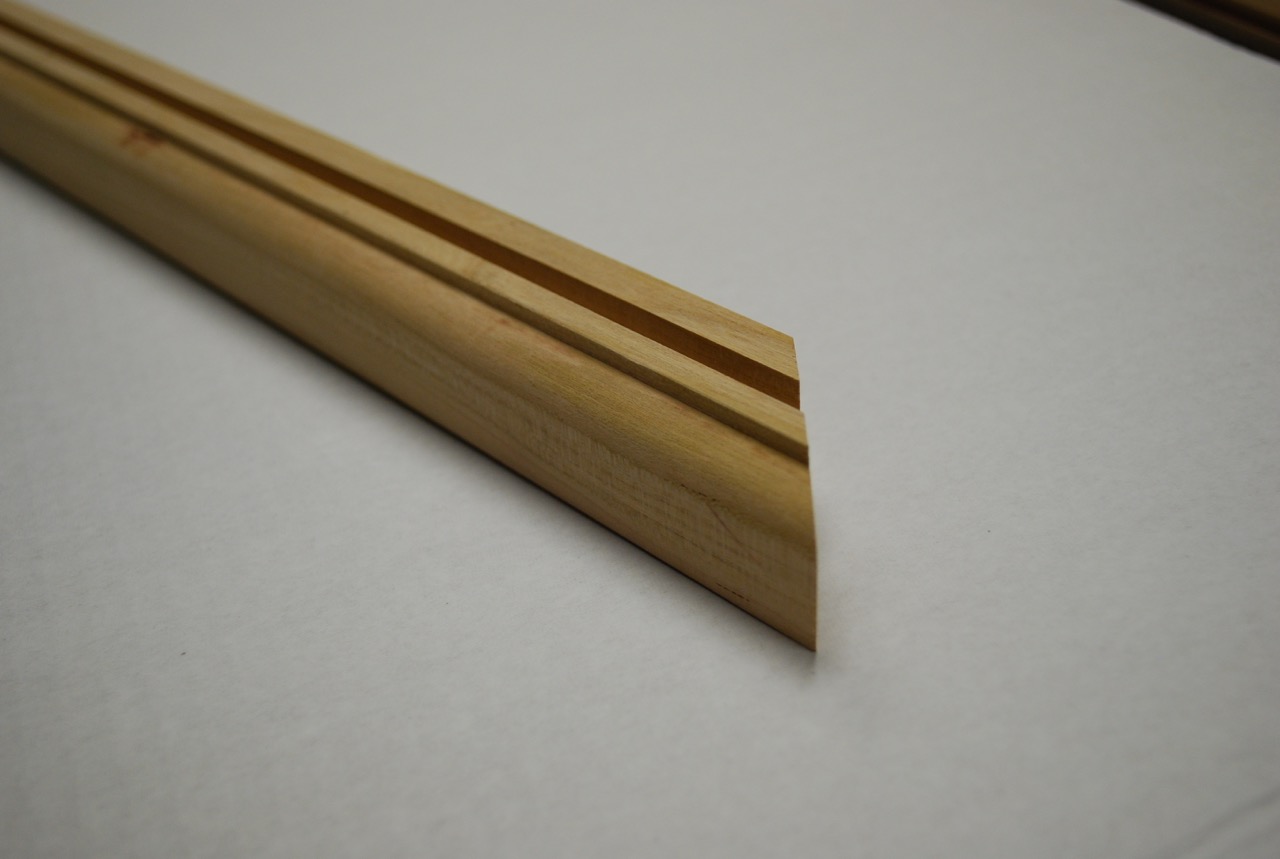
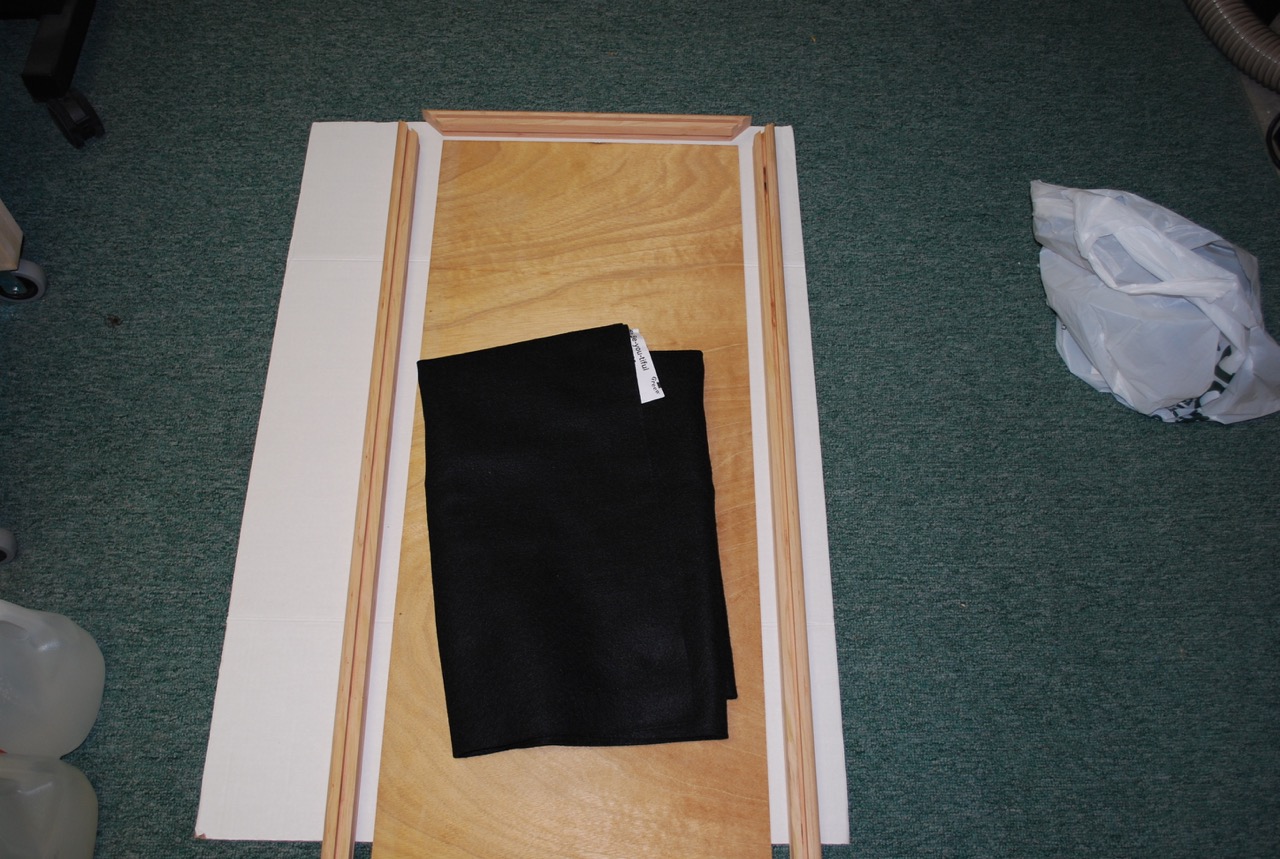
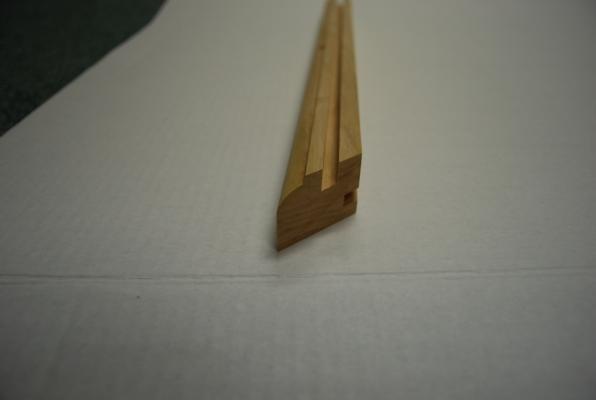
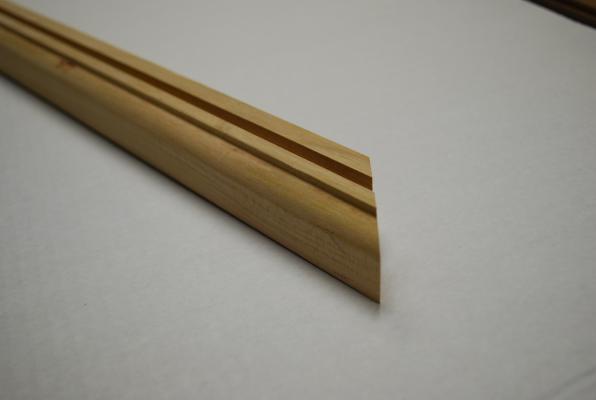
The foremast topgallant sail halliard rigged to the mainmast stay. At this point, most of the running rigging is not fastened to the deck until I am sure of where everything goes on the deck. However, I did finish the rigging to the center rail. View of the ship with all the sails mounted (but not leveled and set) on the foremast. On a side note, I took the opportunity to head up to the Peabody Senior Center and had a lot of great folks help me mill out the base for my ship, using their equipment. I am still a few months away from finishing, but I wanted to get going on the case! I bought some cherry and and milled out the shape I wanted. The top groove will be where the plexiglass will be inserted and the side groove is where the felt covered plywood base with fit into. The black felt will be put onto the plywood and wrapped around the edges and stapled to the back. Over the next couple of months, I will work on finish sanding, staining, and sealing the pieces with polyurethane before assembling all the pieces. Thanks for visiting and for all the previous "likes" Frank


-
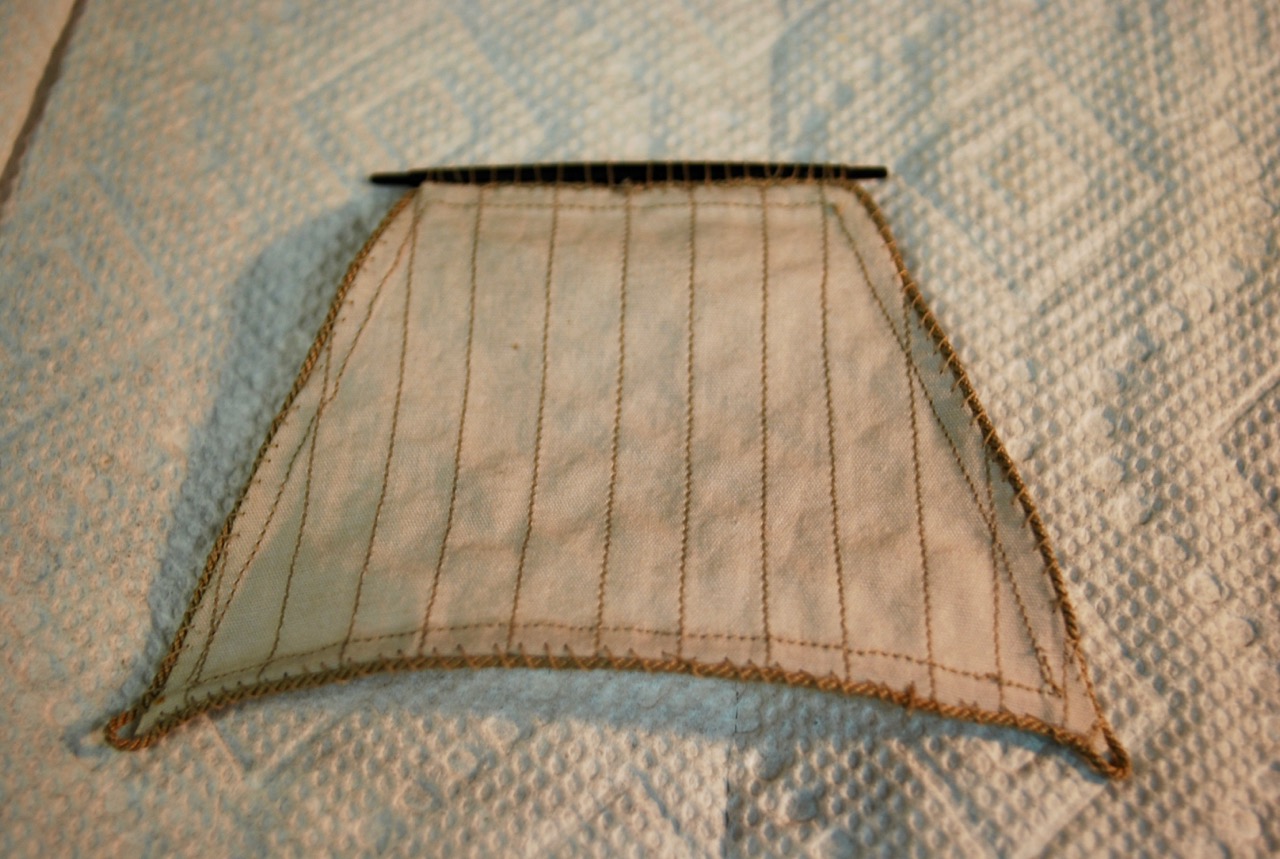
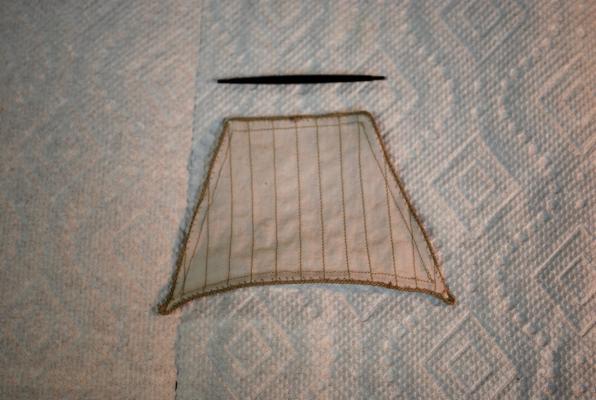
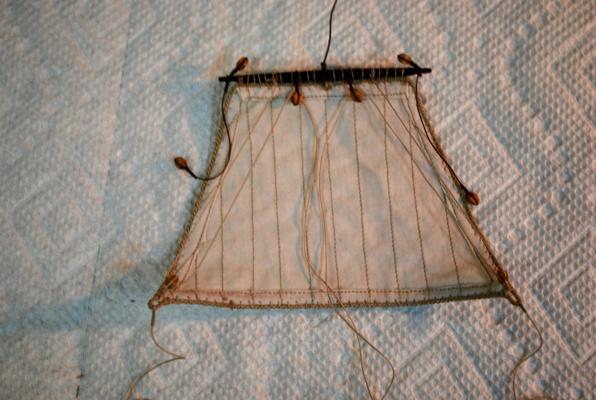
Hello. Still working on mounting all the sails! Continuing on, I now rigged and installed the middle foremast stay. My next step is to work on the foremast topgallant sail. Sail ready to mount onto yard. Mounted on yard Pre-rigged the topgallant sail prior to mounting on mast. Topgallant sail mounted on foremast


-
Hi Brian, Nice work! Thanks for sharing the picts of the anchor buoys! I need to make a couple for my model soon. Frank
- 831 replies
-
- 5
-
-
- Armed Virginia Sloop
- Model Shipways
- (and 1 more)
-
Mark, Very nice job on the platforms and masts in general. The platforms can be tricky! Frank
-
Michael, The mast work looks fantastic! Well thought out! You are making good use of your equipment. Frank
-
George and Tadeusz, Thanks for visiting my log and for your kind words. It is appreciated! Frank
-
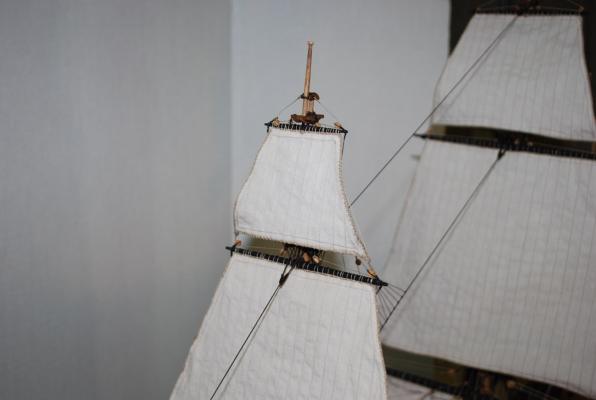
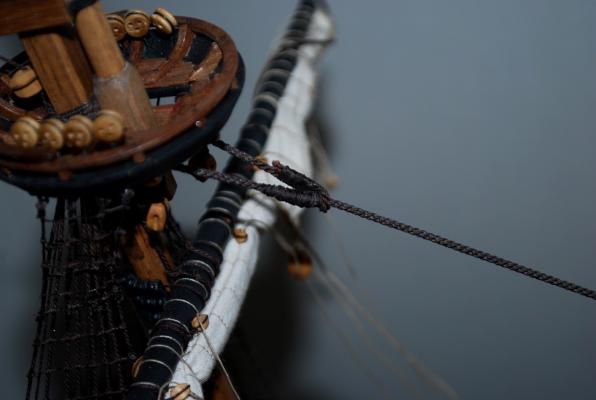
Continuing on: Foremast top sail ready to mount on ship Sail mounted and halliard finished to mainmast stay I now ran the rigging thru the ship to makes sure everything is where it should be. However, at this time, nothing will be fastened or leveled until all the sails are on the foremast and I am sure of where the lines will end on the deck. So everything is still loose! Overview of where I am at this point with the installation of the sails My next step is to rig the foremast upper stays and install the top gallant sail Thanks for visiting, Frank


-
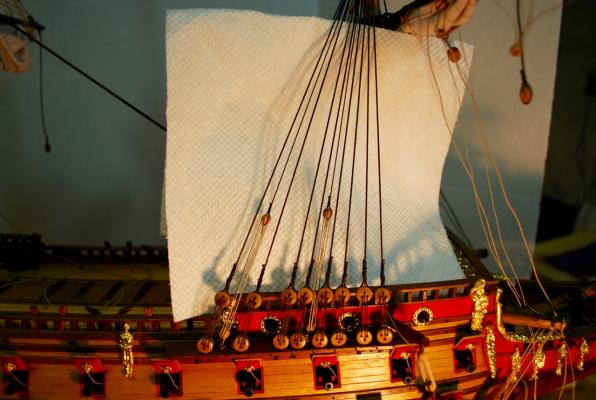
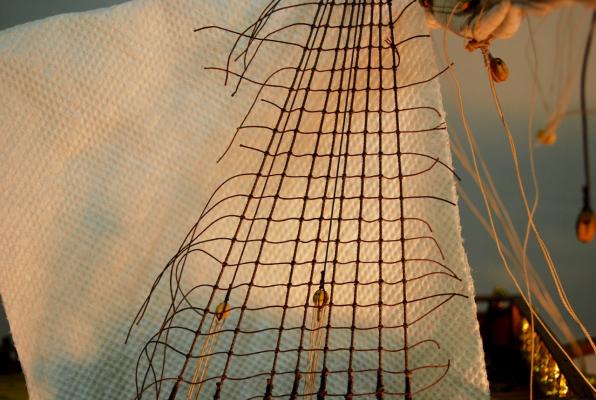
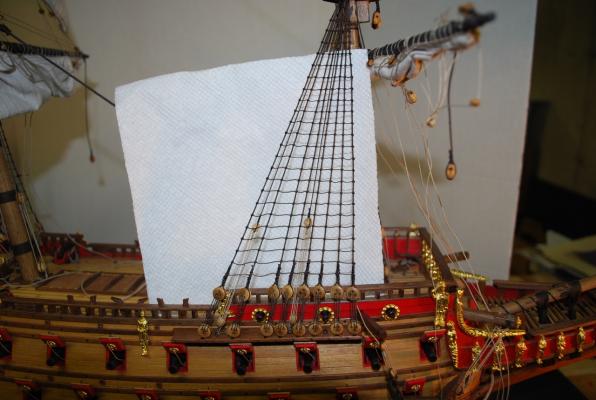
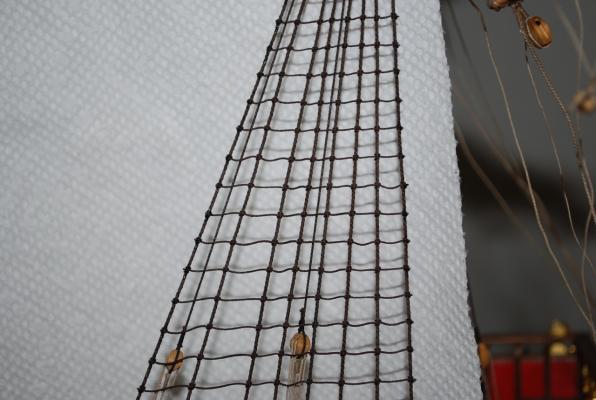
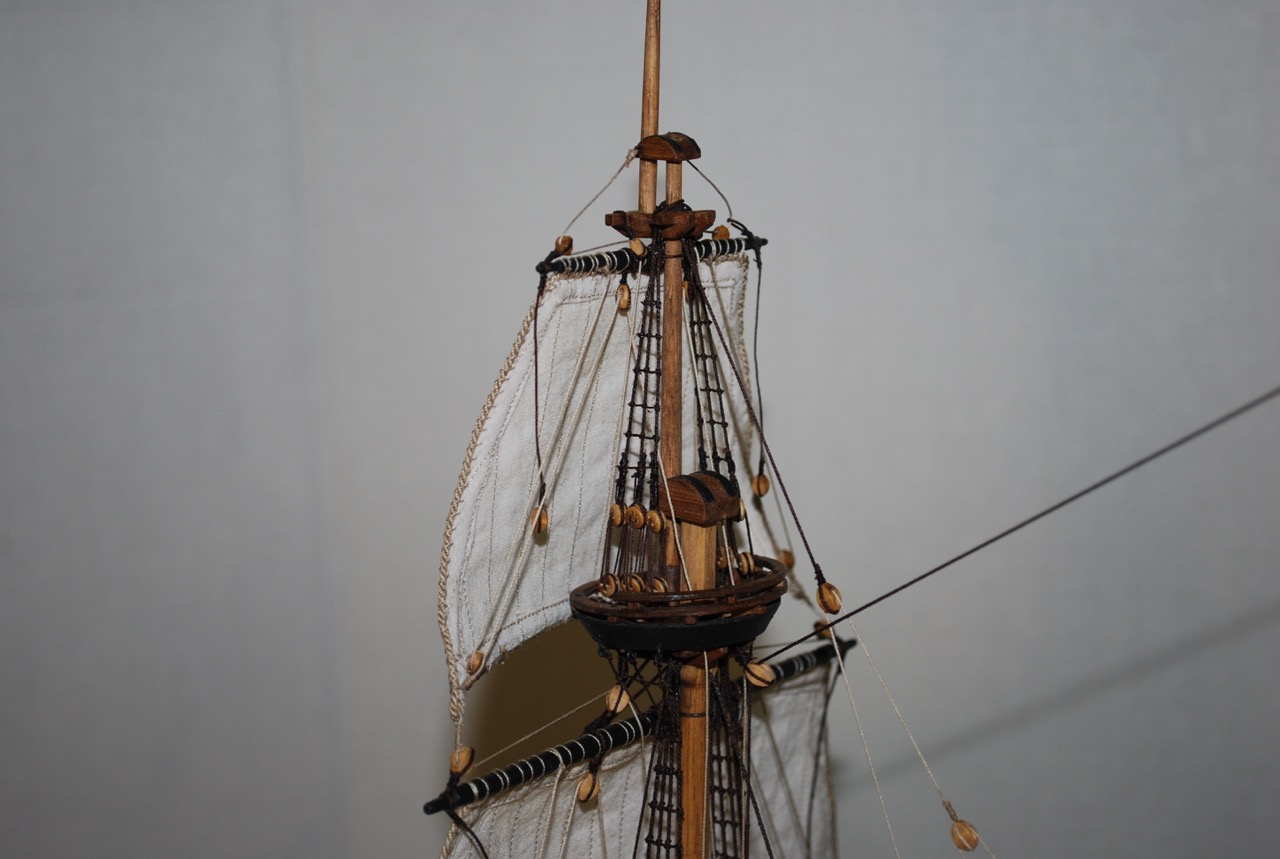
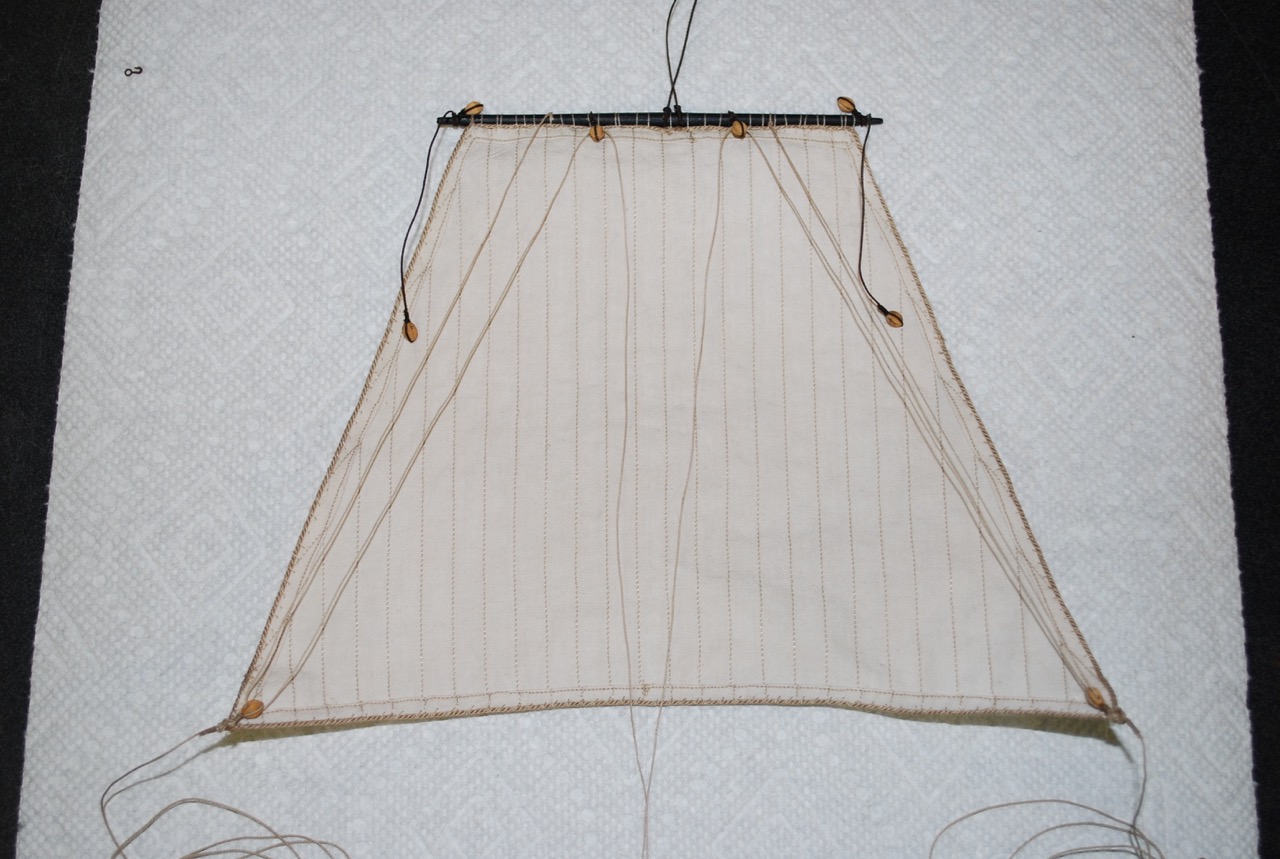
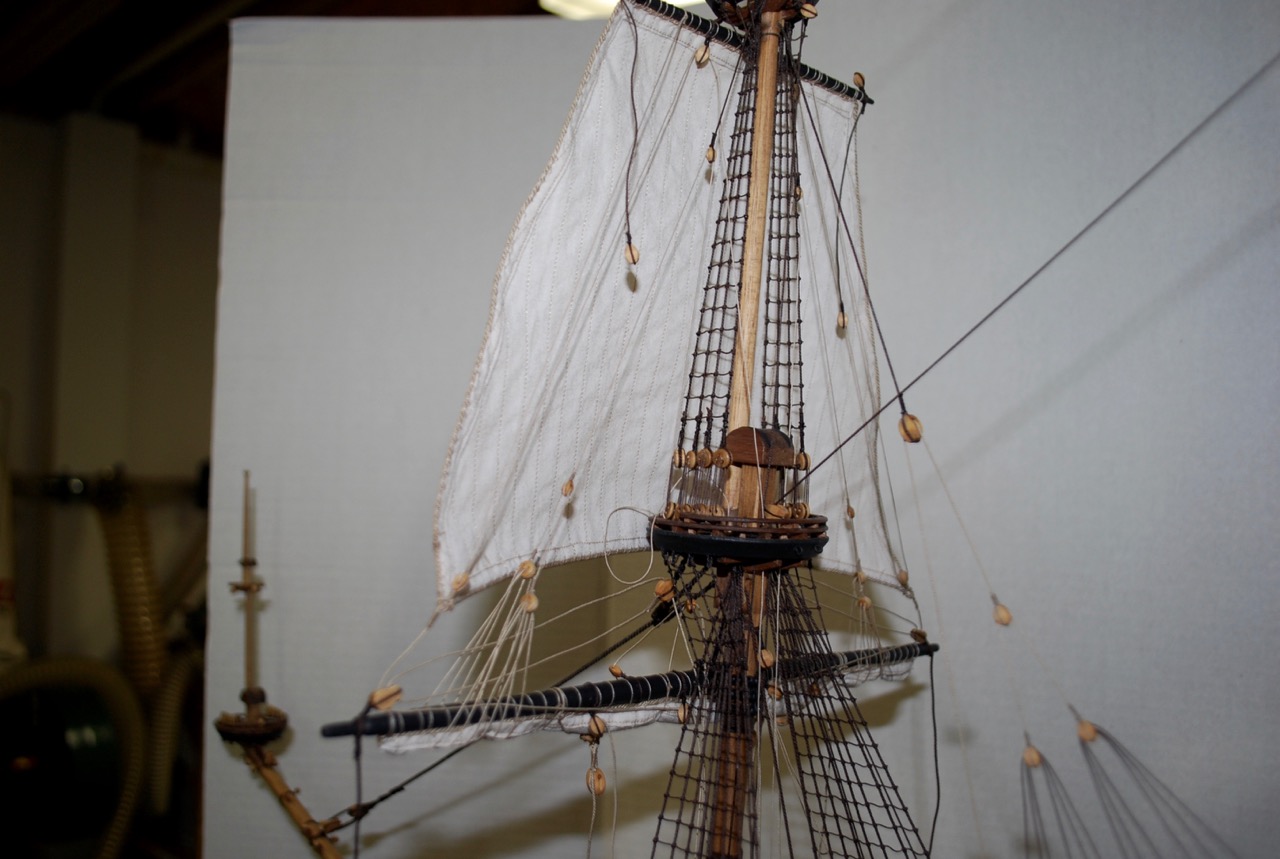
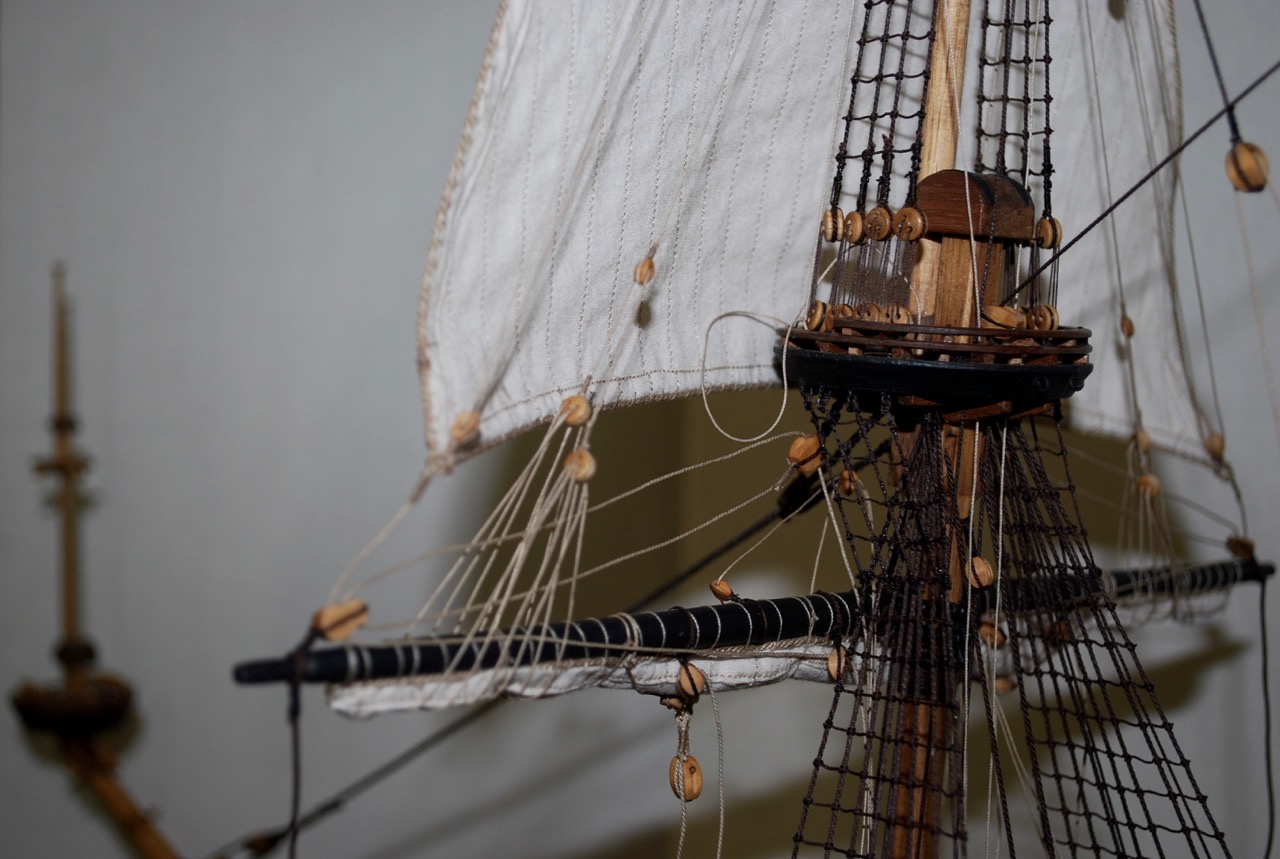
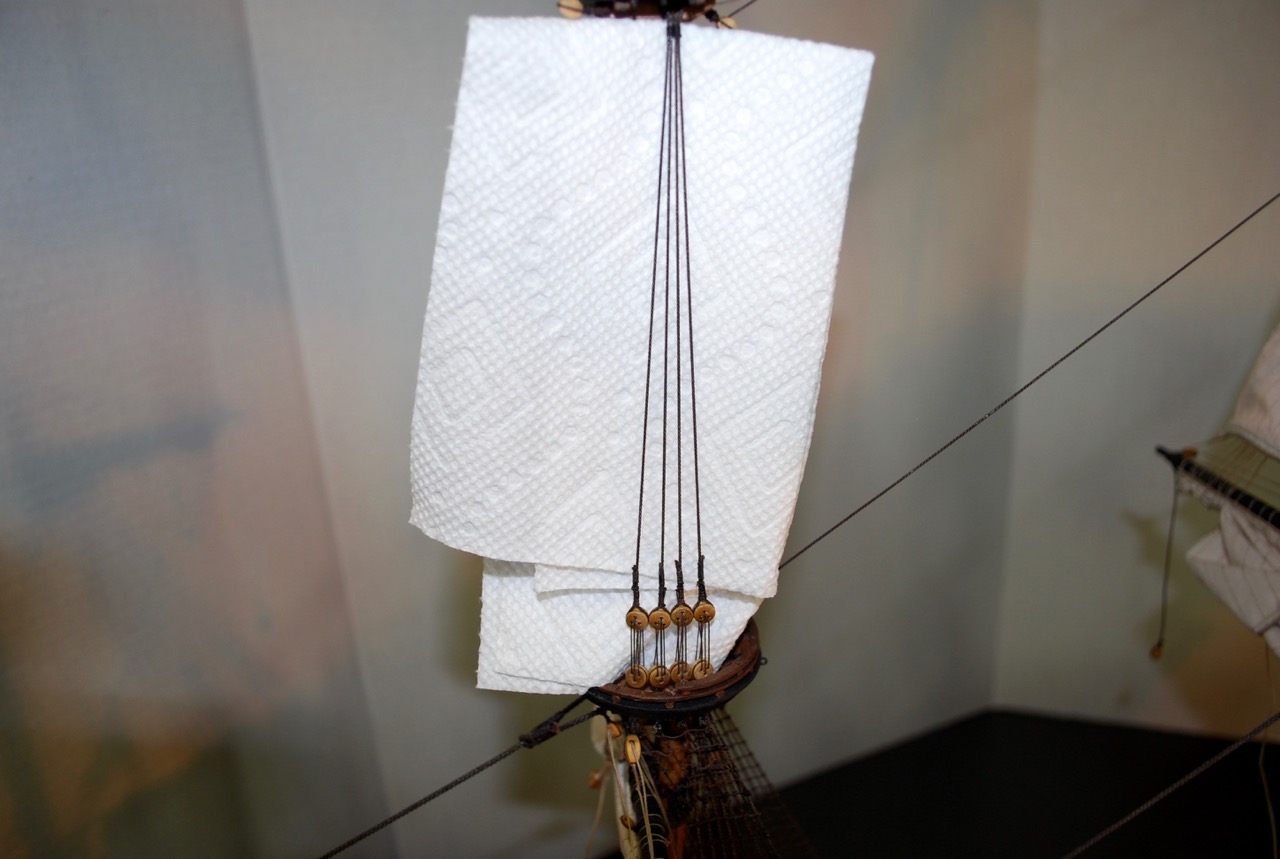
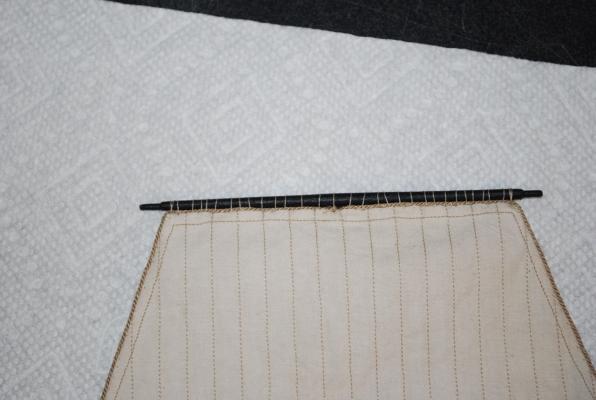
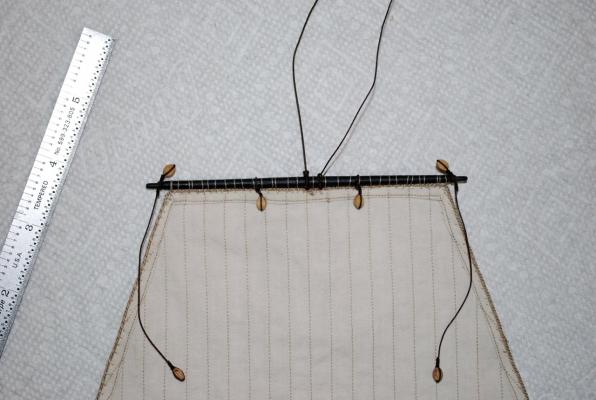
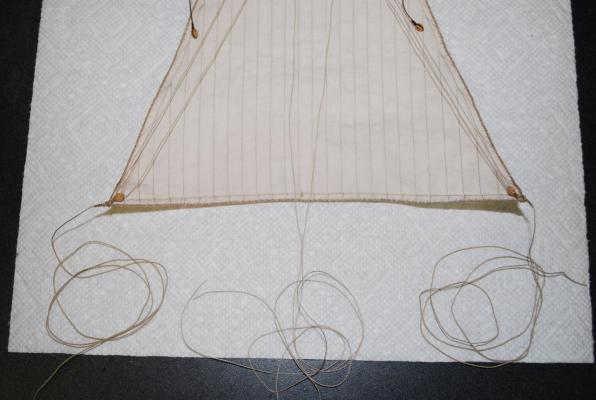
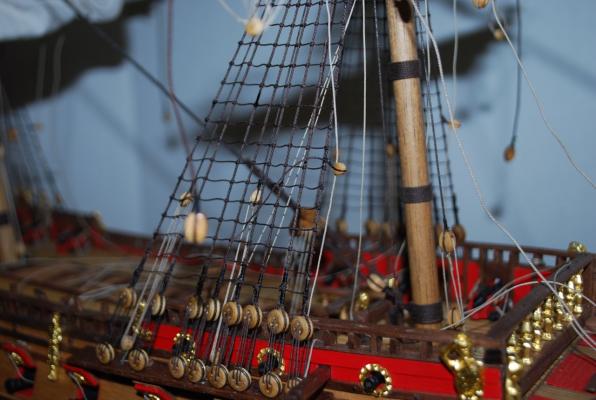
Hello, I have been working on finishing the shrouds for the foremast and also pre-rigging and mounting the foremast top sail. Shrouds and ratlines for the top sail Shrouds and ratlines for the top gallant sail area Foremast topsail ready to mount onto the yard Blocks added to the rear of sail /yard Blocks and pr-rigging done to the lower half of sail


-
Mark, Congratulations! Well done. Your ship and rigging look fantastic! Hopefully your photos will stay around on this log for a while in order to help assist us other Vasa model builders! If you don't mind my asking, did you make those good looking flags? Or were you able to find them somewhere? Thanks and good luck on your next build decisions. Frank
-
Hello Max, I have been having a great time reviewing your log! Great job! And yes I like the coils also! Frank
-
Michael, Thank you for your kind words!! And to everyone else, thanks for the "likes" and for visiting the log!! Frank
-
After the lower shrouds and ratlines, I added the lower foremast stay to the bowsprit. Now I started placing the pre-rigged running lines in the proper locations. All the running lines will remain loose, until the other foremast sails are installed and I am sure of where all the rigging will terminate on the deck! My next step now is to finish the upper shrouds / ratlines, install the upper yards and sails and finish the upper stays to the bowsprit. Thanks, Frank
-
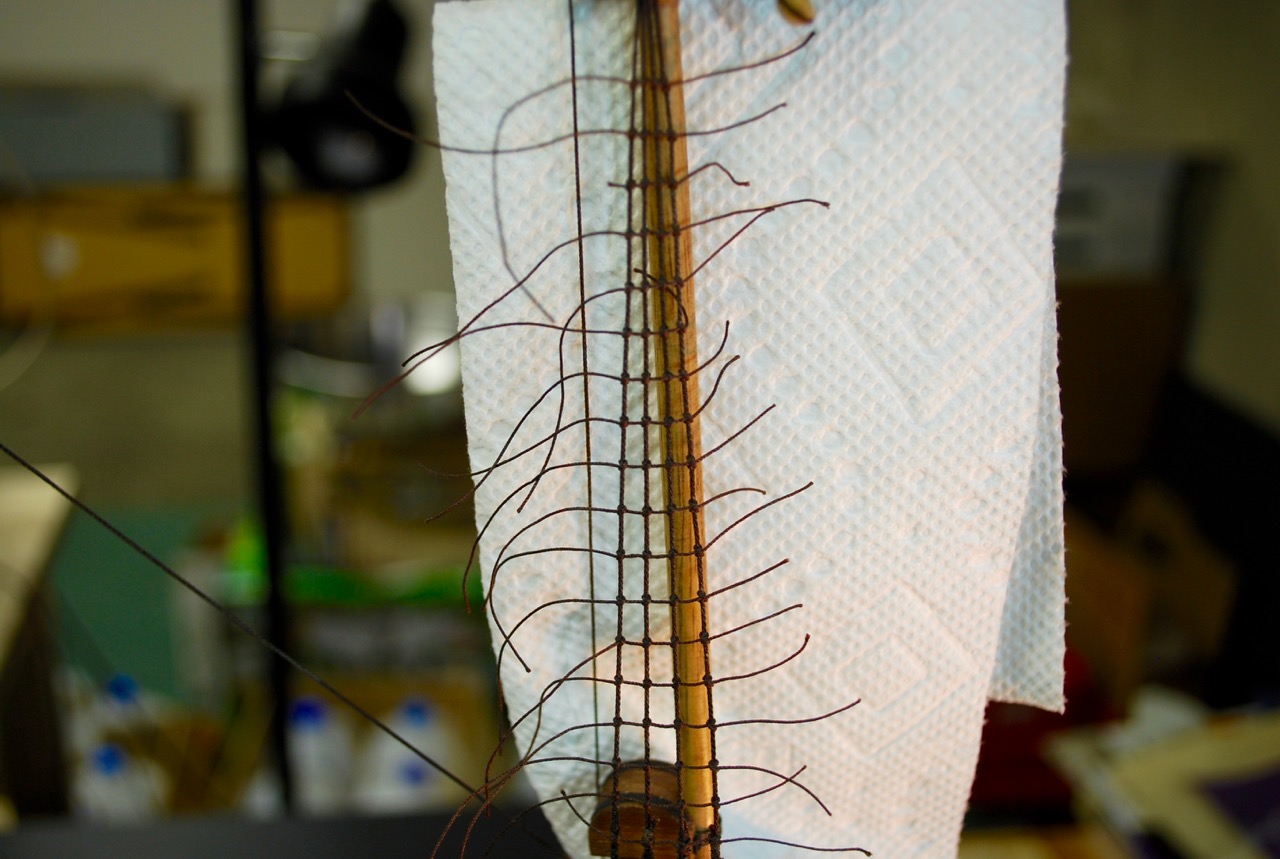
Hello, First of all, thanks for all the likes! I have been continuing with the foremast rigging. First, I installed the the lower shrouds Next was rigging the ratlines.