HOLIDAY DONATION DRIVE - SUPPORT MSW - DO YOUR PART TO KEEP THIS GREAT FORUM GOING!
×


fmodajr
-
Posts
868 -
Joined
-
Last visited
Content Type
Profiles
Forums
Gallery
Events
Everything posted by fmodajr
-
 Mark, Should I just commit suicide now? !! I am all confused, working off of 3 different plans and pictures from Clayton, the museum, and other logs! I am working slowly trying to figure out where all the rigging ends up on the deck and railings. I sure wish that the Vasa rigging book from the museum would have been published before I started the rigging! Thanks, Frank
 -
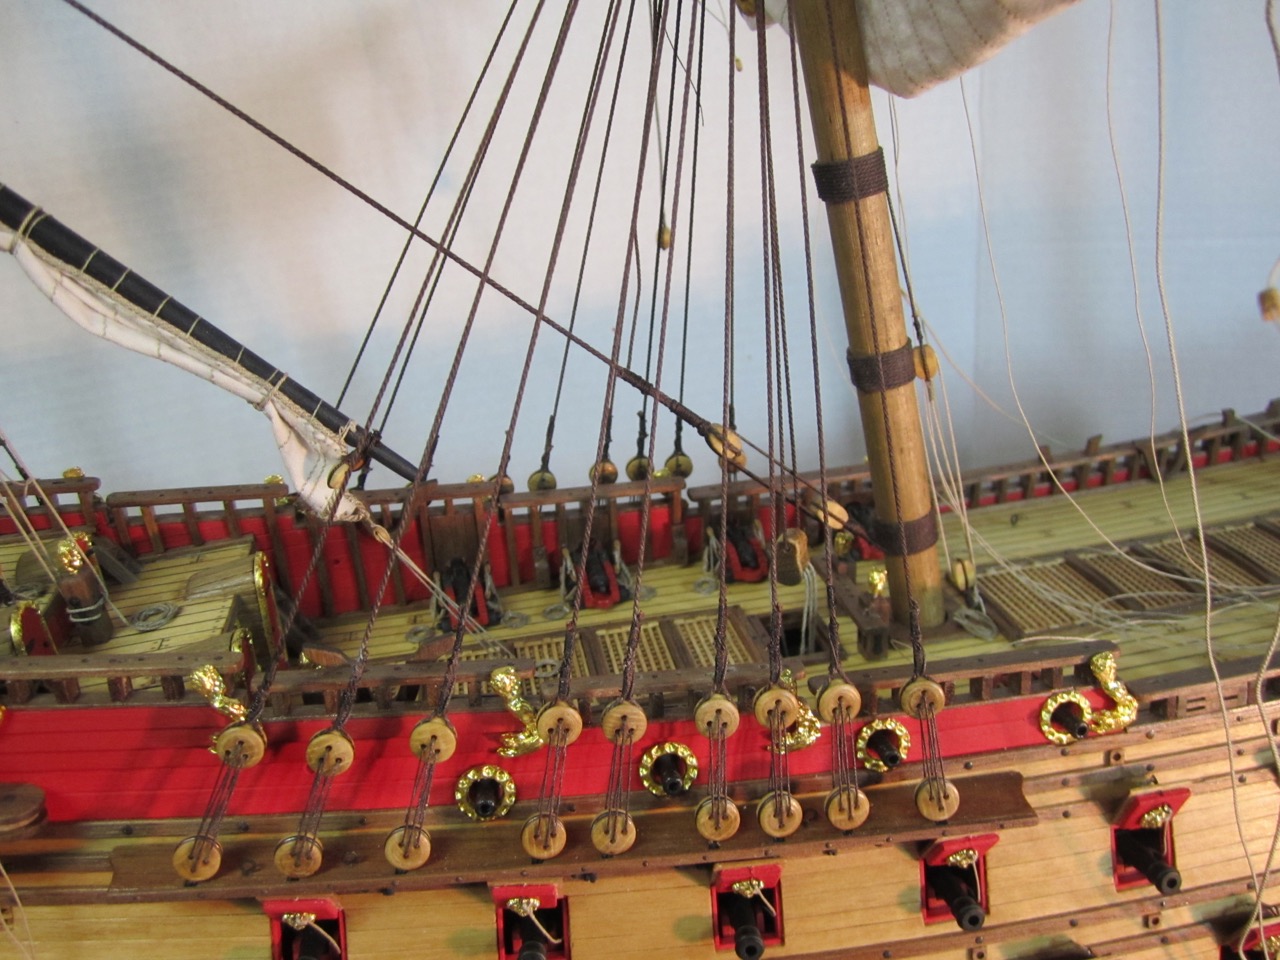
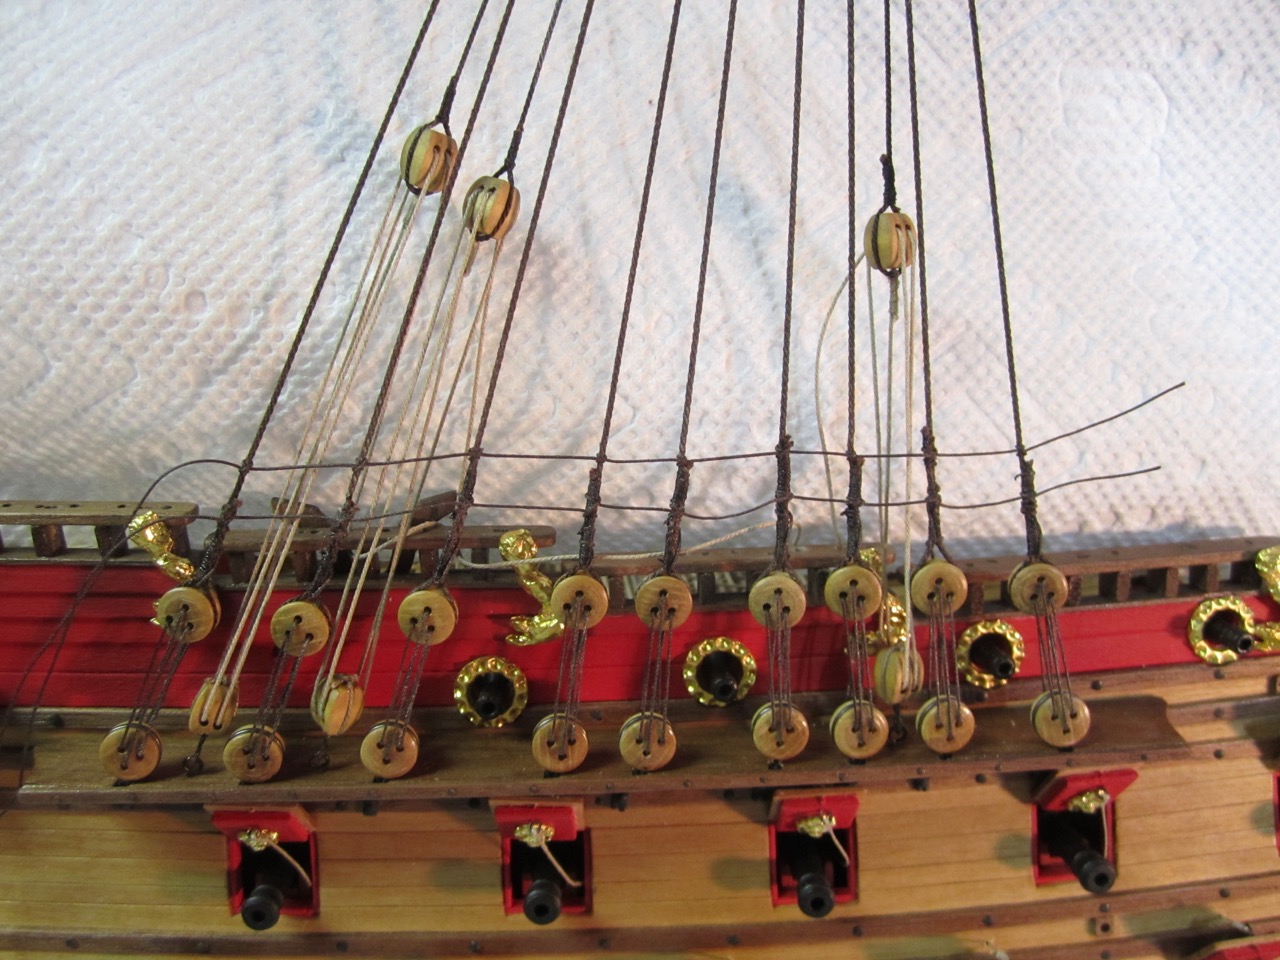
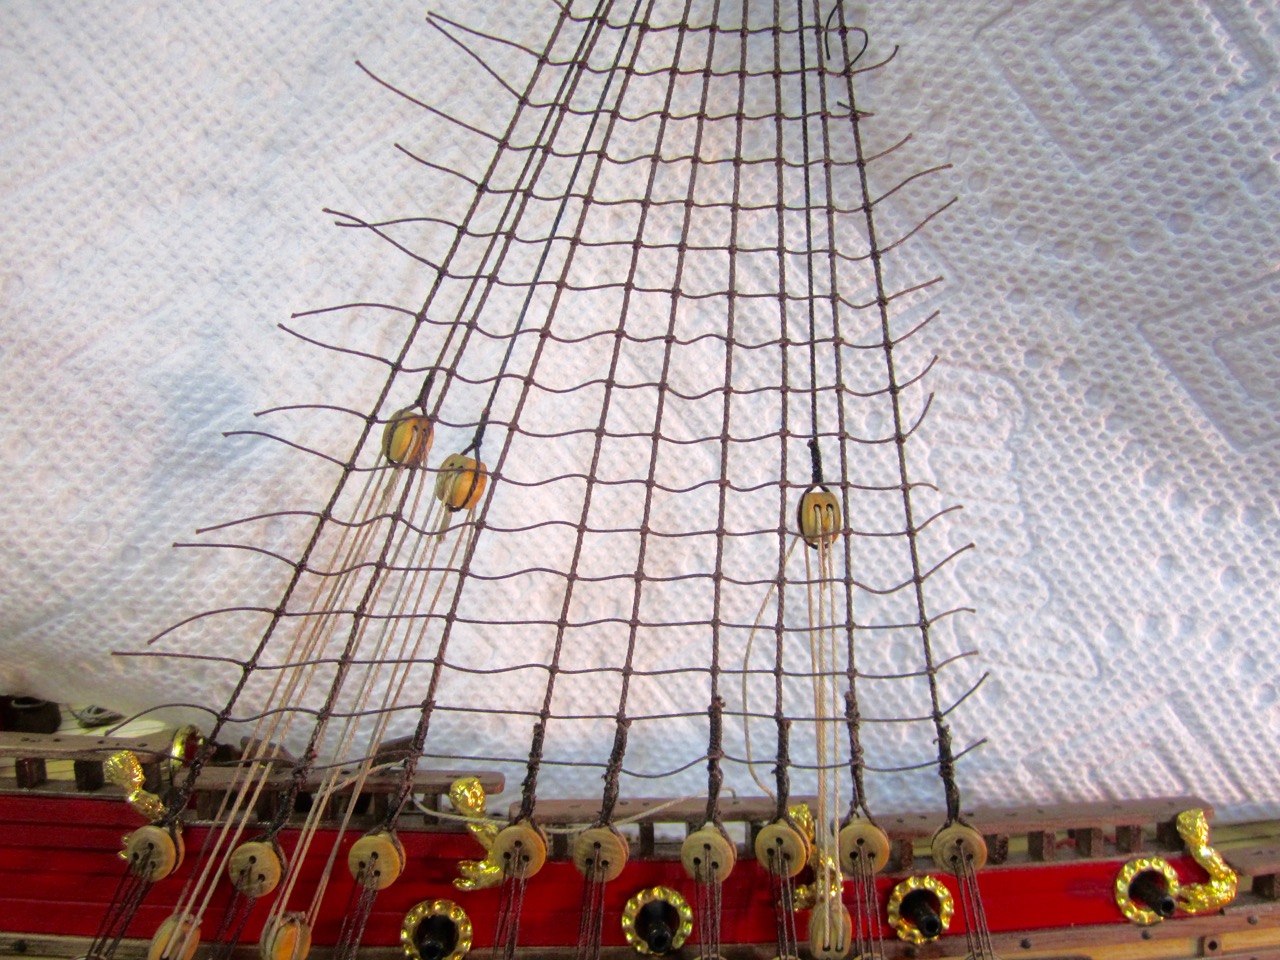
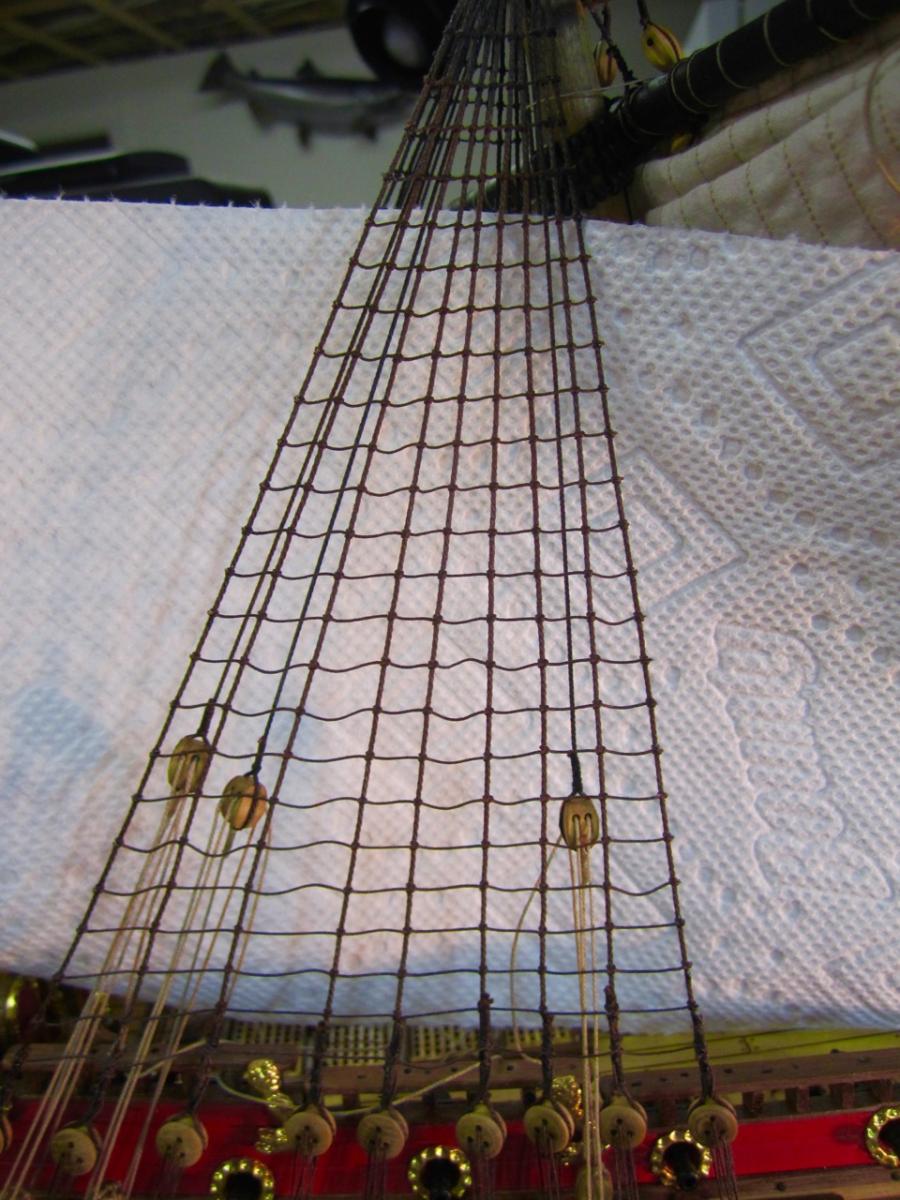
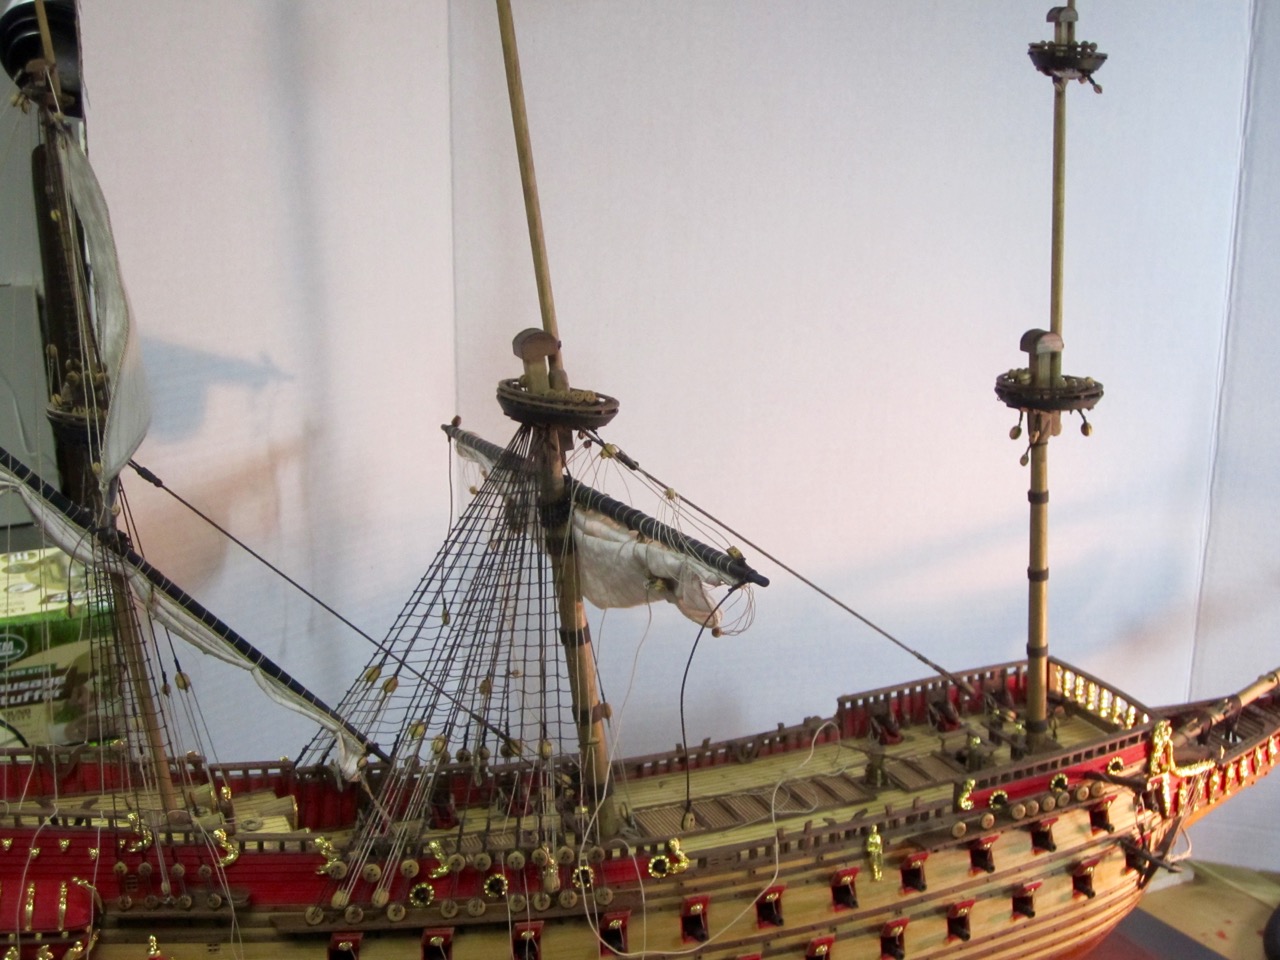
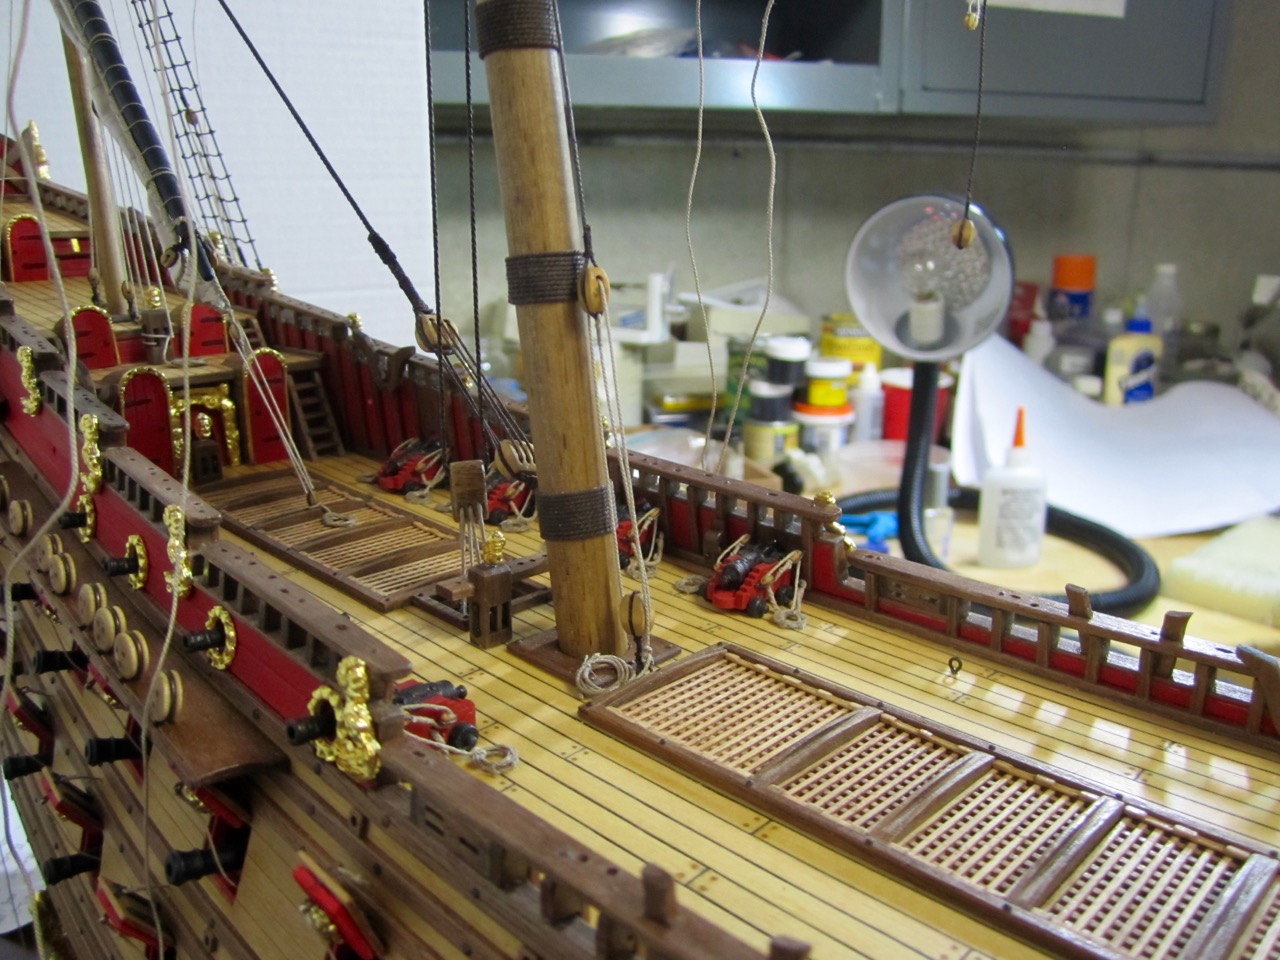
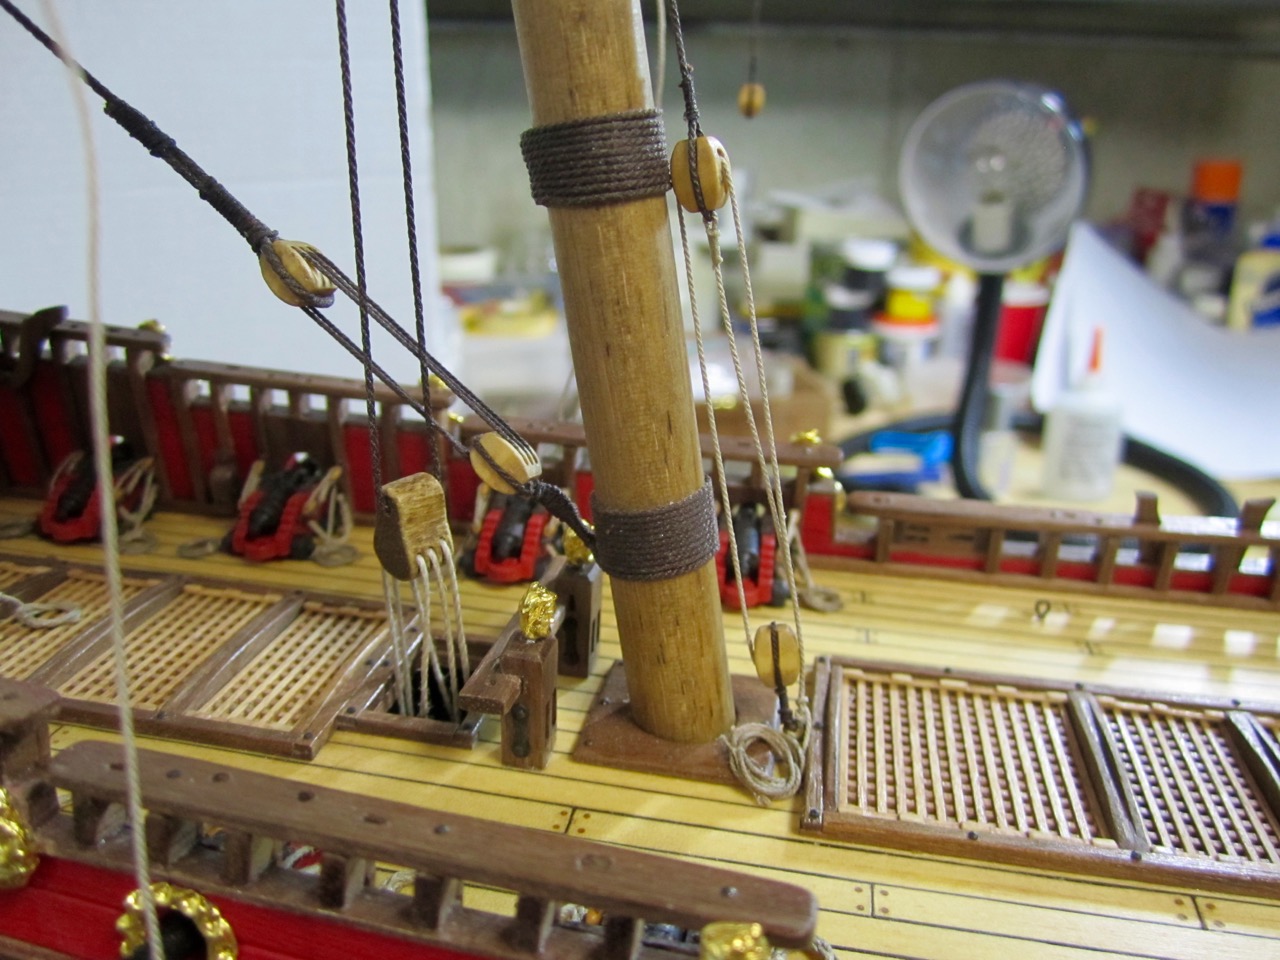
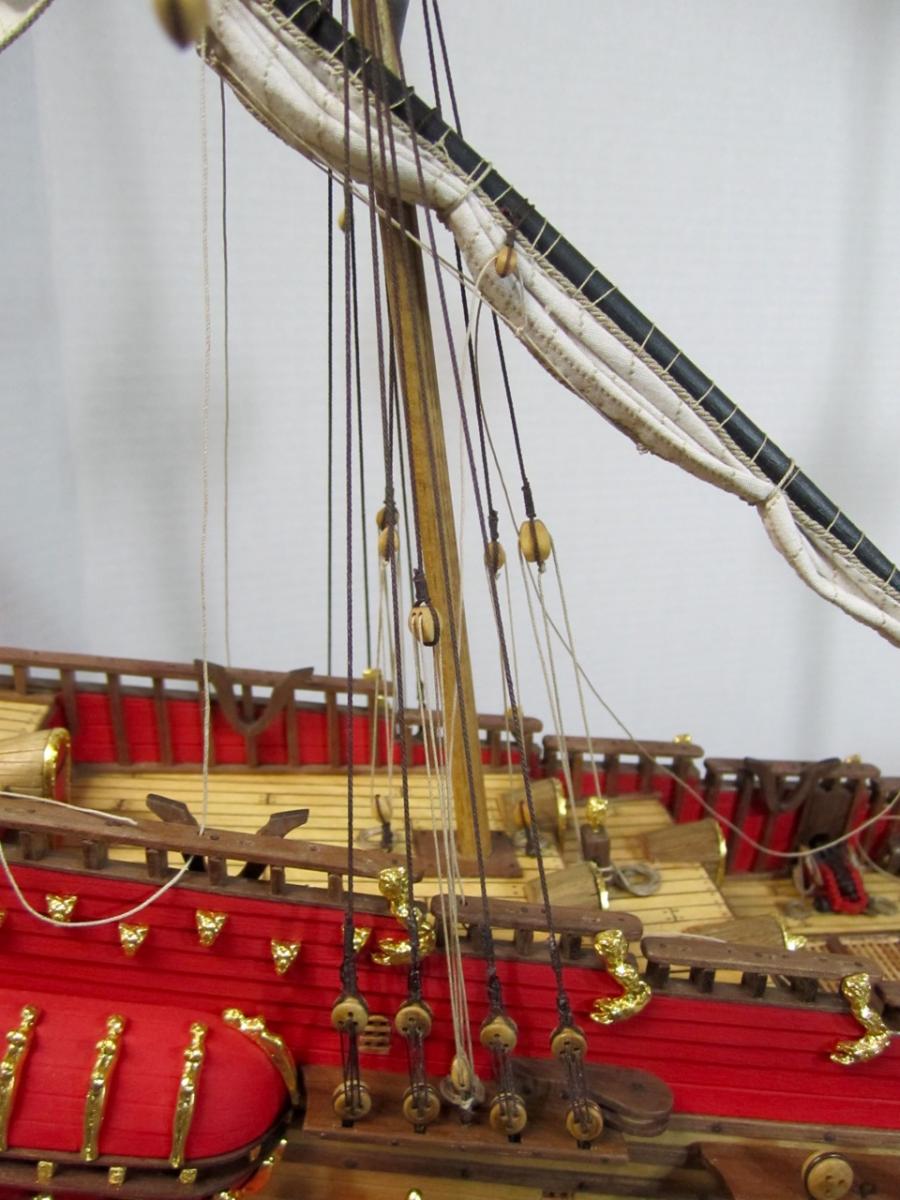
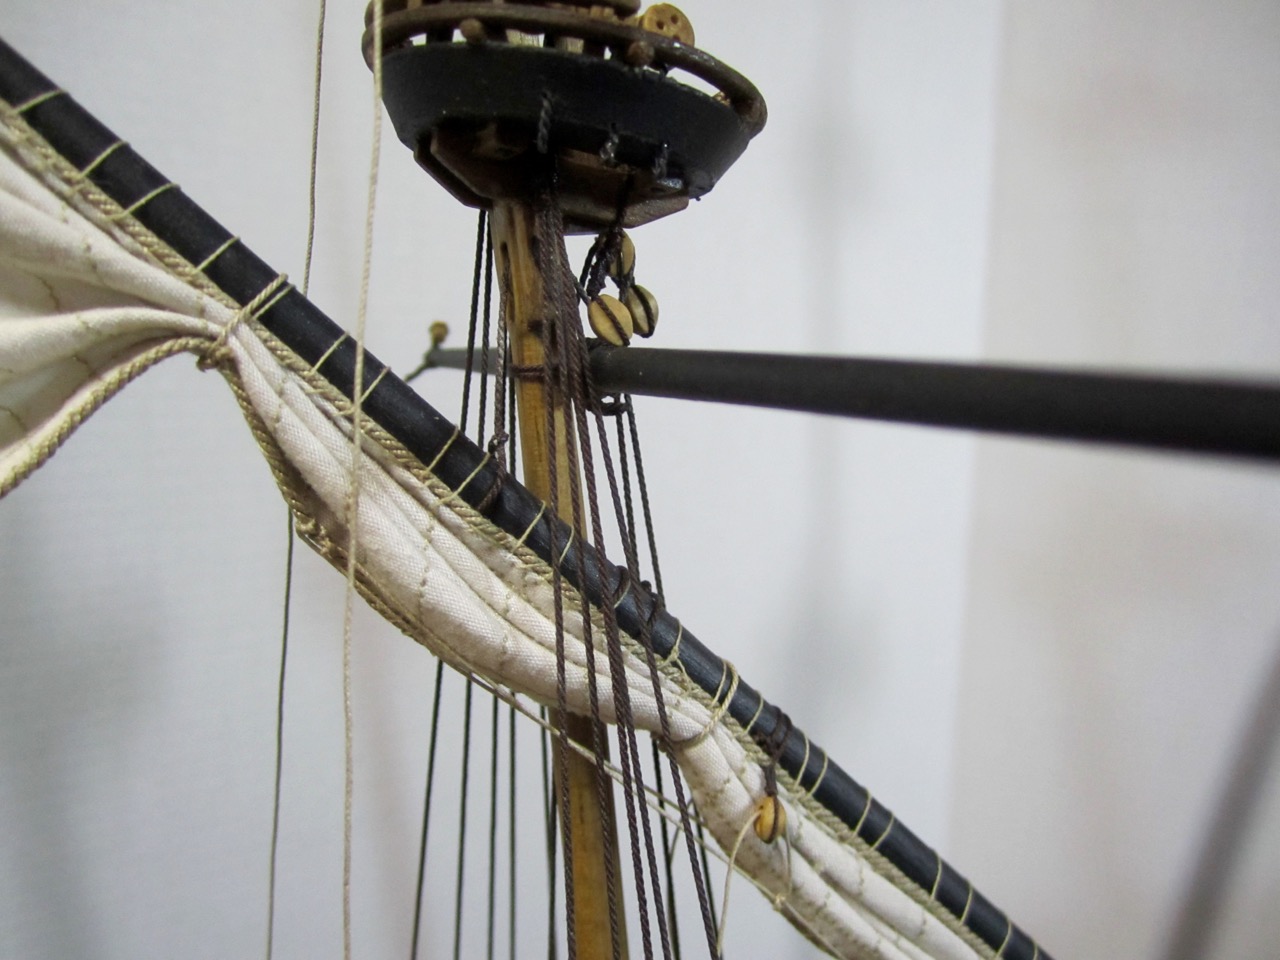
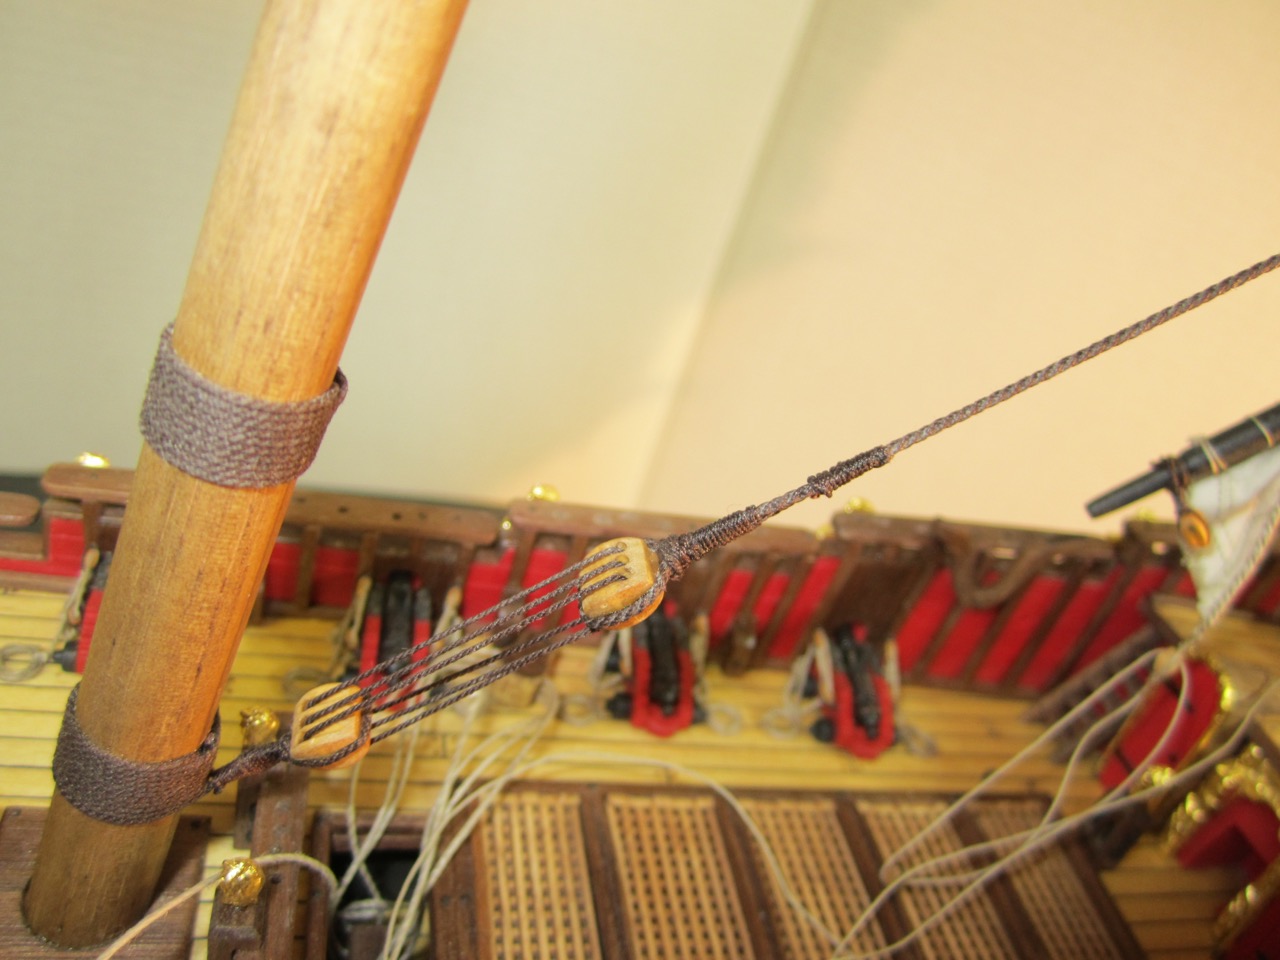
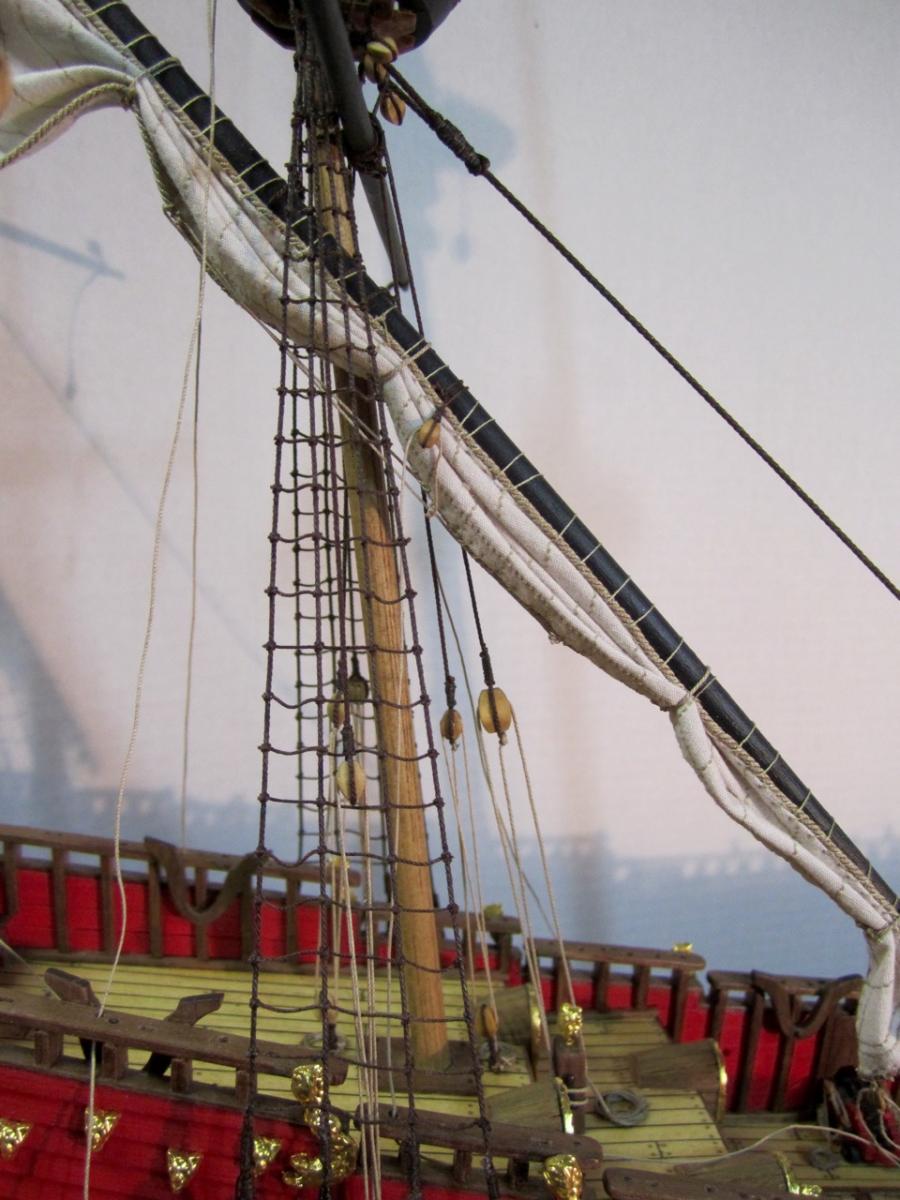
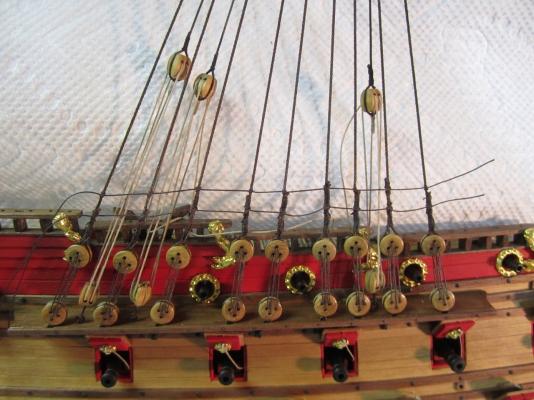
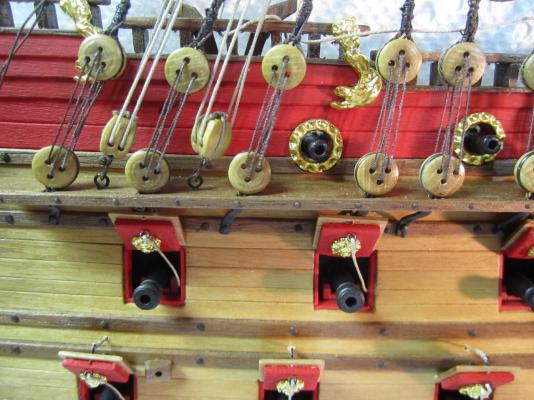
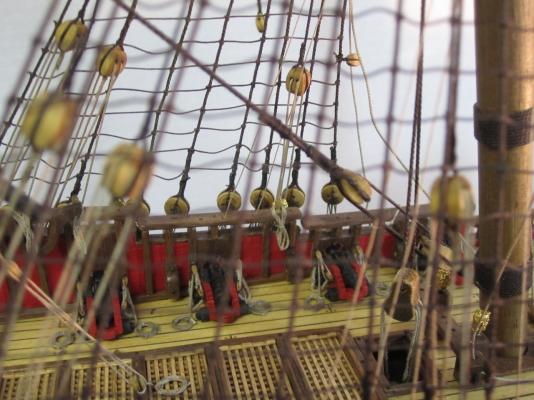
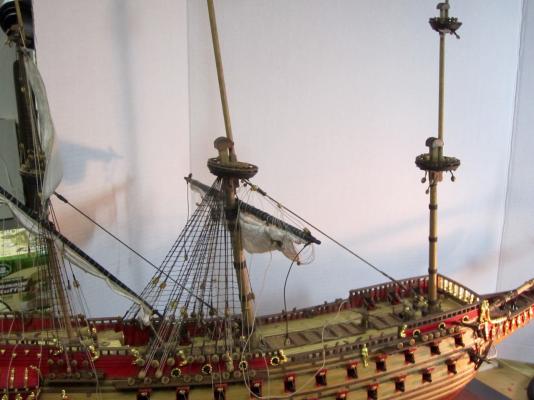
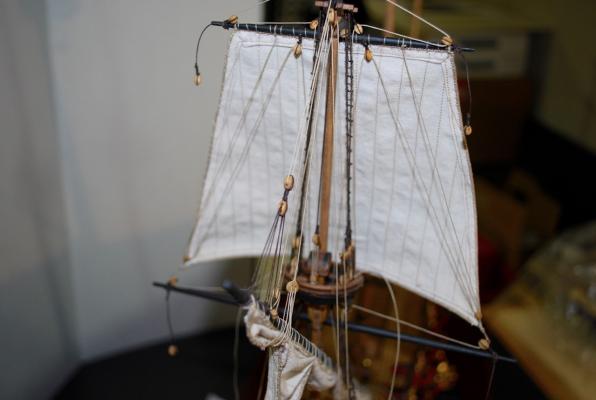
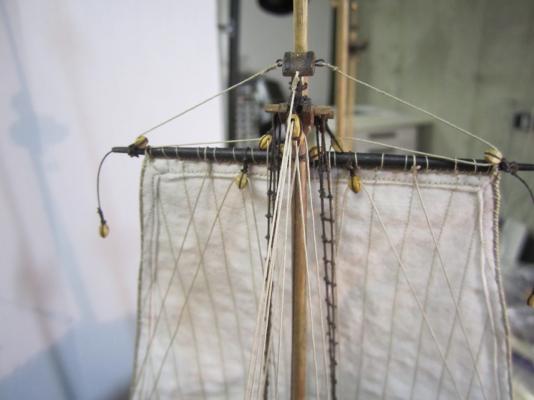
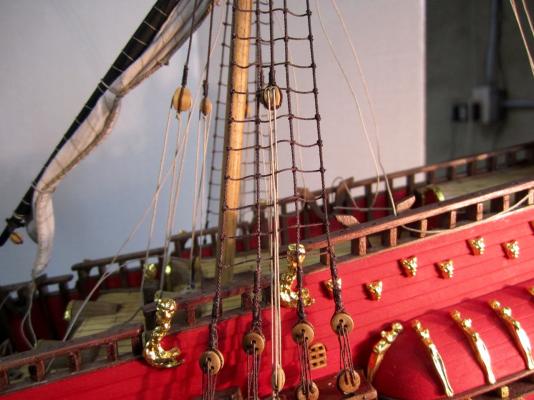
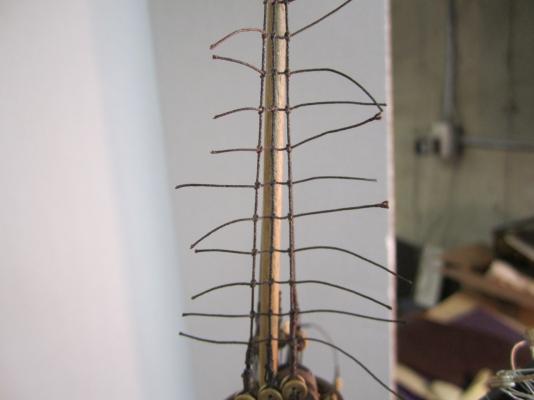
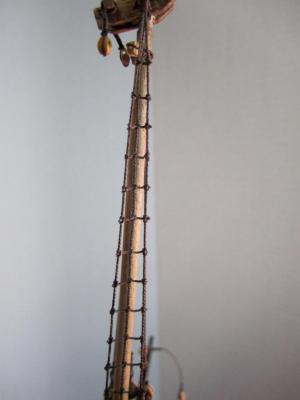
Hello, I made some more progress on my rigging. I installed the lower main mast shrouds Attaching the ratlines Adding the main stay Figuring out where all the running lines end up on the deck Now I am ready to move on to the upper main shrouds and sails. Thanks, Frank


- 493 replies
-
- 10
-

-
Jan, Great idea for the turntable. I have been going crazy rotating my model from side to side with the rigging. I'll have to look into something like yours! Thanks, Frank
-
Salty Dog! Glad you like the color! The red I used ia number 435 Naphthol Crimson by Folk Art. You can find it at a Michaels store or an AC Moore store. Thanks, Frank
-
Karl, I hope all is well! Thanks for your kind comments. I keep referring to your pictures in order to help me out! Thanks again, Frank
-
Thanks Michael! I am now working on the mainmast shrouds and ratlines. (Very repetitive, but I'll get thru it!) Glad you liked the partial sail. I think it will look even better (hopefully), once all the lines are positioned and tightened down. Thanks, Frank
-
Lin, Karl, Jan, Wackowolf, George, Mark, and Dan, Thanks for visiting my log and the "Likes" Frank
-
Michael, It looks like you are getting every penny's worth out of that Proxxon! I might have to add the Proxxon to my Christmas list before I start my next build. Looking good! Frank
-
Hi Daniel and George, Thanks for your kind comments and your input! It is appreciated! Frank
-
Mark, Wow, nicely done! The upper railings look fantastic! So, please tell me your thought process about installing them now vs later. I have my railings made, but I have not installed them yet. I was nervous that I would accidentally break them during the rigging phase of my build. However, I worry that if I wait too long to install them it will be more difficult. So, at some point I will have to get them put in! I just don't quite know when that will be. Frank
-
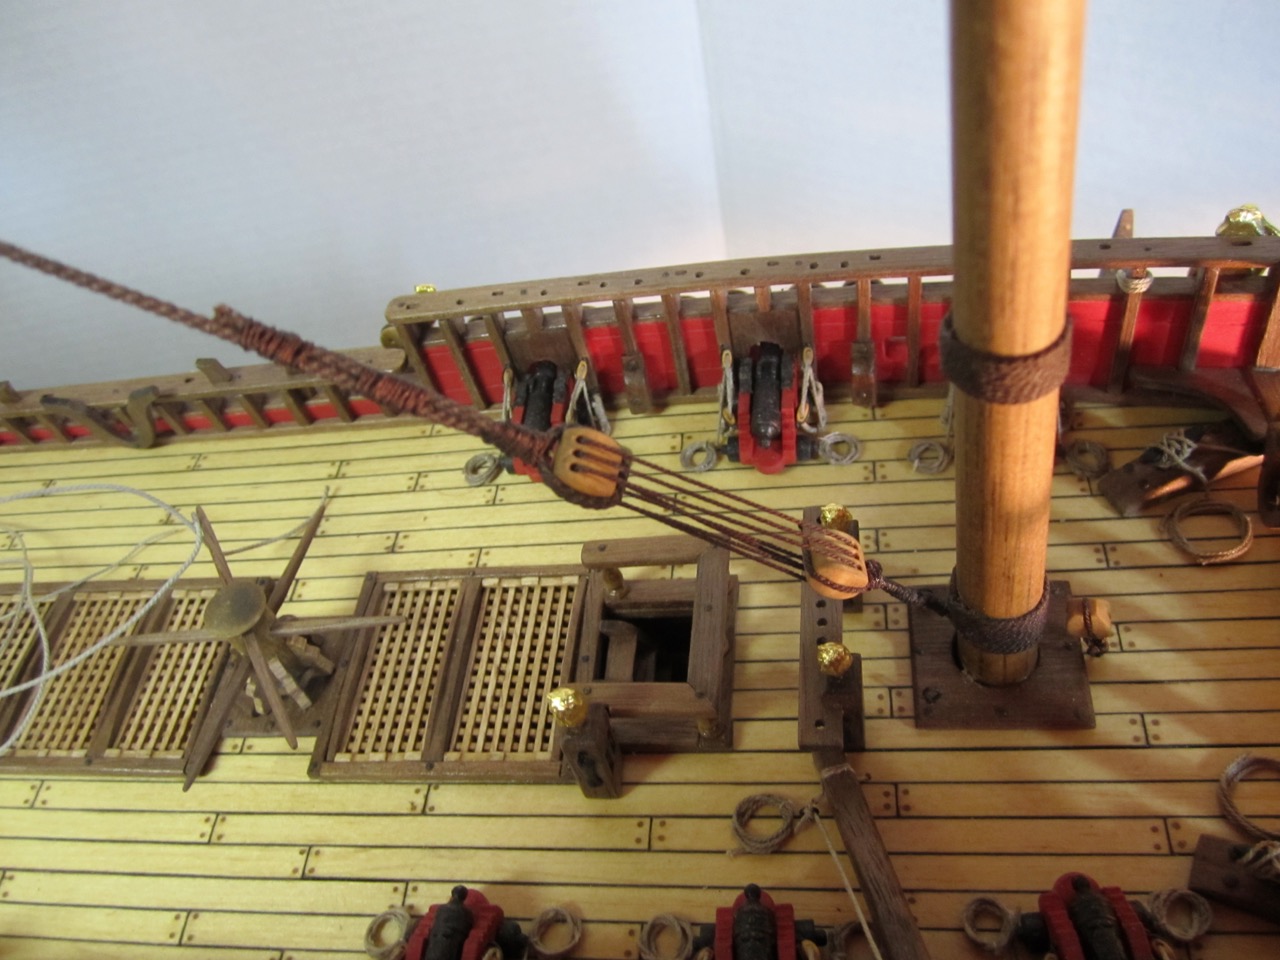
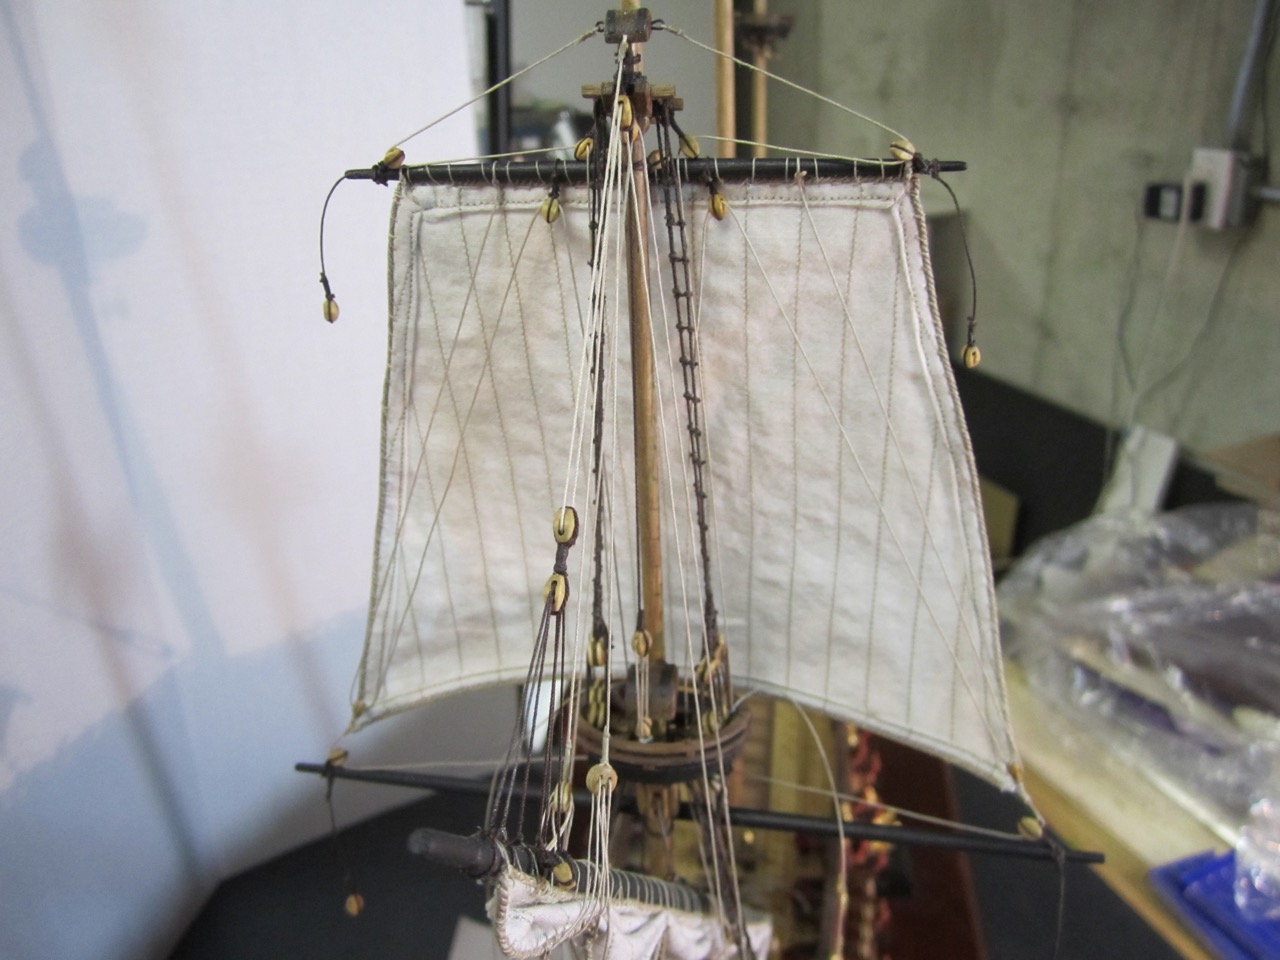
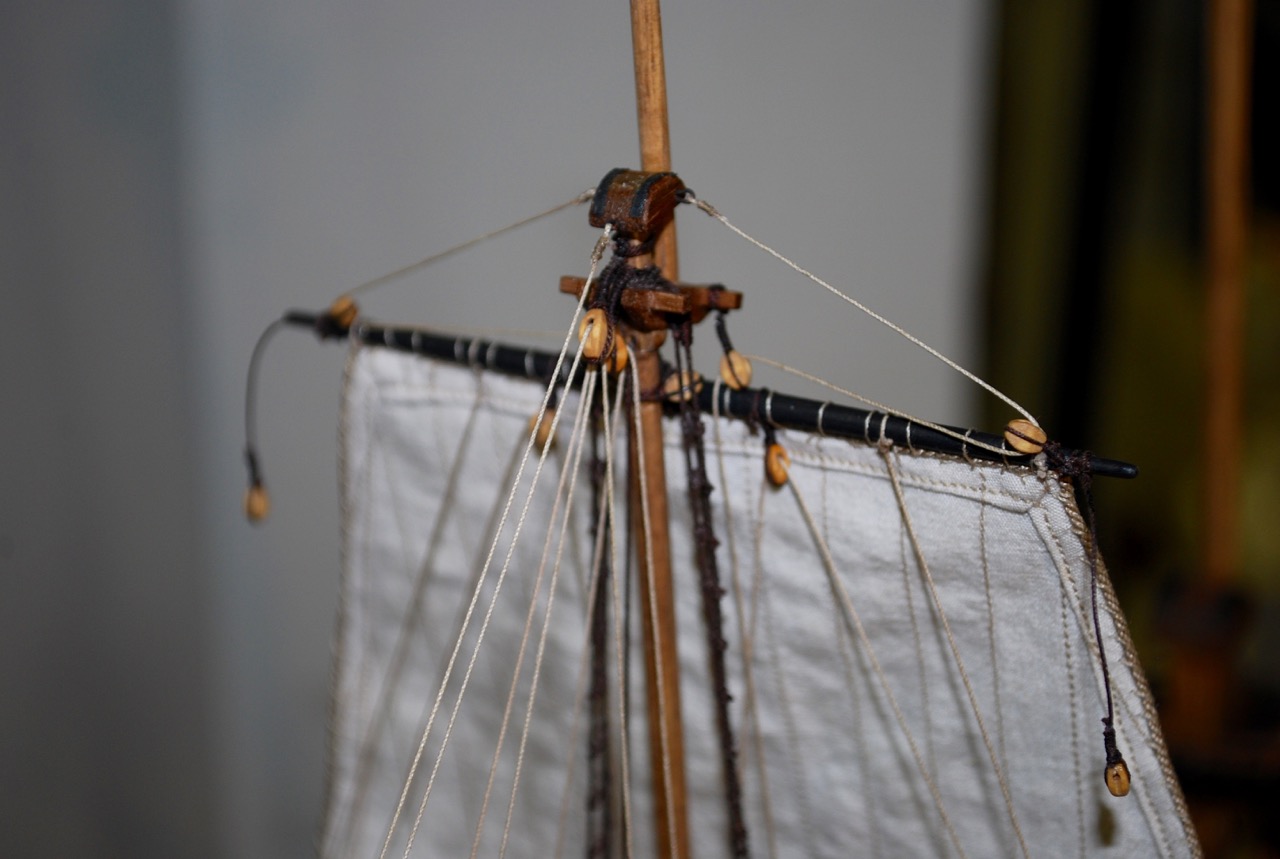
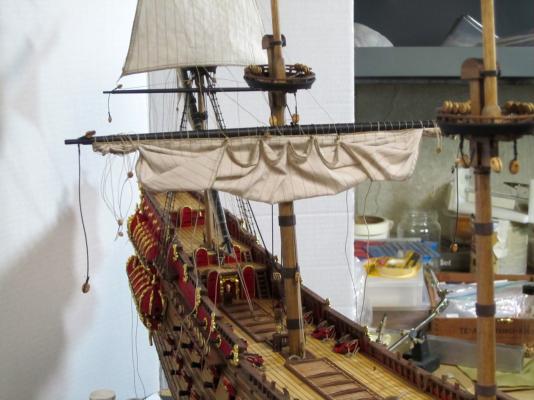
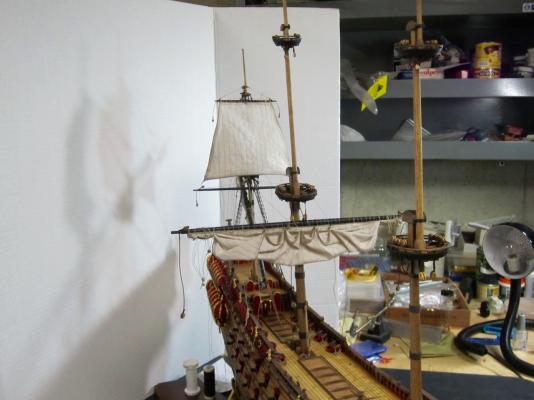
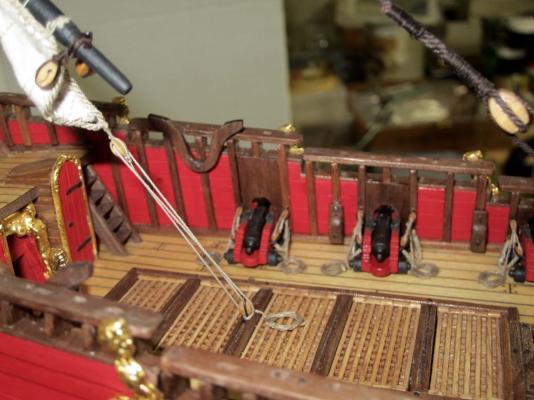
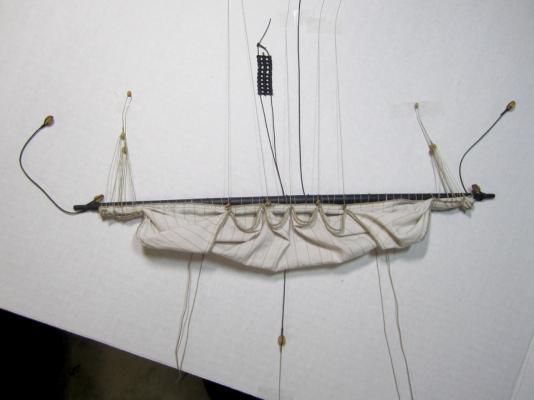
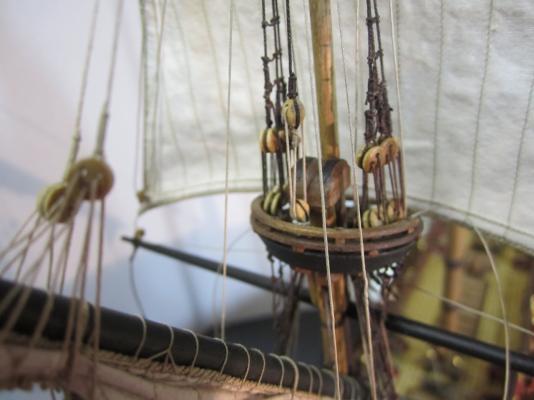
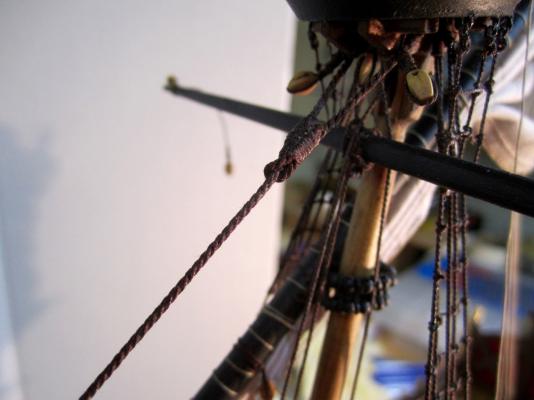
I added the blocks to the bottom rear of the sail and pre-rigged some more lines. Here are some pictures of the yard and sail mounted onto the mainmast. Remember, a lot of the pre rigged lines will stay loose and unfinished until later in the rigging process. Yard attached to the mast Lifting lines finished to deck Front of mizzen sail attached to deck Now I am starting to work on adding the lower main mast shrouds and ratlines. Thanks, Frank


-
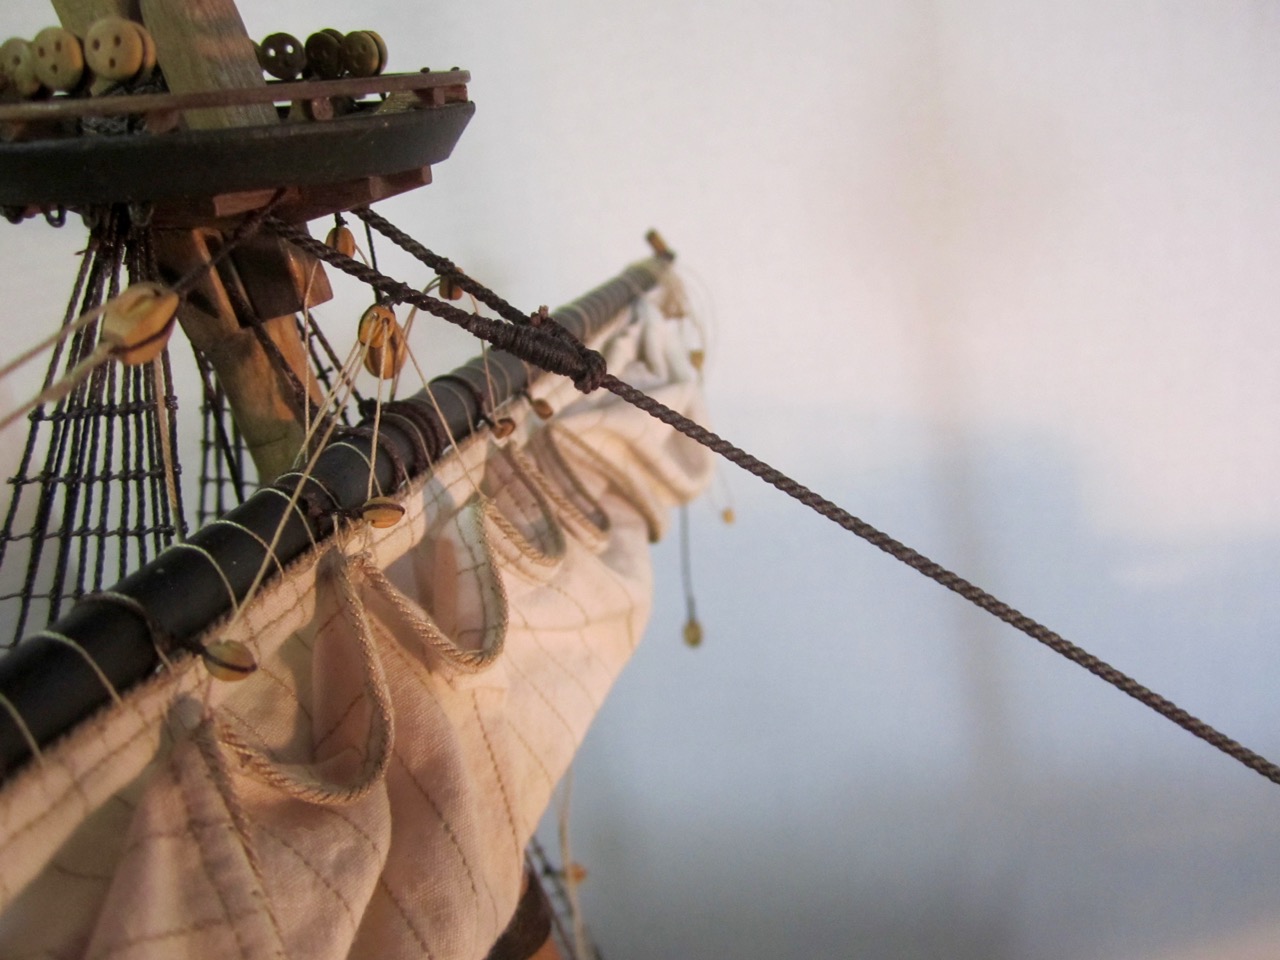
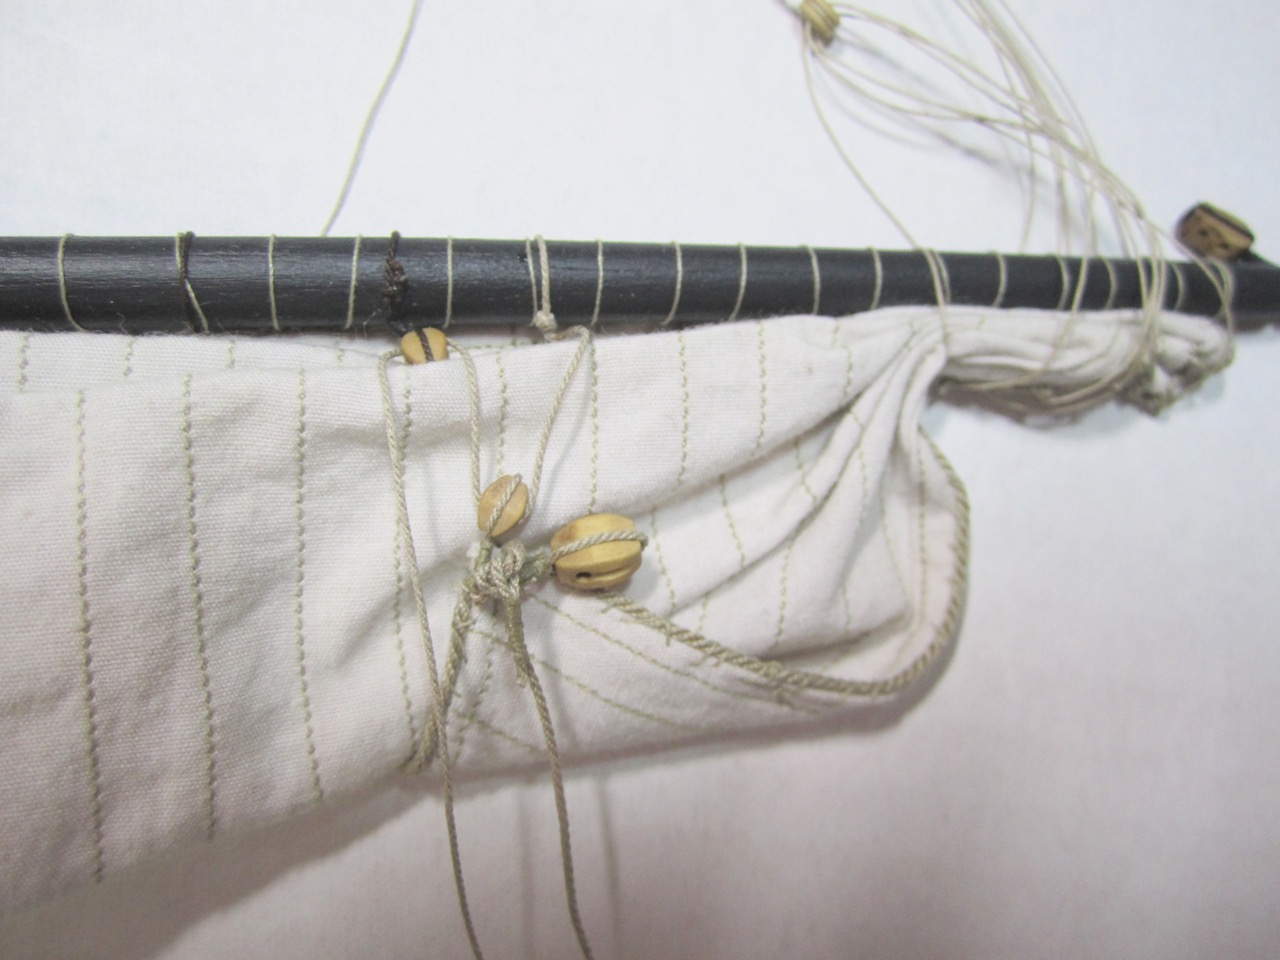
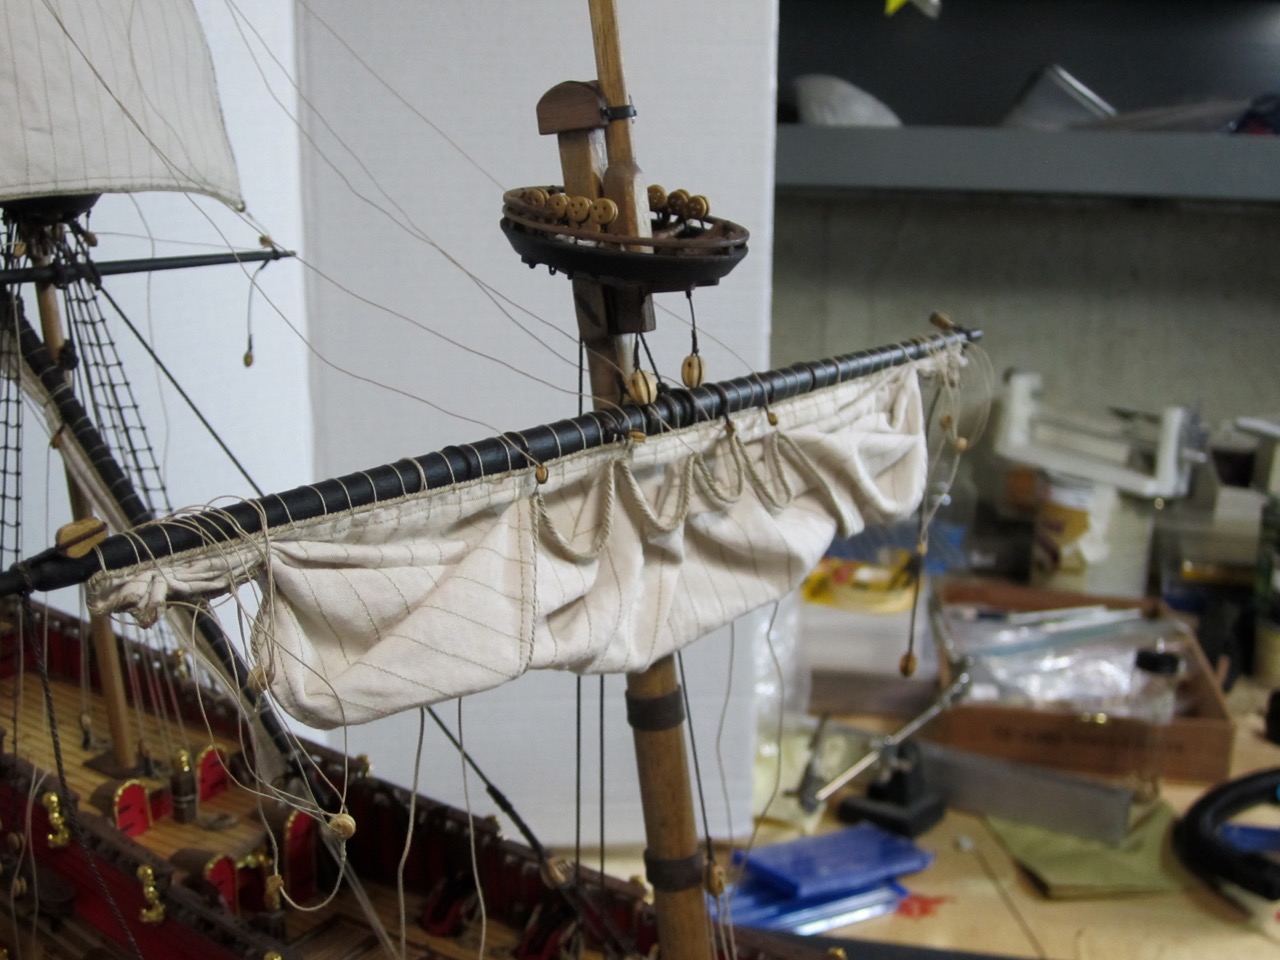
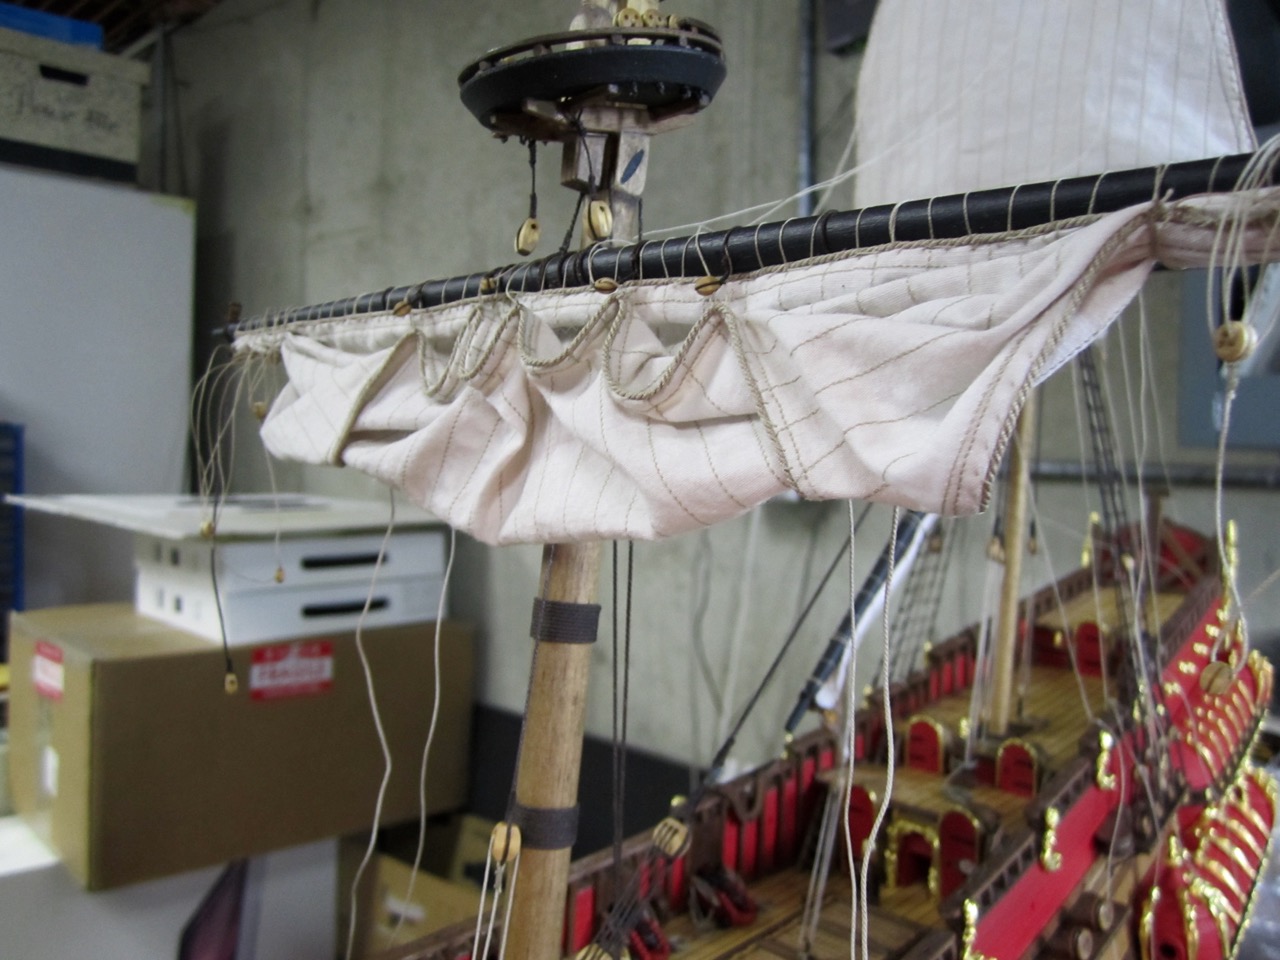
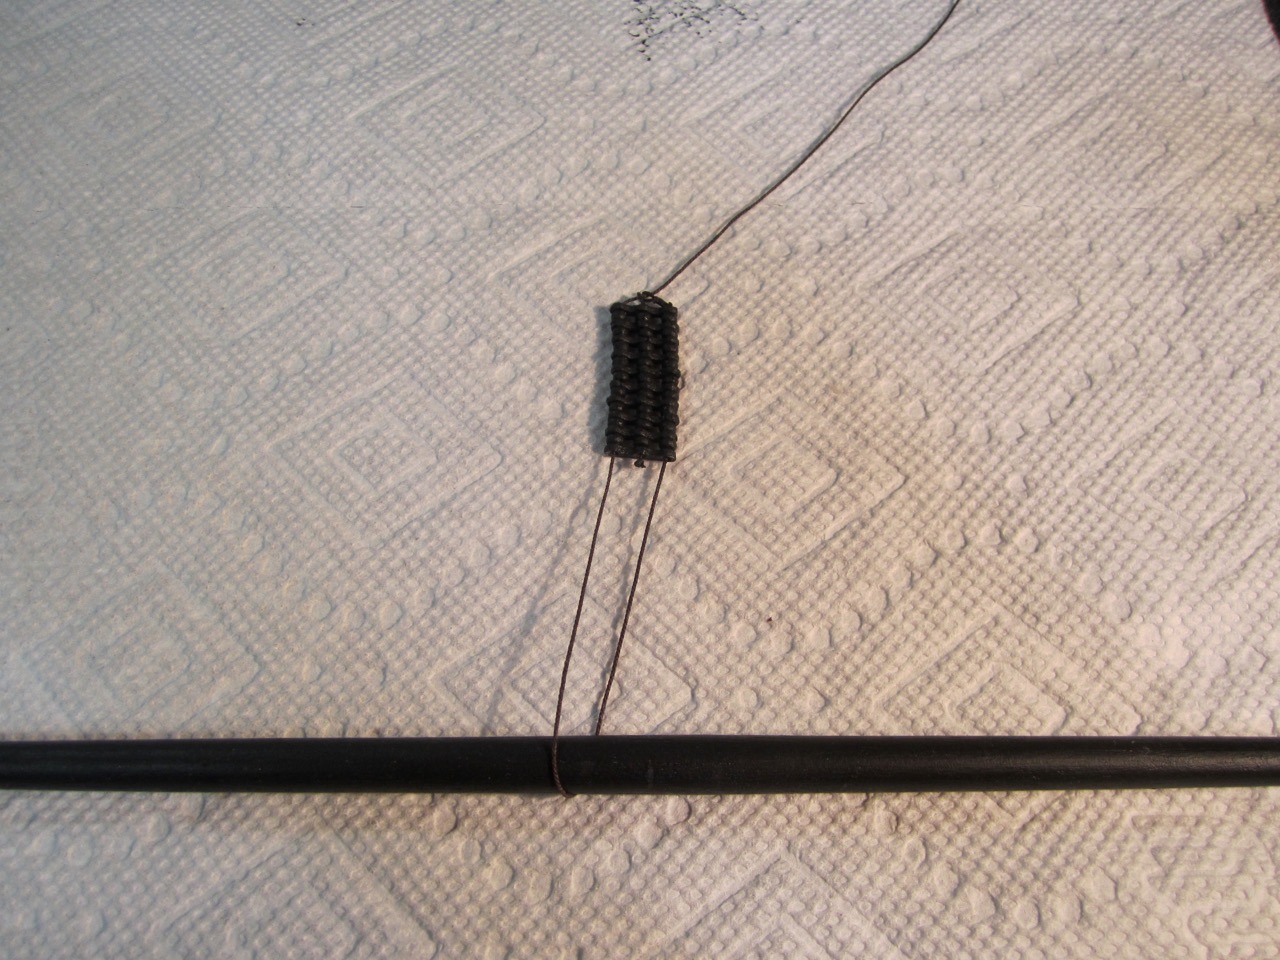
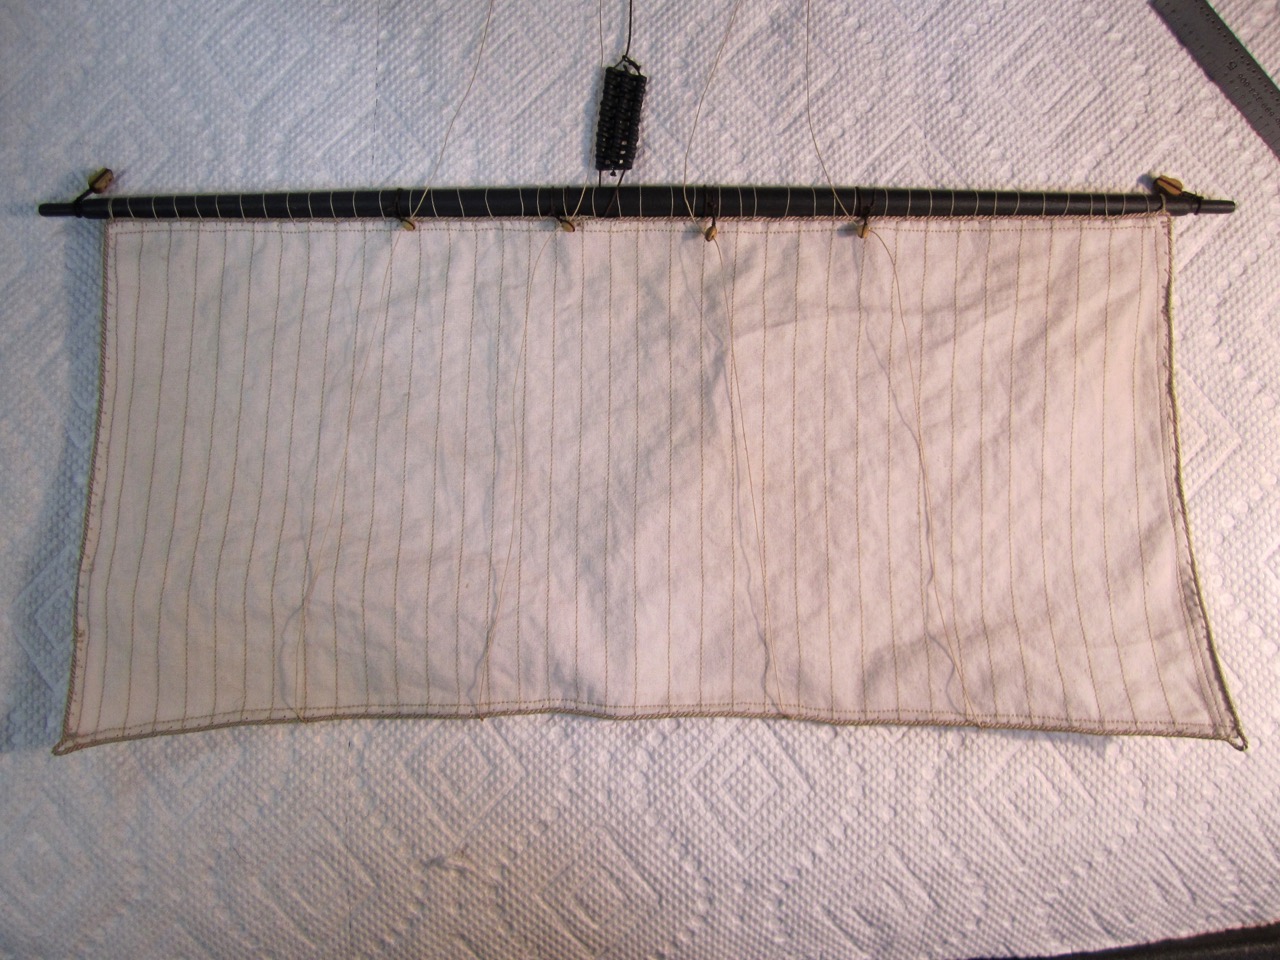
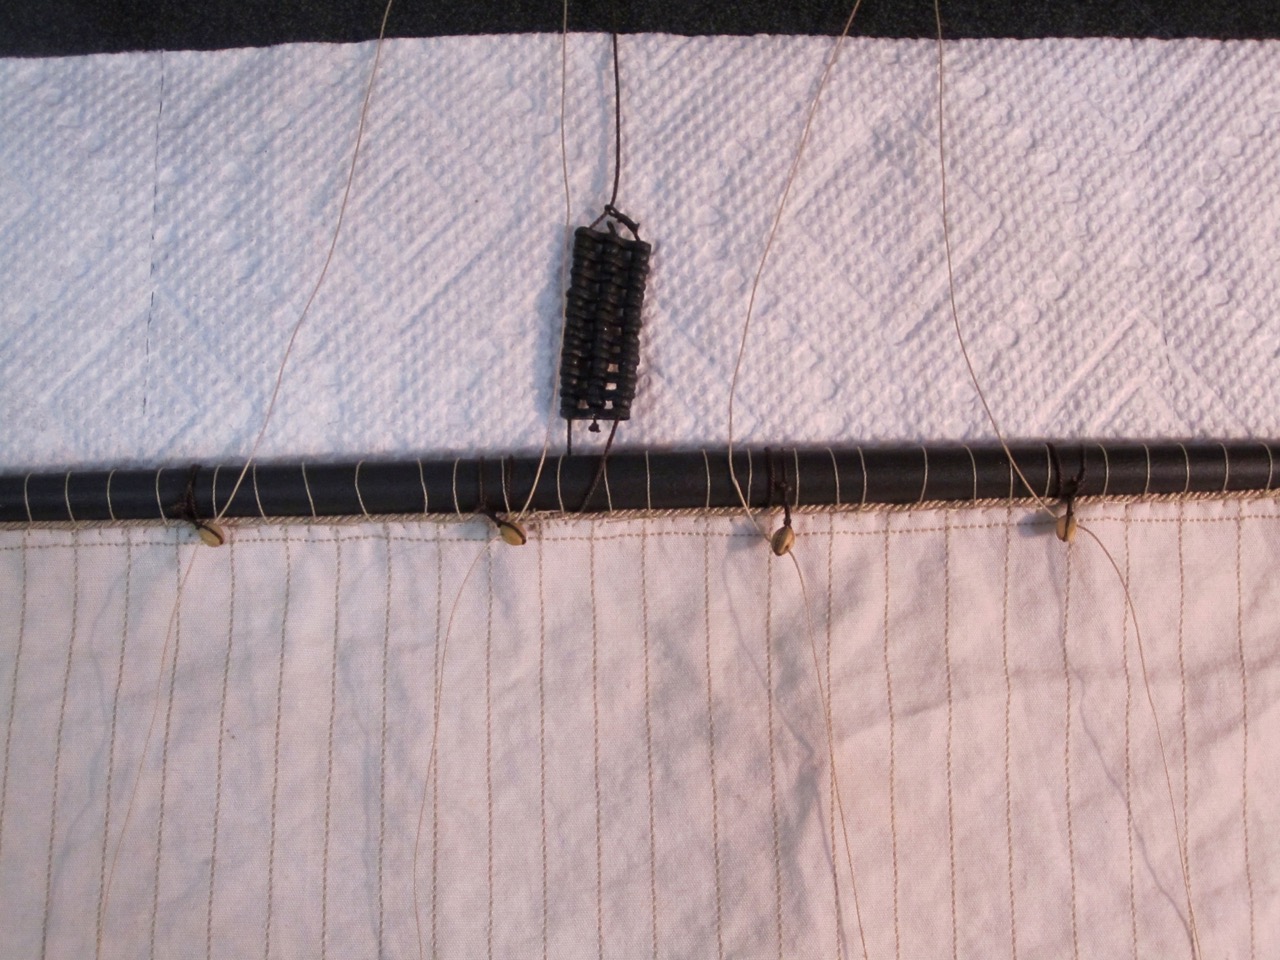
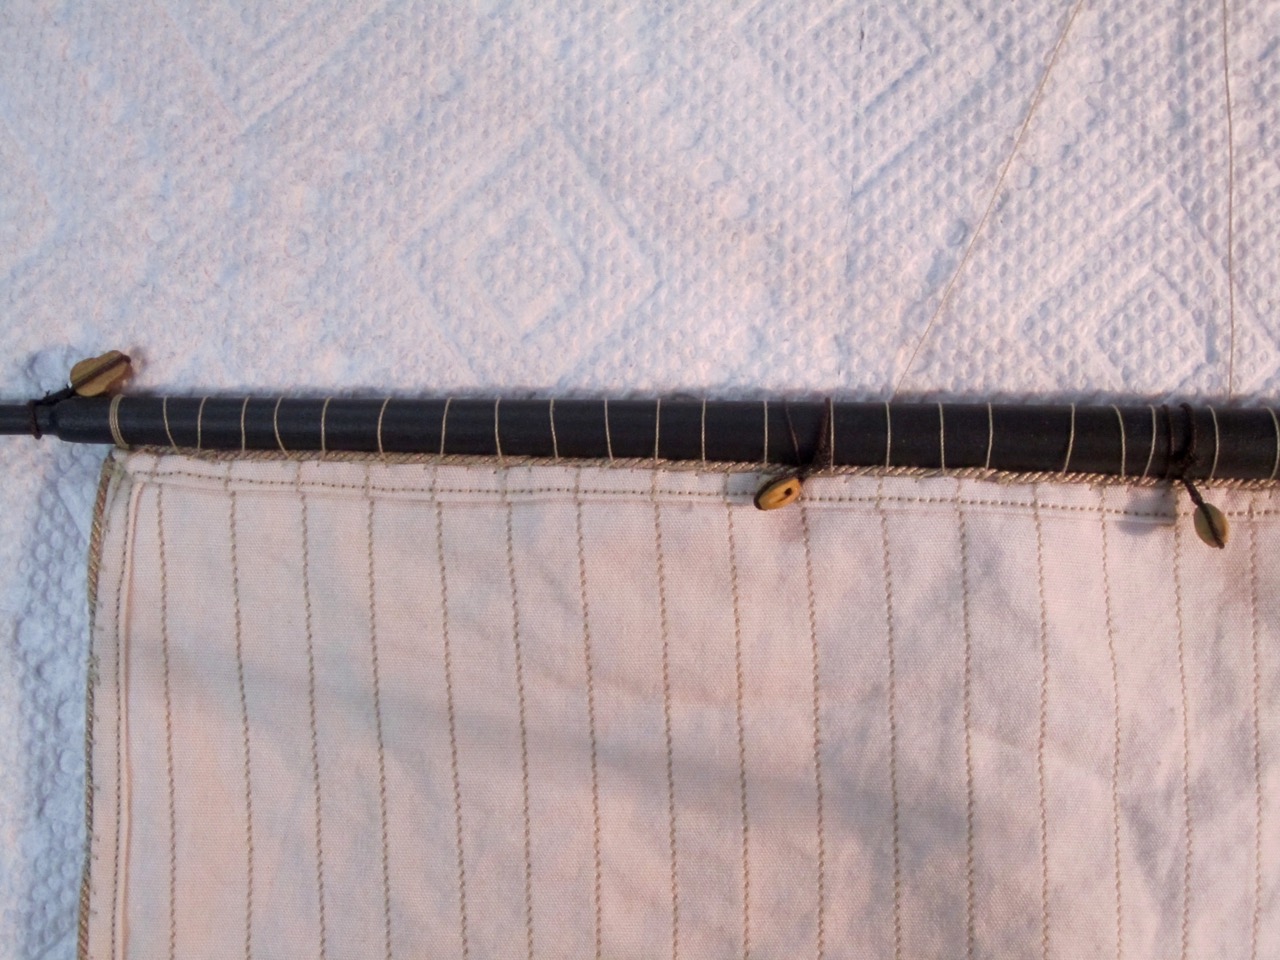
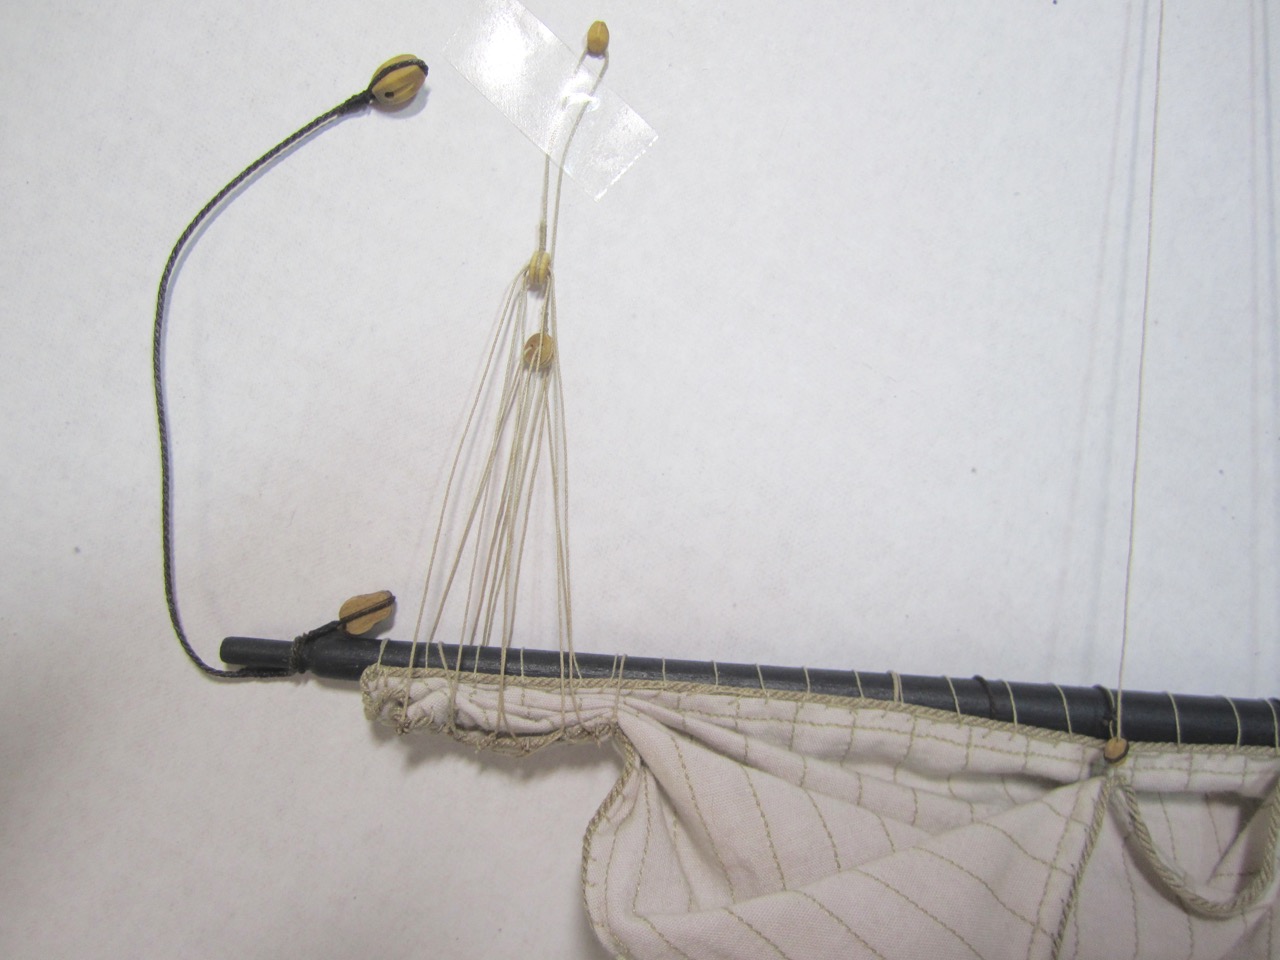
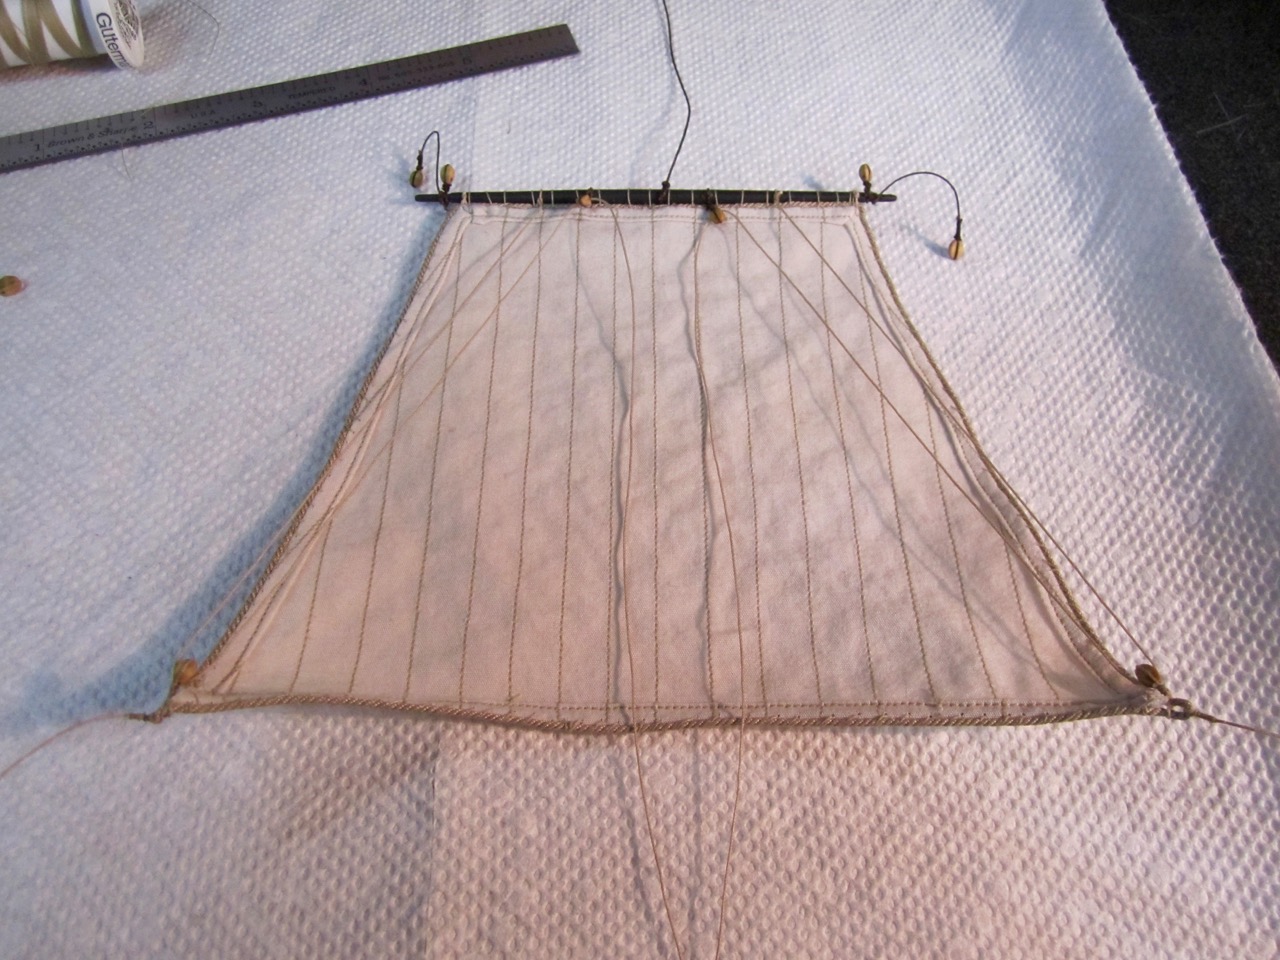
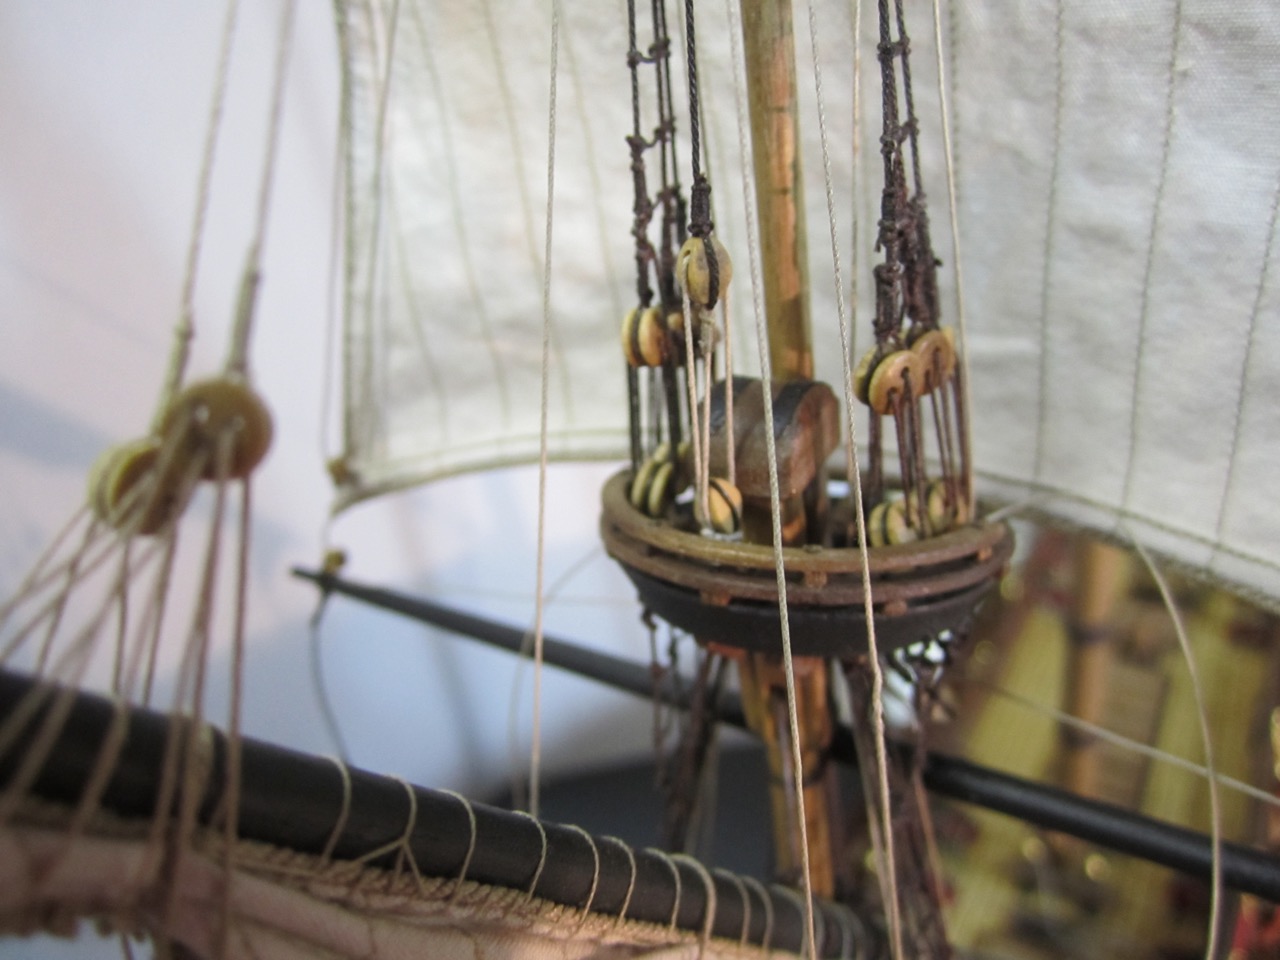
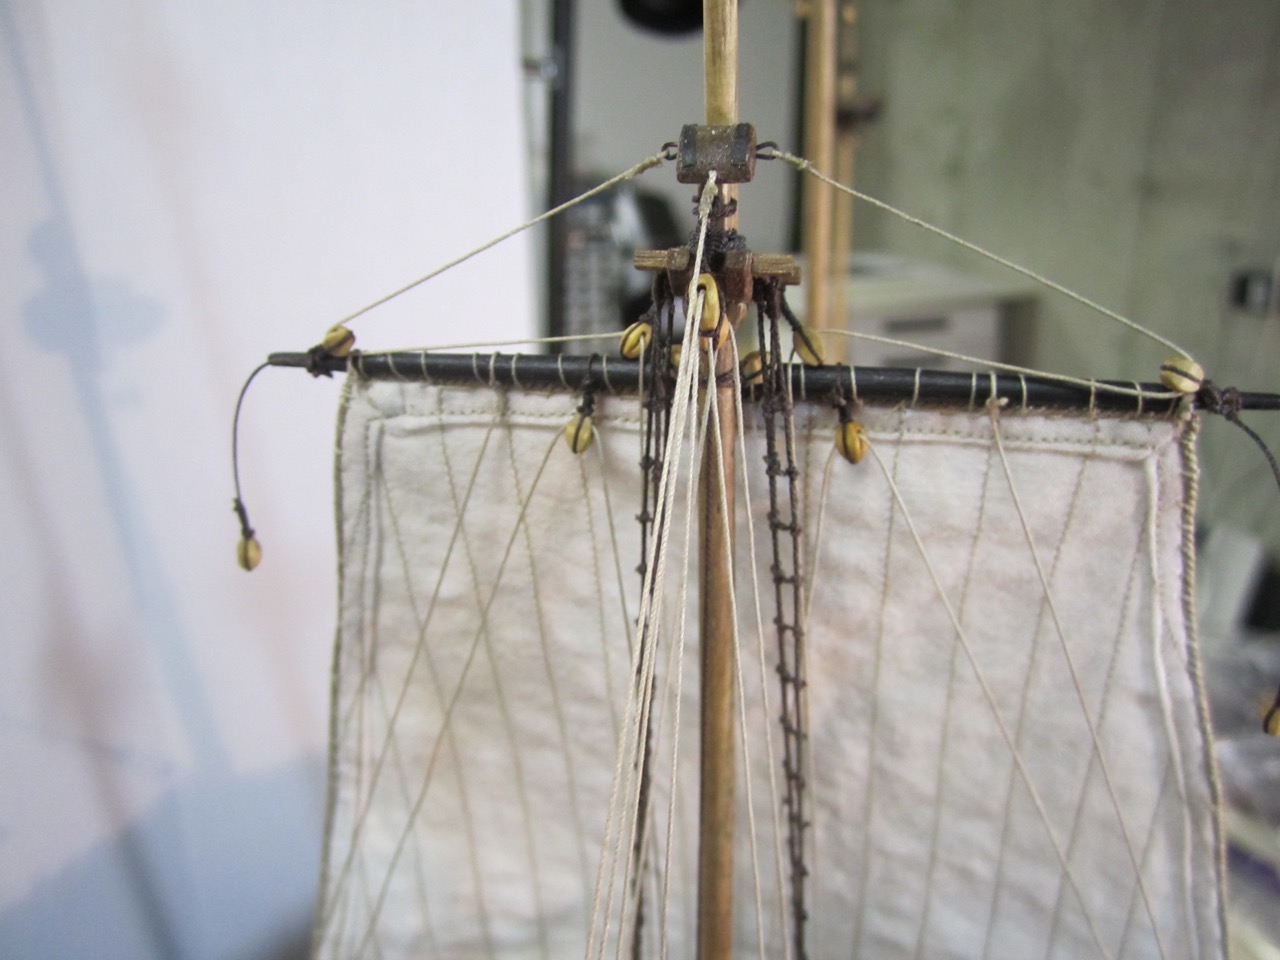
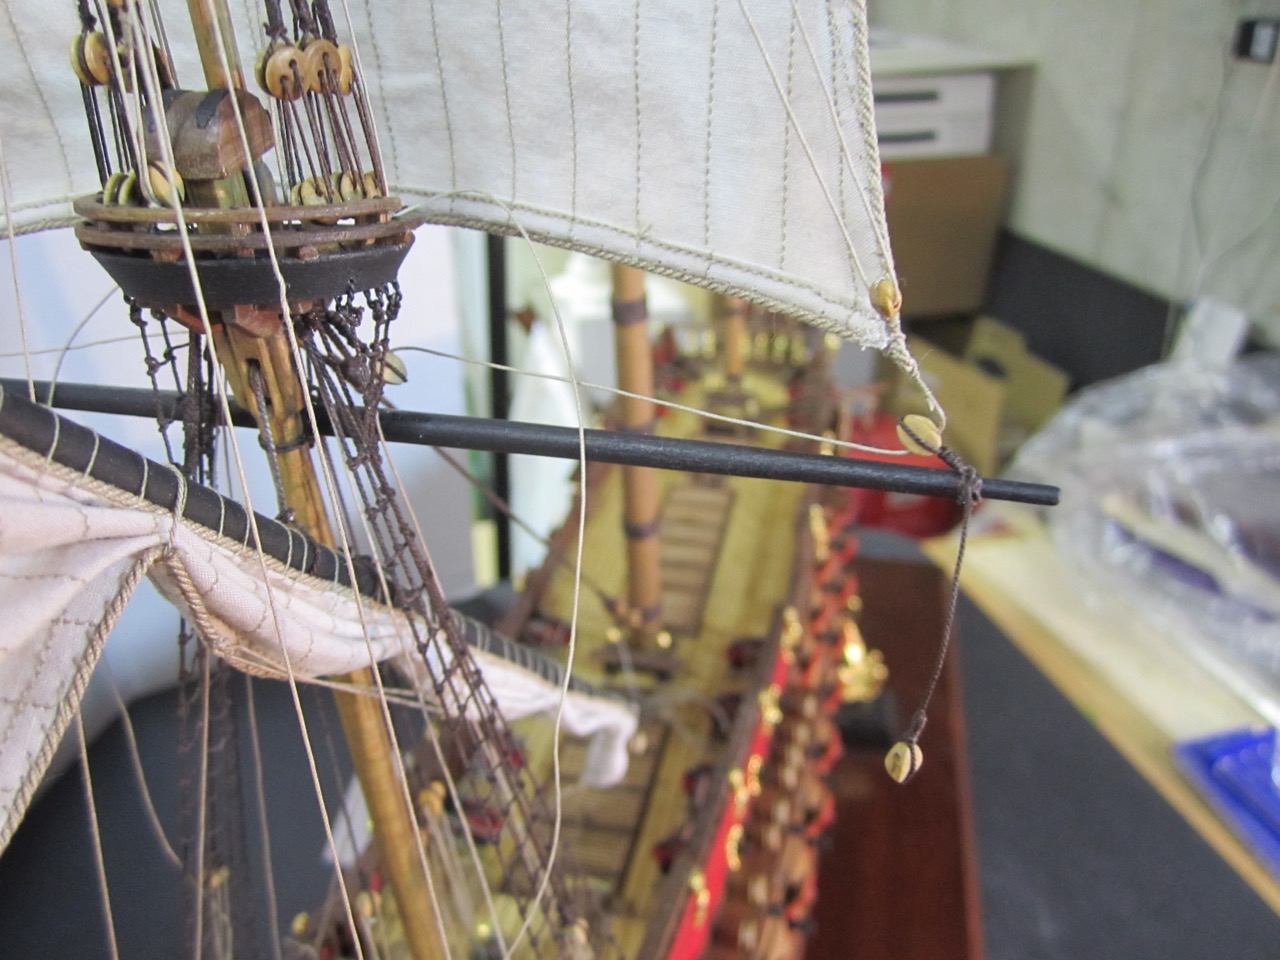
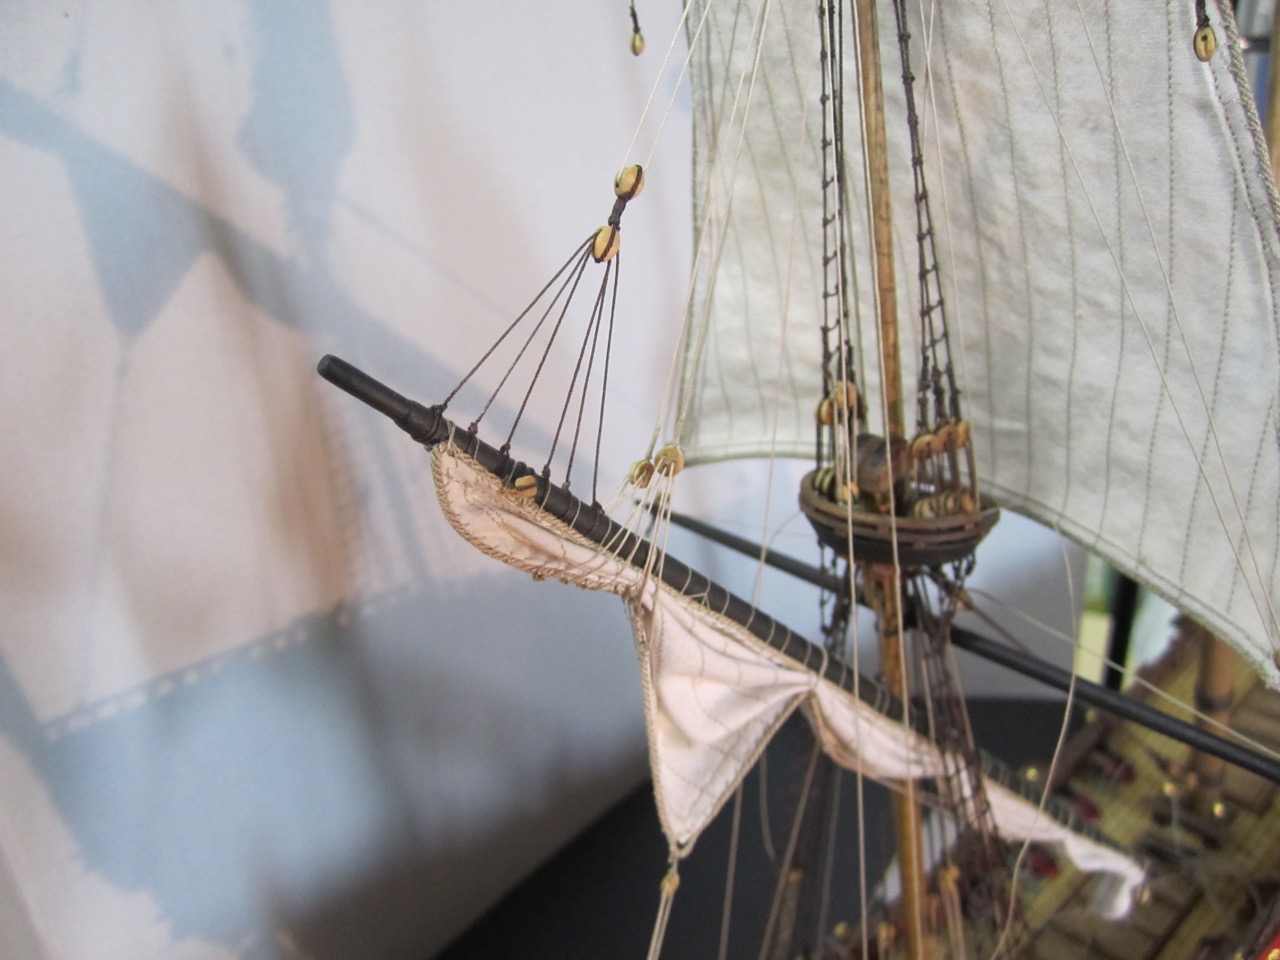
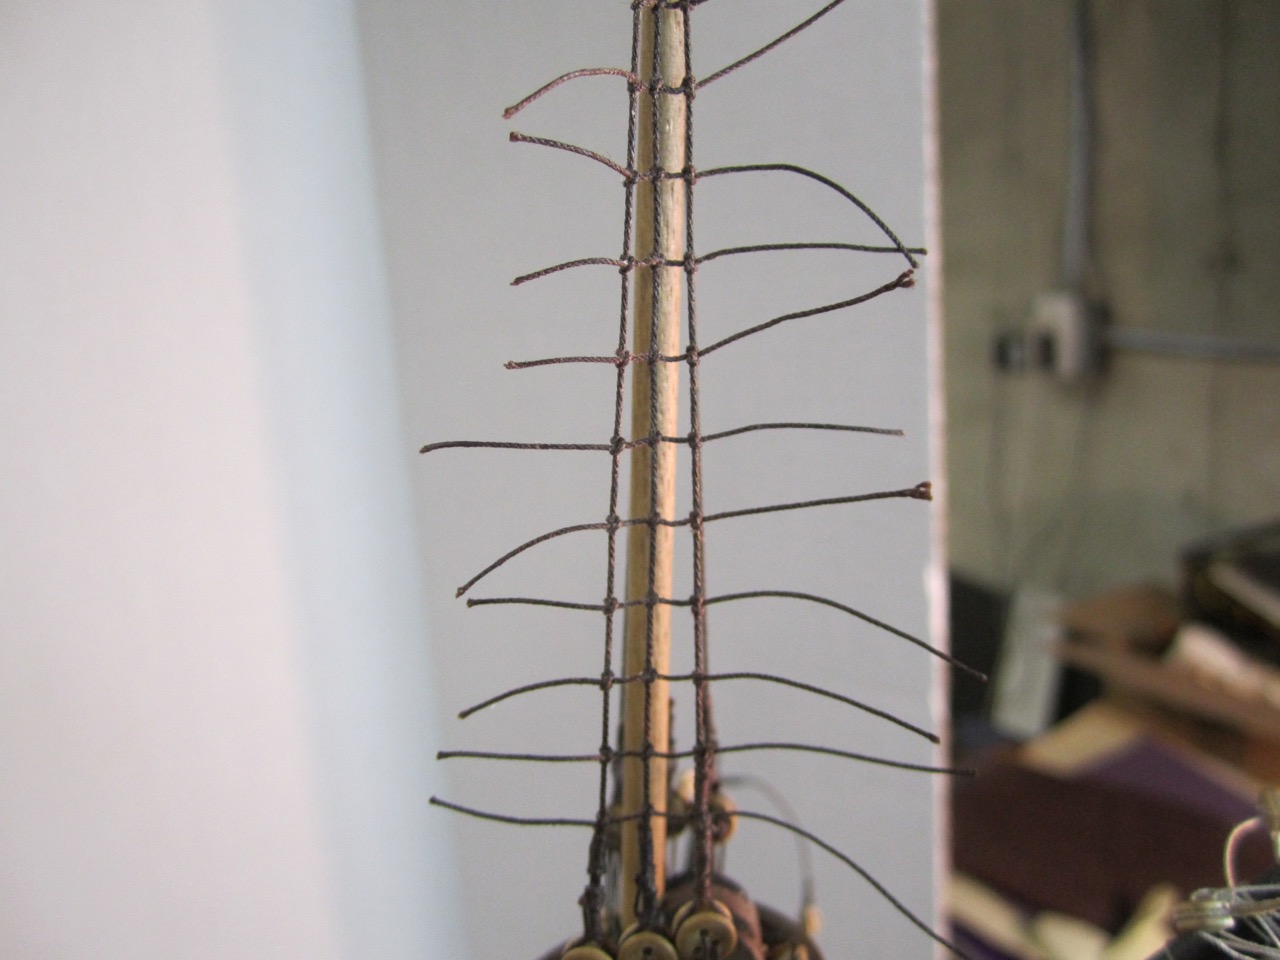
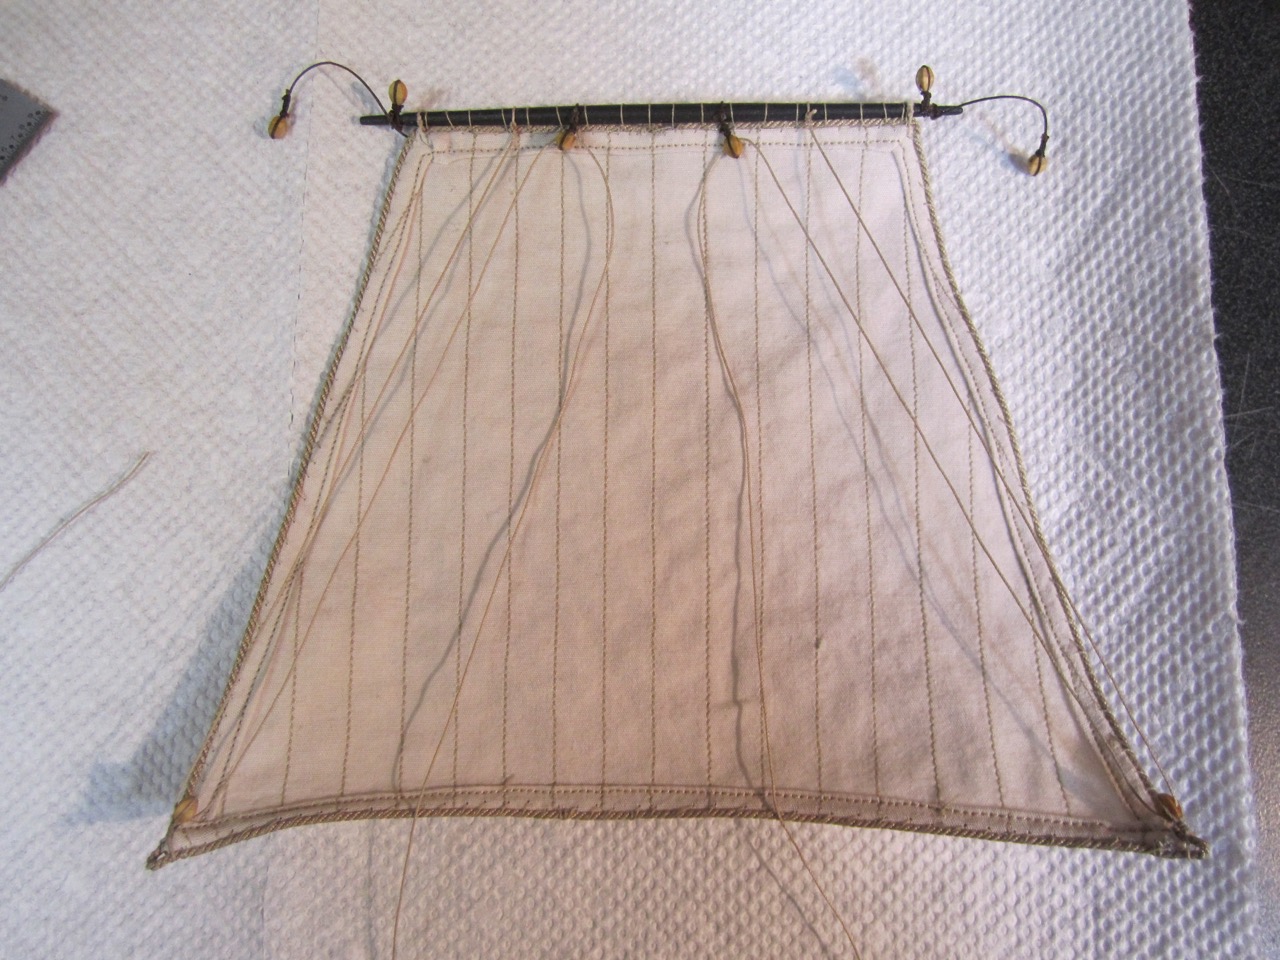
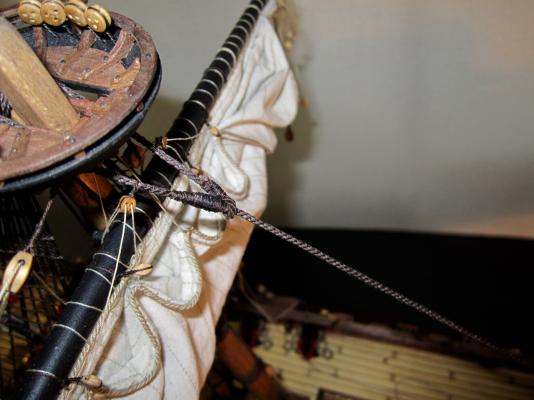
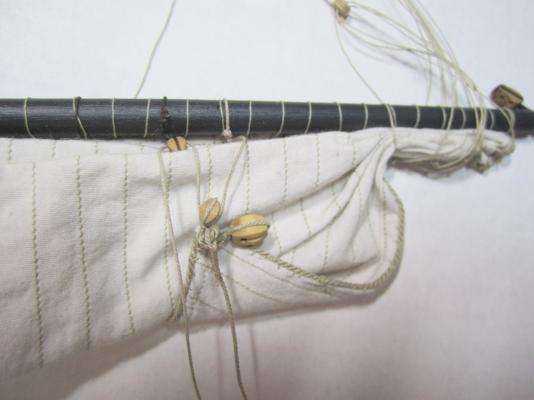
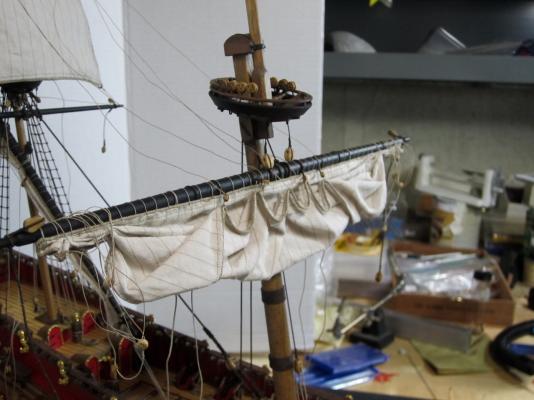
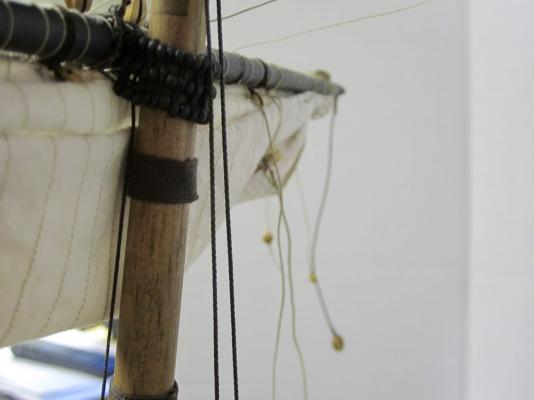
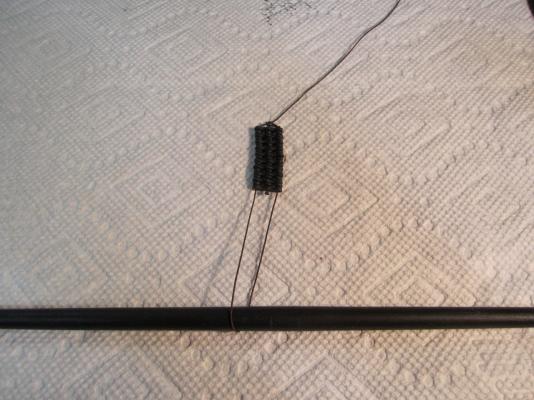
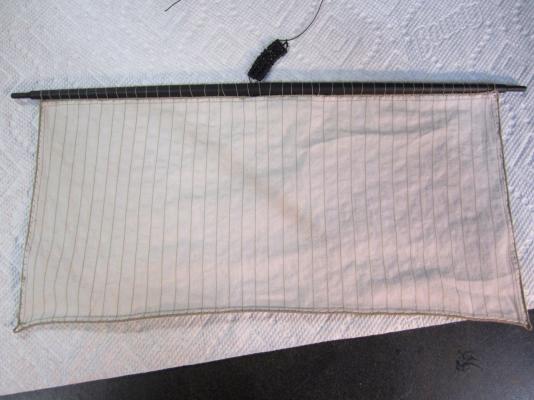
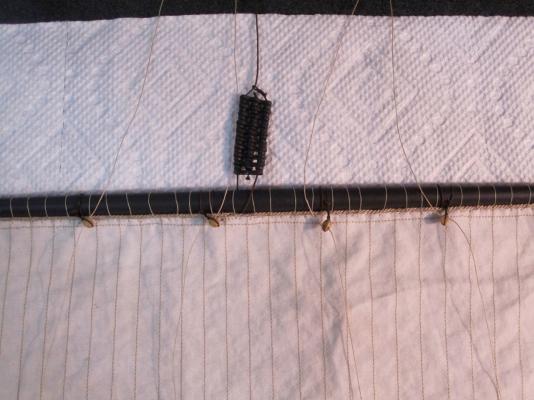
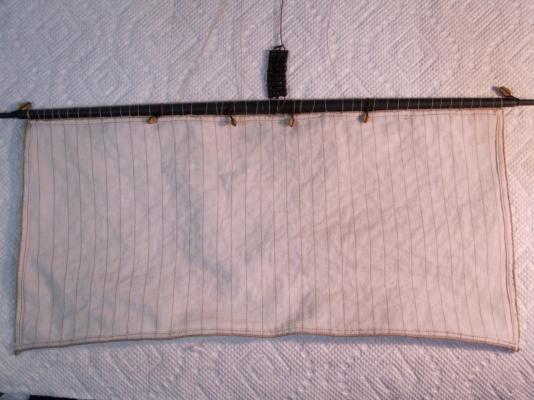
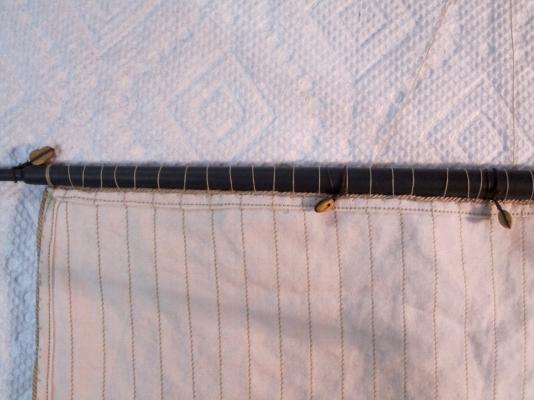
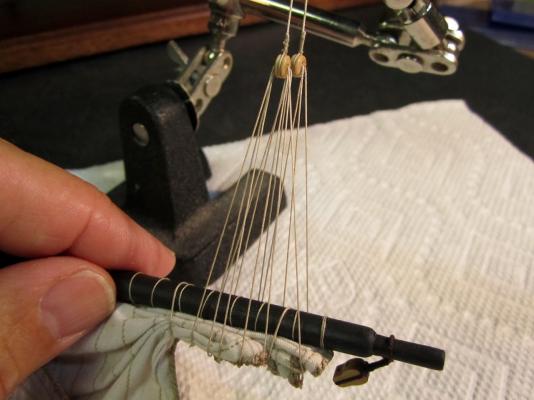
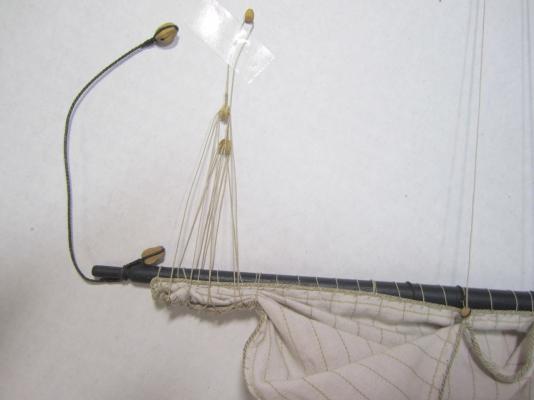
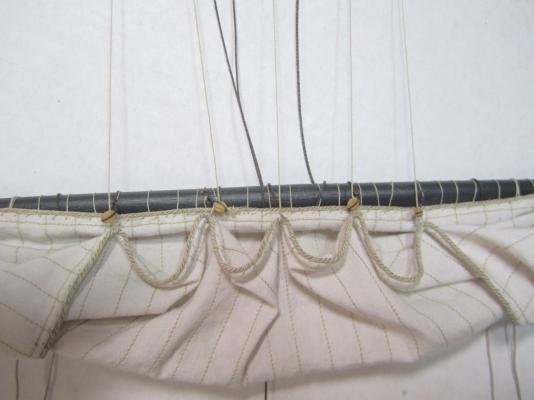
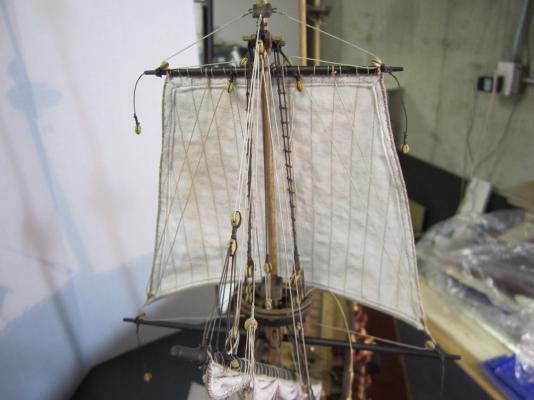
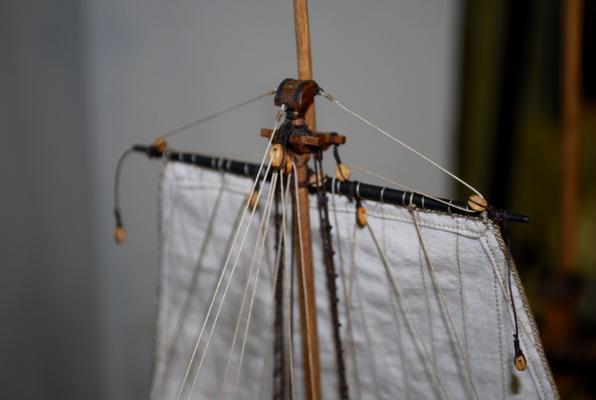
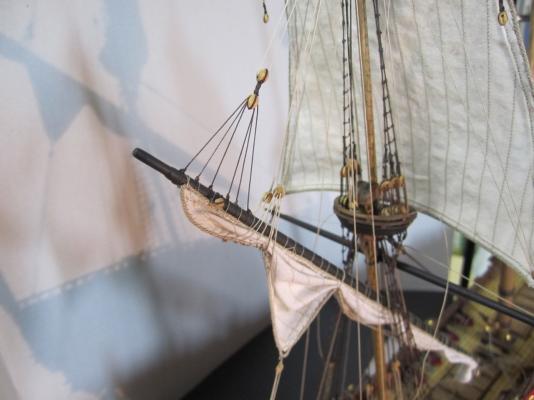
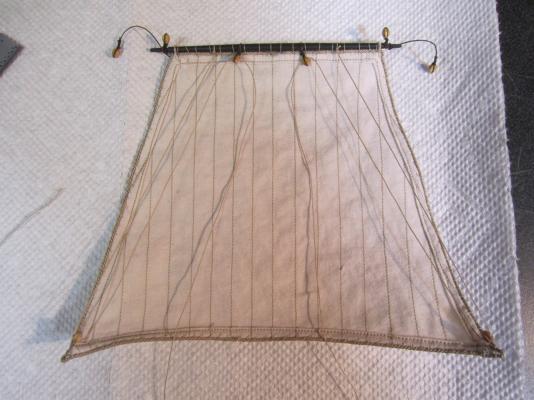
Thanks again for all the "likes"!!! So now I started working on the lower main yard and sail. My goal was to create a partially hoisted sail, similar to Karl's fine log and the 1/10 Vasa at the museum. This is my first attempt at doing something like this (vs having a sail completely furled or fully open). So let me know your thoughts so that I can see if this will be something to consider in future builds! First I attached the rollers to the yard then I attached the main sail to the yard. Since I am attempting a partial hoisted sail, I left this sail at its actual dimensions. Blocks attached to the front of the yard and line pre-rigged. Blocks attached to the rear of the yard / sail Each end of sail furled and lifting lines attached. Looking at front of sail fully "pre-rigged" with lines and with the sail partially hoisted. Remember, previously, when making the sail, I inserted a 22 gage wire along the bottom of the sail to help it hold its position.

-
Thanks Michael! I'm working on the lower main sail now. I will post pictures soon. I hope all is well! Frank
-
Good job on the improvising of the knightheads! Frank
-
Hello, Continuing on with some rigging of the mizzen mast. Mizzen topsail pre-rigged and ready to mount on mast. Attached sail (but not aligned!) I ran the running lines thru the blocks, but I left most of it loose for alignment and leveling at a later time. (after all the standing rigging, shrouds, and stays are installed) Some completed lines. Now I'm moving on to working on the lower main mast sail! Thanks, Frank


-
Hello, Thanks to everyone for the "likes"! George and Michael, Your kind thoughts are appreciated. Hopefully I'll be able to improve on my limited photo taking abilities and improve the quality! Thanks, Frank
-
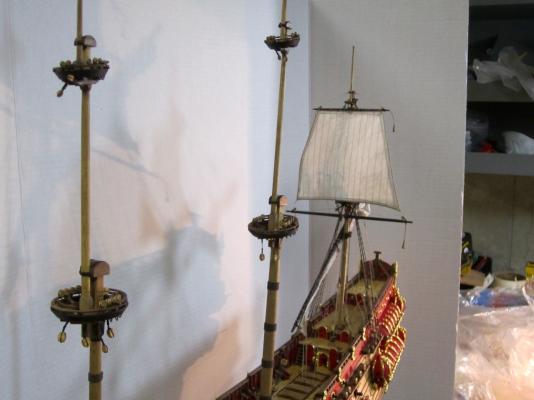
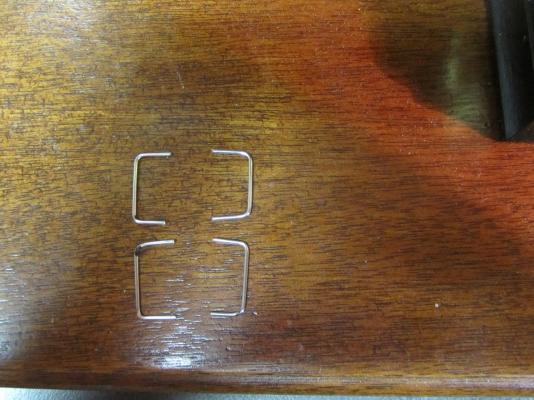
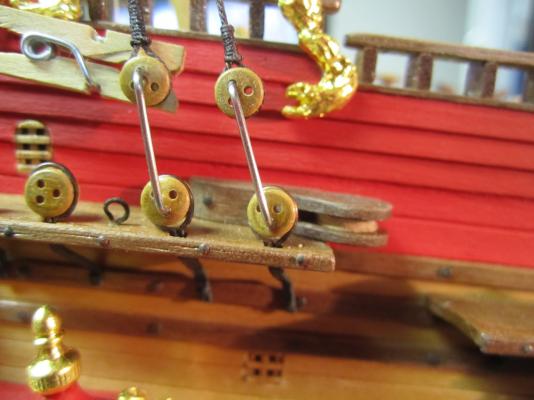
Hello! Thanks for all the "likes" I just returned from a great week of fishing down in the Florida Keys and I finally was able to get back to work on the shrouds and ratlines! I made some spacers out of metal wire in order to try to keep my deadeye spacing consistent. Finished the lower mizzenmast shrouds and tackle. With ratlines installed Now I added the Lower Mizzen Stay. View of lower mizzen ratlines and stay Working on the mizzen upper ratlines Mizzen topmast sail almost finished with "pre-rigging" and ready to mount on mast soon Thanks, Frank


- 493 replies
-
- 10
-
-
Mark, Everything is looking great! I love looking at your build. I think that the natural wood and your rich paint colors really work well together. Congrats, Frank
-
Hi Michael, Great Job! Your probably happy that your done with those port lids What area of your fine model are you going to work on next? Frank
-
Mark, Thanks for the link! Another great site for photos of the rigging. I added it to my bookmarks! Frank
-
Michael, Great to hear from you! Thanks for the complements! It is appreciated. Yes, I am using the ropes from Syren. I originally was going to use the .035 line for the bolt ropes, but I have changed my mind and moved up to the .045 size. I think they look better! I am keeping track of all the different dia's I have been using for both the dark brown and tan lines. When you reach that point in your build, I will send the list to you if you would like! Thanks, Frank
-
Hi George, Thanks for checking in on my log! Yes, the fun is just beginning! I do enjoy the rigging process, except for the fact my eyes are going on me making it tougher! Frank
-
Hi Mark, Thanks for your comments. The rigging of this ship is sure confusing and interesting at the same time. I do wish that Vasa rigging book would come out in print in order to give us some guidance! I was hoping for some better references. I am getting by with a combination of the Vasa plans from the museum (from the 1980's?), the Corel plans, the Billings plans and pictures from the 1/10 model. In the end, hopefully I will come somewhat close to being accurate! Thanks, Frank