-
Posts
788 -
Joined
-
Last visited
Content Type
Profiles
Forums
Gallery
Events
Posts posted by JerryTodd
-
-
I have more hobbies than I have money or sense. One of them is designing board war games for which I provide the files for people to print them, cut them out, and play them - "print and play." I redid the artwork in my series of Civil War battles and released a new one on Lee's 1862 invasion of Maryland. I started that one in August? Planning to post in in September on the anniversary of the event, but It took longer to get the research in order and I didn't finish it till February. -=> http://UhlanGames.us
-
-
For two years until a few months ago, it seemed like all I did was work at "the job" with no time or energy left for myself. Well, one of those "Karens" came along and successfully relieved me of that burden, so now I have some time to do something for me (and a dozen other people wanting something done). Anyway, one of those other people asked me to 3D print a plate for mounting a thermostat in an outlet box for them, and while I had resin in the vat, I figured to get back to printing some parts for Constellation.
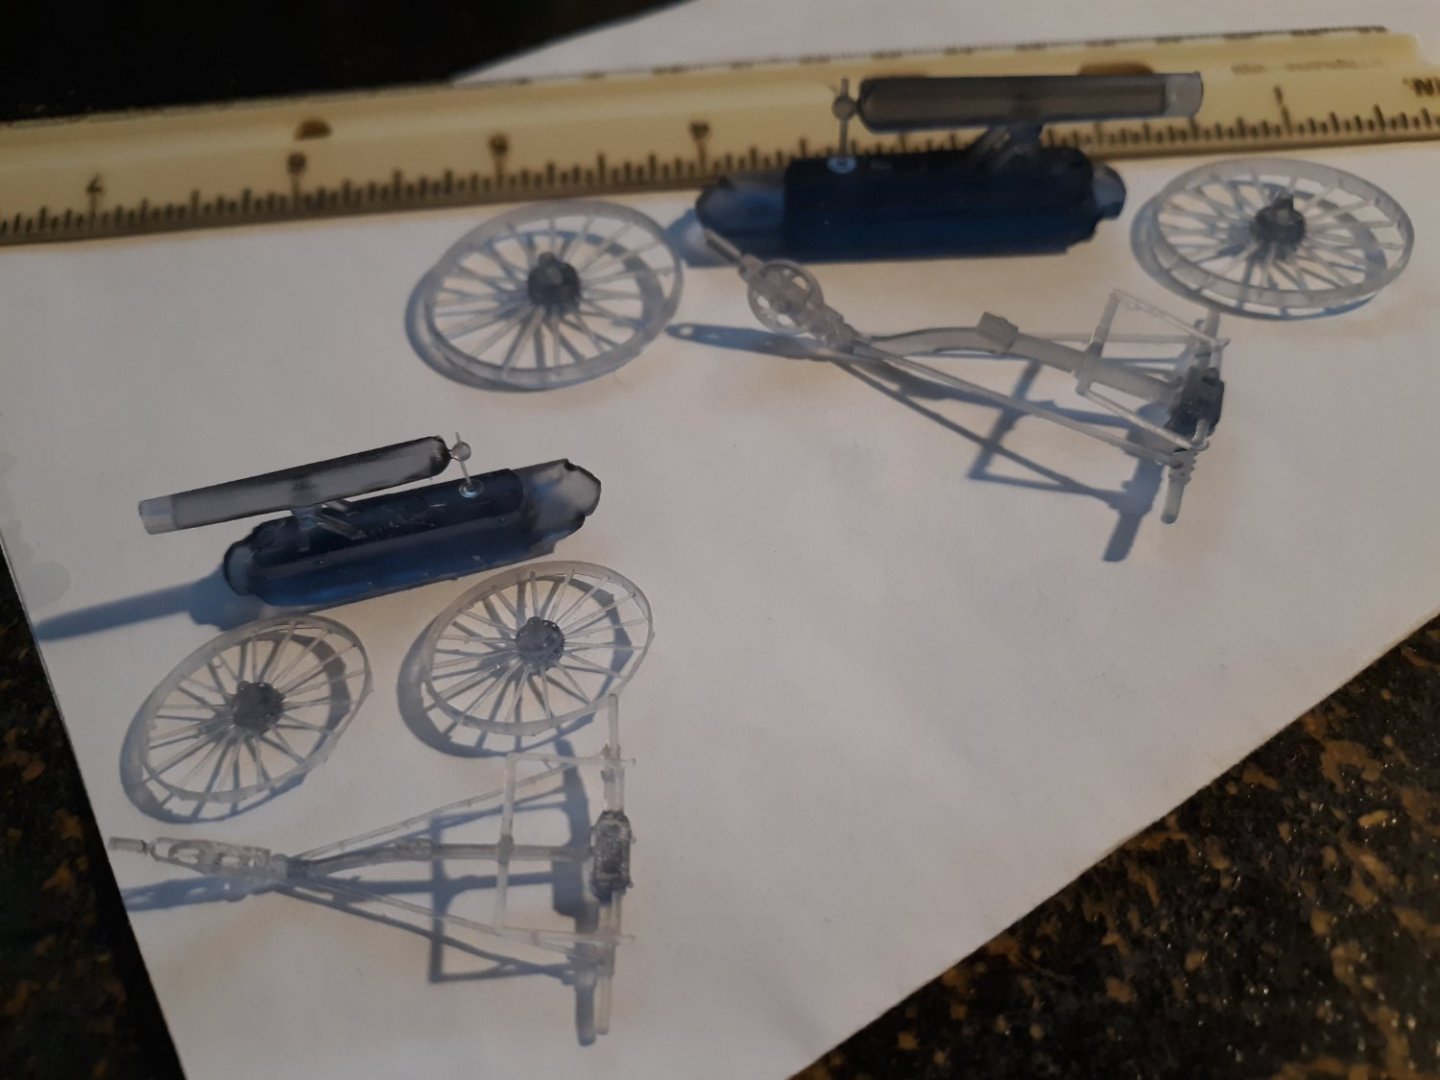
Using the Siraya Tech Build "Smoky Black" resin I used on the pivot gun a few posts back, I tried printing the boat howitzer again, only this time with the wheels and carriage separate, and the gun on the sled.
It came out nicely except it was scaled to about 1:76 for some reason. I re-scaled it to 1:36 and tried again and it came out perfectly.
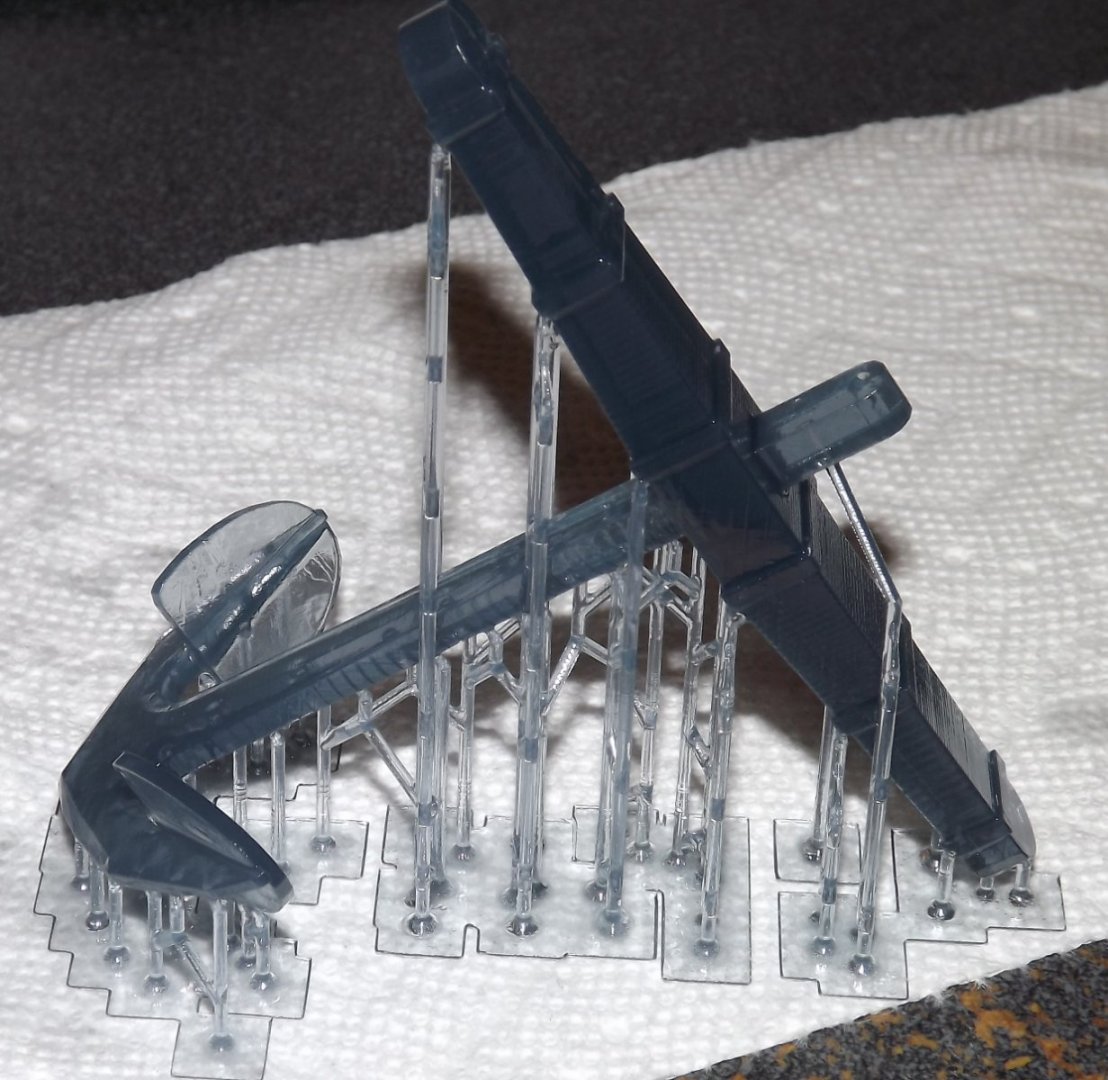
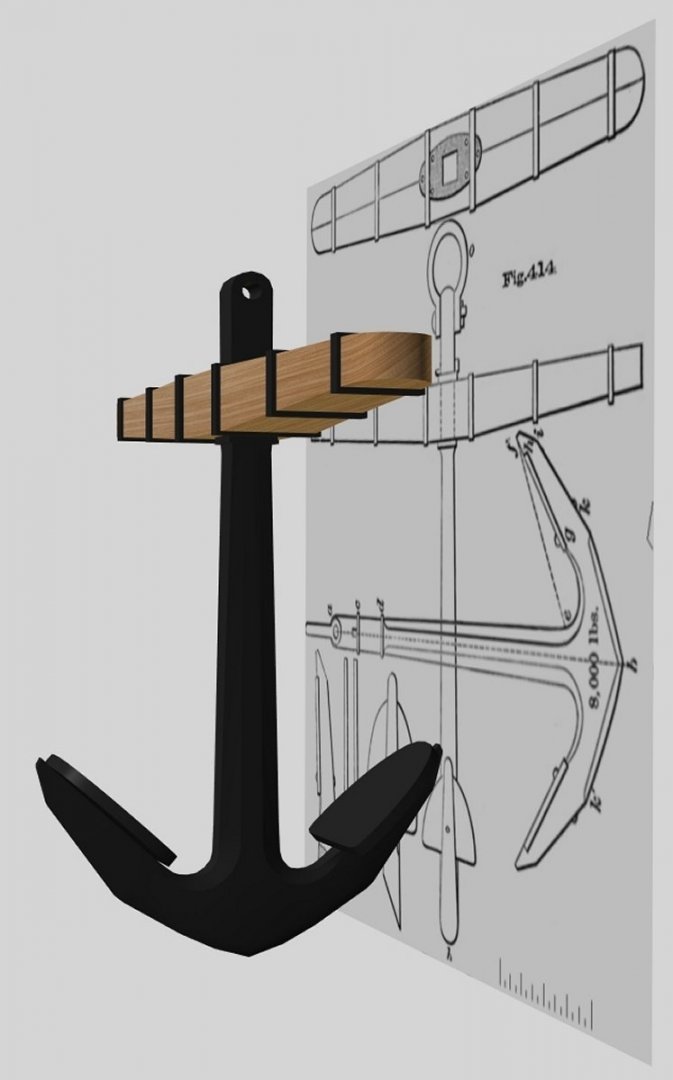
(I think clicking on the pic will let you see it full size)Next I went for one of the anchors, which came out perfectly, so I pressed my luck and printed a second one with the same result.
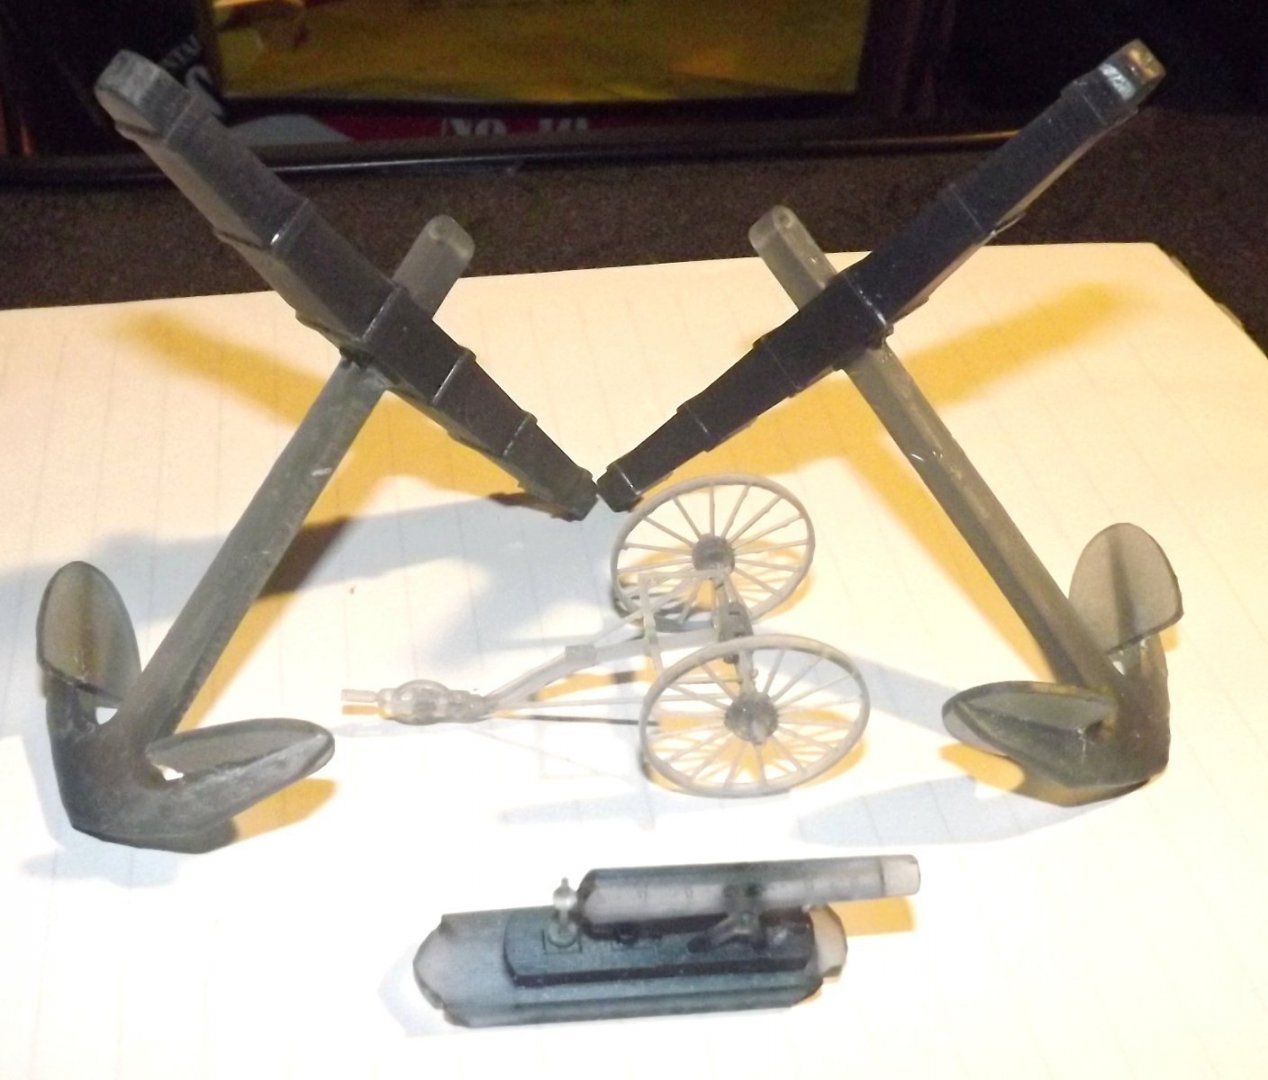
The two anchors and the boat howitzer, all in 1:36 scale.
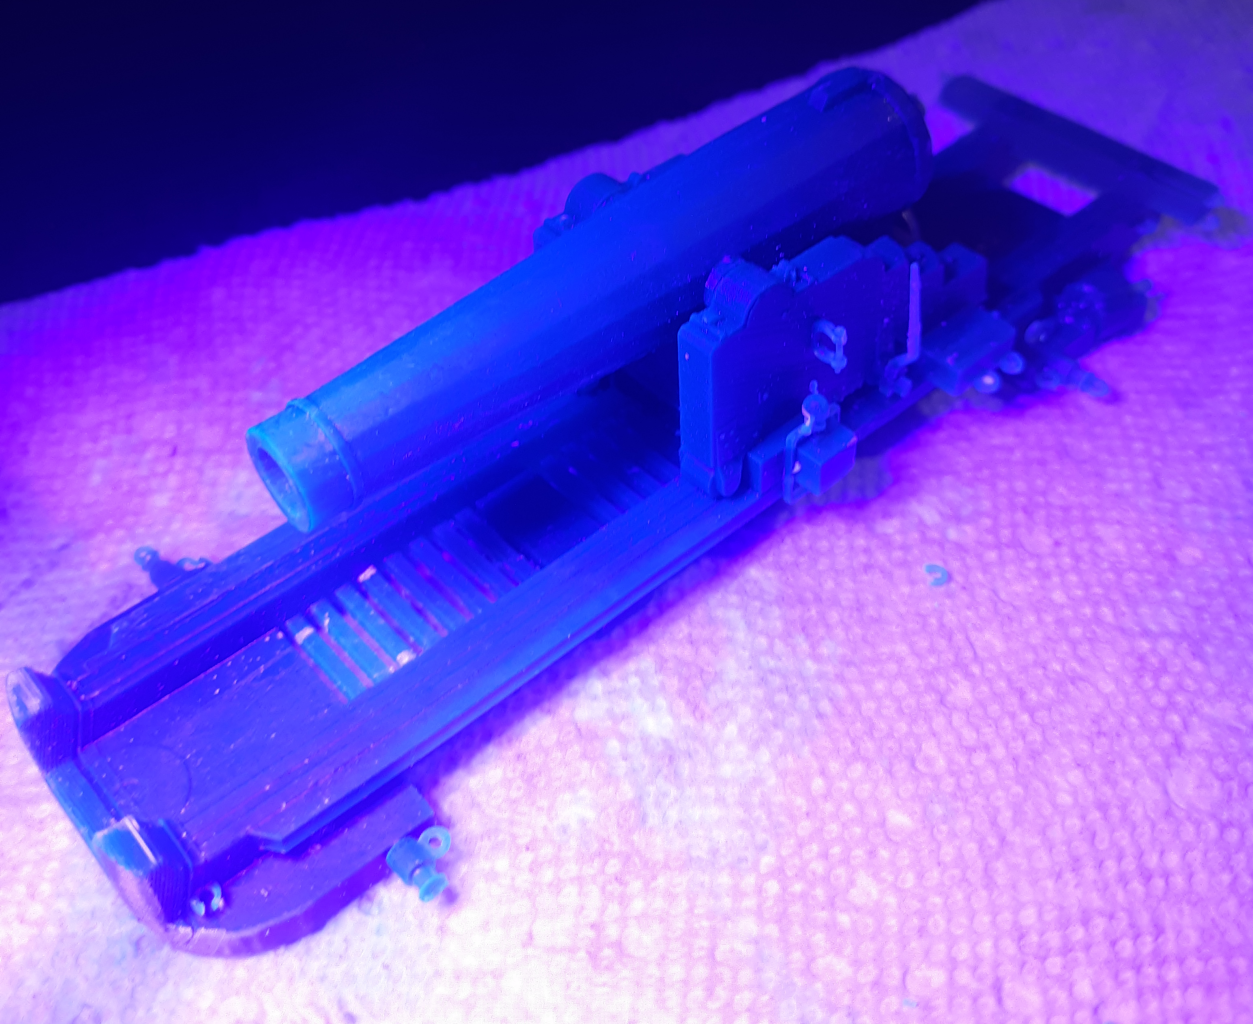
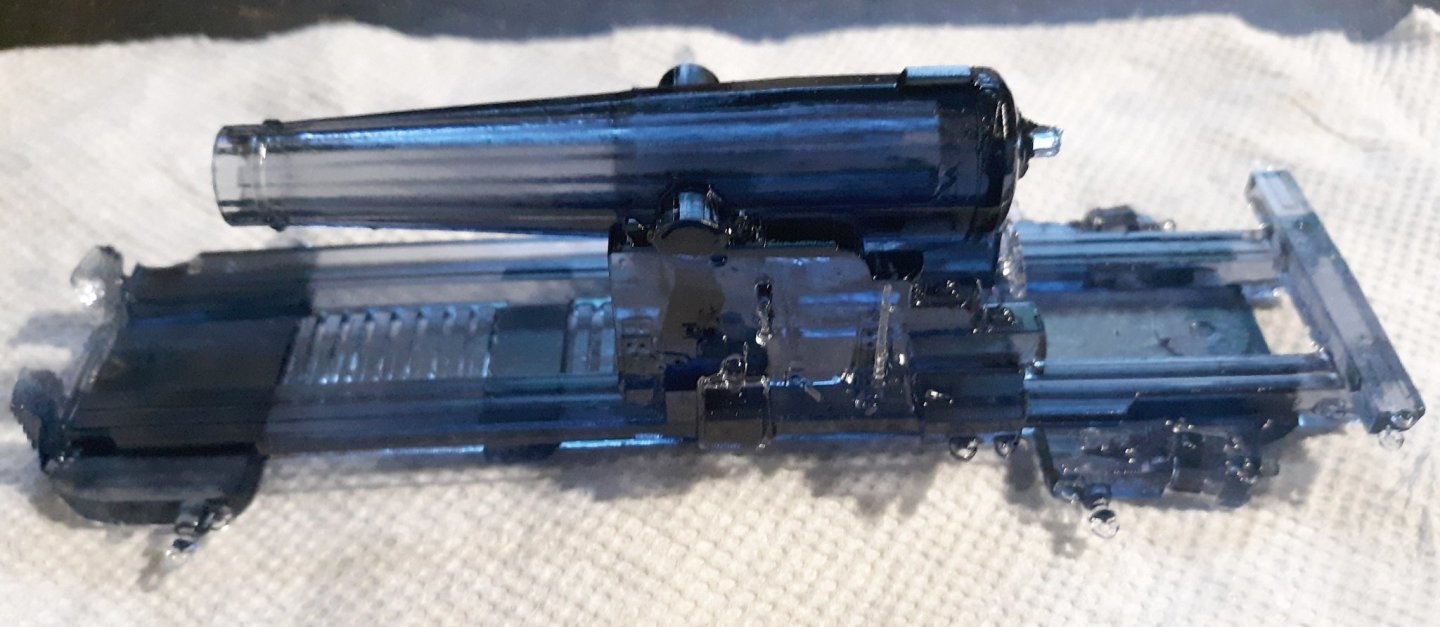
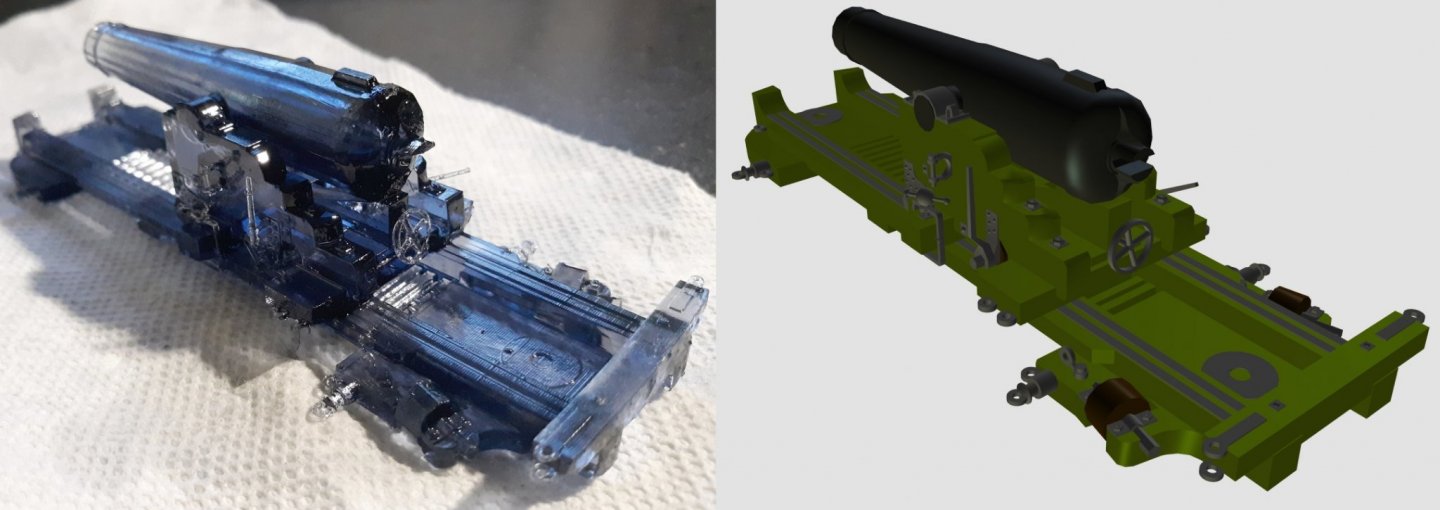
I need two more anchors, but I had to print some steering wheels for someone else. After that, I opted to go for the pivot gun again. It didn't come out perfectly, but I can fix what went wrong and use this print, just like before. I may give it one more shot after rearranging the supports where the little failures took place, and if that works, print a pair and maybe make static models of these?
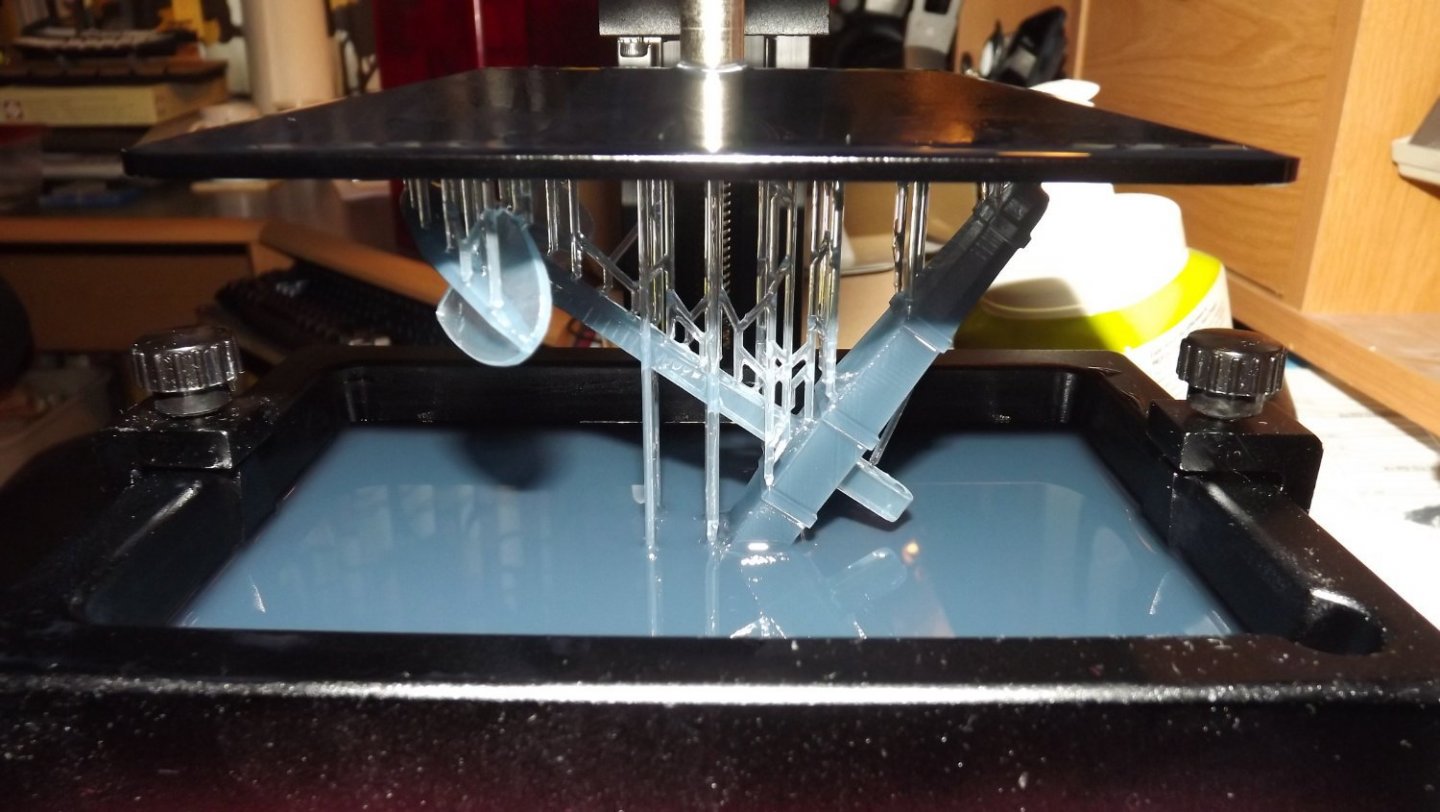
Second printing of the pivot gun here being zapped with UV light to cure the resin completely.
My friend that I printed the wheels for needs a sampson-post windlass for the same schooner model as well, so I'm in the 3D modeling software making one from scratch cause I couldn't find any models on line. After that I'll come back and print the other two anchors and reprint the stanchions, fairleads, bullseyes, block shells, and other stuff for Constellation in this better resin.
-
A functional hull should be glassed outside and resin inside. It need not be epoxy, polyester resin is cheaper and will do the job just fine. The glass helps "shrinkwrap" the hull so any seams that open even a little bit don't let water in. Without the cloth, the resin will just crack, water will get in and swell the wood, expanding the crack, and deforming the hull.
-
-
14 hours ago, Kevin-the-lubber said:
I hadn’t heard of anim8or, any idea how it compares to other packages?
I started using Anim8or in the 90's to make new 3D models for a WWI flight Sim, because it was free, saved in 3DS, and saved in plain text that could be edited. It's still out there at: www.anim8or.com It's not Blender, or any other "modern" 3D editing tool by any measure, but I'm at home with it. My problem is if it's useful for making that viney 3D carved stuff, like below, I haven't found a way that isn't tedious enough to be maddening.
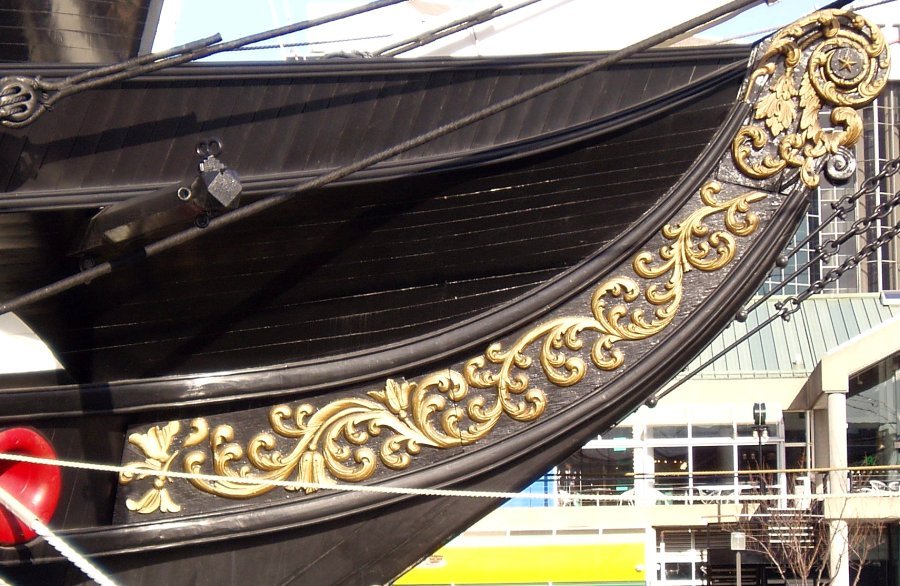
As for working in 1:36 scale, the larger the scale, the more detail that lacking, compared to what can be left out of say, 1:72 and still appear highly detailed. But these being RC models, I can still see a 1:36 scale ship a hundred yards away.

-
Some carronades and Blomfield 18 pdrs for Macedonian from STLs by Tim Bowman that I altered slightly.
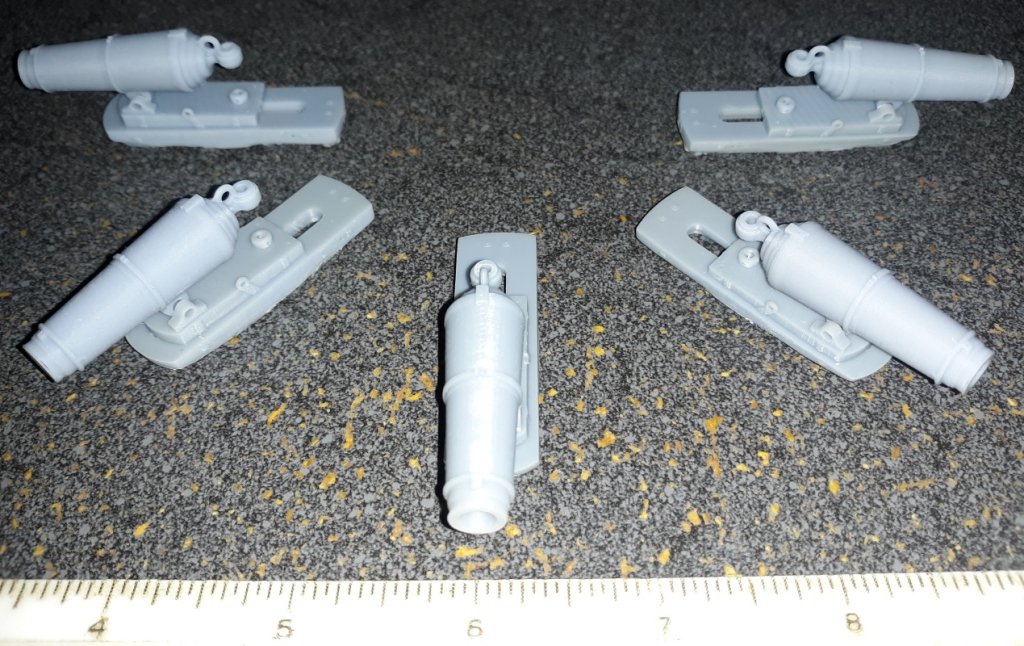
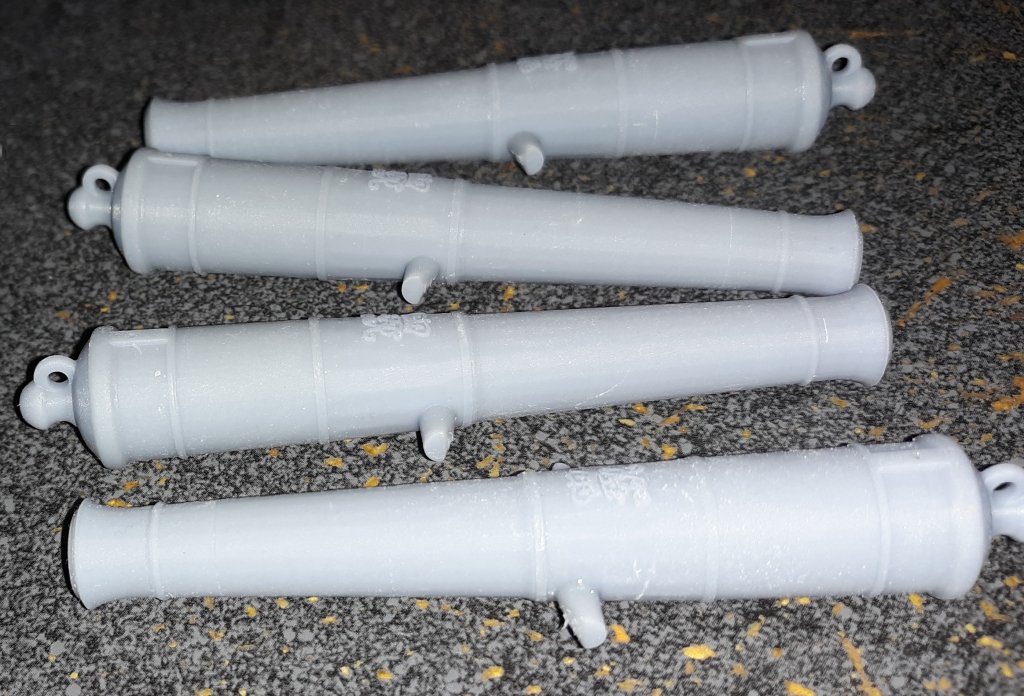
Boarding steps, shells for blocks, bitts and stanchions, and a pivot gun for Constellation, all 3D models made in Anim8or free 3D software by me.
(All in 1:36 scale)
I'm trying to model the filigree vine-work of Constellation's head carvings, but it's difficult. The basic geometry of guns and stanchions is much easier for me.
- Archi, thibaultron, mtaylor and 1 other
-
 4
4
-
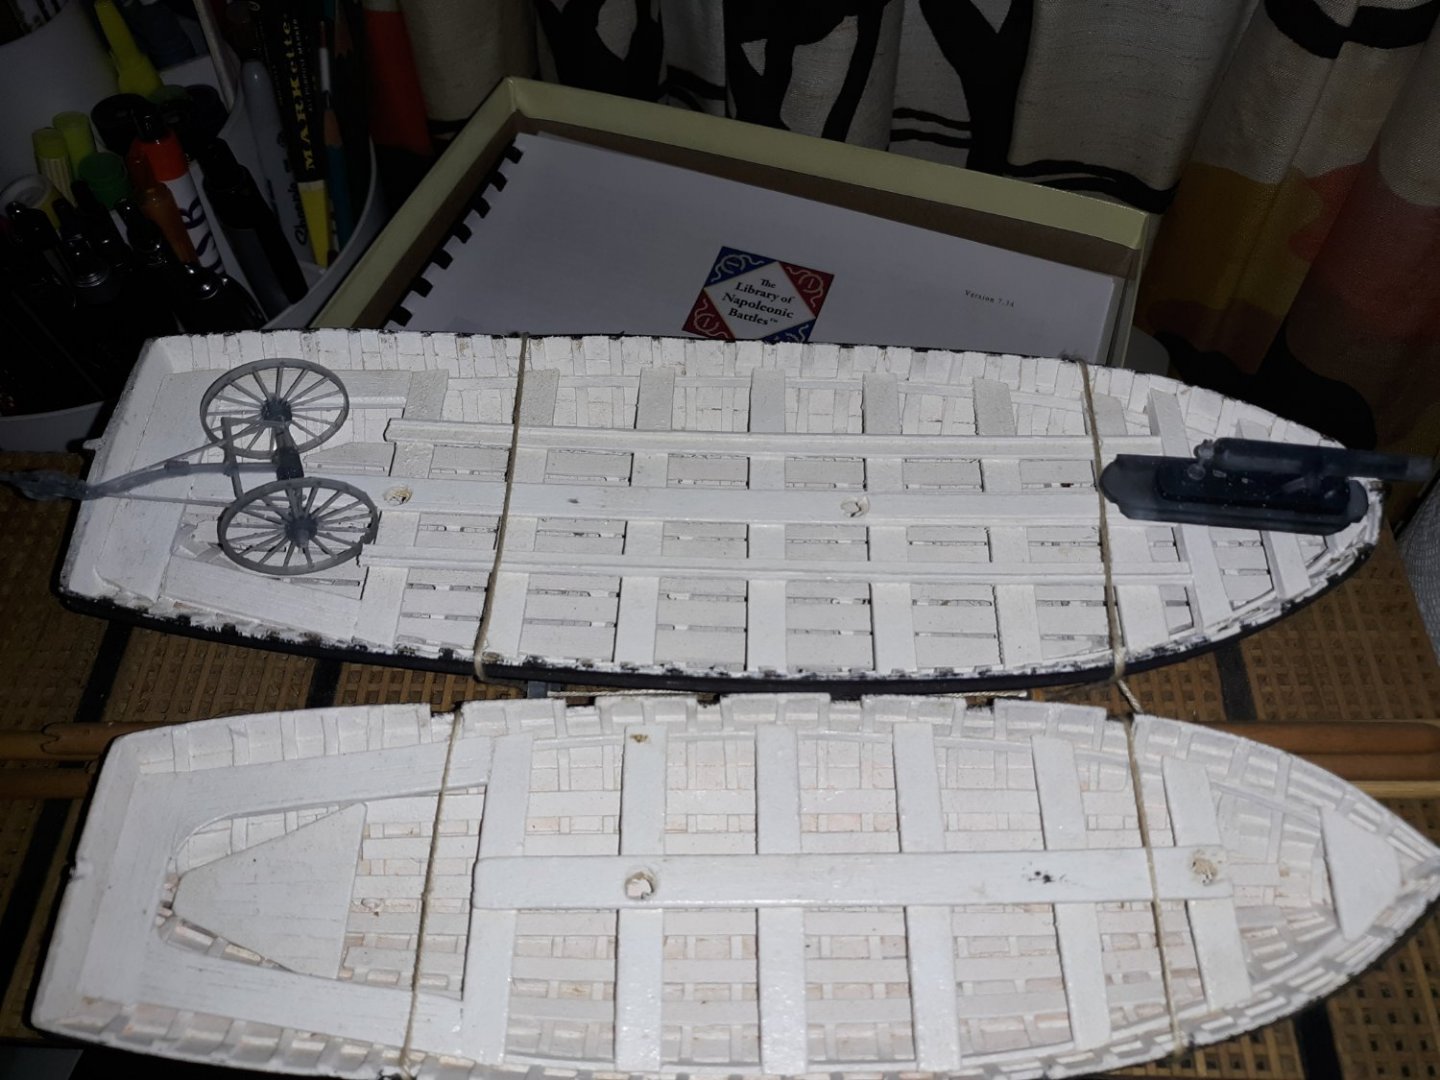
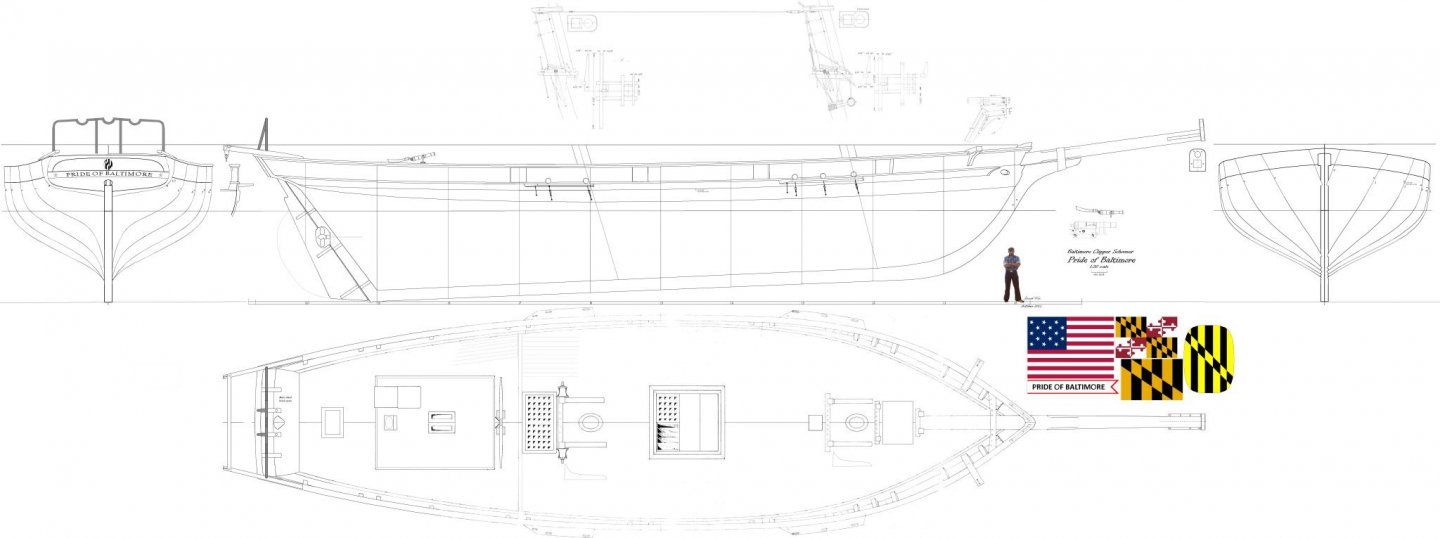
I bought a copy from the designer, Tom Gilmer, back when I was on the crew in 1981, and redrew them to 1:20 scale for the model. The plans were also very different than the actual boat in a lot of places; number of gunports, some deck details, etc. The drawing is actually a work in progress and in some places I mad something from photos, and added it to the drawing-after-the-fact.
The designer is no longer alive and I don't know if the original drawings are available except possibly from the Maryland Historical Society
- thibaultron and mtaylor
-
 2
2
-
-
My elementary school library had "The Captain from Connecticut" by C.S.Forrester and it was through that book that I discovered Hornblower. I've read it many time through, the last few times in chronological order. My little boat of over 40 years, is named Lydia.
O'Brian's Aubrey/Maturin series was good, but never grabbed me the same way.
I hated Bolitho who just happened to be at every major naval engagement in history in a pivotal role, even if they were a thousand miles apart on the same day, except maybe Salamis or Midway.
Another series I found by chance at a yard sale, and recommend is the Nathanial Drinkwater series by Richard Woodman.
- Canute, mtaylor and Roger Pellett
-
 3
3
-
-
I knew Jeffery Footner, worked on his house in Fells Point, and we discussed Constellation a lot over beers at the Whistling Oyster or John Stevens. I don't know why, but he NEEDED Constellation to be the frigate. He did a lot of good research for his book, but in the book he tried to bend it to fit his agenda. Some of the data had been debunked long ago, but still got regurgitated as evidence. They say you can't talk politics or religion with people, with Jeff, you didn't talk about Constellation.
Another fella that NEEDS Constellation to be the frigate has This Page claiming that a t'gallant pole as opposed to separate t'gallant and royal masts proves a drawing is Constellation somehow.- Roger Pellett and mtaylor
-
 2
2
-
Keep in mind the AL kit's hull is taken from the lines of the sloop-of-war which is longer and slightly wider than the frigate's. The kit is basically a model of the fantasy frigate Baltimore was trying to achieve from 1956-1998. The sail plan they presented had little to do with the frigate as they were trying to get away with using the sloop's spars they had on hand. The bottom line is it doesn't matter what spar dimensions are used on this kit as nothing about it has anything to do with the 1797 frigate anyway, best bet is to use what the kit supplies.
-
- Old Collingwood, Canute and mtaylor
-
 3
3
-
-
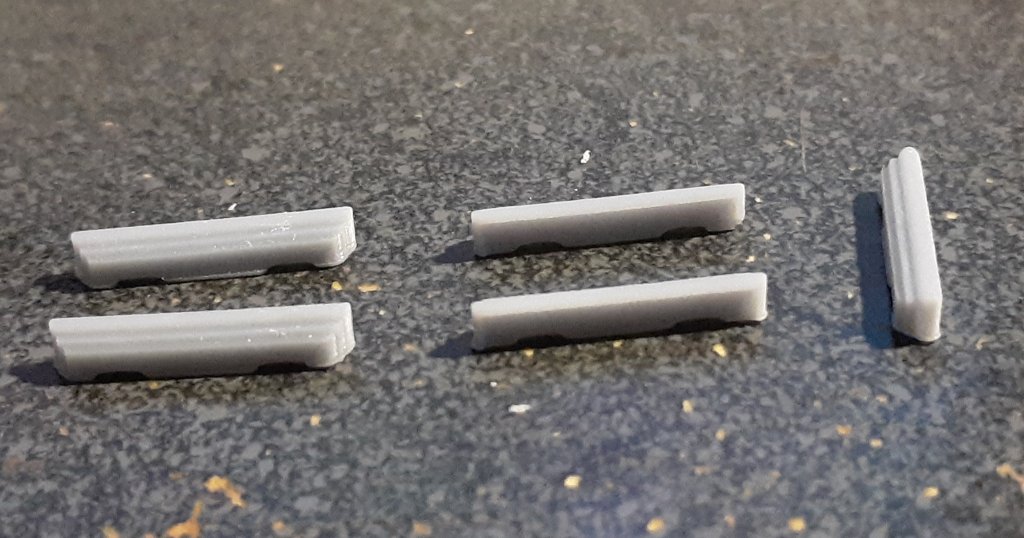
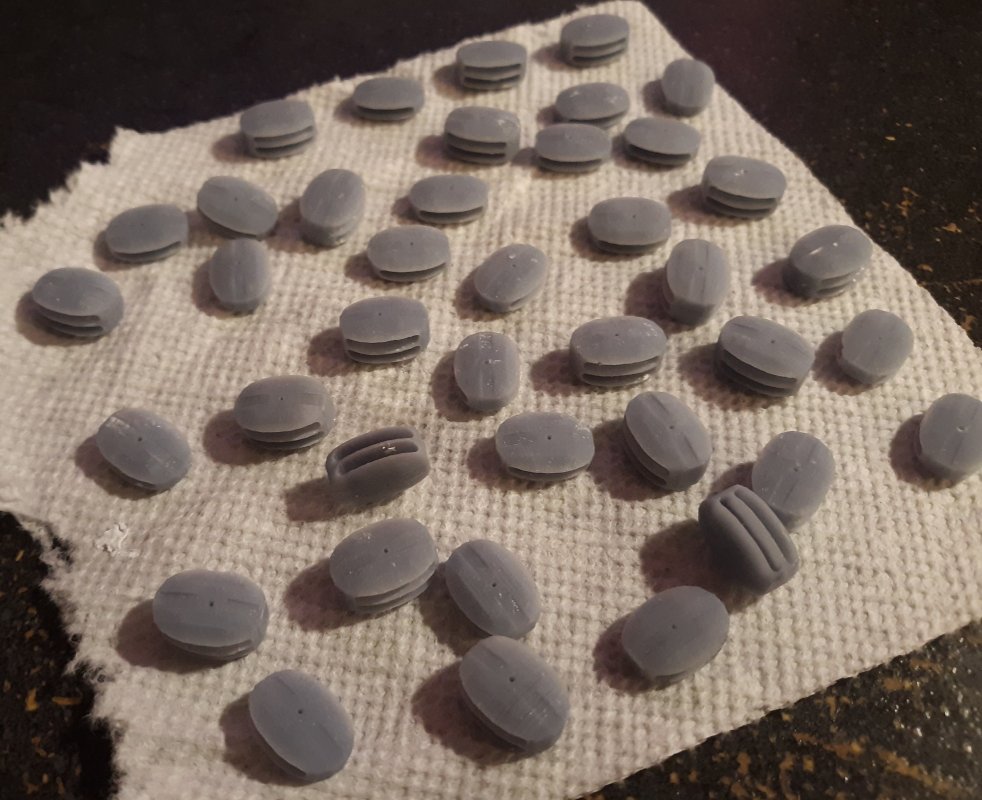
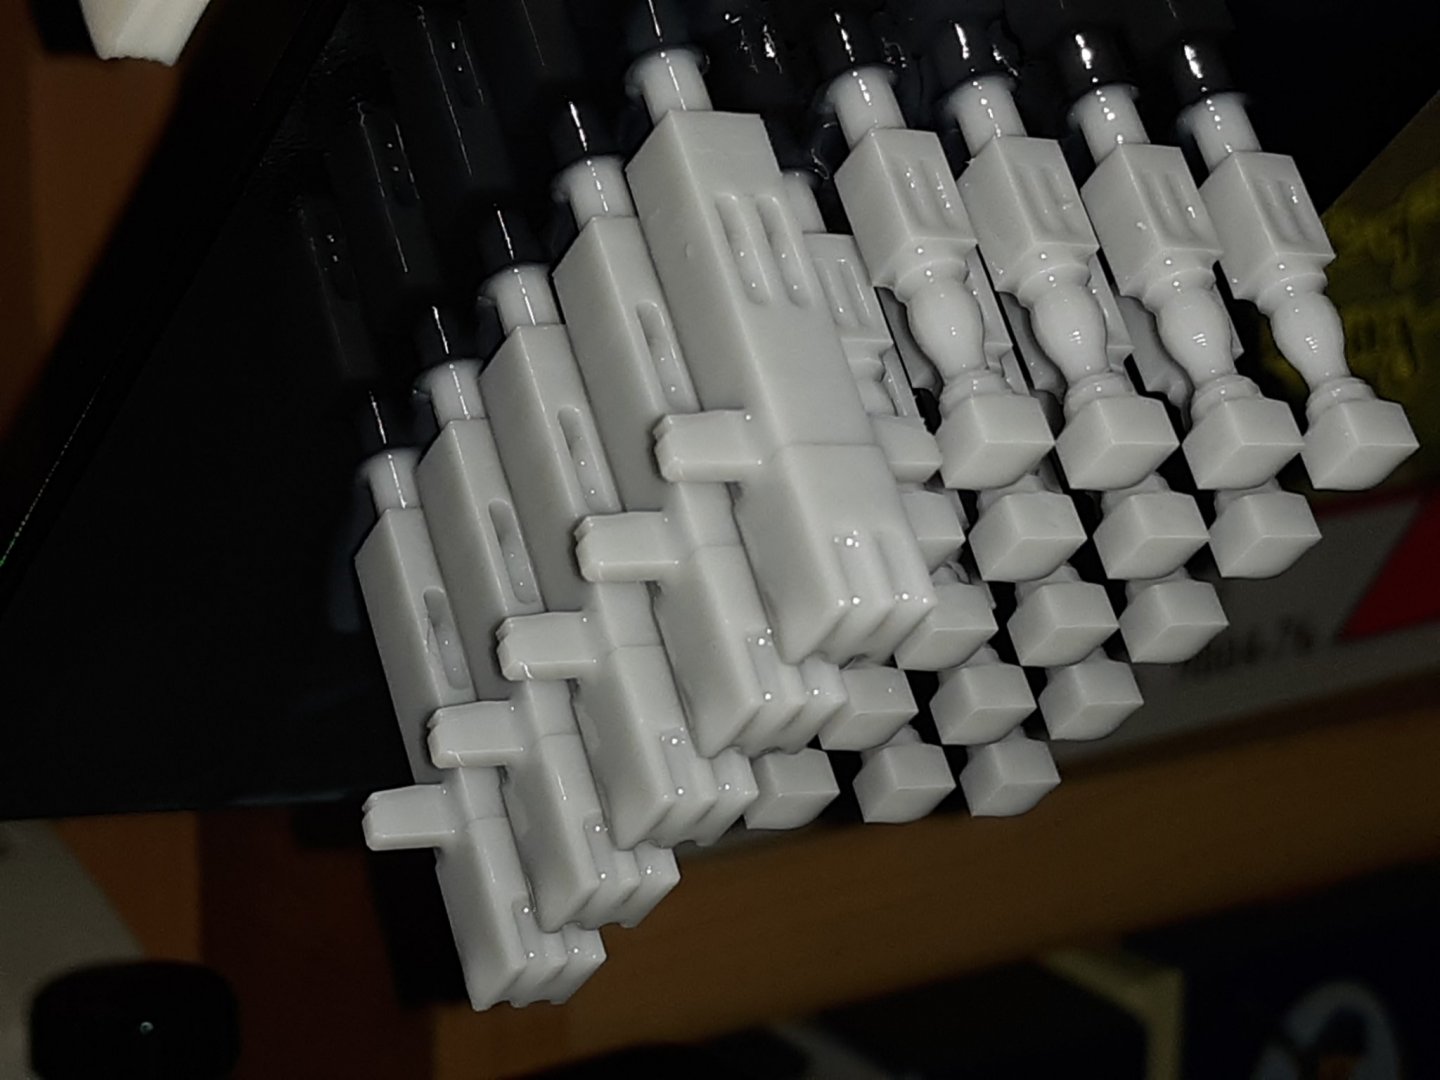
Designed and printed a few items, some small bullseyes, improved stanchions, shells for blocks, and a few failed attempts at other items.
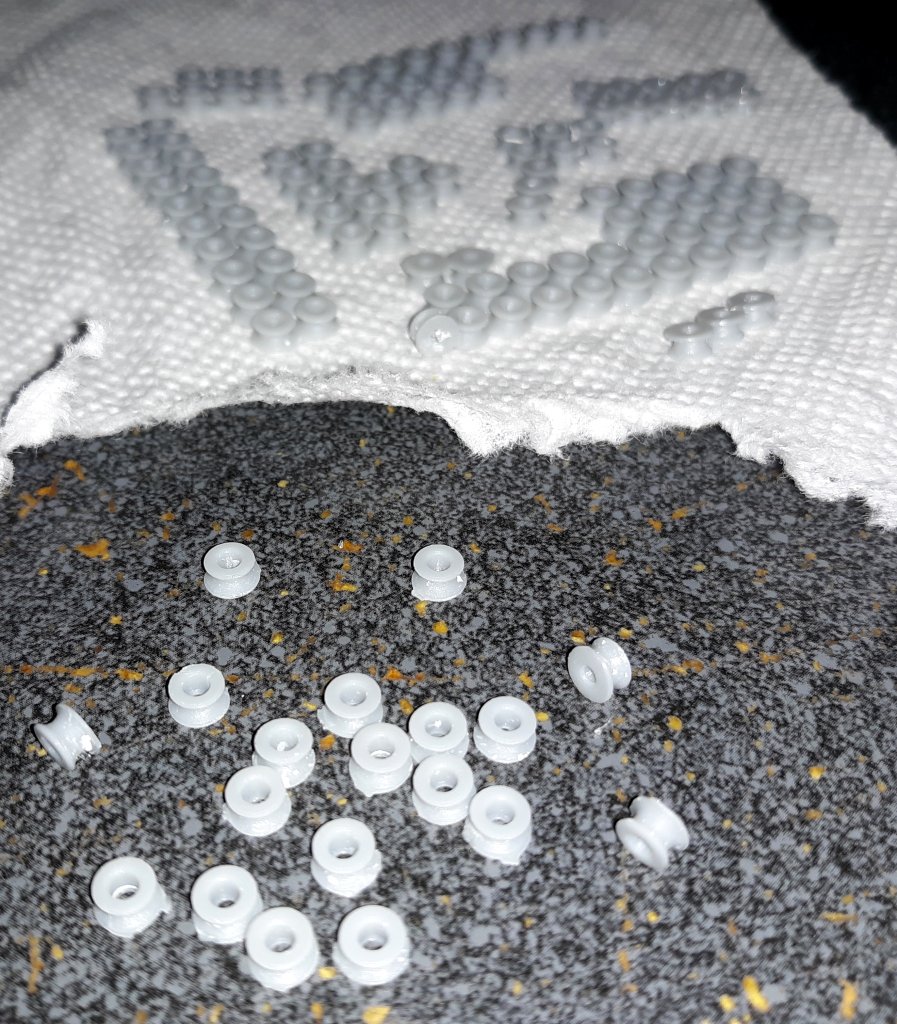
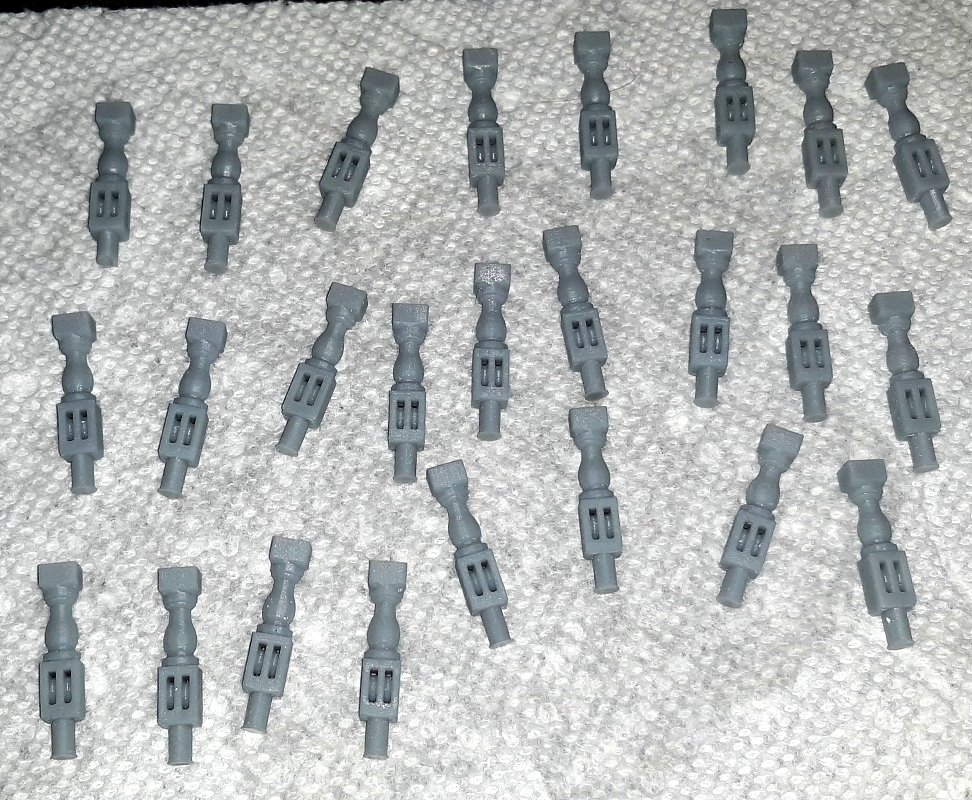
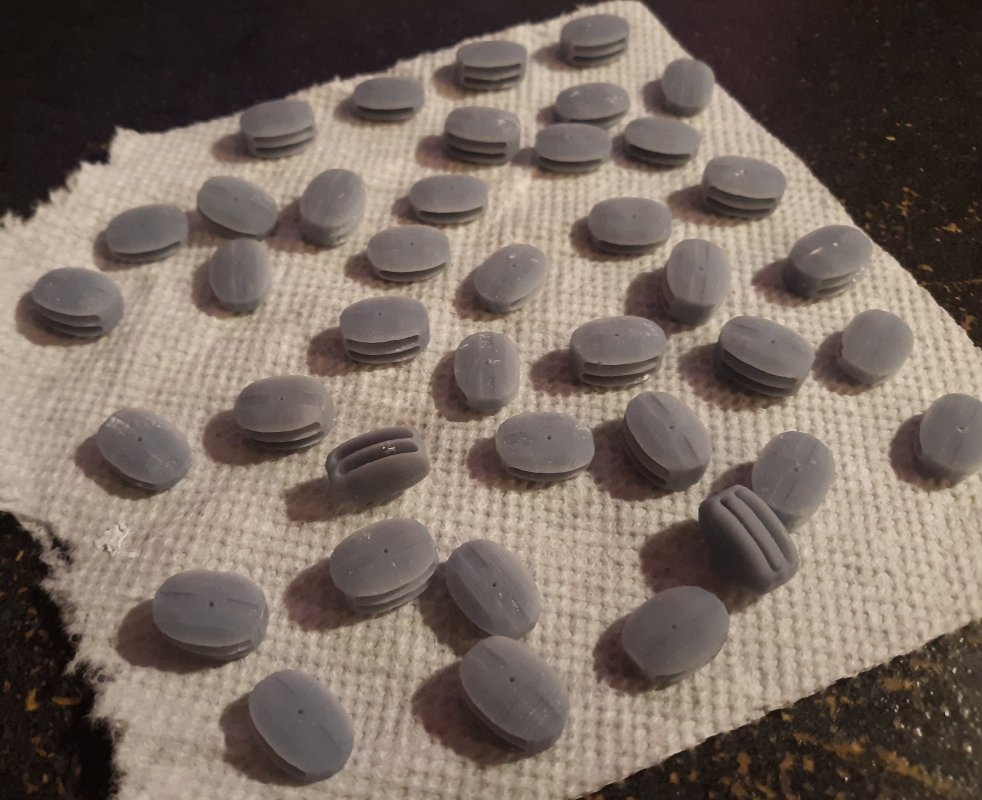
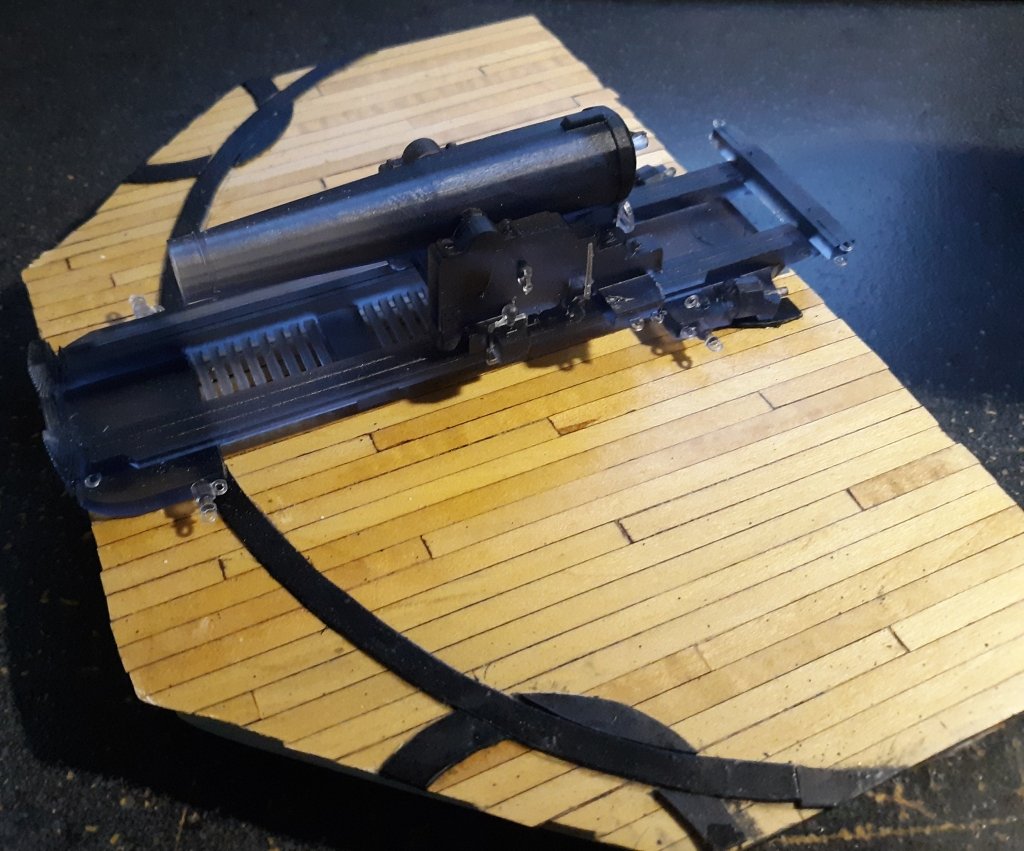
My latest try at the pivot gun wasn't great, but it was the best so far. The front of the slide and the cascabel didn't come out right, but I can reprint just those portions and glue them on to make this print usable. It was printed with a different resin that's a "smokey black" translucent color, and is supposed to be structurally stronger.- mtaylor, egkb and GrandpaPhil
-
 3
3
-
It's been a while, but I'm making another attempt at printing the pivot guns. I separated the gun/carriage from the slide and taking a shot at printing the slide alone. This is a second attempt, the first already failed, so I beefed up the supports and I got a bottle of new resin that's supposed to be stronger. The picture shows the model with it's supports that's sent to the printer, and it's printing as I type this. I should know in an hour or two if it's failed again, other wise it'll take about 10 hours to print completely.
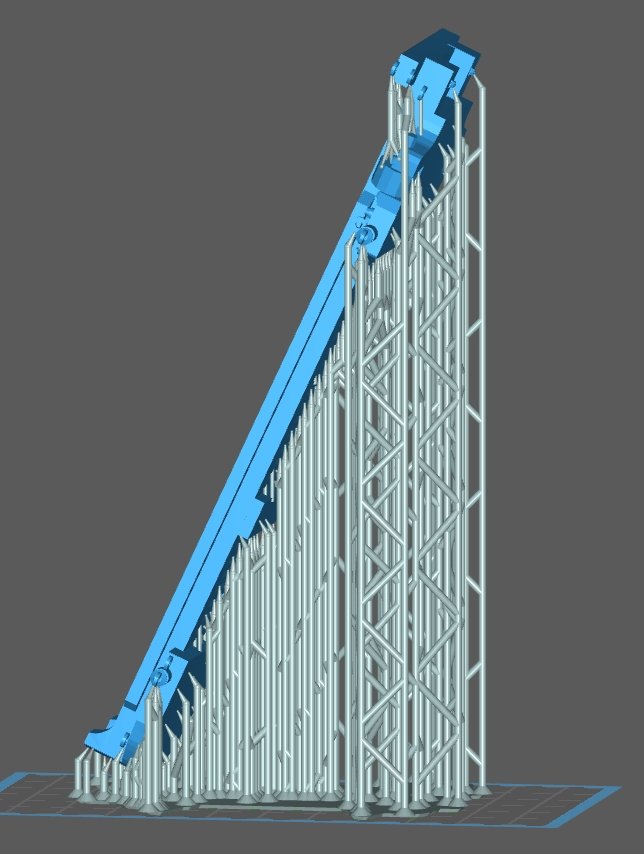
- GrandpaPhil, egkb and mtaylor
-
 3
3
-
For those following my other logs, you're aware I got a 3D printer and have made a couple of items for those models, and I'm working on further 3D model parts to print. This model too, will get something from the resin vat, though I can't think of many things at the moment. Her swivel guns come to mind right-off, maybe drums for the windlass, and crew figures, and her 4 carriage guns, of course.
- mtaylor and Ryland Craze
-
 2
2
-
By-the-way, A German fellow (I think) did an RC Enterprize a few years back. I don't know what scale it is, I think it's 1:48.
Here's a video he posted some years ago, and I haven't seen anything from him in some years now. That's an on-board camera on top of the boats, he's posted that video as well. -
On 7/24/2020 at 1:26 PM, yancovitch said:
what if you print it in two parts....that should be easy?
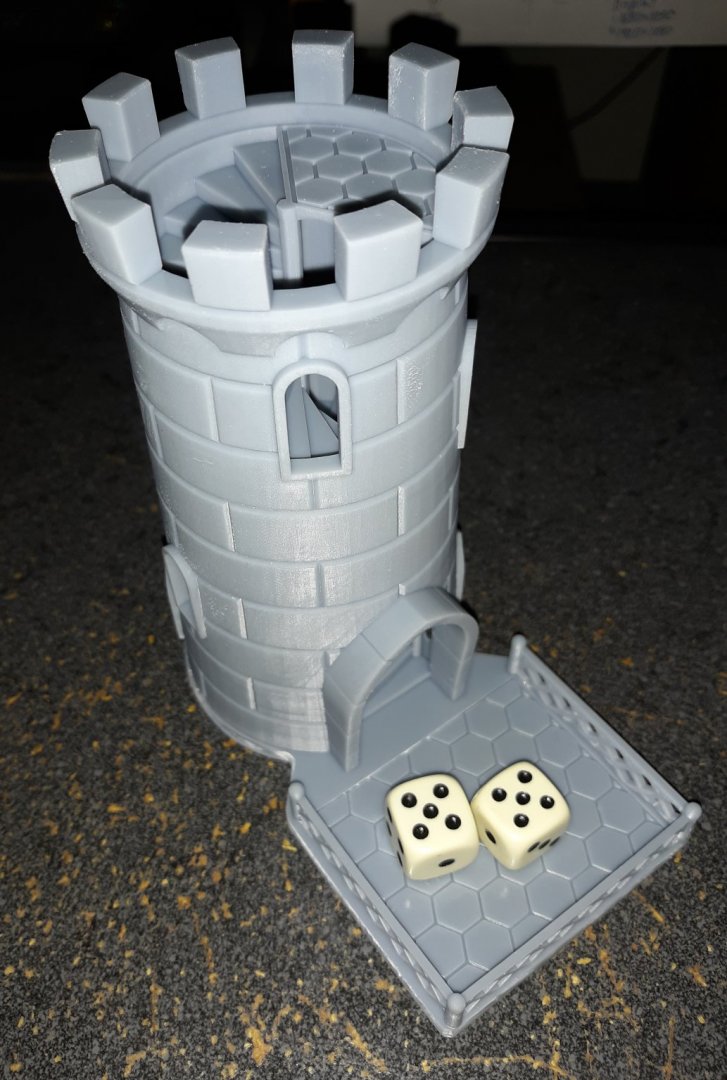
There shouldn't be a difference really, not with the anchor. This thing, for instance, is about as big at the printer can handle, and it has a couple of flaws at the base because in a couple of places the suction of the last printed layer almost overcame the adhesion to the build plate, so there's a place that appears to be de-laminating right where the little patio attaches to the tower in the picture. Otherwise it came out beautifully. (click it to see it larger)
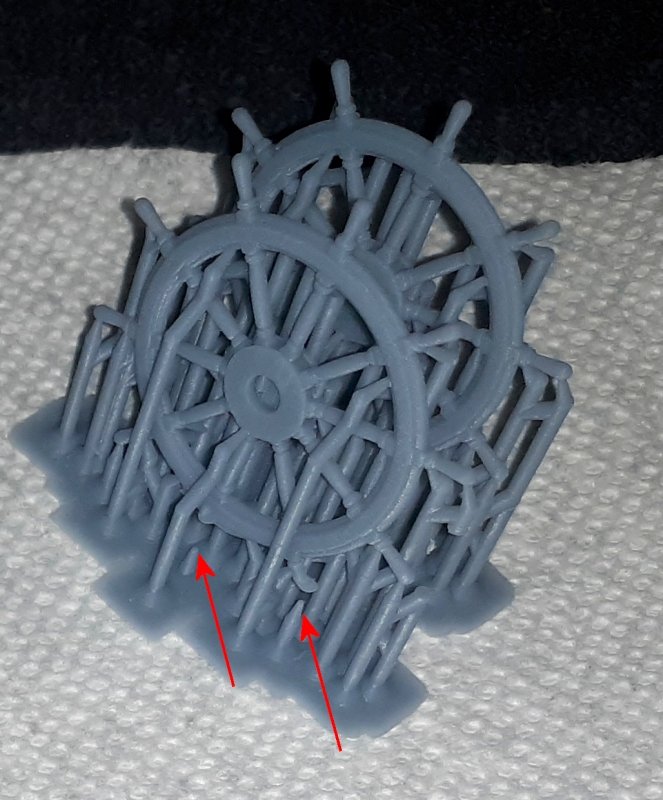
On things that don't have a flat face to attach to the build plate, you need those supports to hold them and connect them so the plate has a means to pull the part out of the vat. It's a tug of war with every layer printed, and you want the build plate to win every time. It's being able to pull the thing free of sticking to the film at the bottom of the vat that matters, and the supports have to be strong enough to do that job. My set up seems to be weak where they attach to the part itself. The layer sticking to the vat pulls the part loose from the supports. I can change those parameters, I basically have them at their default values. Rather than waste resin with trial and error, I've been looking at YouTube videos on the subject to learn what people with more experience are doing. These folks seem to print mostly fantasy figures with wings, swords, capes, flowing garments, and all sorts of elaborate and fragile looking appendages; my models are nothing compared to that in terms of sticky-outty bits.

Notice where this support detachment happened with this pair of wheels (red arrows), causing one spoke not to print and another to be deformed.
- GrandpaPhil, egkb and mtaylor
-
 3
3
-
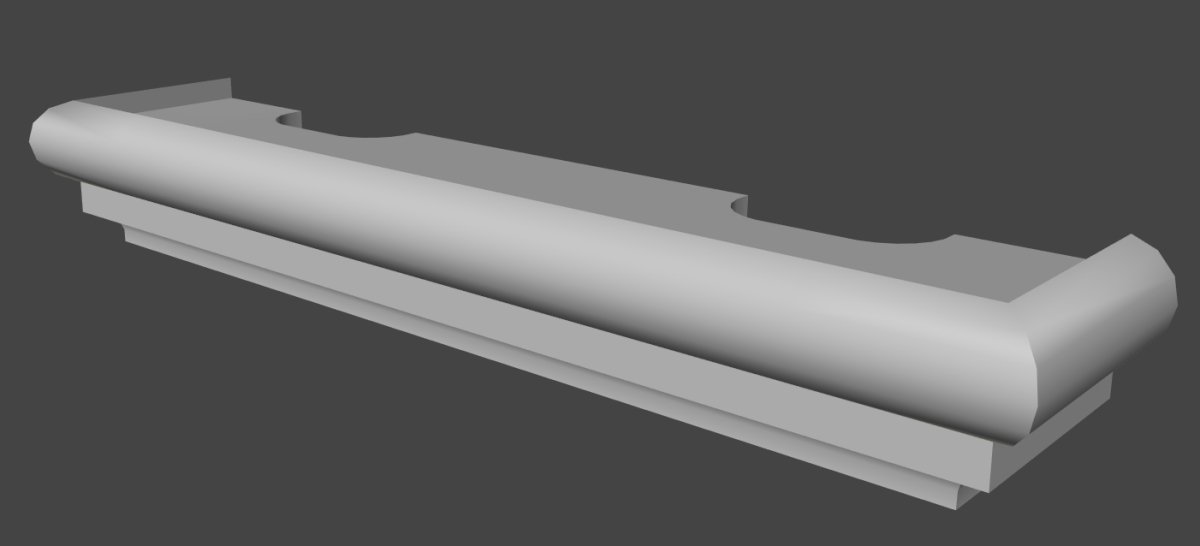
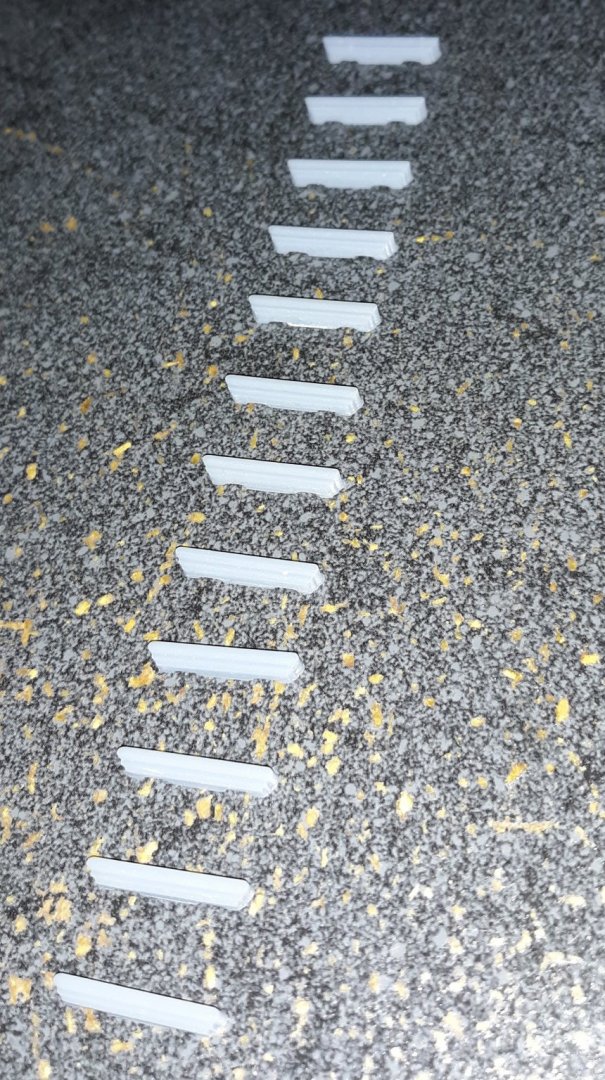
After making the anchor I went on to make the boarding steps which will be about 2cm wide
With that success, I set up to print an anchor overnight...
That didn't turn out so well. Again, the supports didn't hold and in pulling loose, the fluke end of the anchor didn't print right.
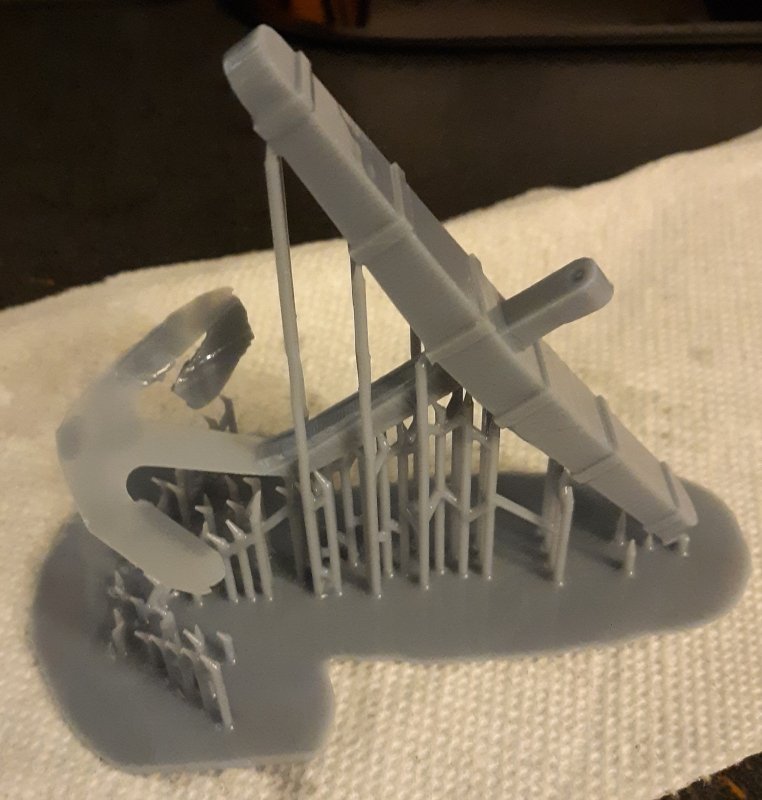
I'll get this support thing sorted eventually.
- GrandpaPhil, yancovitch and mtaylor
-
 3
3
-
Experience with Constellation's yard bracing got me thinking that that wasn't the most efficient method I could go with. With the winch drums horizontal, even with the sliding servos and springs to maintain tension, some slack still develops and slack can lead to lines tangling, or slipping off their drum. To deal with that the drums have very wide flanges and guides to keep the lines in their place. When I got to trying to control Constellation's courses I could find no way to do it using her horizontal winch drums that wasn't more complicated than it was worth.
With the winch drums mounted on their sides, the issue of slack isn't as pronounced as with them mounted horizontally. With proper guides, there's little chance of them slipping off their drum onto another and getting tangled. There's ways of dealing with any excessive slack. Al Lheureux basically used a version of this on his Rattlesnake
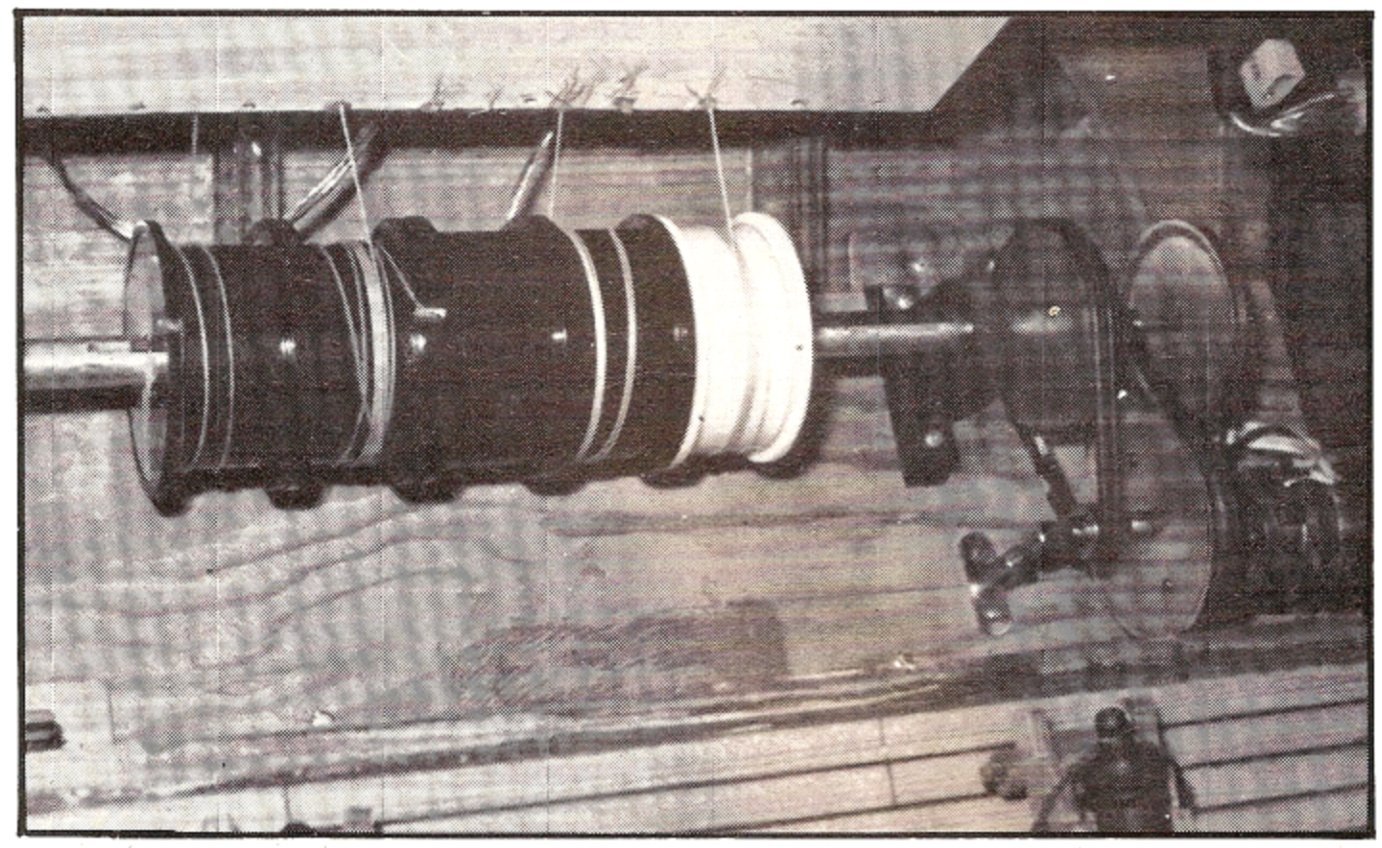
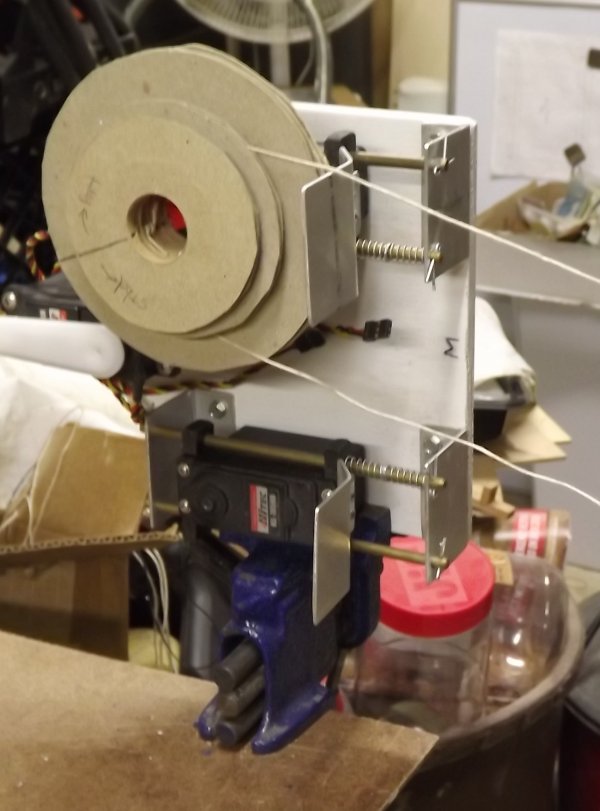
For a brief moment in 2016, I gave the idea of turning the winches on their side a thought, What put me off the idea was the vertical space it seemed it would take up, and I let it go, but recently Timmo mentioned his brace controls in his frigate Enterprise build log, and I got to thinking about it again.
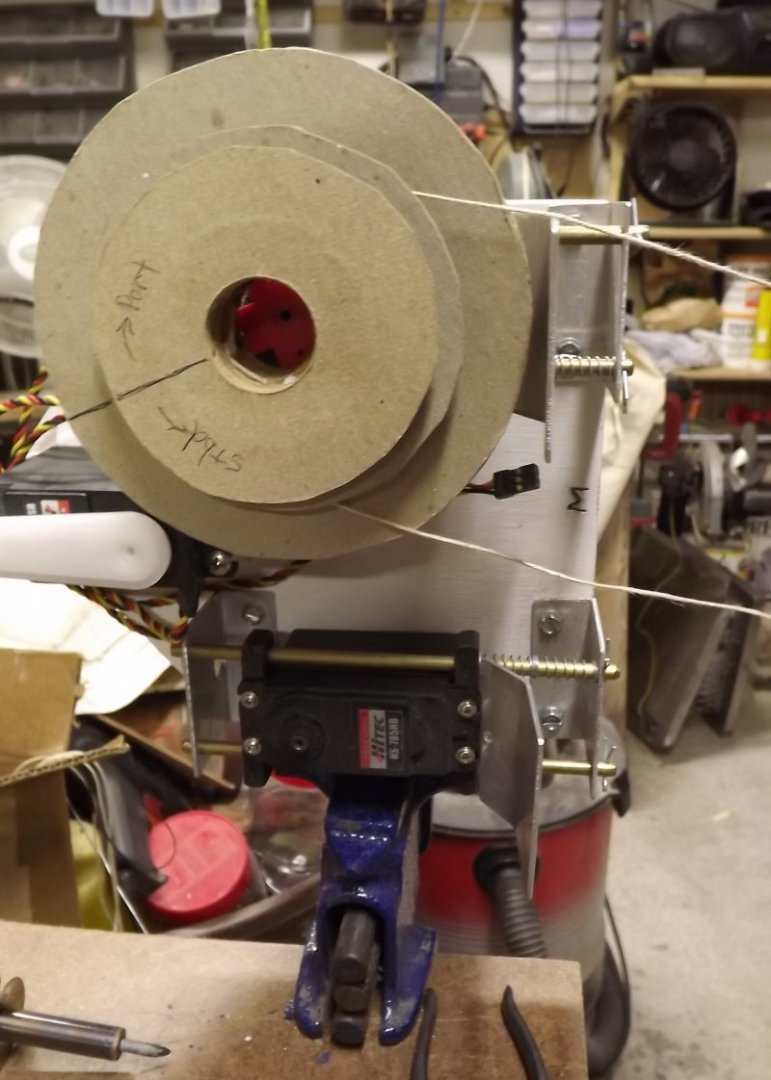 Looking at the idea of vertical winches in 2016
Besides the issue of slack, it's controlling the tacks of the courses within the same winch system that really got me back to thinking of this again.
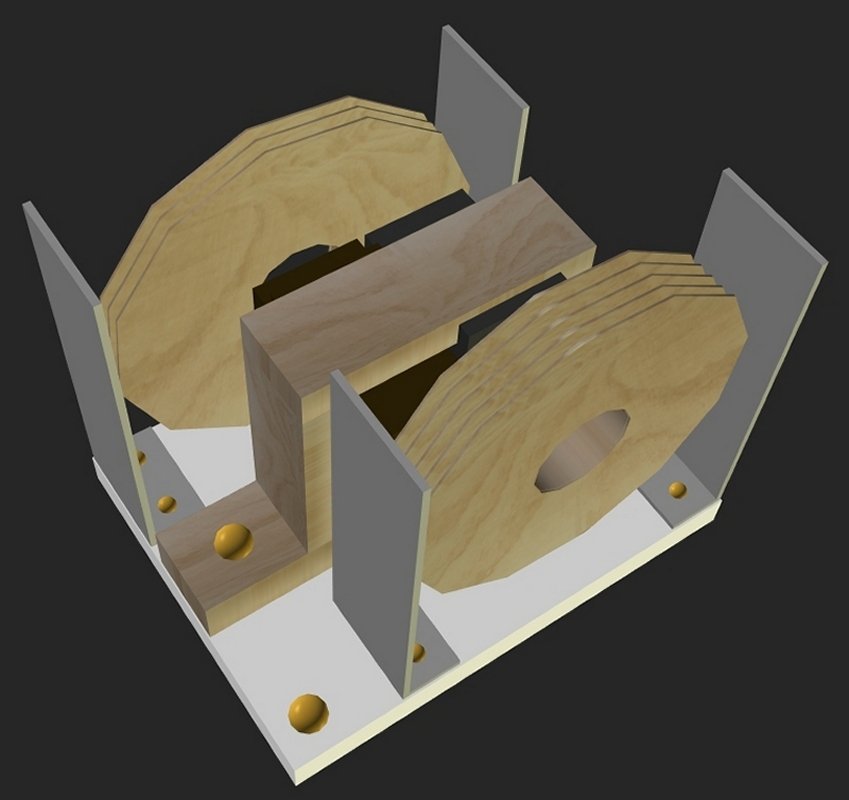
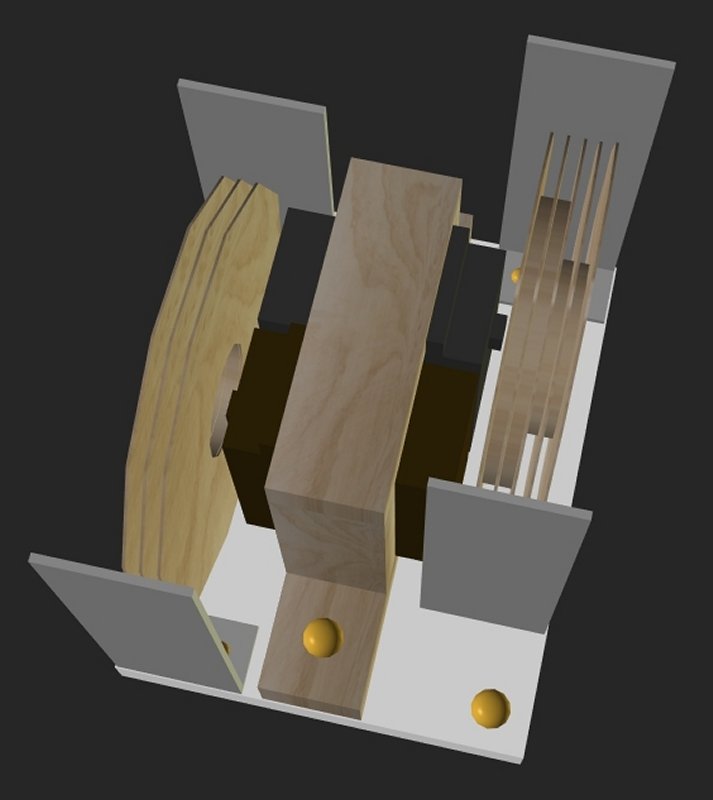
A simple 3D model of two winch servos with drums mounted on their sides. Reducing the size of the flanges would further reduce the overall size of the unit. The tall gray things are aluminum sheet with holes to guide the braces onto their drums.
- GrandpaPhil, archjofo and mtaylor
-
 3
3
-
- egkb, mtaylor, GrandpaPhil and 1 other
-
 4
4
-
I've been considering mounting the winches on their sides in Macedonian. With the drums flat, or horizontal, any slack can result in the braces binding, tangling, or slipping off the drum which shouldn't be an issue with the drum mounted on its side. This may also make it easier to handle the course tacks as well, which I found to be pretty much impossible with "flat-drums."
- mtaylor and GrandpaPhil
-
 2
2

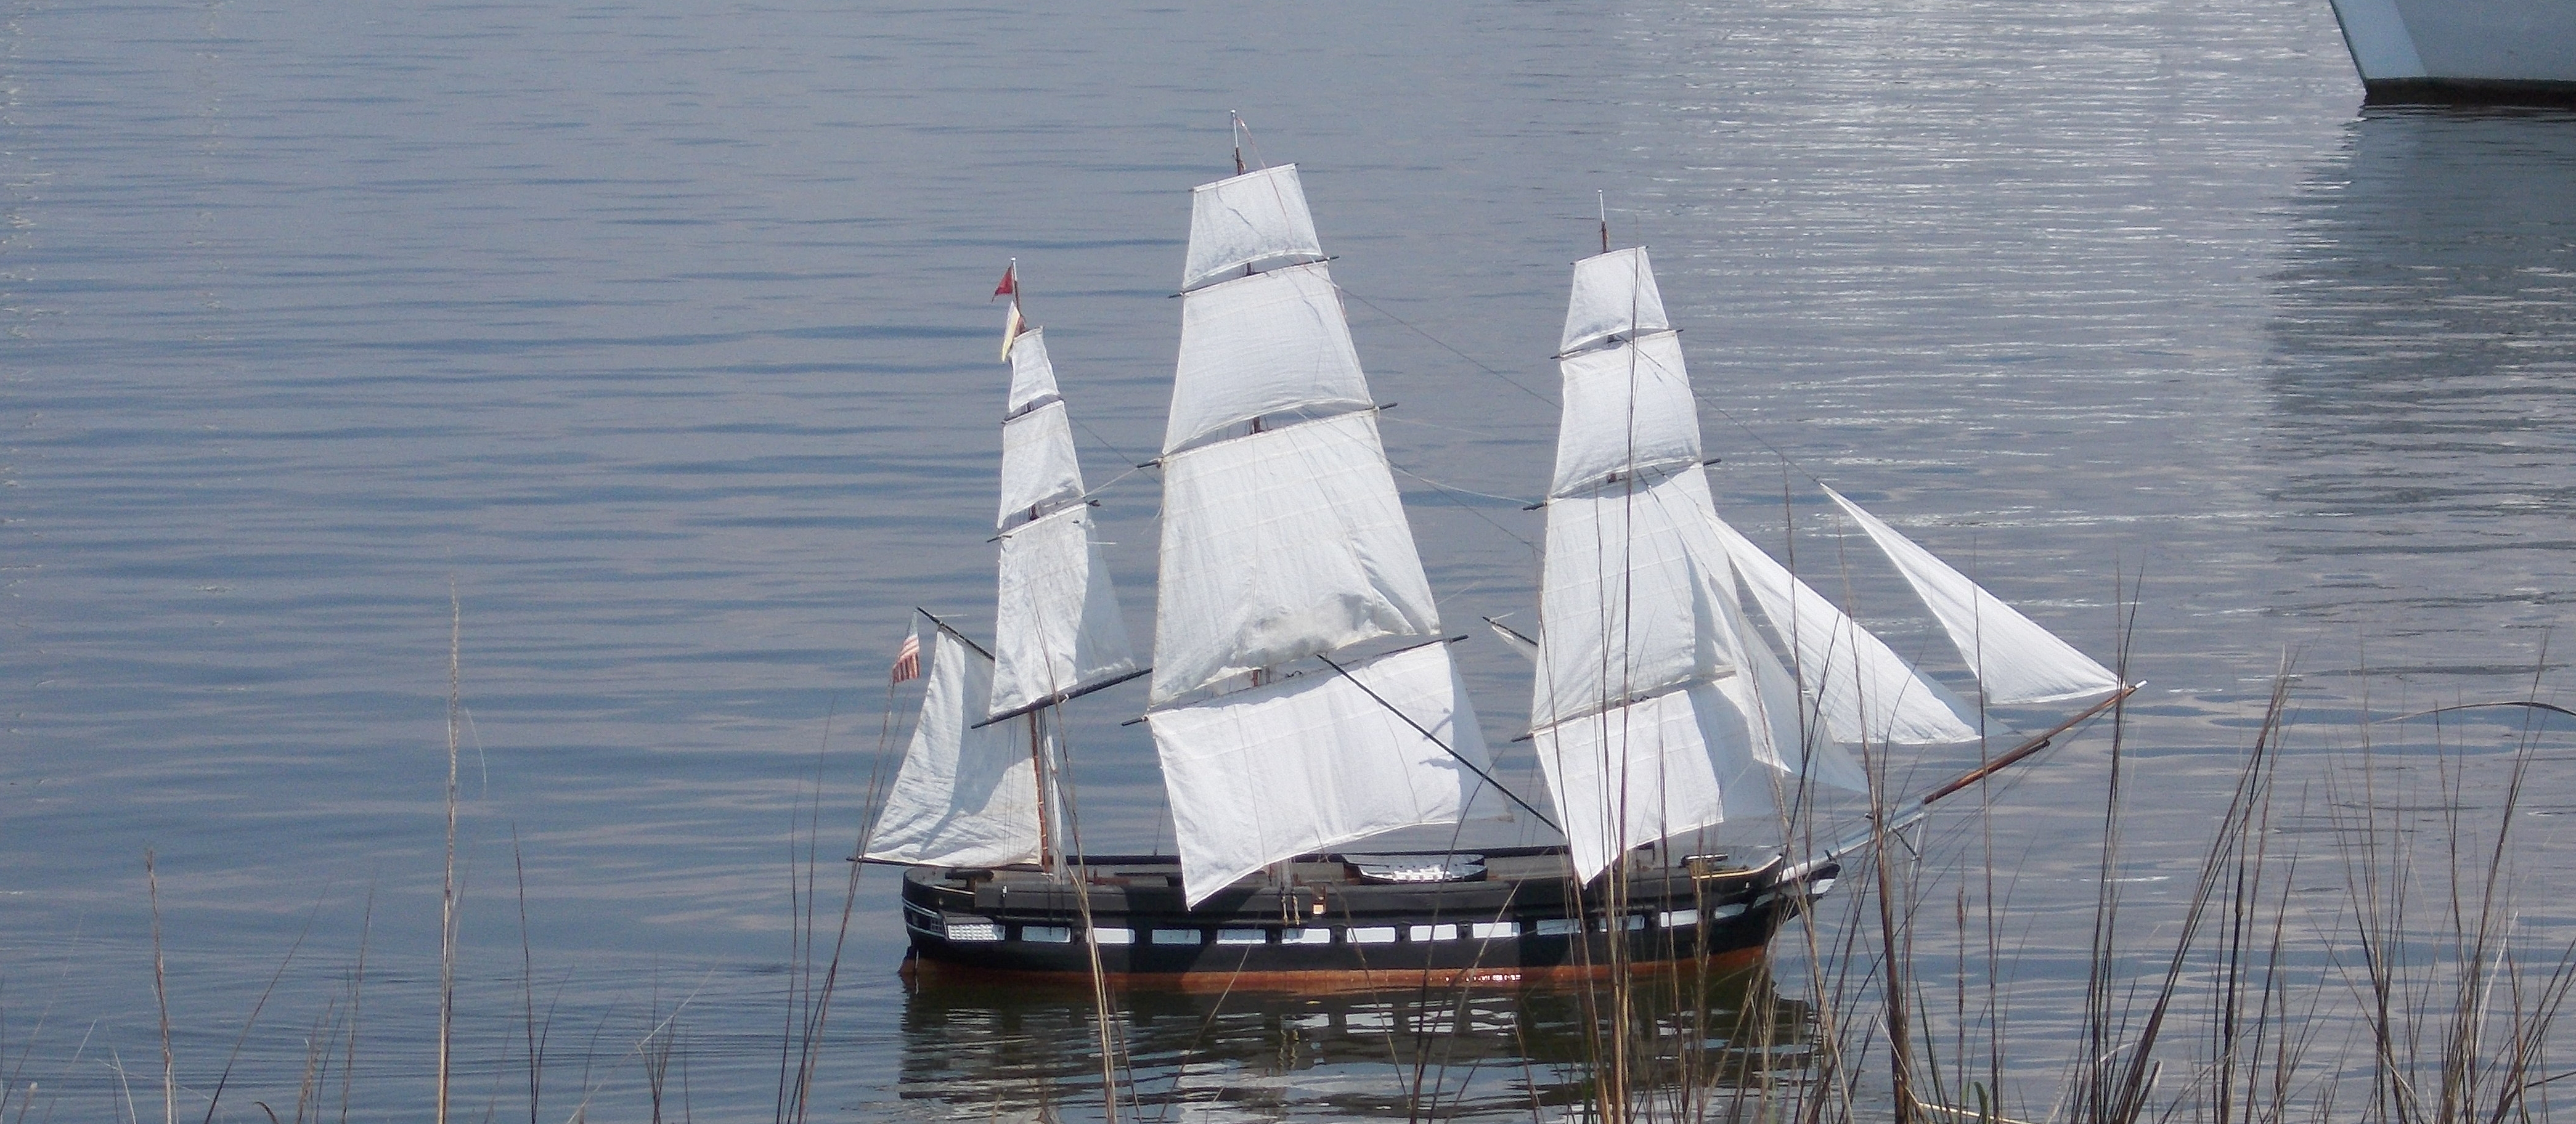


Constellation 1856 by JerryTodd - 1:36 scale - RADIO - First Class Sloop of War
in - Build logs for subjects built 1851 - 1900
Posted · Edited by JerryTodd
All four anchors done, the boat howitzer, and the wheels for a friend...
Now I need to paint this stuff.
Here's the pivot guns, but I'm going to take another shot at printing them with a different arrangement of supports. If that works I'll probably make a set of book-ends with these
This is the 3D model of the windlass for another model. It need it's pawls and a little size correction to be ready. The axle won't be printed, it's meant to have some brass rod there.