-
Posts
355 -
Joined
-
Last visited
About jhearl
- Birthday 09/26/1949
Contact Methods
-
Website URL
http://modelboatyard.com
Profile Information
-
Gender
Male
-
Location
Milford, Virginia
-
Interests
Shipmodeling and photography
Recent Profile Visitors
-
 Elia reacted to a post in a topic:
Holding small parts for soldering
-
 Canute reacted to a post in a topic:
Helping hands troubles
-
 mtaylor reacted to a post in a topic:
Helping hands troubles
-
 VitusBering reacted to a post in a topic:
Helping hands troubles
-
 robert952 reacted to a post in a topic:
Helping hands troubles
-
Helping hands troubles
jhearl replied to VitusBering's topic in Modeling tools and Workshop Equipment
This third-hand device - GRS® BenchMate® Double Third-Hand Soldering Station - RioGrande is quite expensive but functions beautifully. You do not need to tighten the joints while using it. It also features a soldering block, which is very useful. For me, it has been worth every penny. -
East Ender started following jhearl
-
 mtaylor reacted to a post in a topic:
Mainsheet blocks and rigging for 1930s Chesapeake Bay skipjack
-

Beginner looking to start building, In the USA
jhearl replied to lstmysock11's topic in Wood ship model kits
Andrew- Left you a PM just now. John -
Earlier this week, I sent some small pieces of wood to a friend in another state. (Nothing commercial about it - just a friend-to-friend thing.) They wouldn't fit in a regular envelope, so I put them in a padded CD mailer. That's about 6" square. The wood was very light and the whole package probably weighed only a couple of ounces. Took it to the post office and the clerk asked if it needed to get there in a hurry. I told him no - it could ship the cheapest way. The price? $10.30!! We were both floored but he swore that was the right price. As I stood there, I looked at the display of "If it fits, it ships" envelopes, I saw there was one considerably larger than my CD mailer and it was $8.95, which was the cheapest mailer they have. I asked if I could just put my envelope right into one of those mailers and he said, "Sure." So for $1.35 less, the package was sent priority mail to arrive in 2 days, had a tracking number, and $50 insurance. Crazy.
-

Gluing Toe Rail
jhearl replied to Ed Gibbons's topic in Building, Framing, Planking and plating a ships hull and deck
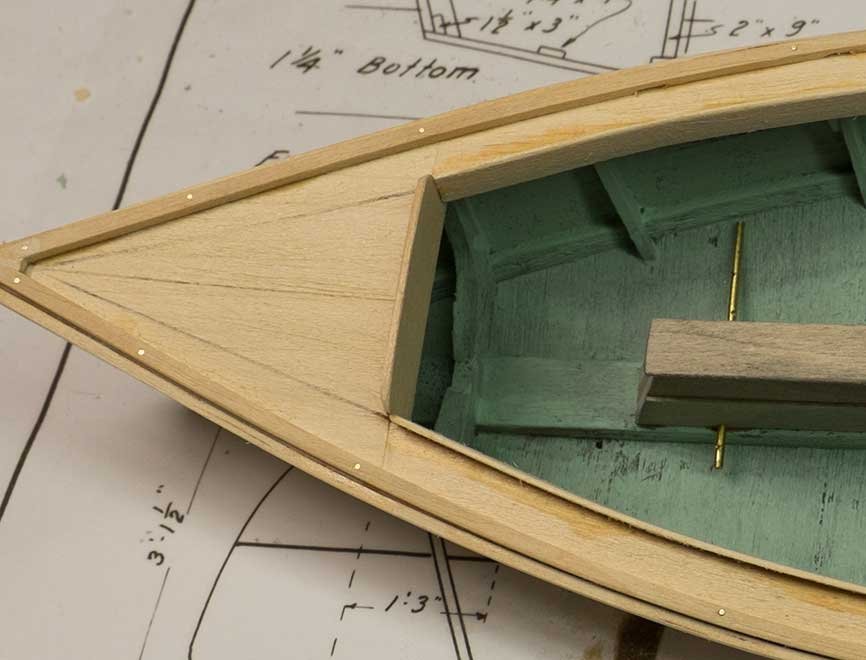
I use pieces of 1/32" brass rod to position the toe rail. Here's how I do it: I place the forward end of the toe rail up against the stem (or wherever its final position is supposed to be). While holding it in place with one hand, I drill down through the toe rail into the deck beneath. (Be careful not to drill out the side of the hull but you want the brass rod to be in the deck deep enough that it won't easily fall out.) I then stick a piece of 1/32" brass rod into the hole, through the toe rail and down into the deck, then snip the excess rod off leaving about a half-inch above the toe rail. No glue at this point. Now, move aft along the hull and toe rail until you reach a point where the toe rail needs to curve inward. Hold the toe rail in place, drill a hole there through the toe rail and deck, and insert another piece of brass rod. Keep working your way aft inserting more rods as necessary to keep the toe rail conformed to the desired curvature. At this point, the toe rail should be lying nicely in place without you having to hold it at all. Carefully lift the toe rail off the deck a quarter inch or so, being sure that the brass rods don't come out of the holes in the deck. That will allow you to put your glue of choice on the deck or underside of the toe rail. Press the toe rail back down into place and wait for the glue to dry. I typically prefer small dots of medium CA for this purpose. I always put a dot on each of the pieces of brass rod where they go into the deck. If you prefer yellow glue, you may need to hold the toe rail tight to the deck with tape until the glue dries. Once the glue has dried, snip off the remaining ends of the brass rod and file them down level with the top of the toe rail. In the picture below, you can see a few of the brass rods I used for this particular boat after they had been filed down. No two boats are alike, so placement of the rods will vary. If your toe rail has scupper holes, be careful not to put a piece of brass rod through the hole. It is helpful if the hole you drill is just slightly smaller than the 1/32" brass rod. You want a snug fit but not so tight that you can't move the toe rail off the deck. Make a hole in a test piece before you start drilling into the model itself. This technique can work for rub rails as well. Figuring out just where to bend the rub rail can take a little practice, so you might want to do a test run on some scrap to get a feel for how it works before you move to the model. Hope this helps - John -
Dsmith20639 started following jhearl
-
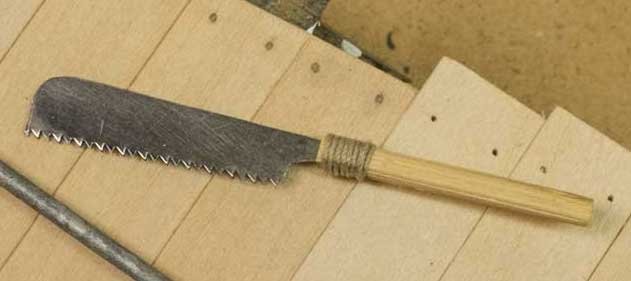
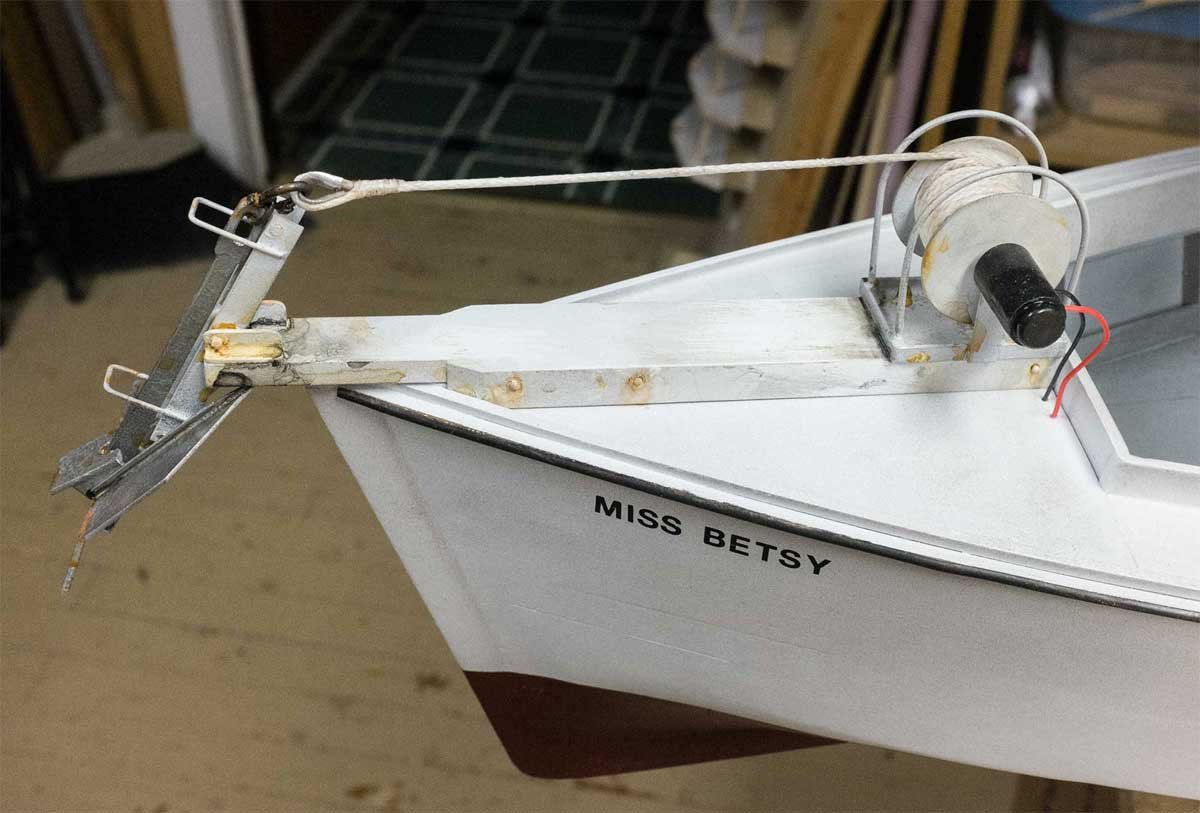
You can cut these saws with a cut-off wheel in a Dremel. Just be sure to wear eye protection. Here's a Japanese-style pull saw I recently made for a diorama from an old Exacto saw blade.
-
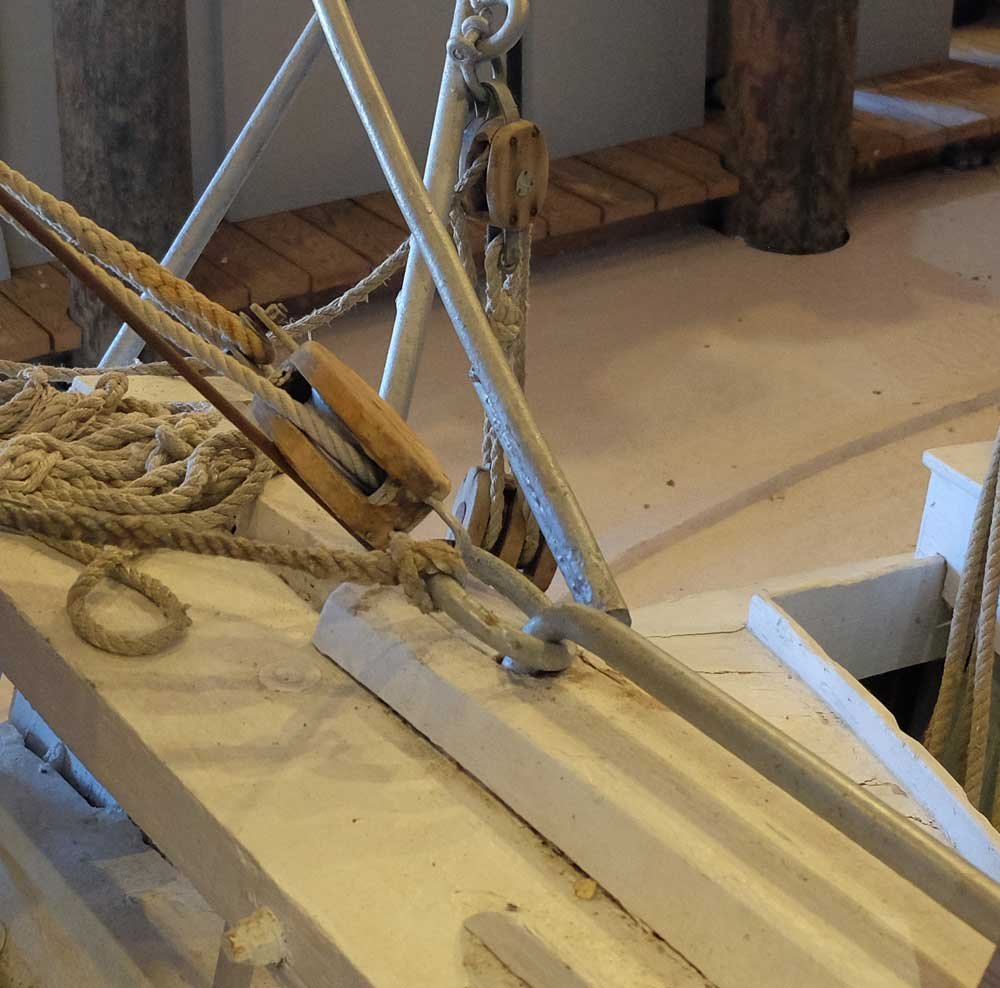
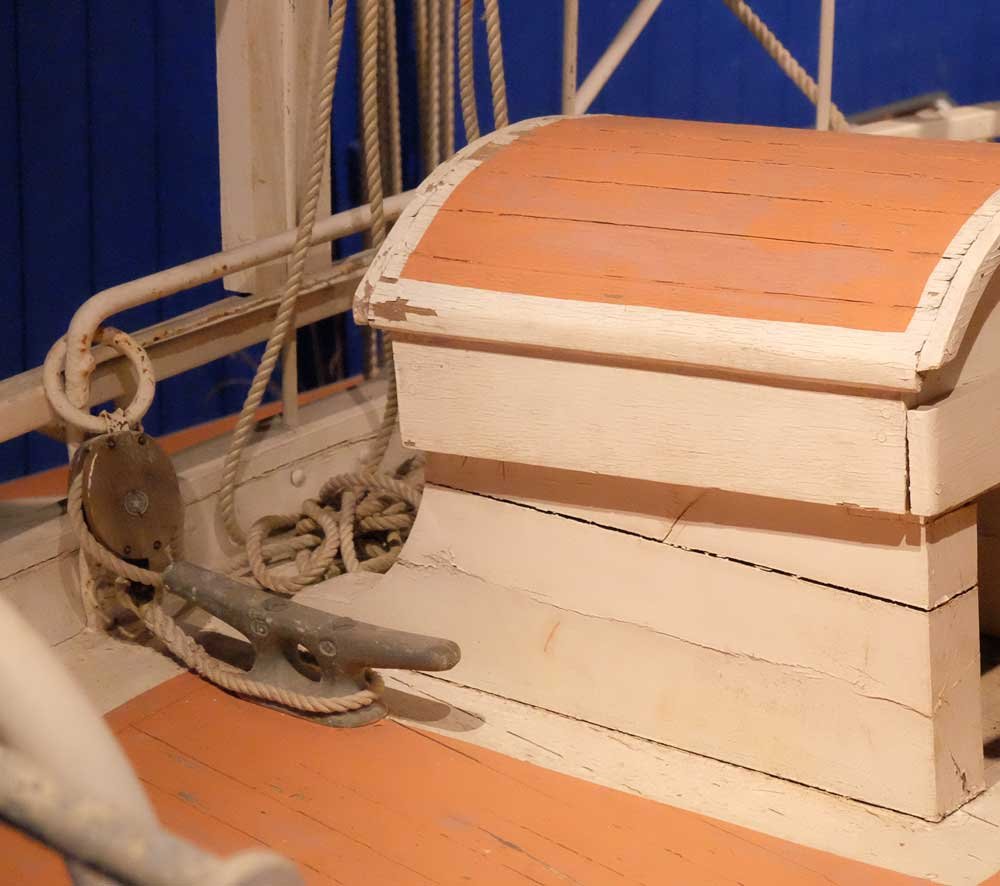
This photo may help. It's a part of Ronnberg's model of Kate Cory in the New Bedford Whaling Museum Not the best photo but they appear to all be the same height above the waterline. You could also try sending an email to the Cape Ann Museum where Mr. Ronnberg is a curator - curatorial@capeannmuseum.org Cheers - John
-
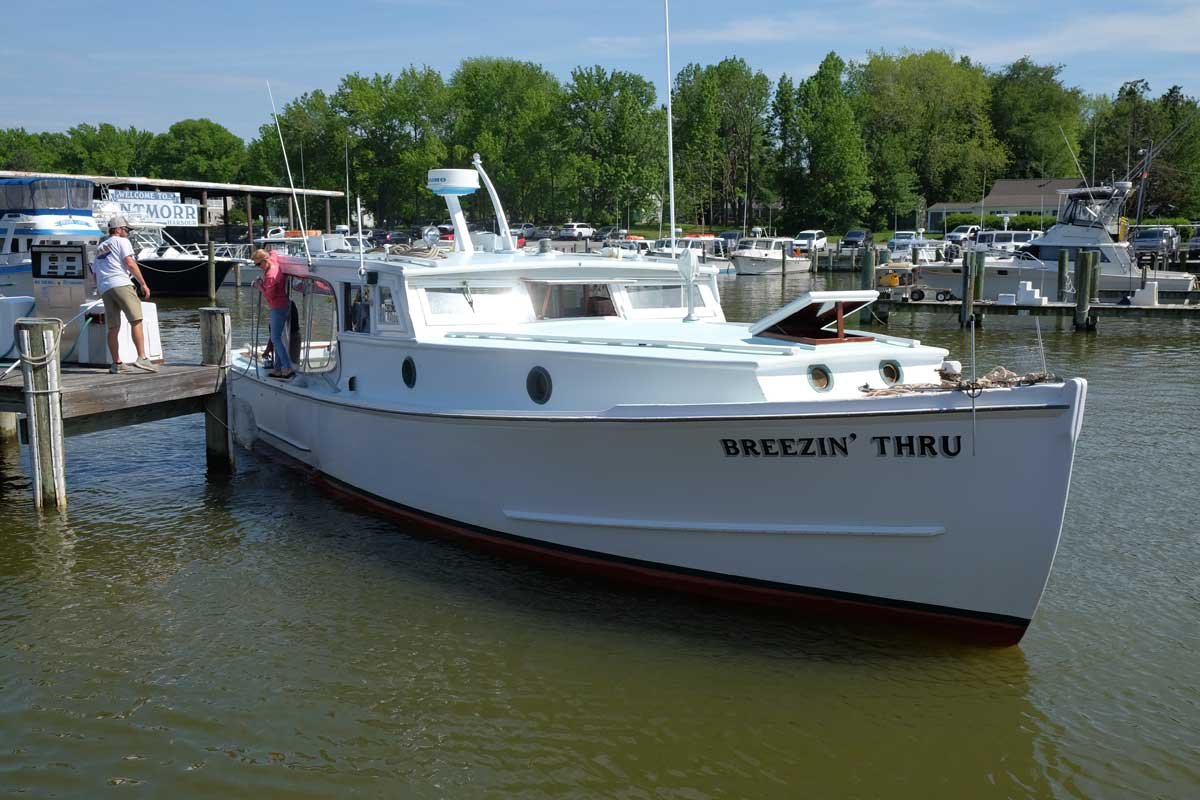
You will notice that Breezin' Thru has a half-round metal strip on the rub rail, which is a very common feature. Do a Google search on "half round brass wire" and you'll find it in several different sizes. It can be blackened, then glued and/or pinned to the edge of the rub rail. Here's an example of one of my models where I used it:
- 20 replies
-
- Breezin Thru
- Wye River Models
-
(and 1 more)
Tagged with:
-
Last time I was up your way in 2019, I visited Kentmoor Marina on Kent Island where Breezin' Thru was docked at that time. No idea if she is still there. Cheers - John
- 20 replies
-
- Breezin Thru
- Wye River Models
-
(and 1 more)
Tagged with:
-

which table saw to get??
jhearl replied to kronvold's topic in Modeling tools and Workshop Equipment
The advantage of the wider table is that you can use the Byrne's sliding table without having to remove the rip fence. You just slide the fence over to the right. I go back and forth between cross-cutting and ripping frequently so the wider table was worth it for me. It would drive me nuts to have to keep removing and re-installing the fence. I also bought the micrometer but after trying it a couple times, it has been sitting in the drawer ever since. I work at larger scales (typically 1:16), so that degree of accuracy is unnecessary for me. Cheers - John -

Glue question
jhearl replied to Peanut6's topic in Building, Framing, Planking and plating a ships hull and deck
As with many things, the answer can be found with a simple experiment. Glue some scrap planking to another piece of wood then see how long it takes to set up. I typically use generic yellow glue and I am often surprised to find it has set up in just a few minutes. -

Macro photography on the cheap.
jhearl replied to ausf's topic in Modeling tools and Workshop Equipment
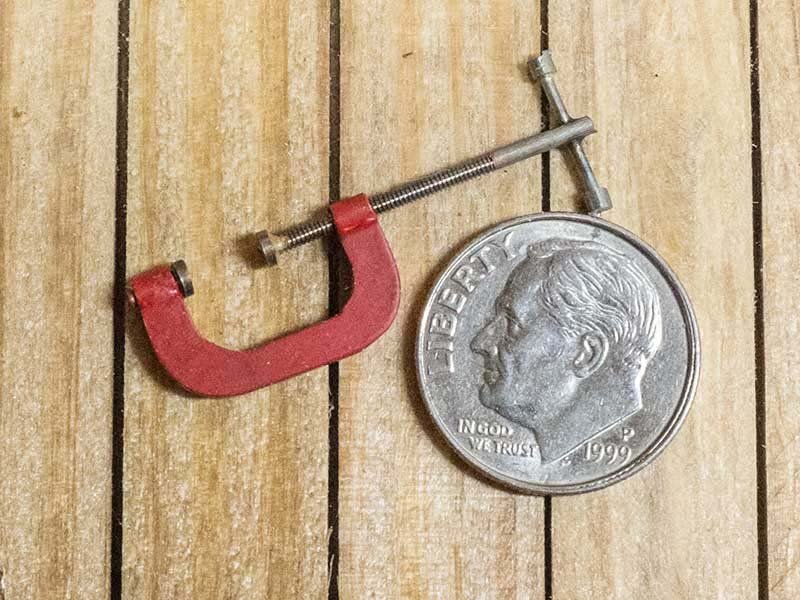
I did not intend to imply that cropping produced a larger, magnified image. Clearly it does not. But one needs to think about the ultimate use for the image. If you're intending to use the image in a book or perhaps a magazine article, then cropping may not be the best course of action. If you're planning to make a 16"x20" color print of a tiny feature on your model to hang on your wall, it certainly won't work. But in reality, most people use images of their models on websites such as MSW, or perhaps, to email to friends. In that case, resolution is a minimal factor. For example, the image of the C-clamp is 800 pixels wide. If printed at 300dpi, it would only be 2.66 inches wide, which might be too small for a book. But posted on the web, it's an entirely acceptable size. So, I'm only saying consider the intended use for the image in your choice of equipment. Macro photography is a cumbersome and time-consuming type of photography that simply may be unnecessary for the majority of model photos. But, each to his own. Cheers - John -

Macro photography on the cheap.
jhearl replied to ausf's topic in Modeling tools and Workshop Equipment
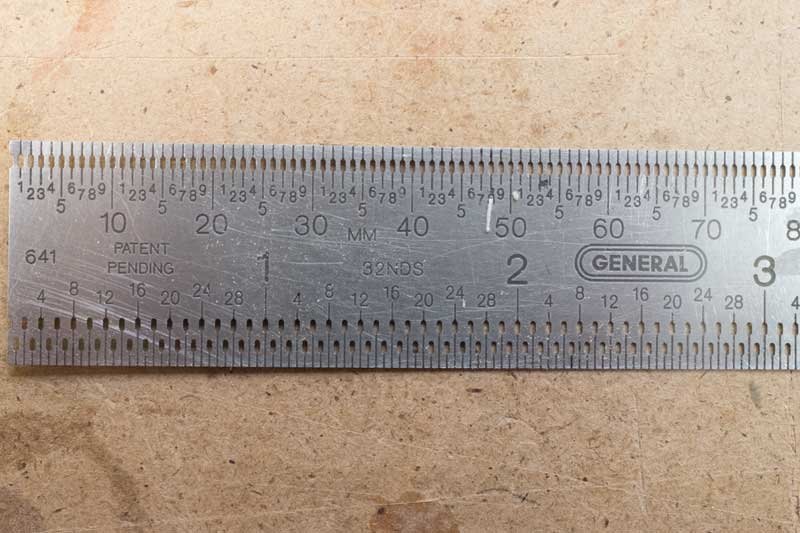
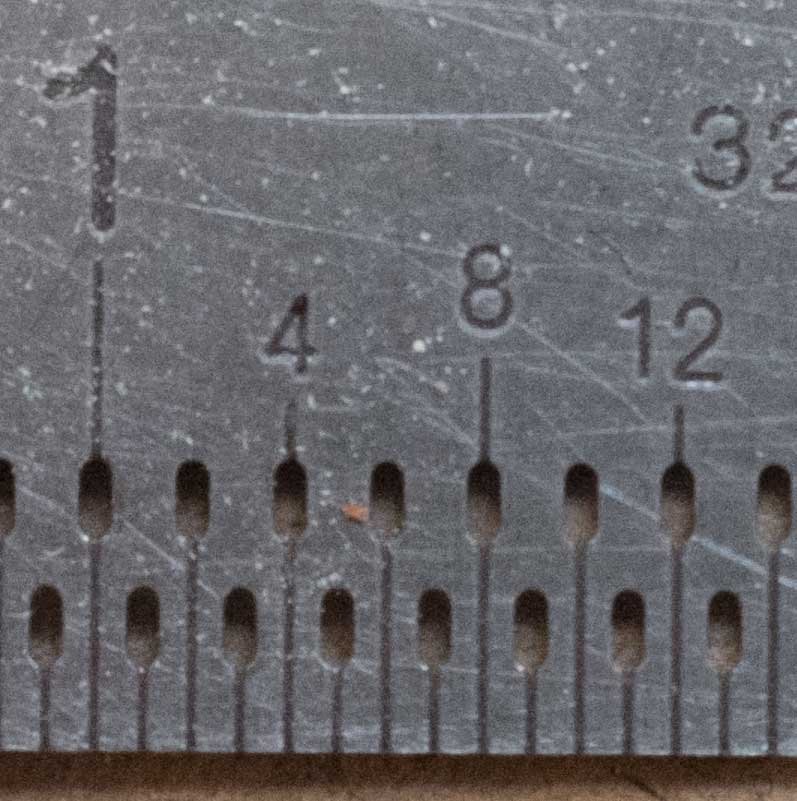
I would offer a somewhat contrarian view and say that macro gear may not be the best solution for close-up model photography. I own a Nikon D800 and three different macro lenses plus a bellows and tripod - altogether some quite expensive equipment. I use none of it for model photography. Instead, I use what would be considered a high-end point-and-shoot (Fuji X100F). That camera has a fixed focal-length 23mm lens and a 16 megapixel sensor. The camera cost around $1K new but now sells for around $500 used. It has a lot of controls that someone used to a digital SLR would want, which is one of the reasons for it's high cost. But, I can use that camera hand-held, in relatively poor light (it has an f2 lens), and get very good results. It is able to close-focus to just under 4 inches (so-called macro mode) but because of its 23mm lens, it's also useful for taking a shot of a whole boat. I almost never use a tripod - just hand held. The advantage of the 16mpx sensor is that it's easy to crop in on something to get the impression that it was shot with a macro lens but generally has better depth of field. Newer cameras have even larger sensors, which means even tighter crops. Here, for example is a quickie shot (uncropped) of a ruler about as close as I could focus: Here's a crop from the same image (slightly out of focus but I wasn't being very careful with it). It was shot at f/8 at 1/110sec. Here's an actual photo from one of my builds. You can see there's a much greater depth of field than would be typical with a macro lens: And another: There's nothing wrong with macro, but it does require a lot more work and a lot more care in using it than just picking up a little point-and-shoot and hand-holding it. Not to mention it can require much more expensive gear and, if you get into focus stacking, much more time. So I'm just offering this as an alternative. If you already own a digital SLR, before you buy a macro lens, try a wide-angle lens if you have one. I have a 16mm lens for one of mine and I can achieve similar results with it although it doesn't focus as closely as the P&S camera. Cheers - John
About us
Modelshipworld - Advancing Ship Modeling through Research
SSL Secured
Your security is important for us so this Website is SSL-Secured
NRG Mailing Address
Nautical Research Guild
237 South Lincoln Street
Westmont IL, 60559-1917
Model Ship World ® and the MSW logo are Registered Trademarks, and belong to the Nautical Research Guild (United States Patent and Trademark Office: No. 6,929,264 & No. 6,929,274, registered Dec. 20, 2022)
Helpful Links
About the NRG
If you enjoy building ship models that are historically accurate as well as beautiful, then The Nautical Research Guild (NRG) is just right for you.
The Guild is a non-profit educational organization whose mission is to “Advance Ship Modeling Through Research”. We provide support to our members in their efforts to raise the quality of their model ships.
The Nautical Research Guild has published our world-renowned quarterly magazine, The Nautical Research Journal, since 1955. The pages of the Journal are full of articles by accomplished ship modelers who show you how they create those exquisite details on their models, and by maritime historians who show you the correct details to build. The Journal is available in both print and digital editions. Go to the NRG web site (www.thenrg.org) to download a complimentary digital copy of the Journal. The NRG also publishes plan sets, books and compilations of back issues of the Journal and the former Ships in Scale and Model Ship Builder magazines.


