GrandpaPhil
-
Posts
4,932 -
Joined
-
Last visited
Content Type
Profiles
Forums
Gallery
Events
Everything posted by GrandpaPhil
-
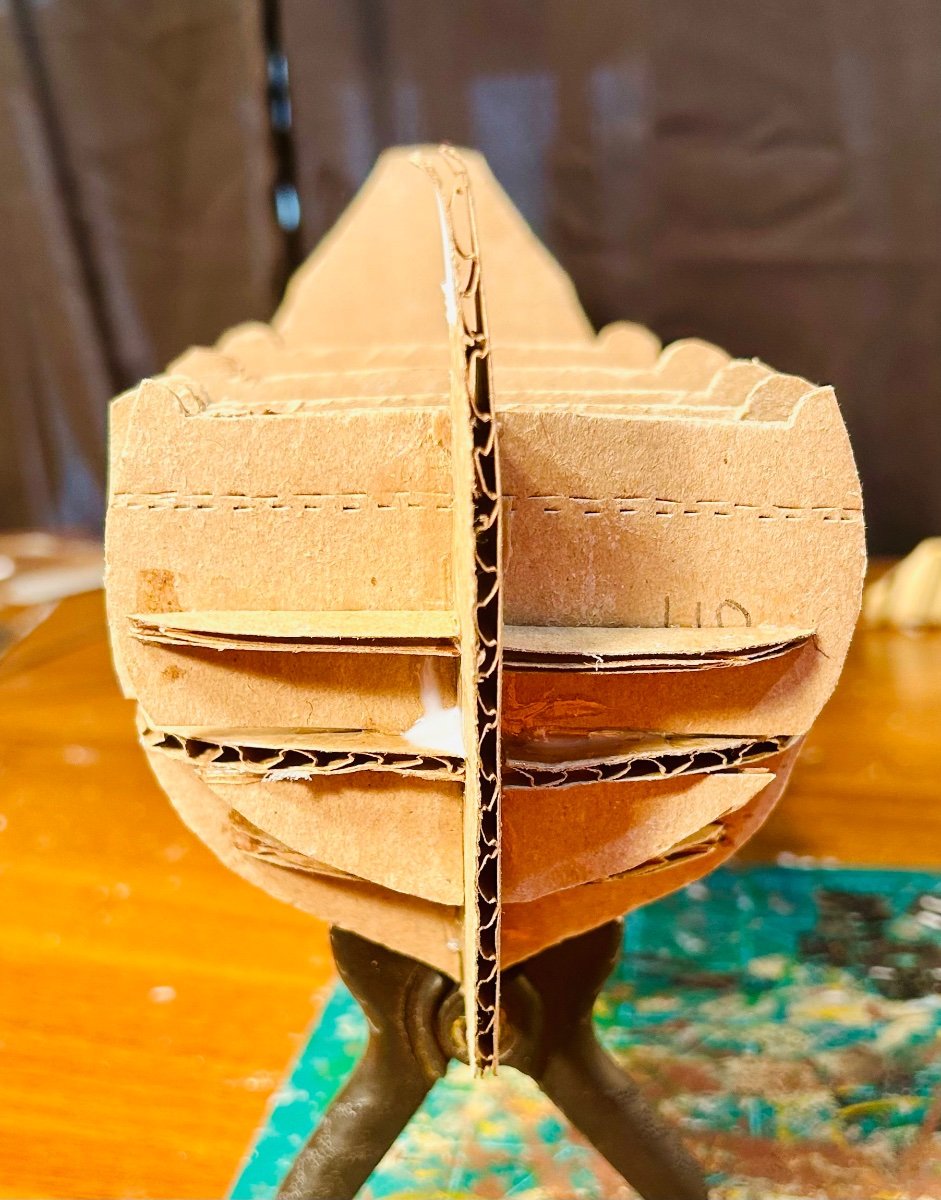
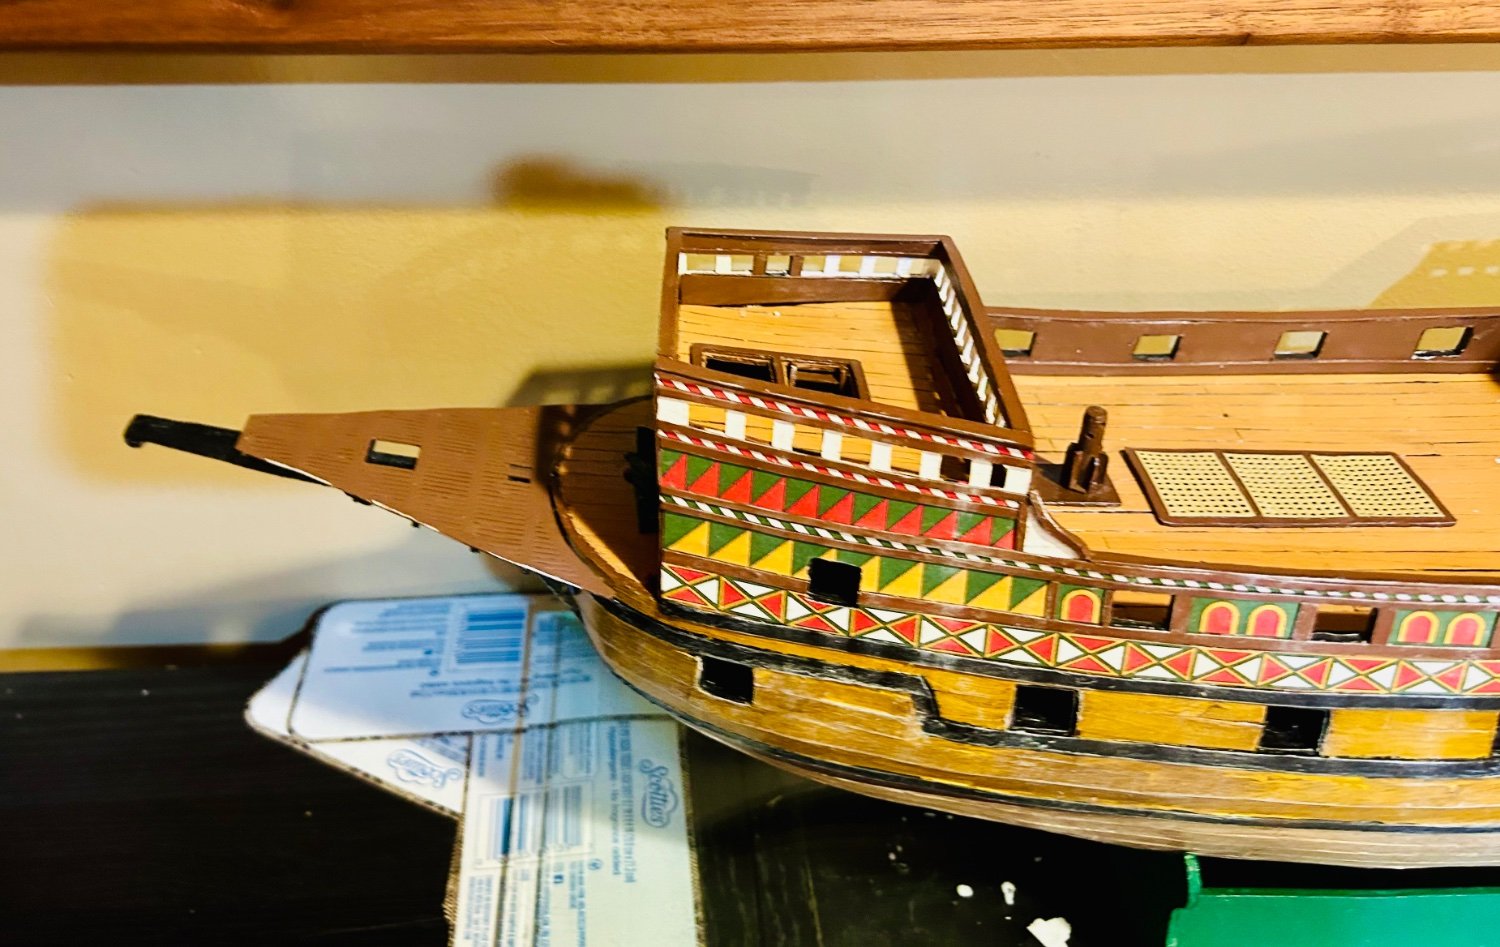
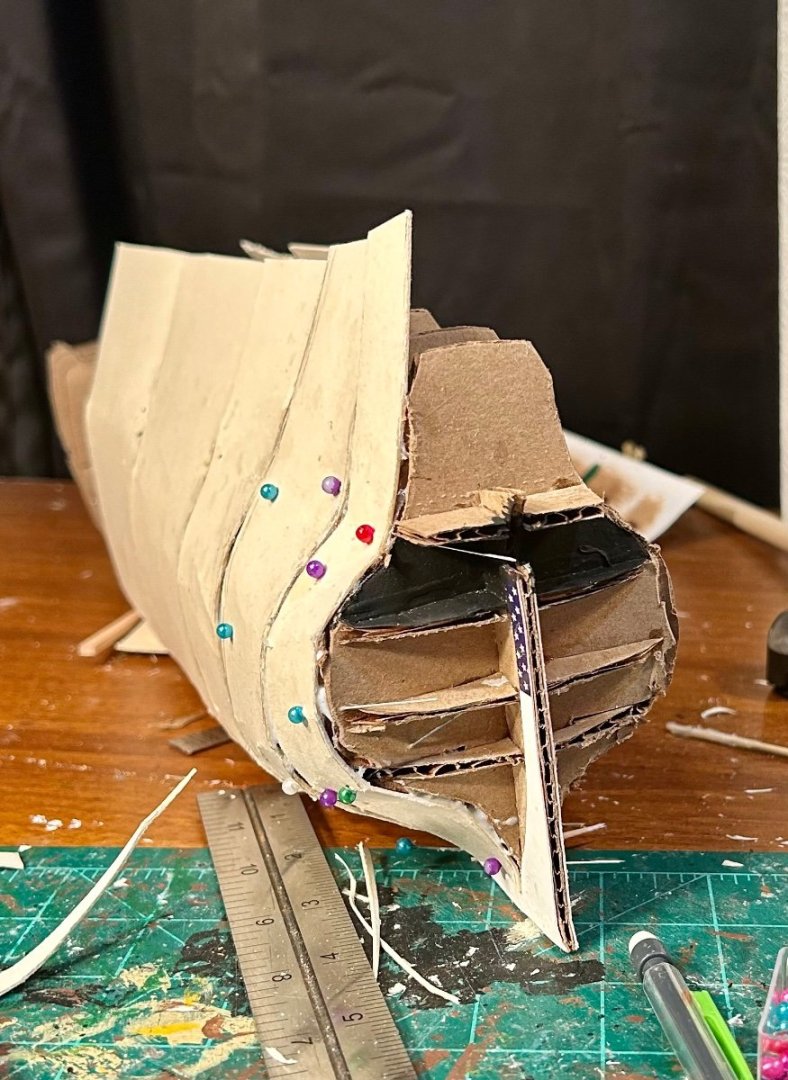
Thank you very much for the vote of confidence! Truth be told, the hull at the stern reminds me of the whaleback freighters, and the whaleback type designs of the late 19th century or early 20 century French battleships like La Hoche, La Redoutable or Charlemagne. The kicker is that the cats drew very little water and had a nearly square cross-section for the entire midsection of the vessel, and a very bluff bow. It’s a neat design.
-
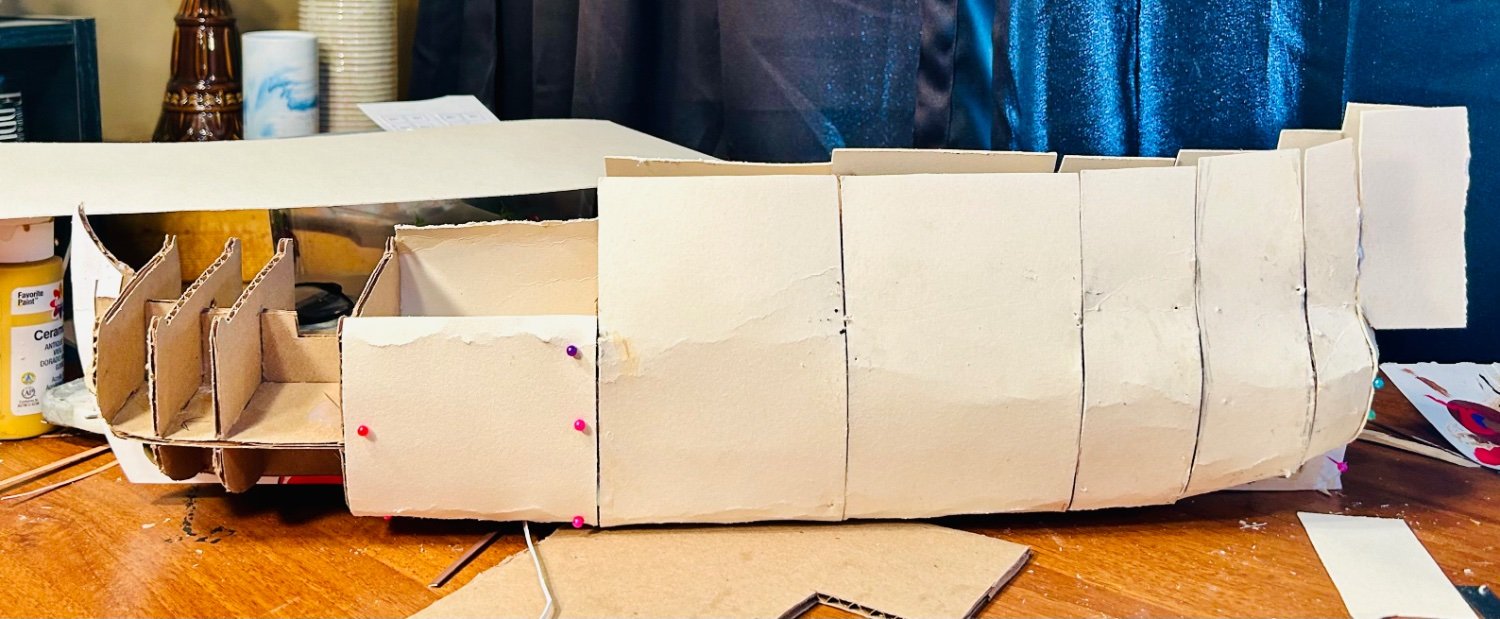
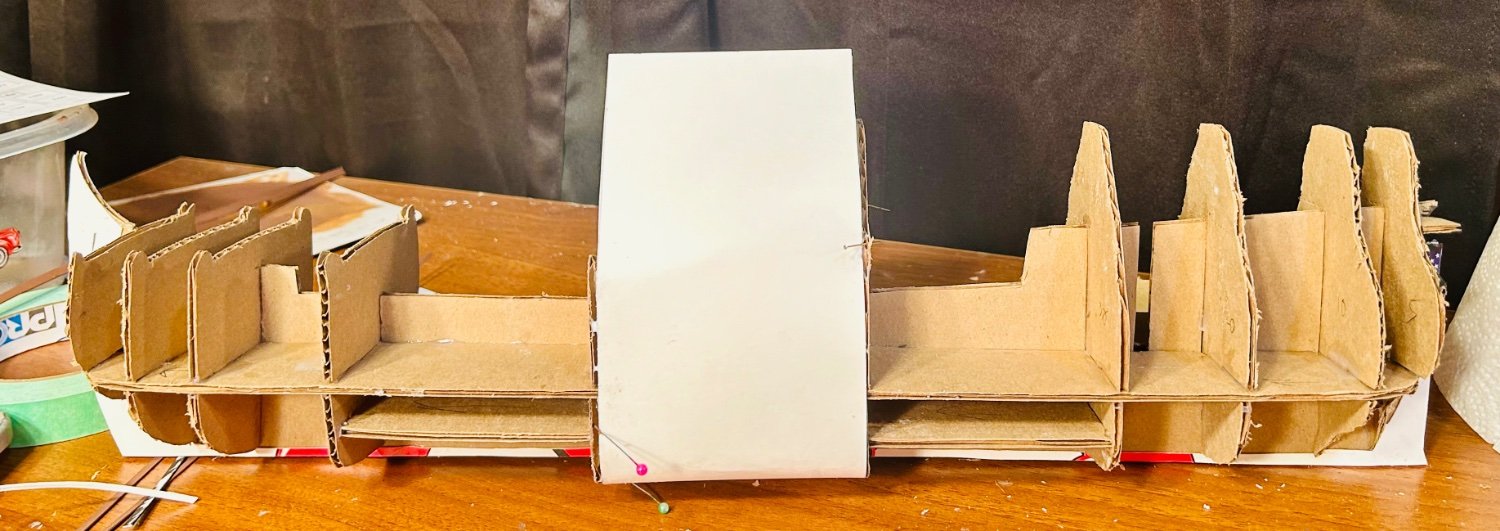
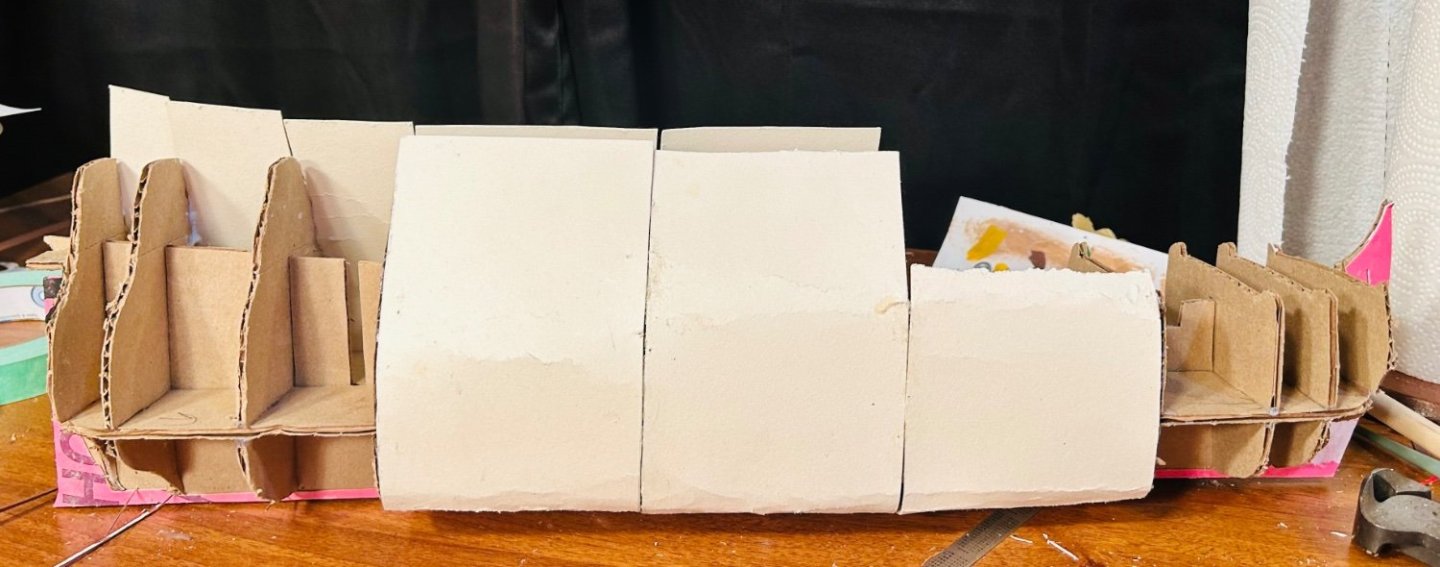
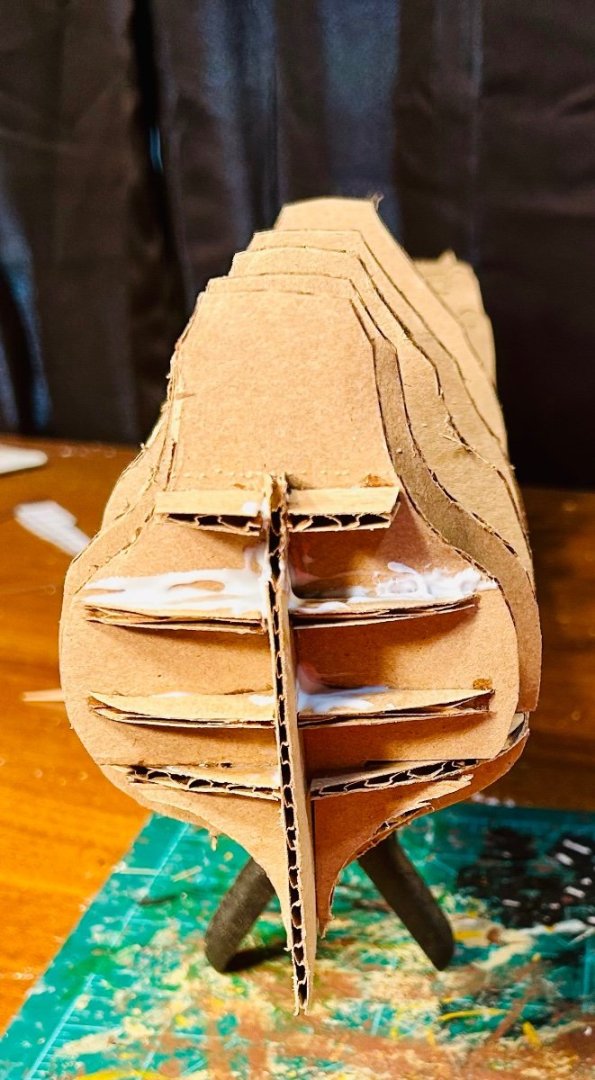
The back 3/4 of the ship is covered: To include the stern: I need to cut out and attach a bracing piece for the bowsprit up forward before I can cover the bow area. As soon as the sternmost pieces dry, I am going to fit in and glue the transom in place to provide support.

-
Hello from Seattle - looking to buy a built ship
GrandpaPhil replied to wyapa's topic in New member Introductions
Welcome! I do not usually sell my models so this is not for me but for those who may be interested in selling off a piece of their collection. What sort of ship are you looking for and how large of a model? Also, Bluejacket Shipcrafters, operated by @MrBlueJacket on this forum, will sell their models prebuilt. -
Making progress! The first covering is looking pretty rough, but then again, most of my models at this stage are not usually particularly pretty. The cat ship has some sharp compound curves in the design which complicates things a bit. Once I get the hull covered and sanded, this ship will look a lot better. As a quick note, I’m starting to realize exactly how big this model is going to be, so I need to start planning on a place to put it when it is done.

-
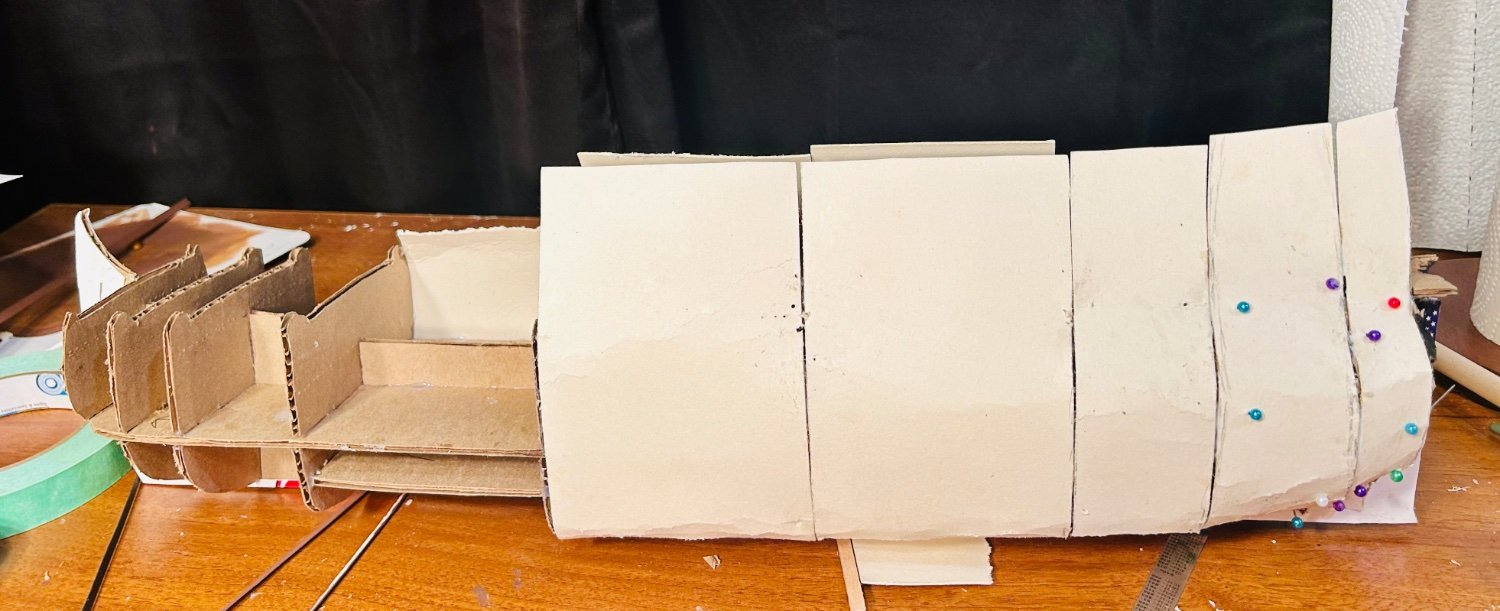
I got my pulp board and covering resumed/started over: There’s going to be a LOT of filling and sanding to fix the starving cow look.

-
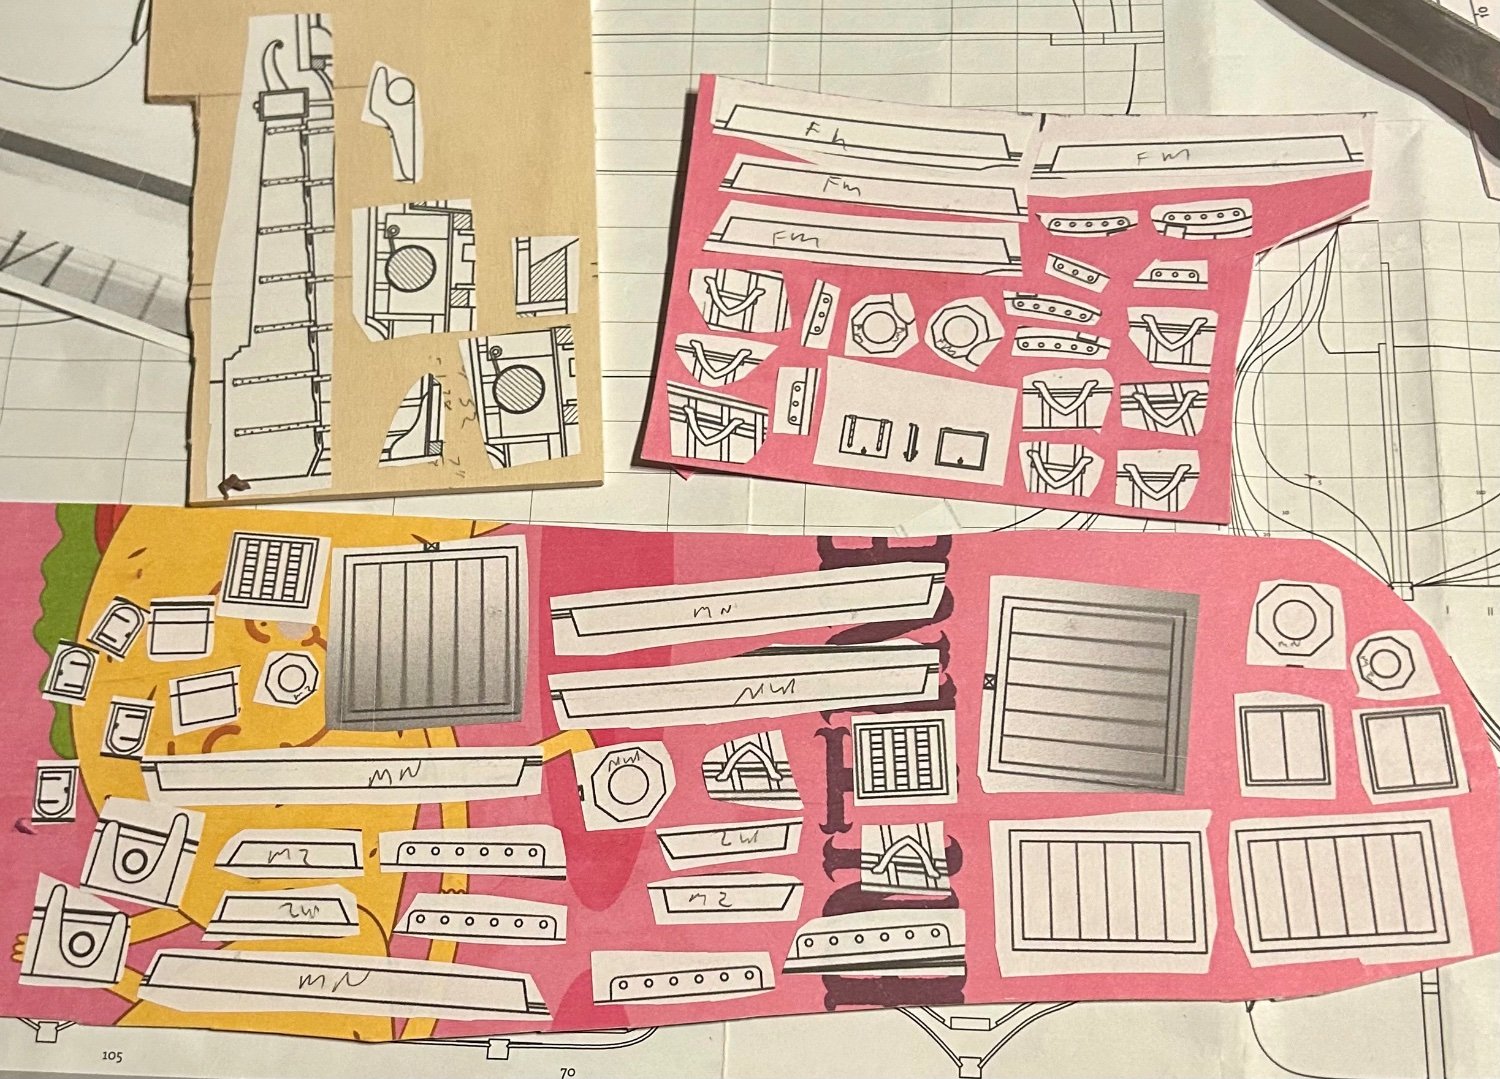
I have pulp board coming tomorrow, so I ripped off the initial hull covering and decided to focus on prepping fittings. Here are most of them, with the notable exception of bitts, belaying pins and the windlass: The rest will be made of strip wood. Most of the above will be two layers thick. I’ll cover the hull when I get my pulp board.

-
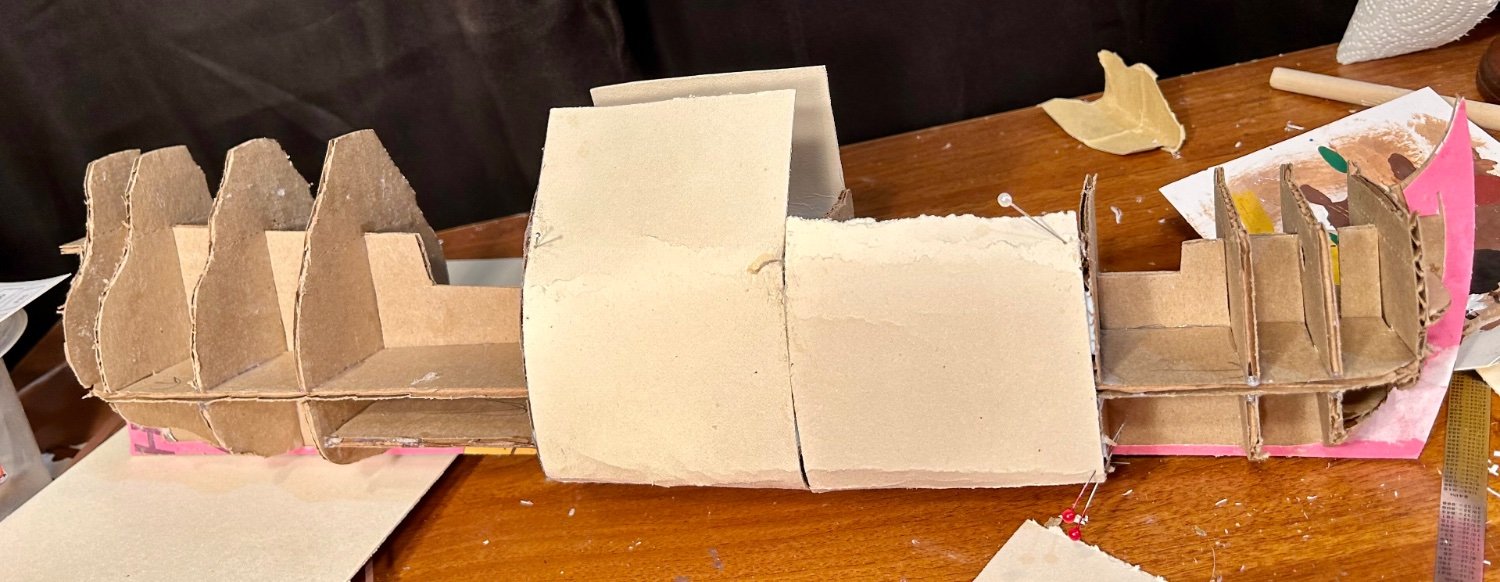
And so the inner covering begins:
-
Lol! The pictures make everything look slightly crooked even to me! I had to double check the model after taking them! The hull is now faired and the rabbet pieces are on: Esther is ready for planking now!
-
Incredible work! This is one of the best builds that I’ve ever seen! Well done!
-
Phil, I do the exact same thing! Yard sales are gold mines for hobby supplies too!
-
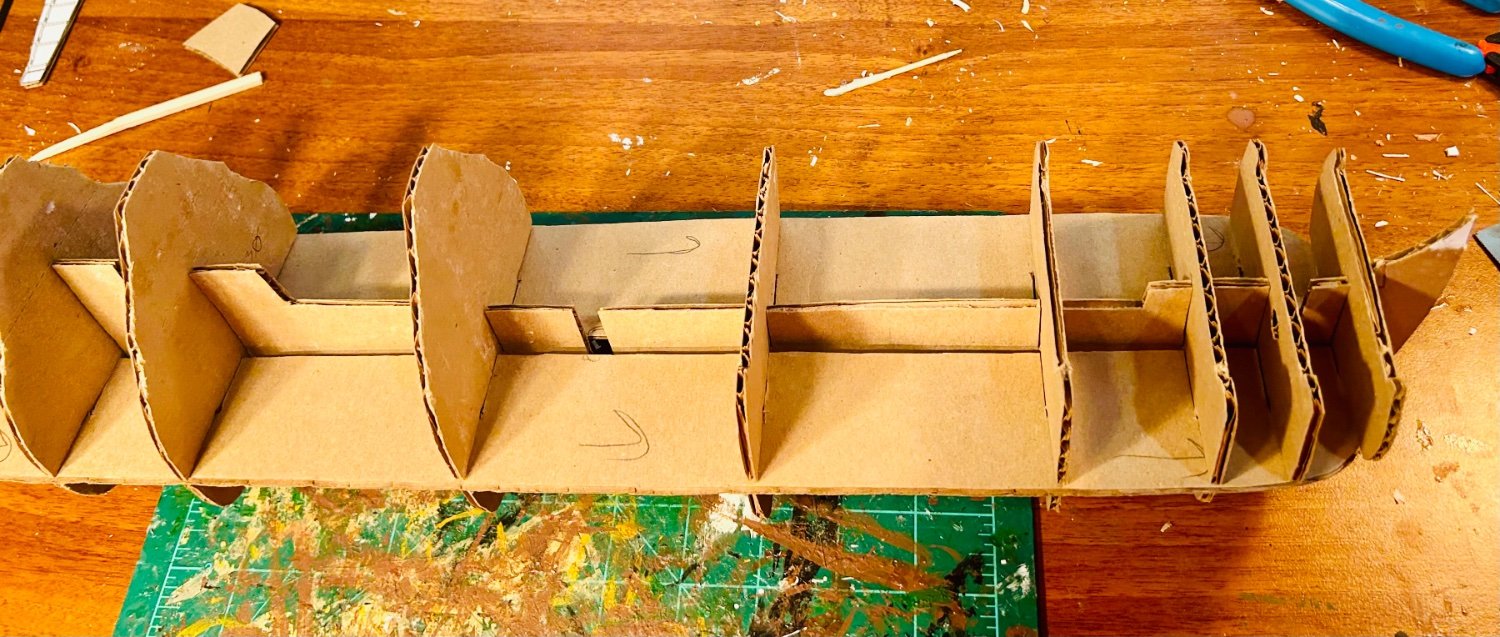
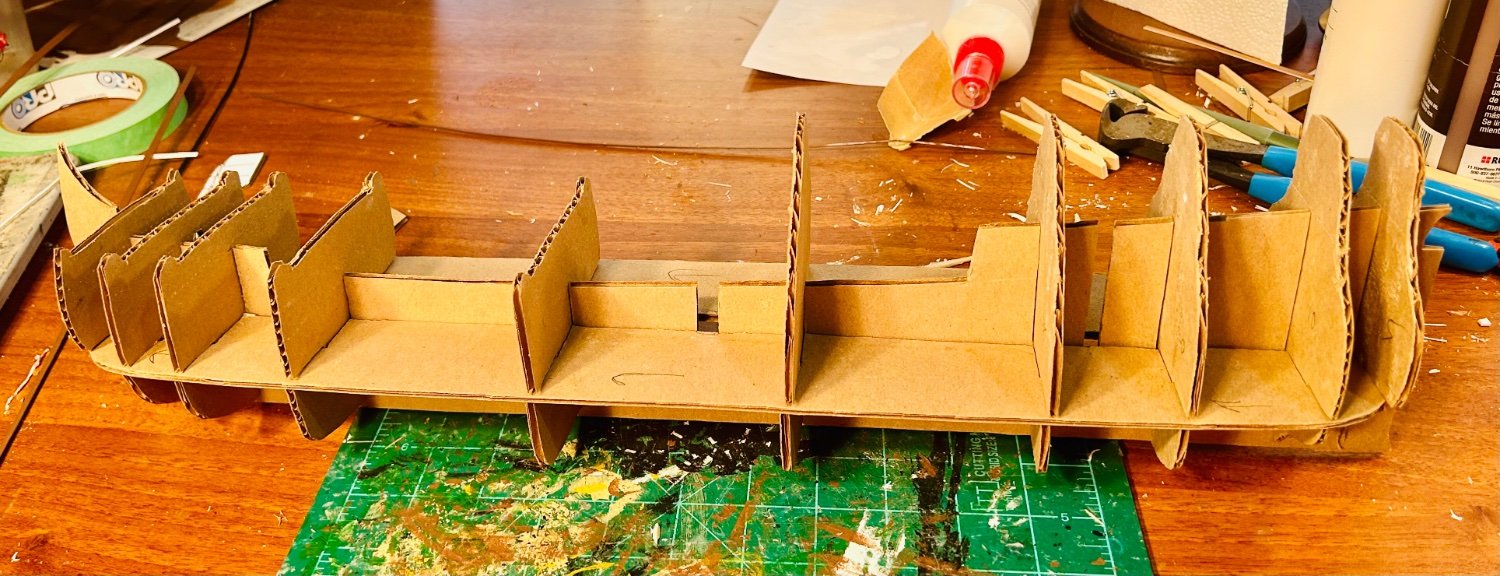
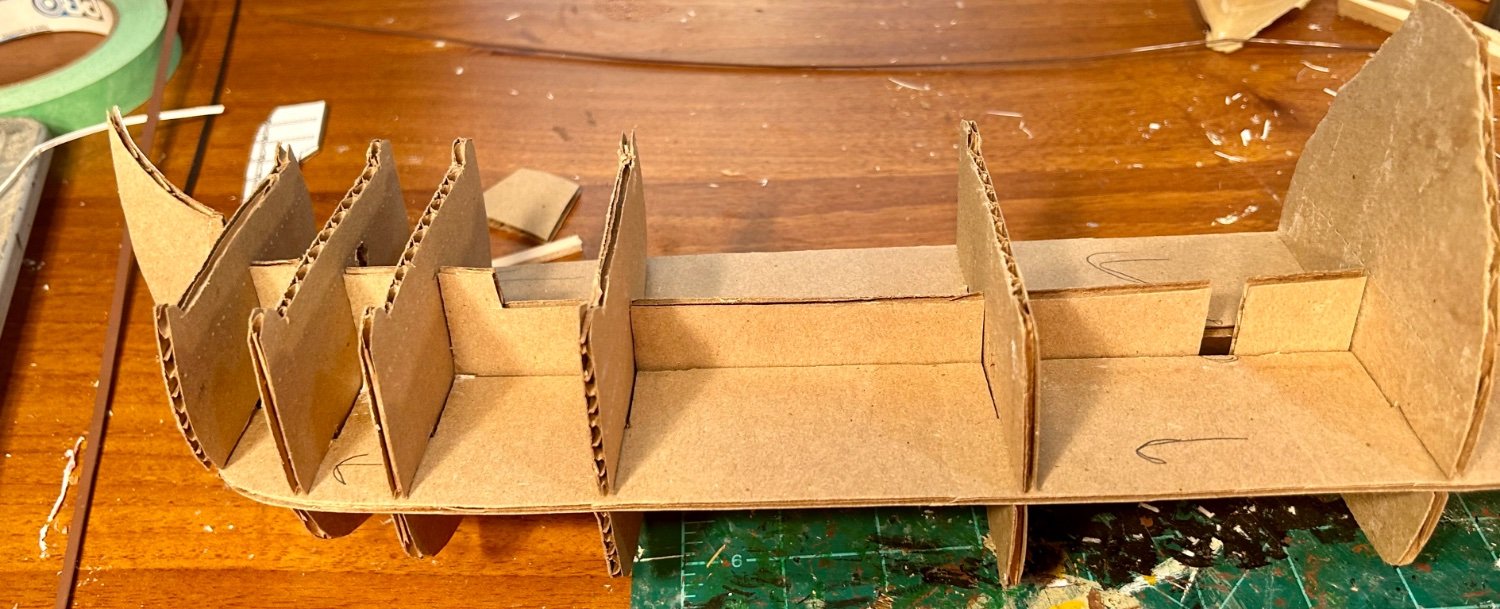
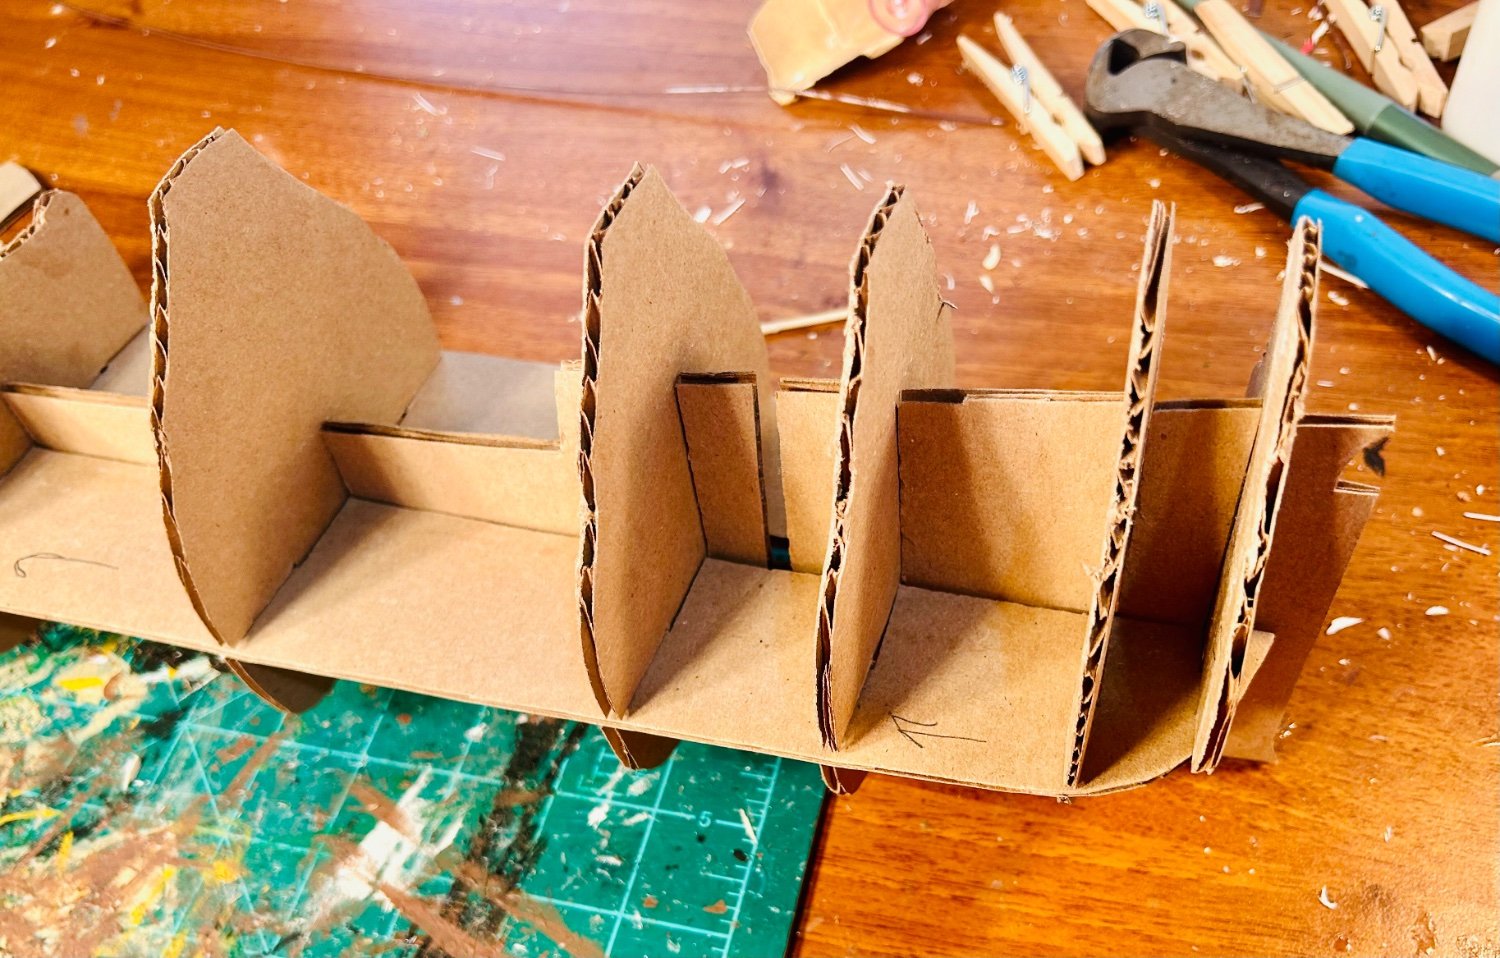
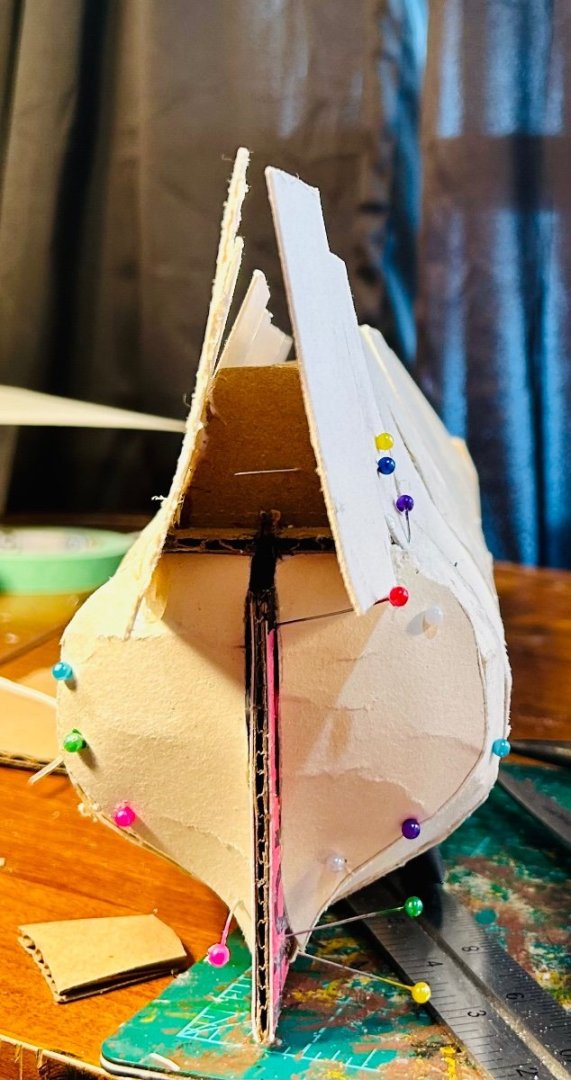
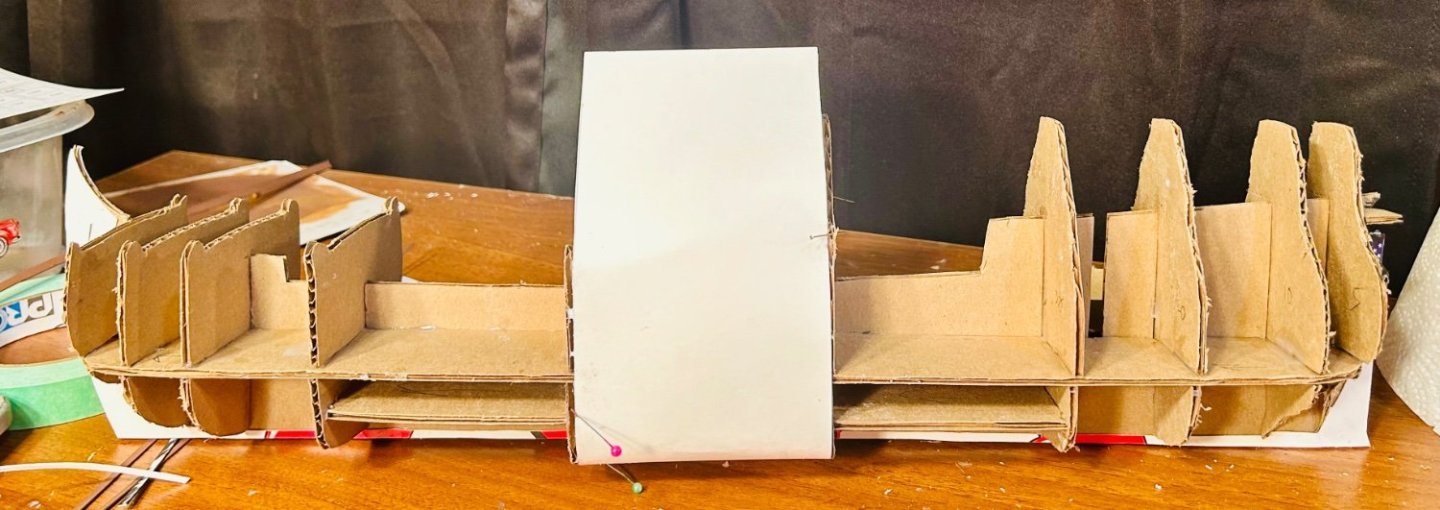
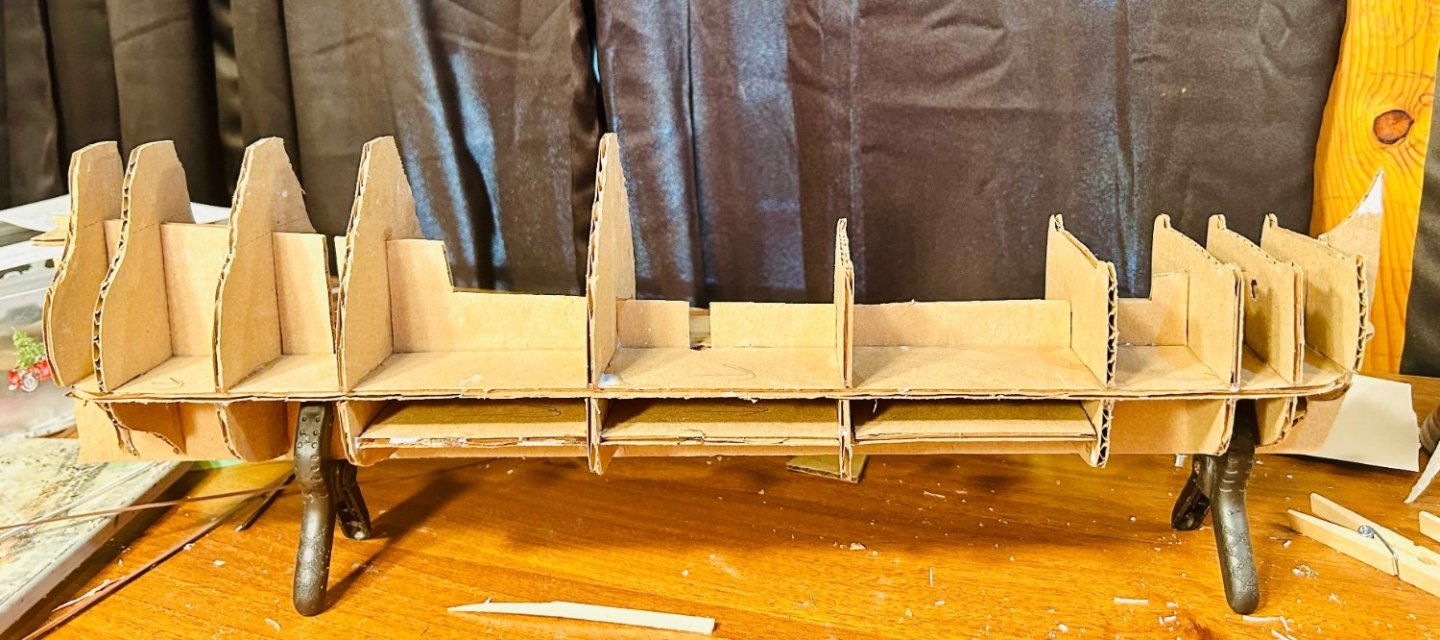
Ab, Thank you very much! I have used corrugated cardboard twice, once for my model of the Hannah and once with my model of the Solferino. It works well for framing, but it’s the cardboard equivalent of plywood for me. There will not be any corrugated cardboard visible once I get the outside covering on the model. I added reinforcing pieces to the middle sections: I added formers to both the bow and stern to facilitate fairing the hull and shaping the end planking: Everything is a lot more square than it appears in the pictures.

-
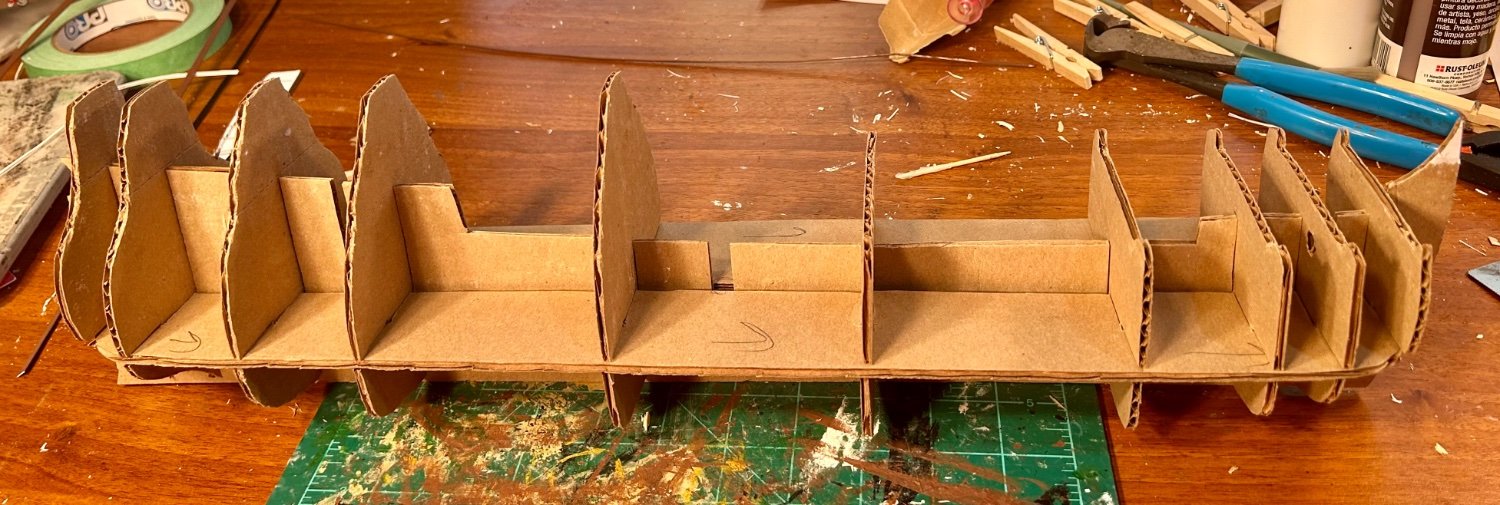
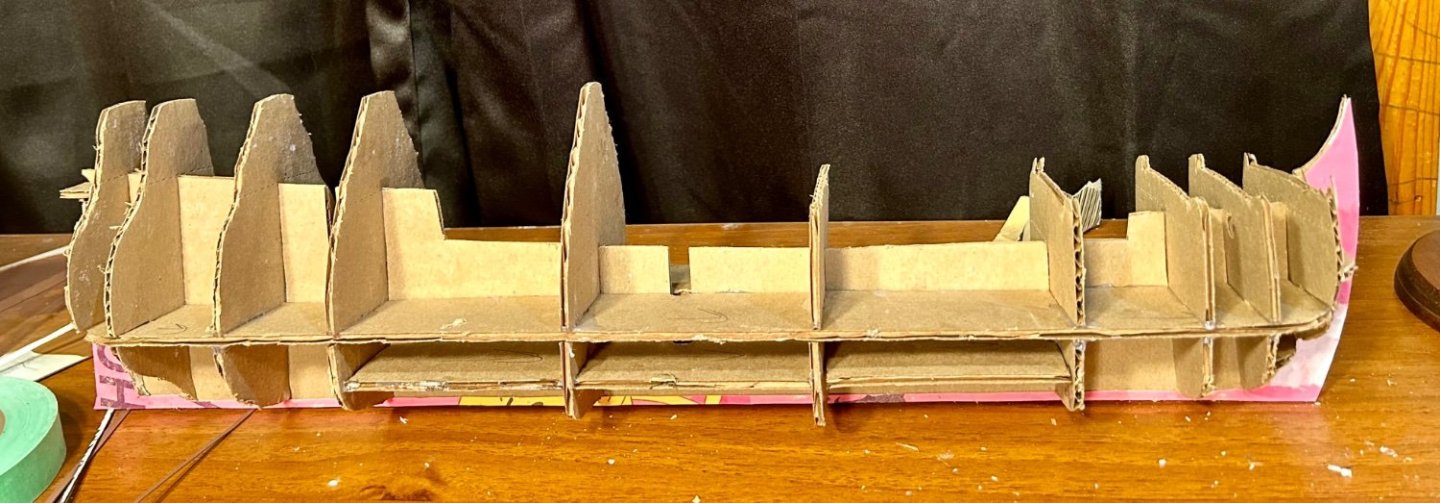
Patrick, Thank you very much! There’s not really too much to this one. The most difficult part is going to be the really bluff bow and stern. I’m basically trying to emulate Seahorse’s design with the side braces. I’m going to add additional pieces to the bow and stern to help the “planking” take shape. This one will have the vertical covering like my Prince de Neufchatel and Hannah, with the second layer being contact paper. The bulkheads are cut out and test fitted: The dry fit went well. For the most part everything is square. There are a couple of spots that need adjusting, but overall everything looks pretty good. I’ll adjust those and then plan on gluing. Next up will be keel and stem/stern post pieces to act as a rabbet. Along the way, I’ll make the former pieces for the bow and stern. The main covering will be hought-board.


- 98 replies
-
- 12
-

-
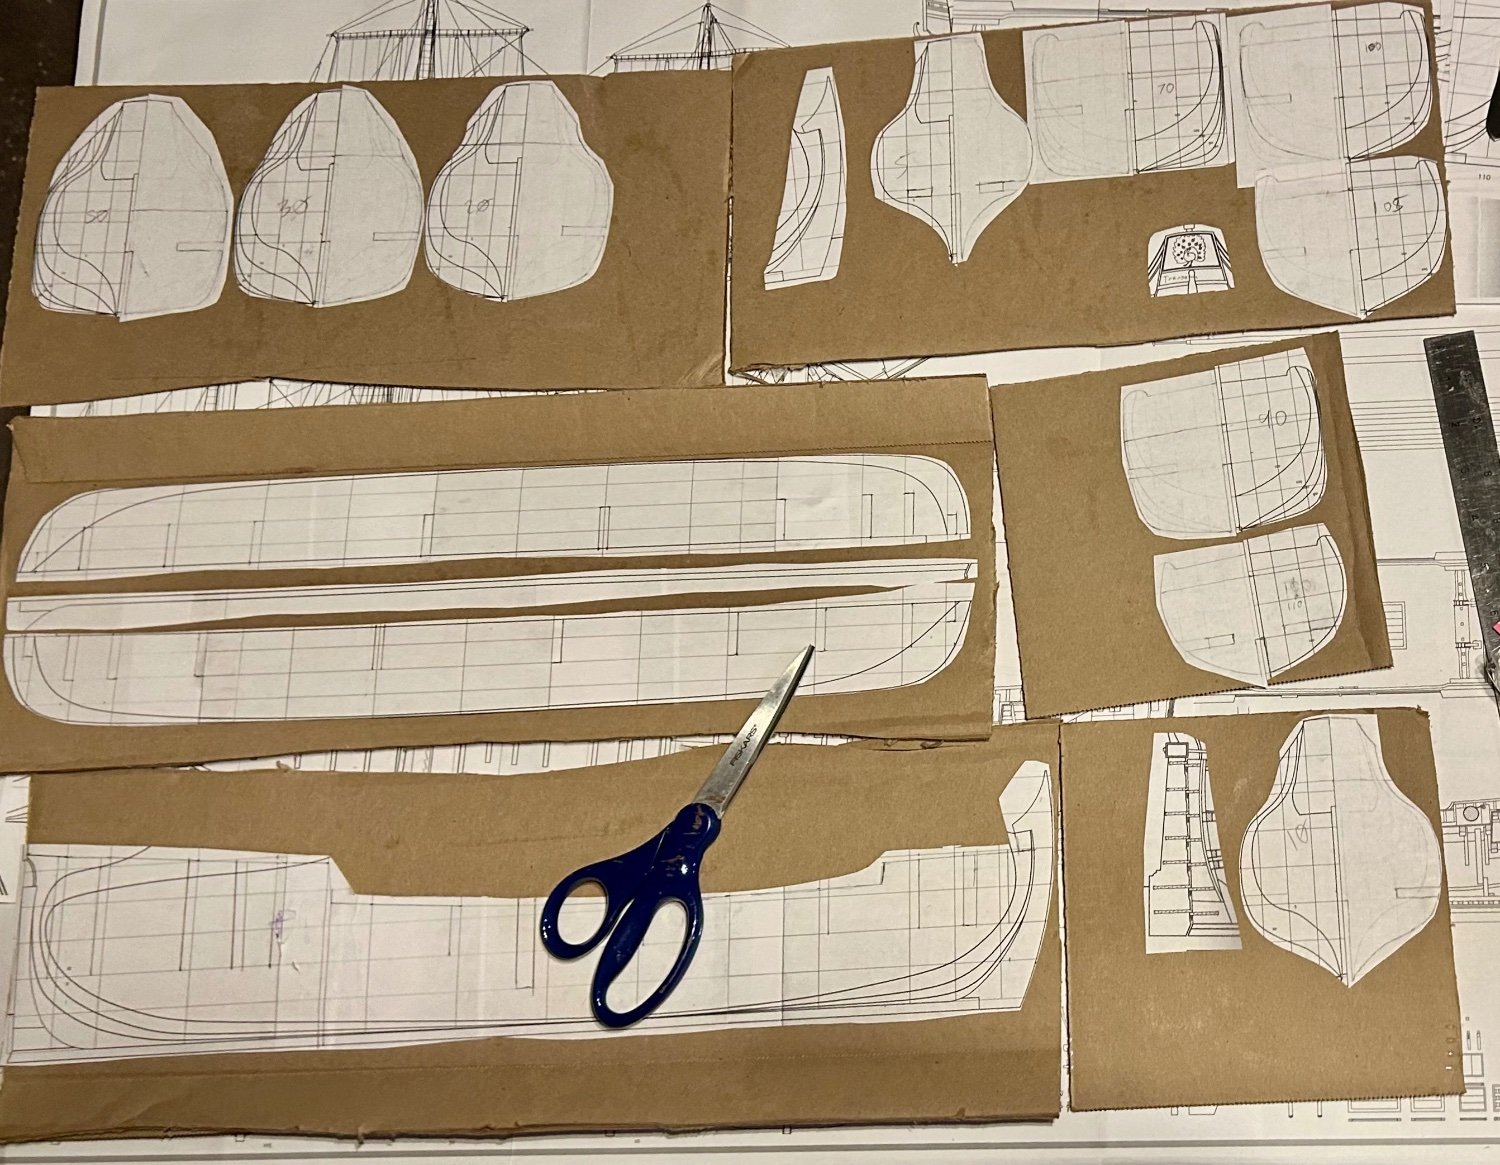
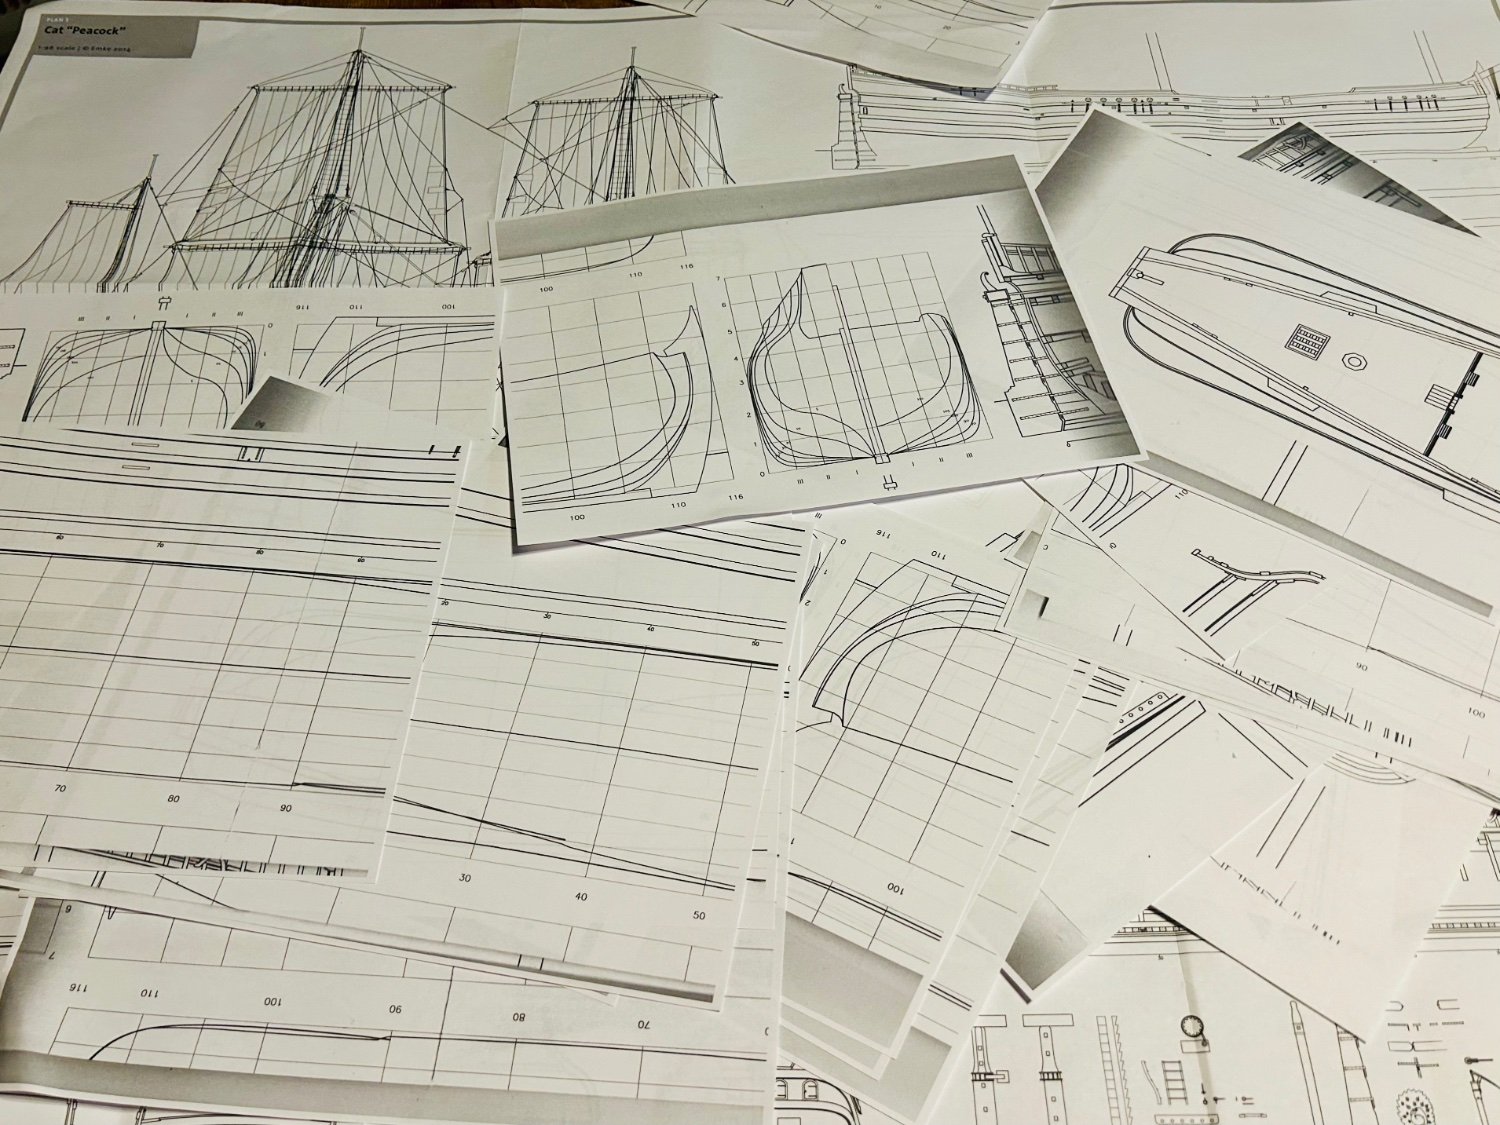
I saw something on this forum that gave me an idea on model construction that I would like to try out really quick. I am using a ship from Ab Hoving’s 17th Dutch Century Merchant Ships to try it out on. I’ll be back to the Revenge shortly.
-
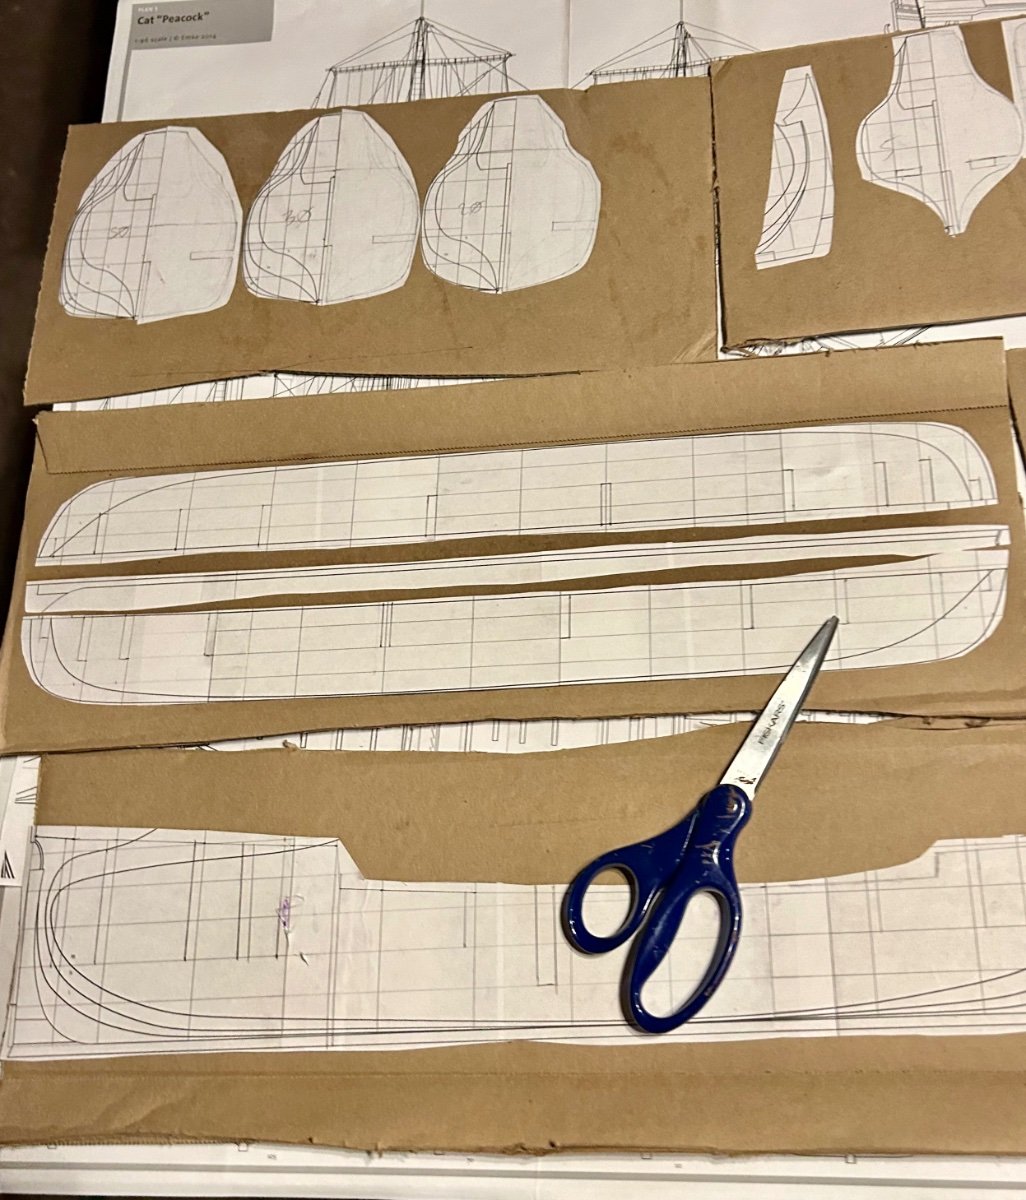
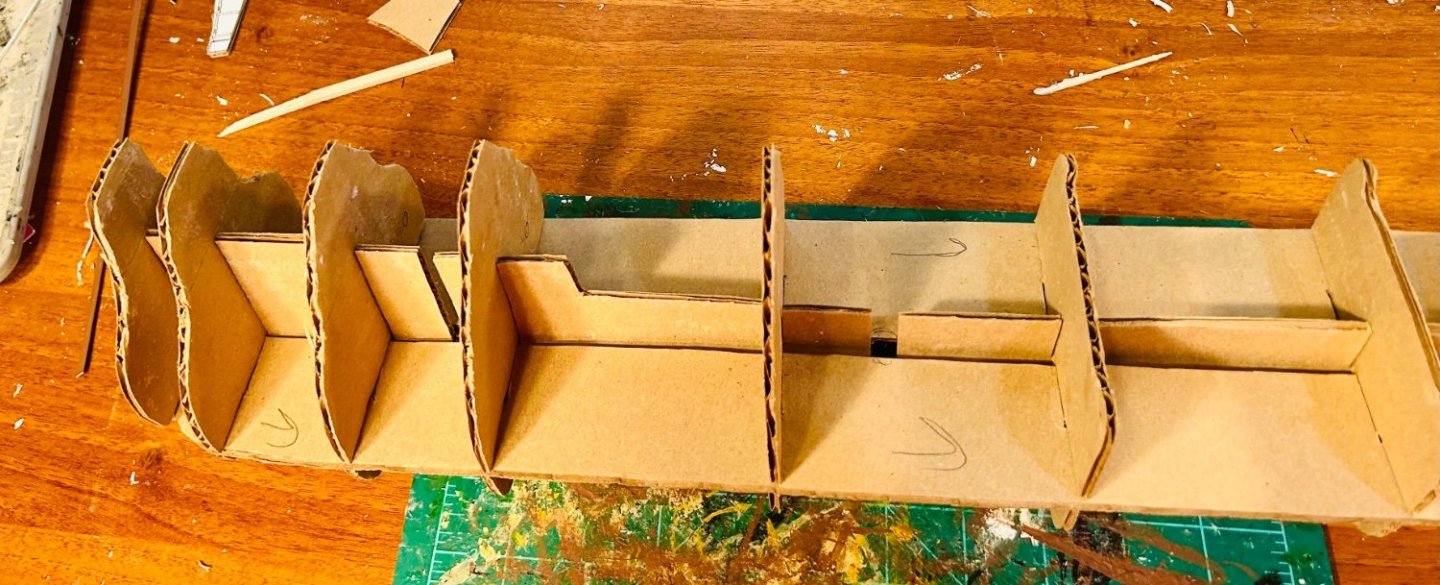
My Admiral had me order myself Ab Hoving’s book “17th Century Dutch Merchant Ships” for Christmas this year, as part of wish list. It comes with plans for 10 different types of ships. The cat stuck out to me when I first read the book. Cats were a type of wooden trade ship that plied the Baltic Sea. They had very shallow draft and would never win a beauty contest. They kind of remind me of a 17th Century version of a Mack truck. I have taken the initial steps and scaled everything up to 1/64 scale from 1/96th scale. That random looking pile of paper will soon be the framework of a hull. I’m using a giant cardboard box that I got from something we bought as my starter material. It is corrugated, which is a nuisance to cut, but it works quite well.

-
Welcome!
-
Welcome! Which kit of the Enterprise?
-
Welcome!
-
Thank you very much!
-
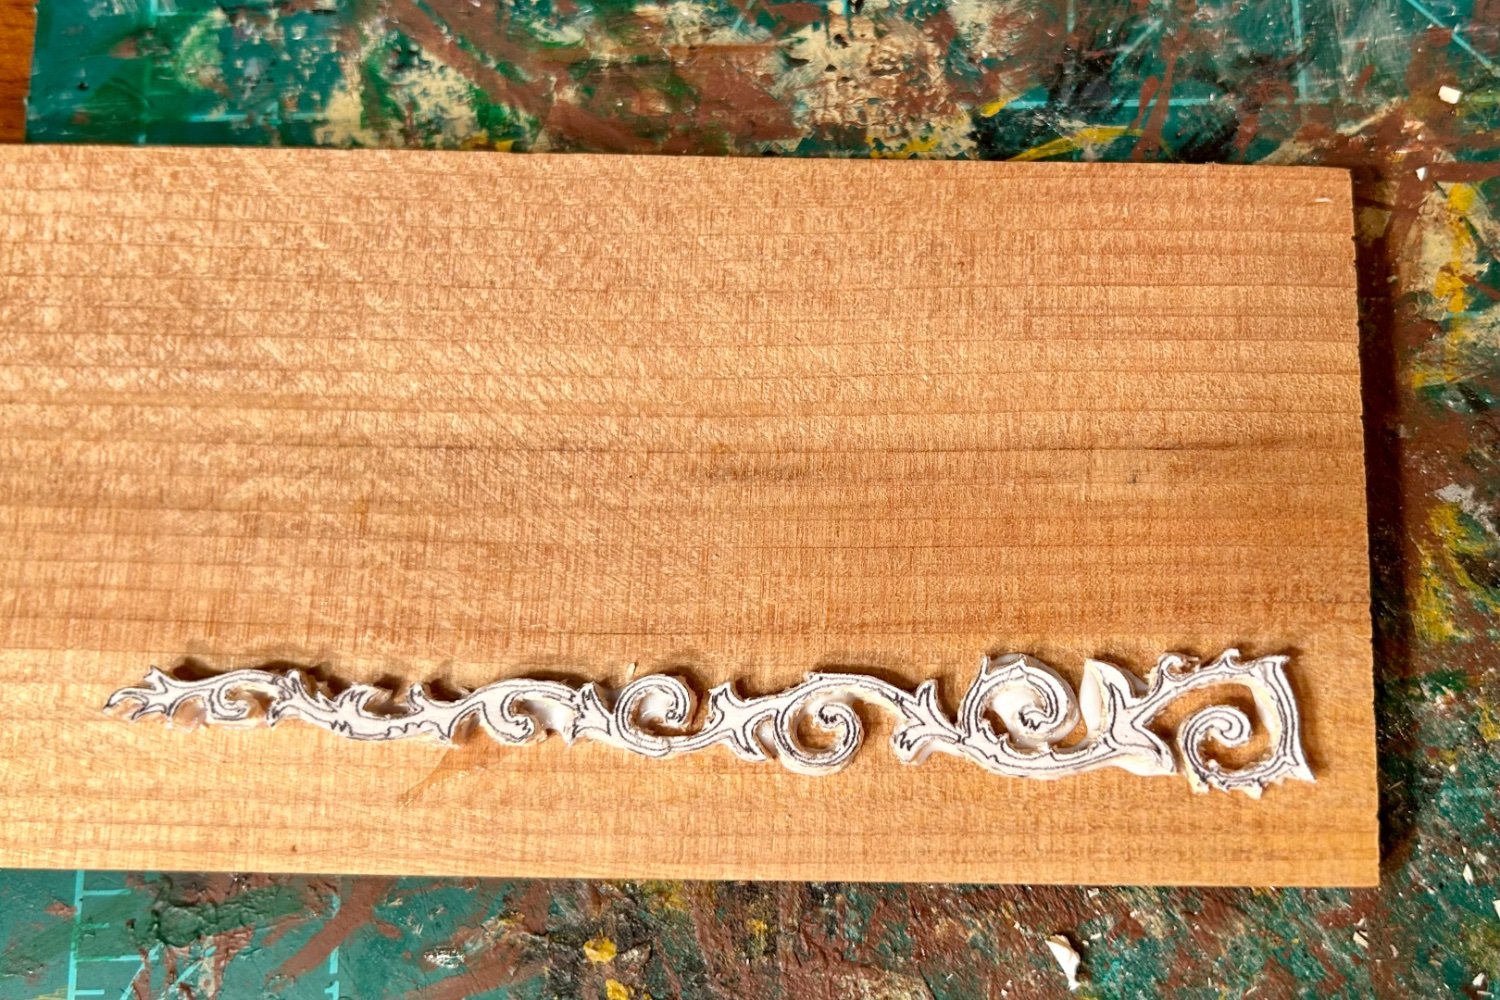
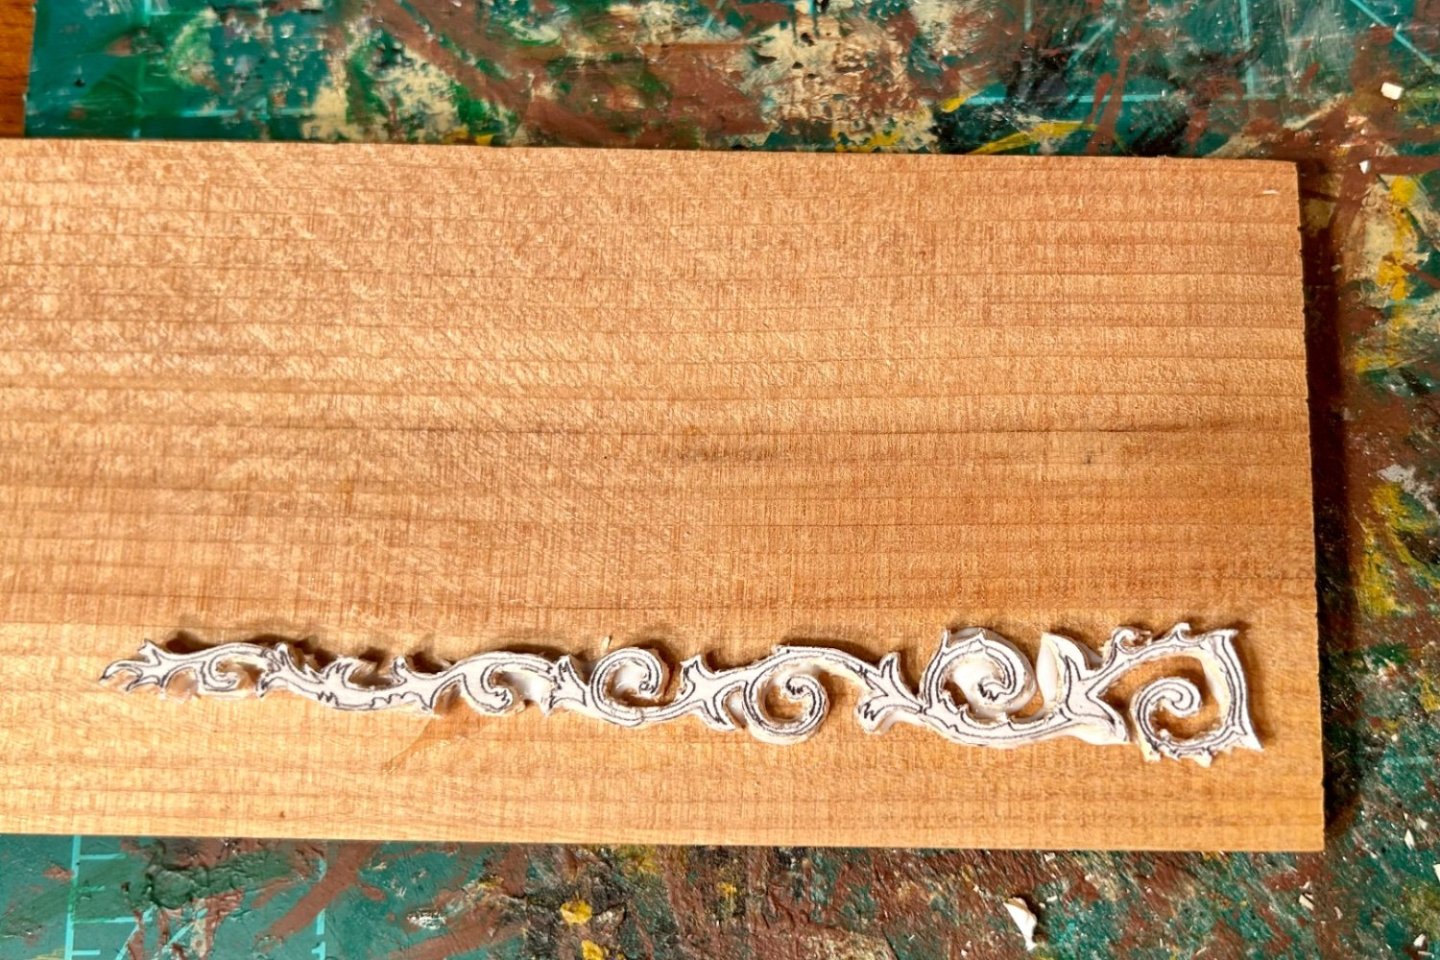
Here is the head grating on the model: With a side on shot of the model: The first scrollwork piece is cut out and glued to a carving board for final carving: It took six hours of very minute and precise cutting/carving to cut that out. It will be well worth the extra effort when it is finished and installed!


-
Richard, Very nicely done!
-
Alan, Excellent work!