HOLIDAY DONATION DRIVE - SUPPORT MSW - DO YOUR PART TO KEEP THIS GREAT FORUM GOING! (Only 72 donations so far out of 49,000 members - Can we at least get 100? C'mon guys!)
×


GrandpaPhil
-
Posts
6,112 -
Joined
-
Last visited
Content Type
Profiles
Forums
Gallery
Events
Everything posted by GrandpaPhil
-
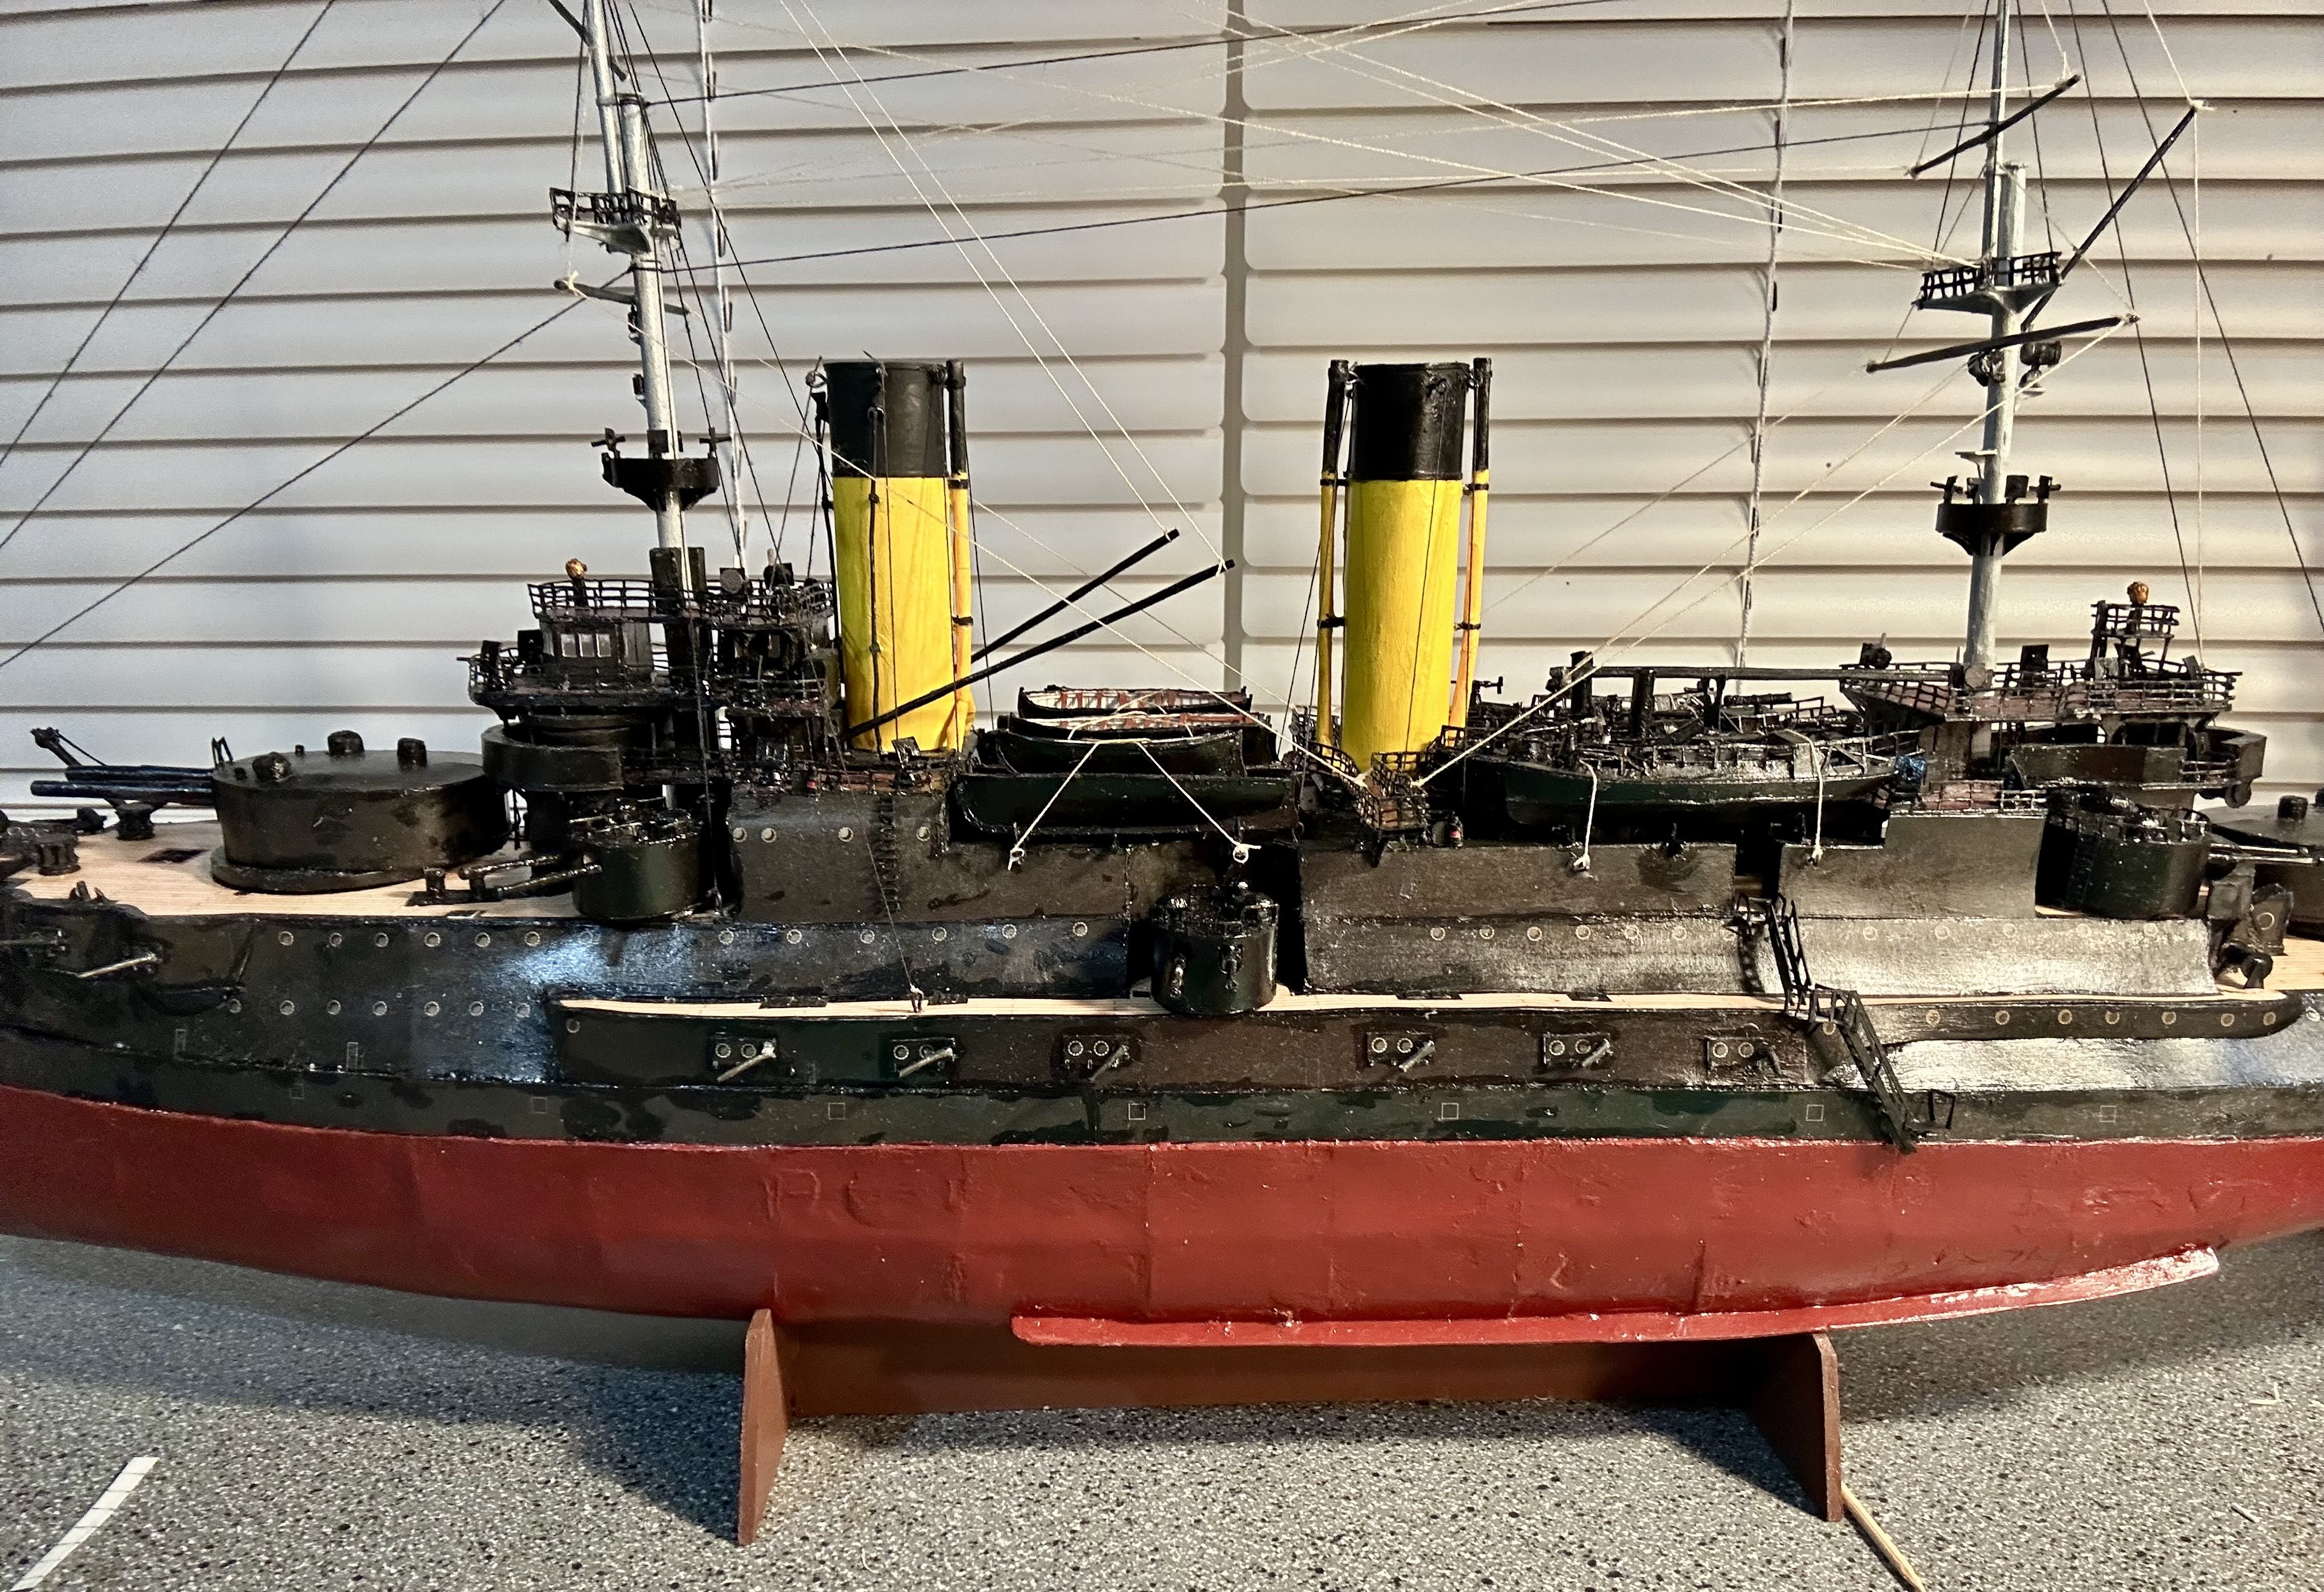
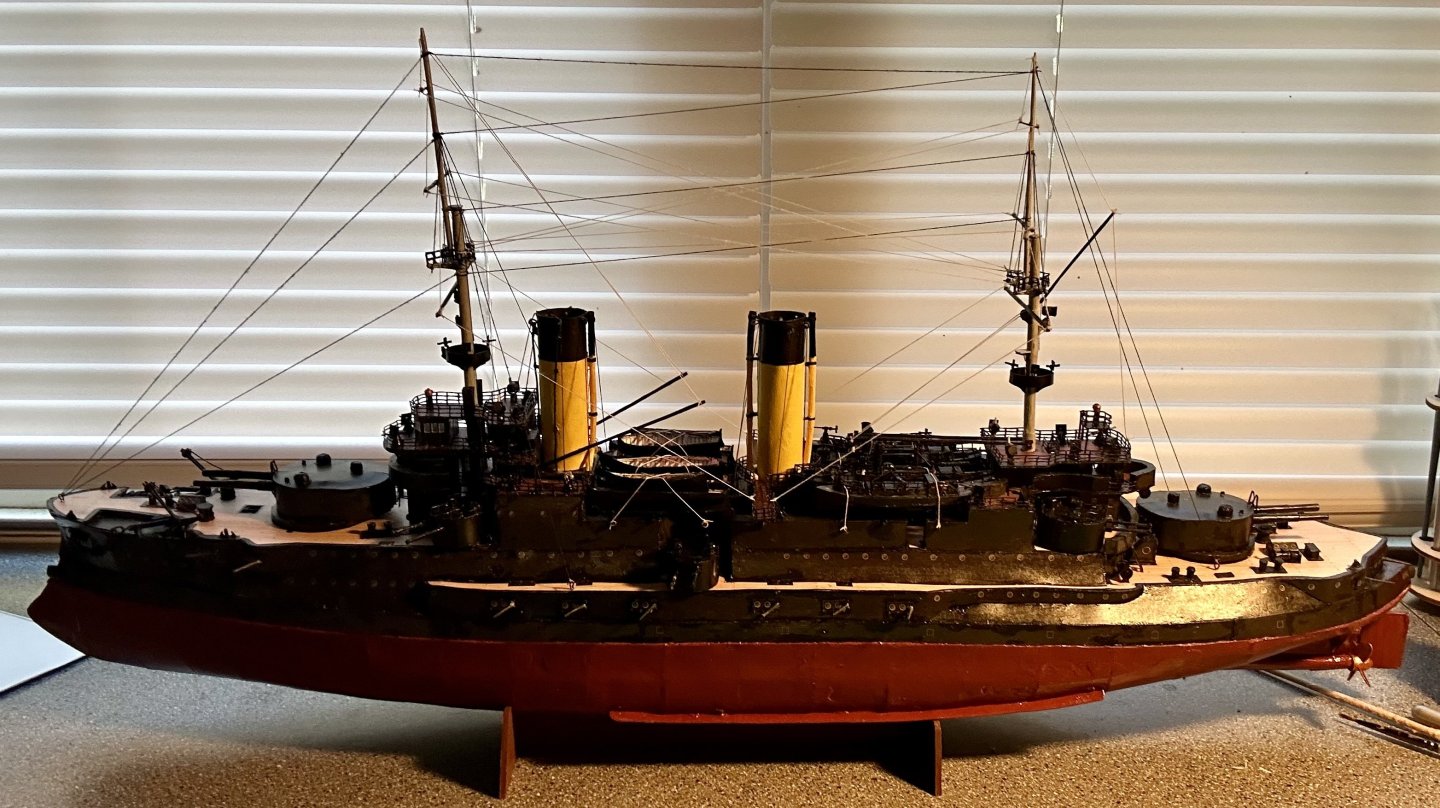
Alan, Thank you very much! Jolle, Thank you very much! The main deck railings are made and installed: They still need painted. The last railing on this model is the decorative railing on the Admiral’s Walk.


- 288 replies
-
- 10
-

-

-
- Card
- Pre-Dreadnought
- (and 3 more)
-
Sjors, Very nicely done!
-
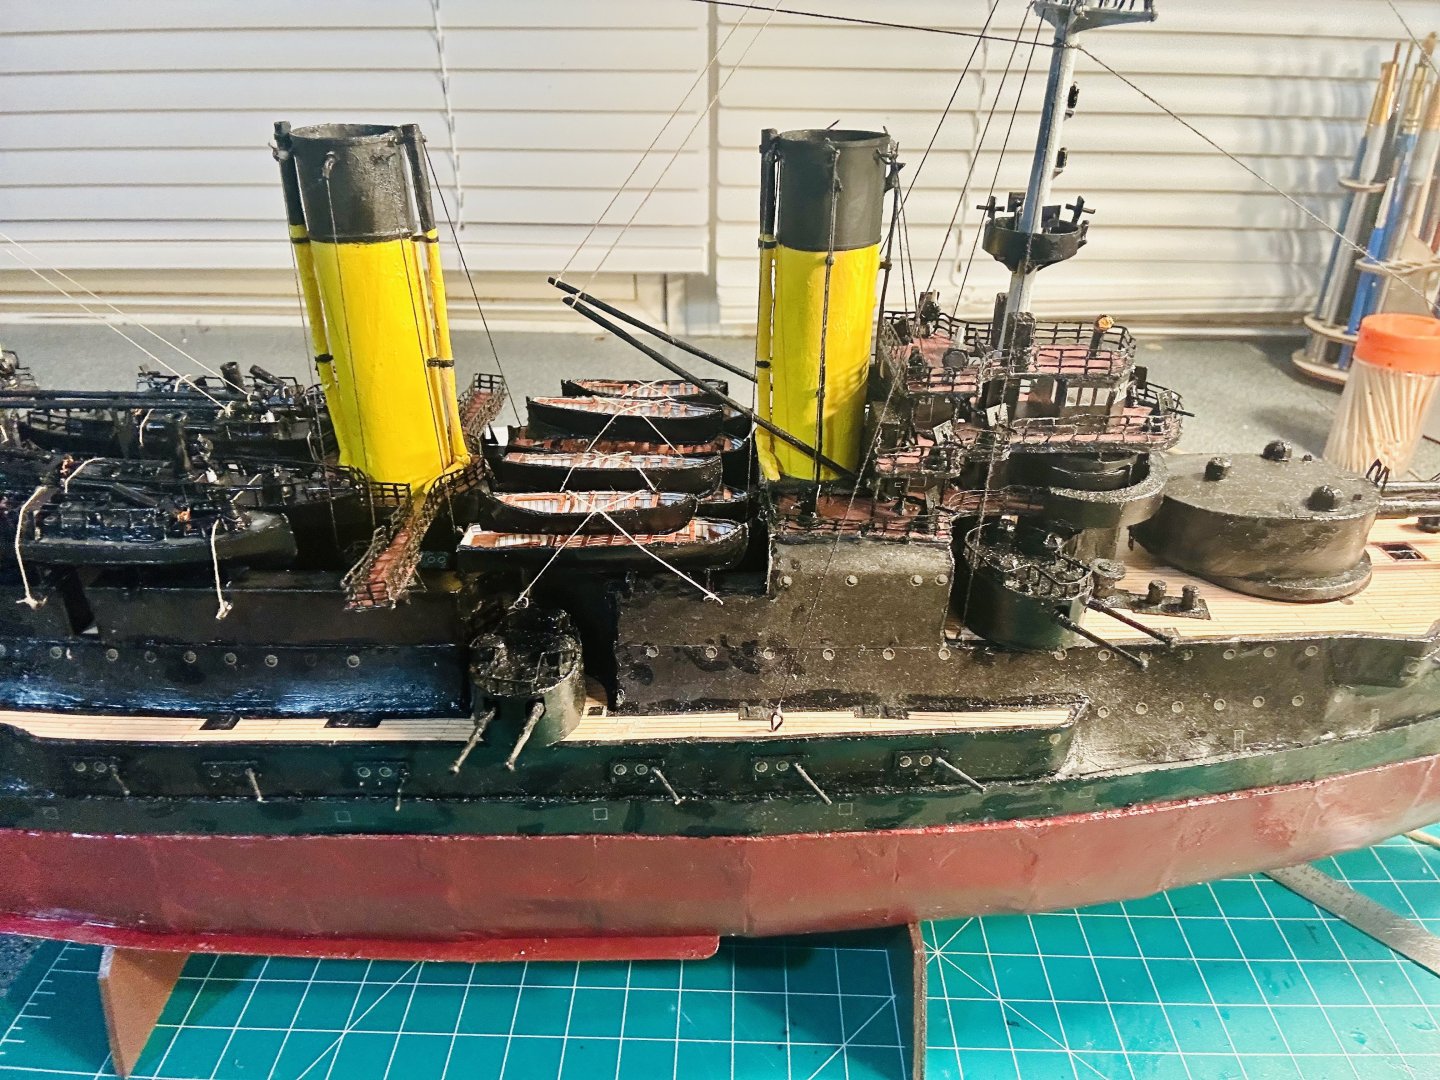
Johnny, Thank you very much! I really enjoy card models and look forward to seeing your Baltimore! I have a few other Orel pre-dreadnoughts and ironclads that I am looking forward to building in my stash. A metal mesh could work, but you would need multiple sizes. Alan, Thank you very much! The railings are just a matter of drawing them out and then cutting them out. It sounds and looks a lot worse than it is. The amidships railings are installed: Time for the aft deck railings!

- 288 replies
-
- 10
-
-
- Card
- Pre-Dreadnought
- (and 3 more)
-
Welcome!
-
Congratulations and very nicely done!
-
Welcome!
-
Very nicely done!
-
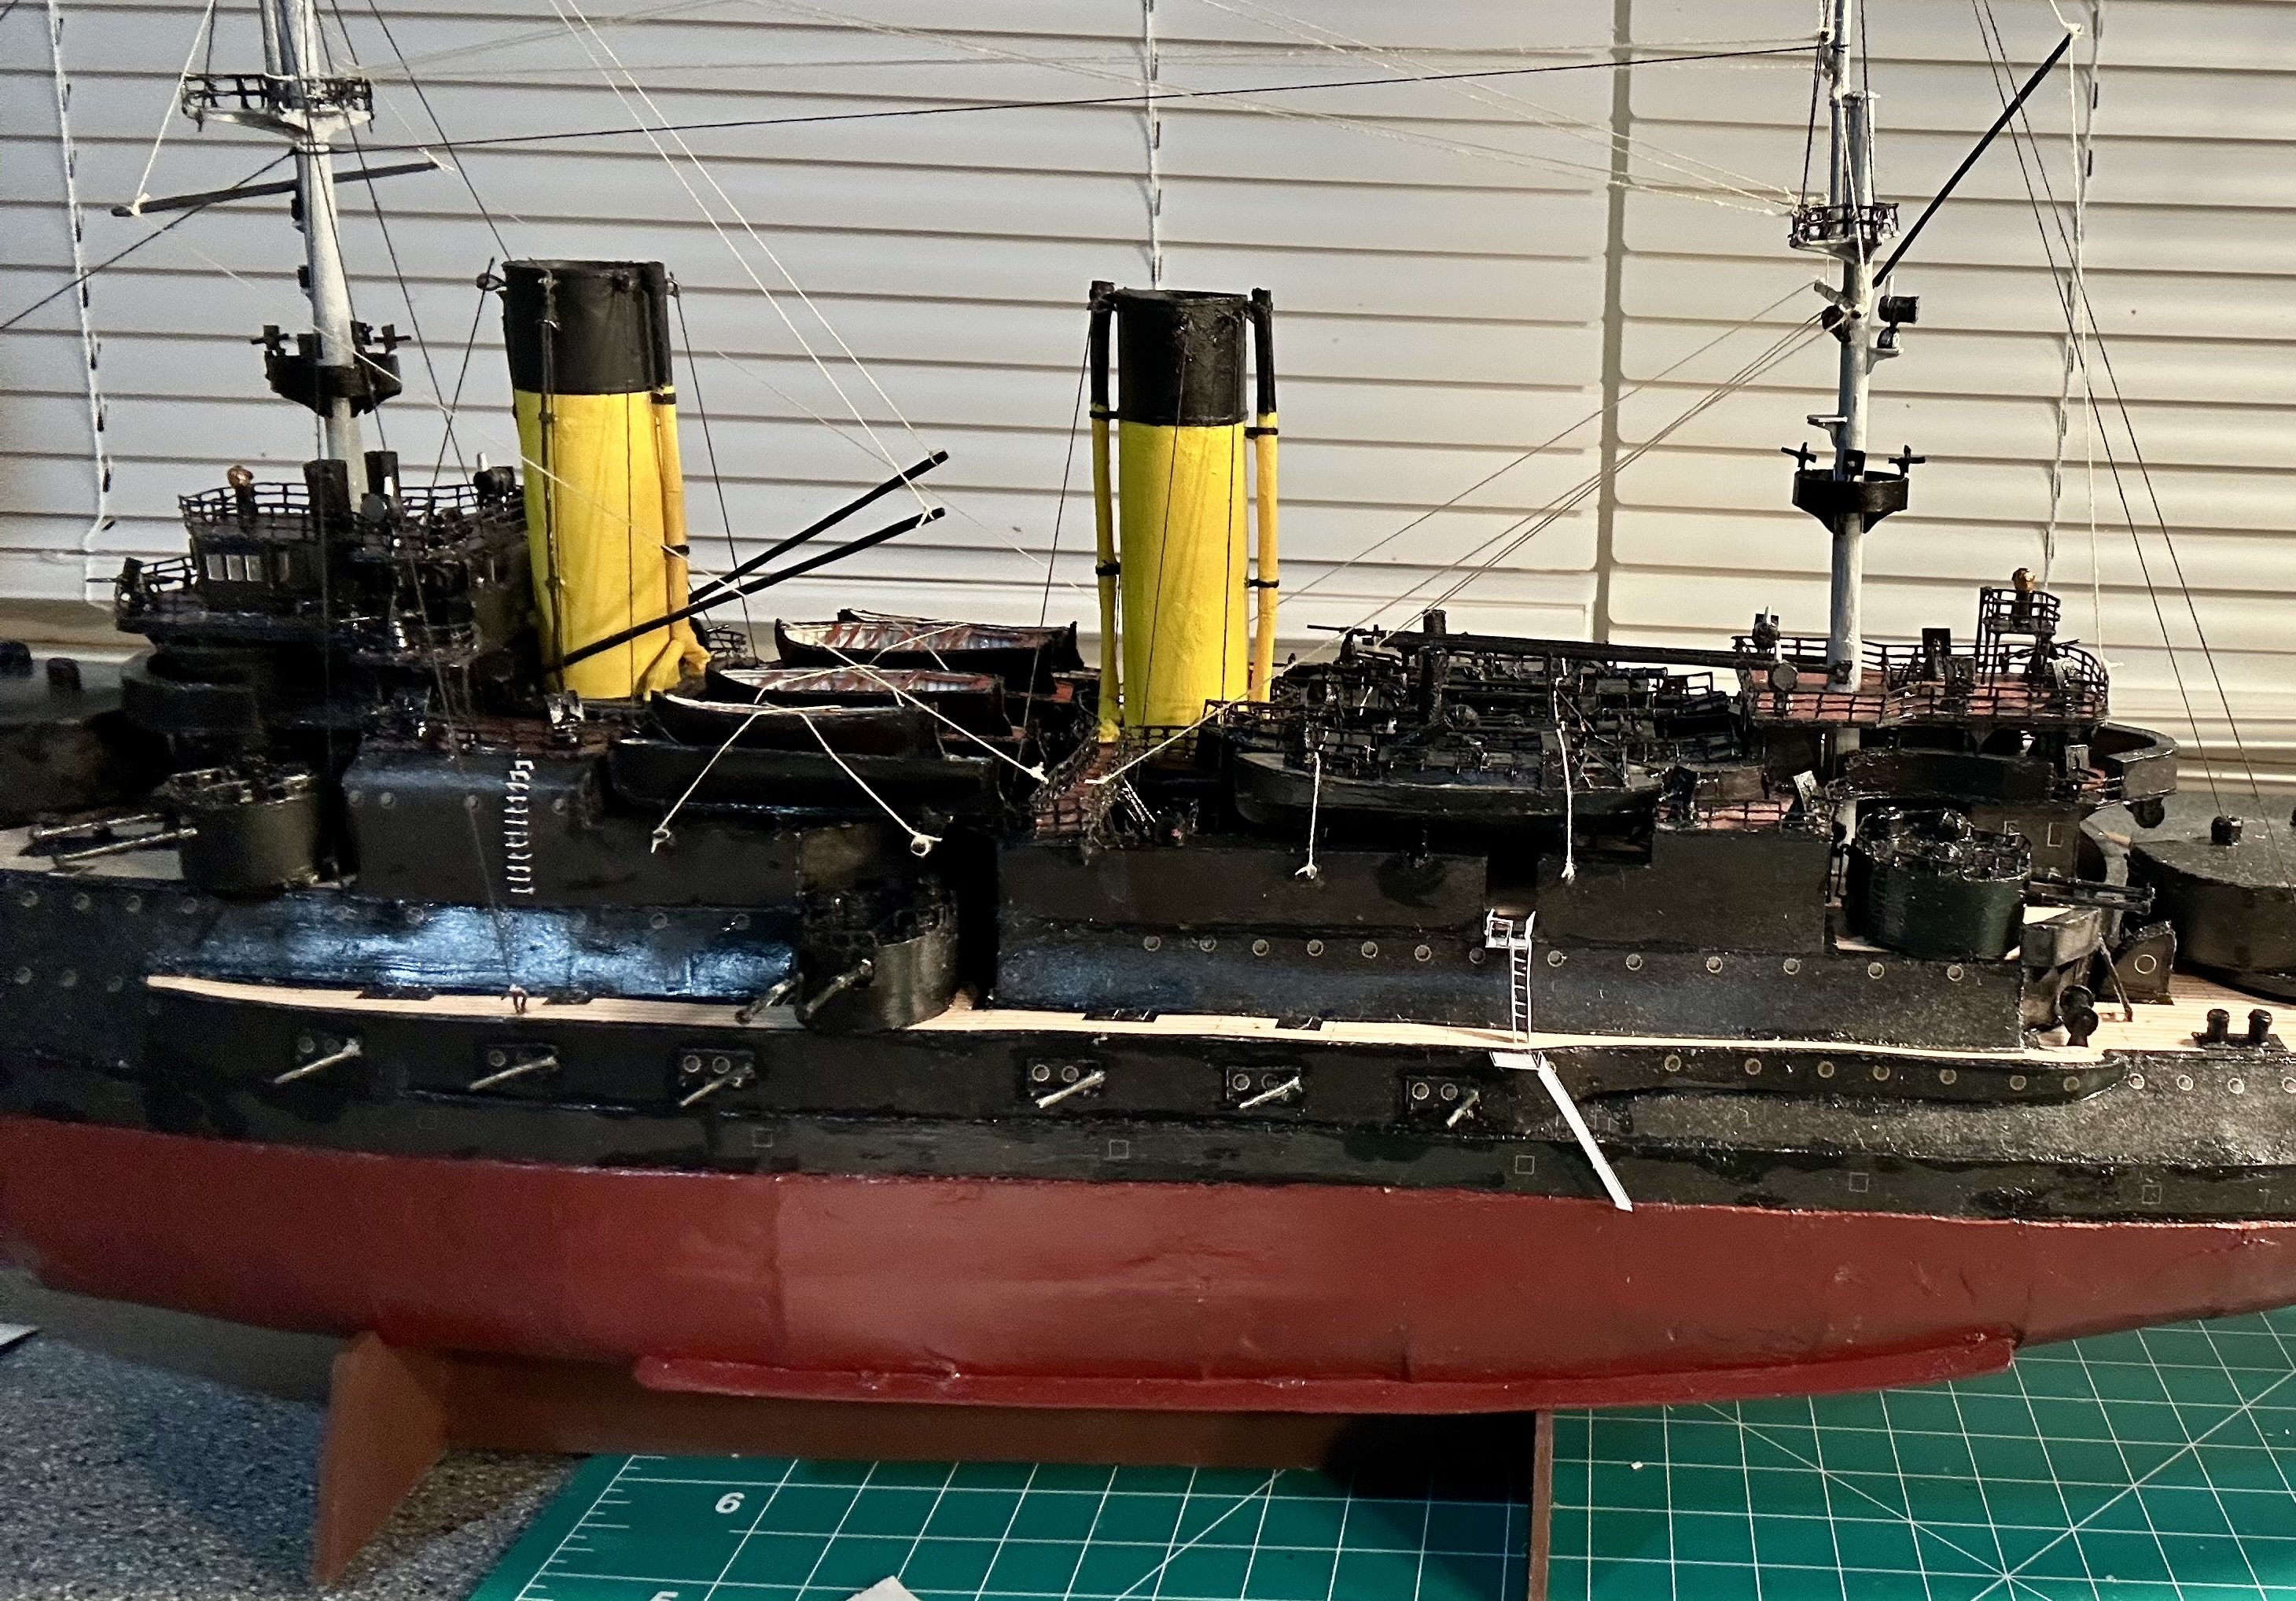
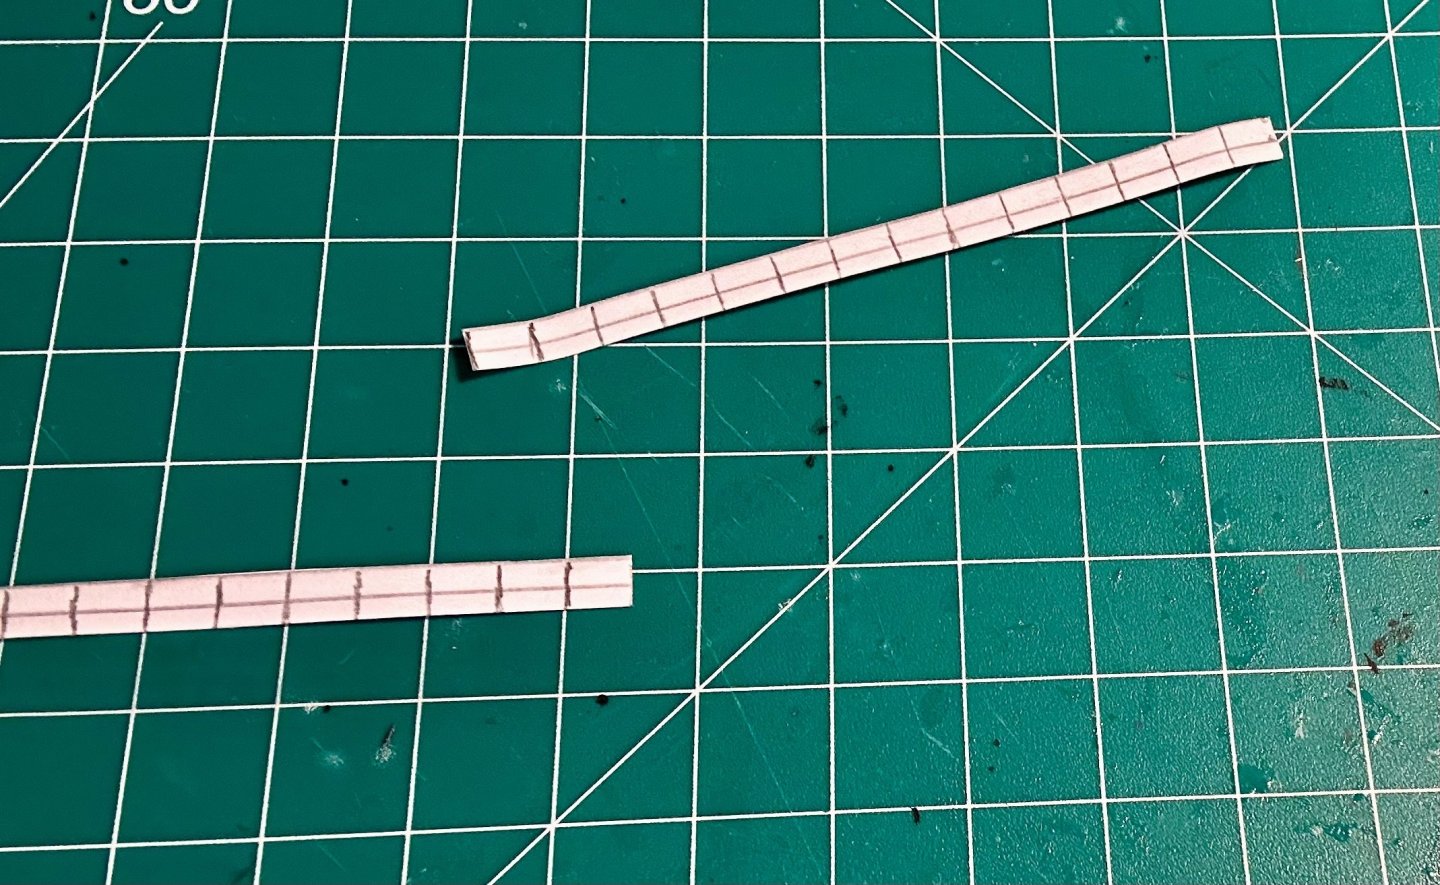
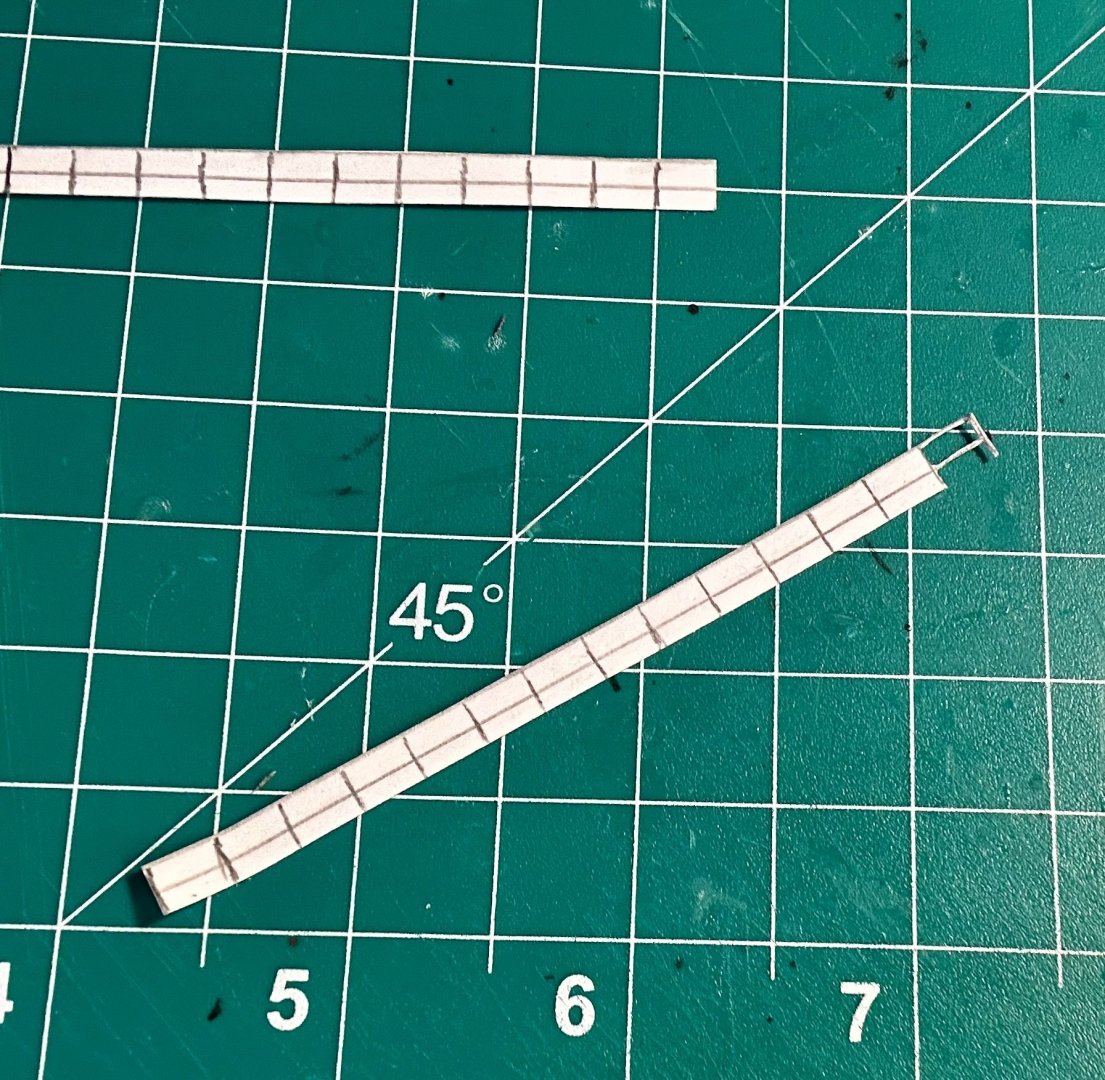
I have the boarding ladders completed: Some parts still need sealed, but the entire superstructure is now completed. I am currently working on the railings around the main deck: My method, which is modified from a method that I learned from Digital Navy’s how-to section before their website went down, is to draw out a bunch of railings. I usually go down the long side of a sheet of cardstock for bulk railings. Then, I seal both sides with my Folk Art brush-on clear primer. Then, I cut that out. Then, I cut to size and preshape/score the railings. Lastly, I cut out the empty area of the railings. It takes some practice and a lot of care and patience to avoid cutting the frames. But if that happens you can glue them back together with PVA. It’s not really any big deal. I usually paint them after gluing them in place. I like how they turn out and they avoid me having to mess with brass or string. Neither one usually works out well for me.

- 288 replies
-
- 11
-
-
- Card
- Pre-Dreadnought
- (and 3 more)
-
Welcome!
-
Steve, Thank you very much! The yards and running rigging are now made and installed: That closes out the inner structure! Now on to the outside of the inner bulwarks!

- 288 replies
-
- 11
-
-
-
- Card
- Pre-Dreadnought
- (and 3 more)
-
Hope you guys get to feeling better soon! Bellerophon looks amazing!
-
The guns and smaller fittings would be easy enough to remake, and a good introduction to scratch building, but the turrets would be quite difficult. Have you contacted Heller?
-
Welcome! Which parts were lost and can they be easily replaced (remade)?
-
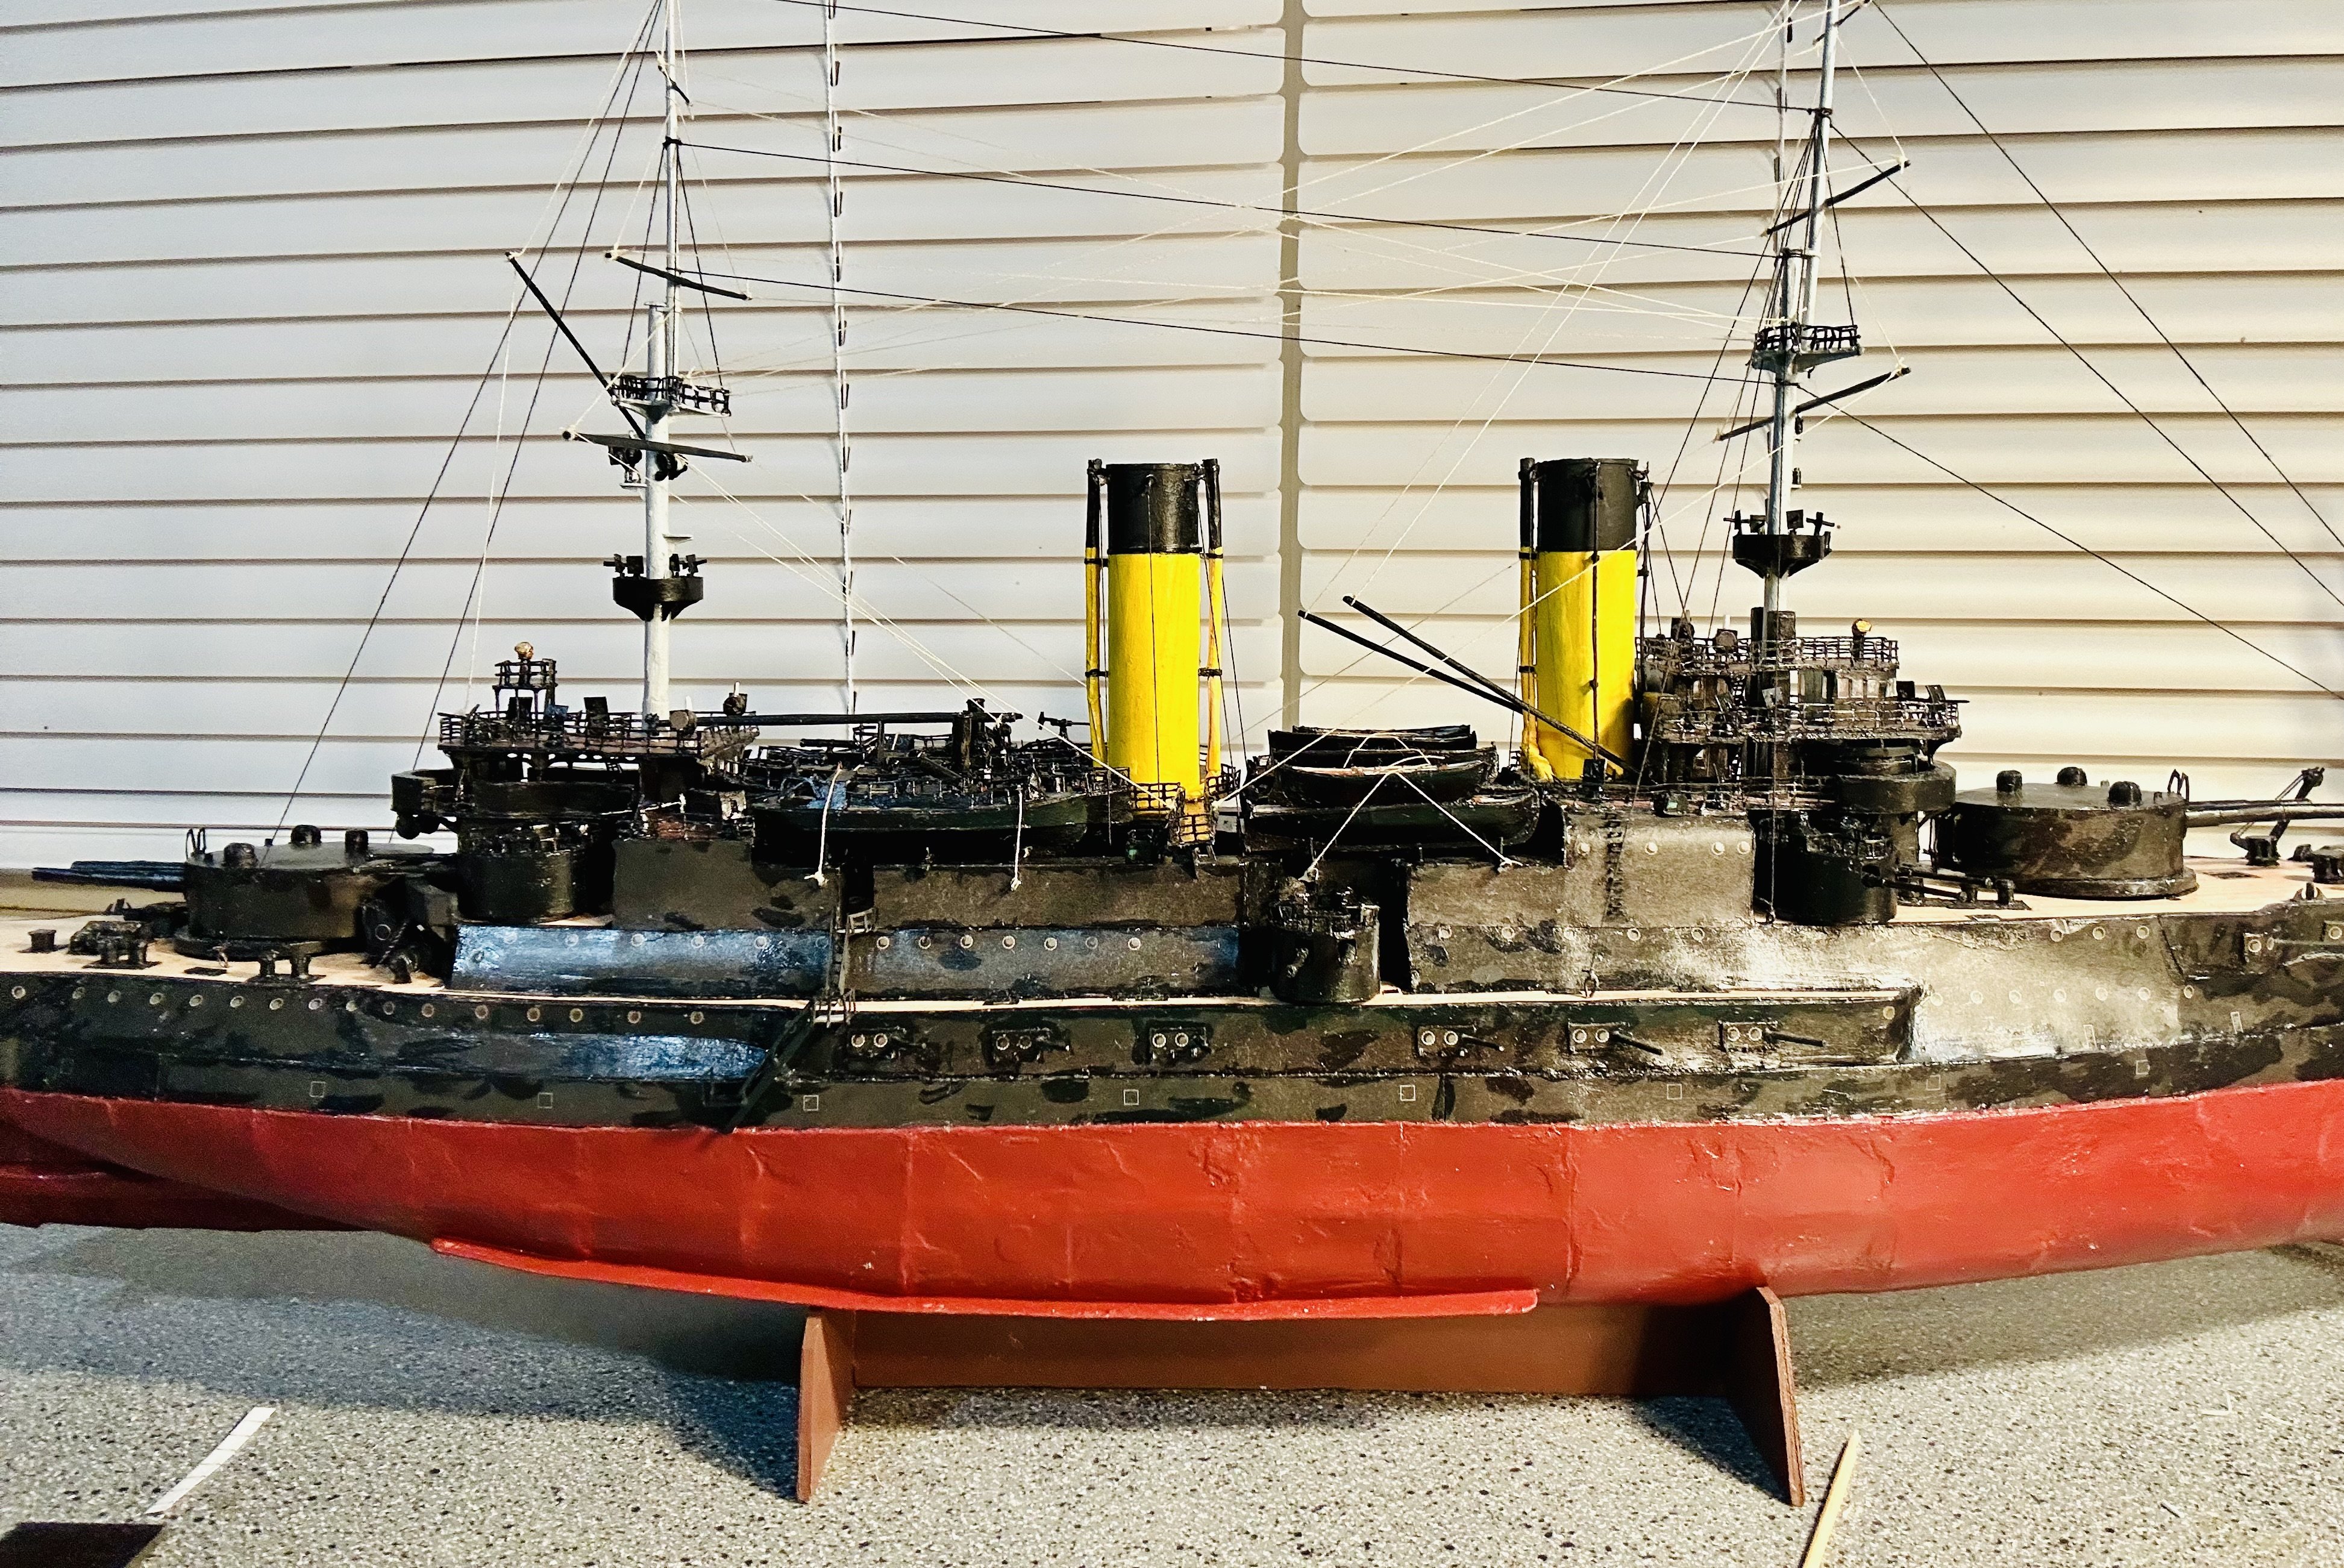
I learned to paint from tabletop wargaming 30 years ago and I treat my ships as gigantic wargaming miniatures, and paint them accordingly to make them look as realistic as I can. Mine usually featuring medium level weathering and techniques such as drybrushing and highlighting to bring out the detail.
-
Mark, Thank you very much! The rest of the cradle stored ship’s boats are installed: Next up, I will be making/installing the yard arms and finishing the running rigging.
- 288 replies
-
- 13
-
-
-
- Card
- Pre-Dreadnought
- (and 3 more)
-
When I tried to build the 1/96 Revell Constitution many years ago, I dry brushed the detail scrollwork on the bow.
-
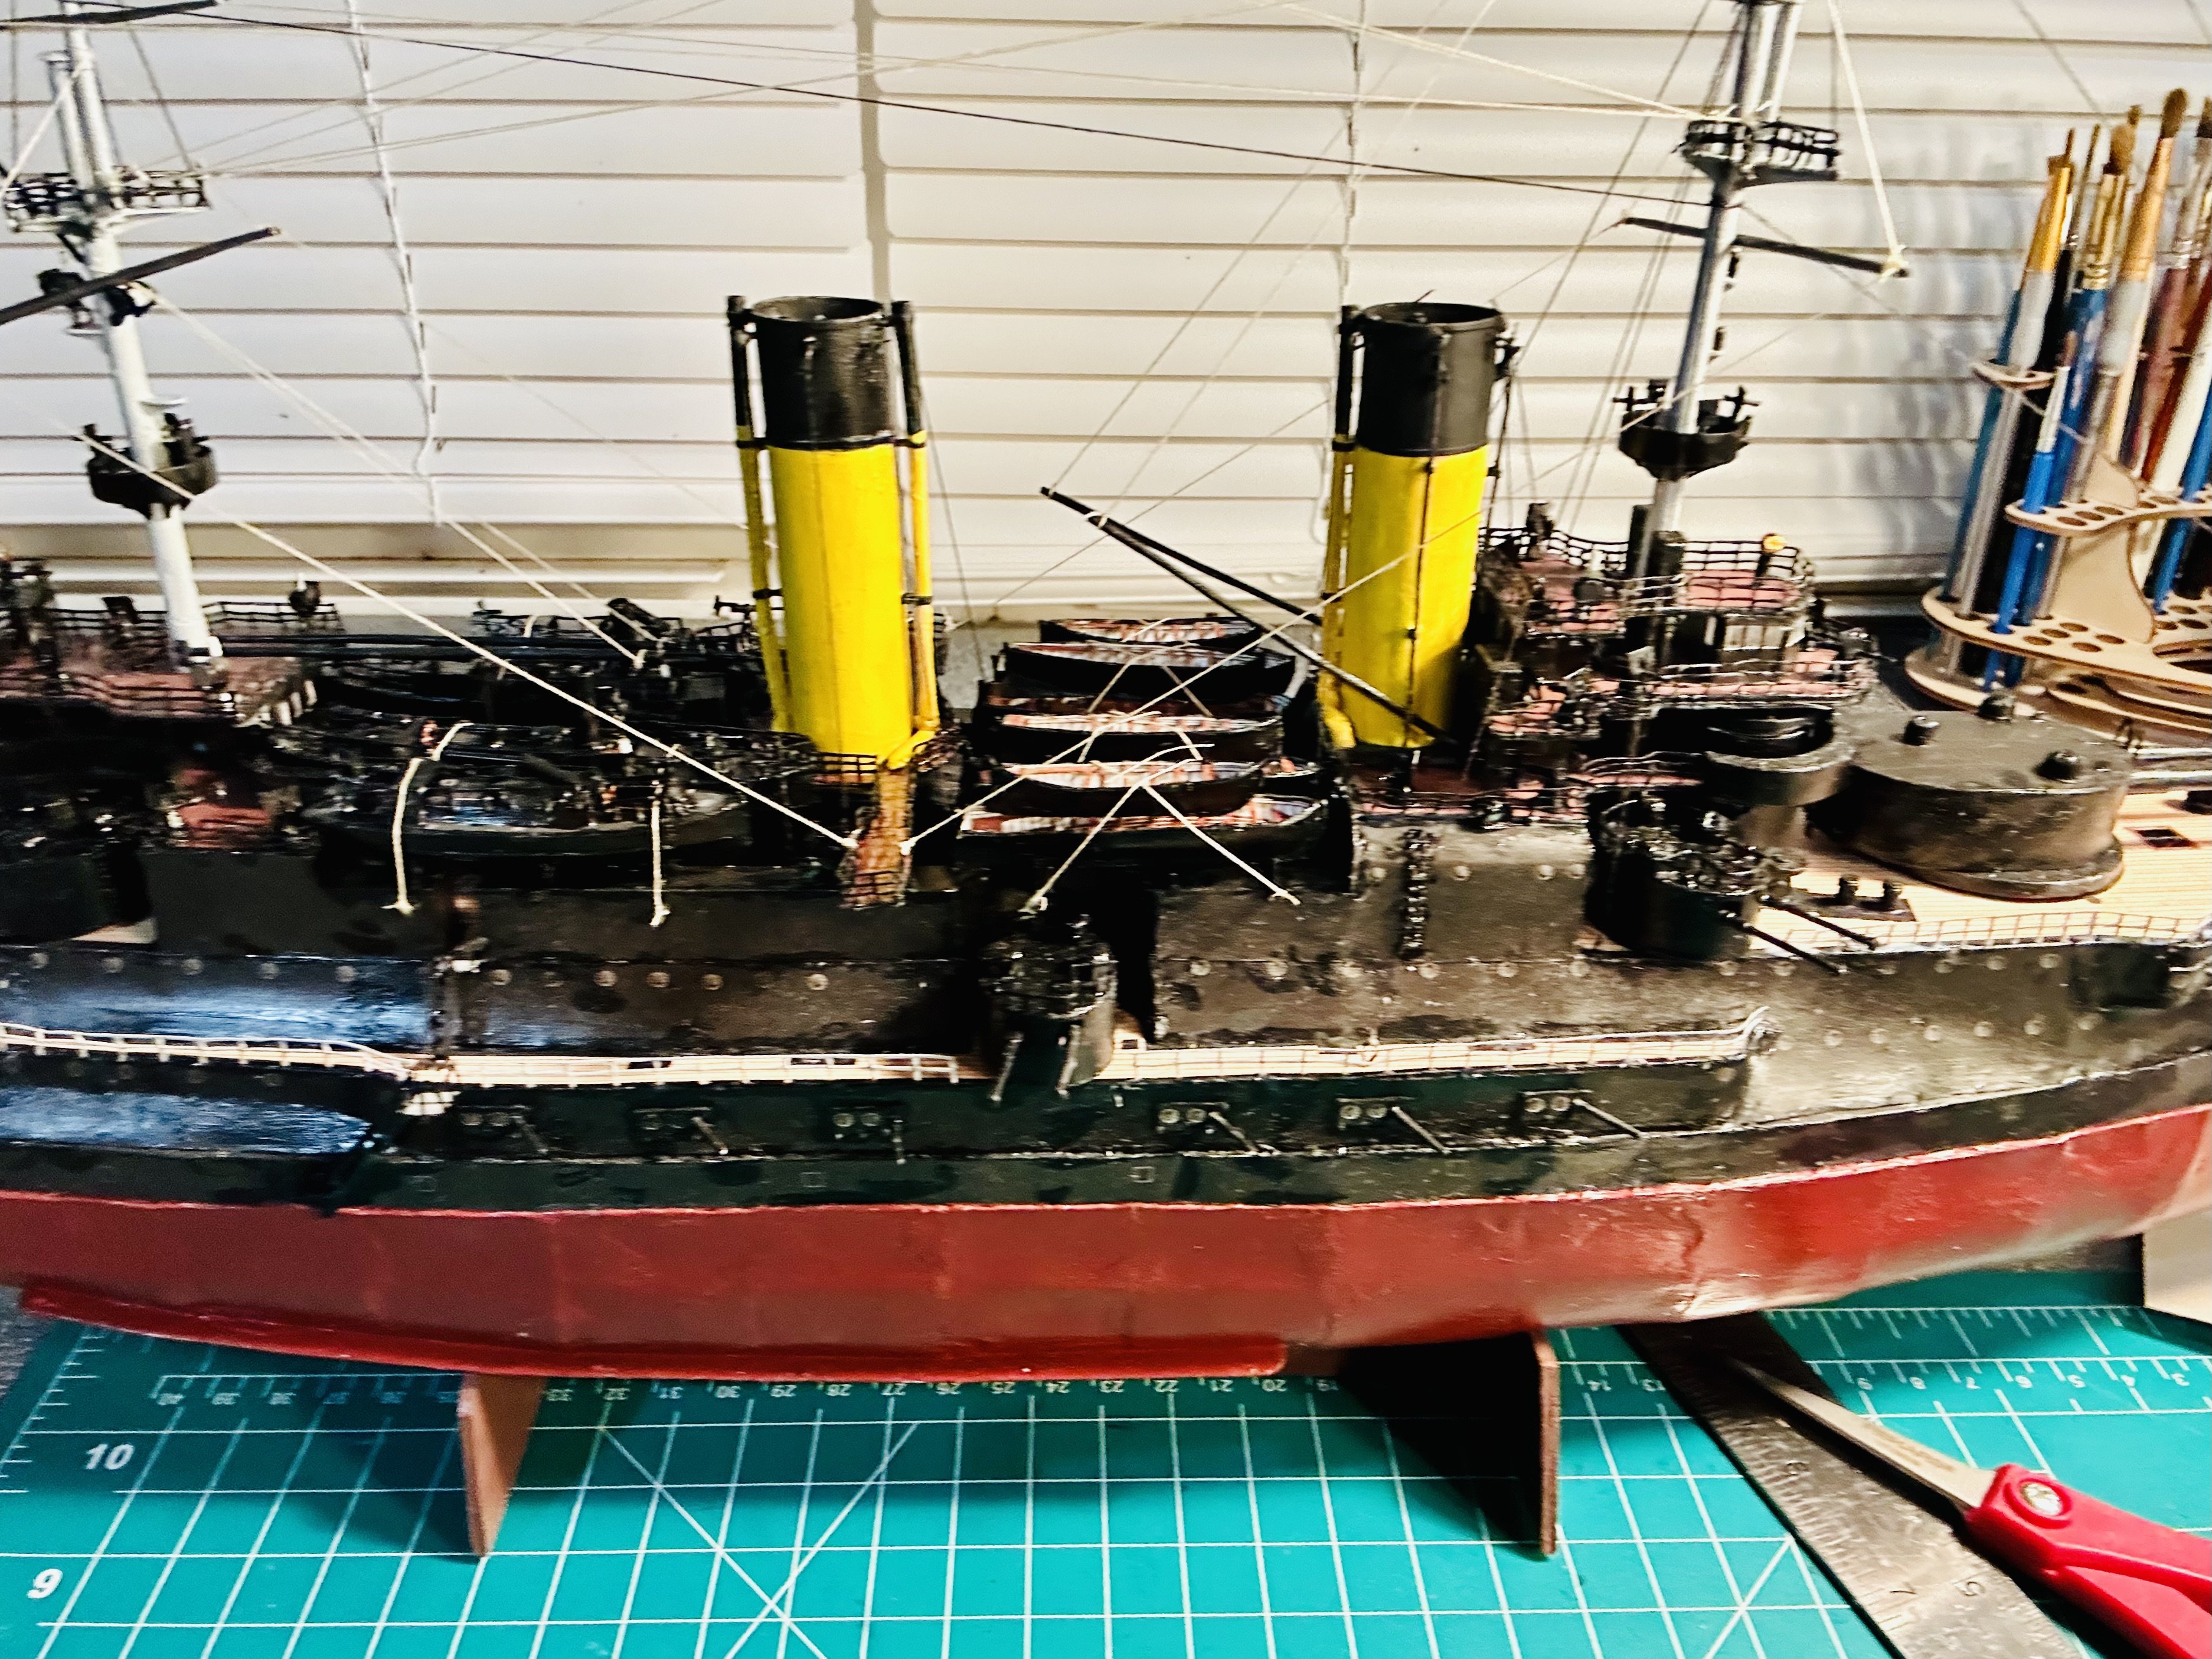
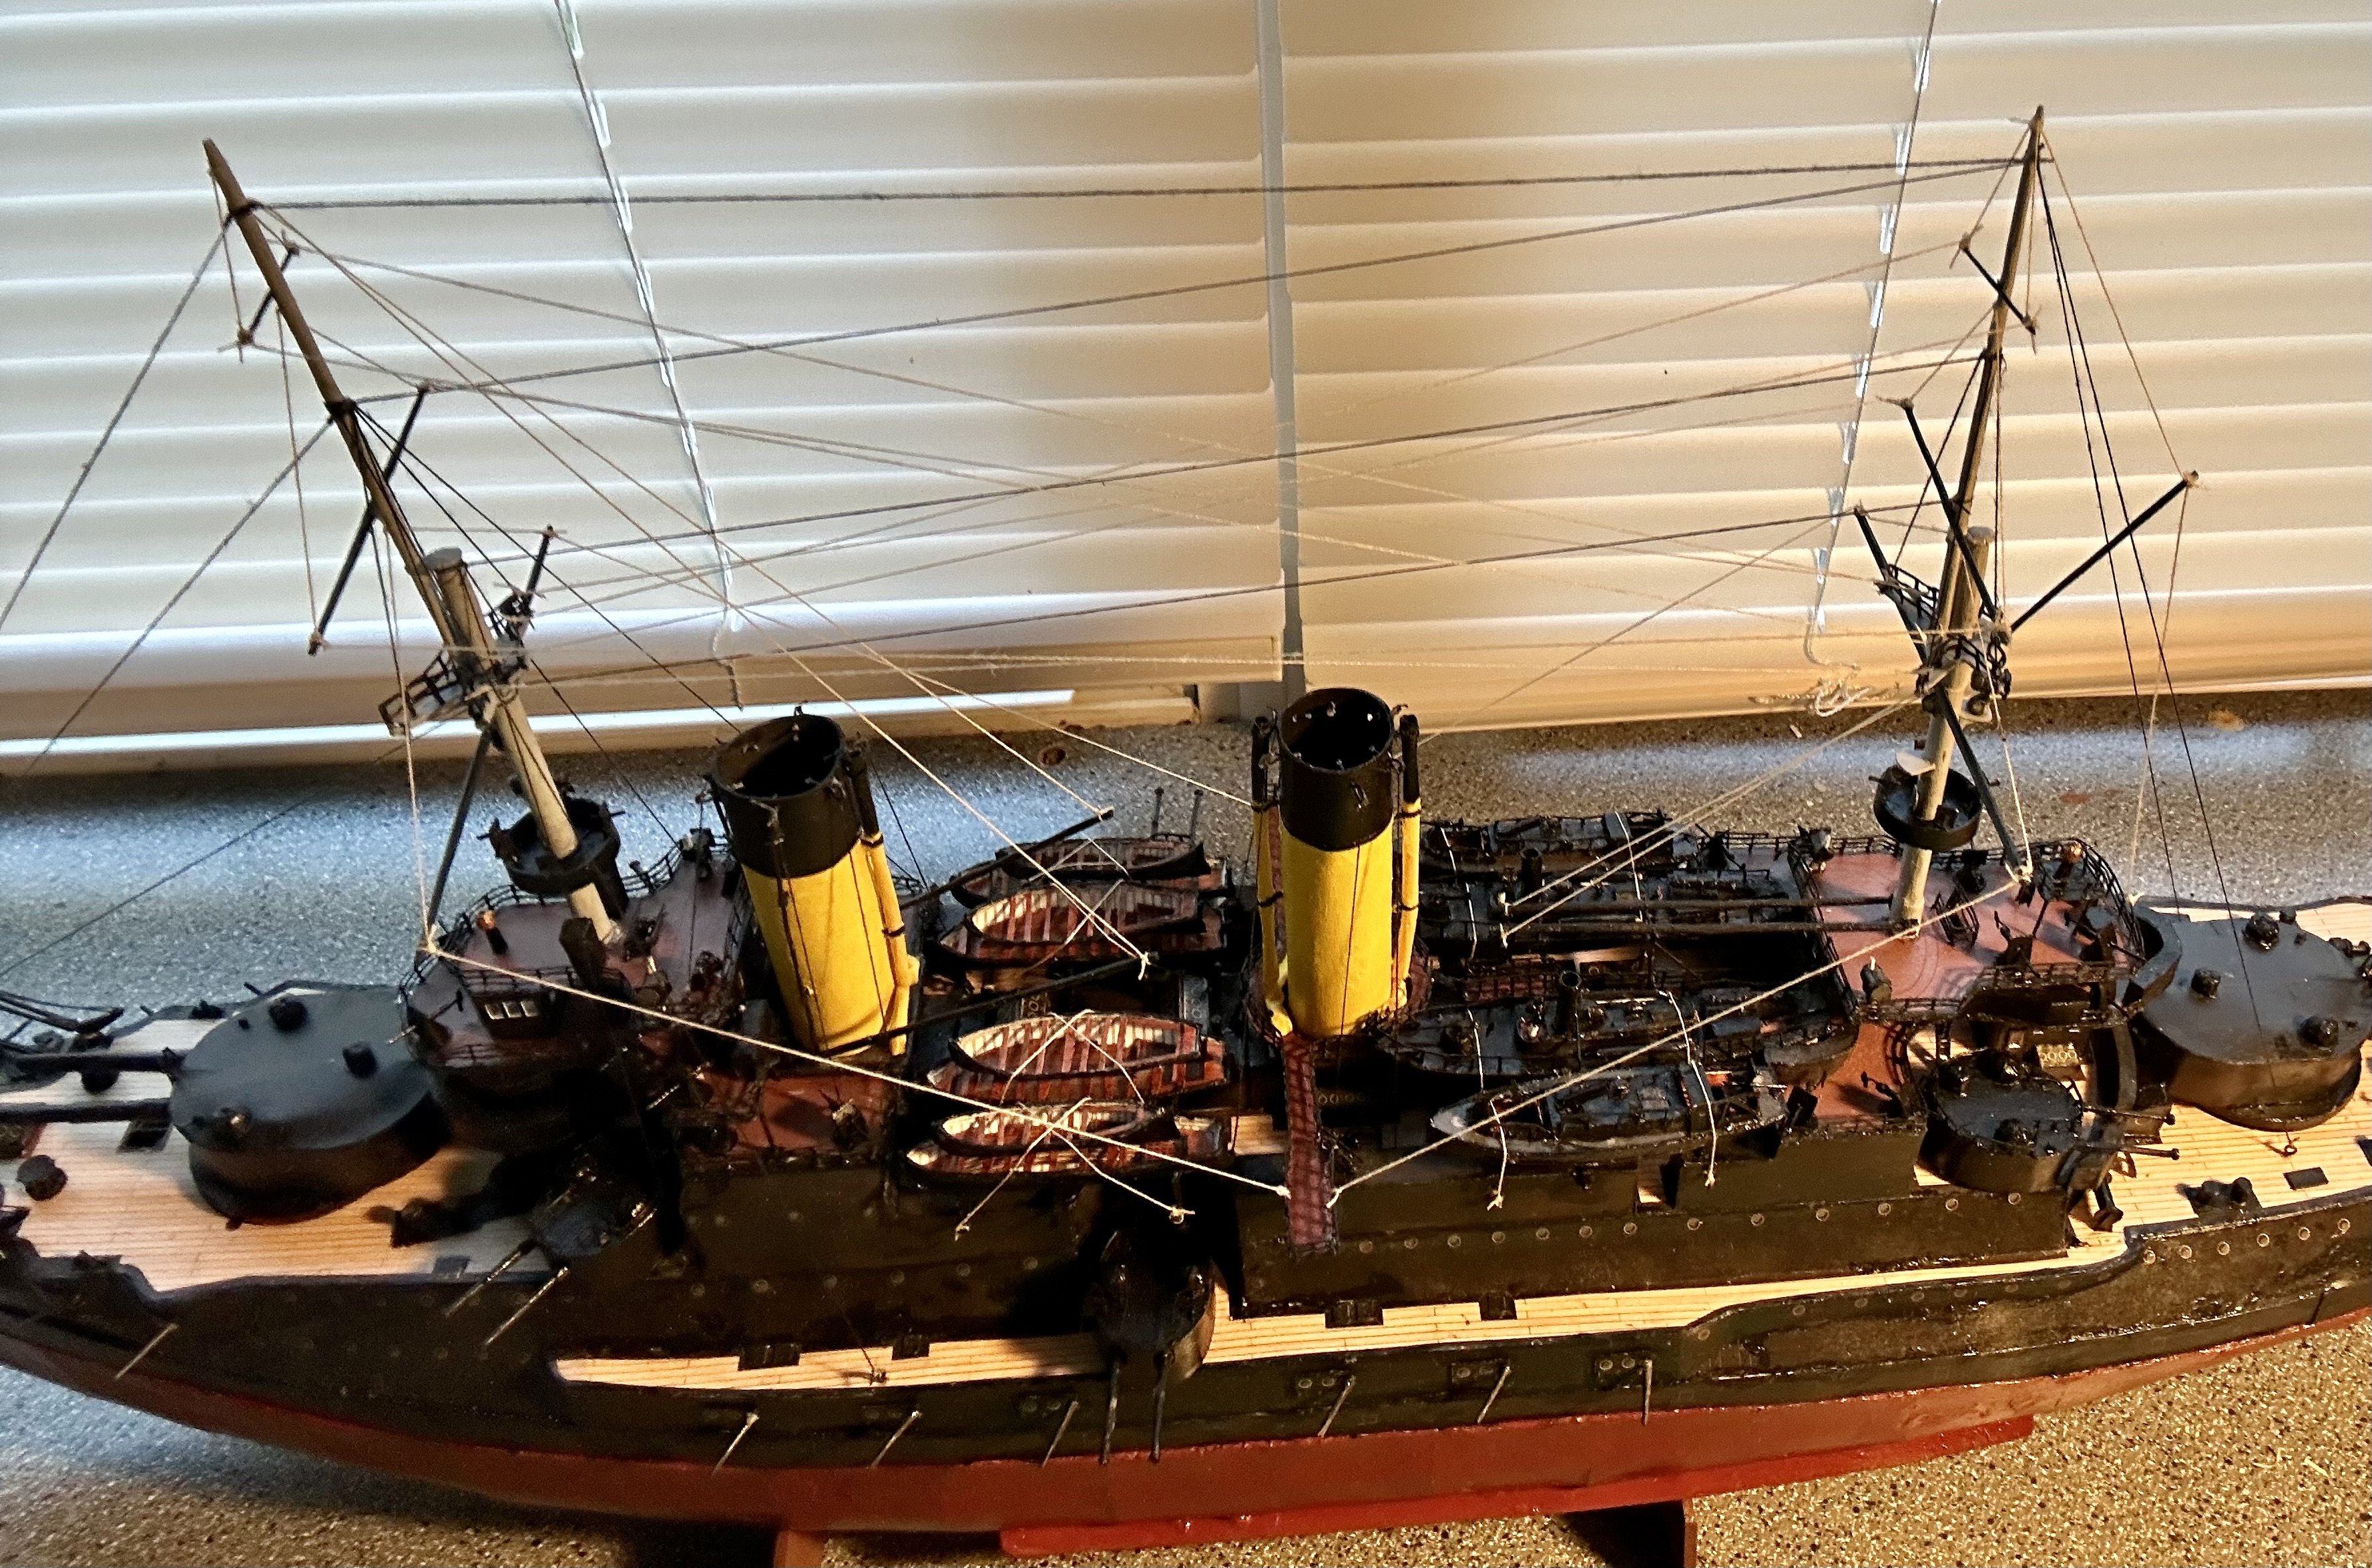
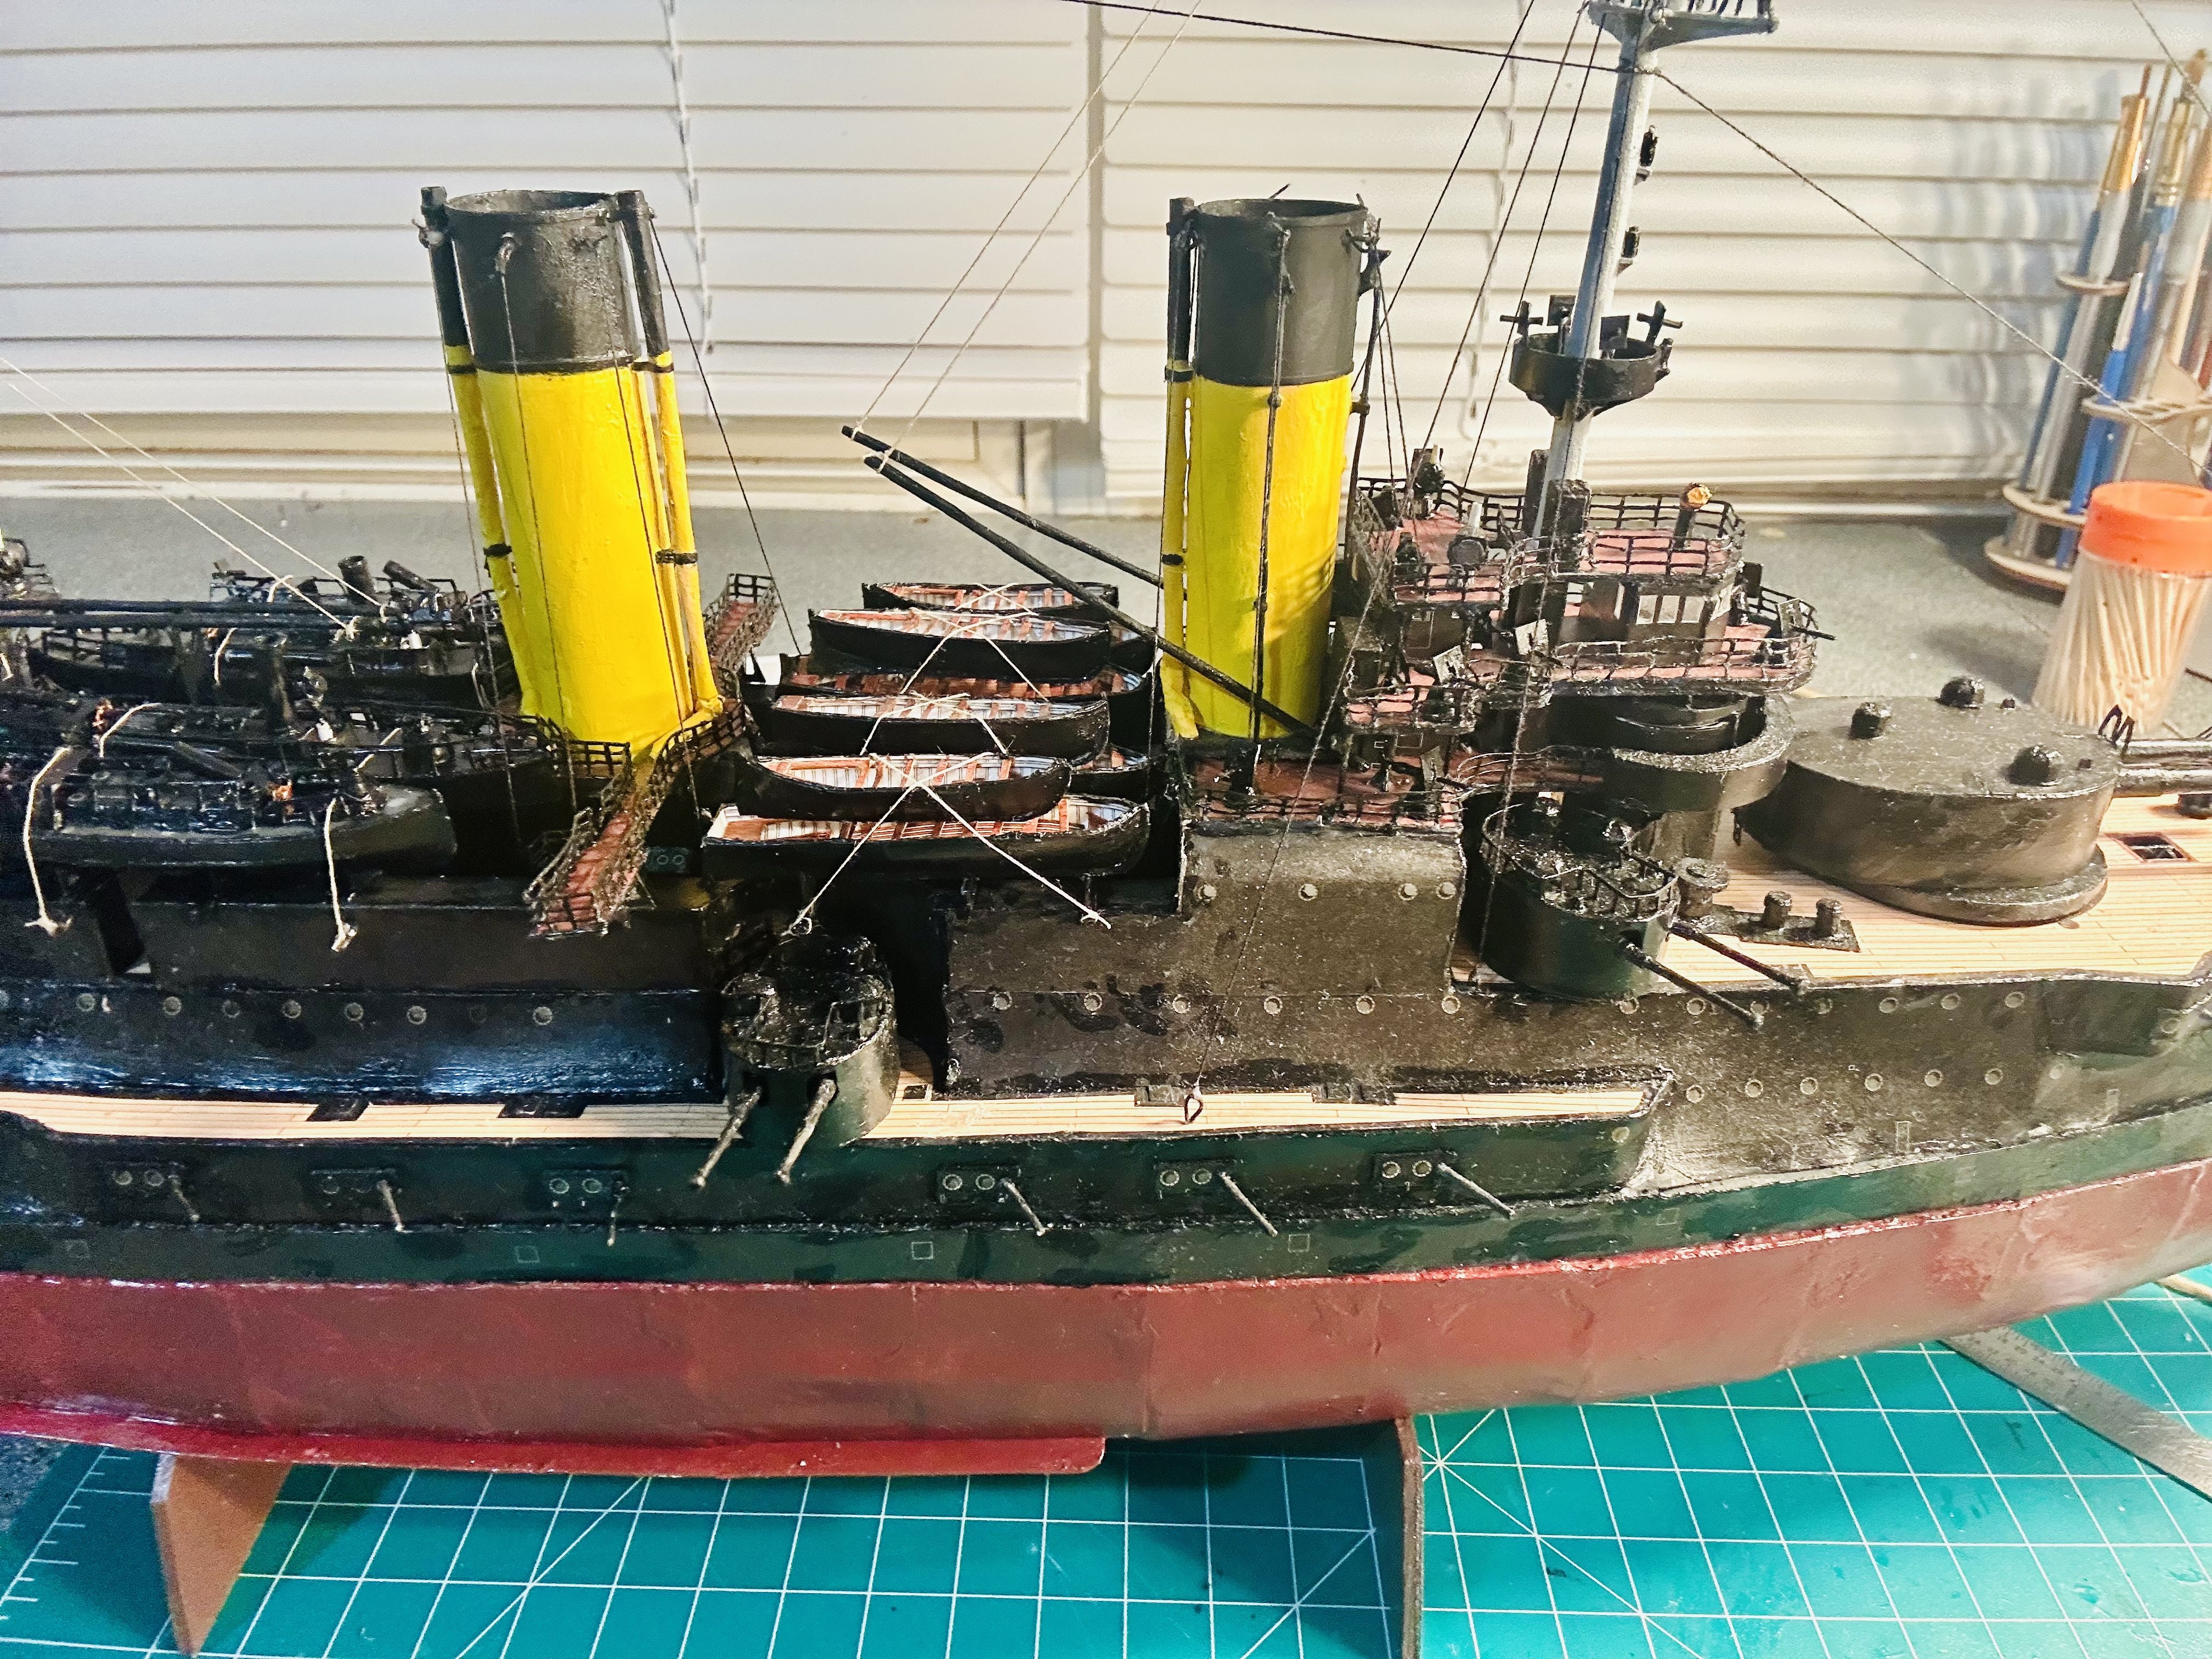
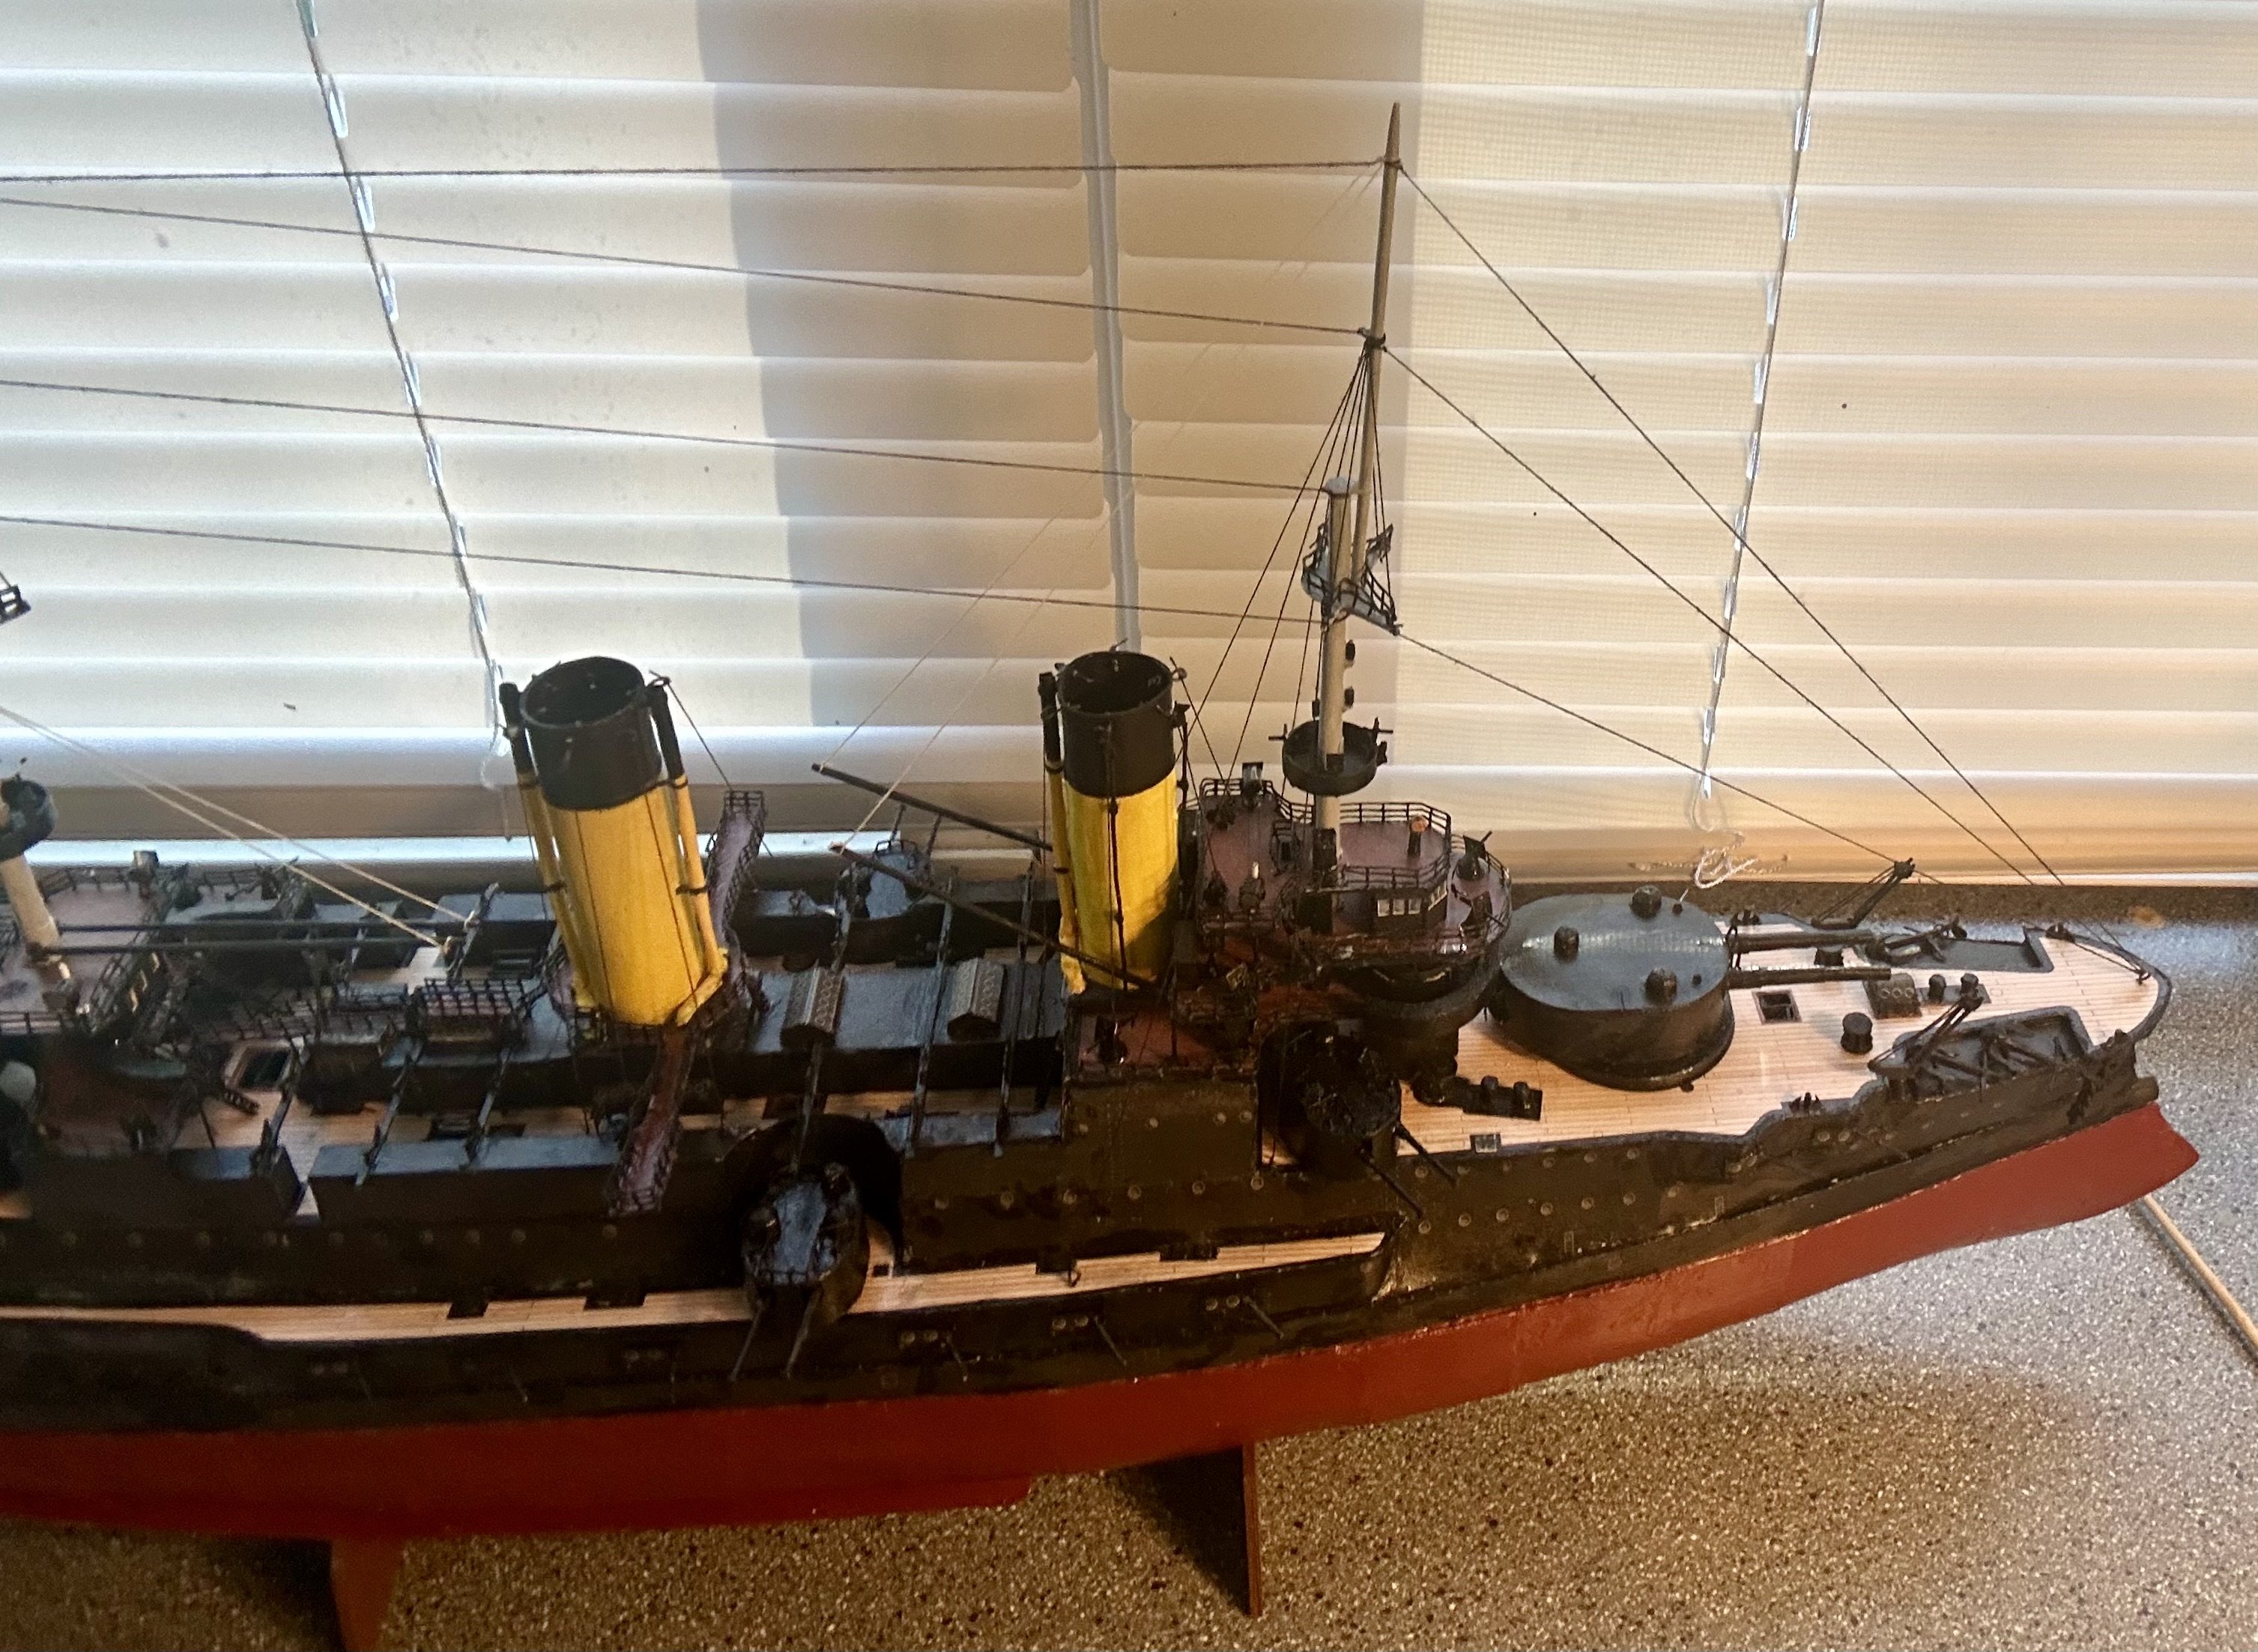
Glen, Thank you very much! Thank you all for the likes and just for stopping by! I realized that with the ship’s boats in place, it would be impossible to secure the braces on the main deck so I am going to find somewhere else to secure them. I have also seen them secured to the opposite mast. So, I installed the two sets of steam boats: Definitely making progress!


- 288 replies
-
- 10
-
-
-
- Card
- Pre-Dreadnought
- (and 3 more)
-
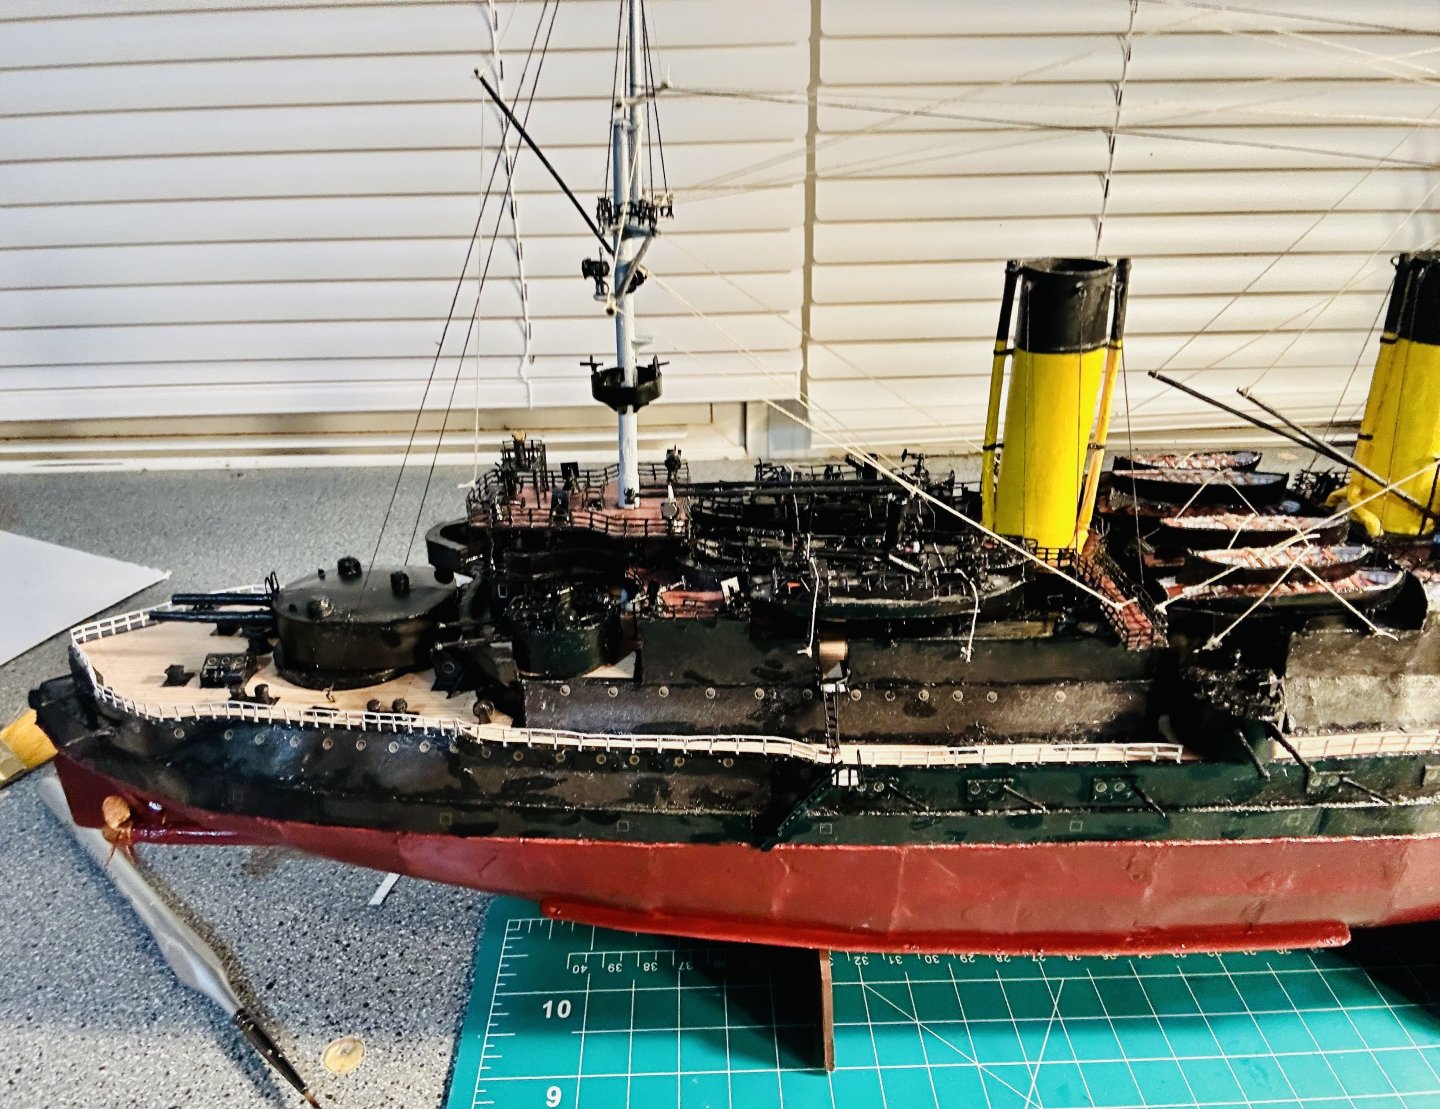
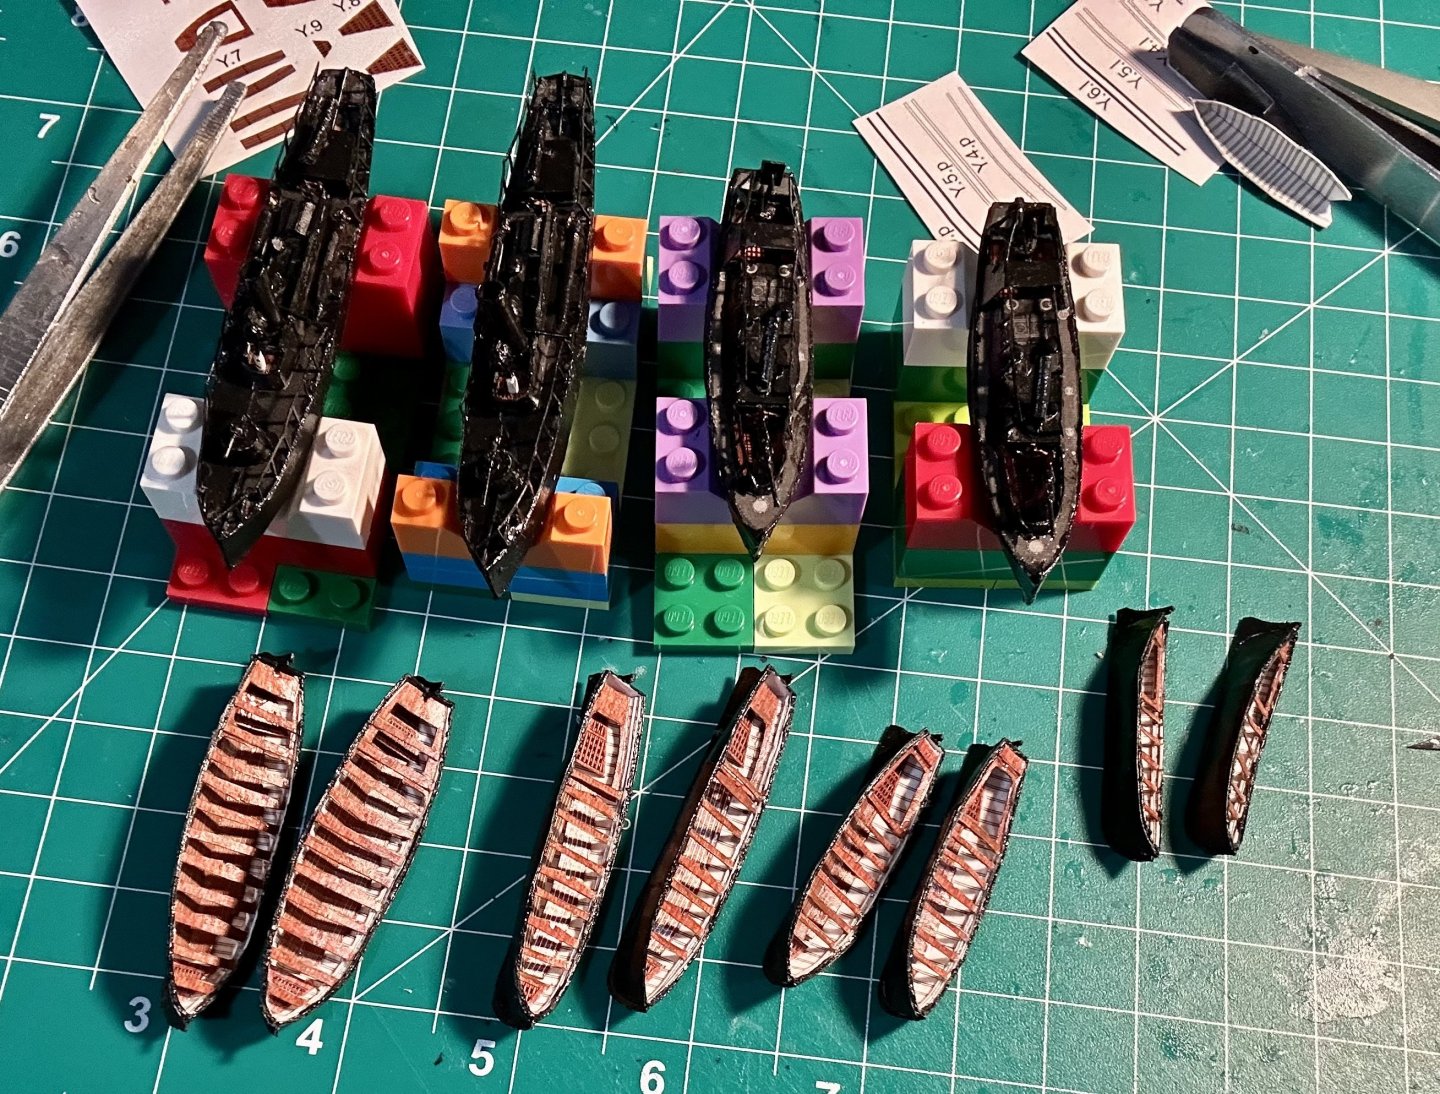
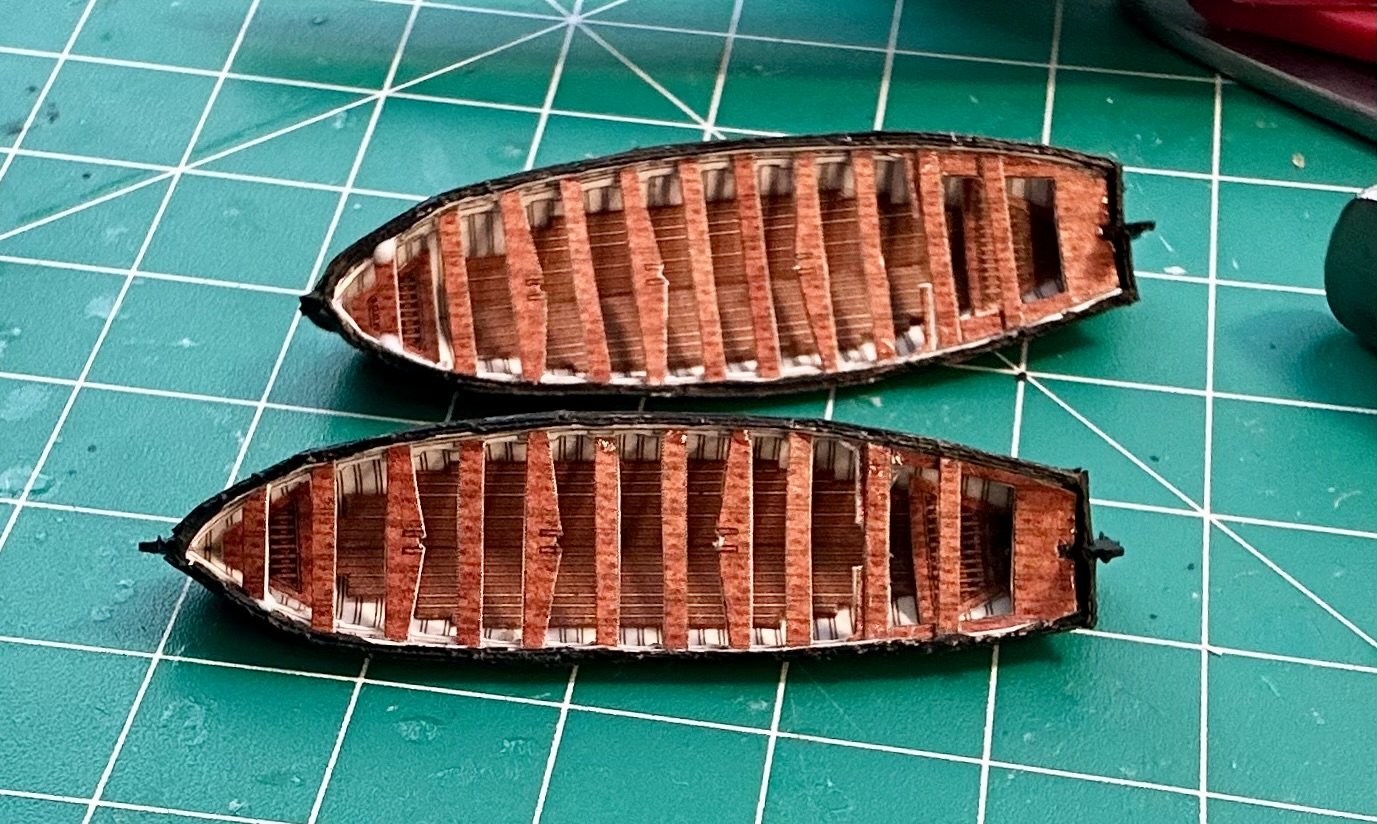
Thank you very much! Thank you to everyone who has hit the “like” button or stopped by! All twelve of the ship’s boats that sit in the cradles are now complete: I’m working on finishing the last two, which will sit in davits. The ones in the cradles sit side by side and the running rigging (braces) runs between them. So, I’m going to add a couple more small fittings (vents to be exact) and then the inner rows of ship’s boats and then add the yards and the running rigging. Then, I’ll add the outer boats and the rest of the navigation lamps before I finish the outer superstructure/bulwarks details. Next up, will be all outer deck fittings and then the rest of the hull fittings. Lastly, it will be time to add the flags, which is typically the absolute last step for me. Still have a fair amount to do, but we’re getting there!
- 288 replies
-
- 13
-
-
-
- Card
- Pre-Dreadnought
- (and 3 more)
-
Very cool! Very nicely done!
-
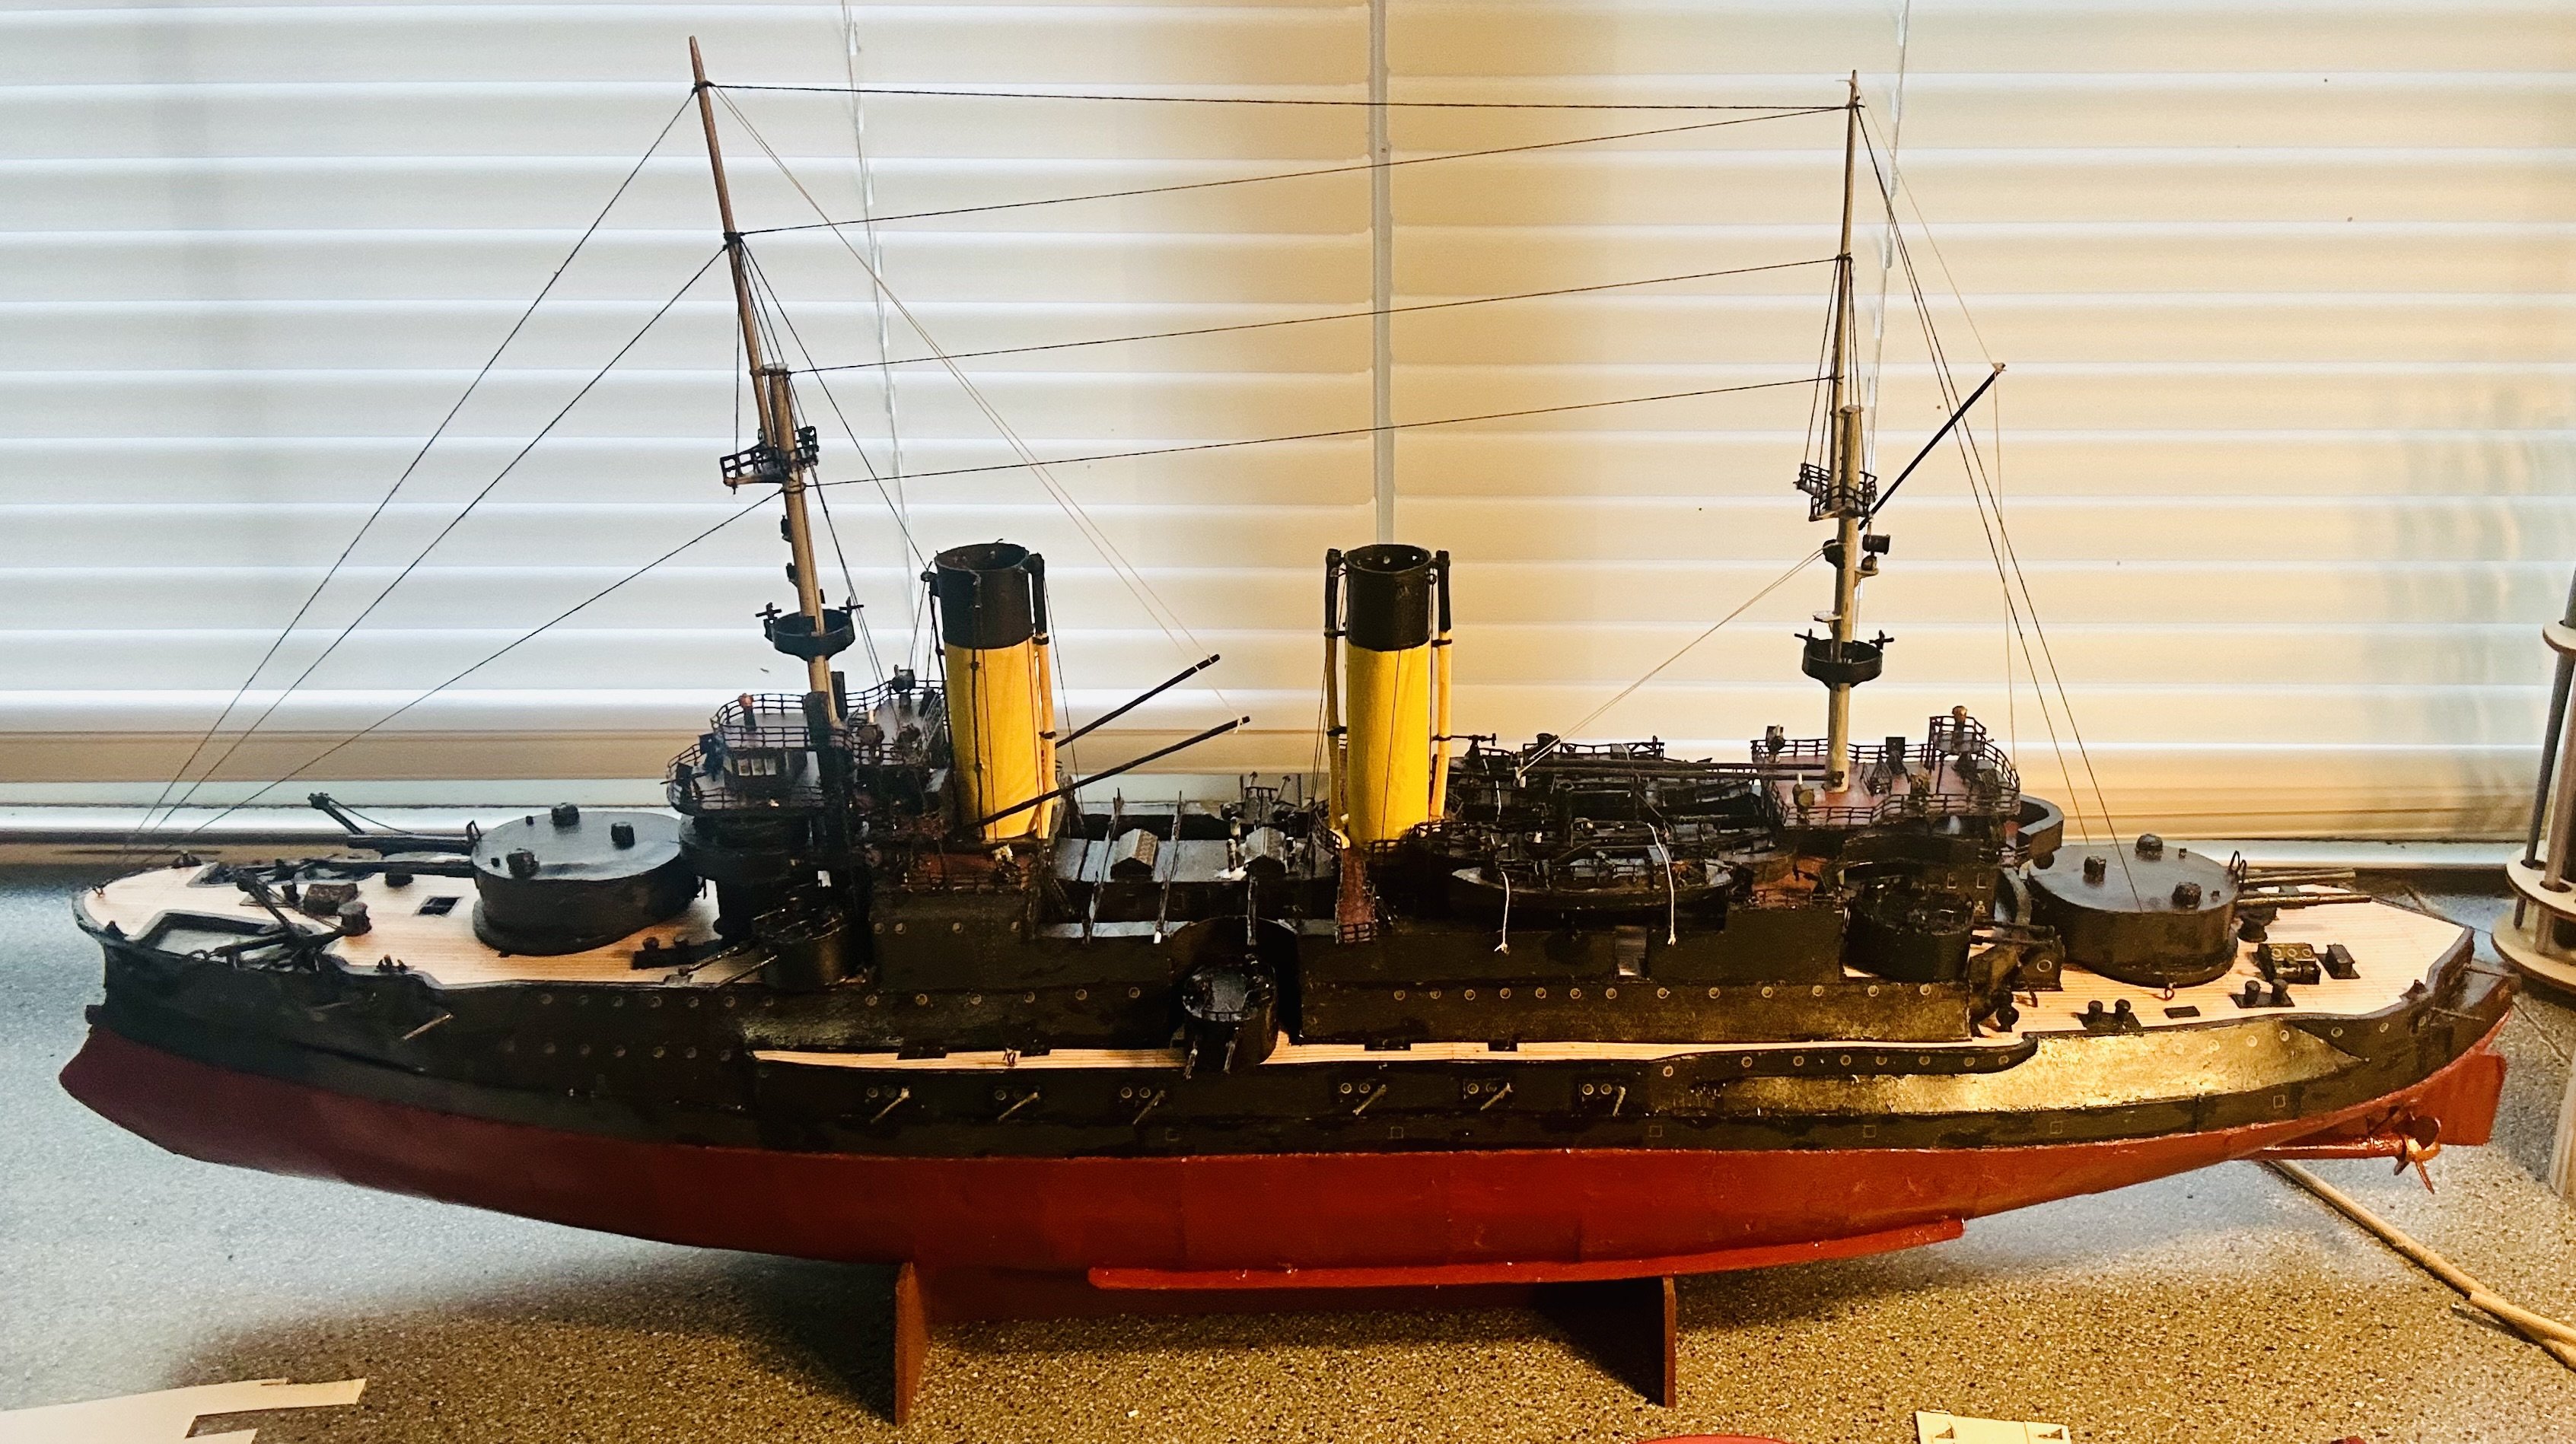
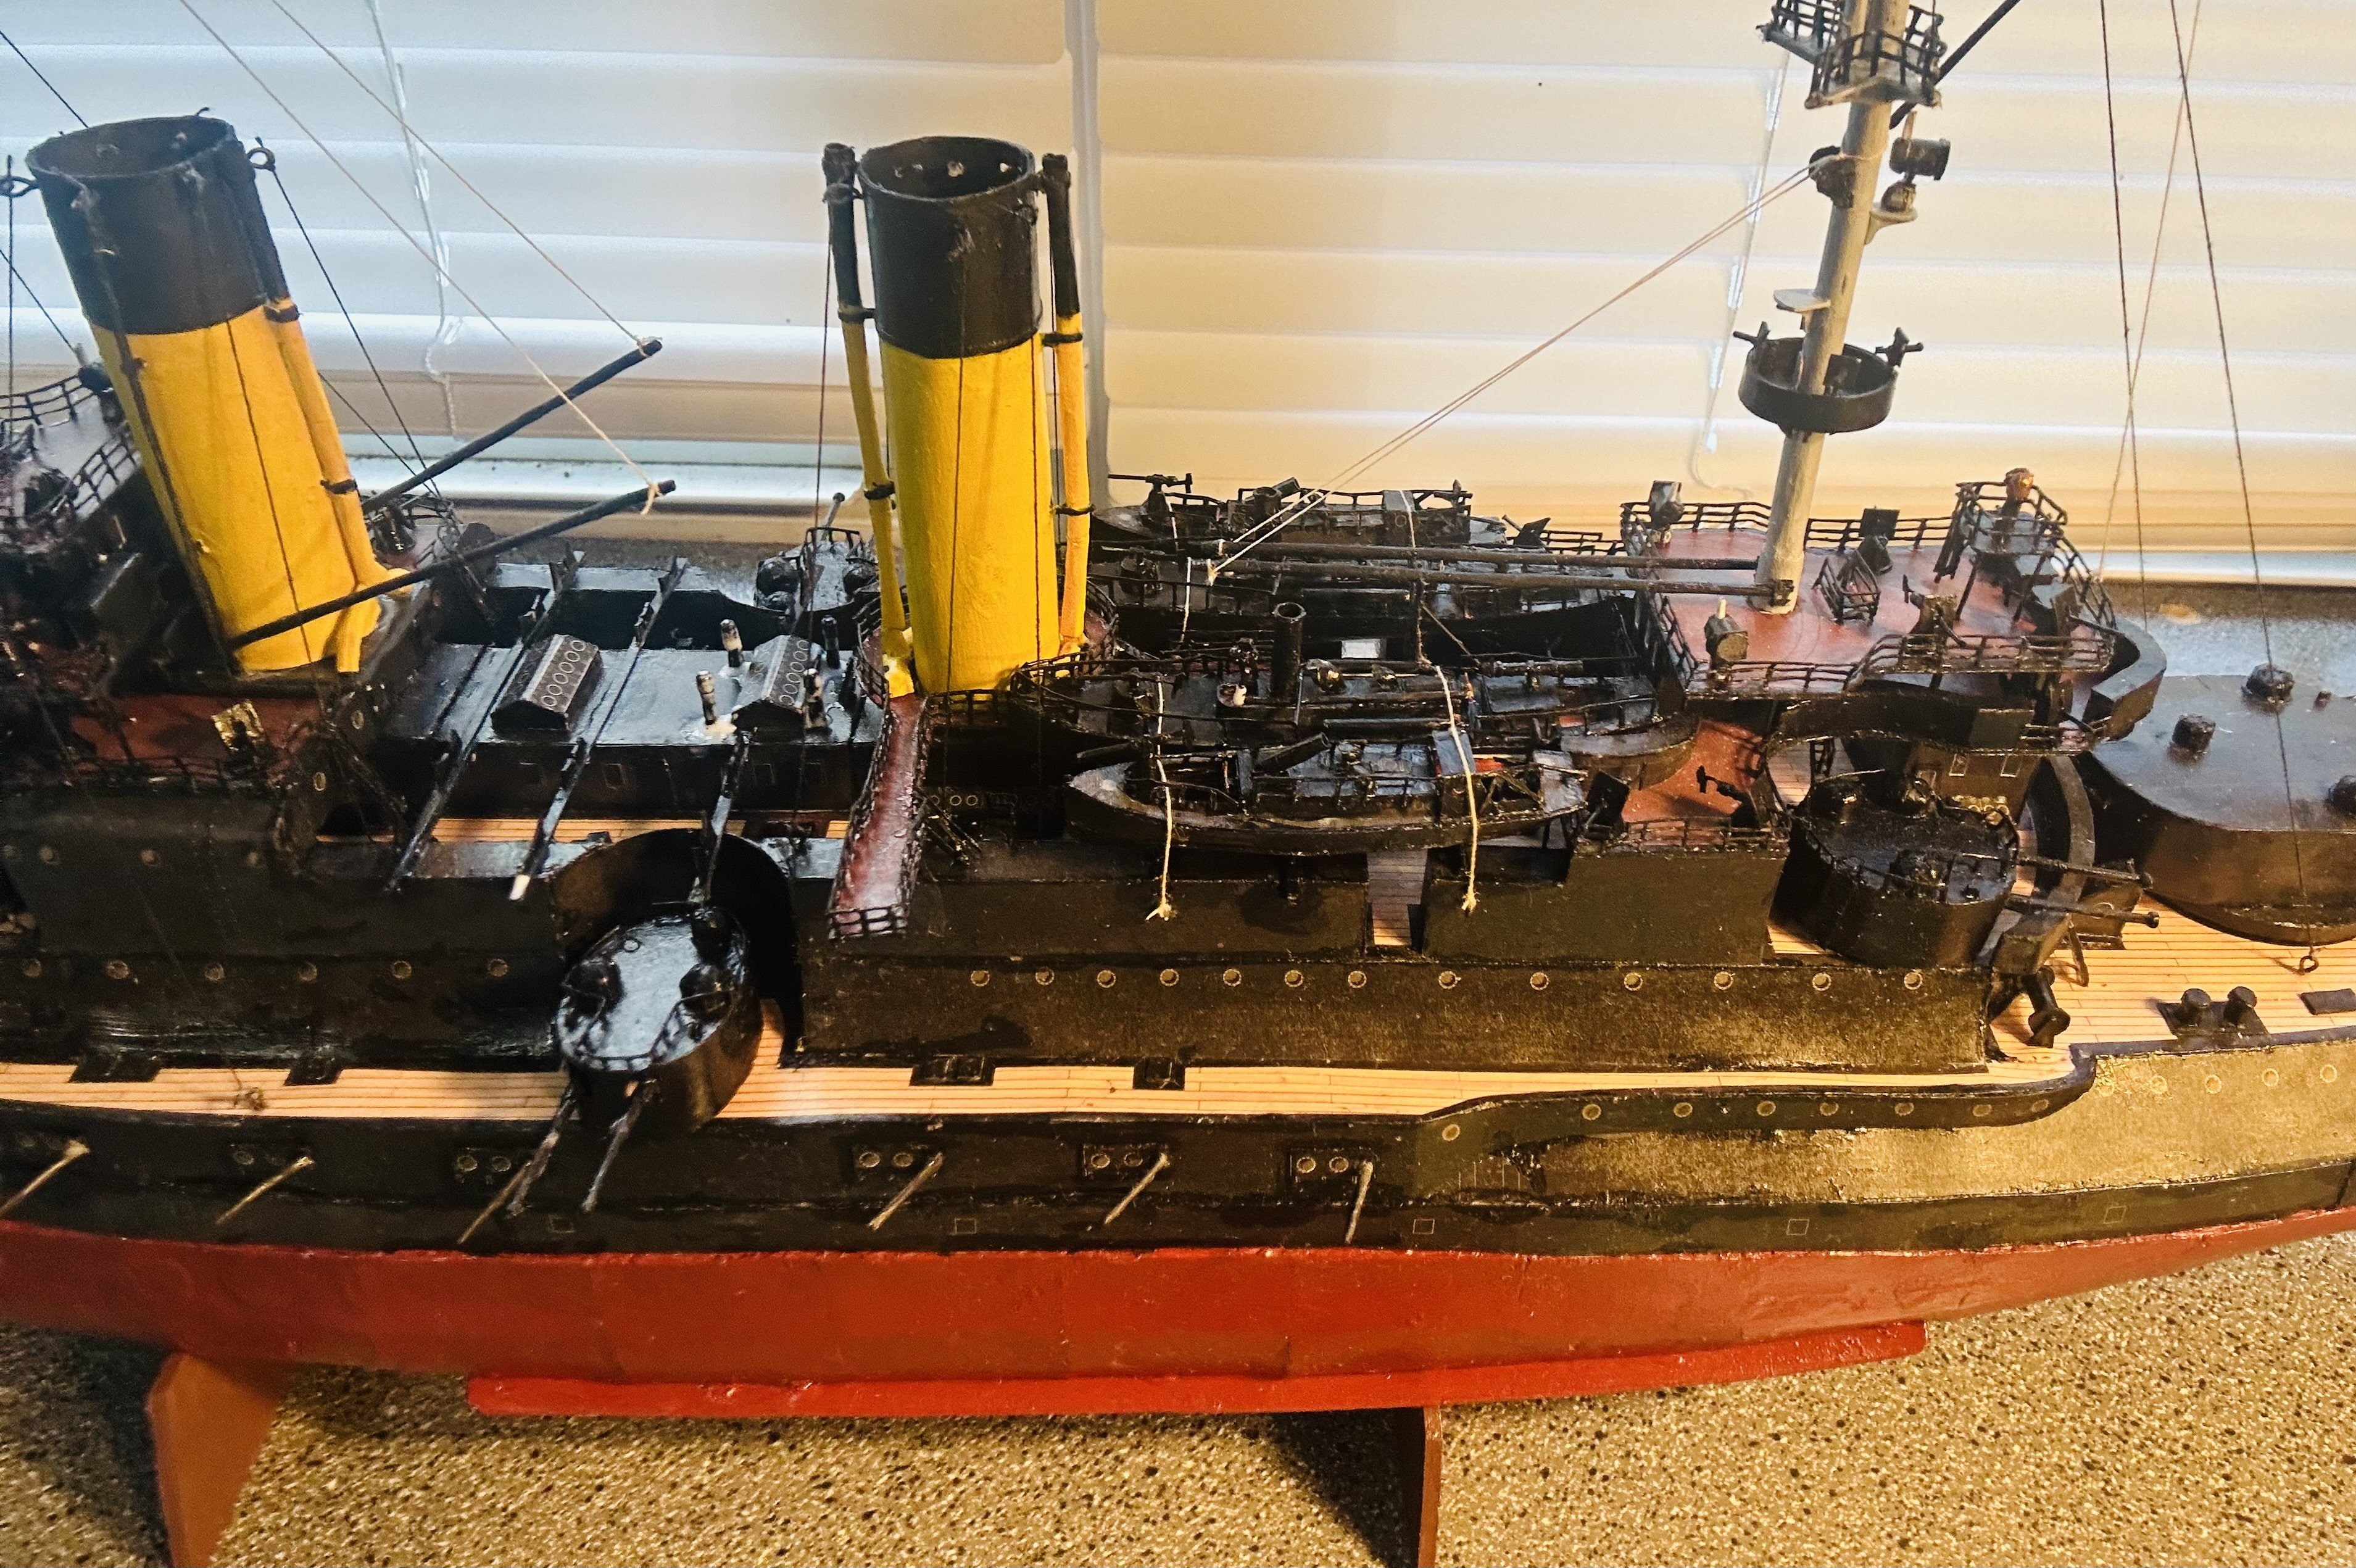
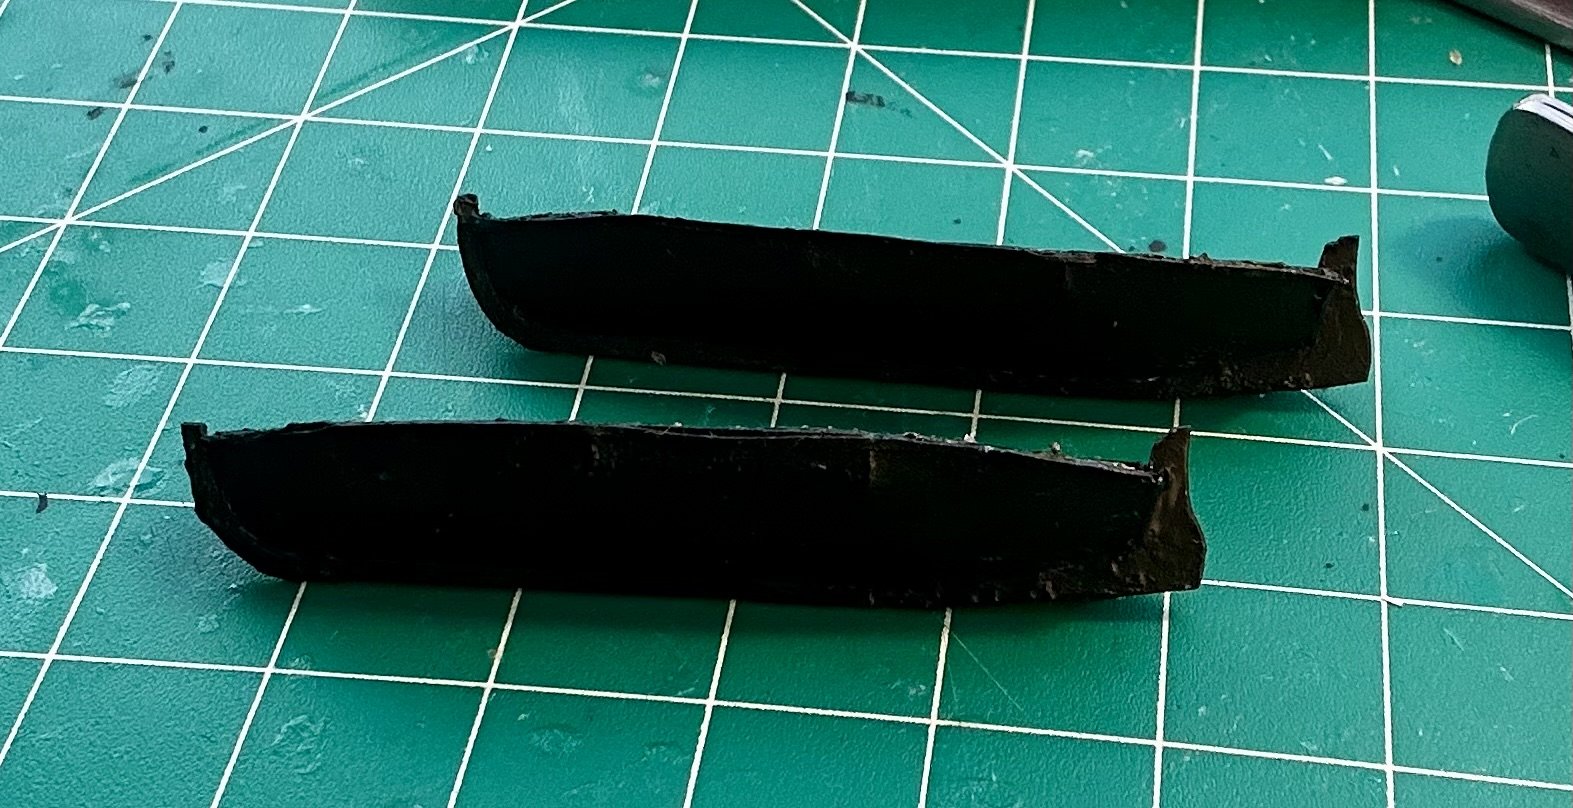
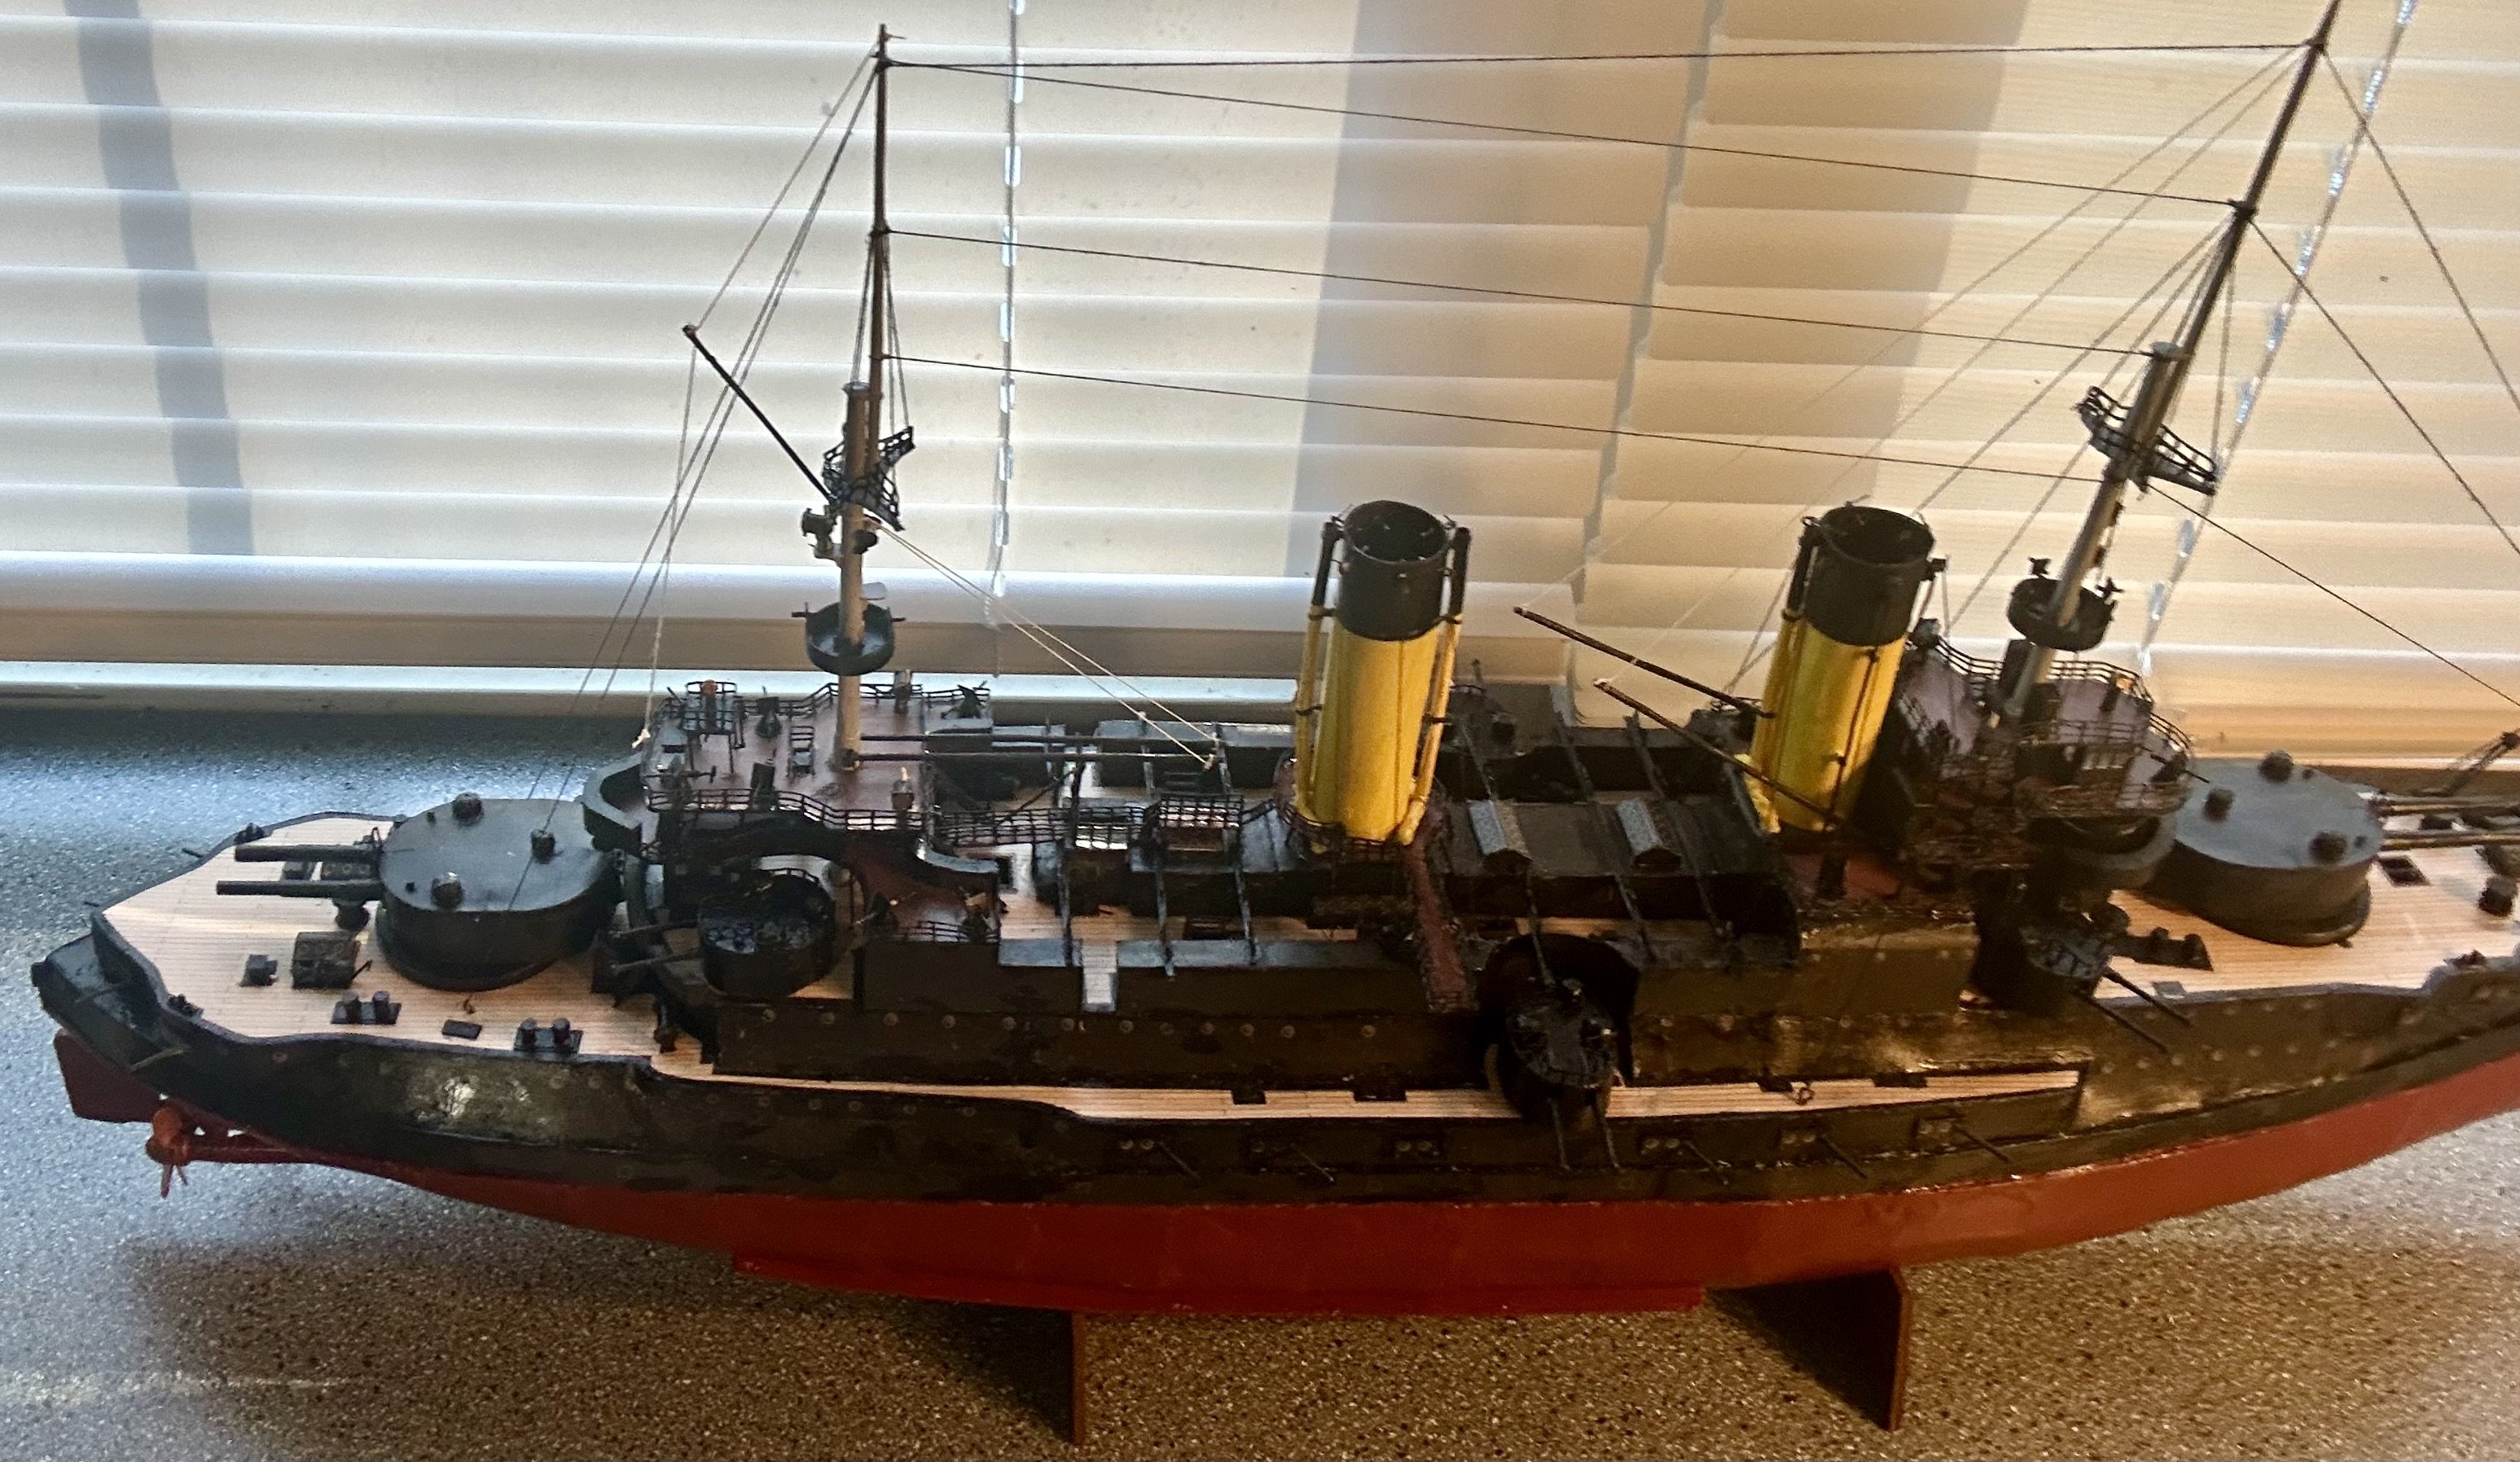
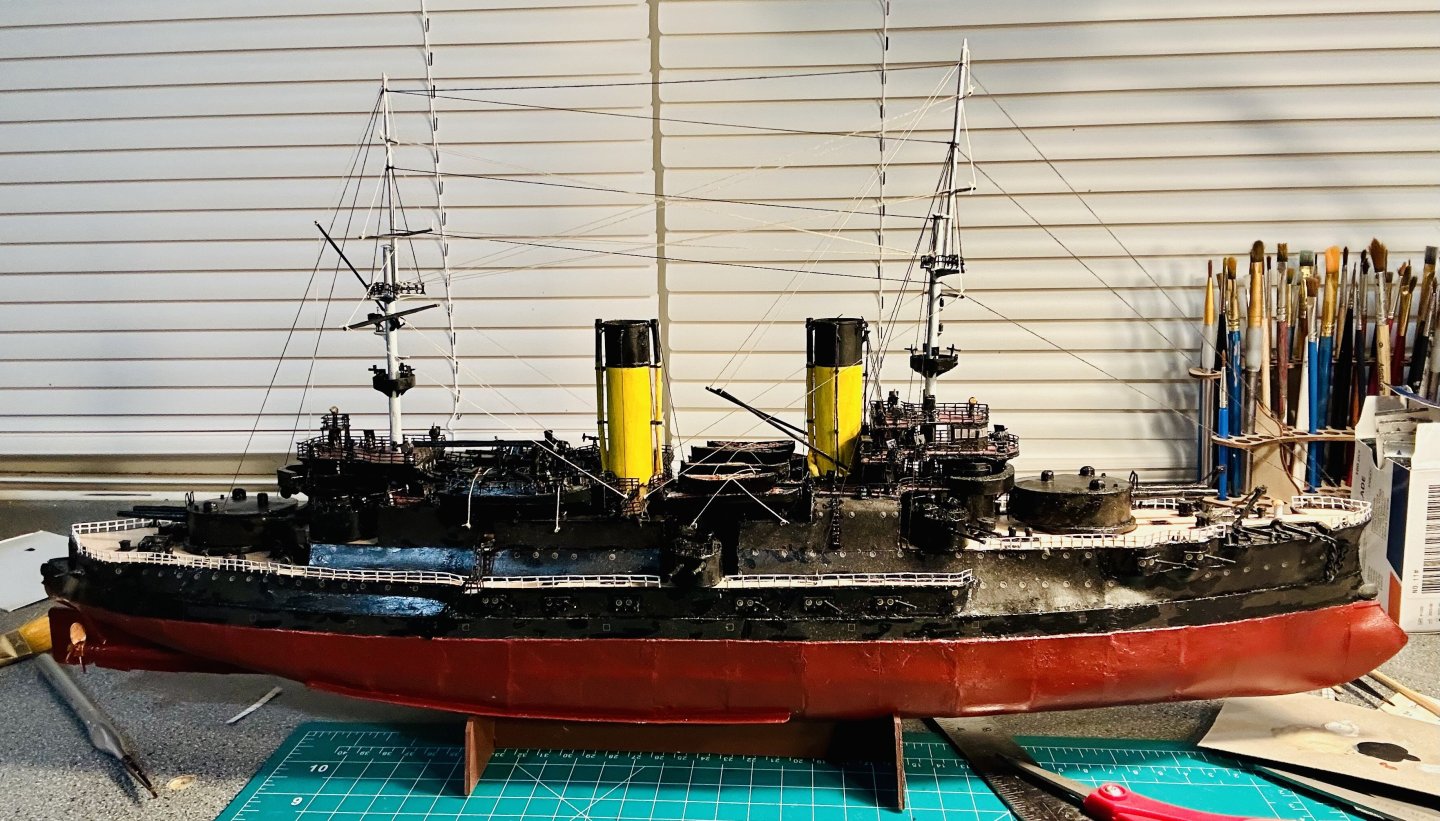
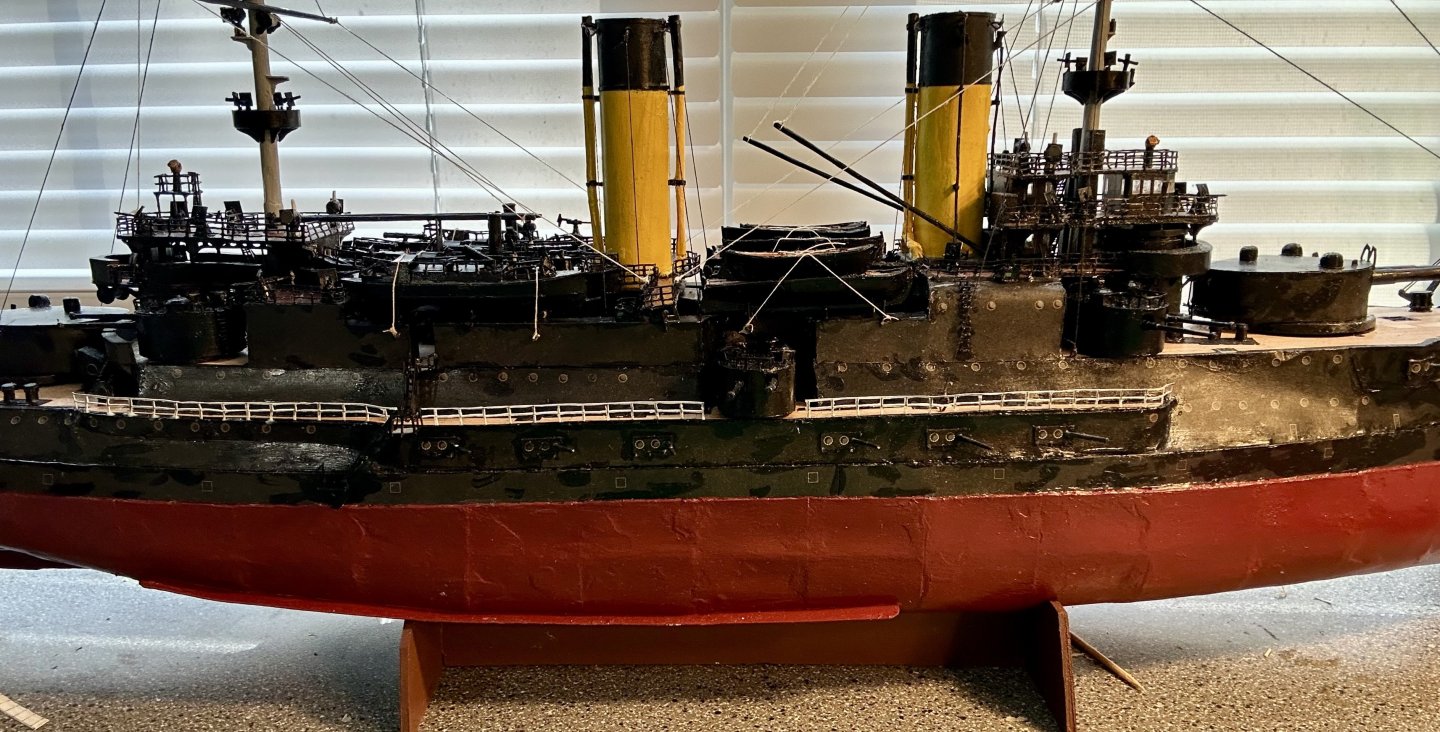
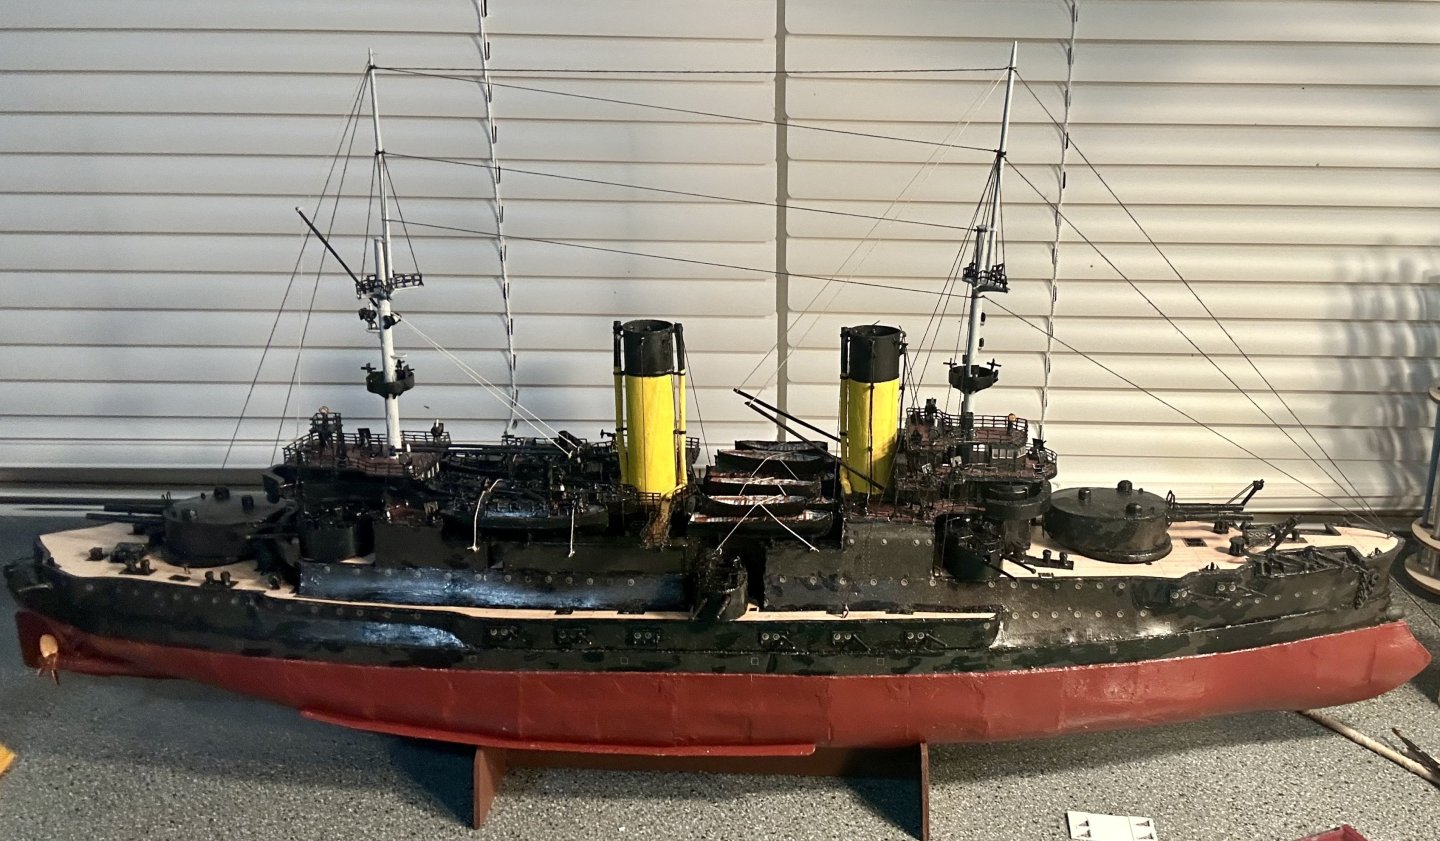
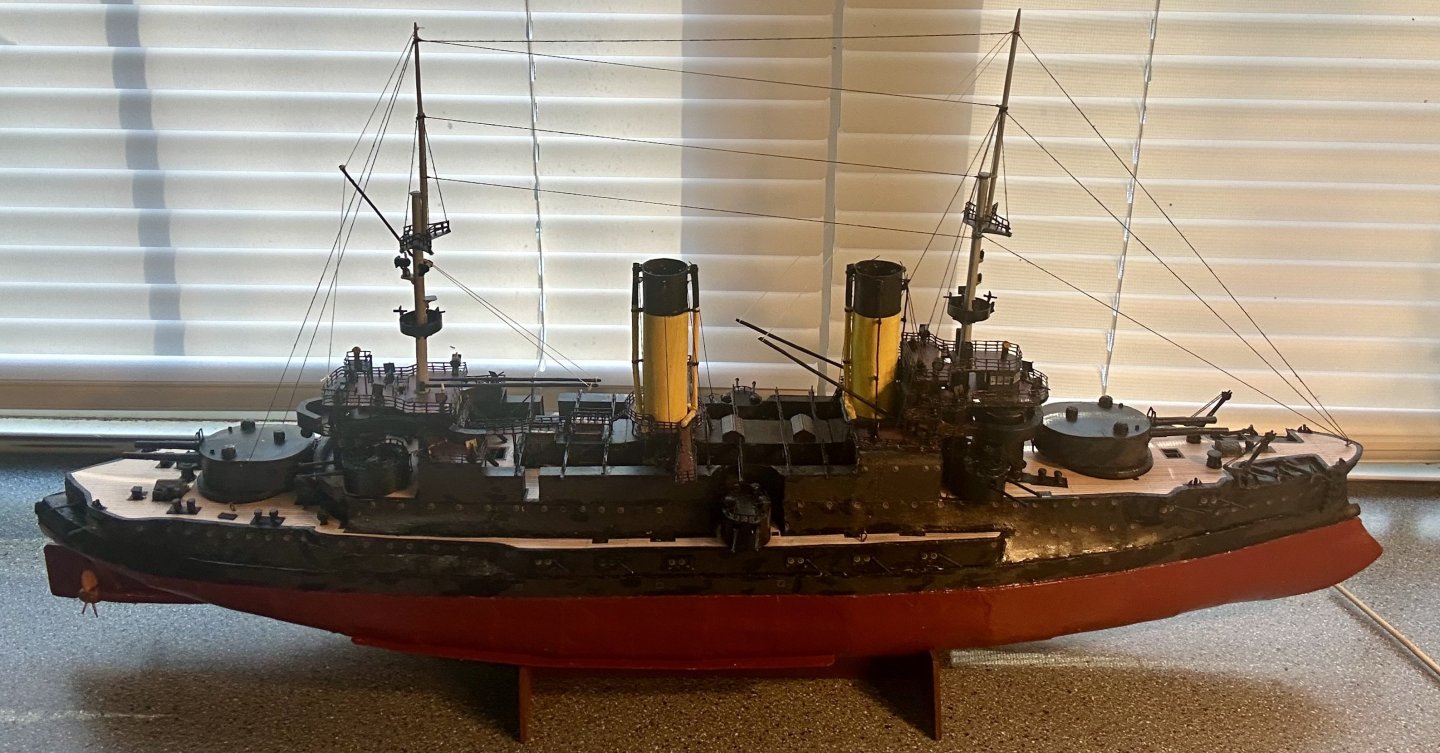
Steve, Thank you very much! The ship’s boats on these are always a challenge at this scale, but I am happy with how they have turned out! Jeff, Thank you very much! The end is in sight! This will be the first actual ship that I will have completed since early 2023! Mark, Thank you very much! This model has been a learning curve! This is my first predreadnought battleship, in addition to my first card predreadnought! I am very happy with how it is turning out! The first set of the rowed ship’s boats are done: I was able to use them to ensure alignment of the cradles, which are now painted and mostly sealed: Here is the overall ship: Now to finish the ship’s boats because they are started and then to make some yards and run some running rigging!


- 288 replies
-
- 11
-
-
-
- Card
- Pre-Dreadnought
- (and 3 more)