HOLIDAY DONATION DRIVE - SUPPORT MSW - DO YOUR PART TO KEEP THIS GREAT FORUM GOING! (89 donations so far out of 49,000 members - C'mon guys!)
×


James H
-
Posts
6,115 -
Joined
-
Last visited
Content Type
Profiles
Forums
Gallery
Events
Everything posted by James H
-

Help for the Noobies
James H replied to drjeckl's topic in Using the MSW forum - **NO MODELING CONTENT IN THIS SUB-FORUM**
Just a quick note: This forum area is for talk of using MSW's software and features, and not any modelling content. -
That was noted in the review, and I also said the model would benefit from a laser engraved deck.
-
Auto login failure
James H replied to Dr PR's topic in Using the MSW forum - **NO MODELING CONTENT IN THIS SUB-FORUM**
Did you flush cache and cookies and then restart your browser? This problem lies somewhere in your browsers inability to recognise your login and sign you in automatically. That tells me some data in a cookie could be corrupt and needs to be flushed out. Did you also test your login on another browser? -
Just to let you all know, Vanguard Models has now made TEN more kits of Sphinx available. Chris is just waiting for some thin pear sheet to arrive from Germany, then he can add the last parts to these kits before a proper restock. Any Sphinx kits ordered in the next week or so will be dispatched the week commencing 29th August '22. This will let those that are thinking about buying the kit while the VM Summer Sale is still on, to get one so they don't miss out while the kit would normally be out of stock. If you're thinking about a Sphinx, time to get in there whilst there's a £70 sale reduction! https://vanguardmodels.co.uk/product/hms-sphinx-1775/
-
Allan, I think this was already discussed here, again, by yourself:
-
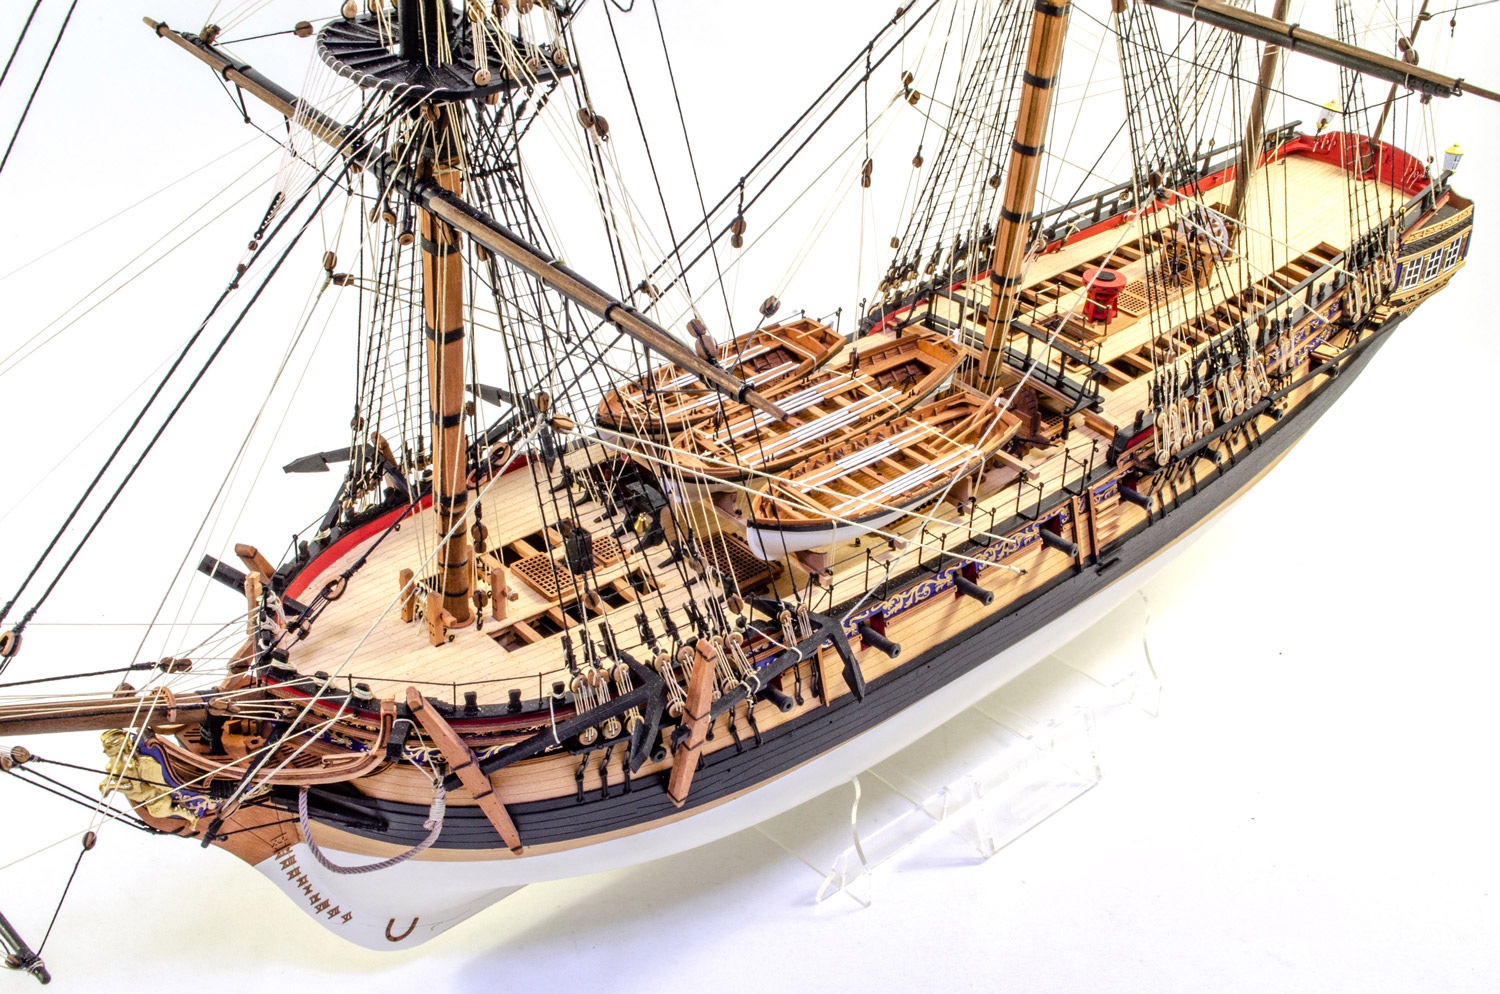
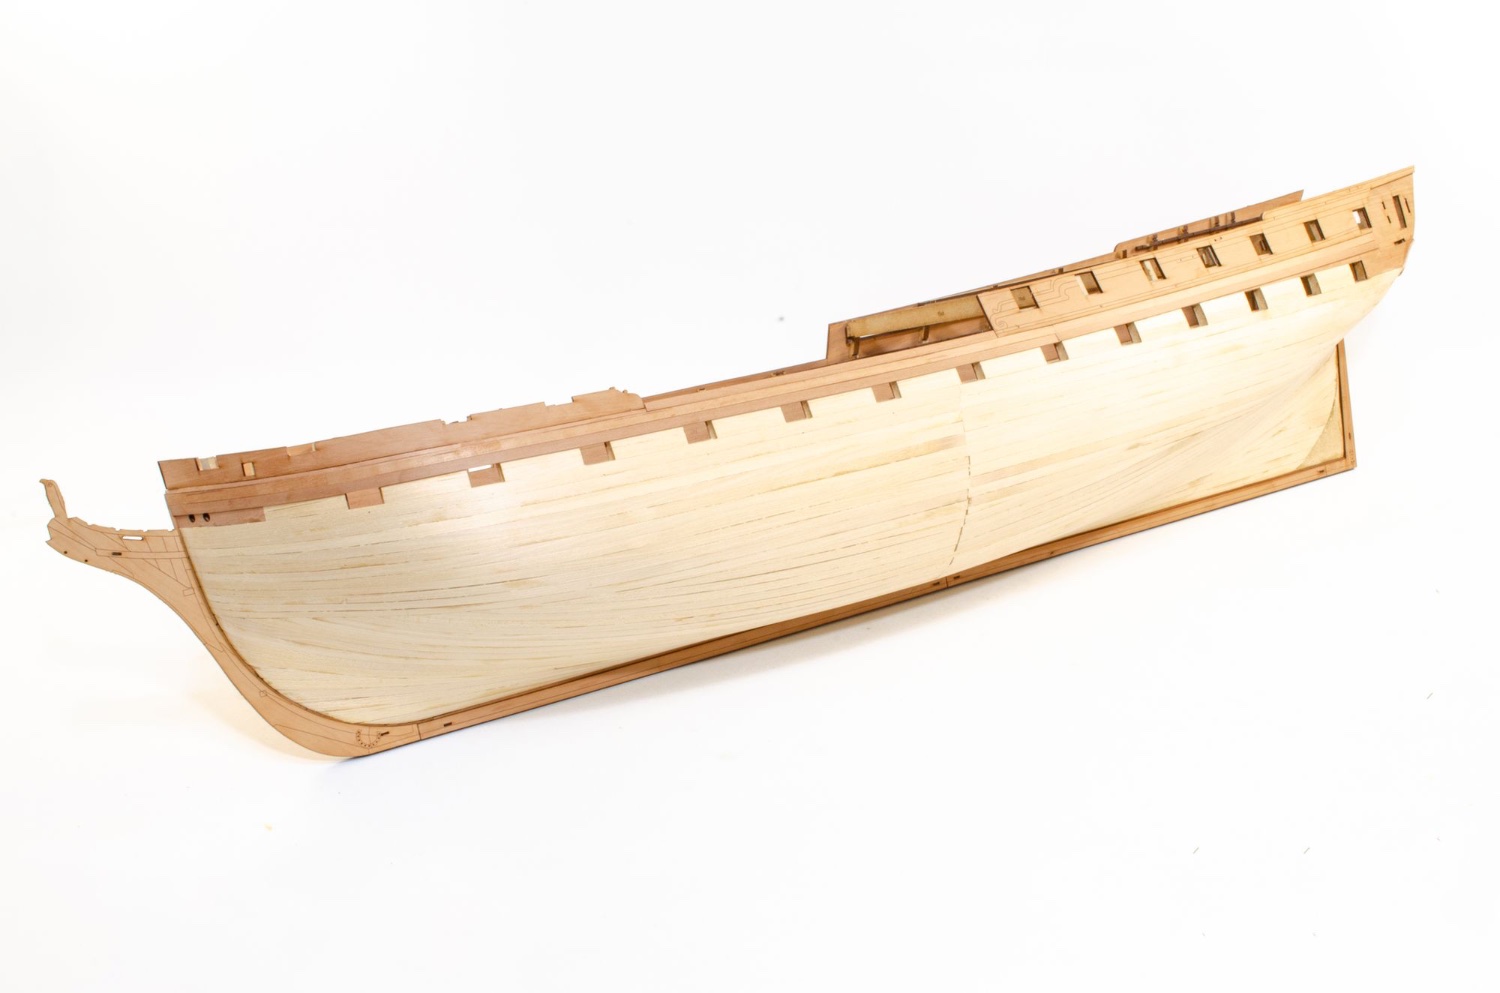
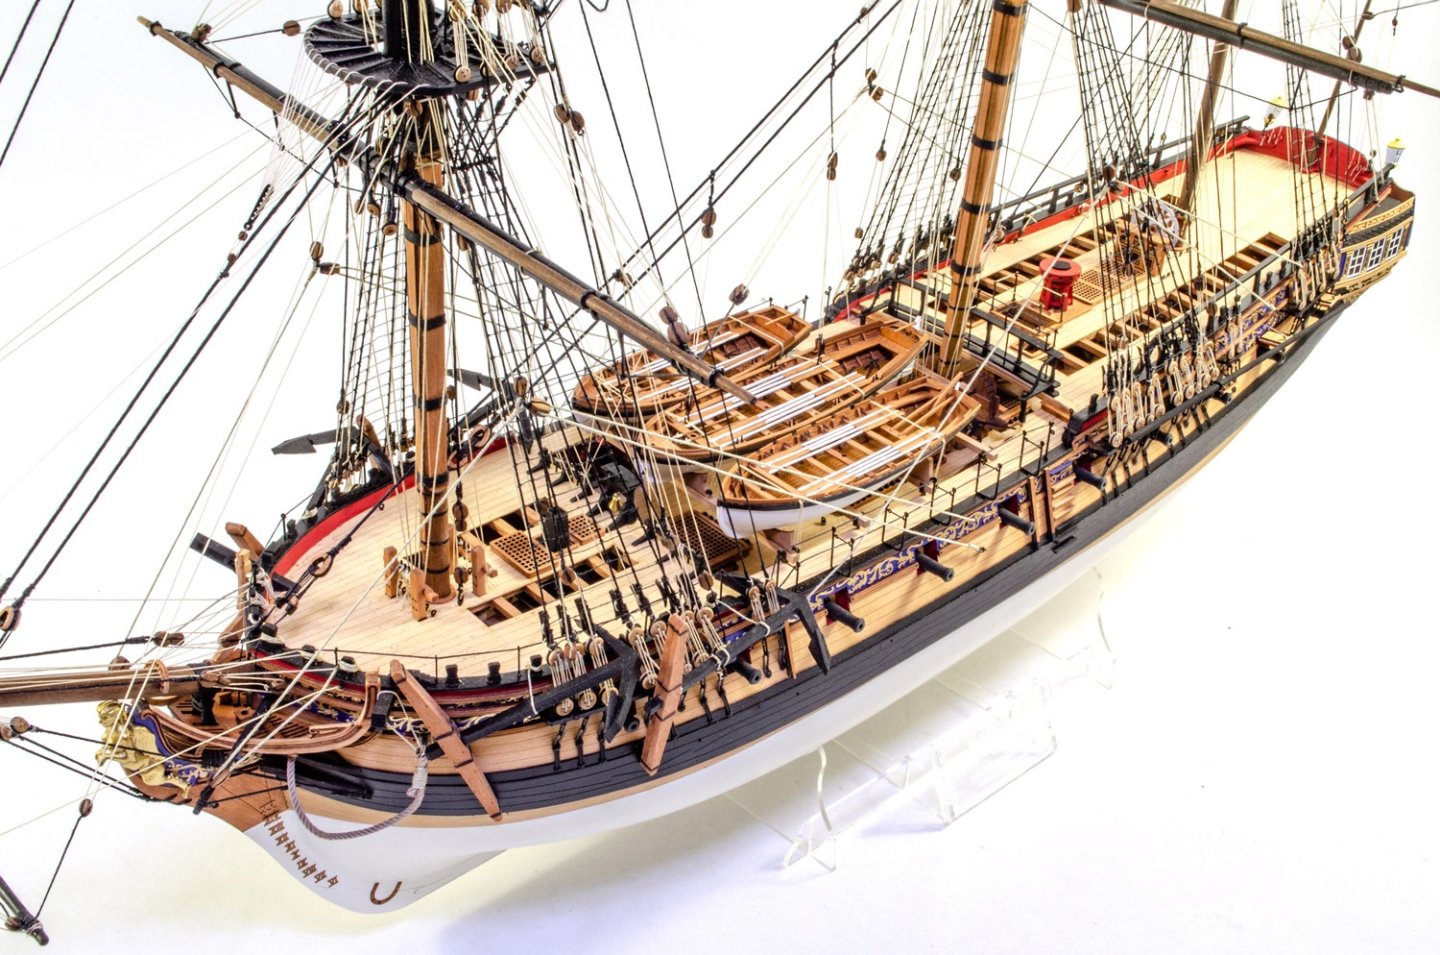
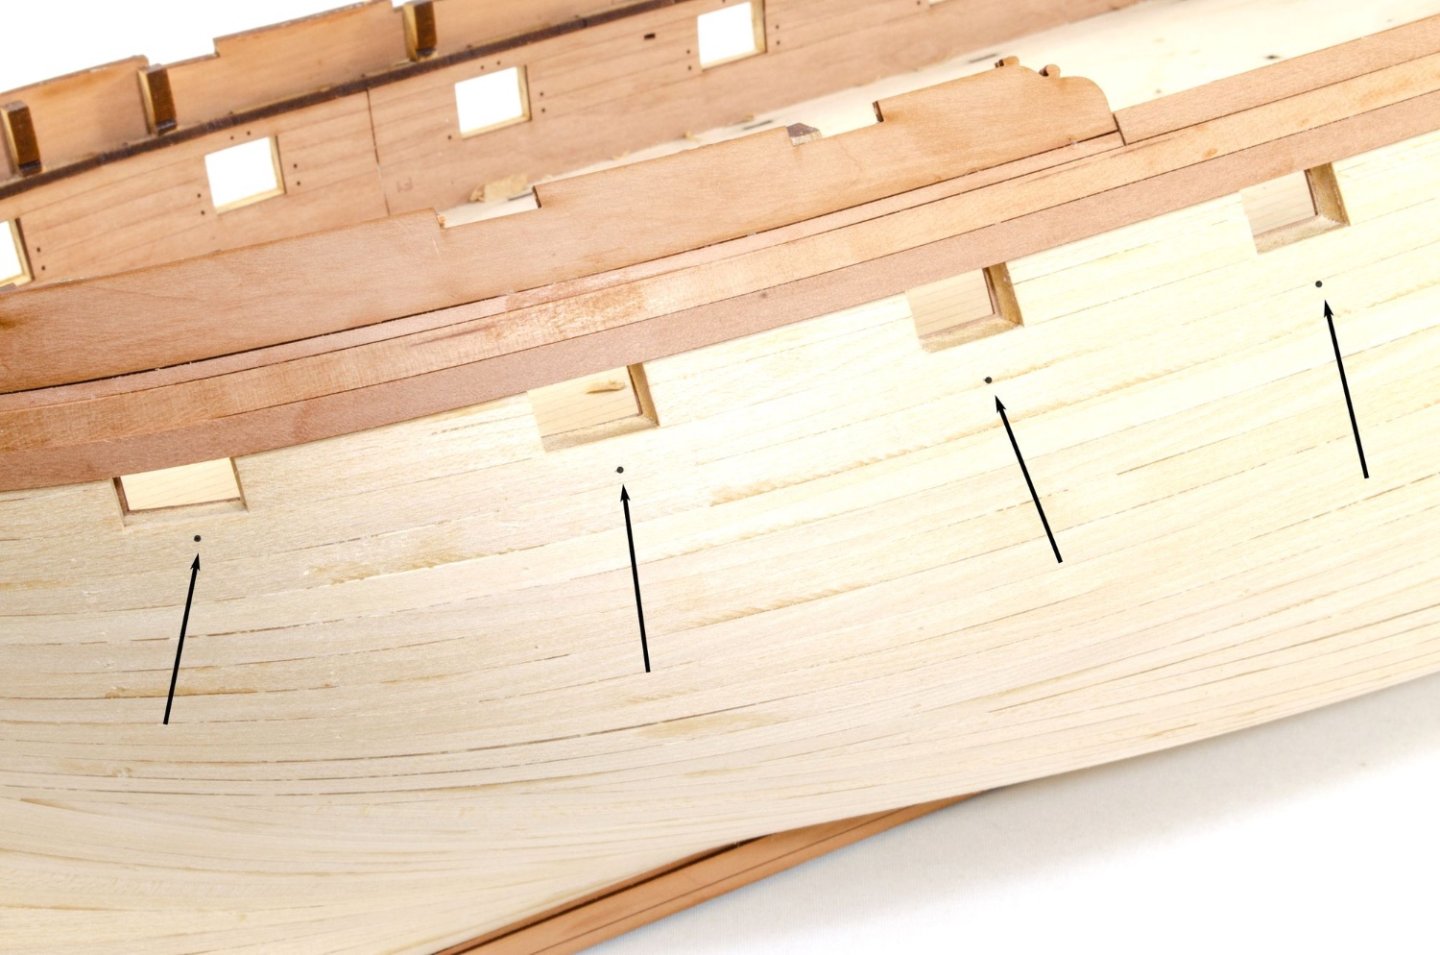
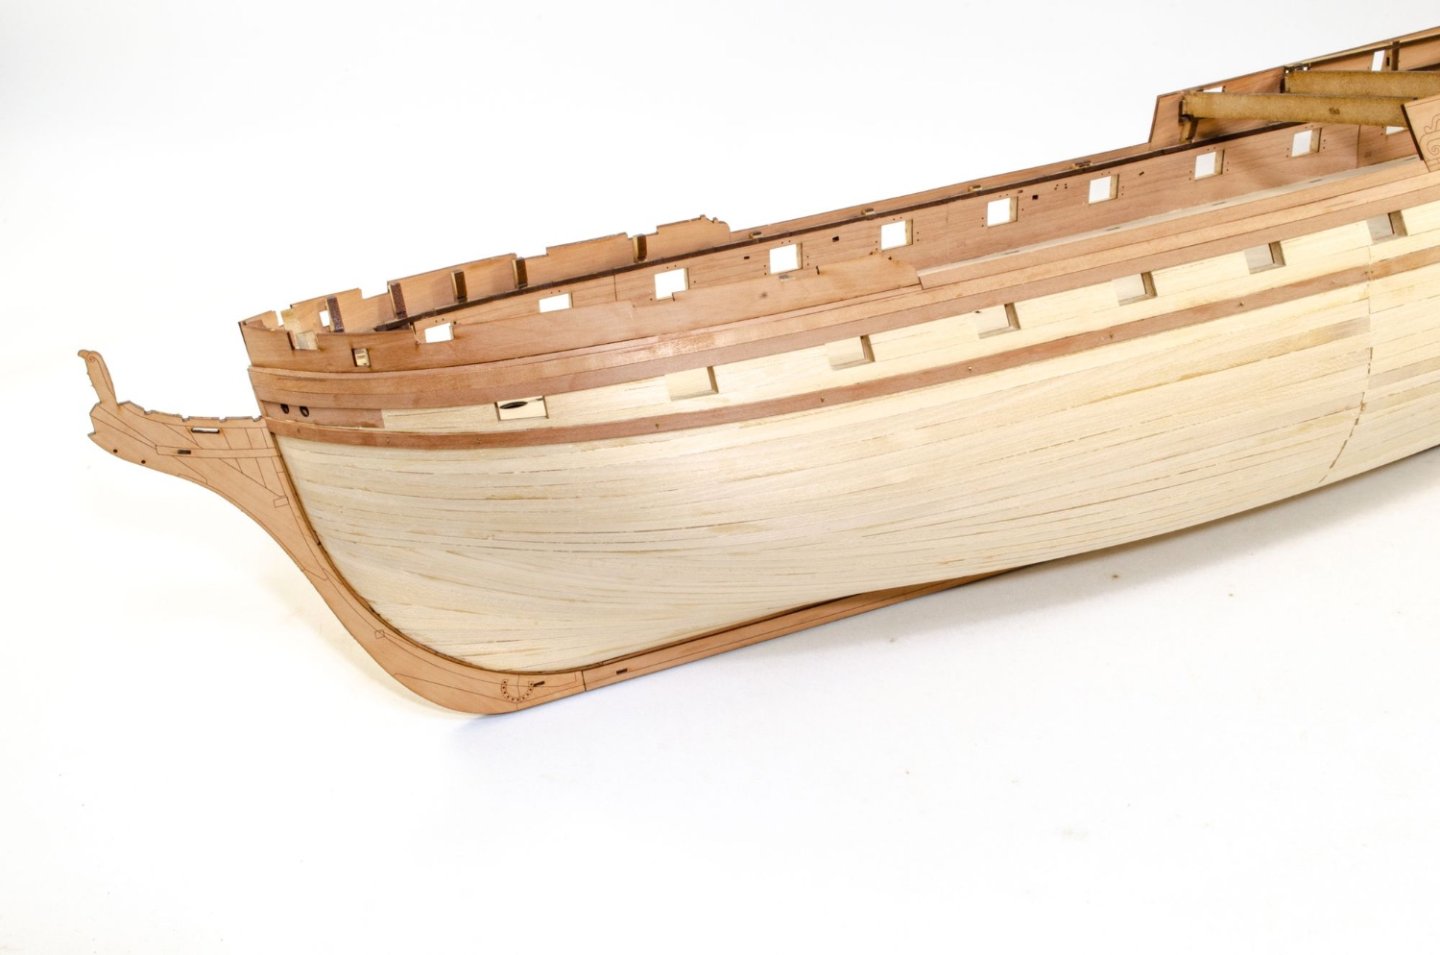
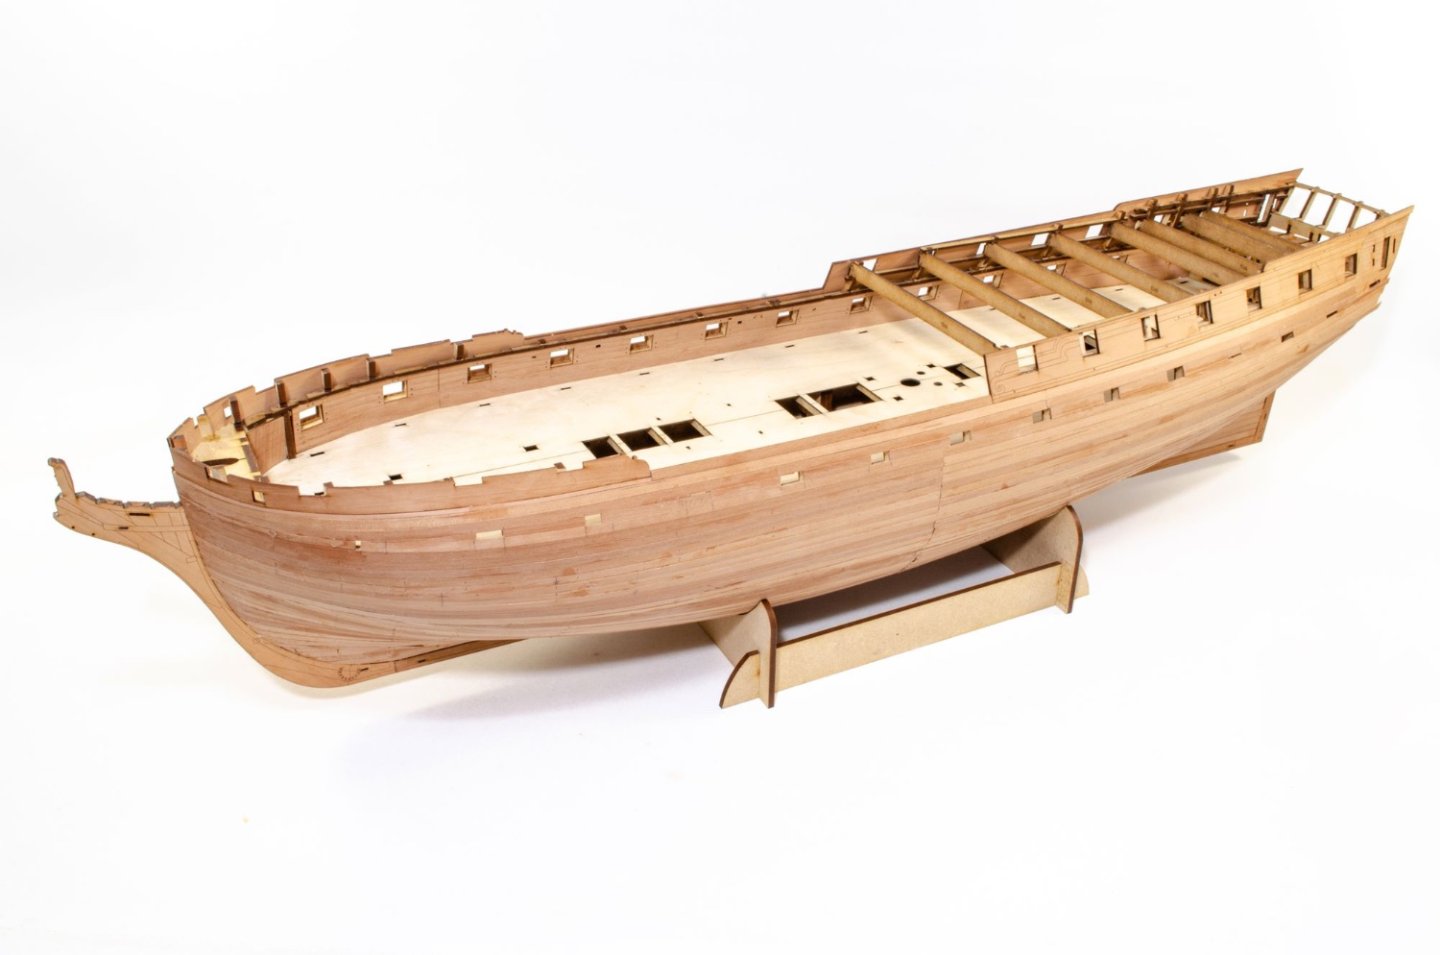
This is only a mini-update as I've been away on holiday. This shows the hull up to completion of second planking, but I have started on sanding this smooth, which will be seen in next update when I've added the wales and done some other stuff. The plan will give a position below each gun port, where a mark will be added. It's here that a plank will be run, from stem to stern. It also gives a nice reference to the upper wale strake which will lie directly over the top. The hull is now sheathed in pear. Sanding begins.


- 488 replies
-
- 49
-

-

-
- Indefatigable
- Vanguard Models
- (and 1 more)
-
Perfect for Sphinx 😜
-
No programming glitch. I’m away at moment and can’t look at tech stuff, but a quick browse yesterday on a computer on this ship showed it was working.
-
Thankfully, that wouldn't involve me updating it, as I have zero to do with the NRG site 😁
-
I'm sure you'll be just fine with that kit. We don't even know if you've been a modeller in some other form before. My first kit was an AL San Francisco....a lit which doubtless I'd be told is too hard for a first build, but here I am 20yrs on. AND....I'm still full of bad habits. Just enjoy your build.
-
You tend to find that someone who is not on Facebook will rarely use any other social media platform, generally. Social media is really the only way we can communicate that we are down. We can't send out 42k emails to tell our members as our mail server would also be un-operational. We could, theoretically, open a Blog page which we can use for service updates in such eventualities, but again, it's just something else for me to do, plus our downtime is so rare that if it happens, it's not worth the effort.
-
I'm afraid I've enough to do without venturing onto Twitter! 😉
-
We also use SSD drives, so not the spinny, slower things. Read/write access times are much faster. We also have a fast CPU and loads of RAM so queries on our database (anything a member does on MSW) don't slow us down. A nice fast data pipe out of Chicago also helps.
-
A higher latency is really not what we want. We've had higher latency before, and it just frustrates folk. We are actually using a cloud proxy, as you've seen, so there's a bulwark between the site and the outside world. We've also used globally distributed DNS providers before, with minimal success. To be fair, our downtime is so rare (and our connection speed so good), that implementing other things really isn't worth it. If you count the site downtime since 2013 (and even before), you'd see we're pretty good.
- 39 replies
-
- 13
-
-
MSW's email server is tied into MSW. When MSW went down, then no one can send or receive mail via the site.
-
You shouldn't have too much trouble with that kit. Just take your time and ask questions. We do have a gallery of her here. I see you only live 10-15 miles from me too, so good to see another local!
-
Not similar in the slightest, thankfully. 2013 was a hardware failure. This problem isn't even related to our server, but a service which our host is provided with via a 3rd party, affecting some server cabinets. No data is involved. As an aside, MSW has backups on separate drives to the one we primarily use. We were supposed to have had that in 2013, but our host failed to set it up.
- 39 replies
-
- 12
-
-

-
It's not an issue with MSW, per se, but with an assigned block of IP numbers that isn't specific to our server. Our host is trying to get this sorted with the company that they use for this purpose, and it's taking time. The site may appear, then disappear. Unfortunately for MSW admin, we are powerless to do anything. We just have to wait for the issues between the two companies, to be resolved.
- 39 replies
-
- 16
-
-
-
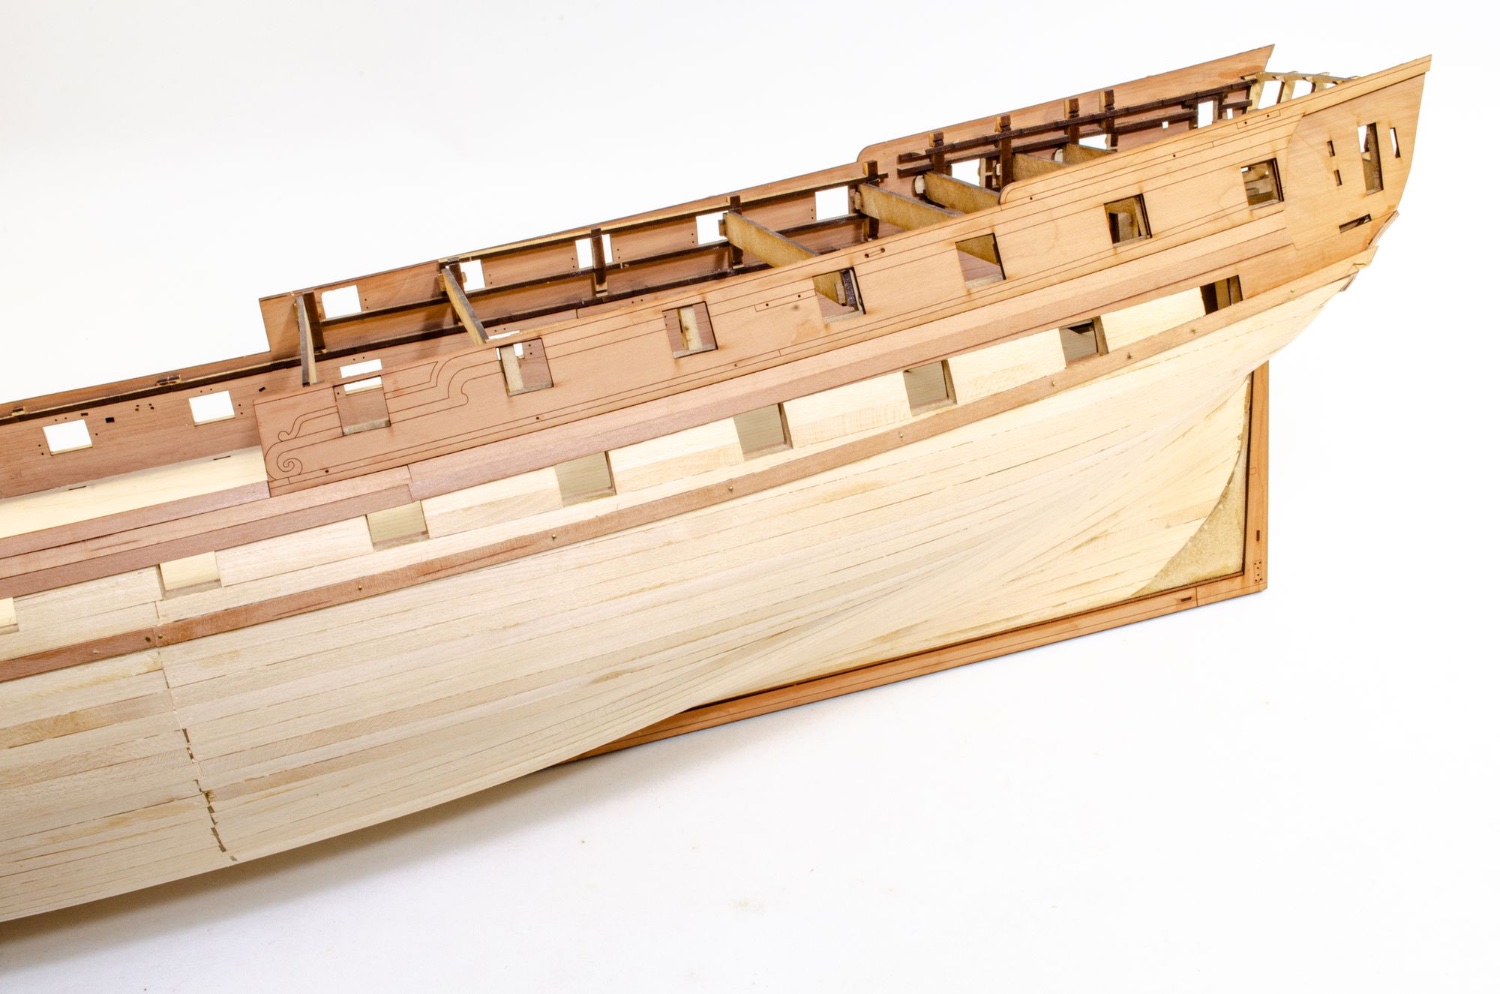
You can probably plank right to the front, over that MDF so that the planks come to a 'point'. From there, you can sand this back, flattening off that 'point' until you have the maximum joint area when the pear prow is slotted into place.
- 426 replies
-
- 5
-
-
- Vanguard Models
- Sphinx
- (and 1 more)
-
That is where the pear keel plugs in. I'm a little concerned that you've sanded the MDF central keel to a point at the prow and going around the underside. That should've been a flat face which is part of there the prow glues. The planks would've butted up to the side of in and been sanded, leaving that flat face for a glue surface.

- 426 replies
-
- 4
-
-
- Vanguard Models
- Sphinx
- (and 1 more)
-
Yes, please pos your location, titles of books and a figure you are looking at for them.
-
kit review 1:200 German Battleship Bismarck - Amati
James H replied to James H's topic in REVIEWS: Model kits
You're best asking Amati for a copy. We can't, and won't, scan drawings and distribute them. It's illegal. -
I wouldn't worry too much about it. It's obvious that it's part 60 when you are working on the model. I write all this away from the bench session with about 6 different files open, switching between them. The occasional thing will slip through the proof, but they won't cause any problem. We probably spend more time on manuals than anyone else, so you'll have to forgive little things like this.
- 426 replies
-
- 4
-
-
- Vanguard Models
- Sphinx
- (and 1 more)