-
Posts
836 -
Joined
-
Last visited
Content Type
Profiles
Forums
Gallery
Events
Everything posted by Mark Pearse
-
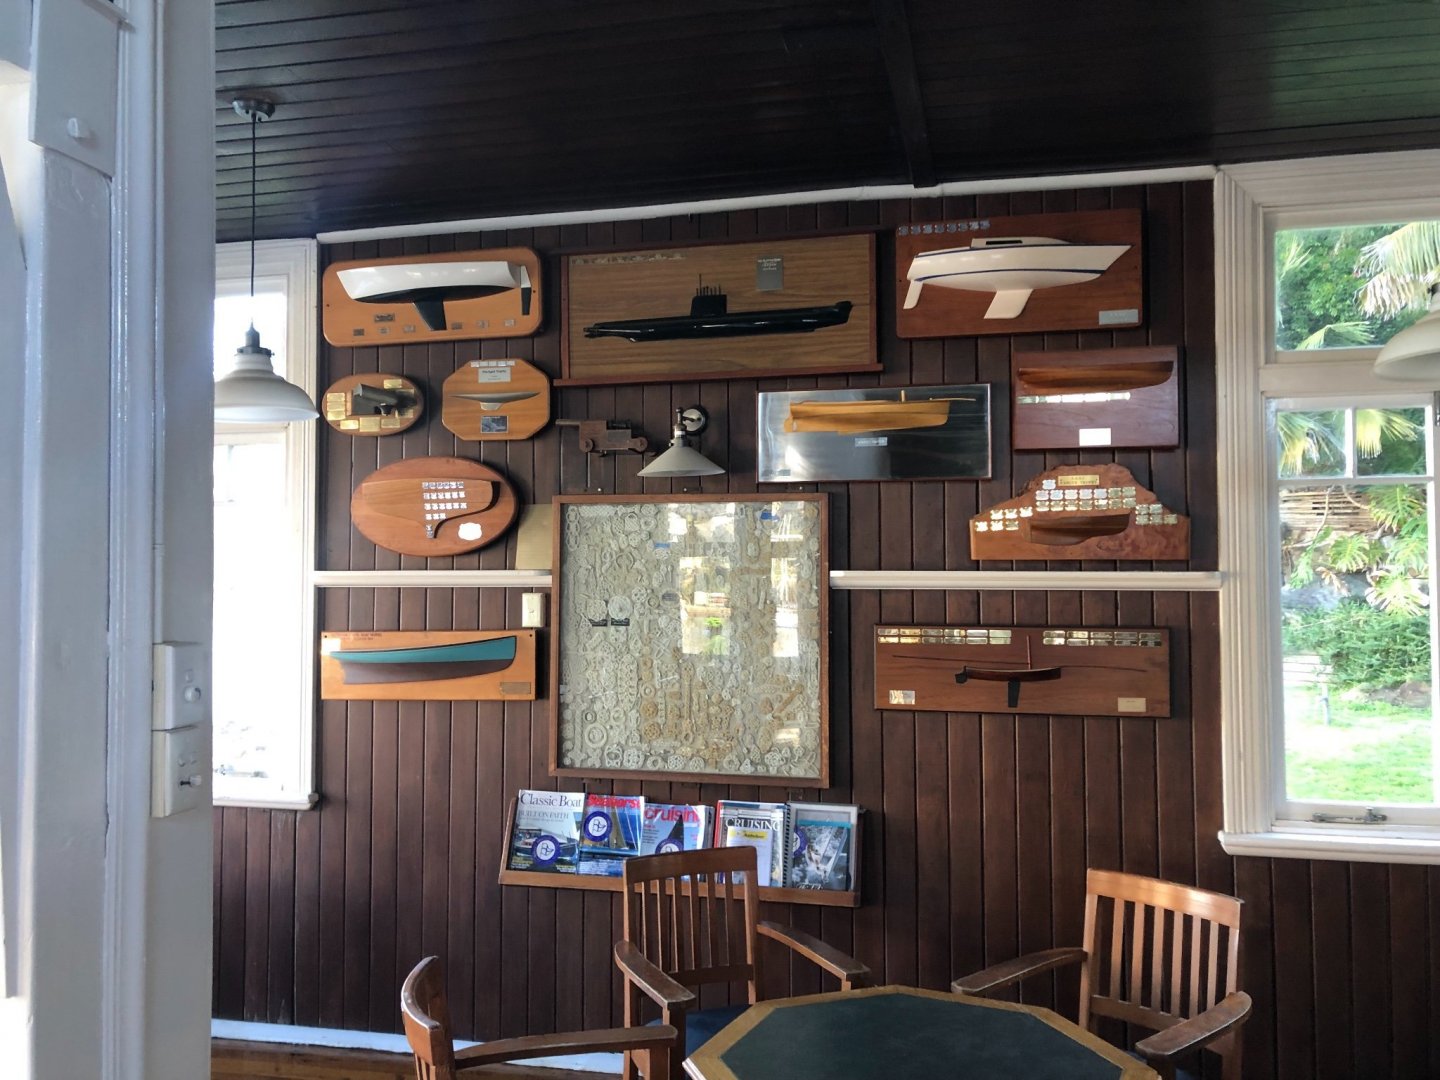
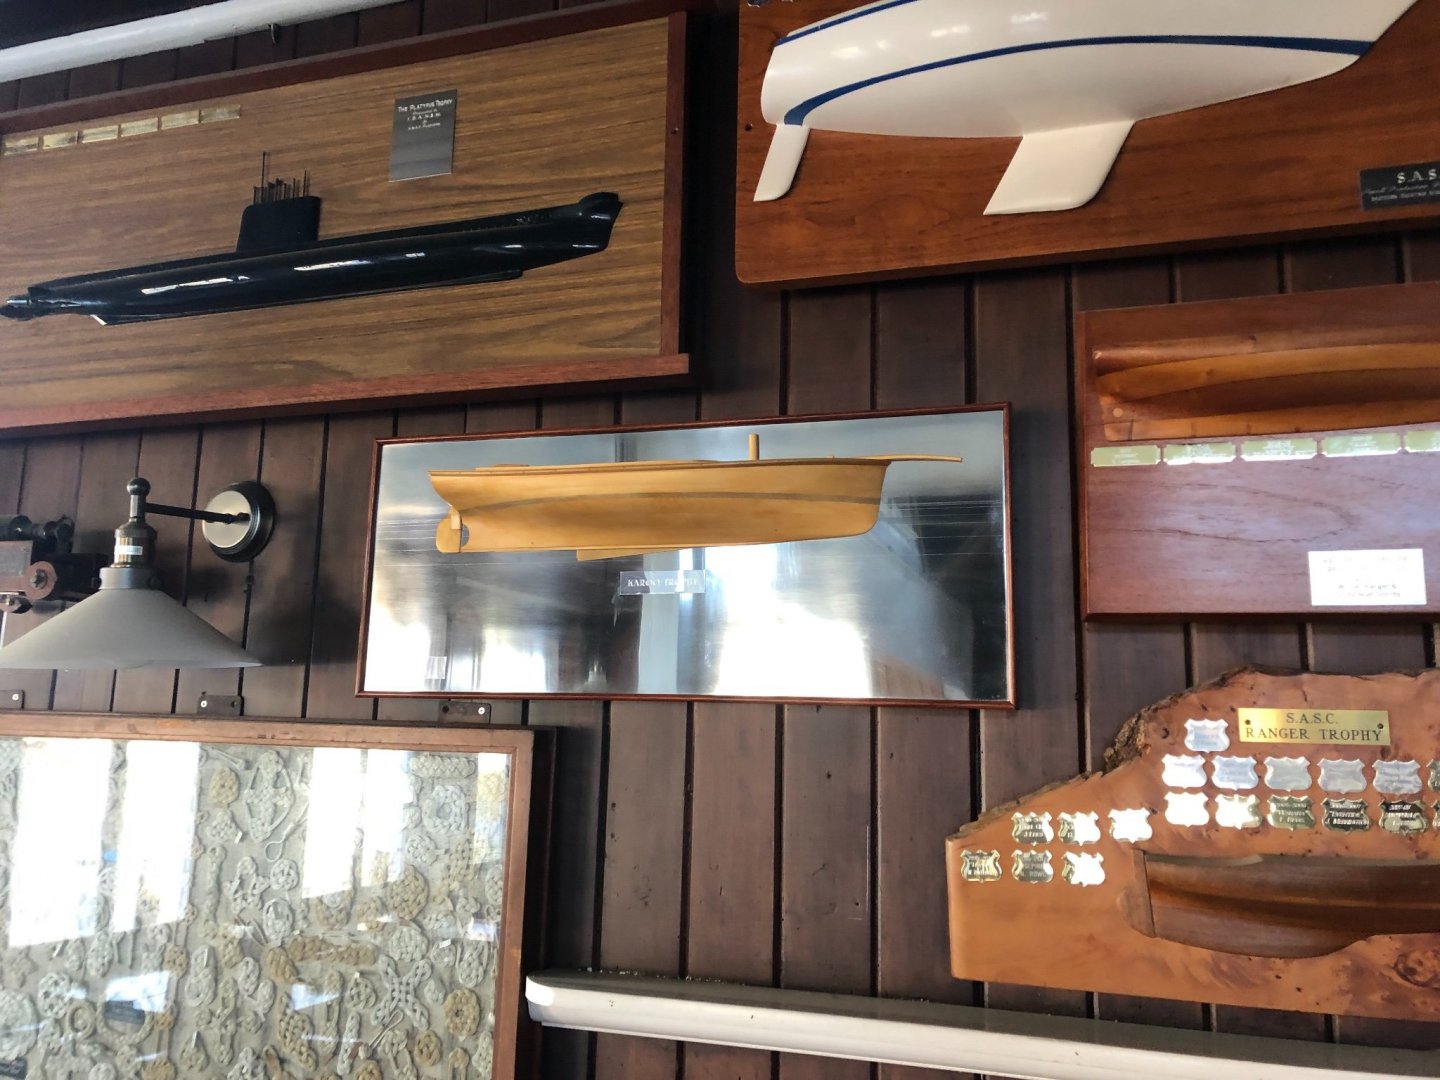
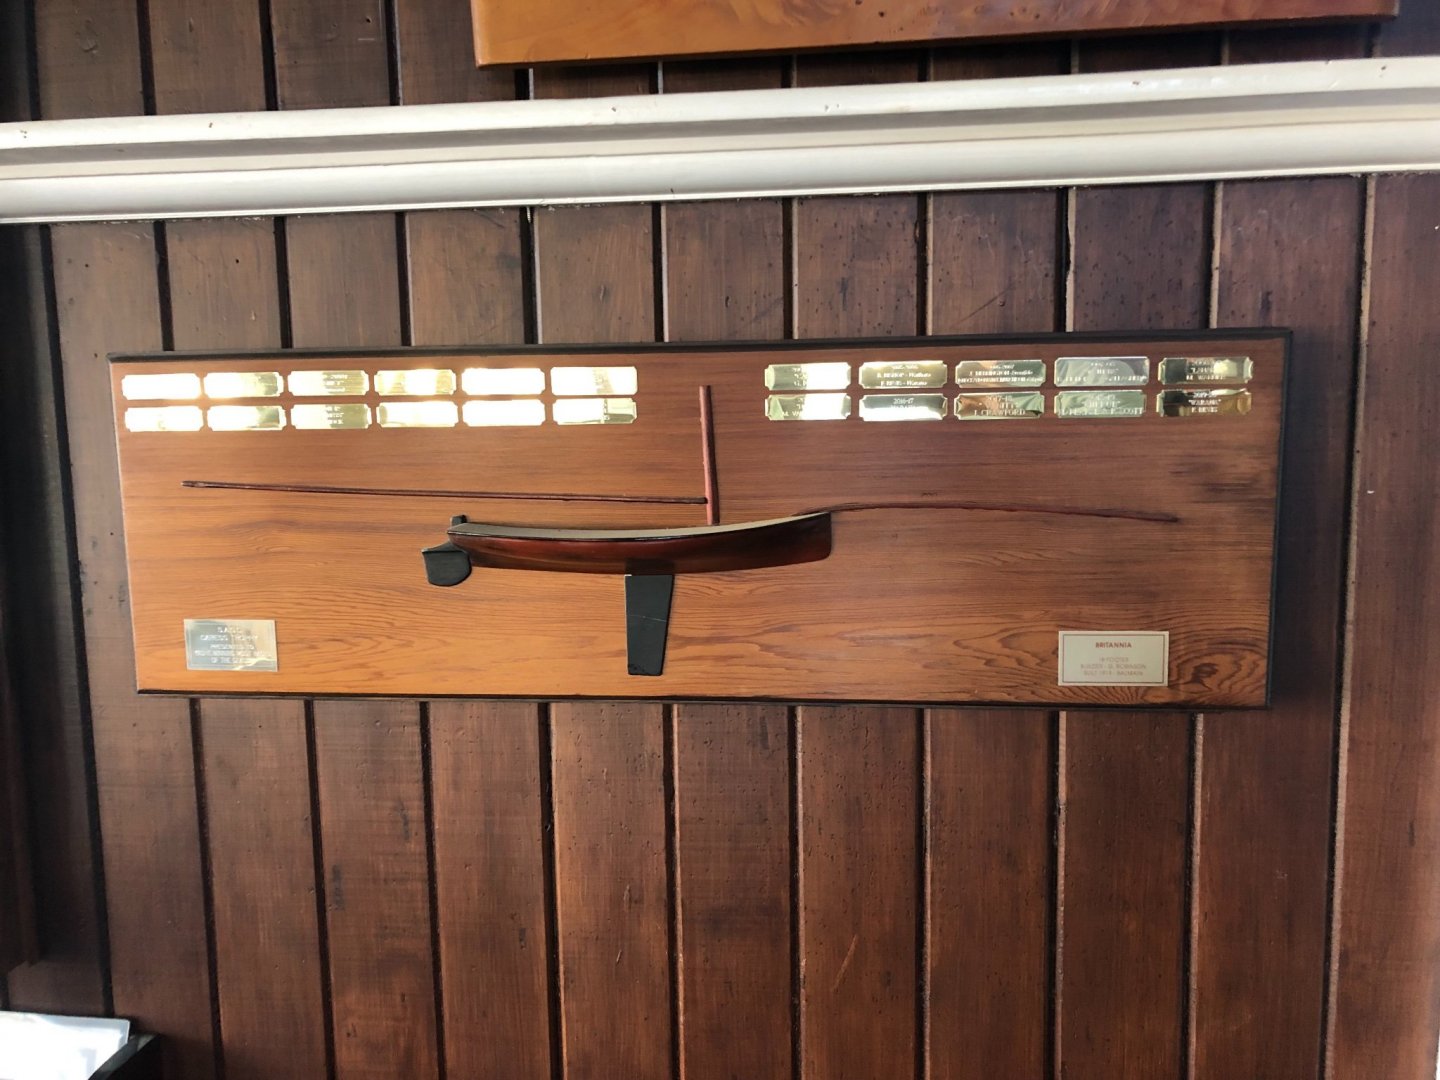
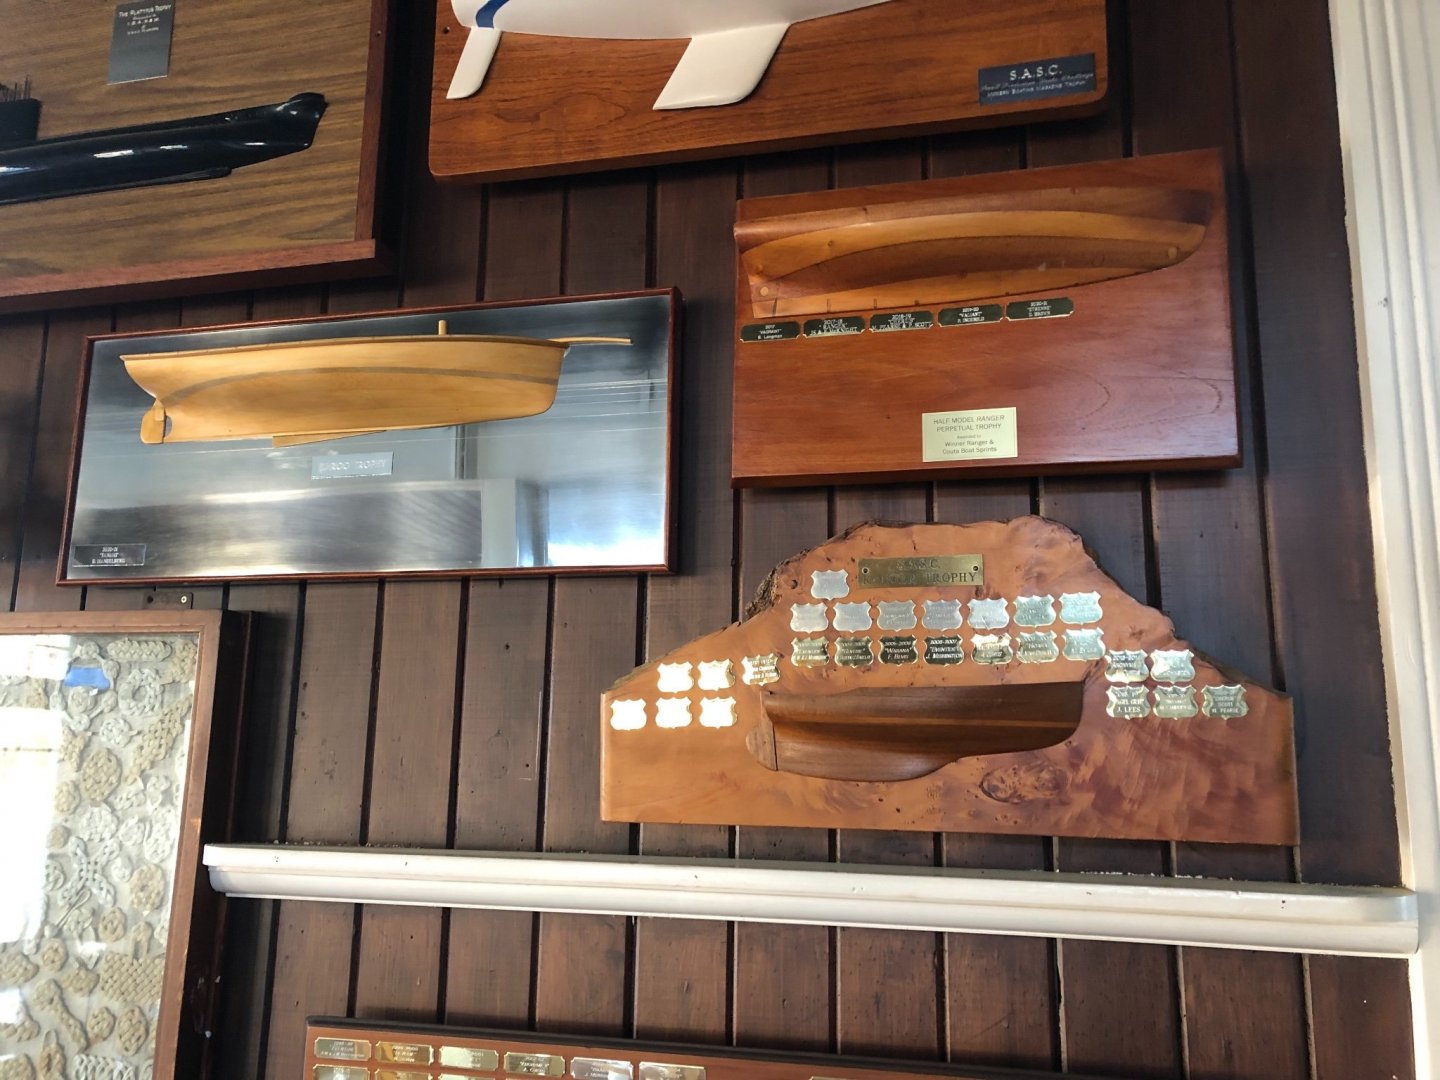
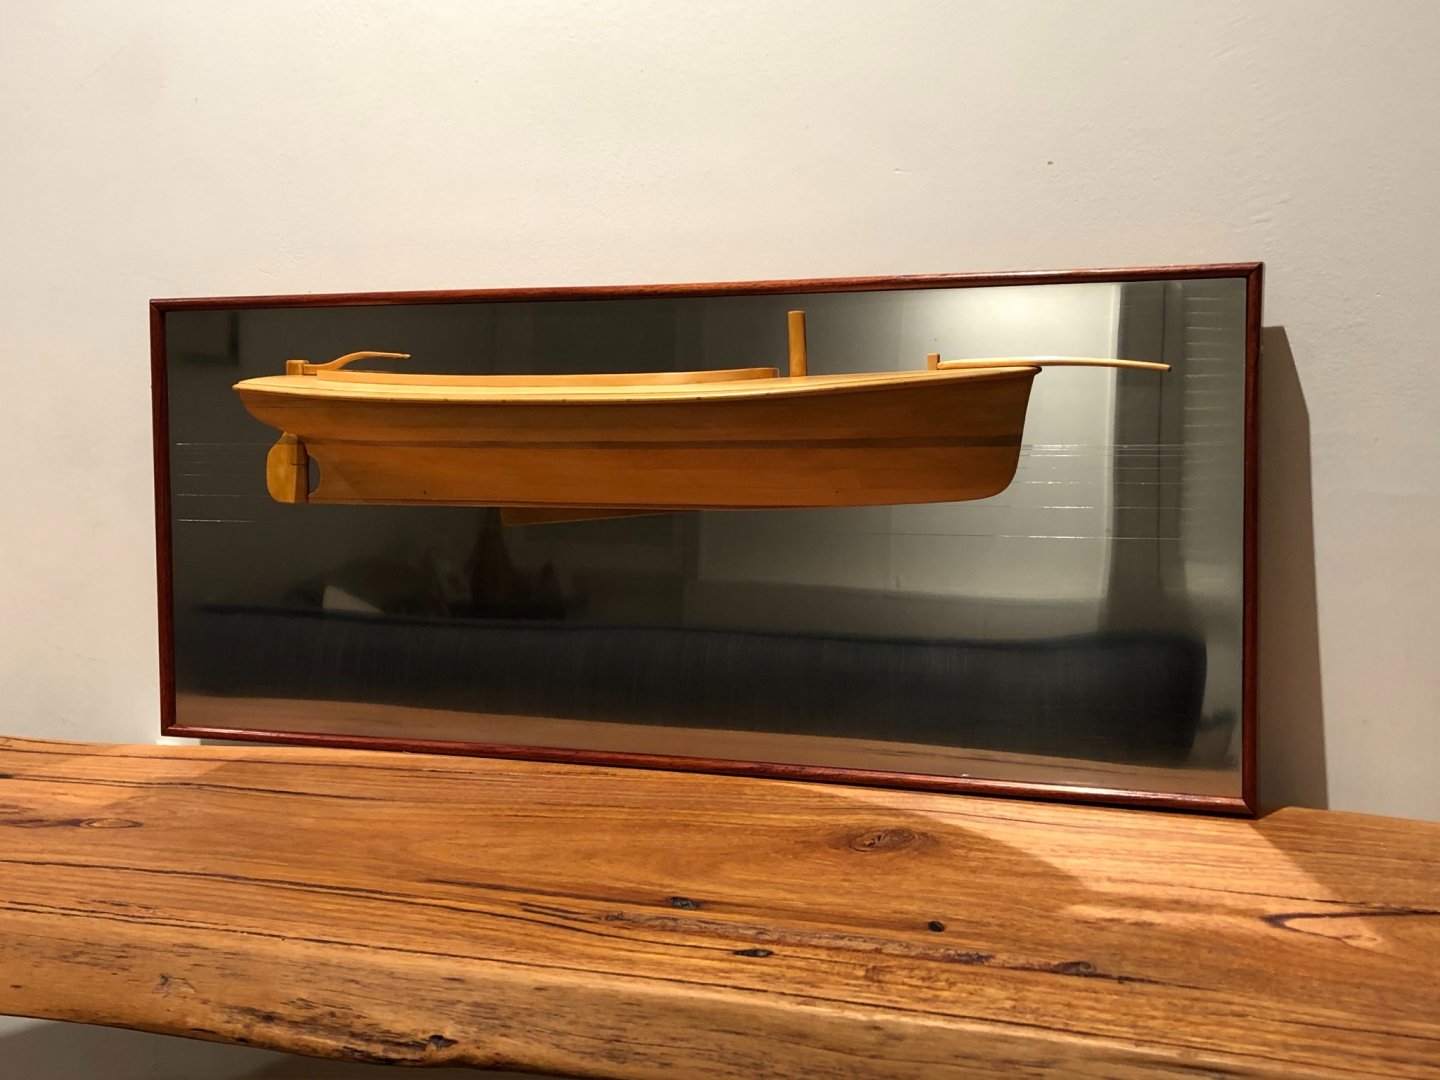
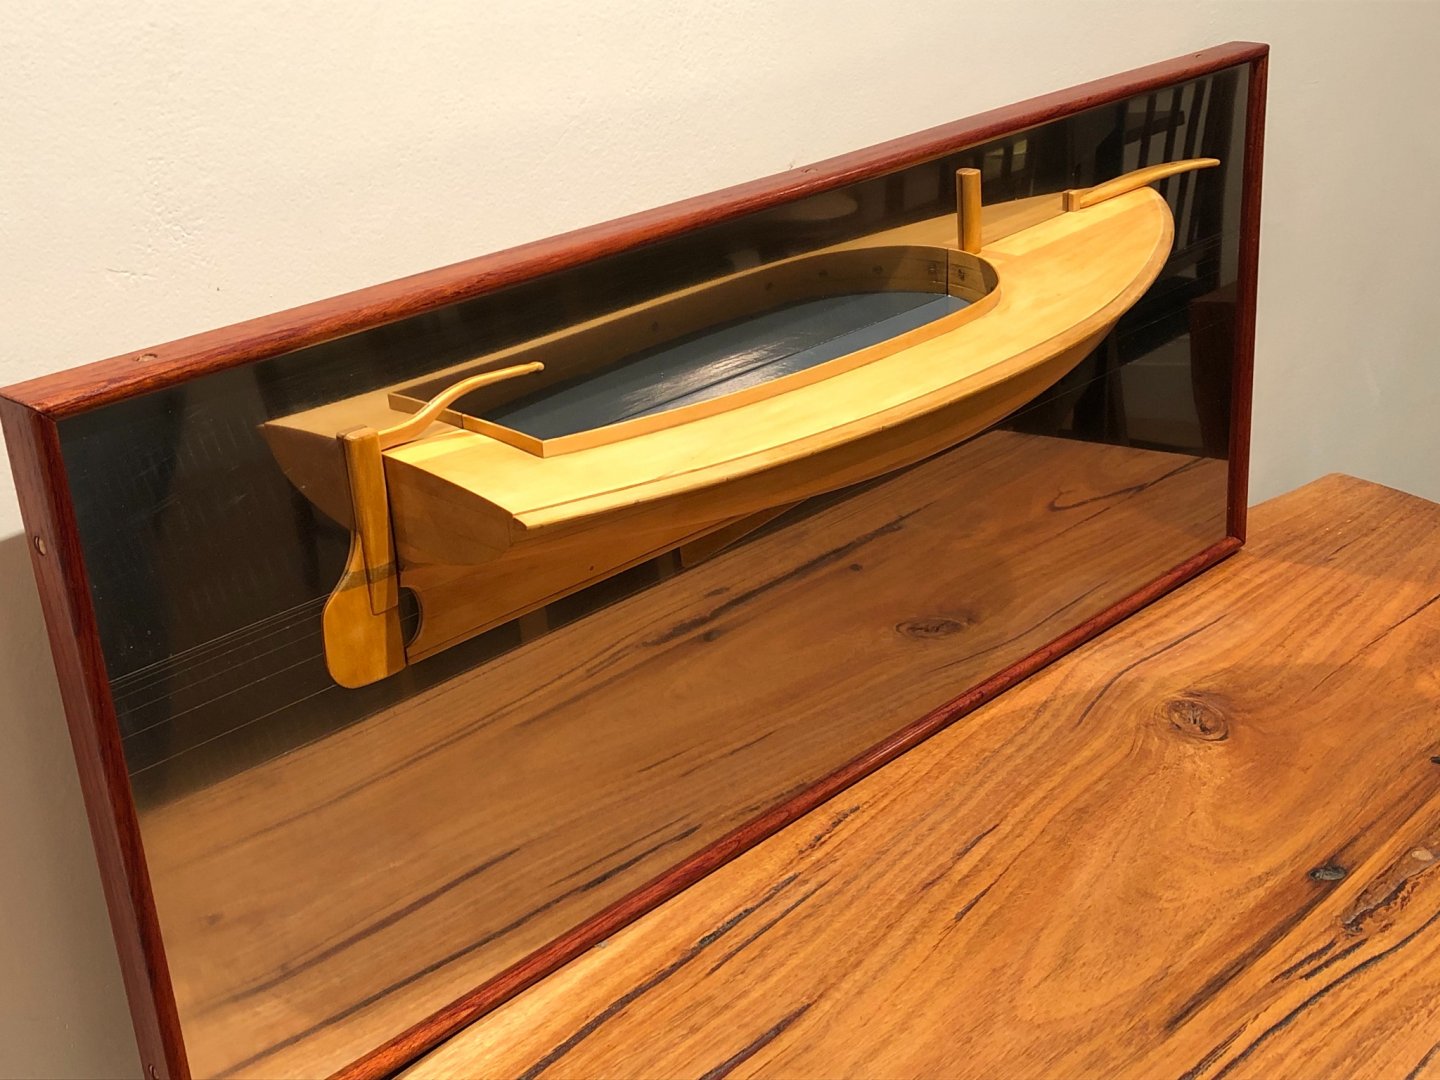
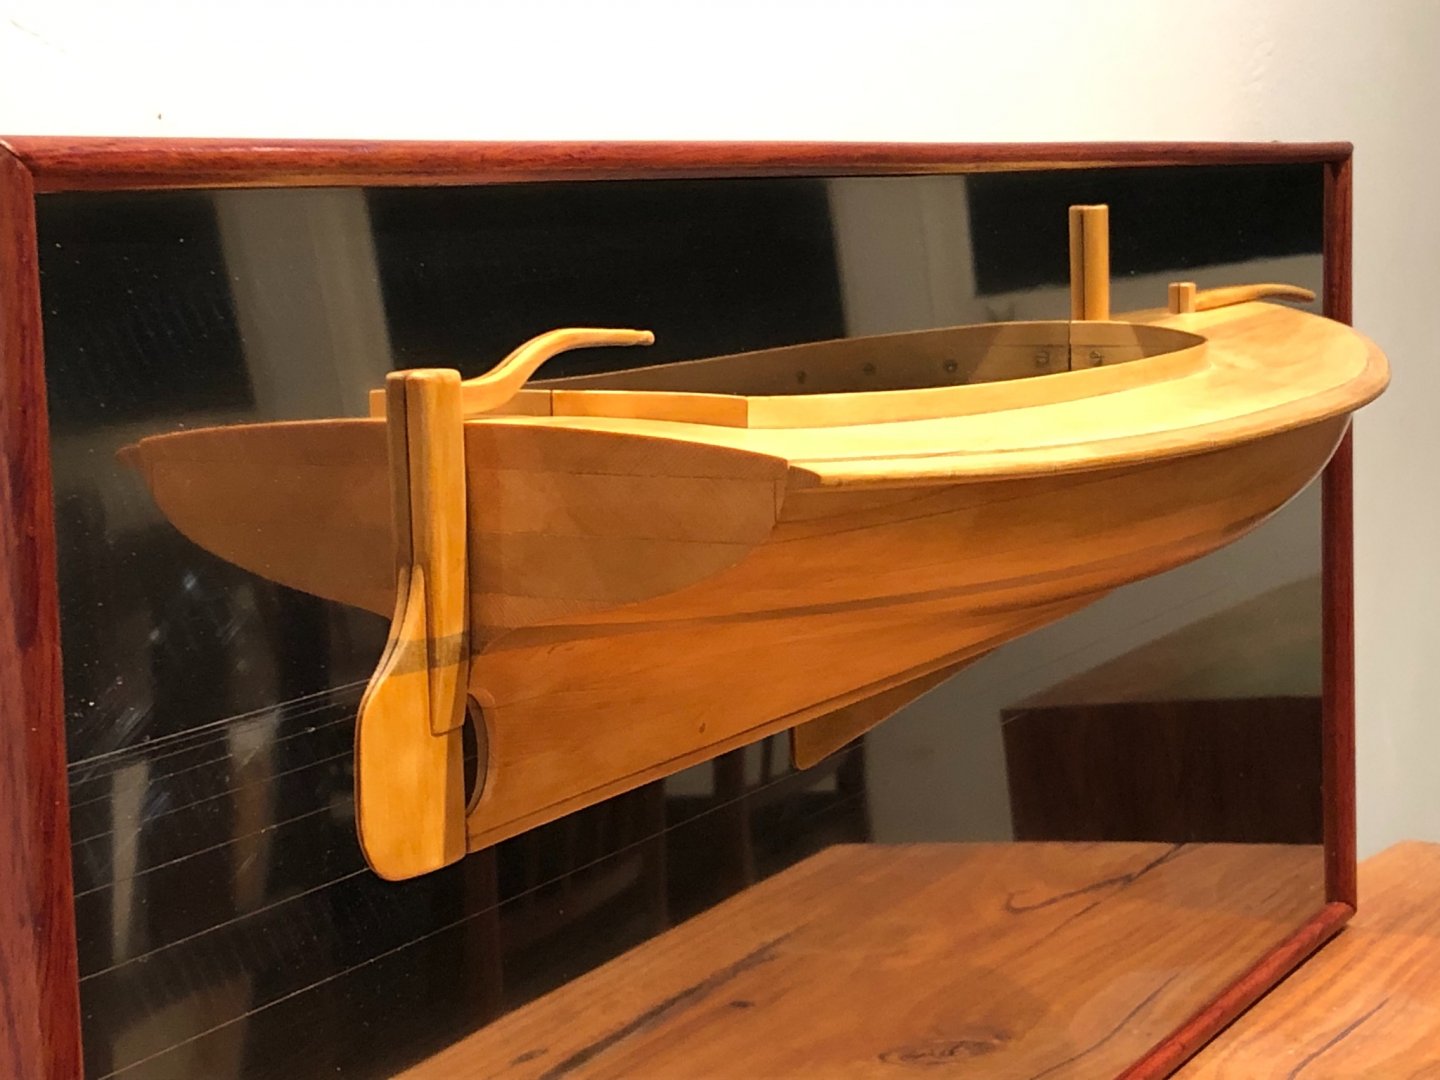
And now the half model, with trophy name plate, is up on the wall of our sailing club. It has some interesting company.
-
Hi Vaddoc It's exciting to see the planking commence. I hope you get some more time to build in the near future. Are you planning to set up any battens or thread to sight the planking lines?
-
Hi Silverman. Nice clean work there. I also used dry heat to bend timber, mainly with a hot air gun. I did use boiling water once because it had to be softened along it's full length at once - but I don't think the timber was more flexible from that technique than just dry heat. For planks I would look at the twist required & then clamp one end of the plank, then apply hot air & twist the timber with the other hand...let cool & check...twist some more etc. Mark
-
Thanks everyone Hi Druxey, I proposed this Trophy (most sailing clubs have a lot of trophies, so additional ones are not always welcomed) to encourage classic yachts from other clubs to sail with us (The Sydney Amateur Sailing Club). We have a Sunday non-spinnaker classics series, & one race from this series becomes an 'invitational' race, so open to casual entries from anyone. To make it more interesting a bottle of whisky & your name on the trophy are both on offer - so at the annual prize giving day you get to have the trophy on your table & take the whisky home. It's pretty amazing what people will do for a bottle of whisky & some sparkly silverware, but it's all part of the fun. When the trophy is up on the wall, I'll post a picture of it.
-
I wonder if they used the yoke to lock the rudder off while rowing, & used it for steering only while sailing. Wefalck seemed to be pointing to this.
- 433 replies
-
- open boat
- small boat
-
(and 1 more)
Tagged with:
-
Hi Roger, Good question, & the answer is a bit long perhaps.....I decided to do that cutaway for the propeller when, fairly late in the build, I looked back at the drawings & saw that the cutaway is shown. So although parts of the boat as shown are speculative (the drawing doesn’t show the rig, cockpit aperture, rudder/tiller or centreboard), I wanted the hull to be as accurate to the design as I could make it. If the model is for myself I could do what I wanted - but in this case the model will be with other half models on a wall of our sailing club, where the designer was a member for most of his life. So, I have been mindful of the place of a model to be a kind of history. Few people will take the trouble to look at the drawings but lots will see the model. It’s a minor detail, but I was swayed by the knowledge that having it the same size & shape as the drawing would be an indicator of the effort to be accurate in the hull.
-
thanks Steve, Yes the bowsprit as a boarding plank is a good one. It would have been a small boat for a family with 4 strapping boys. Not surprised that Ranger came soon with its generous cabin size (relatively speaking)
-
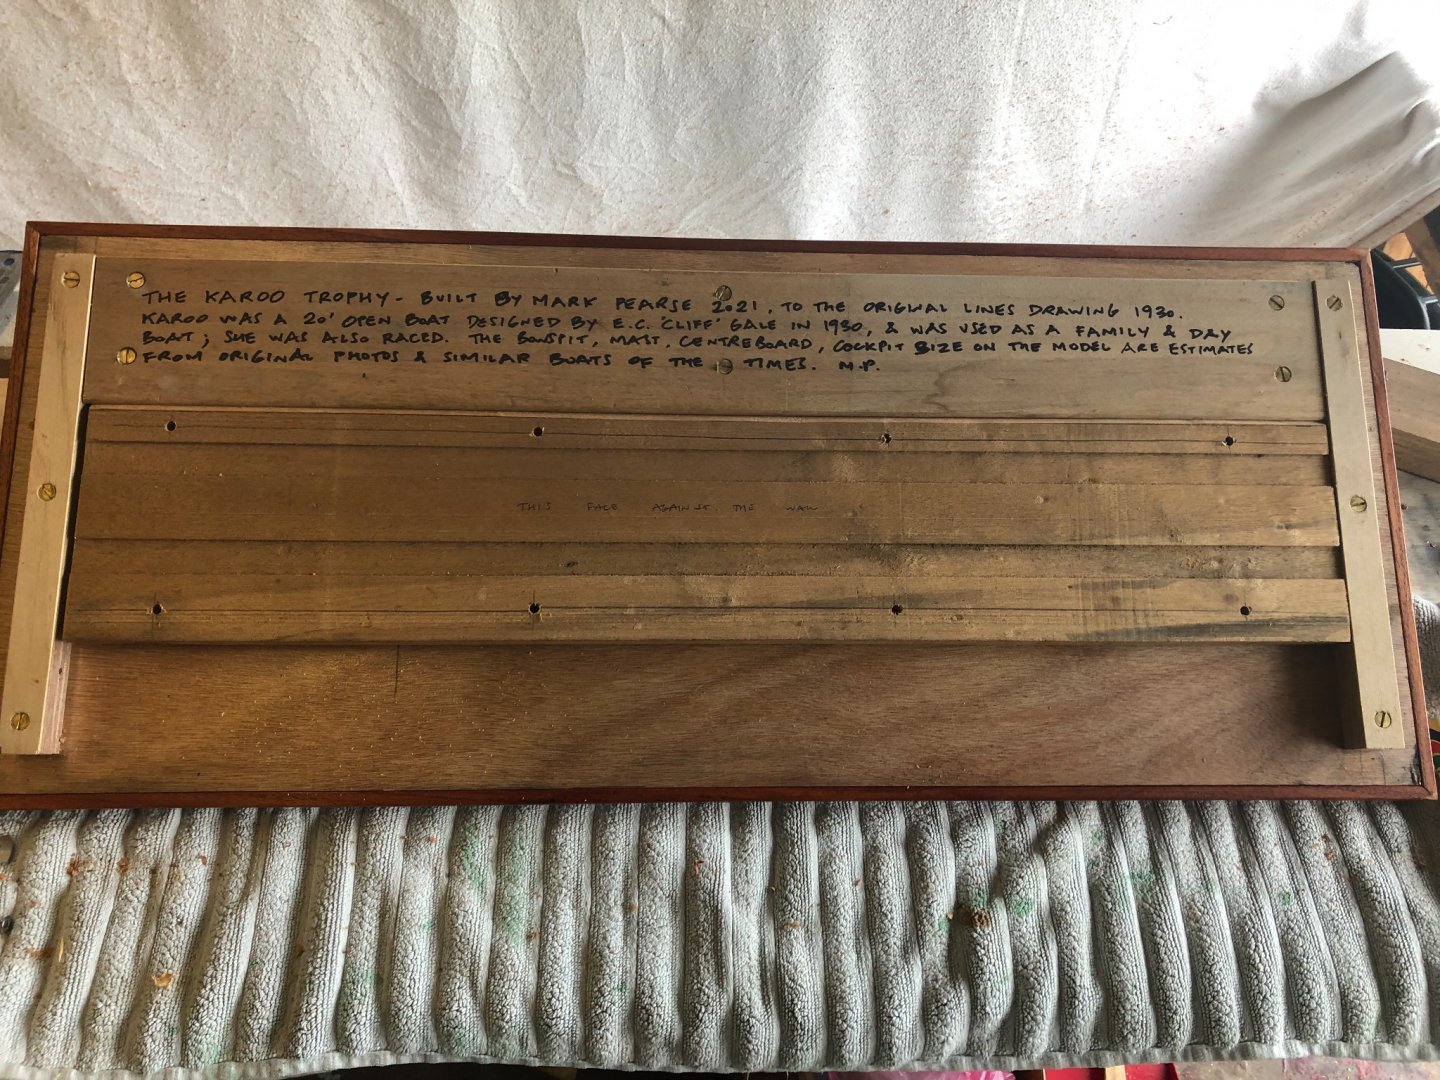
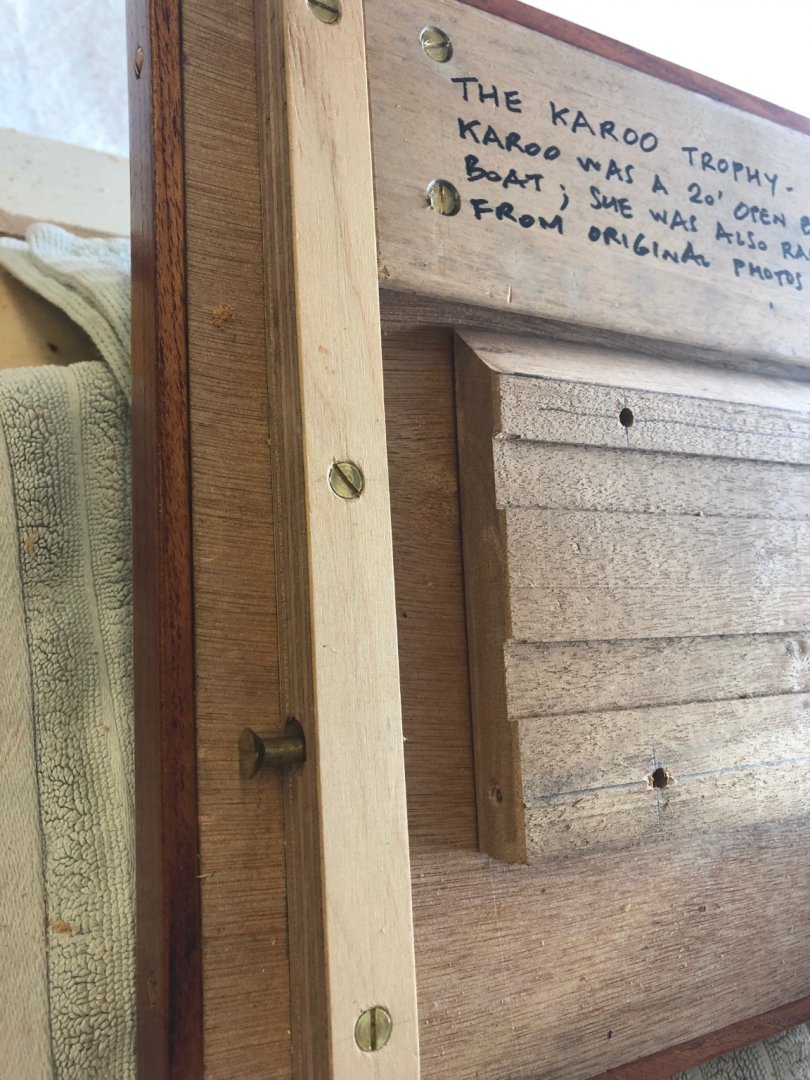
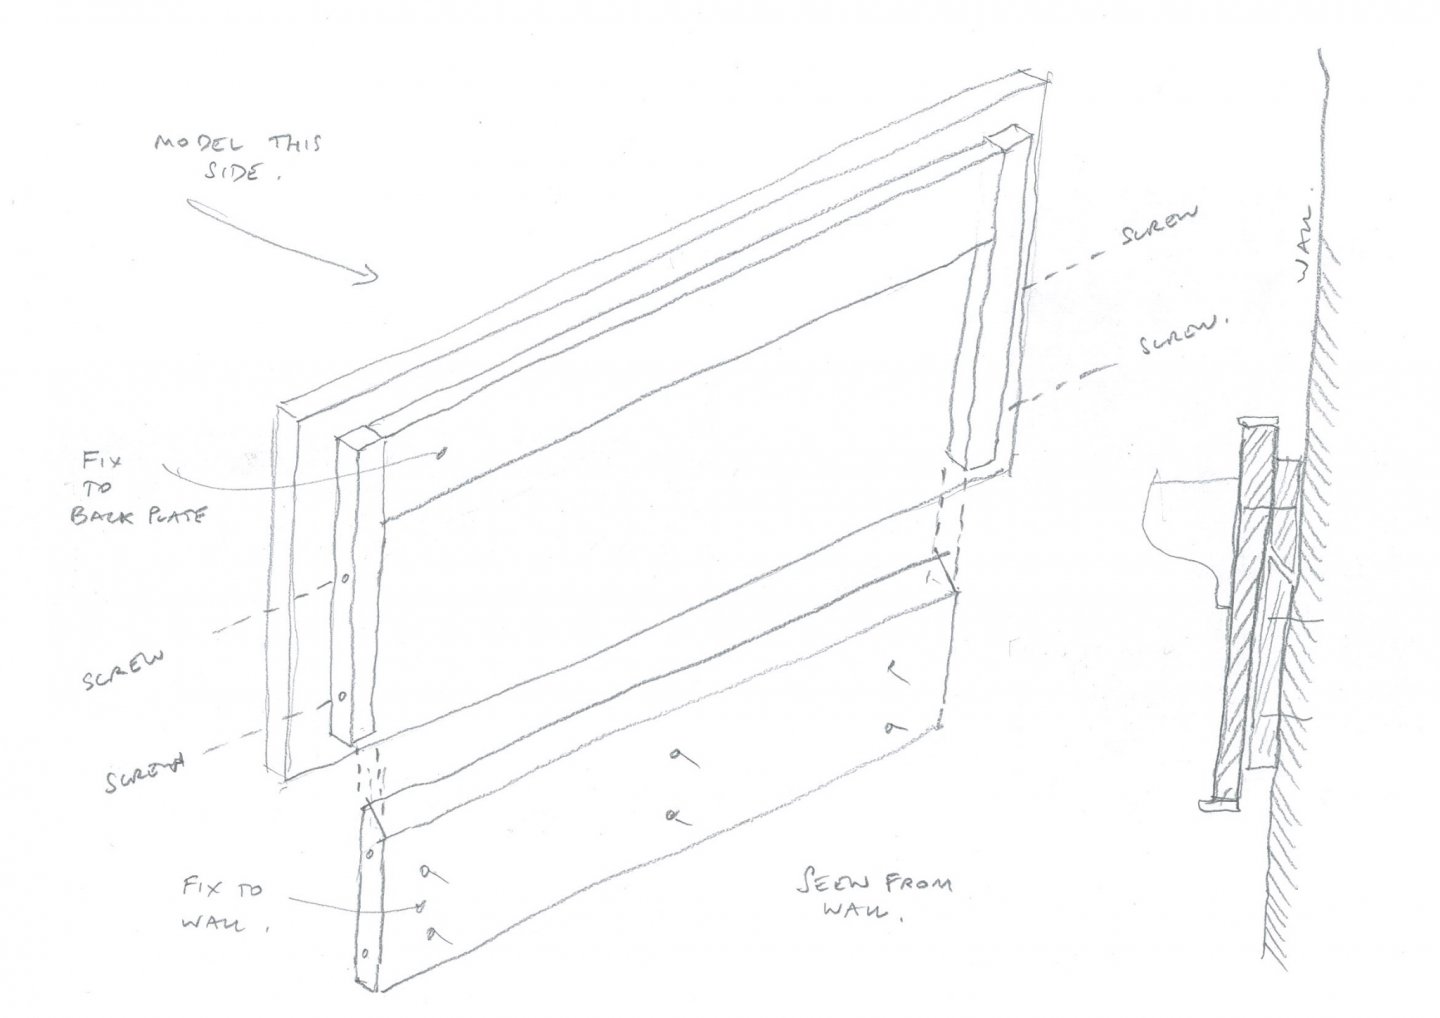
thanks everyone I completed the supports this morning - if you want more details there was a post that sketched the design. The photos below show if from the wall point of view. The wall plate is the lower split batten, pre=drilled for up to 8 fixings. The weight of the model is held by this. The model is dropped onto the wall plate, then the side screws, visible below, are put in. They really stop it from being accidentally bumped off, or the opportunistic thief (that isn't carrying a large flat head screwdriver....)
-
Thank you for the detailed & patient explanation of this fine model. I find the tiller yoke question intriguing. Is there any evidence that they might have used metalwork fittings that integrated with the timber piece you showed? I find the rope idea unsatisfying, the leverage doesn't look quite right. Mark
- 433 replies
-
- open boat
- small boat
-
(and 1 more)
Tagged with:
-
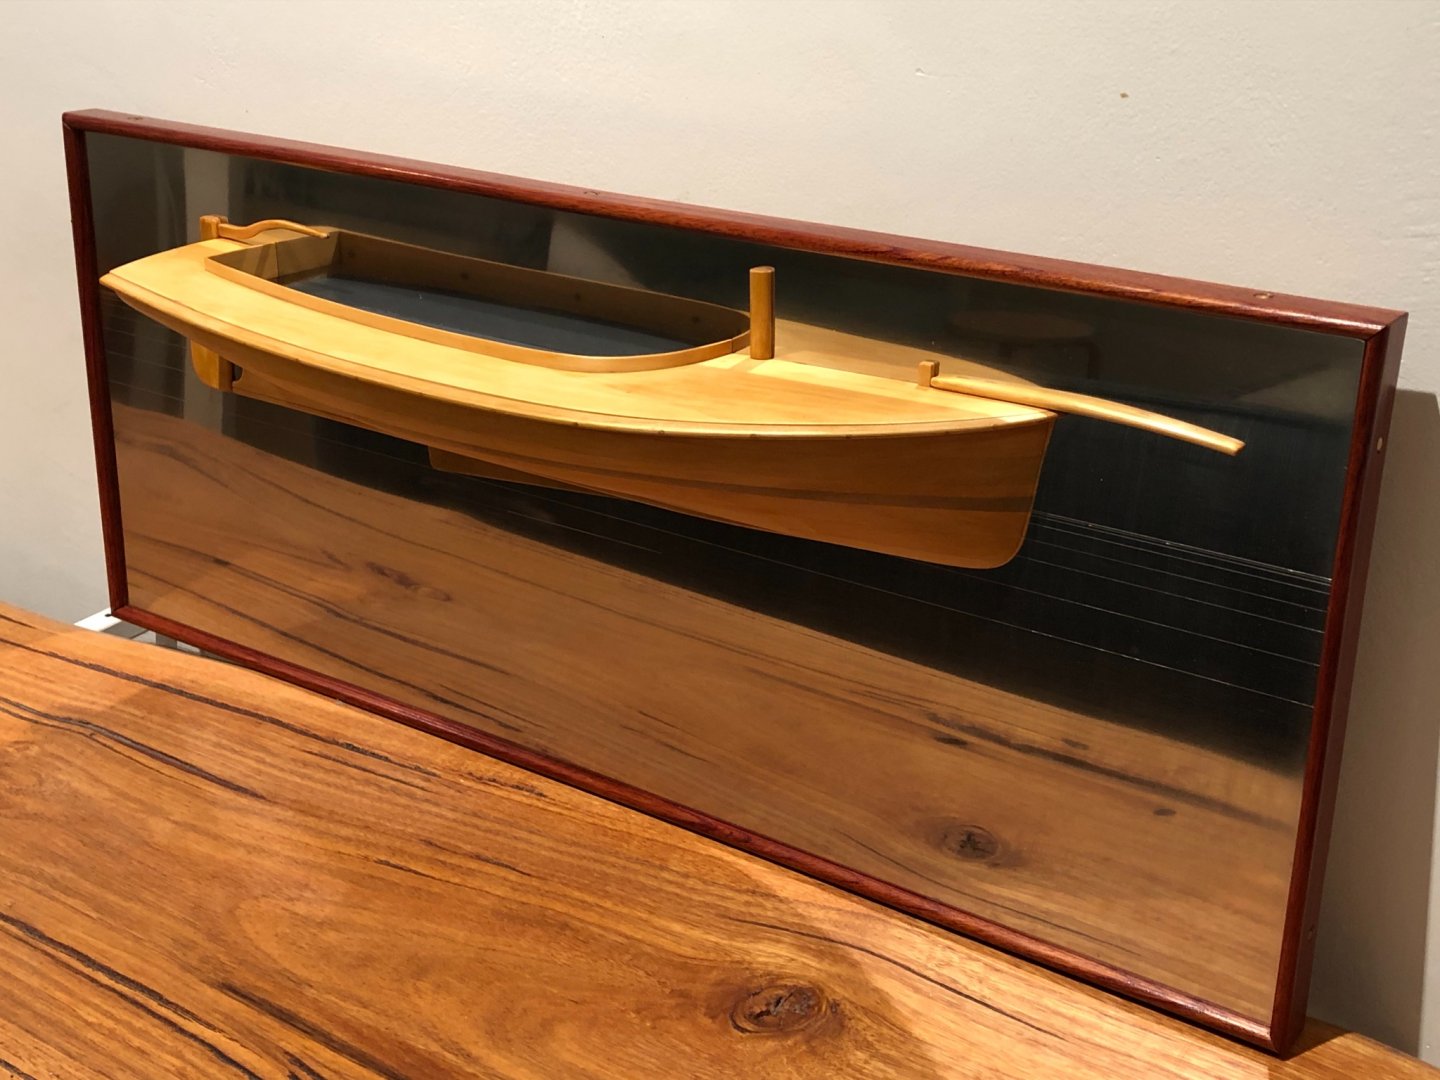
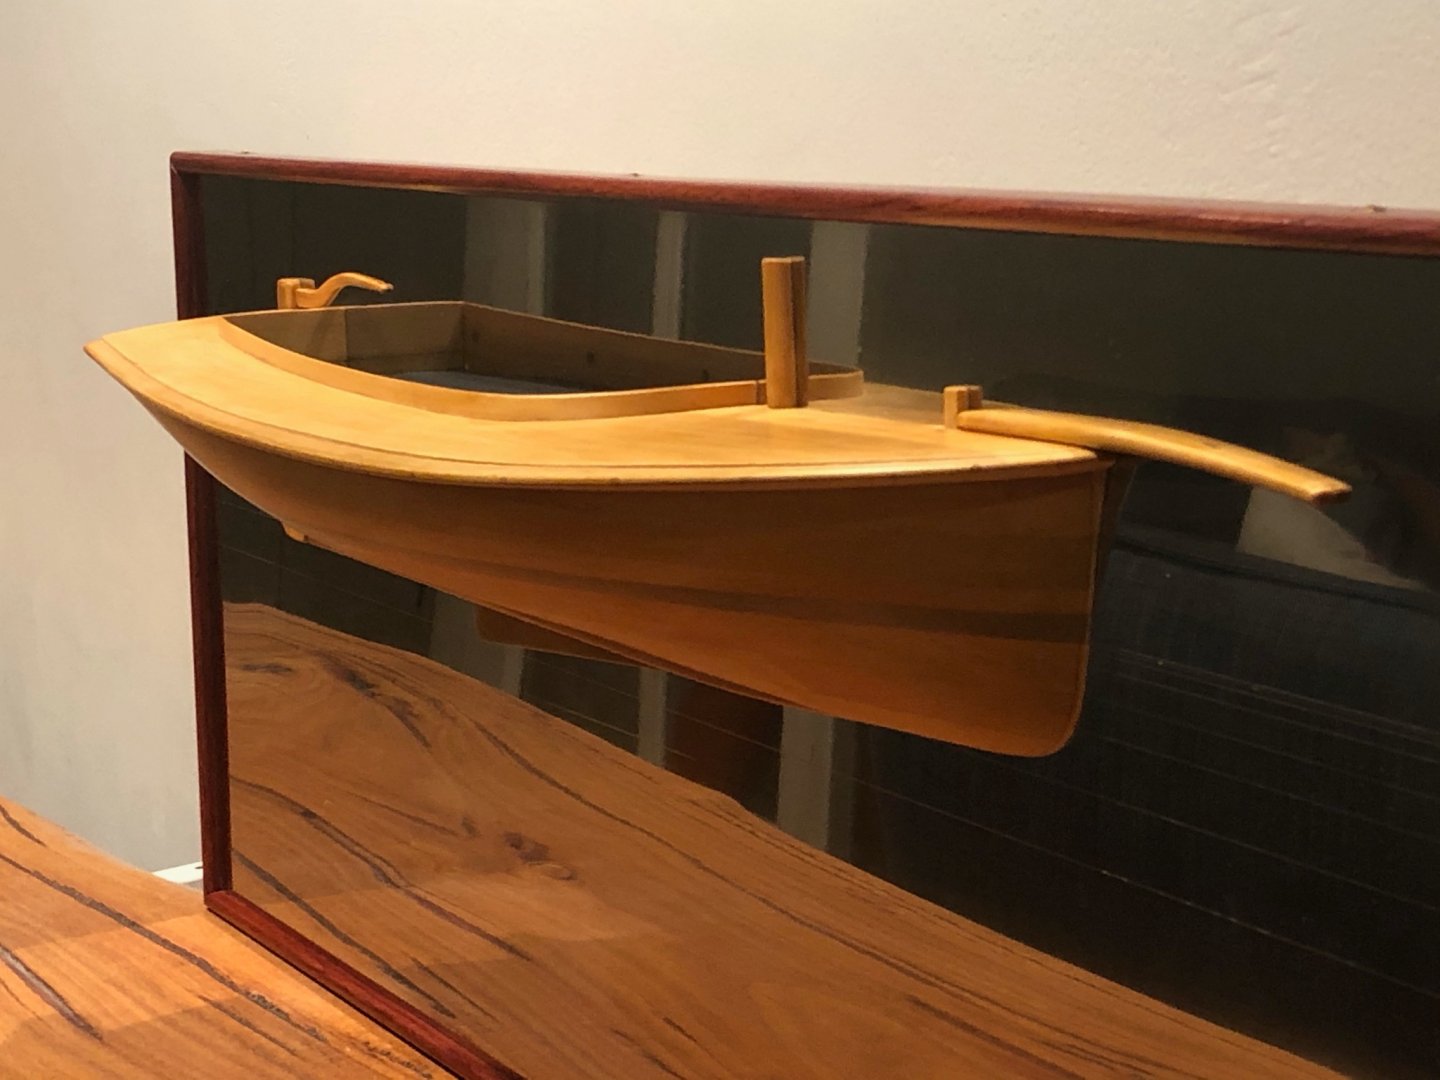
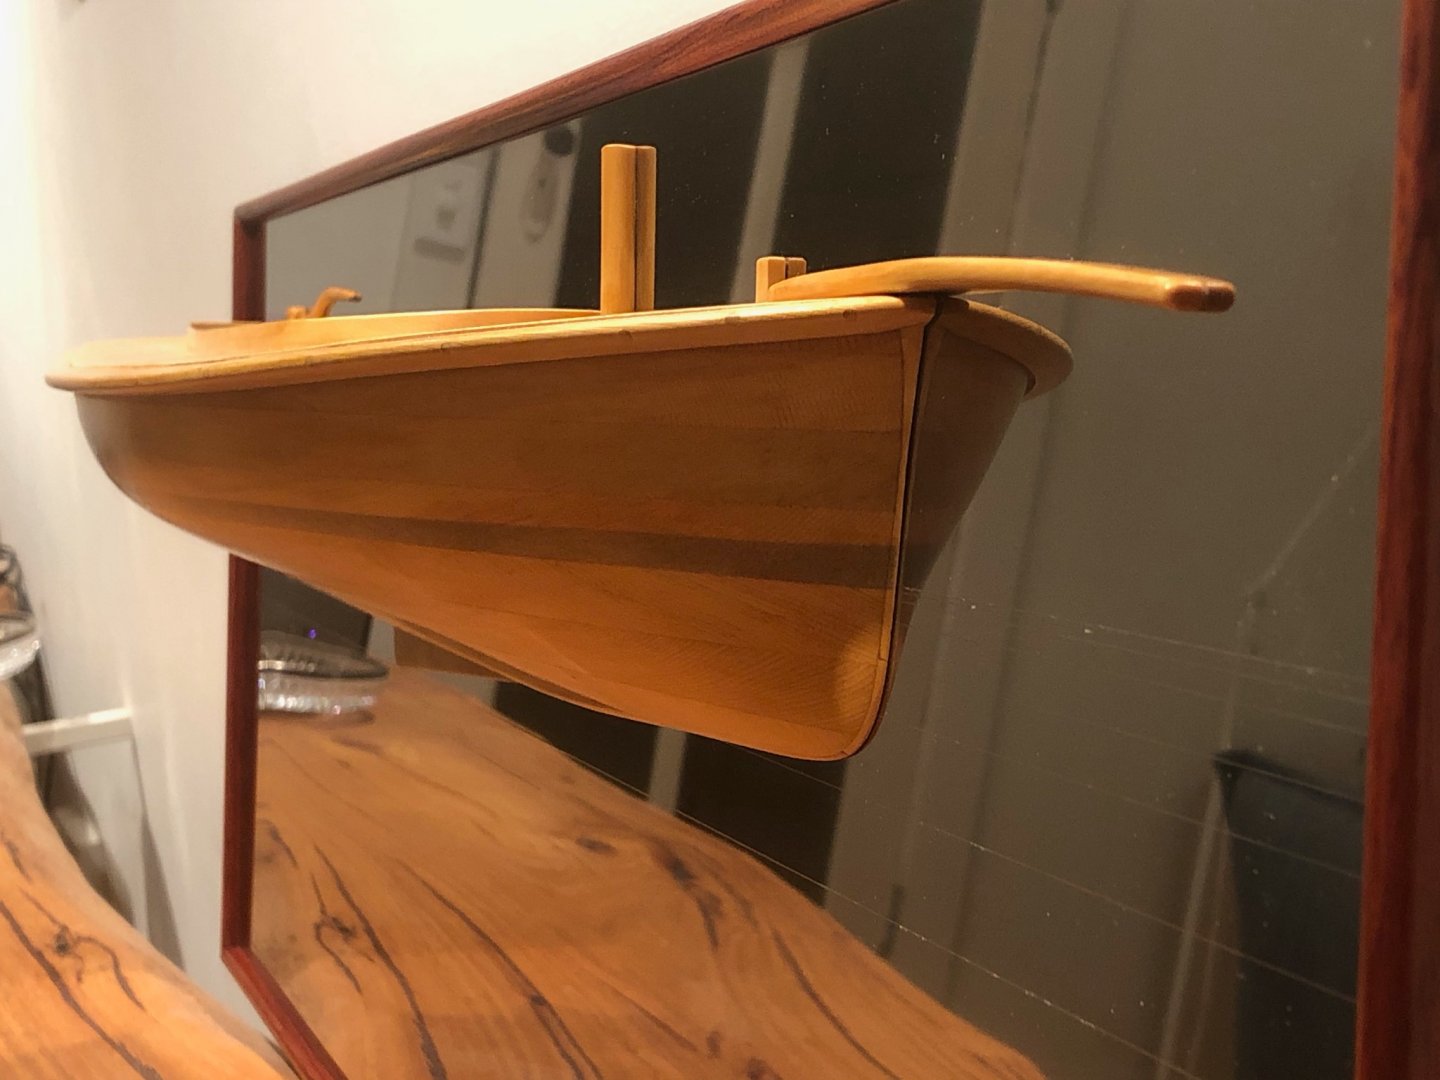
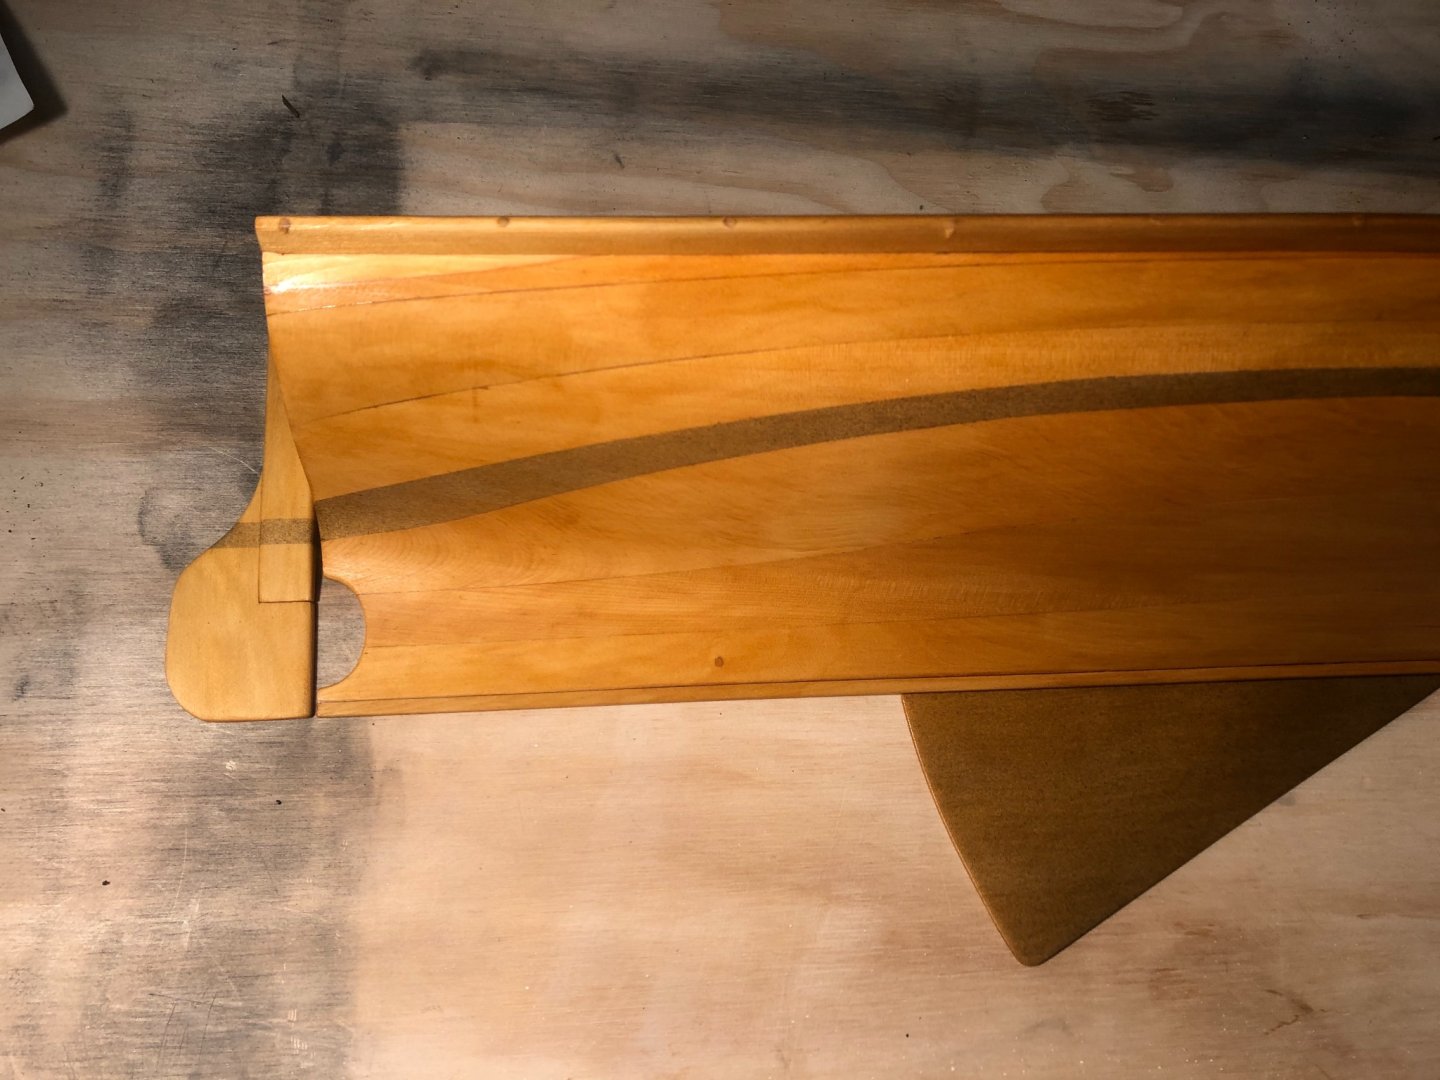
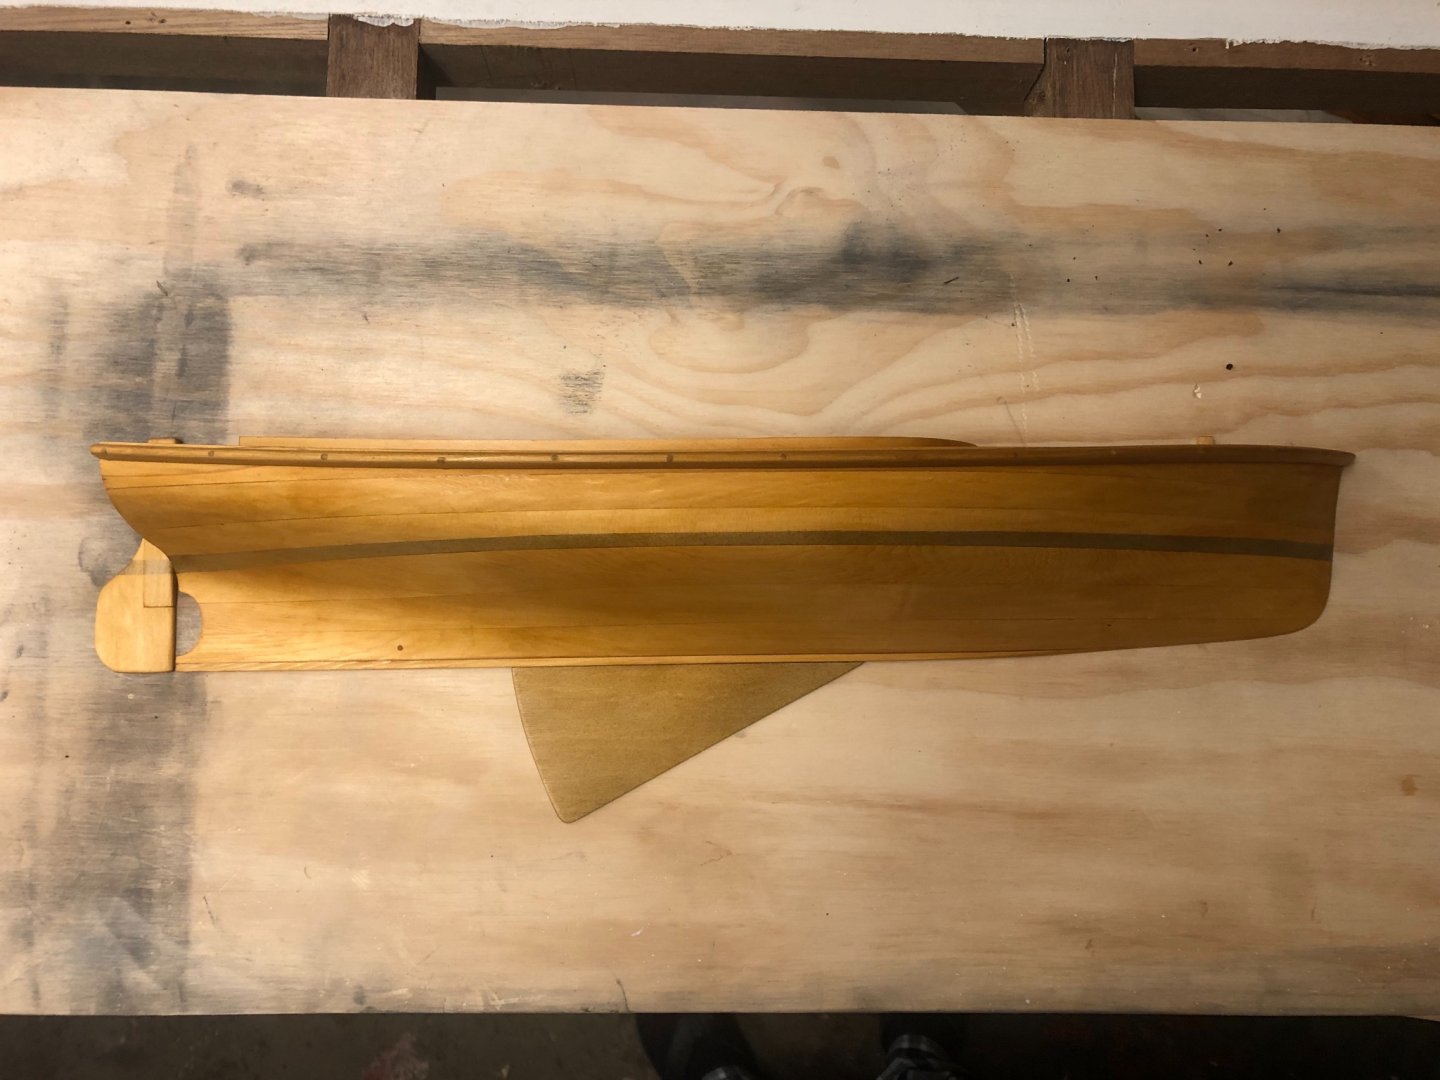
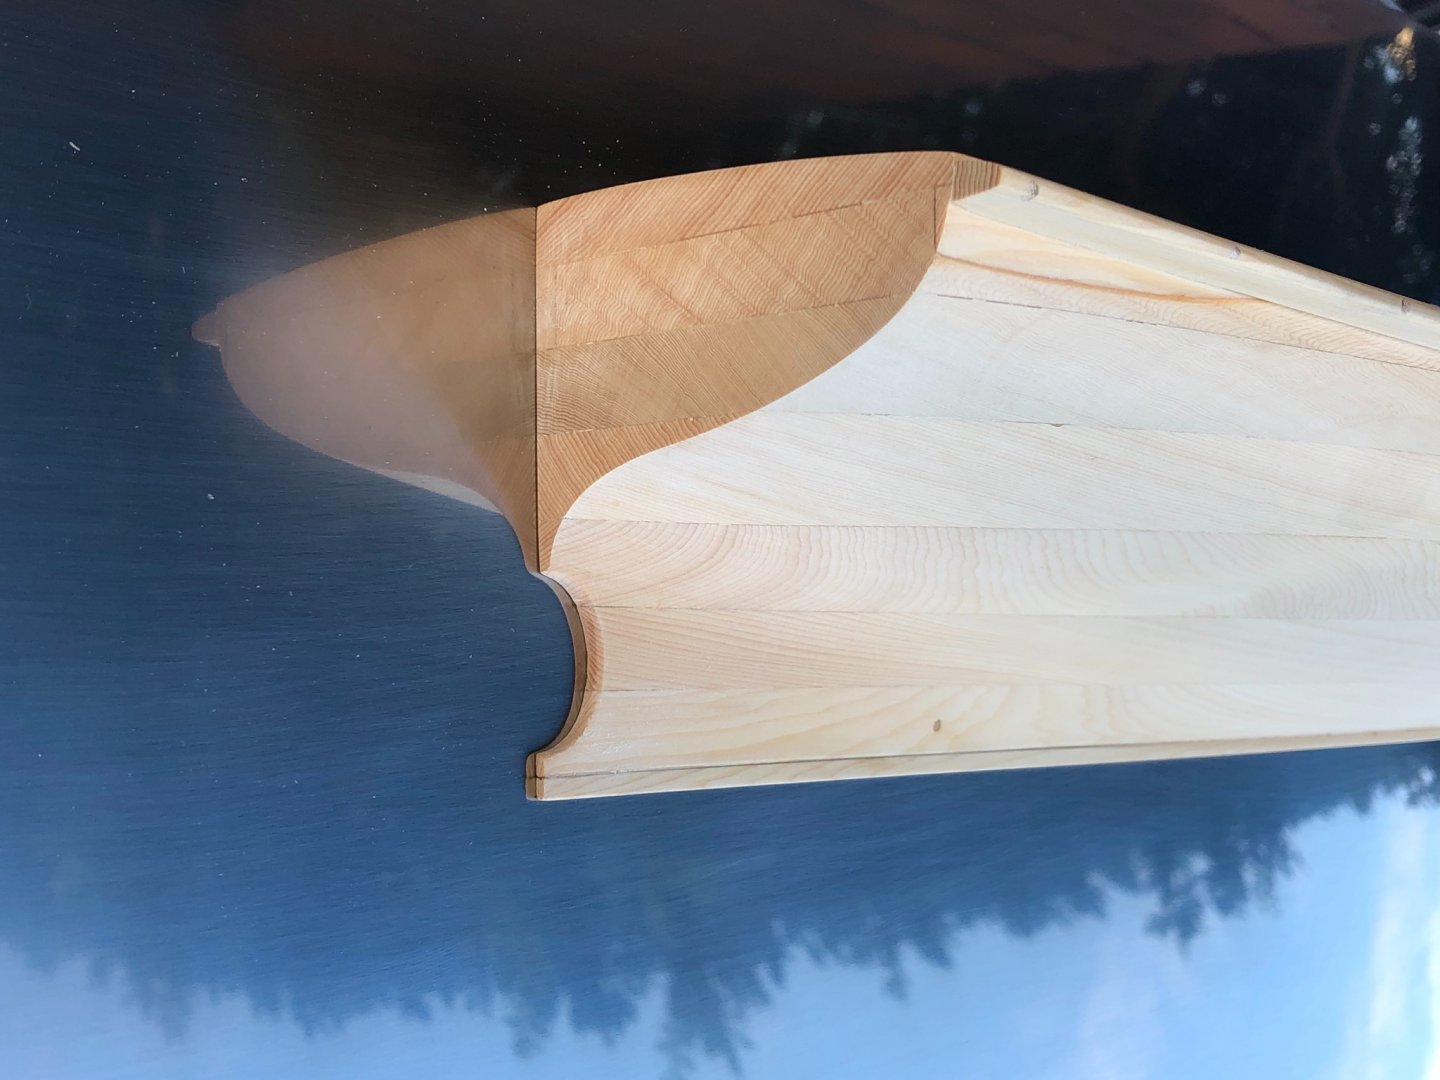
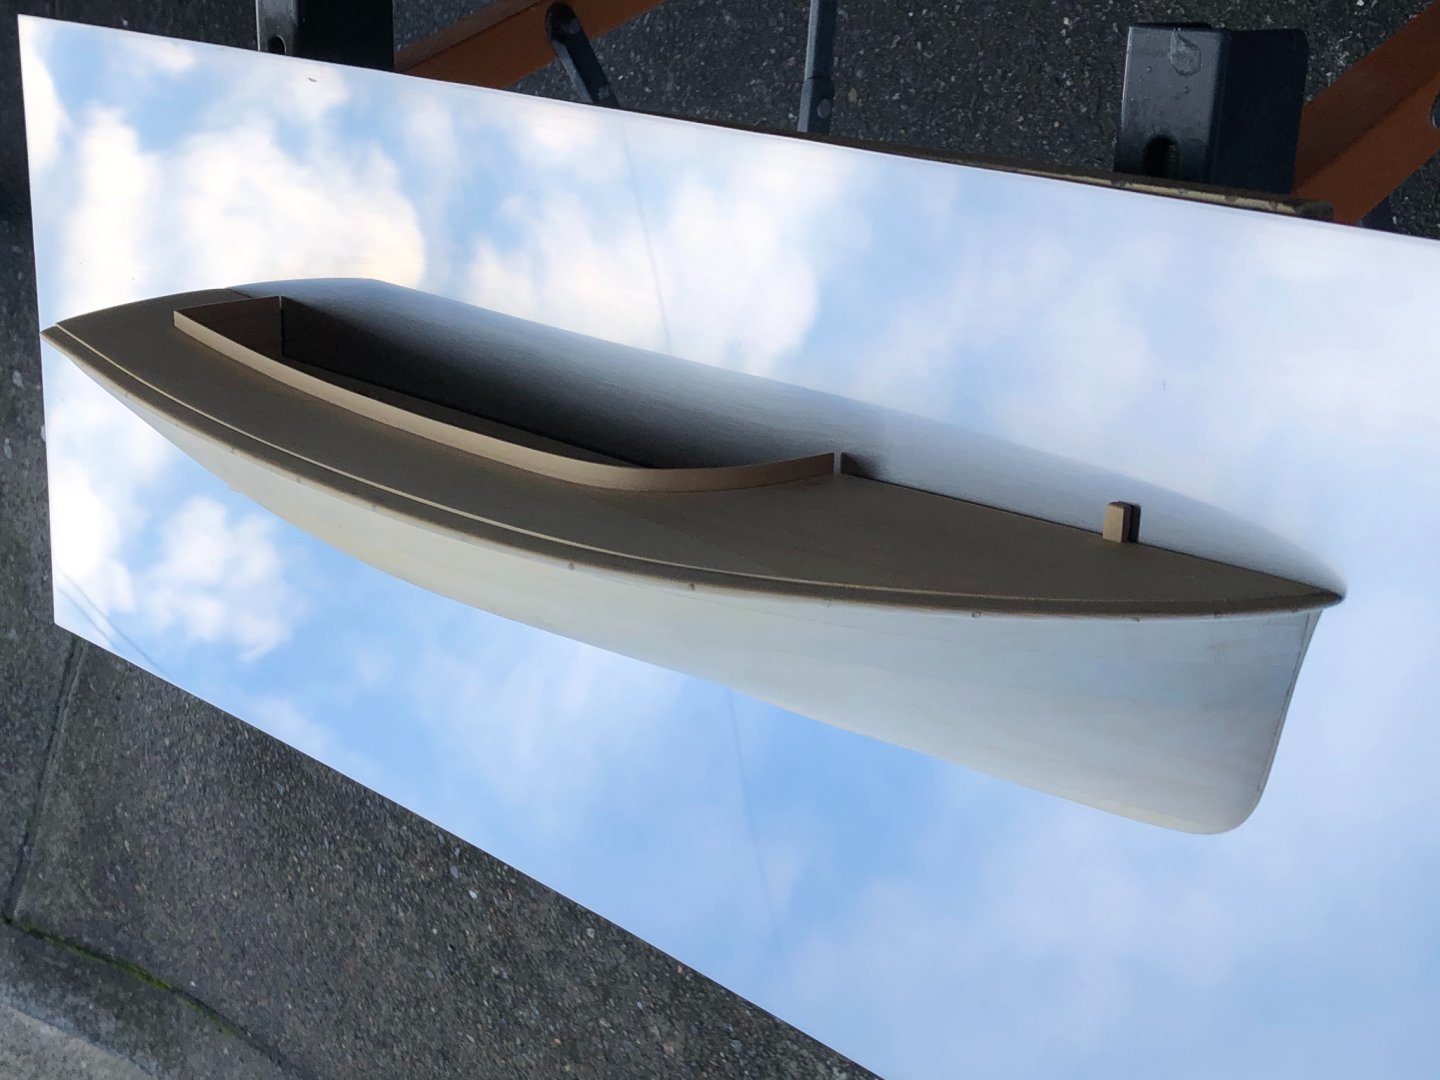
Thank you all. I think the model is finished now. Some finishing details: I scribed some lines to indicate water, I think it looks quite good. The trim is from Australian Red Cedar, which is not a pine timber. It's light & looks like Mahogany, & also takes shellac well. I cut some 9mm strip, rounded the front edge & finished with brown shellac, screwed with bronze screws because the colour goes better. I painted inside the hull a dark grey, it looks better than plain timber. As the half model will be a trophy for our sailing club, there will be a plaque below the hull, & I realised the centreboard would interfere with the plaque, so I cut the centreboard down just so that the visible sliver indicated it's presence. The reflection works quite well, the boat really seems to float in the air. And from some angles you see the hull shape very well. The bowsprit is quite wide, but the story from the designer's son (now 95 & I spoke to him today, but unfortunately I now can't visit him tomorrow morning to show him the model) is that Cliff got so sick of rowing the kids back & forwards to the shore when they went picnicking that he put a bronze shoe on the forefoot of the bow to protect from sand grinding, made a wide bowsprit so he would pull the bow onto a harbour beach & the kids would use the bowsprit to get on & off. So, that's why it's wide & flat. Lovely bow lines. Fine entry & plenty of volume to give lift in waves. Cliff sailed this boat the 10 or12 km ocean sailing to Broken Bay, & this little boat apparently did some trips in difficult conditions. As noted at the beginning (& photo), he had a removable cuddy cabin made for this sort of use.
-
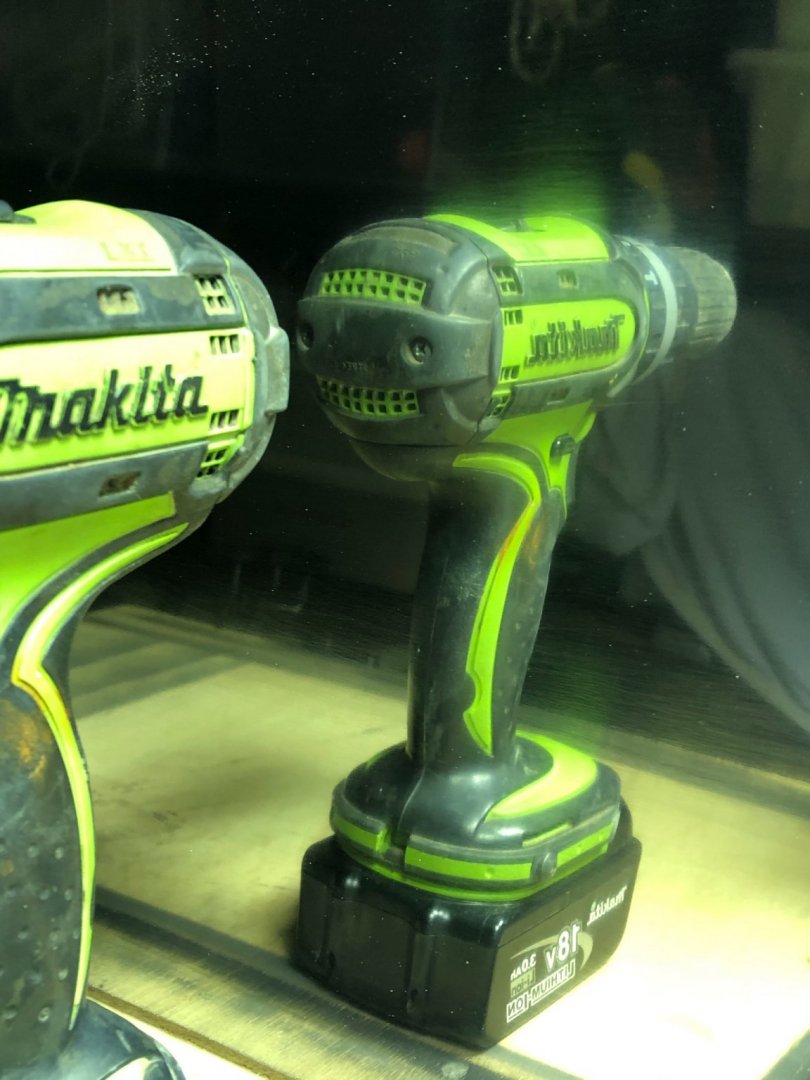
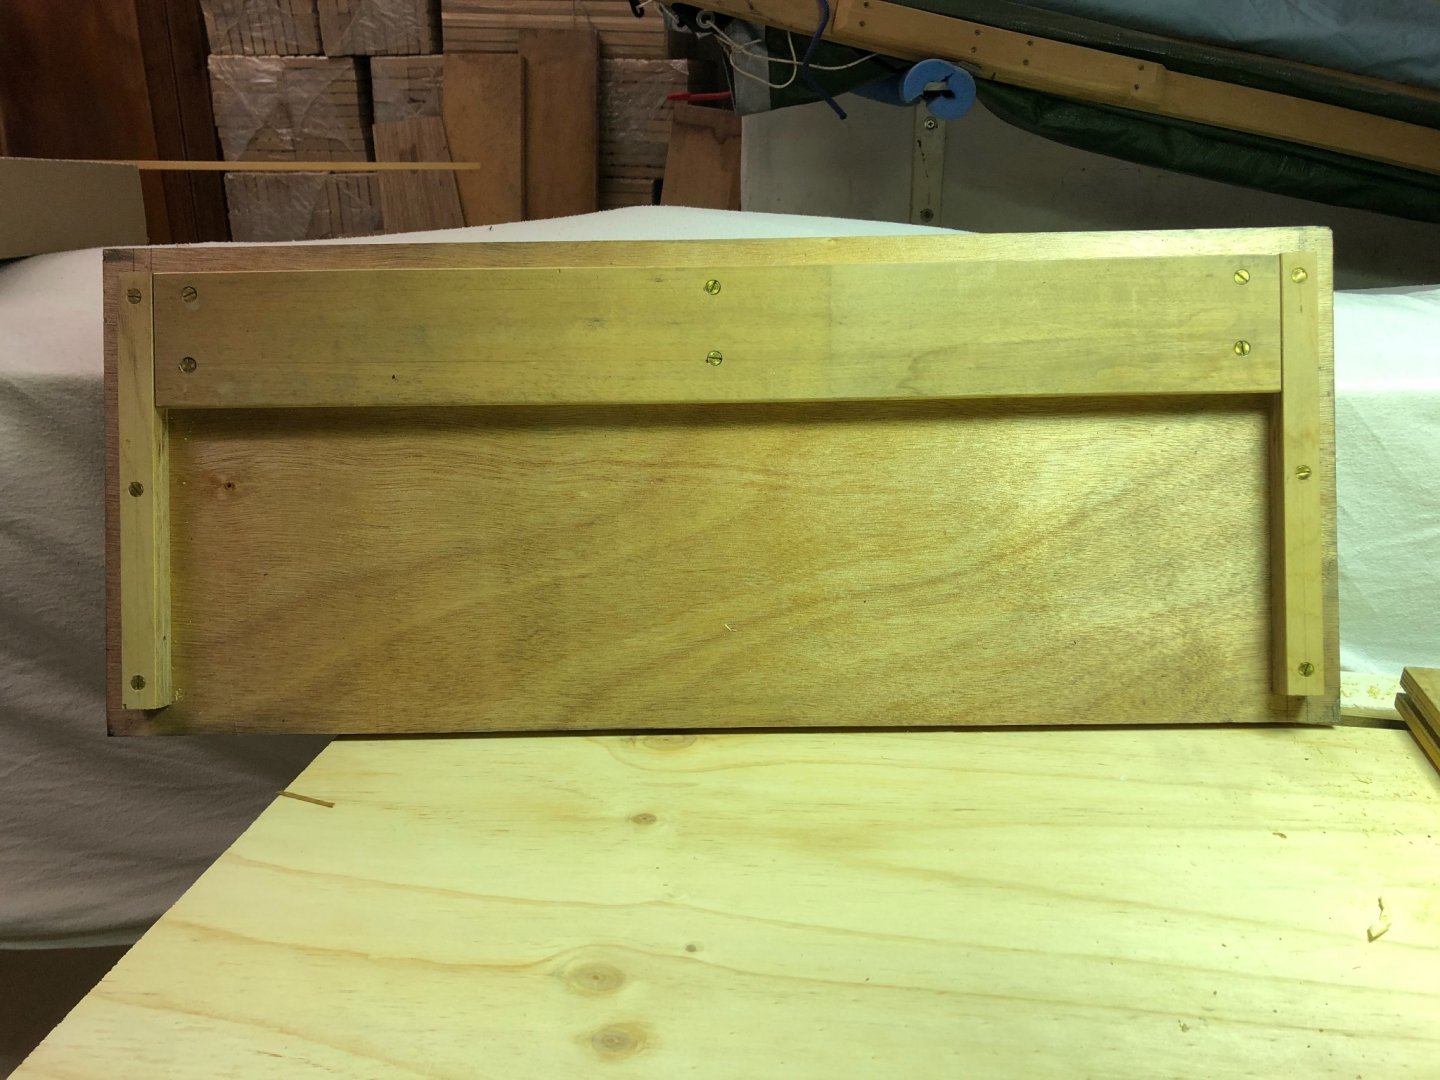
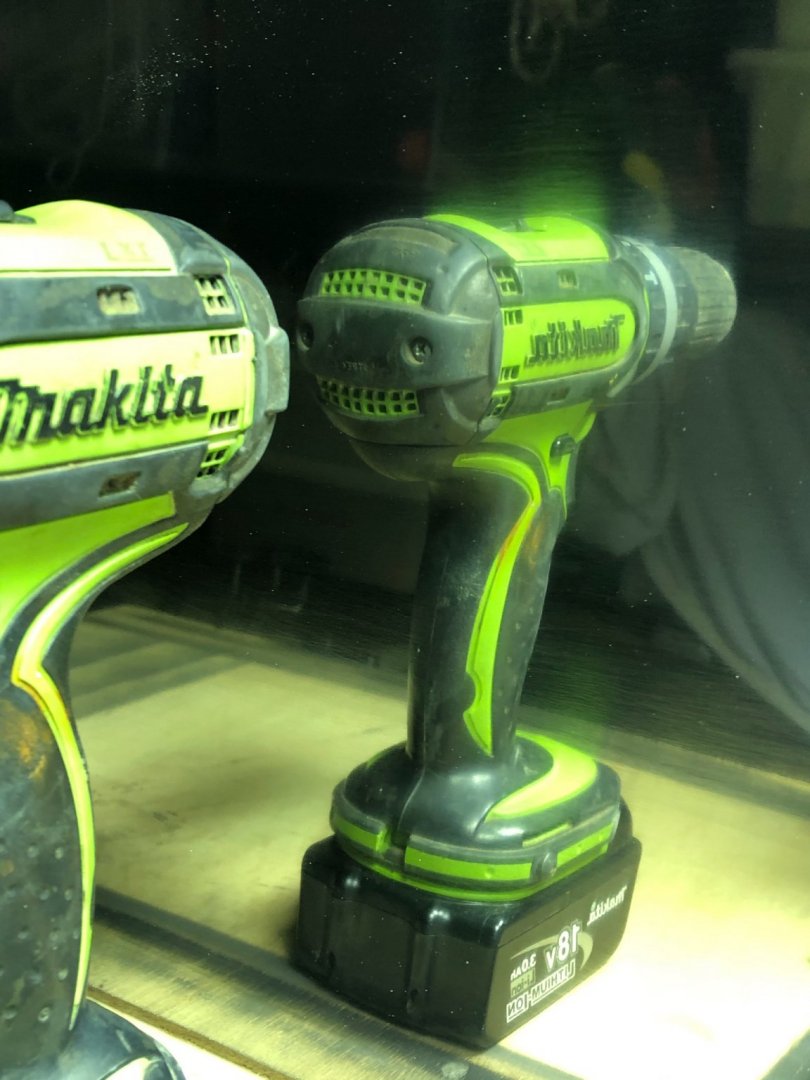
The stainless steel backplate went very well. Using the metalwork section of this forum I asked for advice (https://modelshipworld.com/topic/28771-polishing-stainless-steel-sheet-to-mirror-finish/) & the method I used is explained in more detail there. The good news is that I am more pleased with the result than I expected to be. I did get a mirror finish, but the effect is a lovely soft sort of mirror finish, just the thing for a half model of a 1930 design - the mists of time etc.... The photo below shows nicely how it looks, the reflection of my drill has a soft ghosting effect. And yet the reflection is nice & clear. I started on the mounting brackets - below is the back of the backplate. It follows the design a few posts ago. Essentially its split battens & then screwed to hold it there. The side strips will also visually cover the split battens from the side. I glued the stainless steel sheet onto this plywood, using some sikaflex marine sealant I had left over. I think it will work better than epoxy...will see. I ended up fixing the timber by screwing it from the back & not using glue.
-
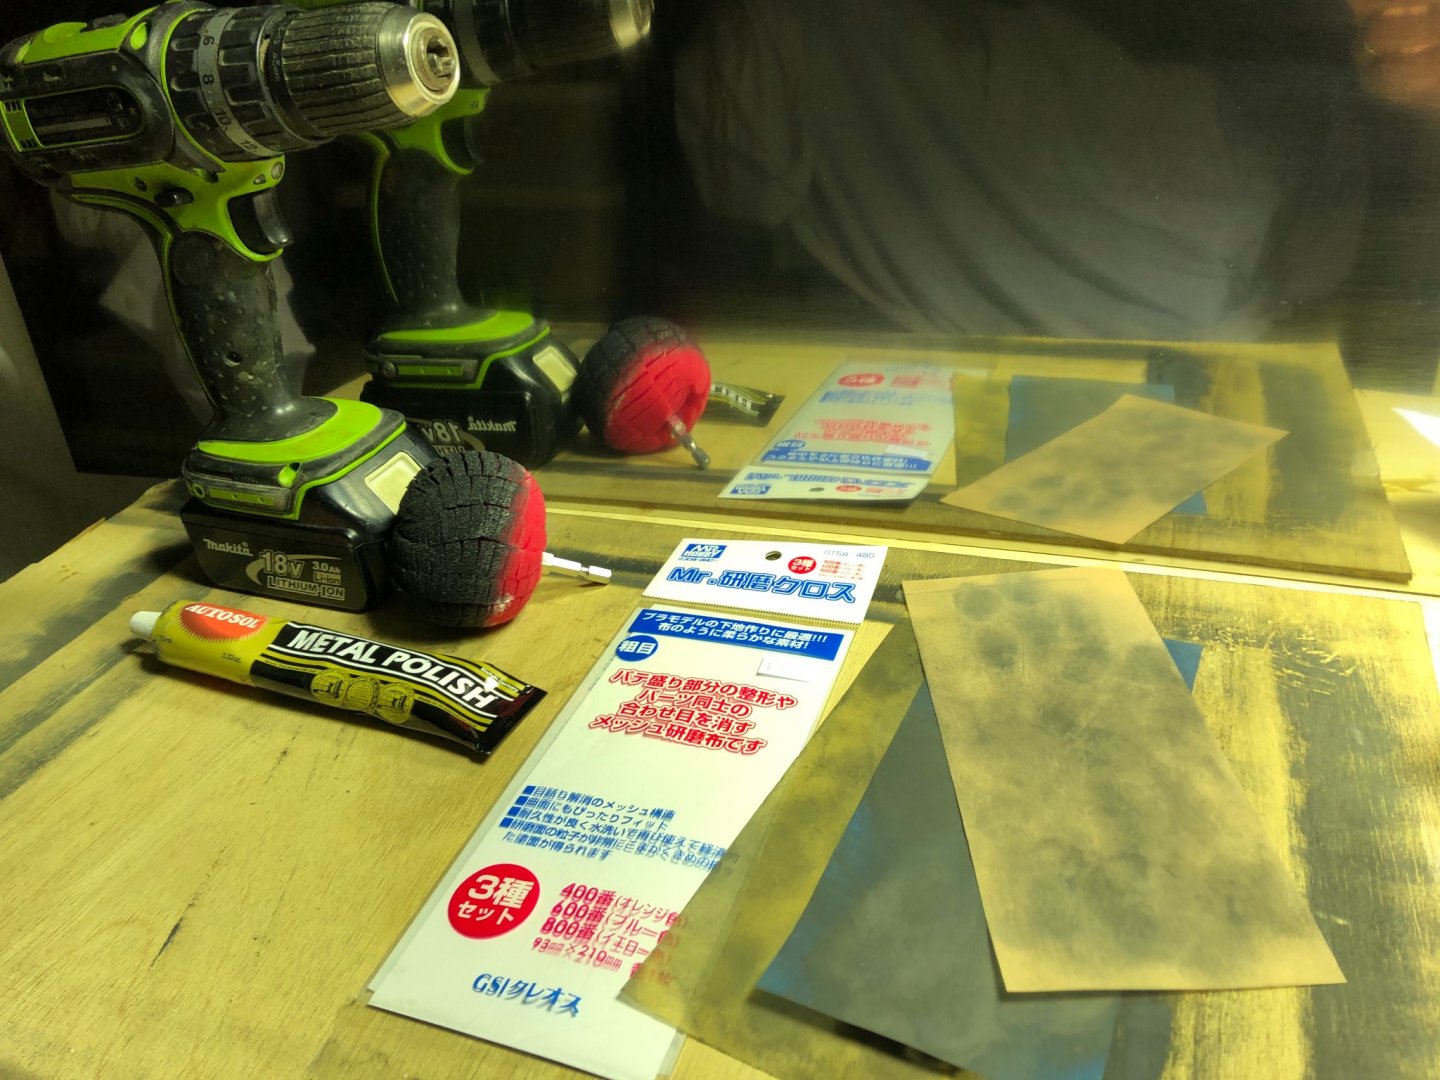
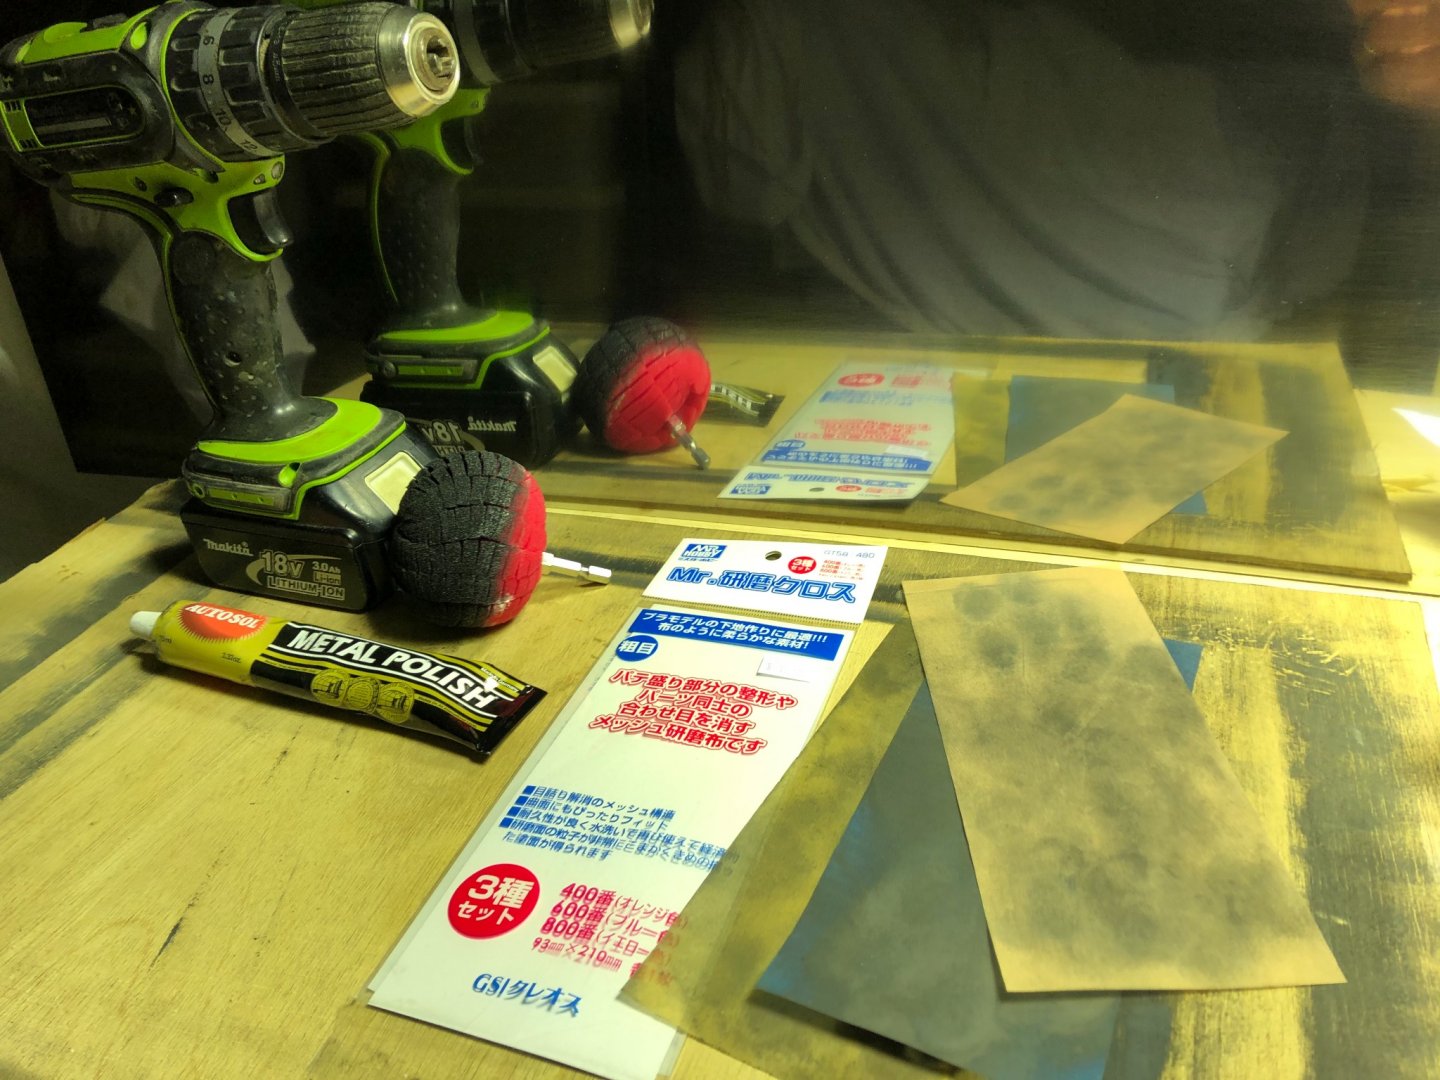
The ideas here helped a lot & I am happy with the results. Most of the tools I used are below: some mesh sanding sheets 400,600, 800 grit; a sponge pad used in a drill, Autosal metal polish. I actually did borrow a fabric polishing head & green Tripoli wax, & it helped as well but didn't seem to do as much as the Autosol & sponge pad...but perhaps I needed to do both. You can see the reflection is clear, but not a full mirror finish. It took a couple of hours of hand sanding using the sanding sheets, with a light spray lubricant at the same time, about an hour with the fabric head, & about 30 minutes with the sponge head. There is a slight ghosting in the reflections, but I am very pleased with that. It adds of softness to the reflection that is very appealing, & was quite unexpected. You can see the effect in the reflection below. It's likely that I could have gotten closer to a full mirror finish, but I think the result that I got is what I prefer.
-
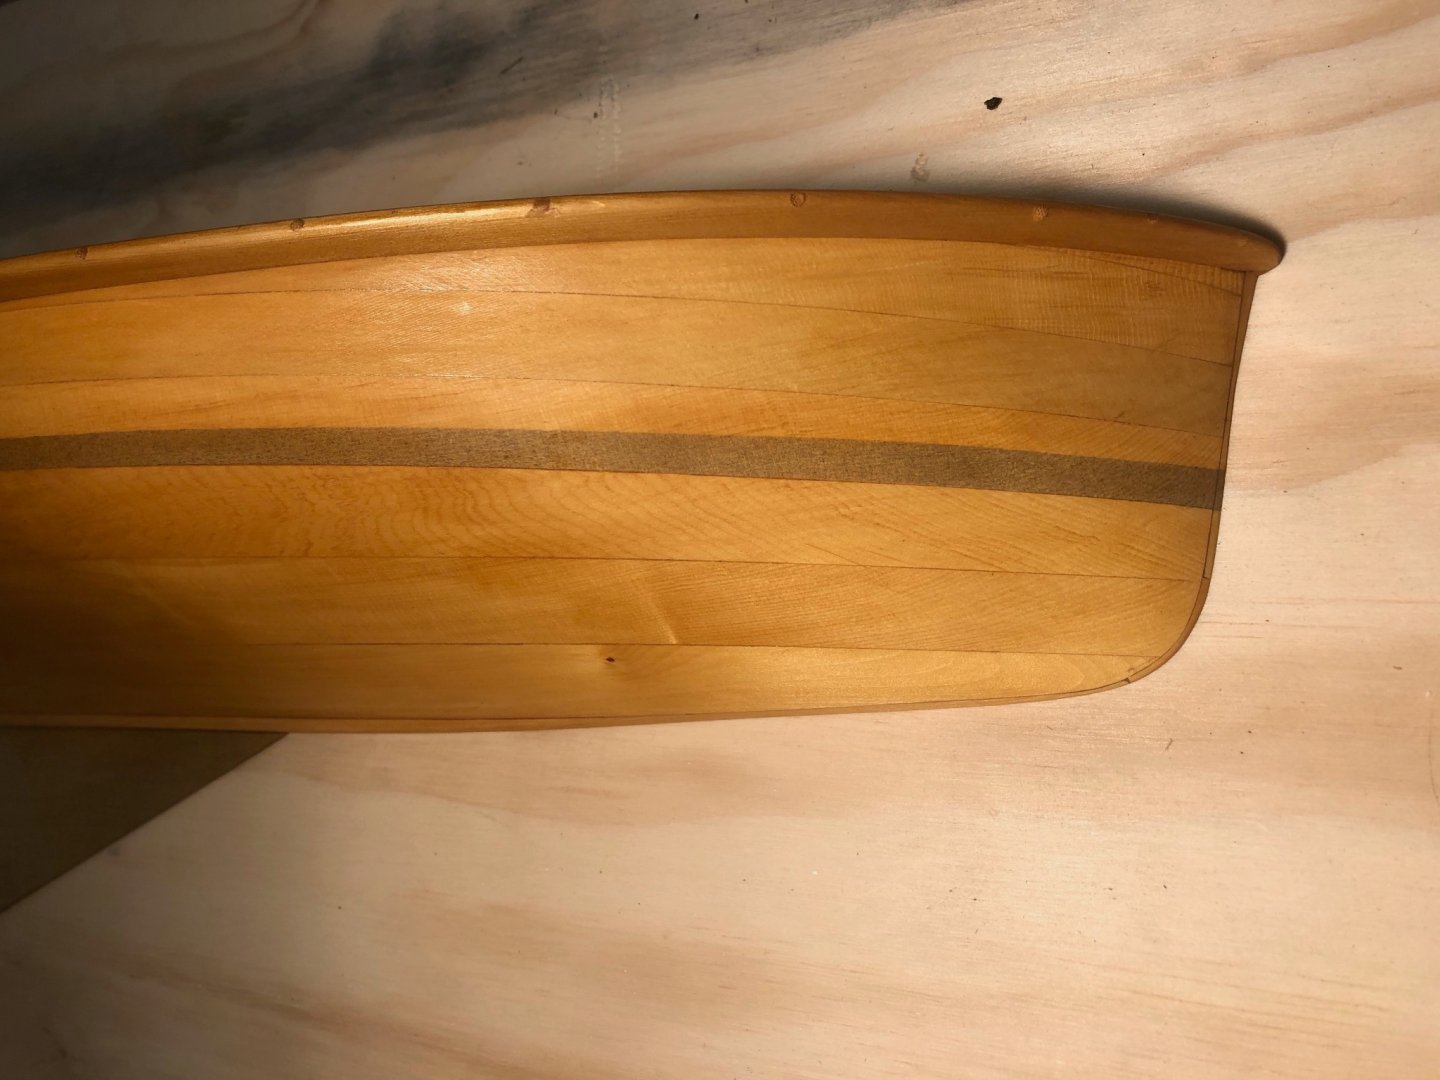
Some more work today: the boot top line & shellacking is underway. I did the boot top line because it shows the hull shape off better if you can visualise the waterline. I sprayed it with an airbrush, black paint not diluted but sprayed on a restricted setting so that it is far from solid. I also did the centreboard to differentiate it. This is two coats of shellac, no sanding yet. I will be able to do some decent photos later, but at night it's not easy as the lighting is too much from one side.
-
Hi Bruce, glad you enjoyed the visit. This is my idea for mounting the half model. Split battens, the lower one fixed to the wall & upper to the model backboard. Vertical side battens also fixed to the backboard. To hang the model you fix the lower split batten to the wall, then put the model on it (the battens will mean it will happily sit there. Then screw through from the sides to fix in place.
-
It's a beautiful model of a striking boat.
- 179 replies
-
- longship
- Helga Holm
-
(and 1 more)
Tagged with:
-
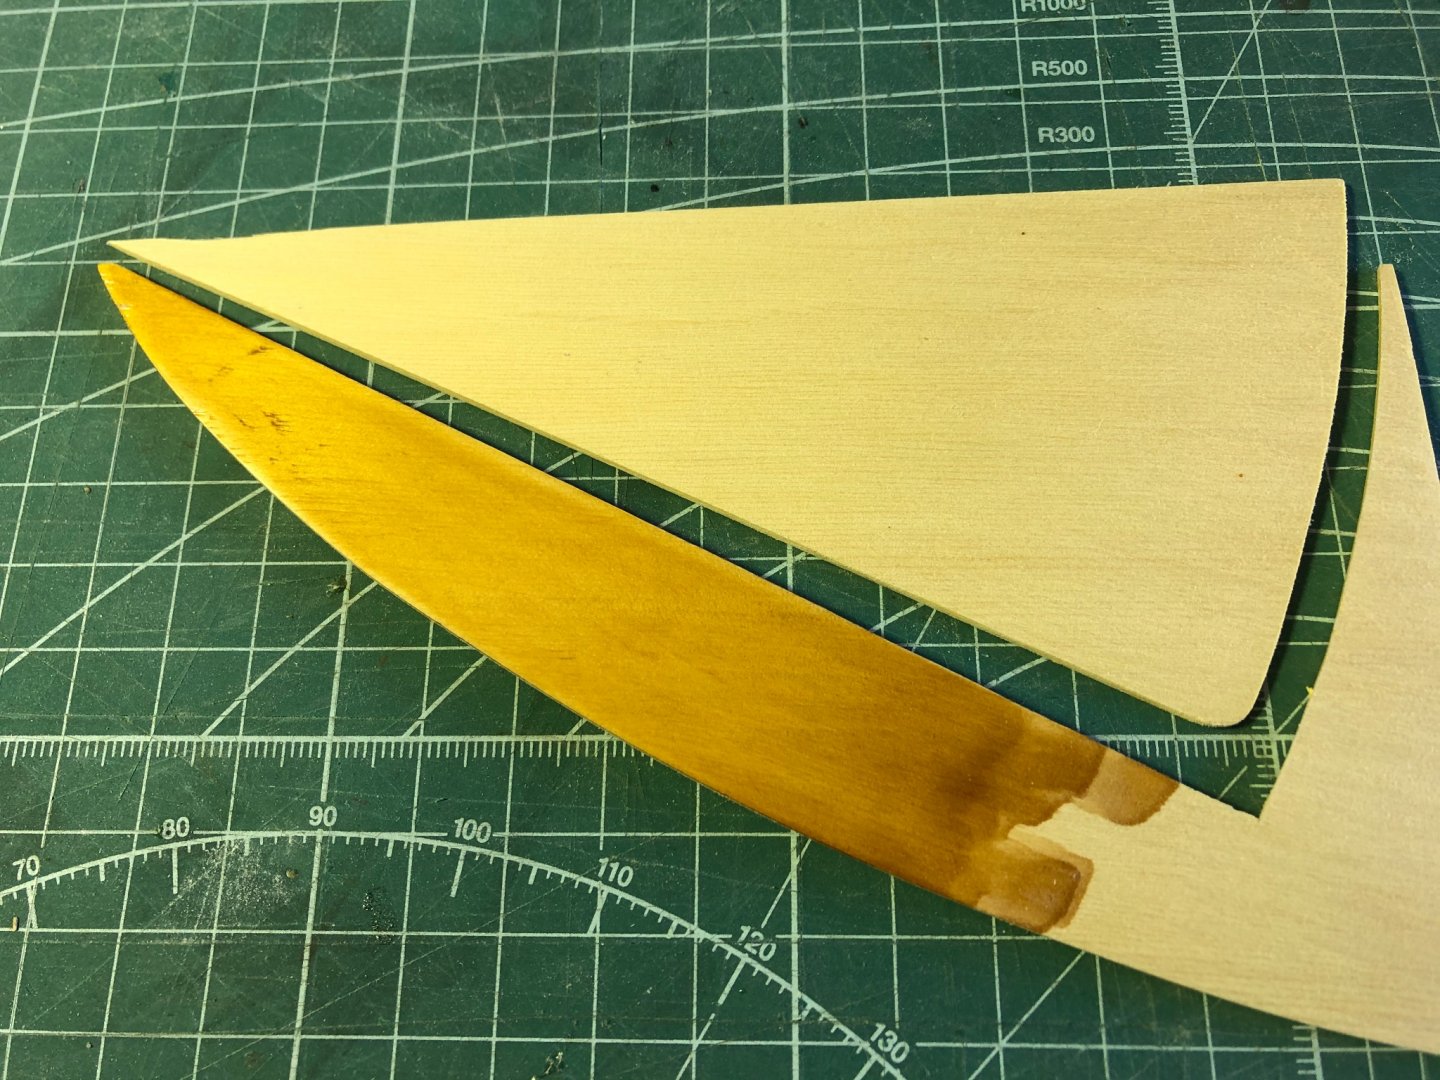
I started hand polishing the SS sheet that will be the half model backplate, using some mesh type sanding sheets of 400, 600, 800 grit. I hand rubbed in a parallel direction across the sheet & used some spray lubricant as well. The metal is getting there, & in the next couple of days I will try a rag polishing head with Tripoli wax. You can see (above), that the deck line needs tweaking. It's not yet an even curve. Below, the sky & street power lines reflected in the semi-polished metal. I did a test of brown shellac on some Huon Pine, see below. It's lustrous, shown here with an unfinished piece - the centreboard.
-
Assuming the bowsprit has a bobstay & whisker stays, the main load on the spar is compression. The old 18' skiffs have a bowsprit about 20' (6.6m) long, they are about 75 x 45mm in section - & they actually hollow out the underside.
-
I would add that it's possible to laminate sheets of silkspan to make it heavier. I mixed PVA with white acrylic paint & laid it up 3 layers thick to replicate heavy duty dacron at 1:12. It shows no sign a delaminating.
- 179 replies
-
- longship
- Helga Holm
-
(and 1 more)
Tagged with:
About us
Modelshipworld - Advancing Ship Modeling through Research
SSL Secured
Your security is important for us so this Website is SSL-Secured
NRG Mailing Address
Nautical Research Guild
237 South Lincoln Street
Westmont IL, 60559-1917
Model Ship World ® and the MSW logo are Registered Trademarks, and belong to the Nautical Research Guild (United States Patent and Trademark Office: No. 6,929,264 & No. 6,929,274, registered Dec. 20, 2022)
Helpful Links
About the NRG
If you enjoy building ship models that are historically accurate as well as beautiful, then The Nautical Research Guild (NRG) is just right for you.
The Guild is a non-profit educational organization whose mission is to “Advance Ship Modeling Through Research”. We provide support to our members in their efforts to raise the quality of their model ships.
The Nautical Research Guild has published our world-renowned quarterly magazine, The Nautical Research Journal, since 1955. The pages of the Journal are full of articles by accomplished ship modelers who show you how they create those exquisite details on their models, and by maritime historians who show you the correct details to build. The Journal is available in both print and digital editions. Go to the NRG web site (www.thenrg.org) to download a complimentary digital copy of the Journal. The NRG also publishes plan sets, books and compilations of back issues of the Journal and the former Ships in Scale and Model Ship Builder magazines.


