usedtosail
-
Posts
2,421 -
Joined
-
Last visited
Content Type
Profiles
Forums
Gallery
Events
Everything posted by usedtosail
-
 Carl - I think you will enjoy this kit. I will definitely follow along if you do a build log. Thanks Tim - I feel like my planking is such a hack job compared to your planking work, as on the Sultana. Thanks George. I know the answer to that one already - she would sink like a stone with all the planking gaps I have. I have already started to fill them with some wood filler in anticipation of the hull sanding. I have a dilemma concerning the breech ropes. It turns out these should be 6 1/2" circumference, not diameter, so the ropes I made are too thick. The dilemma I have is that a 6 1/2" circumference rope would be about 2" diameter, which is about the size of one of the three strand in that rope. This would look way too small in my opinion, although in real life it makes sense as a 6" diameter line would be very big. So, the question is should I go with an accurate size even if it looks too small or go with something that looks better to me? I am sure I am not the first person to have this dilemma so any advice would be greatly appreciated. Thanks.
- 1,354 replies
-
- 1
-

-
- constitution
- model shipways
- (and 1 more)
-
Yes, you are doing a fantastic job. If you have the same experience I did, your last plank will have to be made from sheet stock, as the supplied plank was too small. Having this plank underneath the hull is a great idea.
-
Thanks Markku. Your Constitution build is coming along very nicely. It was nice to get some quality time in the basement this weekend between raking leaves.
- 1,354 replies
-
- 1
-
-
- constitution
- model shipways
- (and 1 more)
-
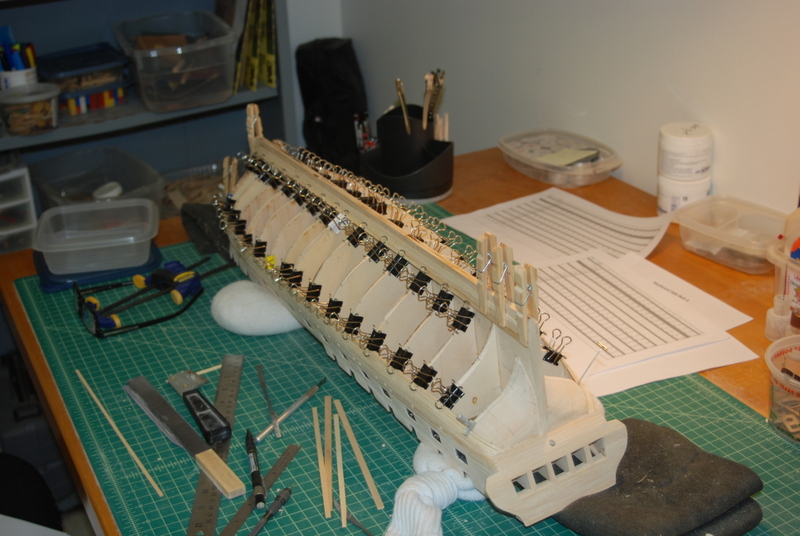
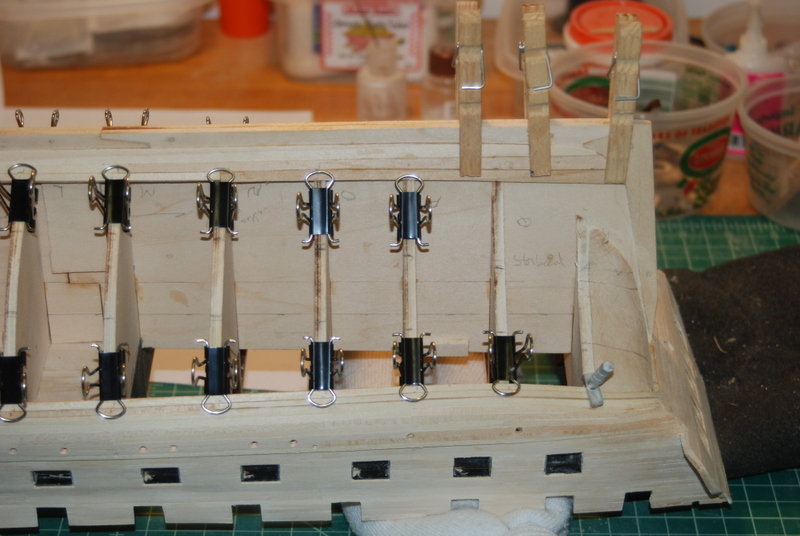
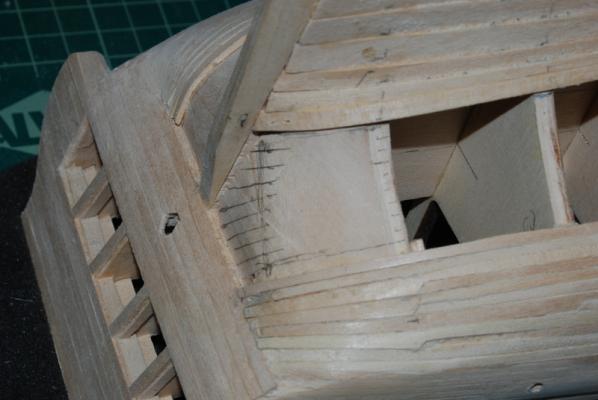
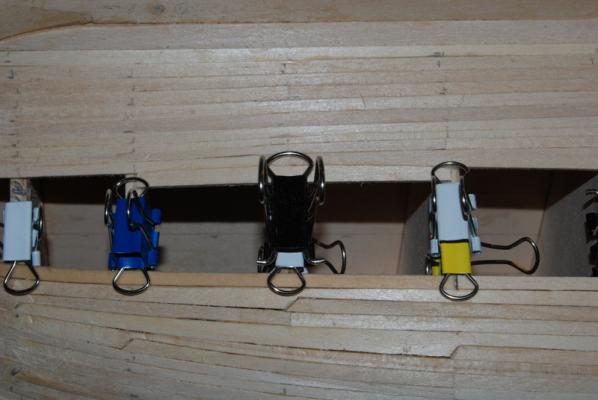
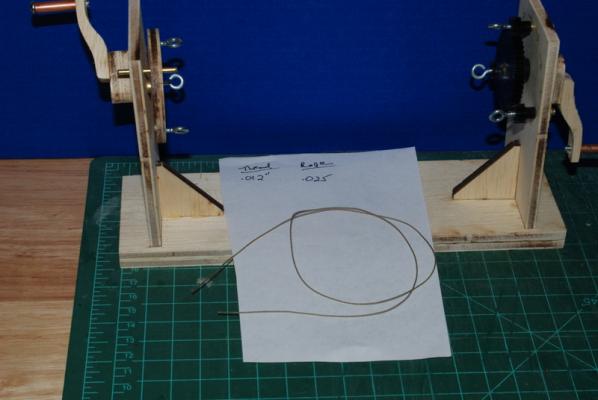
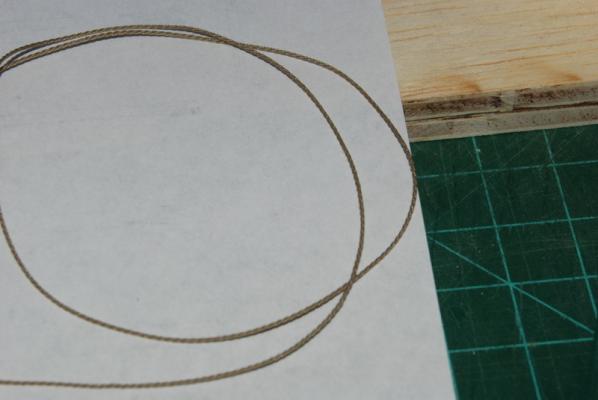
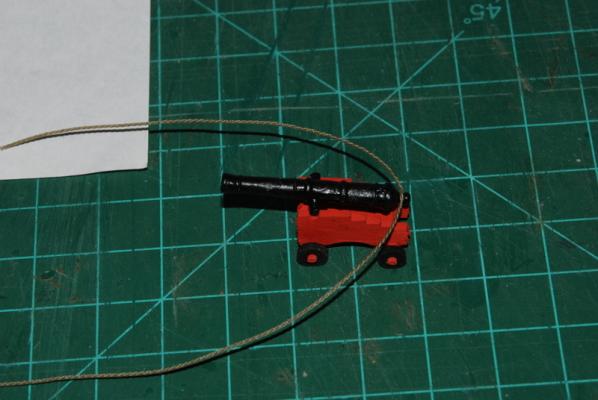
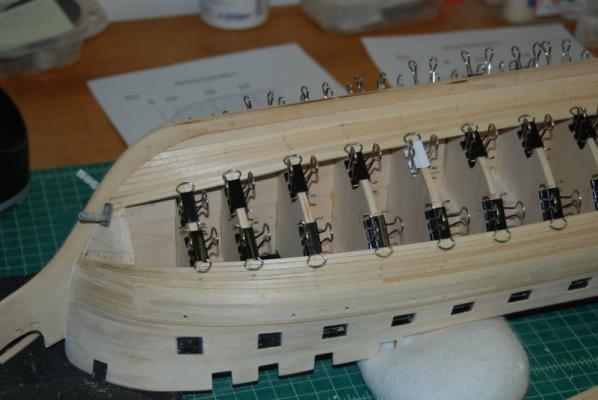
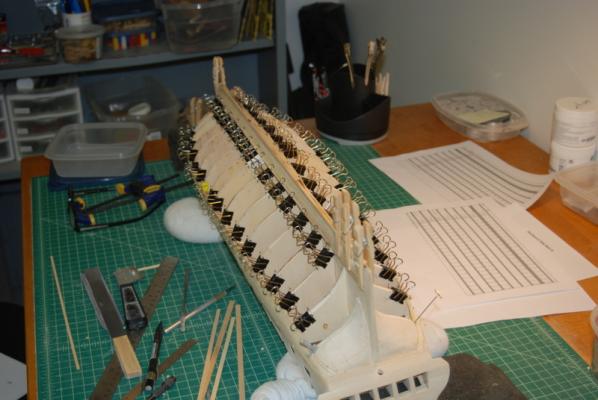
Thanks for the likes, guys. Planking continues and is getting closer to being finished. I marked off the ends of the planks in belt B on the transom filler block, because it was the only way I could figure out what the widths should be here. I first marked off the plank widths on the last bulkhead, then drew a line across the gap closer to the keel and divided it by the same number of planks. I then drew lines between the two marks and extended them all the way to the keel to get the shapes and widths at the keel: I found that if I fold the handles down on the binder clips, I can piggy back them to do two planks at once: Here is the sweet spot - one clamp holds two planks at once: The gap is getting pretty small, so other clamping methods need to be employed: This weekend I also finished assembling the ME rope walk I bought in their the 40% off sale. I always wanted to try rope making and this was a low cost way to do that. I twisted up three strands of 0.012" diameter nylon thread and its produced a very nice rope, which is 0.025" diameter. This just happens to correspond to 6 1/2" real world diameter at the Connie scale, so it is the perfect size for the cannon breech lines. I can untwist the rope slightly and fit it over the cassabel on the end of the cannon, instead of wrapping the whole rope around the casabel: I also gave the cannon carriages a dry rub of raw sienna paint, which toned down the red a bit. As always, thanks for looking in and please let me know if I can improve on any of these ideas. I really appreciate any advice or criticism.
- 1,354 replies
-
- 10
-
-
- constitution
- model shipways
- (and 1 more)
-
Pops, nice work so far on the planking. One problem you may have if you leave the garboard plank for last is getting it to fit in the rabbet in the keel. I think you will want to at least put the garboard plank in before the plank above it.
-
Here is another belaying pin plan for the Constitution that I found, but I forget where: Belaying Plan.pdf
- 335 replies
-
- 1
-
-
- Constitution
- Mamoli
- (and 3 more)
-
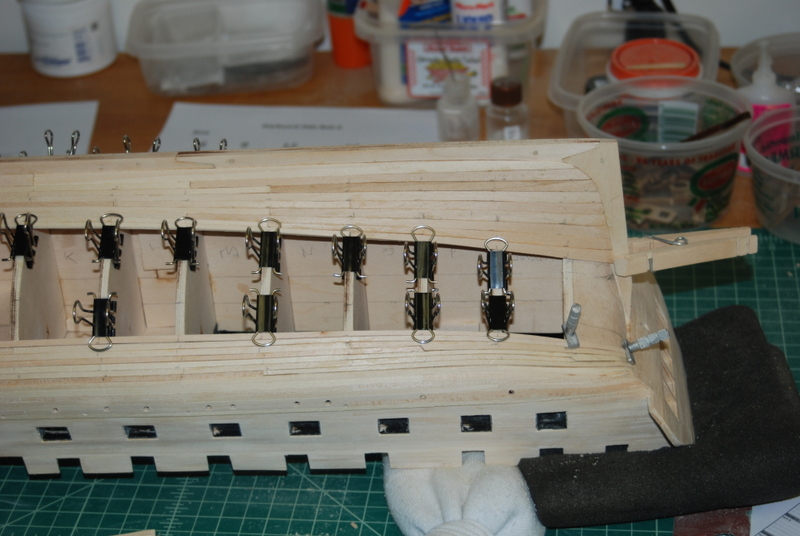
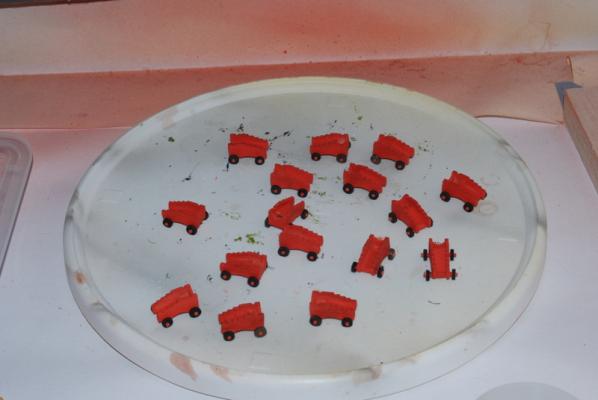
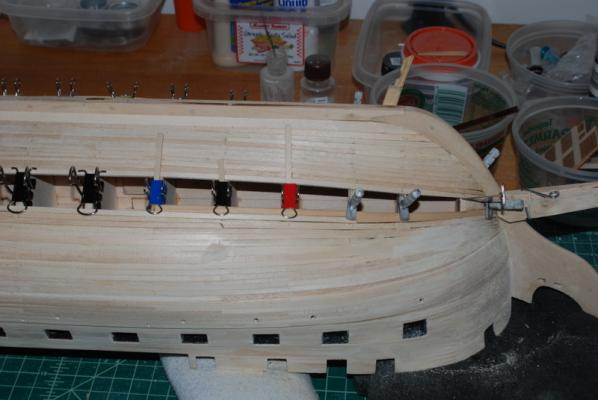
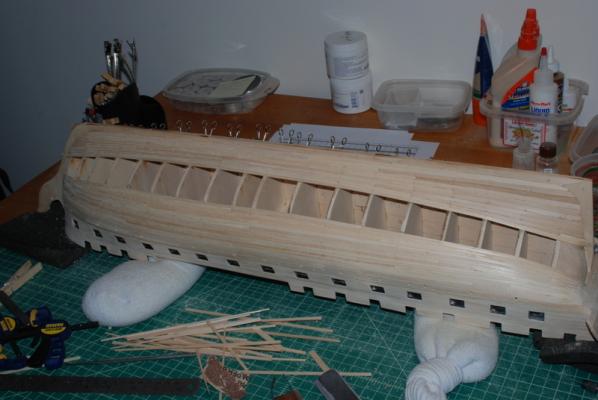
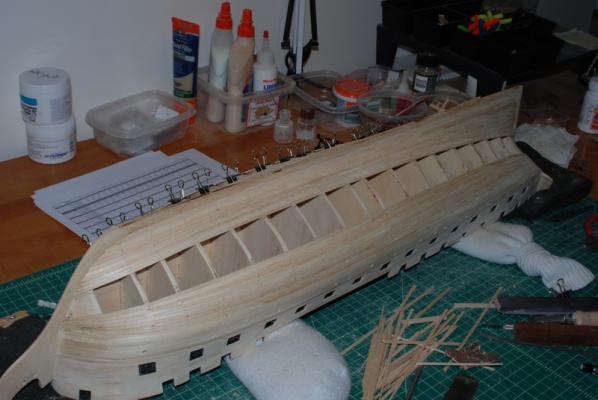
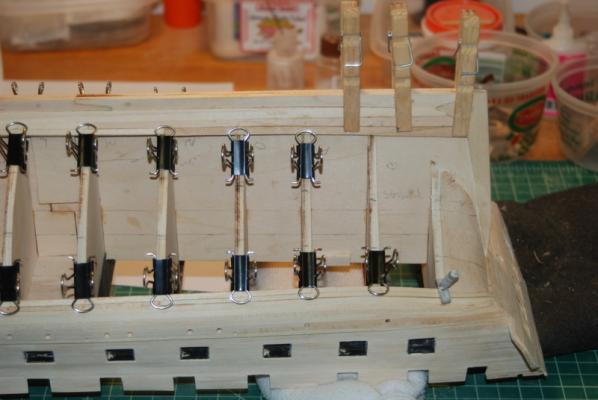
I have finished planking belts A and C, and have taken the measurements of the gaps in belt B. Before taking these pictures, I gave the planks a preliminary sanding, mostly to take down the high spots and fill in some of the larger gaps with saw dust . Starboard side: Port side: A few thoughts on the planking so far. Some of the things I like about it: No major clinkering of the planks. These planks are pretty narrow, so they edge bent easily. I did not have to spile these to get them to curve around the bow. When I planked the Beagle, I had some planks sanded so thin to remove the clikering, I thought I would go all the way through them. Not too many gaps between planks. I was able to get a pretty good fit with the basswood since they were easy to sand. Some of the things I don't like / would do differently: The wales came too far down in the bow. I should have reduced the width of these planks more in the bow so that the gap would have been wider for belt A. I had to add a lot of drop planks to get these to fit. Some slight clinkering between planks - I am pretty sure this is due to the glue build up of the previous plank, leaving the next plank raised slightly at the join. I will try to eliminate this in belt B by sanding down the bulkheads next to the previous plank before adding the next plank. In any case, this was pretty easy to sand off. The thickness of the planks was a bit inconsistent, so I have some planks that are a bit below their neighbors. This requires the neighbors to be sanded down a lot, but I am able to use wood filler to fill these voids and avoid some of the sanding. Thankfully, the hull will be painted and coppered. The width of the planks was just a little wider than shown on the plans, so I was not able to use the planking plan from the plans. The plans show no dropped planks, so I should have paid more attention to it. If I had run all the planking through a sanding drum to get them a little narrower I may have been able to use the plans. I should have added some of the drop planks more toward the center of the hull, not just on the ends. This would have left the planks a bit wider toward the ends and reduced the number of drop planks. I am going to do this on belt B, so it will be interesting to see the difference. Toward the end of belts A and C, I started marking the actual plank widths on the bulkheads, so I could see much better where the drop planks should go. I will also be doing this in belt B. I should have added filler blocks between bulkheads B and C. The planks wanted to flatten between these bulkheads instead of curving nicely. I also continue to work on the gun deck gun carriages. Here they are painted with the painted trucks in place. In most of these, the trucks are just pressed on. I will be adding the eyebolts and rings for the tackles and breech ropes next. I will be glad when this planking is over, but I am enjoying it so far.

- 1,354 replies
-
- 7
-
-
- constitution
- model shipways
- (and 1 more)
-
Thanks everyone. Scott - when those binder clips no longer fit, I will use small drops of CA to hold the planks along with pins pushed through holes drilled through the planks. I have already started to use pins on the extreme ends of the planks over the filler blocks.
- 1,354 replies
-
- 2
-
-
- constitution
- model shipways
- (and 1 more)
-
Use code OC8 at Model Expo and you can get it for $299, although it is on backorder at the moment. This is one of the cheapest prices I have seen for it.
-
I am attempting to build the MS kit in an 1812 configuration. The link to my build log is below. Also, check out this build log, which is plastic but has a lot of information on the 1812 configuration: http://modelshipworld.com/index.php/topic/270-uss-constitution-by-force9-revell-plastic-revisiting-the-classic-196-kit/#entry2211 TimI and Mundie are also building the MS kit in the 1812 configuration.
-
Really nice tool box and oars, Steve. I used tan lines for the oars, but since yours will be weathered, I'd go with a dark brown.
- 625 replies
-
- 1
-
-
- bounty launch
- model shipways
- (and 1 more)
-
Thanks Tim and George. Those are the medium size binder clips. I have already needed to start using the small binder clips in some places now.
- 1,354 replies
-
- 1
-
-
- constitution
- model shipways
- (and 1 more)
-
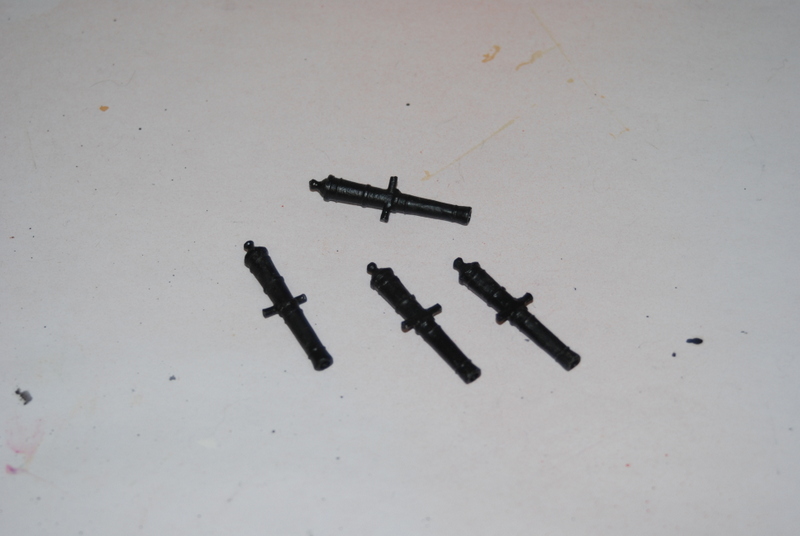
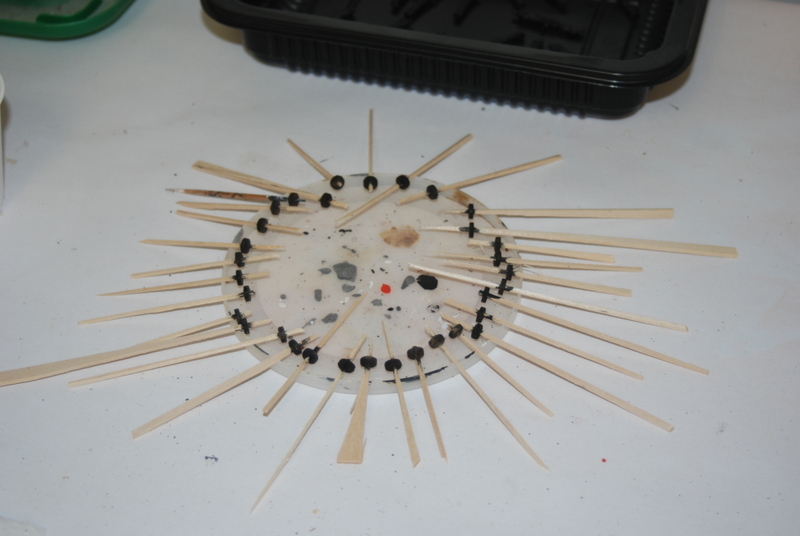
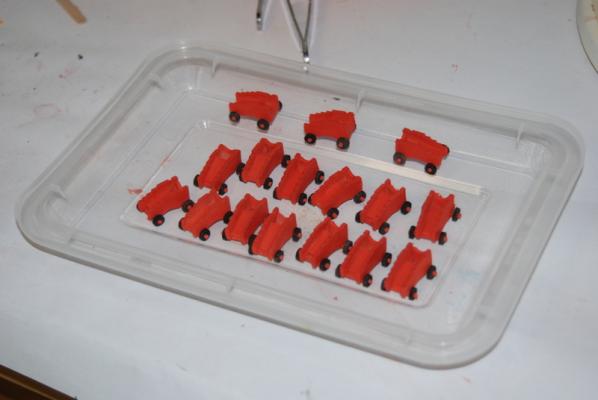
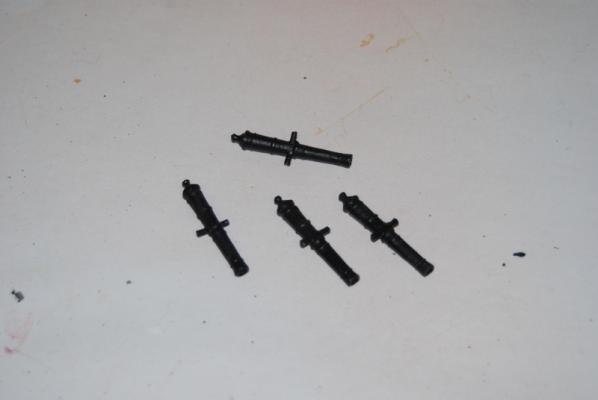
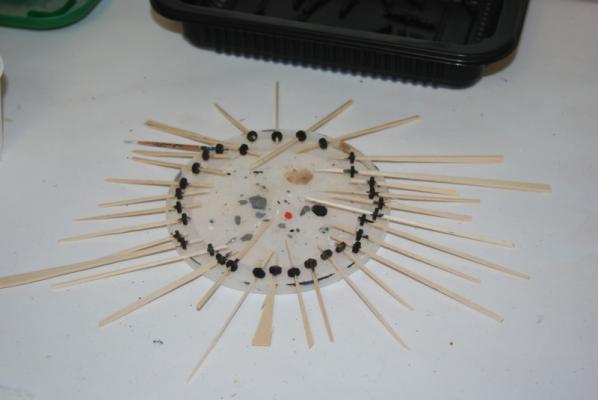
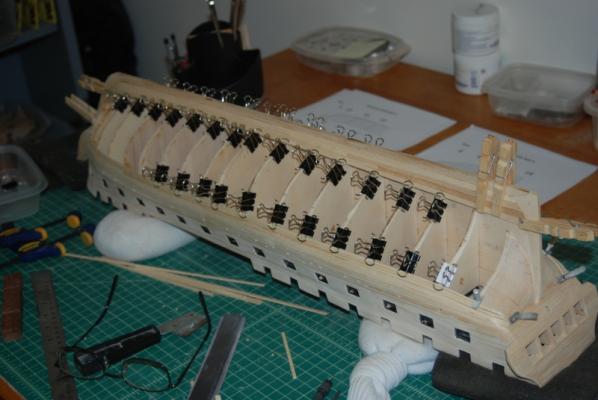
Planking continues within the two planking belts on each side. I did remeasure each belt after putting in about half the planks and adjusted the plan. I could have used wider planks in Belt A (below the wales) if I had added more drop planks towards the middle of the hull, but it is not enough of a difference now to start over. I ended up with one less plank in Belt C (next to the keel), but I am happy with the way this belt came out. While waiting for planks to dry, I have been doing some painting of the gun parts for the gun deck. I used weathered black paint for the gun barrels and here is how they came out. I also painted the trucks for the gun carriages black. I was going to hold them with toothpicks while painting them, but I found all these pointed pieces of wood in the trash pile from the tapering of the planks, and these worked great:

- 1,354 replies
-
- 8
-
-
- constitution
- model shipways
- (and 1 more)
-
OK, thanks Mike. I have not tried cutting planks yet with the Byrnes saw, but this may be an option for the future.
-
Mike, The Griper looks pretty cool and I can see how it can make ripping planks a lot safer and more accurate. My question, though is, even with the extra attachment, are you limited to 1/8" think planks, or is there a way to cut them thinner? Thanks.
-
Rich, I wouldn't glue the masts in. The shrouds and stays will hold them in place later and you can adjust the mast angles as you add them. I also tend to rig with the masts installed. I do add all the blocks and other fittings to the masts, but put the shrouds on with the masts in place. It's your call though.
- 1,756 replies
-
- 3
-
-
- constitution
- constructo
- (and 1 more)
-
Thanks all. Markku, your Connie is coming along nicely. Nenad, yes the coppering is going to be fun too. I don't know if it will come out as nicely as your Cutty Sark.
- 1,354 replies
-
- 1
-
-
- constitution
- model shipways
- (and 1 more)
-
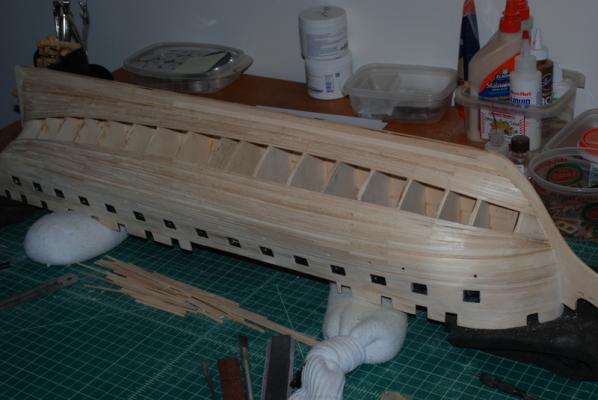
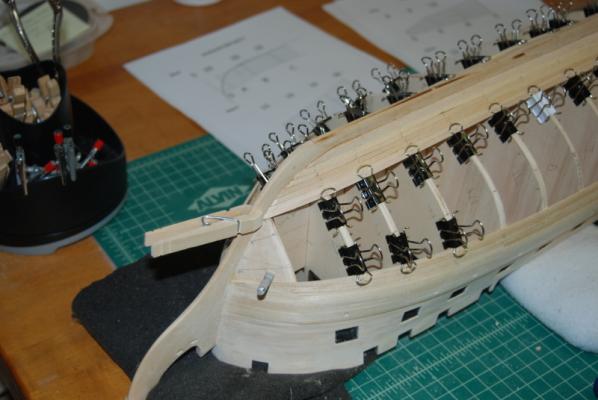
As promised, some shots of where I am with the planking. It is a bit rough but overall I think it is coming out OK. Slowly but surely the openings are being closed.
- 1,354 replies
-
- 10
-
-
- constitution
- model shipways
- (and 1 more)
-
I know some folks substituted basswood for the cherry, especially if they painted the insides like Keith said. It is a lot easier to bend. I wanted the inside natural and used the cherry, which did have a lot of breakage but I liked the final look of it. And Model Expo supplied more cherry square stock when I asked for it so I had enough to finish.
-
Thank you Nenad. I have been really enjoying your Cutty Sark build. Rich, you called it, man. For the most part, the planking has been going according to plan, but the two stealers at the stern just did not work out. I could not get the angles right without having to edge bend the plank at about bulkhead Q. I decided to just use slightly wider planks at the stern post and not drop two planks per side. Since these planks will all be under cooper plates, I am not too concerned. I think I should have gone with three planks going to two instead of two to one, but I am not even sure if that would have worked. More pictures to come.
- 1,354 replies
-
- 2
-
-
- constitution
- model shipways
- (and 1 more)
-
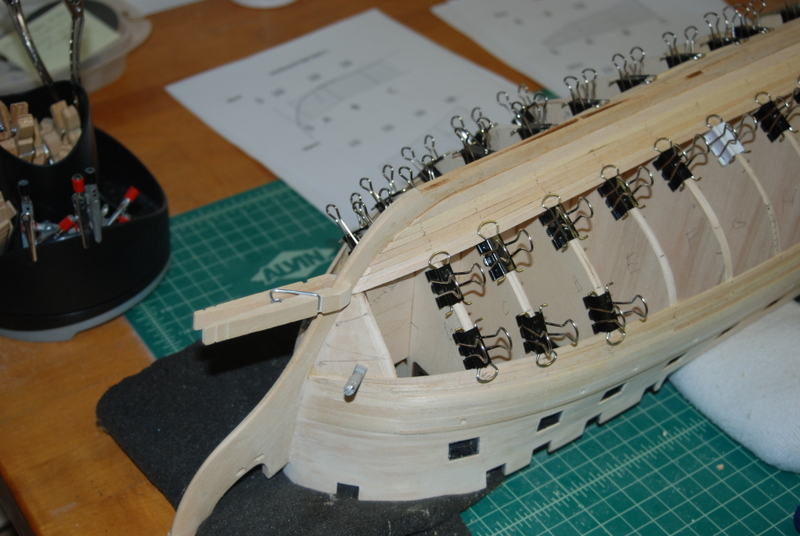
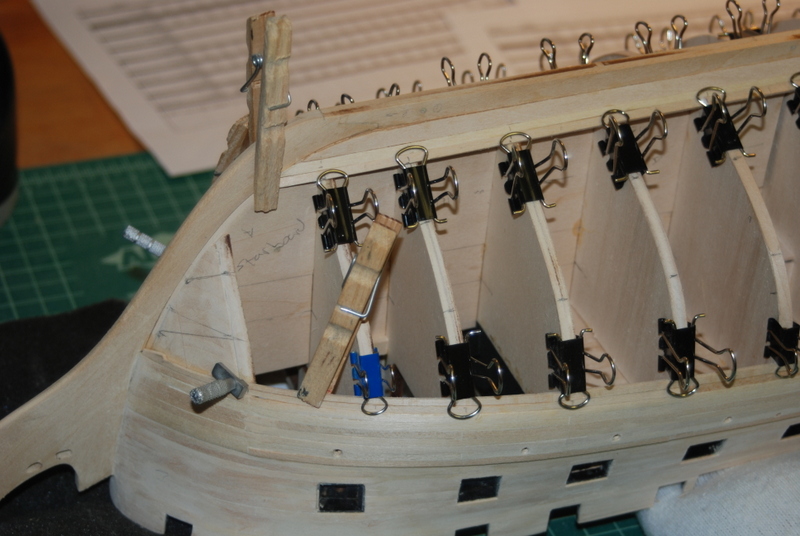
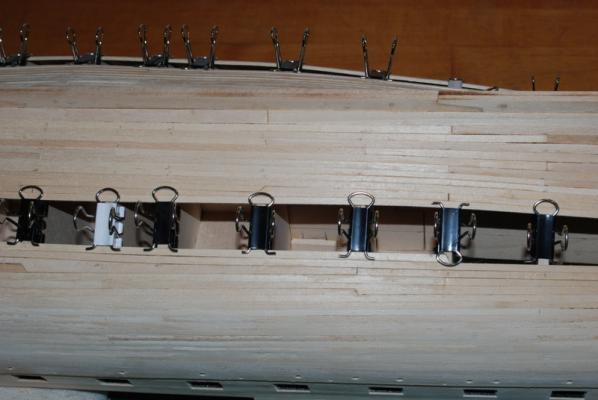
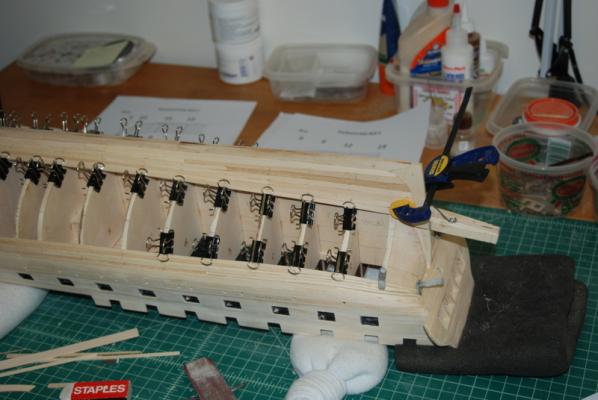
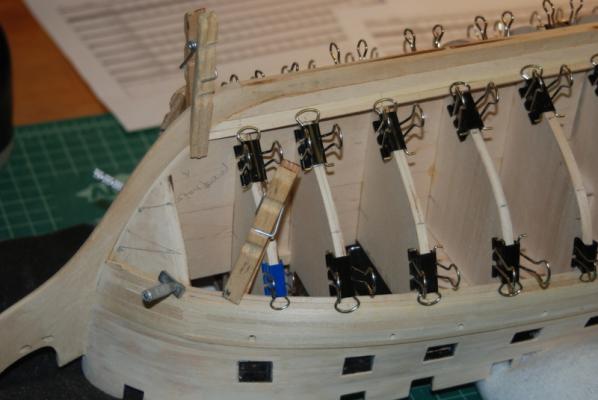
Got some more planking done over the last couple of days. It takes me about 2 hours to cut and install 4 planks, which is about the time I have each evening during the week. I have just enough binder clip clamps to install 4 planks. These screw in clamps really help at the ends where the filler blocks are, especially since this is where the planks are the most curved. You can see the start of one of the drop planks at the bow in this photo:

- 1,354 replies
-
- 9
-
-
- constitution
- model shipways
- (and 1 more)
-
Cutty Sark by NenadM
usedtosail replied to NenadM's topic in - Build logs for subjects built 1851 - 1900
Nice job on those port holes, Nenad. -
Oops, a slight correction: After Friday's trip, the ship will undergo dry-dock preparations, including removal of its upper masts and offloading of the ship's long guns. The three-mast frigate still will be open for public tours Thursday through Sunday, starting Oct. 20. It officially enters dry dock in March 2015.
- 1,354 replies
-
- 2
-
-
- constitution
- model shipways
- (and 1 more)
-
The real Constitution is going on her last cruise today before going into dry dock for 3 years. She and mine may come out at the same time.
- 1,354 replies
-
- 2
-
-
- constitution
- model shipways
- (and 1 more)