Chuck Seiler
-
Posts
1,879 -
Joined
-
Last visited
Content Type
Profiles
Forums
Gallery
Events
Everything posted by Chuck Seiler
-
Aaron, Heh heh! Been there, done that. Once I glued the part back on I drilled a small hole down through the top, size 76 or smaller drill bit. I then inserted and glued a bamboo peg into the hole...even at that size bamboo is relatively strong. I "turned" it down on my dremel and sand paper. I don't recall if my longboat is linked to my signature, but I think I cover this in my build log.
-
 So, those of us going to the conference, then meandering around the Southwest for a week and may not have access to the interweb....can we reserve a spot in line now?
 -
Purpose of tall mast on bow of riverboat
Chuck Seiler replied to Shotlocker's topic in Masting, rigging and sails
Wow! I get to answer 2 questions in 1 post. Speaking of FAR WEST #1. The forward mast was indeed used as a gauge to help the pilot maneuver the boat. As you see from the pic, the mast IS the same height as the stacks. I doubt there were many bridges on the Missouri River in 1876, but I am sure there were some nearer to the Mississippi. The mast acted as a centerline and horizon to provide the pilot a point of reference. The black doohicky on the mast (arrow) was the "horizon". Missouri boats were very similar in design to Mississippi boats #2. Mississippi boats like the ROBERT E. LEE did NOT have the "grasshopper" feature. Running into or over obstacles was frowned upon. However, on the Missouri there were obstacles aplenty. The grasshopper feature was important. You can see he antenna looking booms sticking out of the front of the model above. The starboard (unpainted) spar is rigged. Each boom had its own capstan. In addition to grasshopping, these could be used for loading/unloading cargo and gangplank deployment.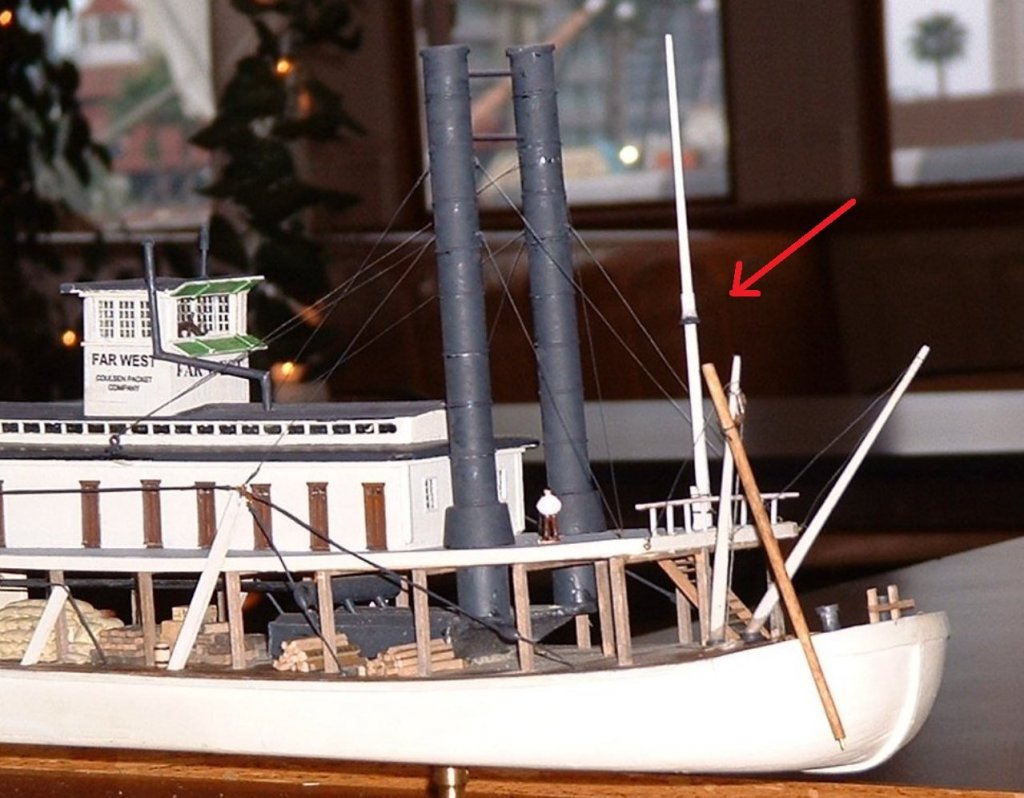
-
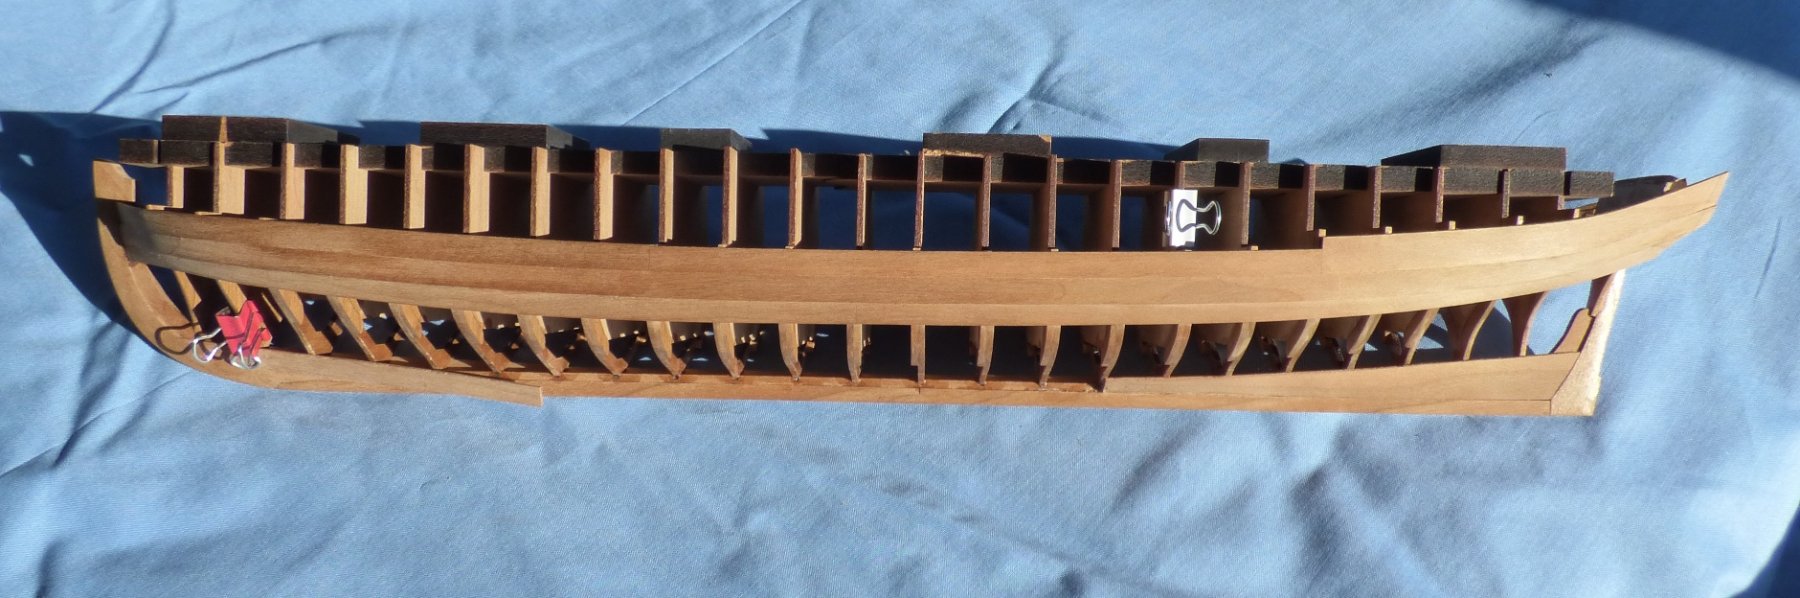
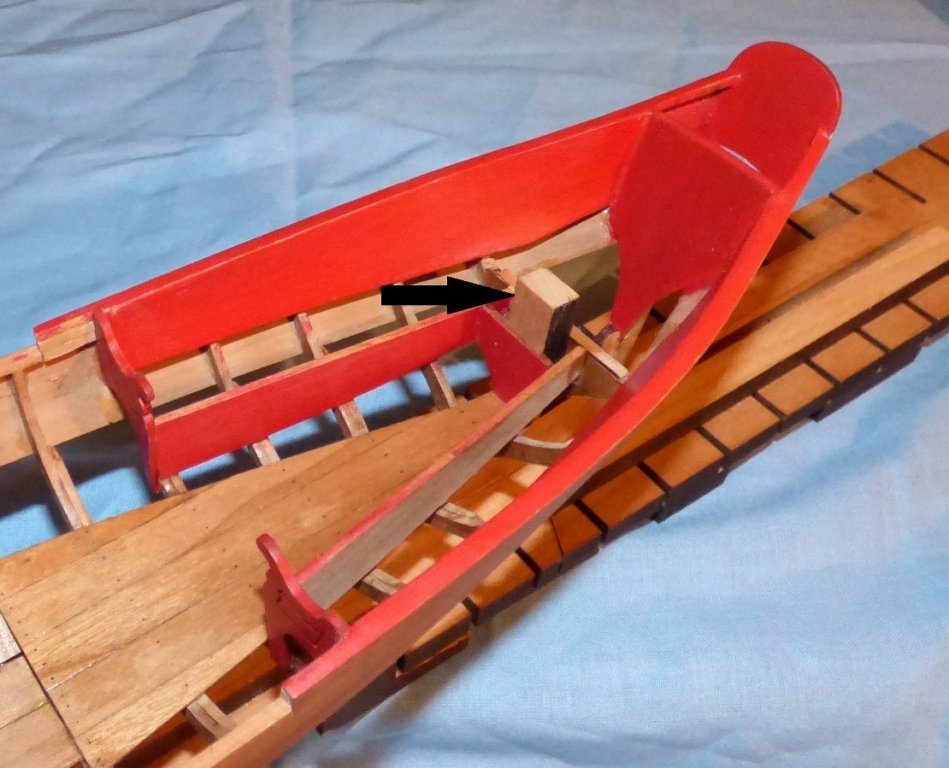
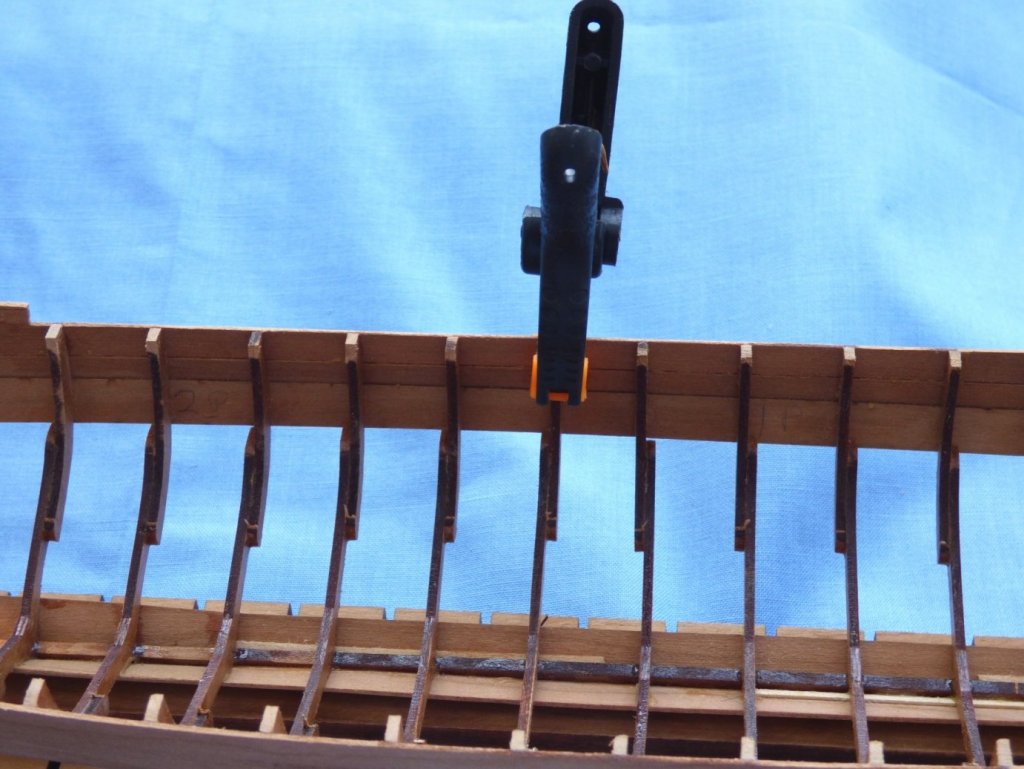
Floorboards in place. Interior starts getting colour. Arm rests and bench supports in place. I, once again, used a spacer to facilitate installation of a part. In this case, the center bench support (see arrow).
-
I agree, but for different reasons. The longboat is NOT a beginner's kit. Because you are single planking and you can see both sides of the planking, this poses quite a few challenges. Your planking has to be PERFECT. Just my $.02. Good luck with your build. I look forwrd to your log.
-
Greenstone, Who is/are your dealers in US. I know Model Expo has your ship kits but I do not see them carrying the boats.
- 216 replies
-
- 3
-

-
- masterkorabel
- ships
- (and 3 more)
-
No, really, I am using it to make flags for a model. SURE you are. Whatever you say (wink wink)
-
Jim, Where did you get the small boats? Korabel directly? I don't see Model Expo carrying the boats.
- 216 replies
-
- 3
-
-
- masterkorabel
- ships
- (and 3 more)
-
I have tried to use tissue paper in the past and have had issue with it tearing while printing. You have to take care when attaching it to a piece of paper. Subsequently, based on a friend who does miniatures, have gone to cigarette paper. Downside 1: You are limited in size. Downside 2: When you go into the tobacco store to buy the cigarette papers you get the knowing "I know what you are going to use that for" look. ...but, hey, it's legal in California now so.....
-
Tools, supplies and workstation......
Chuck Seiler replied to CPDDET's topic in Modeling tools and Workshop Equipment
Why is there a window in the bow? -
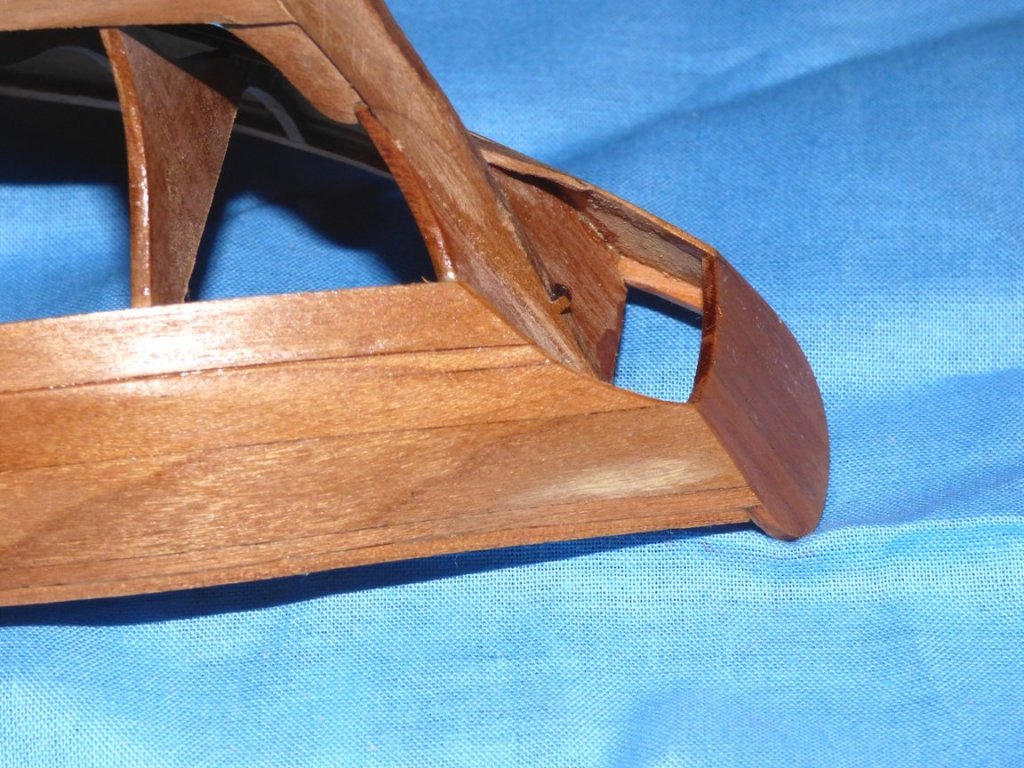
CAPRAILS. Here you see how I clamped down the caprails in the bow area. I would do similarly amidship (amidboats) and aft. Overhead shot of forward caprail in place Below, caprails in place and trimmed down. I need to trim the area next tothe stem. I like the way the flare looks, but it is not supportive of future planking. The "ears" should fix this. I have started the floorboards, although in a back asswards fashion.

-
Tools, supplies and workstation......
Chuck Seiler replied to CPDDET's topic in Modeling tools and Workshop Equipment
Again, ask as the need arises. In my experience, there is no universal "best brand", although there are some brands that cover a wide variety of equipment. If you ask about miniature table saws, you will get 2 or 3 or 4 answers. Ask about thickness sanders you will get alot as well, although not necessarily the same companies. -
Tools, supplies and workstation......
Chuck Seiler replied to CPDDET's topic in Modeling tools and Workshop Equipment
Says who? Sure, if you are going to scratch build a fully framed ship you will need a lot of room and a lot of specialized equipment. For many years I used a Dremel and Exacto knife...and a lot of clamps....and sandpaper....and glue. Start small and add what you need when you need it. Kitchen table or card table in the living room has been a common building area (subject to the whims of The Admiral). As Pat asked, what style of build do you want to do? -
As an aside, I am liking the colour I am getting from the Wipe On Poly (although the bird ain't real happy ). I may not need to stain.
-
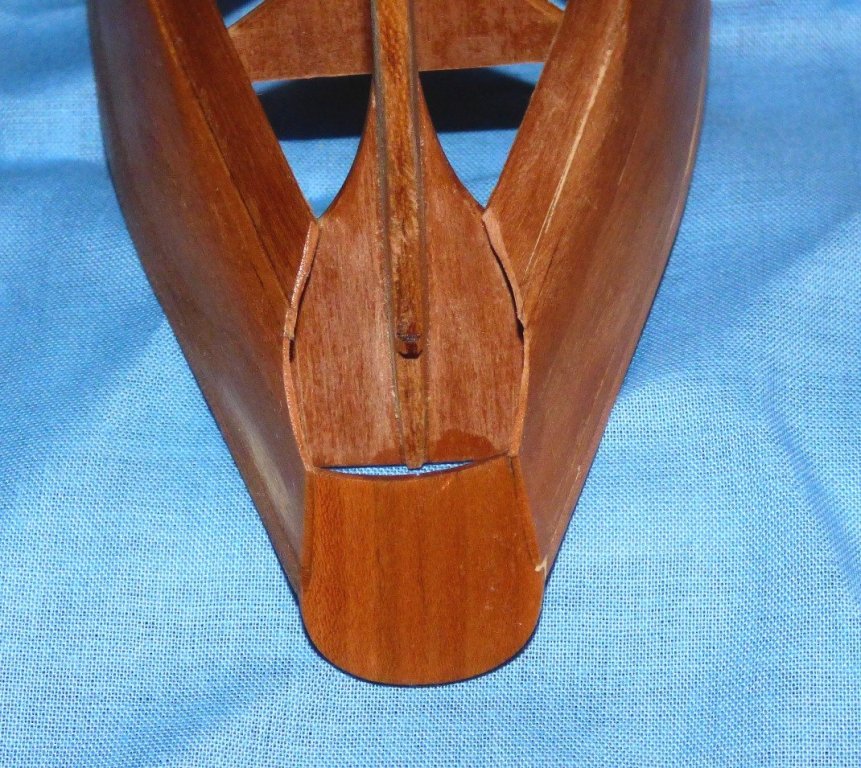
Spacer has been removed and the transom cleaned up. Part of the port side caprail installed. The curve below the flying transom still needs to be cleaned up, but it doesn't look right. I don't like the way the plank ends are just flapping around in the breeze. It seems like there should be edging or a fashion piece. I know it will be covered with decorative carving, but.... Plank ends cleaned up but it still doesn't look right. (Wipe on Poly applied. It looks a whole lot shinier with a flash. That shine will eventually go away.)

-
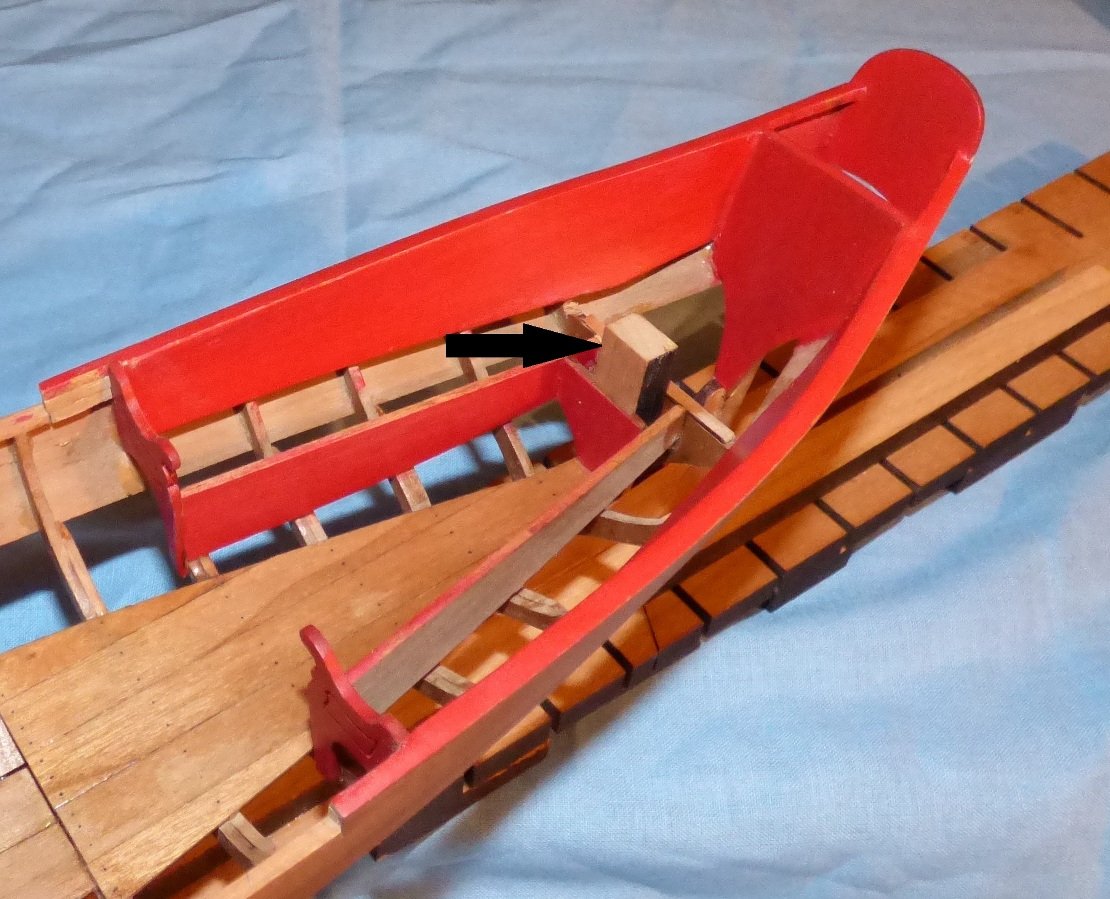
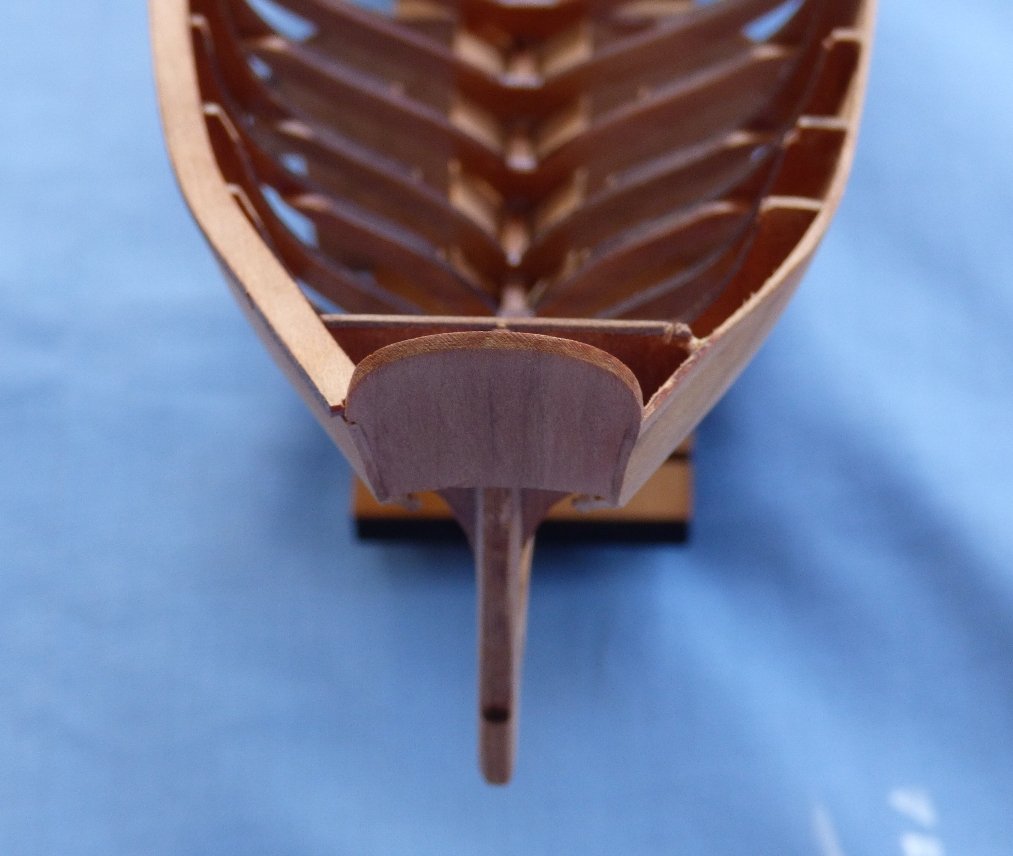
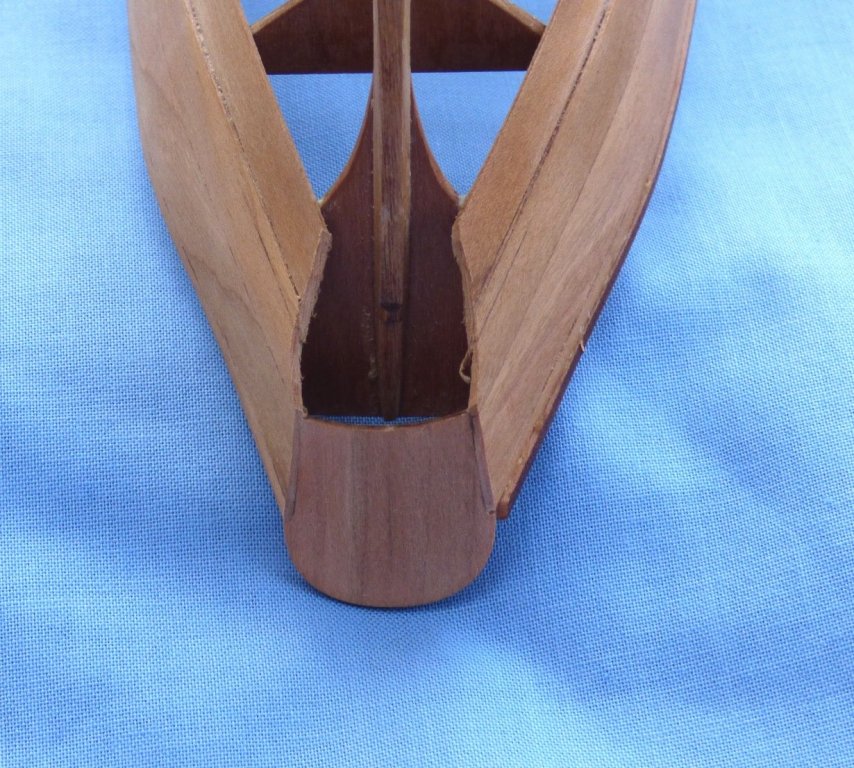
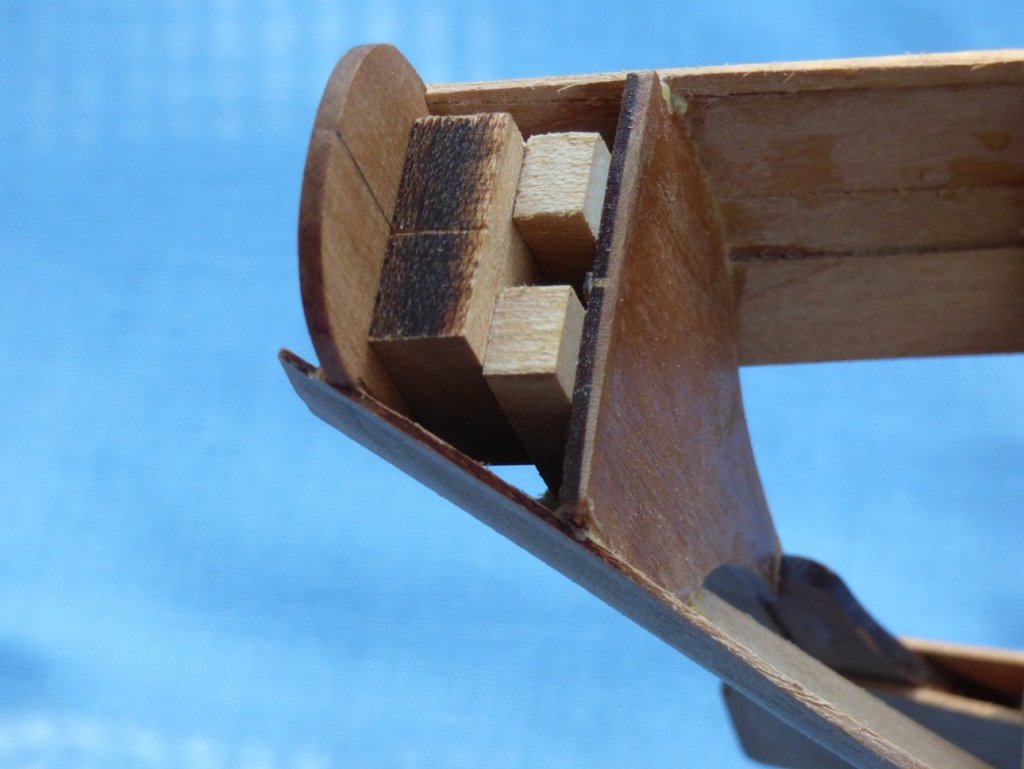
I had all sorts of problems trying to get the flying transom seated in the existing planking. I decided to place a spacer aft of the true transom, then glue in the flying transom. So far so good. Avert your eyes from the glue gobs.
-
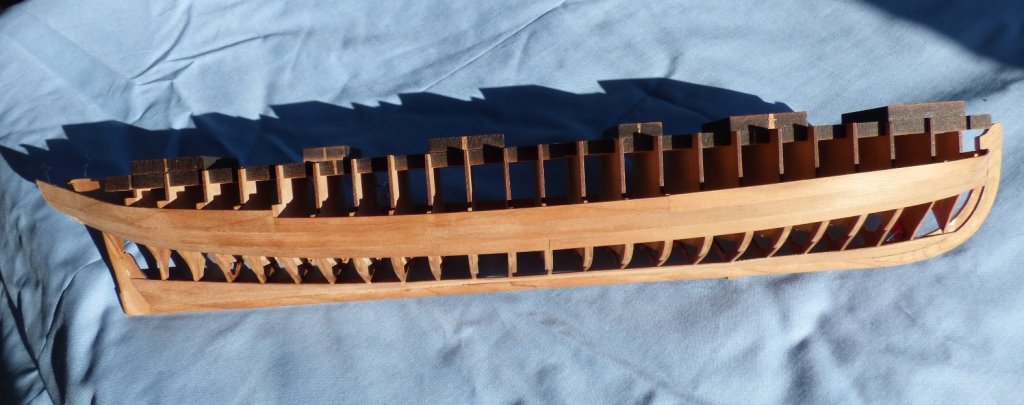
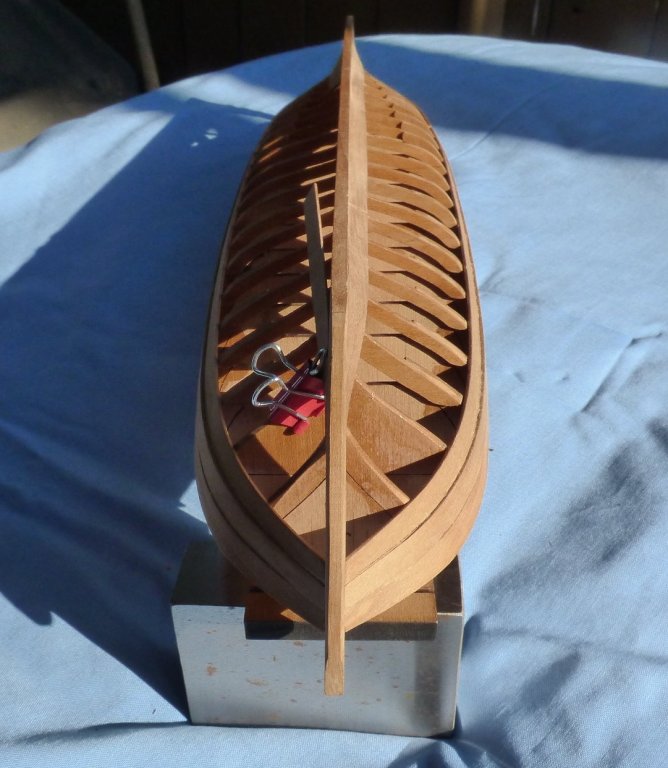
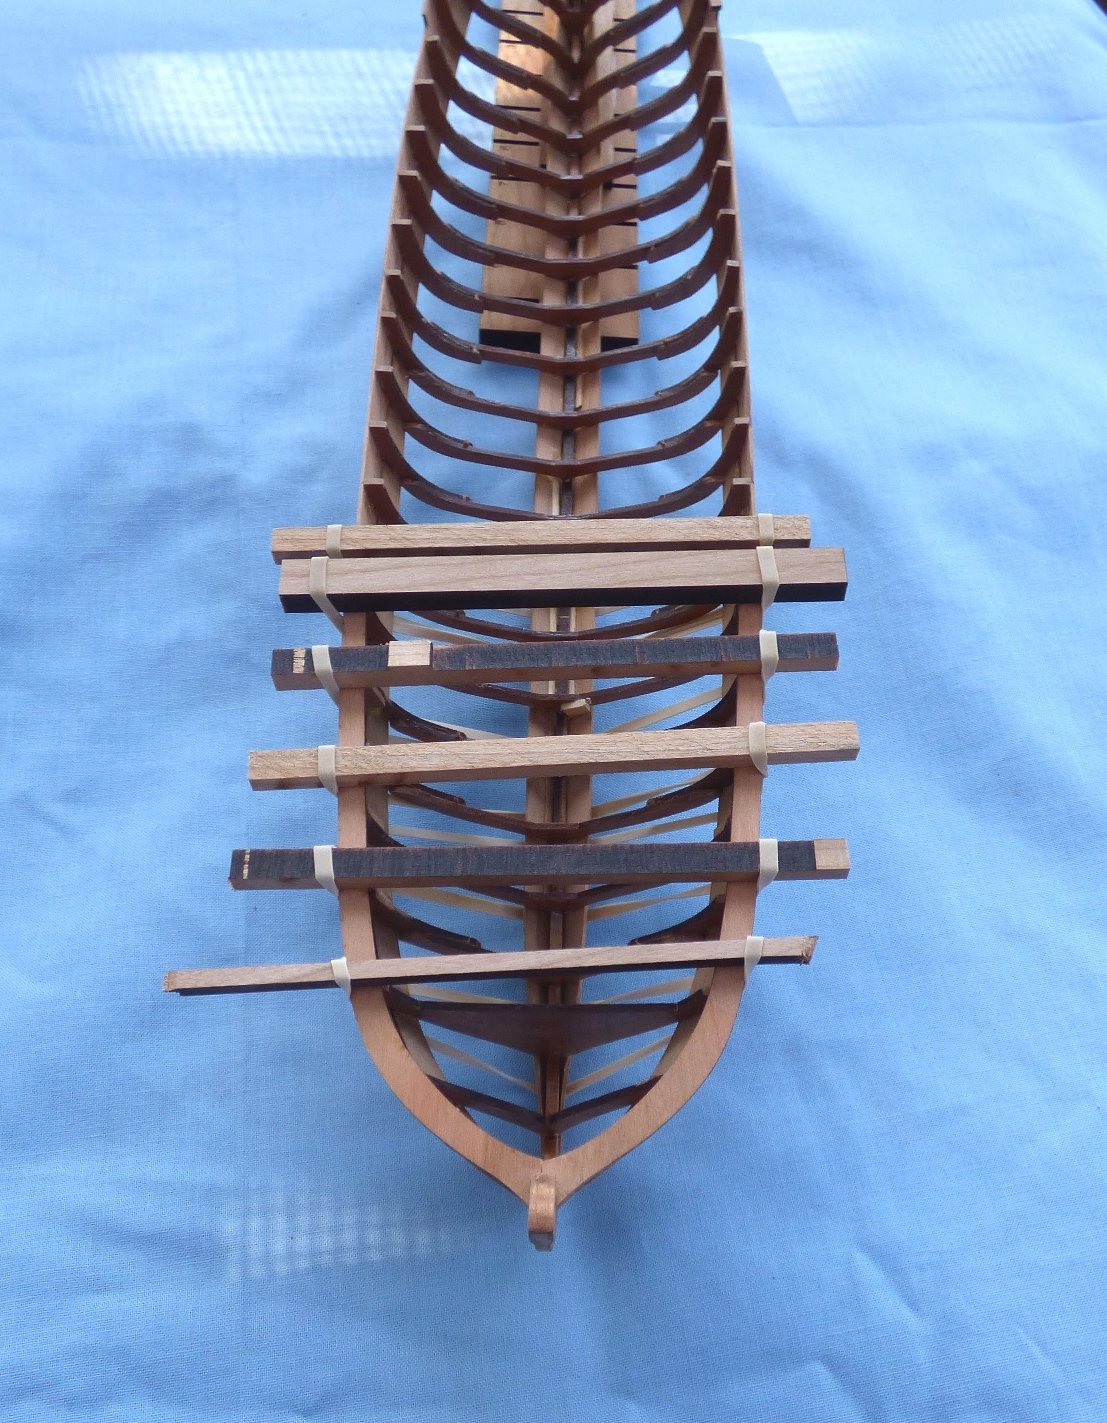
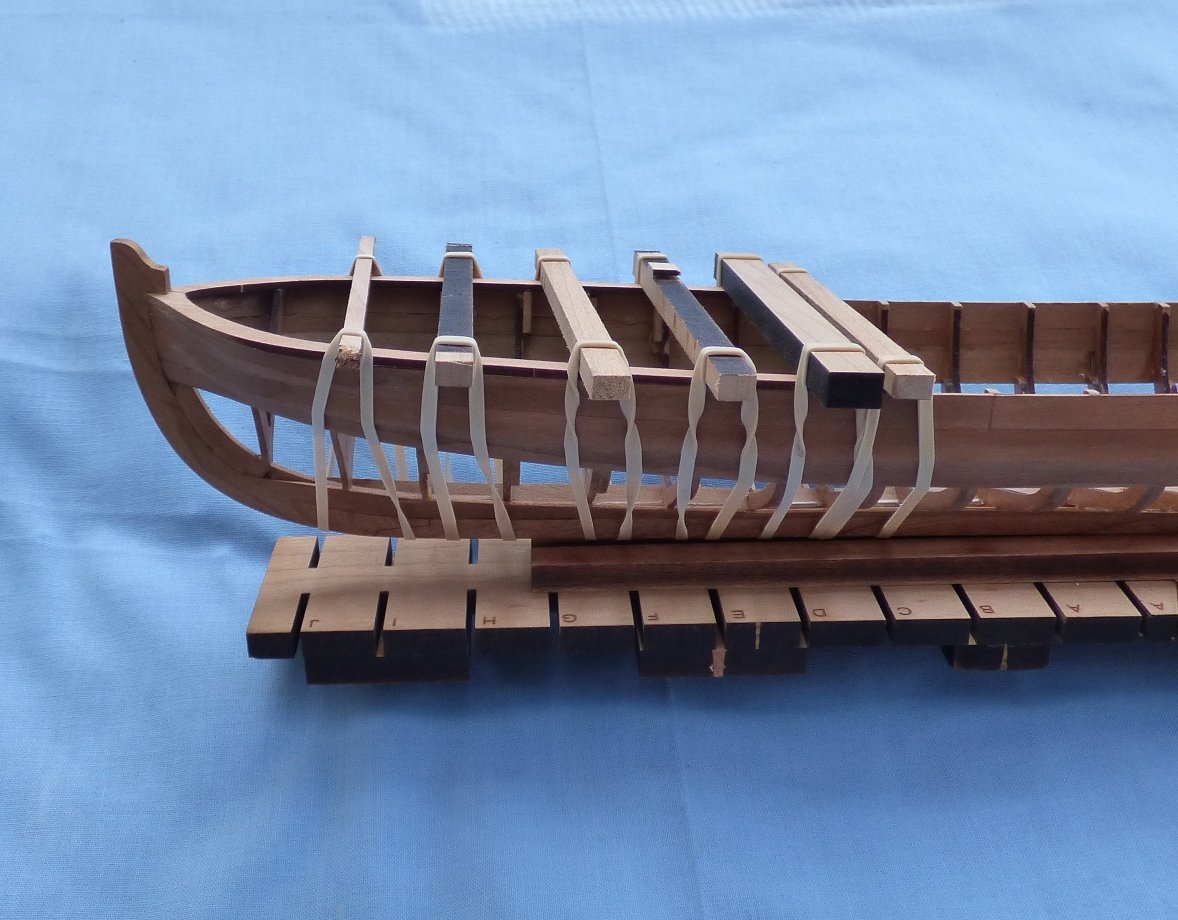
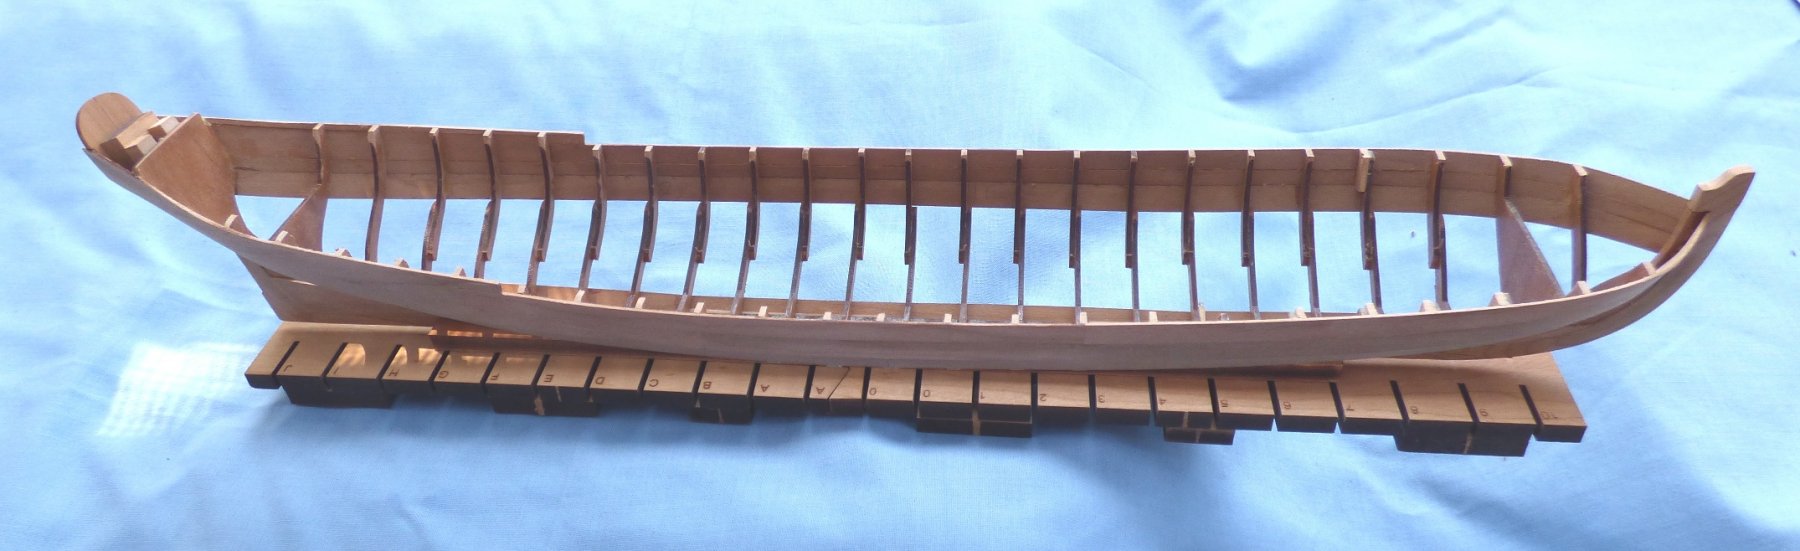
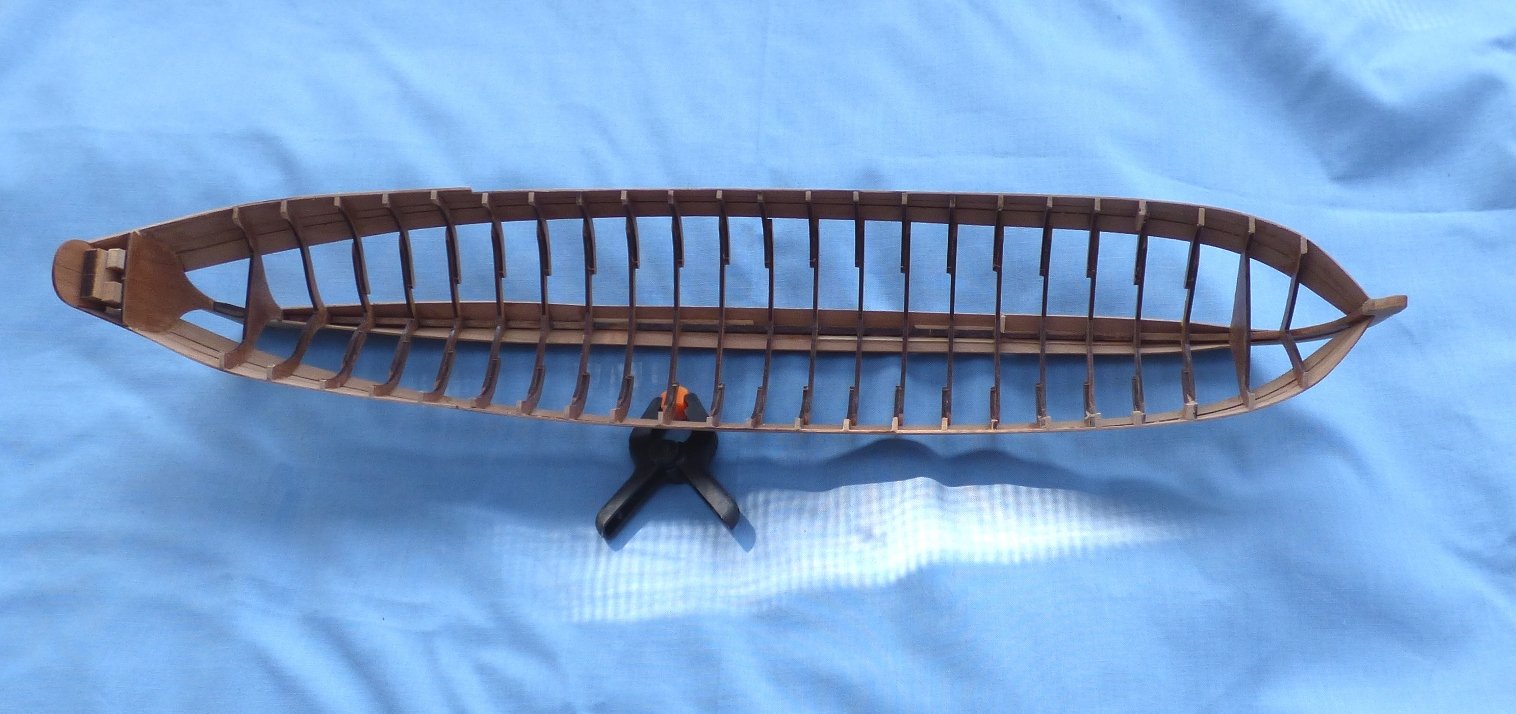
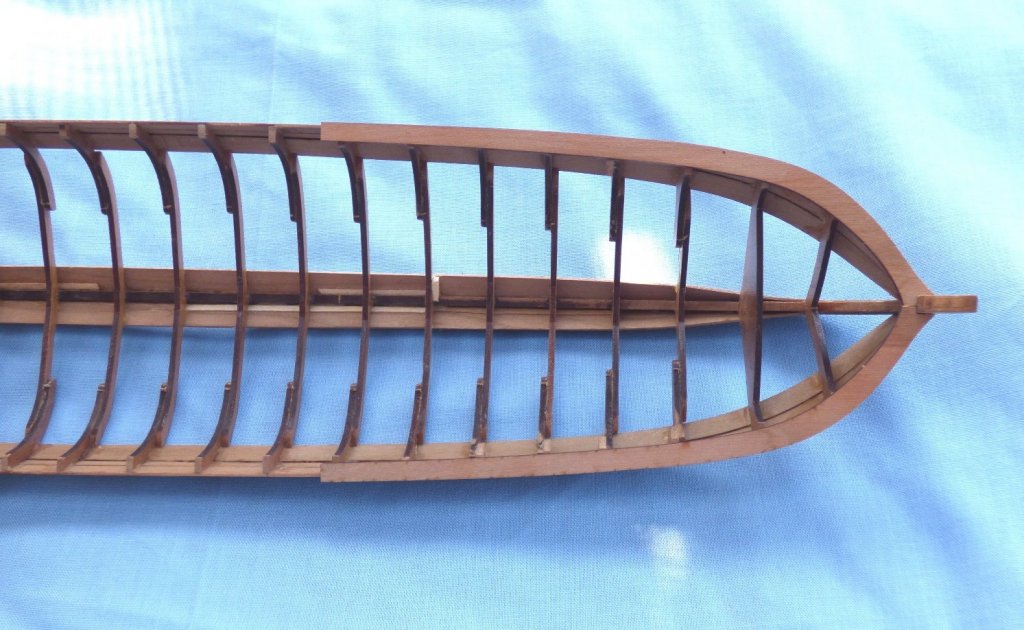
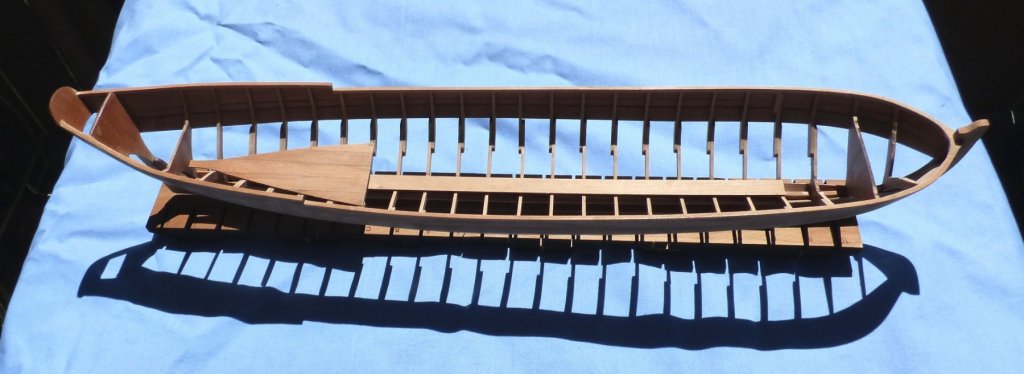
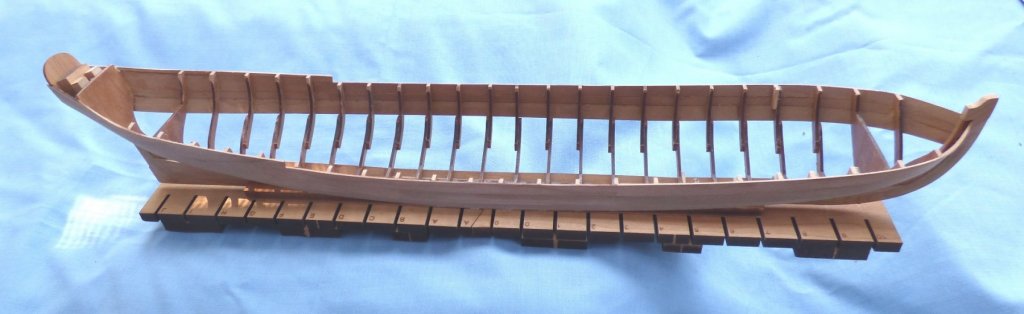
The turtle has turned into a tub. The barge has been removed from the buildboard and bulkheads removed. As part of the process, 2 of the frames broke free from the planking. I guess I didn't glue very well. In the picture below I have reglued and clamped in place All fixed and nestled in its handy dandy cradle. Let the sanding and smoke & mirrors begin.

-
Yeah, now that I think about it, that makes sense. Understood. Your second part received in the spirit intended. Fair the hull and bevel the edges exactly as you did? Heck, I can't fair and bevel the port side the same way *I* did it on the starboard side. <doh!>
-
So, you are saying that even though the planks are pre-spiled, we still need to line off the hull?
-
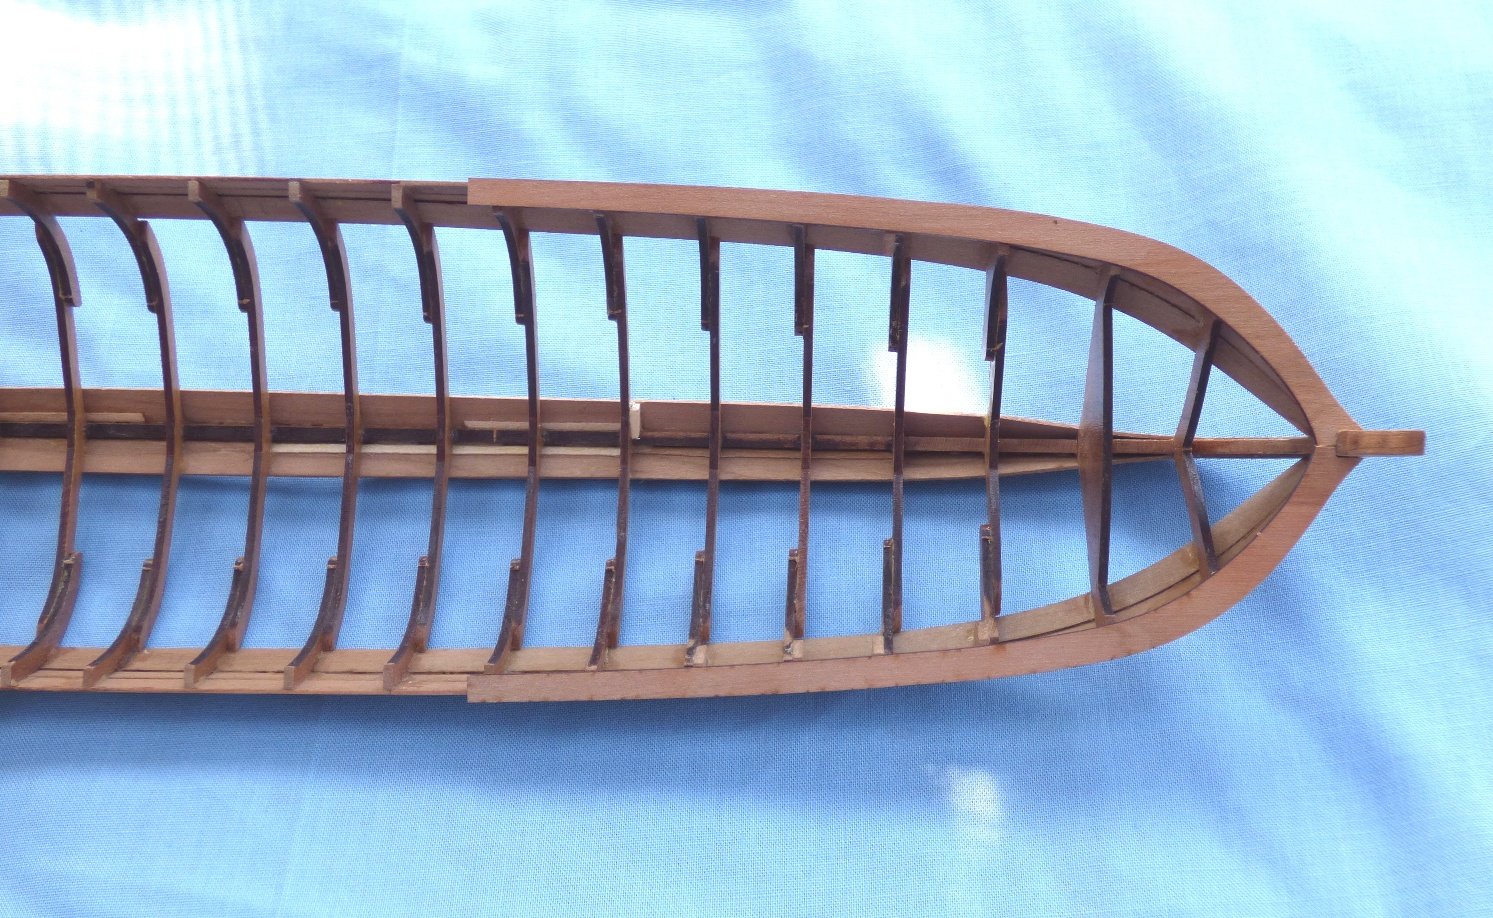
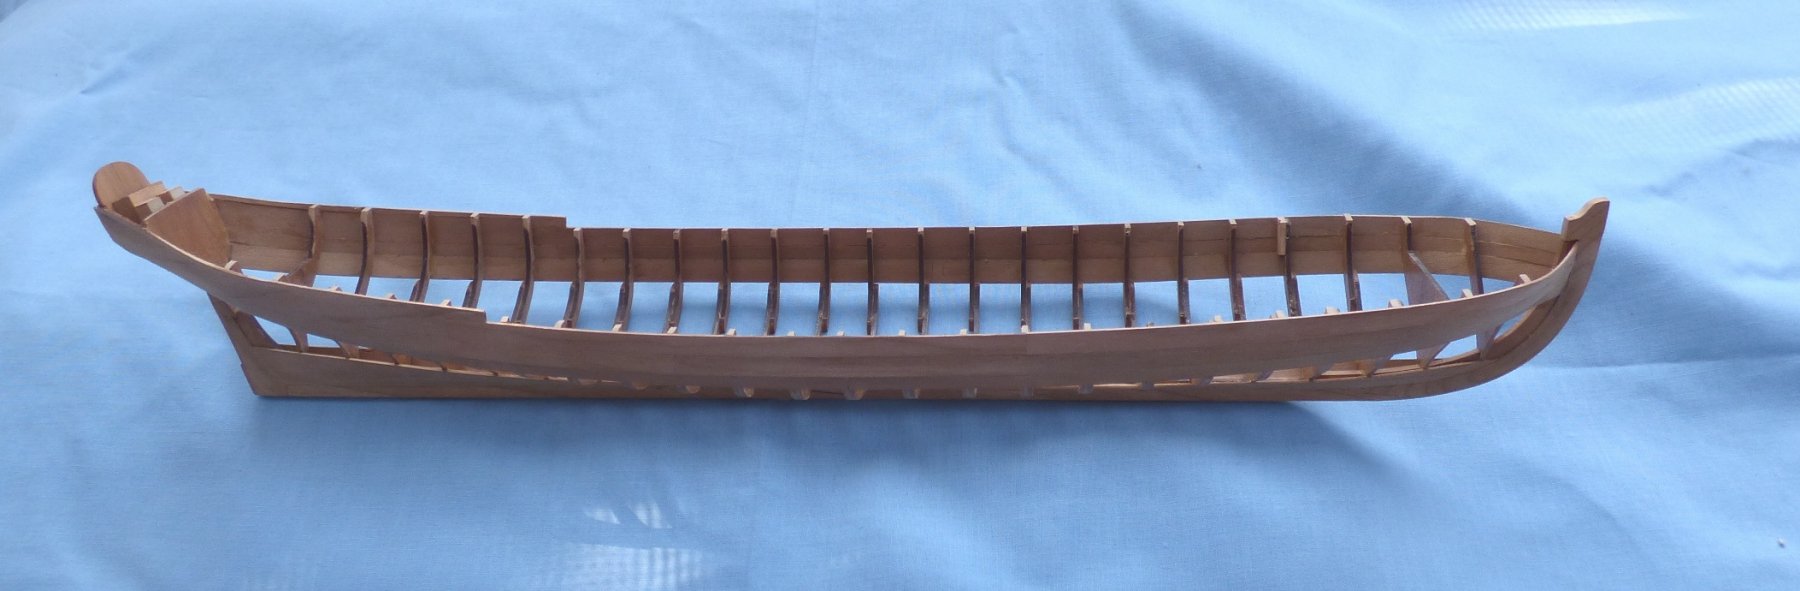
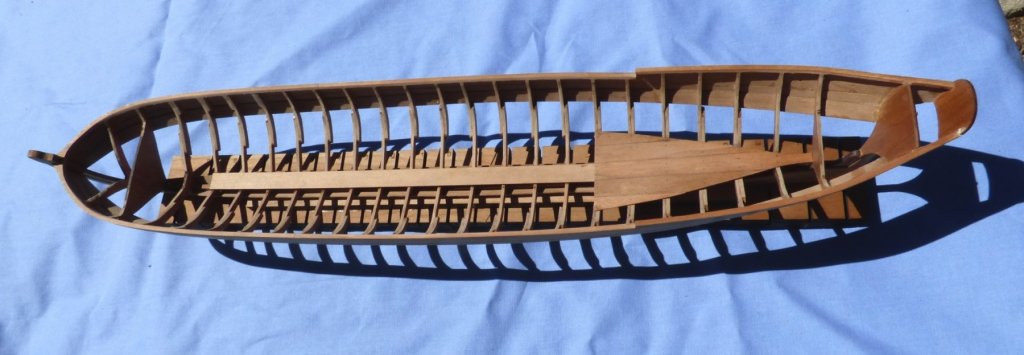
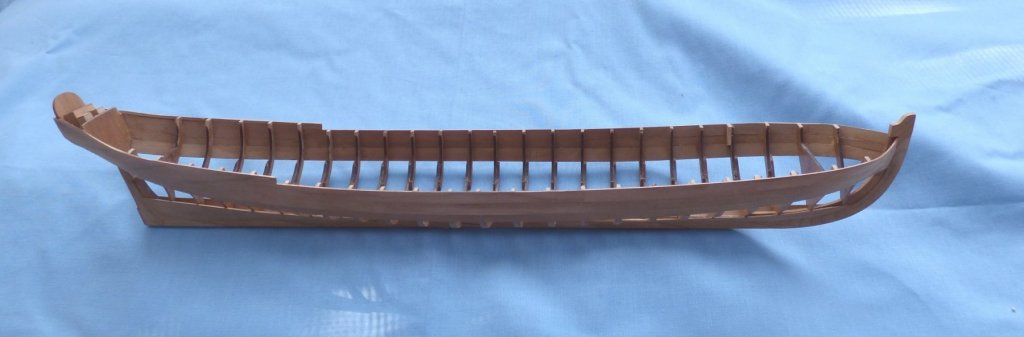
Progress continues. Planking almost complete. Bow-on shot showing planking completion. Upper three strakes complete as well as the garboard strake on the right side...or what we in the planking business call the starboard garboard. You see larboard garboard in progress. Side view.