HOLIDAY DONATION DRIVE - SUPPORT MSW - DO YOUR PART TO KEEP THIS GREAT FORUM GOING! (Only 13 donations so far - C'mon guys!)
×


Moonbug
-
Posts
1,028 -
Joined
-
Last visited
Content Type
Profiles
Forums
Gallery
Events
Everything posted by Moonbug
-
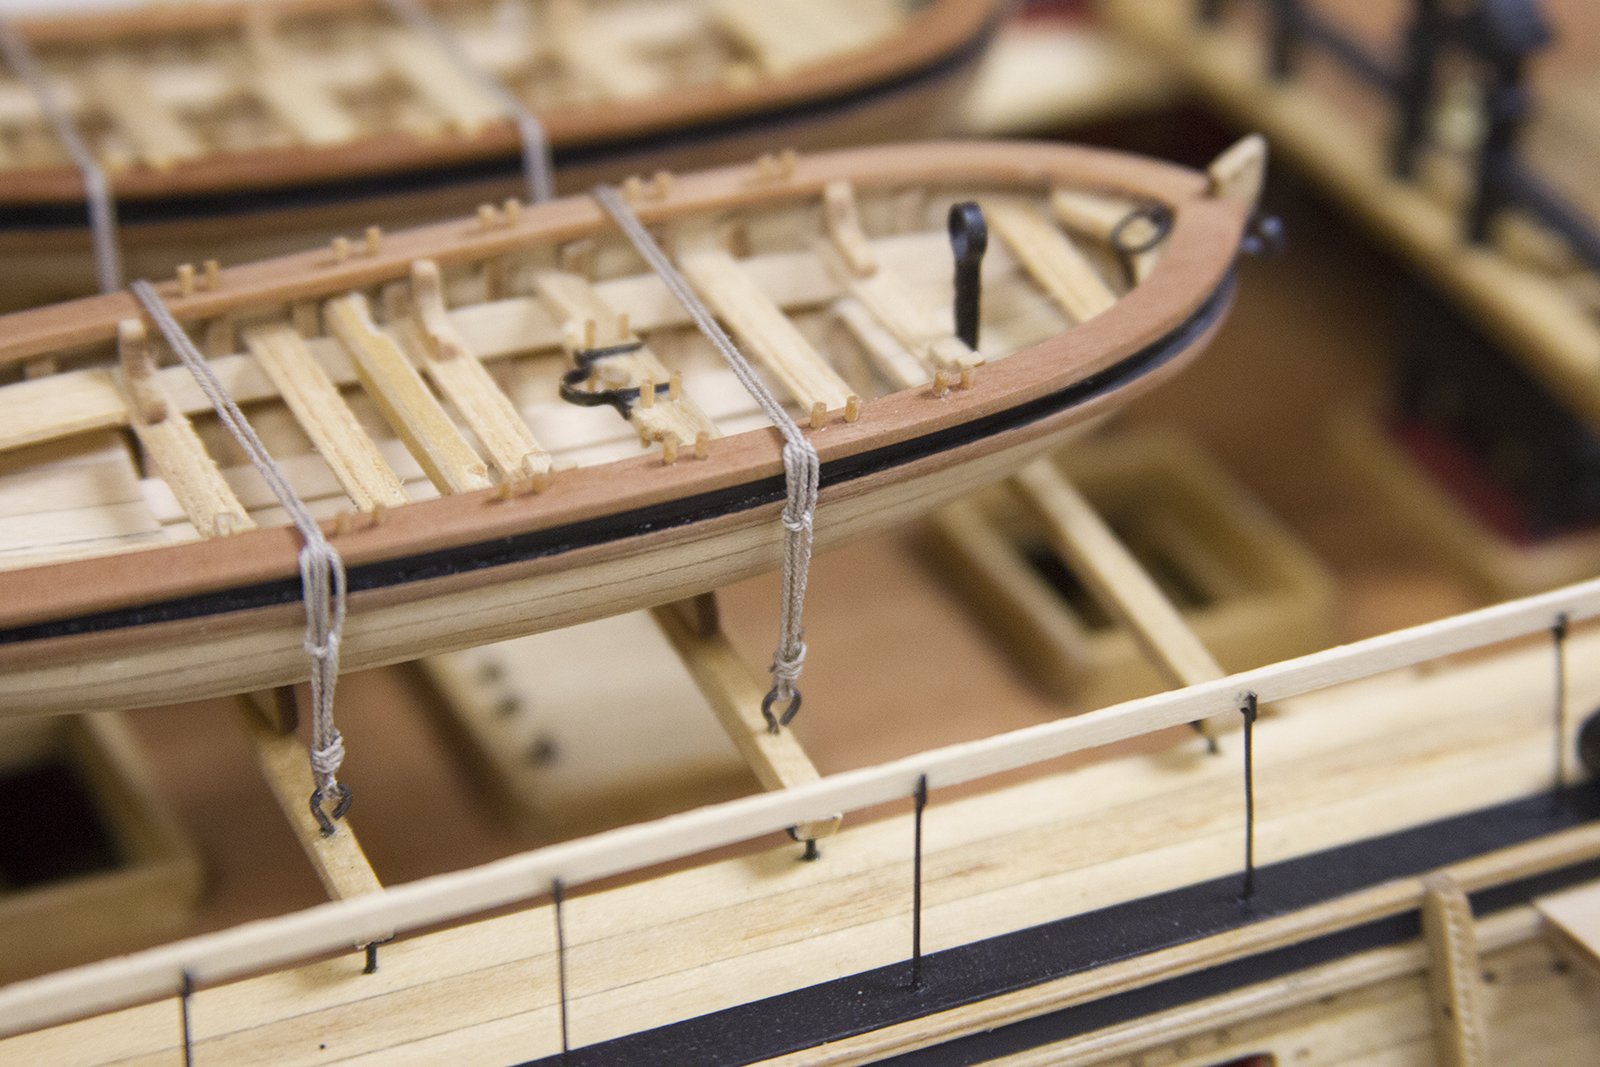
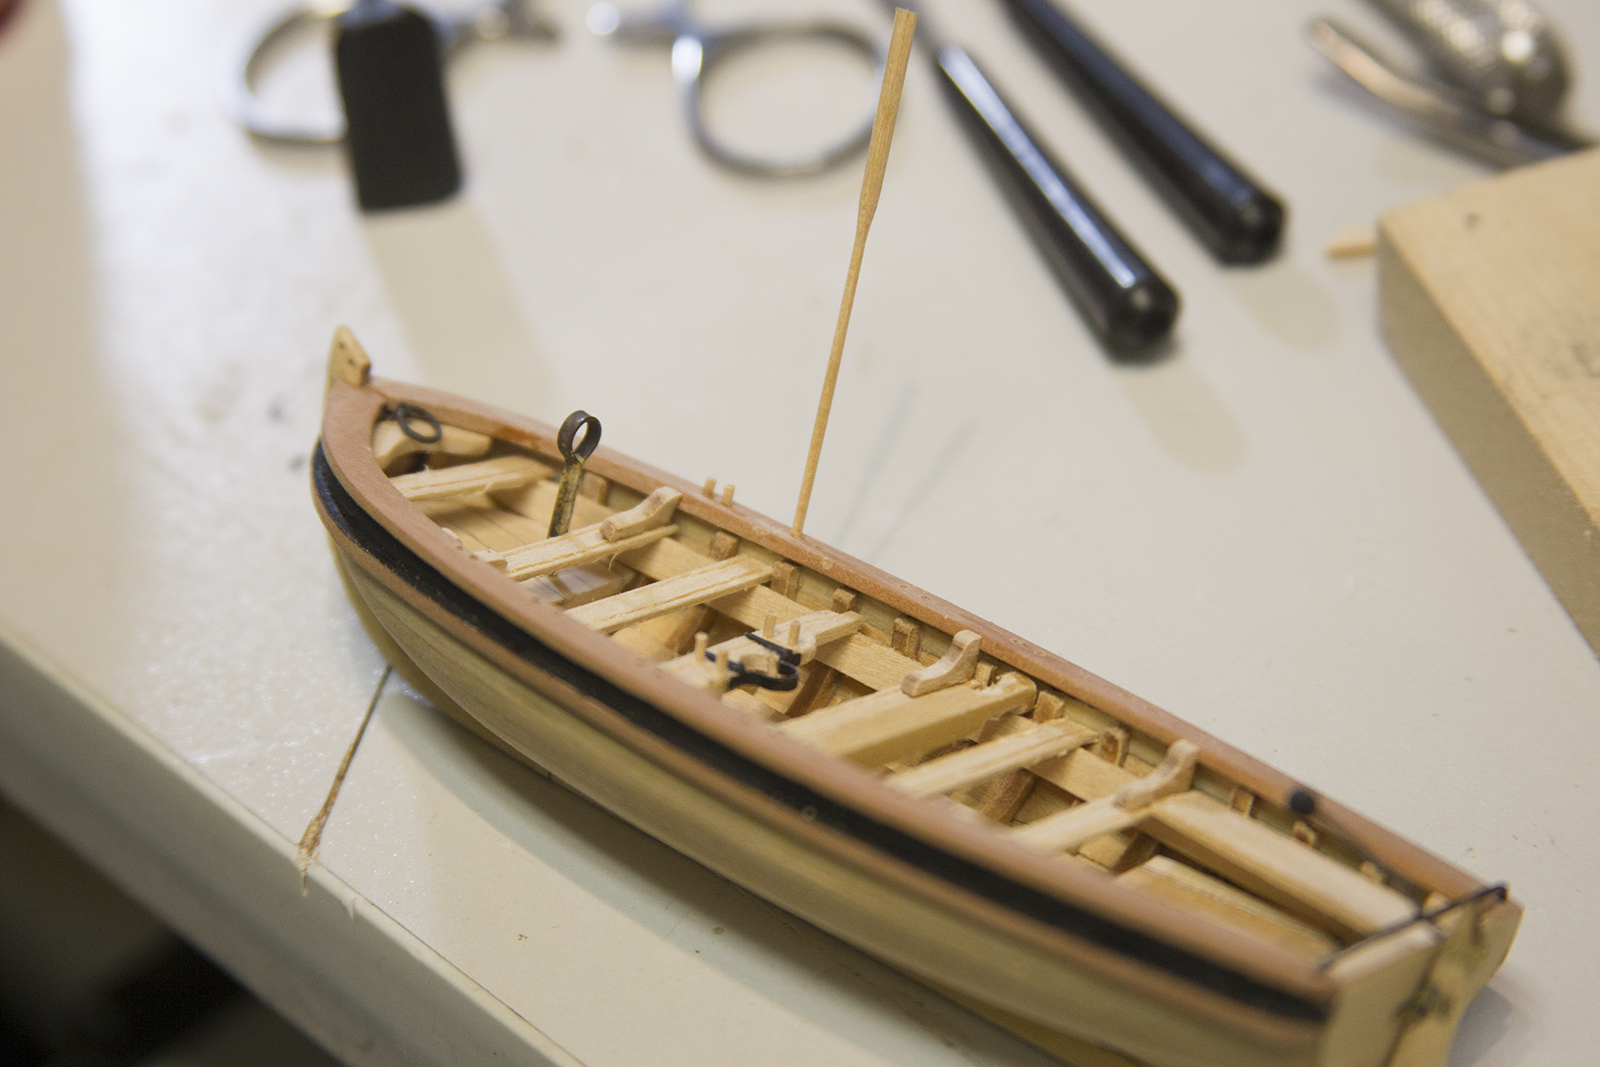
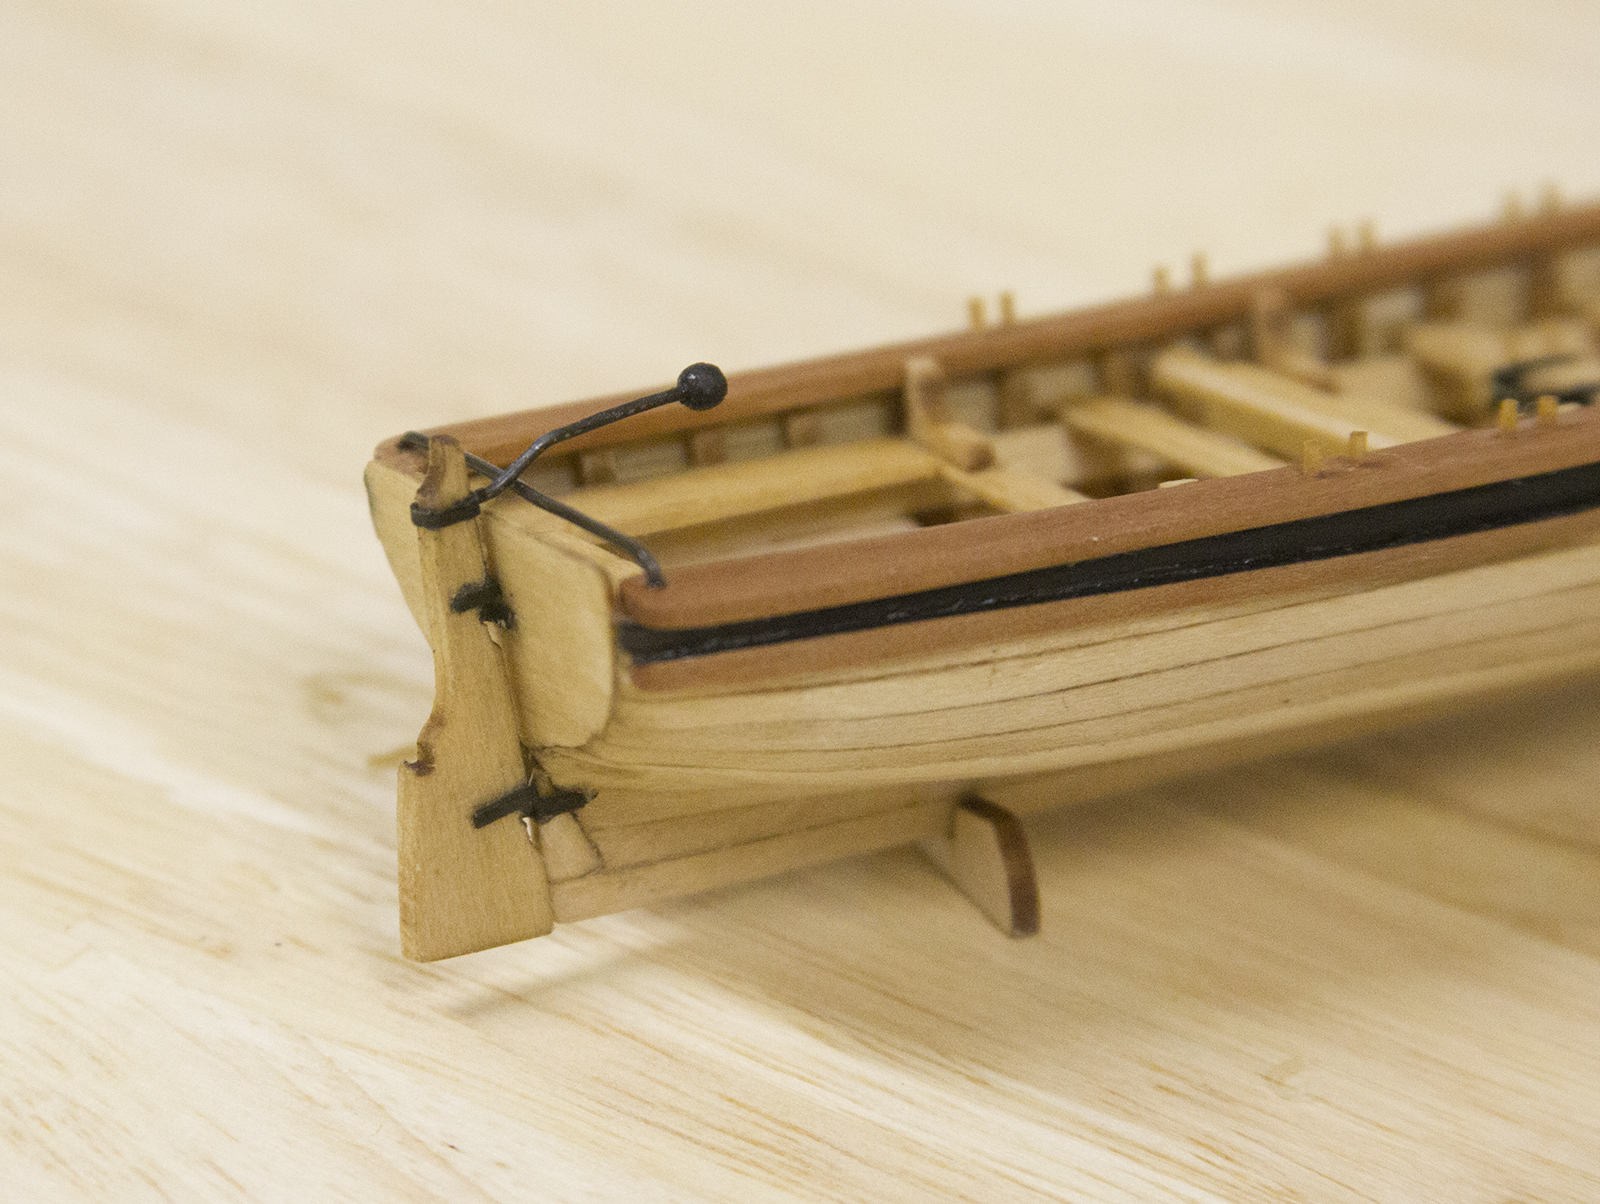
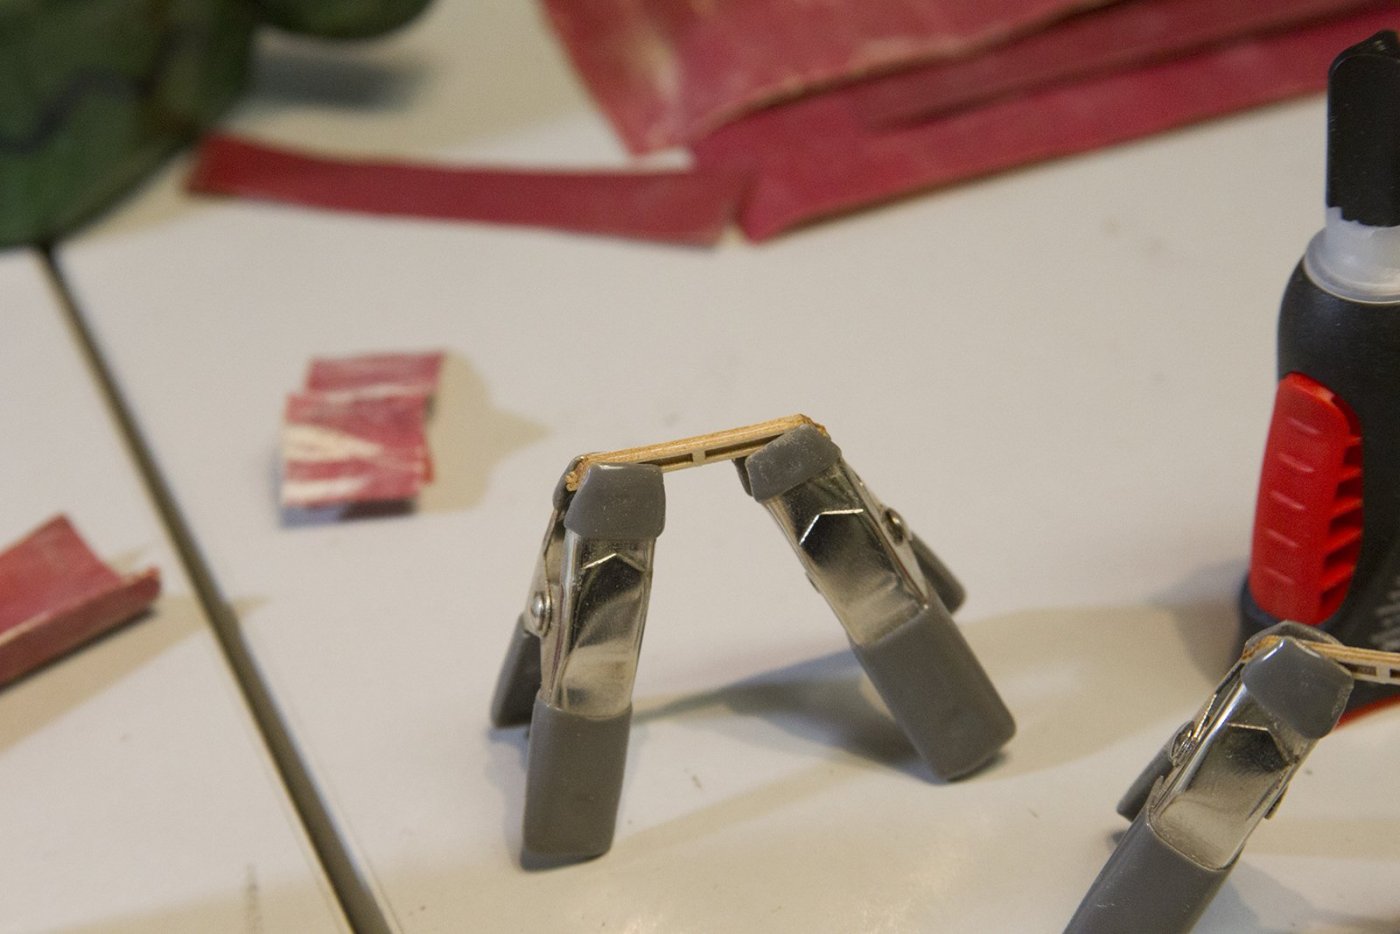
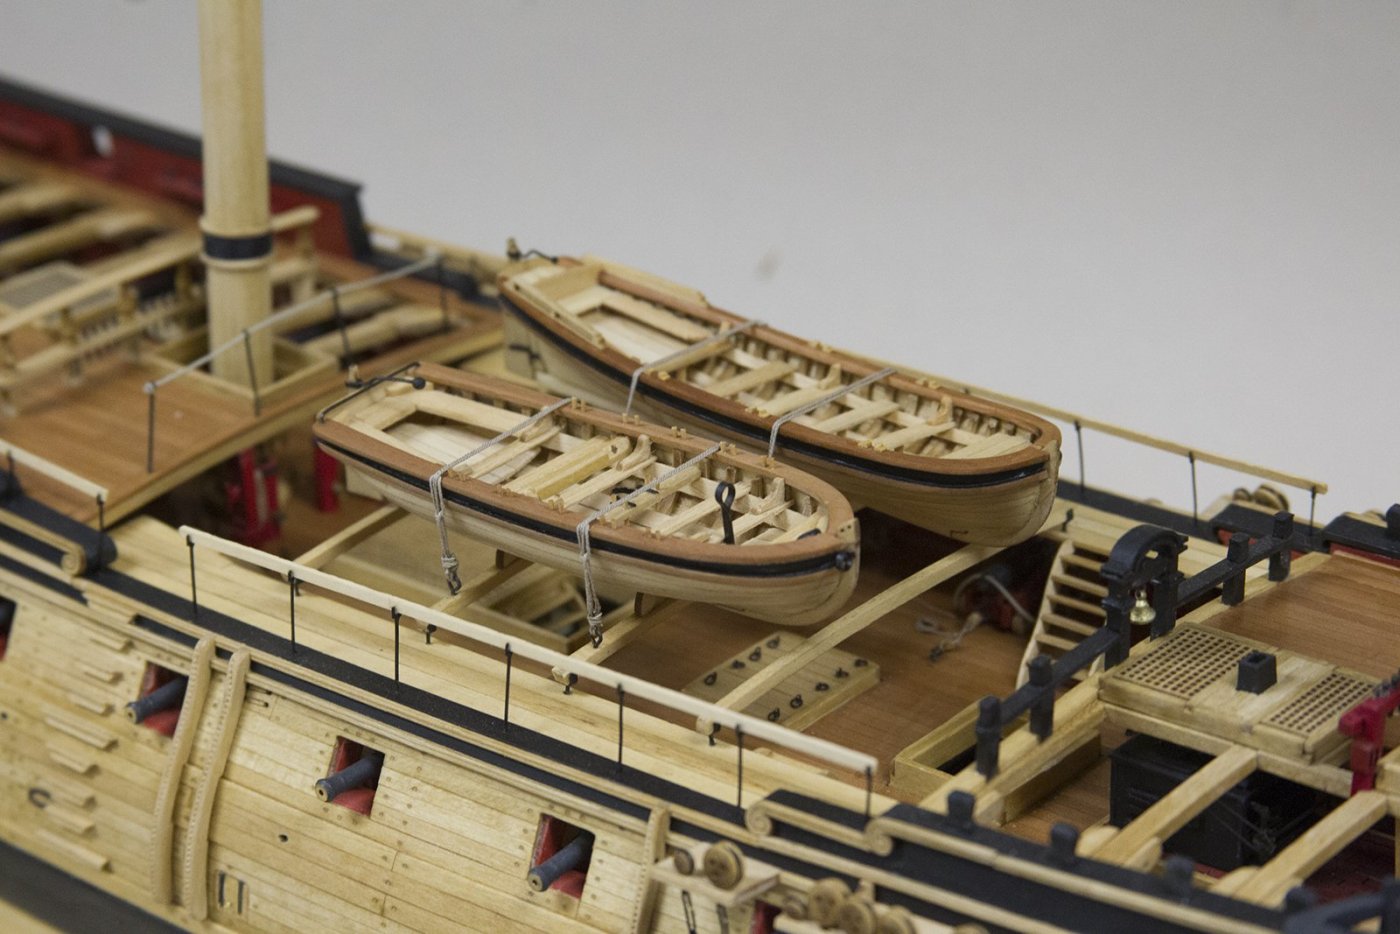
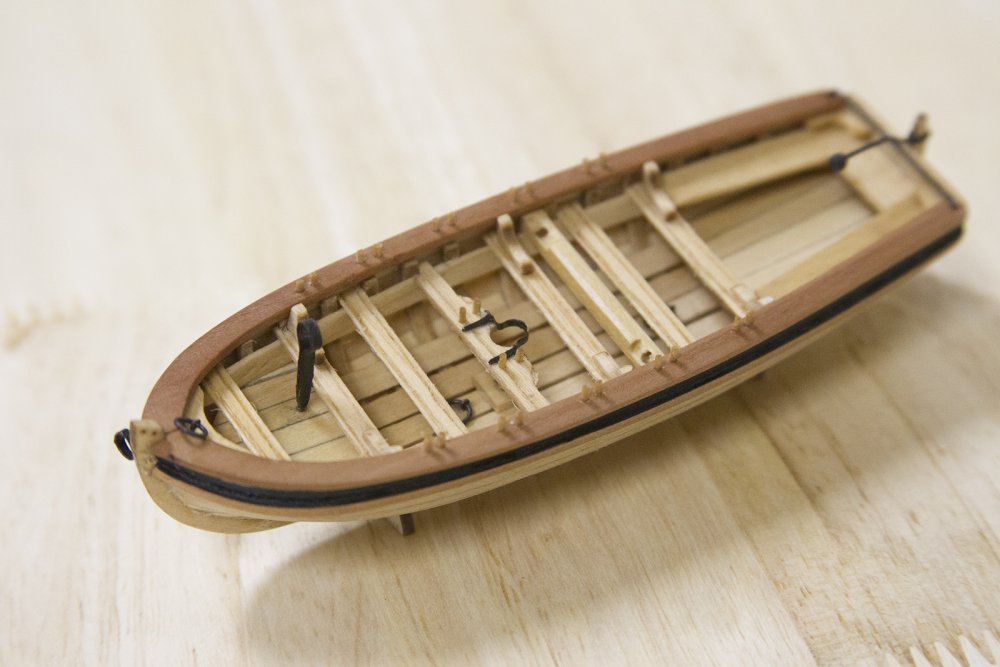
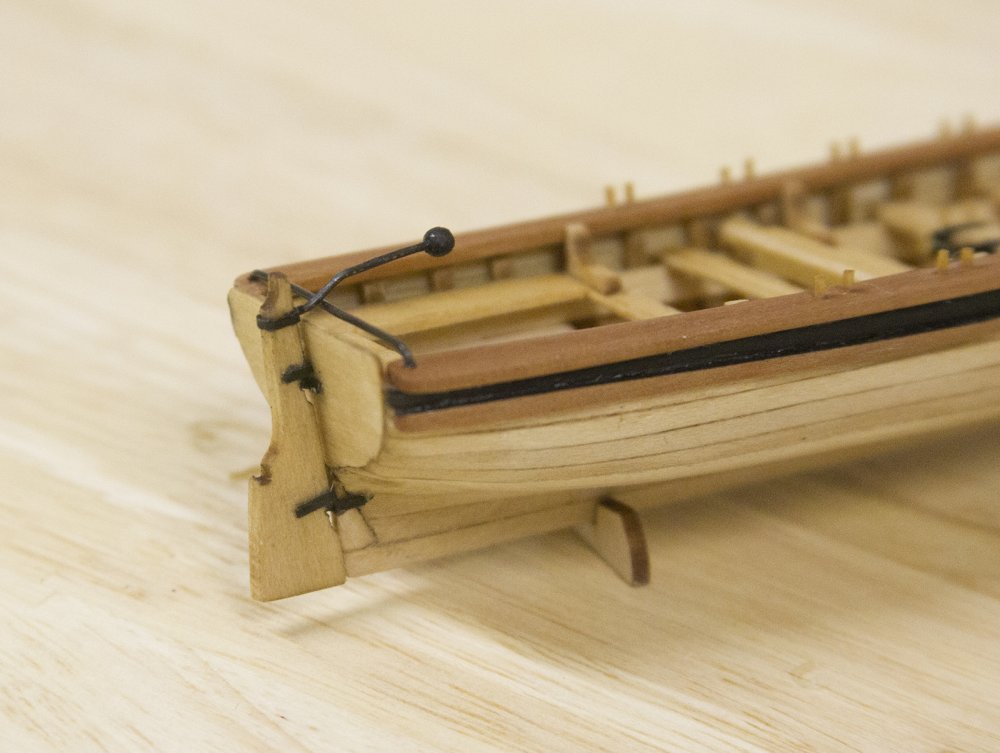
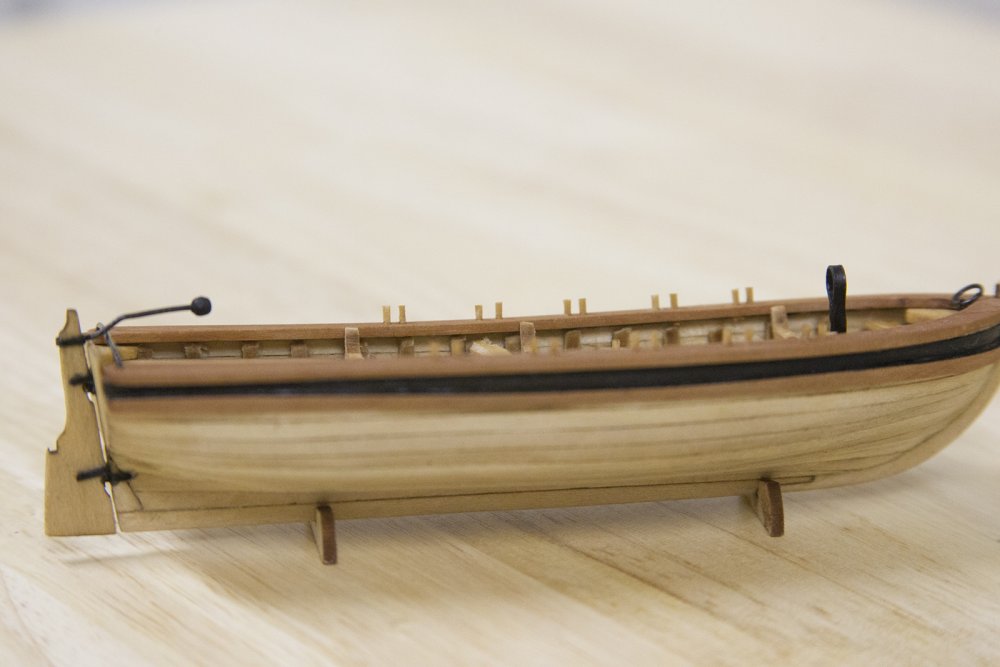
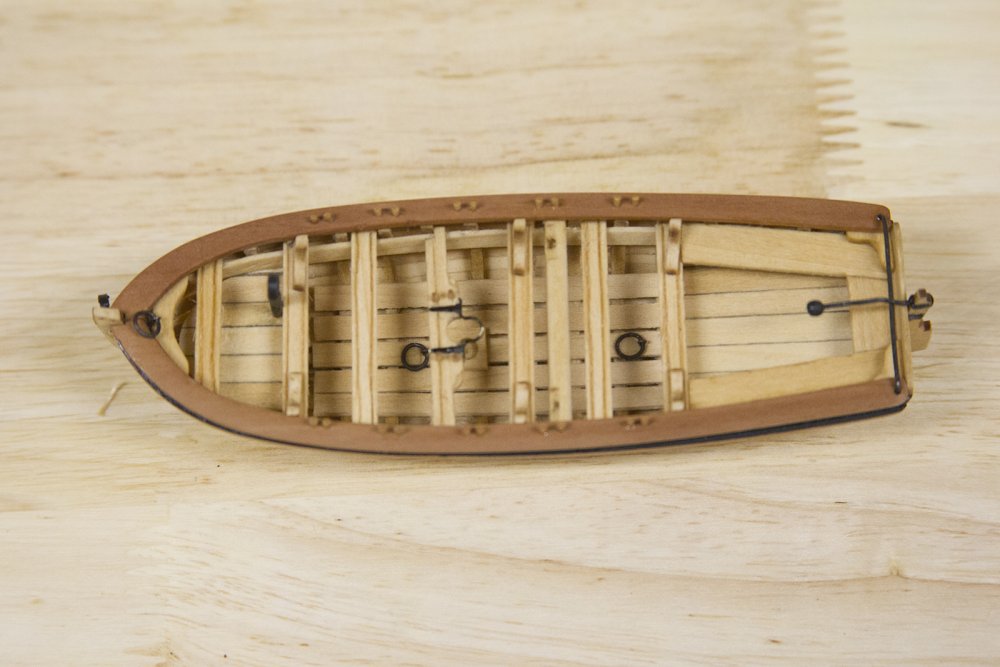
 So... not a whole lot of mystery here with the construction of the pinnace. I had the same issues with the cap rail using the Swiss Pear, but when through fewer iterations because I need I needed the patiences to just use a sharp blade. I notched out the thwarts, and carved out the knees. The rails are pretty straightforward, glued together from the laser cut. I ended up using small bits of boxwood for the oar locks. I couldn't manage to carve the basswood that small and still keep it in tact, so I went with the denser boxwood and just had them two "steps" carved. Finally, I tethered the small boats to the waist beams. I know that this isn't a tradition knot of any kind - however this is the first type of "slip" knot my father taught me how to use. We moved a lot when I was young, and this is how he tied down all the stuff we'd load up on our open top, built ourselves trailer. It's a clever little knot that's easy to manipulate quickly when we'd stop at a rest stop and need something out of the back. So this is a little homage to my late father. :-) Coming up - the finale...


- 2,191 replies
-
- 23
-

-
- confederacy
- Model Shipways
- (and 1 more)
-
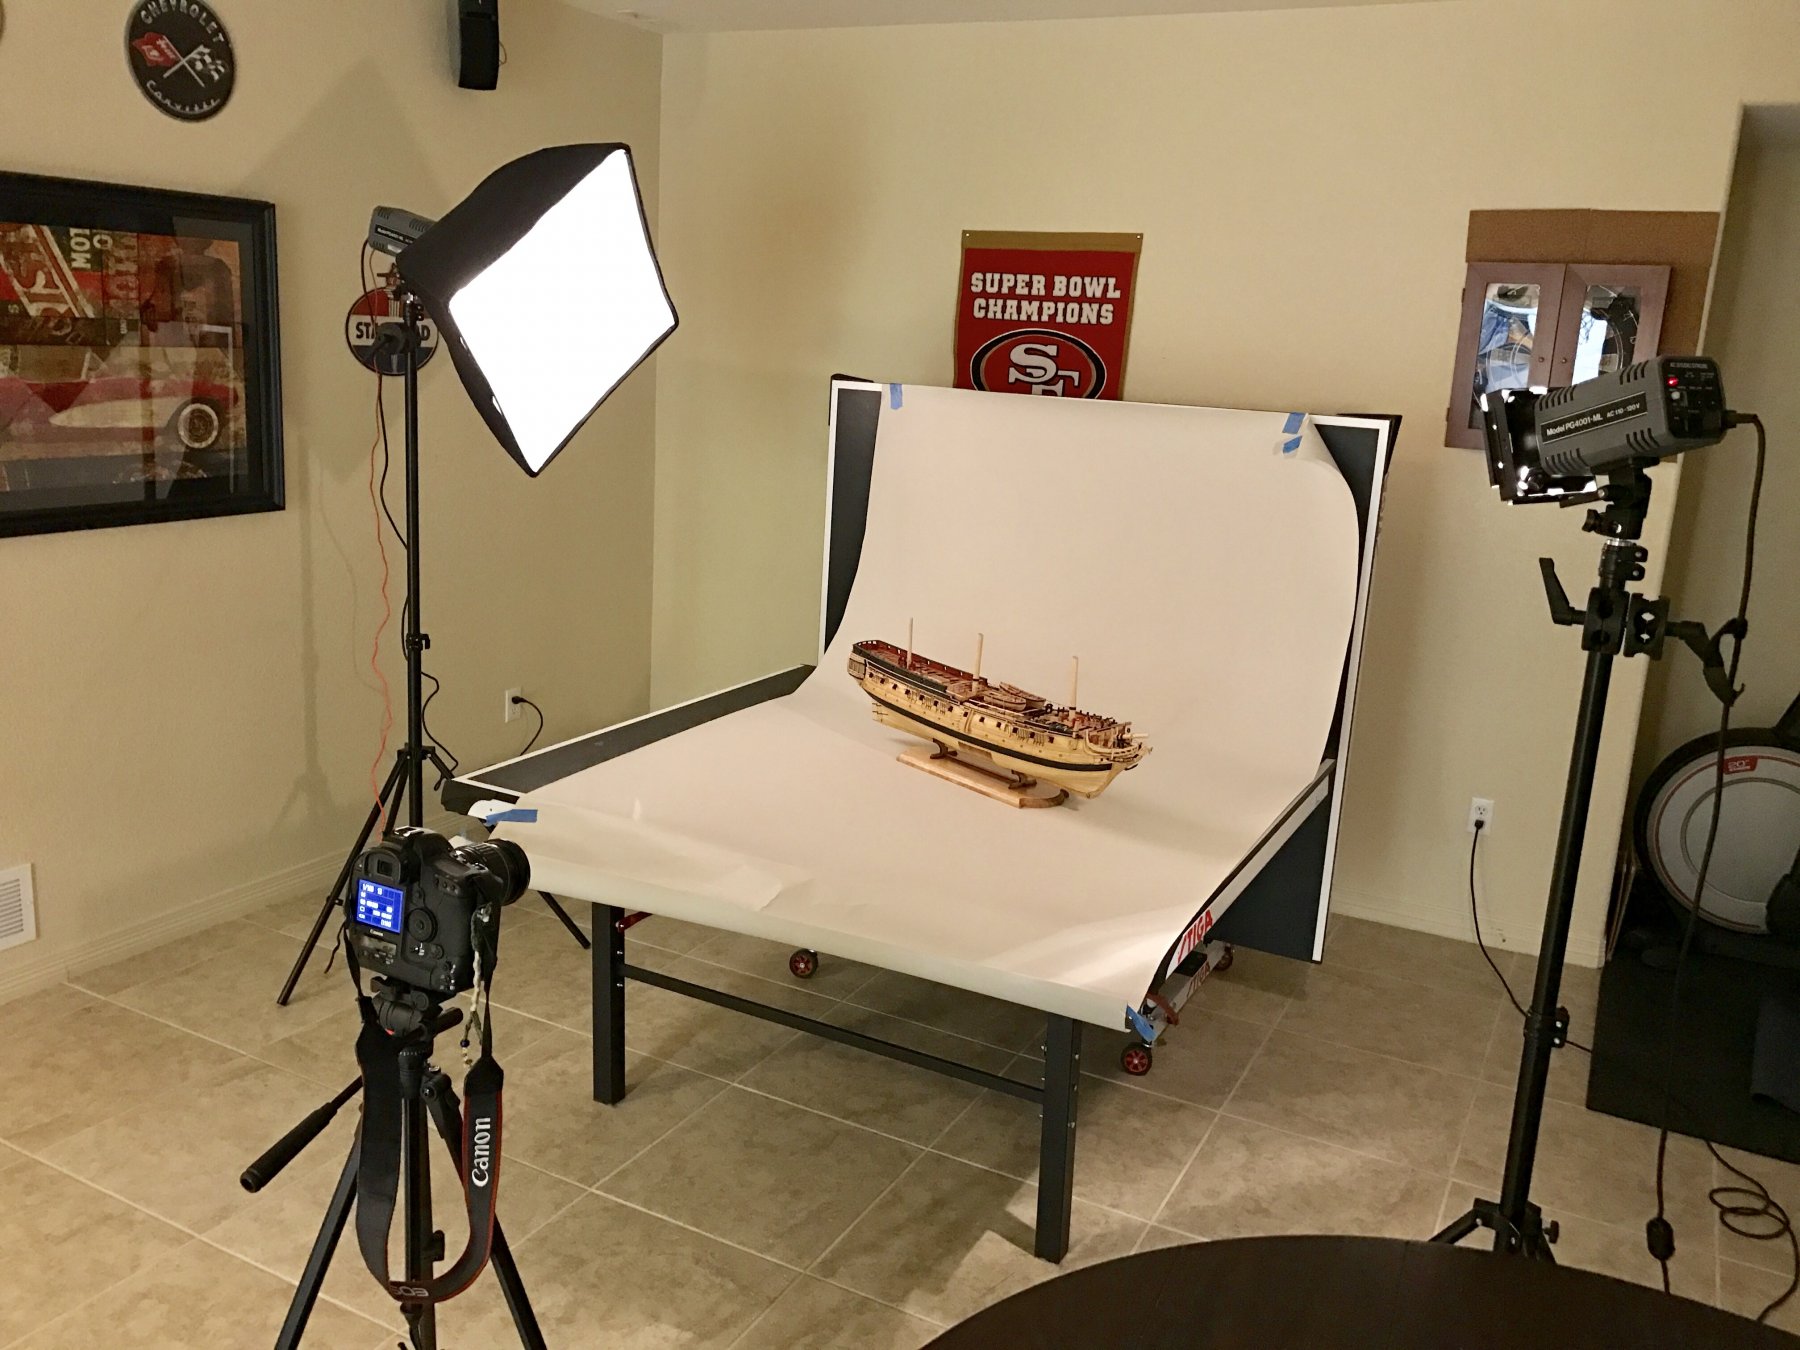
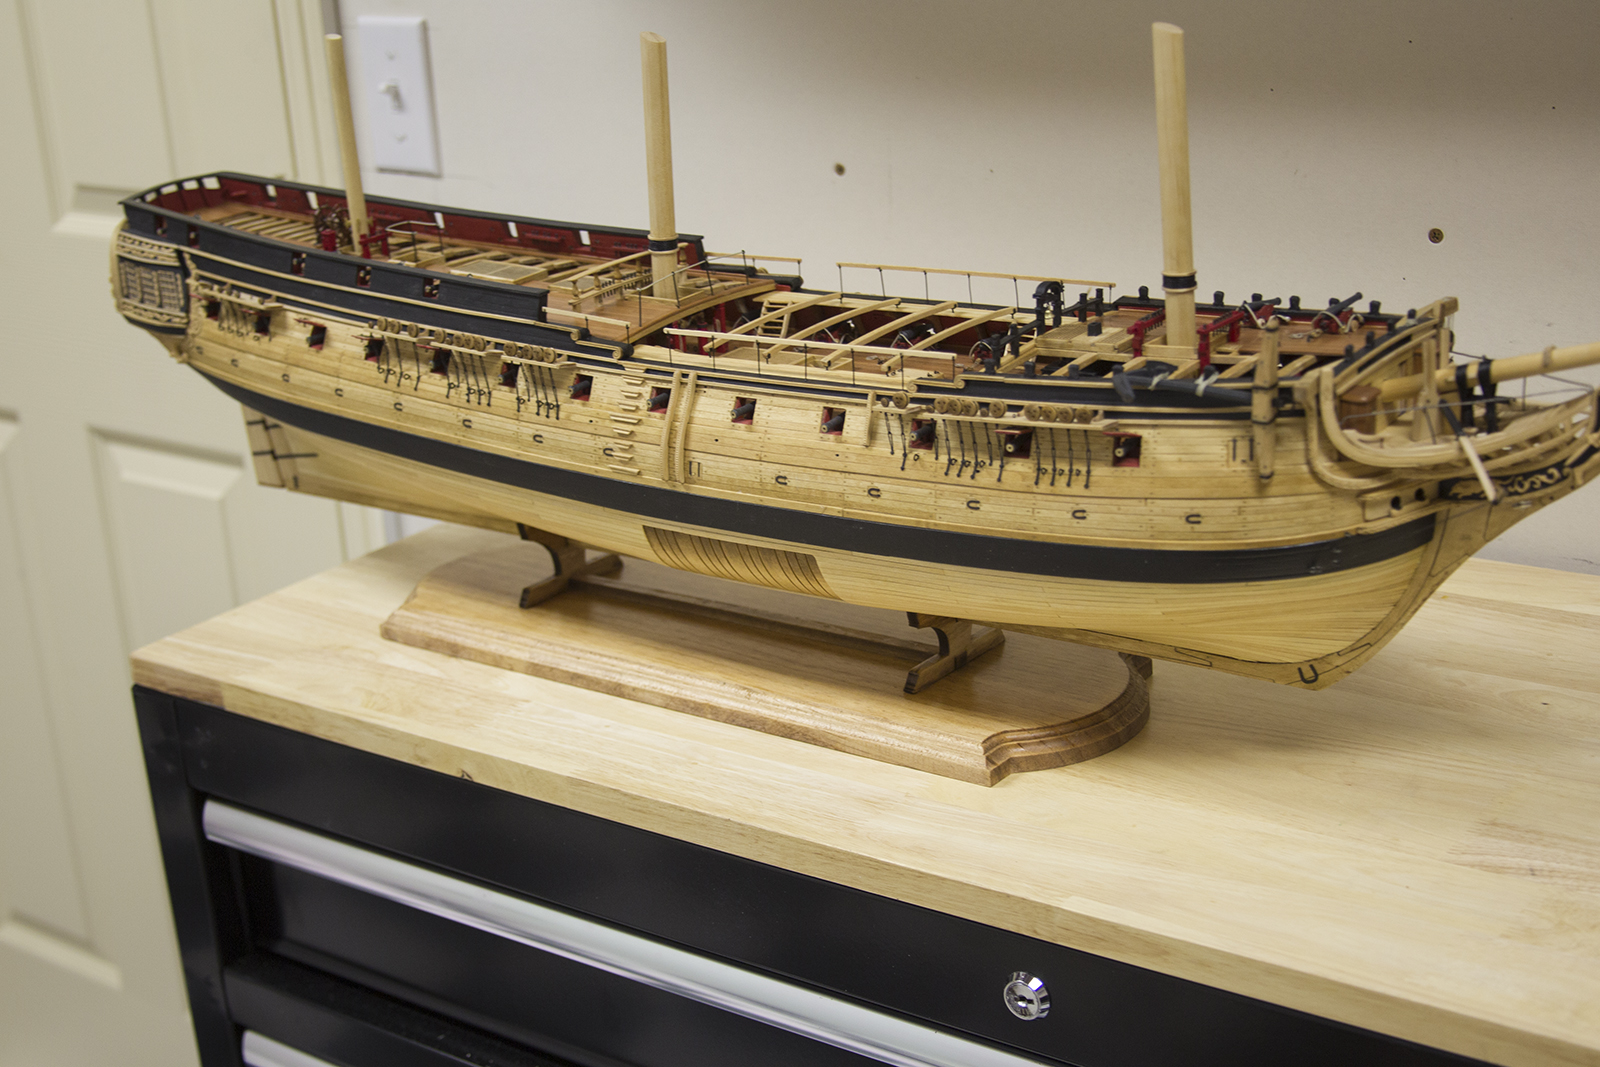
Well folks - it's all wrapped up except the photo shoot... ...more to come.

- 2,191 replies
-
- 21
-
-
- confederacy
- Model Shipways
- (and 1 more)
-
Jack - Kinda sorta, but not really. These two small boat kits come with the Model Shipways Confederacy Kit. They look to be essentially a smaller version of Chuck's individual longboat kit. Also worth noting - they don't come with any of the rigging or rigging elements.
- 2,191 replies
-
- 6
-
-
- confederacy
- Model Shipways
- (and 1 more)
-
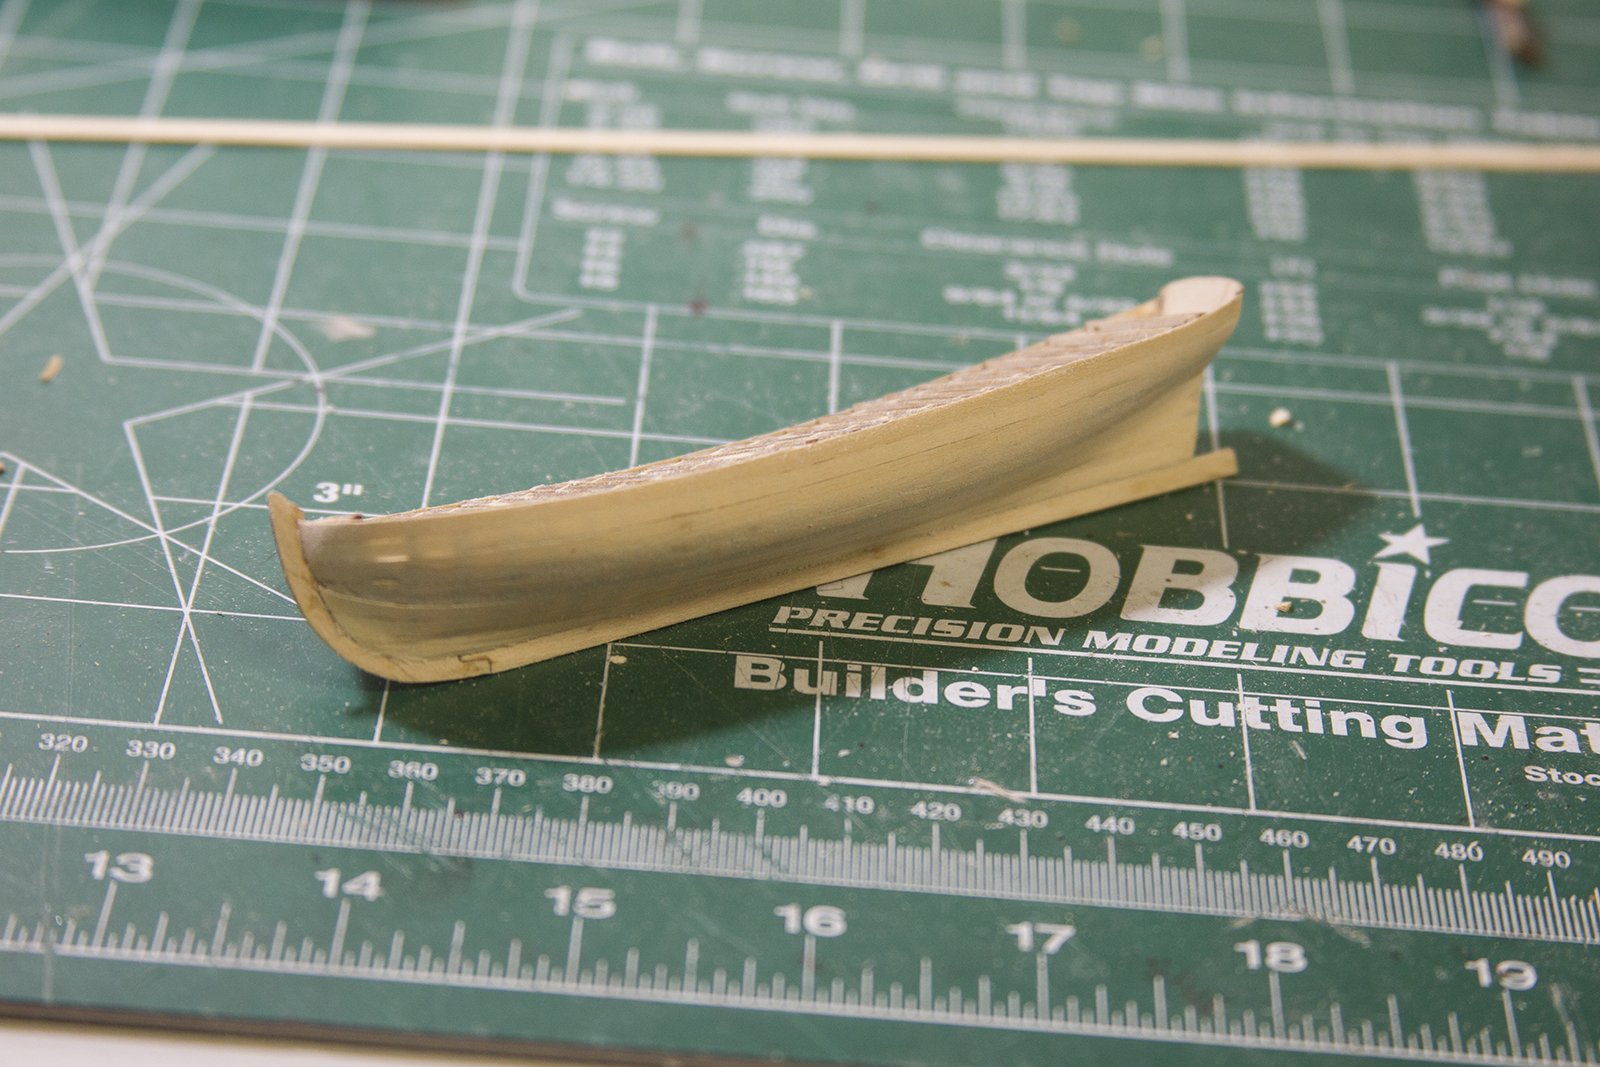
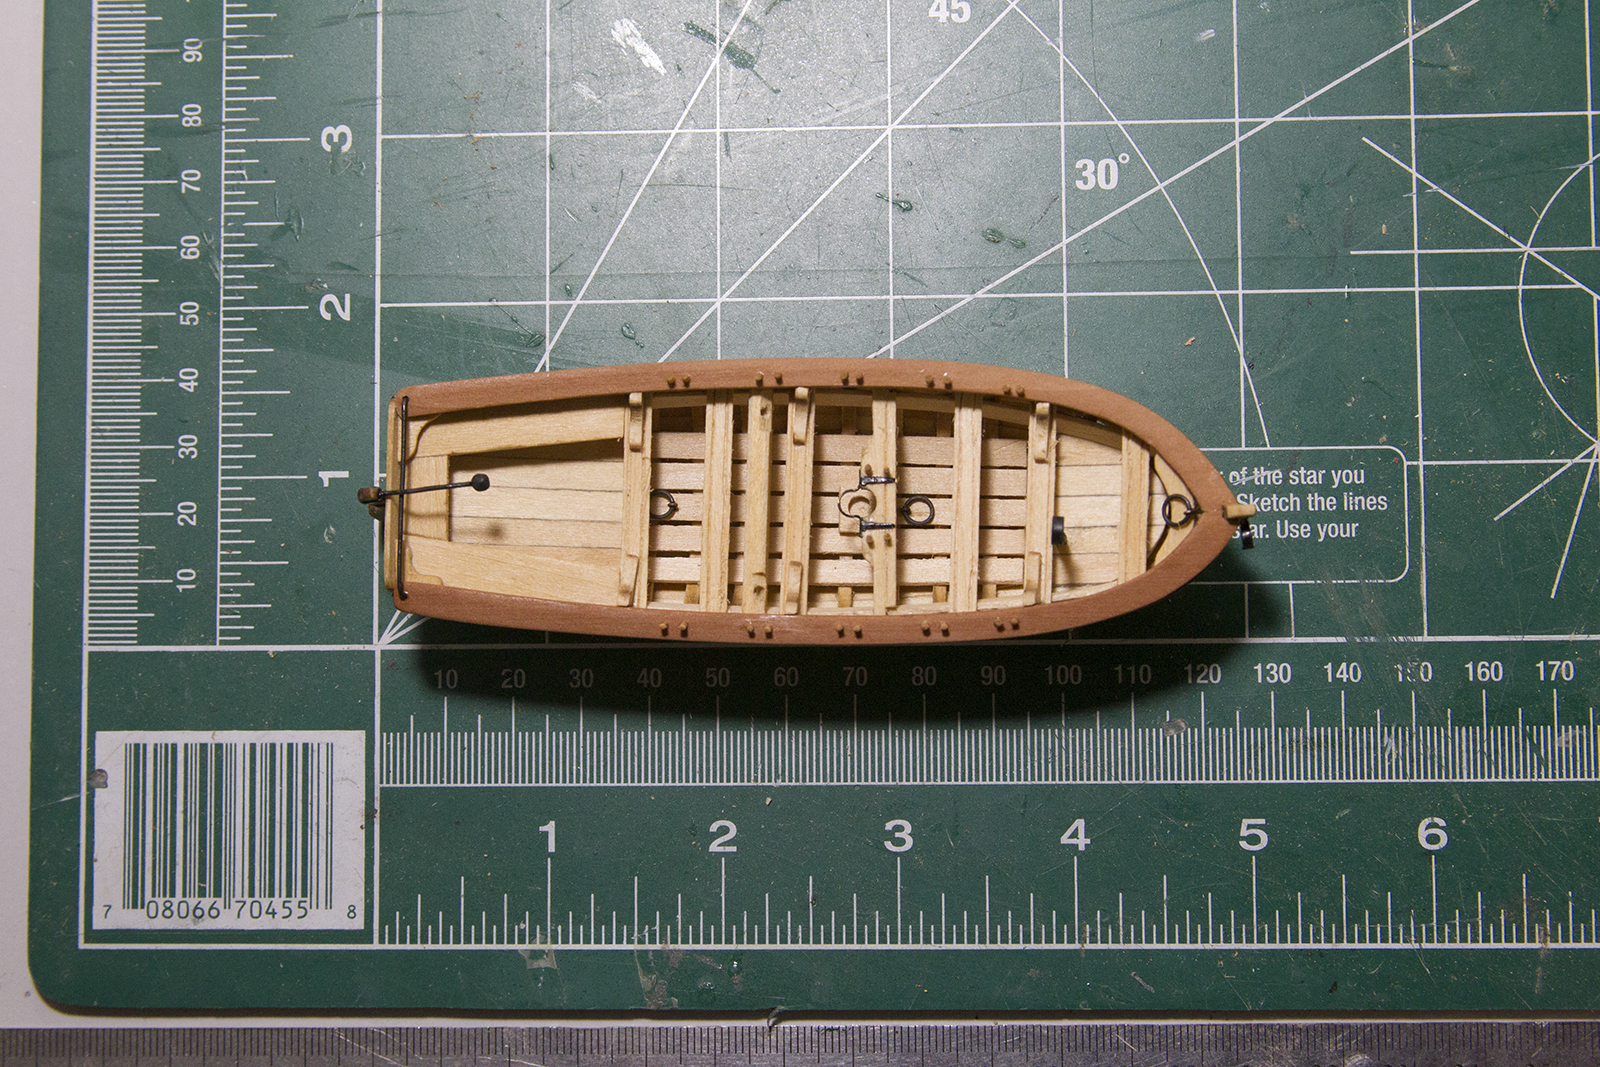
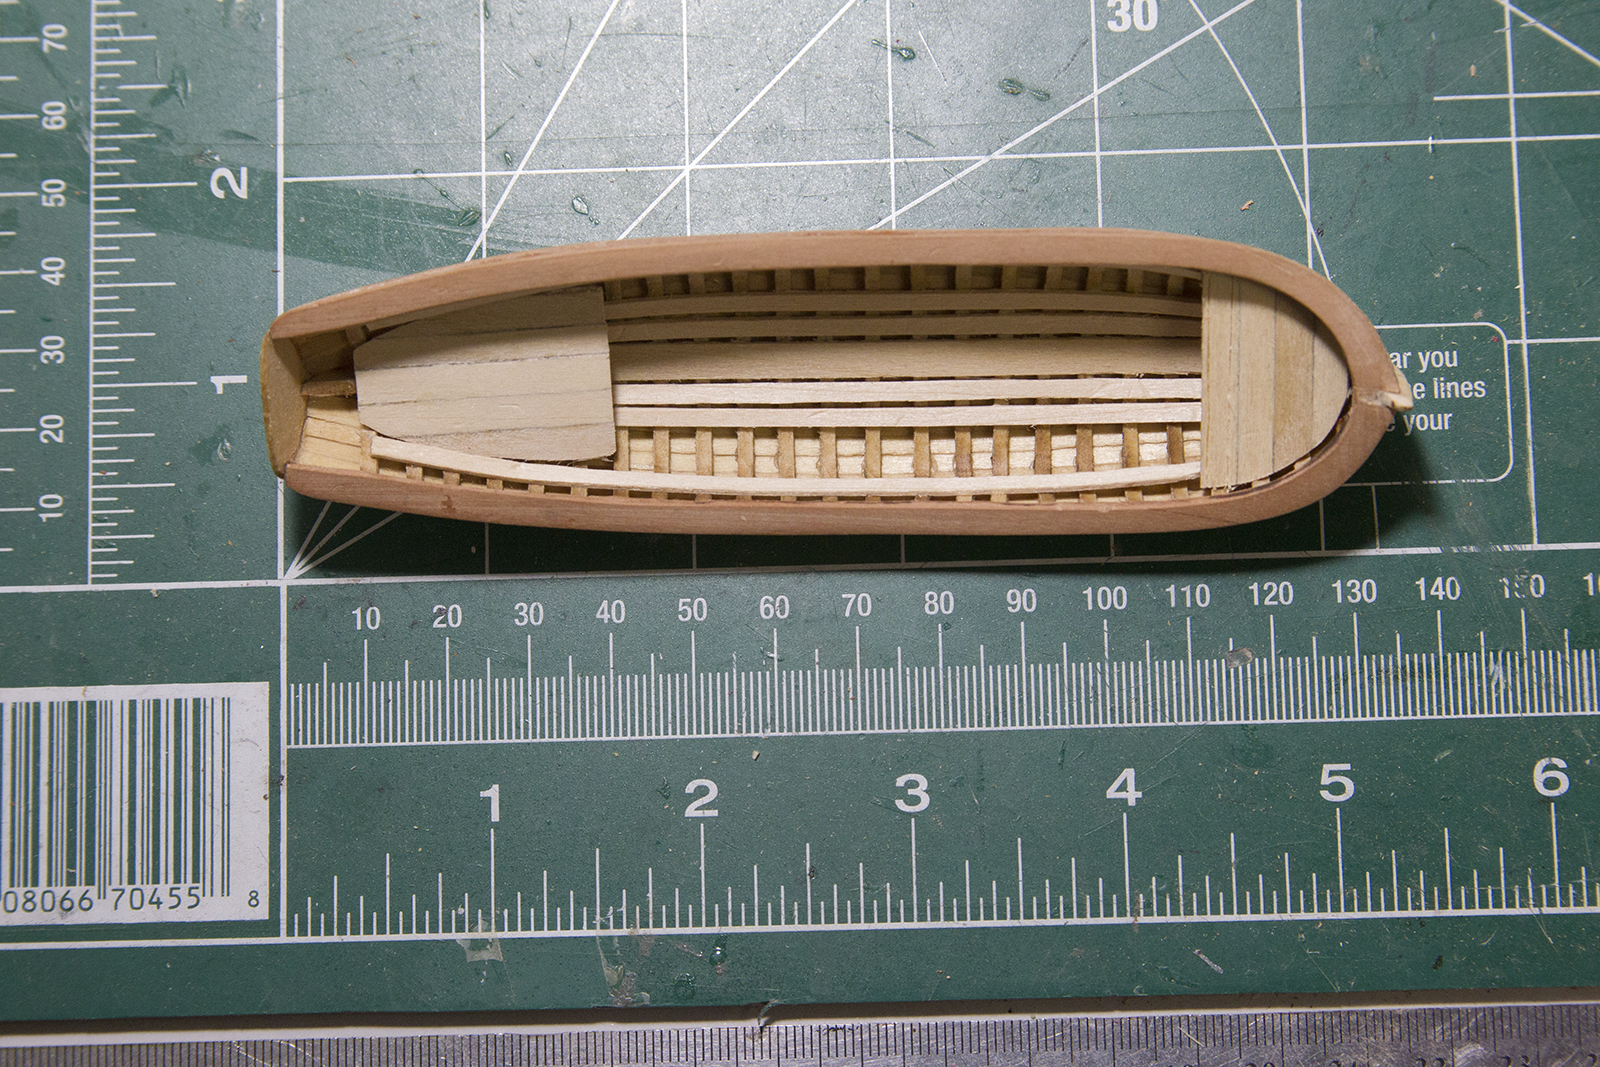
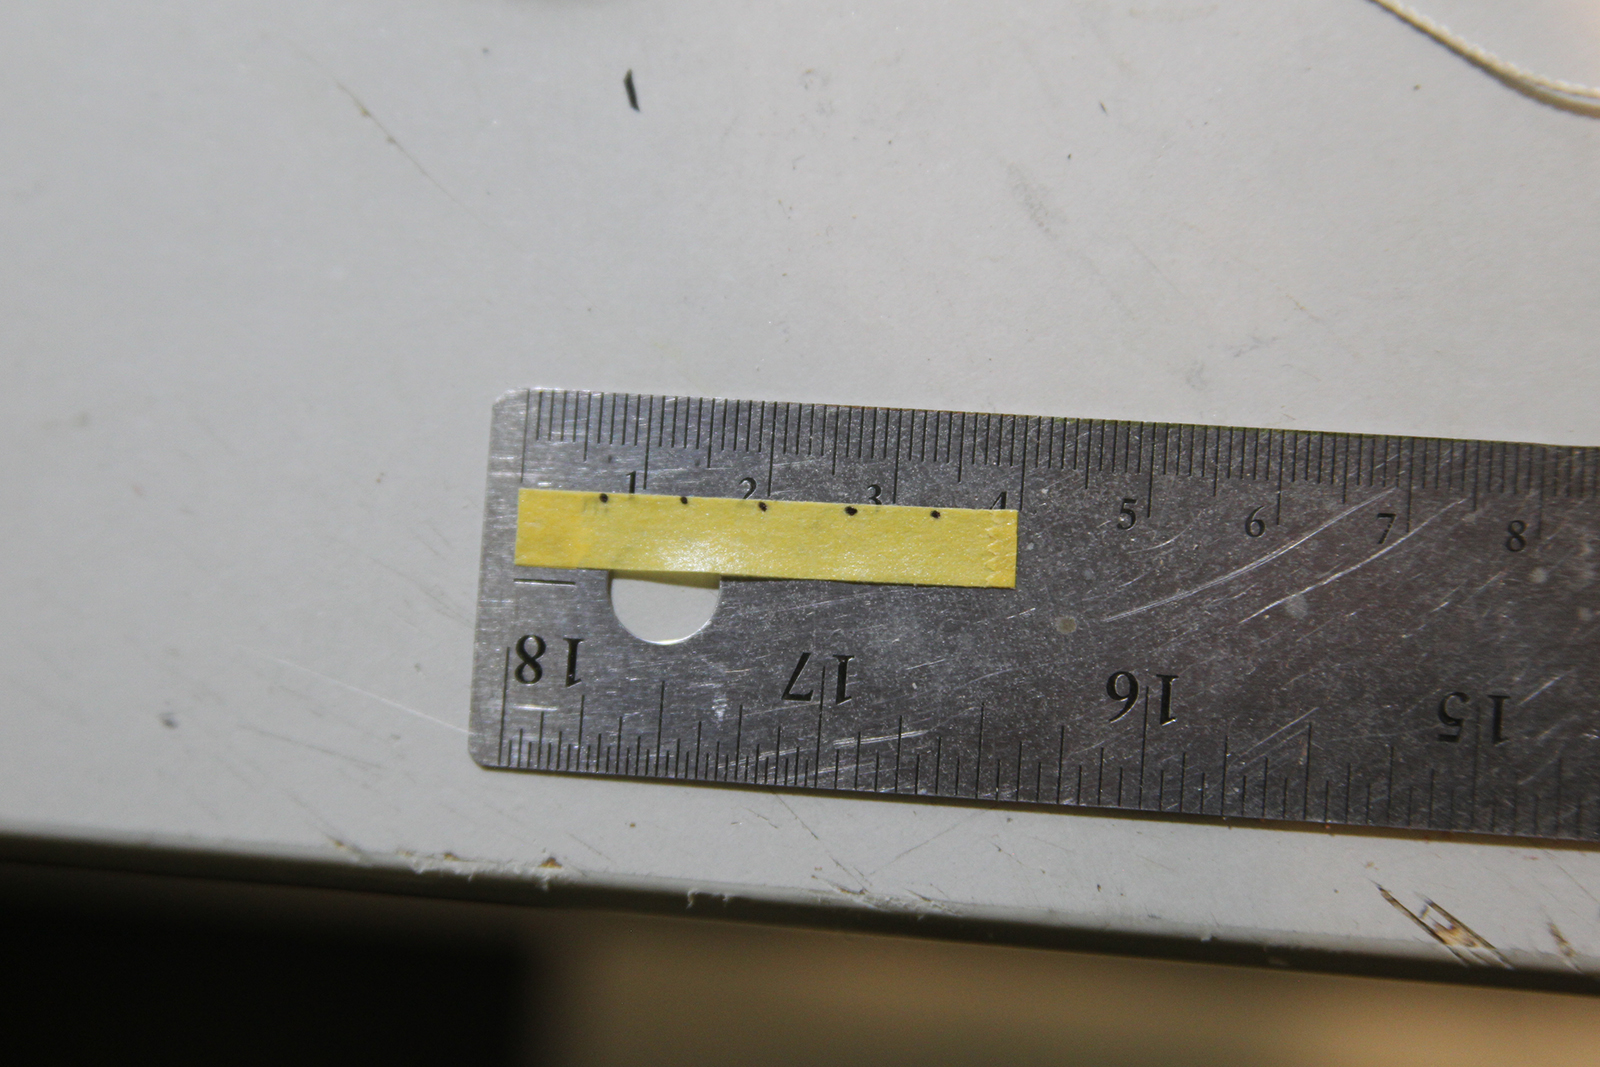
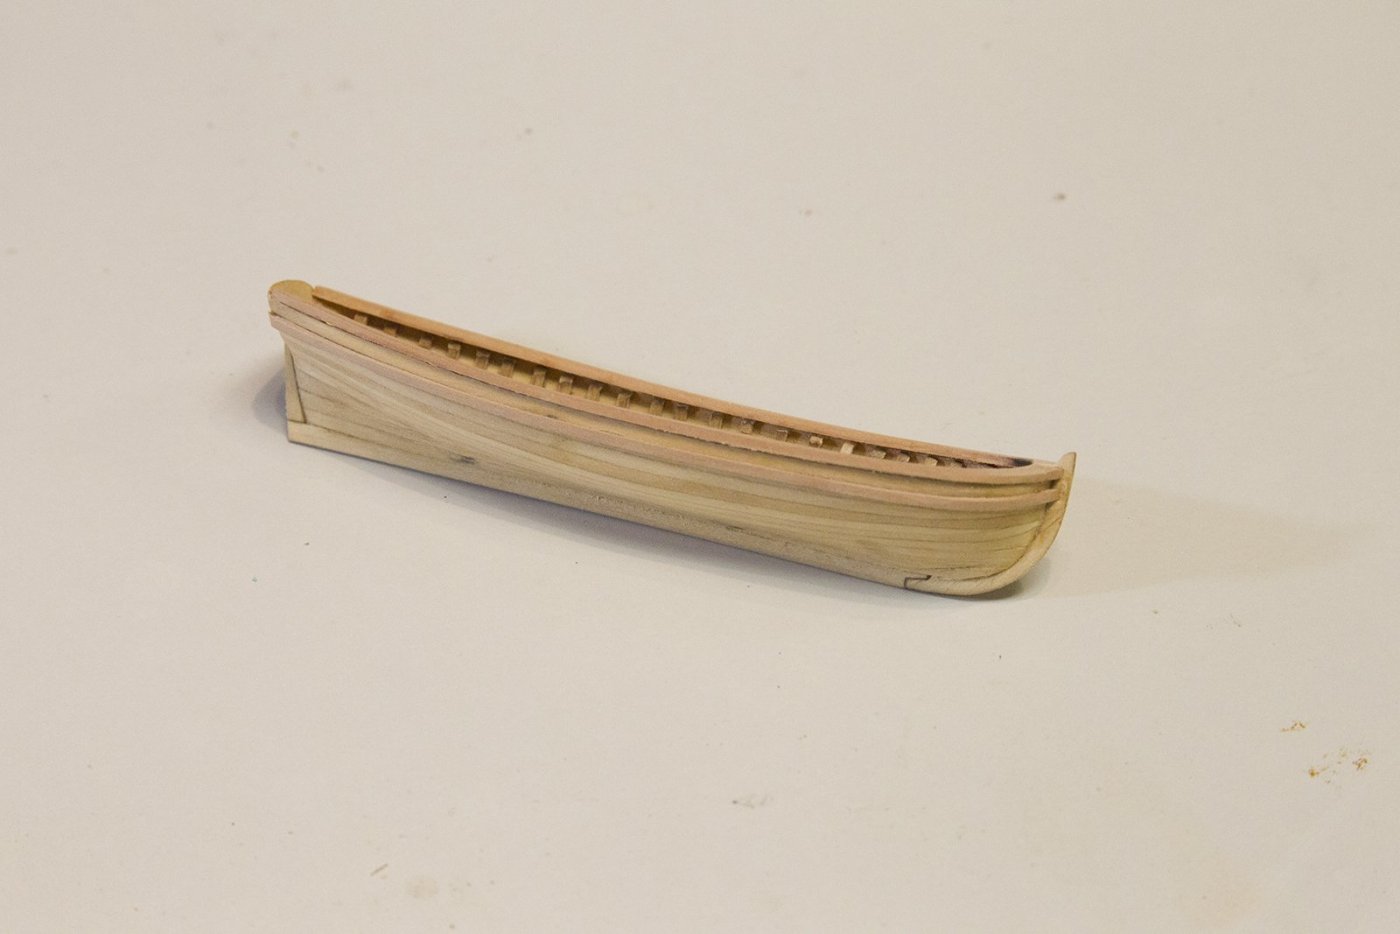
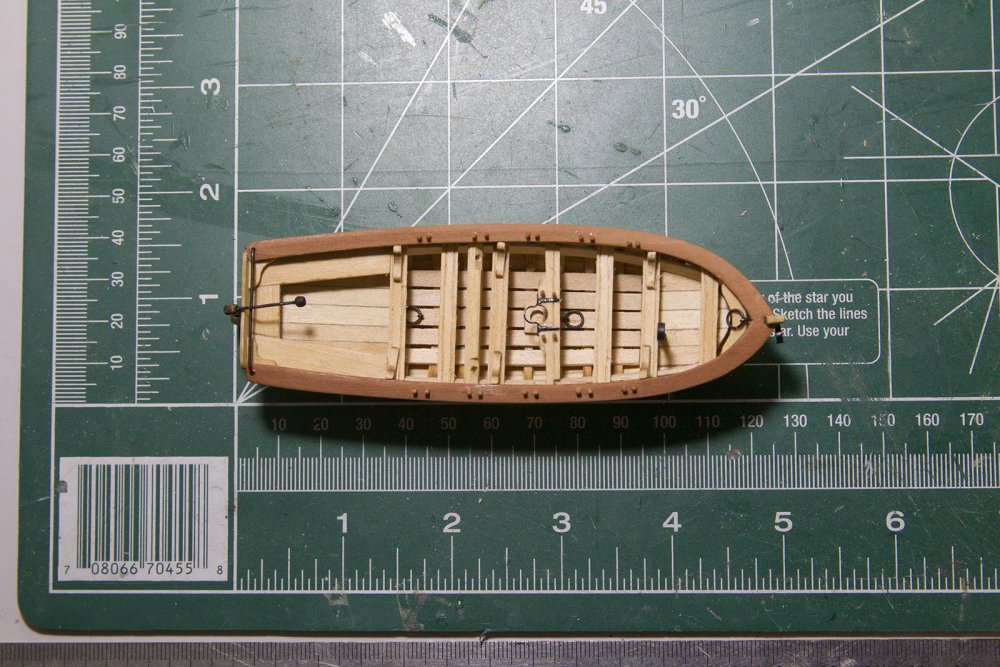
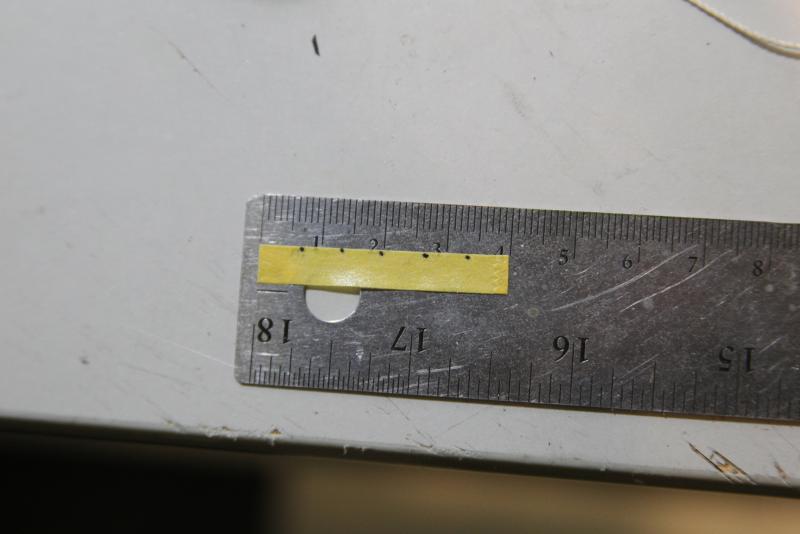
Thanks Dubz! Steve - Here are a couple shots of the longboat and the pinnace against the ruler. Looks to be about 5" with the pinnace (obviously still in progress) about a half inch longer.
- 2,191 replies
-
- 11
-
-
- confederacy
- Model Shipways
- (and 1 more)
-
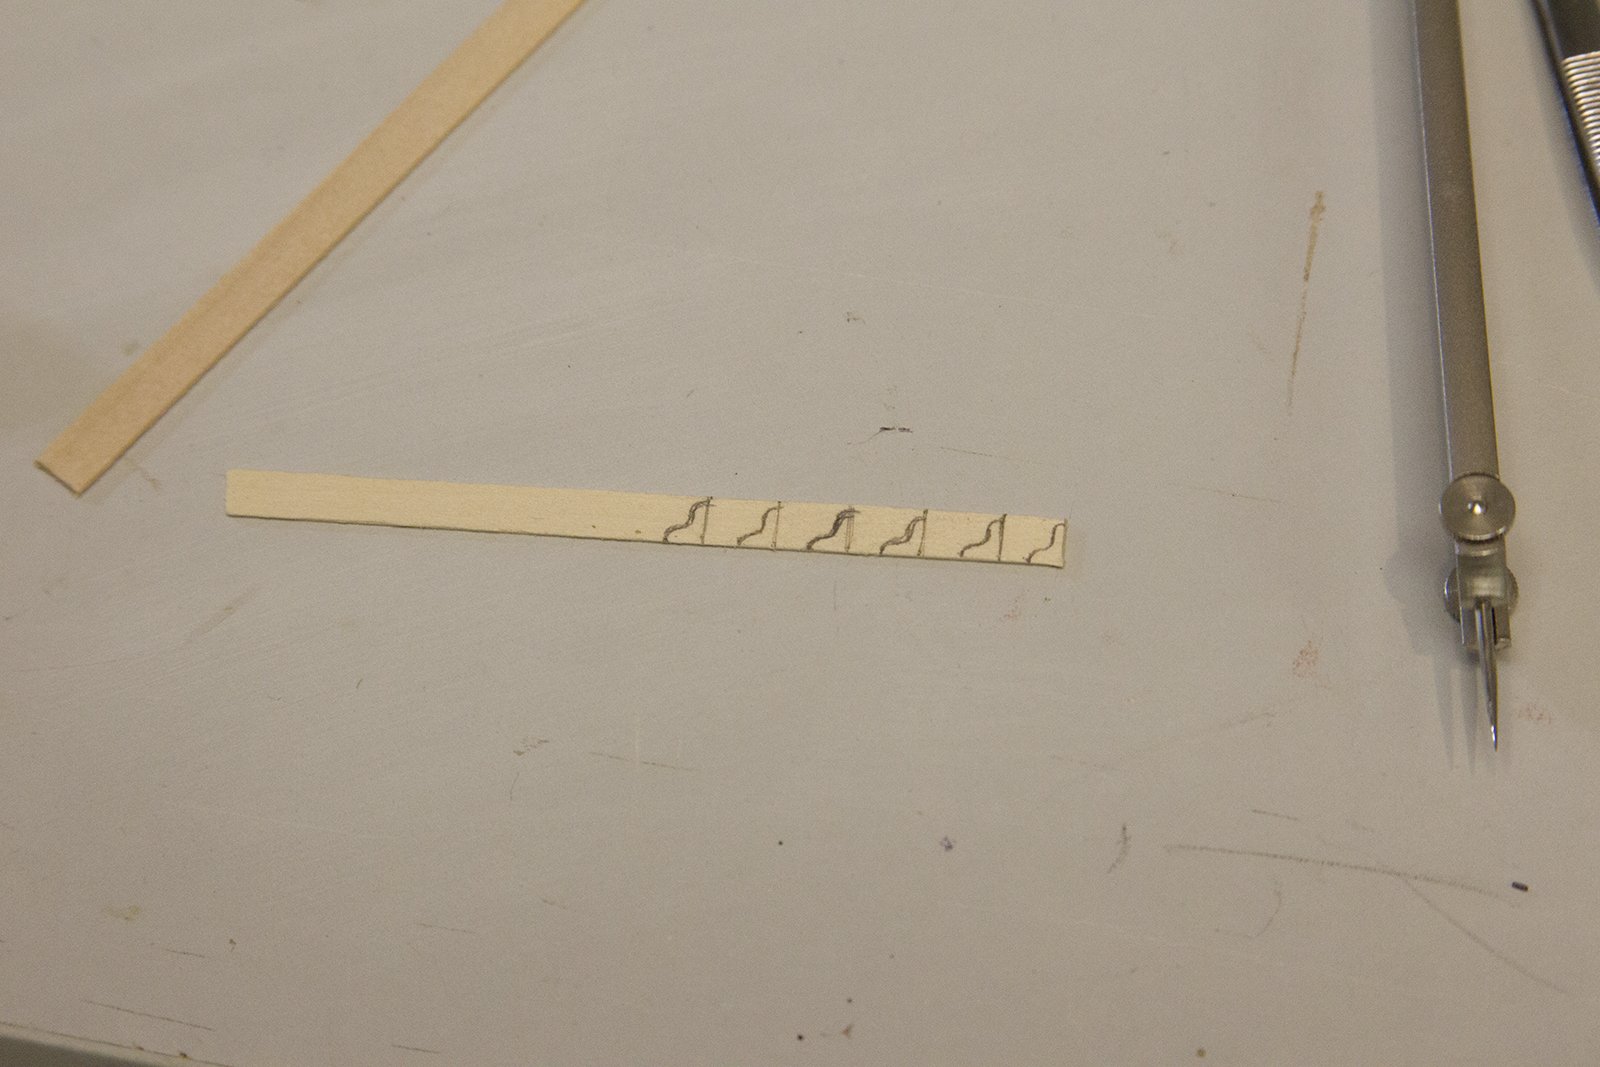
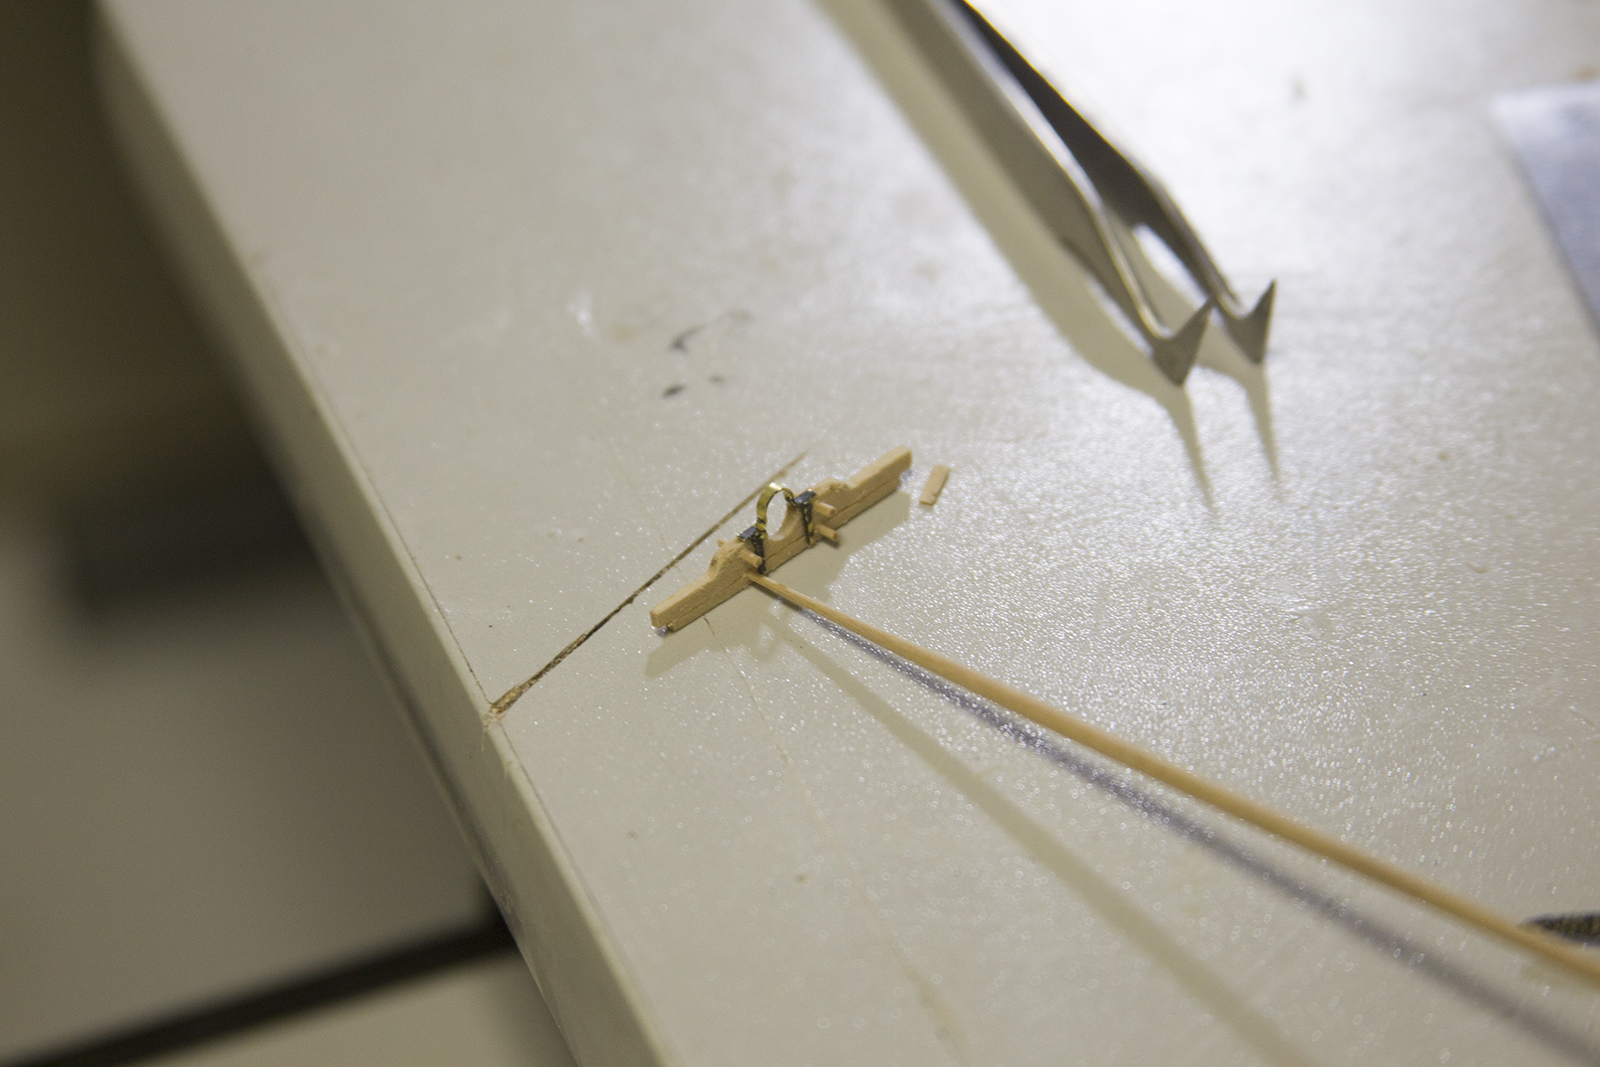
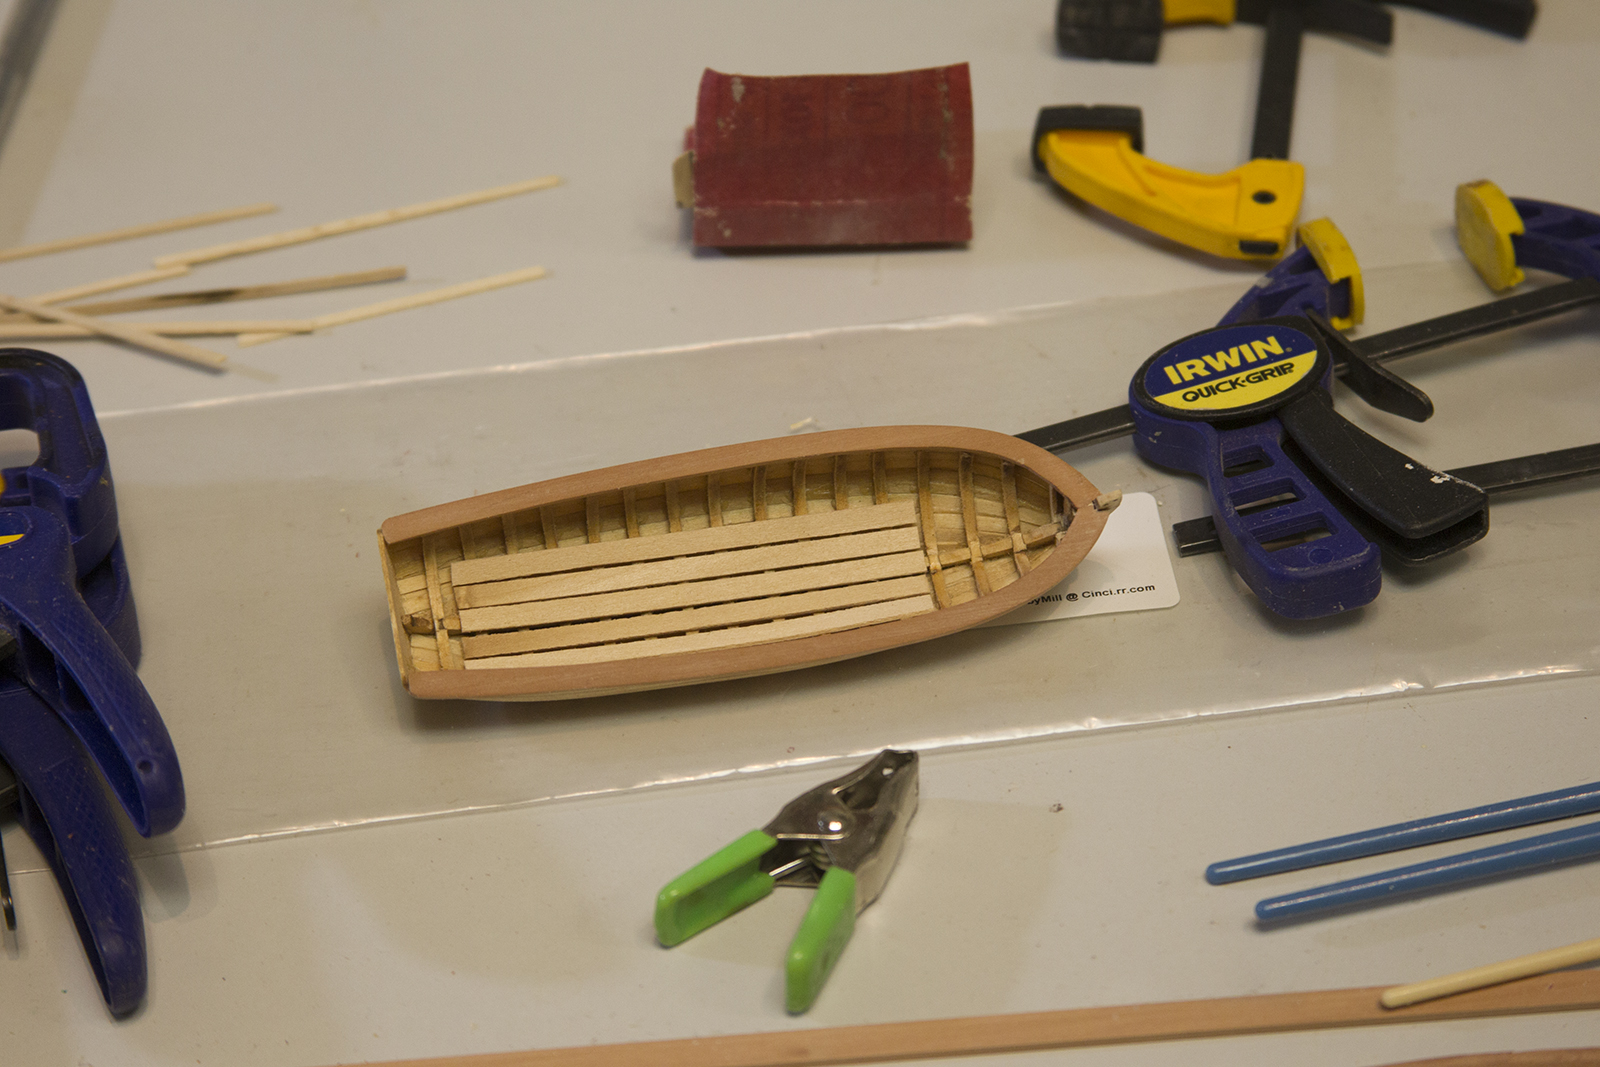
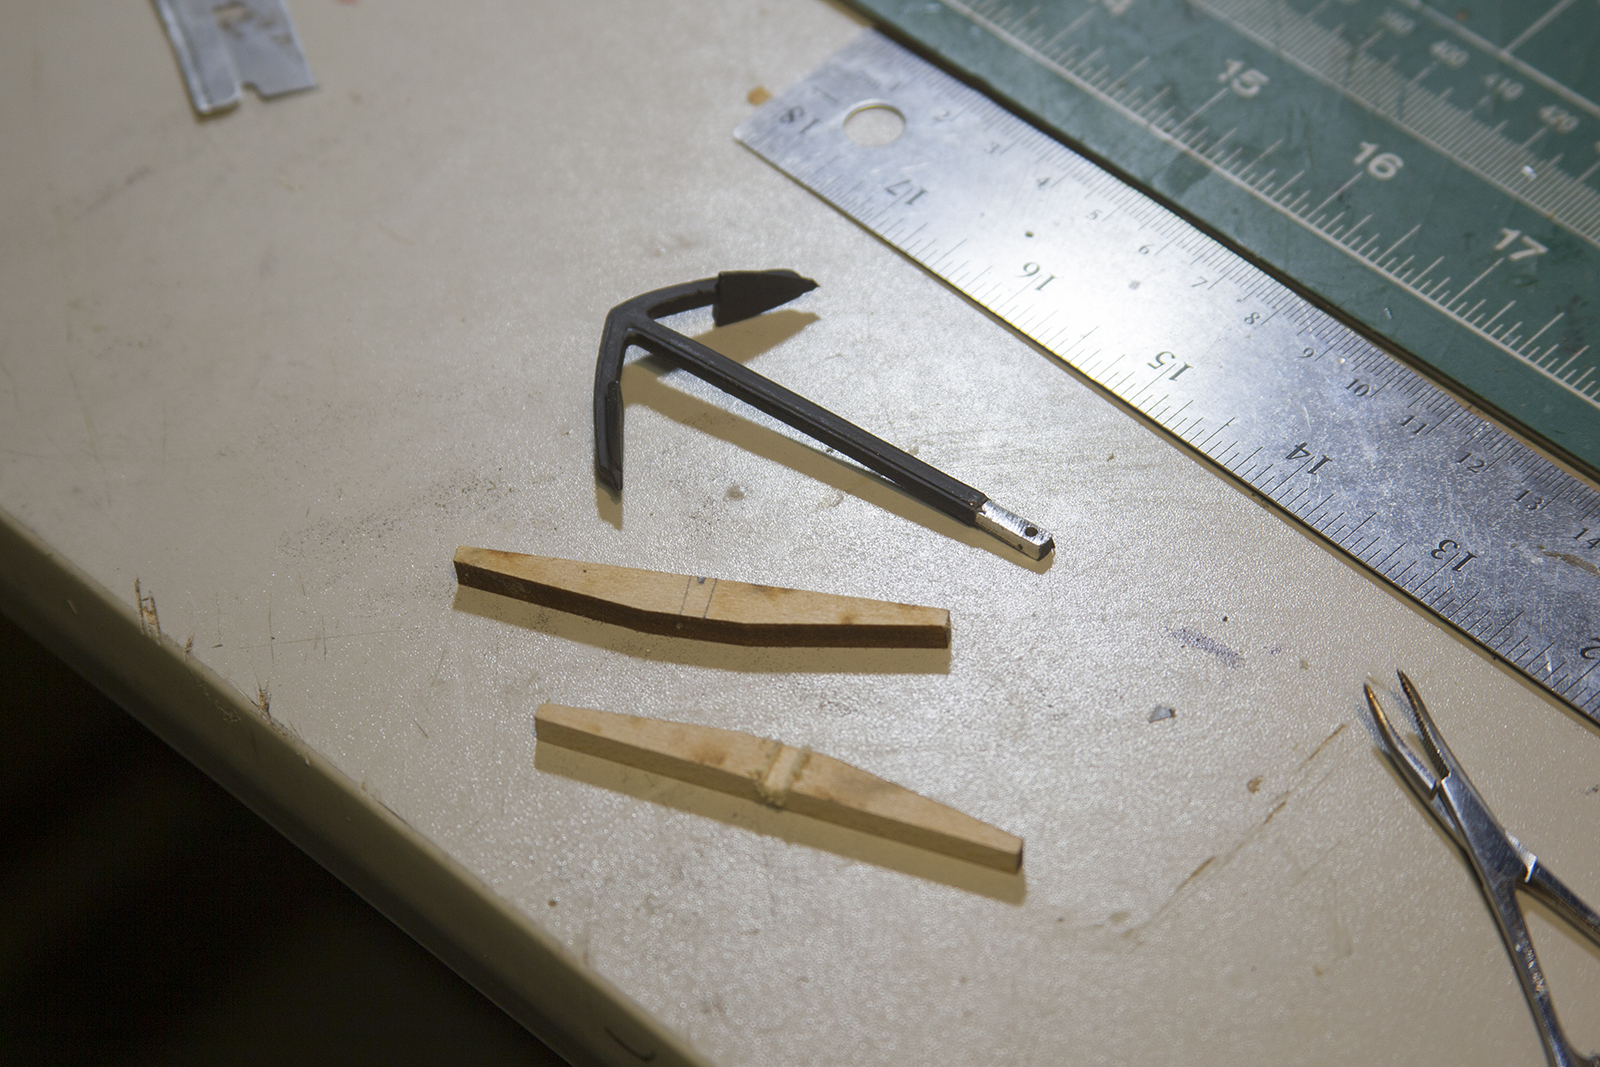
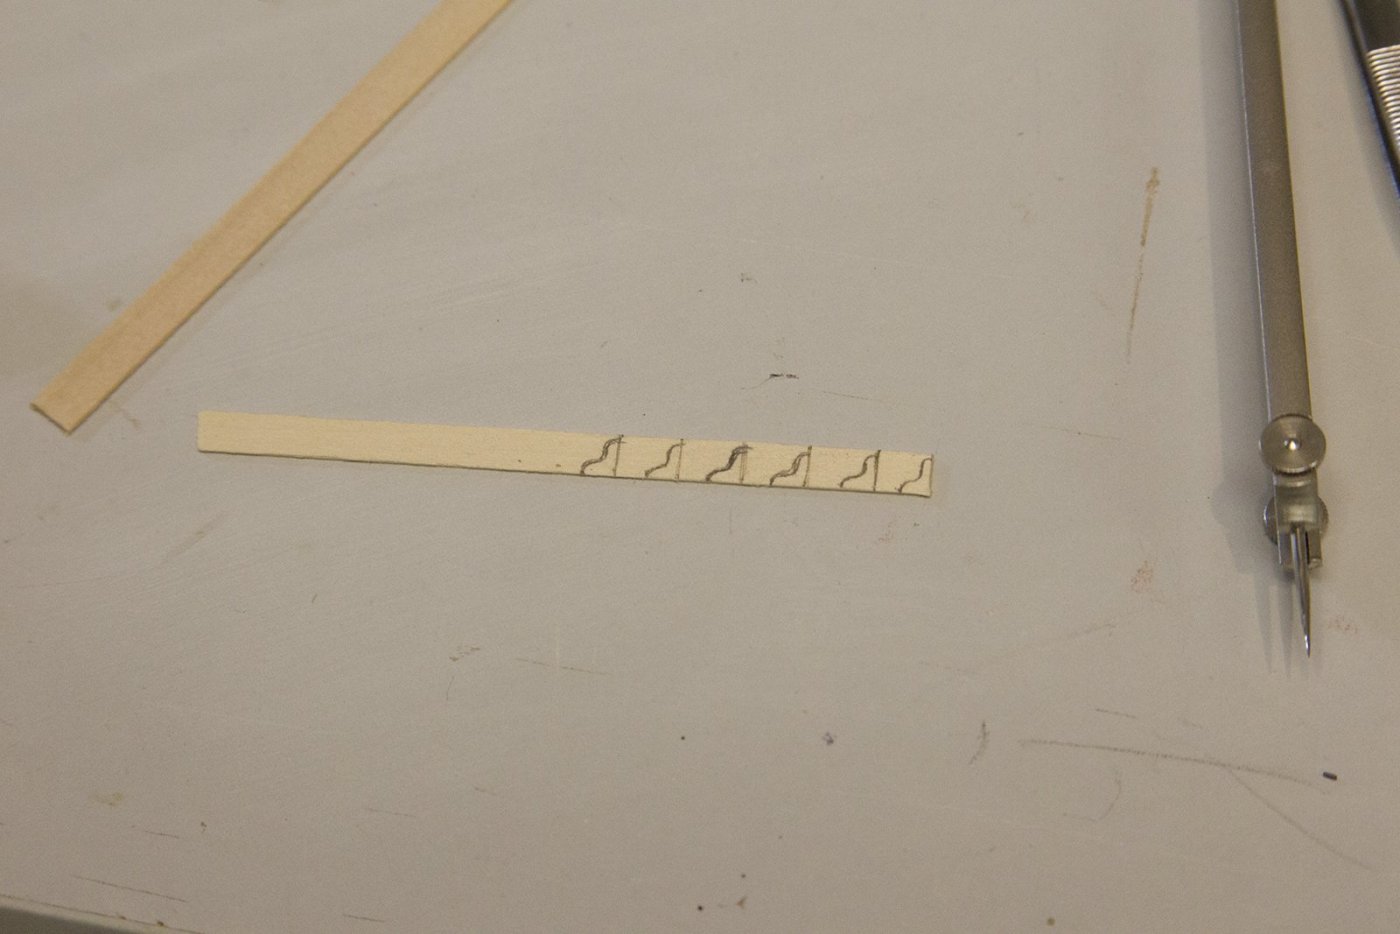
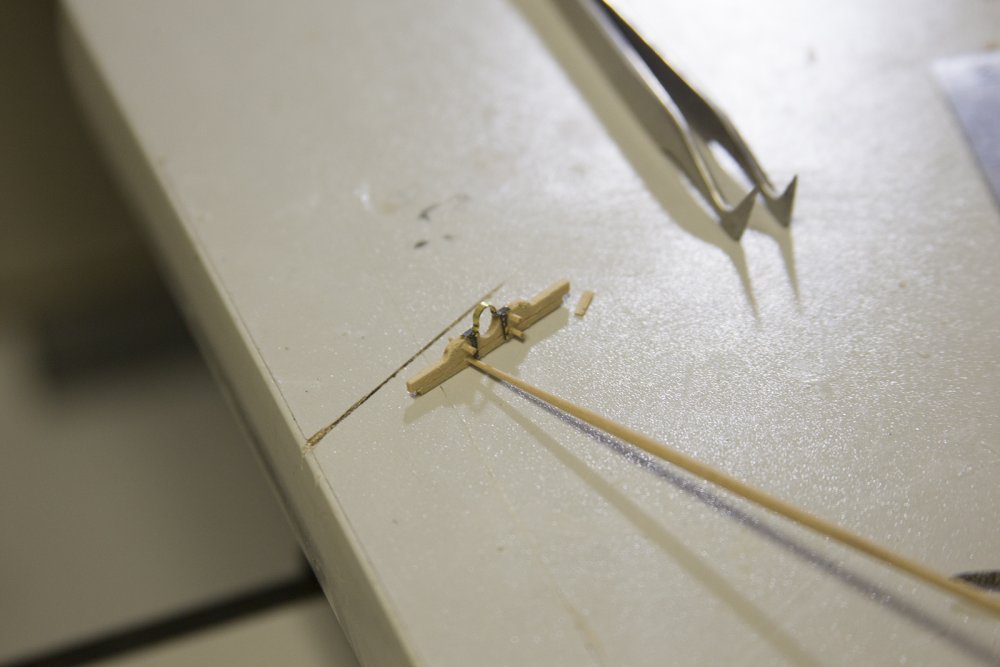
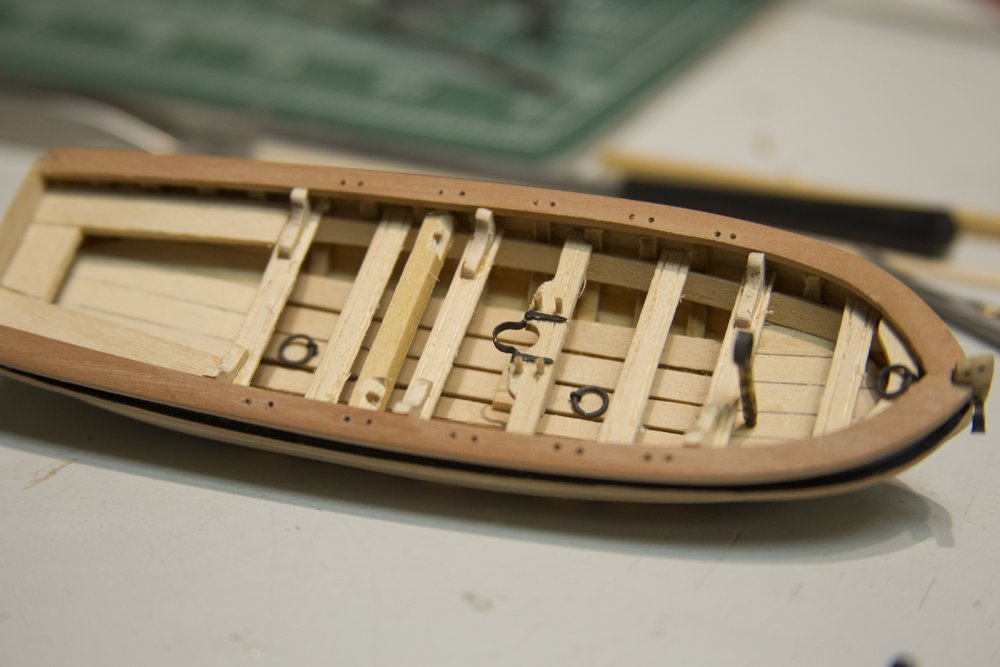
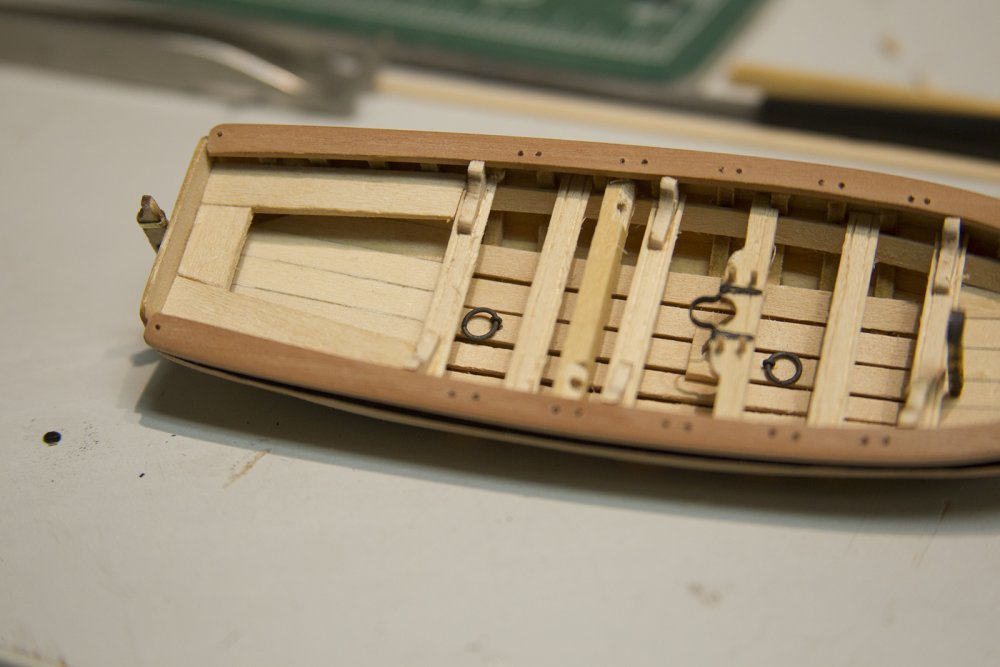
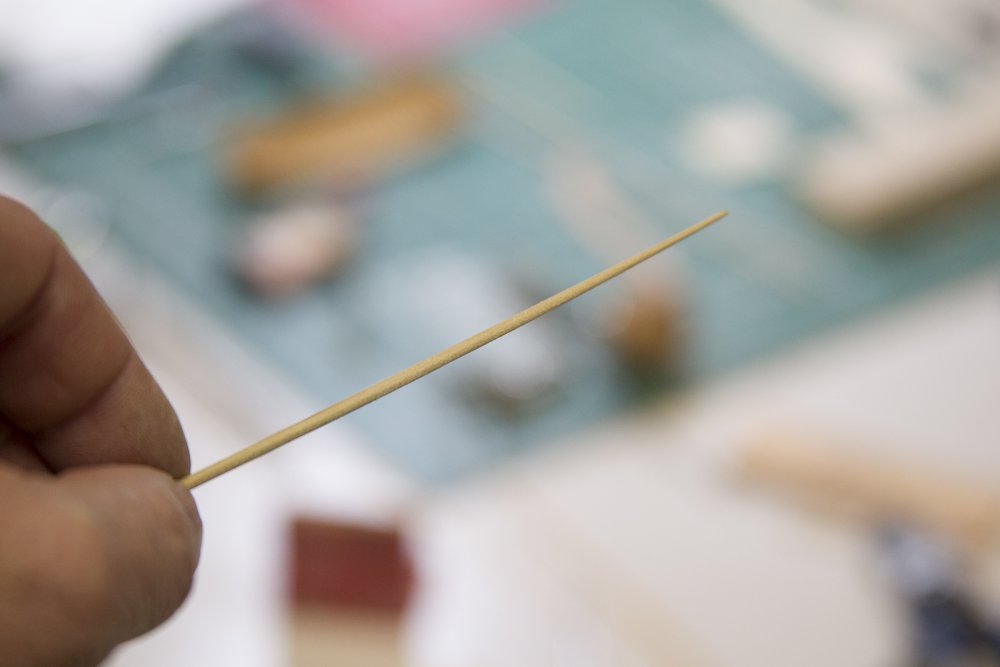
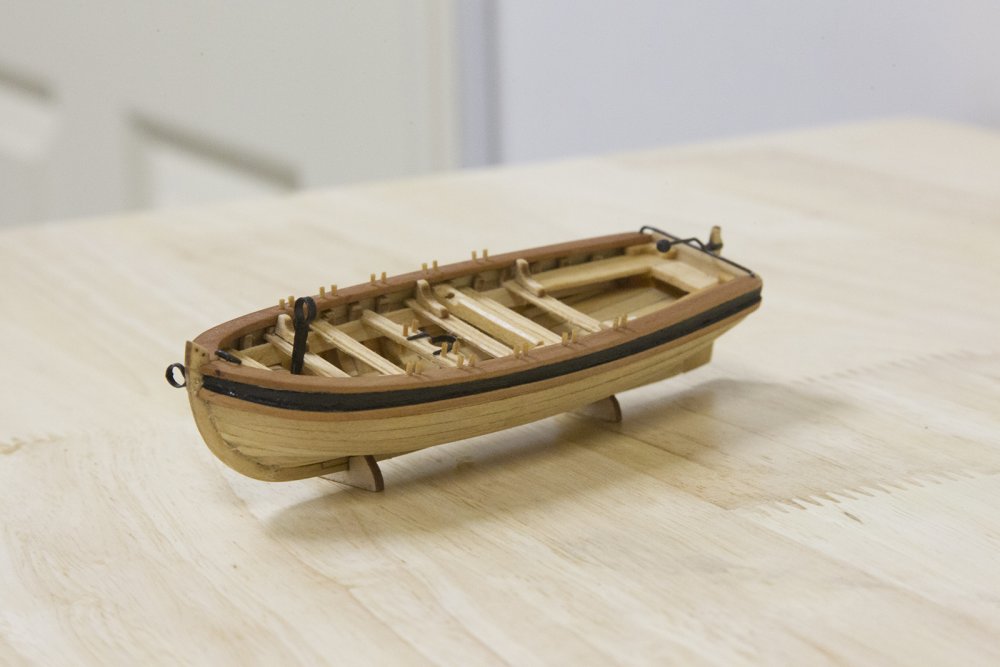
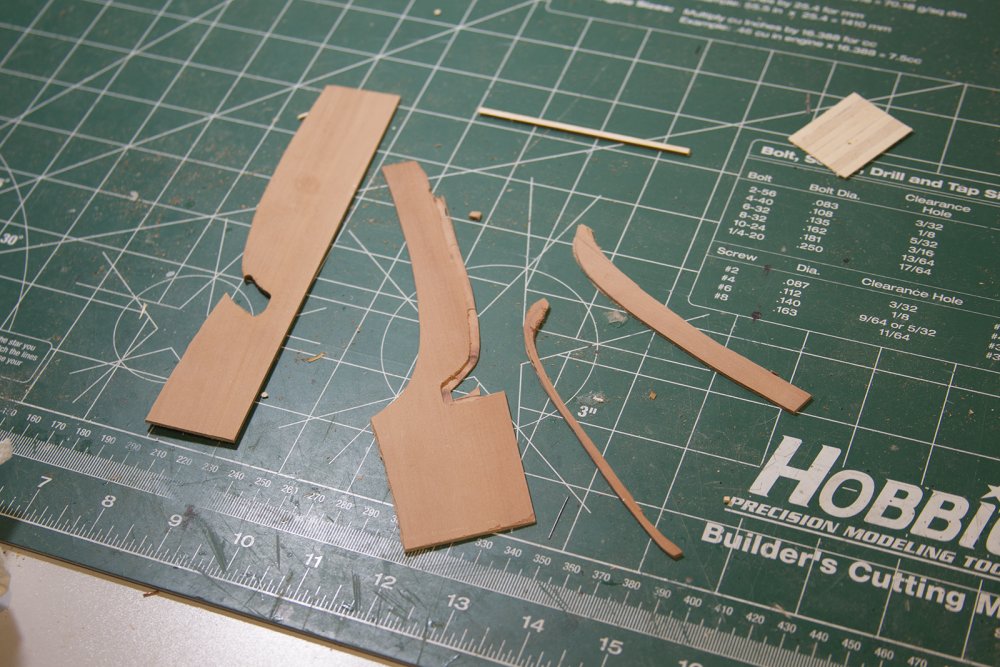
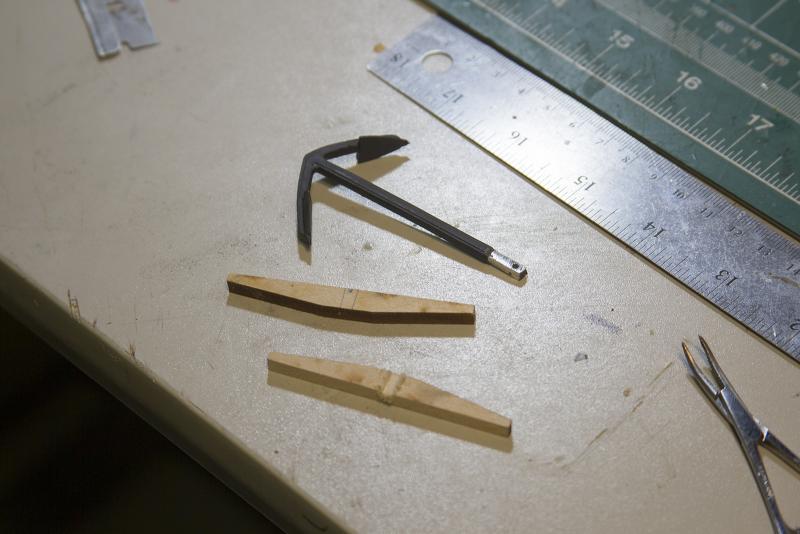
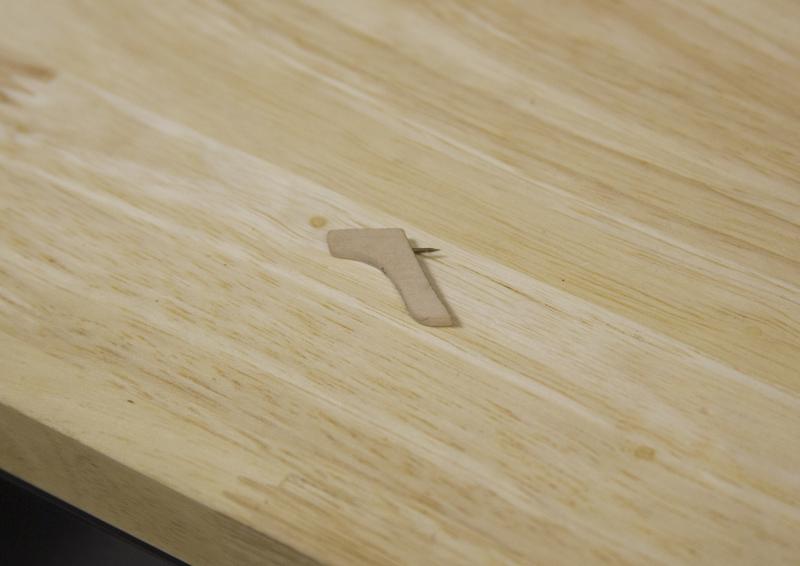
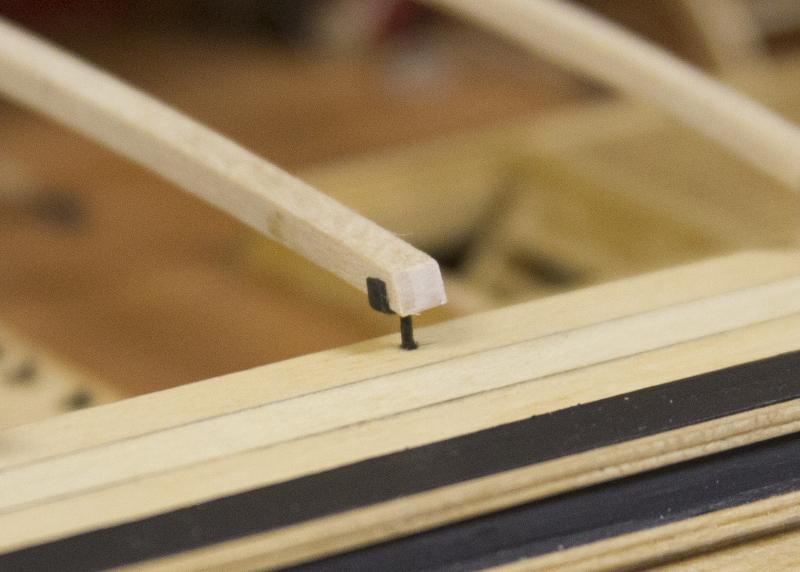
Moving on to the inboard details. The floorboards and seats are pretty basic. I just pre-planked 6 or 7 strips of basswood together for about 6 inches so I would have enough wood for what I needed for both boats. Risers and thwarts are added. The larger thwart with the mast hold was shaped and added with a strip of brass along with a couple of smaller brackets. Instead of using small wire for the belaying pins, I sanded down a dowel and used a similar method as trenailing. The rest of the inboard thwarts and details are added and they are all pretty straightforward. It was pretty tricky getting a good score along the edges of the seats. I wish I'd have taken a picture of it - but my method was to pinch sharp tweezers (you can actual see the tweezers I used in the photo above) together with a small piece of wood between them to keep the ends a consistent distance apart. Then I drag one tip along the outside of the strip and the other scores the wood. Rear seats, knees, and windlass are all added. In keeping with what I've done previously, I used metal strips instead of card stock for the bowsprit irons. The rings are all put together and blackened before mounting. Finally - the oar locks were done in the same method as the belaying pins - i.e., the same as trenailing. I gently sanded down a dowel by mounting it in my Dremel as a makeshift lathe, then glued the end into each hole in the cap rail and snipped it off. My primary reason for this is my general inability to properly match paint to the wood color that the basswood ends up being after it's stained. Finally, the rudder is mounted with metal strips and the finishing touches are all added. Here are a couple shots of the final longboat. The Pinnace is up next.


- 2,191 replies
-
- 19
-
-
- confederacy
- Model Shipways
- (and 1 more)
-
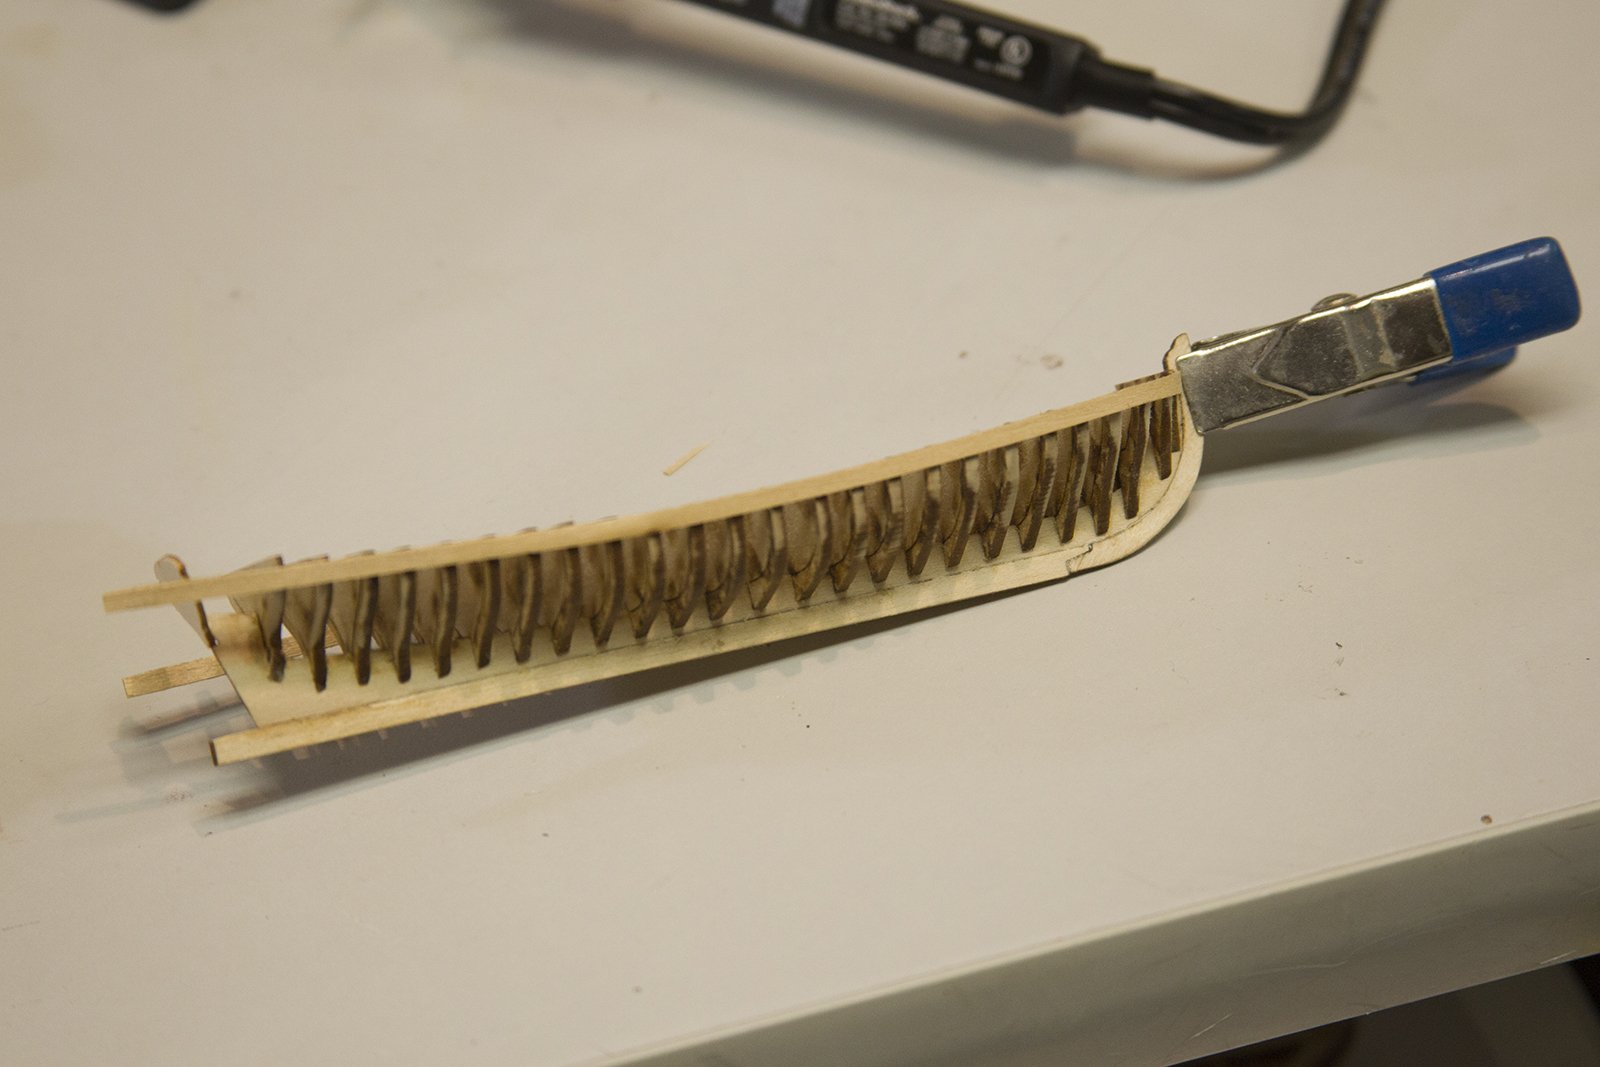
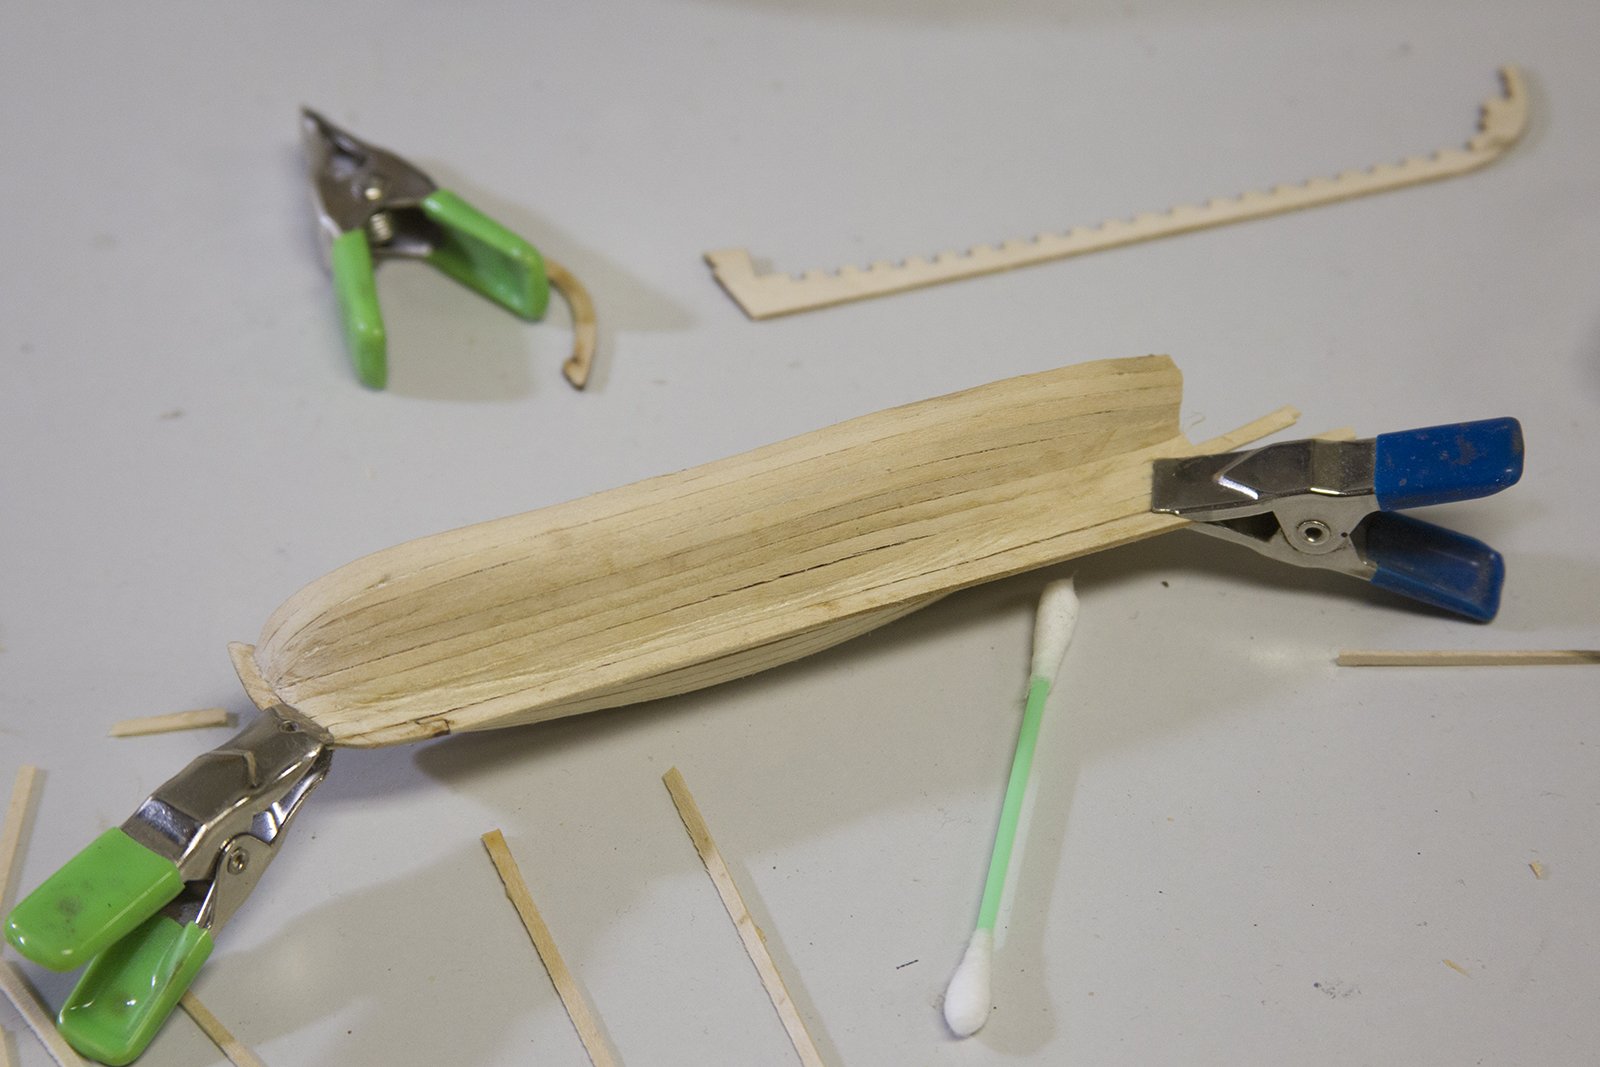
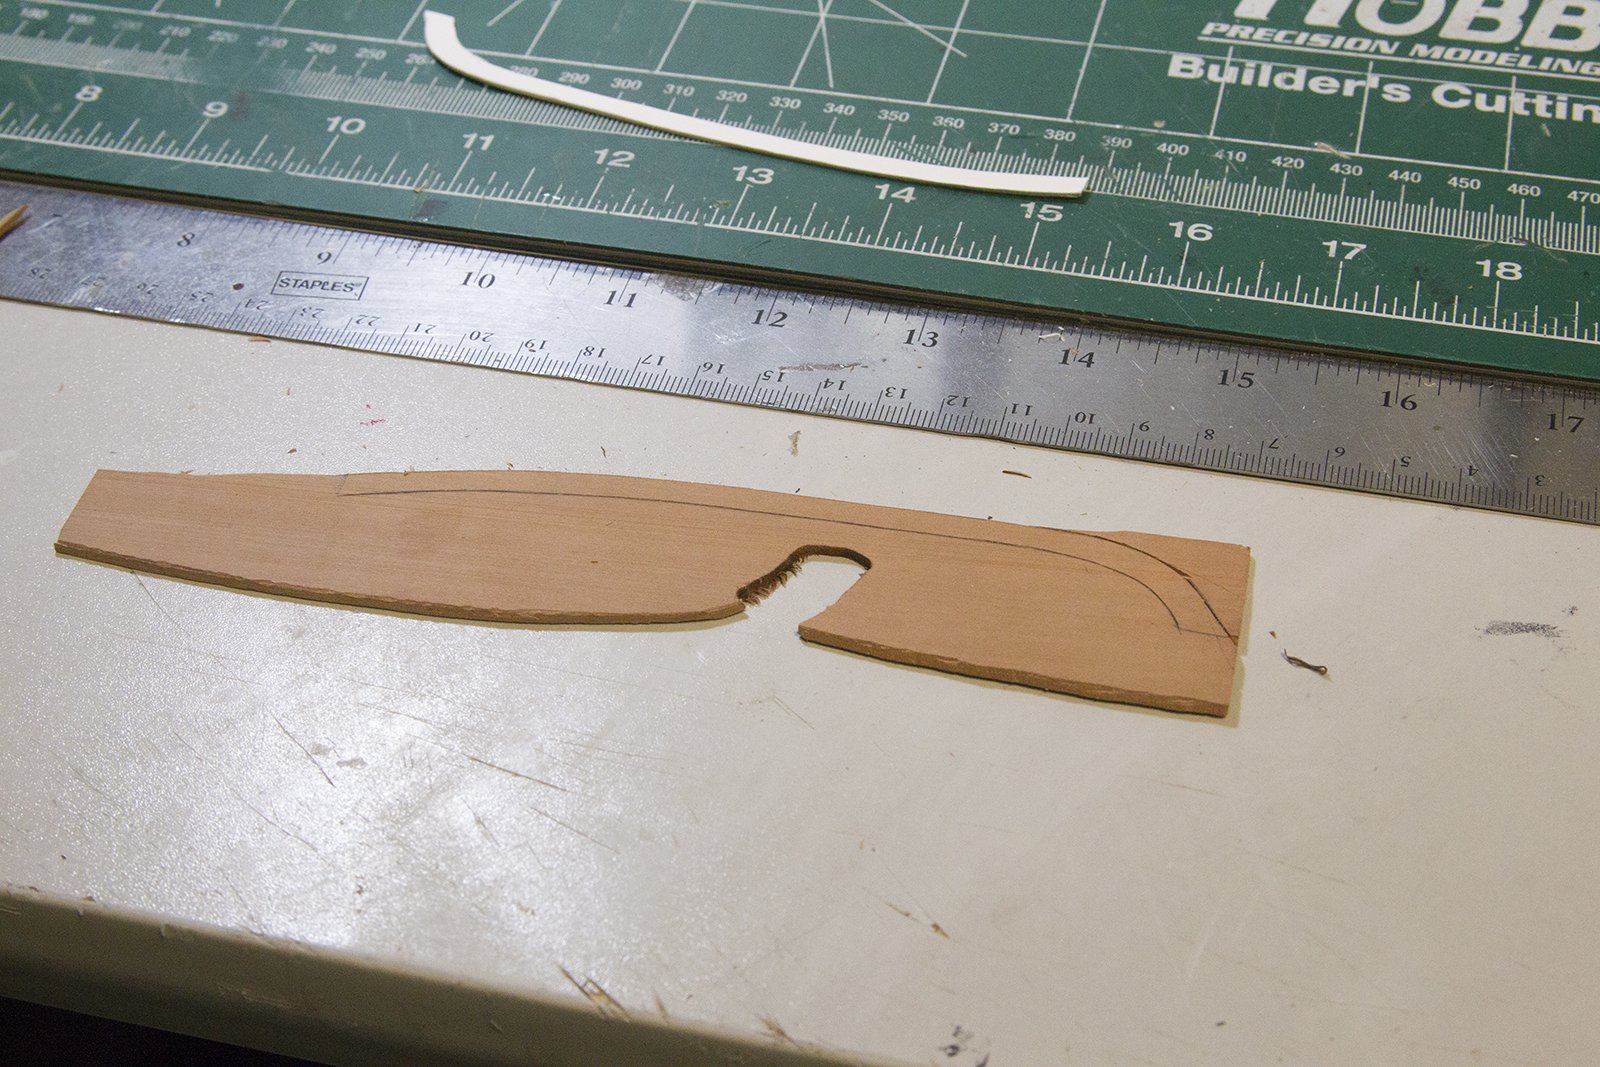
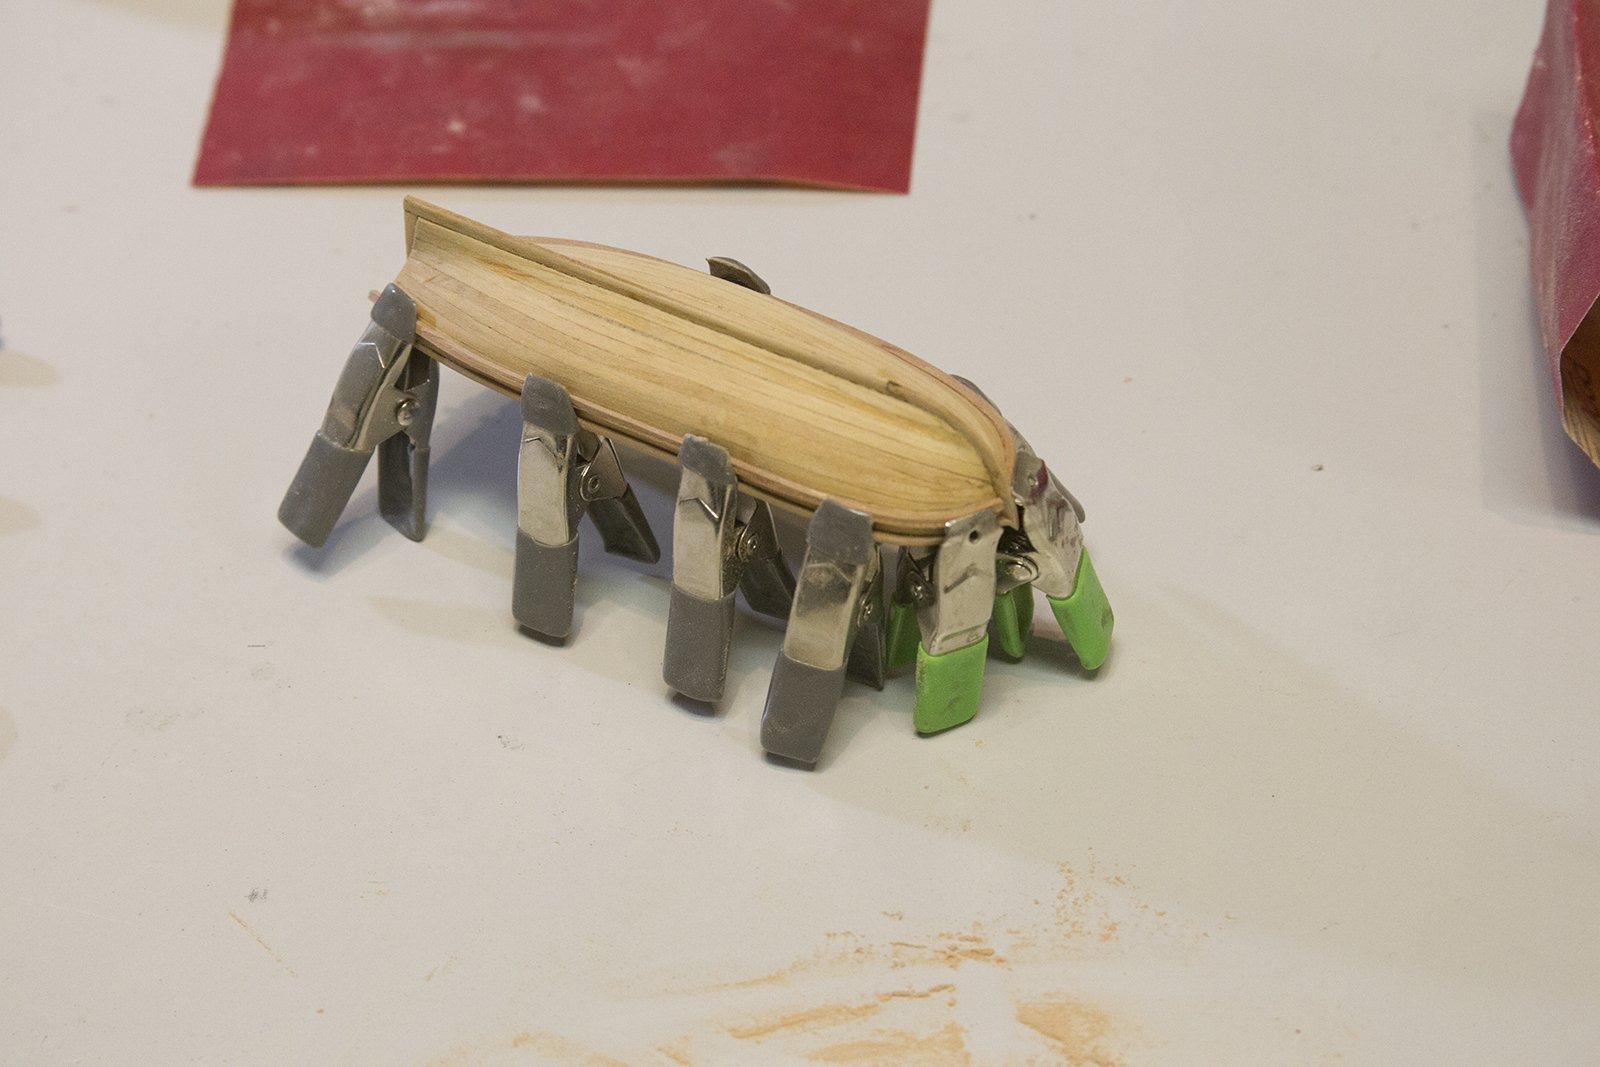
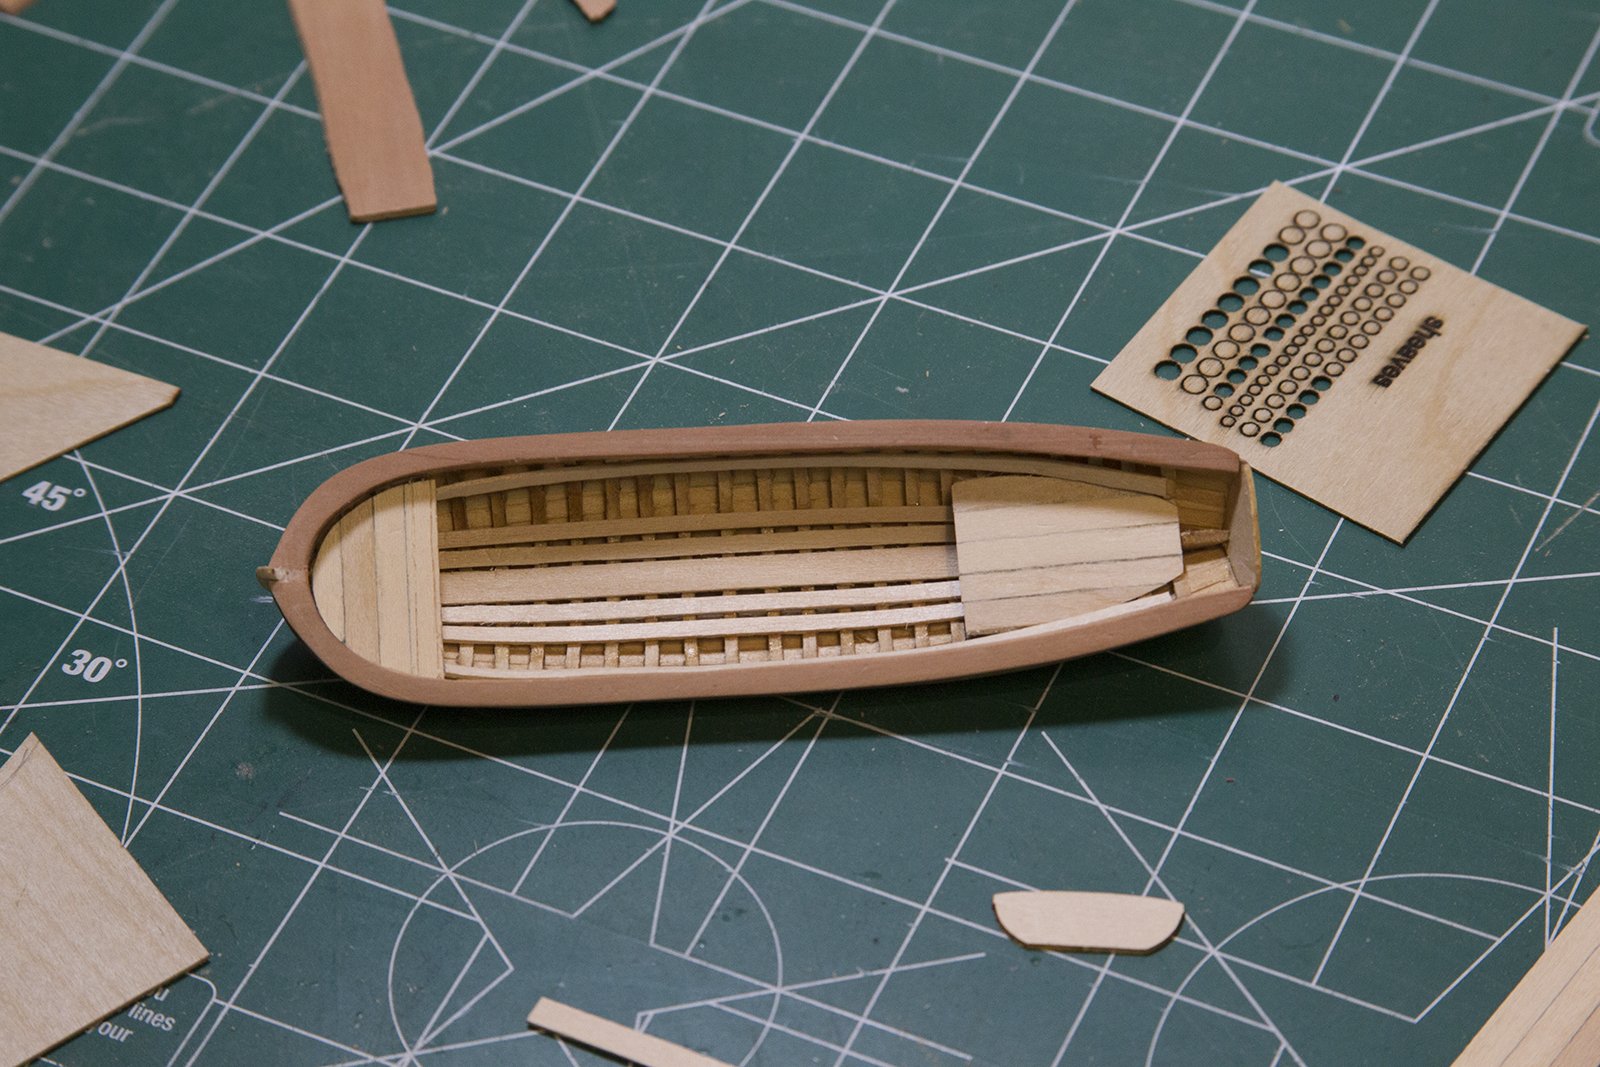
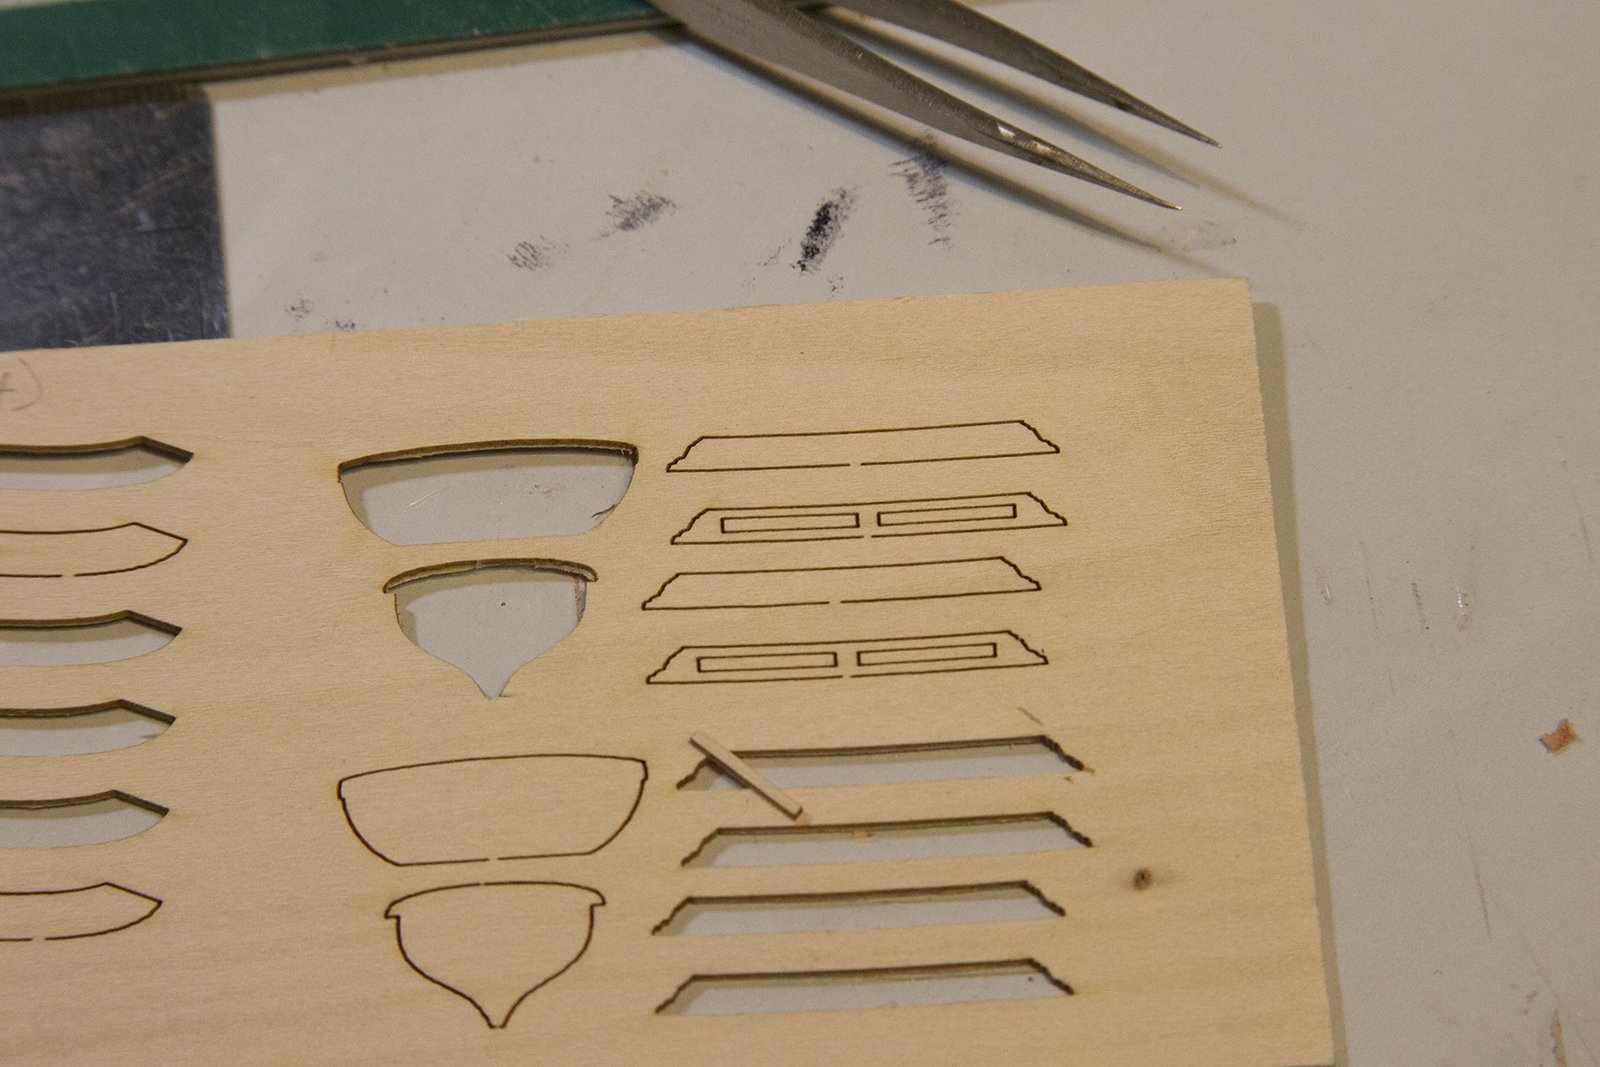
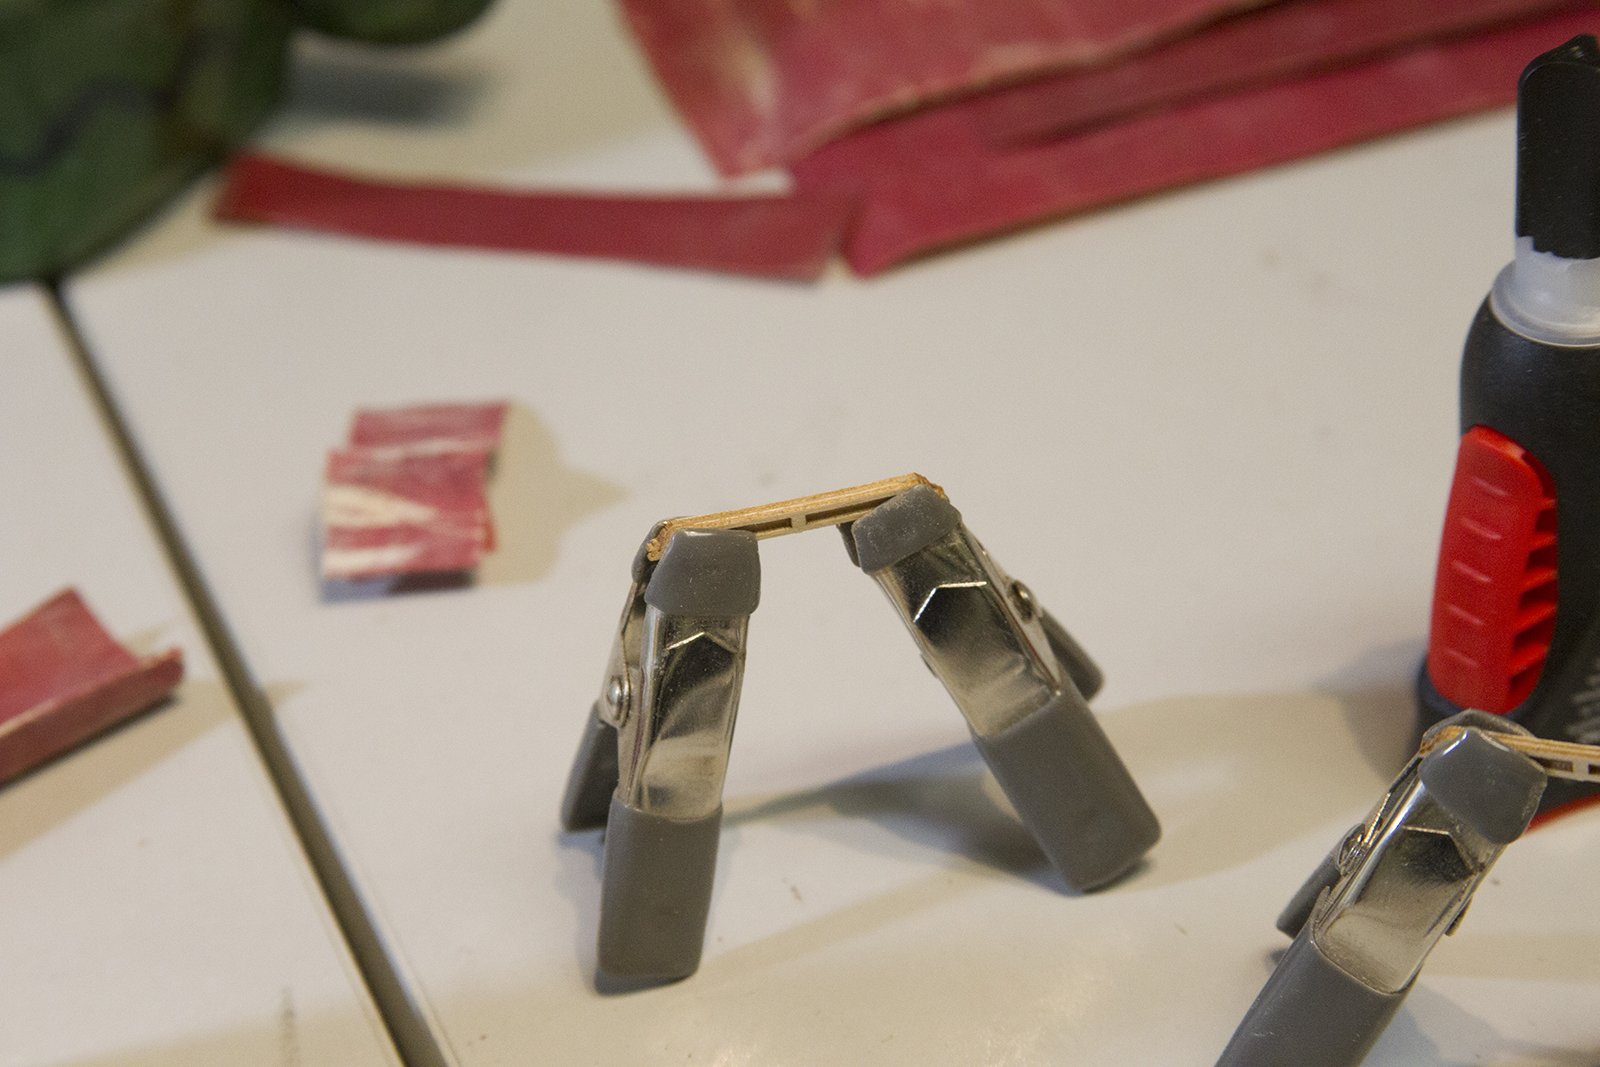
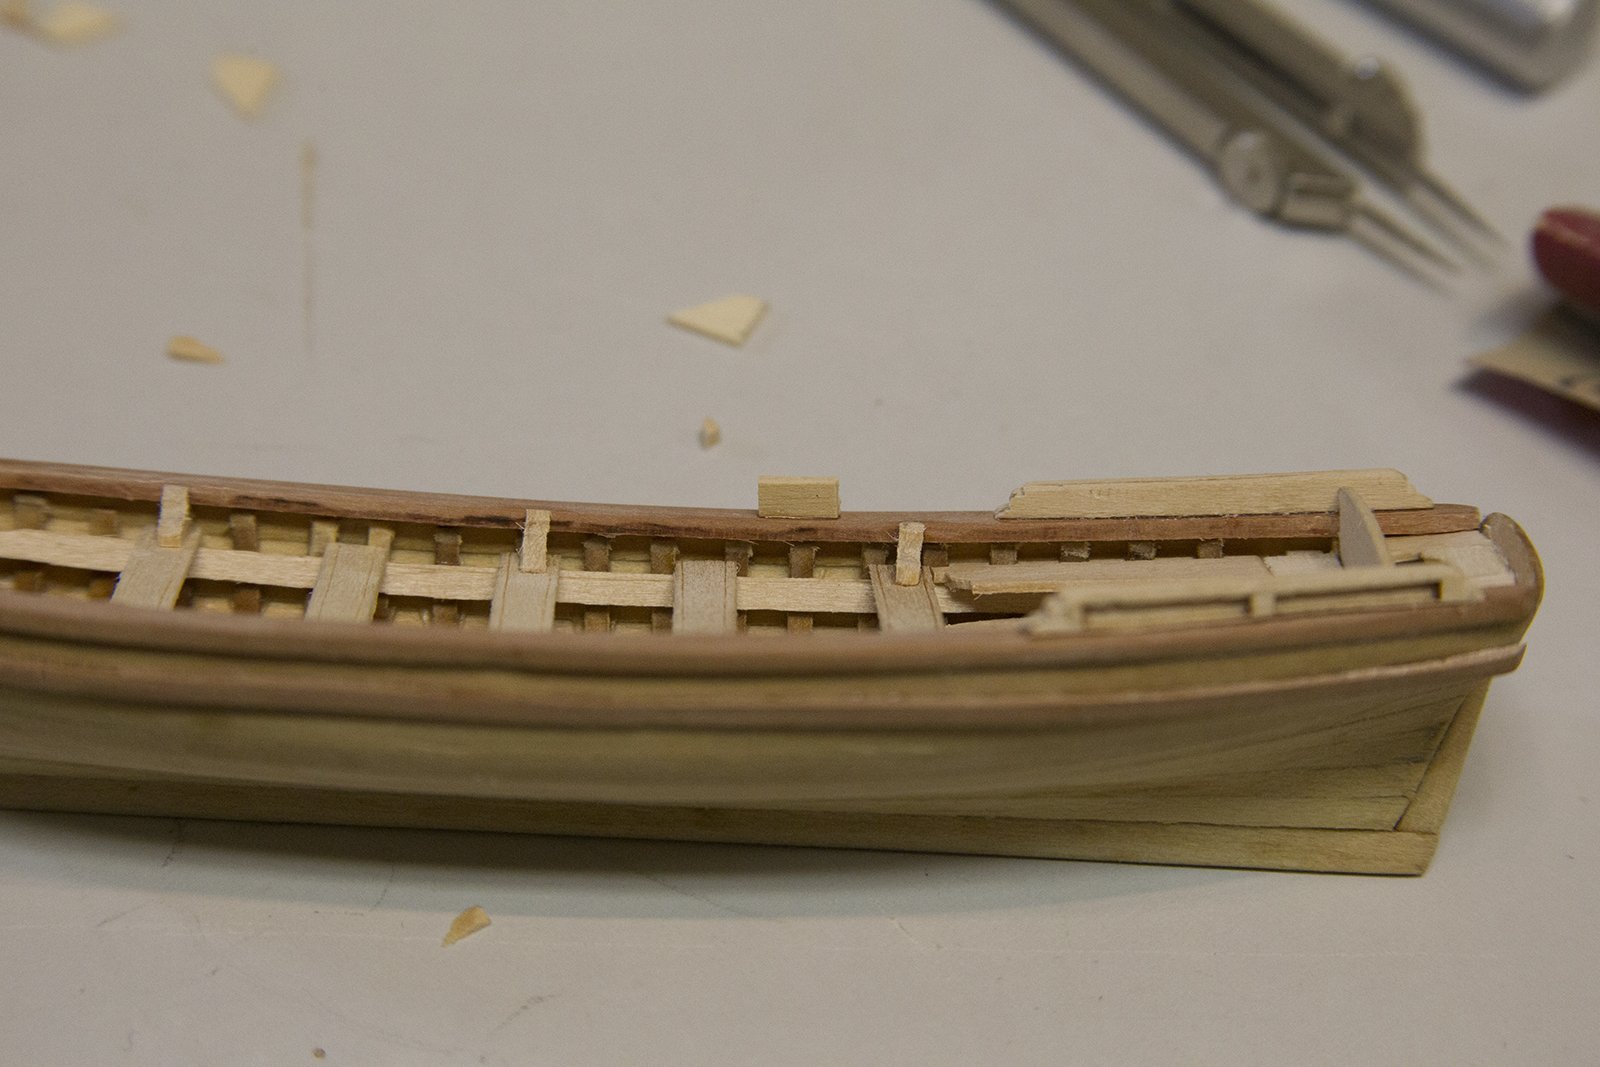
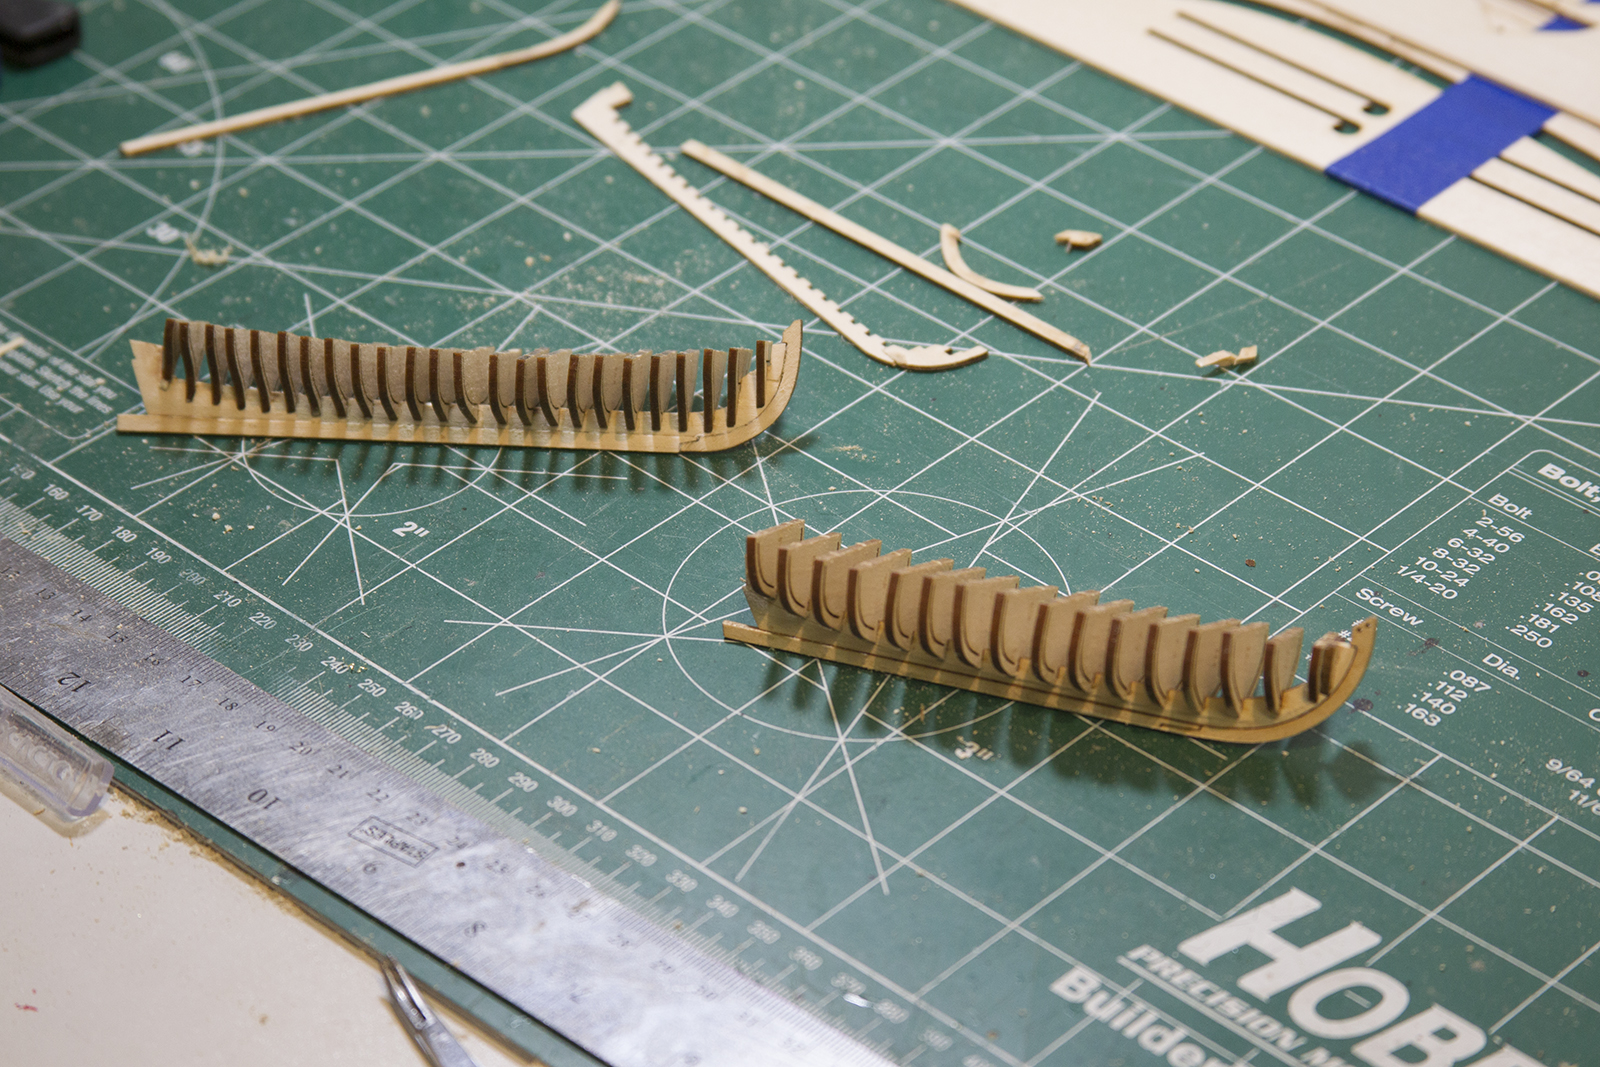
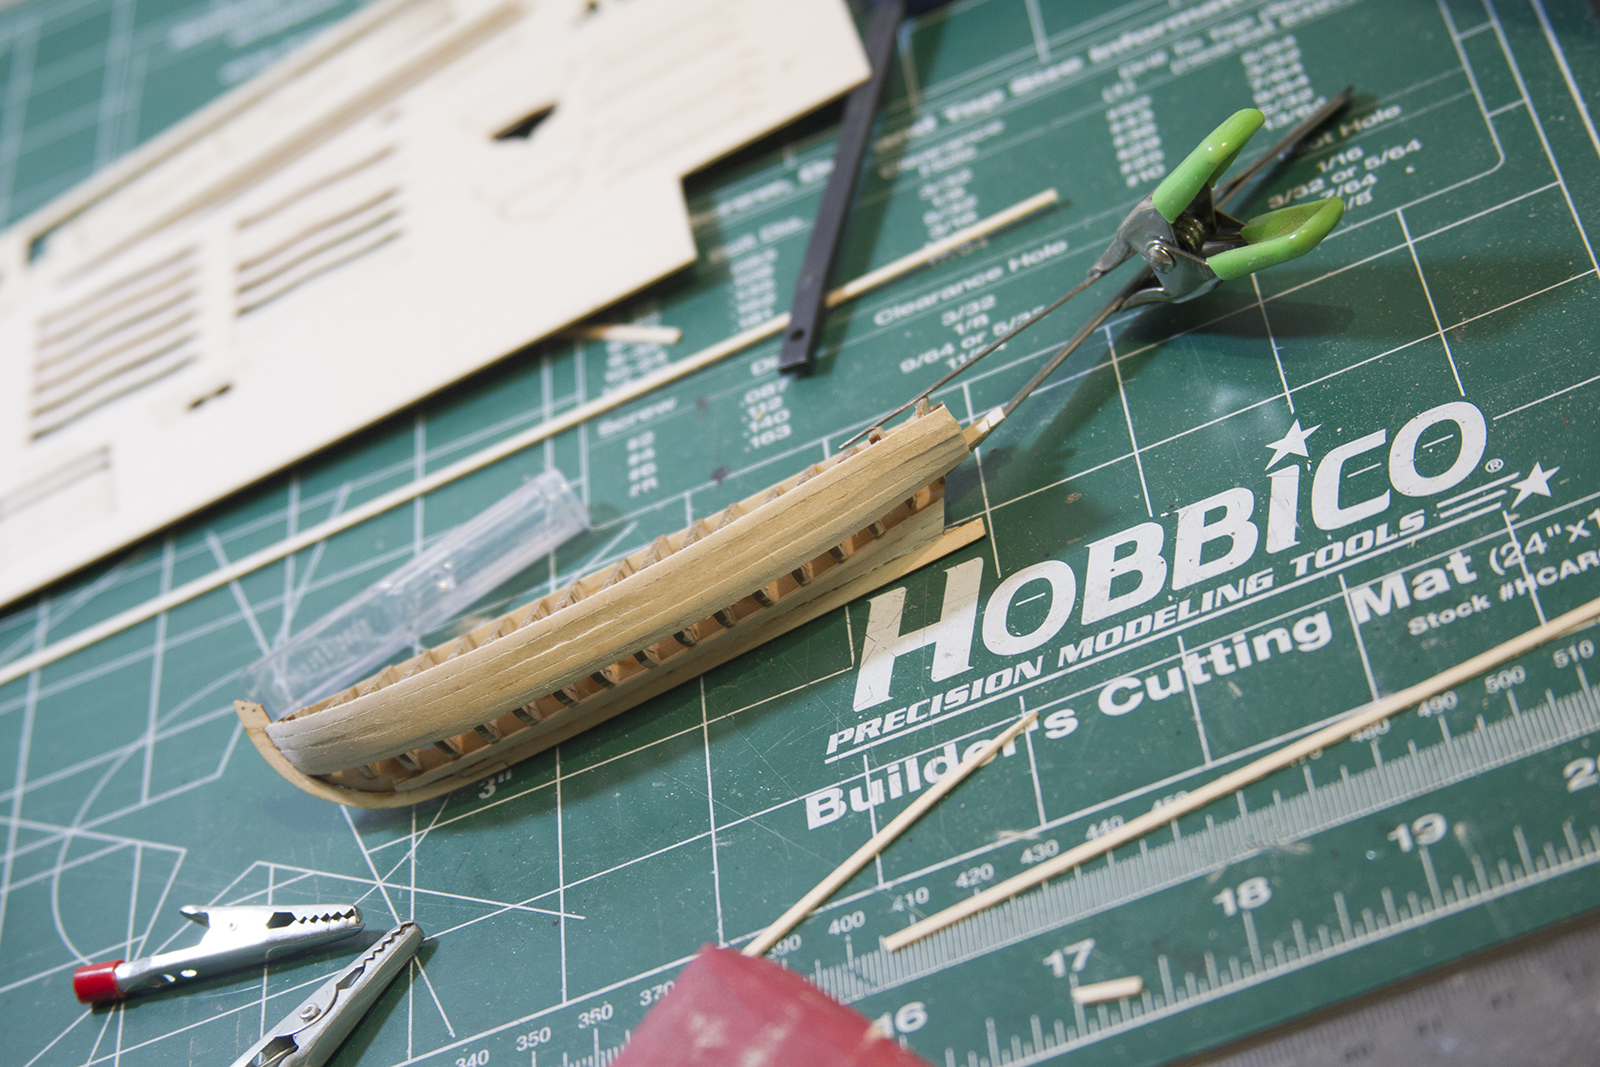
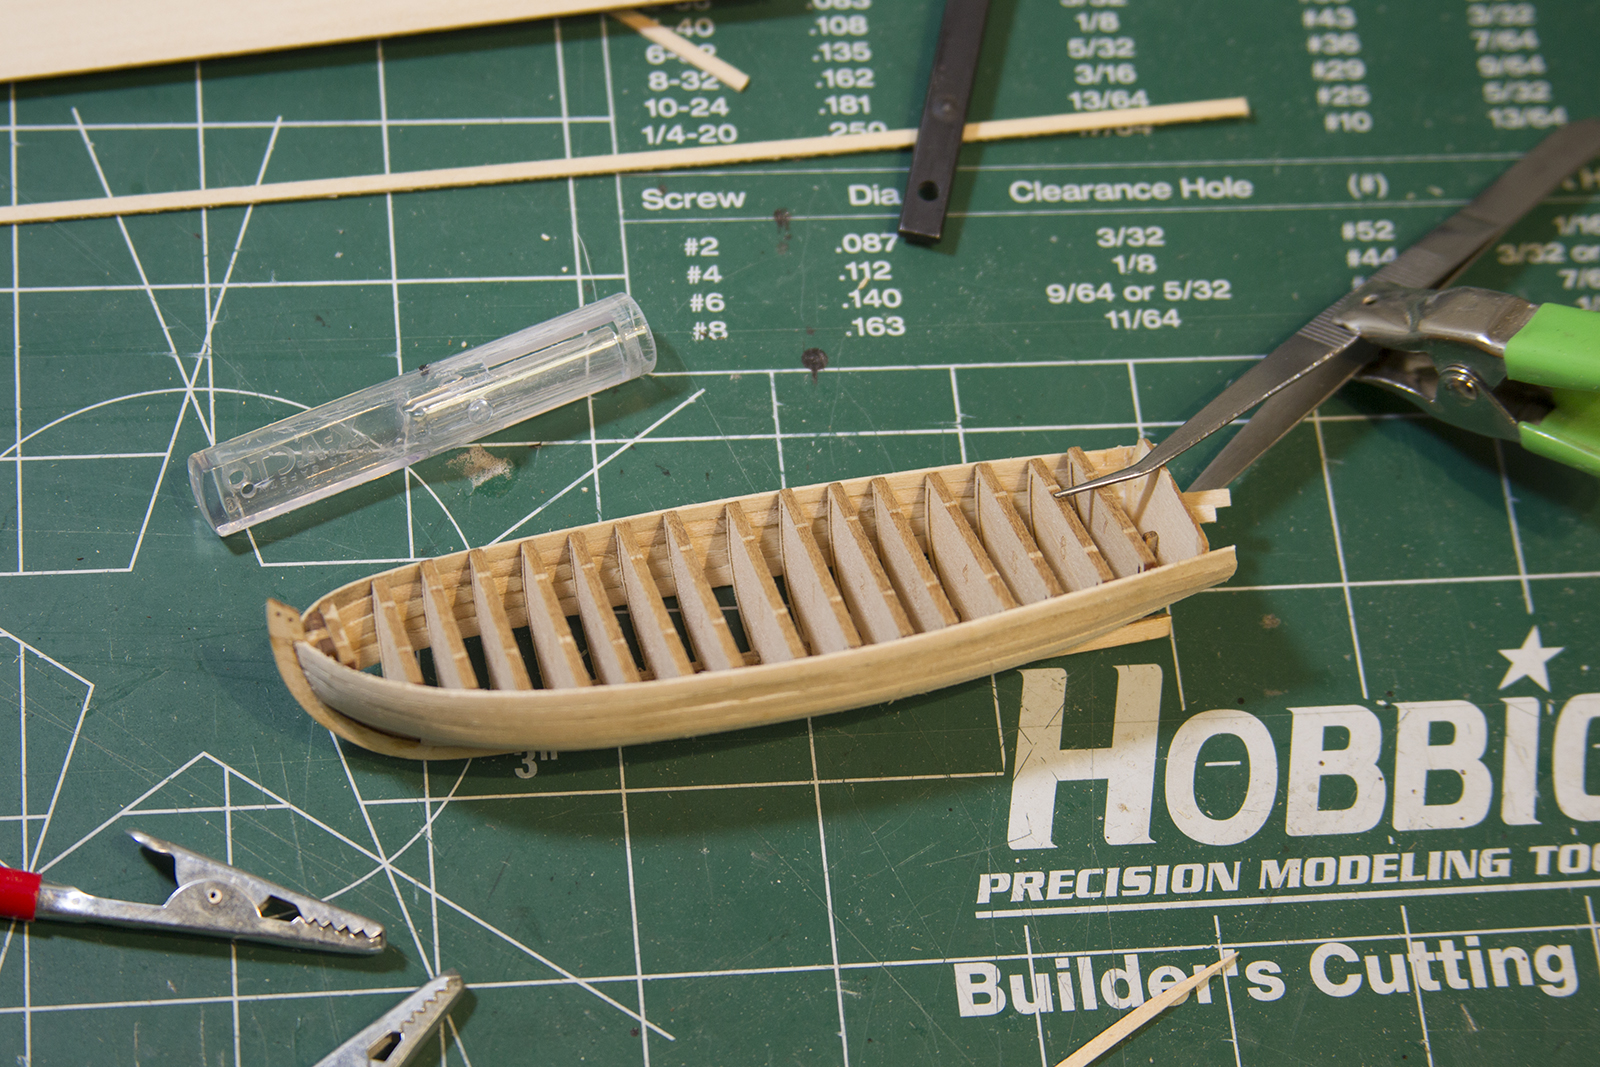
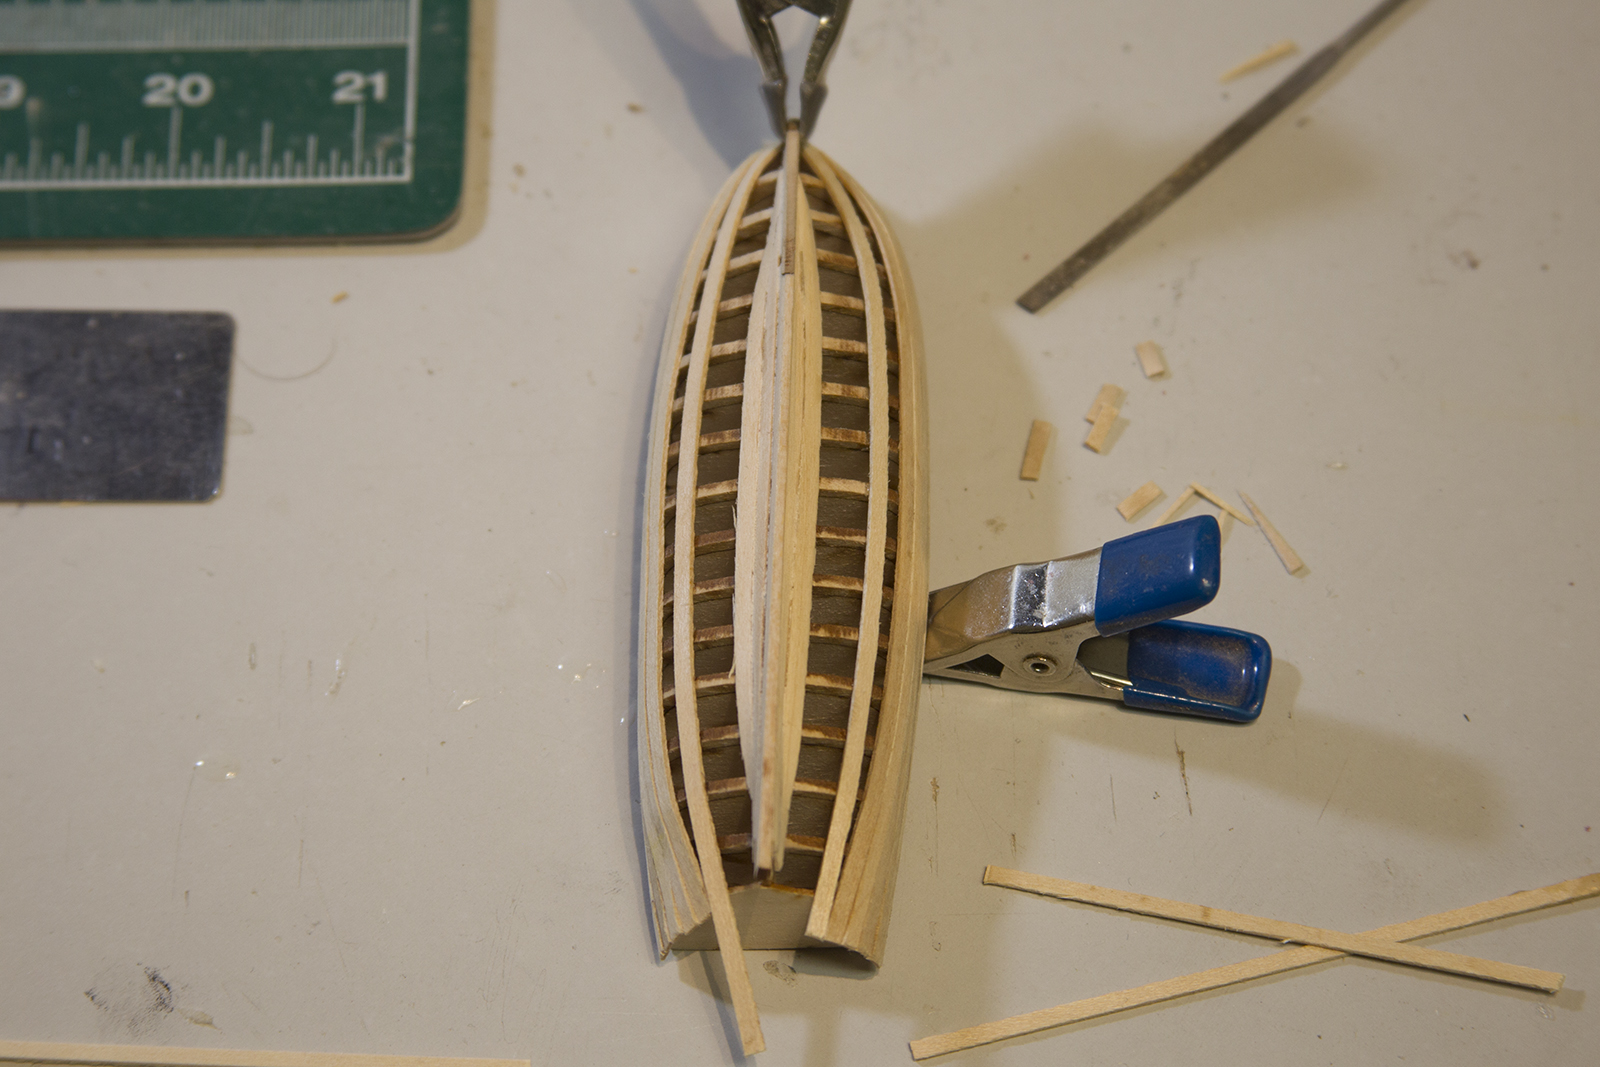
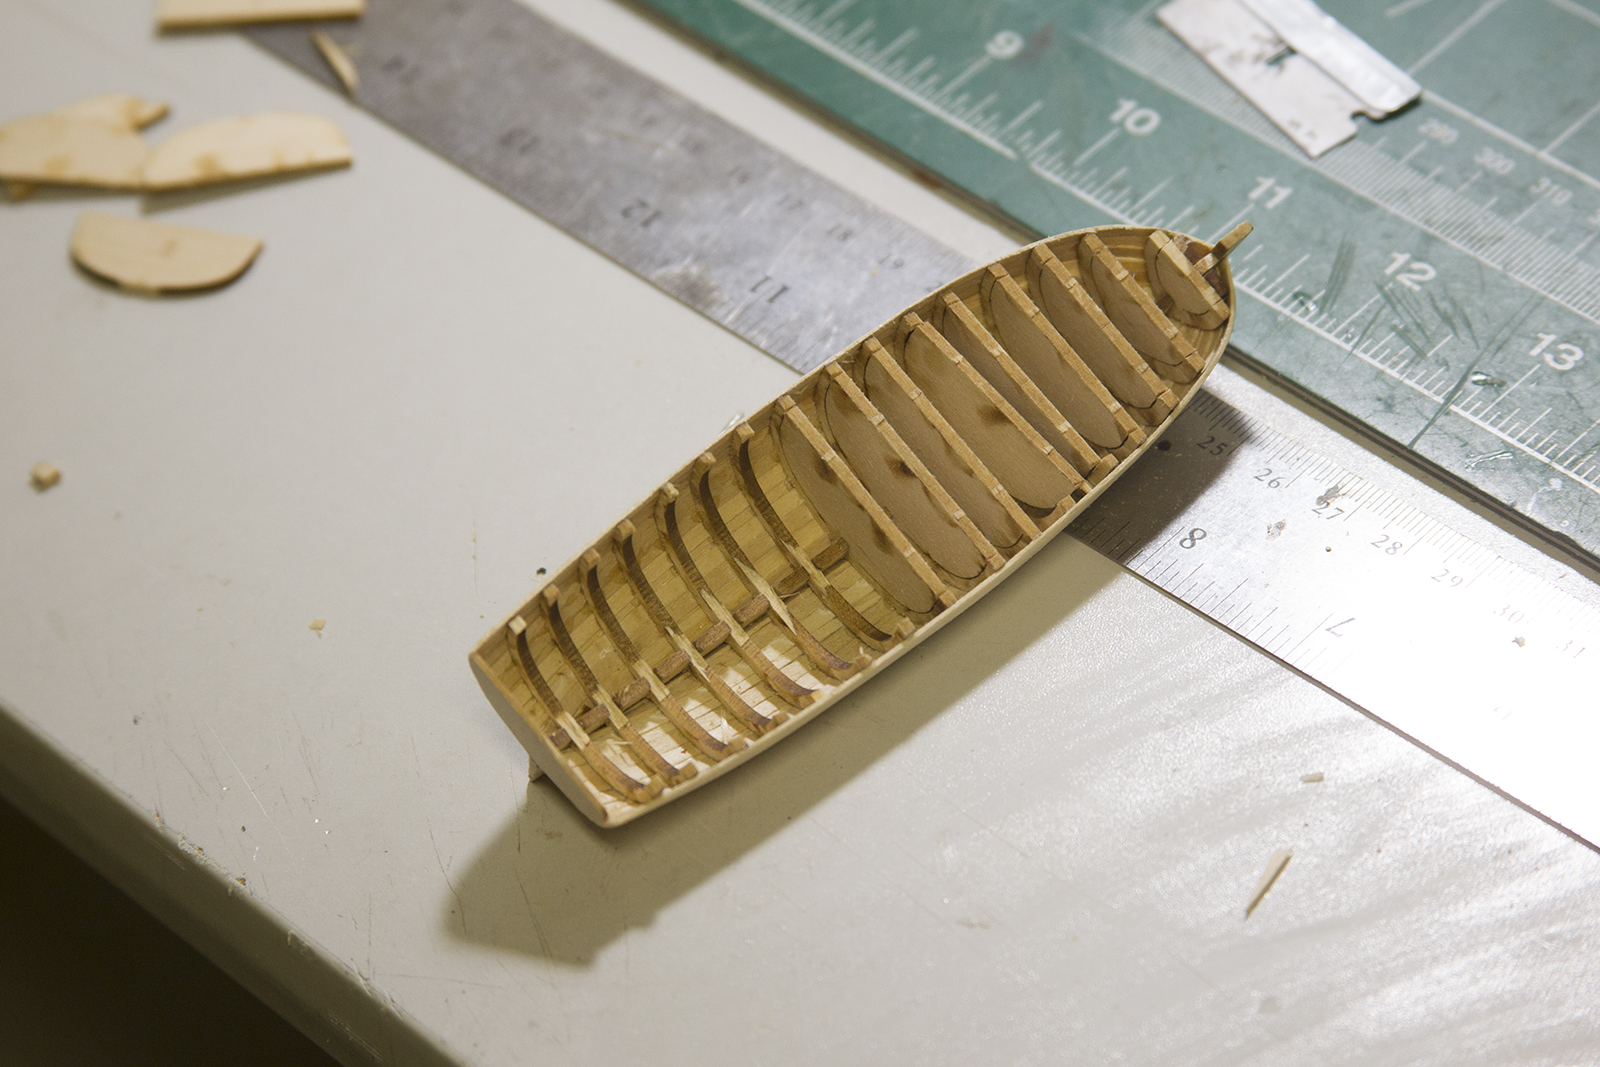
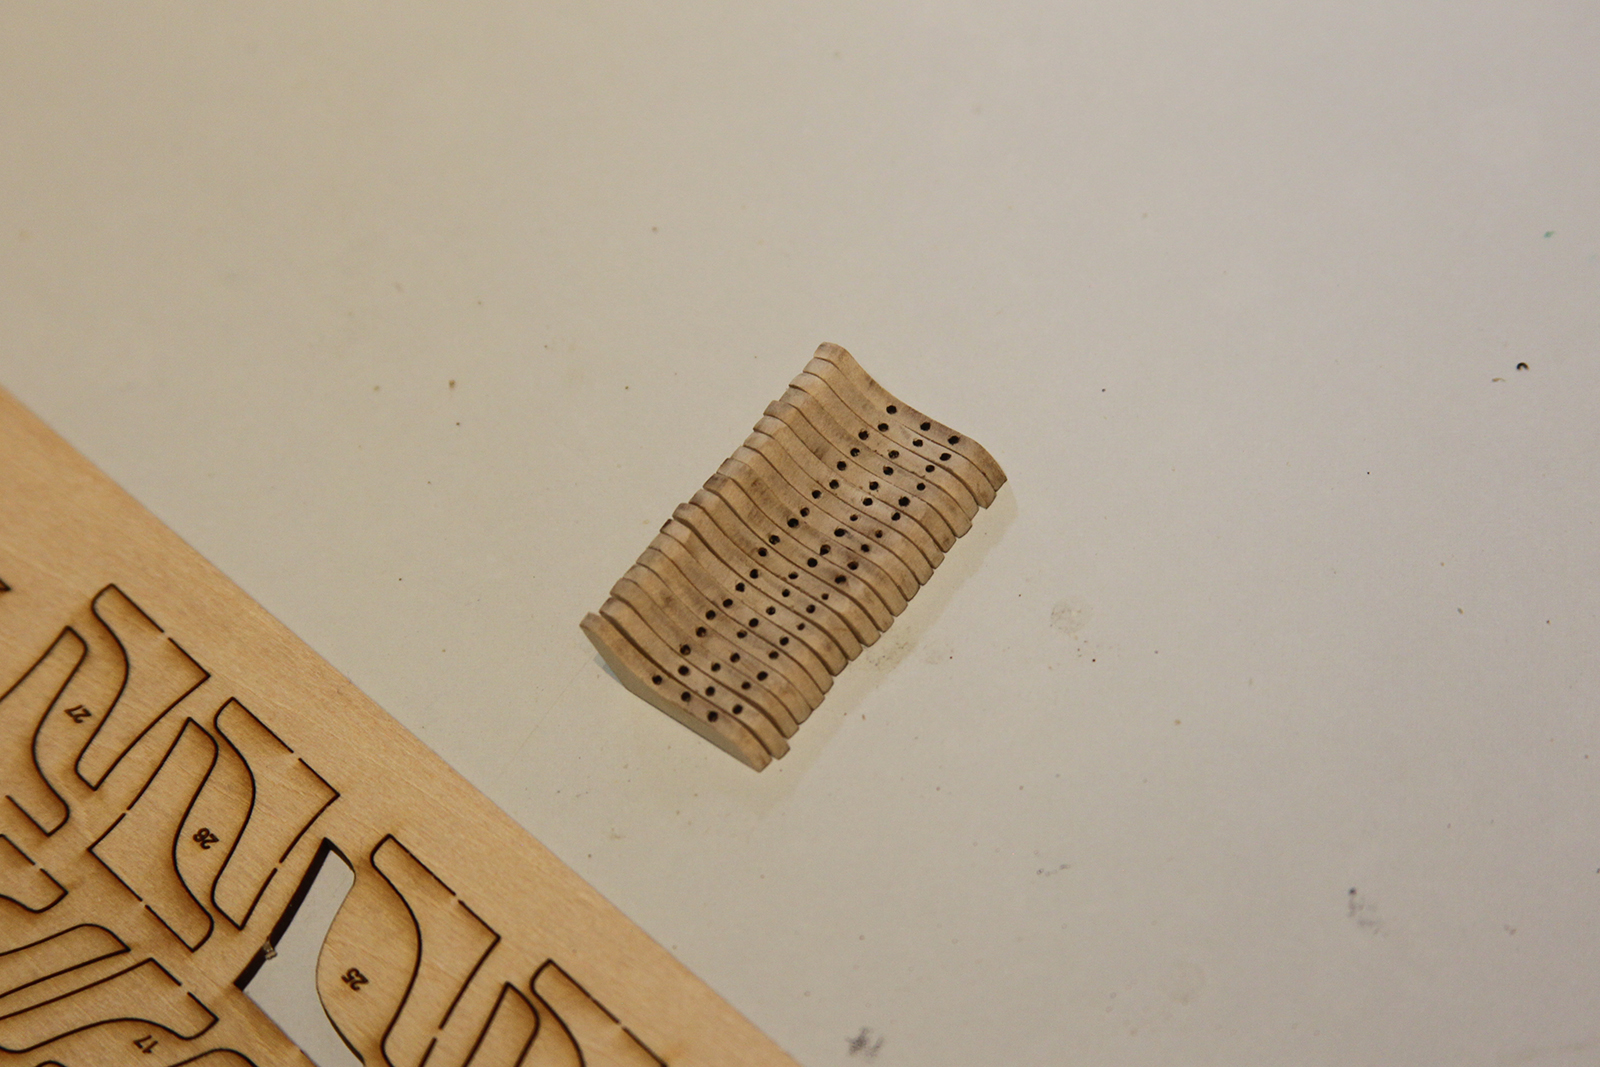
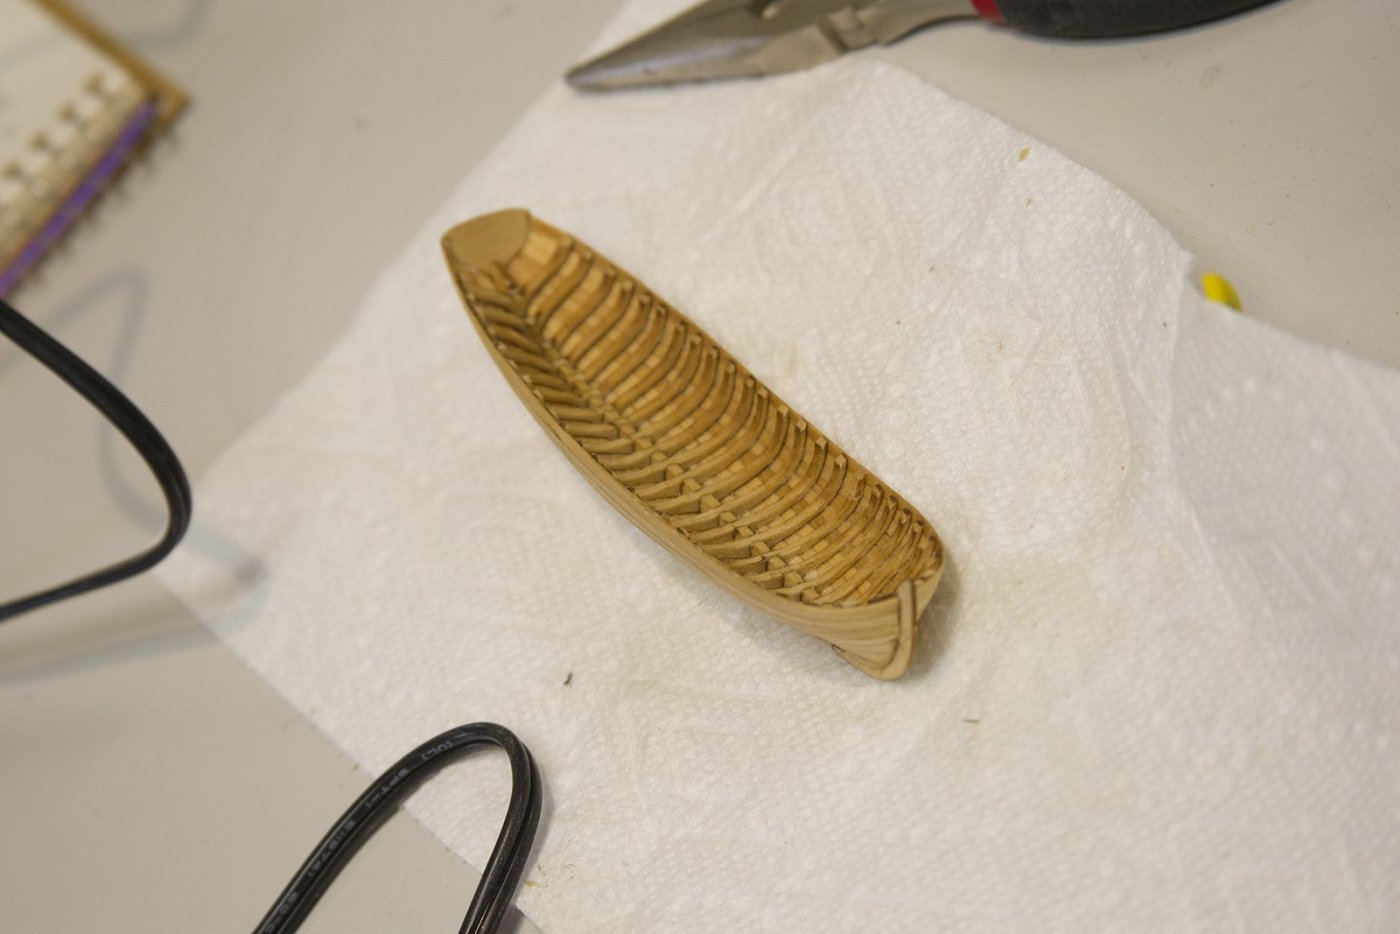
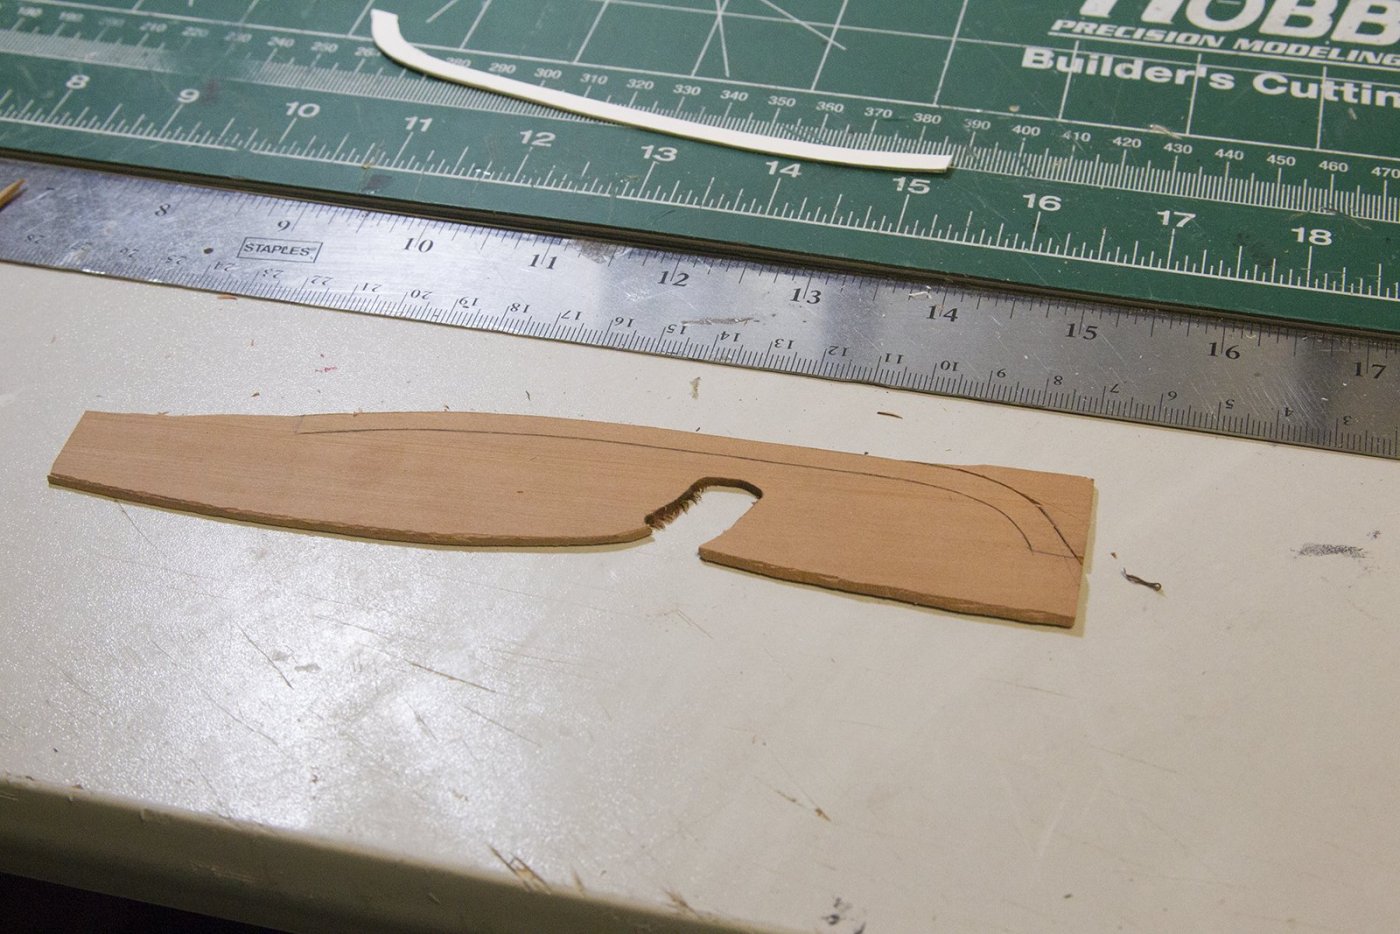
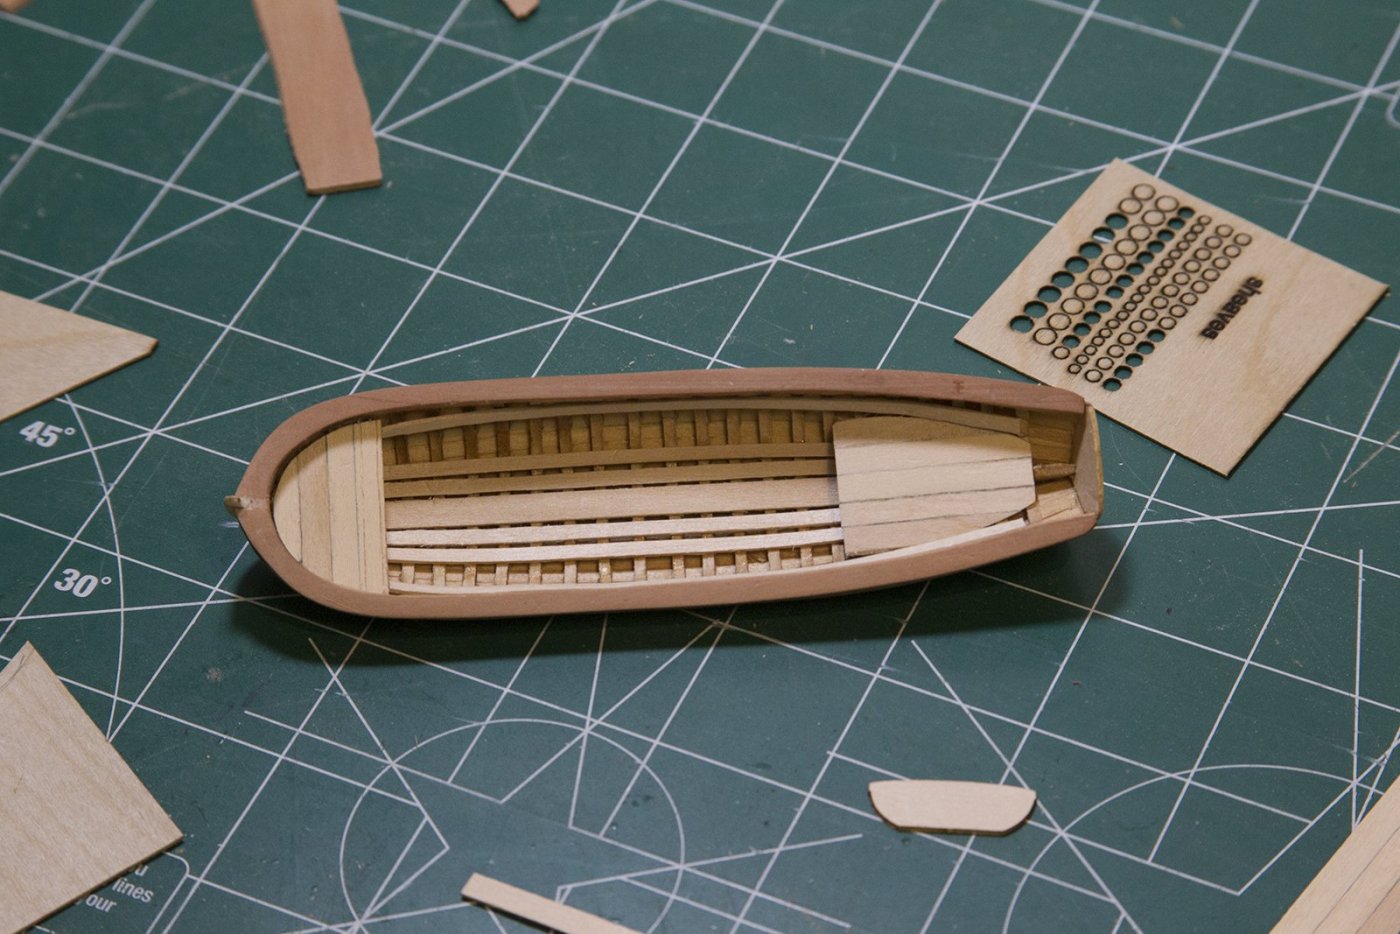
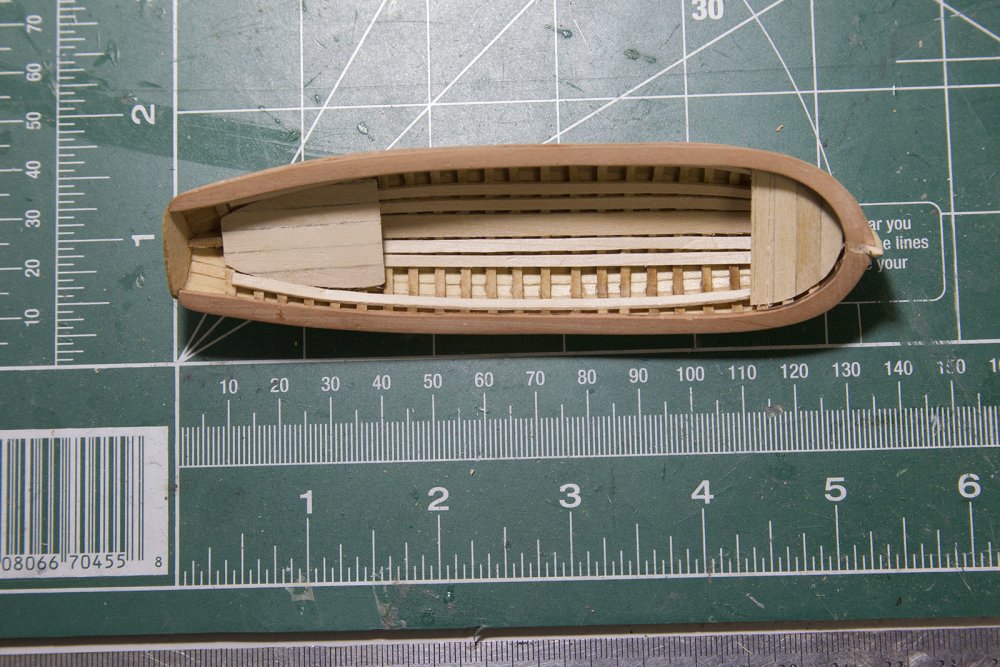
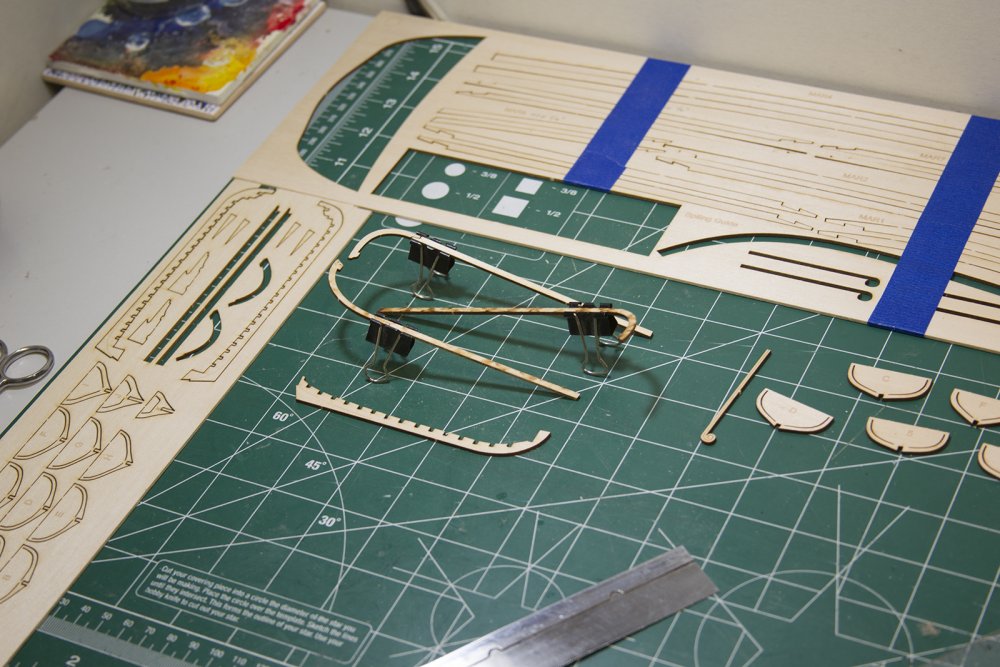
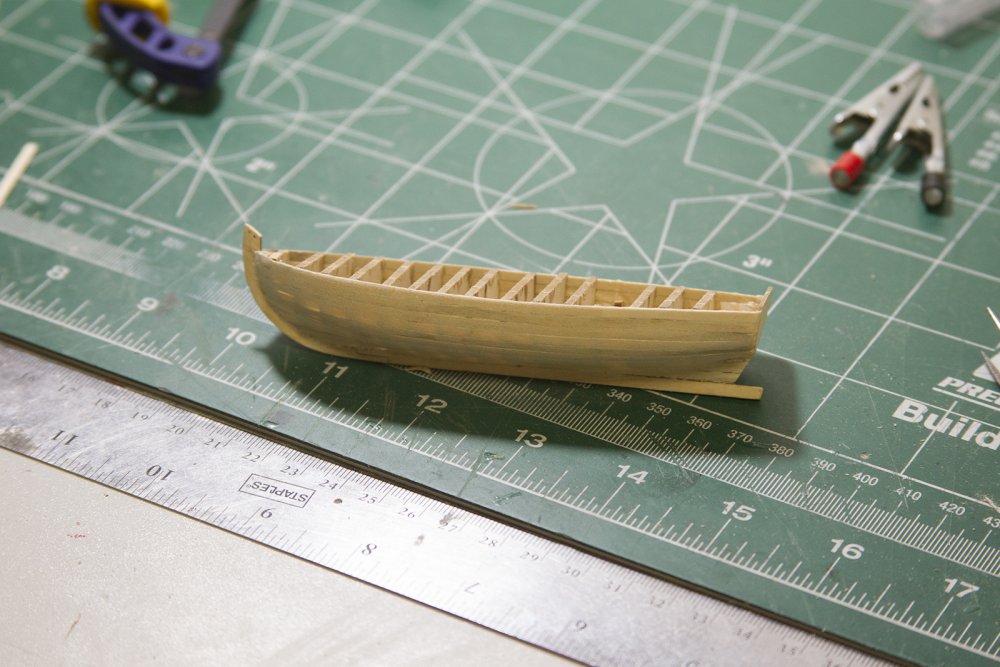
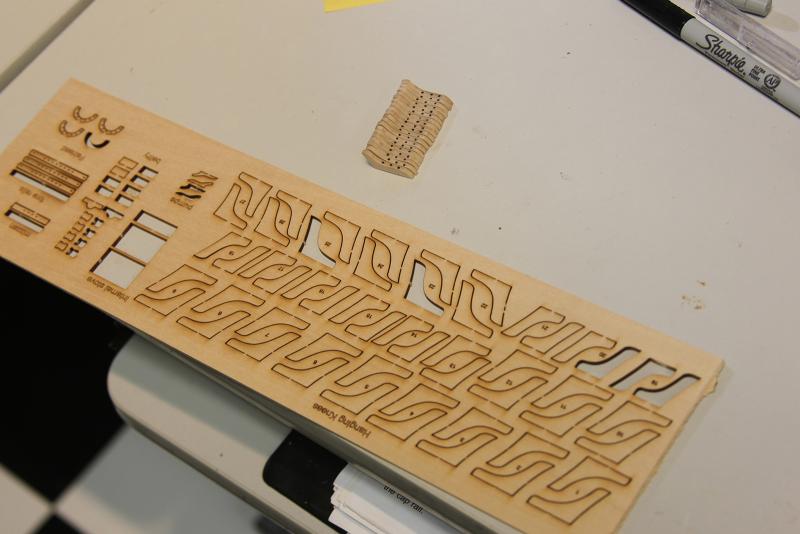
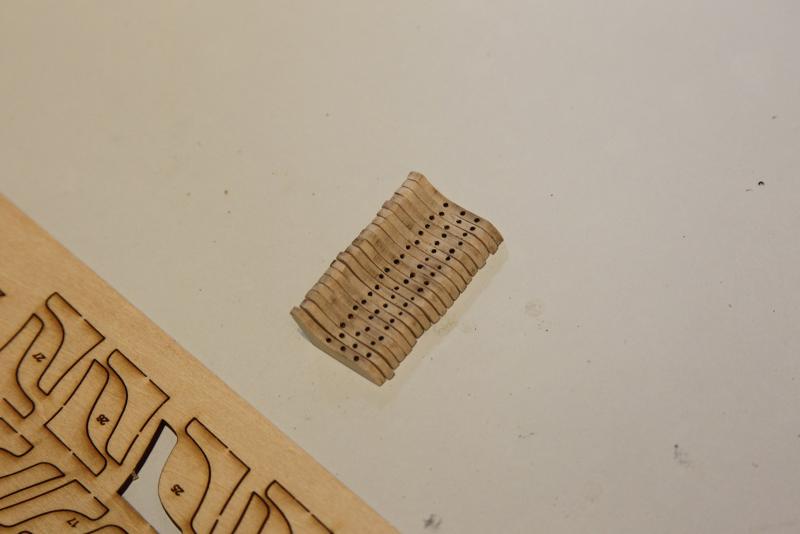
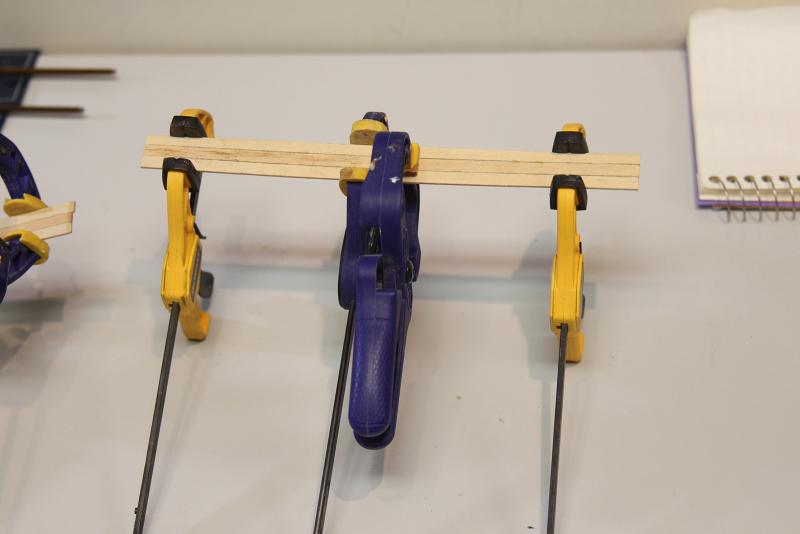
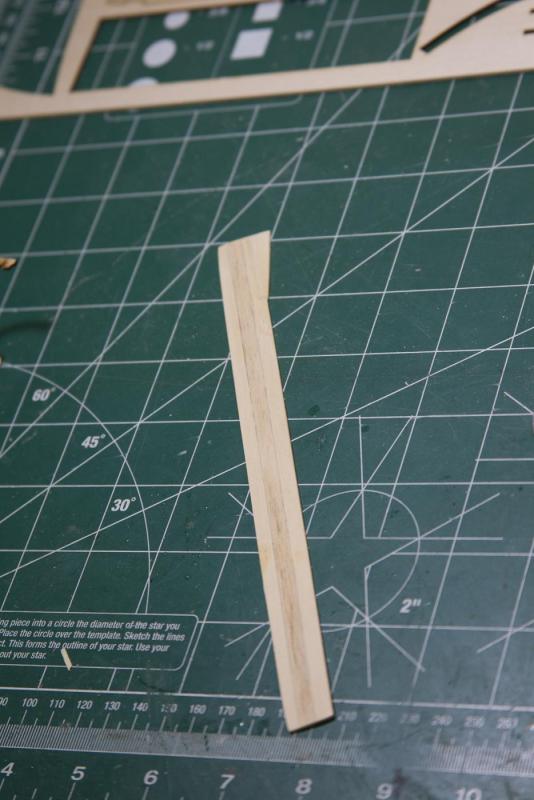
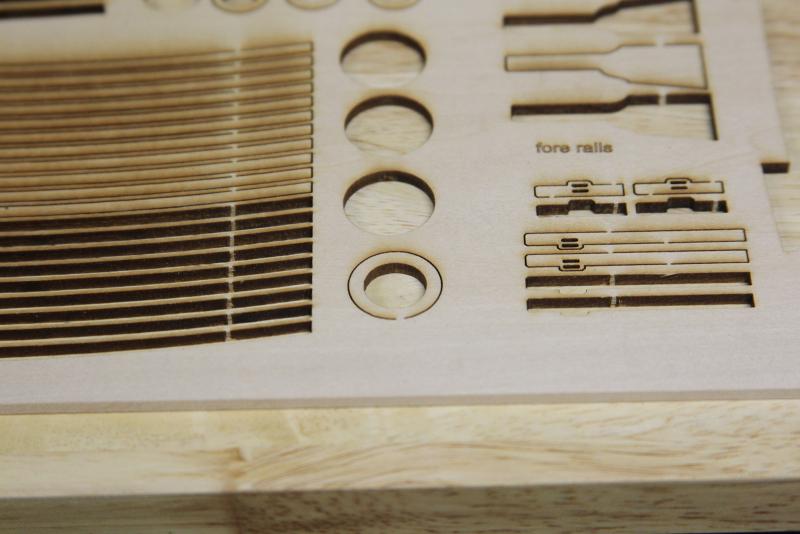
Ok, first post with the new format - here we go! :-) This post represents at least couple of weeks of work. Because it's obviously slow-going, I started on the small boats at the same time as the anchors and other details and worked through them simultaneously. I will say - I was quite pleased with how the small boasts are laser cut and put together. I've always struggled with coming up with small both bulwarks, and inevitably end up with uneven hulls. Don't get me wrong - I still came up with uneven hulls - but at least they were closer than I've been able to do before. I was also grateful that there were a number of extra pieces in the laser cut sheets, because my fat fingers were snapping off pieces left and right. Although I initially started with both boats - I ultimately finished off the longboat first before moving on to the pinnace. As you might imagine, a bit tricky trying to get all the bulwarks lined up with even spaces between them. I did end up using CA glue for pretty much all of this - I just couldn't get CVA to hold properly or clamp long enough. After that - the planking begins. We're all pretty familiar with this process - soak, bend, dry... repeat. It was a little tricky with such thing single planking because I knew I wouldn't have a ton or room to sand. In fact, you will notice in the some of the shots (with light behind the boat) how thin some of the areas became as they were evened out. After the longboat is planked, it was time to pull out the bulwark centers. MAN what a sketchy job that was. I tried 'filing' off the edges as recommended with my smallest needle file, and that was a pretty quick failure. Then I sliced a tiny bit at a time using a super sharp X-acto knife. A little bit more success, but still difficult. It took about two thousand delicate slices to get through. So finally, I put a super thin blade on my Dremel, put it on it's highest speed, and cut through the edges. No matter what method I used, I inevitably snapped off at least a few of the frames and had to re-glue the tips back on. Then, sanding the frames inside and evening out all of them was a very slow, tedious process as well. My solution for that was a very fine sand attachment on the dremel that had a rounded cone-shaped and some very careful sanding. In keeping with my earlier idea to bring the center of the ship together artistically with the deck, I used Swiss Pear for the cap rail and moulding. Obviously, the Swiss Pear is about a million times more dense than the stock wood, so I had a number of failures. Honestly, I blame them on impatience. I outlined the cap rail then tried to use a Dremel attachment and some other ideas to cut through the Swiss Pear quicker. Just like we always seem to learn - it ultimately takes longer trying to come up with a "short-cut" than it does just to be patient. The solution here - draw out a template onto the Swiss Pear, and cut with a sharp blade. Sure, you have to go over the cut about 50 times to get through the dense wood, but it's worth it in the end. Then it's all about sanding and matching.


- 2,191 replies
-
- 11
-
-
- confederacy
- Model Shipways
- (and 1 more)
-
Welcome!
-
Welcome Blaine! Though I haven't built her - I've seen the Syren become many folks' favorite pretty quickly. Good luck with her!
-
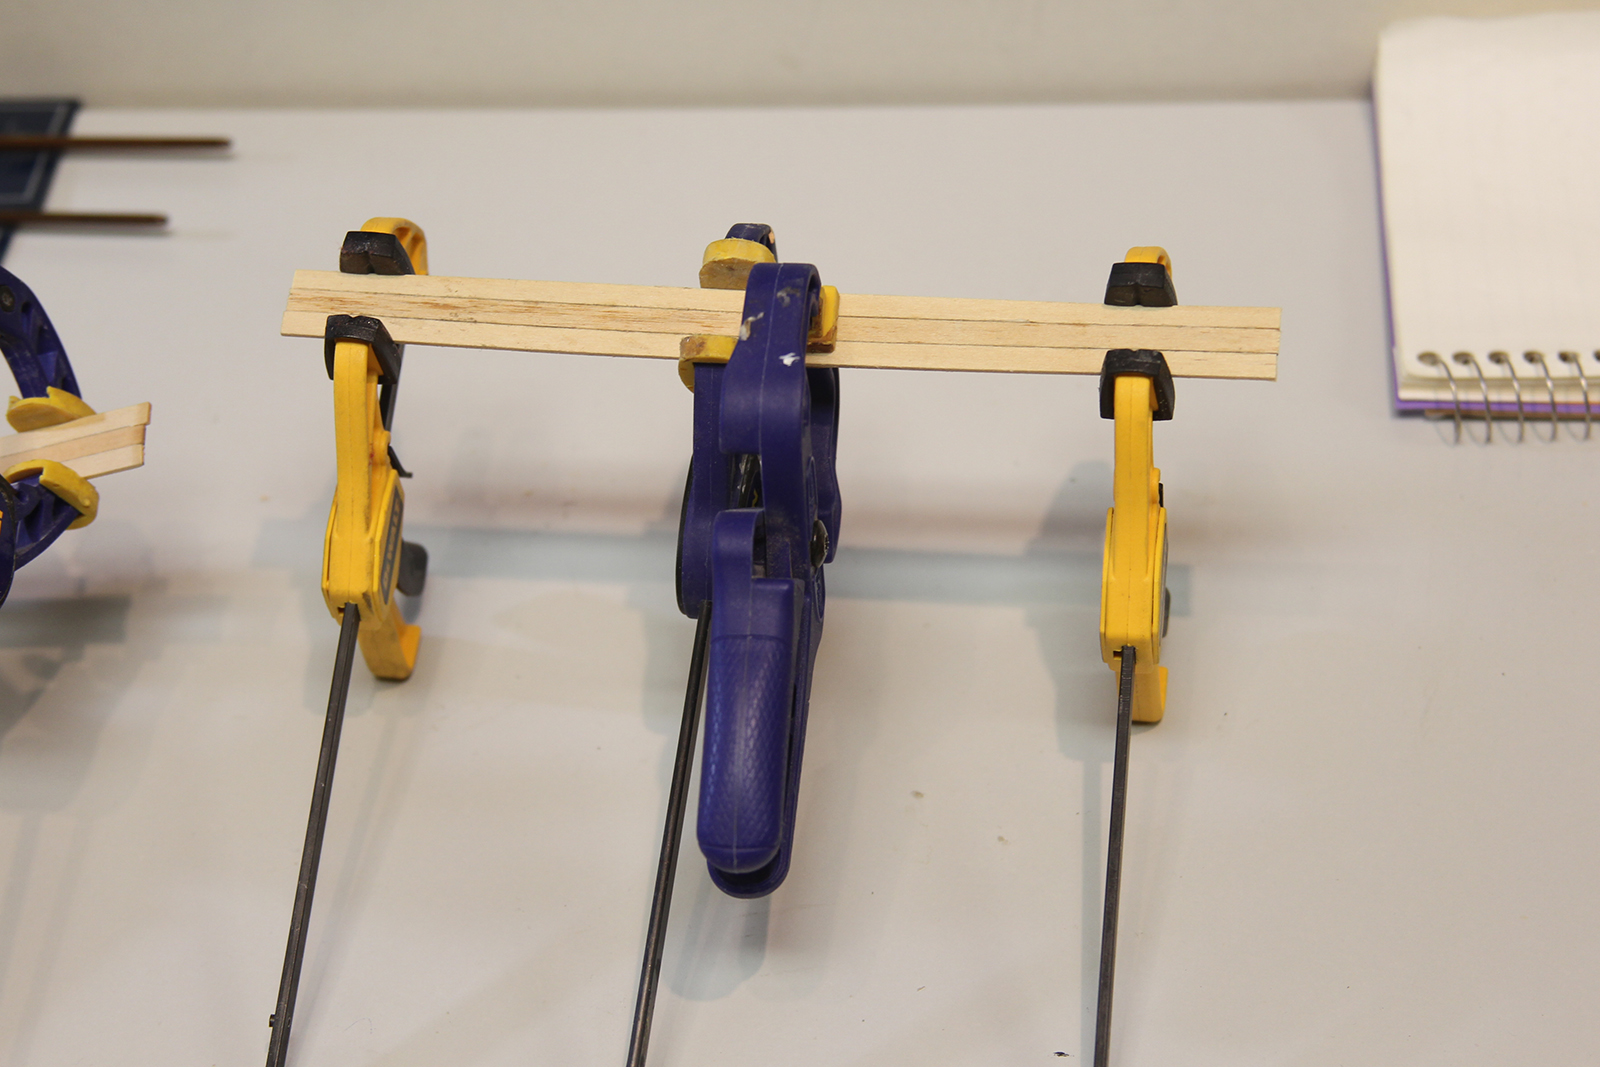
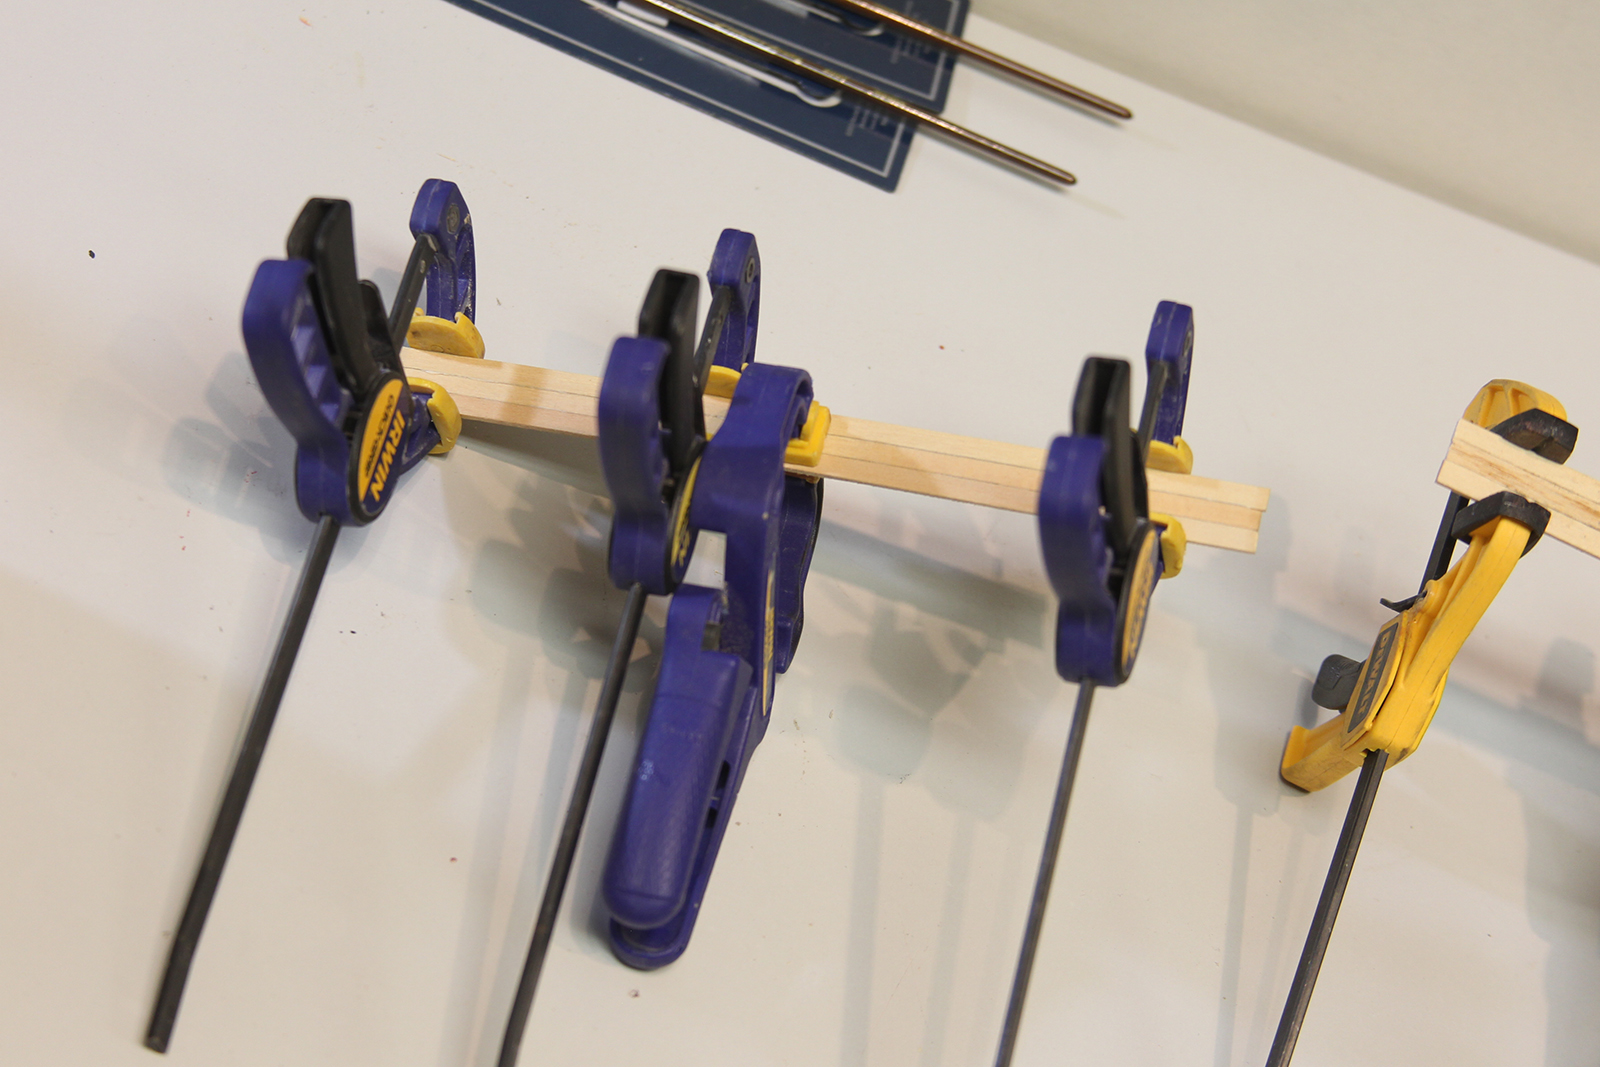
Thanks very much for the likes and comments folks. I'll have another update pretty soon - been planking some small boats. I've said before and I'll say it again... planking is always quite a struggle for me. So I'm just doing what I can, and hoping for the best.
- 2,191 replies
-
- 4
-
-
- confederacy
- Model Shipways
- (and 1 more)
-
Thanks for the very kind words (and likes) everyone - much appreciated! Thanks Dubz! I get to cheat and use my work camera for play sometimes! Here's a shot from my trip to South Africa. Shhhhh!!! I never said I wouldn't use it ANYMORE, only with the Confed! But hey, if you want to come get it and have a cup of tea or coffee at the Lehman Shipyard, I'll let you have it!

- 2,191 replies
-
- 7
-
-
- confederacy
- Model Shipways
- (and 1 more)
-
Glad you're back at it a bit Dick! I can totally relate and often get frustrated with the professional commitments. :/ I just wanted to say - I love this build. It reminds me so much of the 14th and 15th century models (like the Mataro model) that were found in Europe.
-
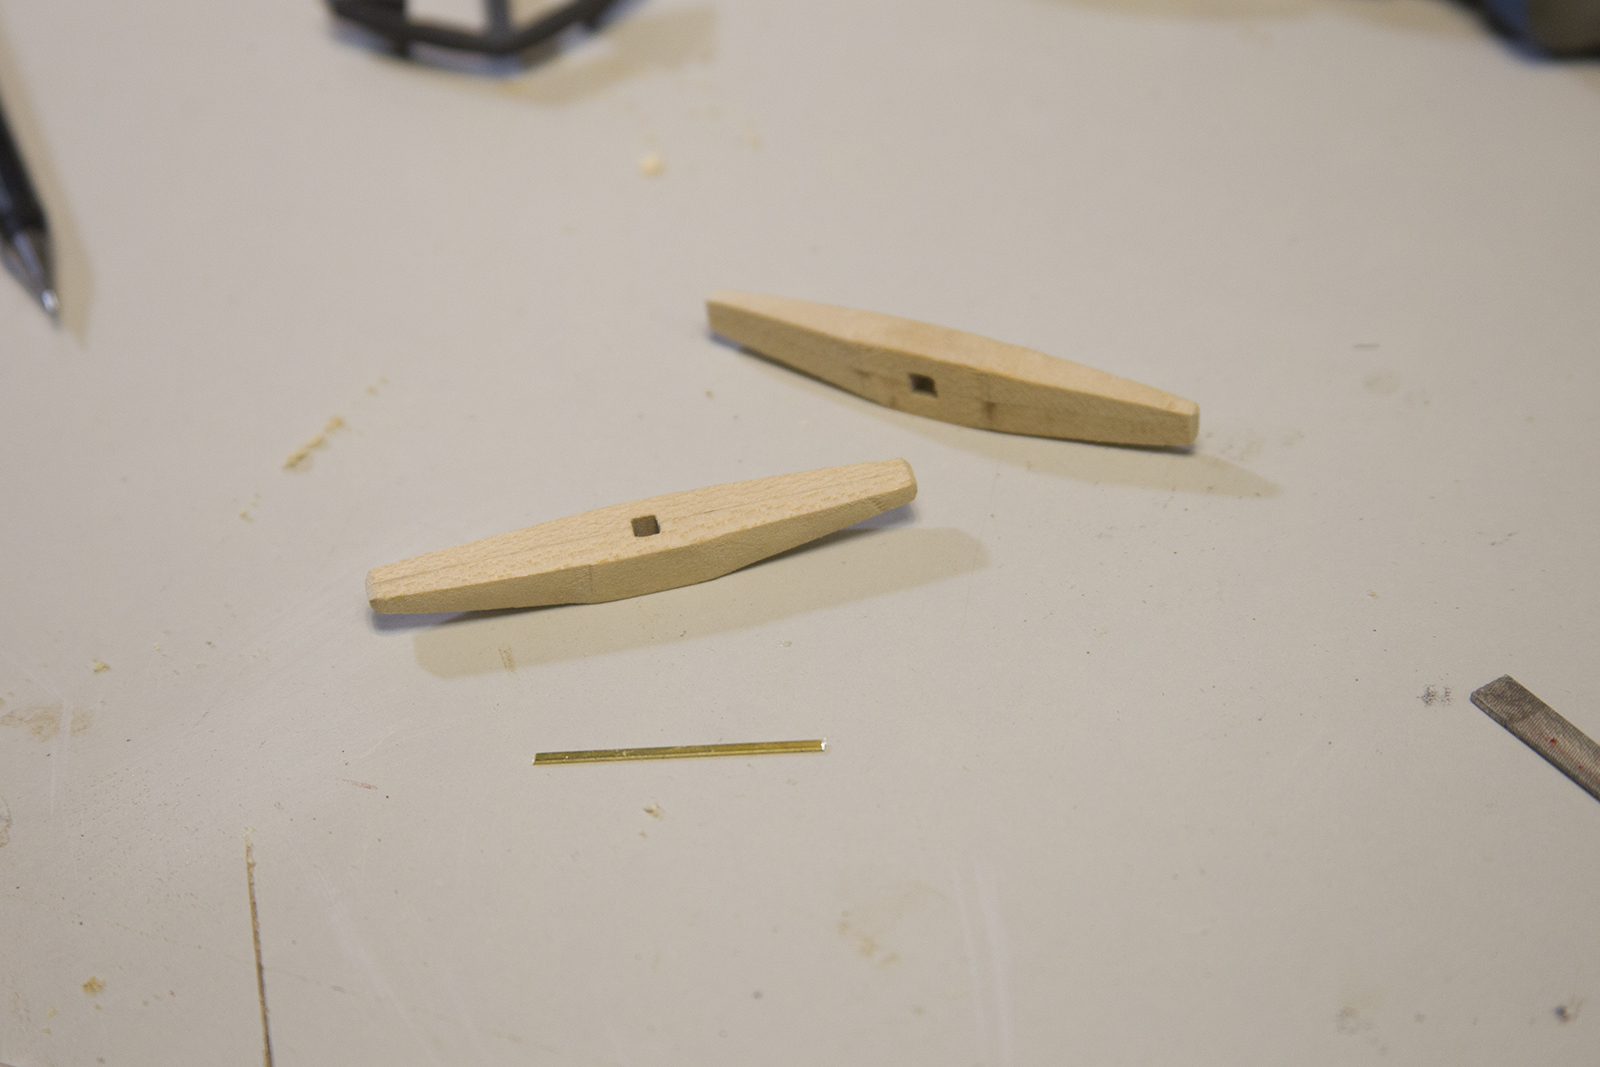
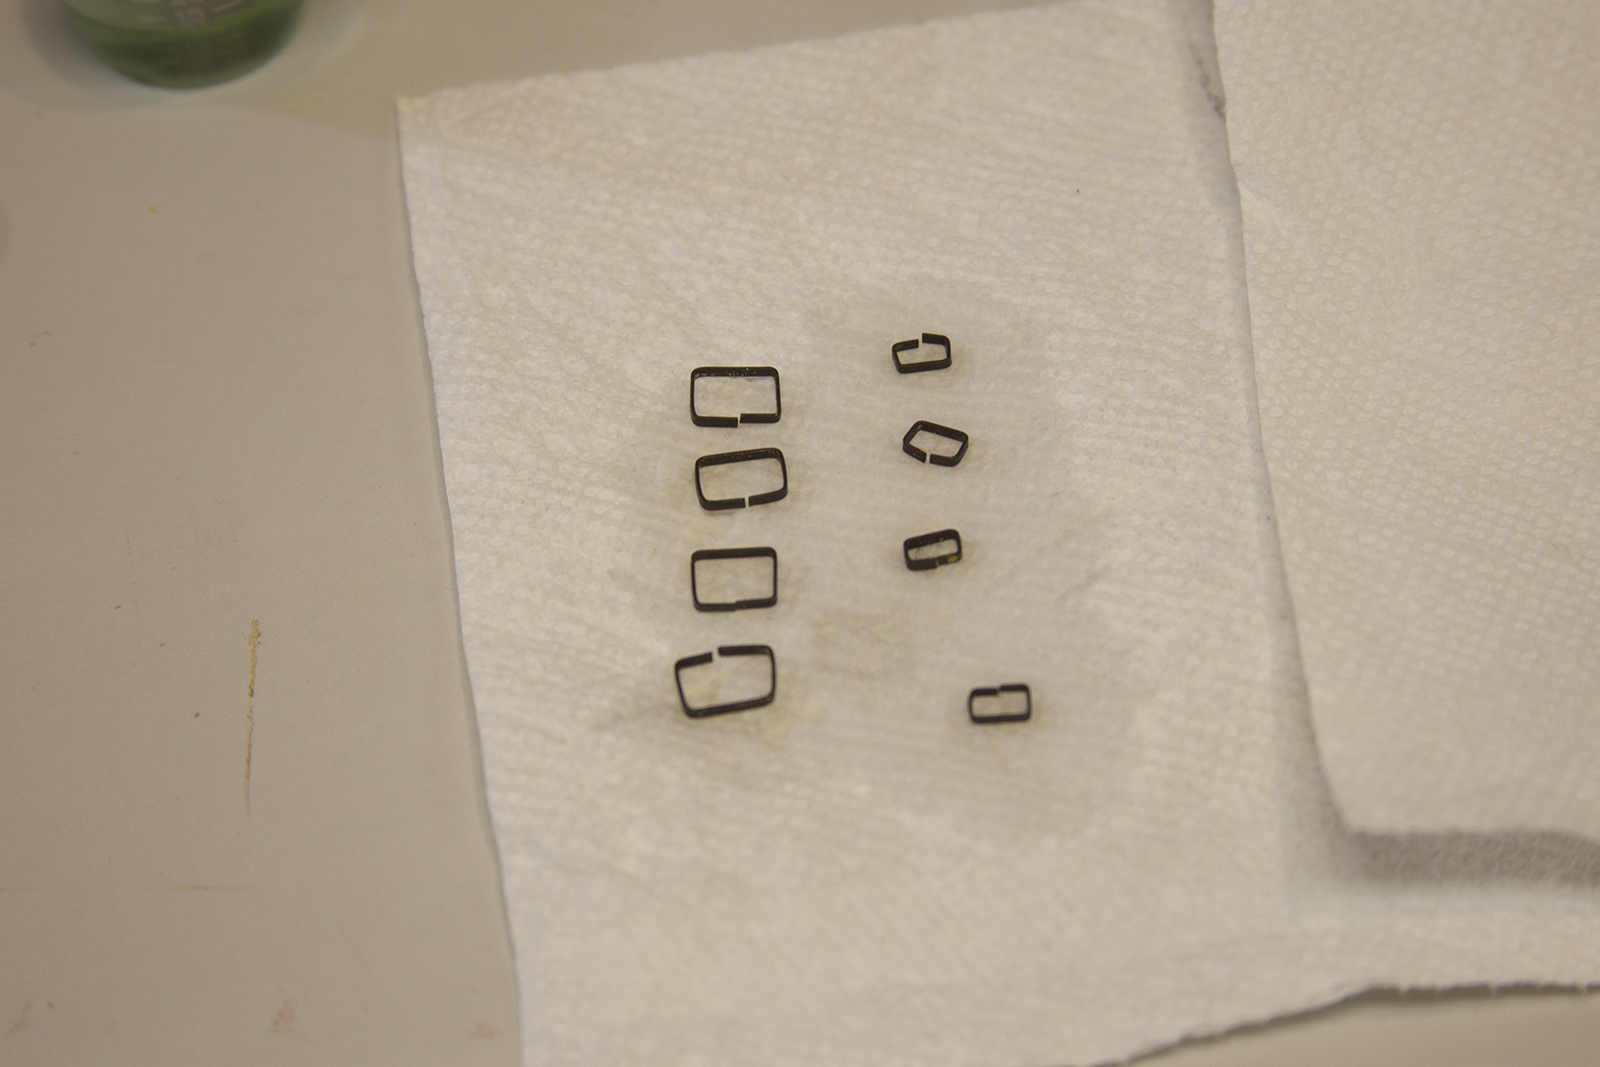
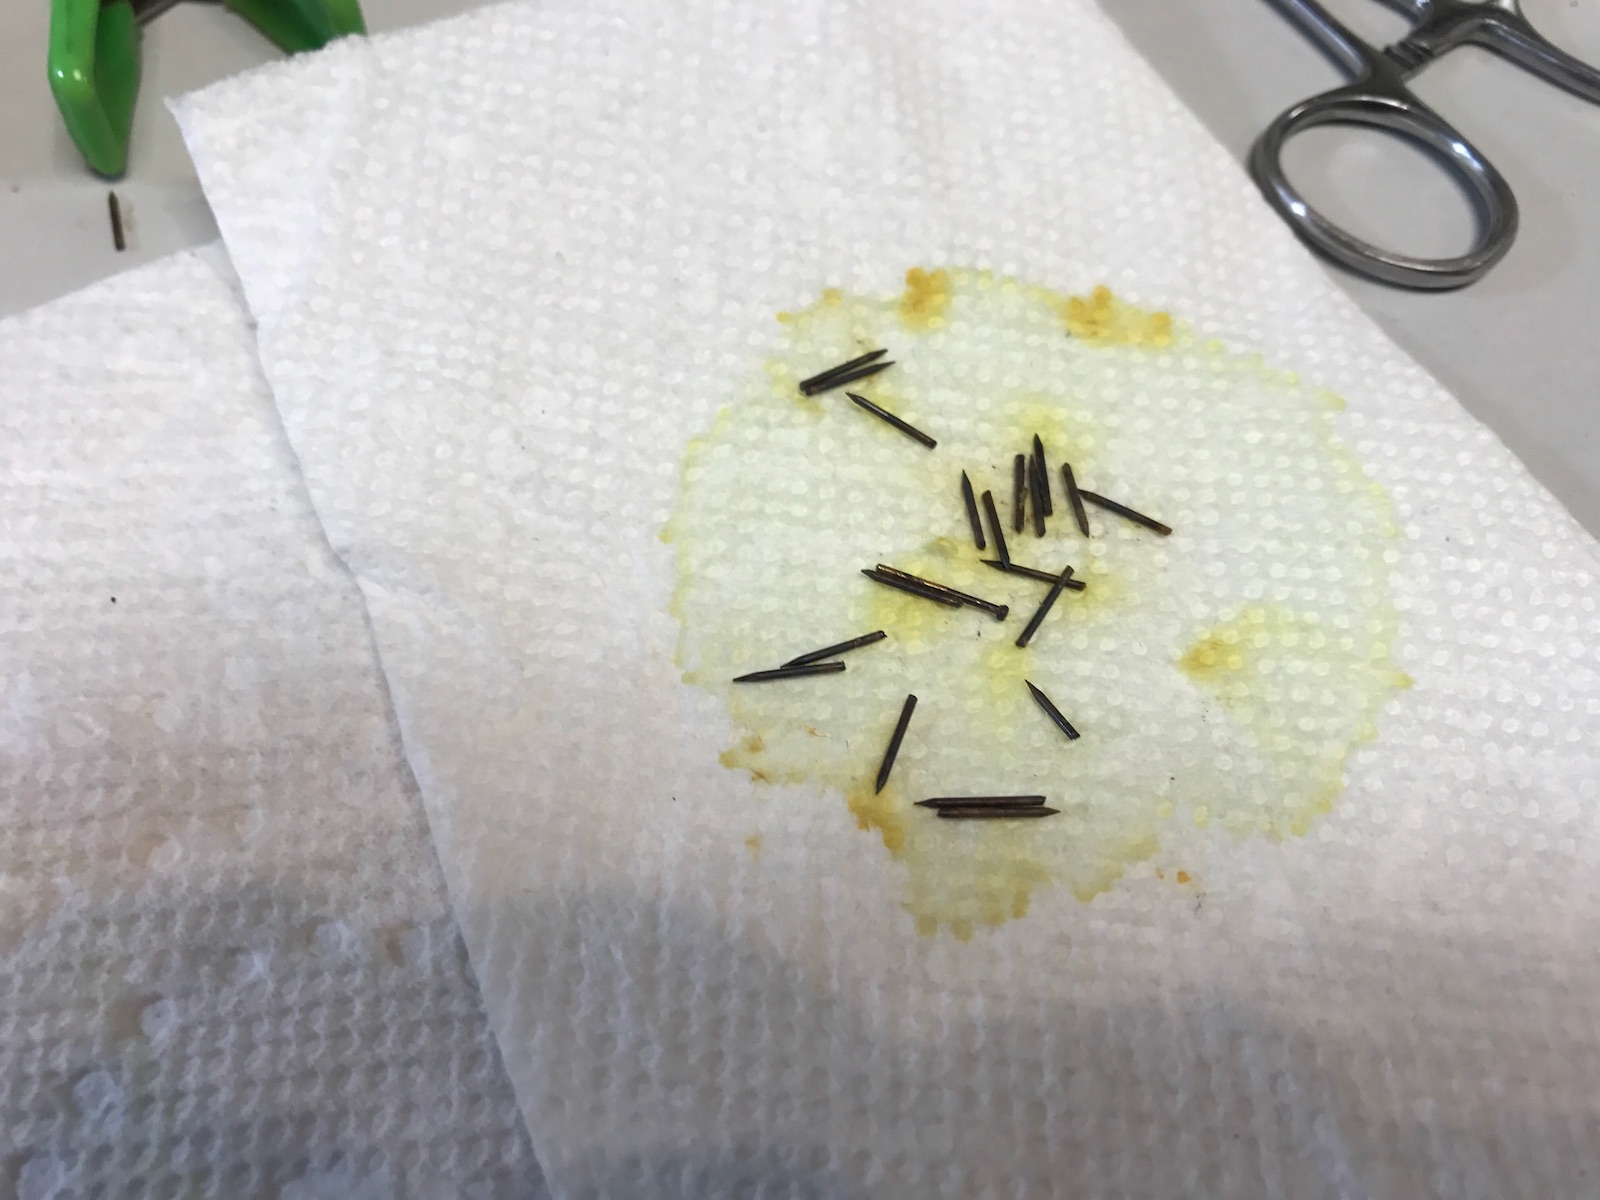
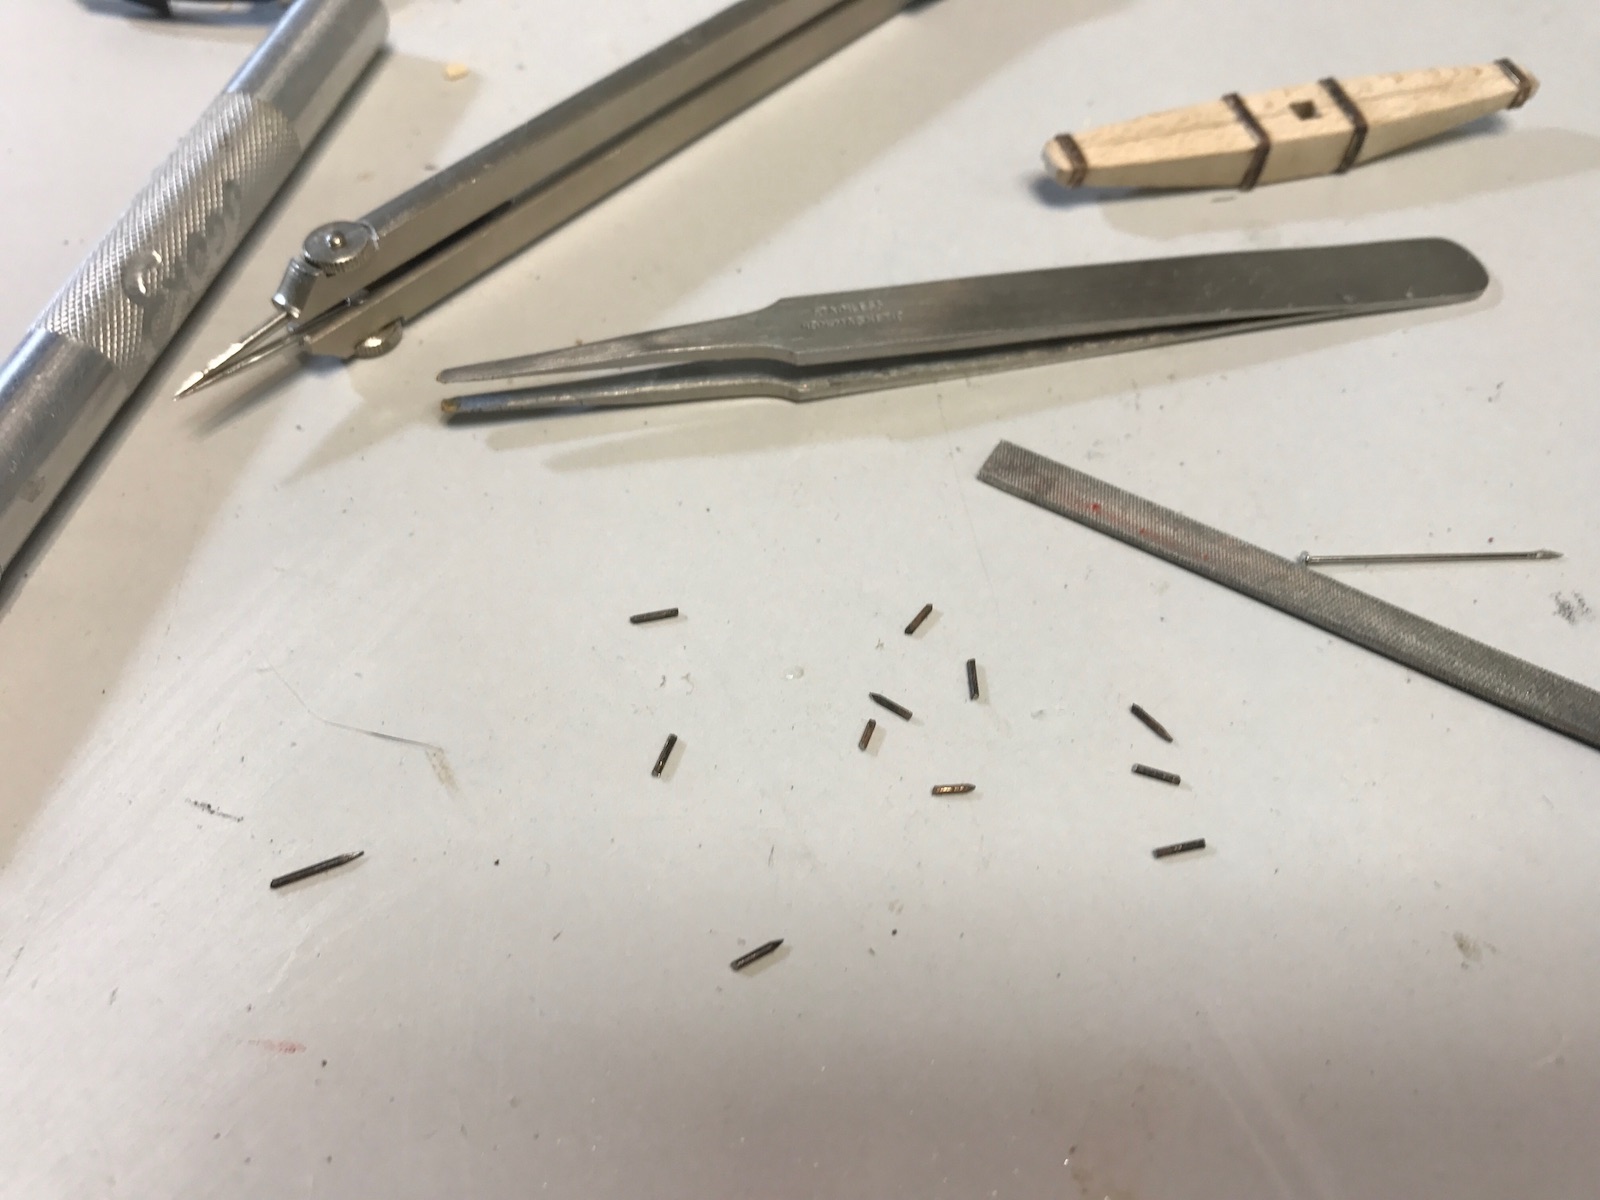
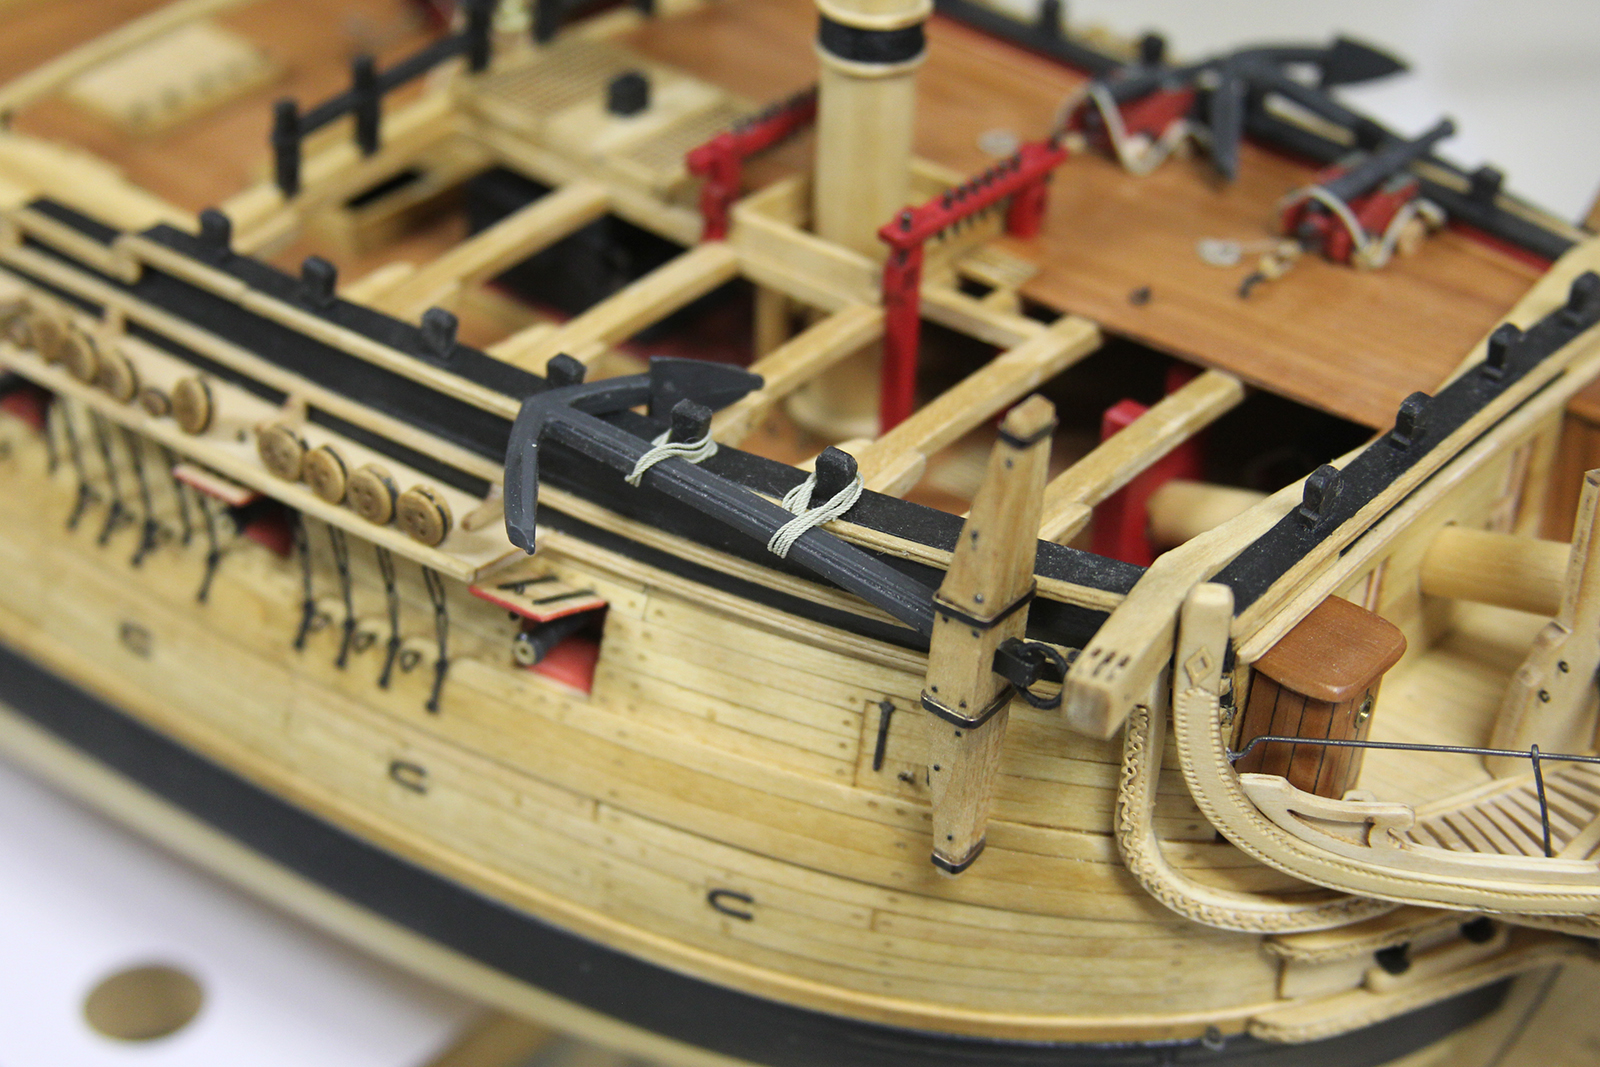
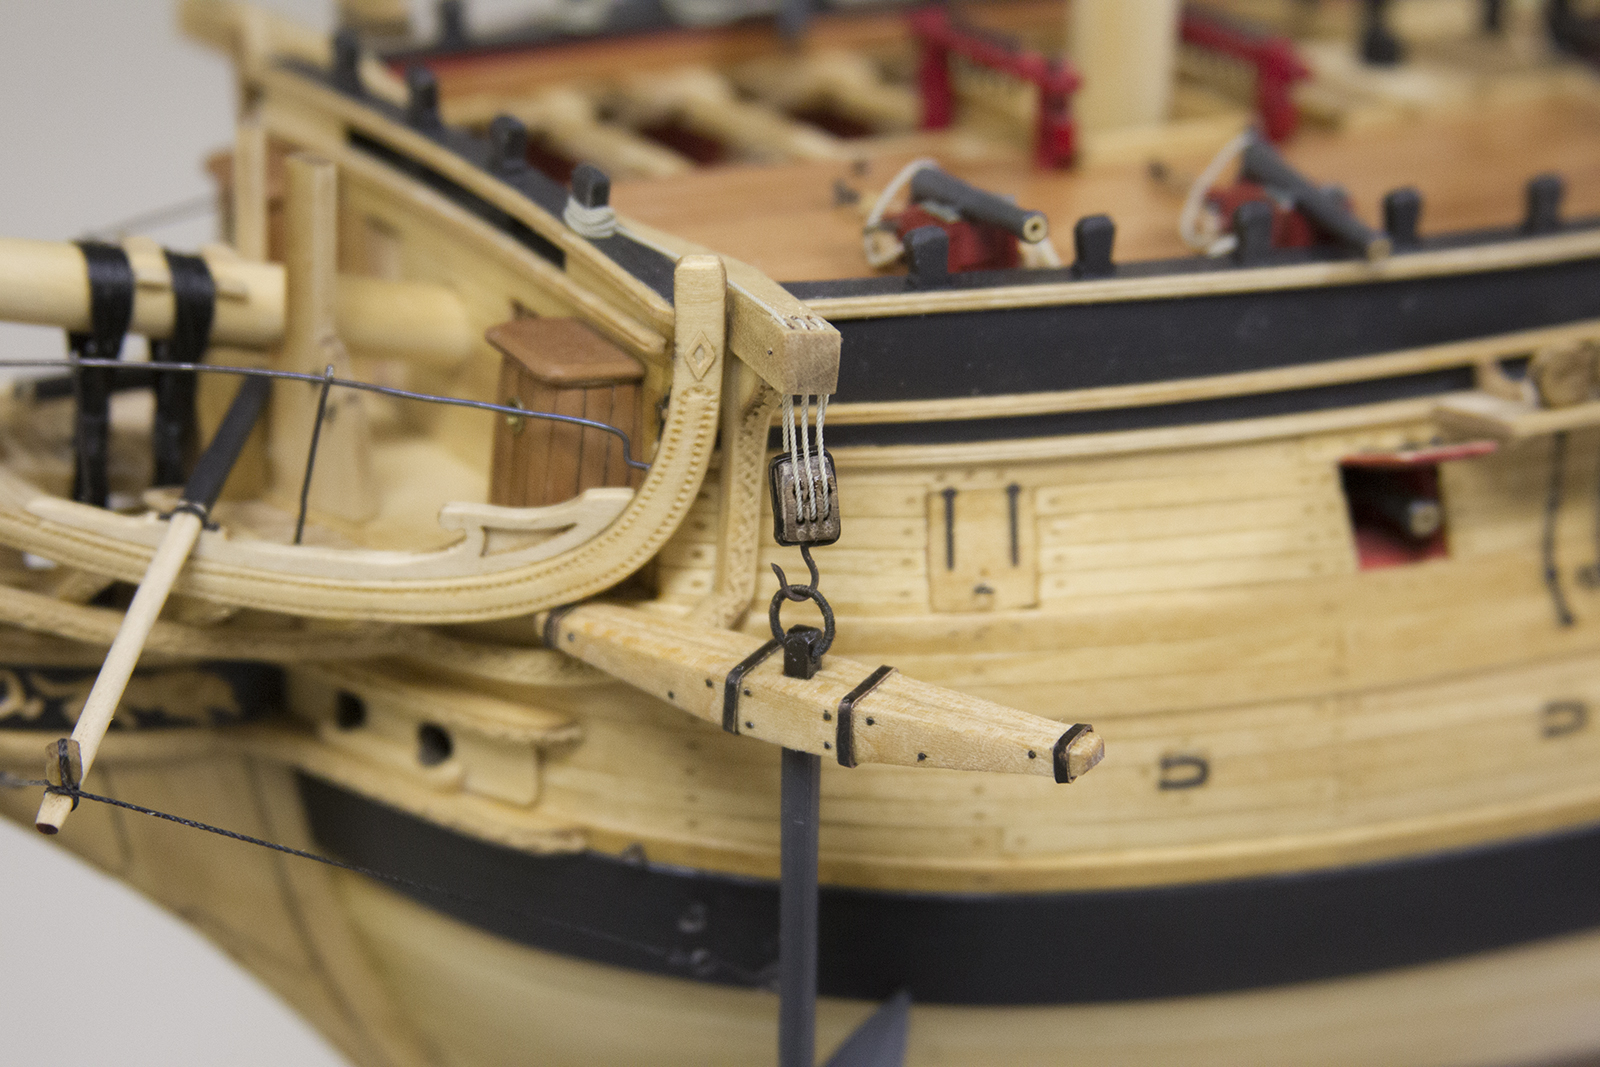
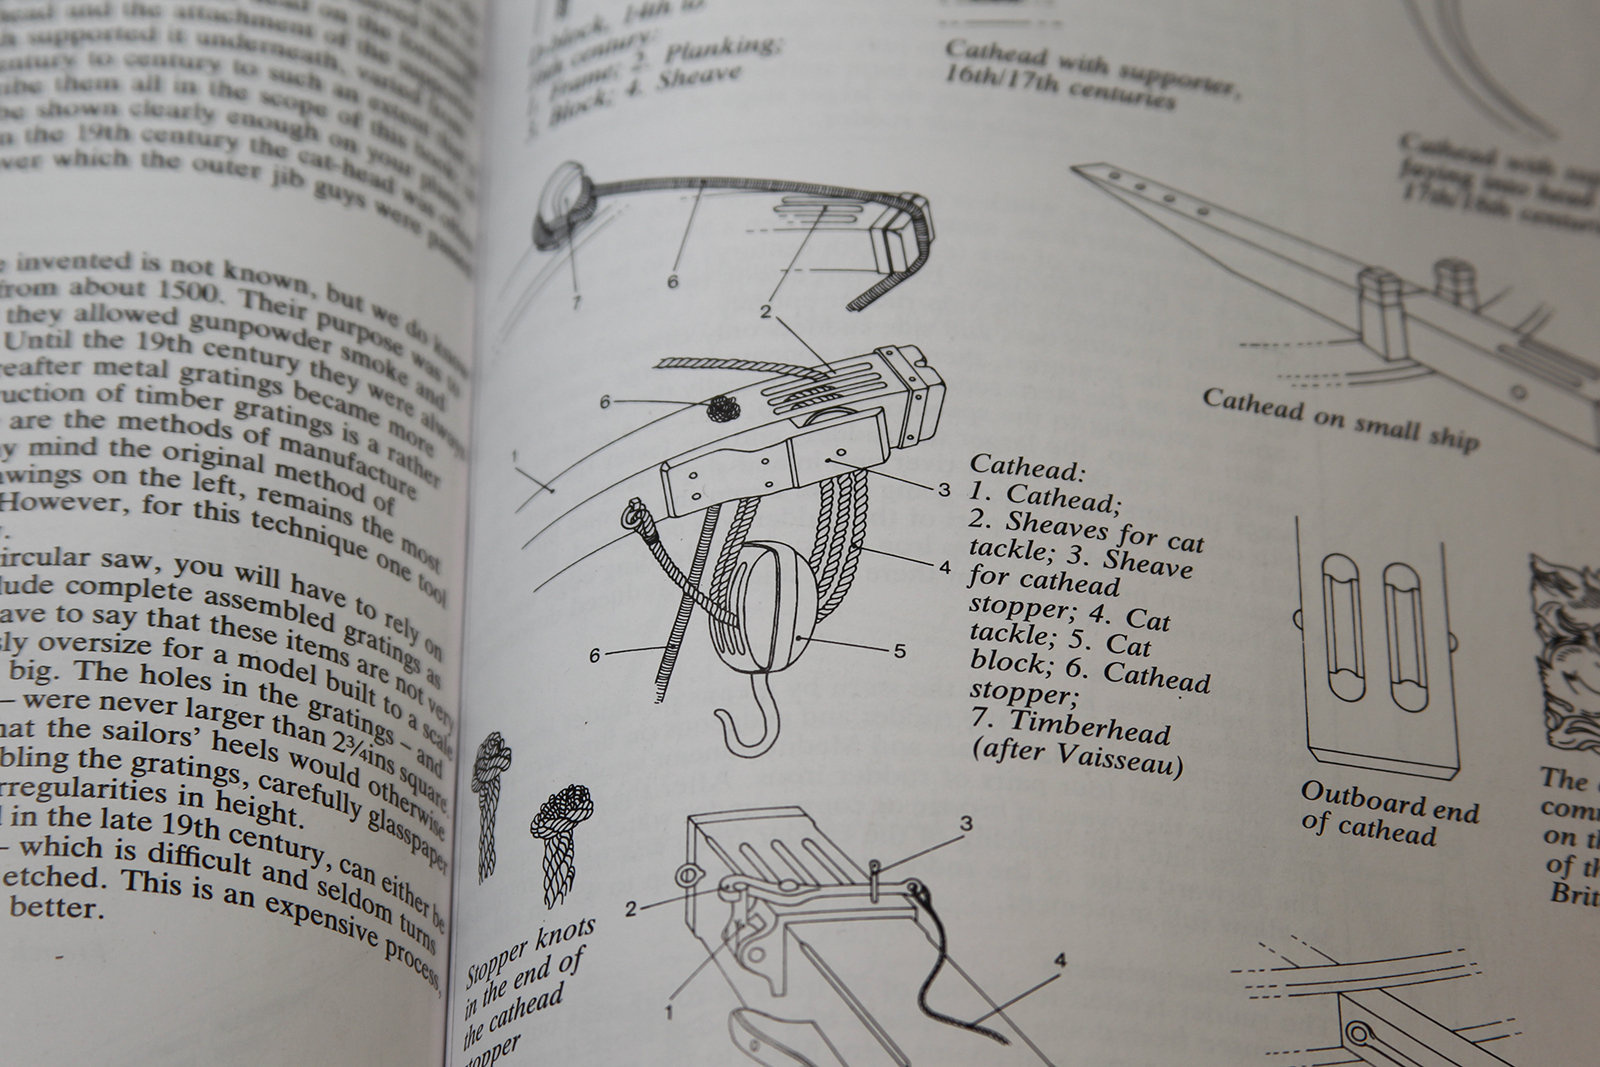
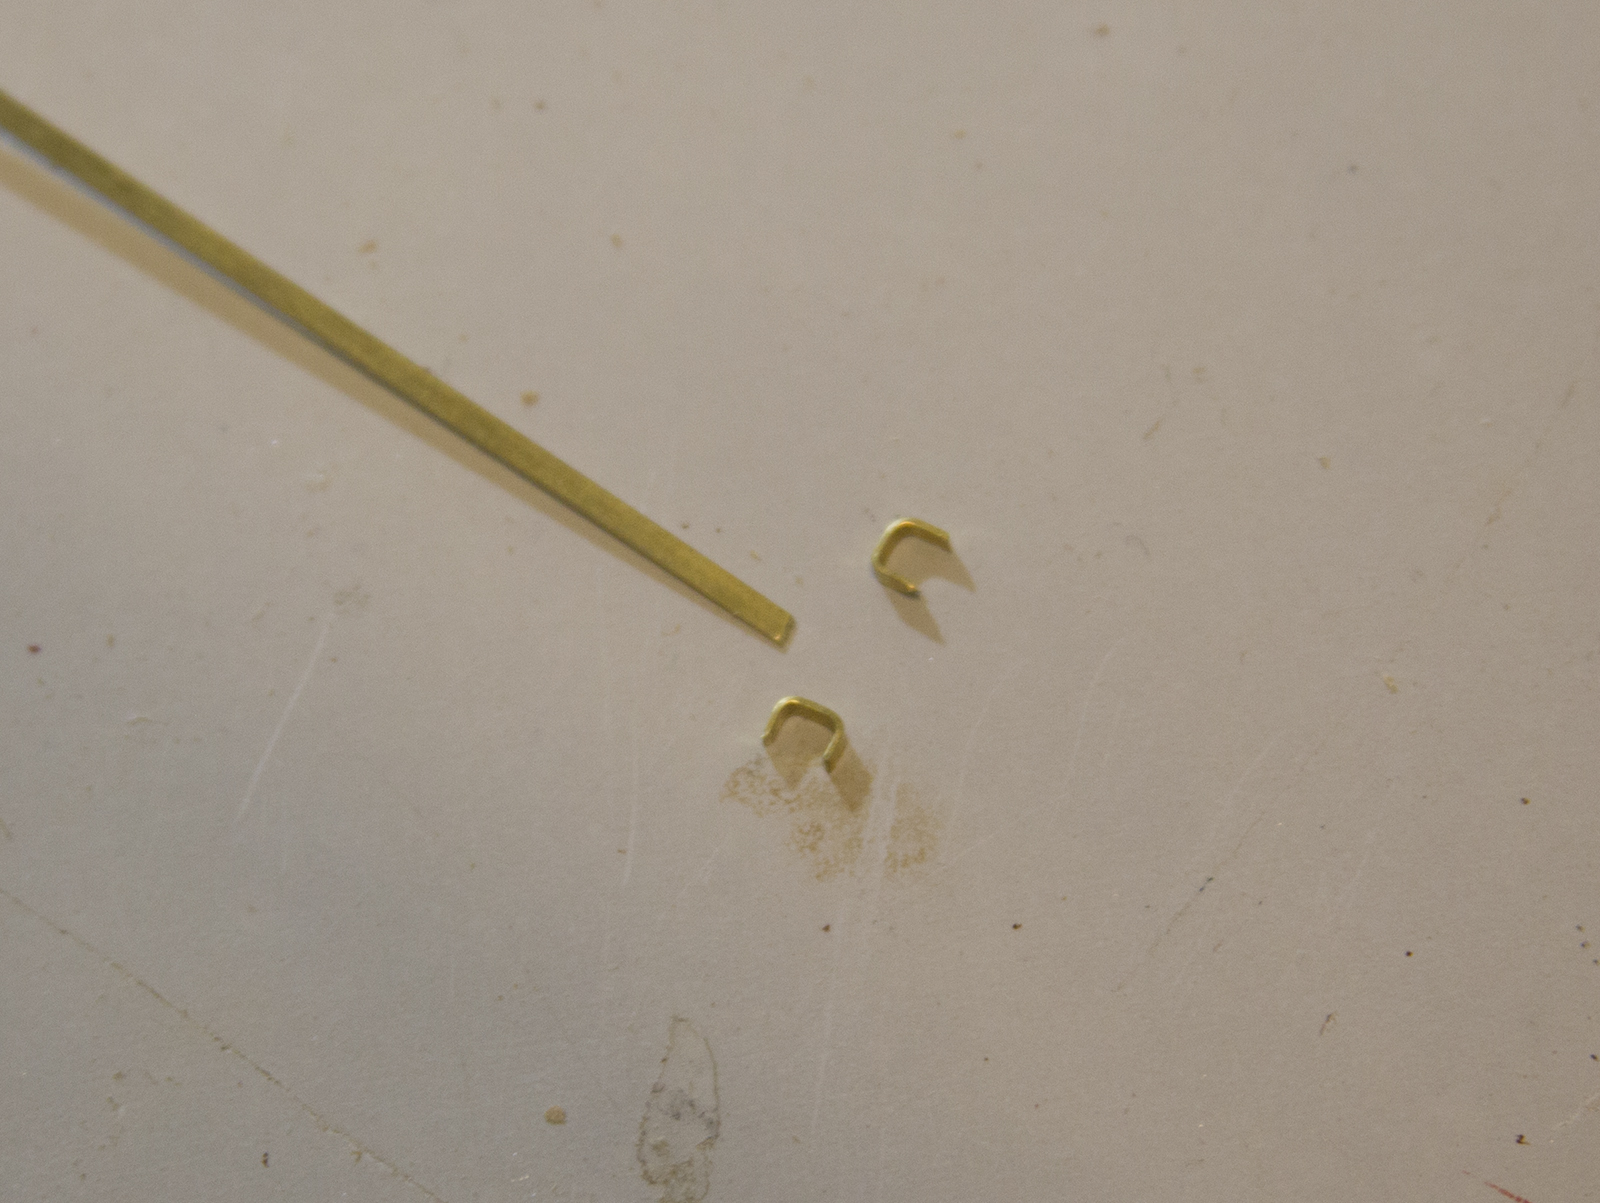
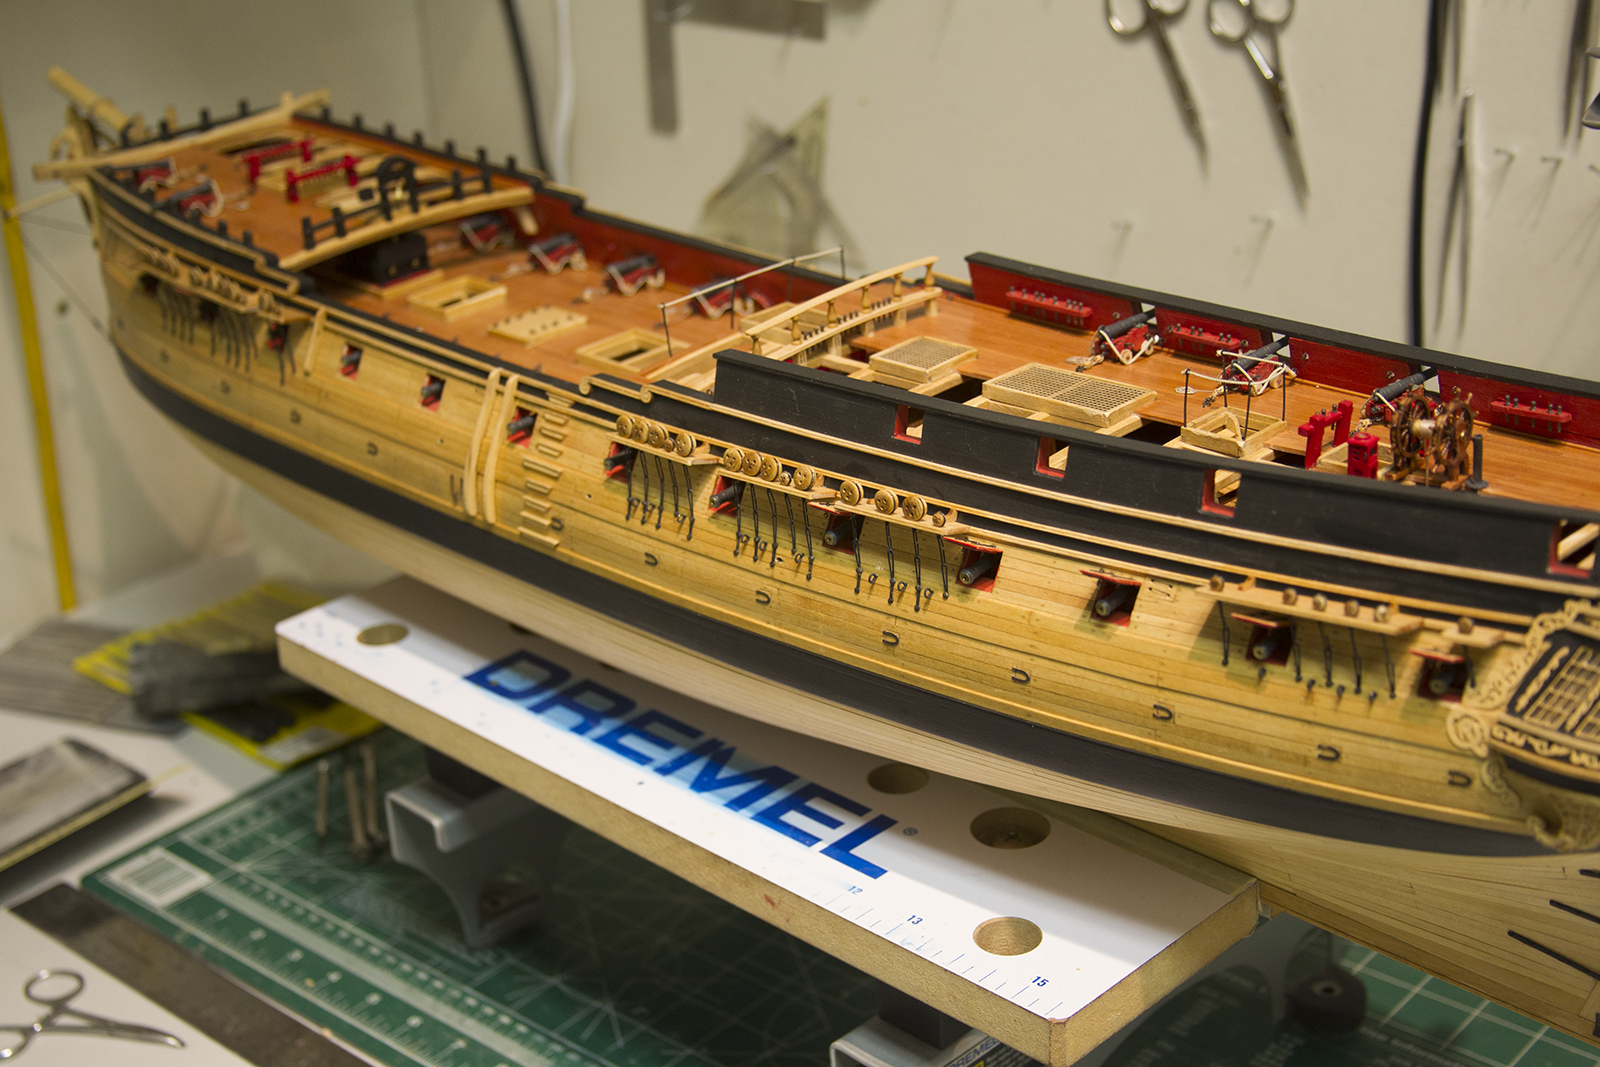
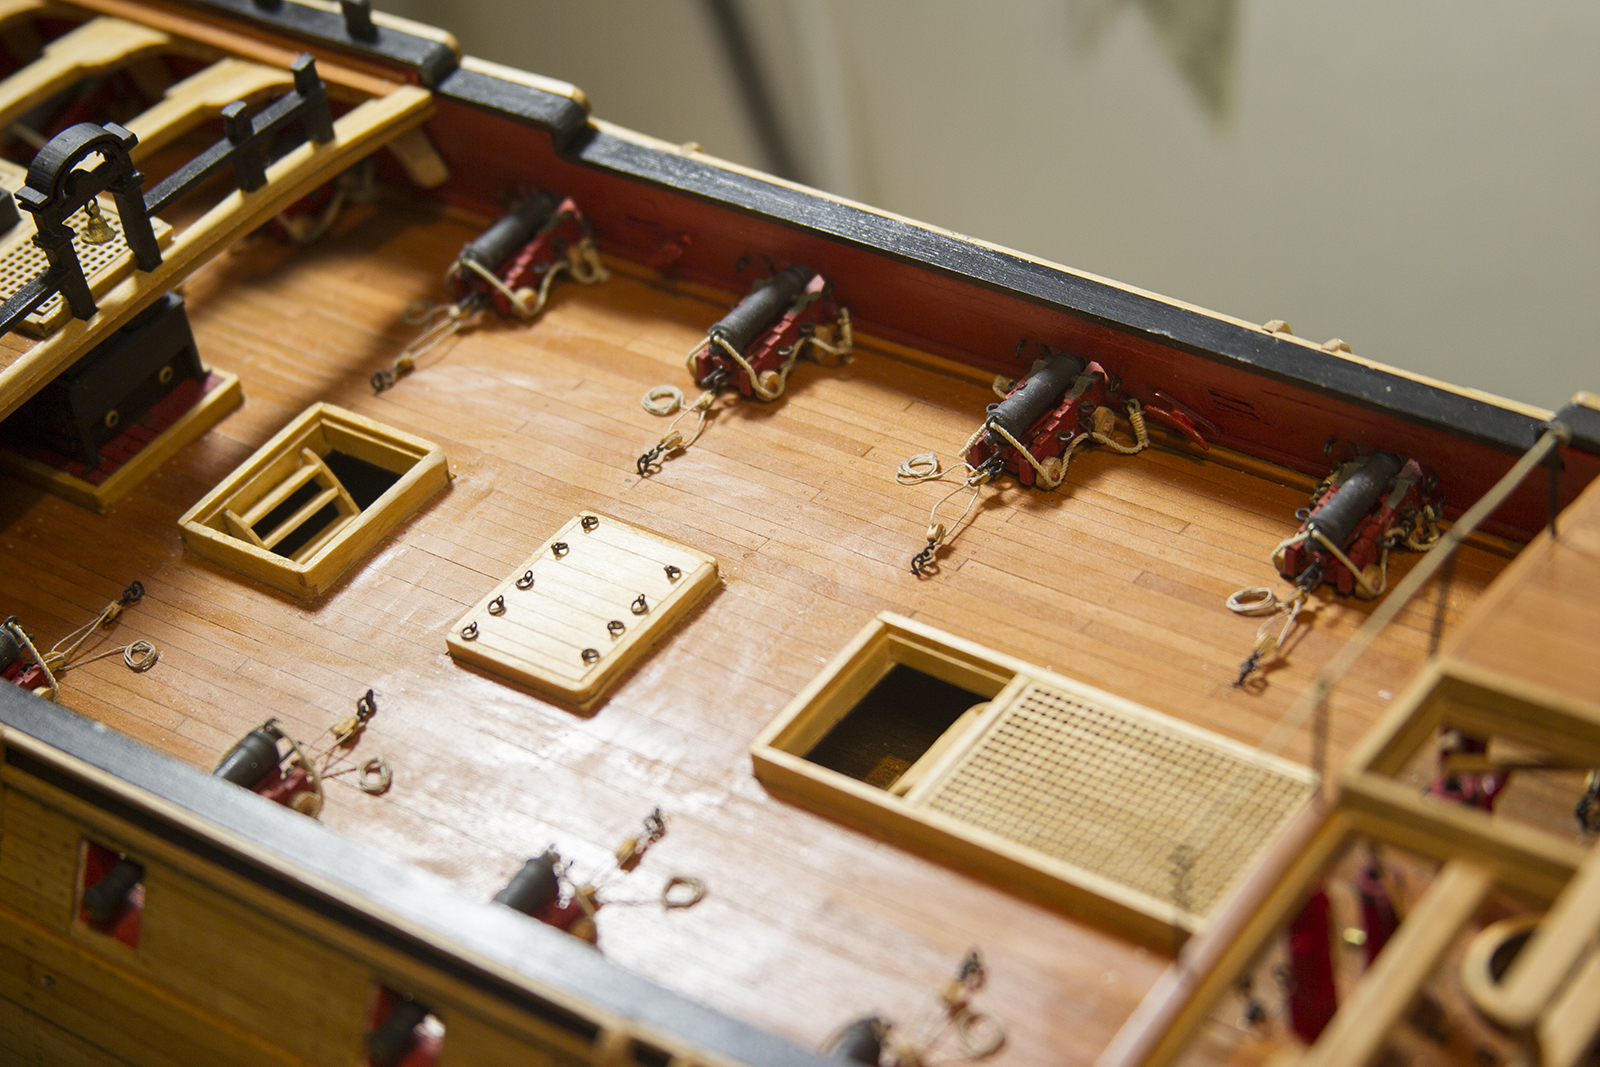
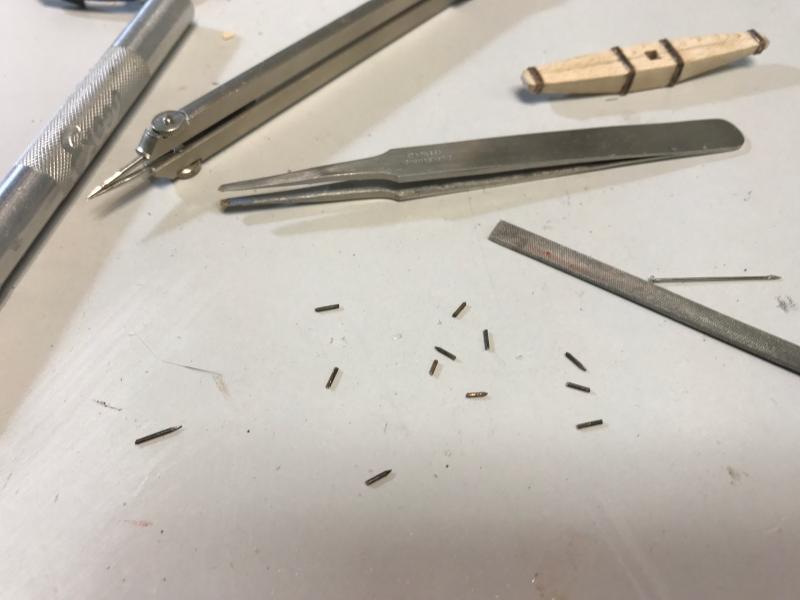
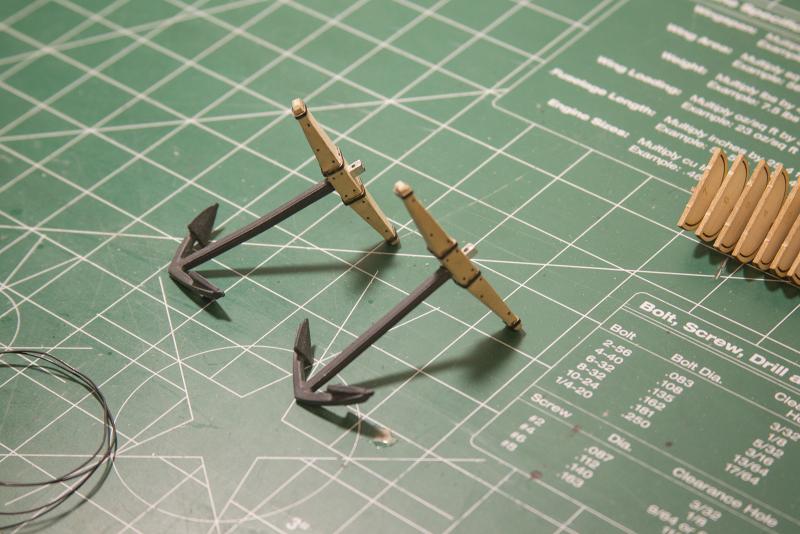
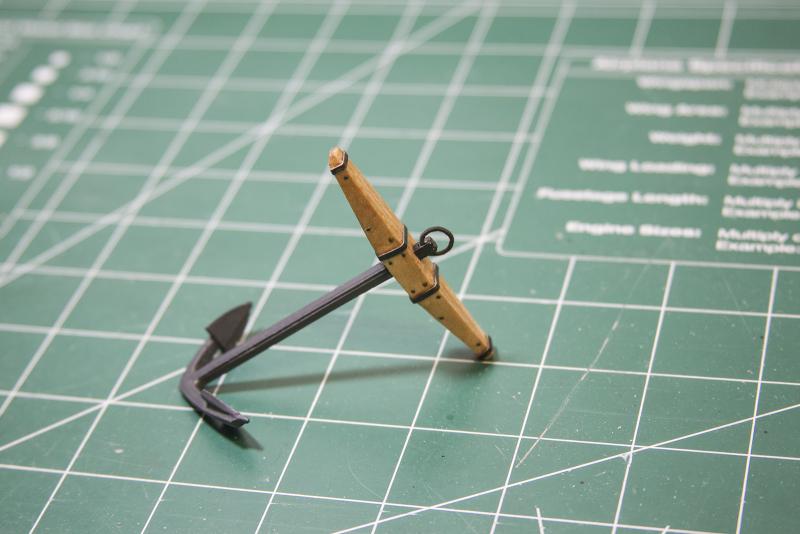
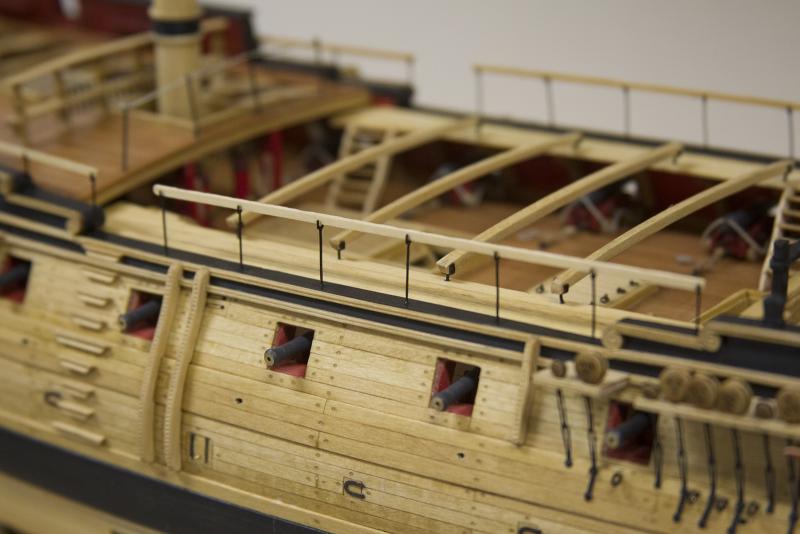
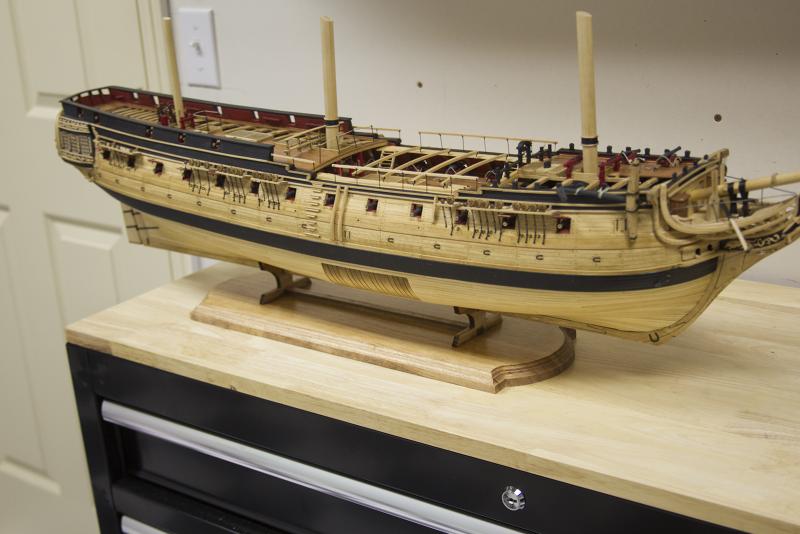
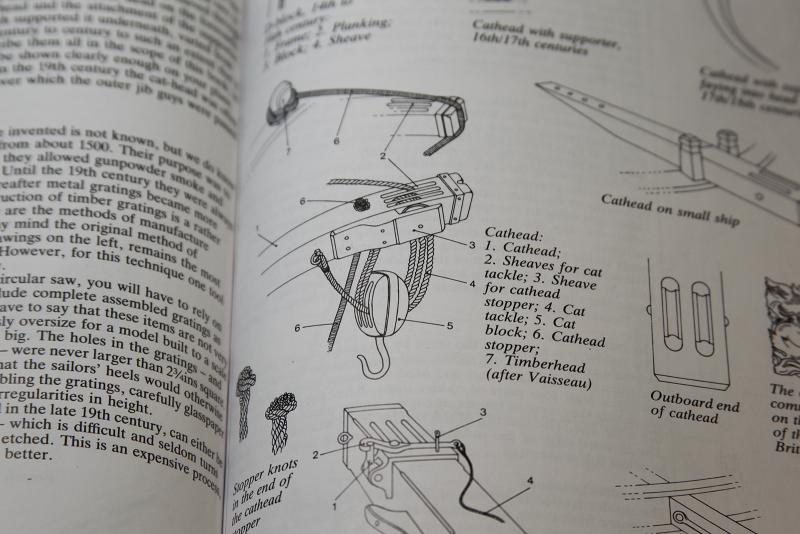
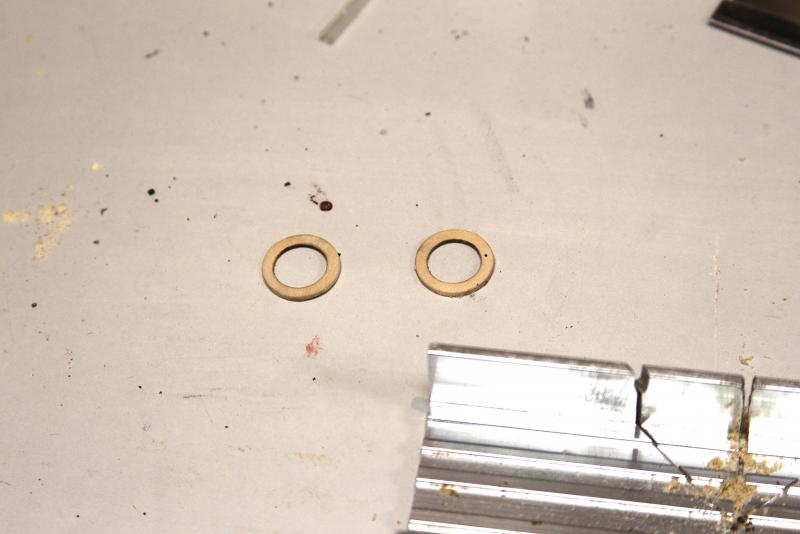
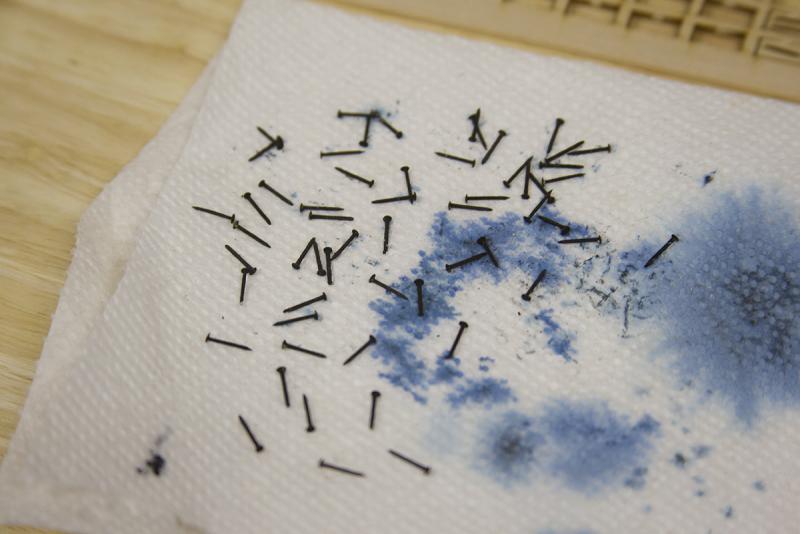
I've been working on a little bit of double duty as I get closer to the finish of the Confederacy. I've started the ships boats, but have also been working on anchors and small details of the ship. Nothing particularly complicated with the anchors. As with most of the laser cut parts, the anchor stocks are pretty beefy and required a fair amount of sanding. I used pin files to notch them of course, but the wood itself is soft, so I used nothing grittier than 400 grain sandpaper to ease them down bit by bit and bevel them. Pretty standard stuff with the bolts, just clipped off some nails and blackened them. Likewise with the bands - once again the instructions call for card stock, which I think is a perfectly viable option and probably even simulates a better thickness to the bands. But I love the look of using metal instead, so I trimmed some more strips and blackened them as well. After test fitting both the anchors I stained them up - then finished off the rings and served them with thread. My intent was to just lash the anchors to the model - as Chuck points out in his primer, that was the case with Navy Board style models (even though I've taken some liberties elsewhere. After lashing the starboard anchor, I realized that because I added a couple extra upper deck cannon to the port side - simply lashing the anchor would interfere! So here's where I went rogue... I decide to keep the starboard lashed, but rig the port side to the cathead. Crazy talk! I pulled a page from Mastini's book since I couldn't really remember the details, carved out and constructed a pulley and rigged her up. This will be the back side of the model, so I didn't go full-on with details - but I think it looks fair and adds a interesting wrinkle. I also got the chance to mount the waist stanchions and railings. Finally - an important transition! I made the switch from the Dremel workbench to the stand. She's getting closer...


- 2,191 replies
-
- 35
-
-
- confederacy
- Model Shipways
- (and 1 more)
-
Nice approach Nick, and smooth work!
-
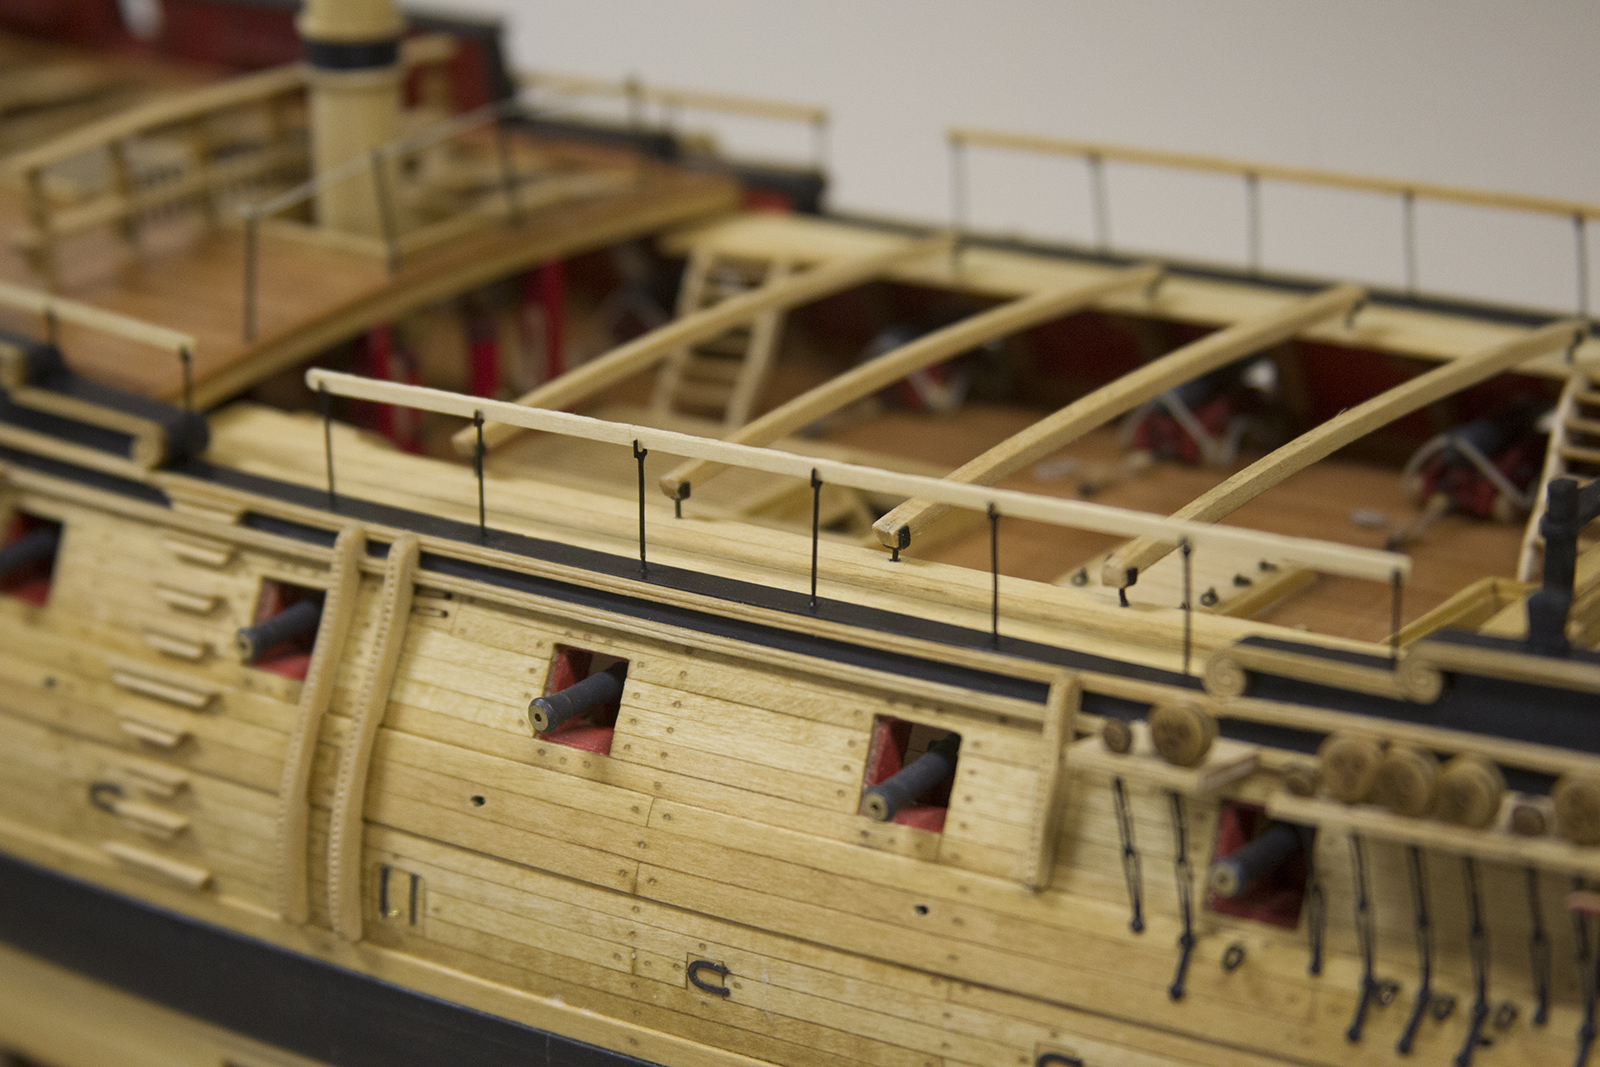
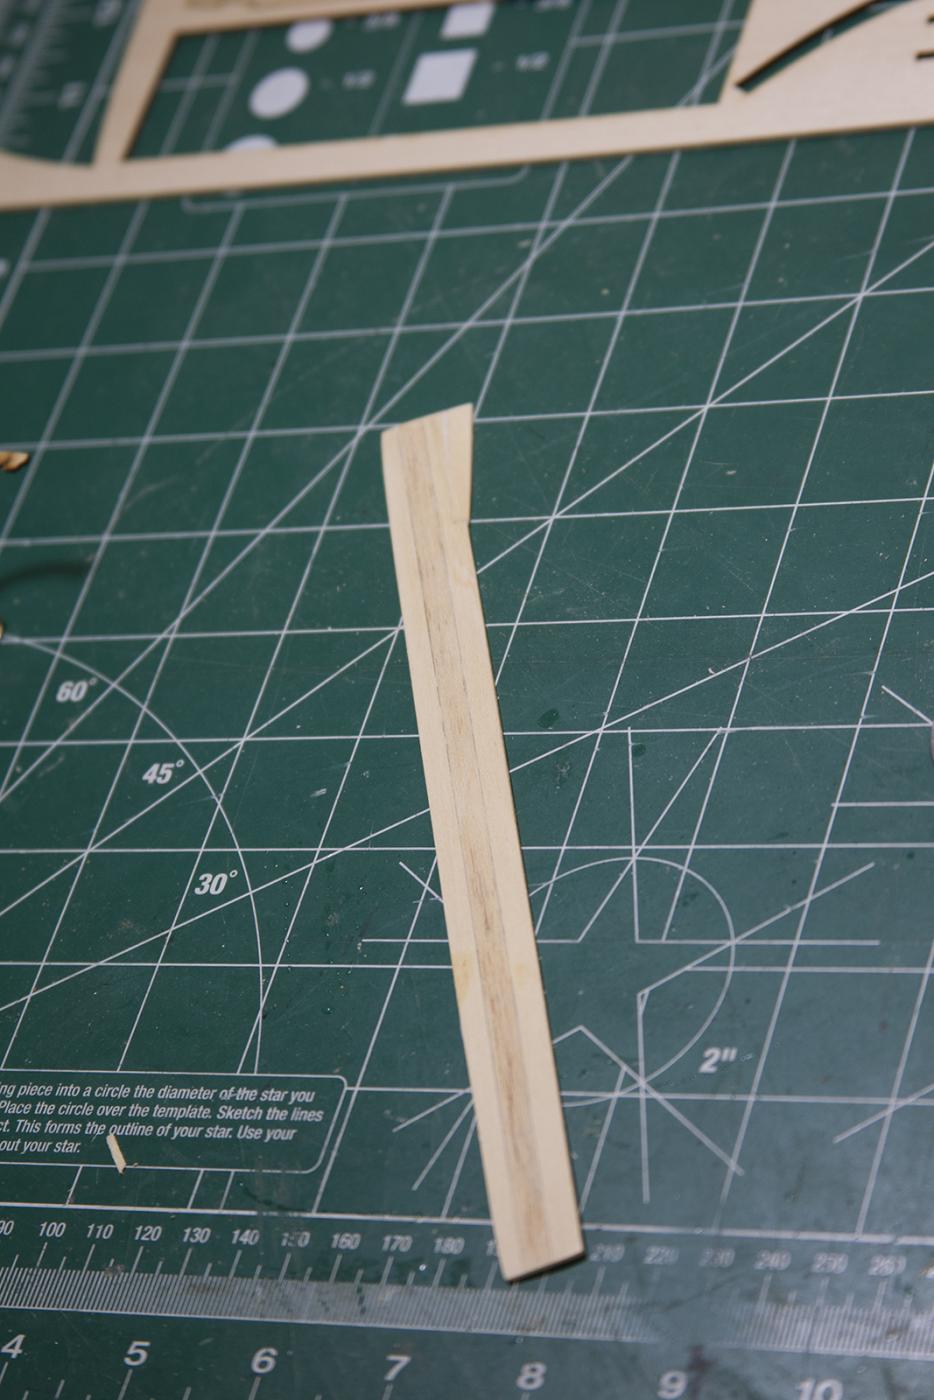
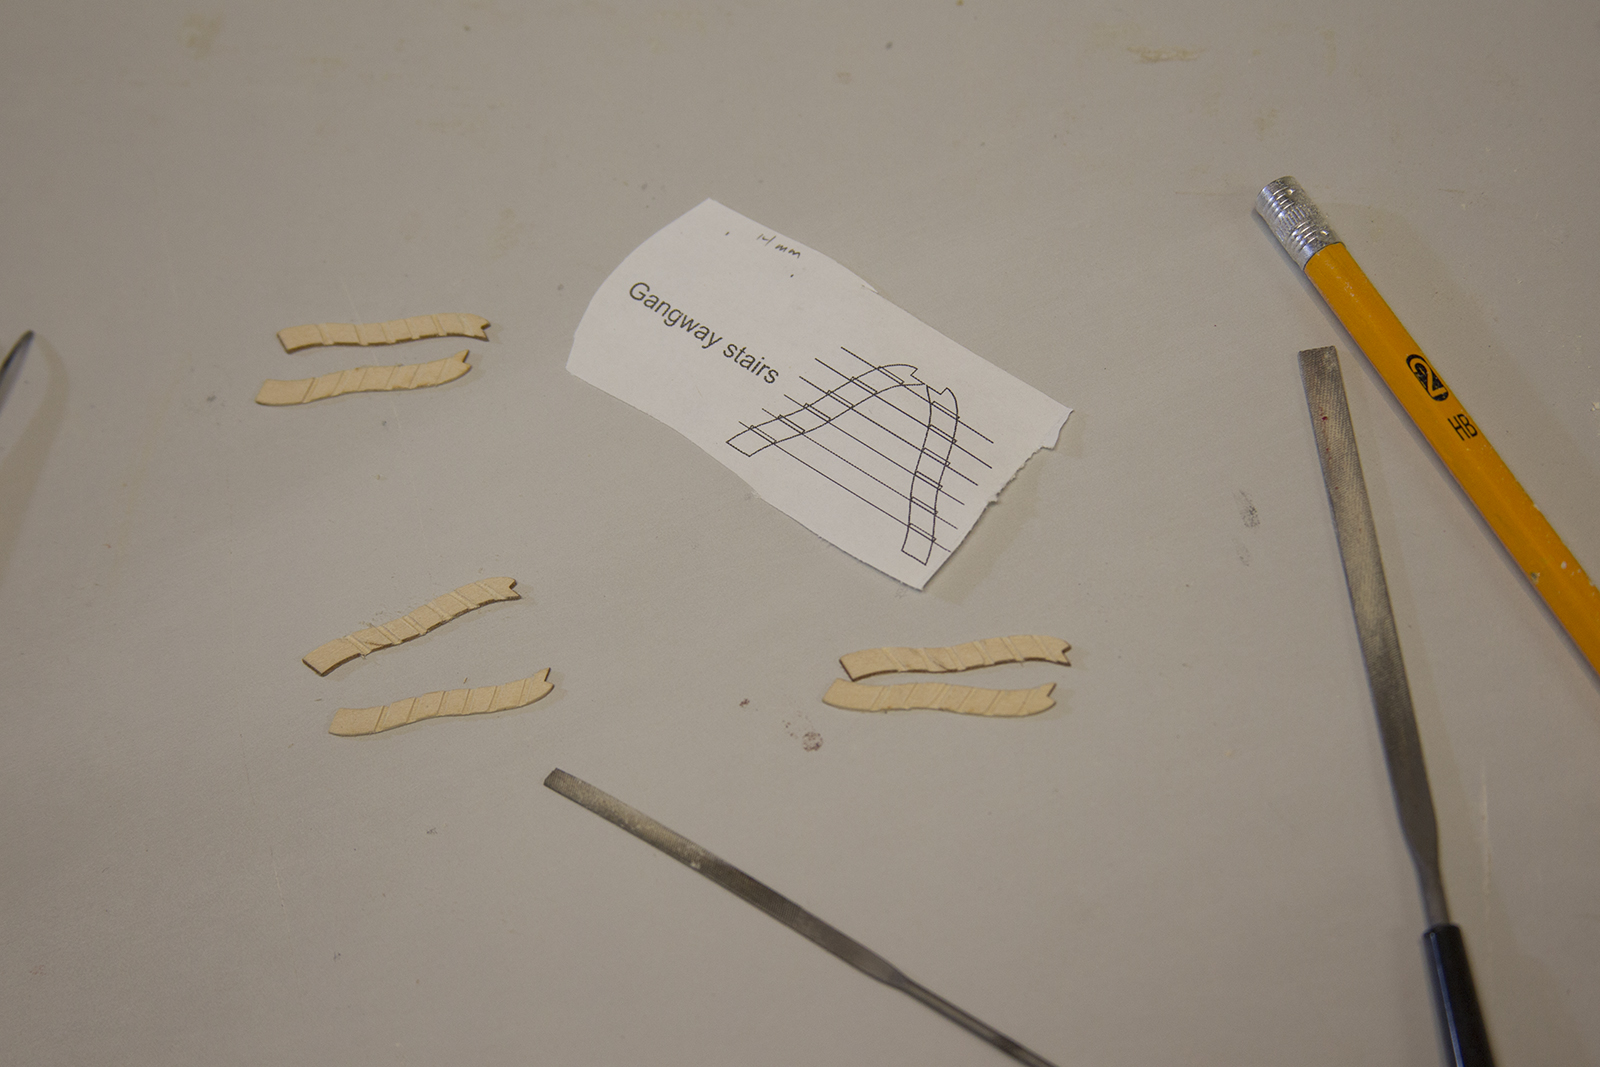
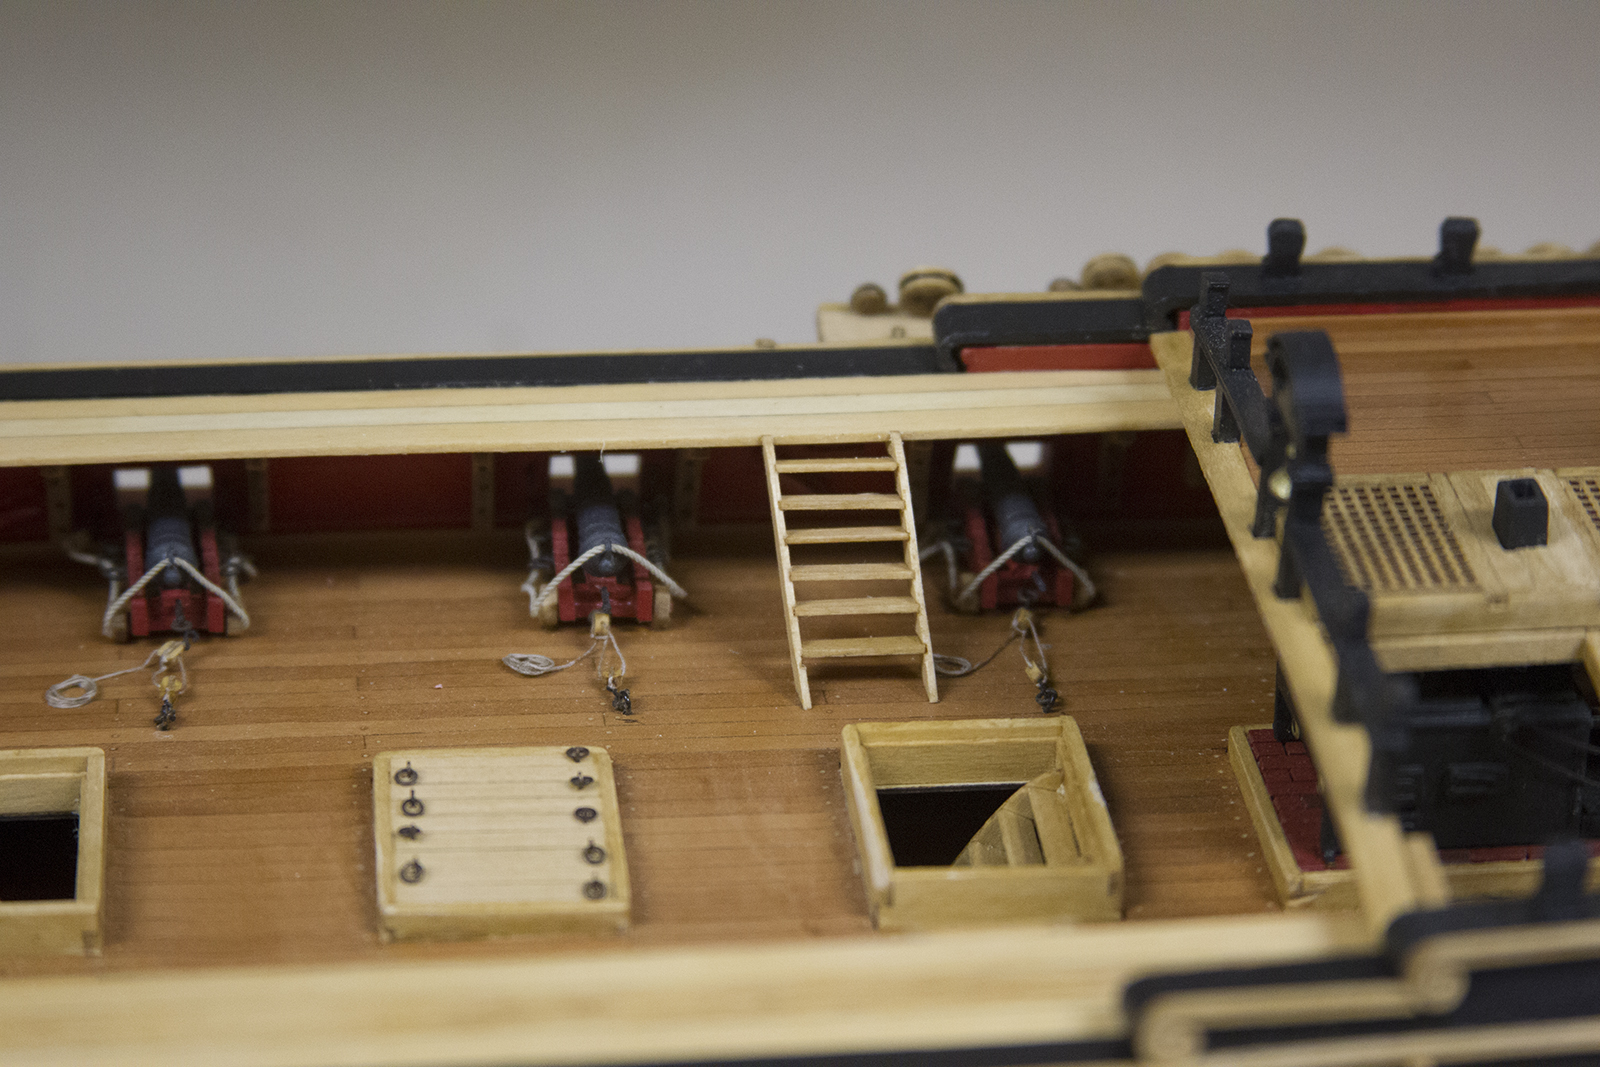
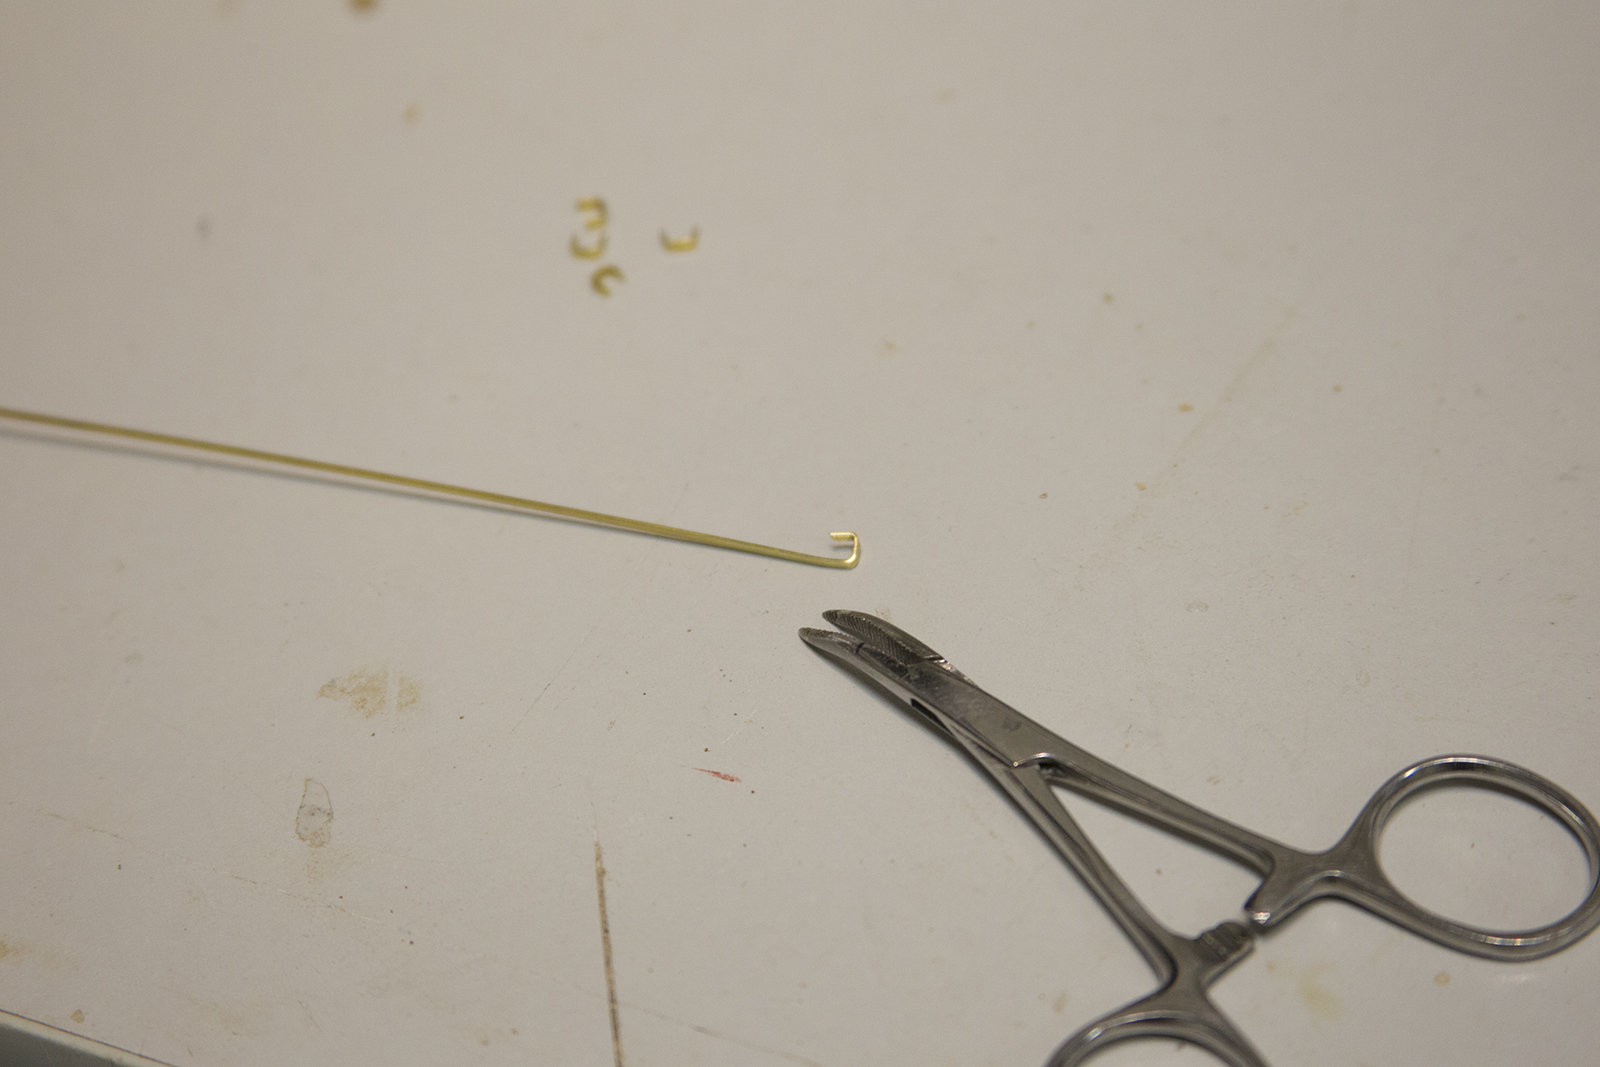
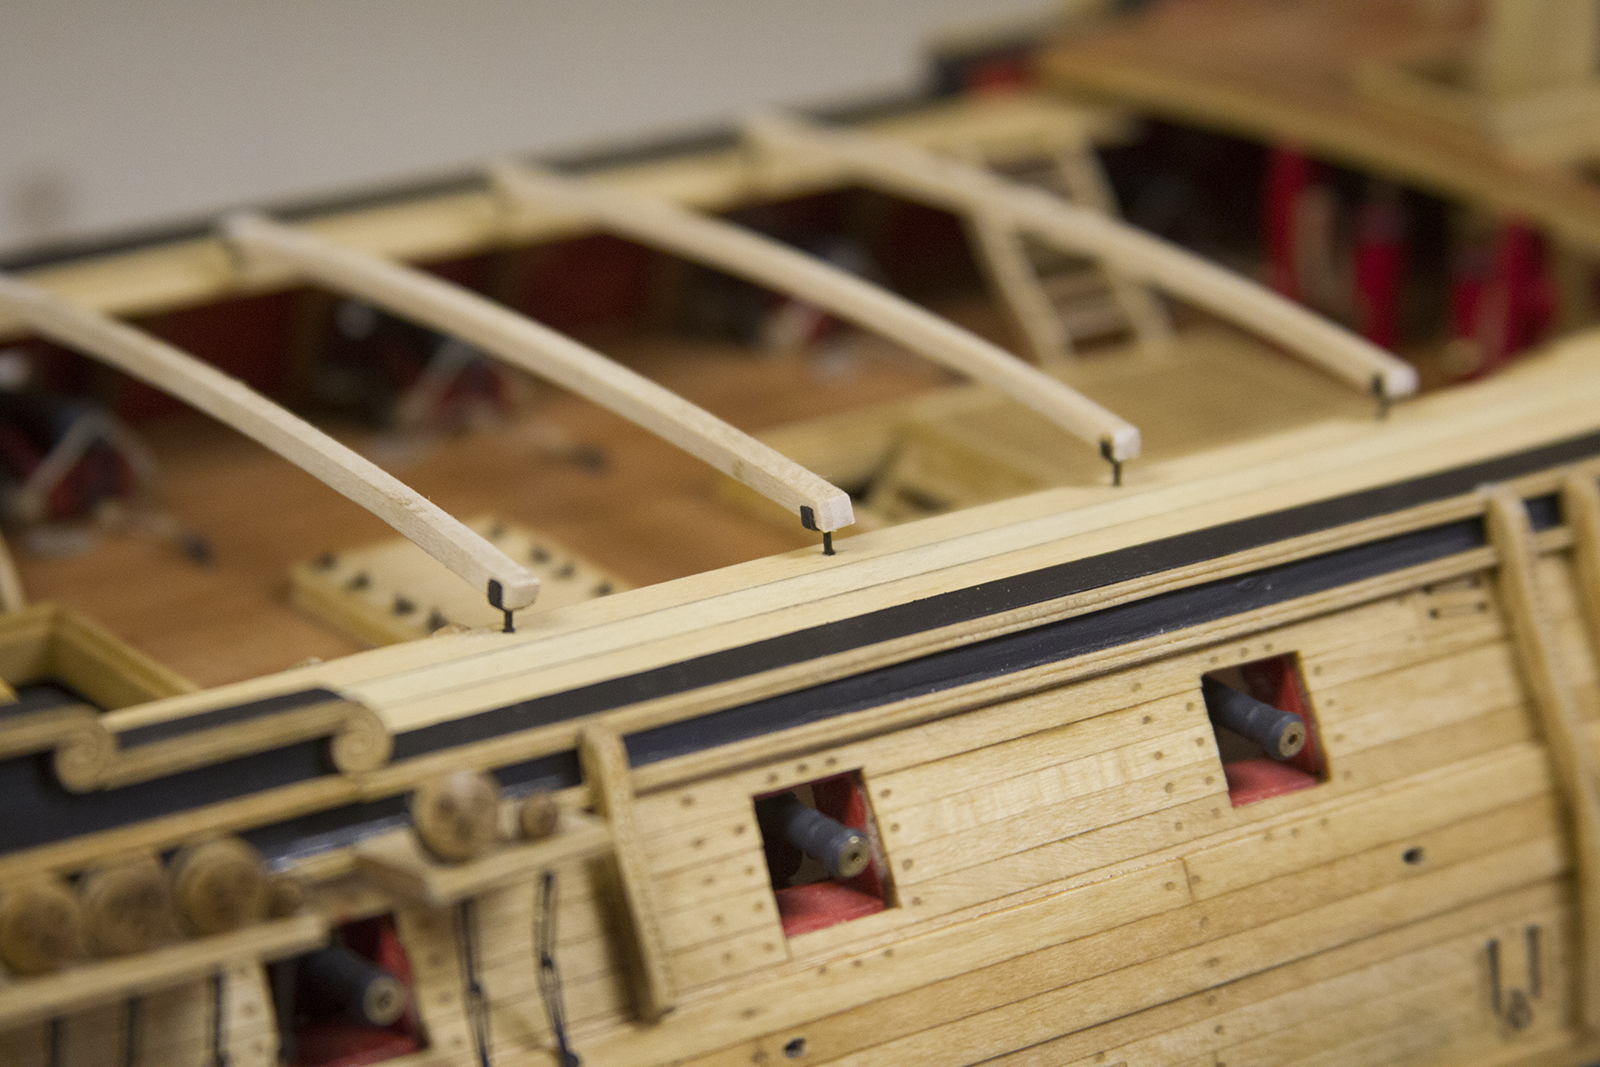
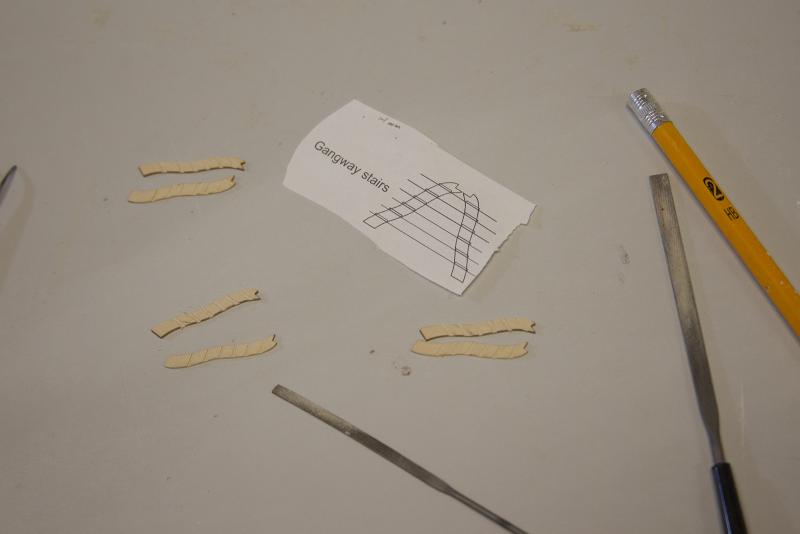
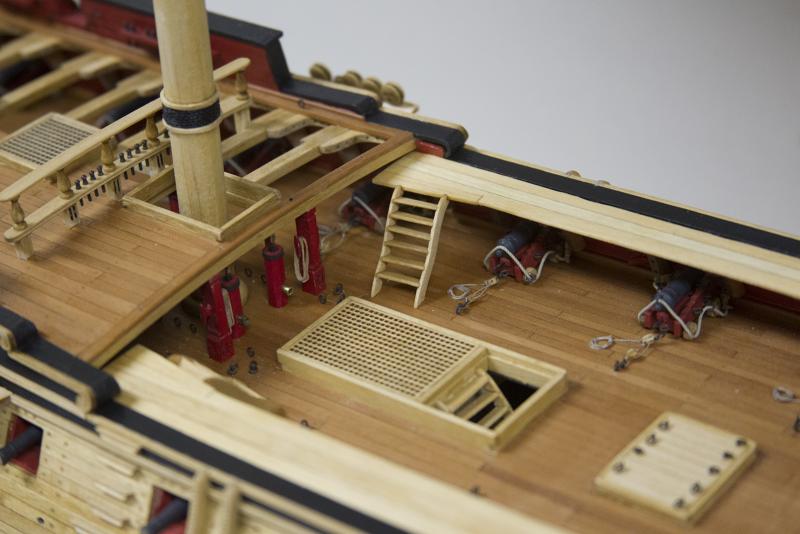
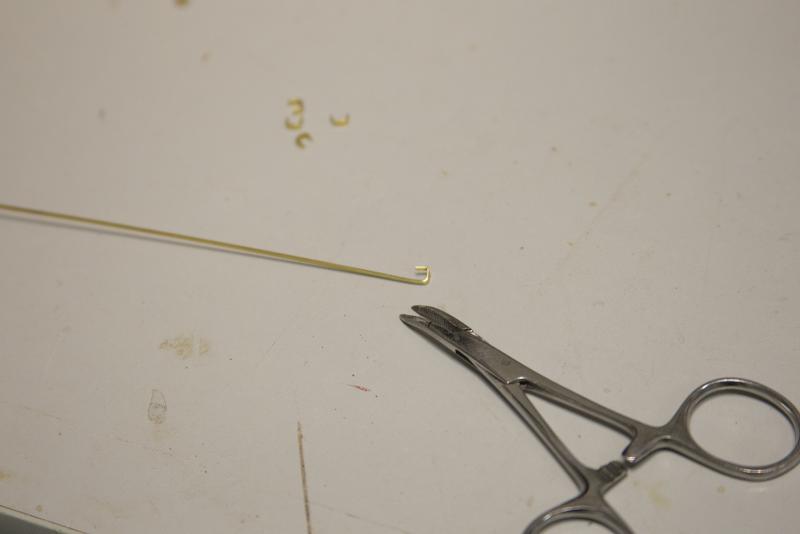
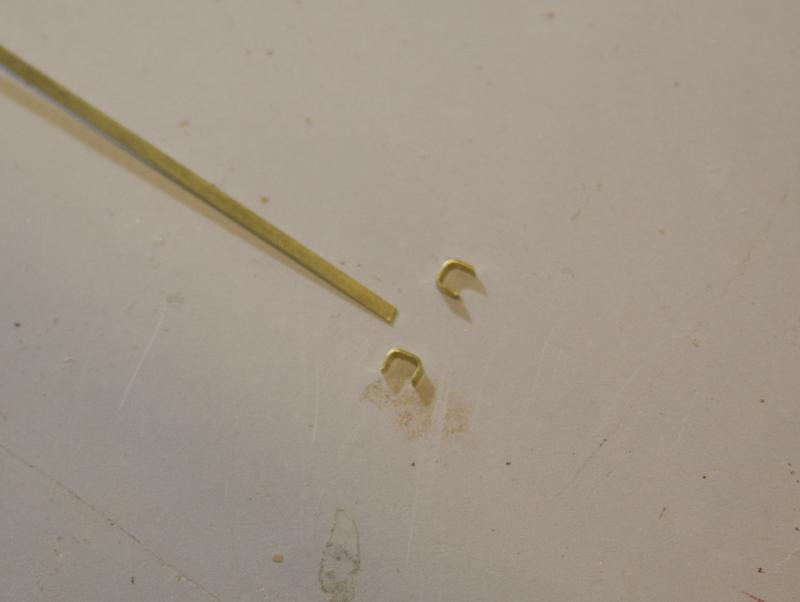
I really struggled with the decision of either closing in the waist with the Swiss Pear that the deck was planked with, or closing in the waist with the lighter wood. Ultimately, I decided on the lighter as a means - artistically - of bringing the two very distinct colors together. Knowing that the cross beams and the small boats would be lighter, I wanted to tie it all together. I figured that if everything was the darker pear, and the beams and boats were light, it'd just be a bit too much of a contrast. *Sigh* At any rate - I'm not overly confident in my decision, as there is a definite disparity in having the gangways a different color than the rest of the planking. A this point, I'm pretty sure I don't want to tear it all up and re-do it to see how the Pear looks. I do intend to trim the smaller boats with some pear to bring it all together. So I started with the waist by sanding down and adding holes to all the knees. Pretty straightfoward stuff here. My own personal method of the "nails" was to drill out three small holes, then poke them with pencil lead. I took essentially what Augie did with the other deck knees to try and keep some consistency. The knees didn't hold to the bulwarks for crap no matter what glue I tried. Especially with the red paint having already been coated with a satin laquer of some kind. So I posted some brass nails into each knee to get it to hold solidly in place. On to the gangways - the usual method of planking, glued some strips together after lining the edges with pencil lead to simulate the calking. Worth noting here that I had to do the Starboard side twice, because the first time I trimmed it too short. Ugh. What's that old saying - measure twice cut once? (Yeah - and my father was a carpenter for 30 years, so let's not tell him about this mistake, shall we?) Ladders.... oh ladders. I pretty much hate ladders. I blow through quite a bit of wood here because I botch them pretty consistently and end up having to red-do a lot of steps, etc. Then, it's still a struggle for me to get them anywhere close to even. Ladders are truly my achilles heel. The instructions for the skid beams call for card stock to simulate the crutches, but I'm not into that - especially when I have small strips of brass lying around all over the place. So I cut up some brass, bended it to fit, then drilled holes in the bottom to fit a brass nail. I blackened all of it, then mounted all the skid beams.


- 2,191 replies
-
- 24
-
-
- confederacy
- Model Shipways
- (and 1 more)
-
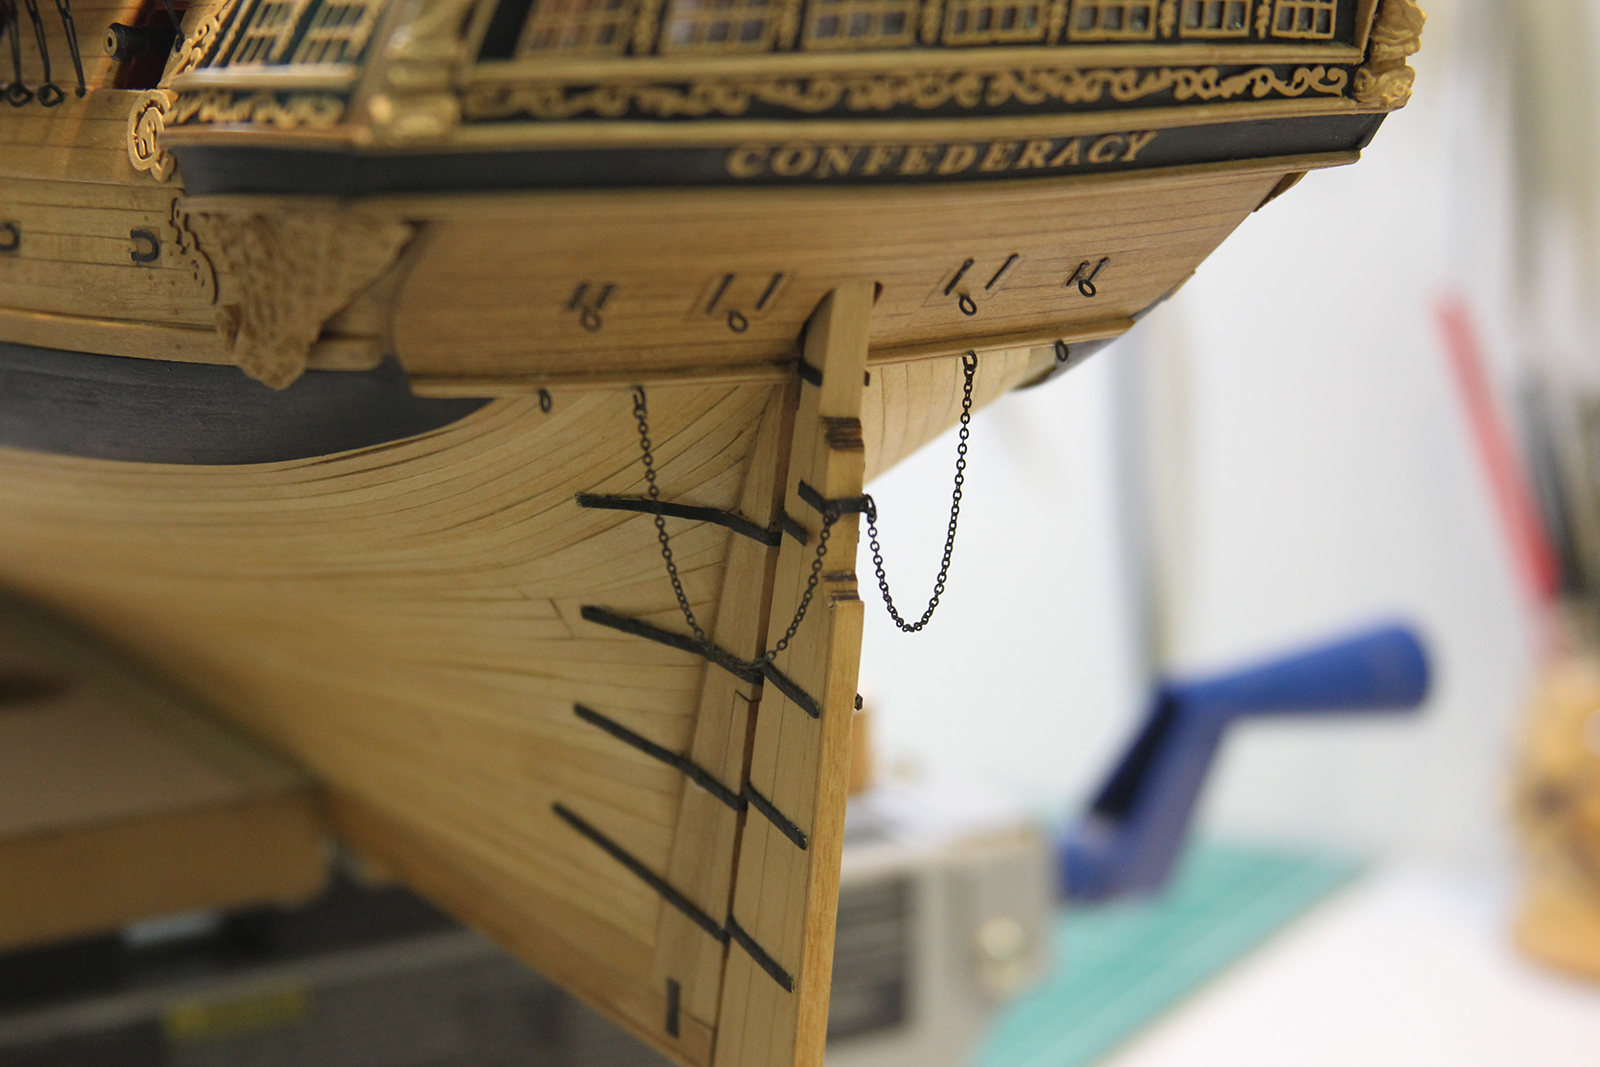
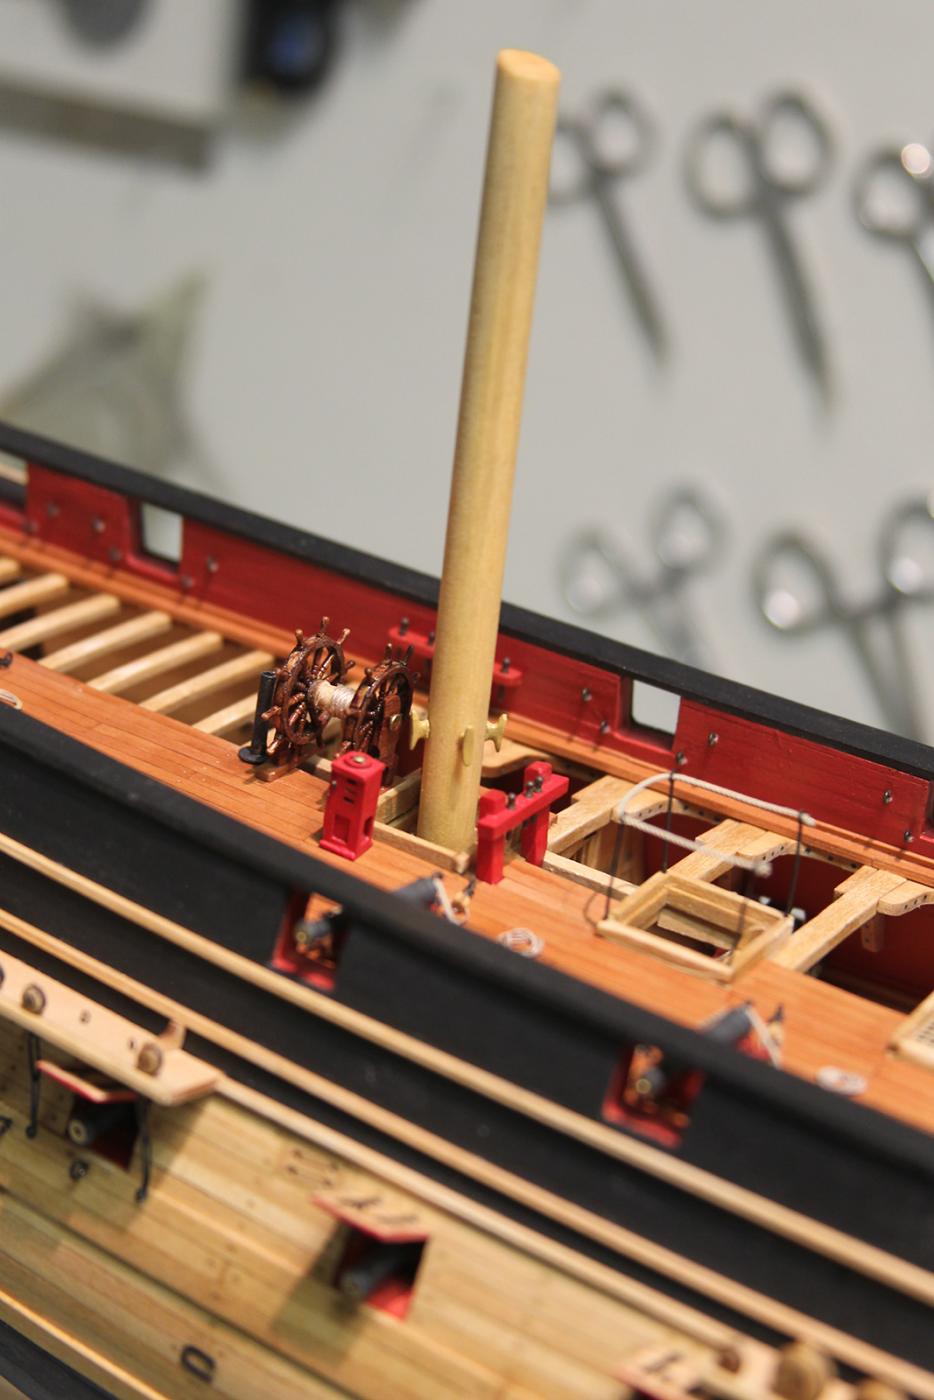
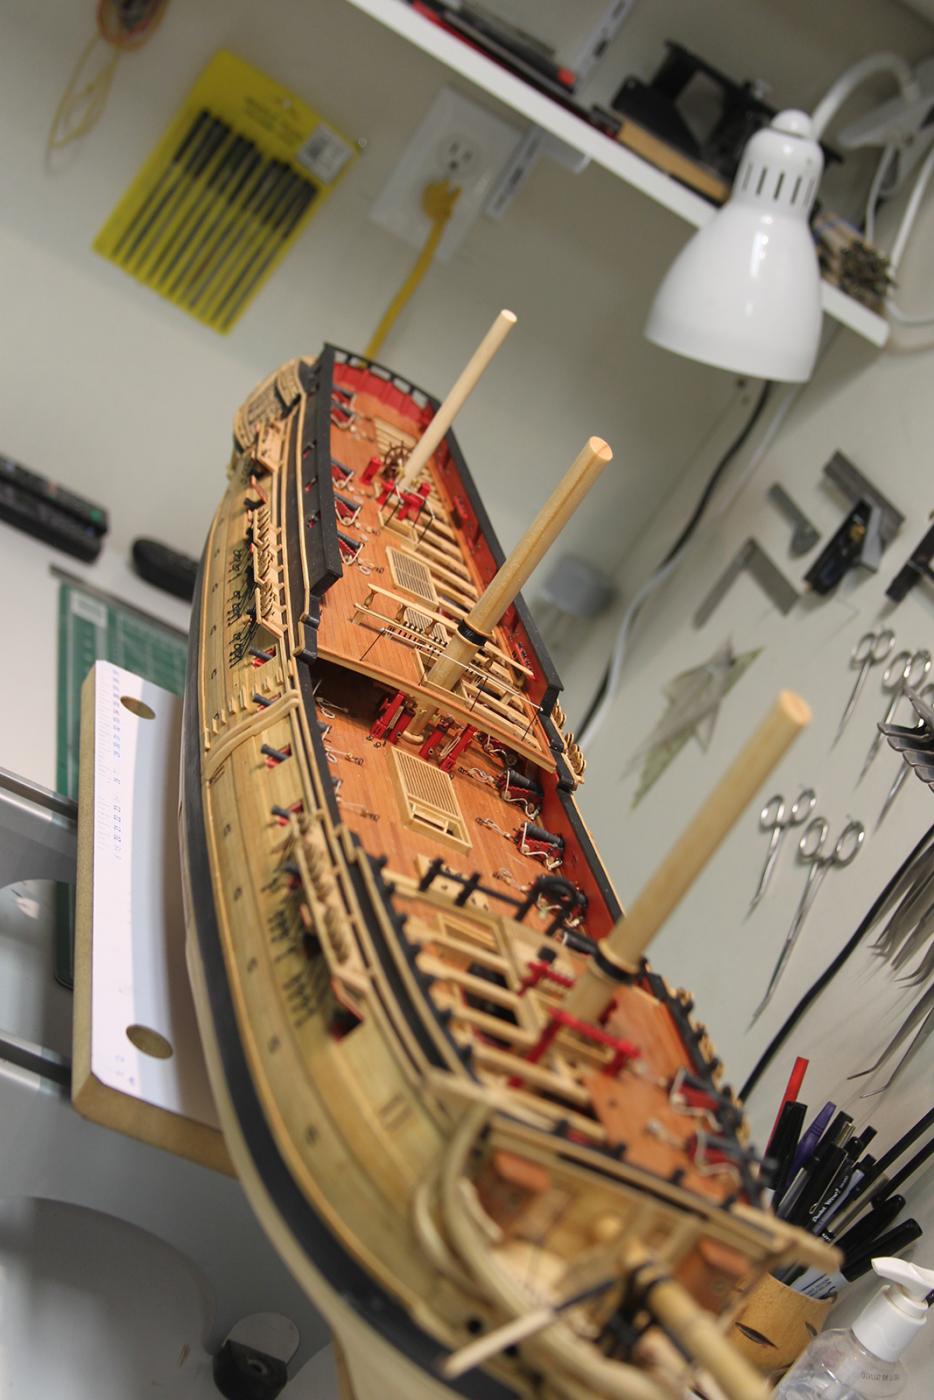
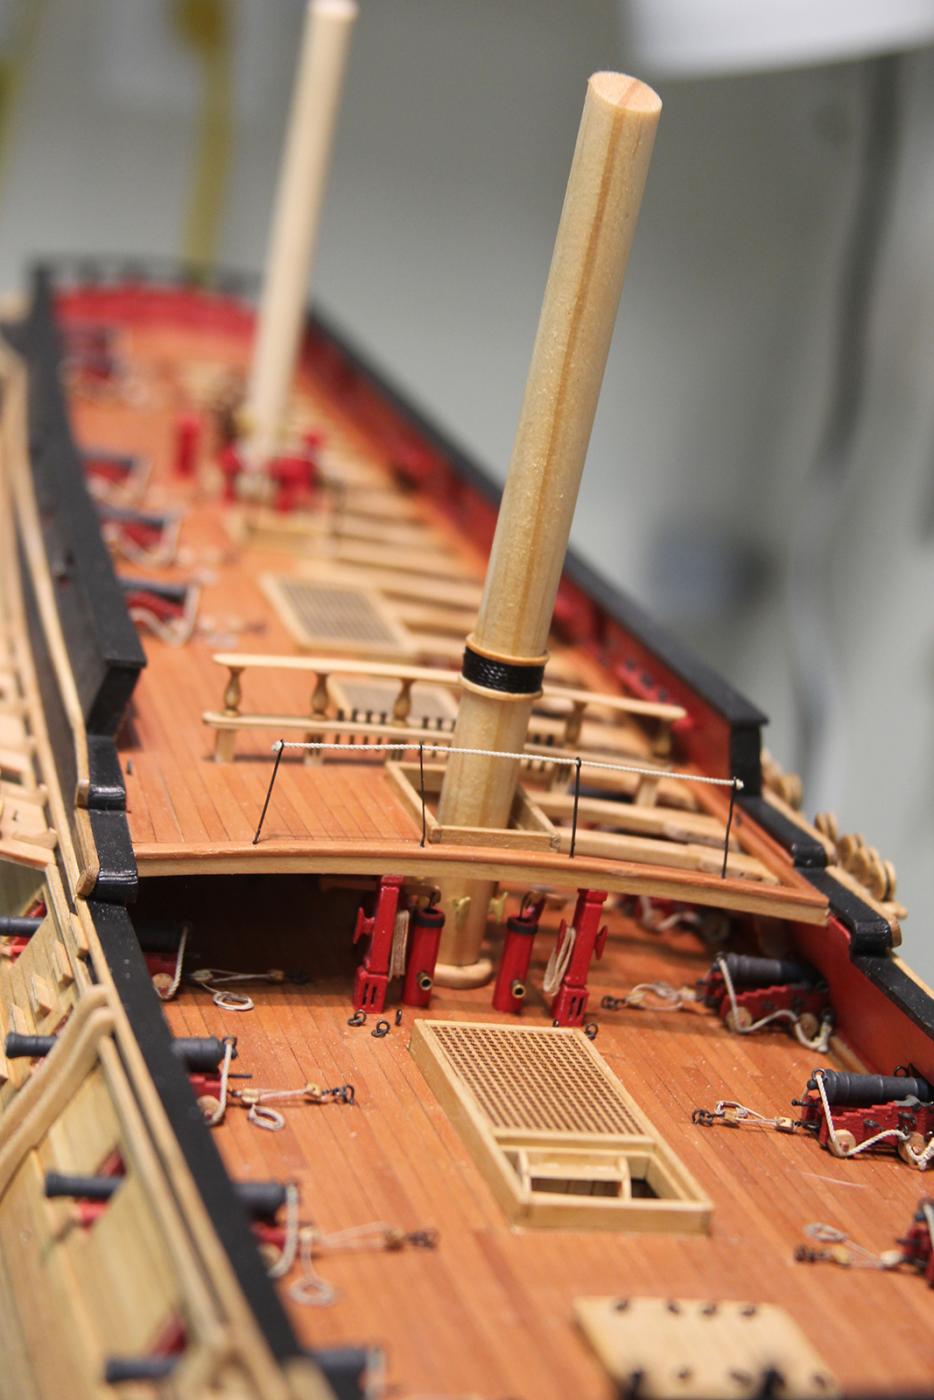
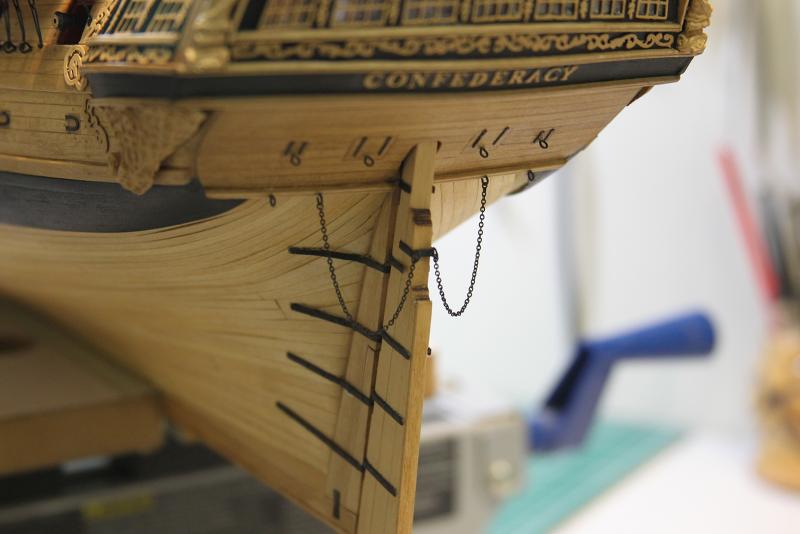
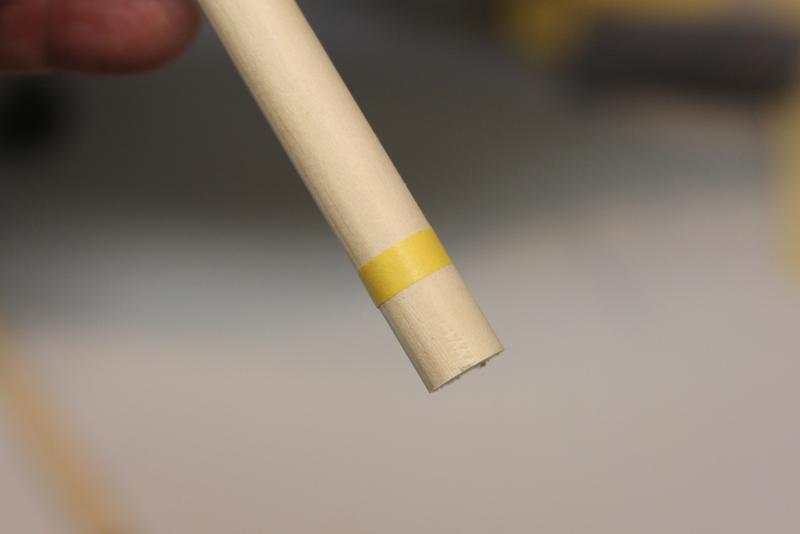
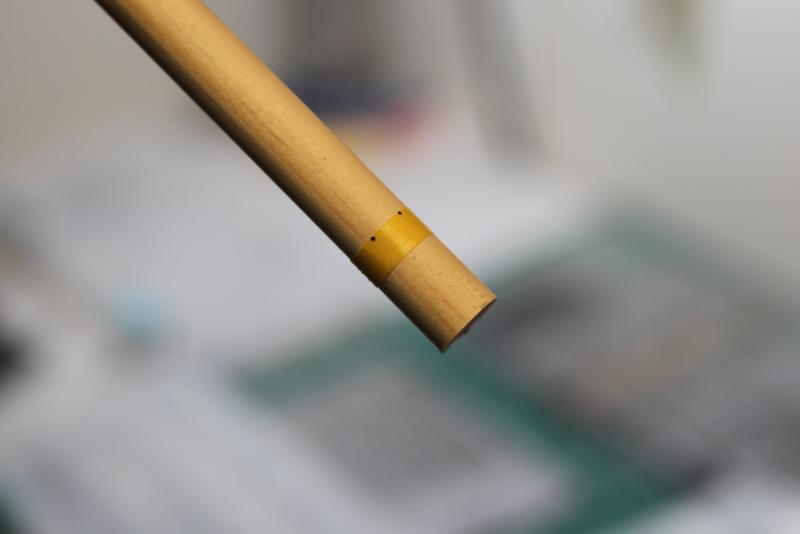
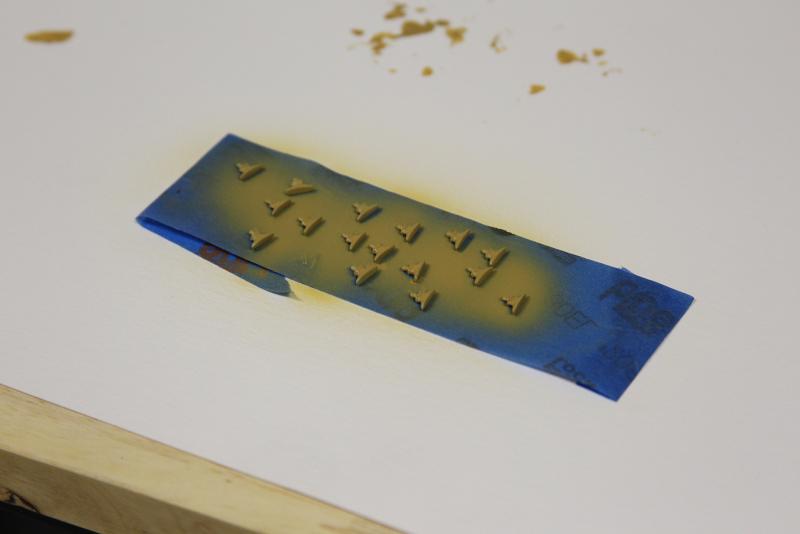
Got a bit of detail work sorted out over the weekend. I spent almost an entire day finishing up the Starboard side deadeyes and strops, etc. Then I went through and touched up every strop, deadeye and eyebolt that needed to be blackened a bit. I went back through mine and Augie's notes to finish off some of the other details that needed to be attended to, such as Zeus' trident on the Transom and remounting the rudder and chains. Finally, I started to concentrate on the masts. I couldn't actually find the 13mm dowels that were supposed to be used for the fore and main masts, so I had to go track some down from my local hobby store. I had a handful of cleats left over from another project, so it gave me a chance to use my snazzy new airbrush. Worked pretty well, except they all needed to be taped down - after my first attempt at 'airbrushing' blew them all off the counter and had me on my hands and knees picking cleats up off the floor. The color was a combination of Vallejo Airbrush colors light brown and yellow ochre. In order to get the cleats properly spaced, I used a thin strip of masking tape to measure the exact diameter of the dowel (after I did a little smoothing/sanding). I laid that strip onto my ruler, then equally divided it by the number of cleats needed. I then reapplied the tape to the mast, drilled the holes appropriately, and mounted the cleats. Finally, instead of using cardstock to simulate the mast rings as indicated in the plans, I decided to try and use the extra laster cut mast bases. Since there were only two left and I needed four - that meant splitting them in half. A delicate process to be sure! But, I was ultimately successful. They weren't perfectly even, but even enough to sand down and get close. Obviously they stuck out way to far, so I then sanded them down to make them even with the wrapped line. After the usual coats of pre-stain and Natural stain, they turned out pretty well.


- 2,191 replies
-
- 30
-
-
- confederacy
- Model Shipways
- (and 1 more)
-
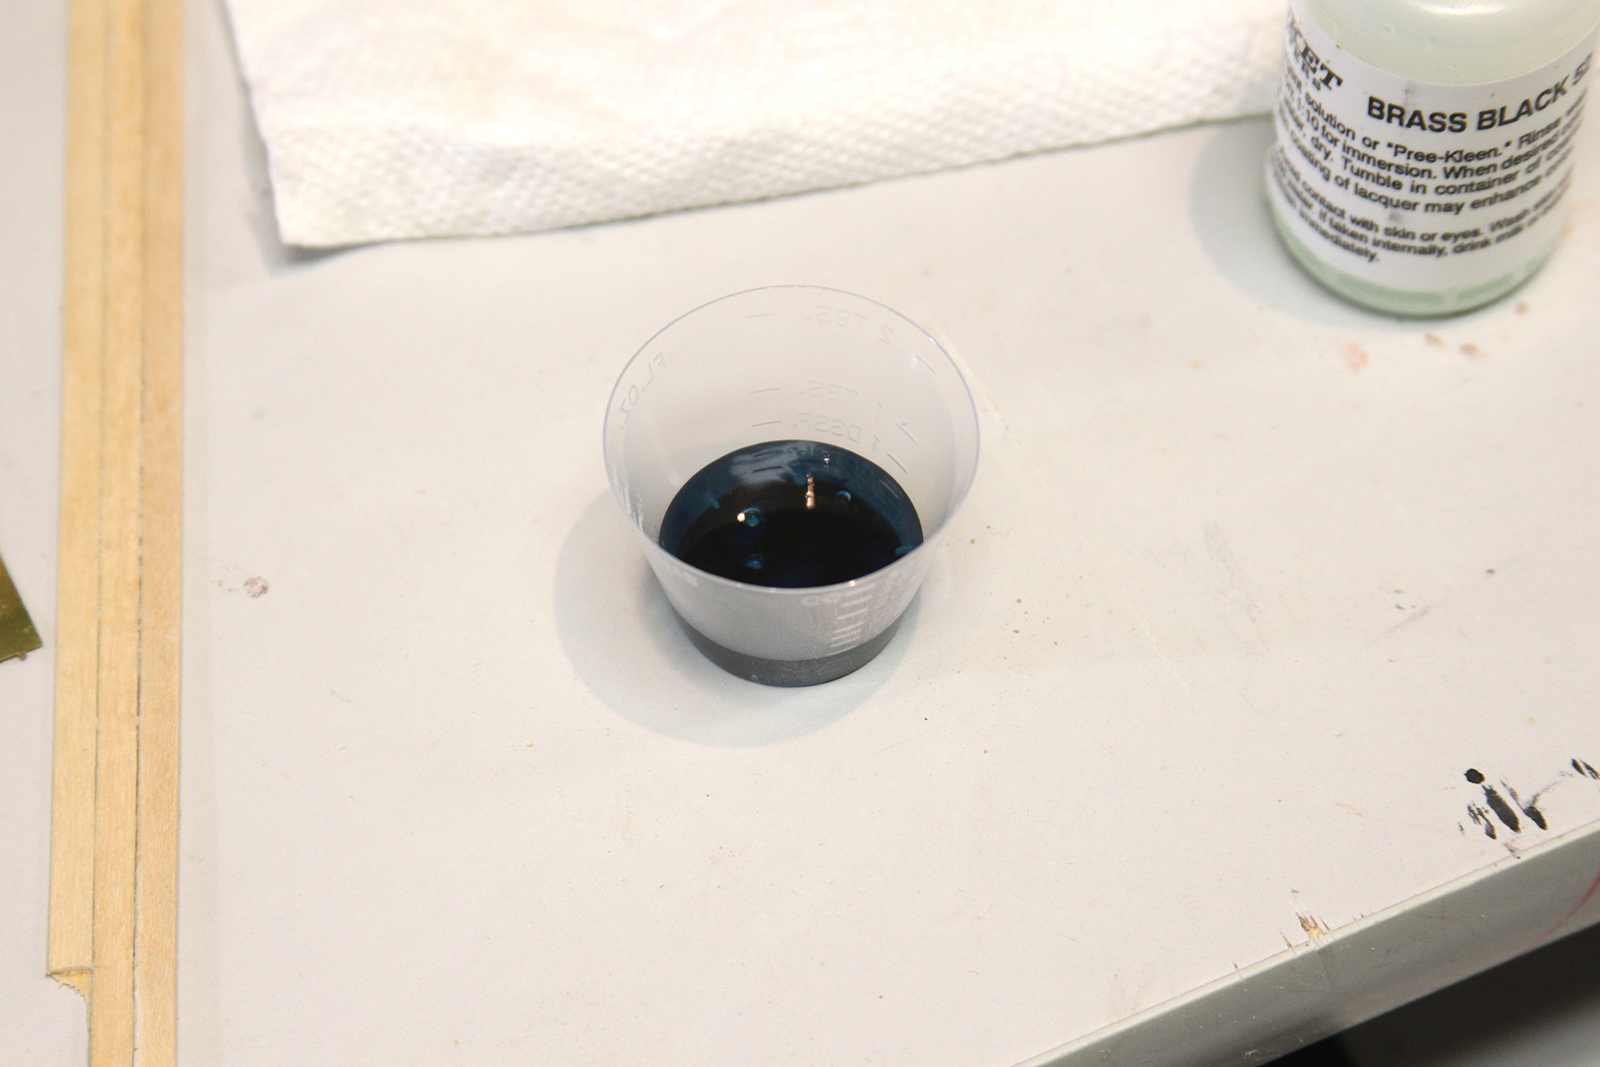
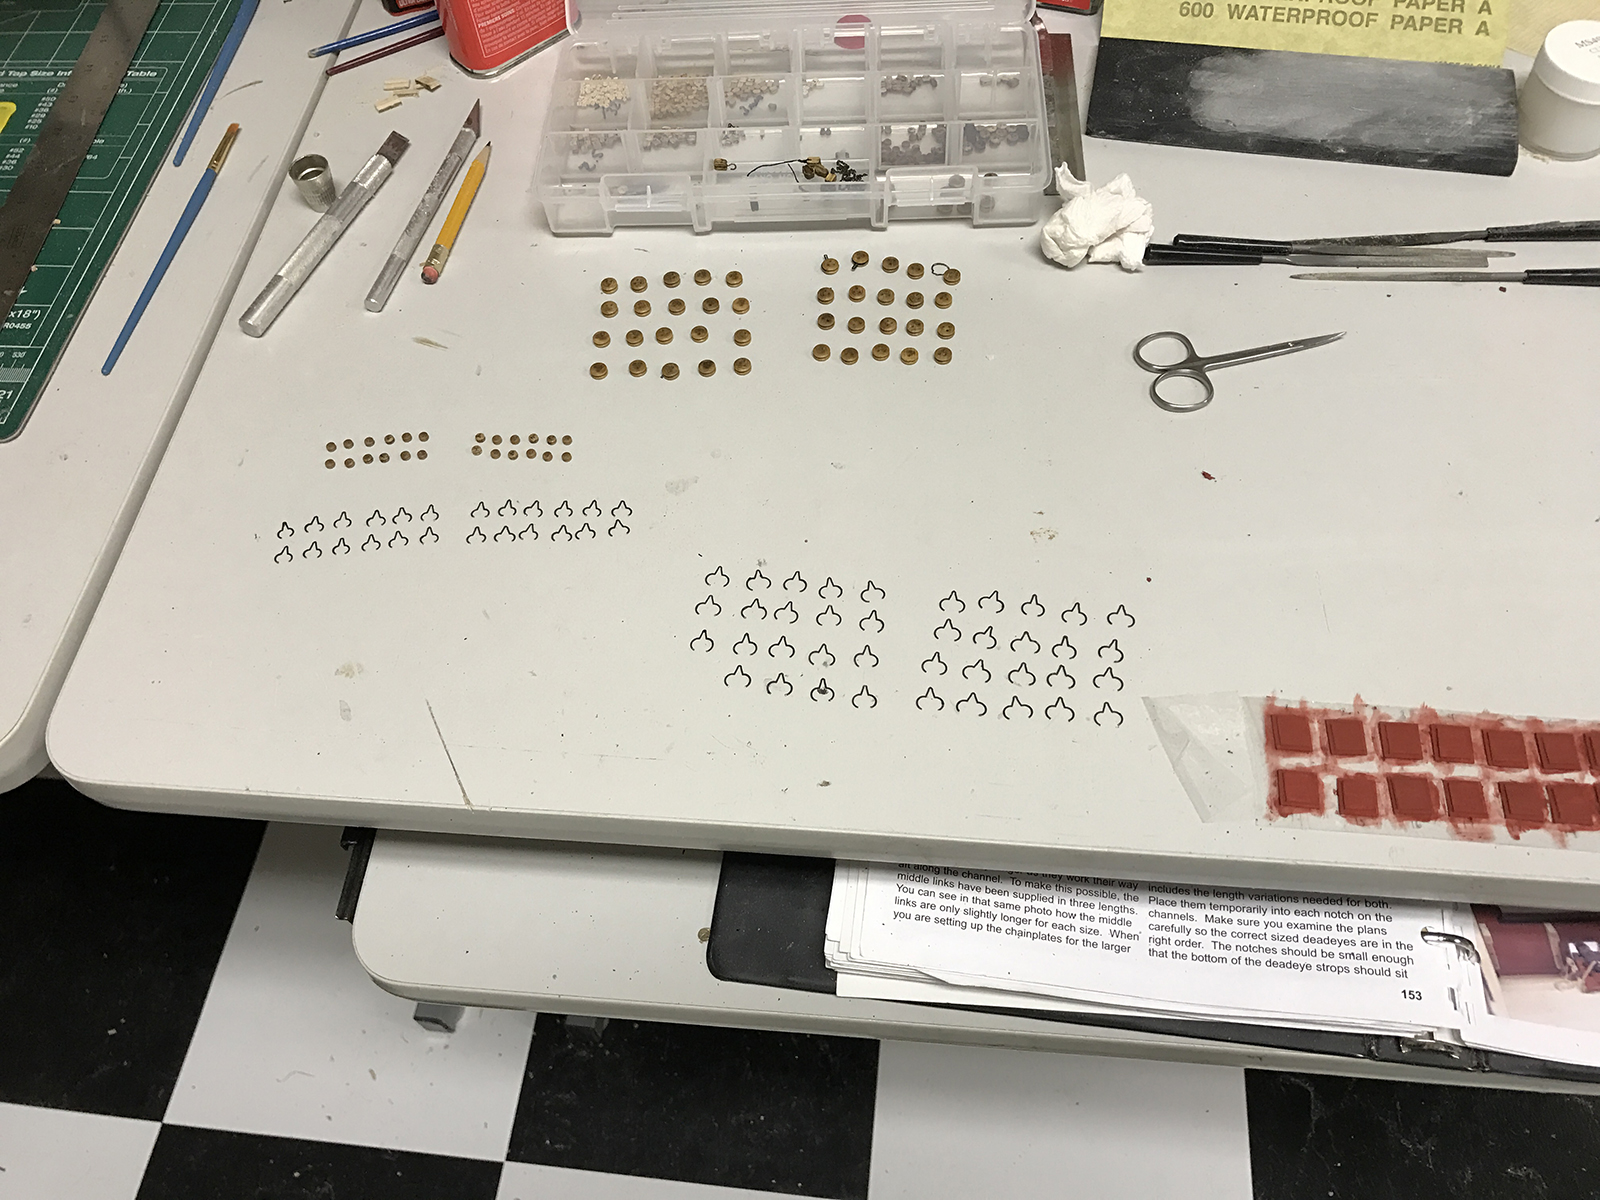
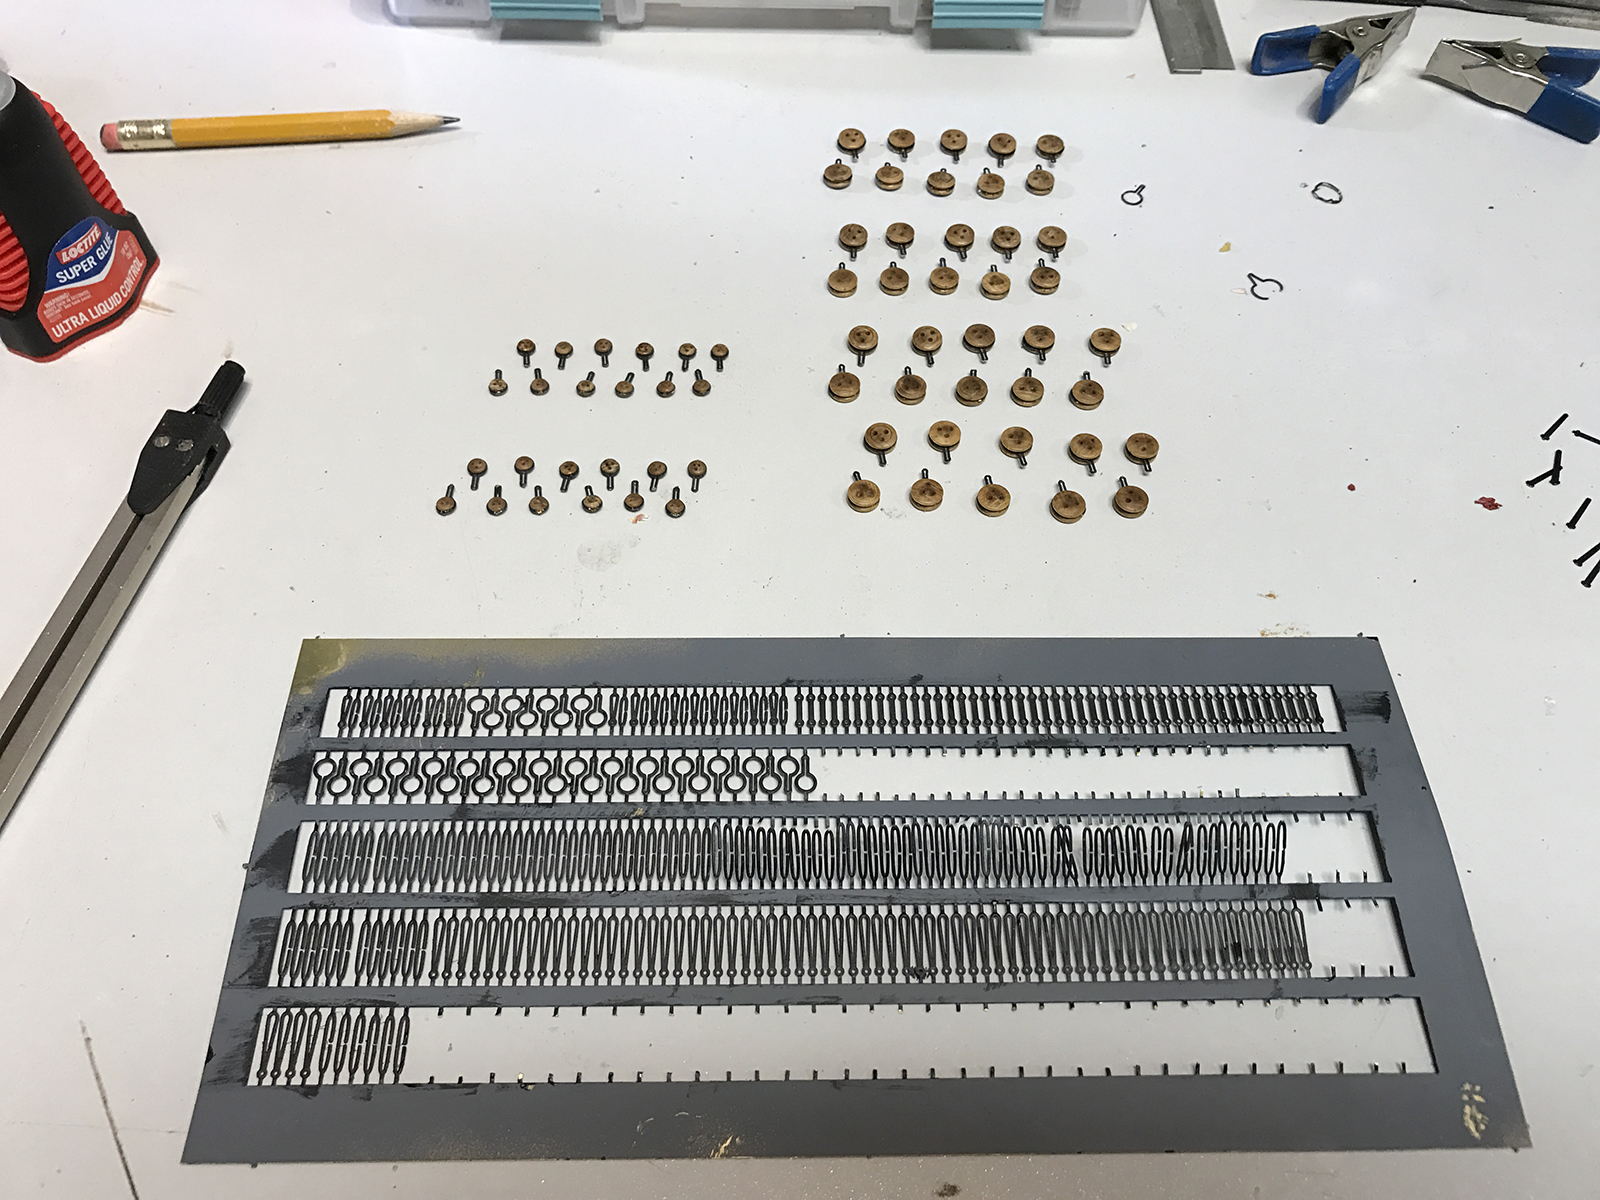
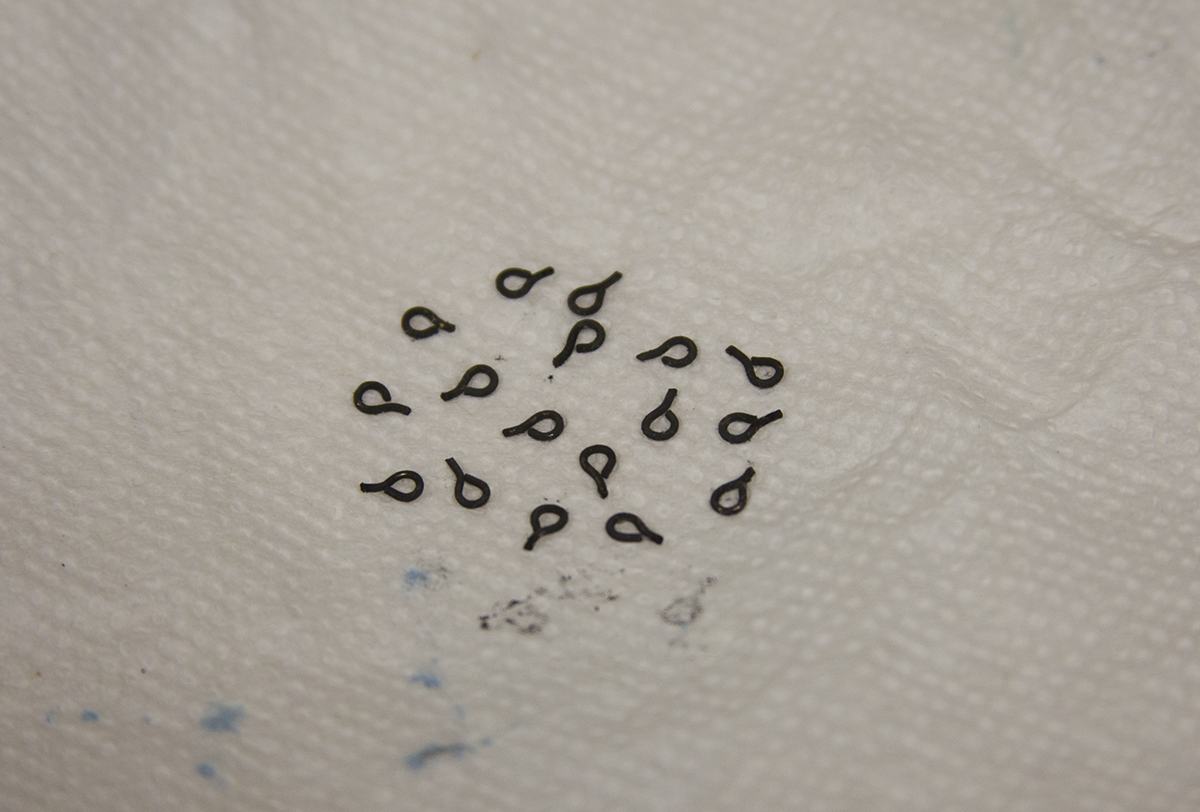
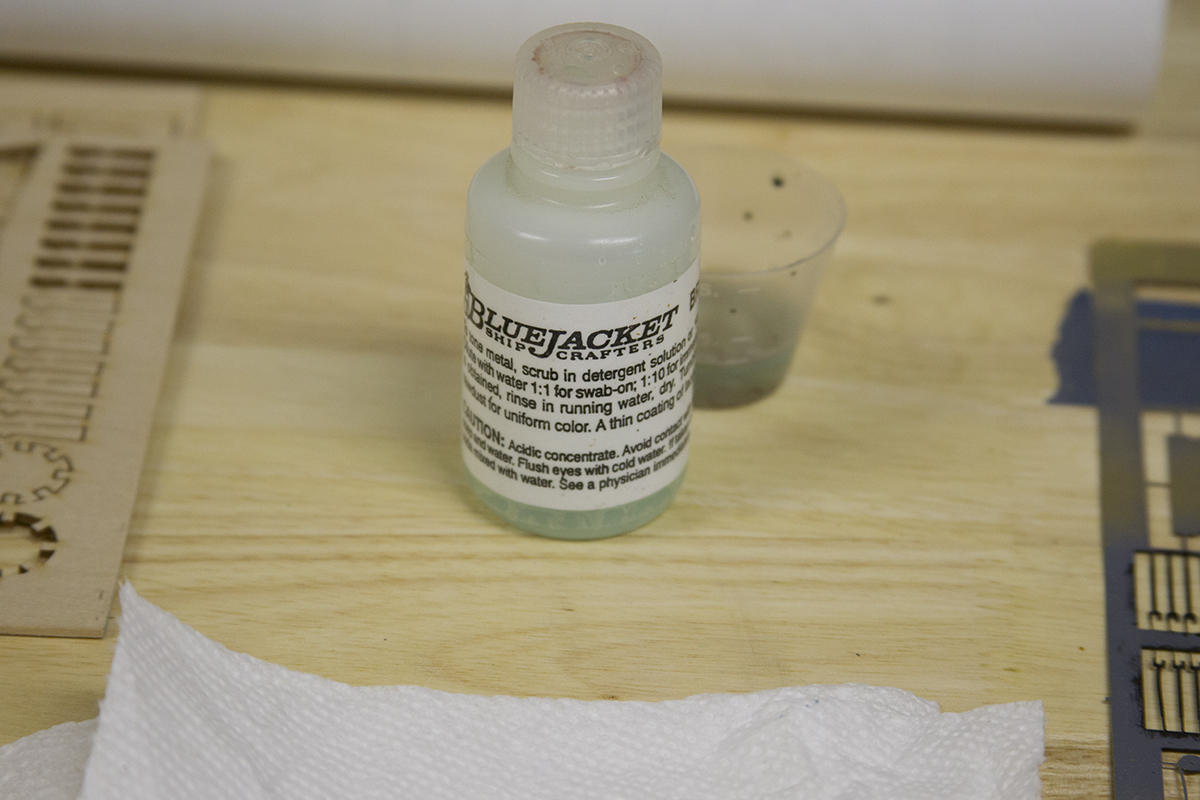
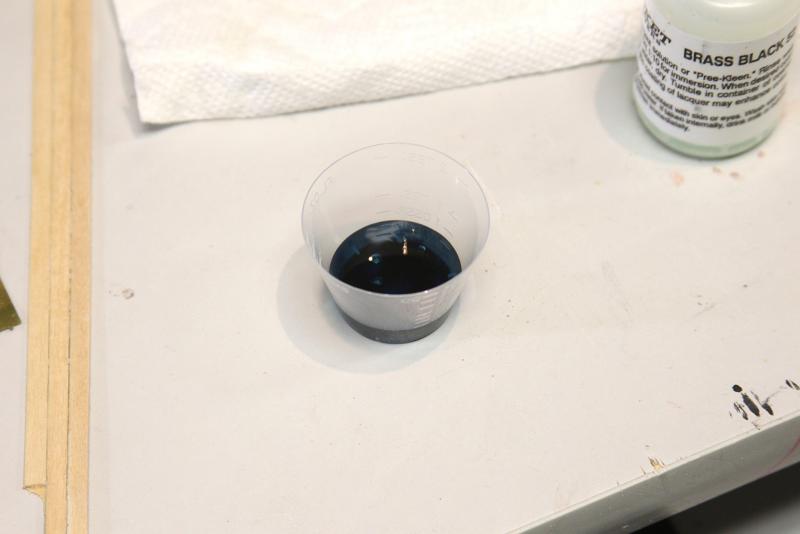
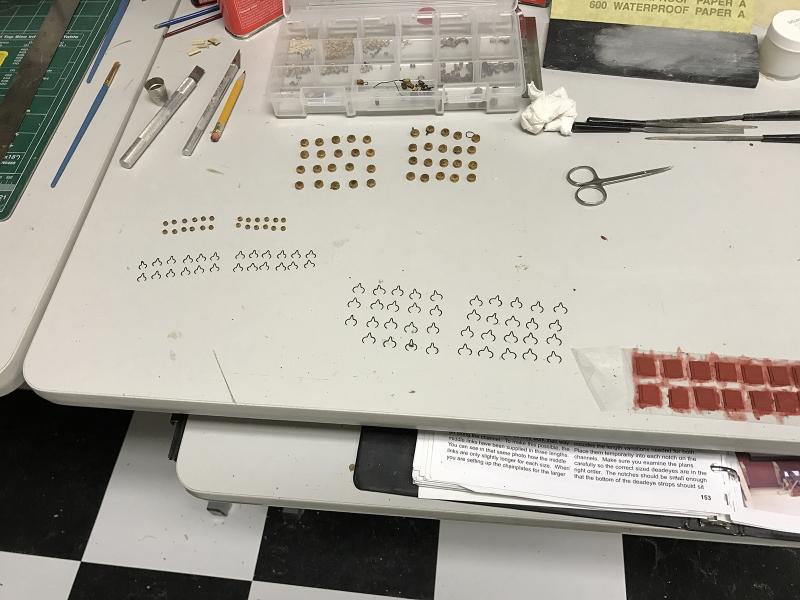
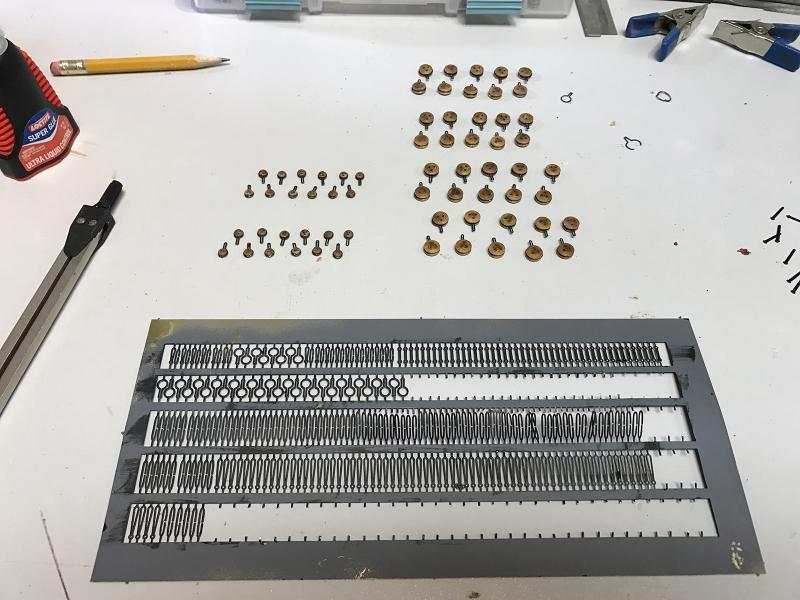
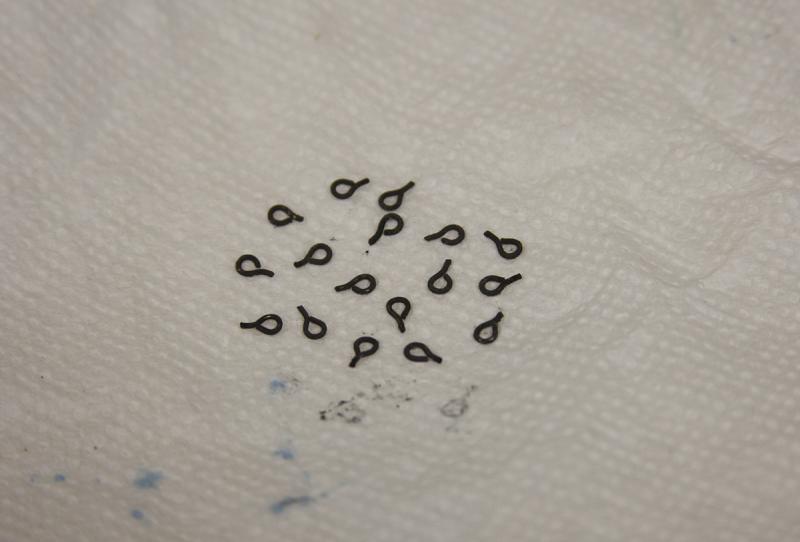
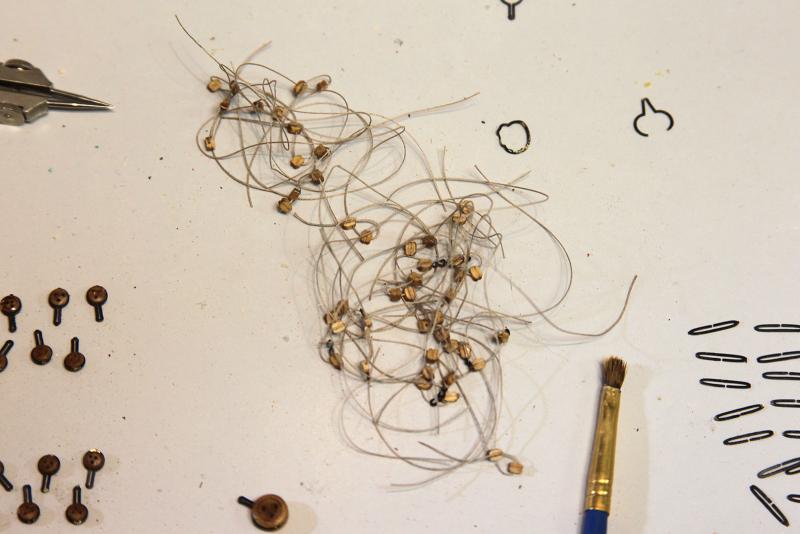
I've trudged through some progress this week, whittling away at the repetitive bits. I'm doubling up on photos from a previous post here (sorry) but I'd worked on prepping all the deadeyes and strops while working on the gunport lids. This ended up being pretty valuable time use, so when it came time to mount the channel plates and subsequently the deadeyes, it was a nice little assembly line. I prepped my eyebolts and nails with 50/50 black-it and water mix. I always have a bit of trouble with eyebolts as the metal is difficult to prep, and the blackening doesn't end up super consistent. Most of the time it ends up requiring some touch up. My plan is to go through and touch up the shiny bits after all the deadeyes are fully mounted. I also realize I didn't quite get the angles correct on the strops when they're mounted to the hull. I had some difficulty with the different lengths of strop parts and getting them arranged properly. The difference in sizes was SO minute that I just couldn't figure out the different lengths to create a proper parallel line on the hull withe the different angles. Ugh. At any rate - the good news here (I guess) is that this won't be particularly noticeable to the average eye since there aren't any ratlines or shrouds actually attached to the deadeyes, so the lines from the masts and crosstrees to the hull won't be inconsistent... cuz there won't be any... yes... I'm rationalizing.


- 2,191 replies
-
- 19
-
-
- confederacy
- Model Shipways
- (and 1 more)
-
Hey Chuck, I have no idea. :-) Perhaps one of the other, more knowledgeable folks, or the other Chuck may have some insight.
- 2,191 replies
-
- 4
-
-
- confederacy
- Model Shipways
- (and 1 more)
-
Thanks for the idea B.E., I'll take a look. It's less about whether they're already in place, and more about being able to rig the cannons that are already snuggled under the top deck. Even with it partially open, it's nearly impossible to reach the eyebolts even with my longest, smallest tweezers. And I'm pretty opposed to only having some of the cannons (the more accessible ones) rigged, and not having others that are clearly visible rigged. :-/ Quite a quandary. At any rate, the time is definitely now to make the decision - the gangways and beams are close on the horizon, and once they're in there is no going back to the cannons.
- 2,191 replies
-
- 4
-
-
- confederacy
- Model Shipways
- (and 1 more)
-
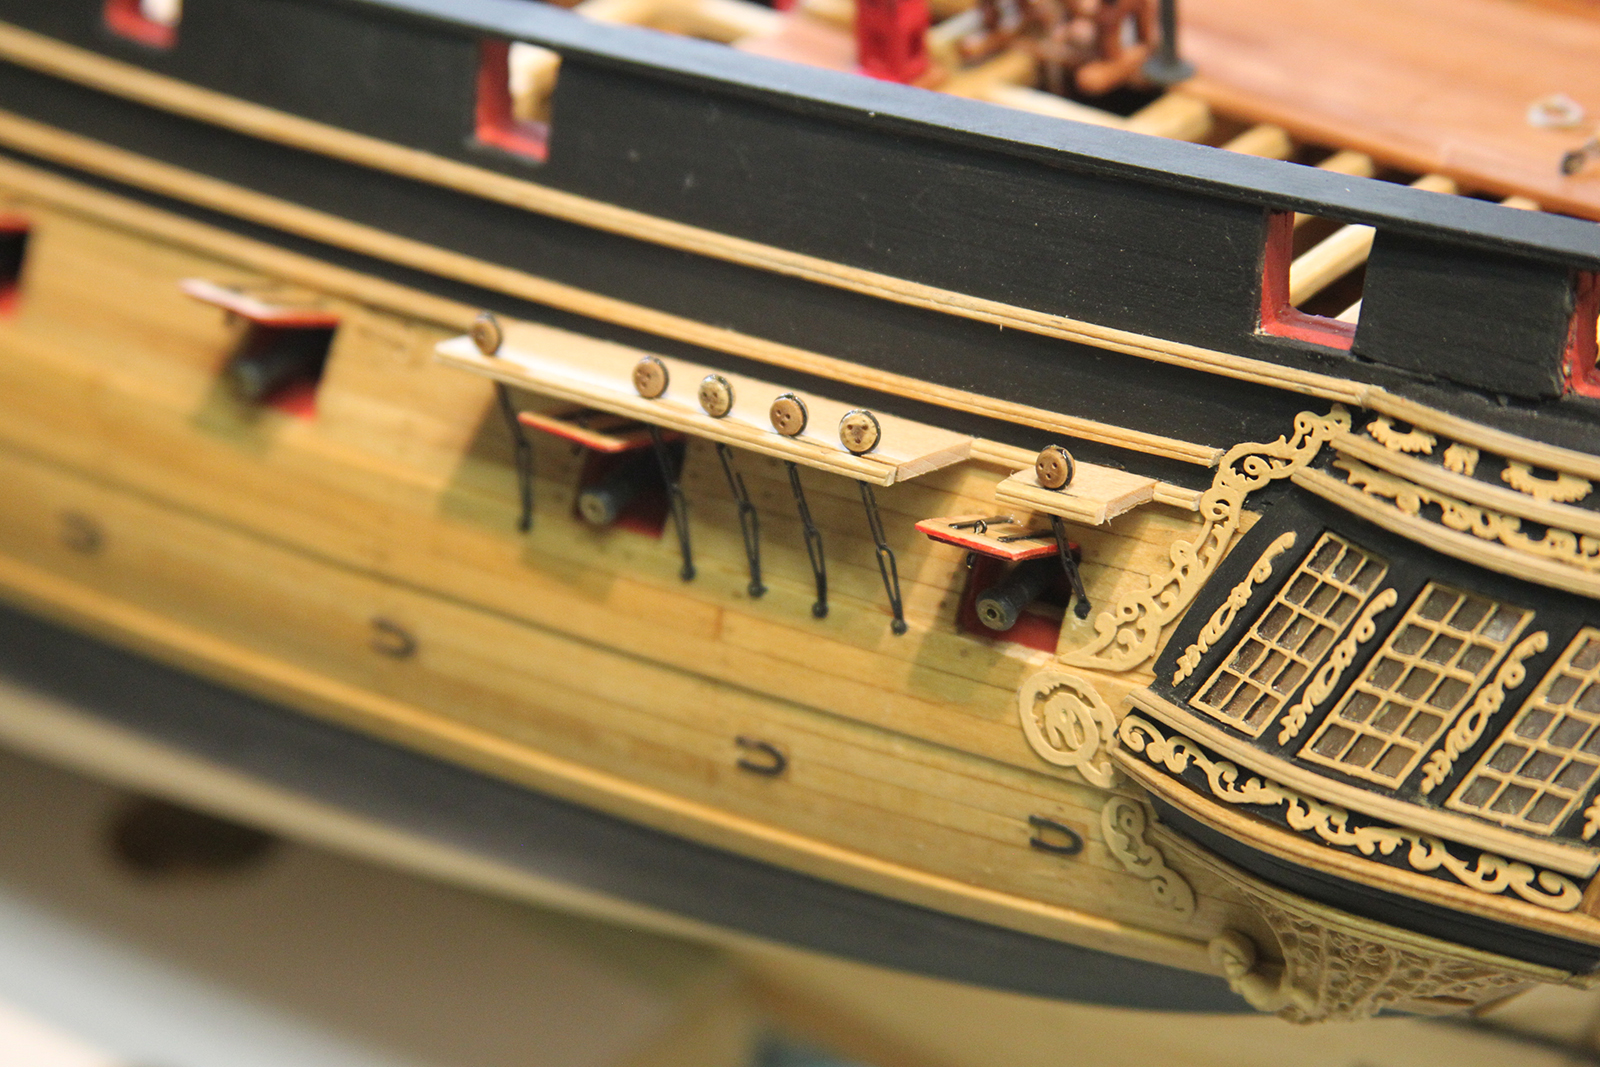
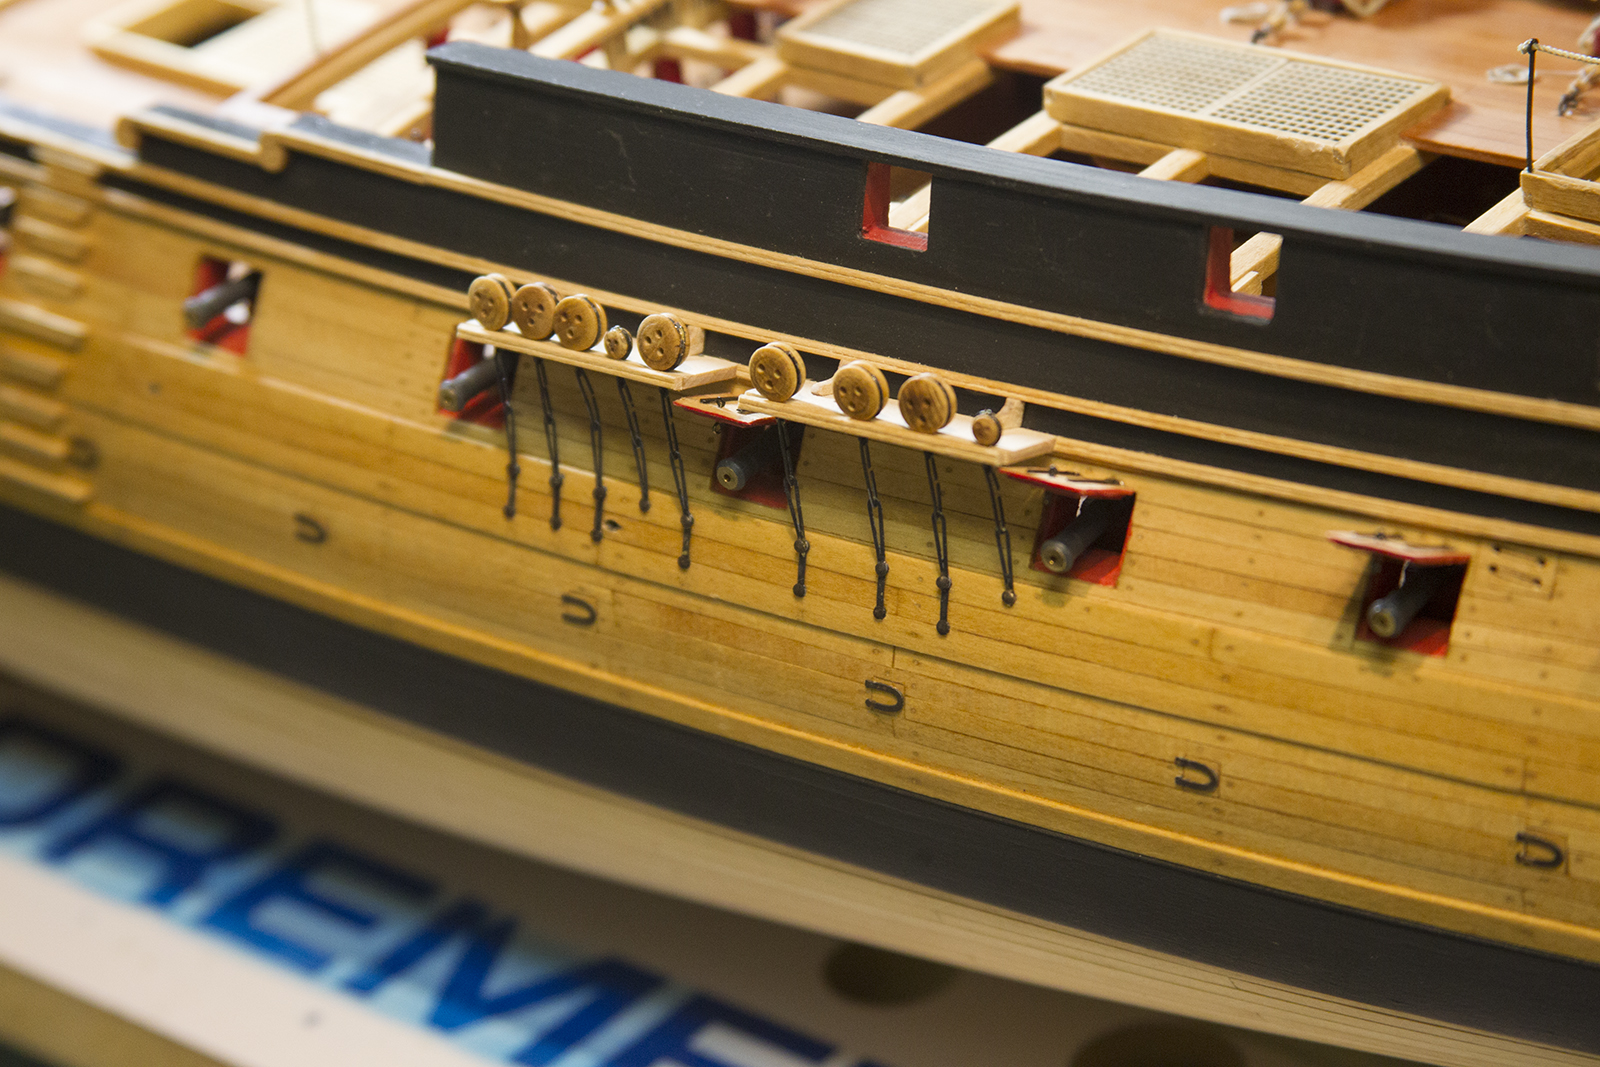
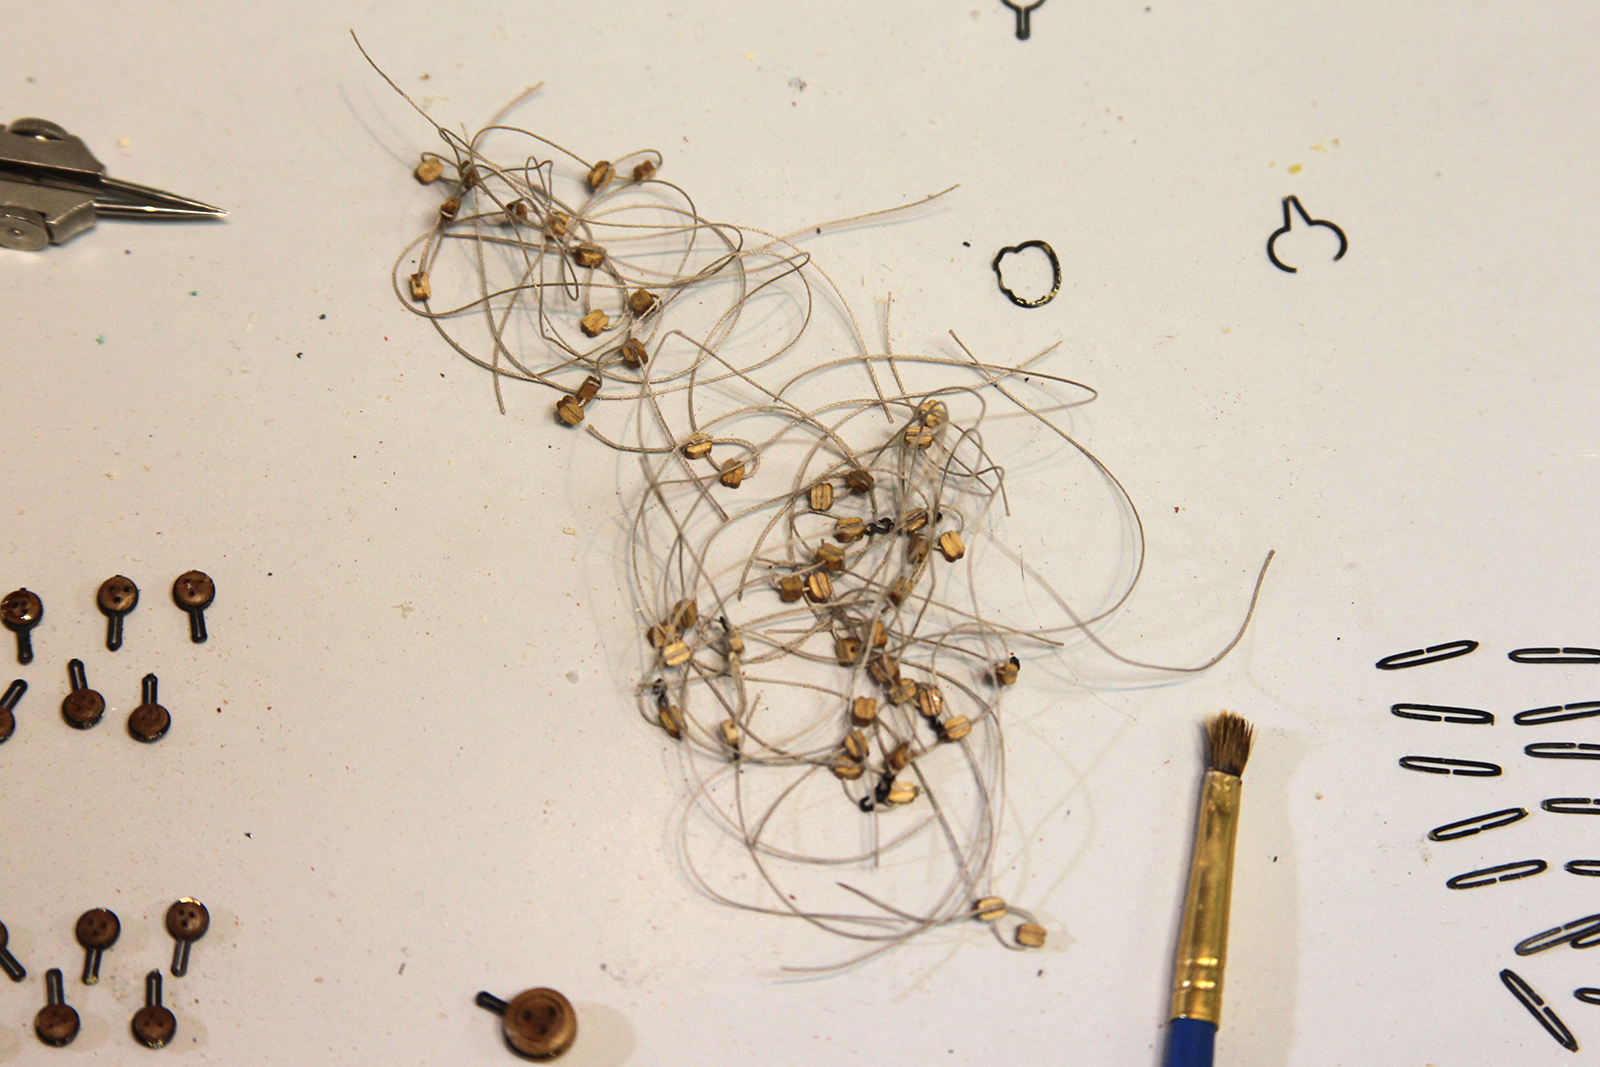
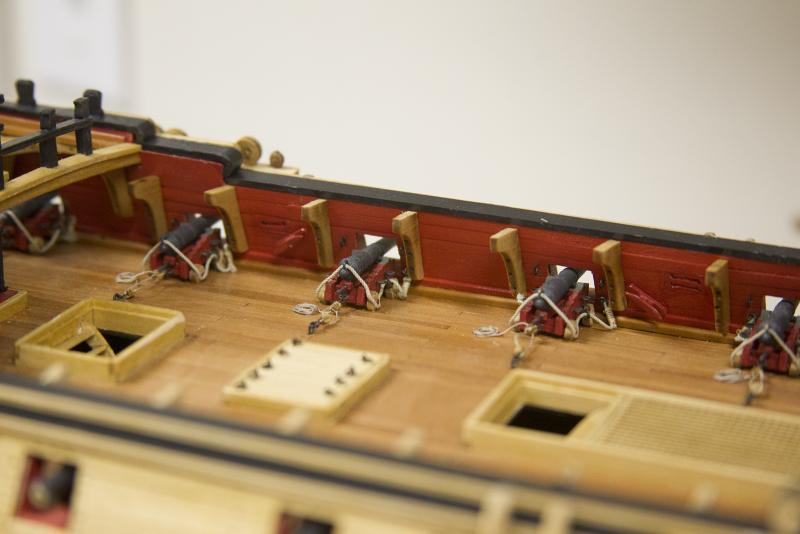
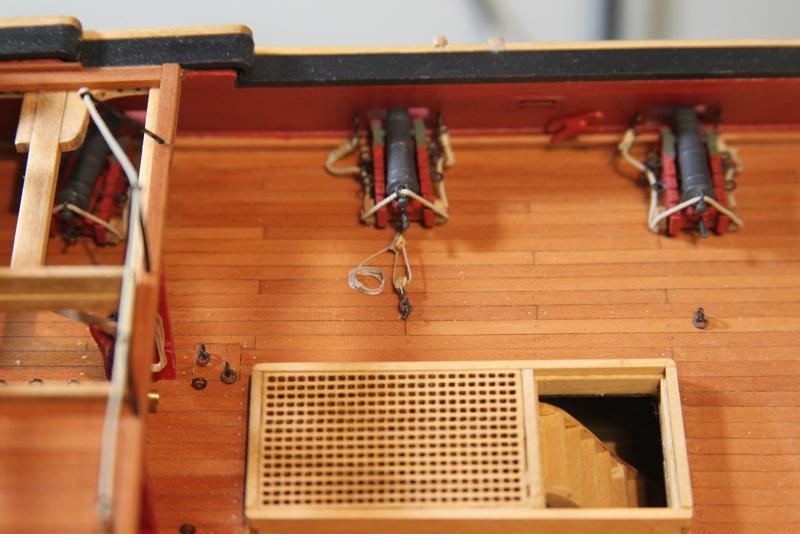
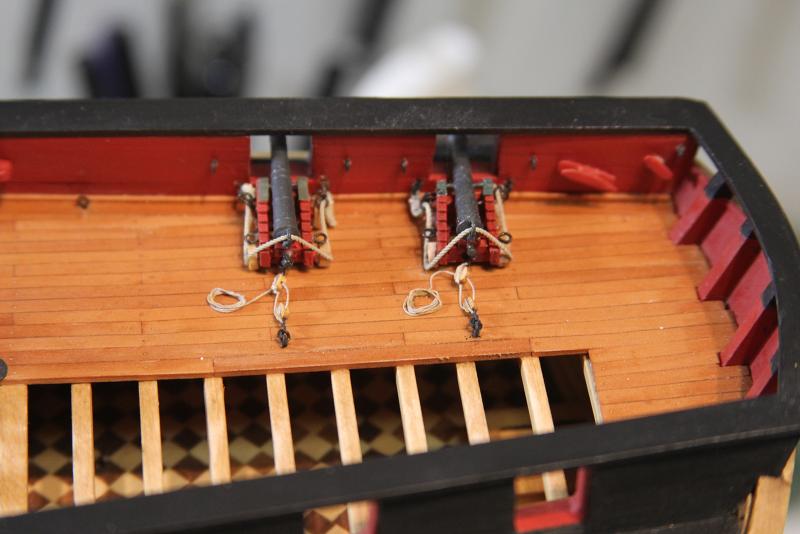
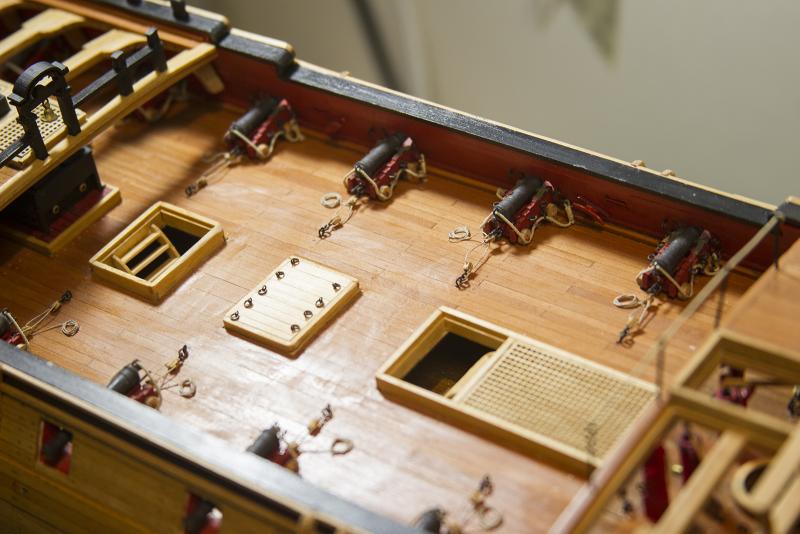
I also decided to revisit the idea of gun tackles. I've always felt that the guns looked a little barren. But my problem was, I wanted to be able to tackled any of the guns that I could see - that meant some delicate rigging to say the least. Initially, I started to put together enough blocks and rig to do the side gun tackles of each of the 26 guns that I could see. But then, I soon realized, that trying to attach the side gun tackles to the cannon themselves and then the bulwarks was virtually impossible this far into the build. If the side rigging was going to be done, it needed to be done when the cannons were much more accessible. Drat. So instead, I settled on just rigging the train tackle for each visible gun. While still challenging to get the visible main deck cannons rigged, it wasn't impossible. I still feel it's a little odd to have the train tackle and not the side gun tackles, but at least it gives the cannons a little bit of trimming.

- 2,191 replies
-
- 20
-
-
- confederacy
- Model Shipways
- (and 1 more)
-
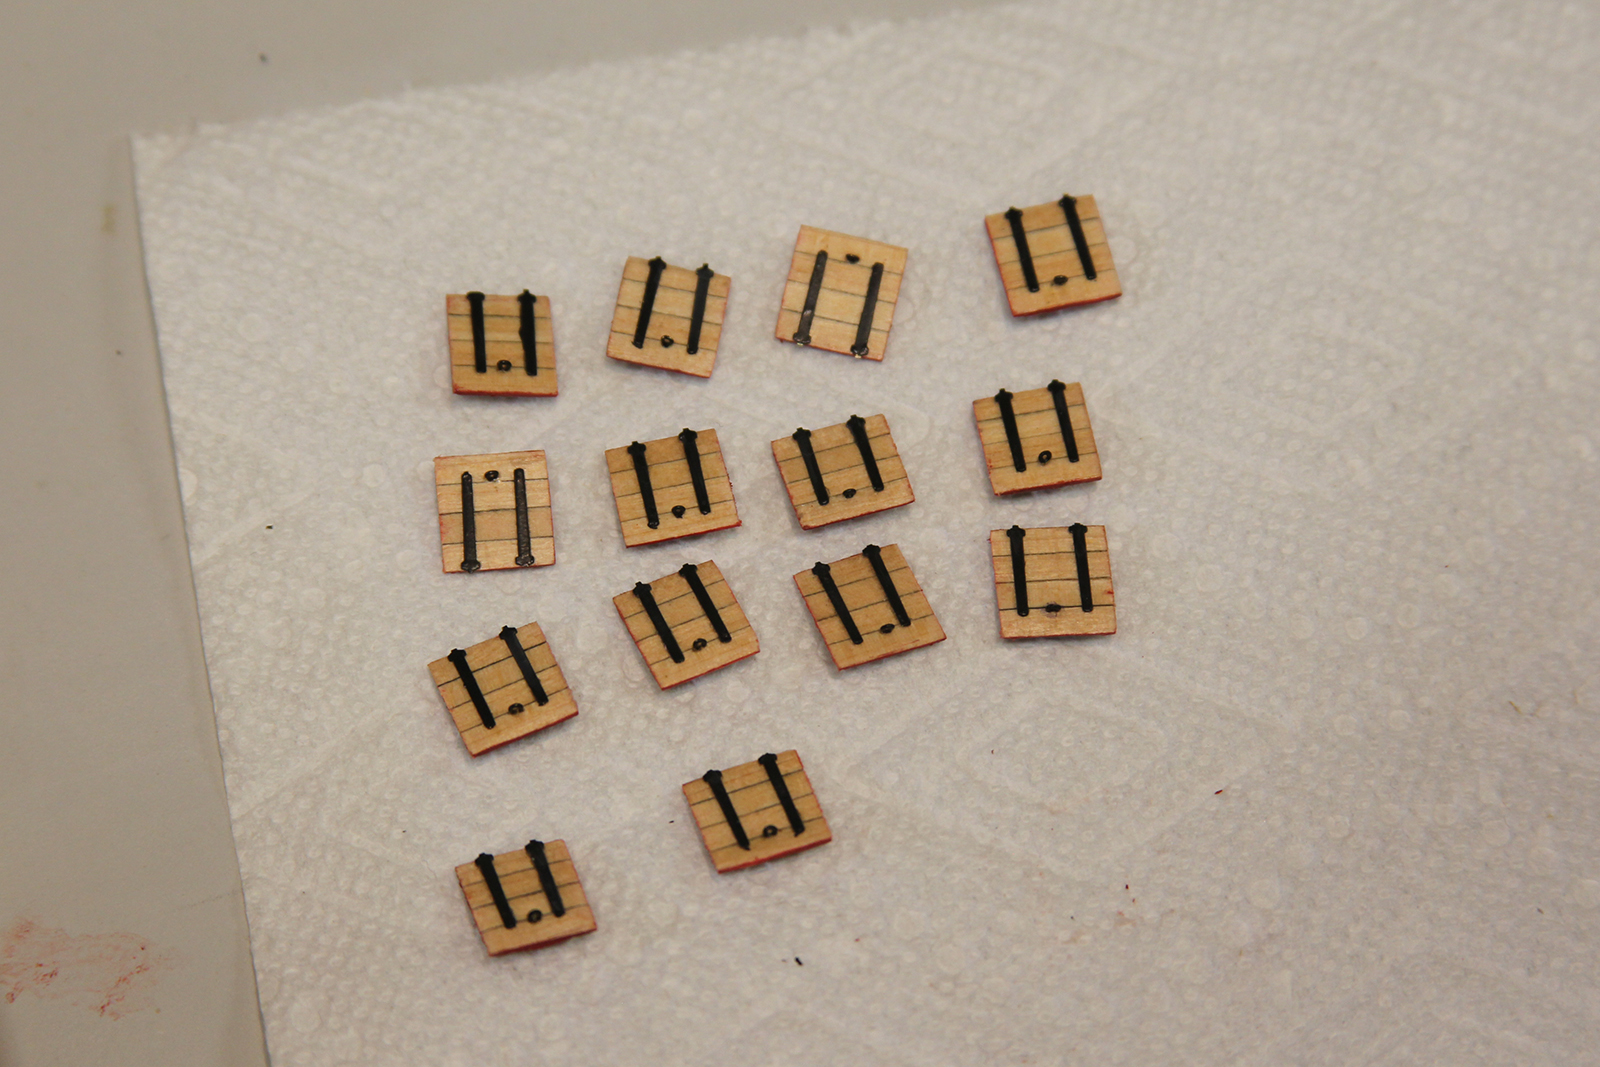
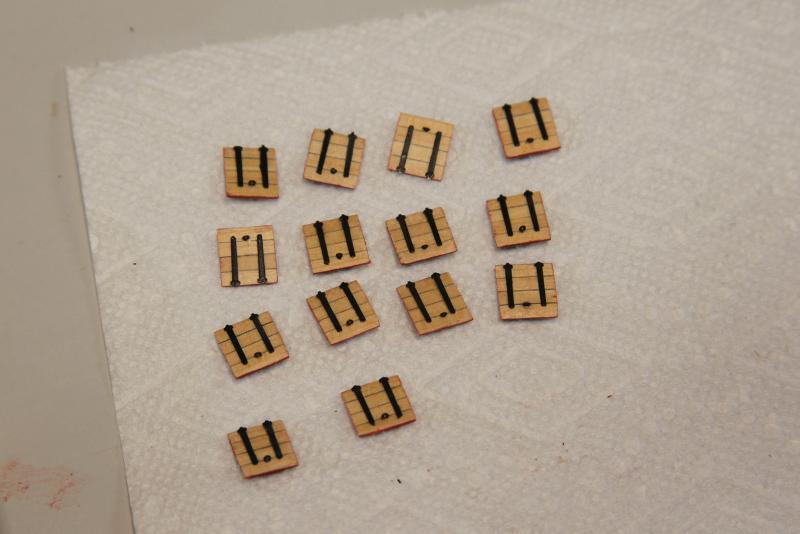
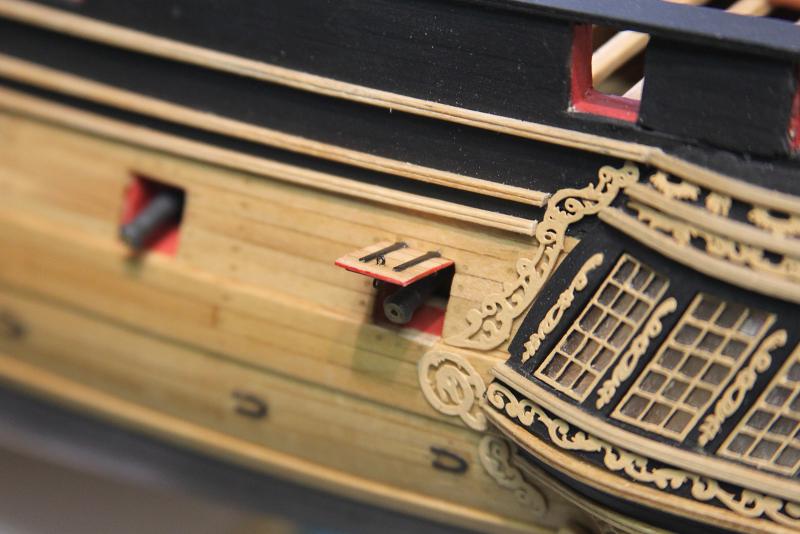
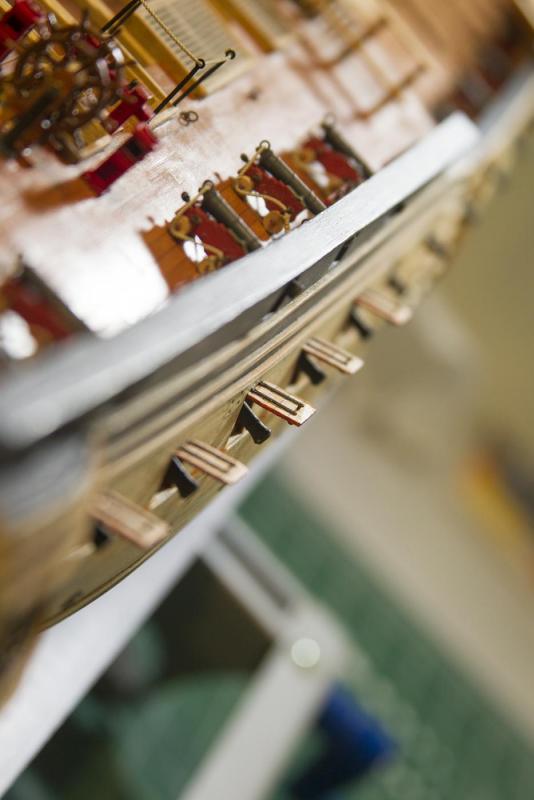
Thanks for the kind words and likes everyone. Much appreciated. I was able to make some more progress on the gun port lids this week. I picked out the top contenders and added the hinges and eyebolts. Then mounted them to the gun ports.
- 2,191 replies
-
- 17
-
-
- confederacy
- Model Shipways
- (and 1 more)
-
Hey Chuck, thanks a lot for chiming in and clarifying! I was actually going to send you a PM and ask about that. I was seeing some weird, conflicting info there. Also, part of the extra port lid mess was trying to get the ones I needed correctly beveled and sanded nicely. I just glued a full length of four planking strips and cut as many lids as I could to work with.
- 2,191 replies
-
- 6
-
-
- confederacy
- Model Shipways
- (and 1 more)
-
Hey Popeye, thanks! The PE sheets came with the kit. They're are pretty clean too, and lots of extras all the way around with this kit. Thanks Chuck! I did have some difficulty blackening the parts. Augie left me with a pretty good mixture that worked for him, but ultimately ended up going with a washed paint.
- 2,191 replies
-
- 8
-
-
- confederacy
- Model Shipways
- (and 1 more)