HOLIDAY DONATION DRIVE - SUPPORT MSW - DO YOUR PART TO KEEP THIS GREAT FORUM GOING! (Only 13 donations so far - C'mon guys!)
×


Moonbug
-
Posts
1,028 -
Joined
-
Last visited
Content Type
Profiles
Forums
Gallery
Events
Everything posted by Moonbug
-
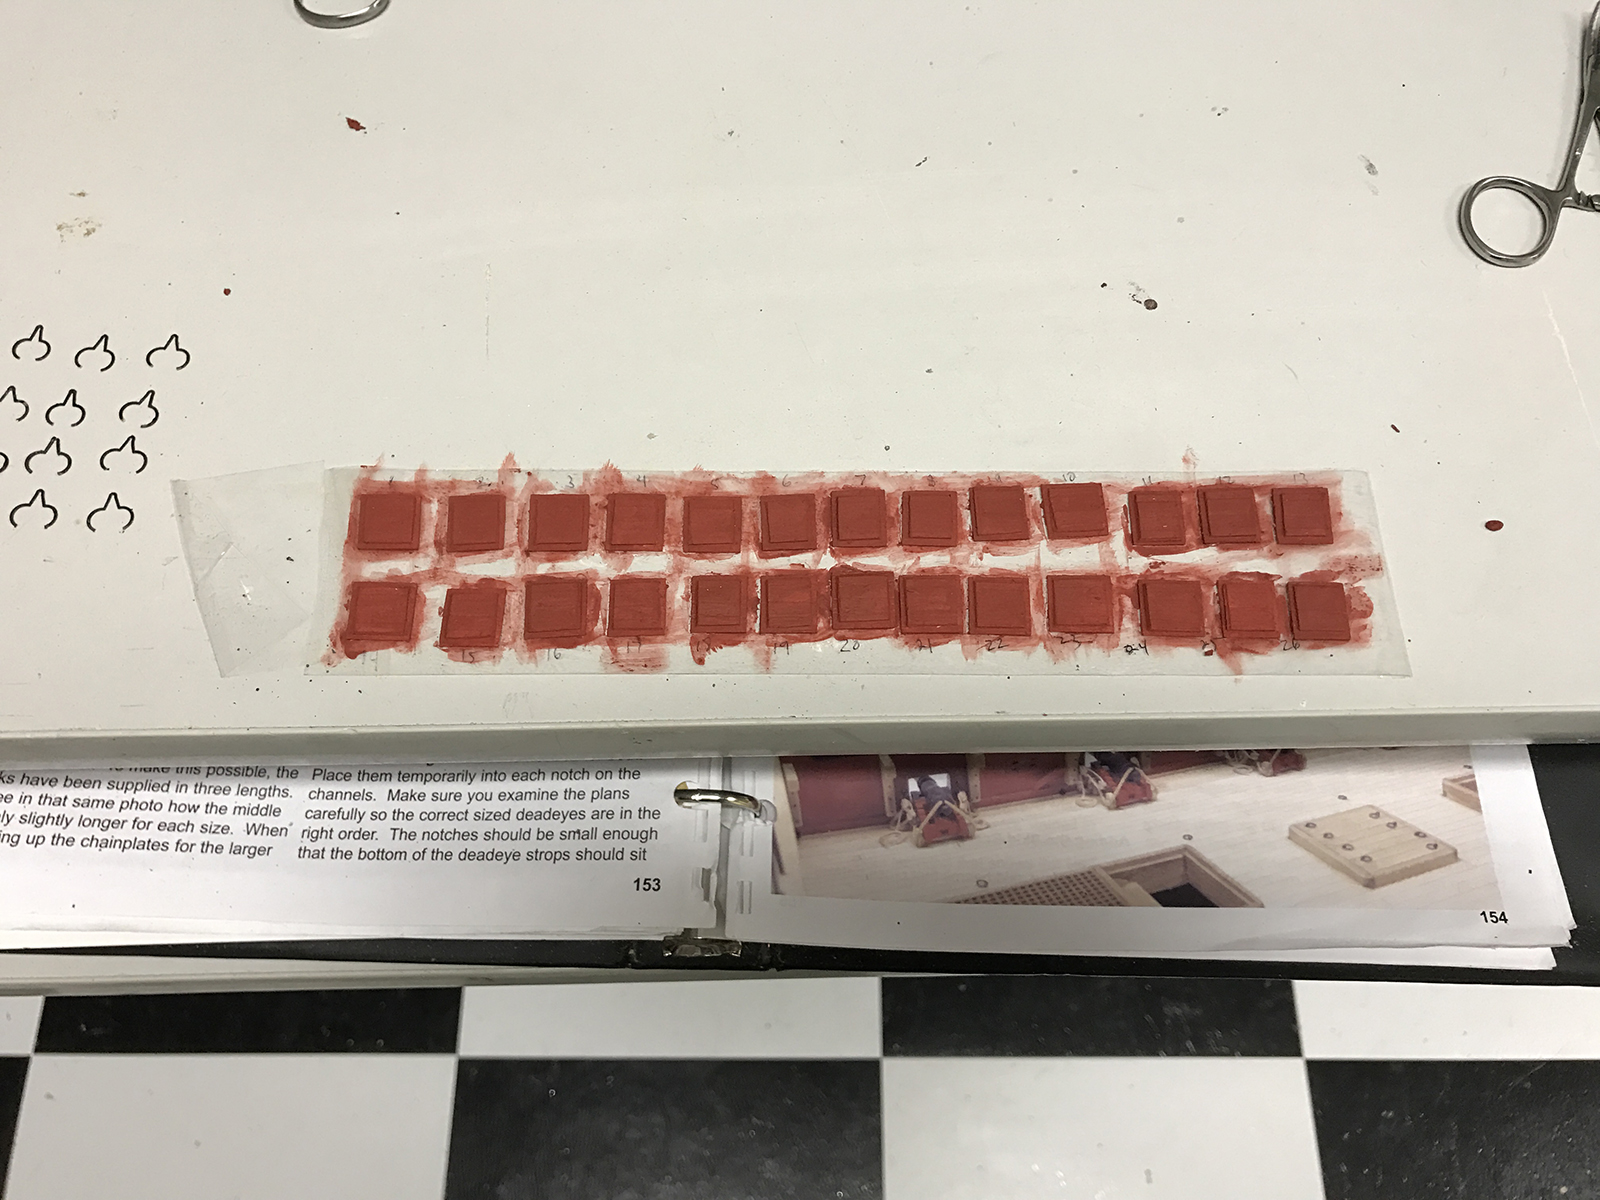
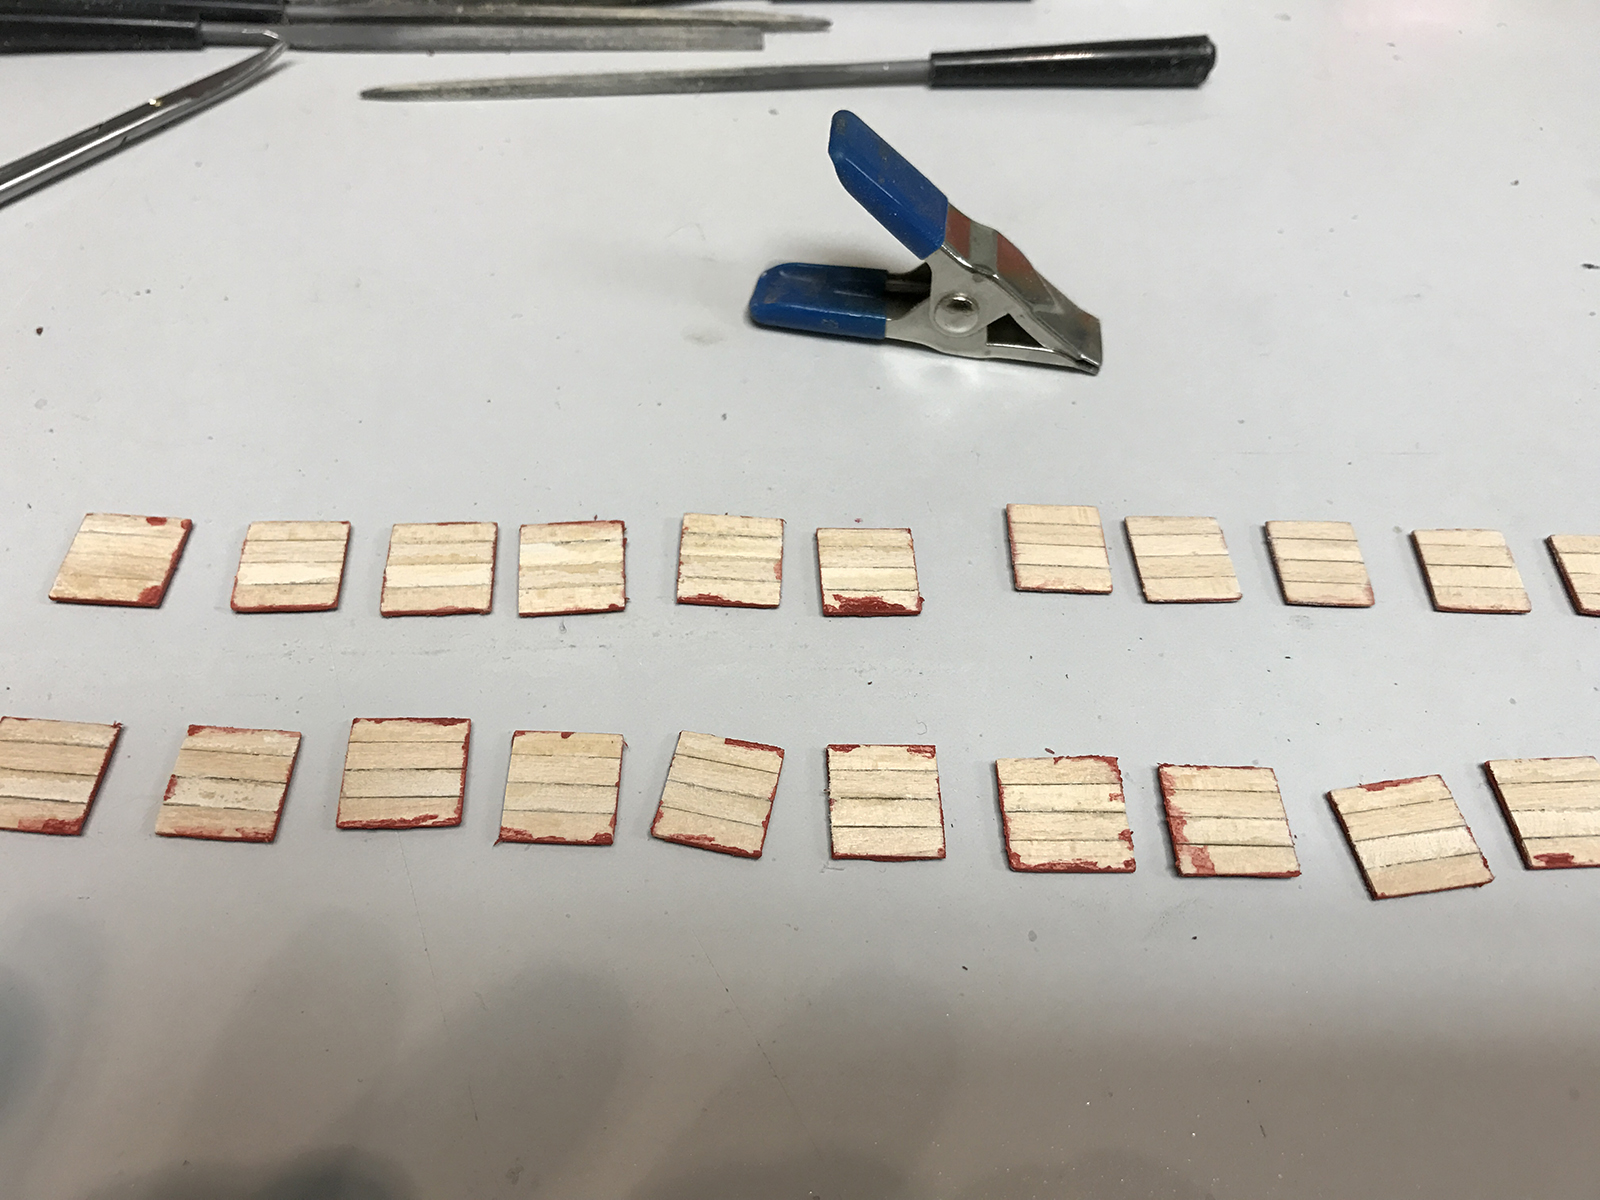
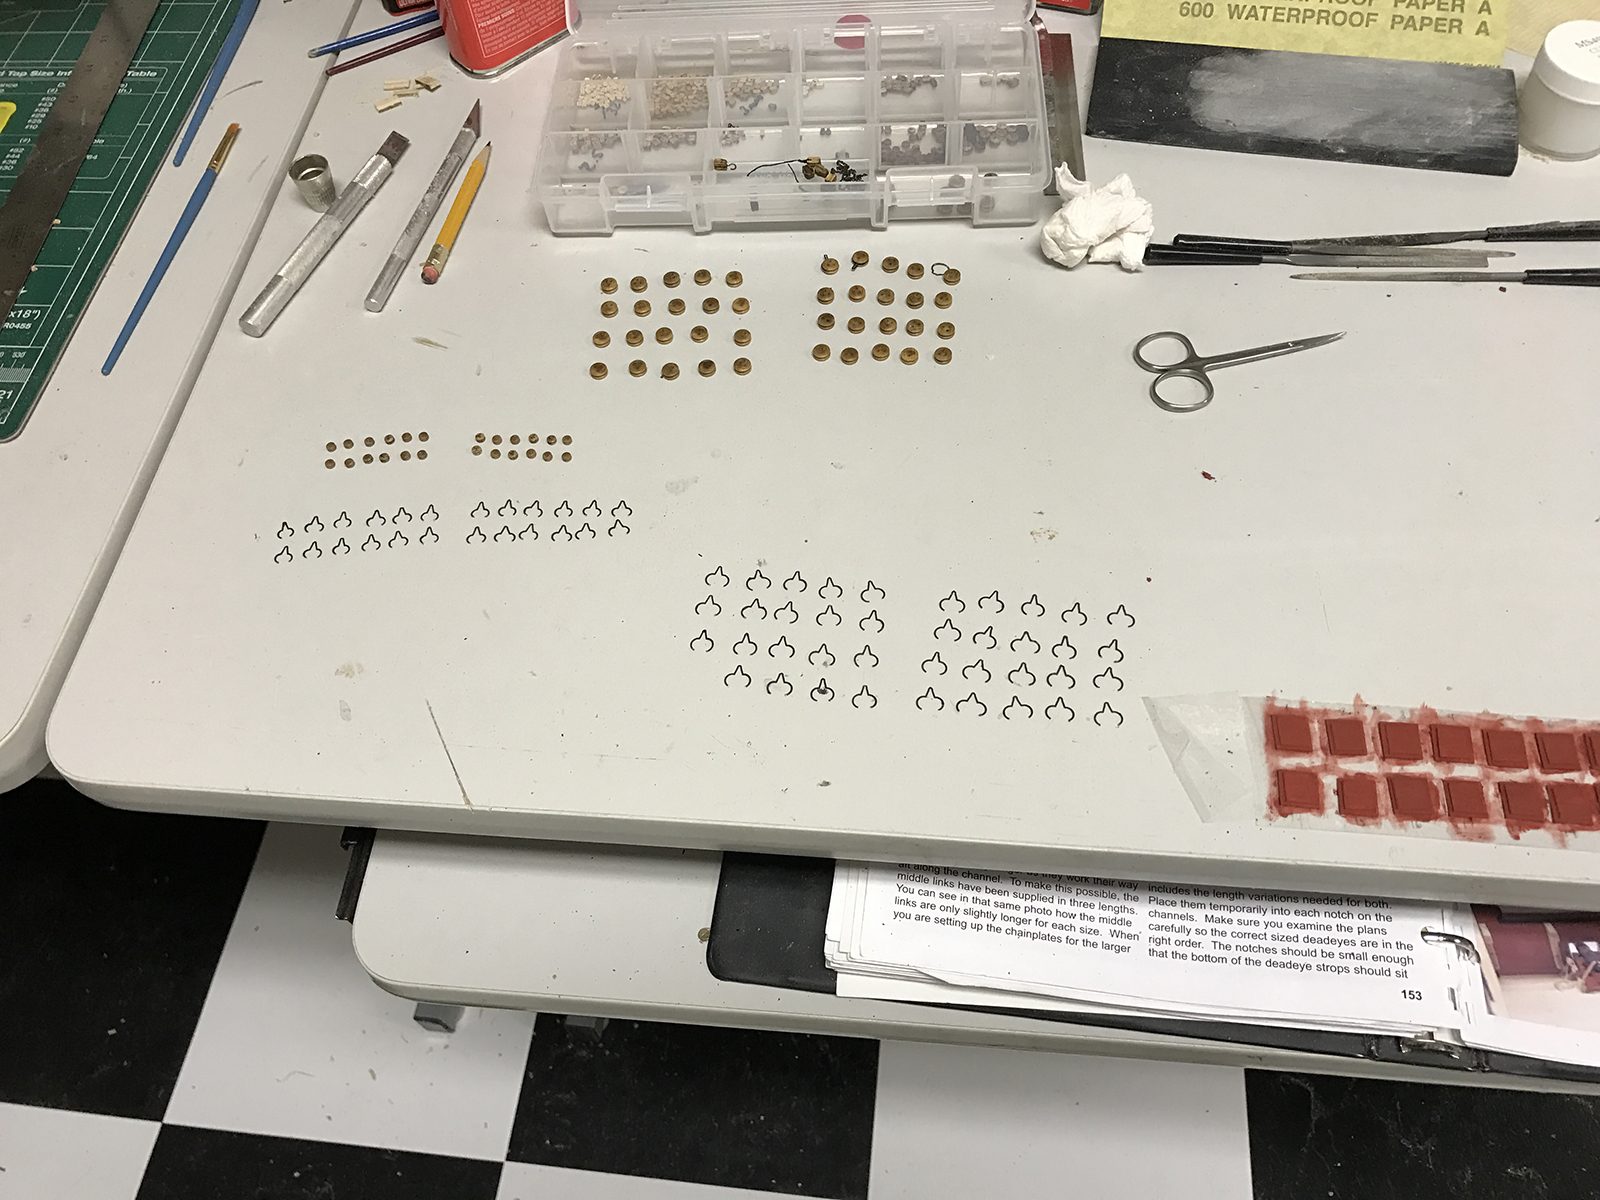
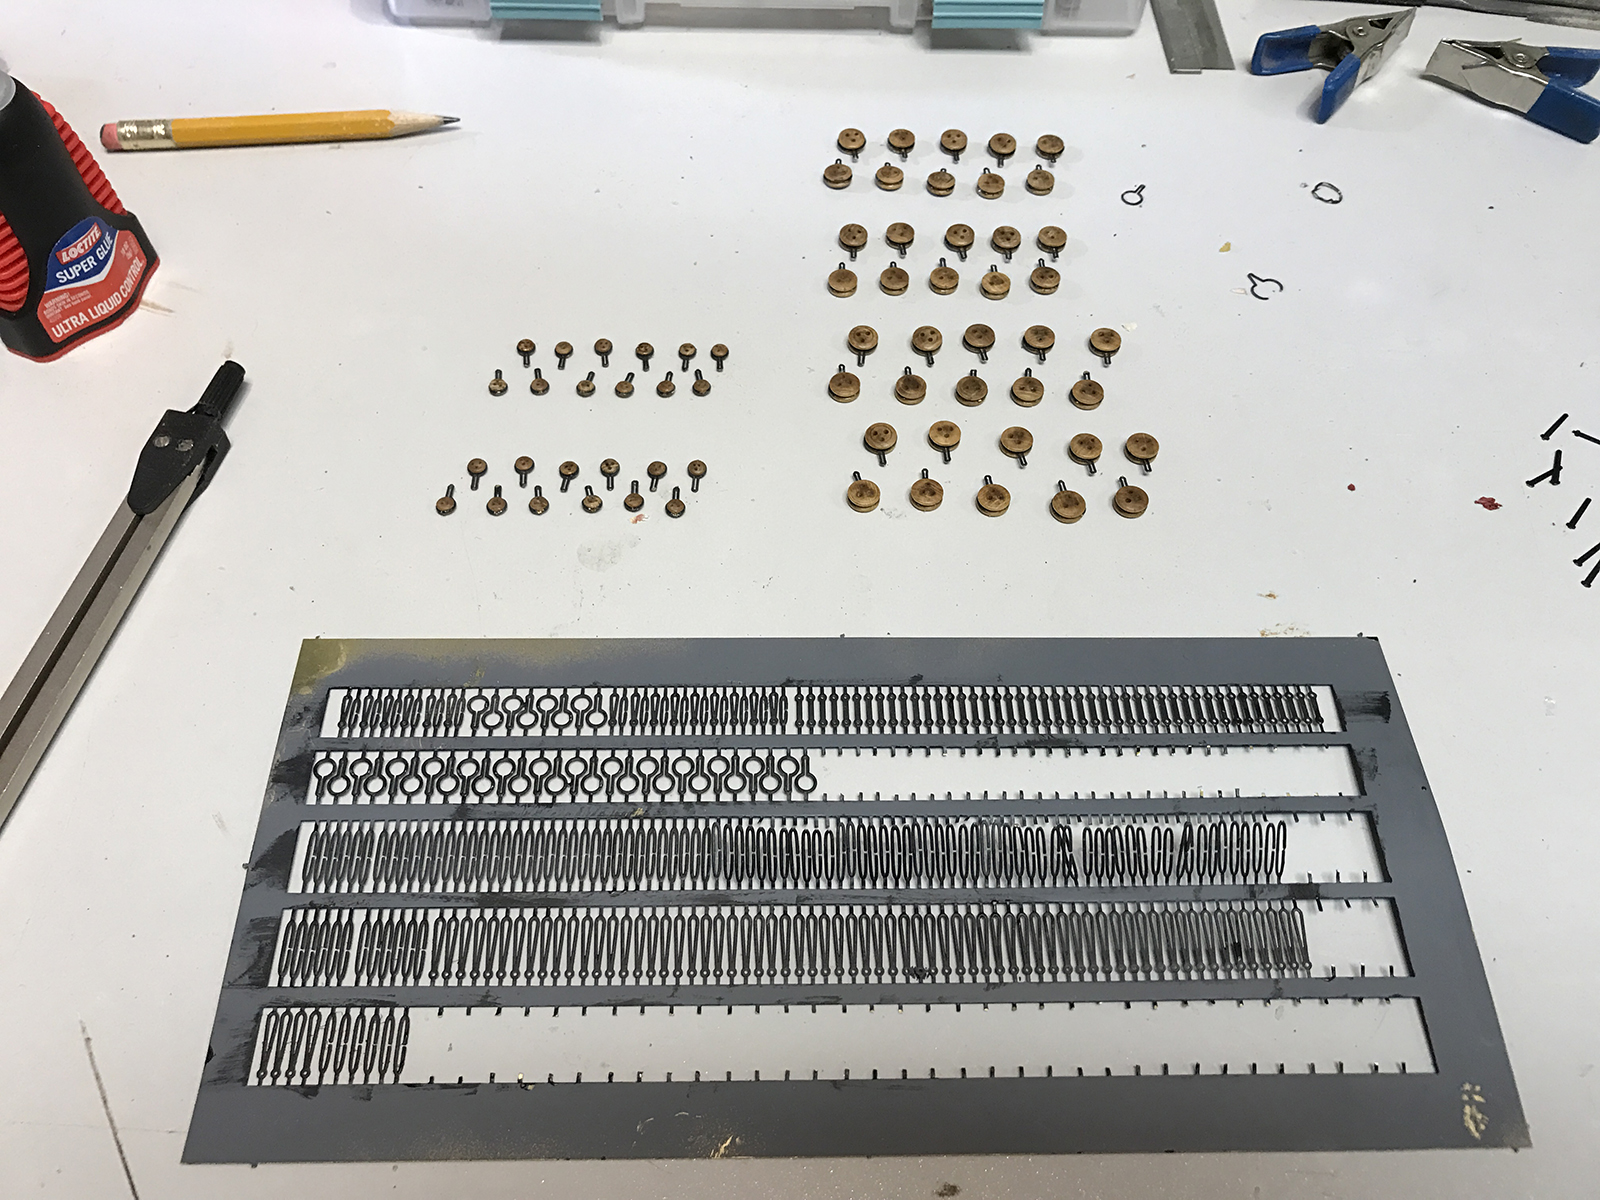
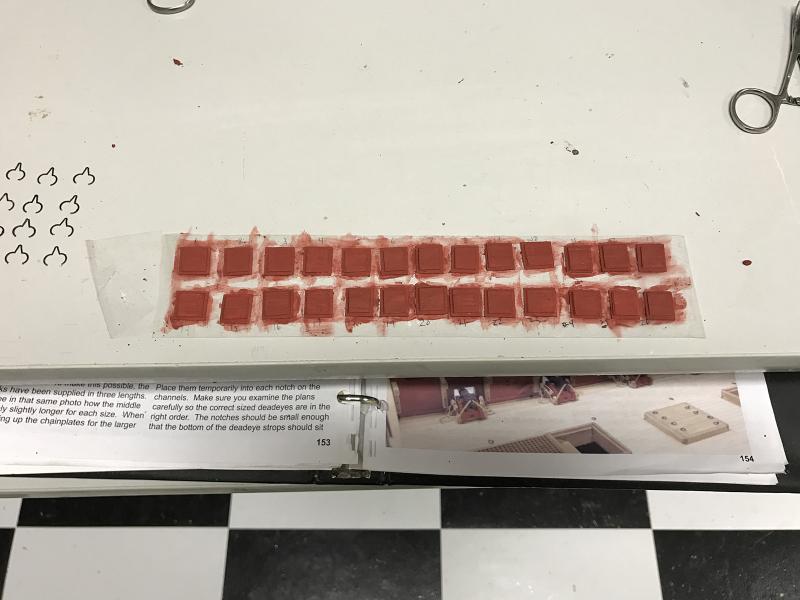
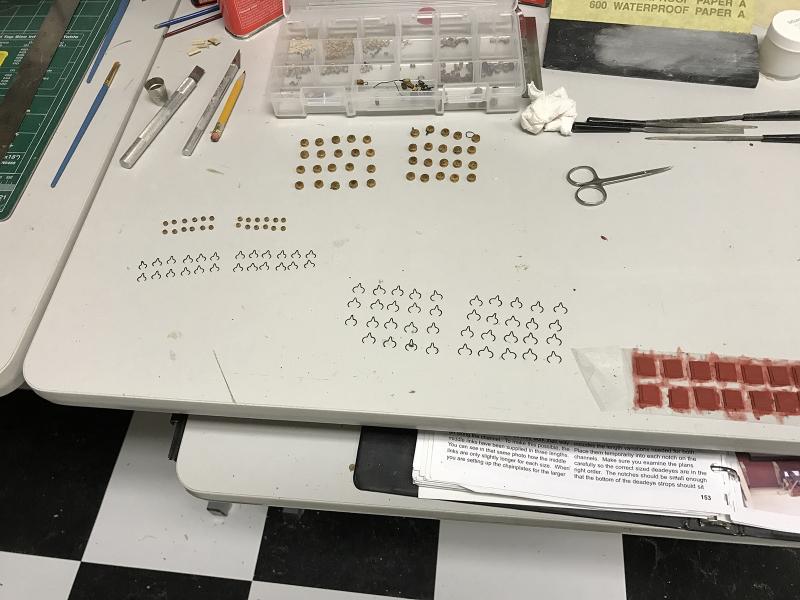
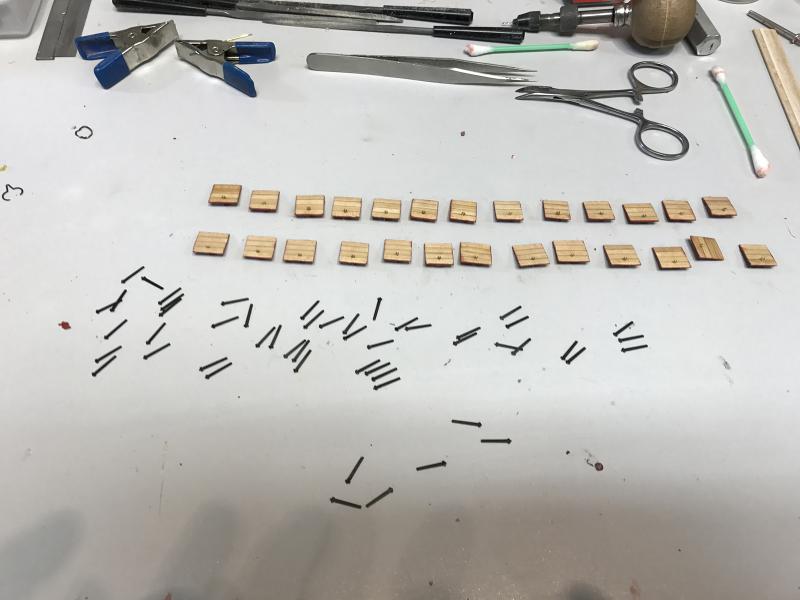
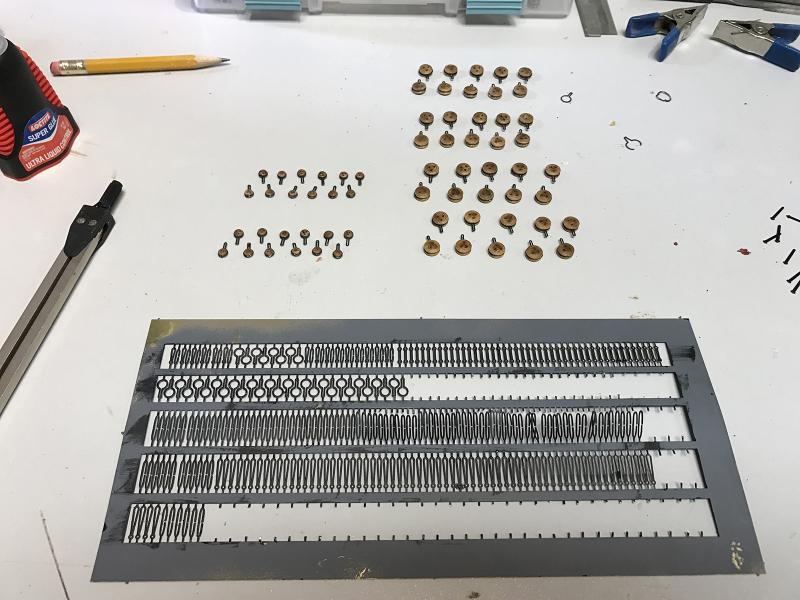
 Slow, but diligent progress being made as I move to more outer decorations. I created the gun port lids in a straightforward way, gluing four planks together and using pencil lead to simulate the caulking. I did however, run into a problem painting - which in turn led to my acquisition of an airbrush kit. (Here) After beveling all of the gunport lids, I taped them down them painted them bulwark red. The problem is - all of Augie's bulwark red had basically dried up. I loosened it pretty well with water and a Dremel drill as a "stir stick" of sorts, but the thickness - or shall I say - thinness of it was problematic, eventually seeping around the tape and infiltrating the seams. So I had to go back and scrap then sand all of the leakage off the gunport lids. After staining and sealing, I'll have to see if any need to be re-accomplished. *Sigh* At the same time - while paint dried and was reapplied, and while I scraped off excess red paint - I started assembling the deadeyes and strops.
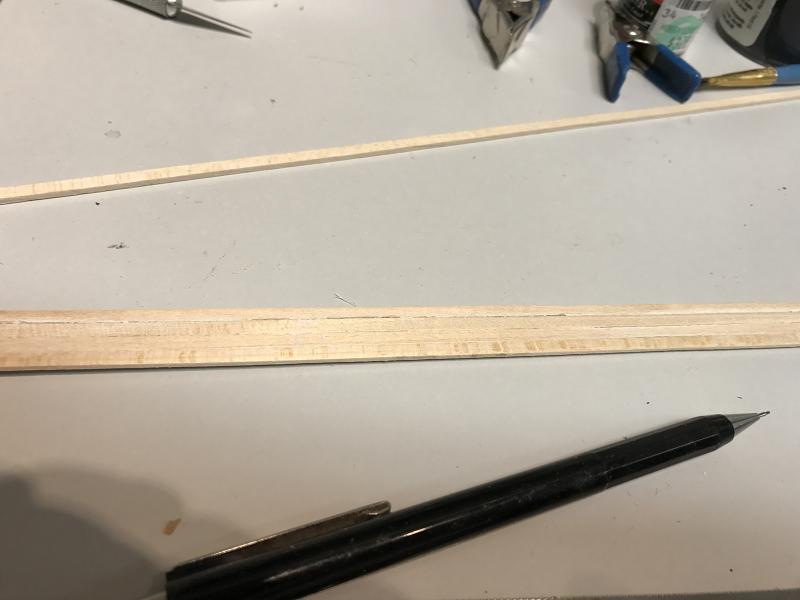

- 2,191 replies
-
- 23
-

-
- confederacy
- Model Shipways
- (and 1 more)
-
Having little to no talent for metal work - this is all very impressive to me! Nicely done Grant.
- 339 replies
-
- 5
-
-
- dumas
- Chris-Craft
- (and 3 more)
-
Outstanding work. Your weathering techniques are very, very cool. I'm quite envious!
-
Thanks so much for the comments and likes everyone. It's my daughter's eighteenth birthday this weekend, so no t much progress... but I'll be back in the shipyard soon. Hopefully not the kind of stall I had for three months!
- 2,191 replies
-
- 7
-
-
- confederacy
- Model Shipways
- (and 1 more)
-
Got some progress done today. Tedious, and nothing elegant - ladders, fenders and chesstrees. Then took the opportunity to neutral stain and layer most of the recent work with matte lacquer.

- 2,191 replies
-
- 27
-
-
- confederacy
- Model Shipways
- (and 1 more)
-
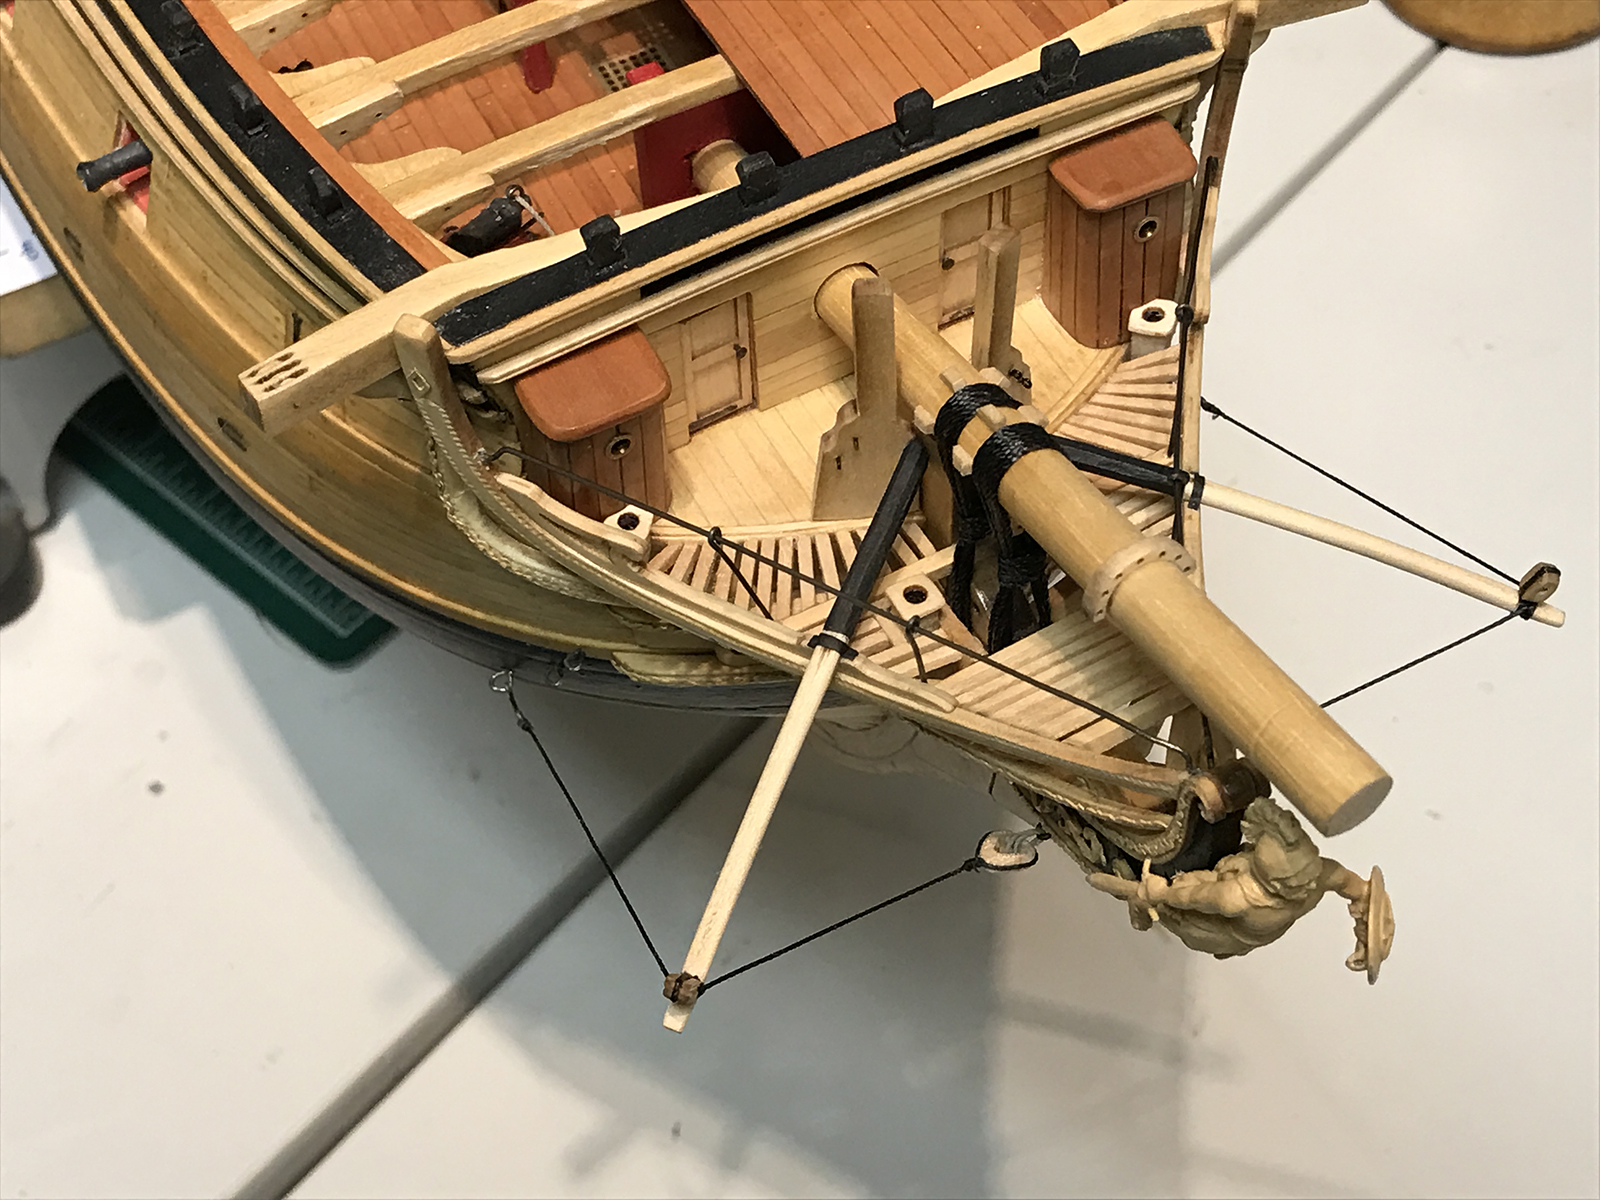
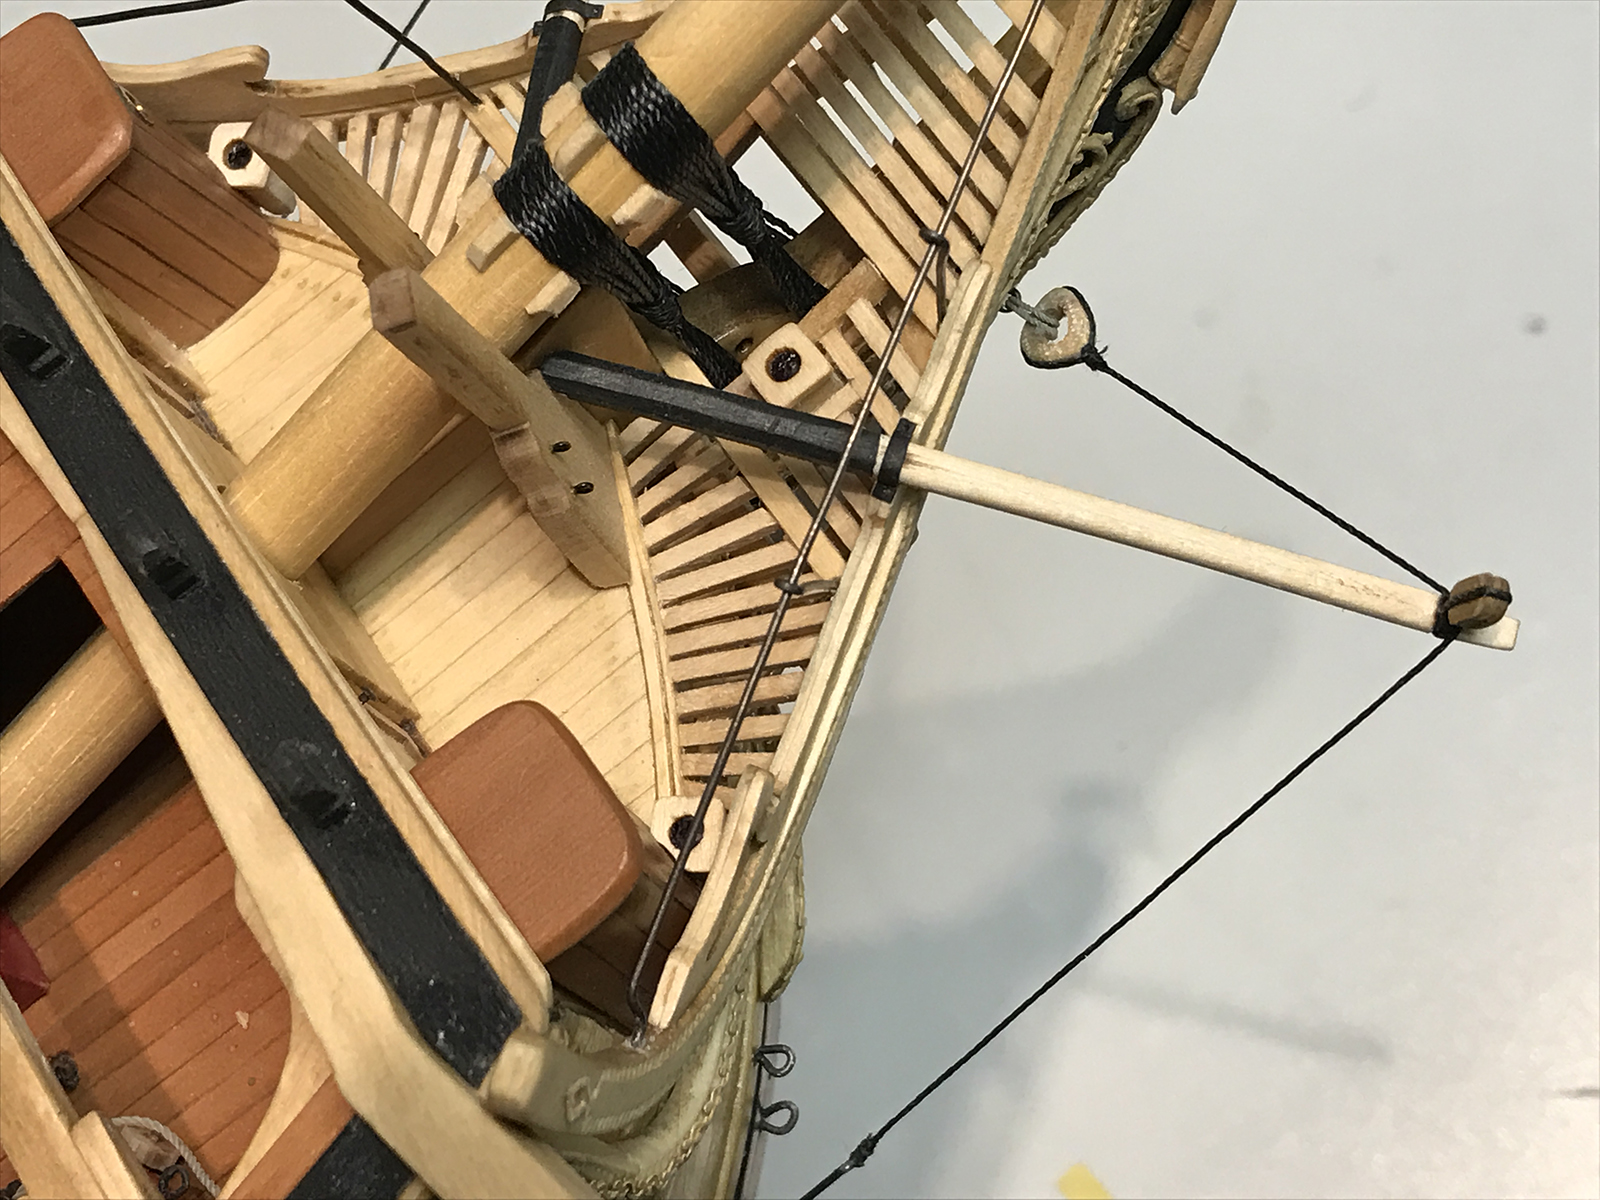
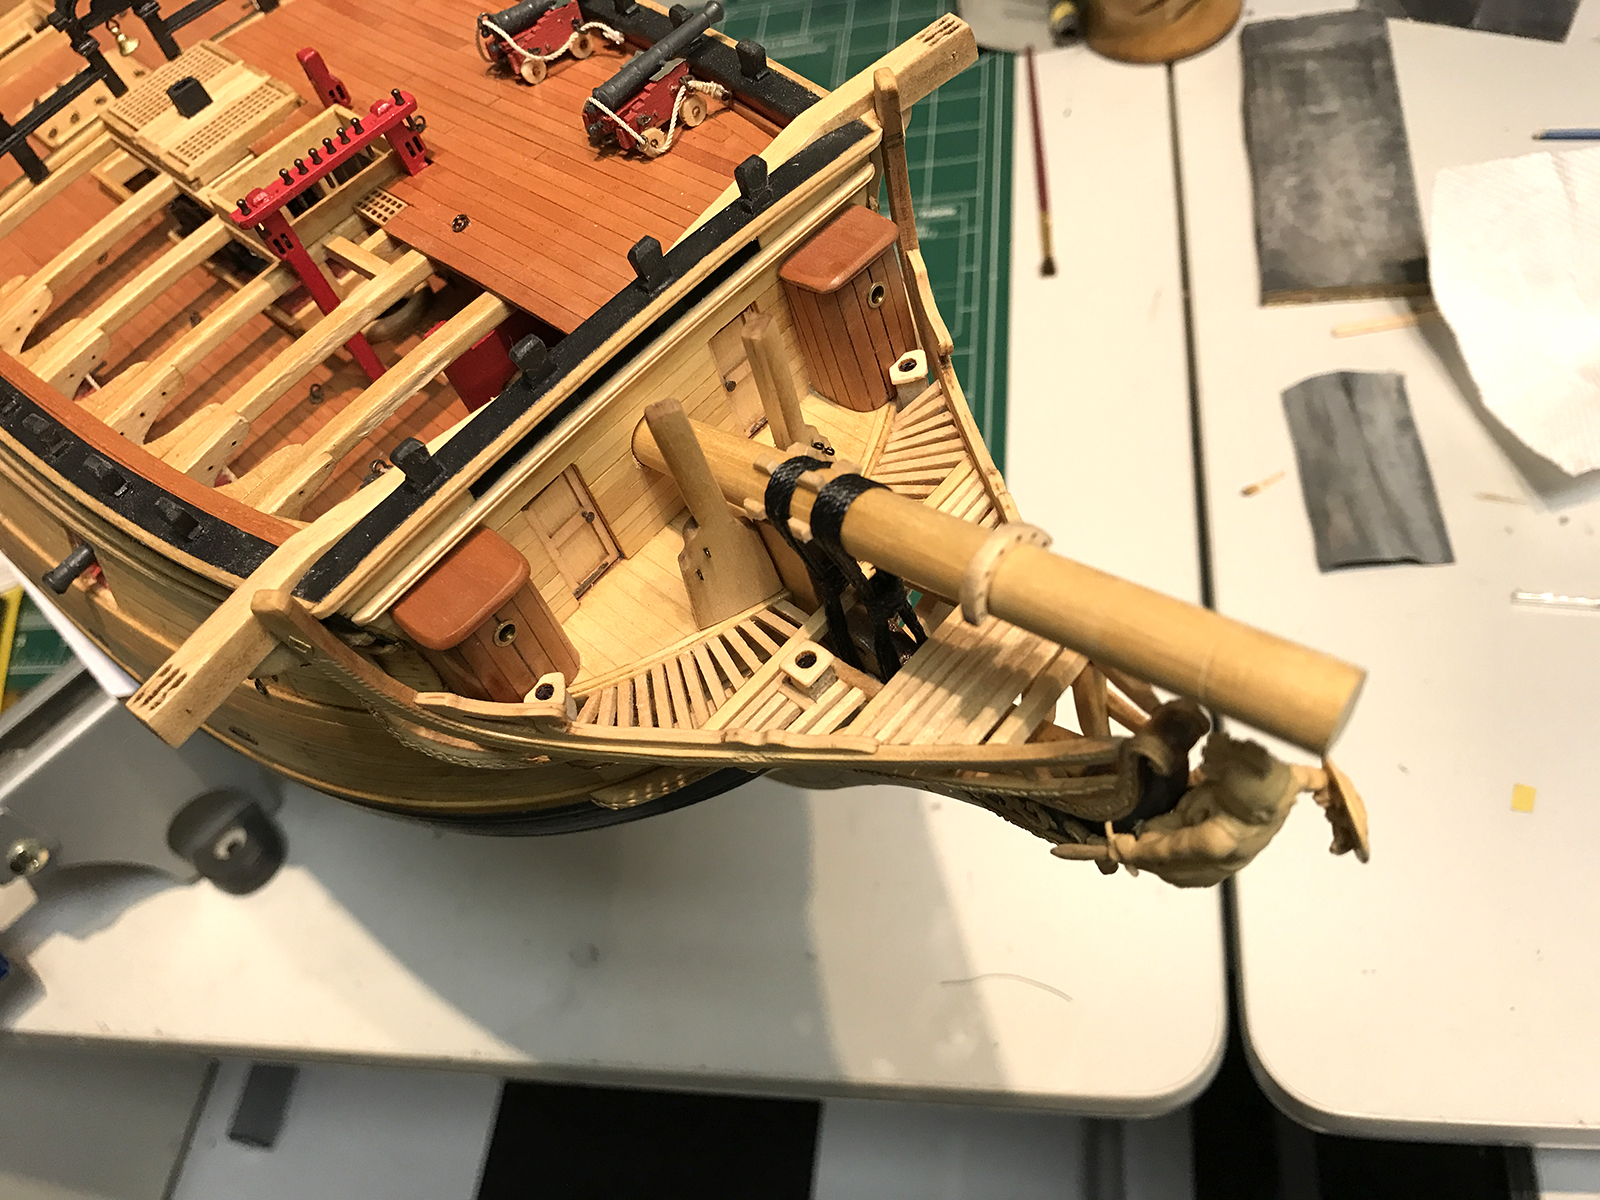
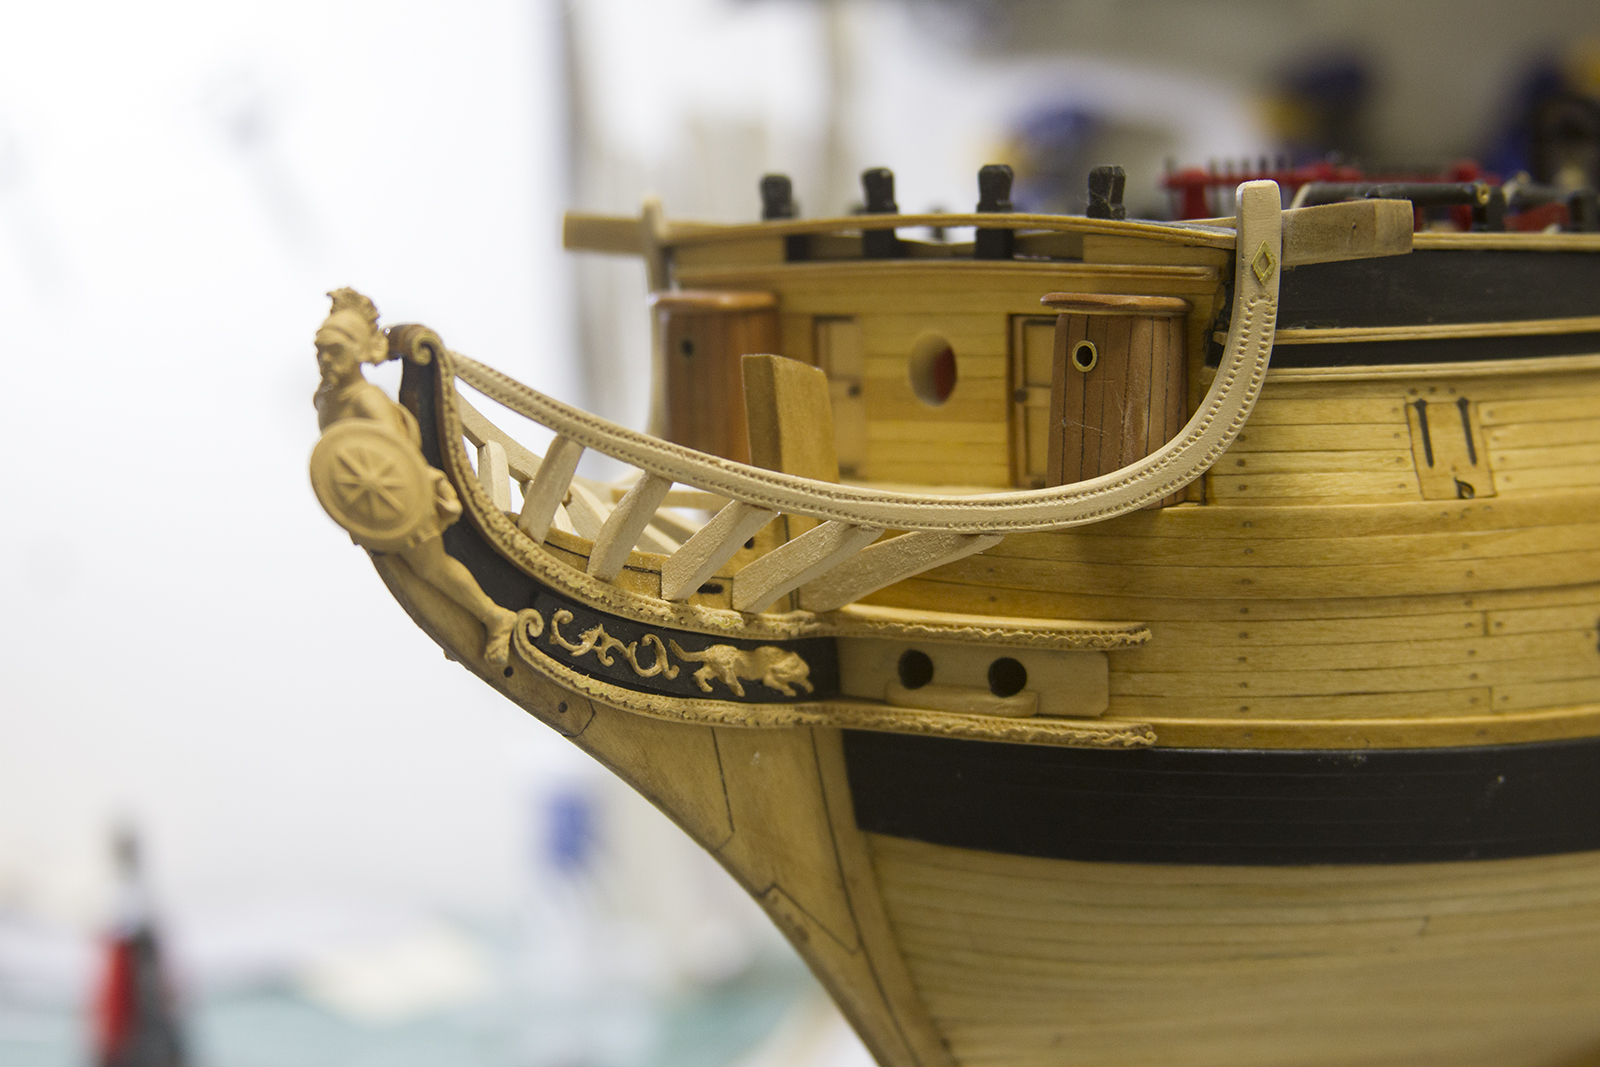
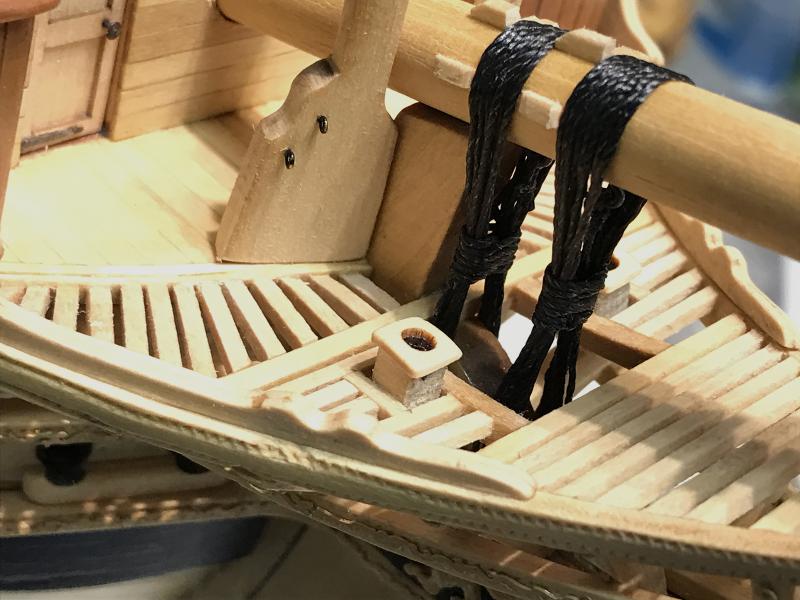
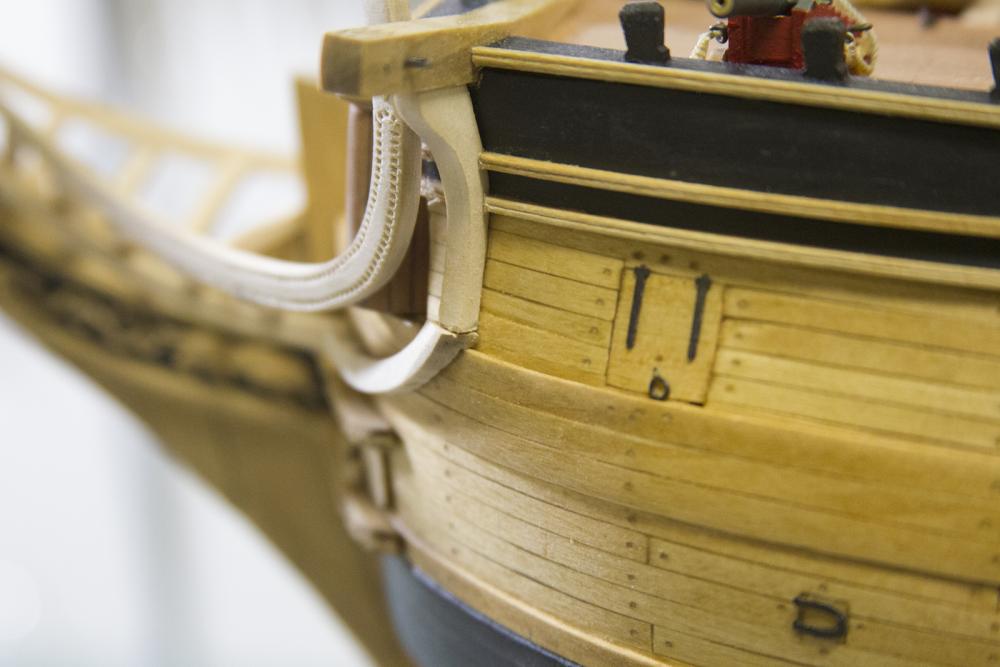
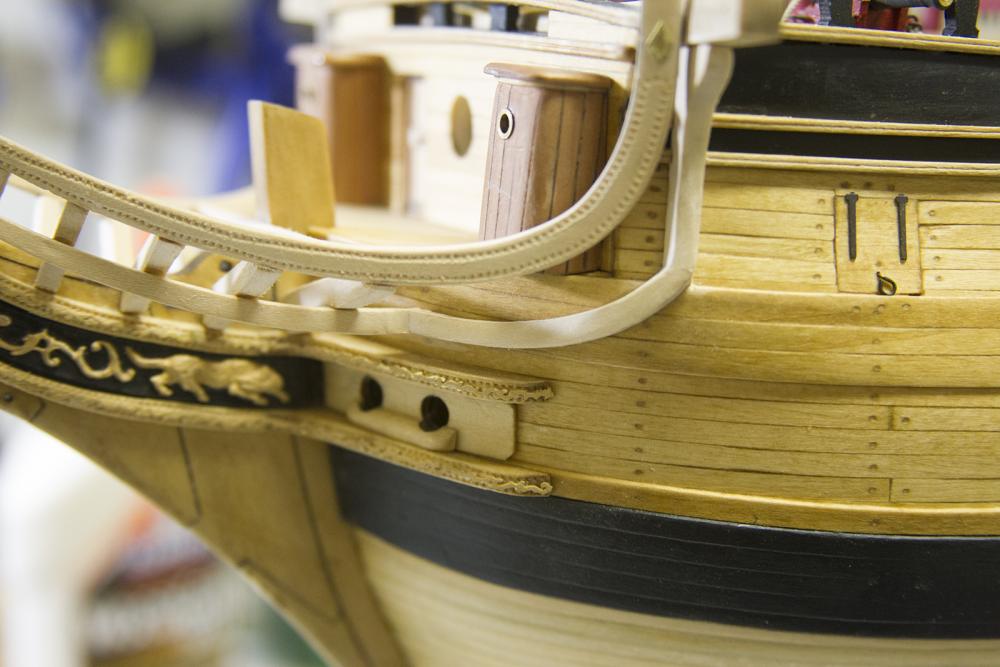
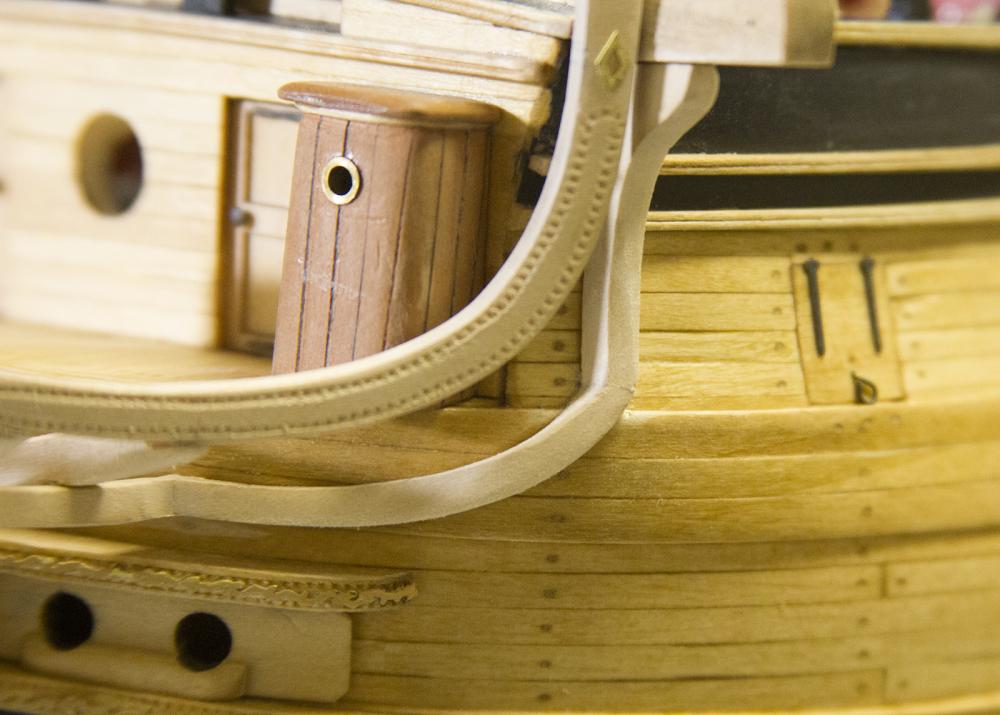
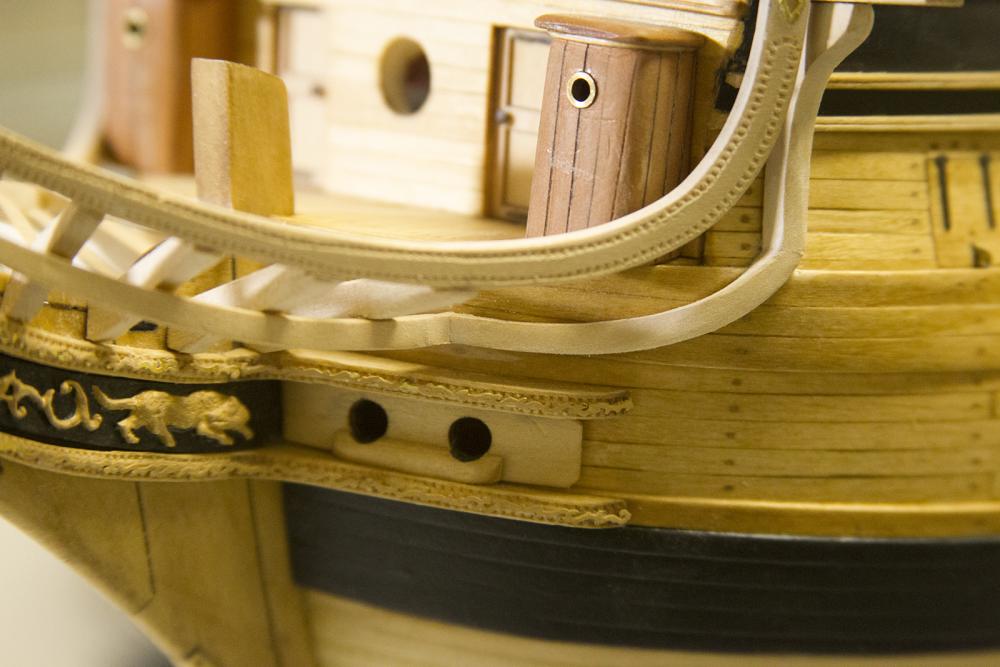
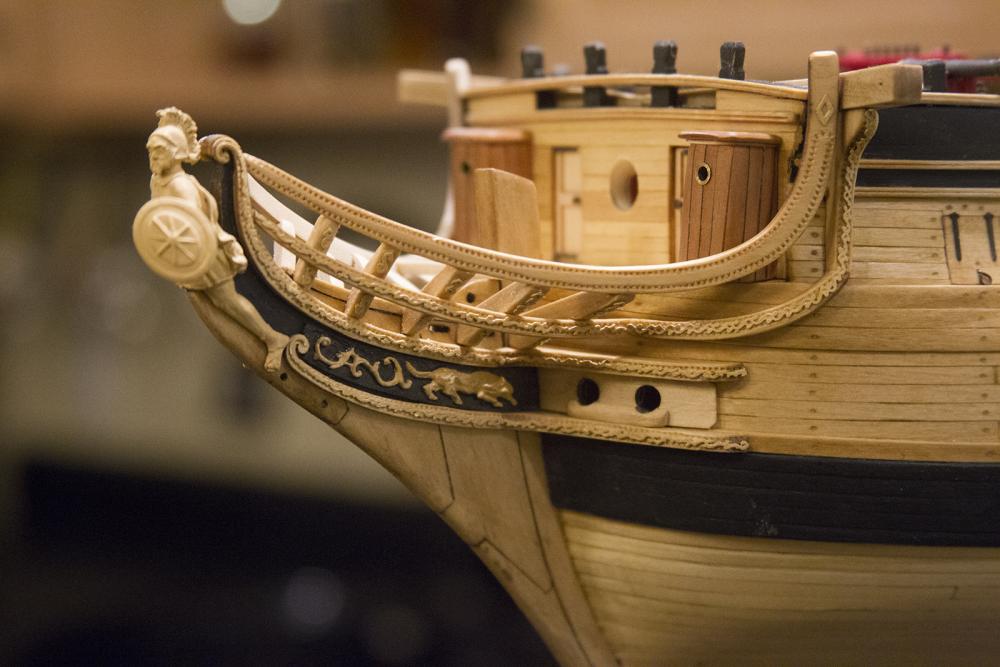
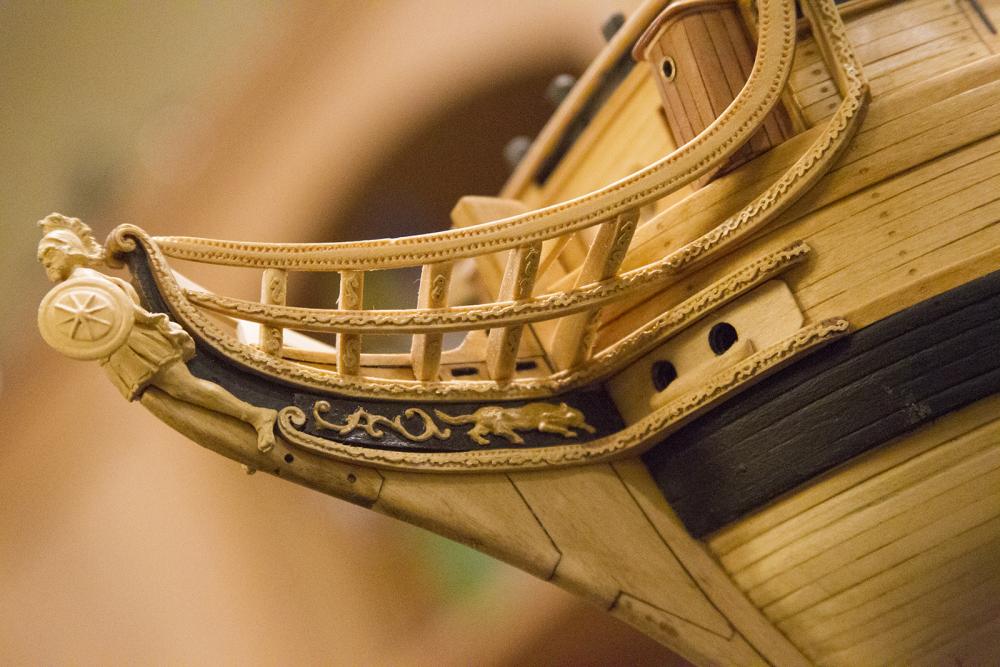
Finished off the bow this weekend by adding the boomkins, associated rigging and blocks, and then the railing.


- 2,191 replies
-
- 31
-
-
- confederacy
- Model Shipways
- (and 1 more)
-
Coming together nicely Adam!
-
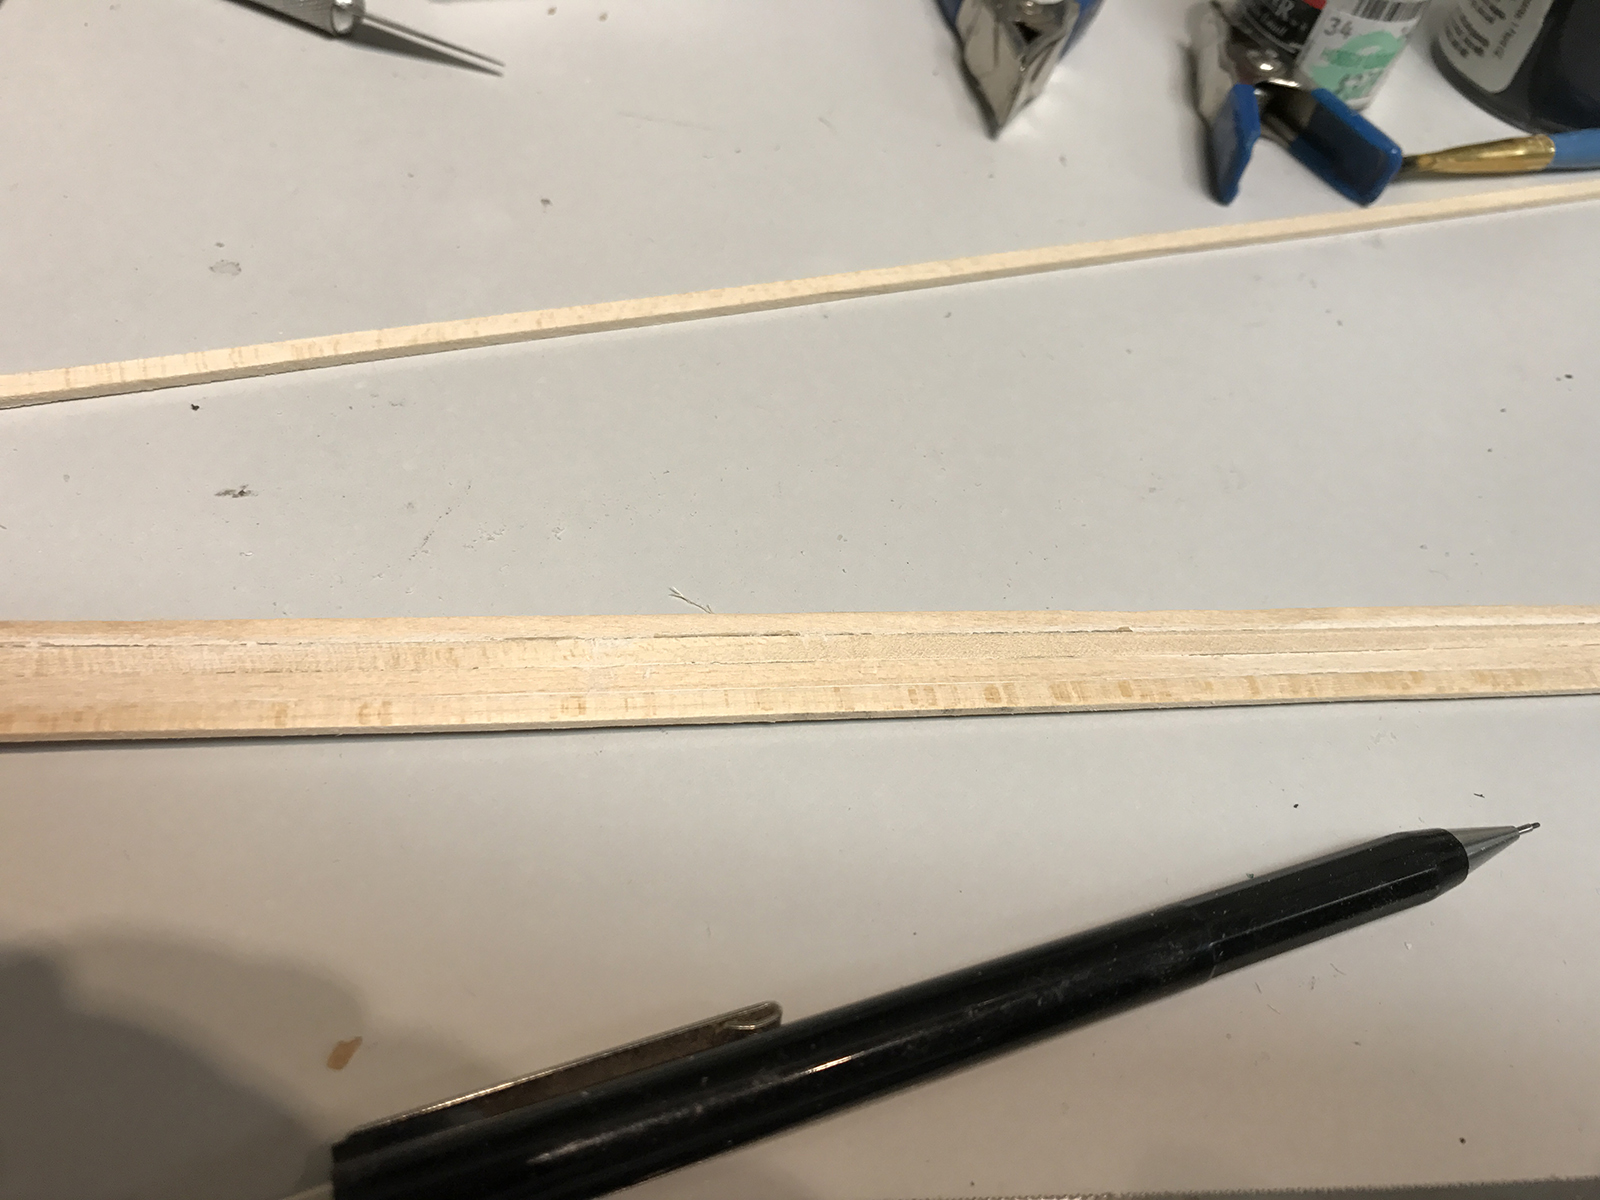
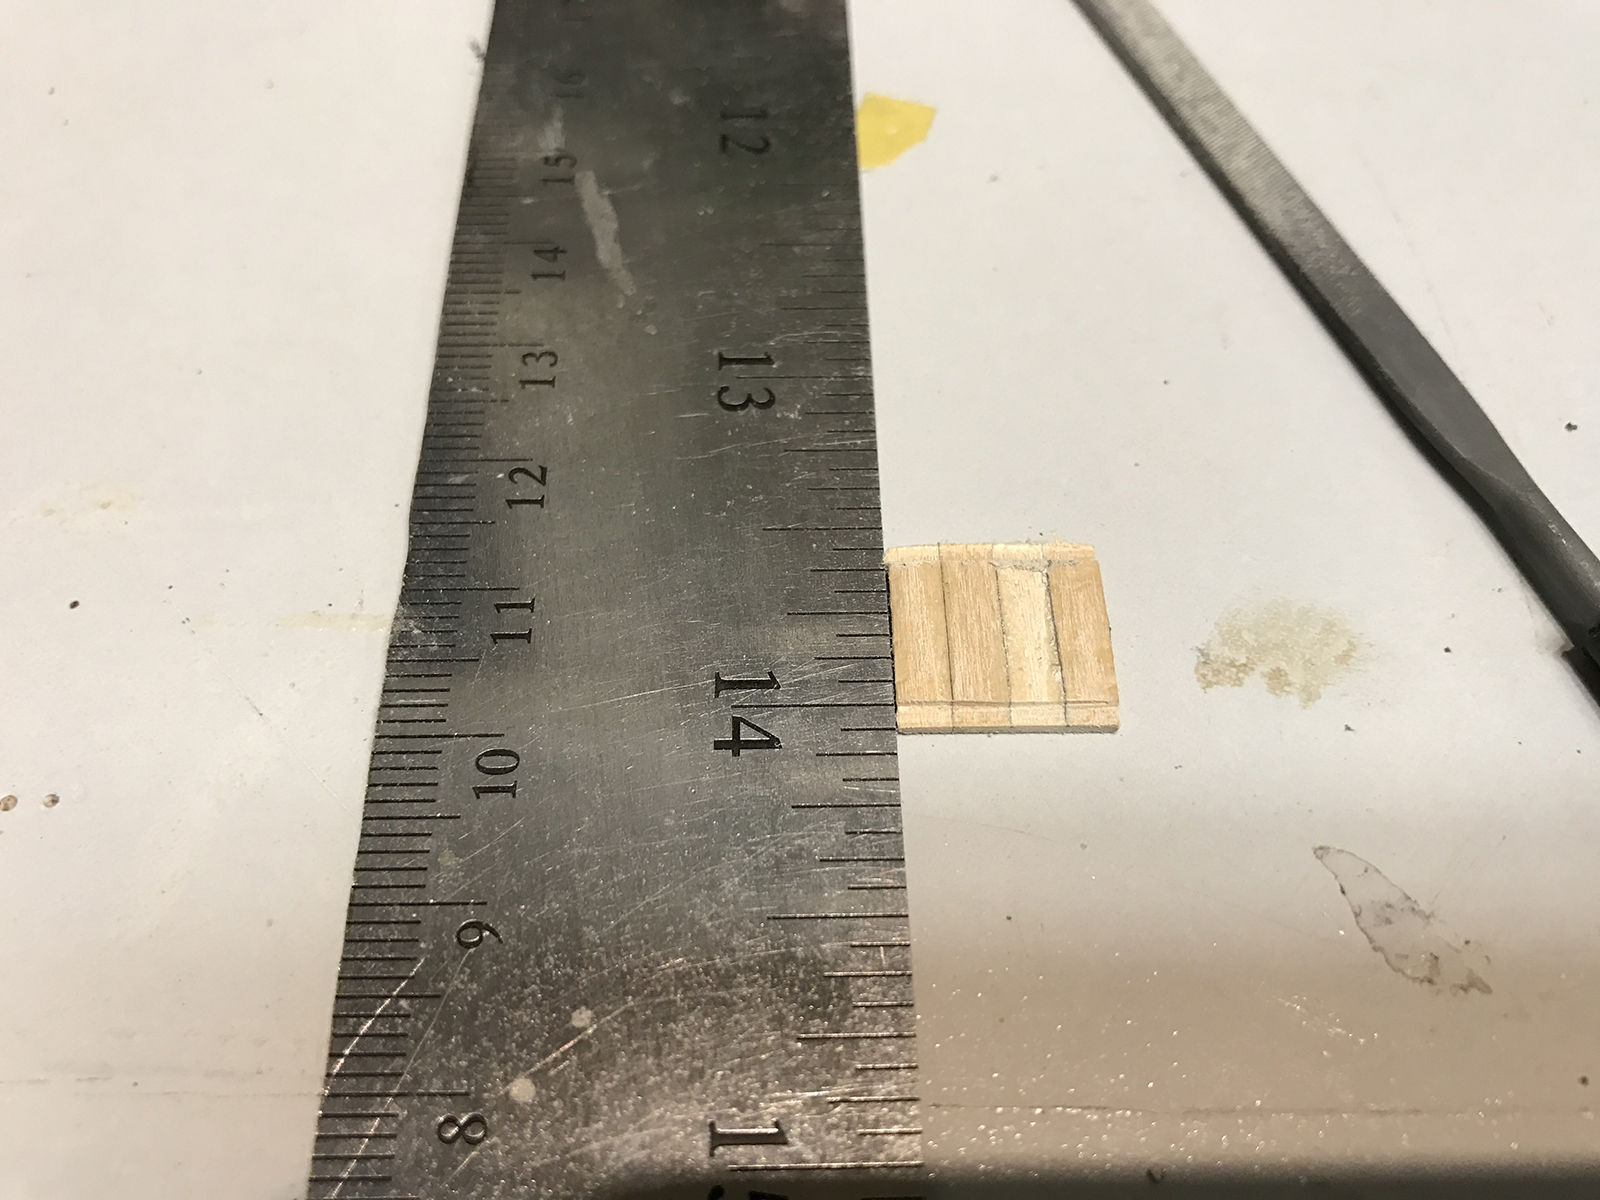
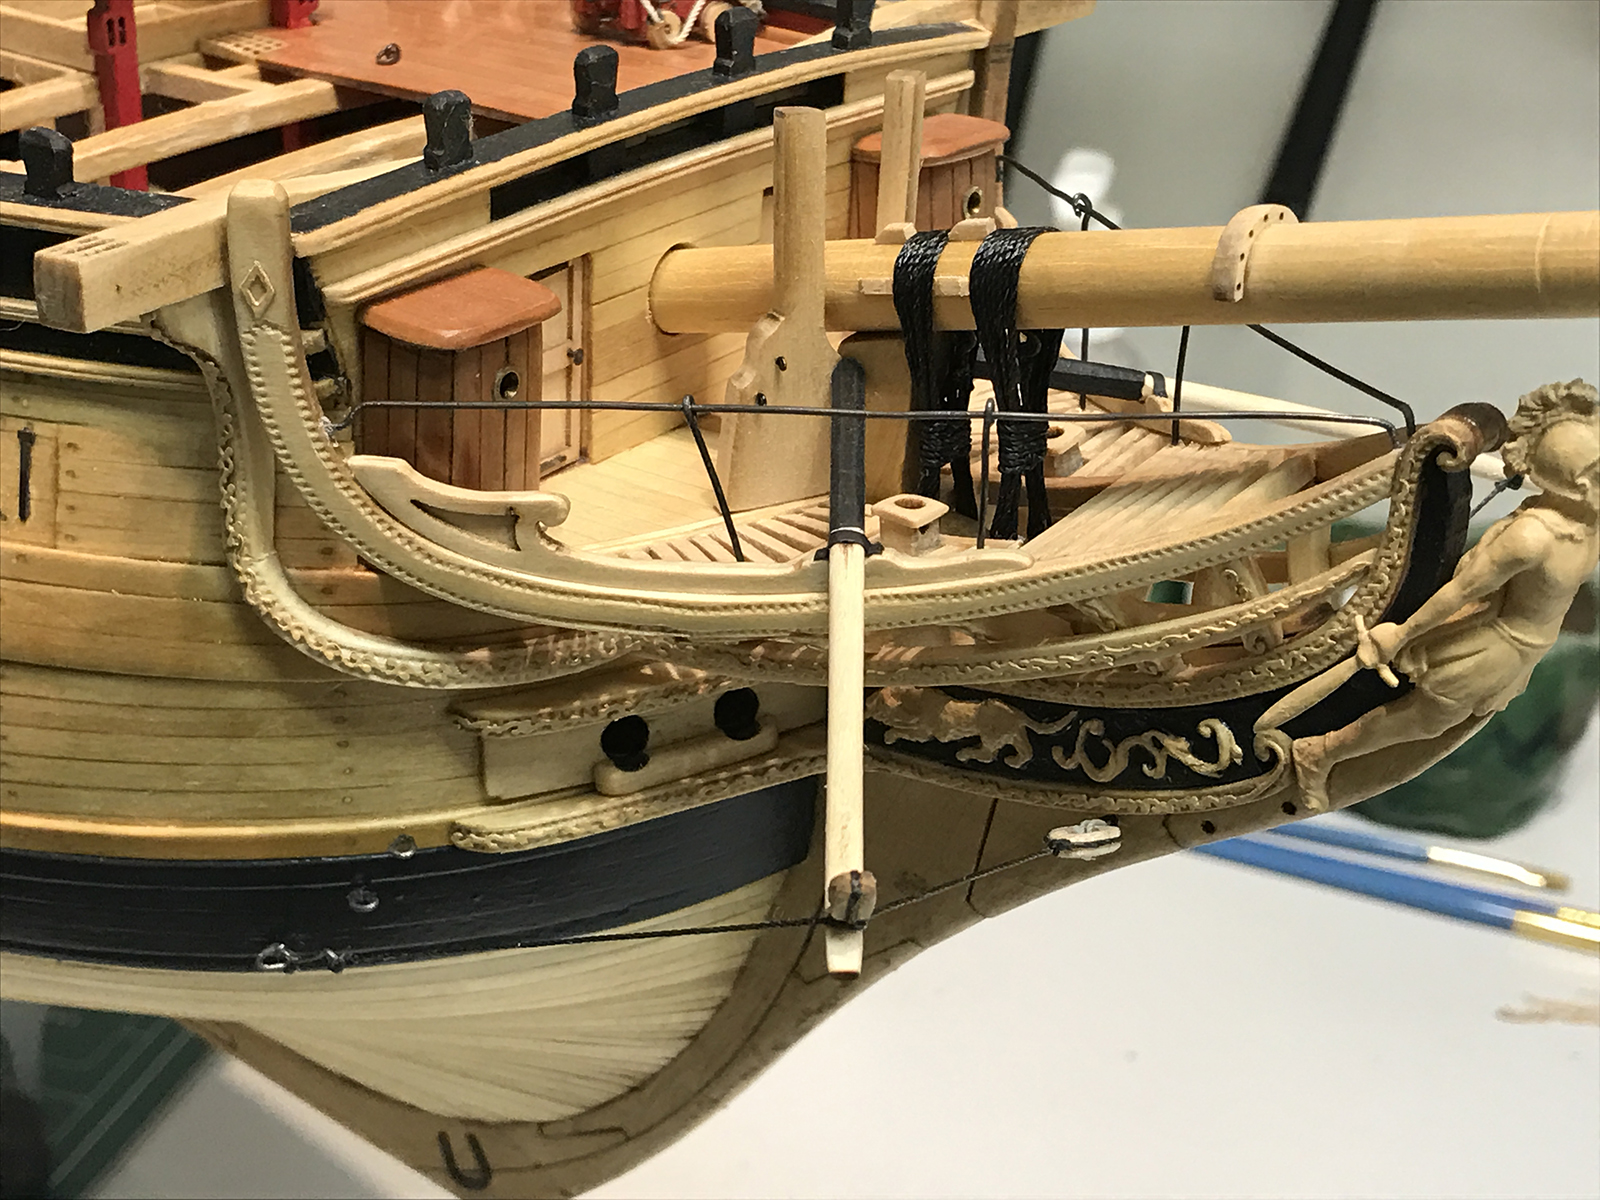
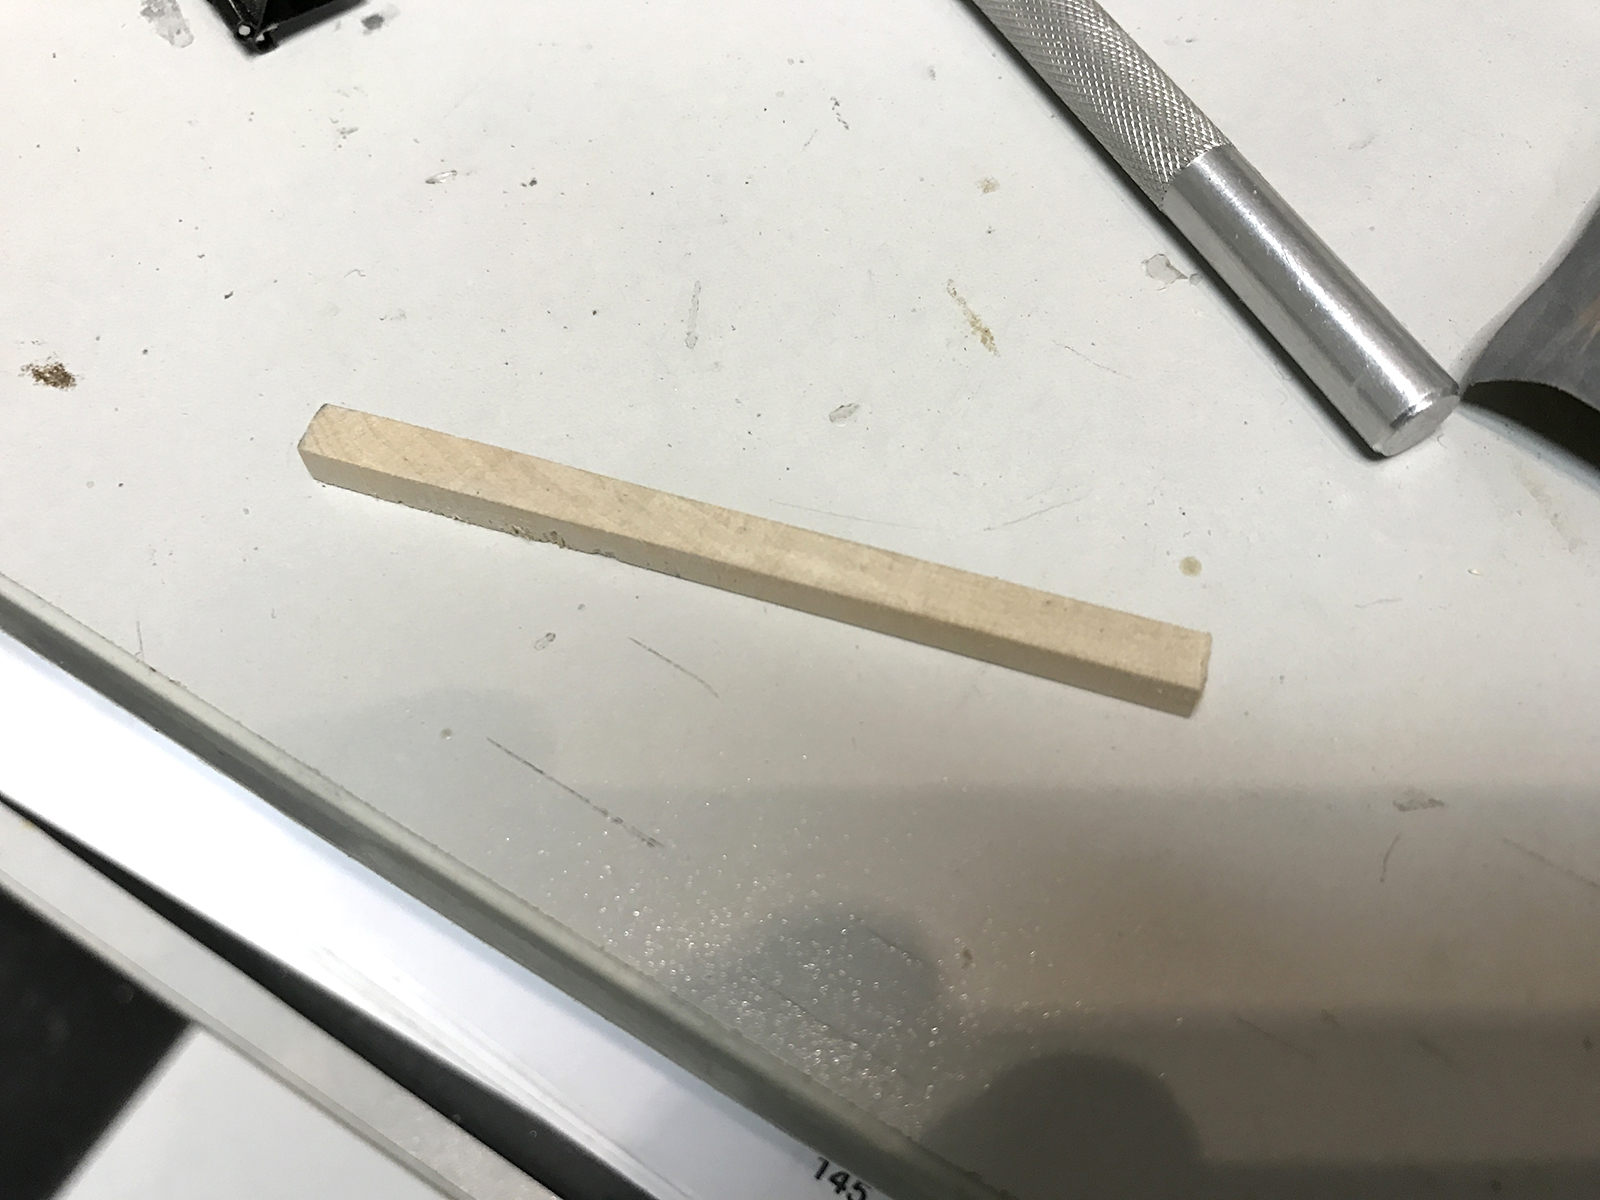
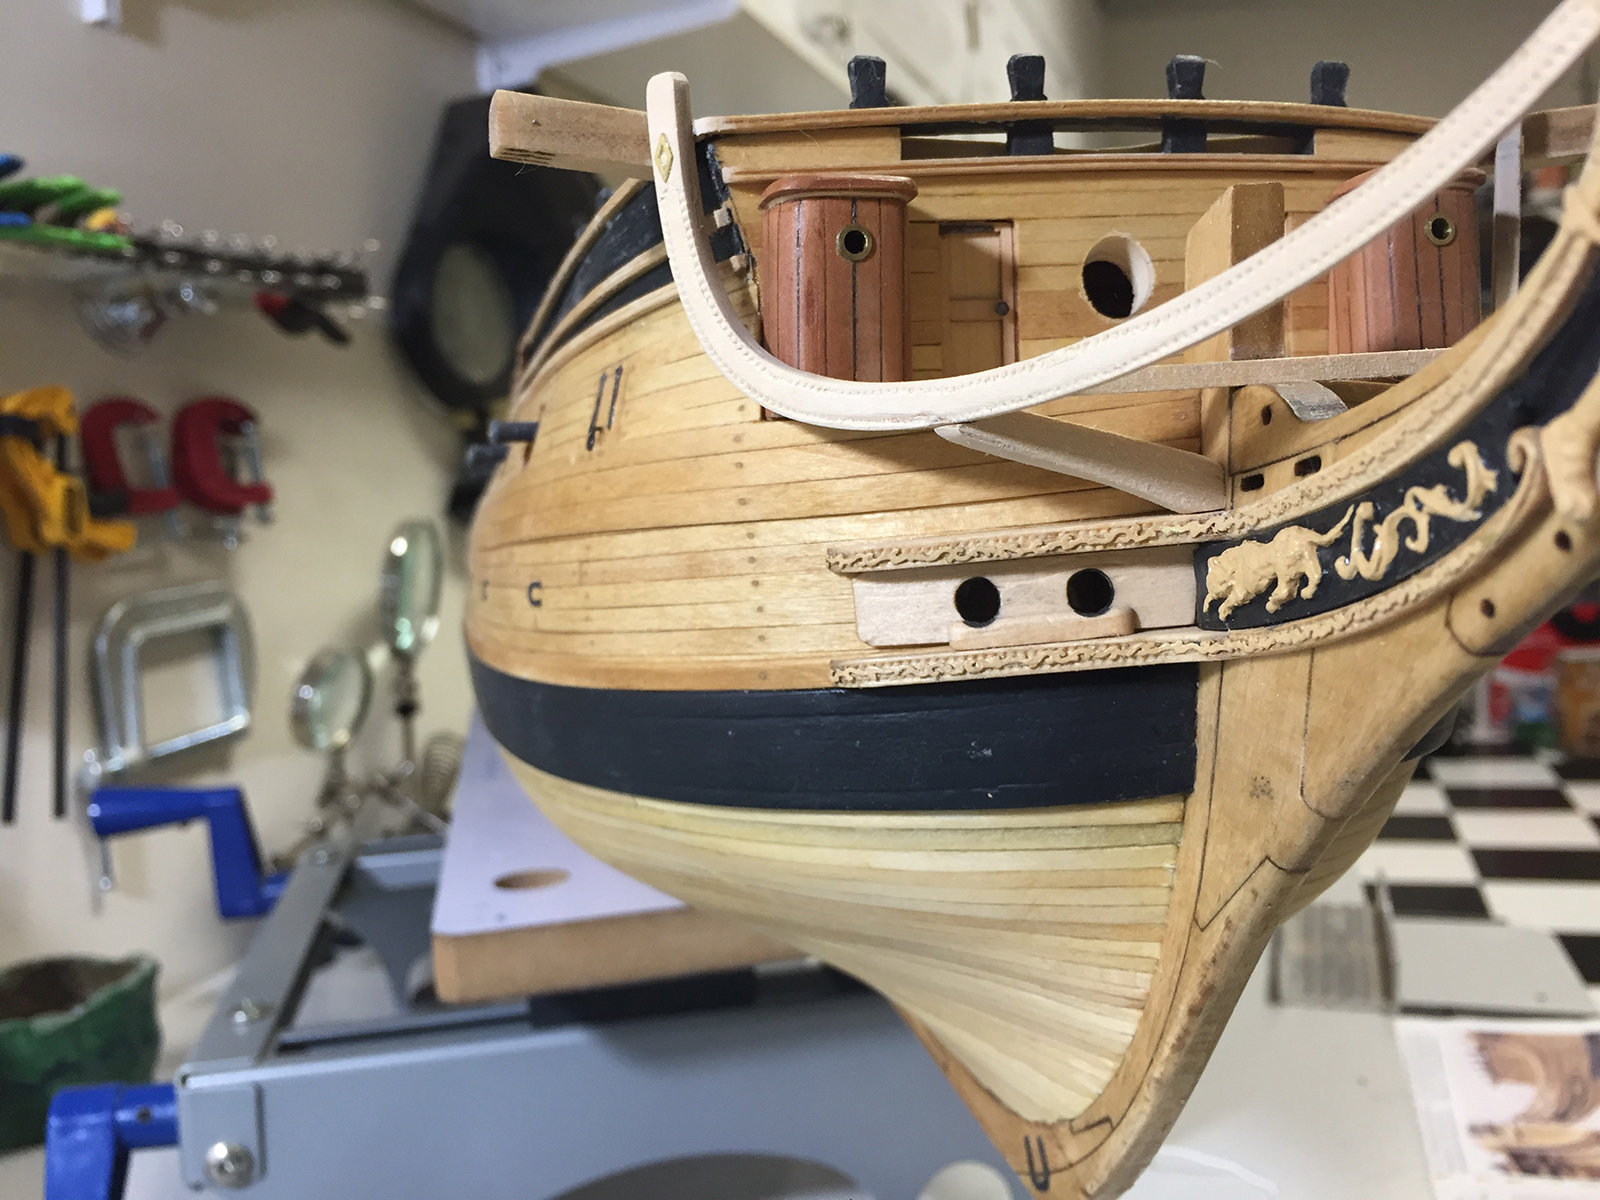
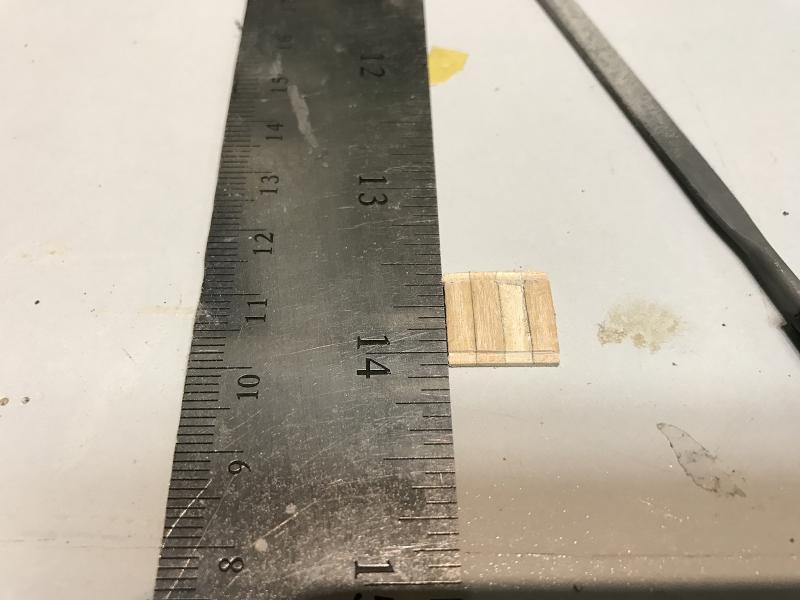
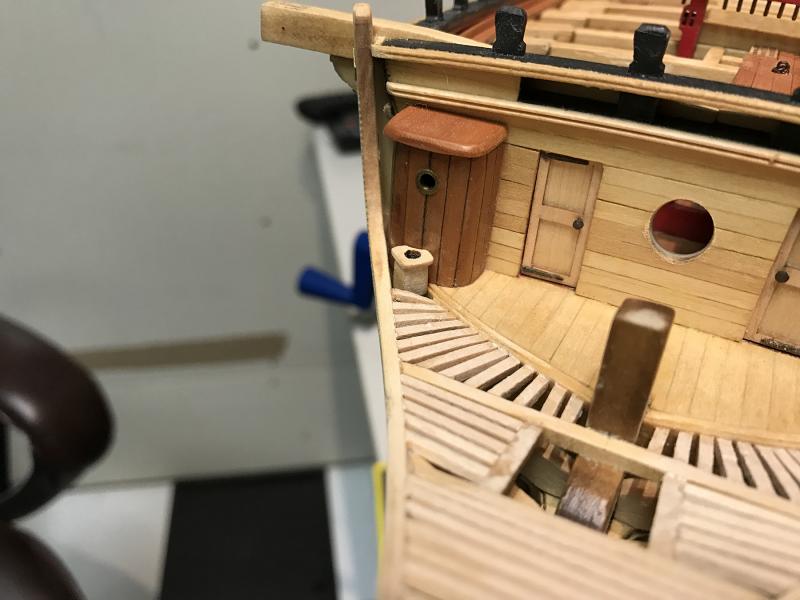
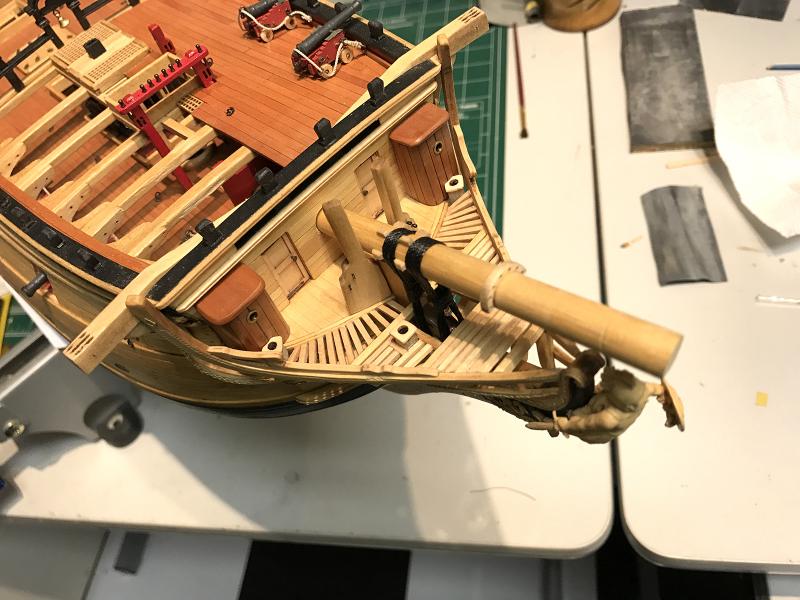
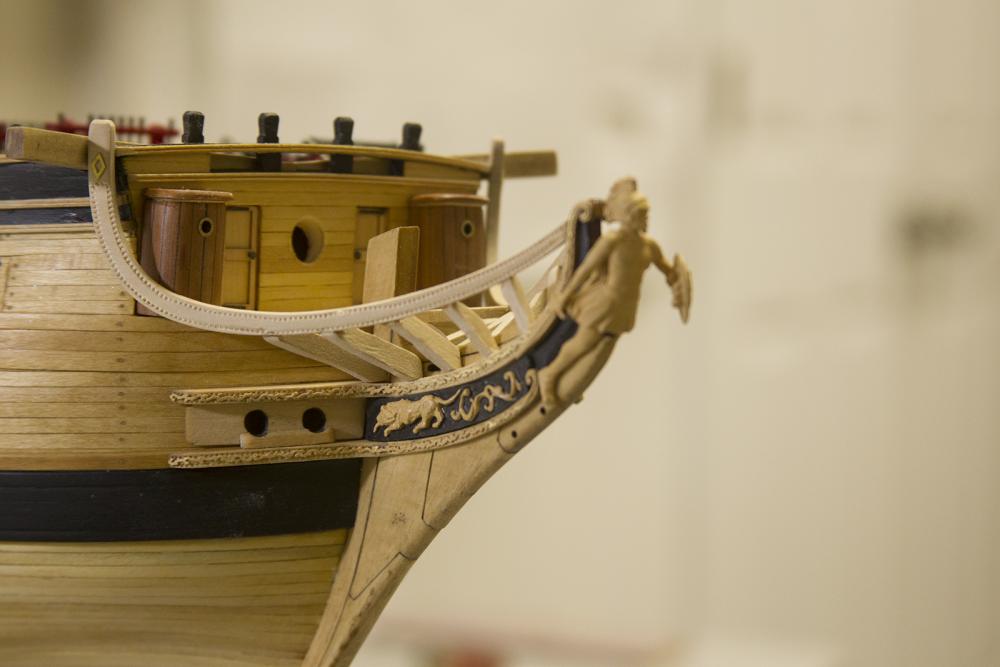
After a rough second half of 2016, I was finally able to get back into the shipyard. Not anything major, but it felt REALLY good to get any kind of work done on the Confed. I finished off the details and etching on the Starboard side of the bow, filled out the bow itself, added the seats of ease and secured the Bowsprit. After a couple of failed attempts at constructing the seats of ease using small pieces of the 1/32", I decided to cut off a solid square block from on of the thicker sheets and just drill it out. This turned out to be WAY easier to sand and fit. The bowsprit went in pretty easily. I've still got a little work to do tightening up the knightheads against the deck of the bow.


- 2,191 replies
-
- 27
-
-
- confederacy
- Model Shipways
- (and 1 more)
-
Hey all. I didn't fall of the face of the planet. Not to turn this into a Facebook page (Chuck's pet peeve ), but we've had some significant teenage daughter "challenges" which have forced me to take a break from the Confederacy. In the meantime, I'm messing around with a vintage Pocher model kit of a 1932 Rolls to keep my mind occupied. http://modelshipworld.com/index.php/topic/14227-pocher-car-kits/ I'll be back to the Confederacy soon, I promise. - Bug
- 2,191 replies
-
- 10
-
-
- confederacy
- Model Shipways
- (and 1 more)
-
Thanks guys! @Grant - Tedious indeed - with a few "redos", but always worth it in the end. @Popeye - believe me, I'm keeping my finger's crossed too! Otherwise - it'll be pretty easy to decide which side faces the viewer when it's displayed. @rdestefano - Thanks for the kind words - but much of the credit goes to Augie of course, he gave me a great platform to pick up from. And good luck on your first build, I'm sure you'll have lots of support here at MSW. Don't forget the build log! - Bug
- 2,191 replies
-
- 4
-
-
- confederacy
- Model Shipways
- (and 1 more)
-
Great work Grant. Admittedly I'd have liked to see the before. But I know with myself, when I botch something then have to repair it, the last thing on my mind is taking photos... -Bug
- 339 replies
-
- 4
-
-
- dumas
- Chris-Craft
- (and 3 more)
-
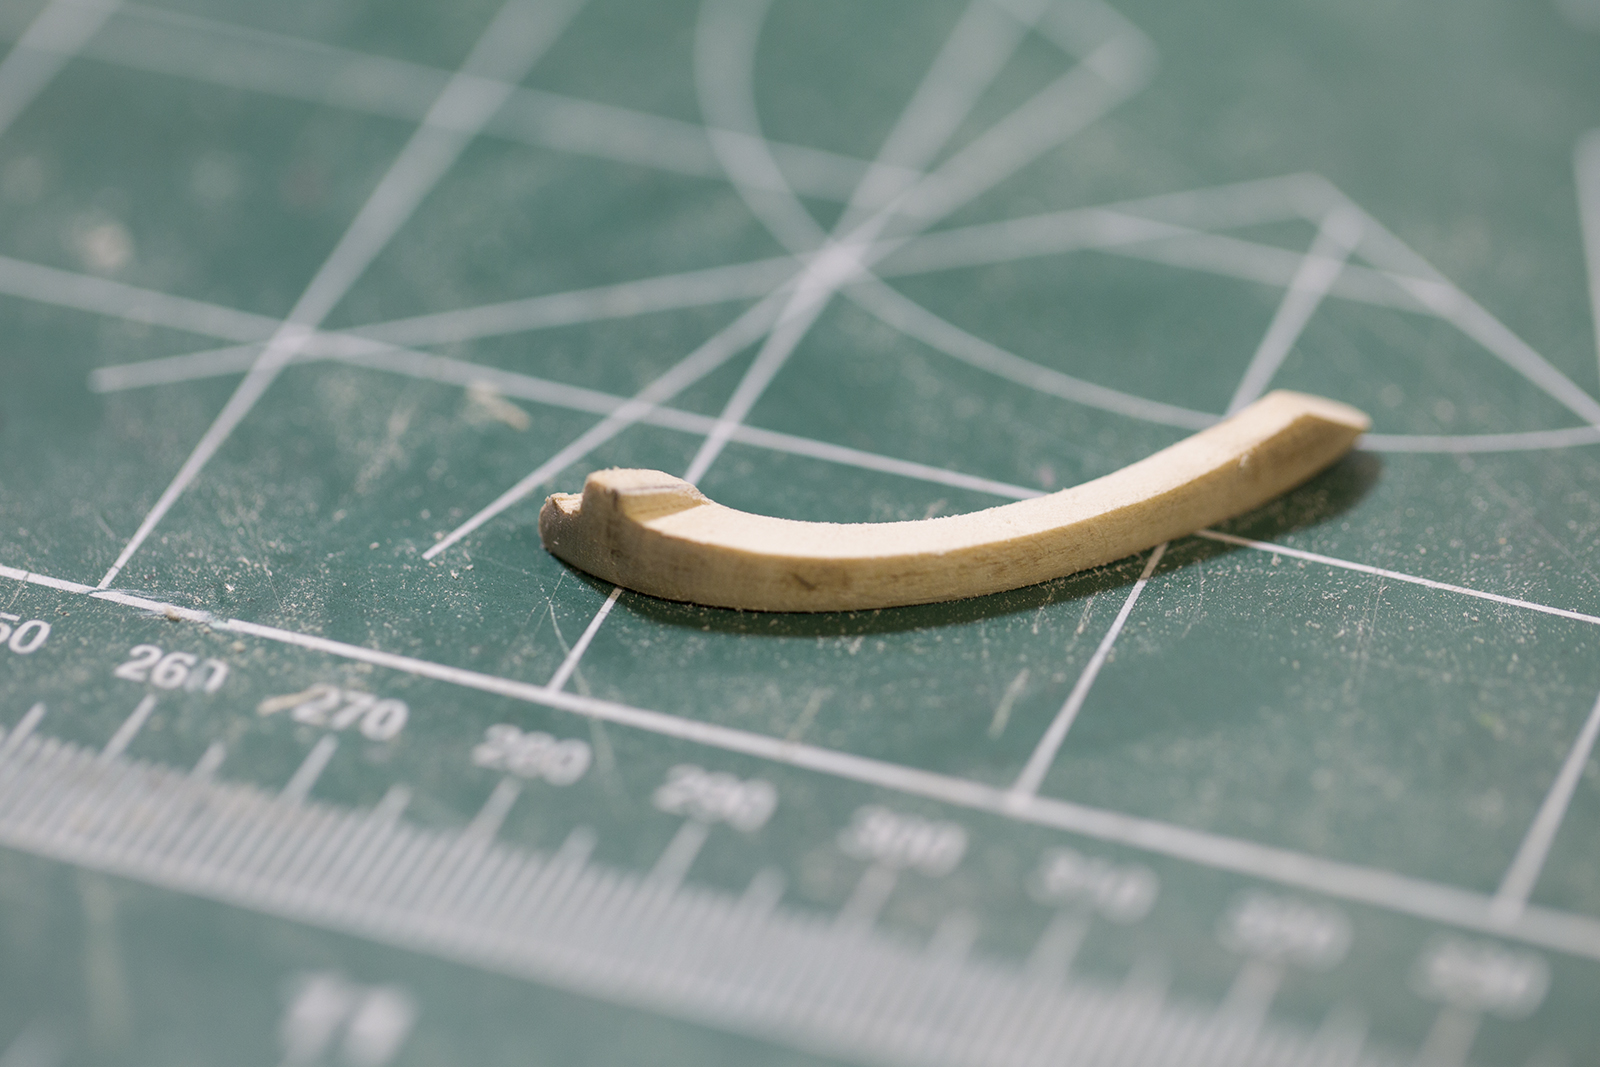
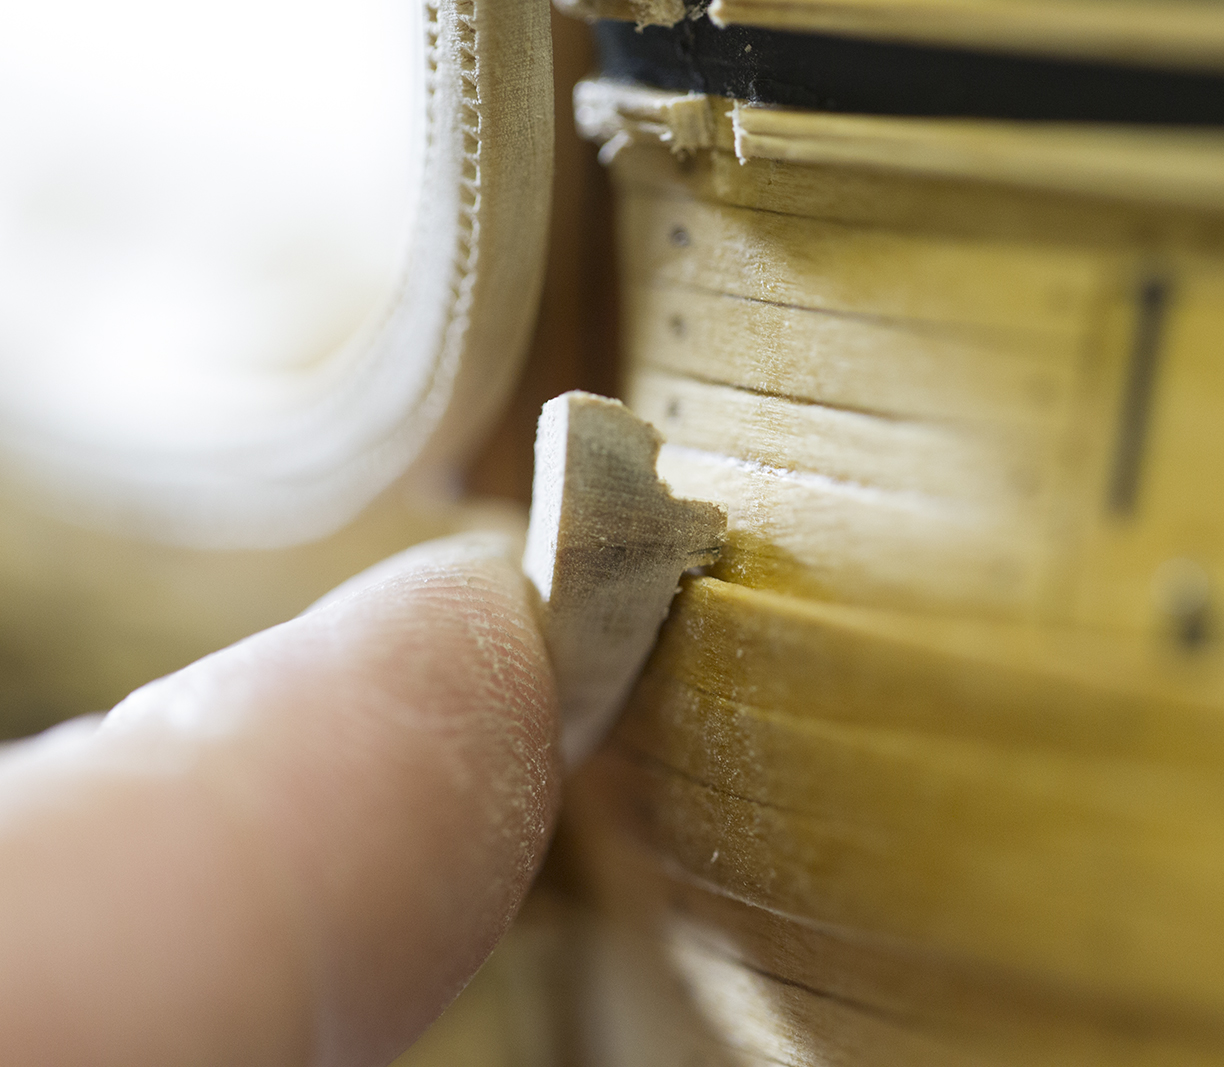
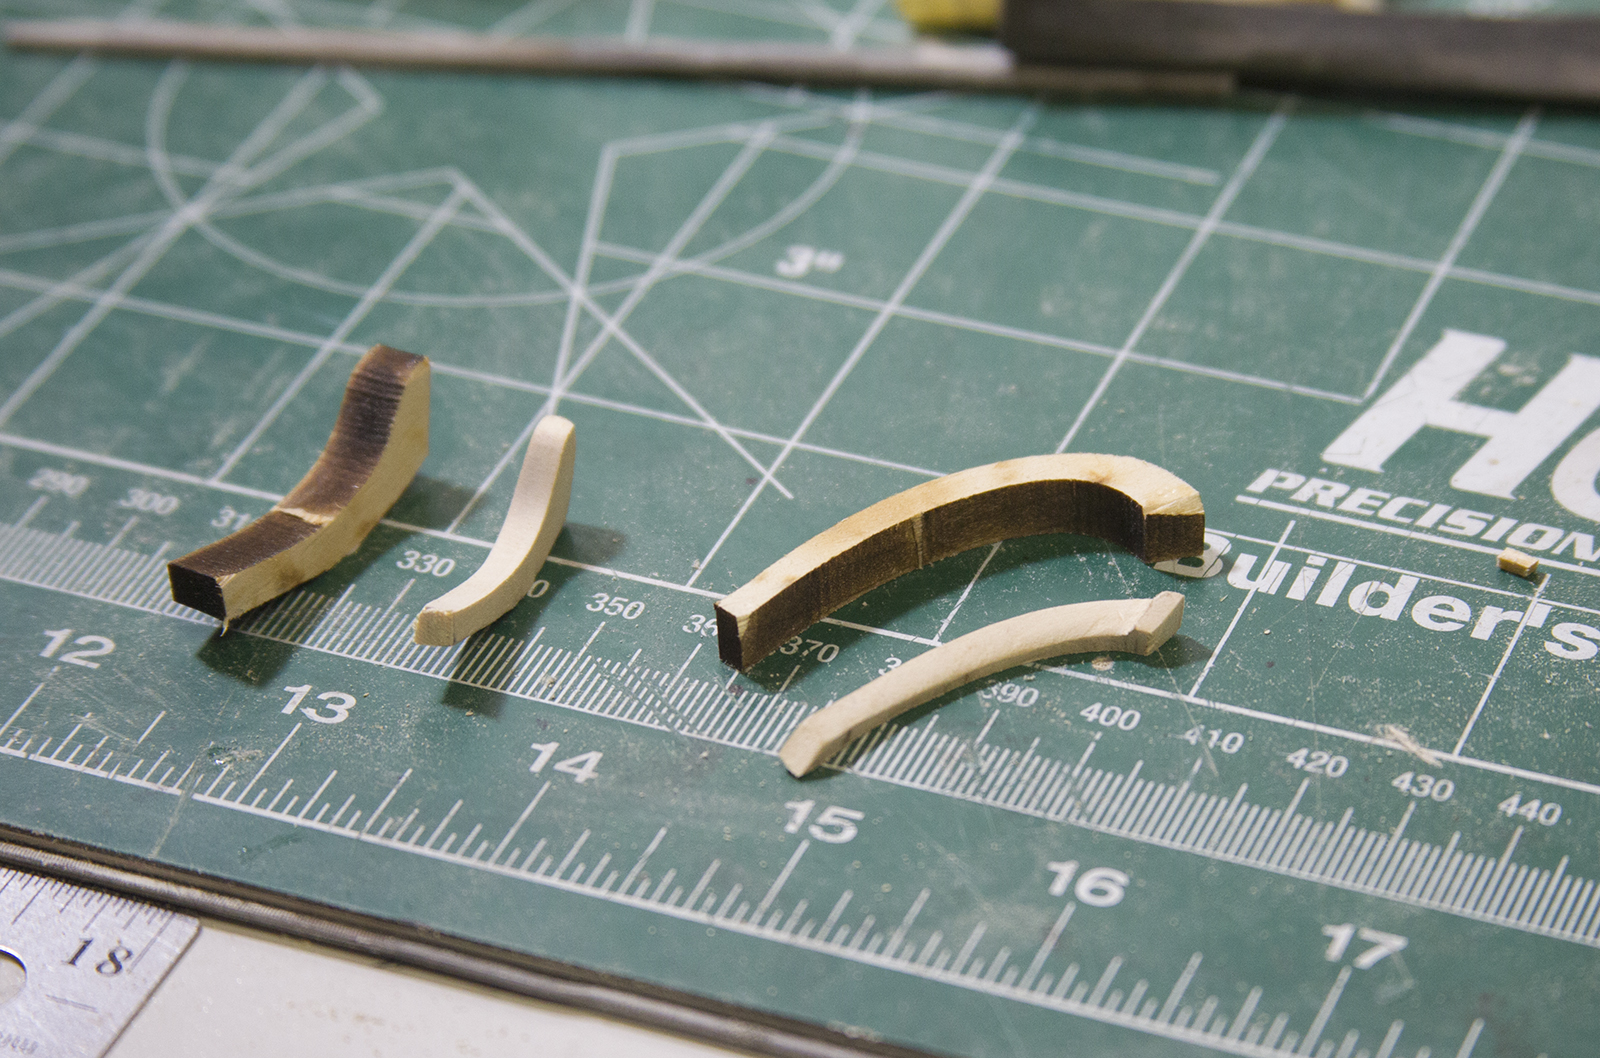
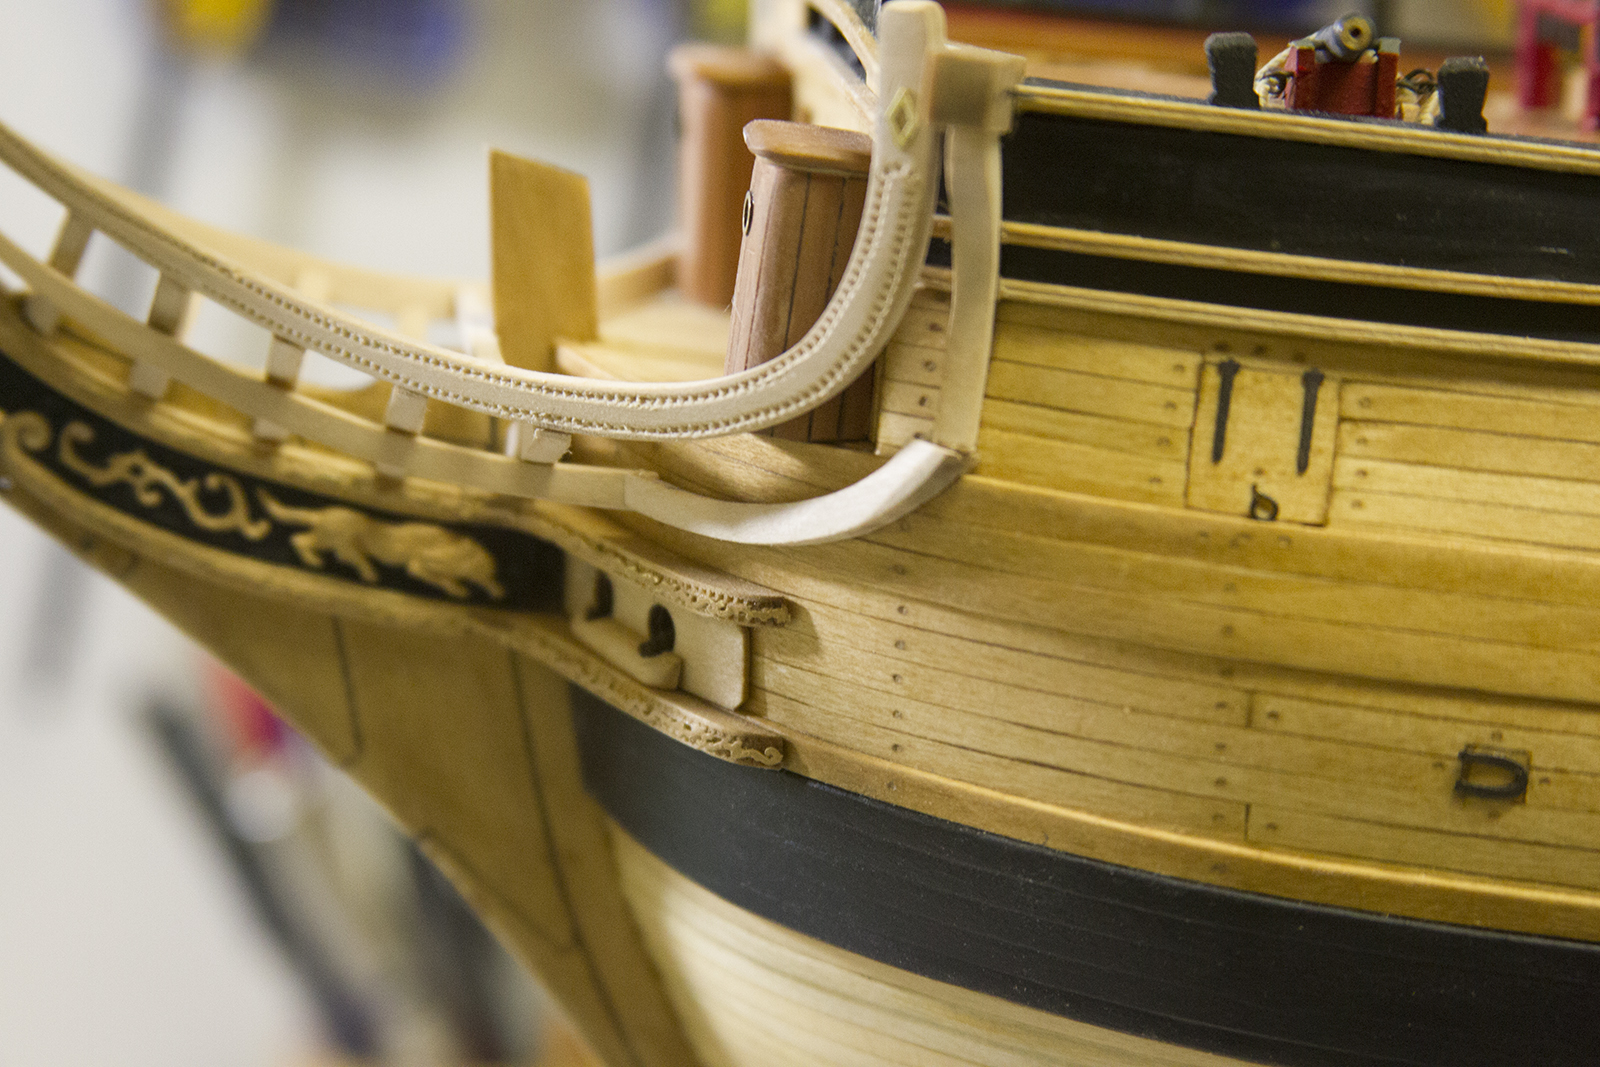
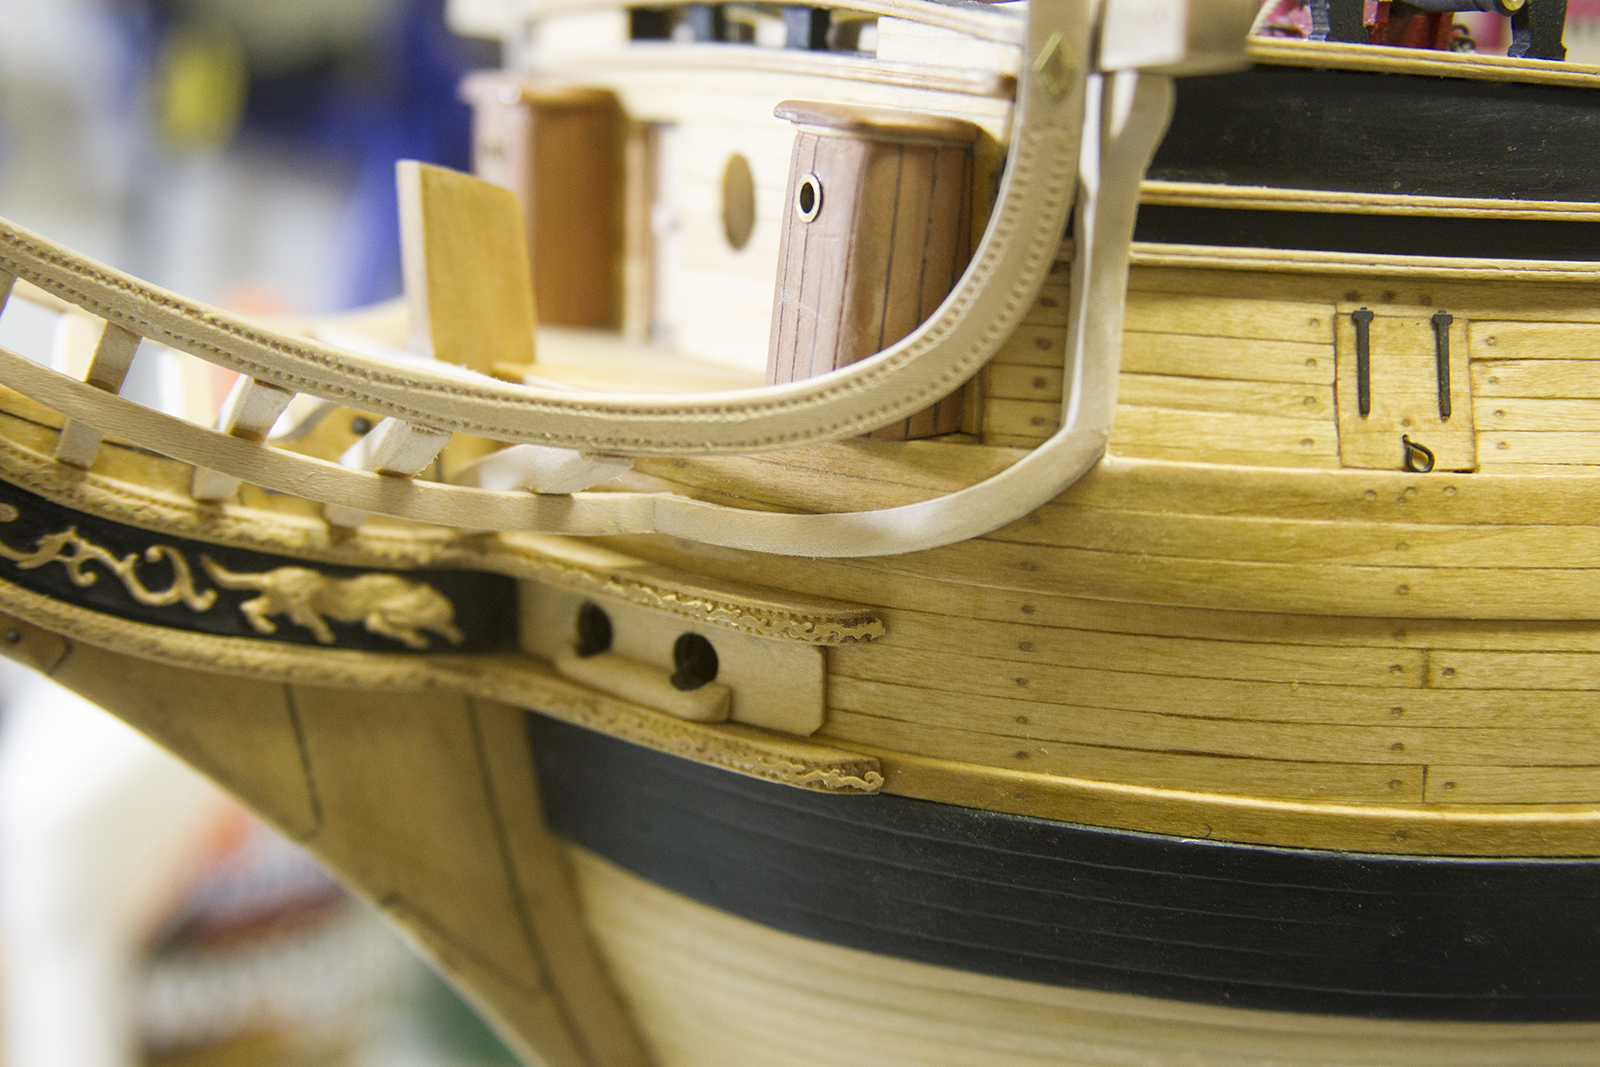
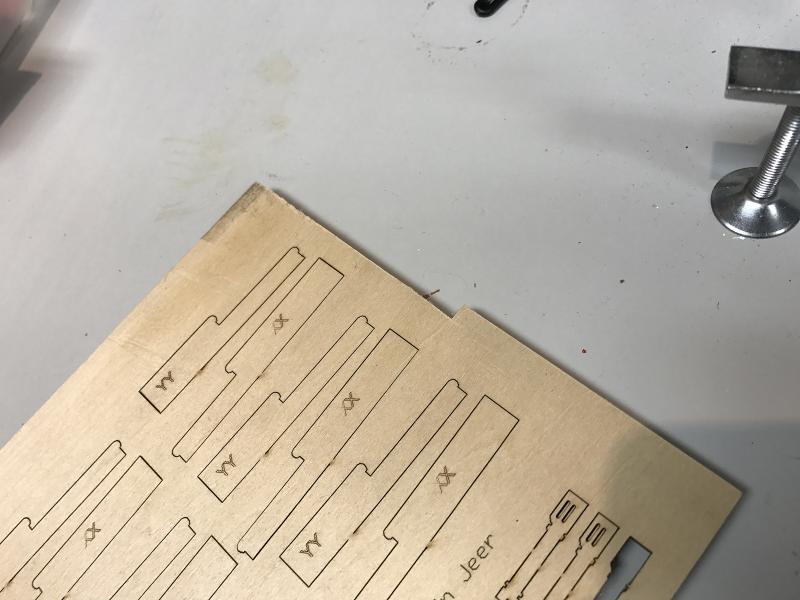
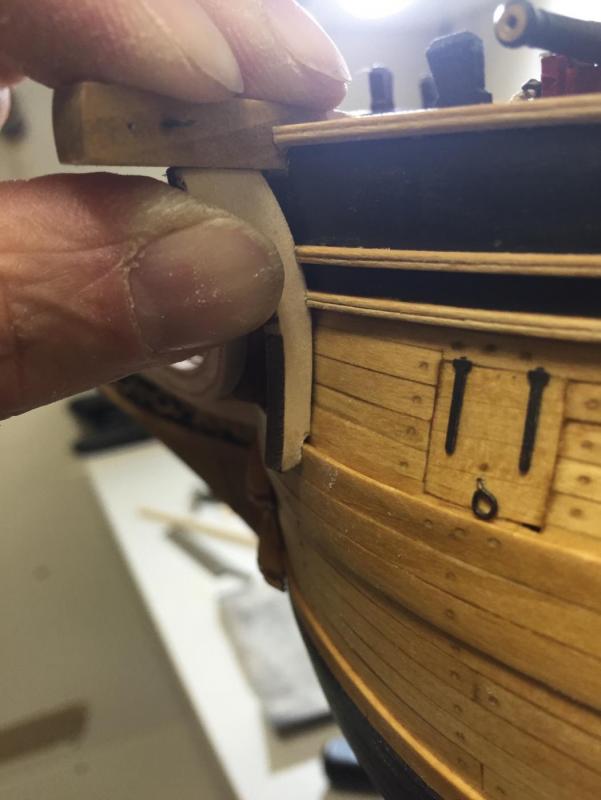
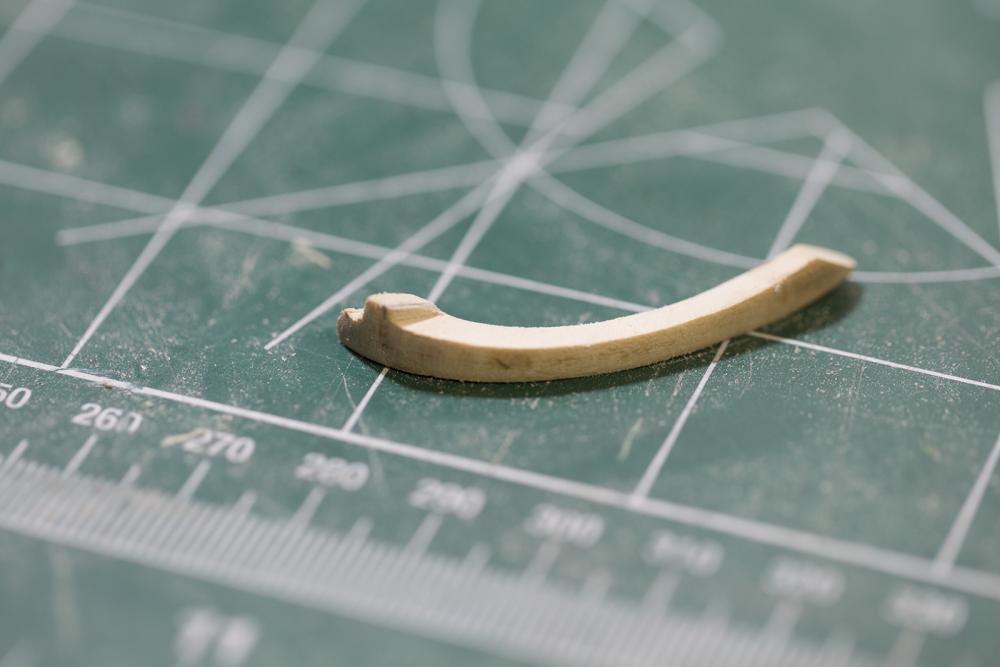
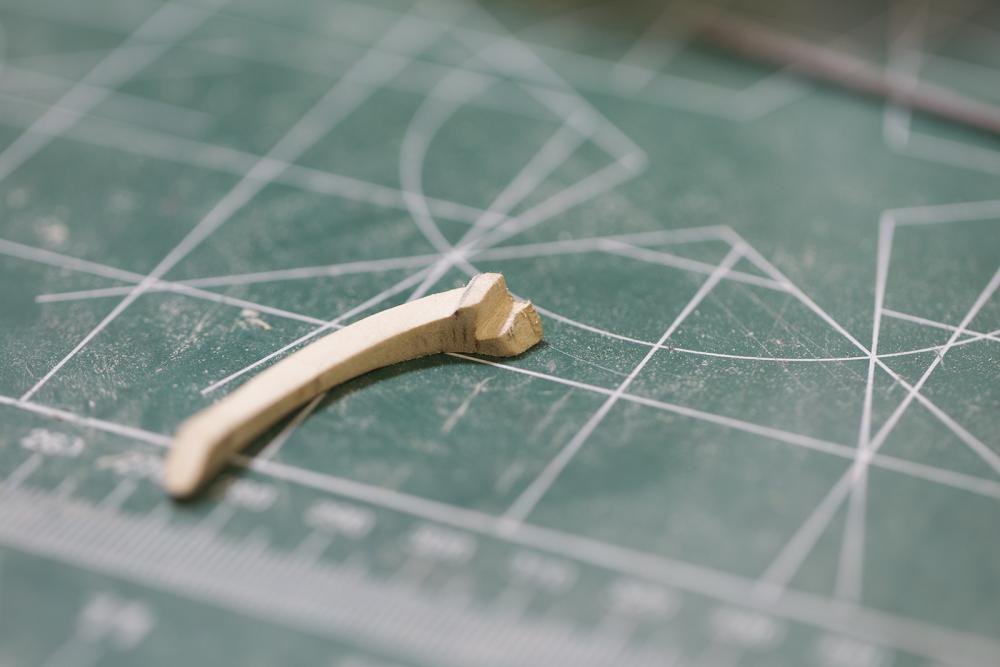
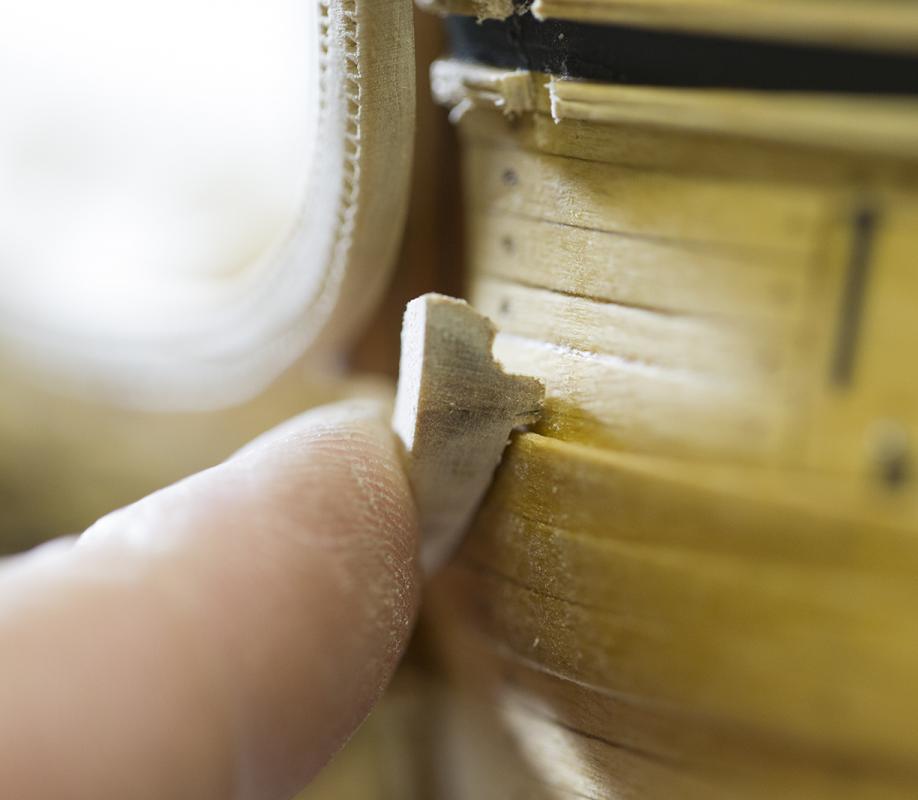
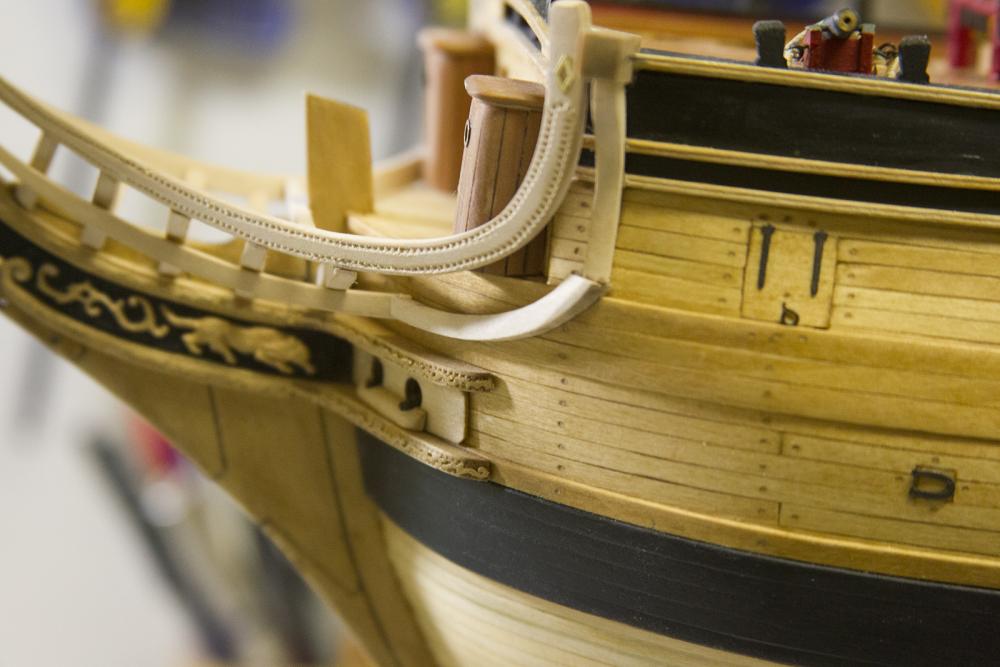
So, the last couple weekends have been a tough part of the build for me. Going from the support beams to the middle rail was a tough bit. Although the guidance warns against permanently putting the mid rail into position until everything is fitted - that didn't work for me. I had to glue the mid rail in before I could measure anything out. I started with the cathead knee, carving out a spot for it along the side of the ship and making an adjustment where the bottom meets hull. However, I ultimately changed my methodology, and use the middle portion that links to the mid rail to the cathead knee as my focal point. I shaped and shaped and shaped some more to fit it along the hull, then notched out a spot against the hull where it would hopefully meet the cathead knee with as little deviation as possible. Here's a good comparison of how the parts started, and the degree to which they needed to be shaped. Once everything was aligned, it became a sanding fest with a very small amount at a time until everything could get smoothed out. I also added a bit of glue to the cracks of the moulding so that as I sanded, the sawdust would get caught in the cracks and fill in the gaps as much as possible. It was also important to sanded the moulding along the shape of the hull so the final product is the same width consistently throughout the bow. In the end, it was a bit of funky tweaking, and each of the pieces has a very slightly different shade to it based on the grains and the sanding. But overall, it smoothed out pretty well I think. Finally, I added the pre-stain and the stain, then touched up the decorative trim. Although the instructions only show the decoration to the base of the middle rail, I thought it more prudent to continue it the length of the middle rail. I still have to add the half beam at the base of the bow, but I am pretty pleased with the end result. Now to spend the next couple of weeks doing the port side... Ugh. - Bug
- 2,191 replies
-
- 37
-
-
- confederacy
- Model Shipways
- (and 1 more)
-
Nicely done Sjors! But I still think you SotS people are masochists. - Bug
-
Thanks Cathead, I appreciate the sentiment. Unfortunately my plans to get into the shipyard this weekend were foiled by the "honey-do" list and the Olympics. ;-) But perhaps I'll be able to sneak in this weekend.
- 2,191 replies
-
- 5
-
-
- confederacy
- Model Shipways
- (and 1 more)
-
I would go ahead and keep it tight across the yard. It's functionality being attached to the yard would take precedence over the visual symmetry of it. -Bug
-
Good start & love your crew! -Bug
-
Nice clean work. Love this ship - great opportunity to pick up some valuable tidbits and shorten learning curves. -Bug
- 114 replies
-
- 1
-
-
- swift
- artesania latina
- (and 2 more)
-
Welcome back Glenn. I can sympathize - I've gone through some pretty lengthy layoffs over the years as well. Life gets in the way, then every time you wander by it seems harder to jump back in the saddle. But once I do, I wonder why it took so long. Good to see her getting some work done again, and keep it up! -Bug
- 101 replies
-
- 2
-
-
- victory models
- amati
- (and 2 more)
-
Just wanted to echo Frank's sentiments - those doors and windows are absolutely stunning. I remember the time and trial & error that took. Paid off well, I'd say. - Bug
-
Thanks for the extra info Mark, and the kind words. Also, thanks Rich and Buck, I appreciate the sentiments. Gotta trudge through another work week before I can get back to the shipyard. -Bug
- 2,191 replies
-
- 6
-
-
- confederacy
- Model Shipways
- (and 1 more)
-
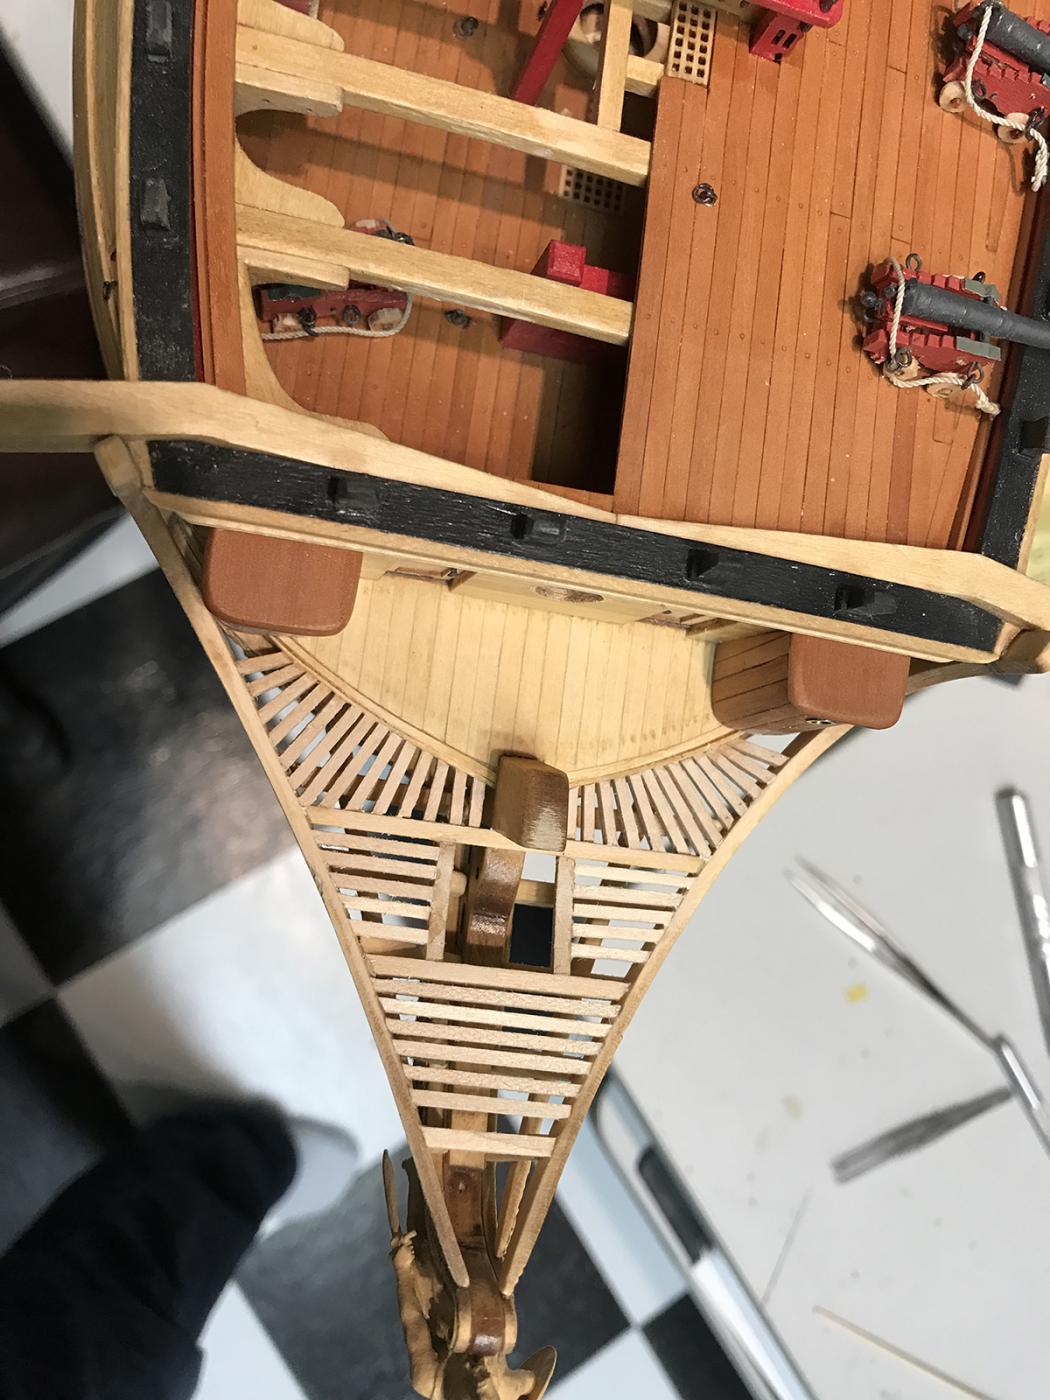
Thanks Frank - we are always a bit more discerning of our own work, aren't we? I'm not entirely sure of the historical reason Sam, but my assumption would be just to provide solid support for the head grating and give sailors a way to service the stem, bowsprit gammoning, and other parts of the bow. Maybe some of our other, more knowledgeable esteemed colleagues have a better answer. - Bug
- 2,191 replies
-
- 5
-
-
- confederacy
- Model Shipways
- (and 1 more)
-
Really dig the hatchway! - Bug
-
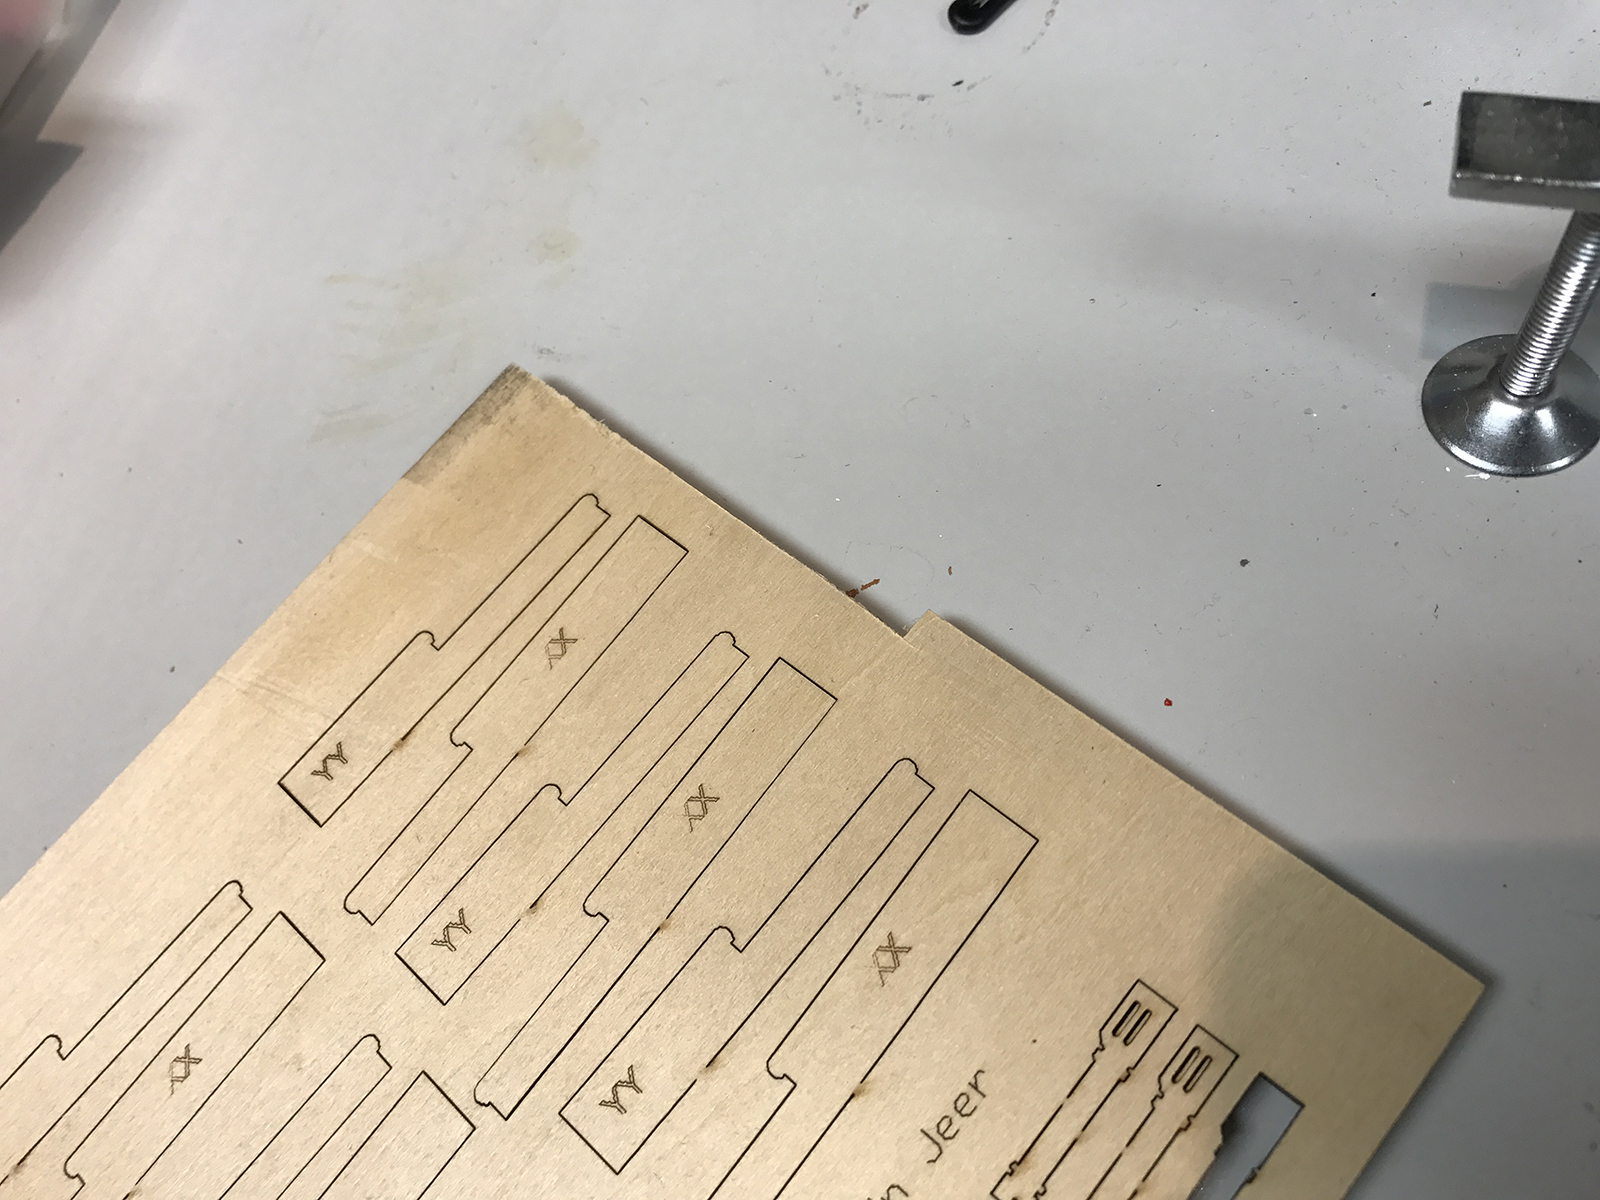
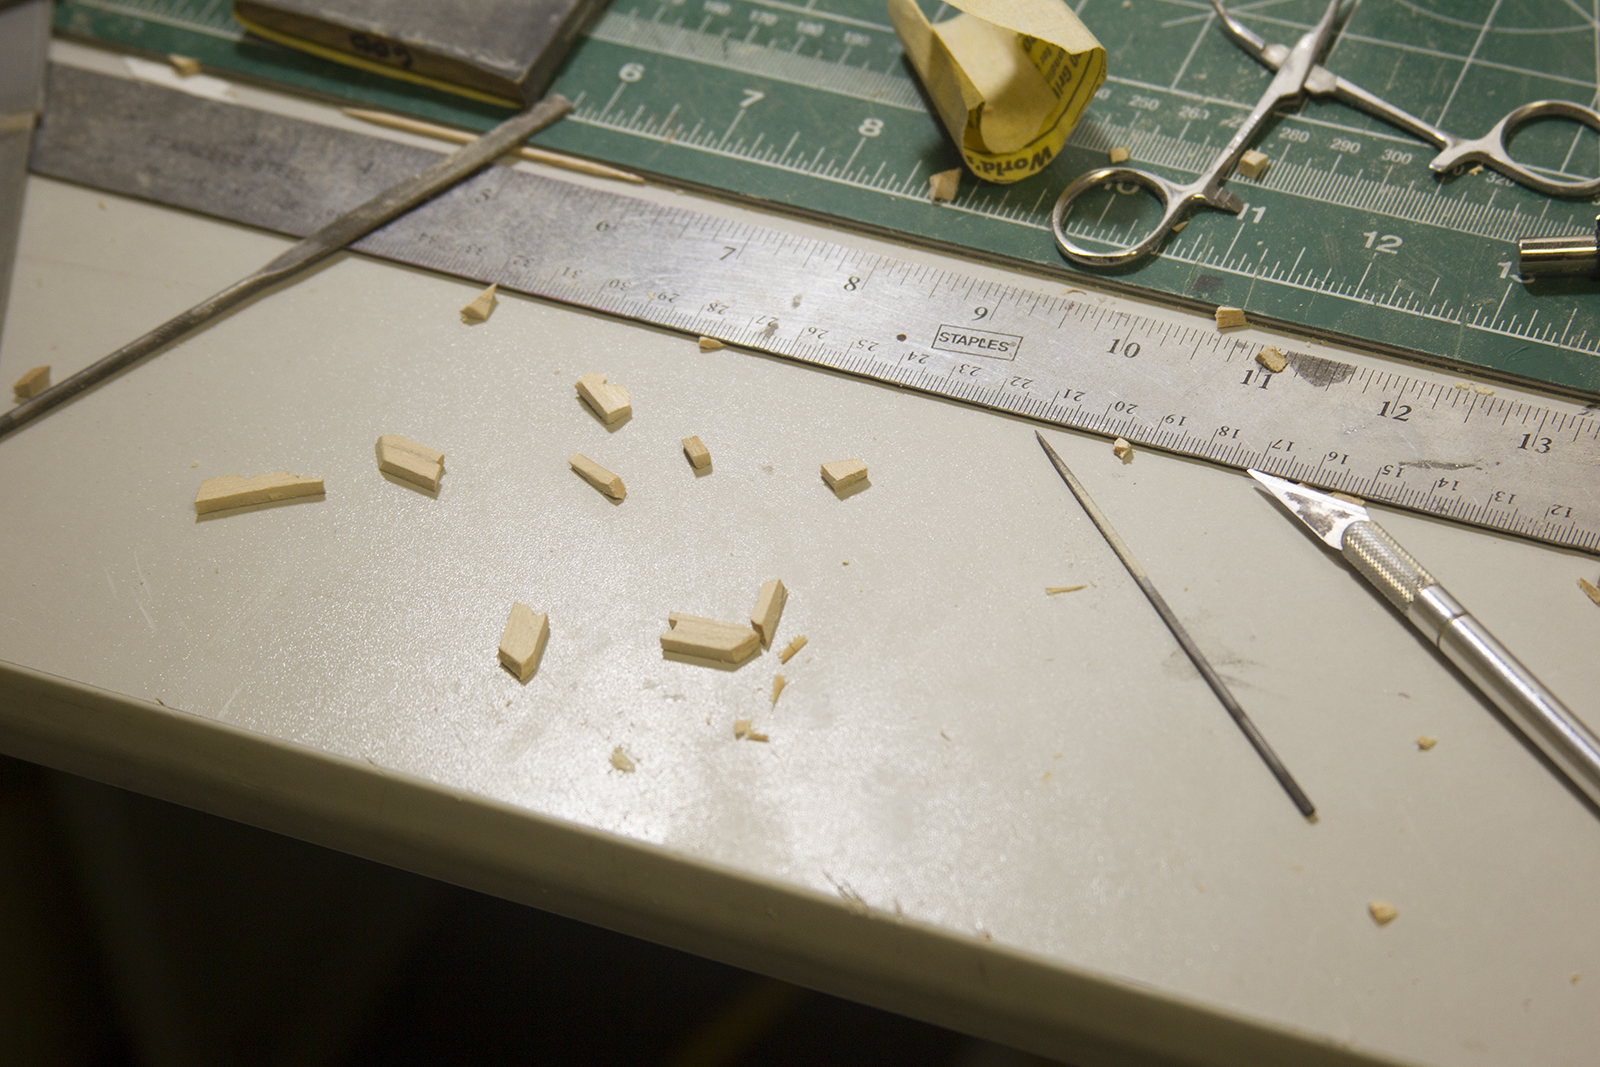
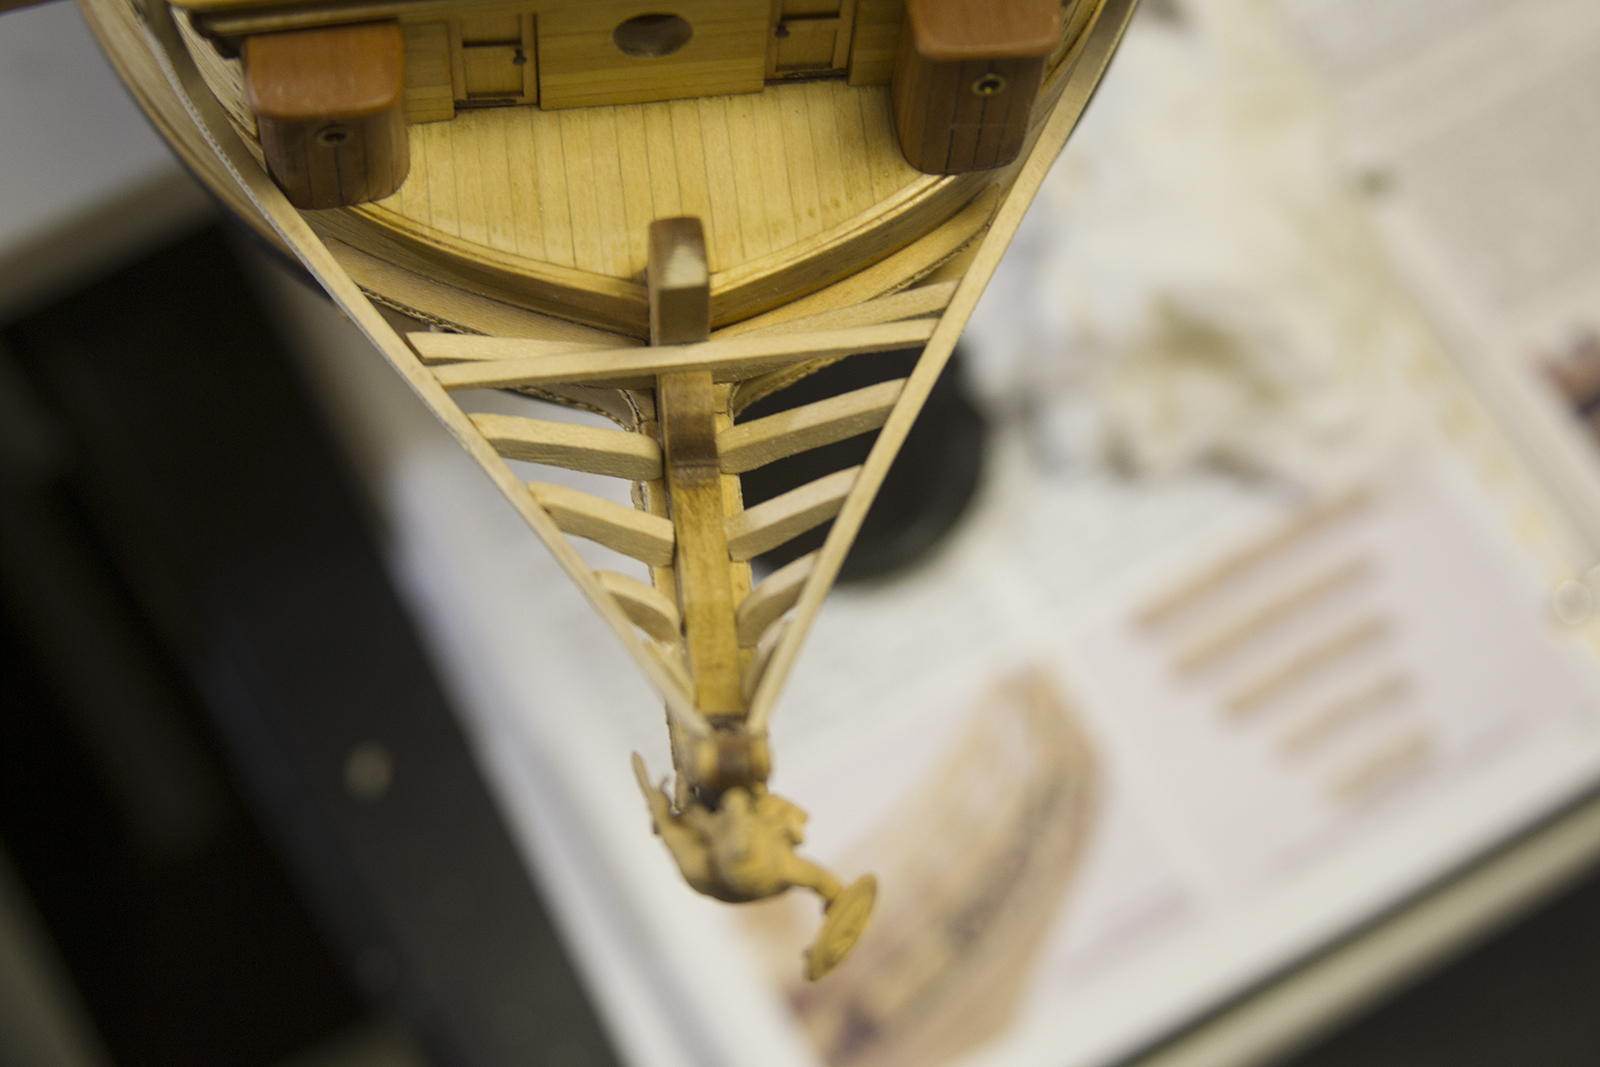
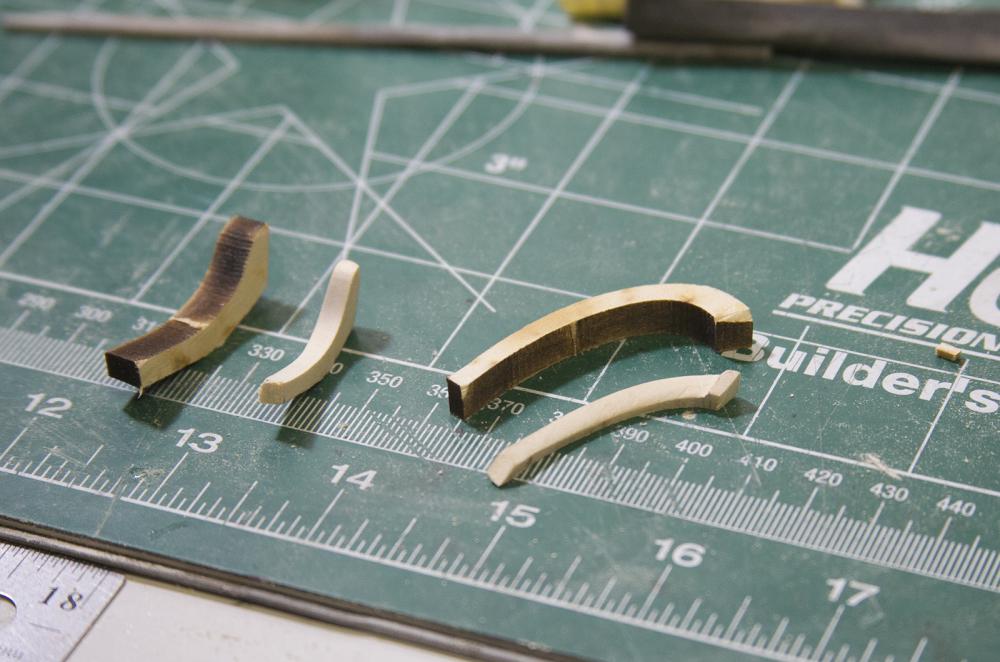
Thanks Sam, I appreciate it. I Continued to work on the Head Timbers this weekend. And wow - what a giant pain in the keister! Obviously, the bow of the ship is not perfectly symmetrical, but I figured if I used the supplied paper templates, I could get close with the timbers and then make some minor adjustments. Not so much. Basically - it came down to just trial and error trying to get them to fit on either side of the head rail. Here are my scraps of cutting, sanding, fitting, and failing. I'm not completely satisfied with the outcome here, so I'm going to feel out the middle rail and see how it looks, along with exploring options with filling in the little gaps to make everything nice and snug. If that doesn't pan out, maybe I'll just scrap it all, and try again. We shall see.


- 2,191 replies
-
- 24
-
-
- confederacy
- Model Shipways
- (and 1 more)
-
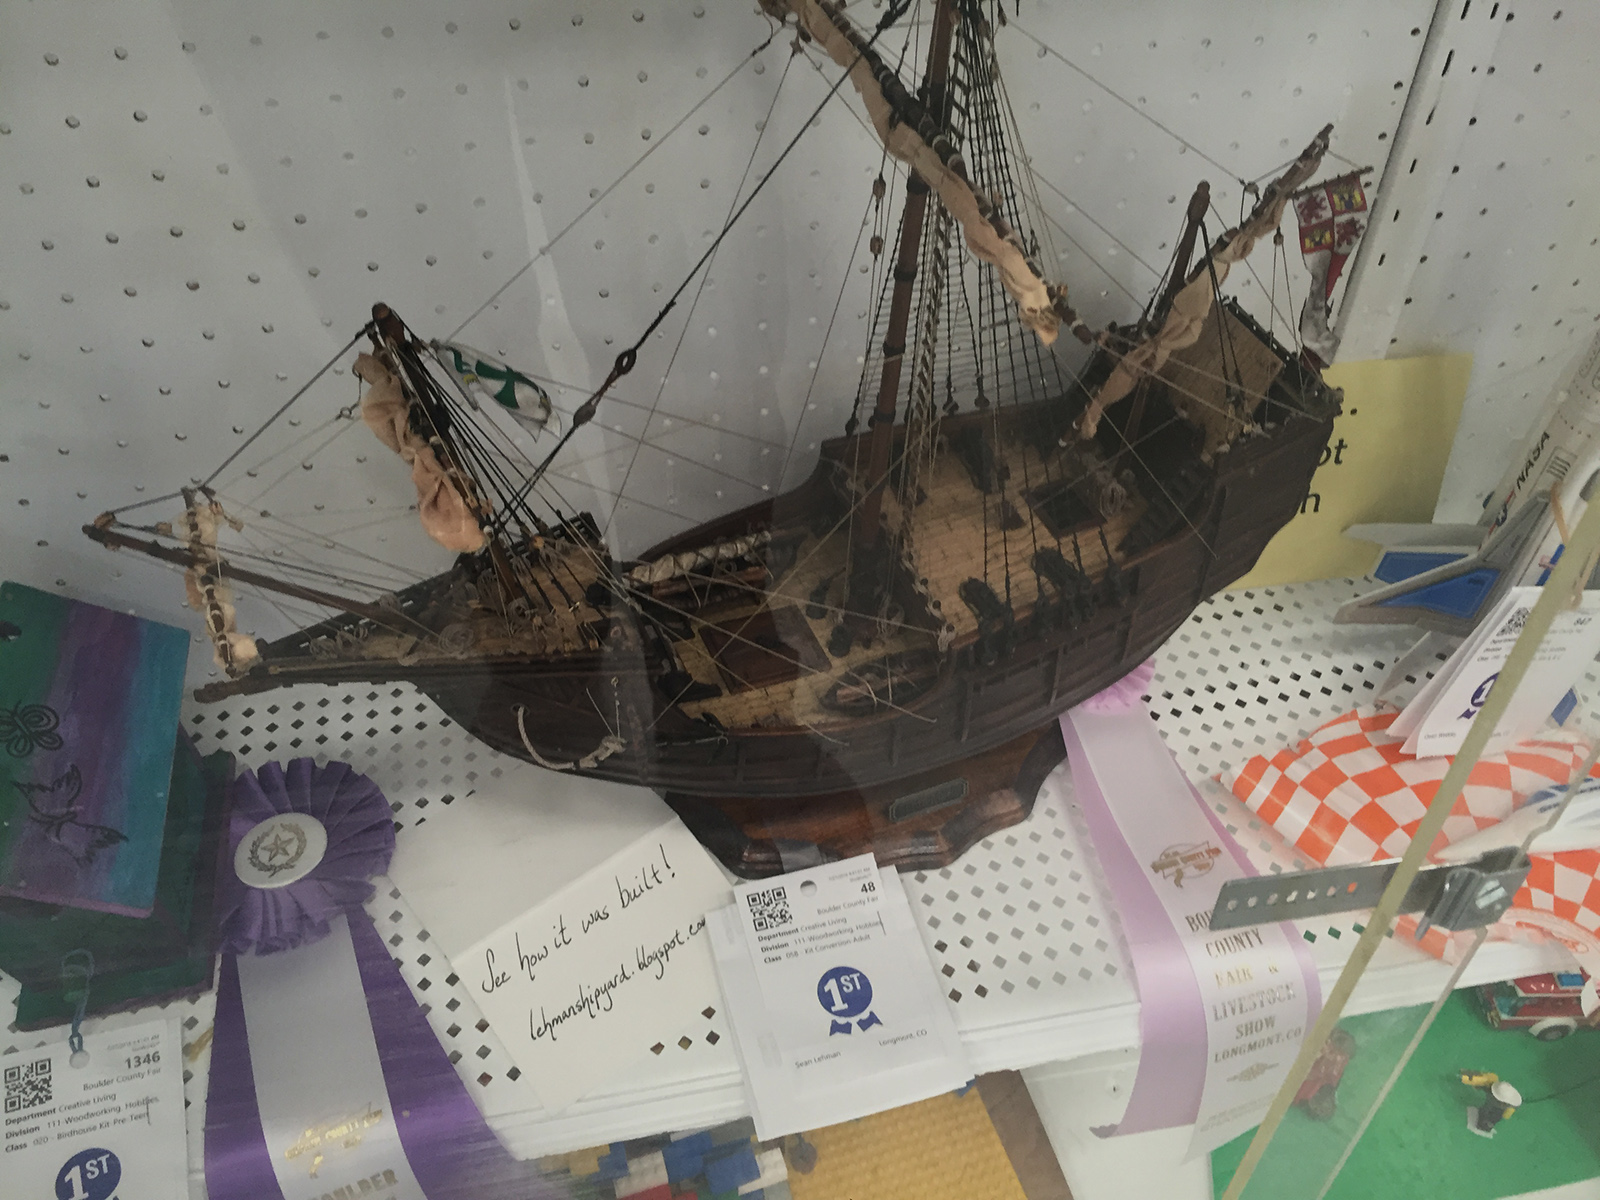
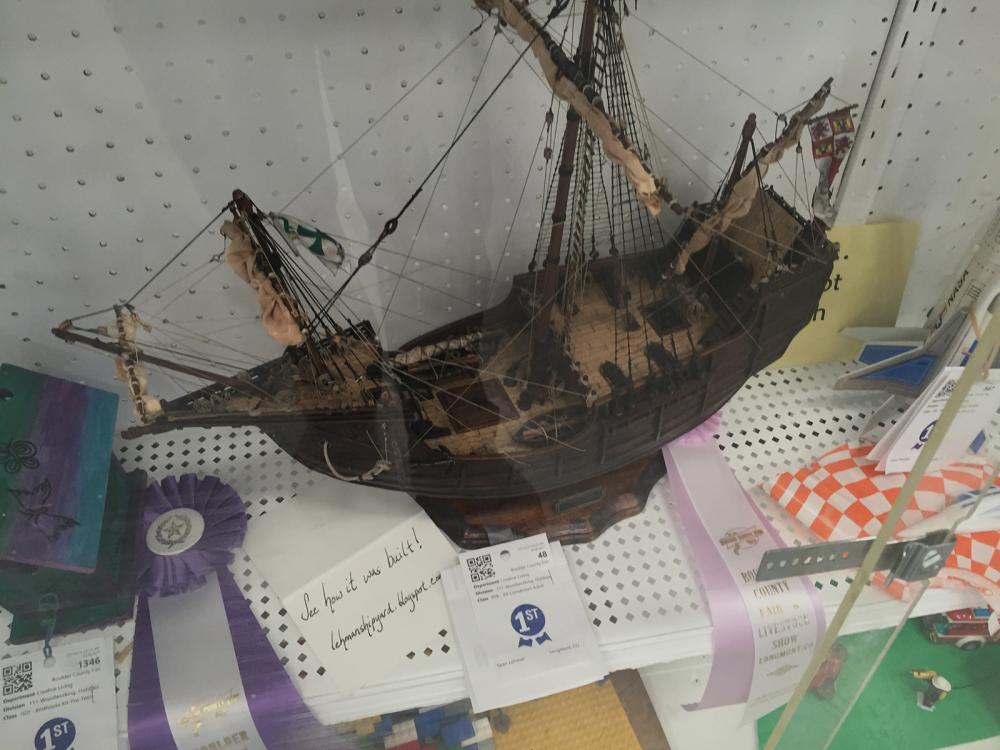
Wellp... Got first place at the County Fair. In all fairness (no pun intended), there weren't that many entries. - Bug
- 274 replies
-
- 11
-
-
- Santa Maria
- Artesania Latina
- (and 2 more)