-
Posts
815 -
Joined
-
Last visited
Content Type
Profiles
Forums
Gallery
Events
Posts posted by _SalD_
-
-
That's a good question Elijah and I hadn't given it much thought until you asked the question. Do I keep it in the basement man cave so basically only I can look at her? Or do I keep it upstairs so the Admiral, myself and friends who come over occasionally can look at her? Or do I loan it to the local library (I don't think I could donate this one) so many people could enjoy it? Decisions, decisions, when I decide I'll let you know.
- Ryland Craze, WackoWolf, Canute and 2 others
-
 5
5
-
-
-
The last yard!! The spritsail was hung and rigged following Chuck's instructions. The hardest part was tying off the spritsail braces to the pin rails with the lower yard's sheets and tacks rigging in the way. The only other little problem was that the directions for running these lines abruptly stops so you know where it starts but not where it ends. Like I said though it’s not a major problem because it’s shown on the drawing.
Completed spritsail rigging.
My method for checking if the yards are square to the ship centerline. Not too bad for an amateur. You need to be careful standing over the ship to look down that you don't hit the bowsprit.
All rigged out and ready to go.
Rigging this ship was, to say the least, an experience, an enjoyable one though. Enjoyable because of Chuck’s detailed instructions. If it wasn’t for his instructions I’d still be fumbling around on the footropes. For those of you working on this ship if you go step by step as shown in the manual you should have no problems at all. That being said the only little deviation I made was the placement of the rope coils on the belaying pins. I had started to put them on as I ran the lines but I found that it was getting hard to tie off the later lines with the coils in the way. So I just waited until everything was finished, except for the lower yard’s sheets and braces, to put all the coils on. That went for the cleats on the bulwarks and the tops also.
And one complaint, not with the directions but with the amount of line that is provided with the kit because I ran out of 0.012 and 0.018 manila line. Maybe it was the lack of experience on my part as to how much line to use for each rigging line but I didn’t think I was wasting that much. They did however give me a lot of .021 manila thread but you don’t use it anywhere. I also ran out of 1/8” double blocks and I know I didn’t waste or lose them.
On to the anchors.
-
-
-
-
-
-
-
Finished placing all the fore and main mast yards and moved onto running the lower braces. The instructions call for placing the lower braces in two pieces, one on the inboard side from the cleat to the pseudo sheave in the bulwark and the other on the outboard side from the pseudo sheave to the brace pendant. For my lines I deviated a little from the instructions seeing that I had gone to the trouble in the beginning to install working sheaves in the bulwarks for them. I did however follow Chuck’s advice to install these lines on the inboard side prior to starting the yard rigging.
Main and fore brace and sheet lines coiled outboard.
Block assembles for the lower course sheets, tacks and clew lines.
Main lower course braces and sheets, tacks and clew lines
Fore lower course sheets, tacks and clew lines
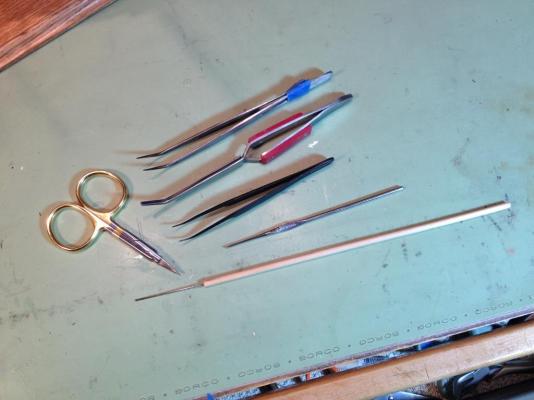
These are the primary tools I used for rigging. The dowel has a sewing needle inserted into it with the eye cut in half. This came in very handy tying off the lines around the cleats and belaying pins.
The yards added another whole new dimension to the ship and for me, needing a magnifying visor to see the smaller parts, I found it hard at times to get close enough without banging into them. Need miniature caution tape to hang from the yards.

Another part of running the rigging that’s not really described in the instructions but is probably understood by those who have done this before is when you bring the lines down through the lubber holes. You need to pay close attention to how the lines run so they don’t wrap around and pull on the lines that are already there. I needed to rerun some lines three or four times to make them run without interfering with other lines.
-
-
-
-
Thanks Lawrence and Thomas and for all the likes.
Well I've been busy, busy busy… Lower, topsail and topgallant yards are all rigged. I find rigging, as I mentioned before, to be a task I enjoy doing so once I start it’s hard to stop. The yards were rigged following Chuck’s directions and so far no problems.
Well no real problems just one little glitch happened when I went to rig the starboard side topsail buntline which is supposed to be run through a block hanging from the aft most cross tree. When I went to run it though low and behold there was already a line in there.
 What had happened was when I rigged the topsail yard jeer which is run through the block below the cross tree right in front of the buntline’s block the holes in the two blocks must have lined up perfectly and I failed to notice that the jeer line went through both blocks. After a few WTF's and some deconstruction everything was put in order.
Parrel added to the top sail yards
Lower yards rigged and topsail yards added
Braces rigged and topgallant yards added.
As a side note, the more lines I add I start to understand why lions have a hard time hunting zebras. Looking through all these black and white lines it’s hard to tell which is in front of which.
-
James, here's a link that show what I used to sand the inboard and outboard bulwarks http://modelshipworld.com/index.php/topic/8410-us-brig-syren-by-sald-–-model-shipways/?p=257875 it does take a bit of effort to get them down to their proper thickness.
-
-
-
Winds, good luck with your built ship looks interesting, like the crew too. I'd also love to see a picture of your aquarium.
- mtaylor, Elijah and Kenneth Powell
-
 3
3
-
Very nicely done Bob, your rigging looks great. I like the rope coils too. As for the braces I would do what's going to make you happy (personally I'd go with both fore and aft, but that's just my 2 cent). Or I guess you could install the fore braces see what it looks like and then install the aft ones.
-
-
Just small update. Finished all the yard arms and hopefully attached all the required blocks and pendants. And then....
raised my first yard!!
I pinned the yard to the mast as described in the manual but only glued the pin to the mast so the yard is free to move, just not vertically. Tying the truss around the mast was, lets say, an exercise in patience. Should've of done this twenty years ago when the fingers could move a bit more without cramping up.
One lesson learned was that I made the sling on the mast a little too long so there's not much of a lanyard between it and the thimble on the yard.
-
Great craftsmanship Thomas :im Not Worthy:
- JesseLee, CaptainSteve, Gahm and 1 other
-
 4
4
-


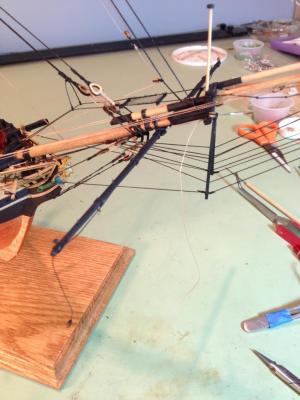
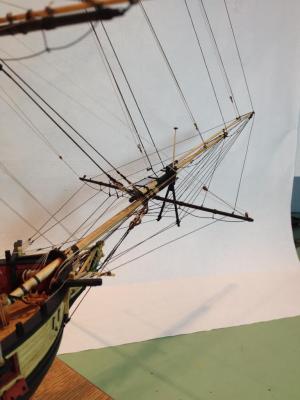
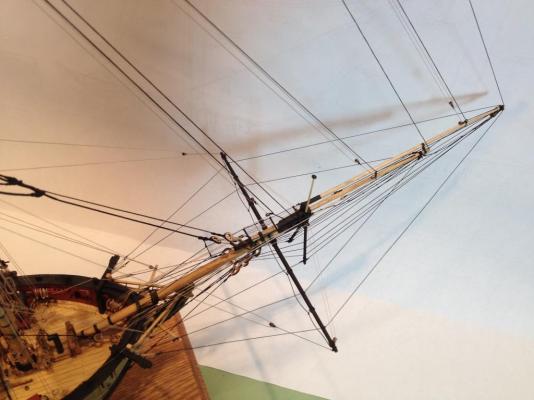
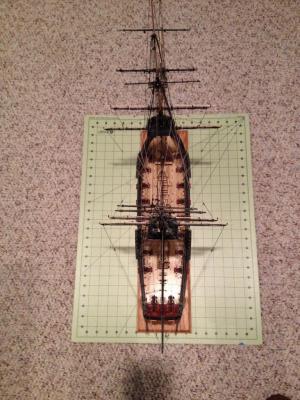
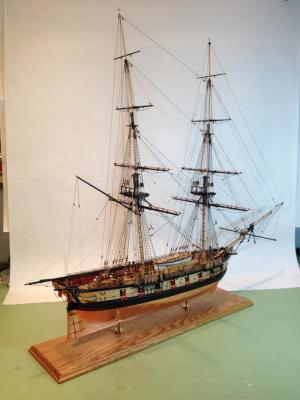
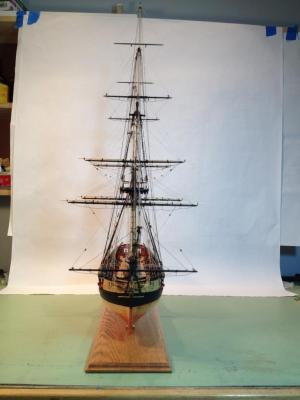
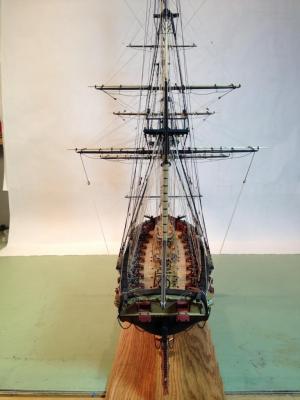
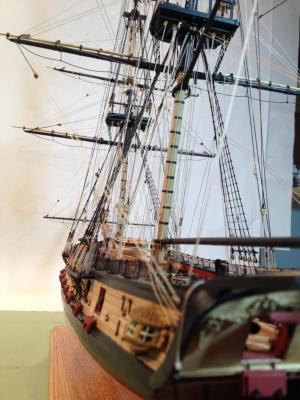
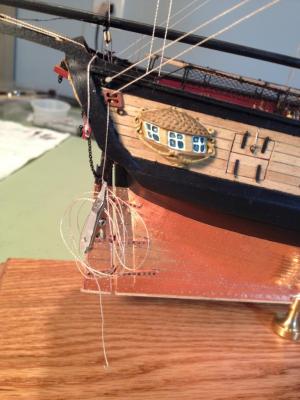
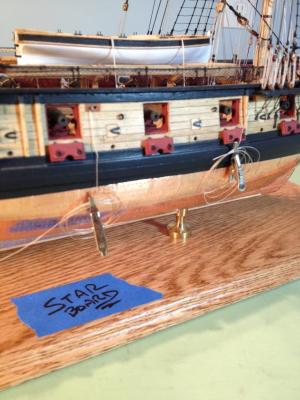
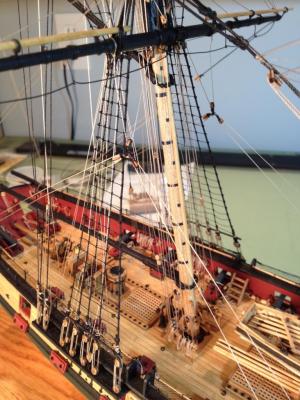
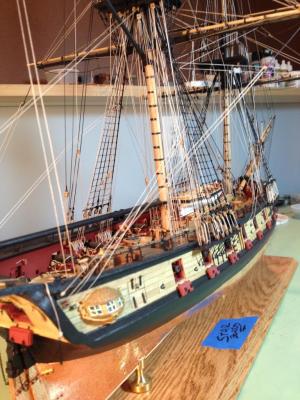
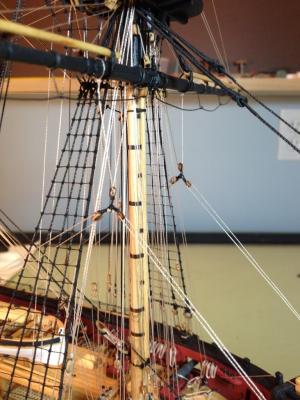
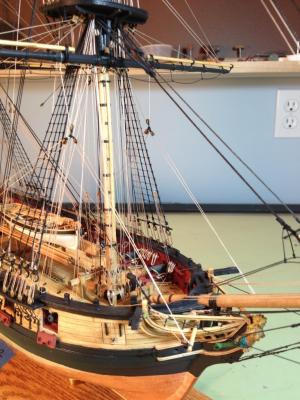
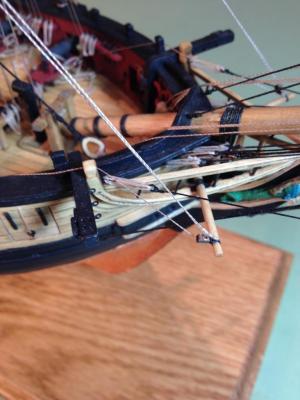
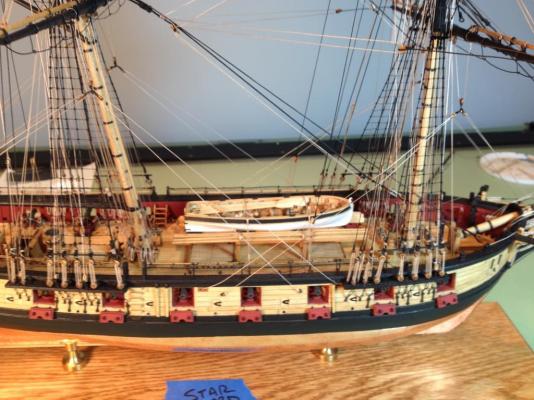
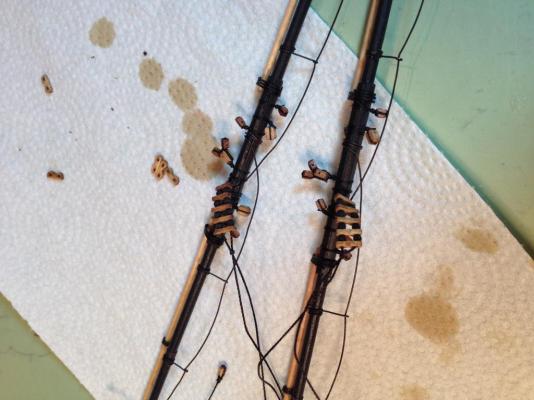
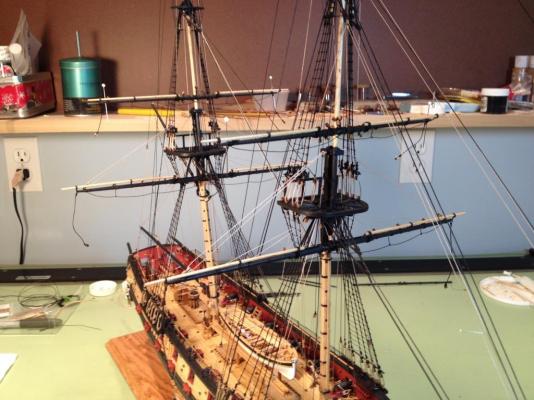
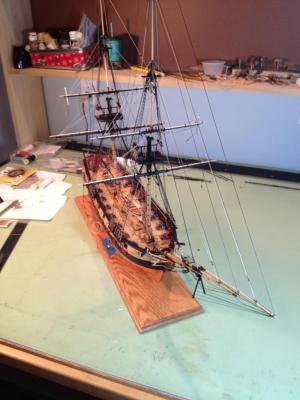
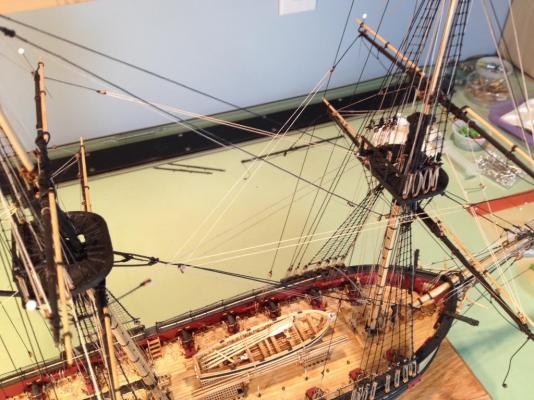
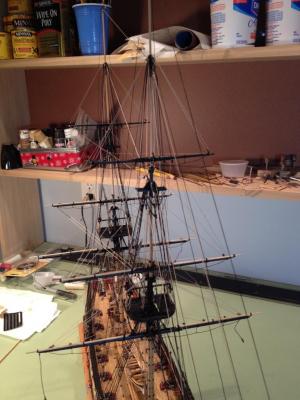
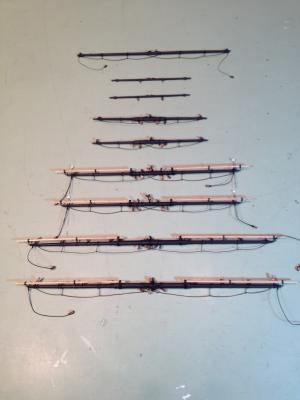
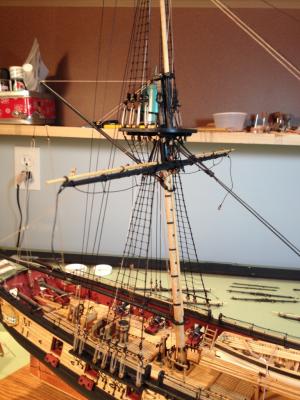
Syren by JesseLee - FINISHED - Model Shipways - scale: 1:64
in - Kit build logs for subjects built from 1801 - 1850
Posted
Cannonades look terrific Jesse, nice job. Sorry to hear your still not feeling that great, get well.