clearway
-
Posts
2,237 -
Joined
-
Last visited
Content Type
Profiles
Forums
Gallery
Events
Everything posted by clearway
-
 wow been a while since i worked on Endurance (HMS Terror and 1/35 armour sidetracking me again)! The railings have had a coat of white paint and have started on the hatchway on the ritz roof. On the plans of Polaris i bought from the N.M.M. there was a skylight on the roof, but on one of Frank Hurley's photos you see a crew member heading into the hatch, and it looks like they planked over the skylight and installed the accommodation hatch in its place. Just used some scrap ply offcuts to form the shell which will be planked over. Take care all Keith
-
Thanks to rain and wind all plans for outside d.i.y. and gardening were scuppered this weekend (loveeee Cumbrian weather)!!! The braces are now fitted to the main yard (didnt splice them though😉), happy with the standing end but not sure of lead so not belayed yet. Also included a pic of the davit jig showing three stages in construction. thanks for looking in and the likes/comments as always they are appreciated. take care all Keith
-
Thanks Allan, to be honest i was really wondering either way whether to use them or not, bur chickened out of scratching sails! EZ i have seen this on model aircraft (think keith s mentions this technique as well). I think Beagles davits are iron as opposed to wood though? Keith
-
Ty allanyed, the yard is 125mm long with the sail being 100mm across. If starting again i would indeed bin the provided sails and in fact because of the sails here i bought the endurance kit by occre without sails! Keith
-
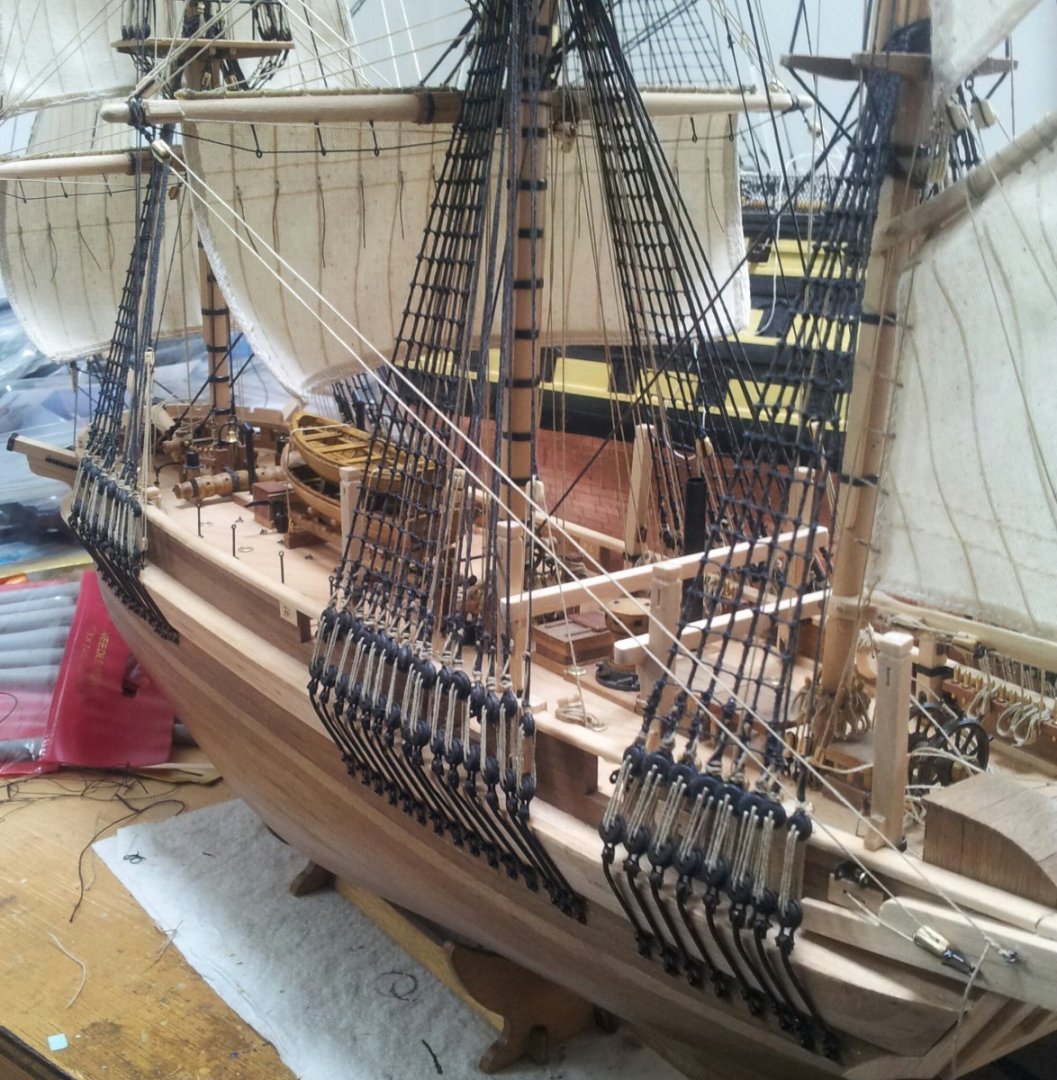
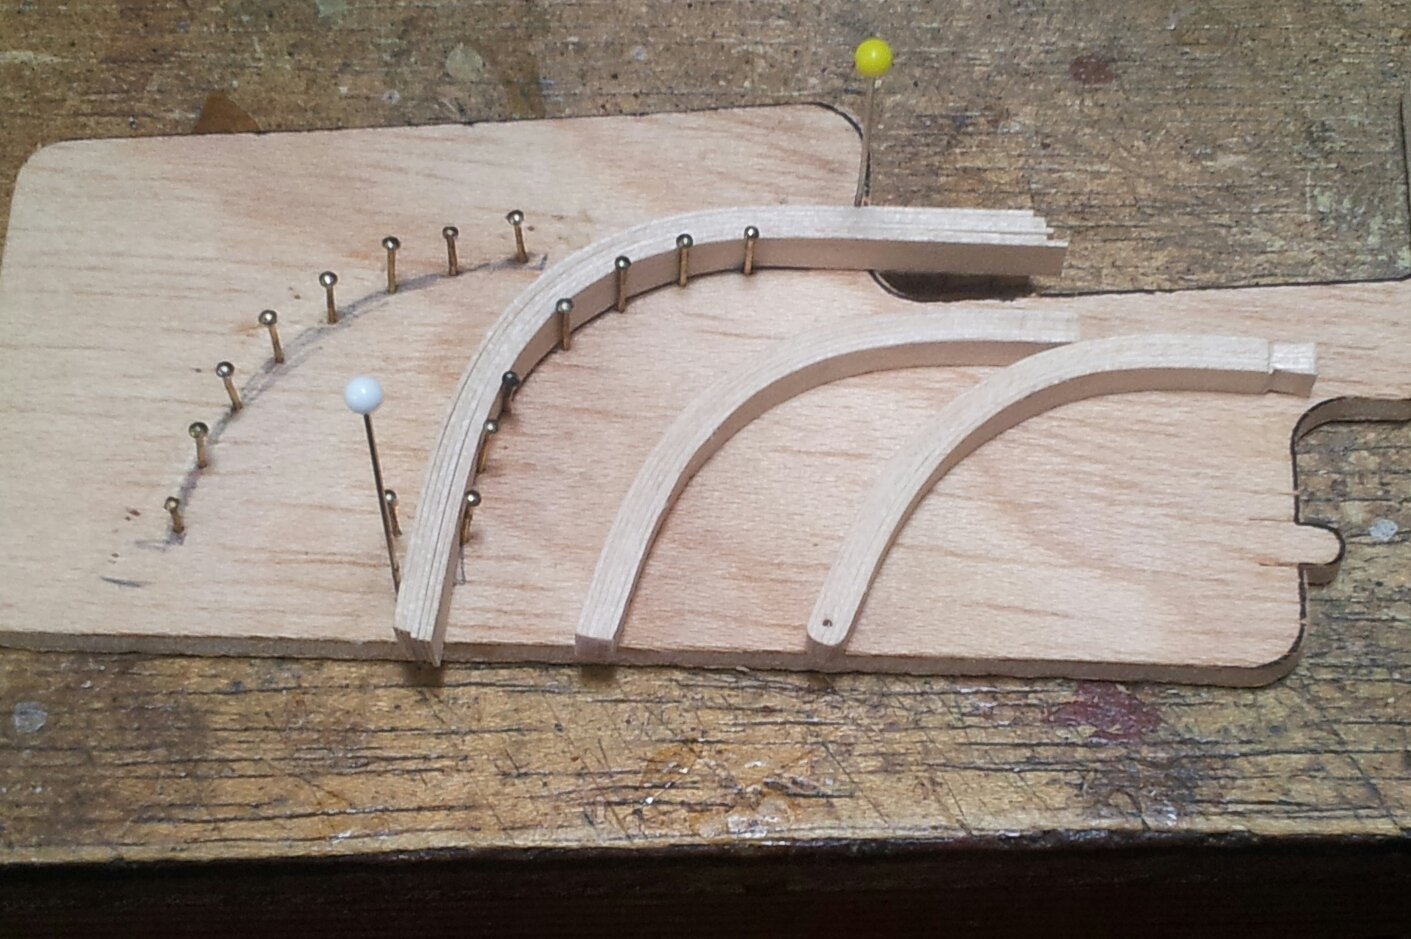
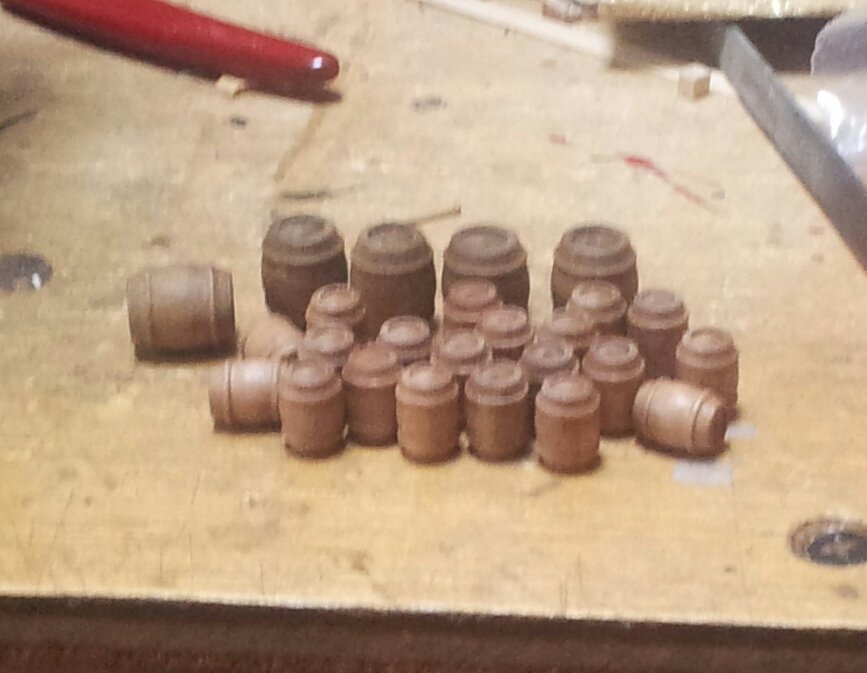
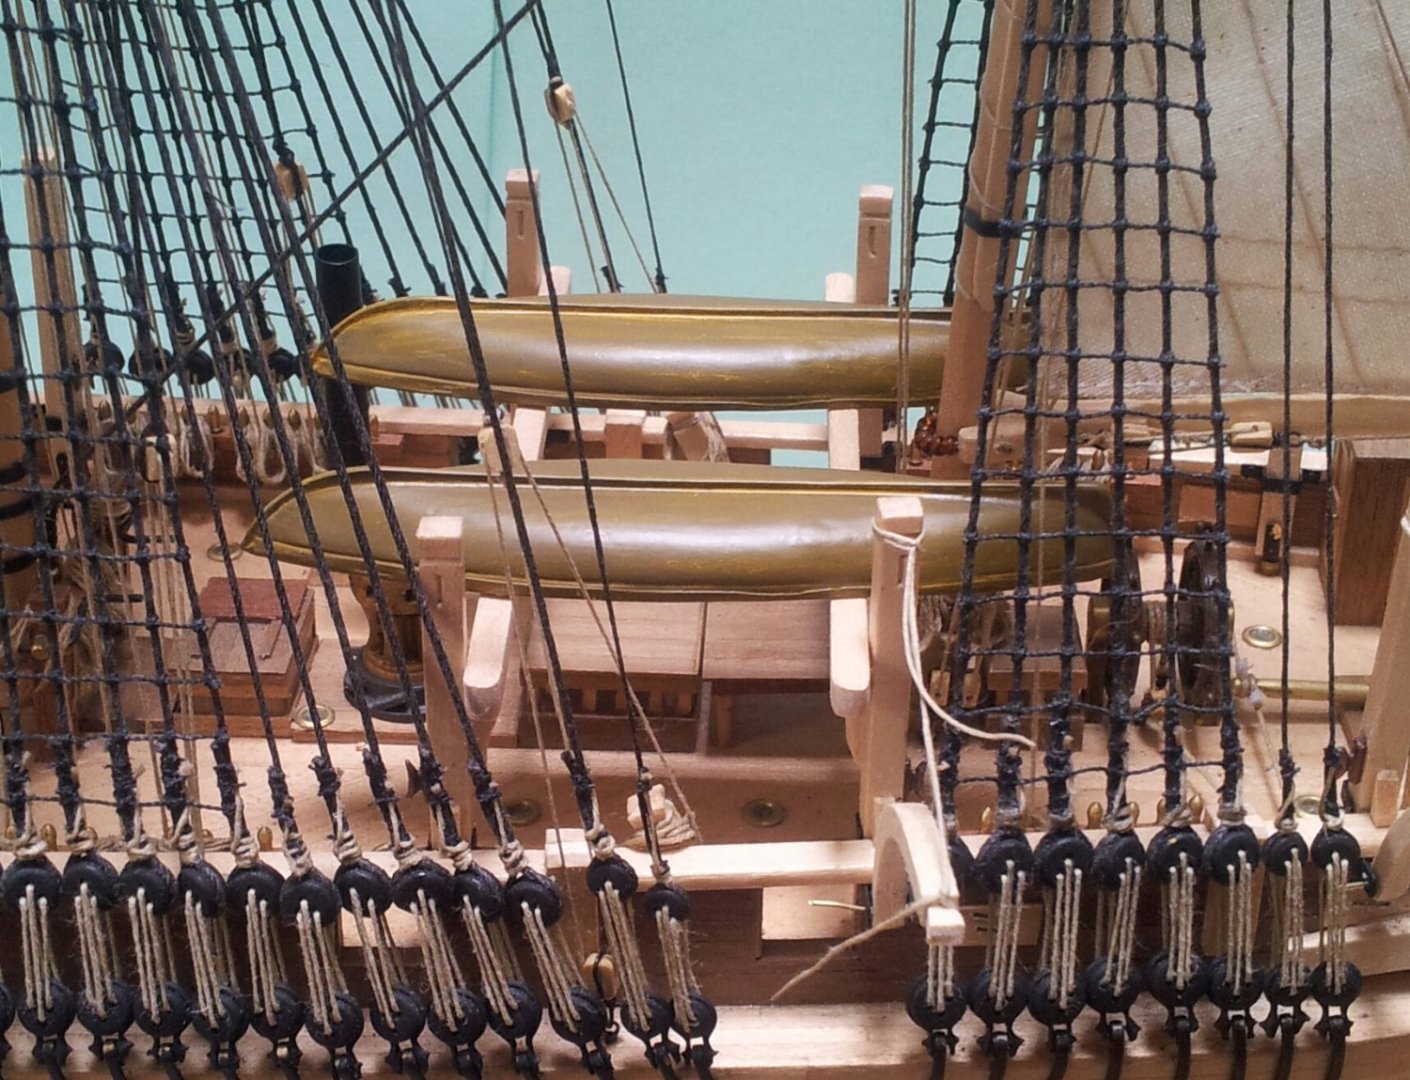
Thanks for the likes, comments and looking in everyone. Experimentation continues with the curved davits. This time used 6 lengths of occre deck planking cut to size and curved on the previous jig then glued/ sanded to shape. Also a while back i bought in some barrels by Caldercraft which will need the iron bands painted on them. will need to think about adding spare spars in the crutches in the waist as well. take care all Keith
-
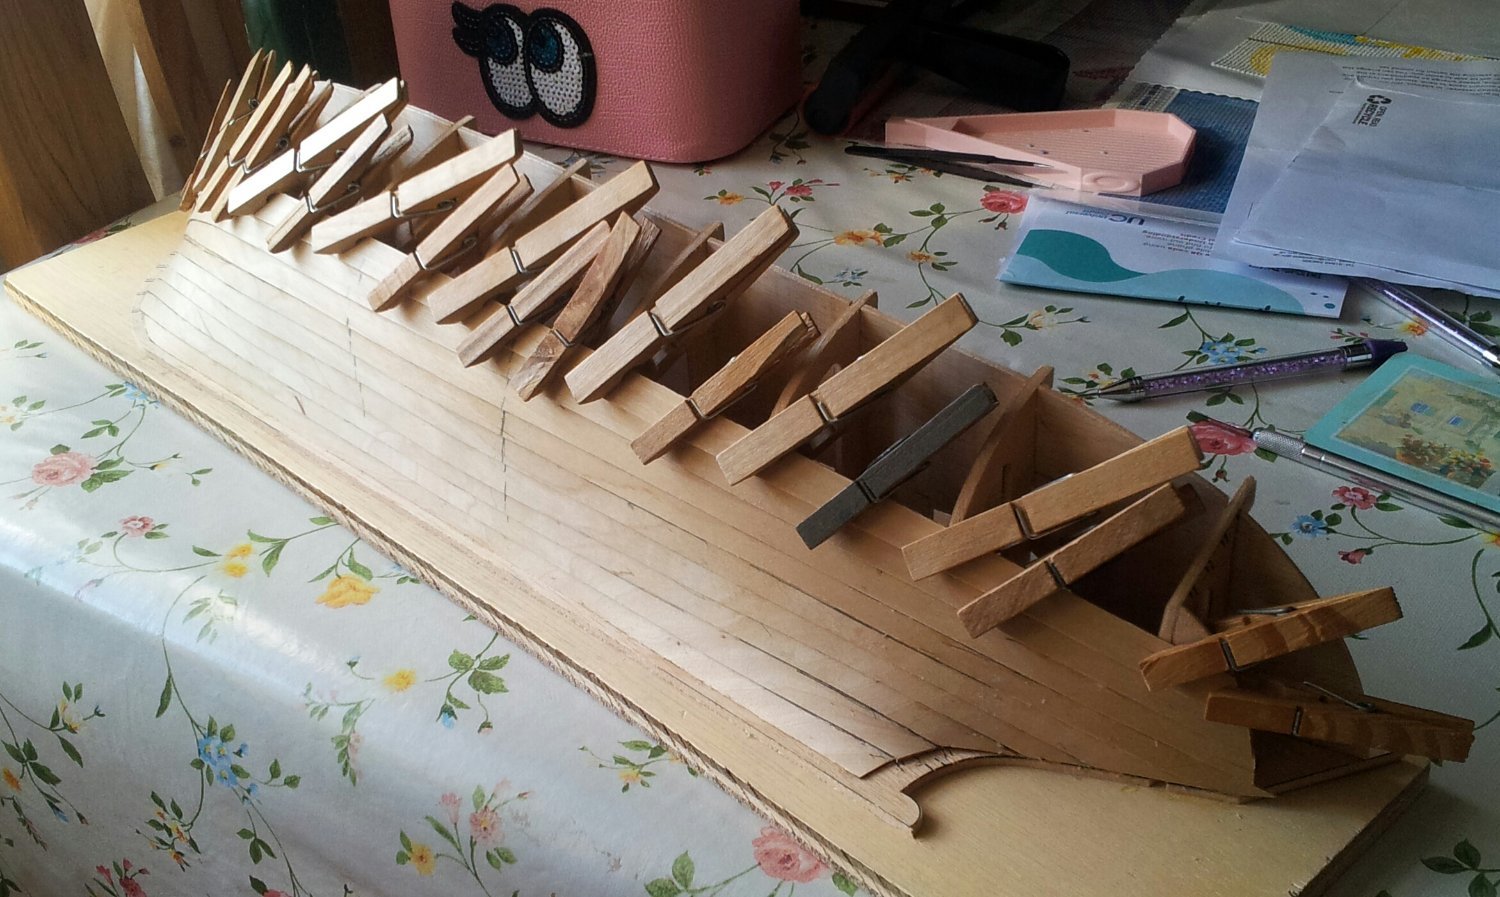
Thanks for looking in, just a quicky with the two halves planked clinker style (the stern is planked carvel fashion with perpendicular planking. the eagle eyed among you will notice another ancient billings kit)! take care keith
-
Hi Daniel, a bit of both😉. I soaked some 3 x 1mm strip and bent them around a former made from some planking pins on a piece of scrap ply , that is version one! i am thinking now of using some wider and thinner strip bent around a round tin/ glass as they seem a bit thinnish using first method🤔. Keith
-
Thanks Chris, yeah that would have been heck of a warp!! You build the hull in two halves on a baseboard then join after planking. also thanks for editing title (will get it right one day)! Keith
-
these were converted from first rates to combat the new yankee frigates (constituition didnt get the nickname old ironsides for nought)!
- 488 replies
-
- 6
-

-
- Indefatigable
- Vanguard Models
- (and 1 more)
-
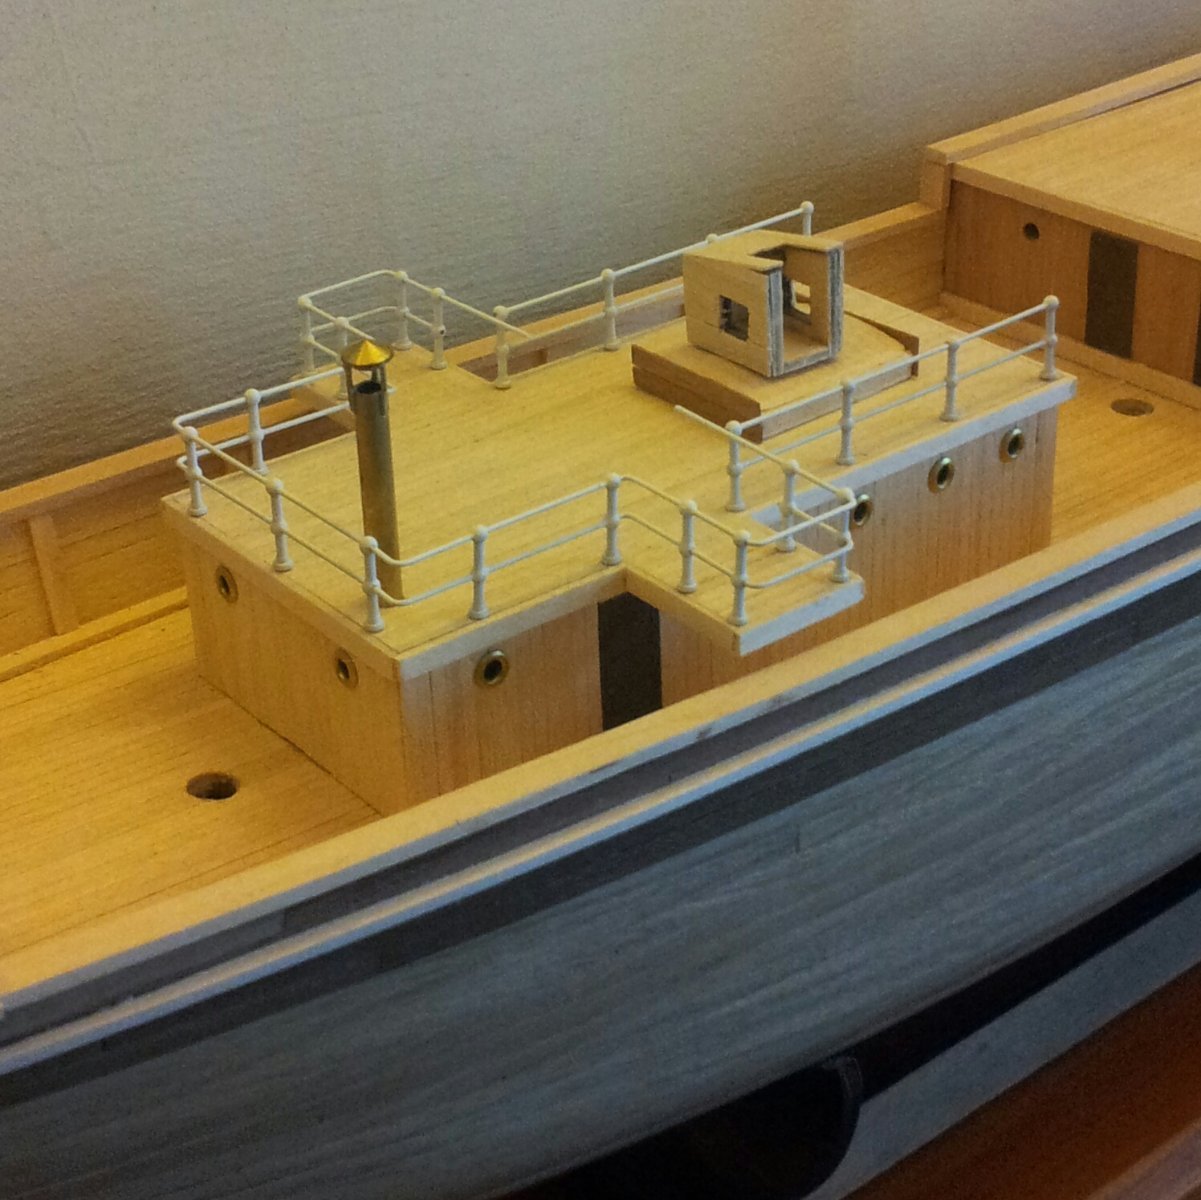
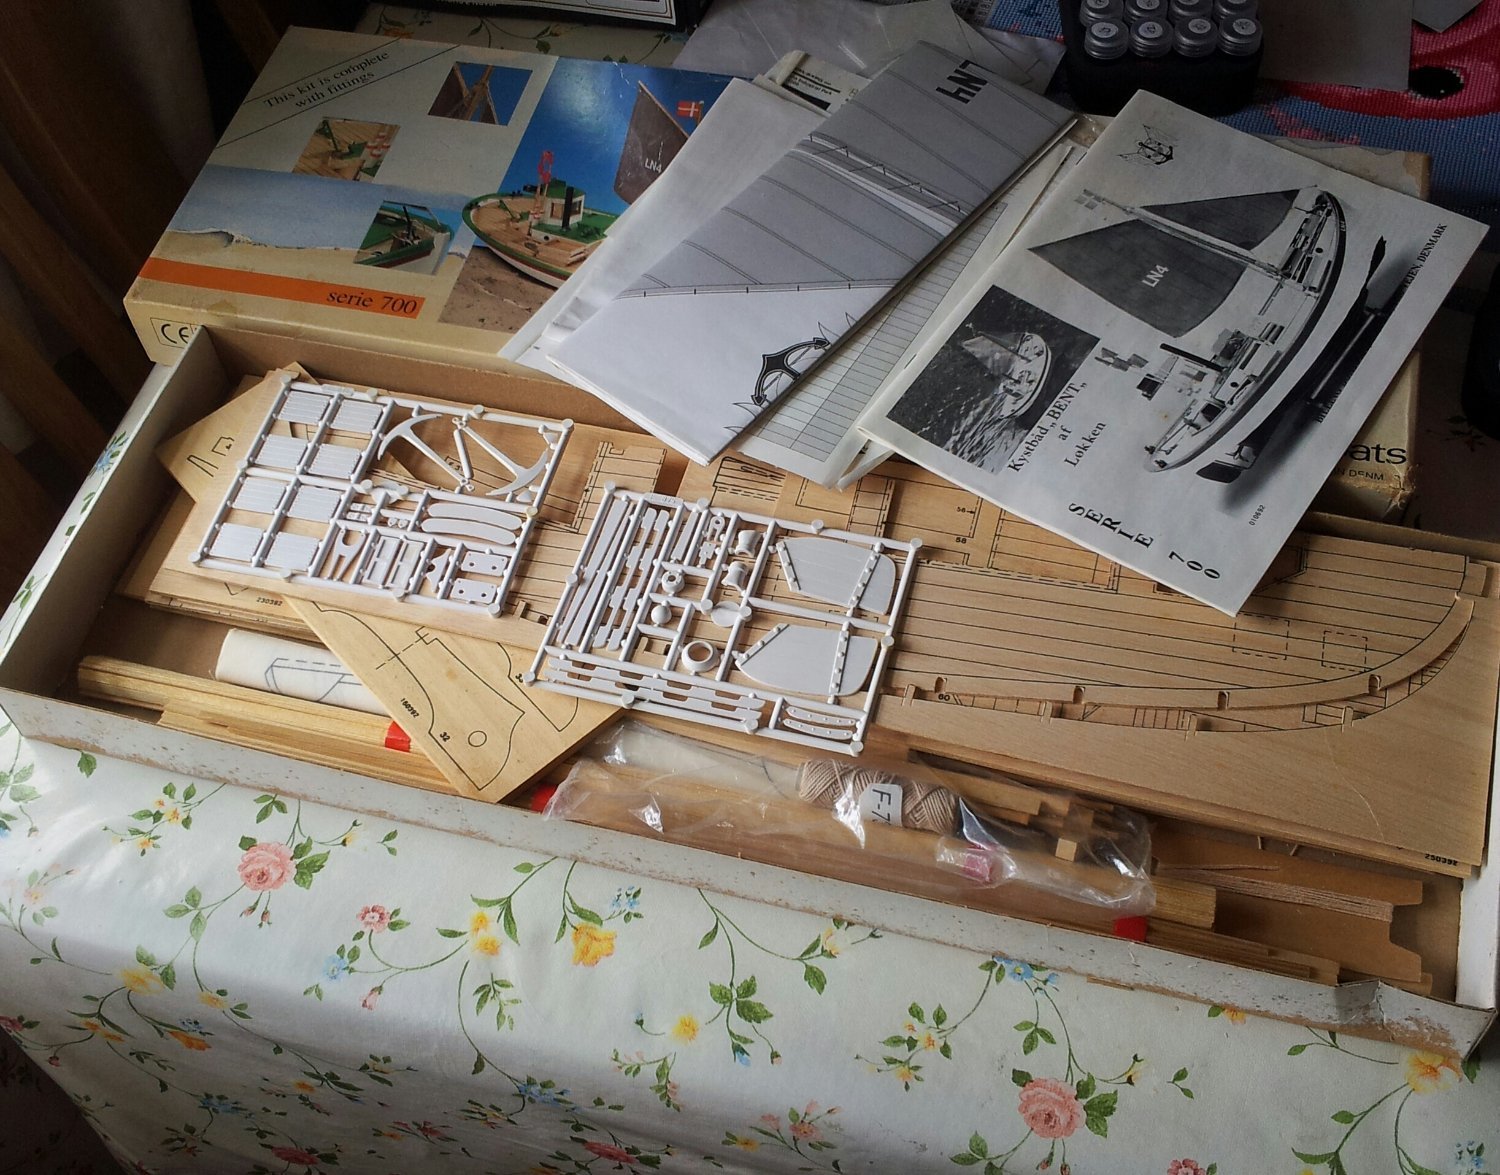
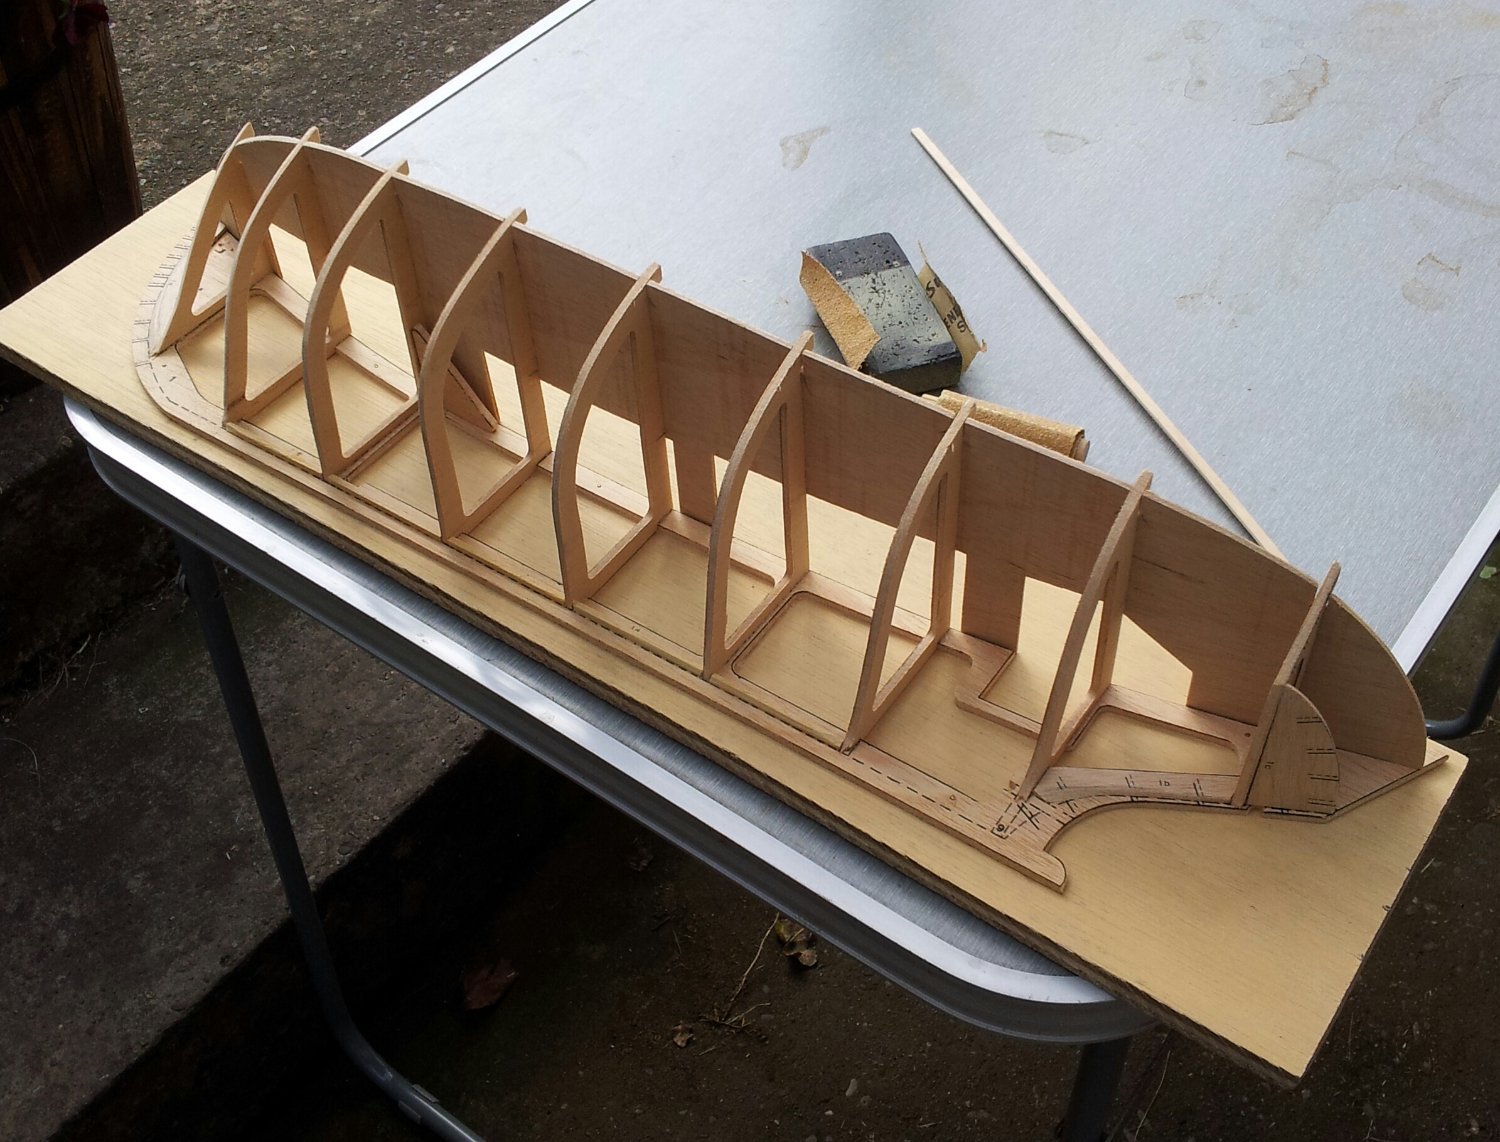
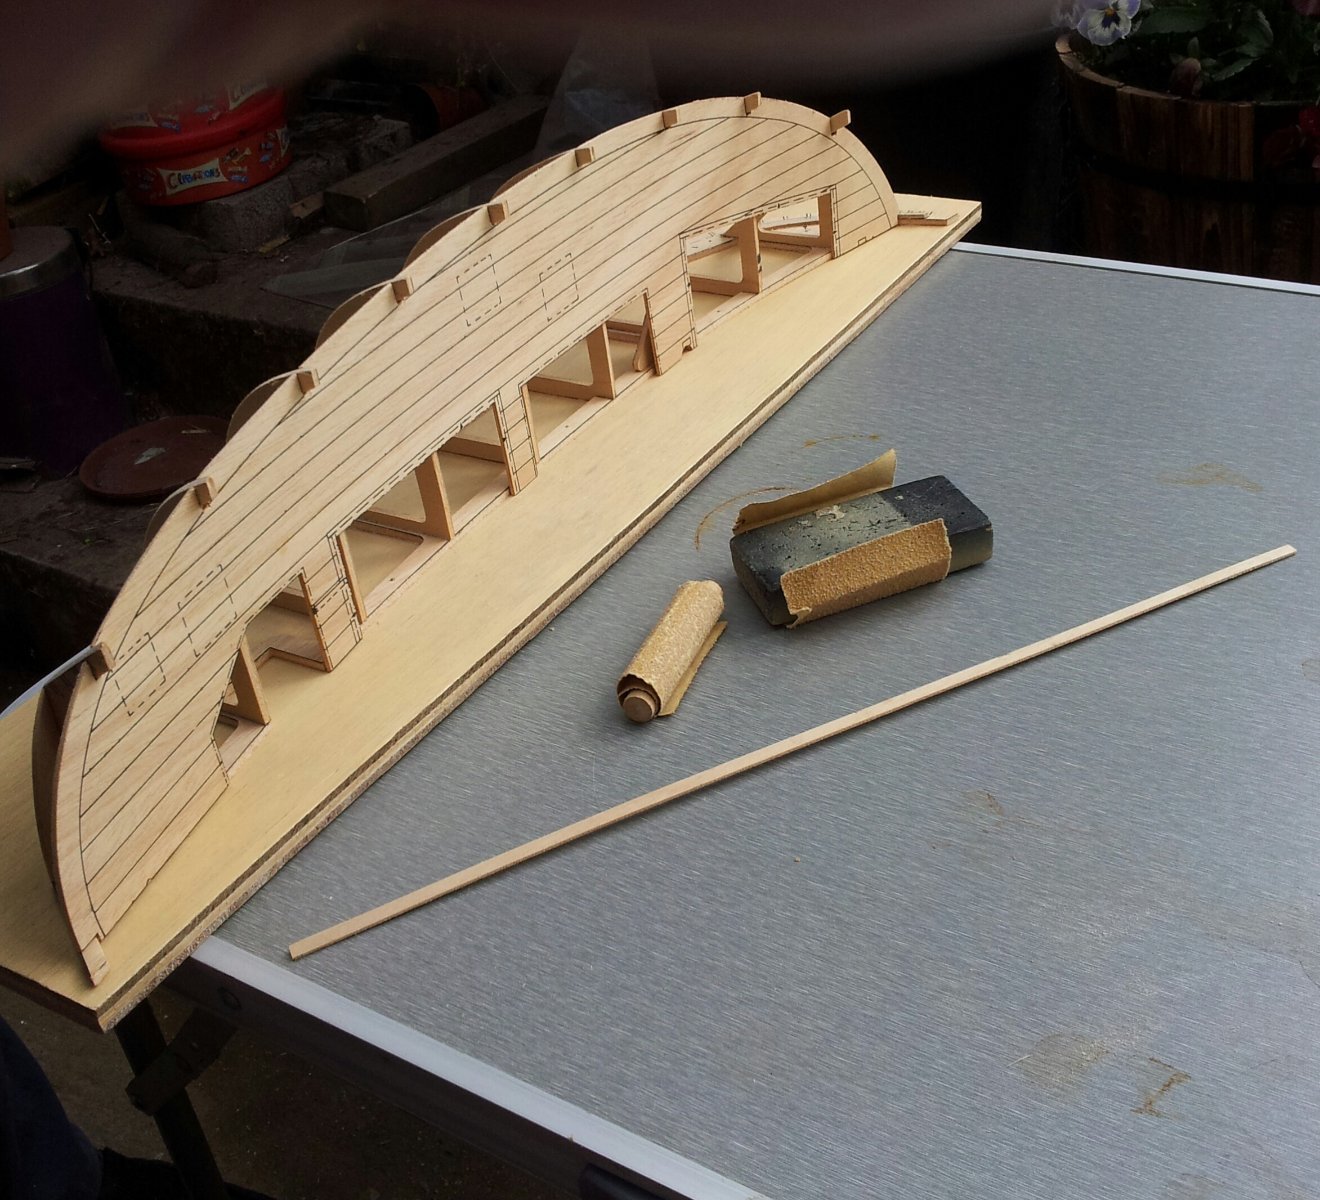
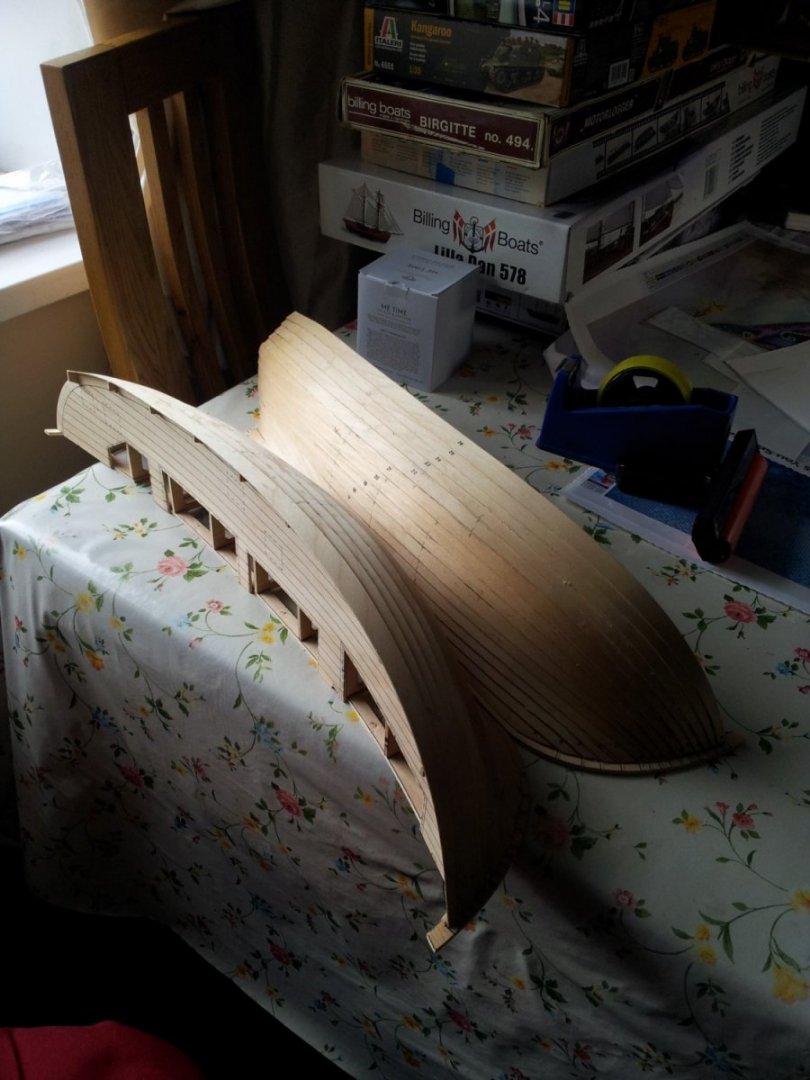
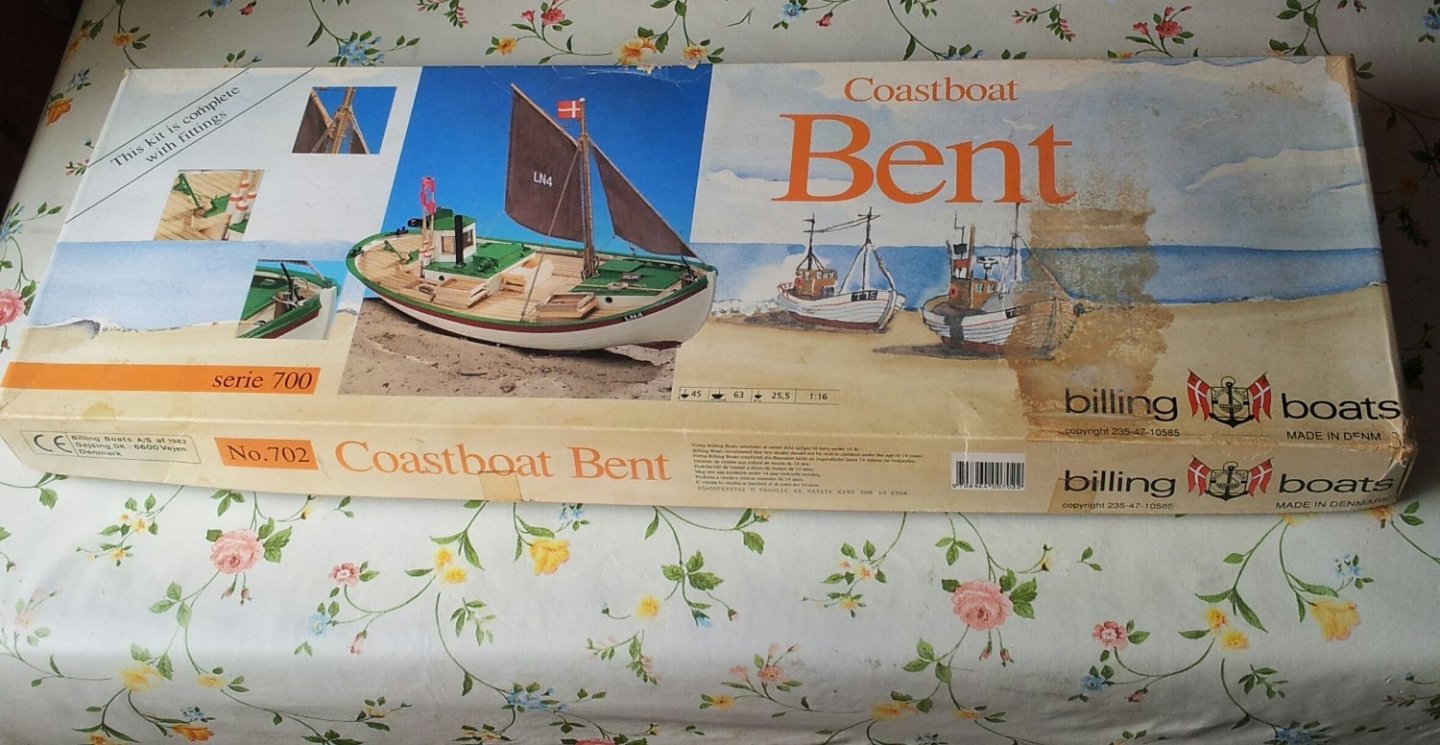
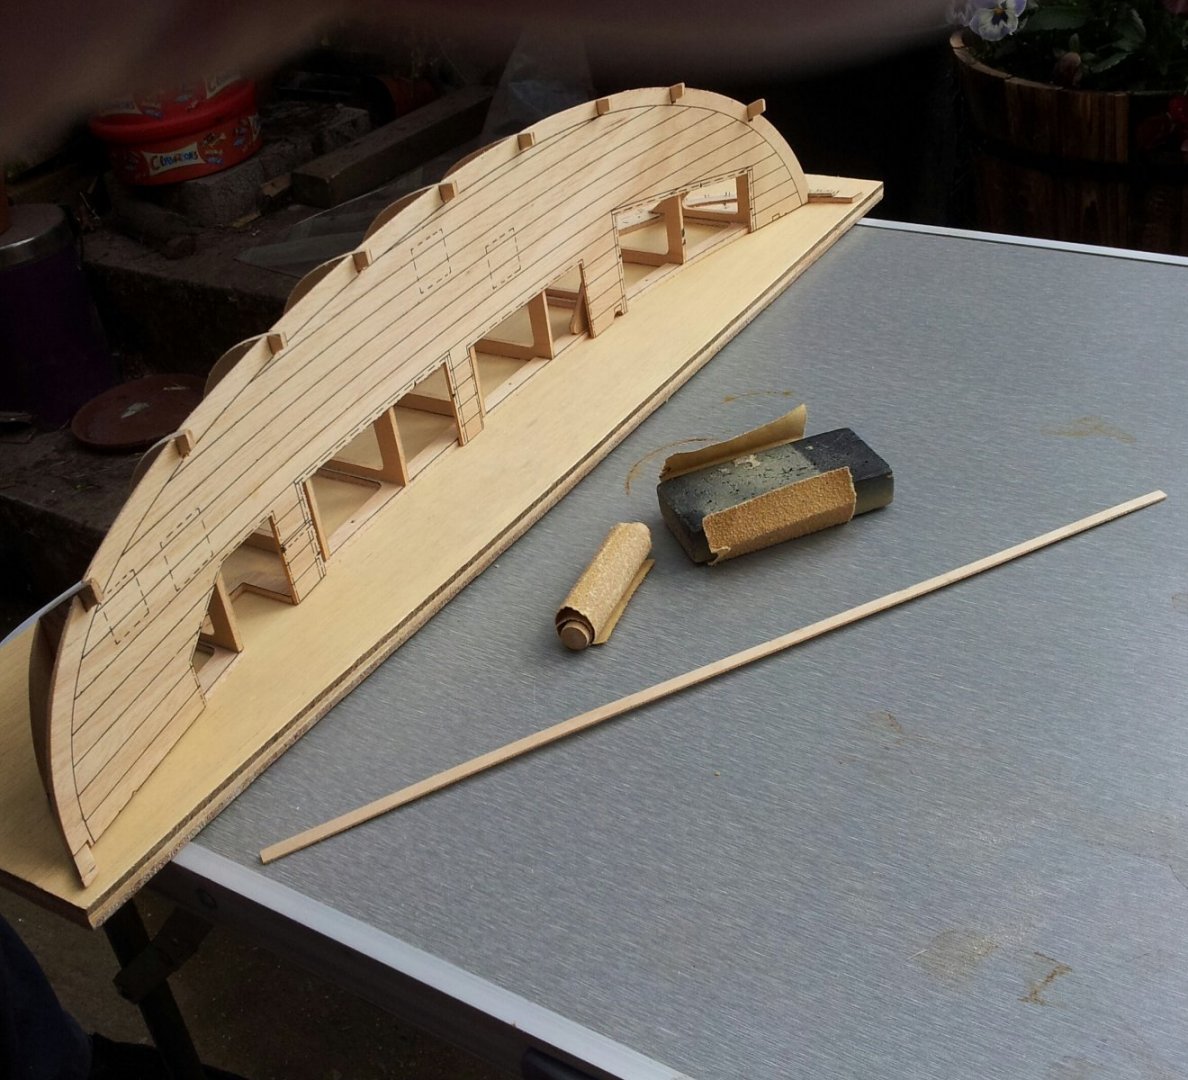
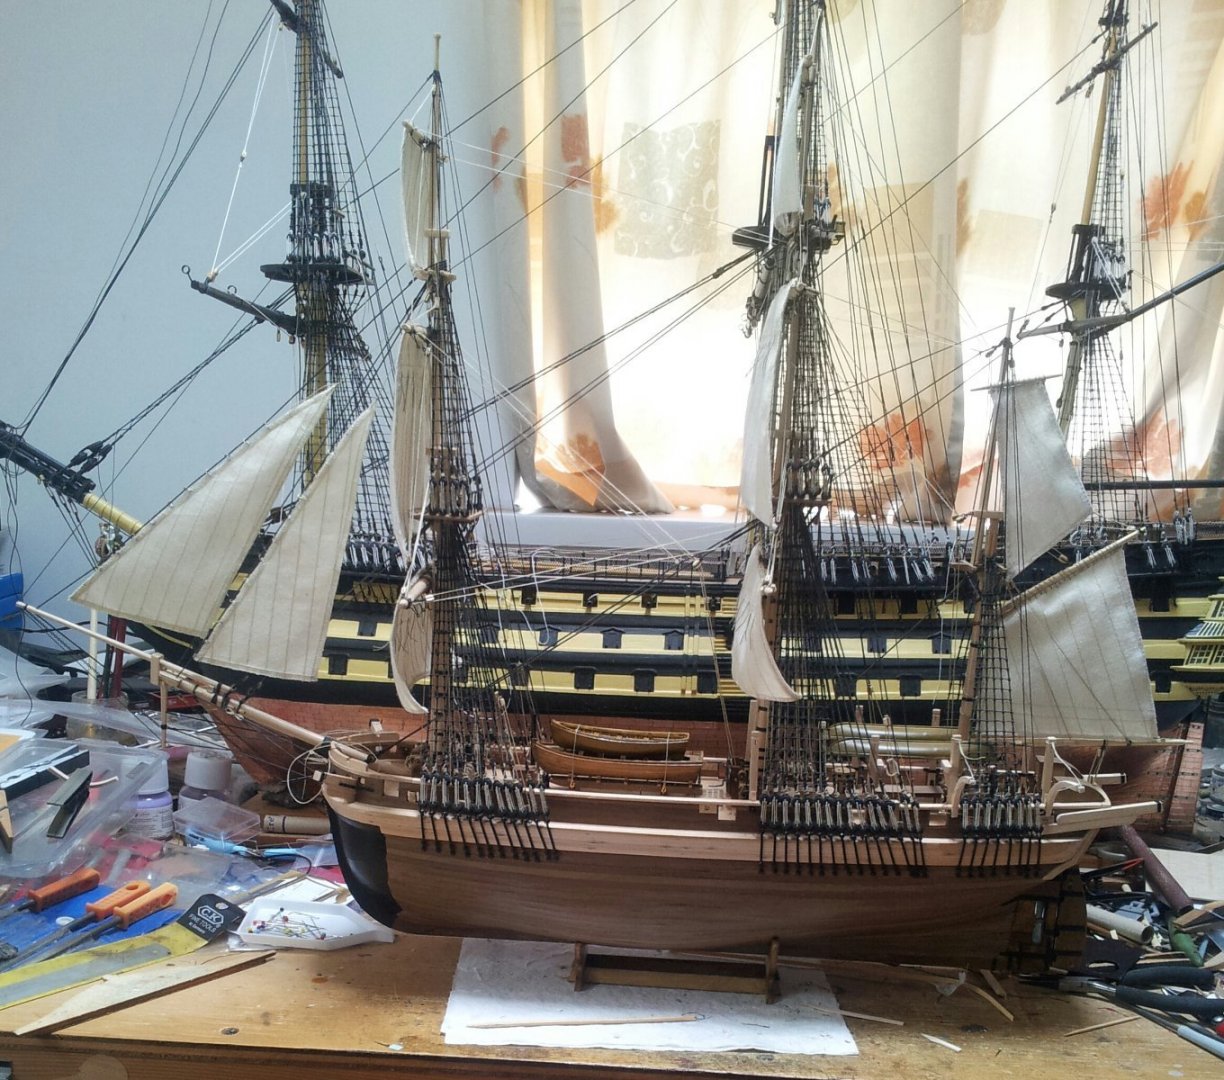
should behave myself really with my Victory, Terror and Endurance on the go but seen this on a popular auction site and couldnt resist as i was going to buy it years ago but it was discontinued before i made my mind up! i never really liked the wheelhouse, but looking at pictures online of danish coast boats about anything goes so will build her without the well and a full wheelhouse. The kit was all there and in pretty good condition seeing as it looks like the 80s version with die cut parts (no laser cutting here), and was all there. progress so far take care all Keith


-
i soak my planks in the bath tub for a few hours before tapering and bending to shape, after a few builds you kind of get a feel for it. planking battens can help as well. if going for the stern tuck bevel a bit more off the last stern frame Keith
-
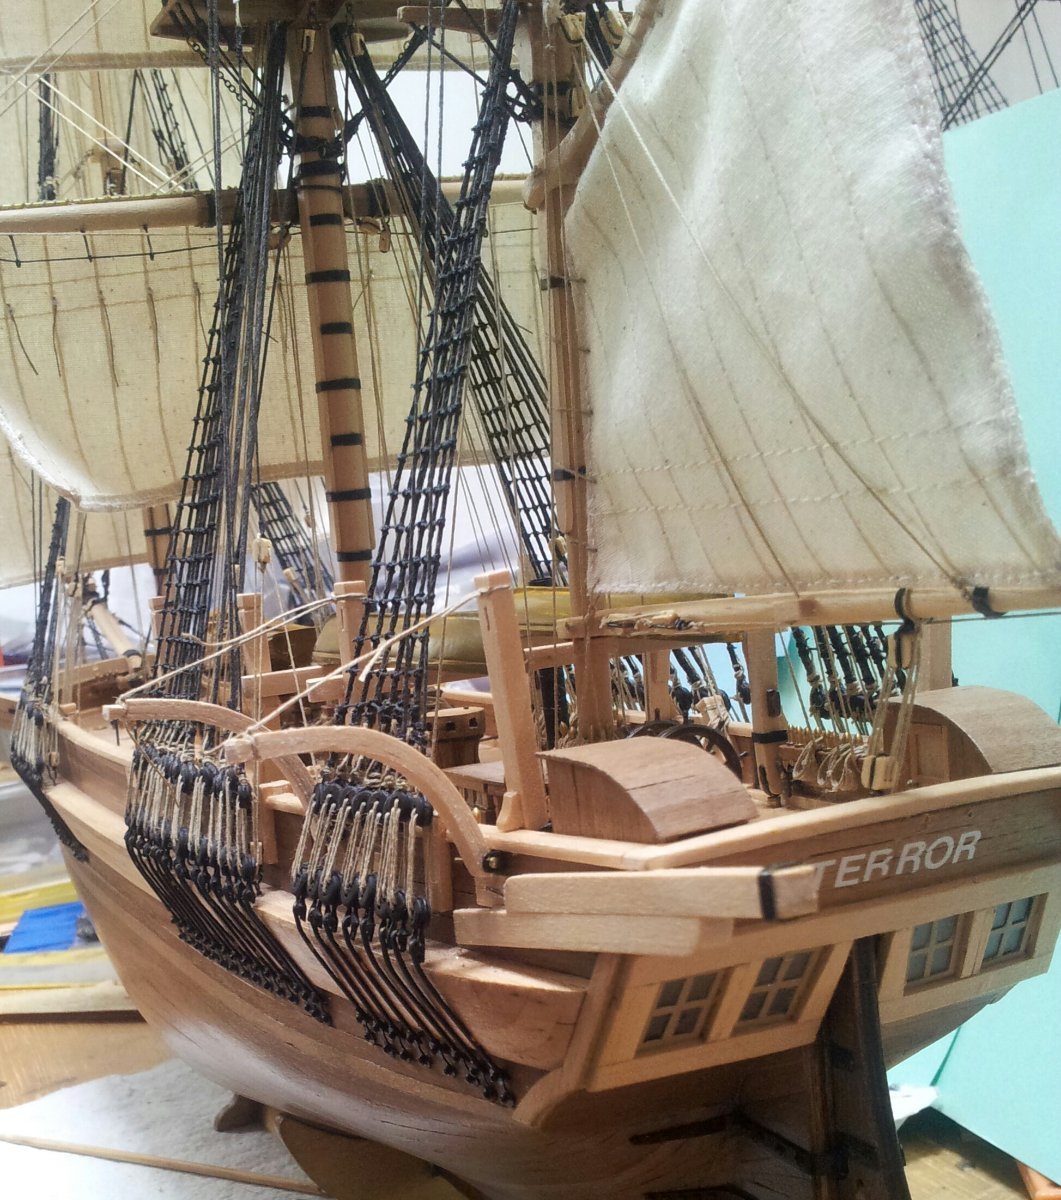
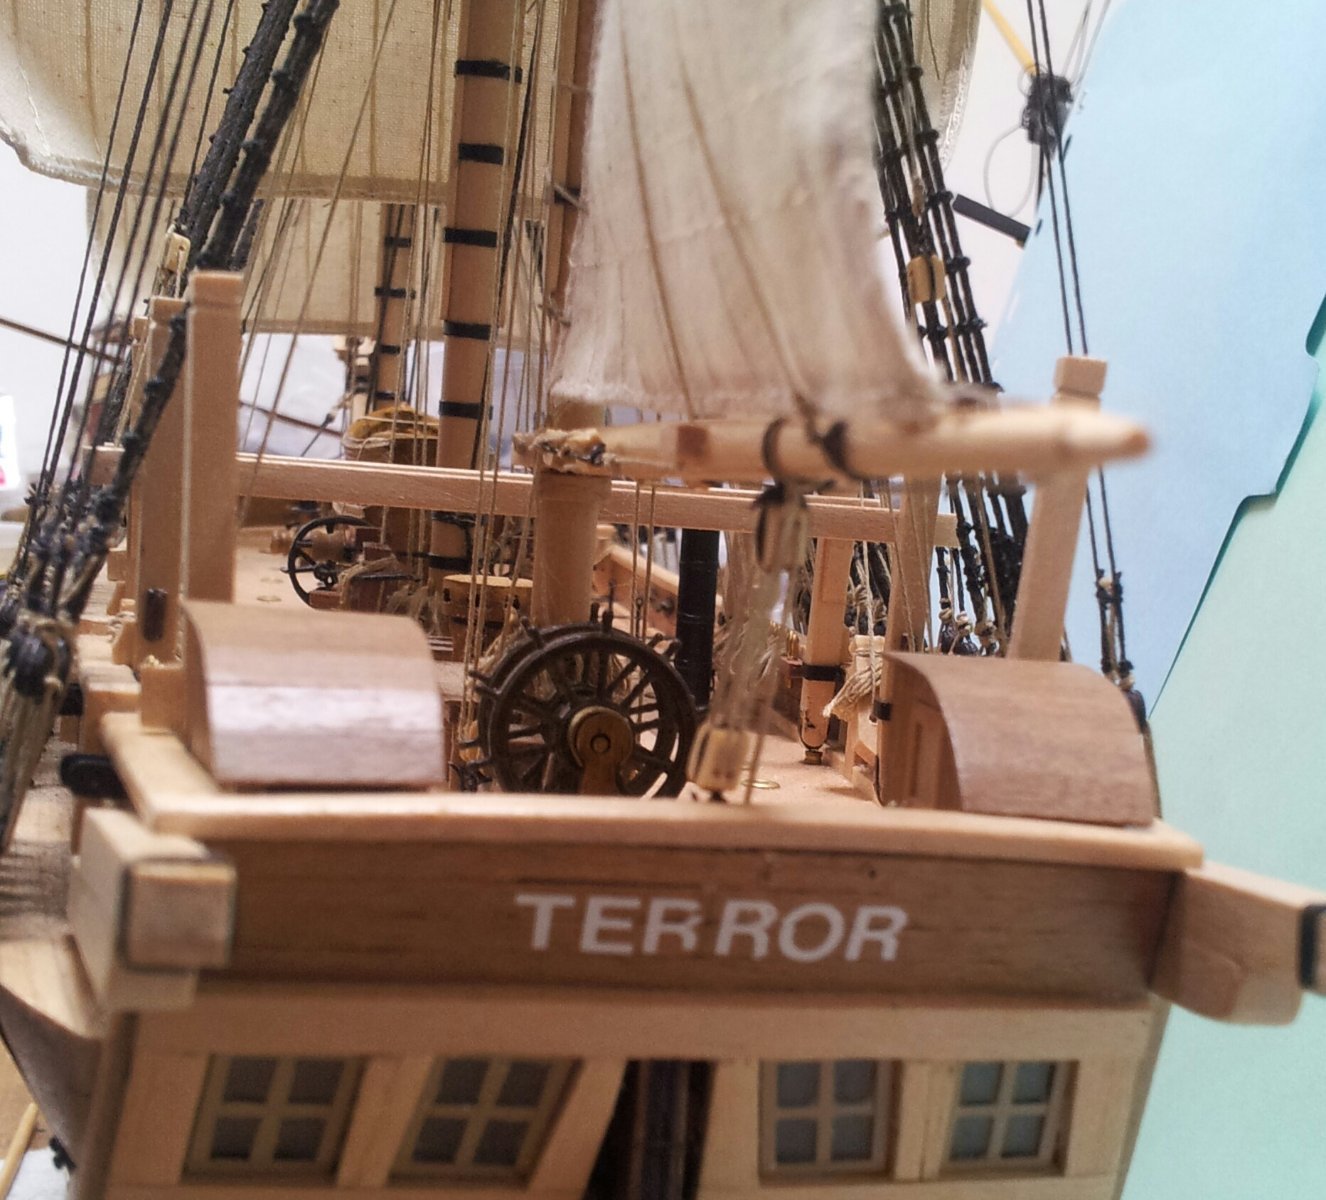
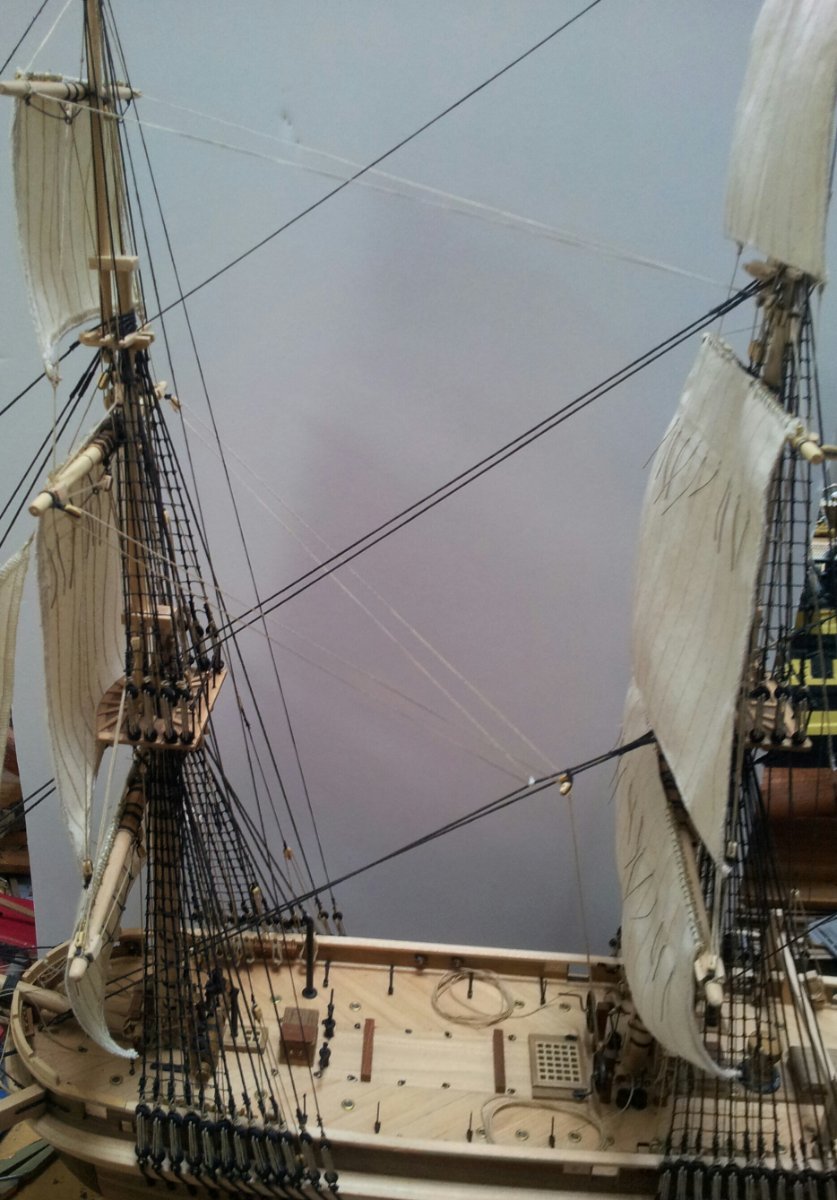
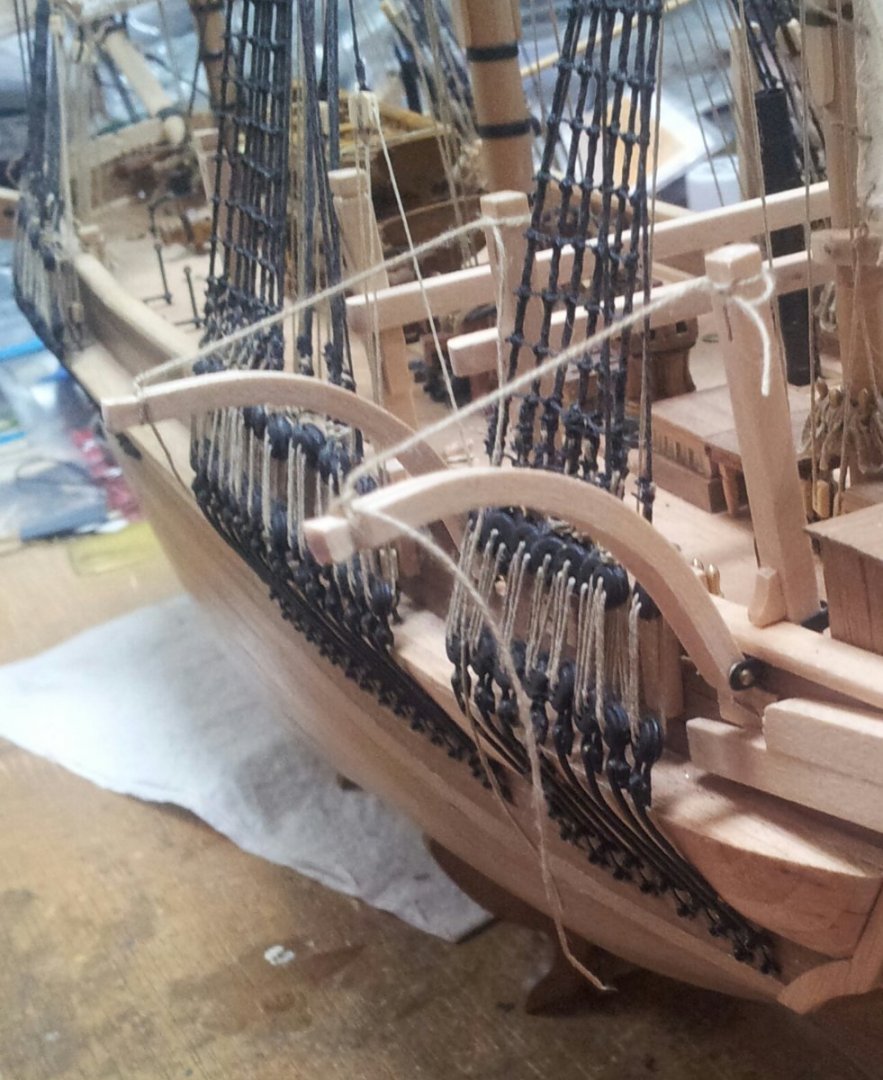
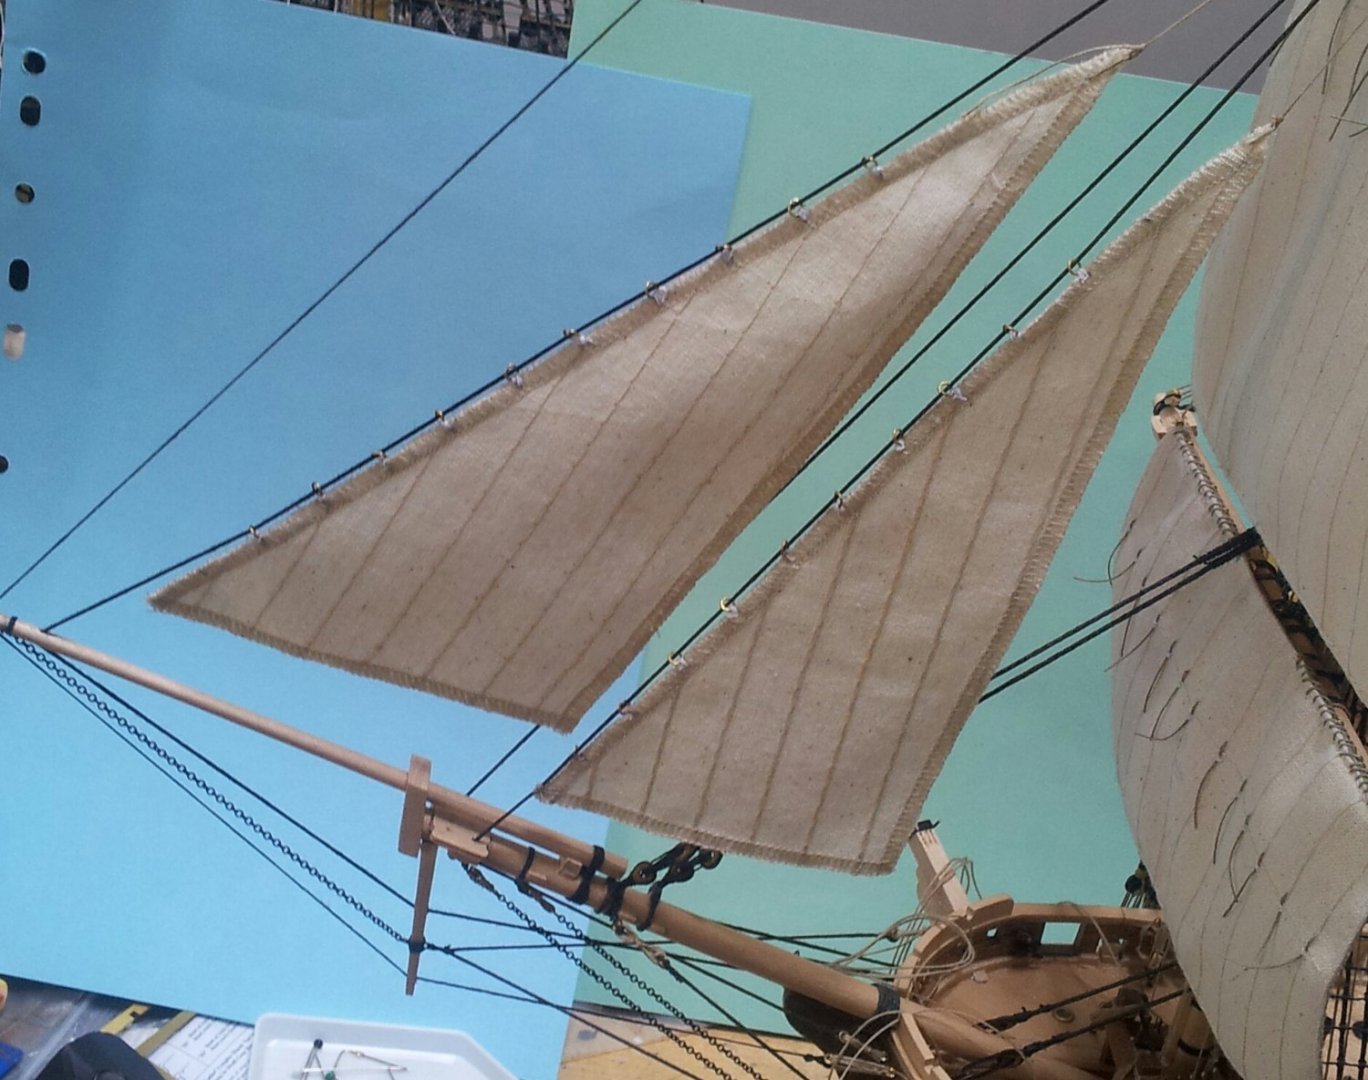
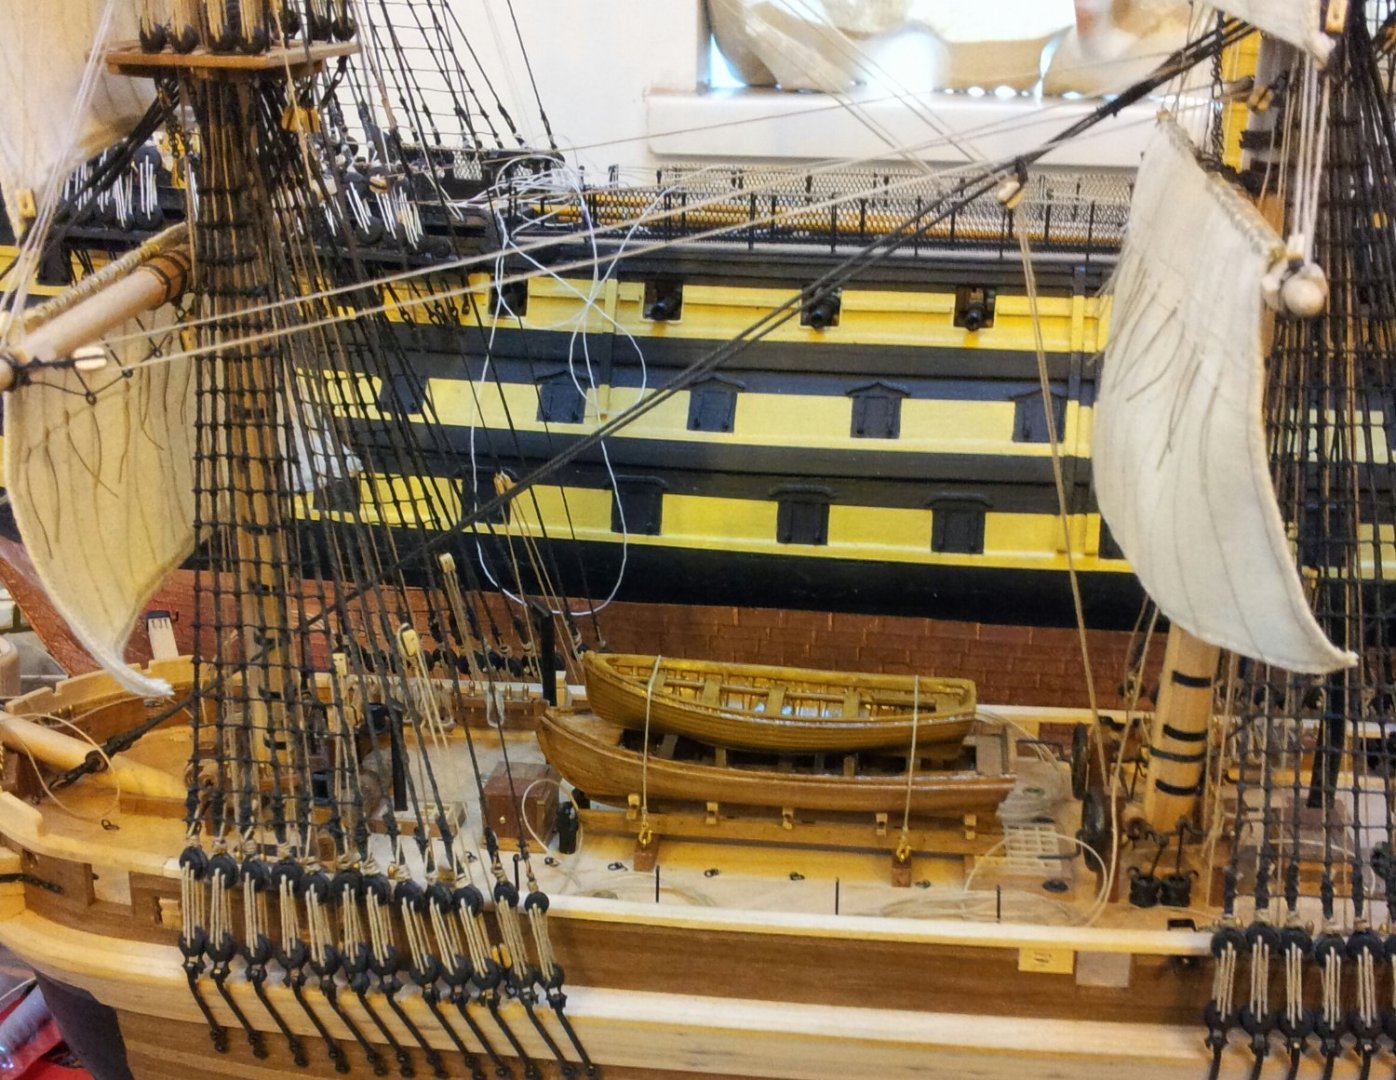
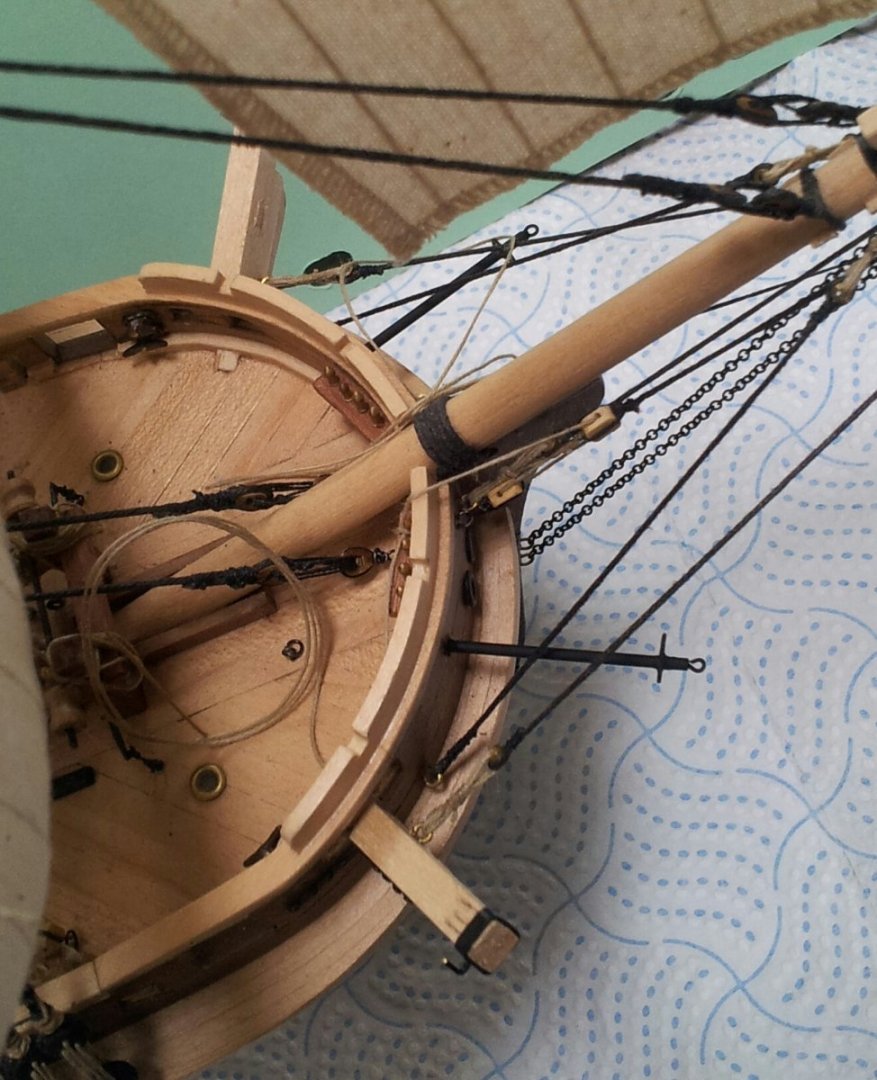
Thanks for the likes, comments and looking in everyone. I have been playing about with creating the curved davits and have tried a temp installation to see how they look. Also the jib sail has been added (yey we have all the sails on)! though the sheets and downhauls still need added to both sails on bowsprit. Dont know why but occre have got the jib stay rigged but bent the sail on the topgallant stay!? Also i have glued the other skid beam on and painted/ varnished the whale boats supplied with the kit as they did look the part. Still pondering the ice bridge especially as we cant take for granted if it was on the 1836 plans it will have still been there in 1845, when i get my copy of mr Bretts magnum opus in October i should be able to add it if needed. Take care everyone Keith

-
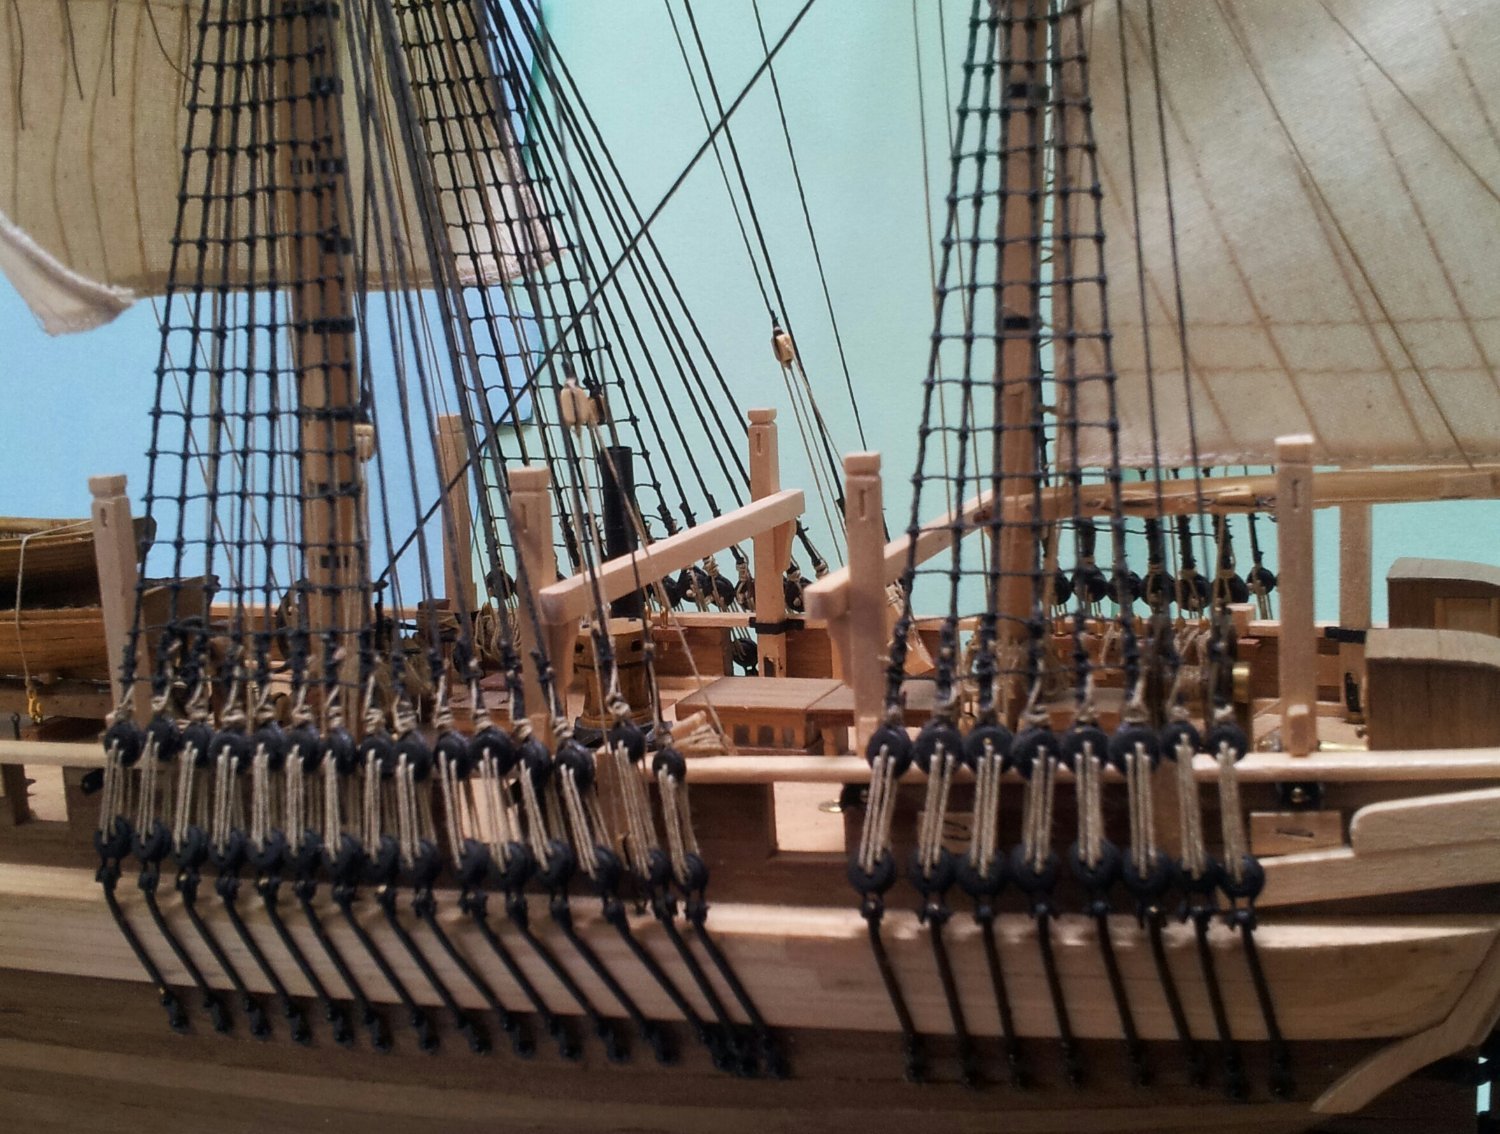
welcome back Geo, your terror is developing😉. for my ratlines i used thread from a local sewing supply shop as the occre thread was too thick and hard to work with. Keith
-
Thanks Daniel , it was when i came across the midship section drawing of HMS Investigator among the maritime museums archives i noticed the curved davits and thought "hmmm maybe the other keith (keiths) is onto something here". Keith
-
many thanks Daniel, looks like curved davits it is. Cant wait till the hard copy is available in October will be an interesting read. Keith
-
Thanks for the likes and comments (could have kept the brace analogies going indefinitely Keith LOL)! Have gone back to working on the davit posts while debating whether rigging the main braces would get in the way 🤔. Also glued the foreward skid beam in place, after one is just resting on knees while i figure how i am going to make the framework for the ice bridge. Also been thinking about the davit arms and think KeithS might be on to something with the curved arms as opposed to straight on the 1836 drawings, have looked at other ships from same period and they did have curved davits. The enigma that is Terror continues..... we need Mr Betts book! Take care all Keith


-
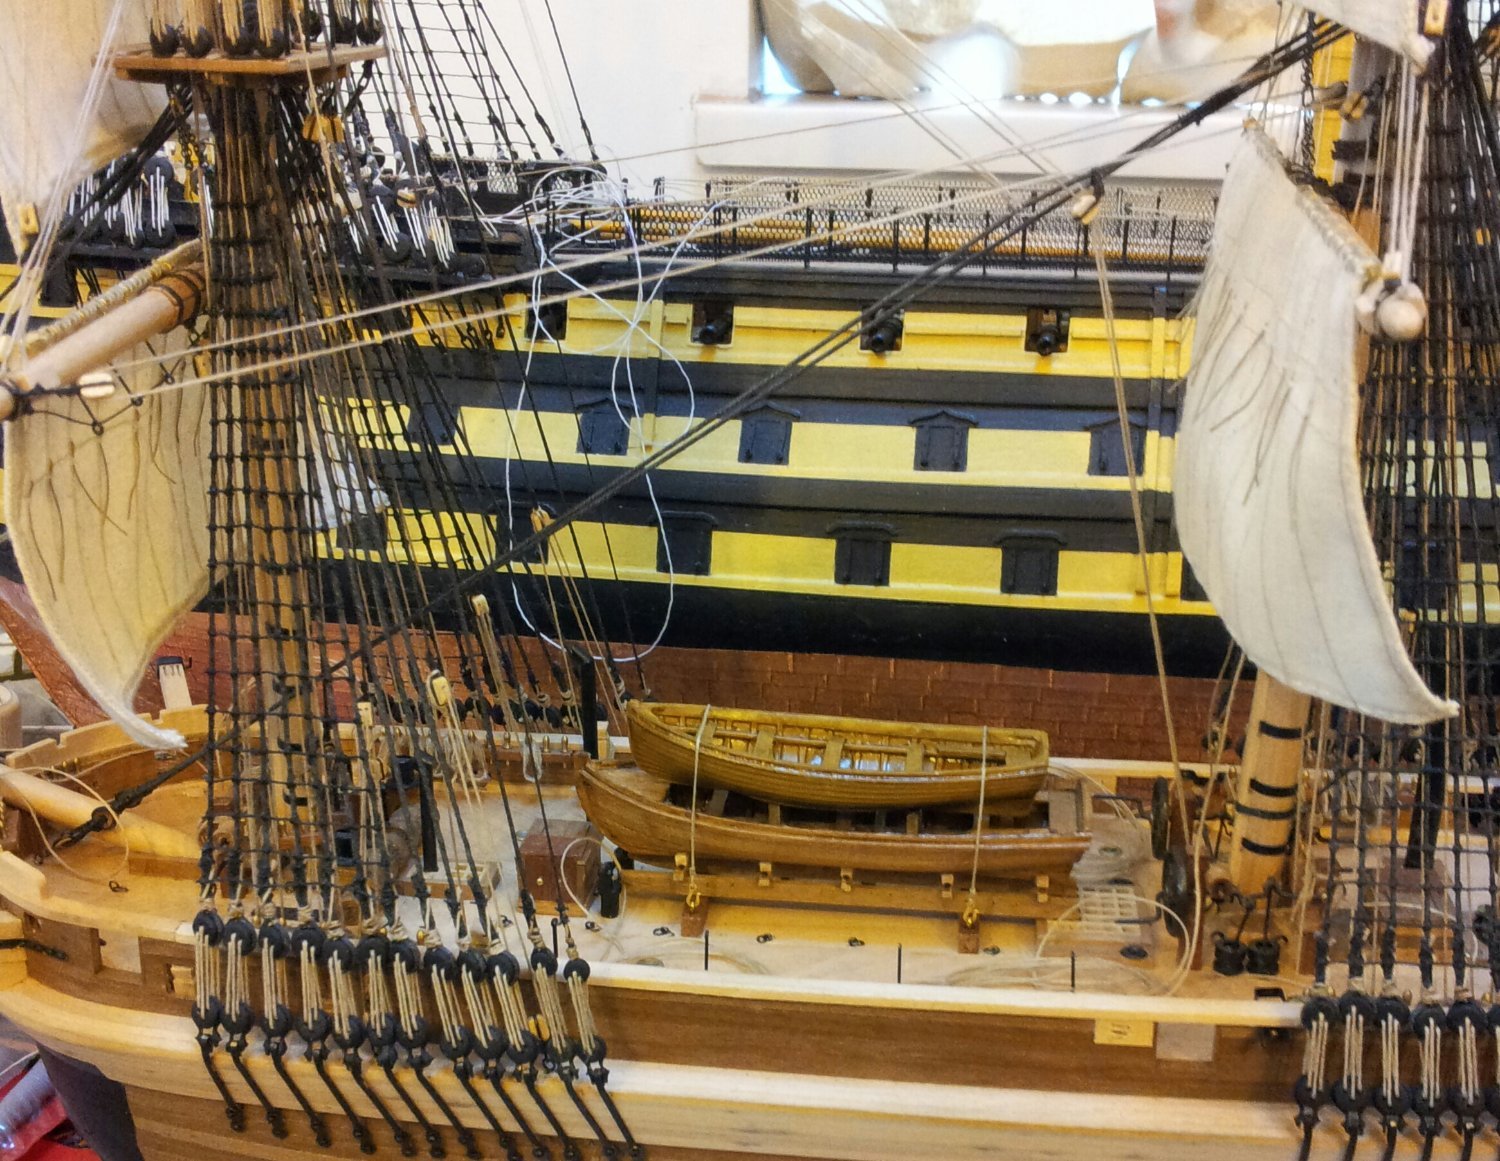
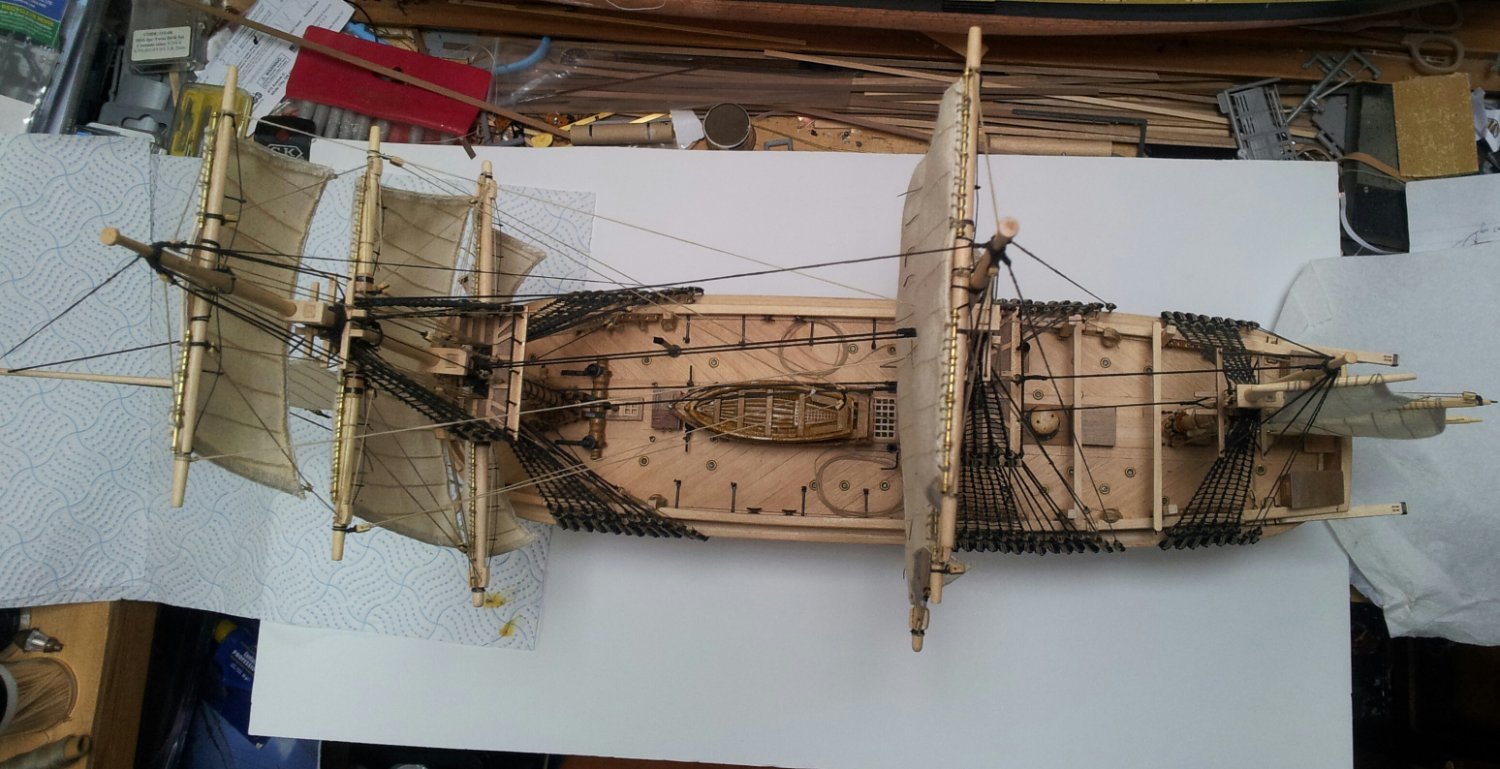
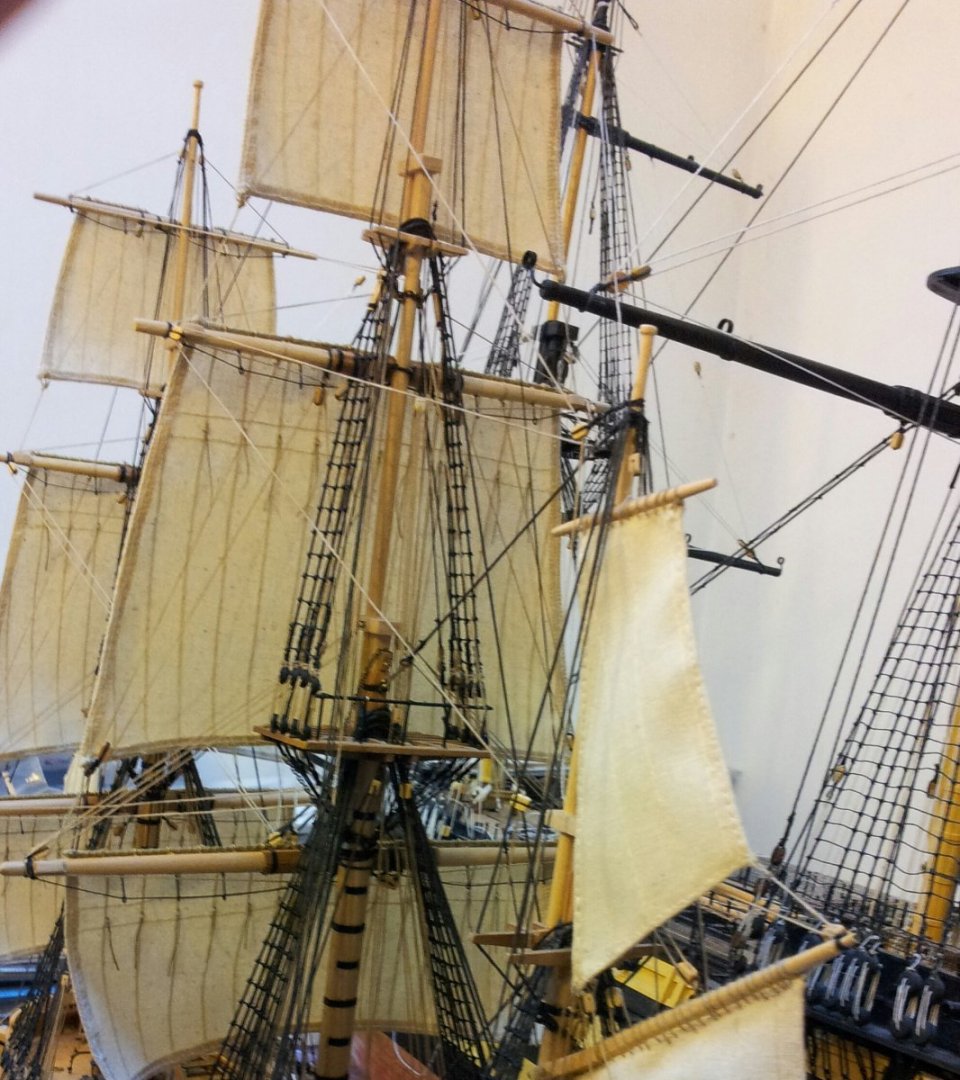
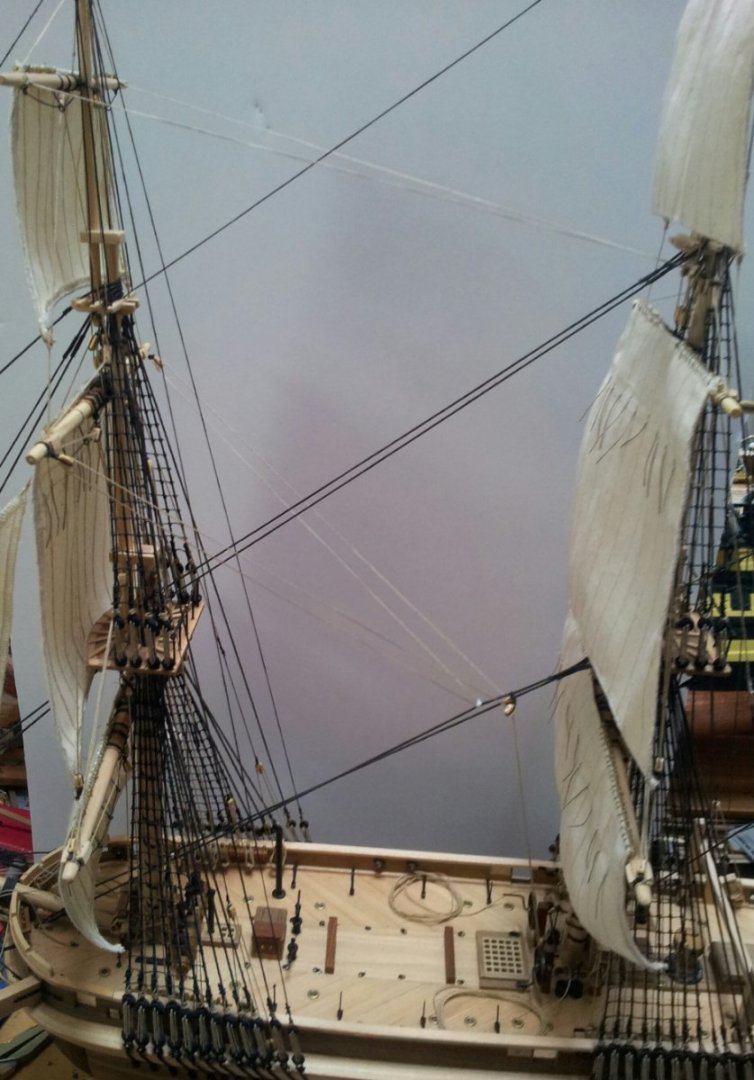
Having a bracing time with Terror! The foreyard brace is rigged but not belayed along with the main topsail and topgallant yard braces. Also the ships boats in the waist are in place (still not sure about the sled but will leave it). take care everyone and thanks for looking in. and the likes and comments. Keith
-
it gets better!😵 Keith
-
nice work- can be fun and frustrating upgrading the occre kits😁 Keith
-
thanks Keith- after the rigging i need to work out the boat skids/ ice bridge and boat davits + the ice anchors (just when i was thinking i was on the final stretch)! Keith
-
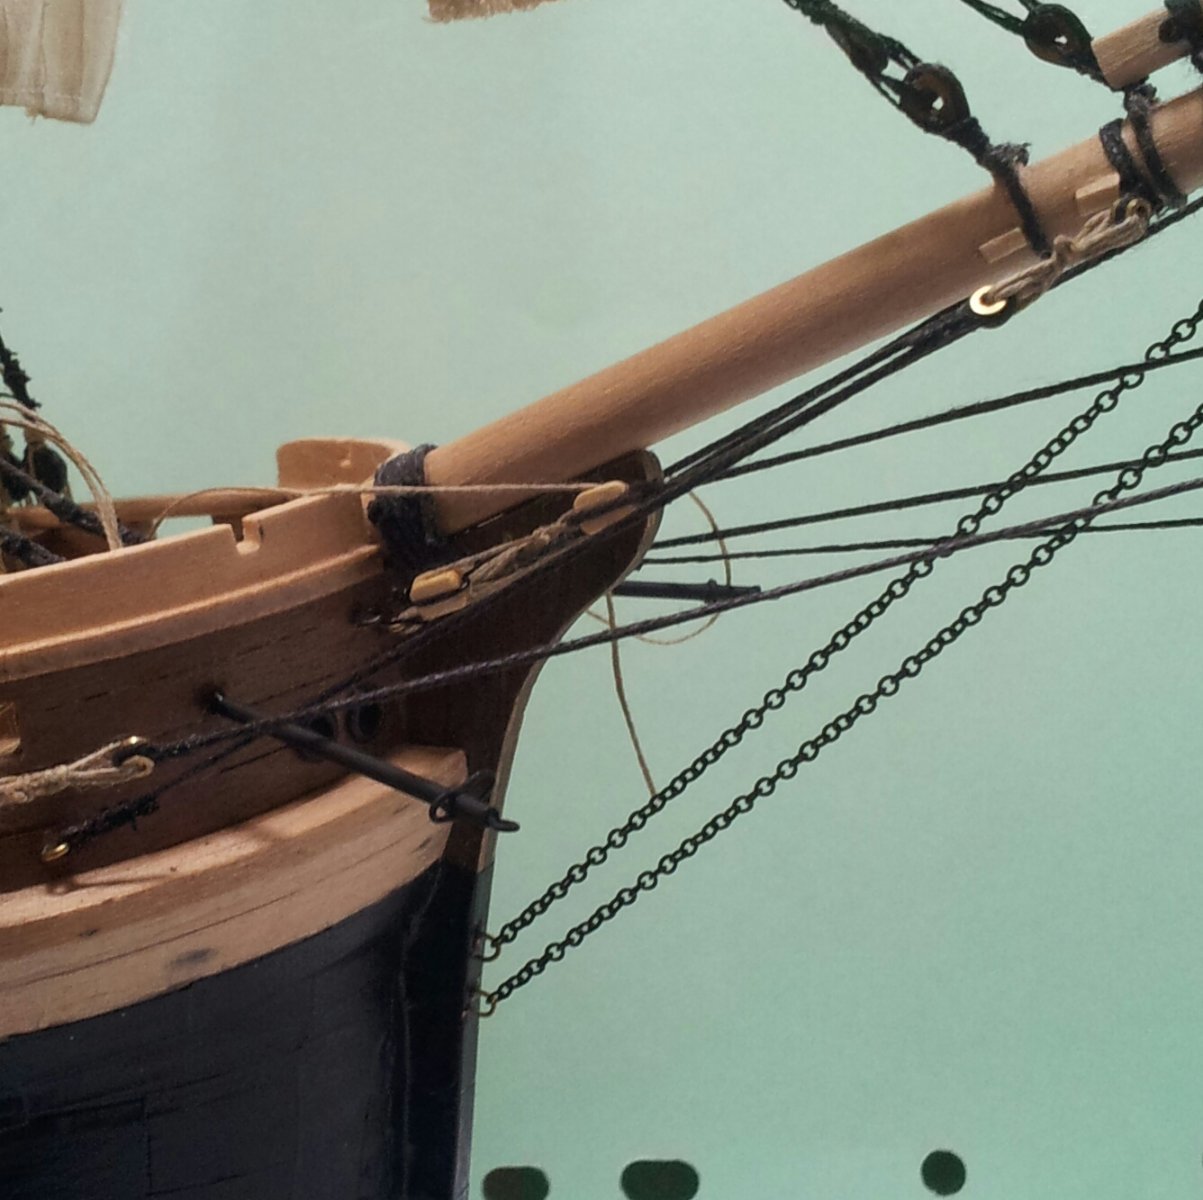
Thanks for looking in everyone, weather turned wet and windy so spent weekend in workshop..... ahh the joys of summer in Cumbria! After deliberating over the boomkins finally made them using some 1.5mm brass tube with an eye glued in the end and a flattened o ring slightly down from the end for the stays. Also rigged the braces on the fore topgallant/ topyard using lees masting and rigging for reference. take care everyone Keith


-
i think james and chris are the devil carnate with these tempting delightfully sinful kits and the awesome reviews😋 Keith
- 488 replies
-
- 5
-
-

-
- Indefatigable
- Vanguard Models
- (and 1 more)