

captgino
-
Posts
620 -
Joined
-
Last visited
Content Type
Profiles
Forums
Gallery
Events
Posts posted by captgino
-
-
-
Thank you Zoltan. I am going back and forth between your log and Brian's for clues, tips and guidance. There is a lot of good logs of NRG for the AVS.
- zoly99sask and Elijah
-
 2
2
-
Thank you Zoltan. This is helpful.the directions for this ship are at time quite difficult to understand or in the 'wrong' order.
- zoly99sask and Elijah
-
2
-
-
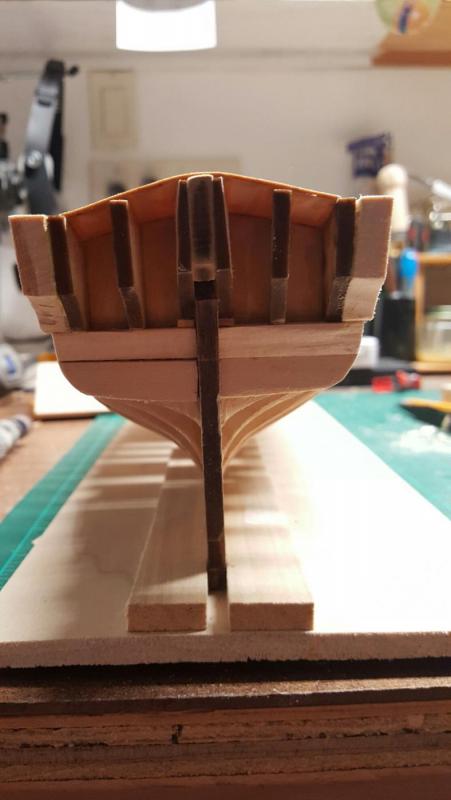
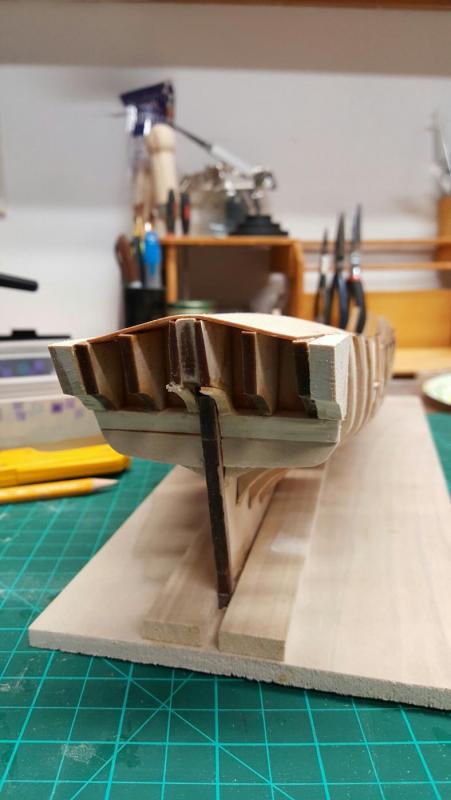
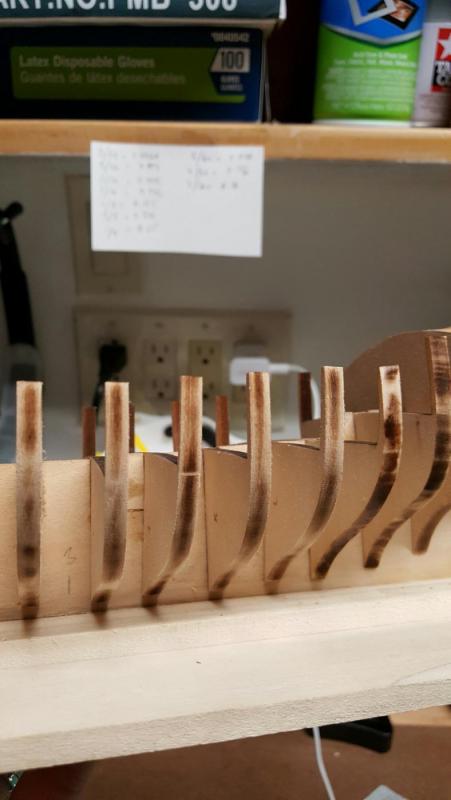
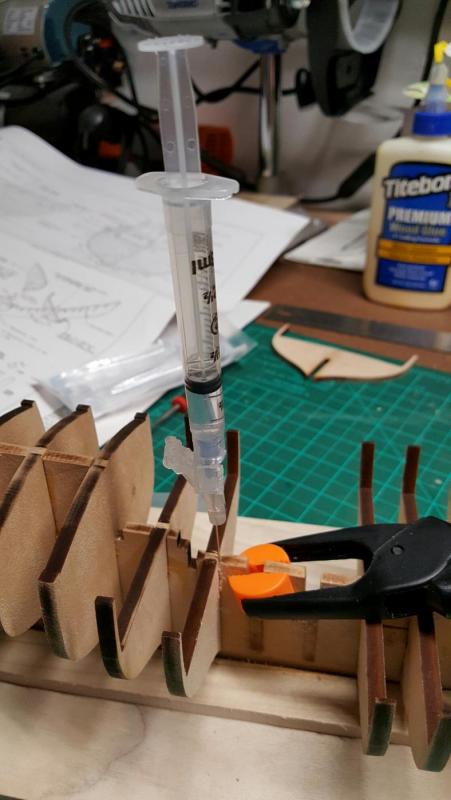
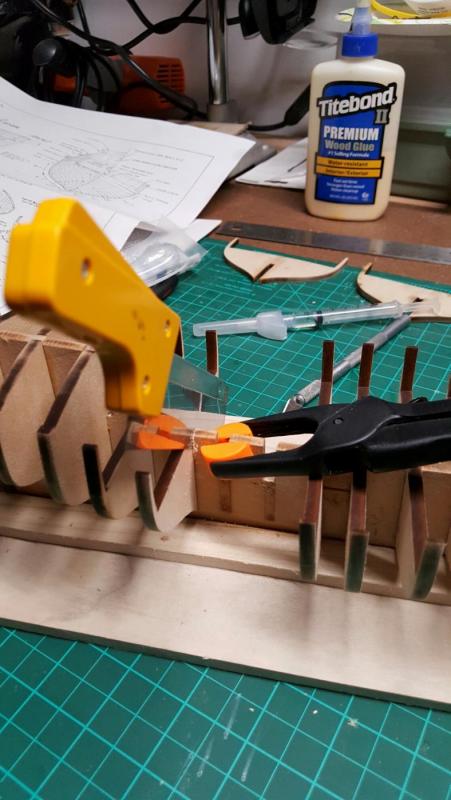
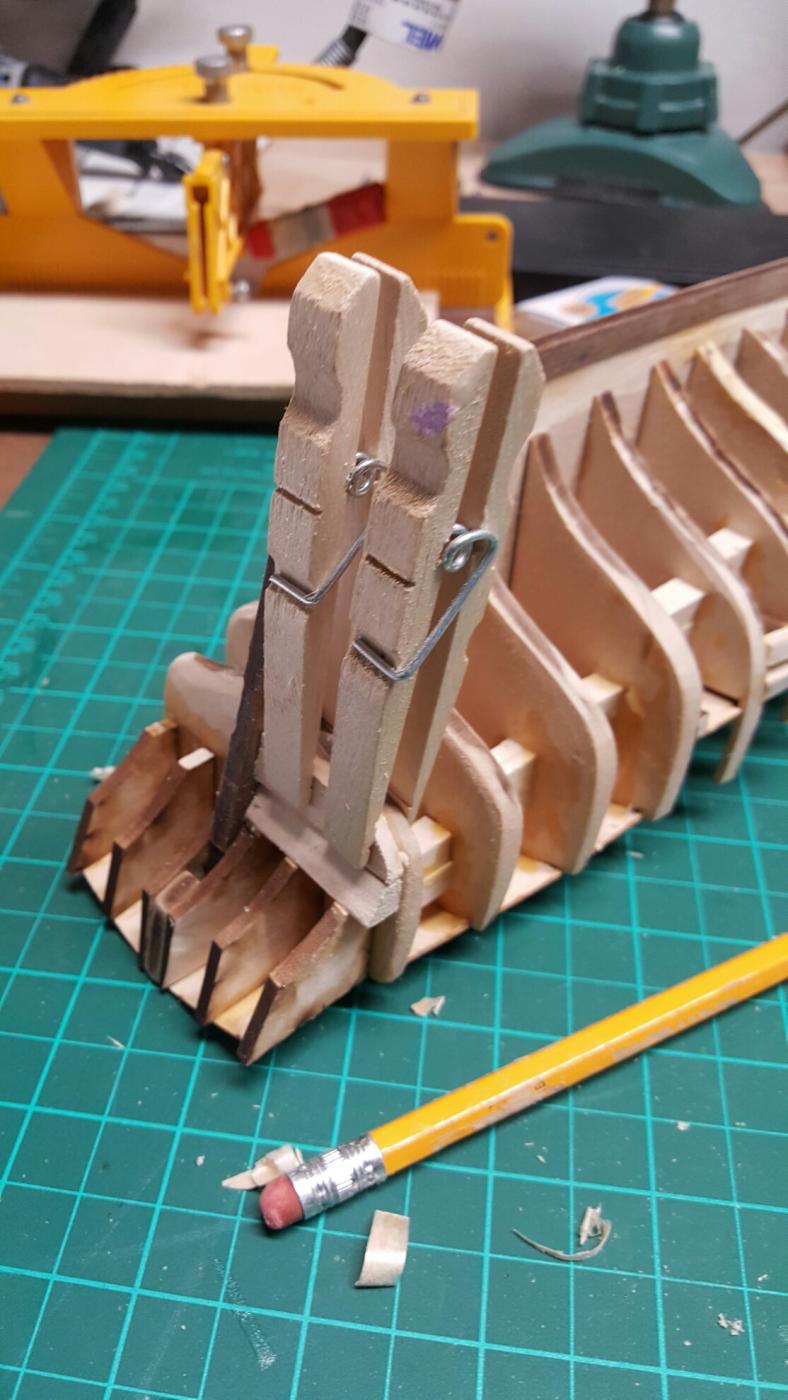
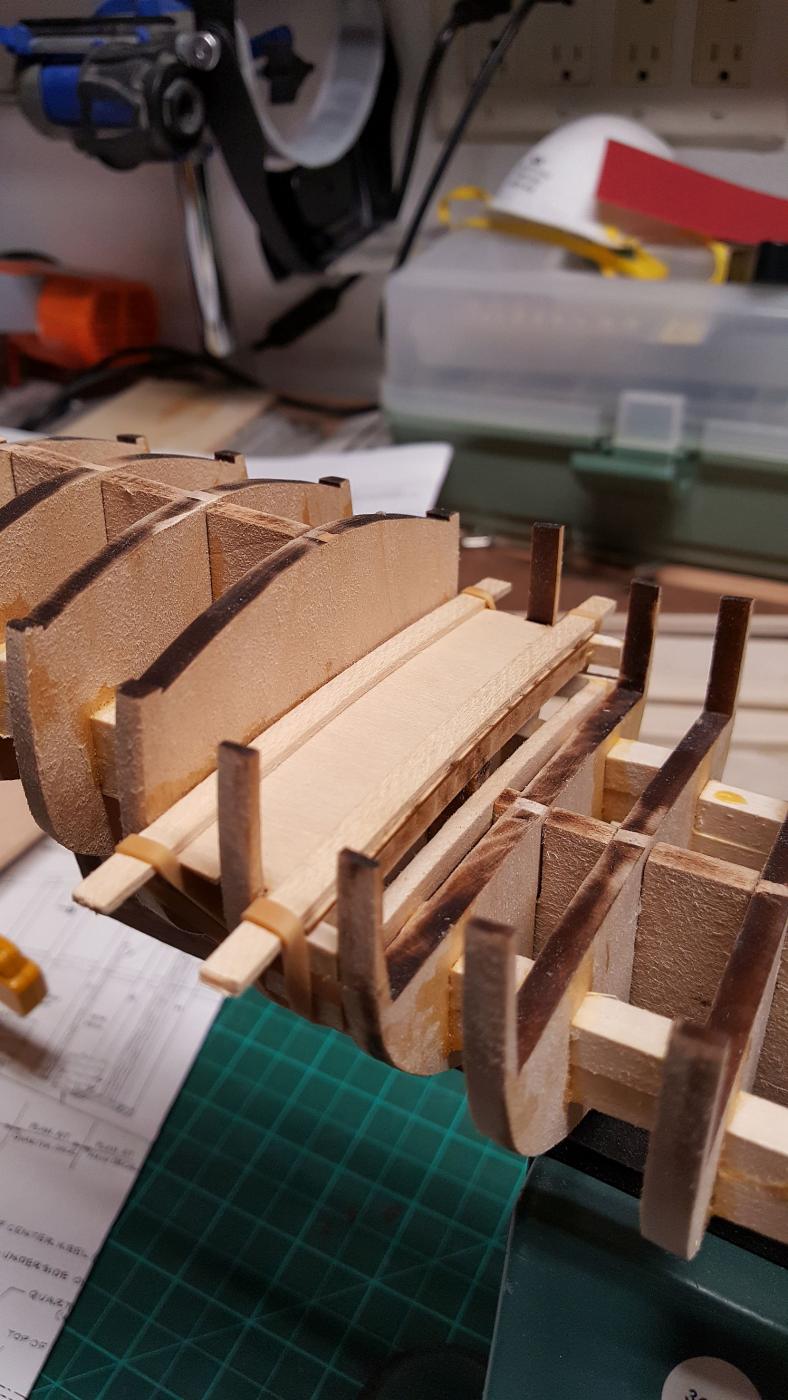
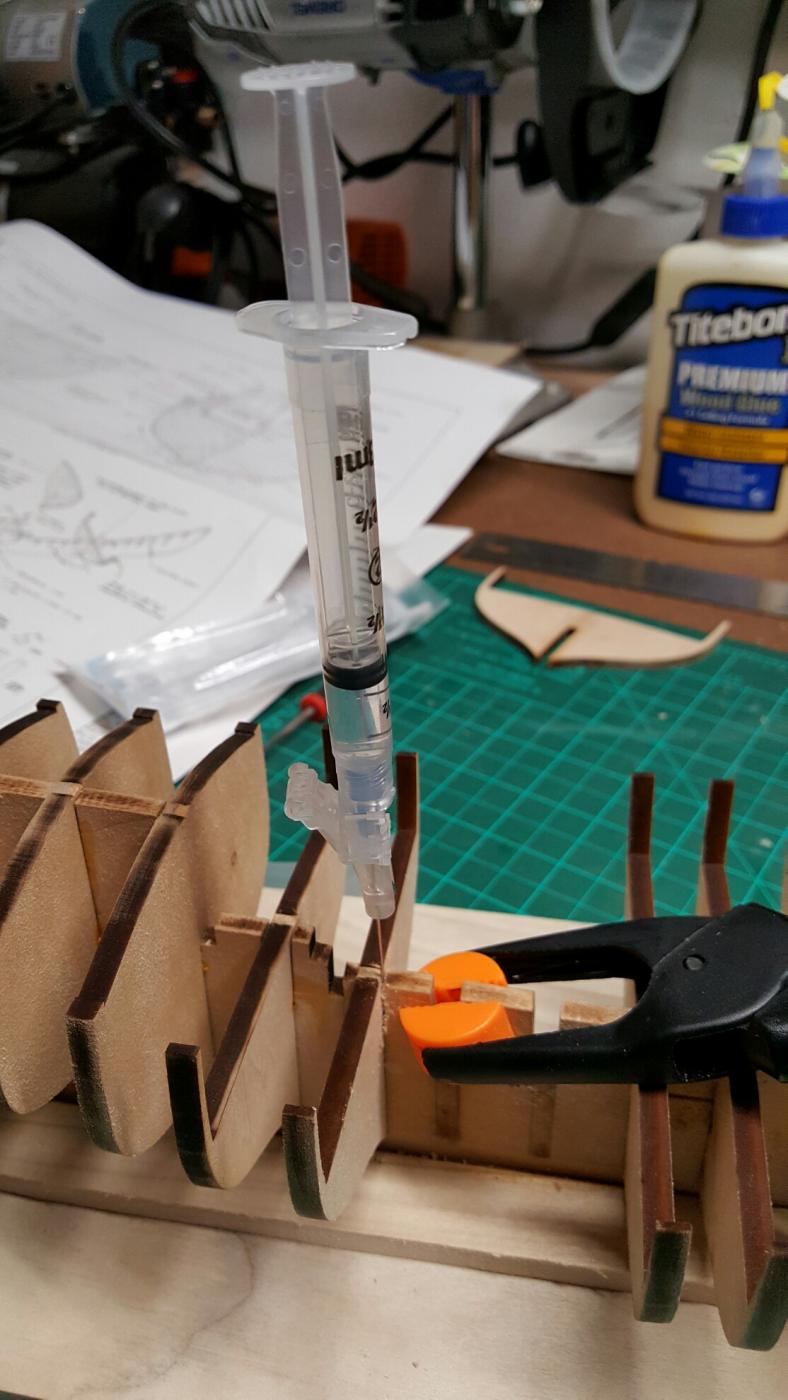
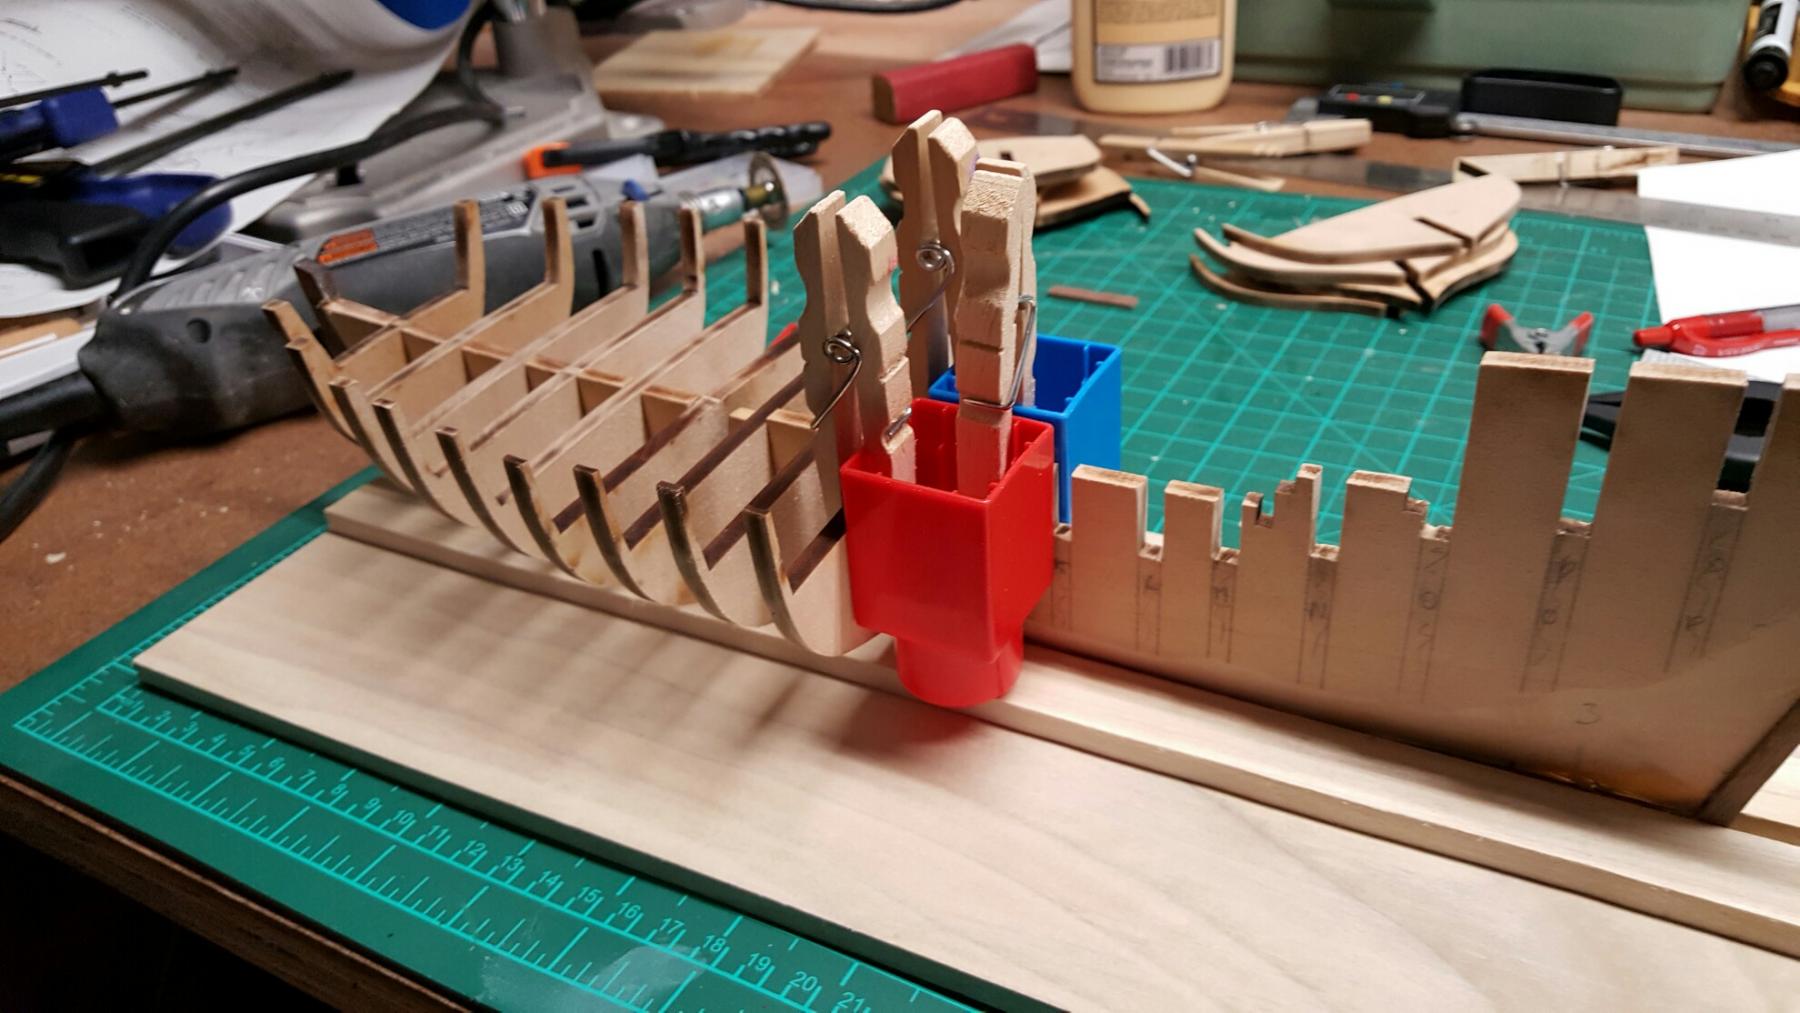
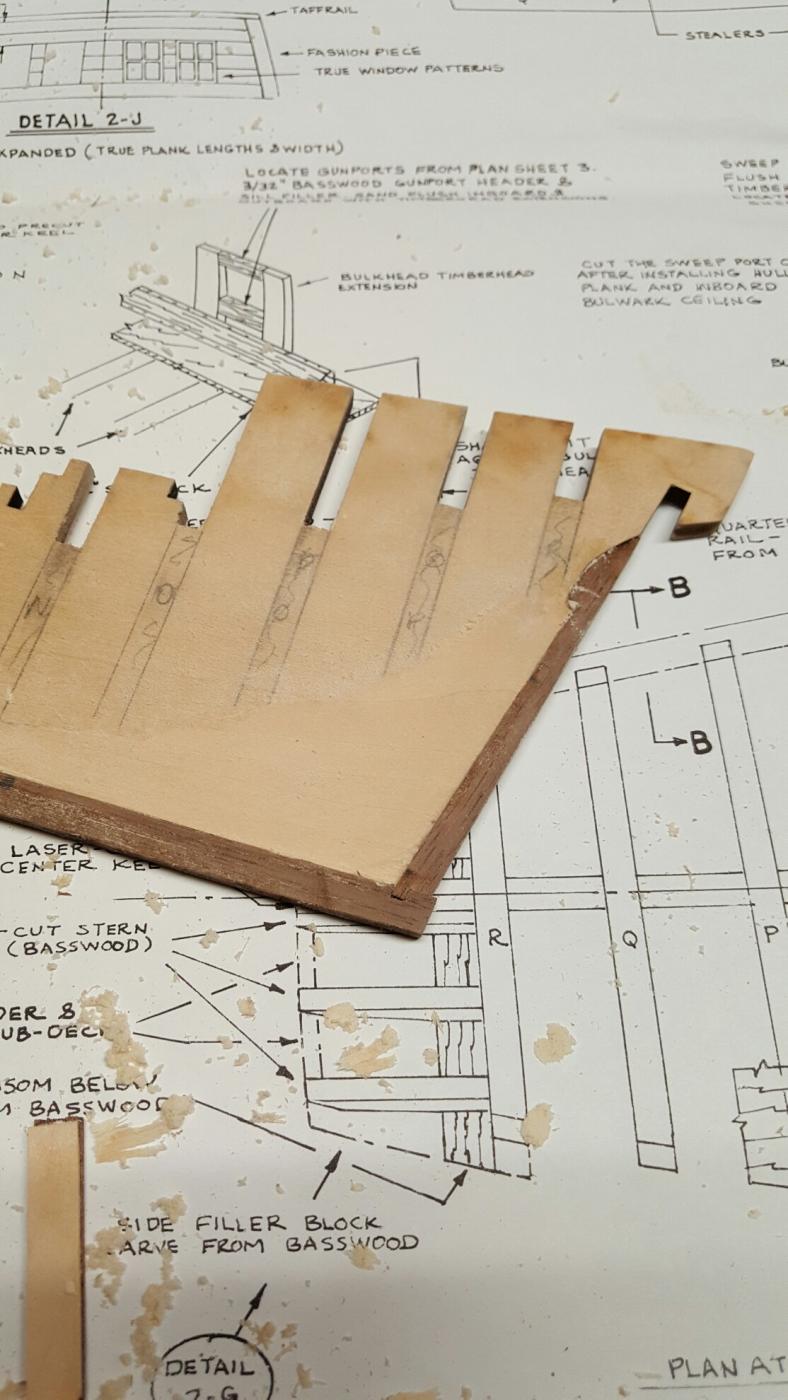
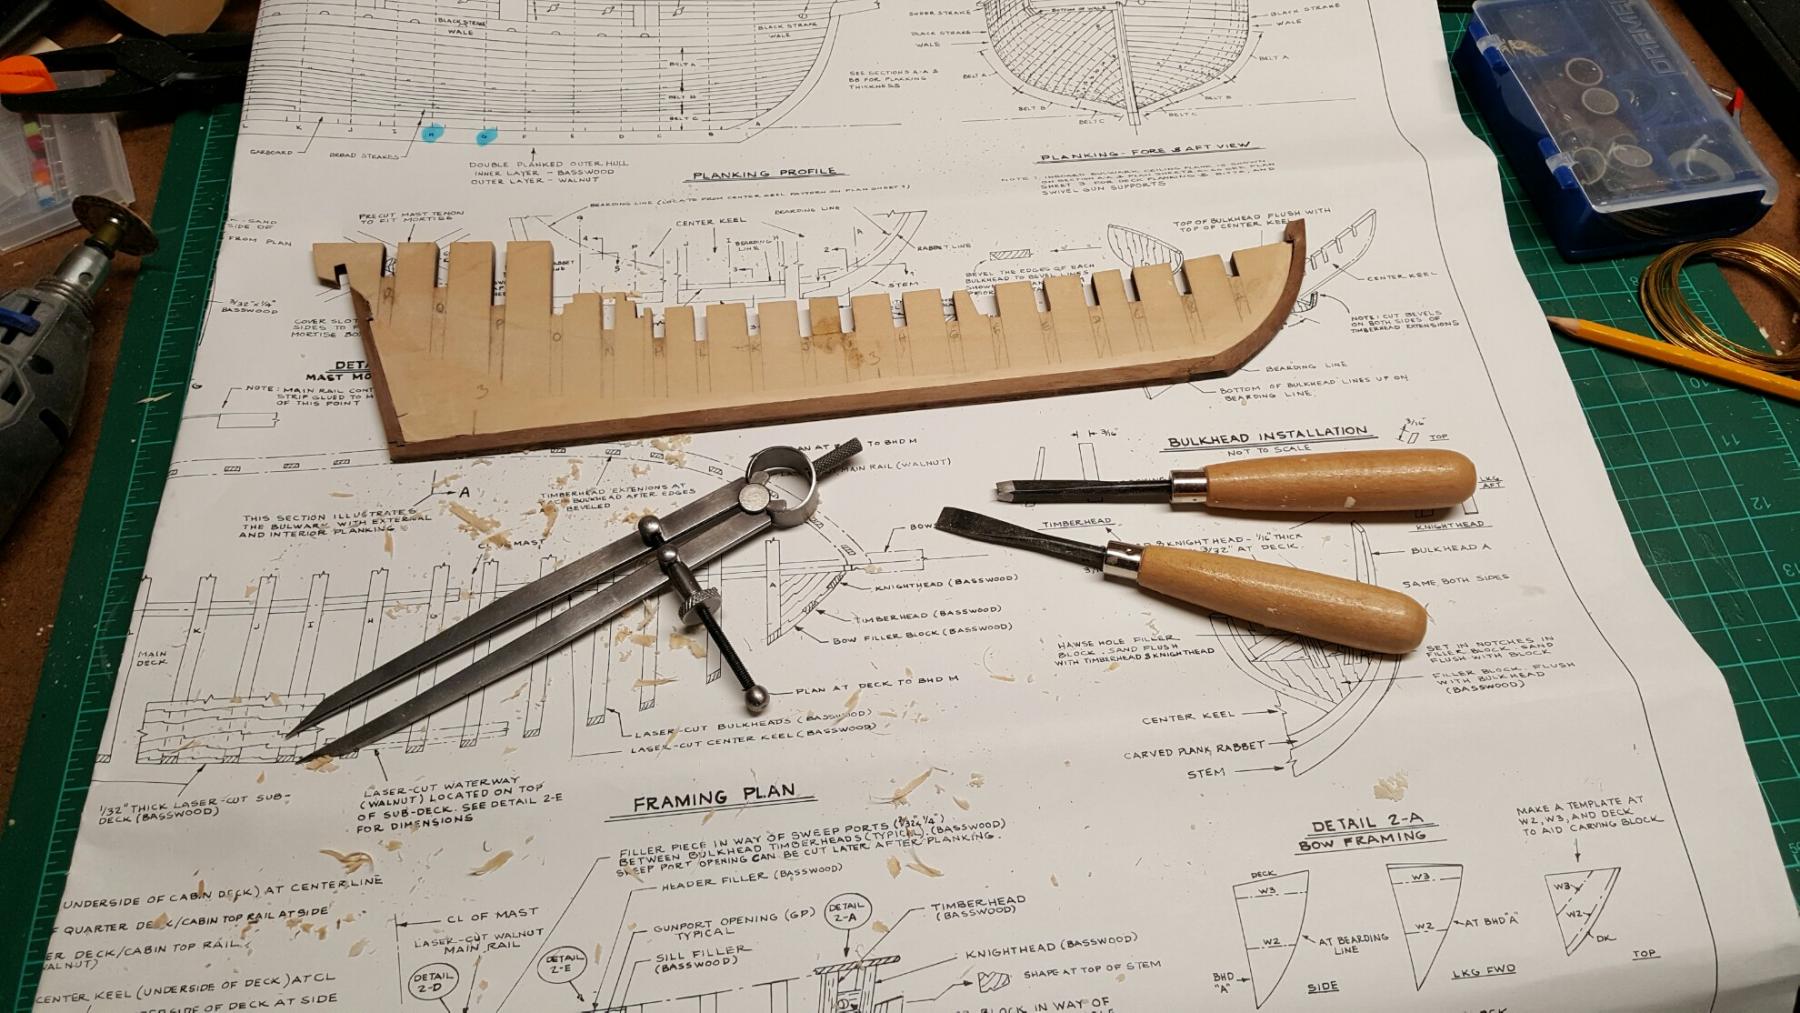
Worked on the transom this evening and installed the filler blocks[.
This was pretty straight forward. With that said I am discovering that the windows are going to be a pain.


- GrantGoodale, zoly99sask, WackoWolf and 2 others
-
5
-
Well done so far!!
I will follow your build with interest.
-
Thank you for the replies, Ryland and Brian.
My name is Jean-Philippe, JP.

I will follow your recommendations and come up with some kind of sanding tool.
- zoly99sask, Ryland Craze and Elijah
-
3
-
-
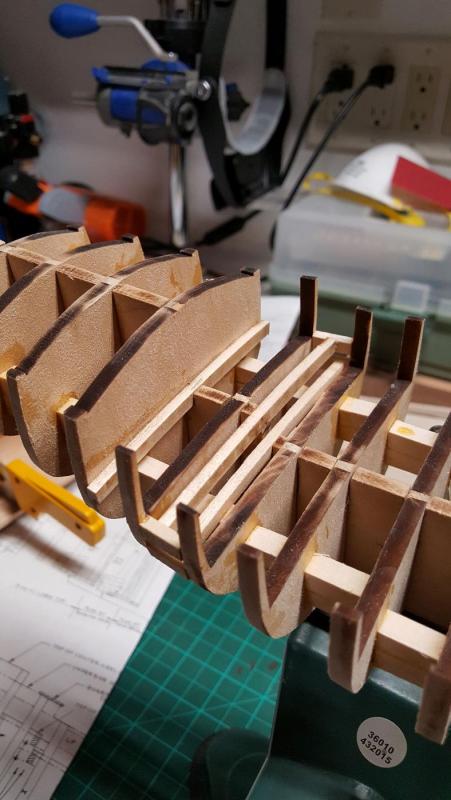
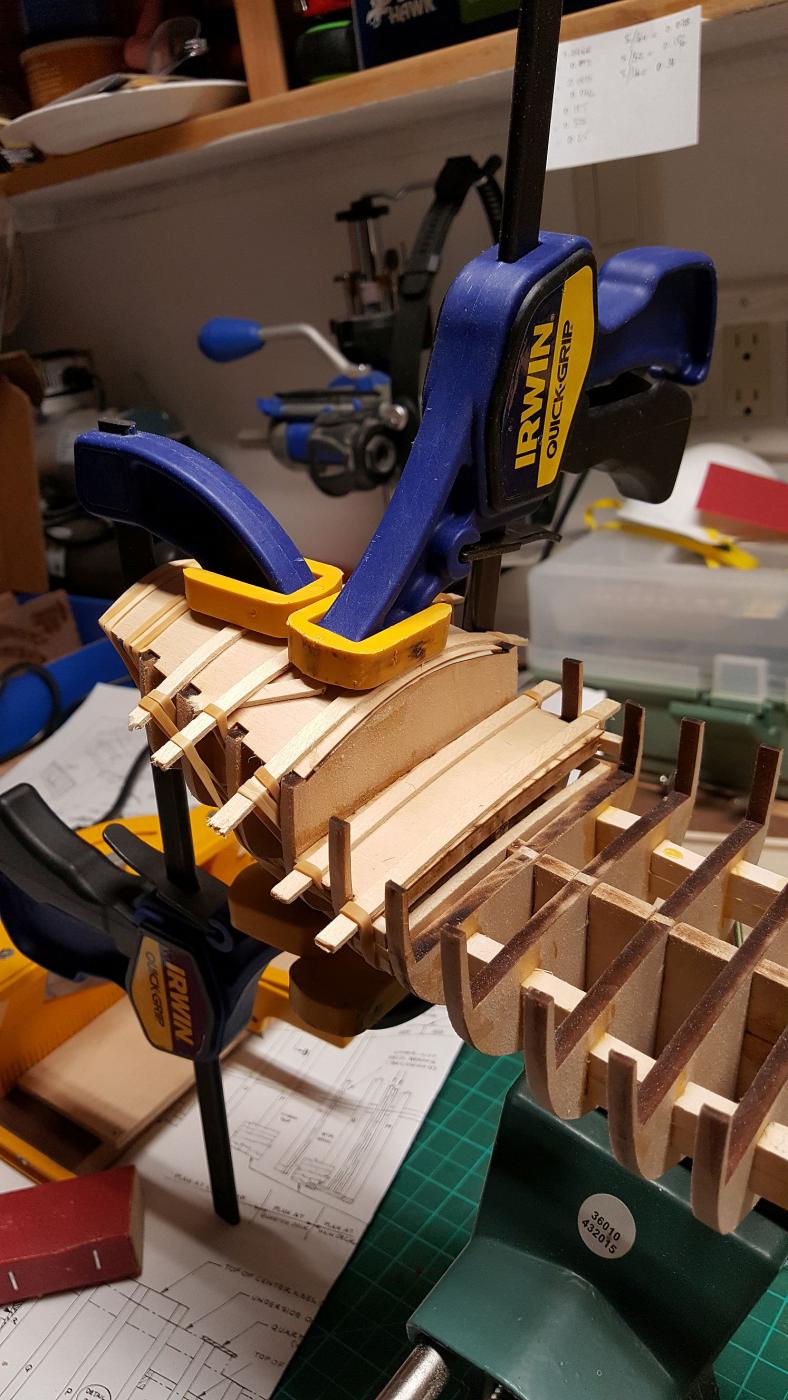
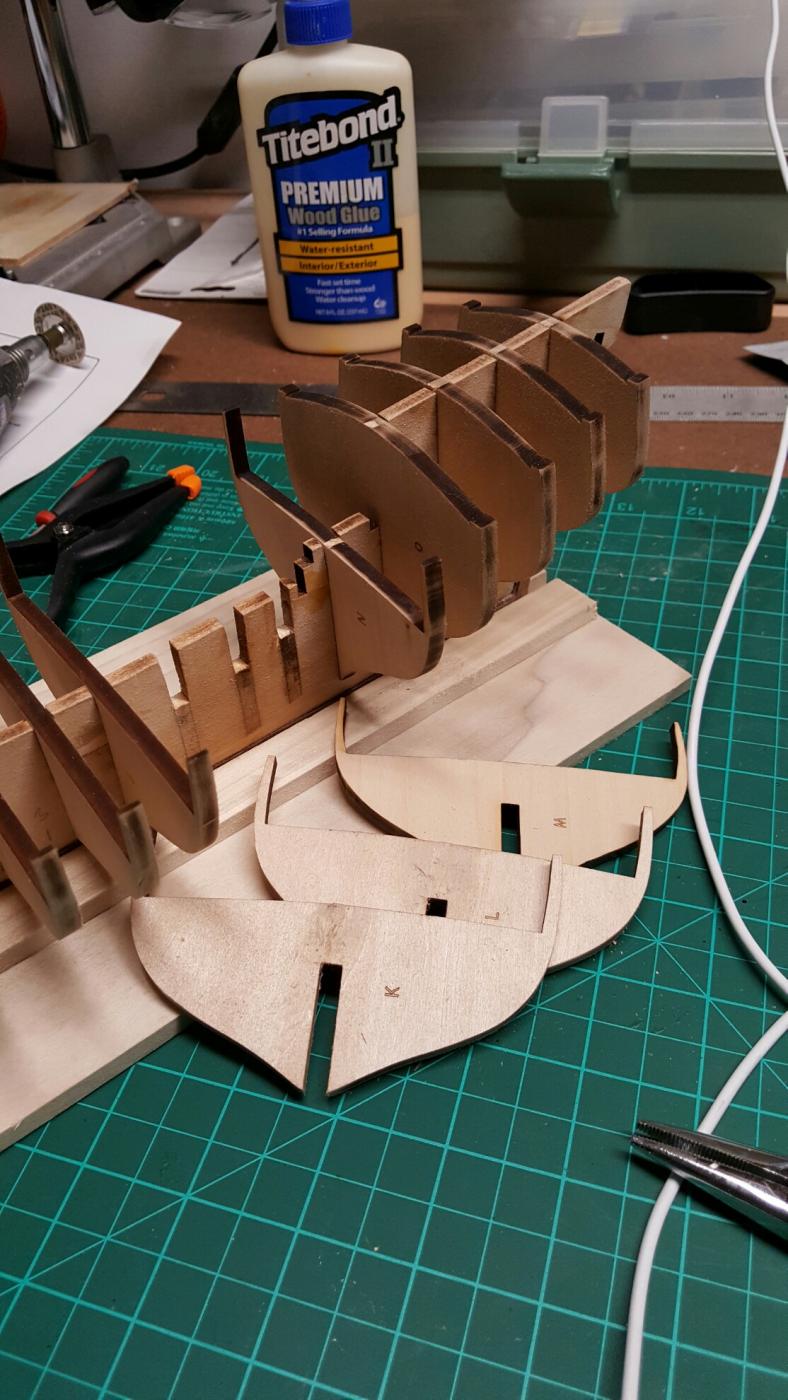
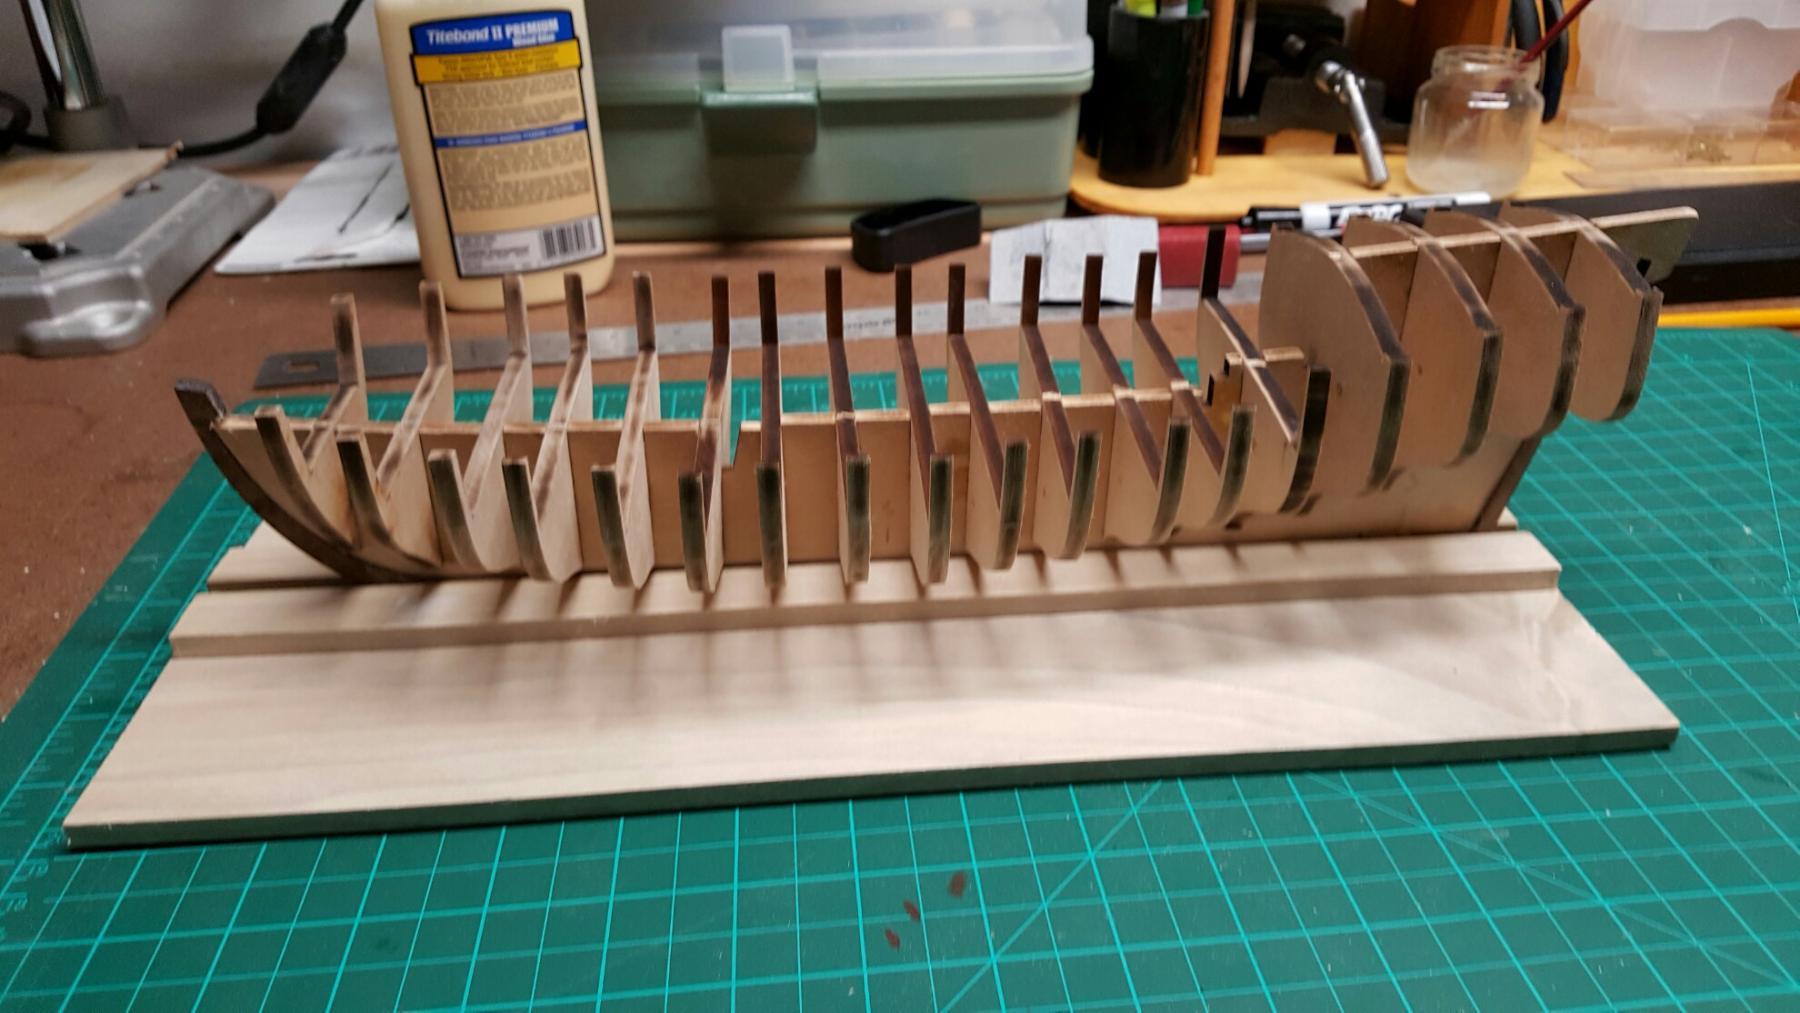
Medium update.
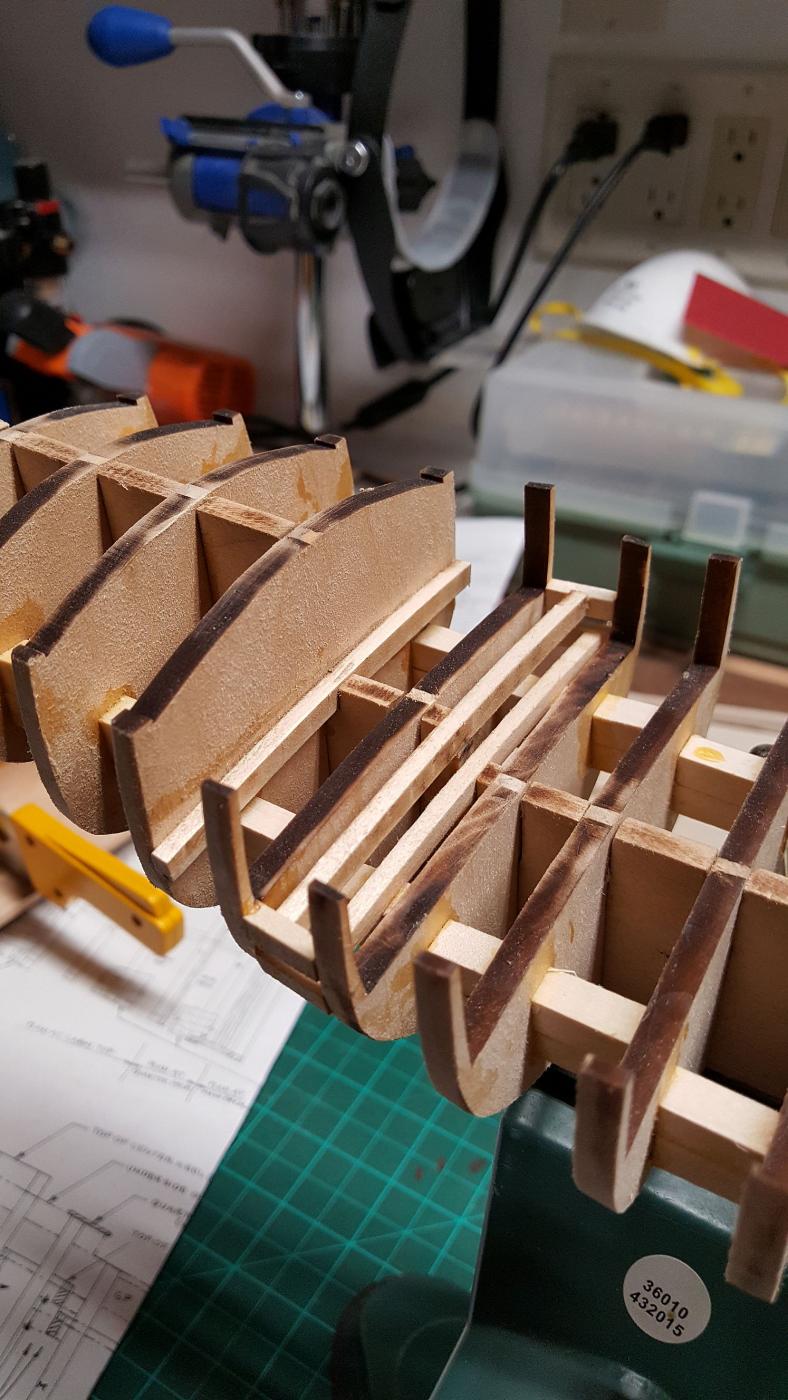
- added reinforcement between each bulkheads
- Worked on fairing the bulkheads
- glued the sub desks
- added the filler block at the bow of the ship
- carved out the section to receive the knight heads
Fun fun fun


- zoly99sask, GuntherMT, WackoWolf and 5 others
-
8
-
Looking good Elijah!!
You are doing a great job.
- Gerhardvienna, Elijah and Canute
-
3
-
-
Beautiful work. What is the recipe for your 'old technique'?
- mort stoll and Seventynet
-
2
-
-
Very nice work Nils!!
Can you please post a picture of the clamp used on post 1153 if possible?
- Omega1234, Mirabell61, mtaylor and 2 others
-
5
-
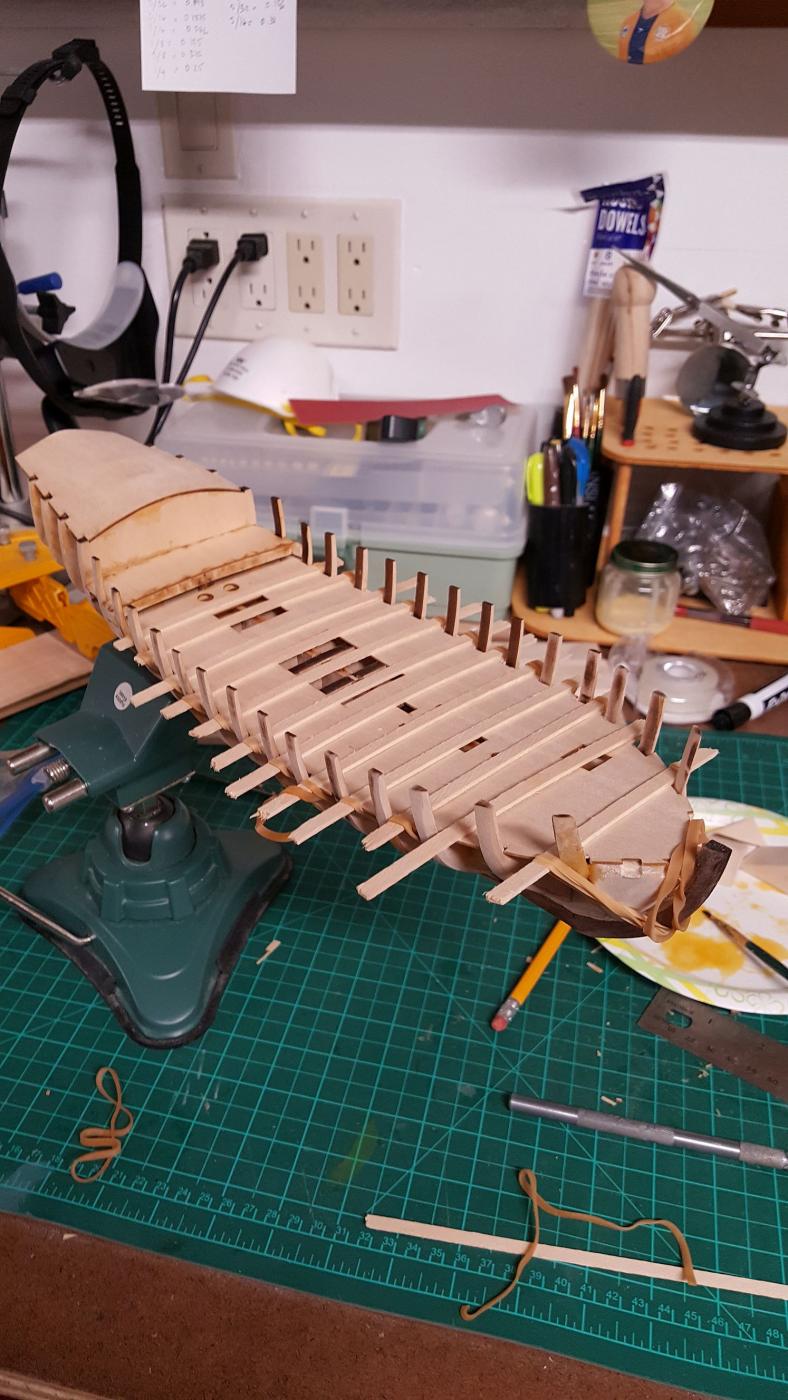
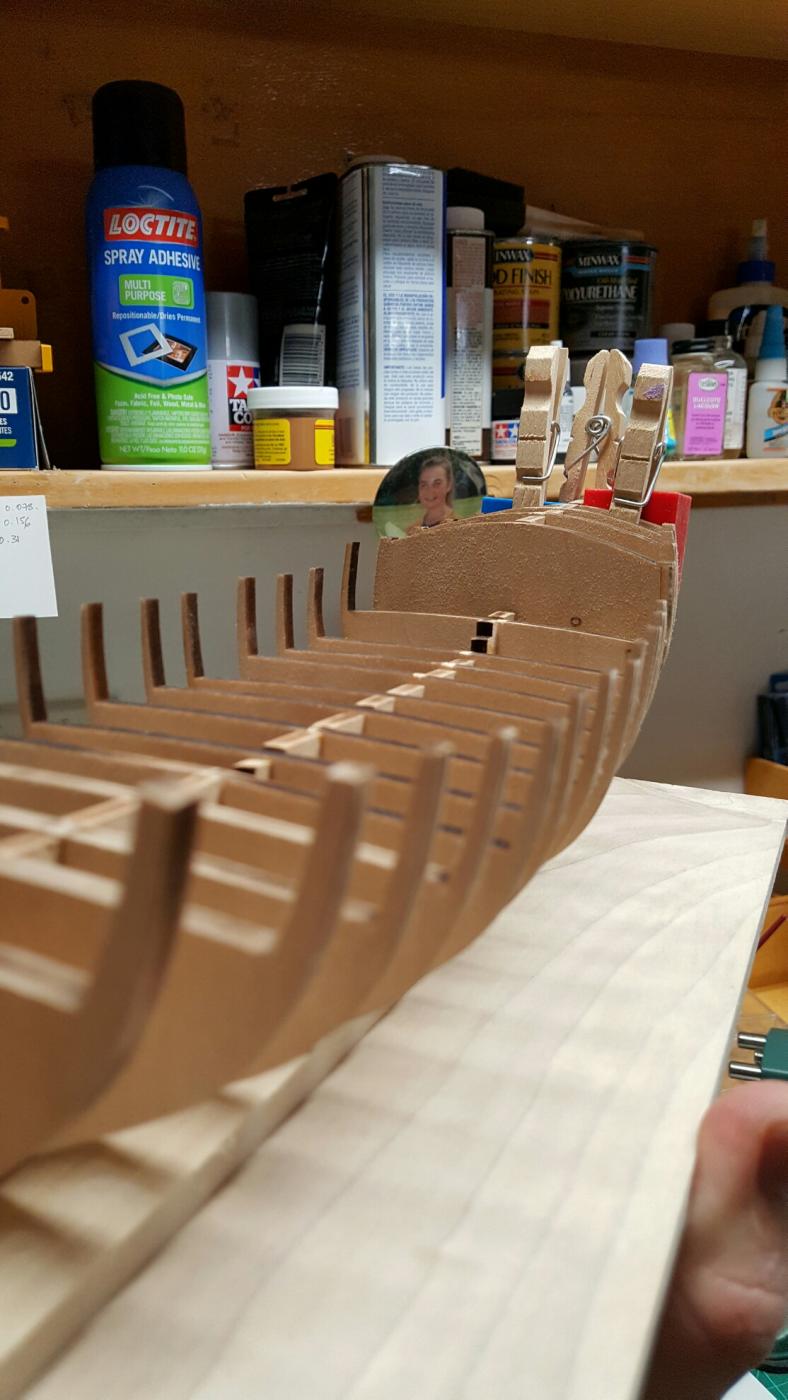
Bulkheads back on. Much better
- GuntherMT, zoly99sask, mtaylor and 1 other
-
4
-
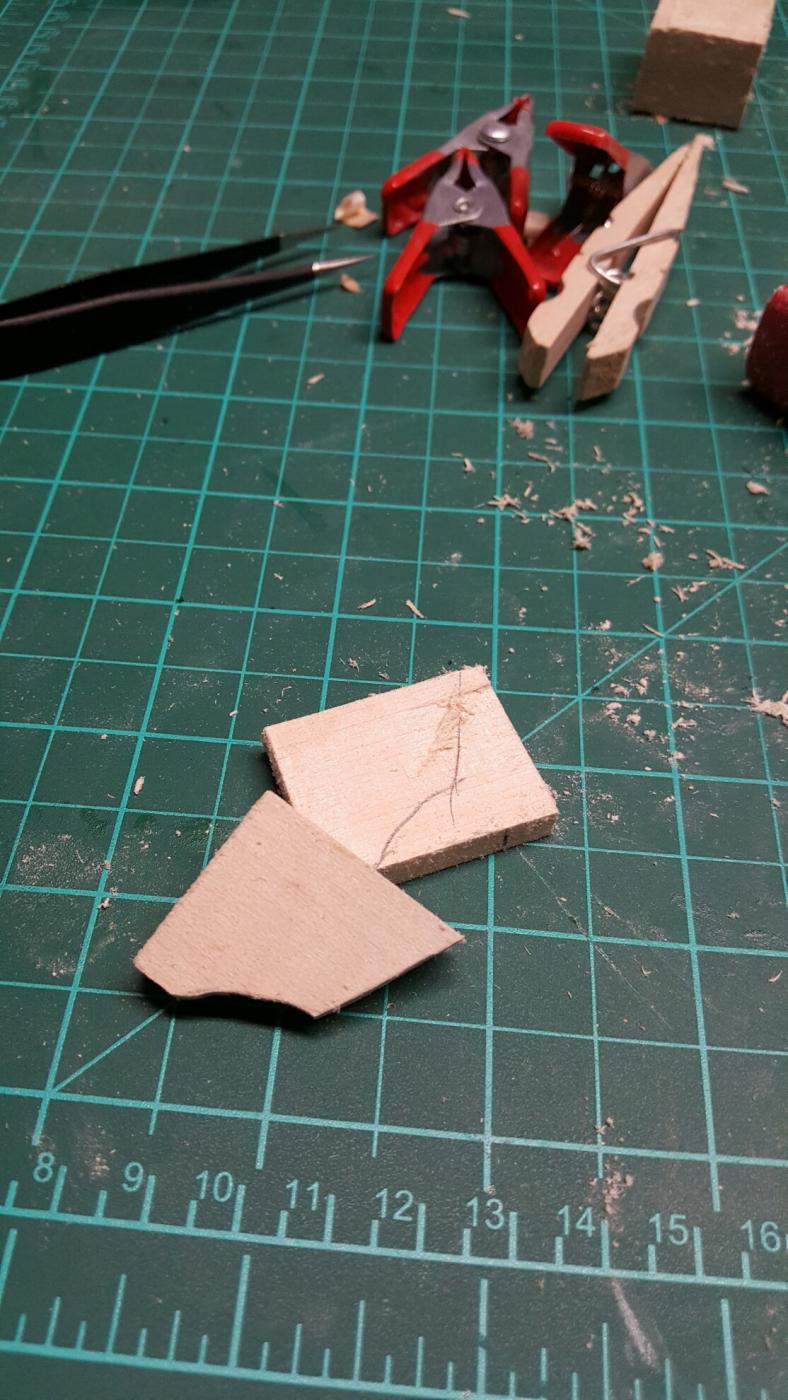
Well... I was very nervous but it worked out pretty well. I was able to pull all three without any breakage. Here's a technique that I've used not too orthodox but it worked. Brian, thank you very much for the suggestion that soaking with water.

- WackoWolf, zoly99sask, mtaylor and 3 others
-
6
-
I used a few times a CA debonder to remove some parts,just in case if you used CA and have to remove those bulkheads.
Zoltan
Never used this. But I will definitely add to the shopping card. Does it work on any CA or just the CA for the same brand?
- Elijah and zoly99sask
-
2
-
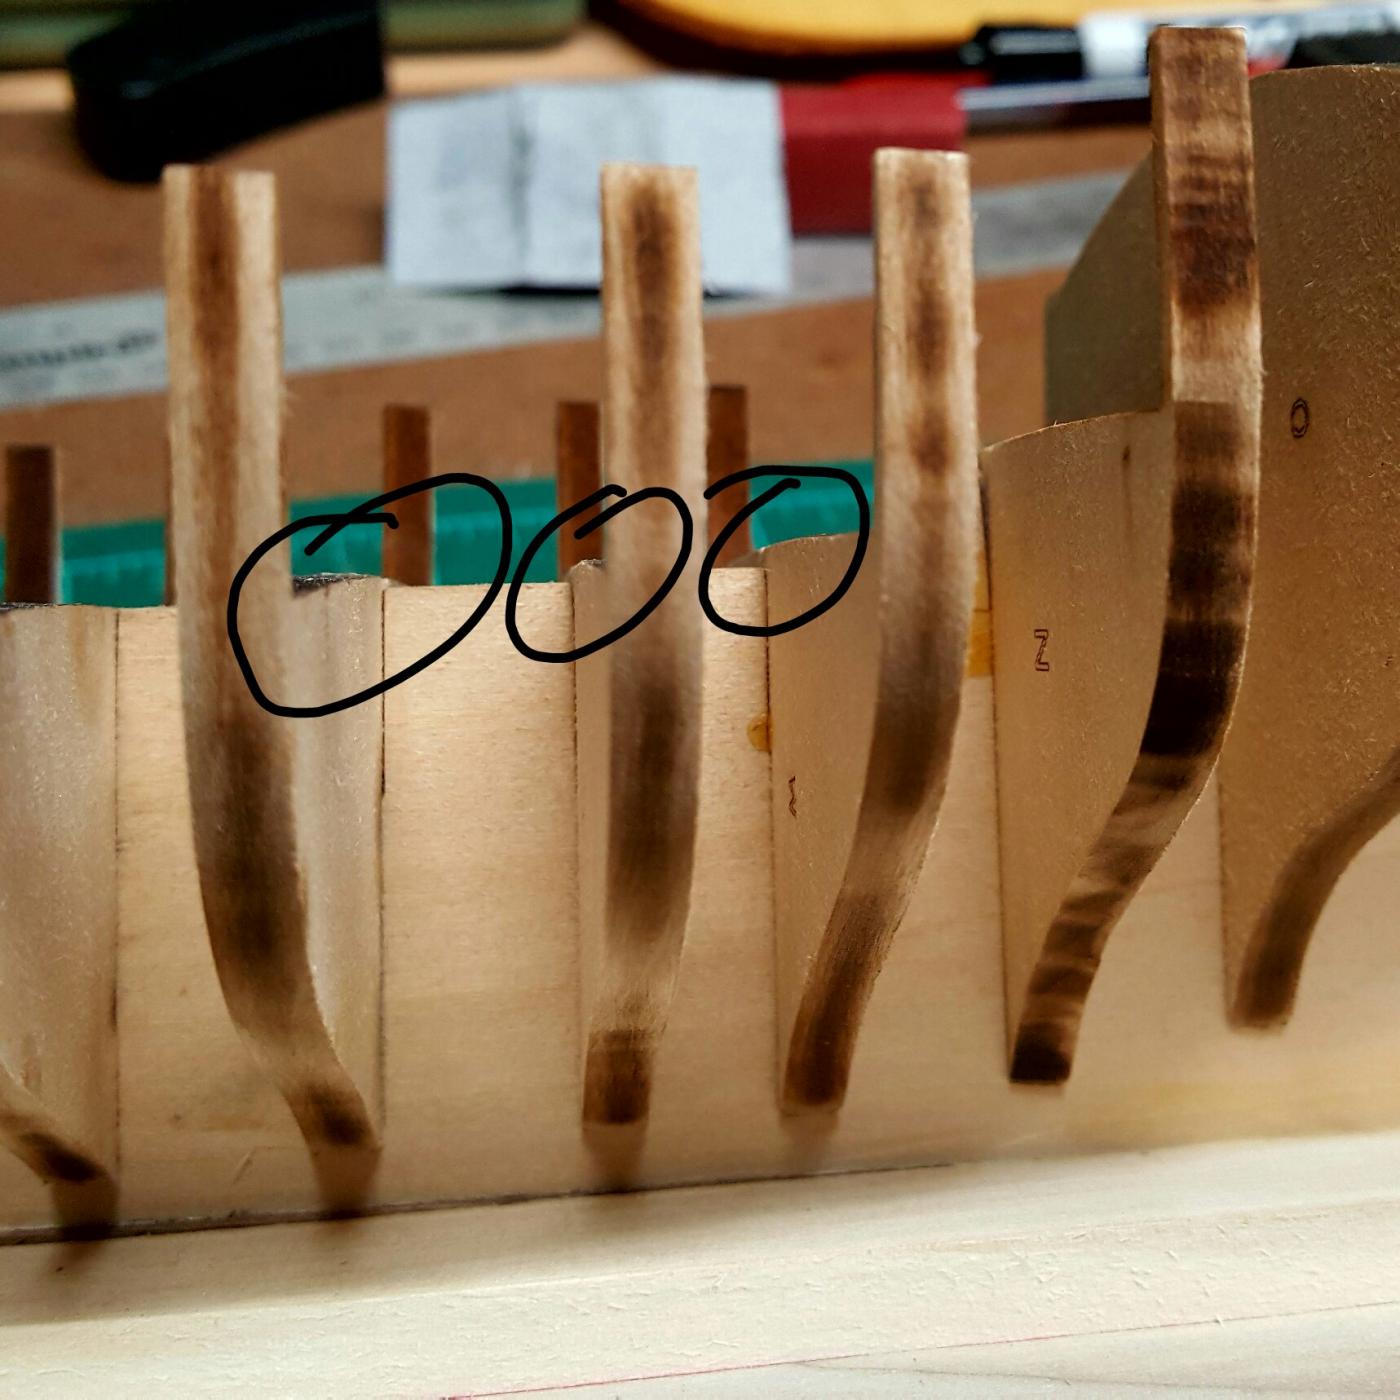
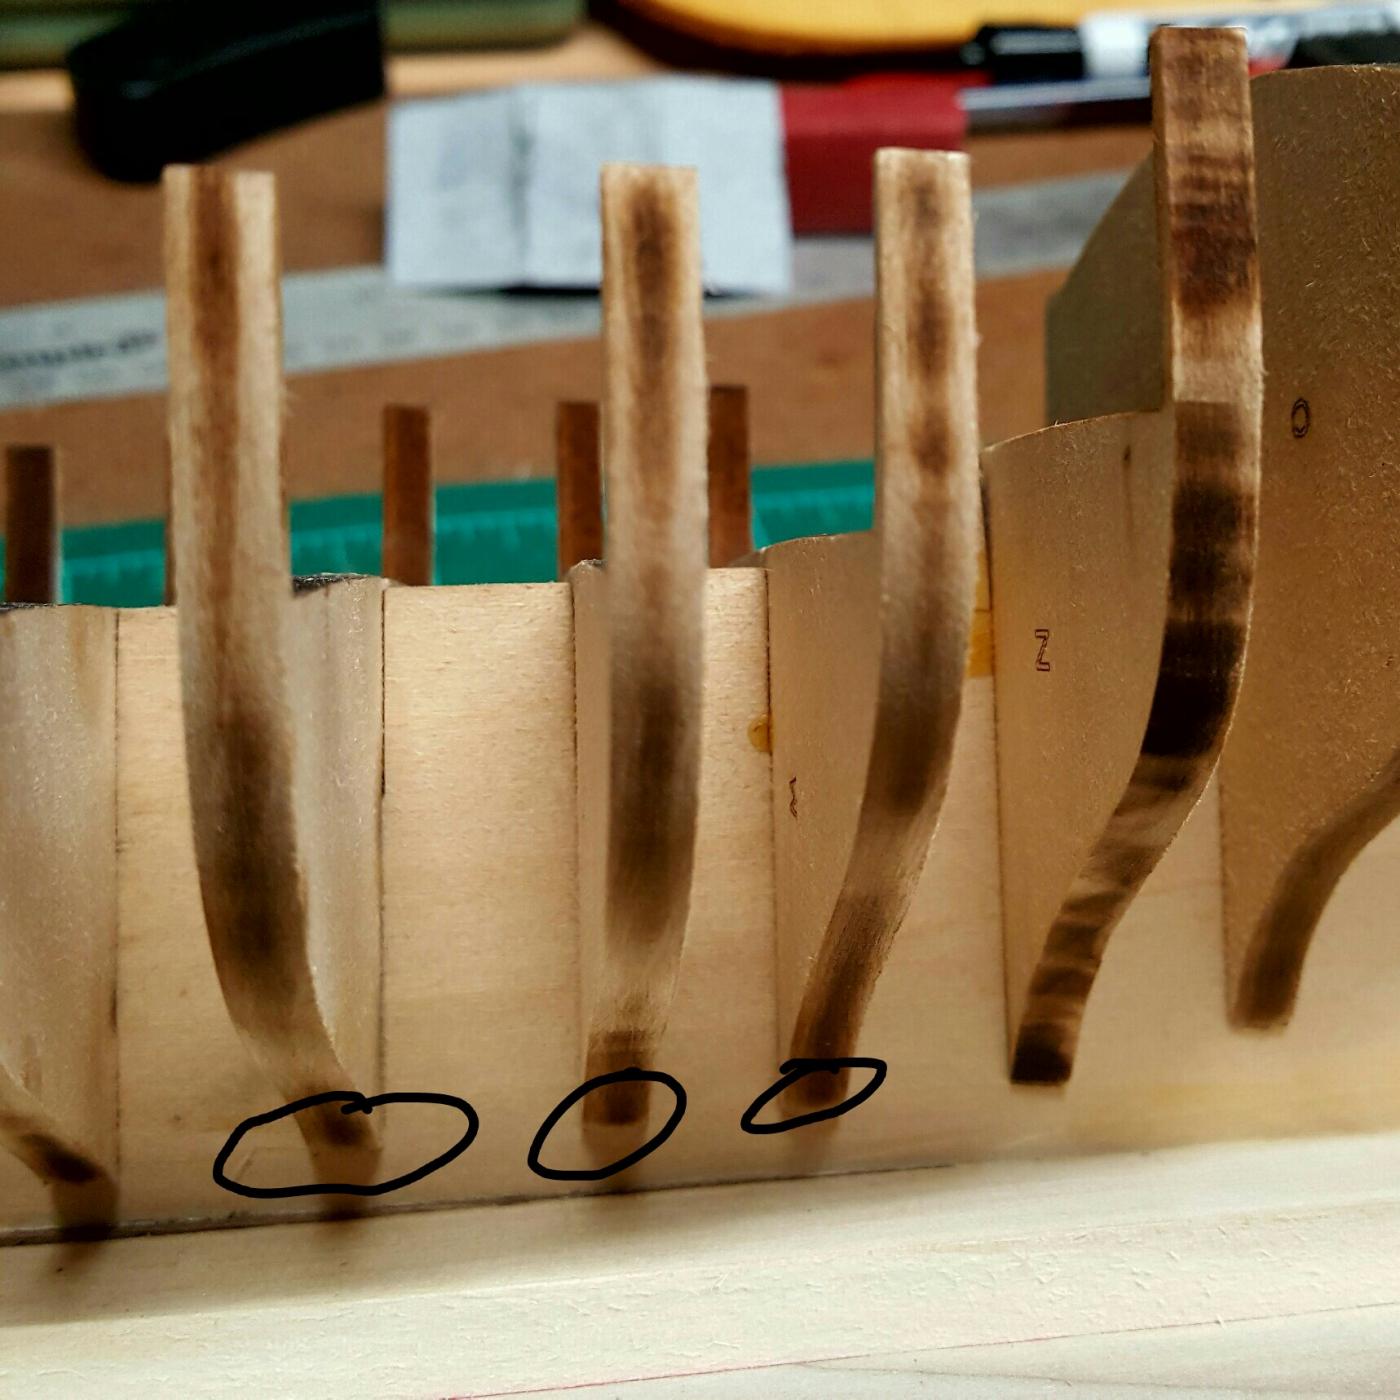
If you used wood glue, just use water and/or alcohol to soak the joint, and it will soften the glue and you can pull them out, then you just need to file/sand either the false keel, or the notch in the bulkhead a bit at a time until they drop down to where they are flush at the top. That will be a lot easier than trying to sand and shim both top and bottom, and I'm not sure how that would come out to be honest.
If you do decide to shim the bottom, the basswood supplied for the decking is the perfect width, and will bend nicely around the curve of the bulkheads. If you look at my AVS build log index you should be able to find the spot where I showed shimming the bottom of some bulkheads, but that was after getting the tops even.
The alignment of these bulkheads is really one of, if not the most important parts of the build, since everything you do from here on out relies on how these are all aligned. It's worth the time to unglue them and get them right. All of the bulkheads should align as close to perfectly as possible with the false keel at the tops.
Good luck!
Edit: It also looks like you will probably need to shim the next bulkhead forward along the bottom, as the gap between the bottom of the bulkhead and the top of the keel appears too large. The gap should be just wide enough to accept the planking (the basswood first layer plus the walnut layer) into it. This also is the width that should define your rabbet thickness where the planks come in near vertical to the keel.
Edit 2: It also looks like your first bulkhead forward of the mast slot is not at a 90 degree angle to the keel. You can probably fix that with reinforcement blocks between the bulkheads like I did on mine, but if you do that you'll probably want to put them in from one end or the other all the way through so that the tension from the block on that bulkhead isn't being solely supported by the next bulkhead without any other support. Hopefully that makes sense - I documented that pretty well in my build log, and there should be an index link in the first post to get you pretty close to it in the log.
Thanks Brian!
These are some great advises!!Thankfully, I did not use CA but Wood glue. That said, Titebond II is a pretty solid glue so ...I am hoping get the 3-4 bulkheads detached without any damages.

I also reviewed your build on a computer this time and saw what you were referring to about fillers and rabbet. I will very likely rework some of that as well. Thank you so much for the great pictures.
It is so difficult when doing your first true ship with bulkheads to understand these initial and critical steps based on the directions and the plans. I am so thankful for this site and its members' experience and kindness to get me some assistance.
- zoly99sask, GuntherMT and Elijah
-
3
-
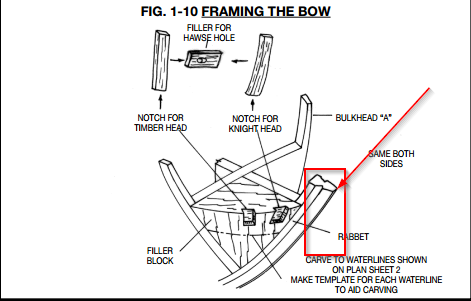
It looks like you are correct. I have a few of them higher than the other ones. It looks like I'm going to have to sand them down and add some fillers.
How do I know which angle I need to try to reproduce on the bulkhead? Should I look at the figure on the sheet number 2?


-
-
-
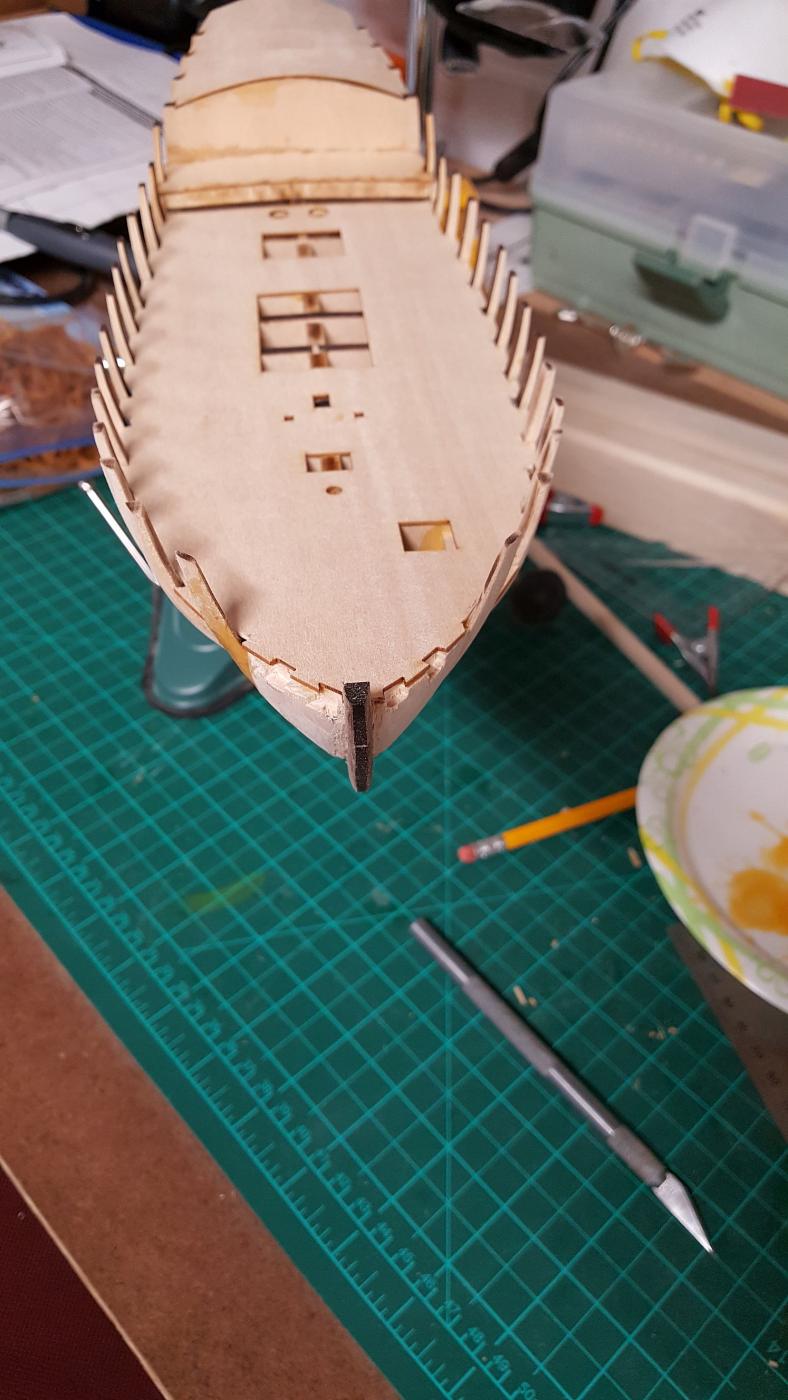
Worked on the rabbet and bearding line


- GuntherMT, Ryland Craze, WackoWolf and 4 others
-
7
-
-


Armed Virginia Sloop by captgino - FINISHED - Model Shipways - 1/48
in - Kit build logs for subjects built from 1751 - 1800
Posted
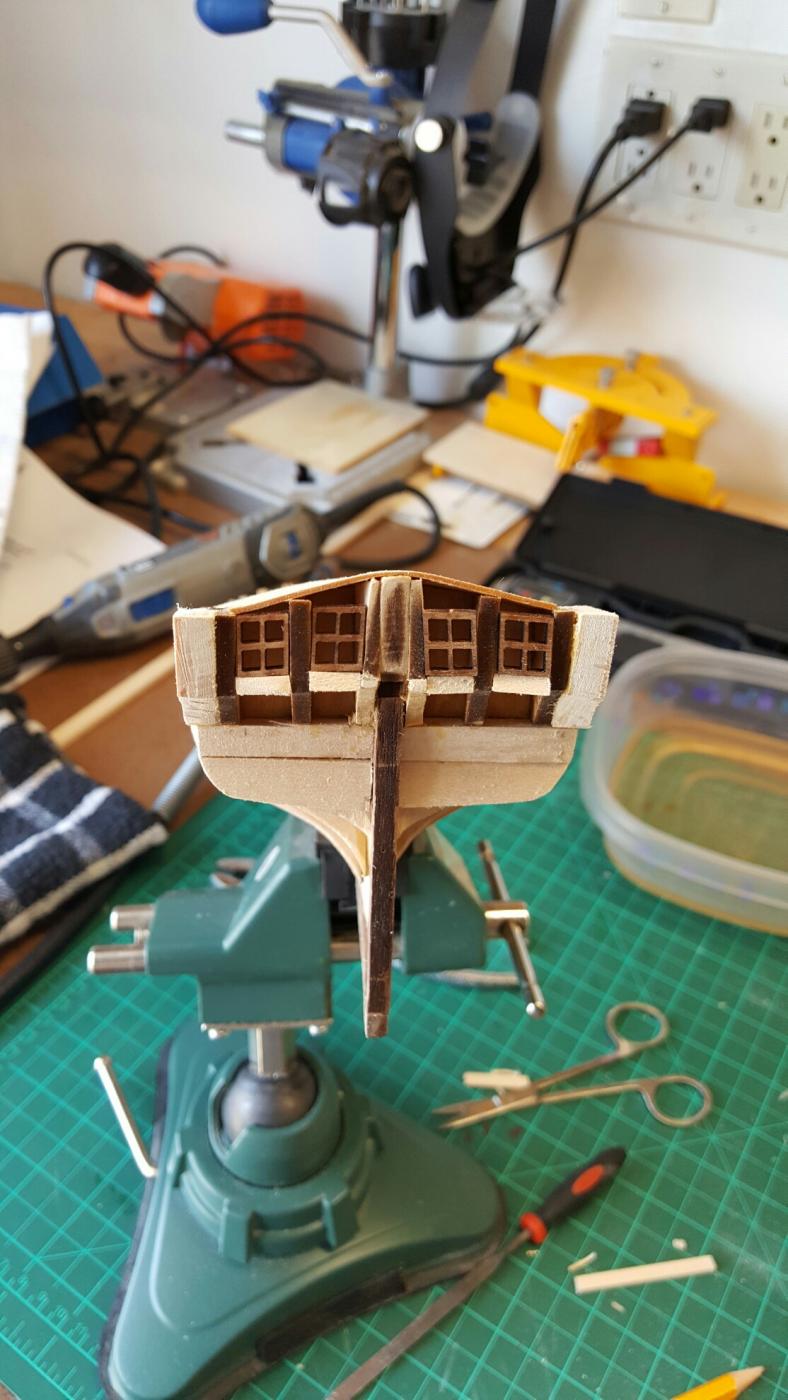
Thanks Brian and Zoltan!!
You both have some very good advice. The idea of the stopper in the back of the window is definitely a must as I drop them inside a few times already. As for installing the windows at a later time in the build this makes sense.