Ian B
-
Posts
659 -
Joined
-
Last visited
Content Type
Profiles
Forums
Gallery
Events
Everything posted by Ian B
-

Arado Ar-196 by Ian B - FINISHED - PLASTIC - German seaplane
Ian B replied to Ian B's topic in Non-ship/categorised builds
I have been provaracating for ages about starting the canopy. All the reports say its a real pain...they are just placed there ready to be painted..I do agree..very fiddly and annoying lol 😆
- 70 replies
-
- 16
-

-
Arado Ar-196 by Ian B - FINISHED - PLASTIC - German seaplane
Ian B replied to Ian B's topic in Non-ship/categorised builds
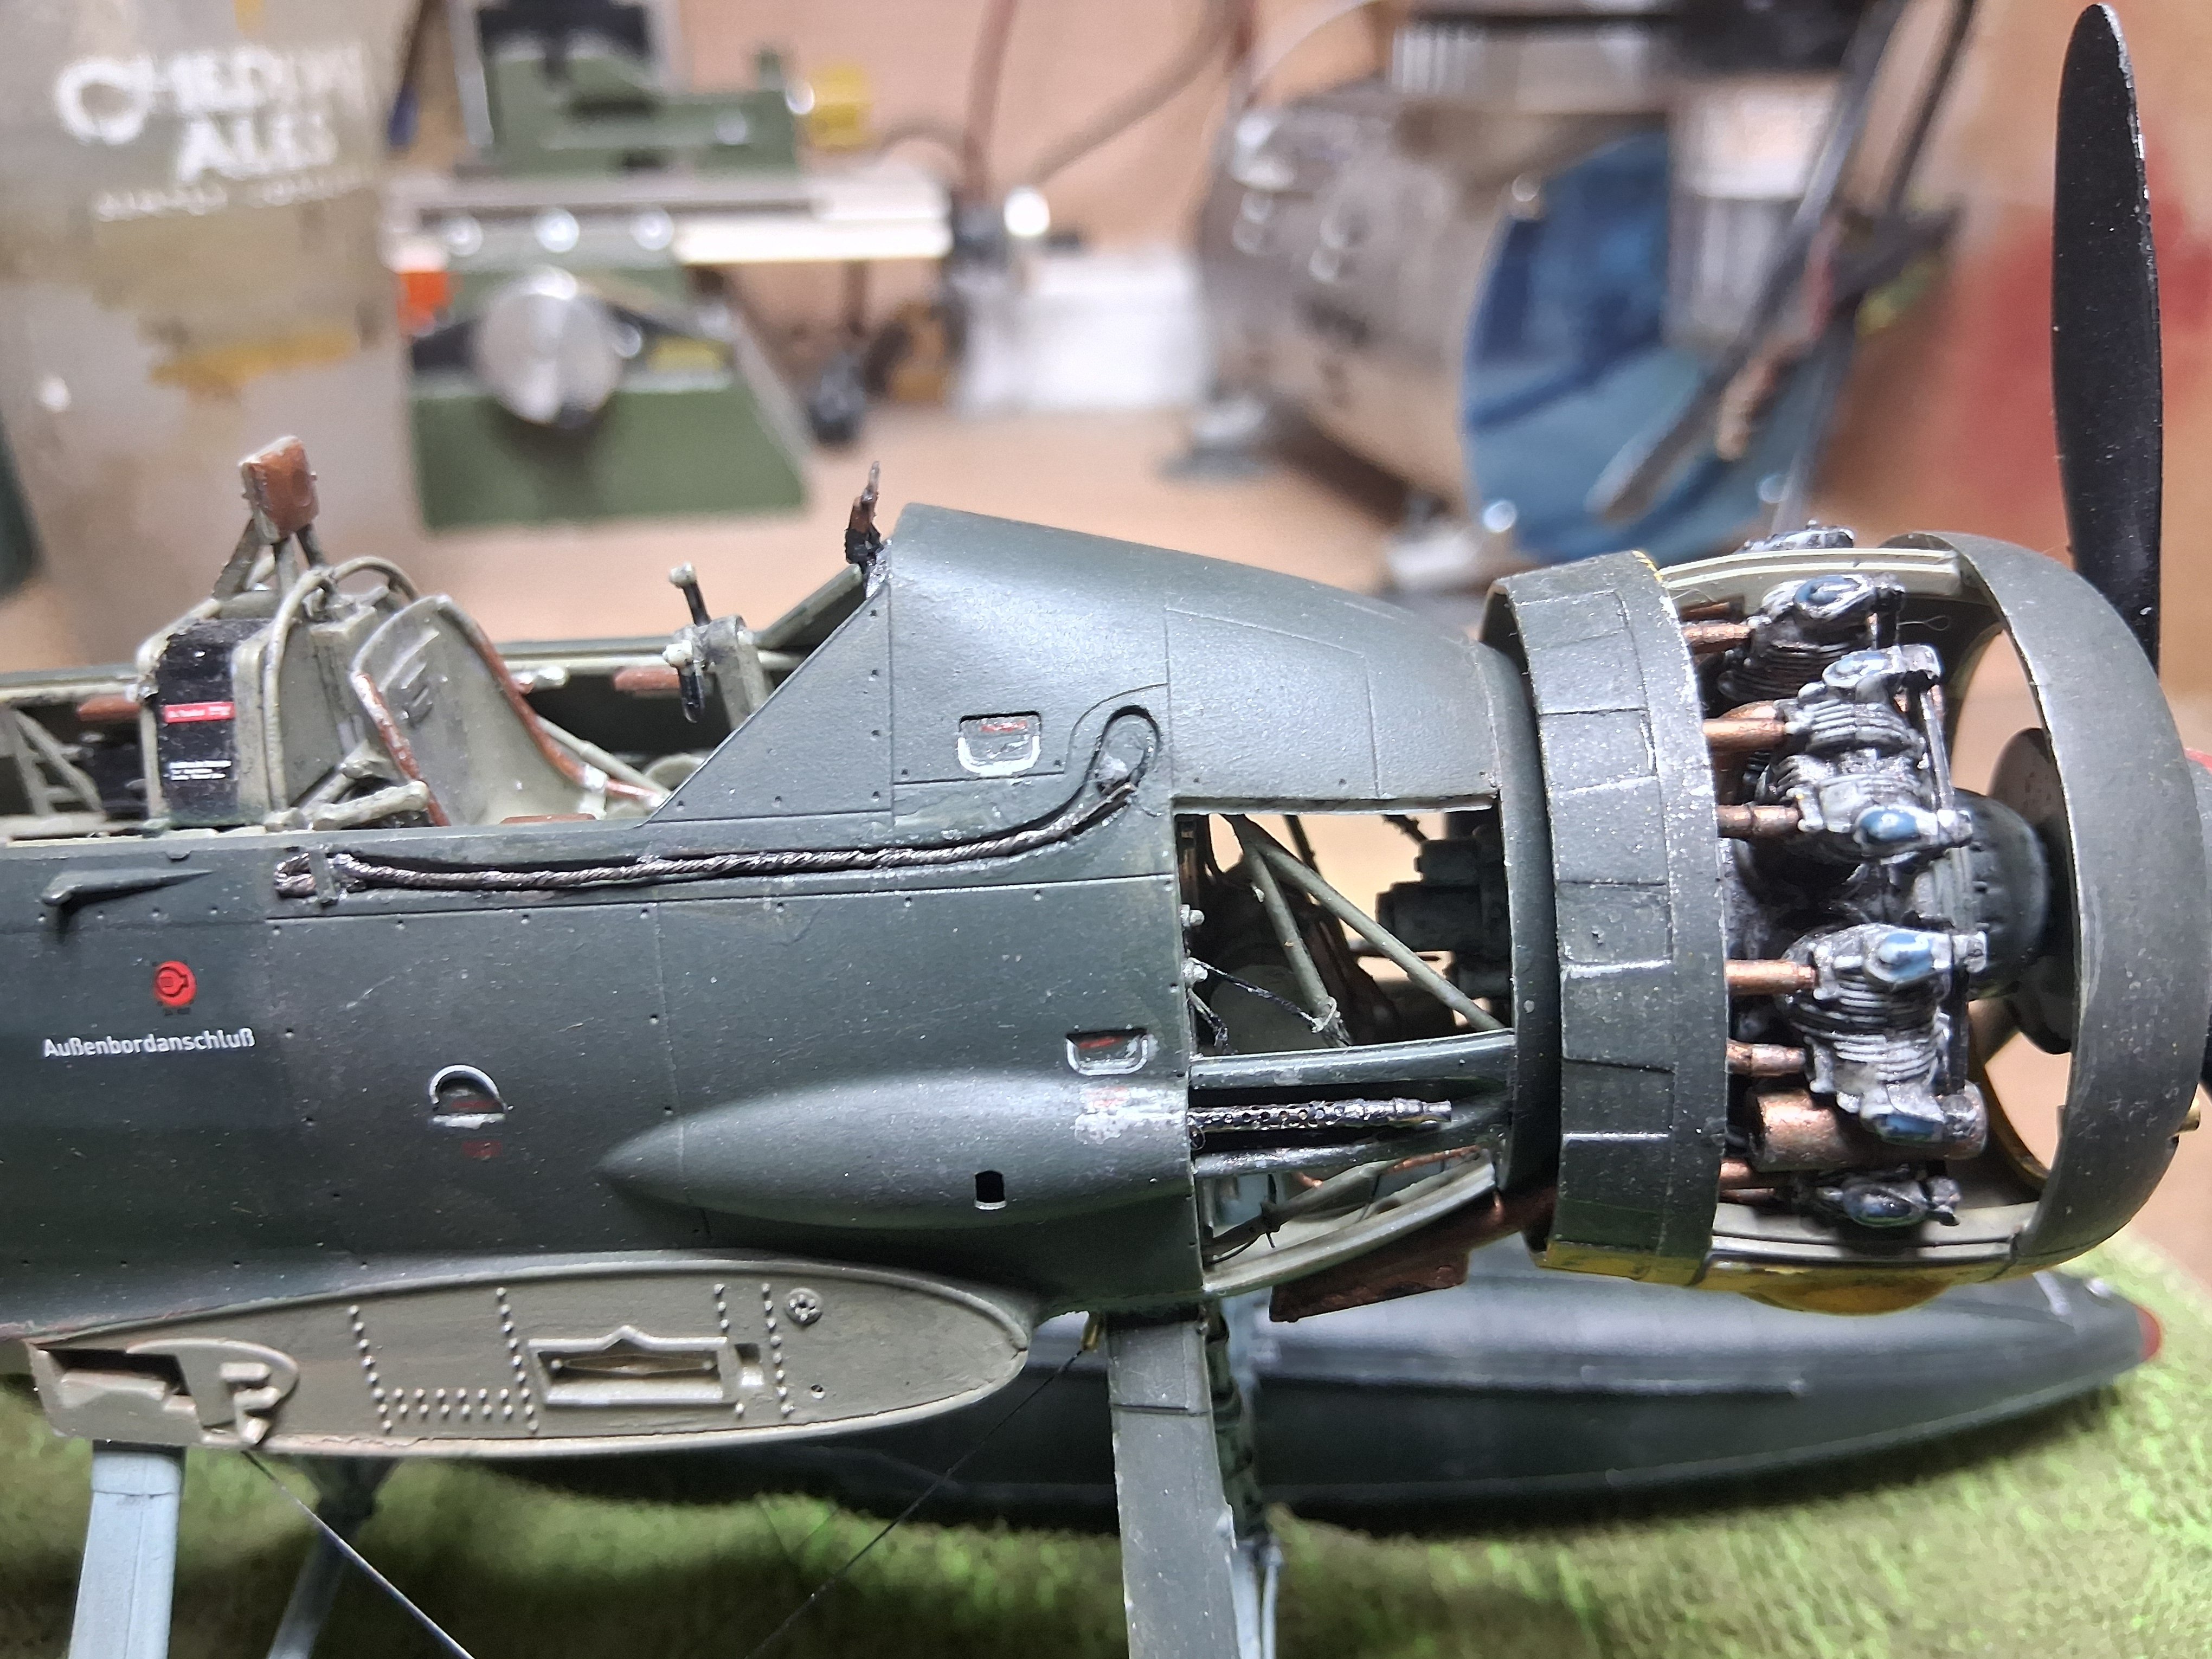
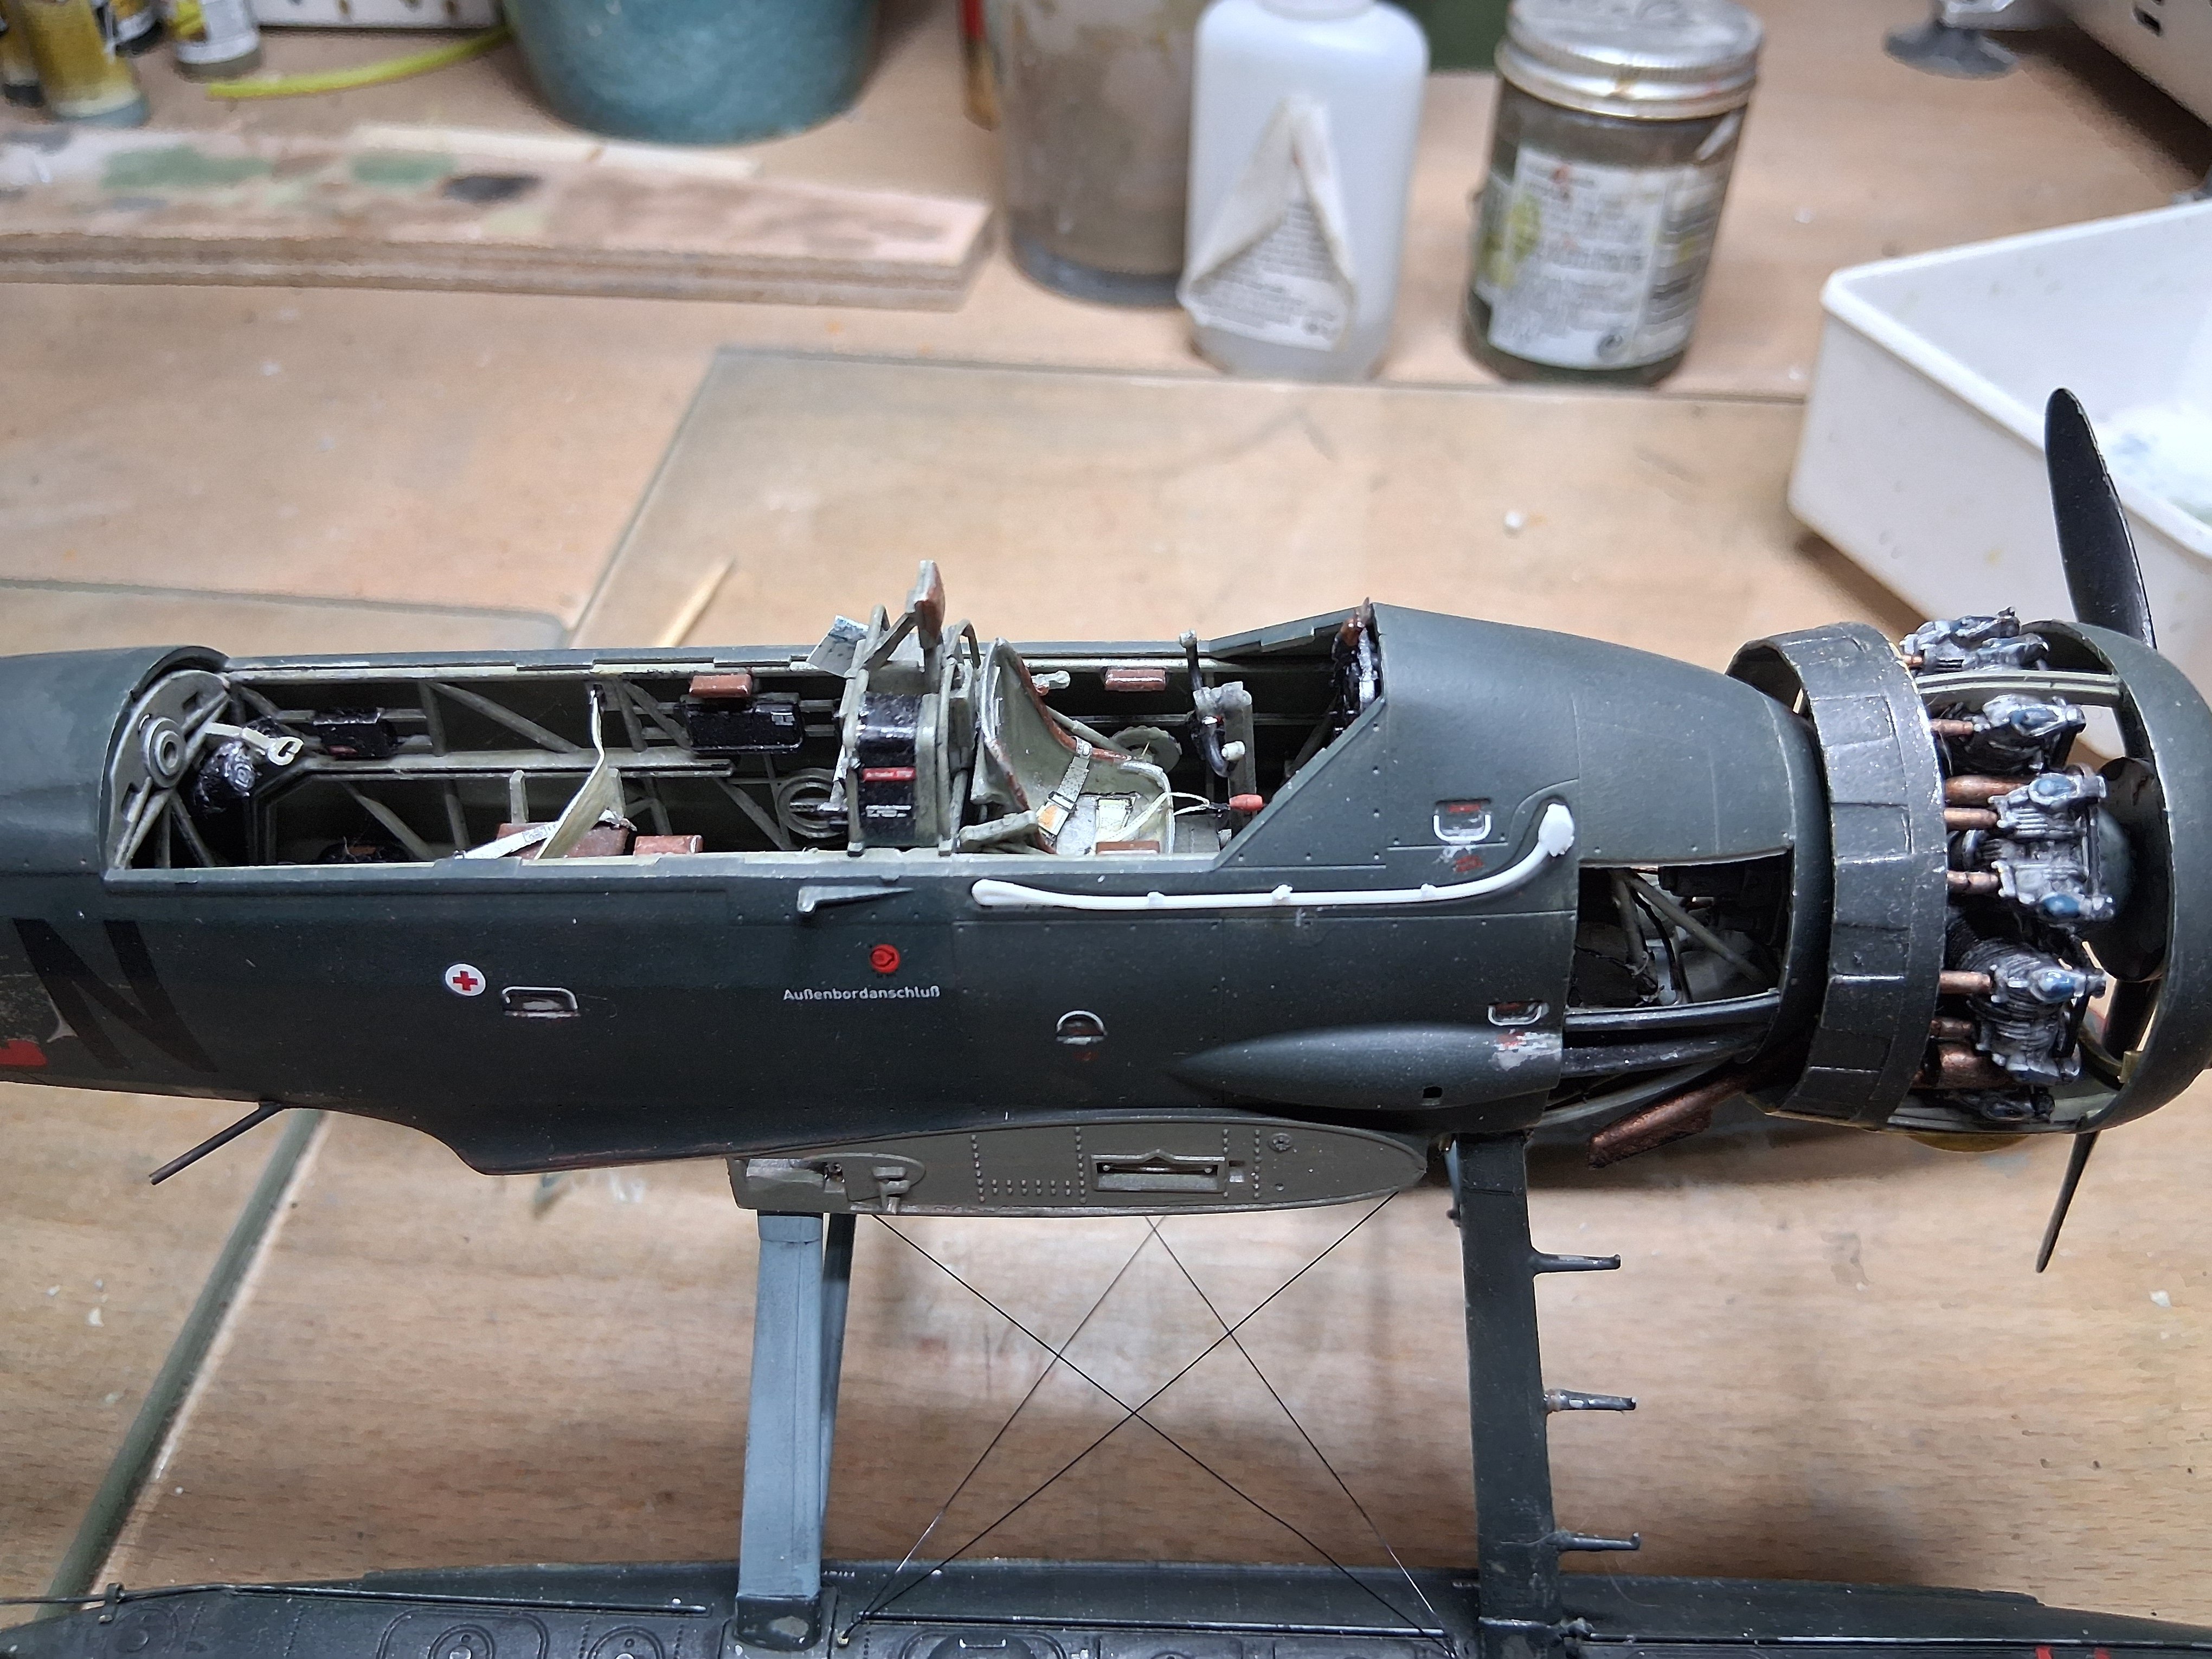
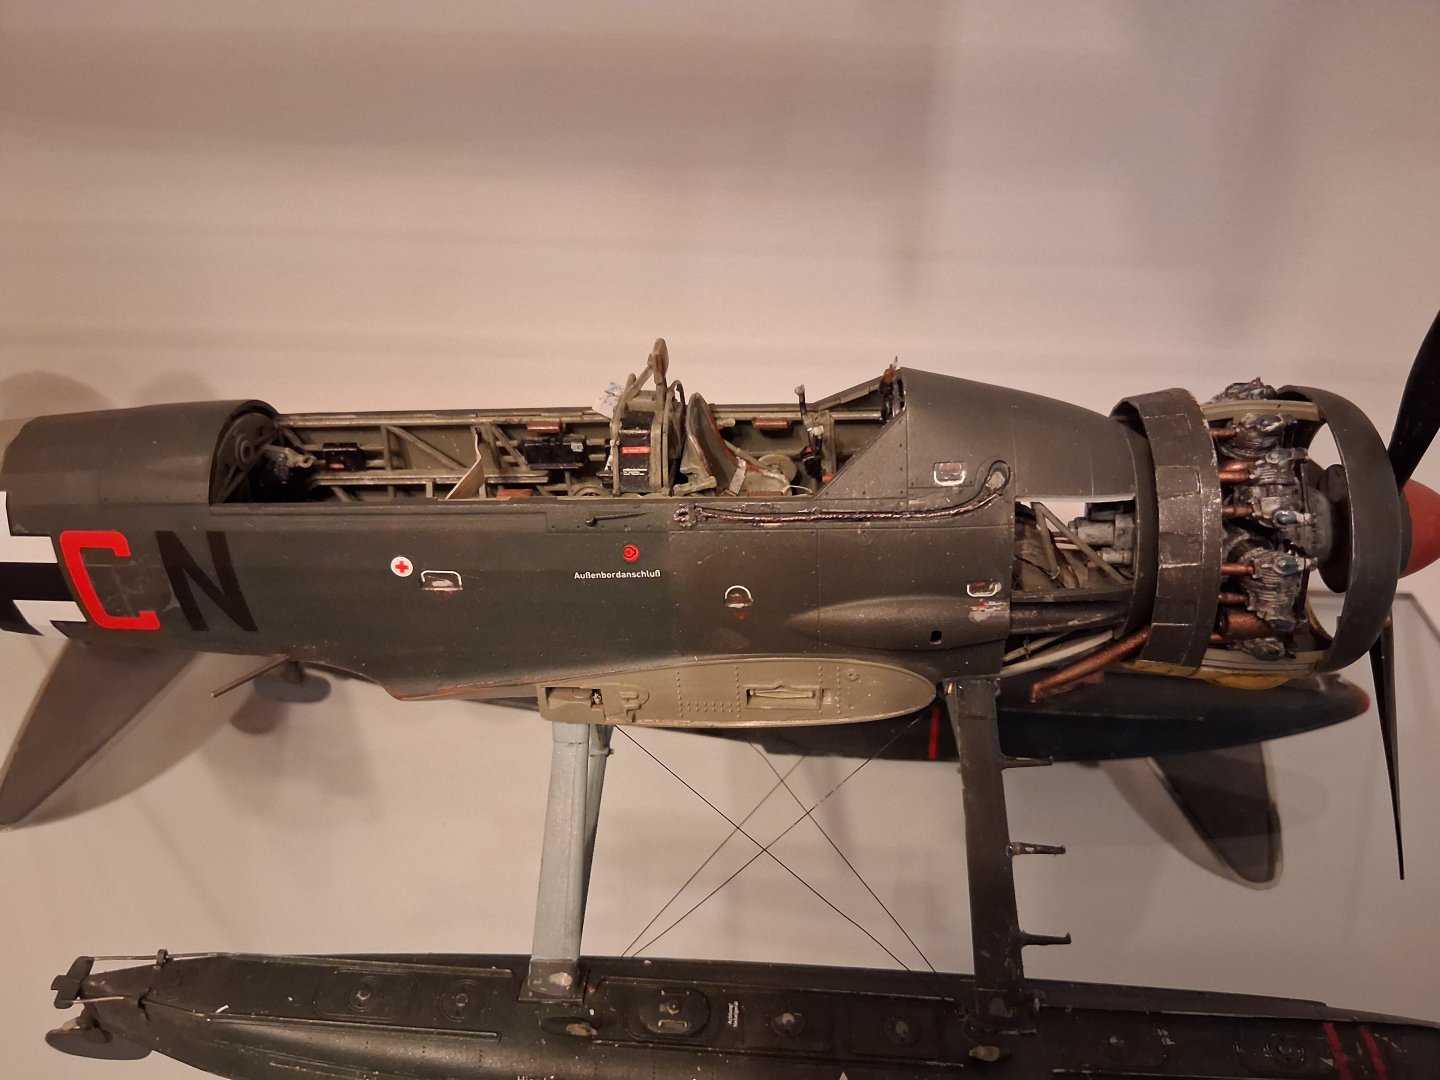
I had a bit of spare time so painted and decaled the access panels, I made the engine covers a lot more oily, grimy inside lol 7
- 70 replies
-
- 13
-
-
Arado Ar-196 by Ian B - FINISHED - PLASTIC - German seaplane
Ian B replied to Ian B's topic in Non-ship/categorised builds
Thanks Andy they still do the 1/48 I've seen a couple on ebay Thanks Looks promising, I know someone who could print it for me.i check it out -
Arado Ar-196 by Ian B - FINISHED - PLASTIC - German seaplane
Ian B replied to Ian B's topic in Non-ship/categorised builds
Very kind of you Chris.. -
Arado Ar-196 by Ian B - FINISHED - PLASTIC - German seaplane
Ian B replied to Ian B's topic in Non-ship/categorised builds
Thanks Ken, not being a plane maker I really am enjoying this build, another week and it should be finished 😀 than back too boats lol -
Arado Ar-196 by Ian B - FINISHED - PLASTIC - German seaplane
Ian B replied to Ian B's topic in Non-ship/categorised builds
Thank you so much, I spent 4 weeks searching for one on line..I'm itching to get my head down on my hns warrior build so perhaps later next year I will consider scratch building one -
Arado Ar-196 by Ian B - FINISHED - PLASTIC - German seaplane
Ian B replied to Ian B's topic in Non-ship/categorised builds
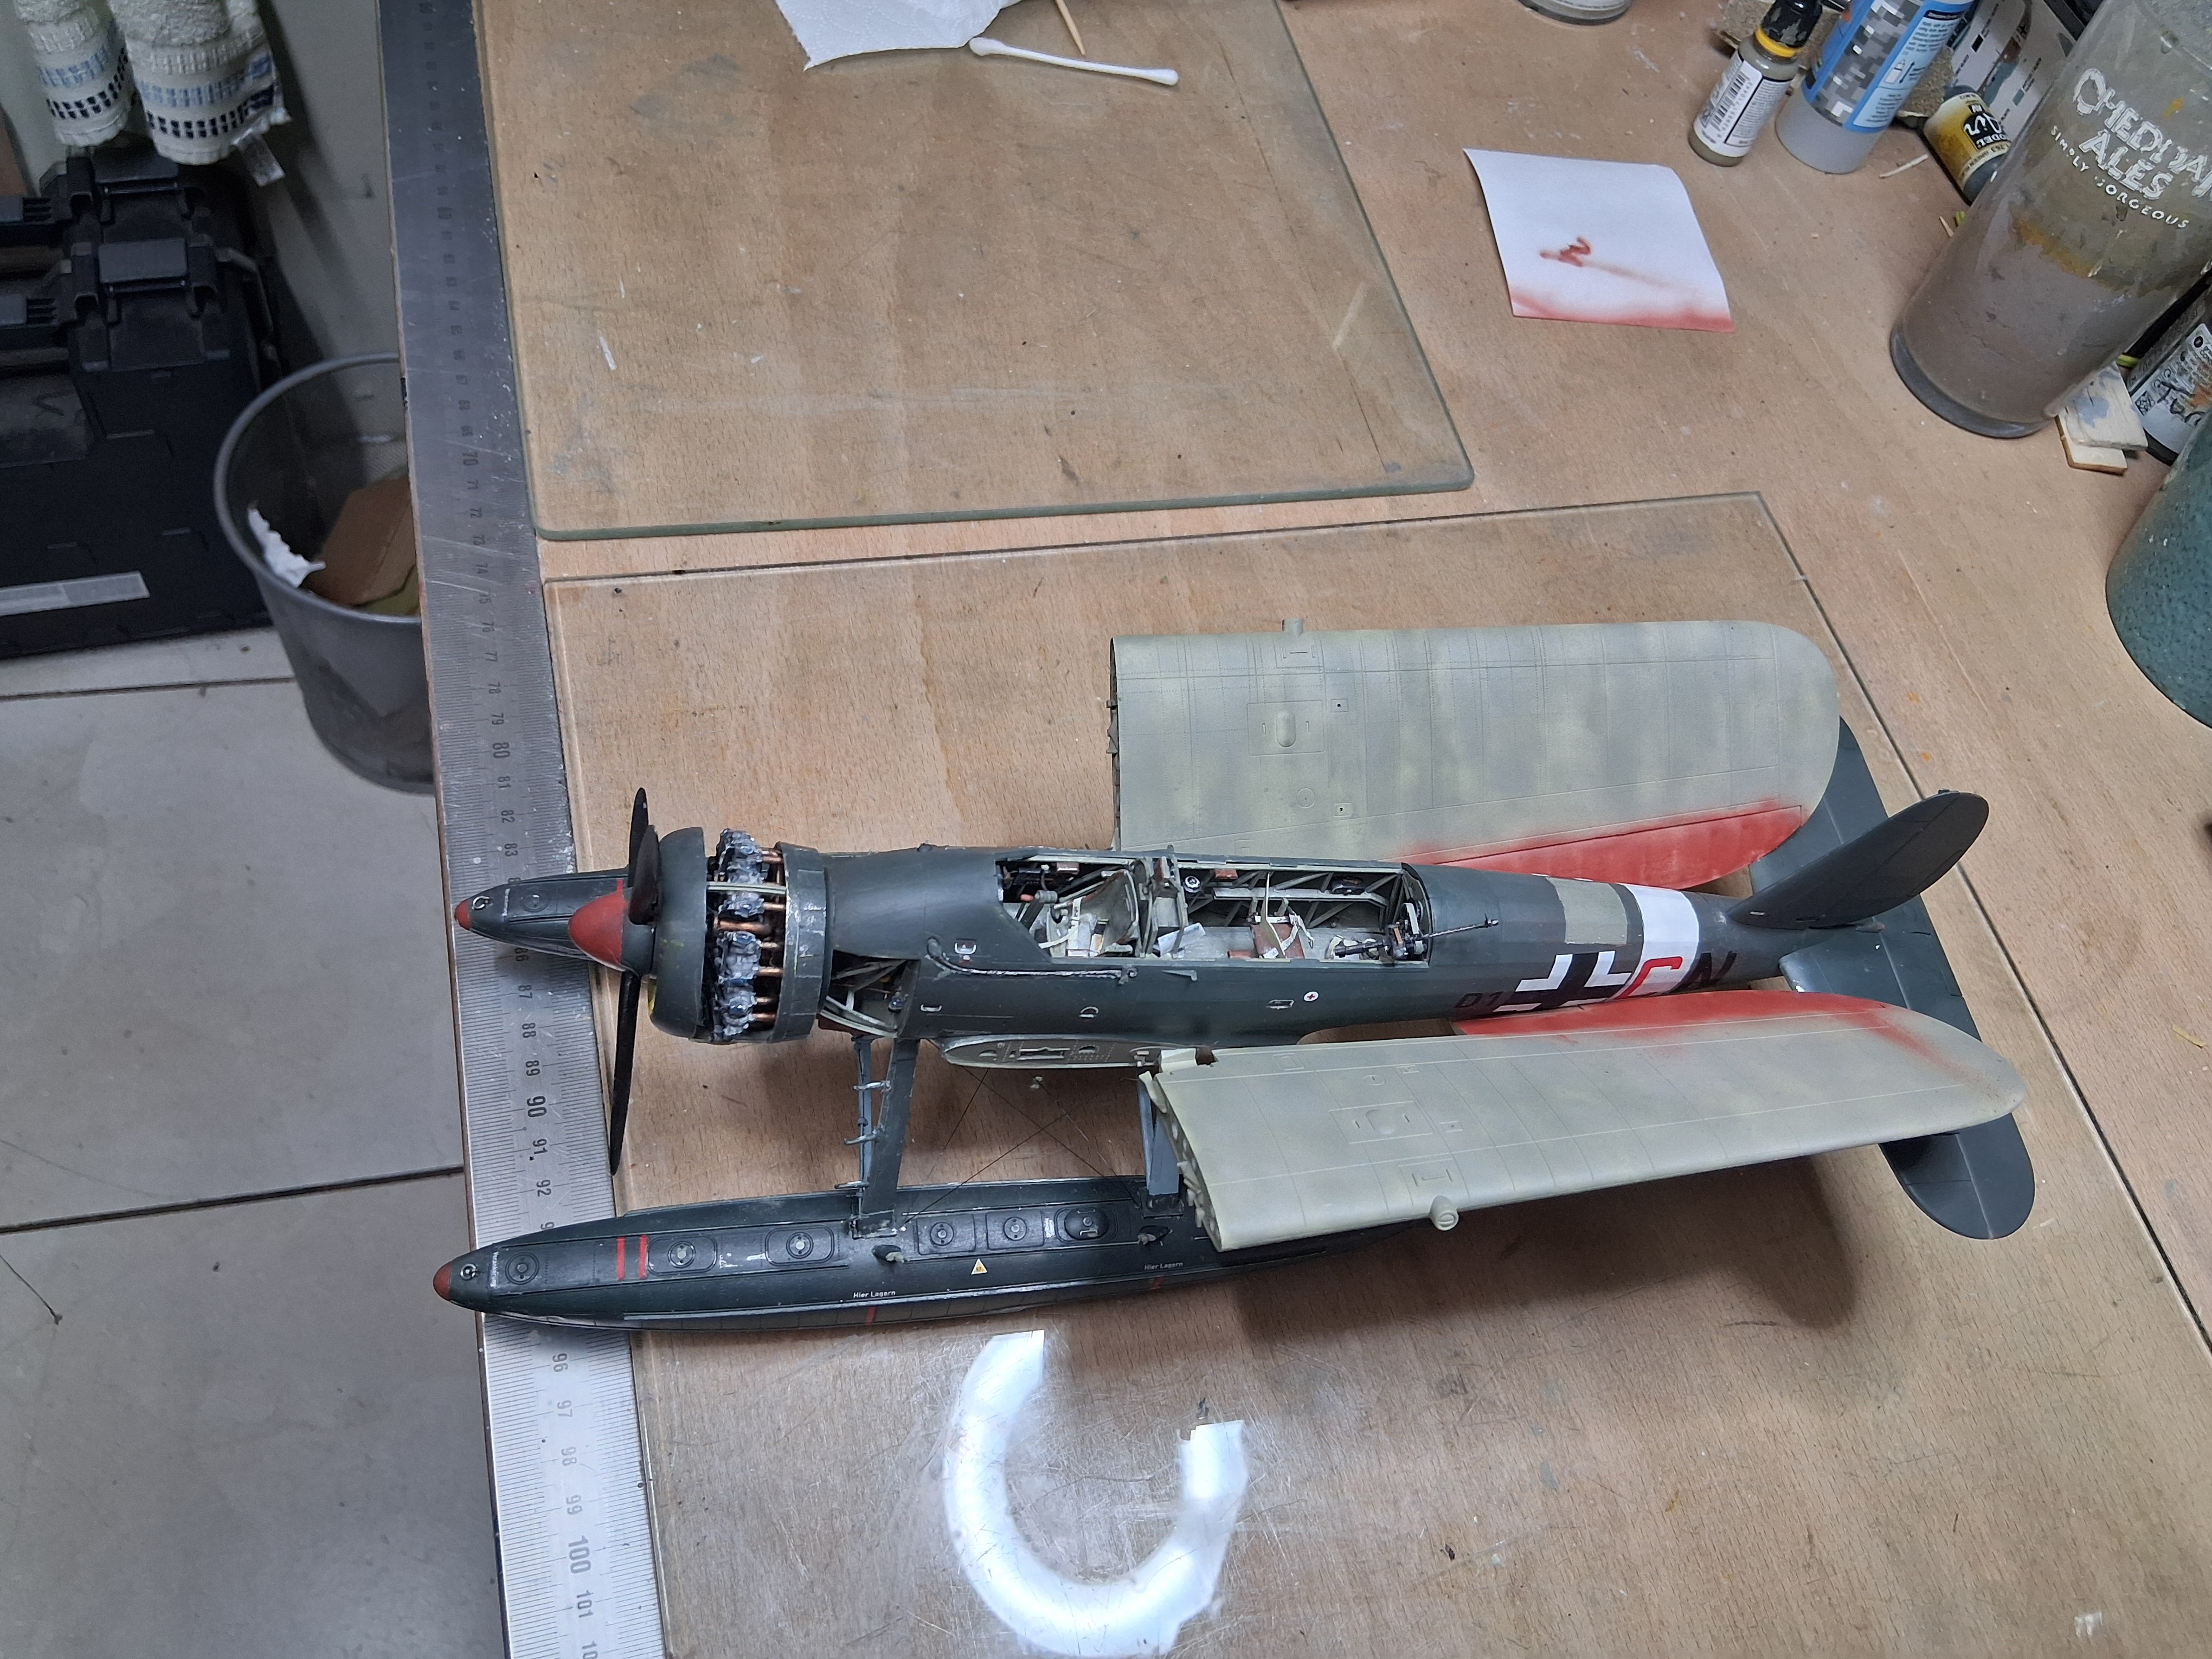
Wings fitted, need to scratch a wiring loom and control cable from wing root to the fuselage

- 70 replies
-
- 17
-
-

-
Arado Ar-196 by Ian B - FINISHED - PLASTIC - German seaplane
Ian B replied to Ian B's topic in Non-ship/categorised builds
Wings sprayed and lightly weathered..also pleased with the scratch build trim tabs and airleon actuators..next decals and the rest of the small bits pitot head. Folded struts, support arms for the folded wings,clear parts etc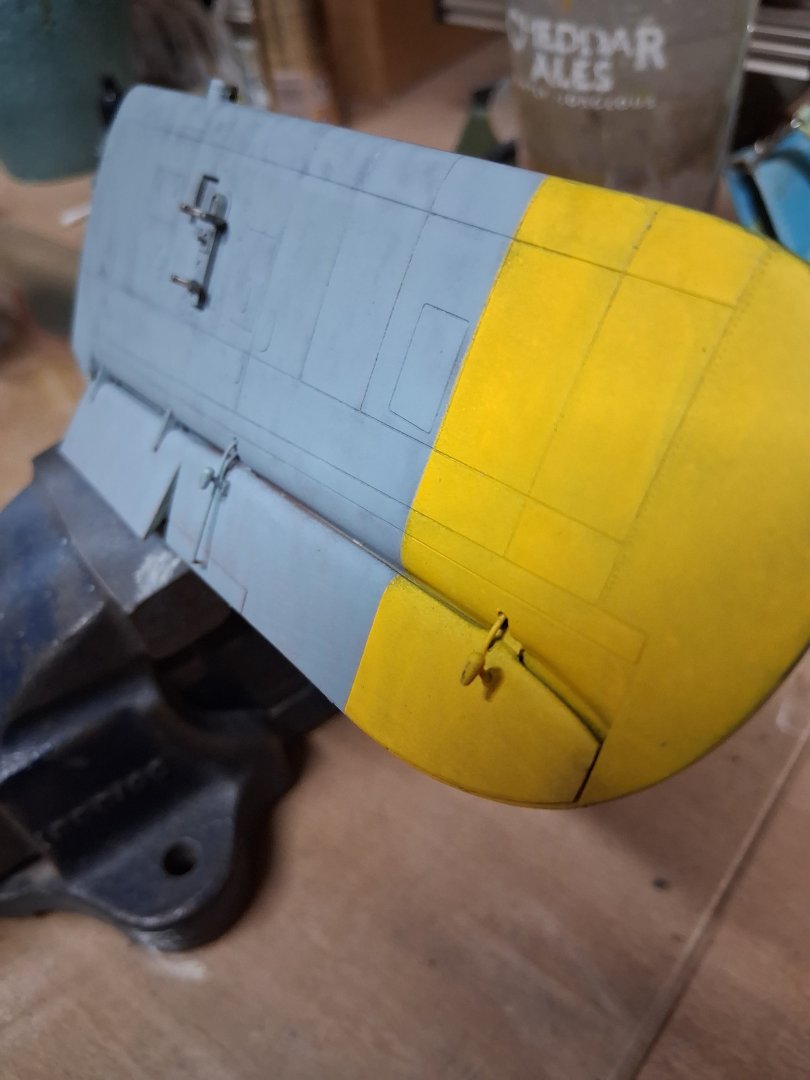
- 70 replies
-
- 13
-
-
-
Arado Ar-196 by Ian B - FINISHED - PLASTIC - German seaplane
Ian B replied to Ian B's topic in Non-ship/categorised builds
Thanks for compliment. I tried to get the 1/32 catapult that i know is out of production but was hoping an old kit was kicking around somewhere for sale. -
Arado Ar-196 by Ian B - FINISHED - PLASTIC - German seaplane
Ian B replied to Ian B's topic in Non-ship/categorised builds
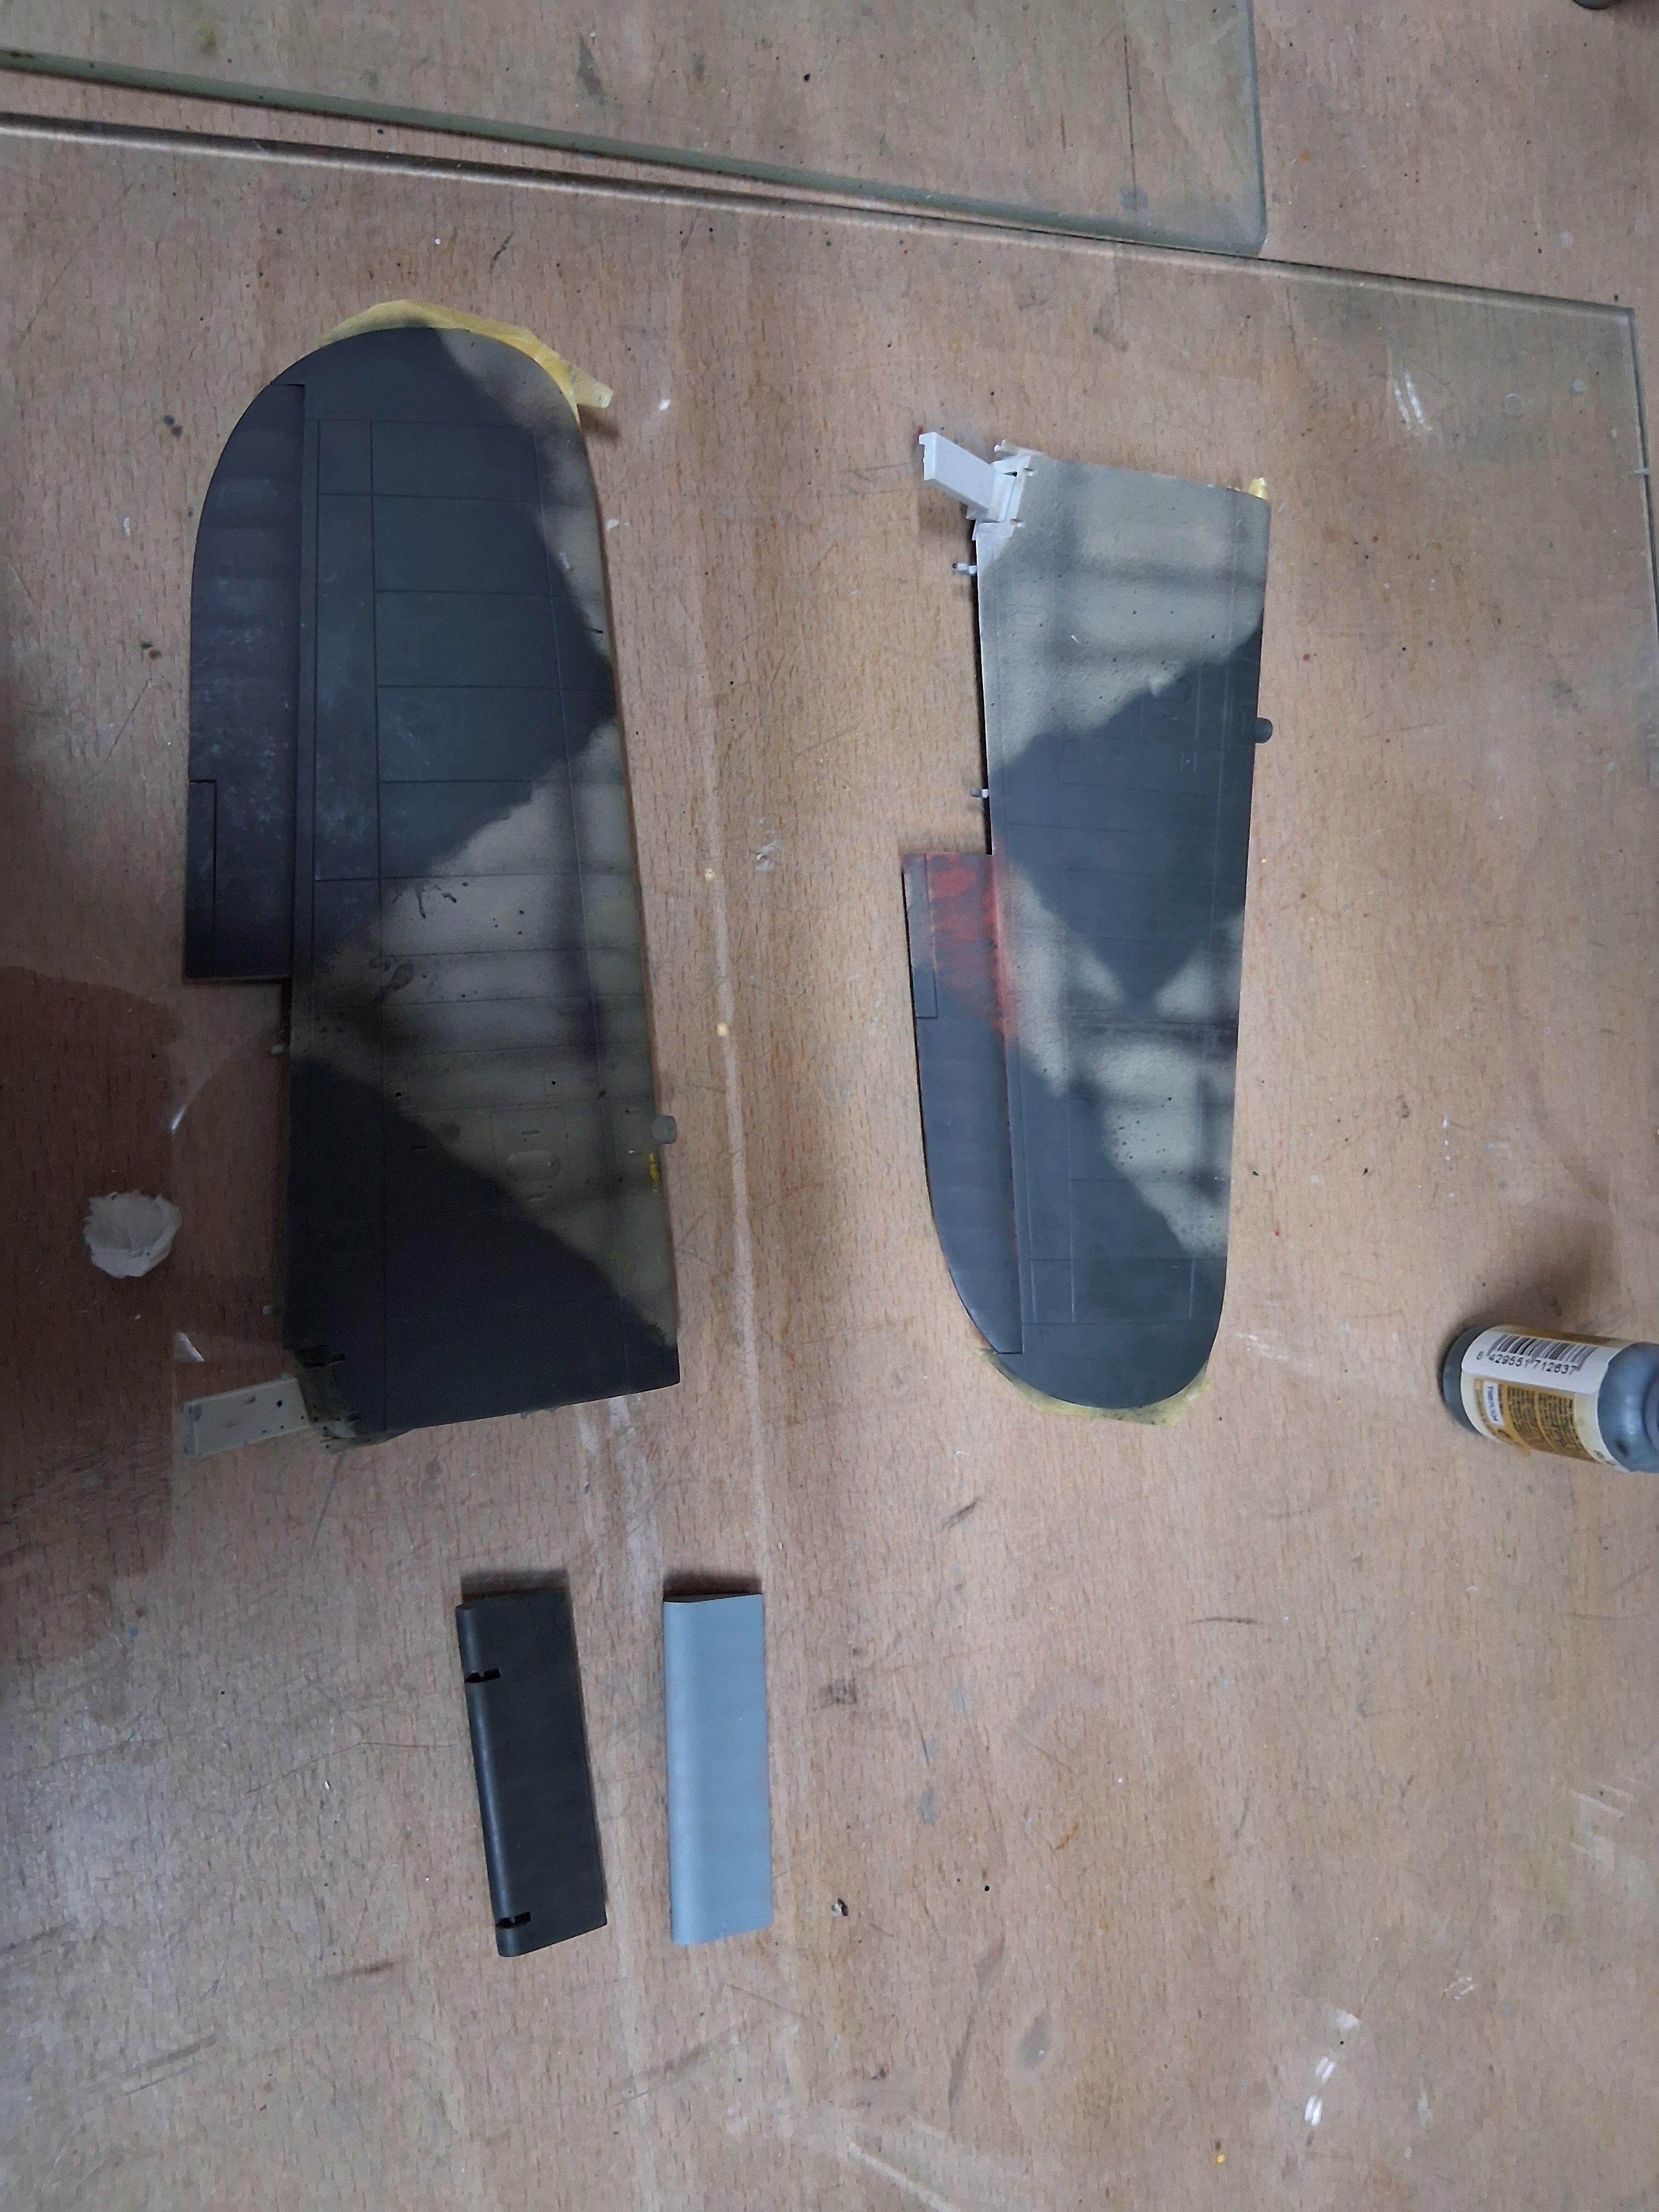
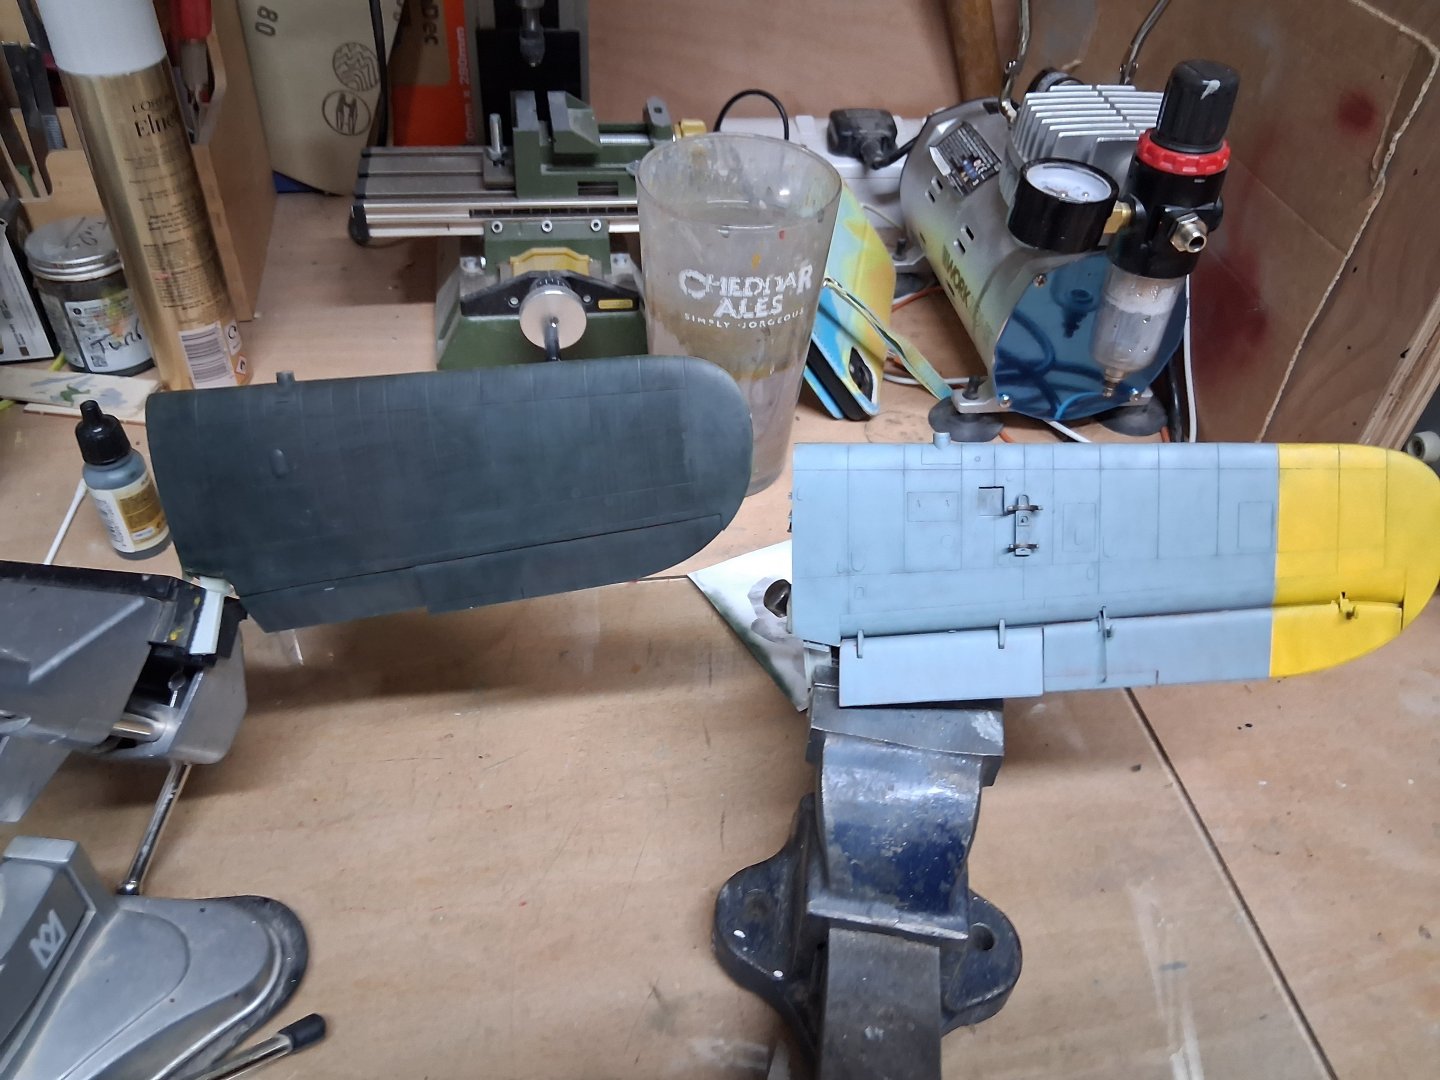
Ooooooops I had painted the flaps the wrong way around, time to rub back and spray the green and blue on the opposite sides...easy at this stage 🙃 -
Arado Ar-196 by Ian B - FINISHED - PLASTIC - German seaplane
Ian B replied to Ian B's topic in Non-ship/categorised builds
Started the splint camouflage
- 70 replies
-
- 10
-
-
-
Arado Ar-196 by Ian B - FINISHED - PLASTIC - German seaplane
Ian B replied to Ian B's topic in Non-ship/categorised builds
Thanks coming from you, just looked at your builds which are amazing. I don't do planes so this is a voyage of discovery for me -
Arado Ar-196 by Ian B - FINISHED - PLASTIC - German seaplane
Ian B replied to Ian B's topic in Non-ship/categorised builds
Thanks Dan. I think this is enough paint it will look slightly more weathered once I have added the decals and a coat of matt varnish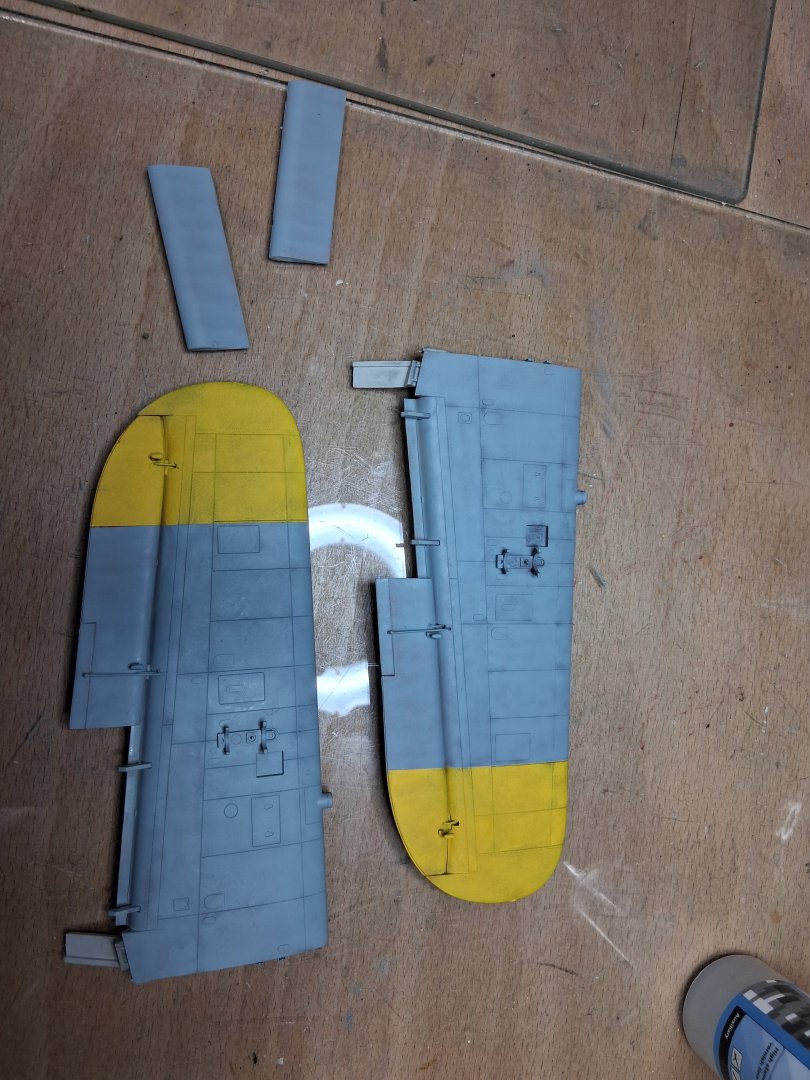
- 70 replies
-
- 10
-
-
-
Arado Ar-196 by Ian B - FINISHED - PLASTIC - German seaplane
Ian B replied to Ian B's topic in Non-ship/categorised builds
First coat of blue..the blanked off tips are yellow , ill keep layering the spray until the weathering/blue is at a leave that looks right..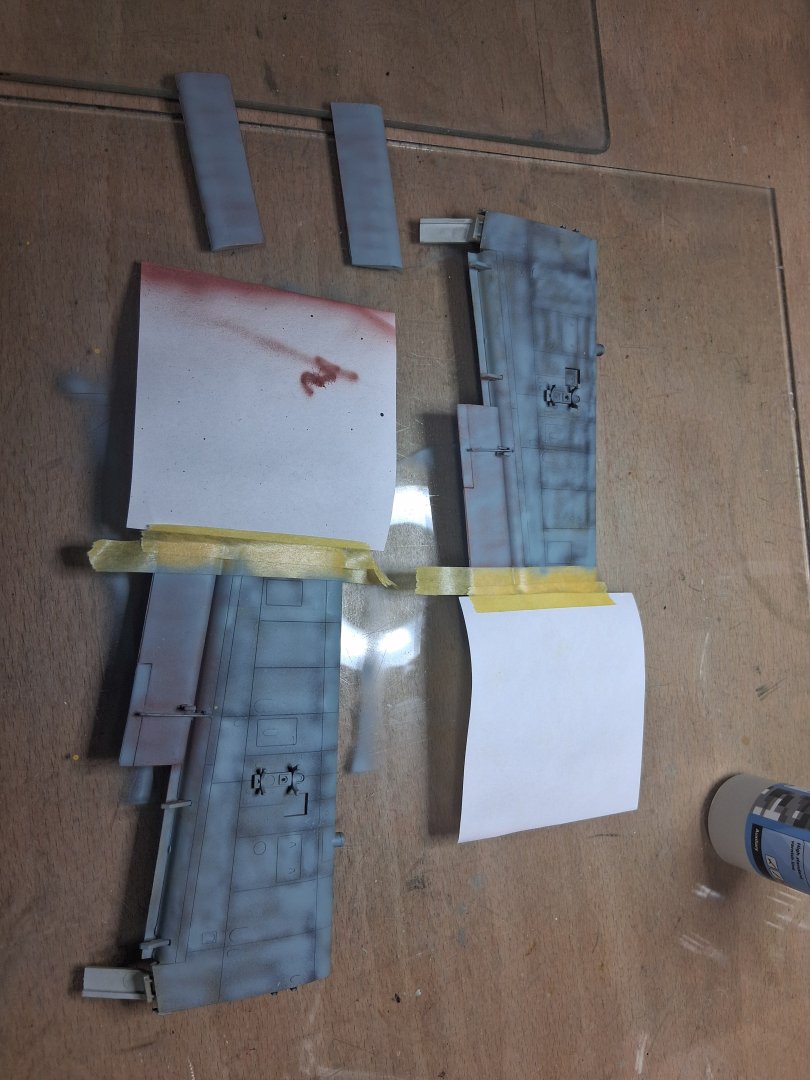
- 70 replies
-
- 11
-
-
Arado Ar-196 by Ian B - FINISHED - PLASTIC - German seaplane
Ian B replied to Ian B's topic in Non-ship/categorised builds
Thanks, the other forum building this kit did replace the canopy..I'm going to give it a go..then panic trying to source one after I mucked it up lol 😆 -
Arado Ar-196 by Ian B - FINISHED - PLASTIC - German seaplane
Ian B replied to Ian B's topic in Non-ship/categorised builds
Wings assembled , under coat as per the fuselage..loose covering of green metal,red dope fabric...dry fitted before I can settle down and paint them..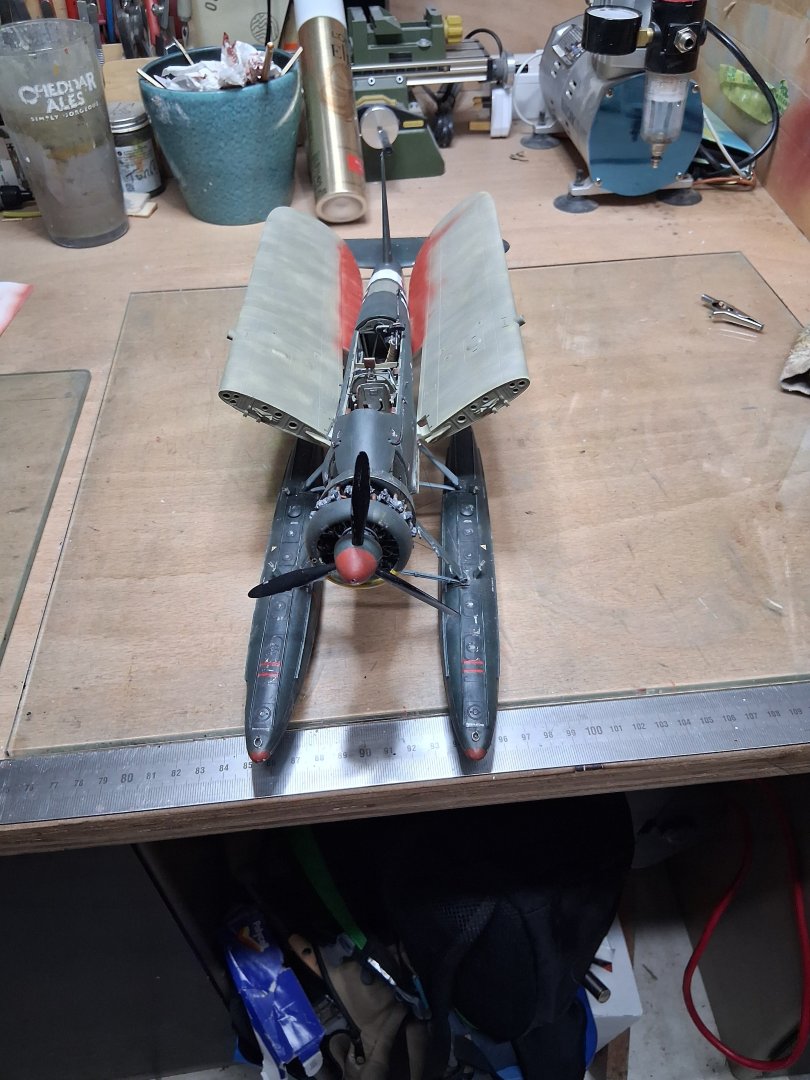

- 70 replies
-
- 14
-
-
-
Arado Ar-196 by Ian B - FINISHED - PLASTIC - German seaplane
Ian B replied to Ian B's topic in Non-ship/categorised builds
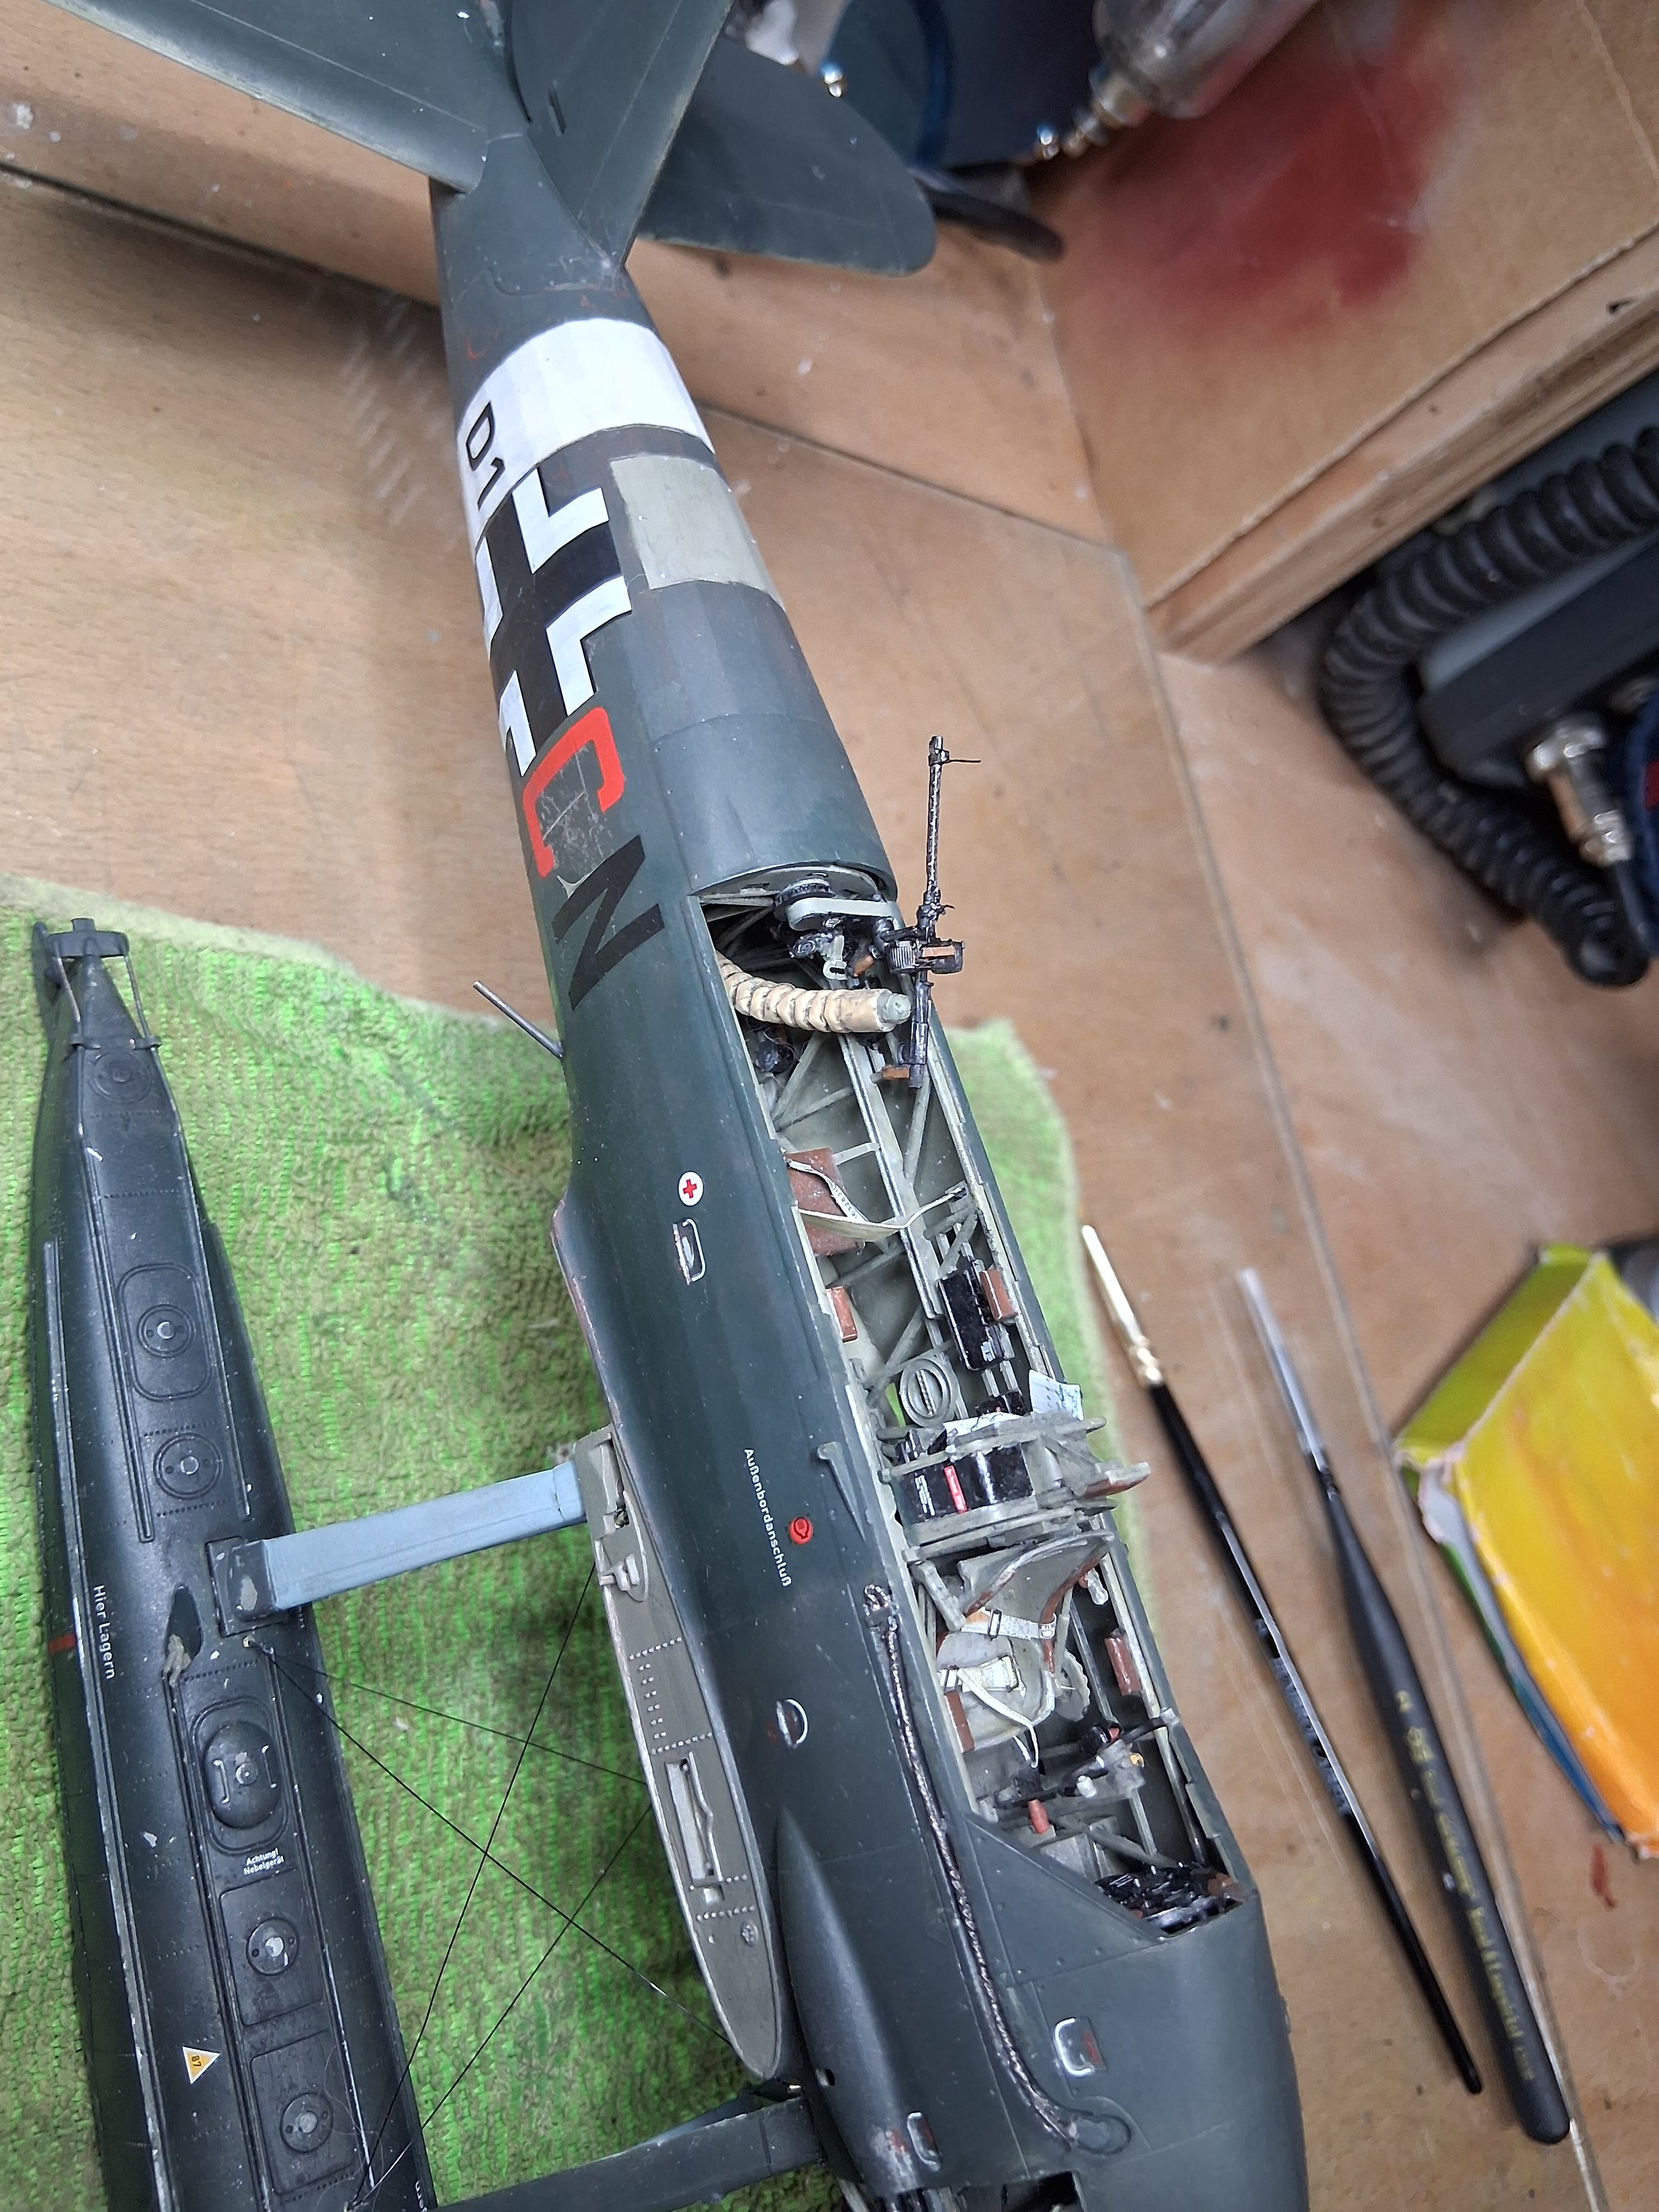
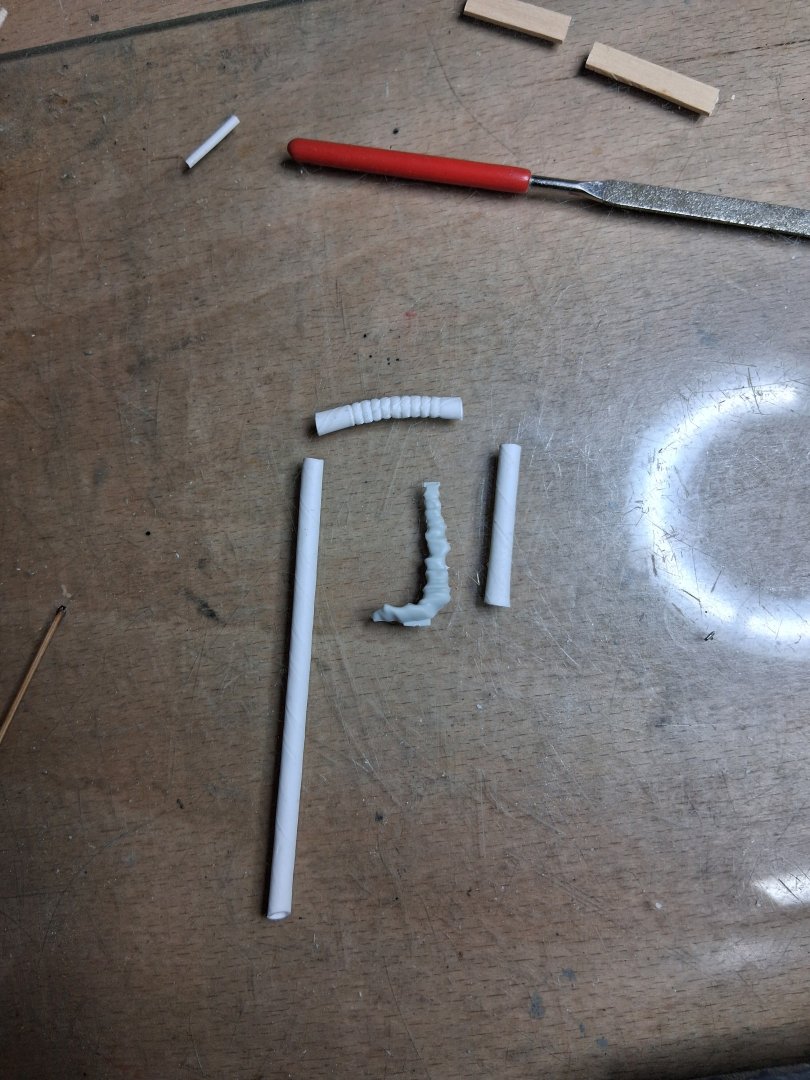
Guns!! Barrels from Masters this is what the rear gun cartridge collector should look like This is what the kit had, along with a drinking straw from a small drink carton..Mal a chap also building this come up with this fix..so thanks Mal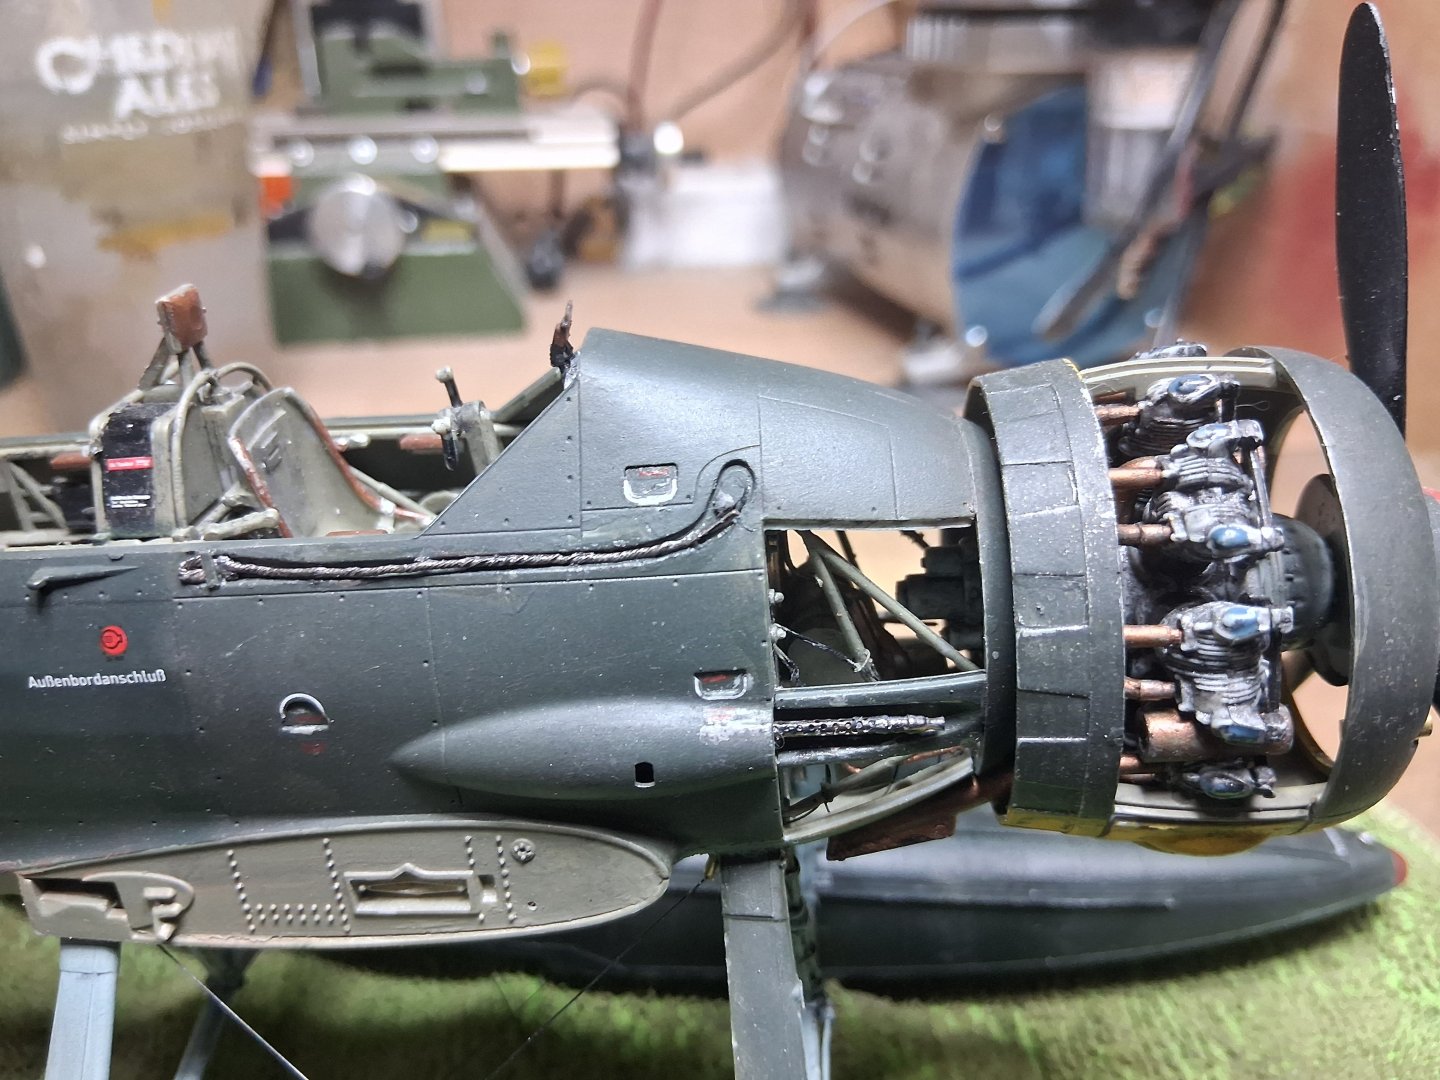
.jpg.3b9c7323a9d6ec6999dff91aeb156592.jpg)

- 70 replies
-
- 12
-
-
-
Arado Ar-196 by Ian B - FINISHED - PLASTIC - German seaplane
Ian B replied to Ian B's topic in Non-ship/categorised builds
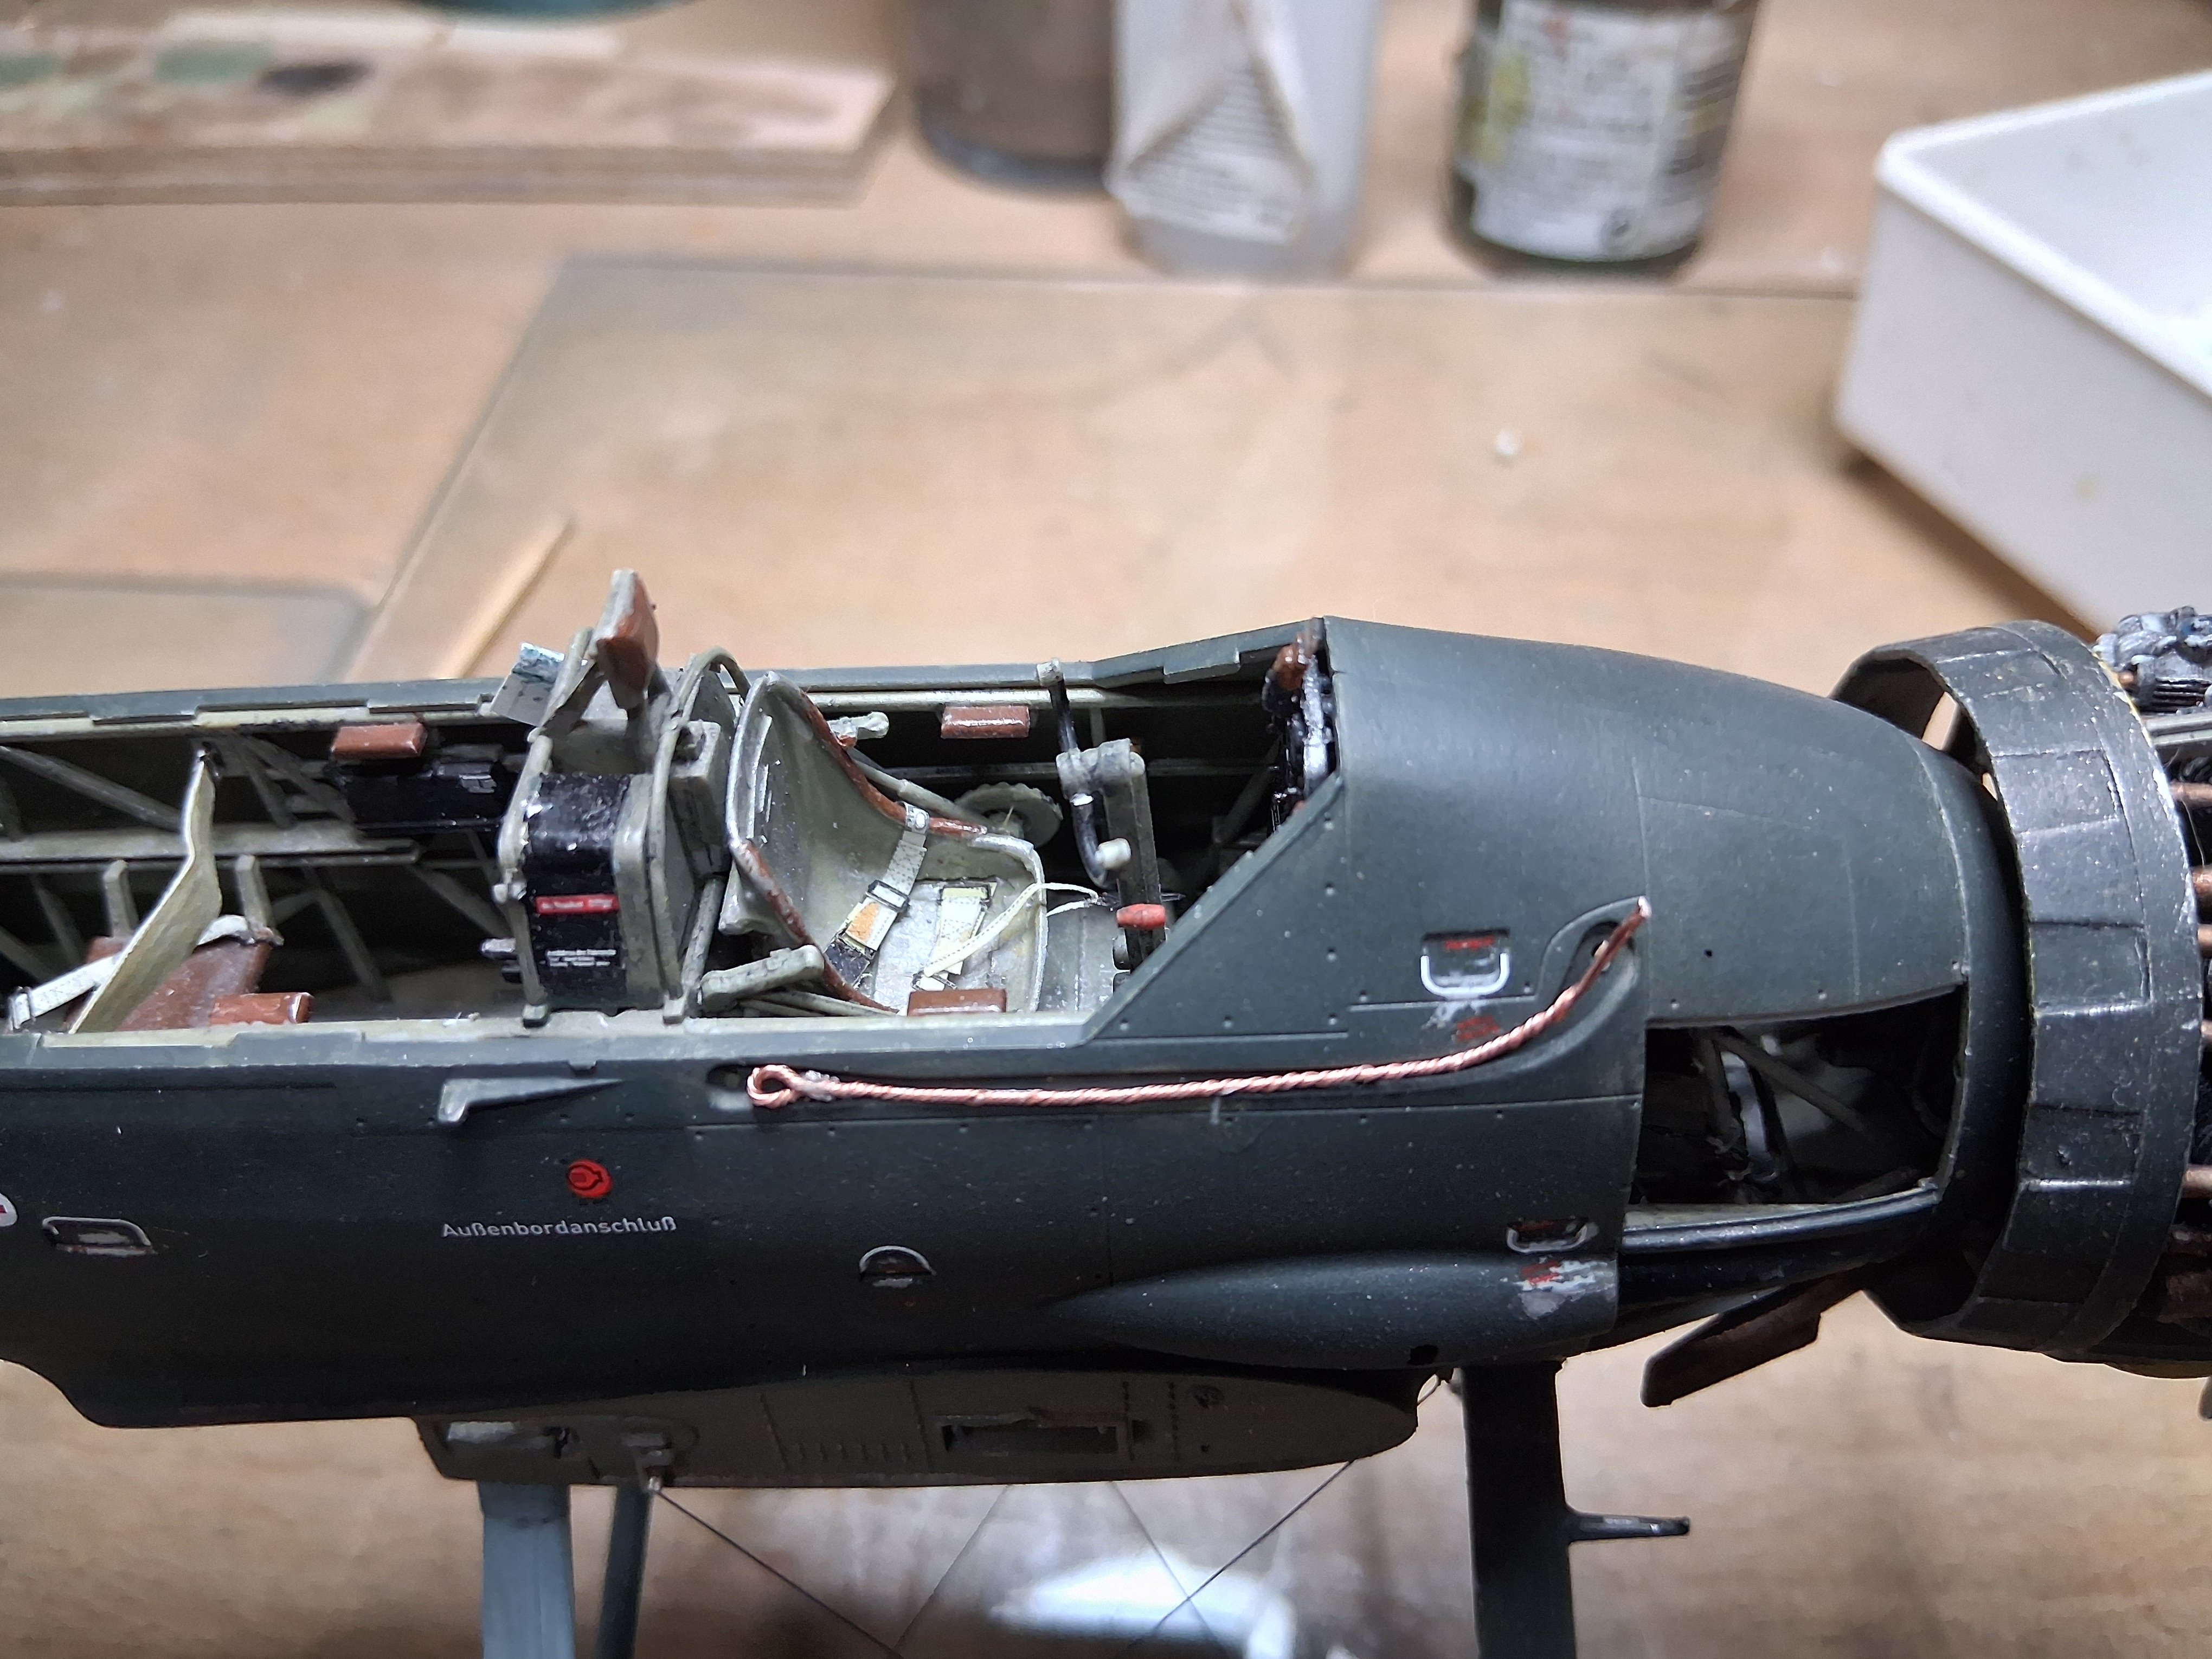
Surprisingly the aircraft carried its lifting cables externally where all weight is important to lug these around is a strange design decision 🤔 This bit of ugly plastic is the kits version So no self respecting ship builder on here could tolerate that..so made some That's Better

- 70 replies
-
- 14
-
-
-
Arado Ar-196 by Ian B - FINISHED - PLASTIC - German seaplane
Ian B replied to Ian B's topic in Non-ship/categorised builds
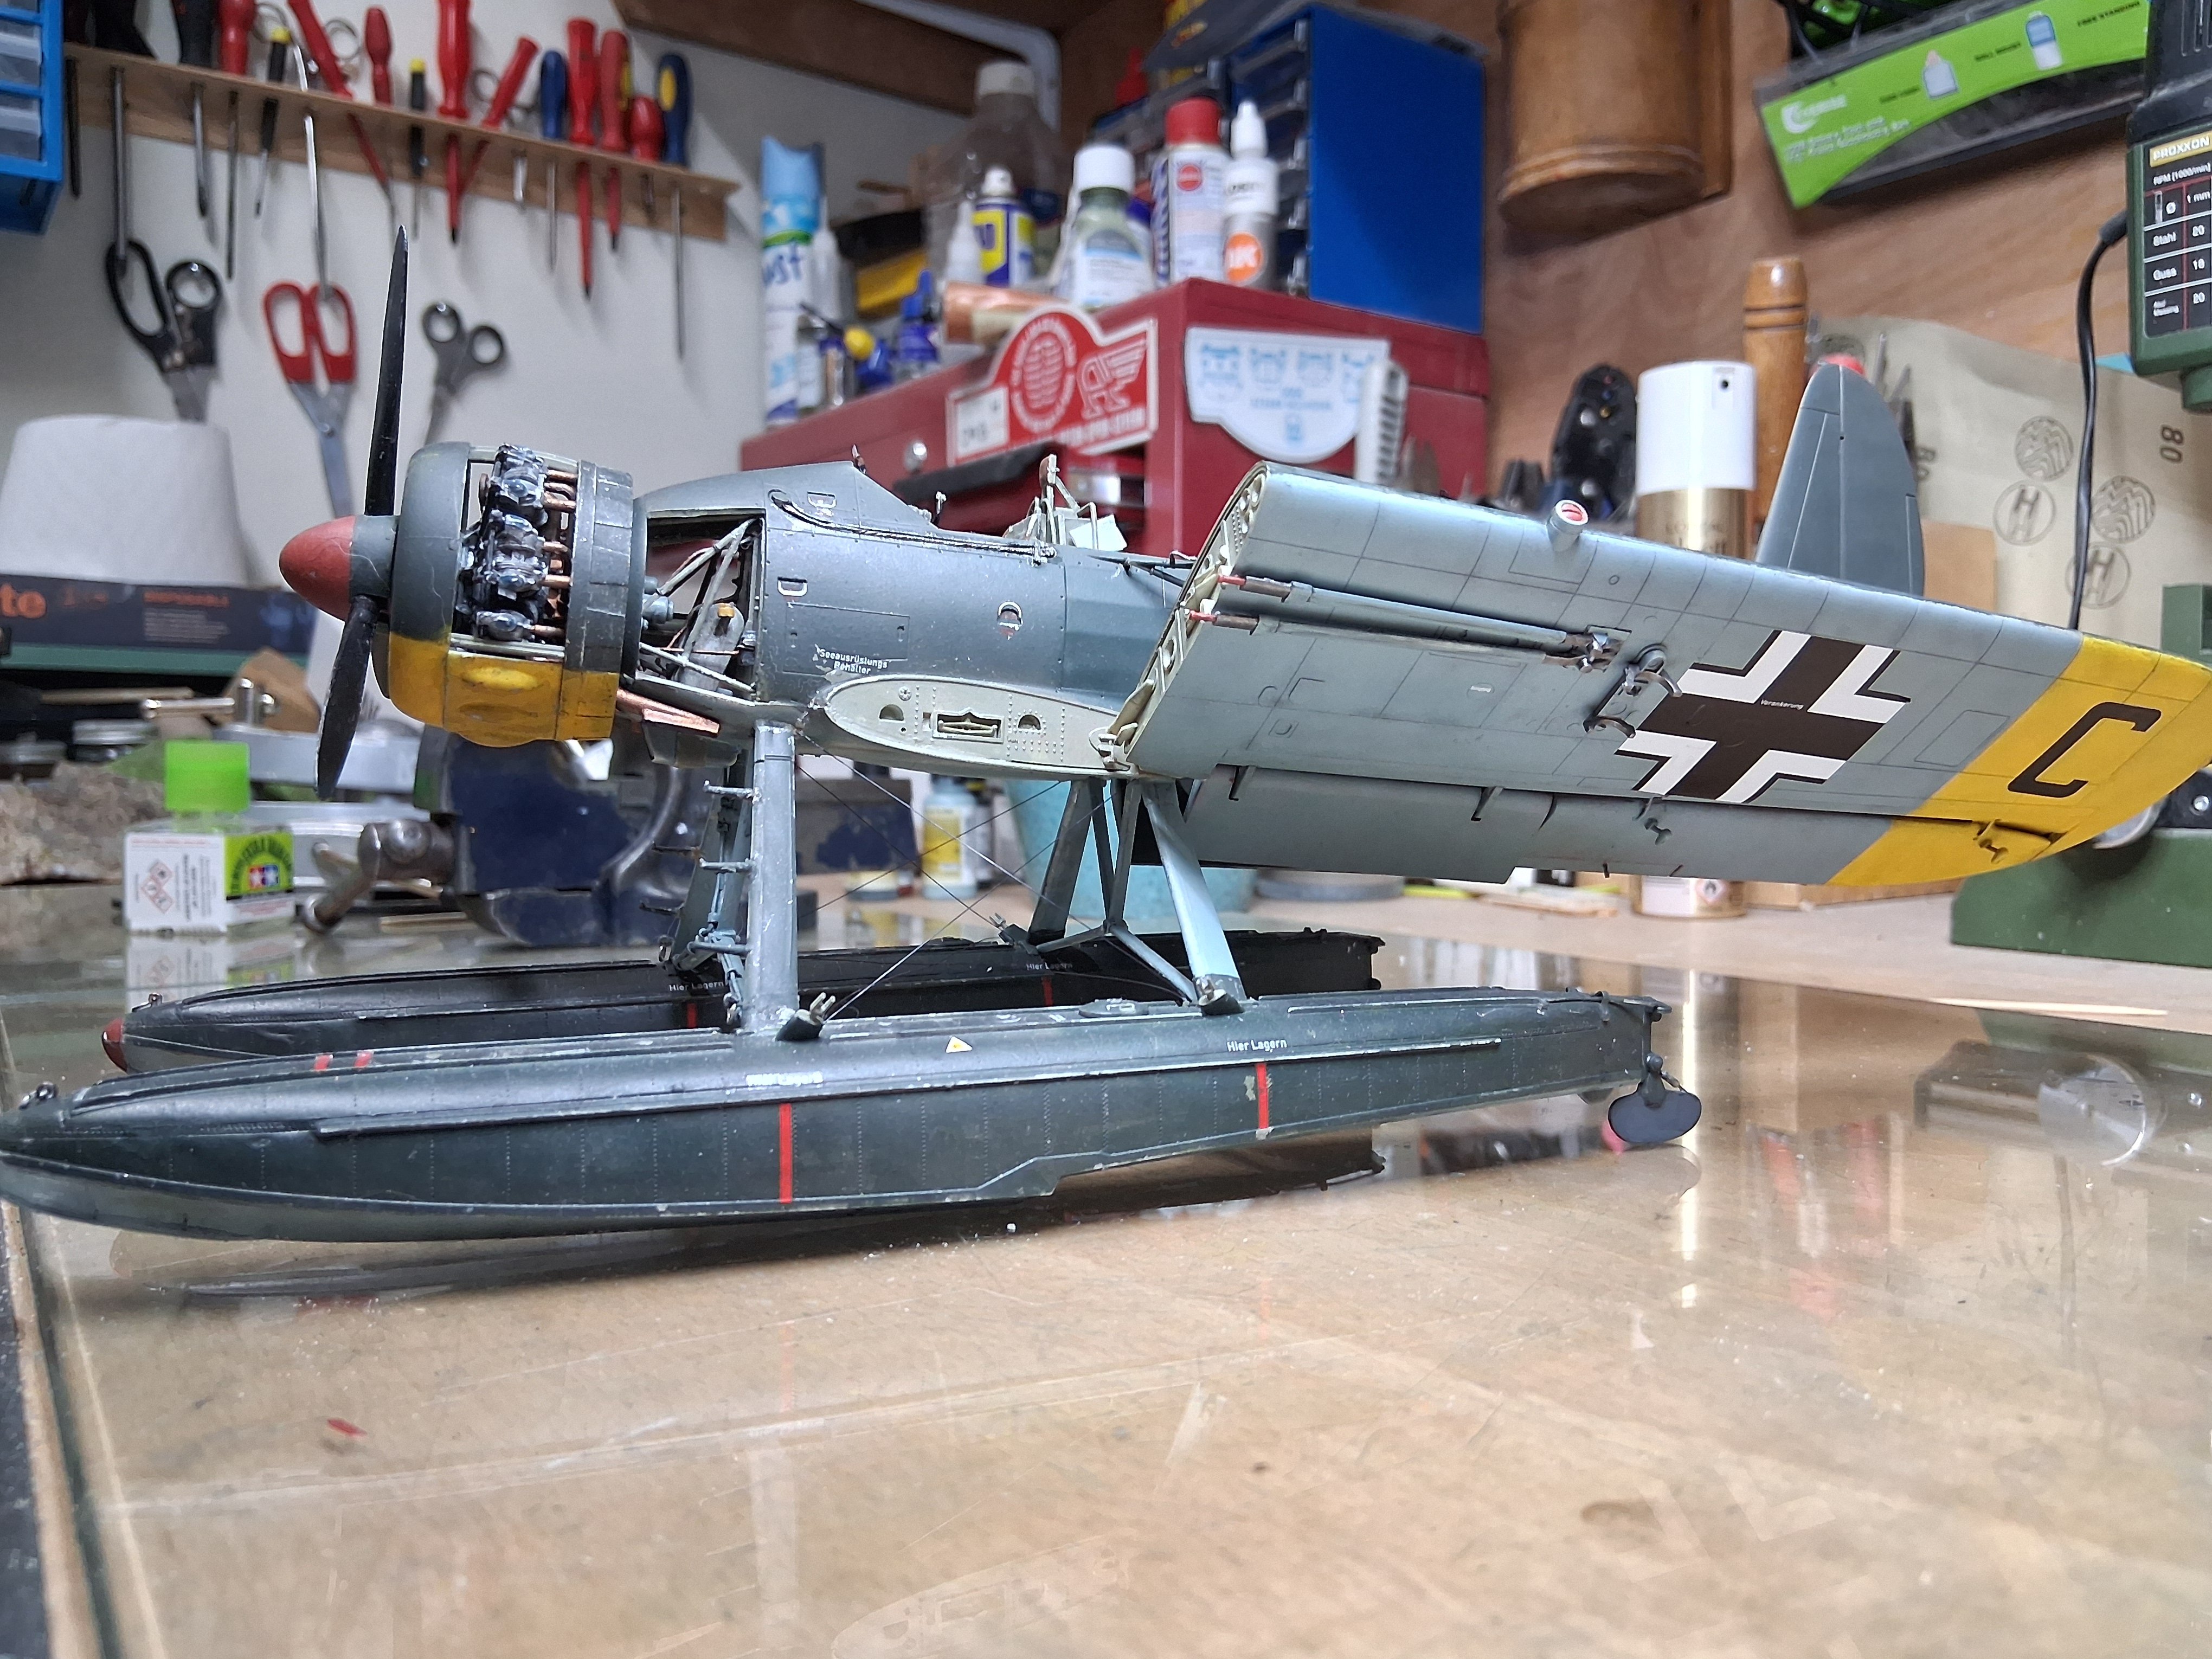
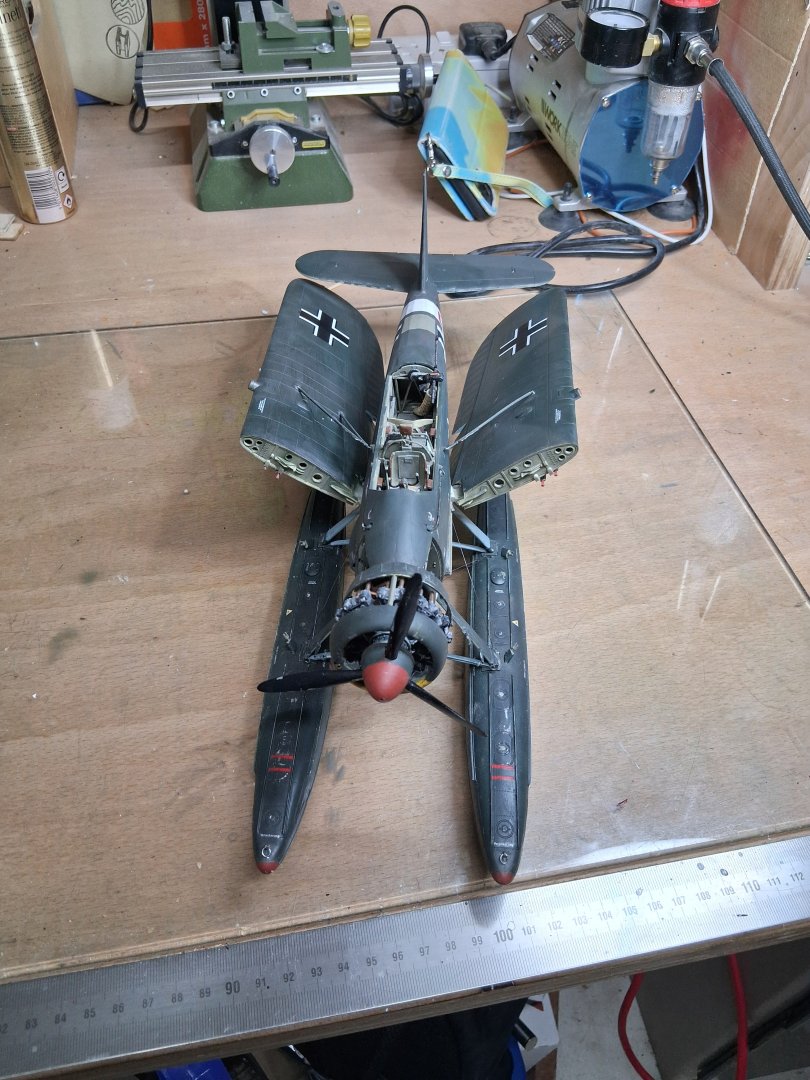
Floats rigged
- 70 replies
-
- 14
-
-
-
Arado Ar-196 by Ian B - FINISHED - PLASTIC - German seaplane
Ian B replied to Ian B's topic in Non-ship/categorised builds
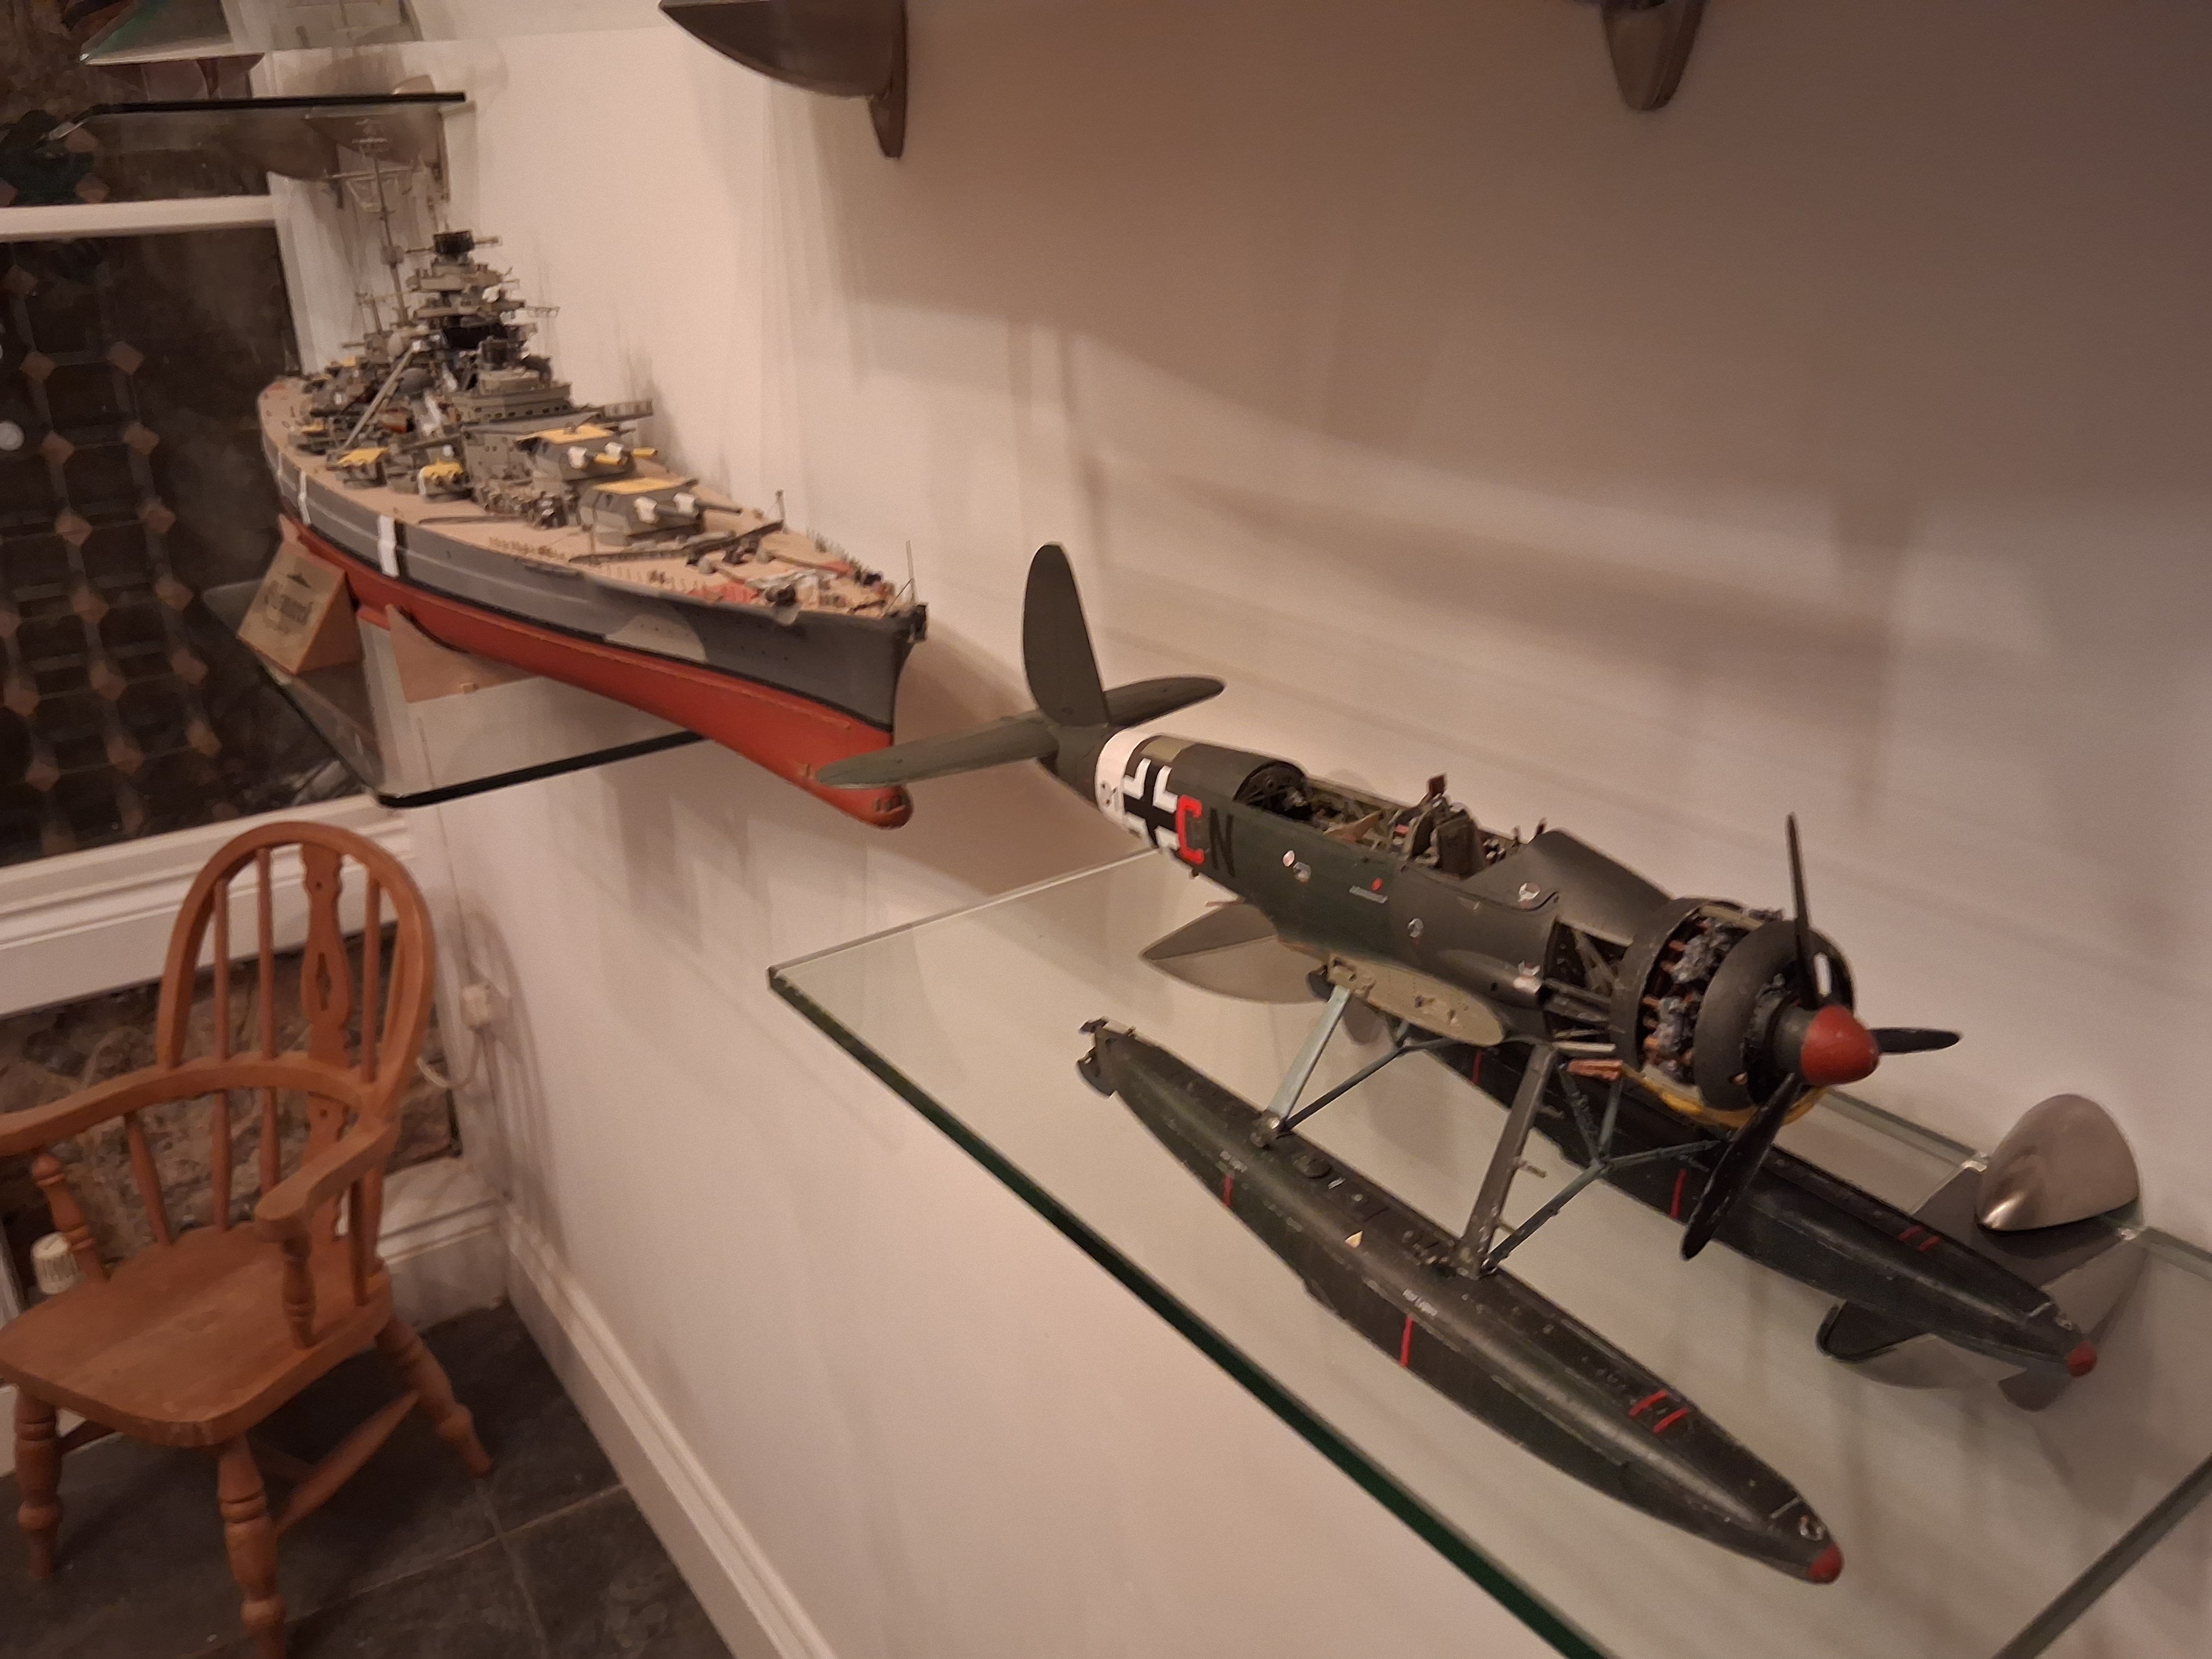
Thank you all for your many likes and Wows..I'm really enjoying the change from my Ships. It is going to sit so well along side the Bismarck that inspired this build.
- 70 replies
-
- 12
-
-
-
Arado Ar-196 by Ian B - FINISHED - PLASTIC - German seaplane
Ian B replied to Ian B's topic in Non-ship/categorised builds
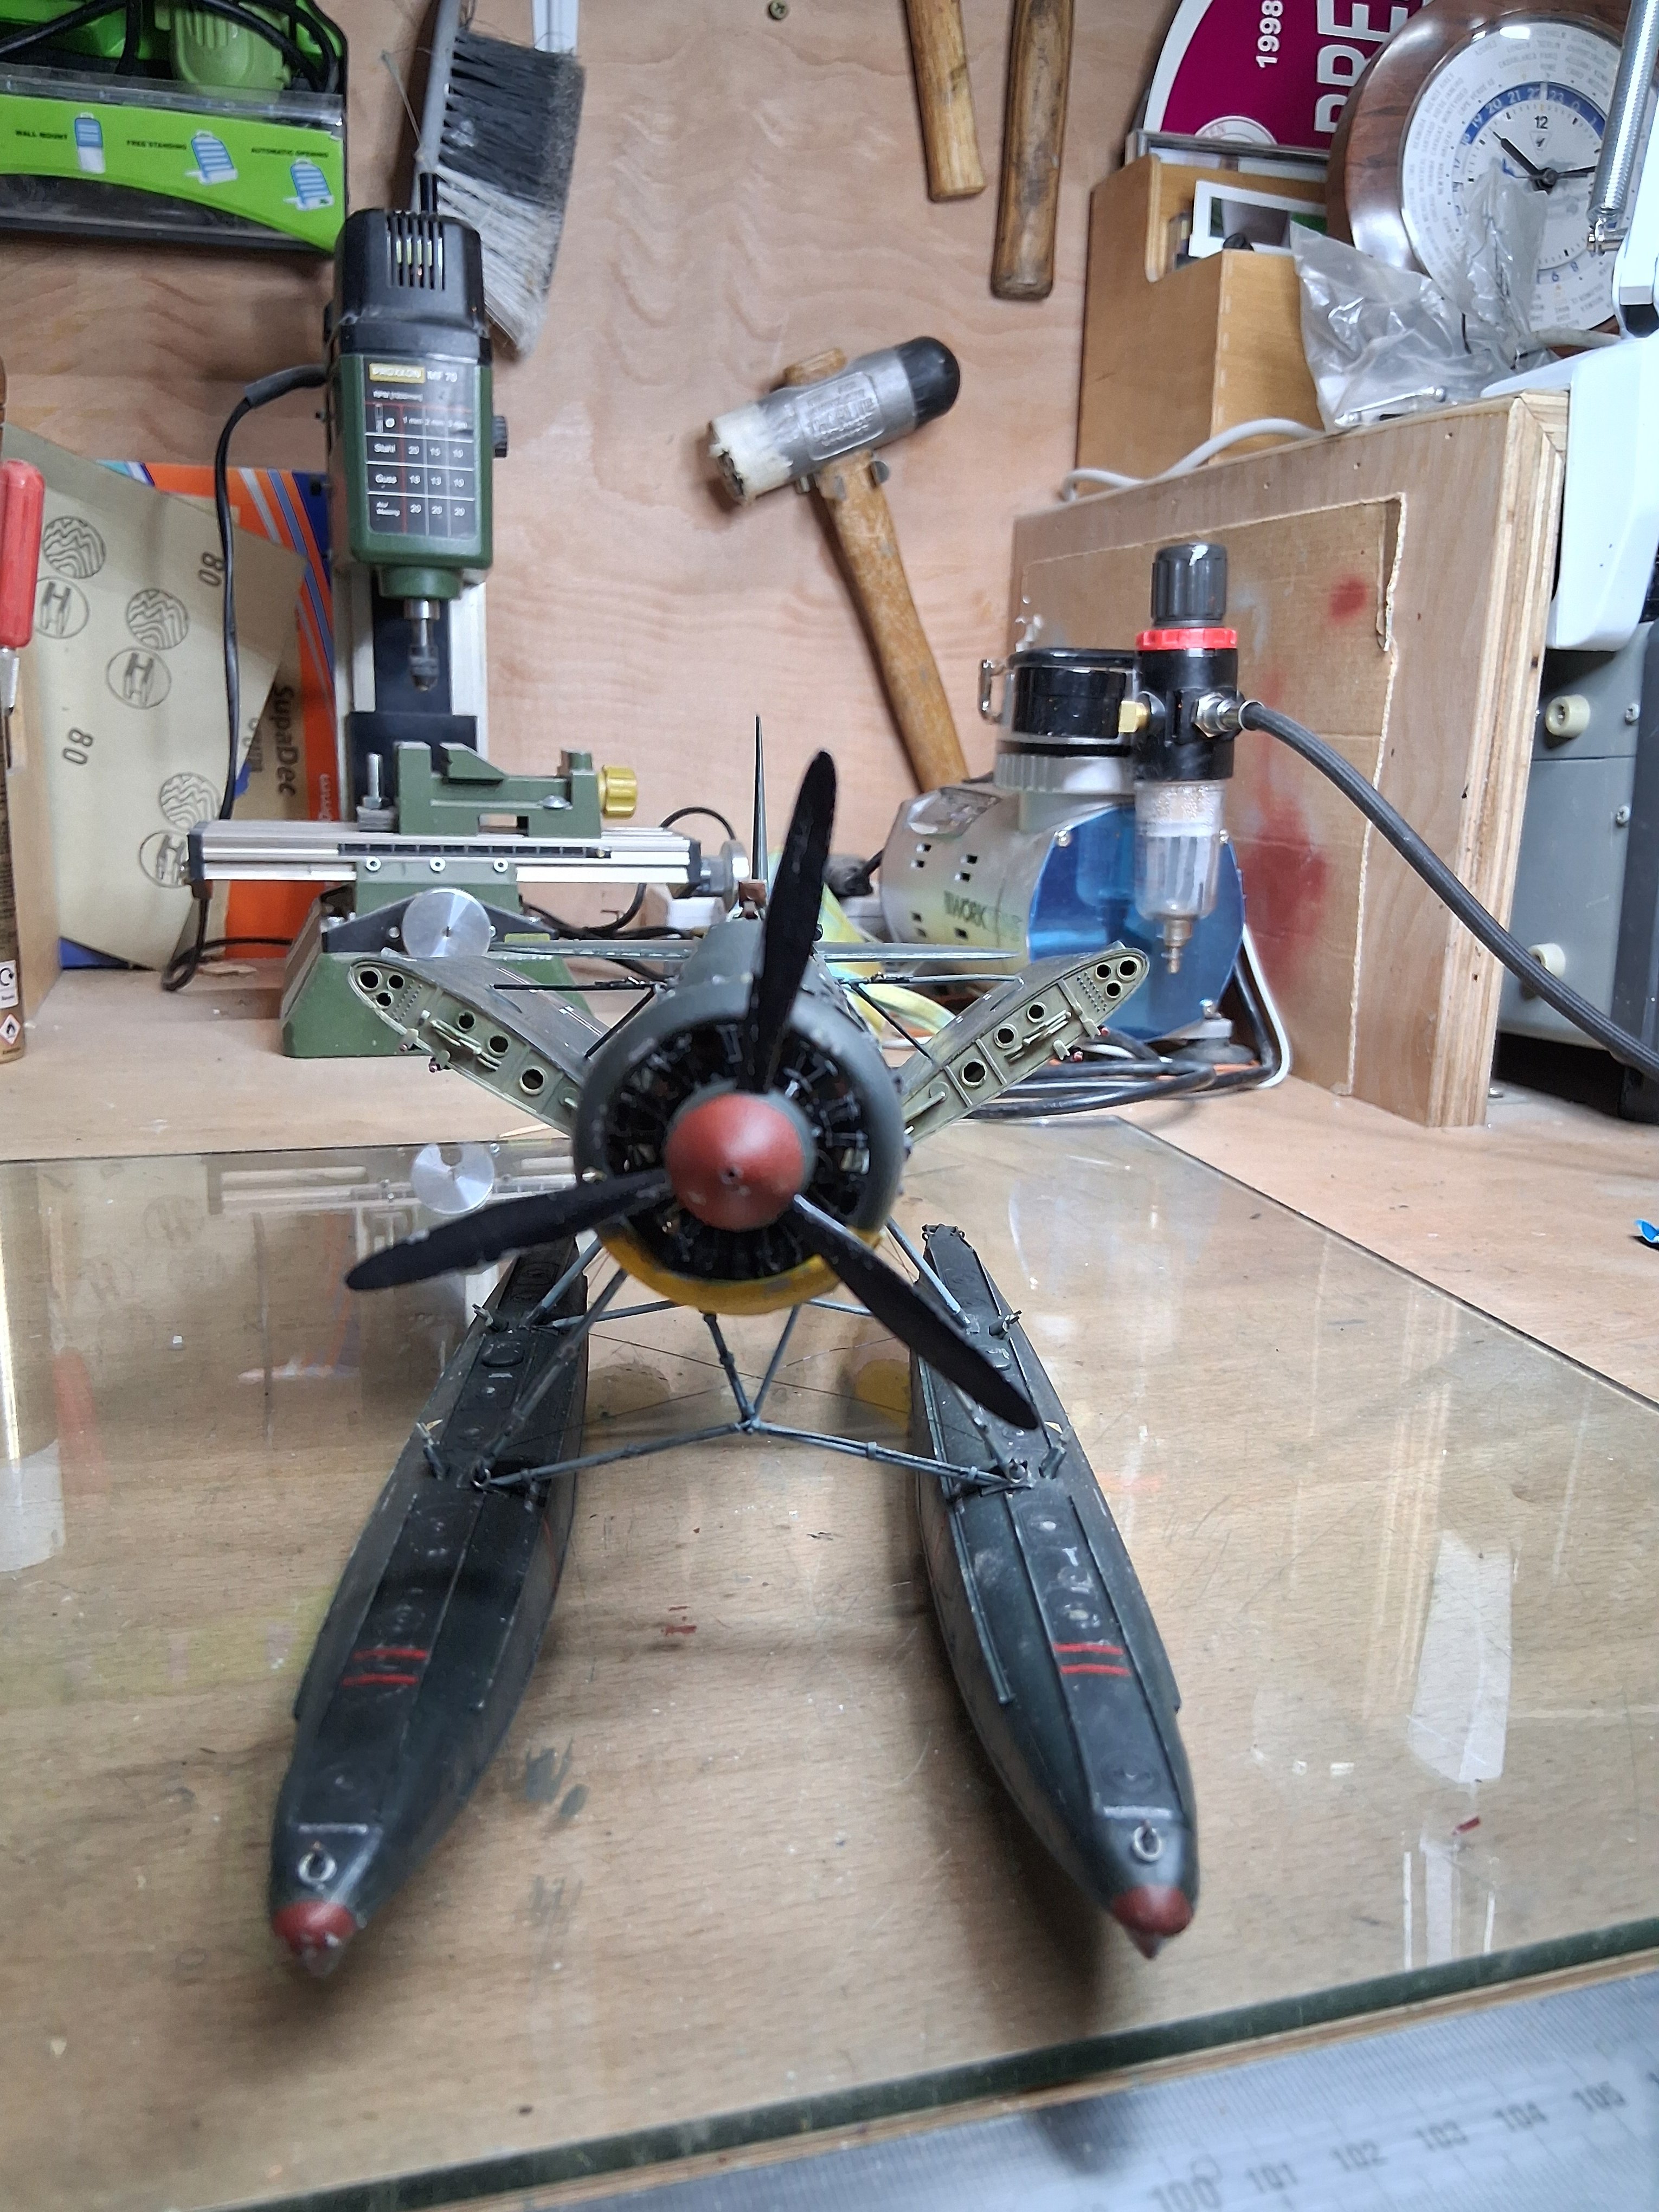
At last the 3 sub assemblies come together..next canopy (apparently a nightmare to do on this kit) rear gun and radio aerials..
- 70 replies
-
- 13
-
-
-
Arado Ar-196 by Ian B - FINISHED - PLASTIC - German seaplane
Ian B replied to Ian B's topic in Non-ship/categorised builds

- 70 replies
-
- 15
-
-
-
Arado Ar-196 by Ian B - FINISHED - PLASTIC - German seaplane
Ian B replied to Ian B's topic in Non-ship/categorised builds
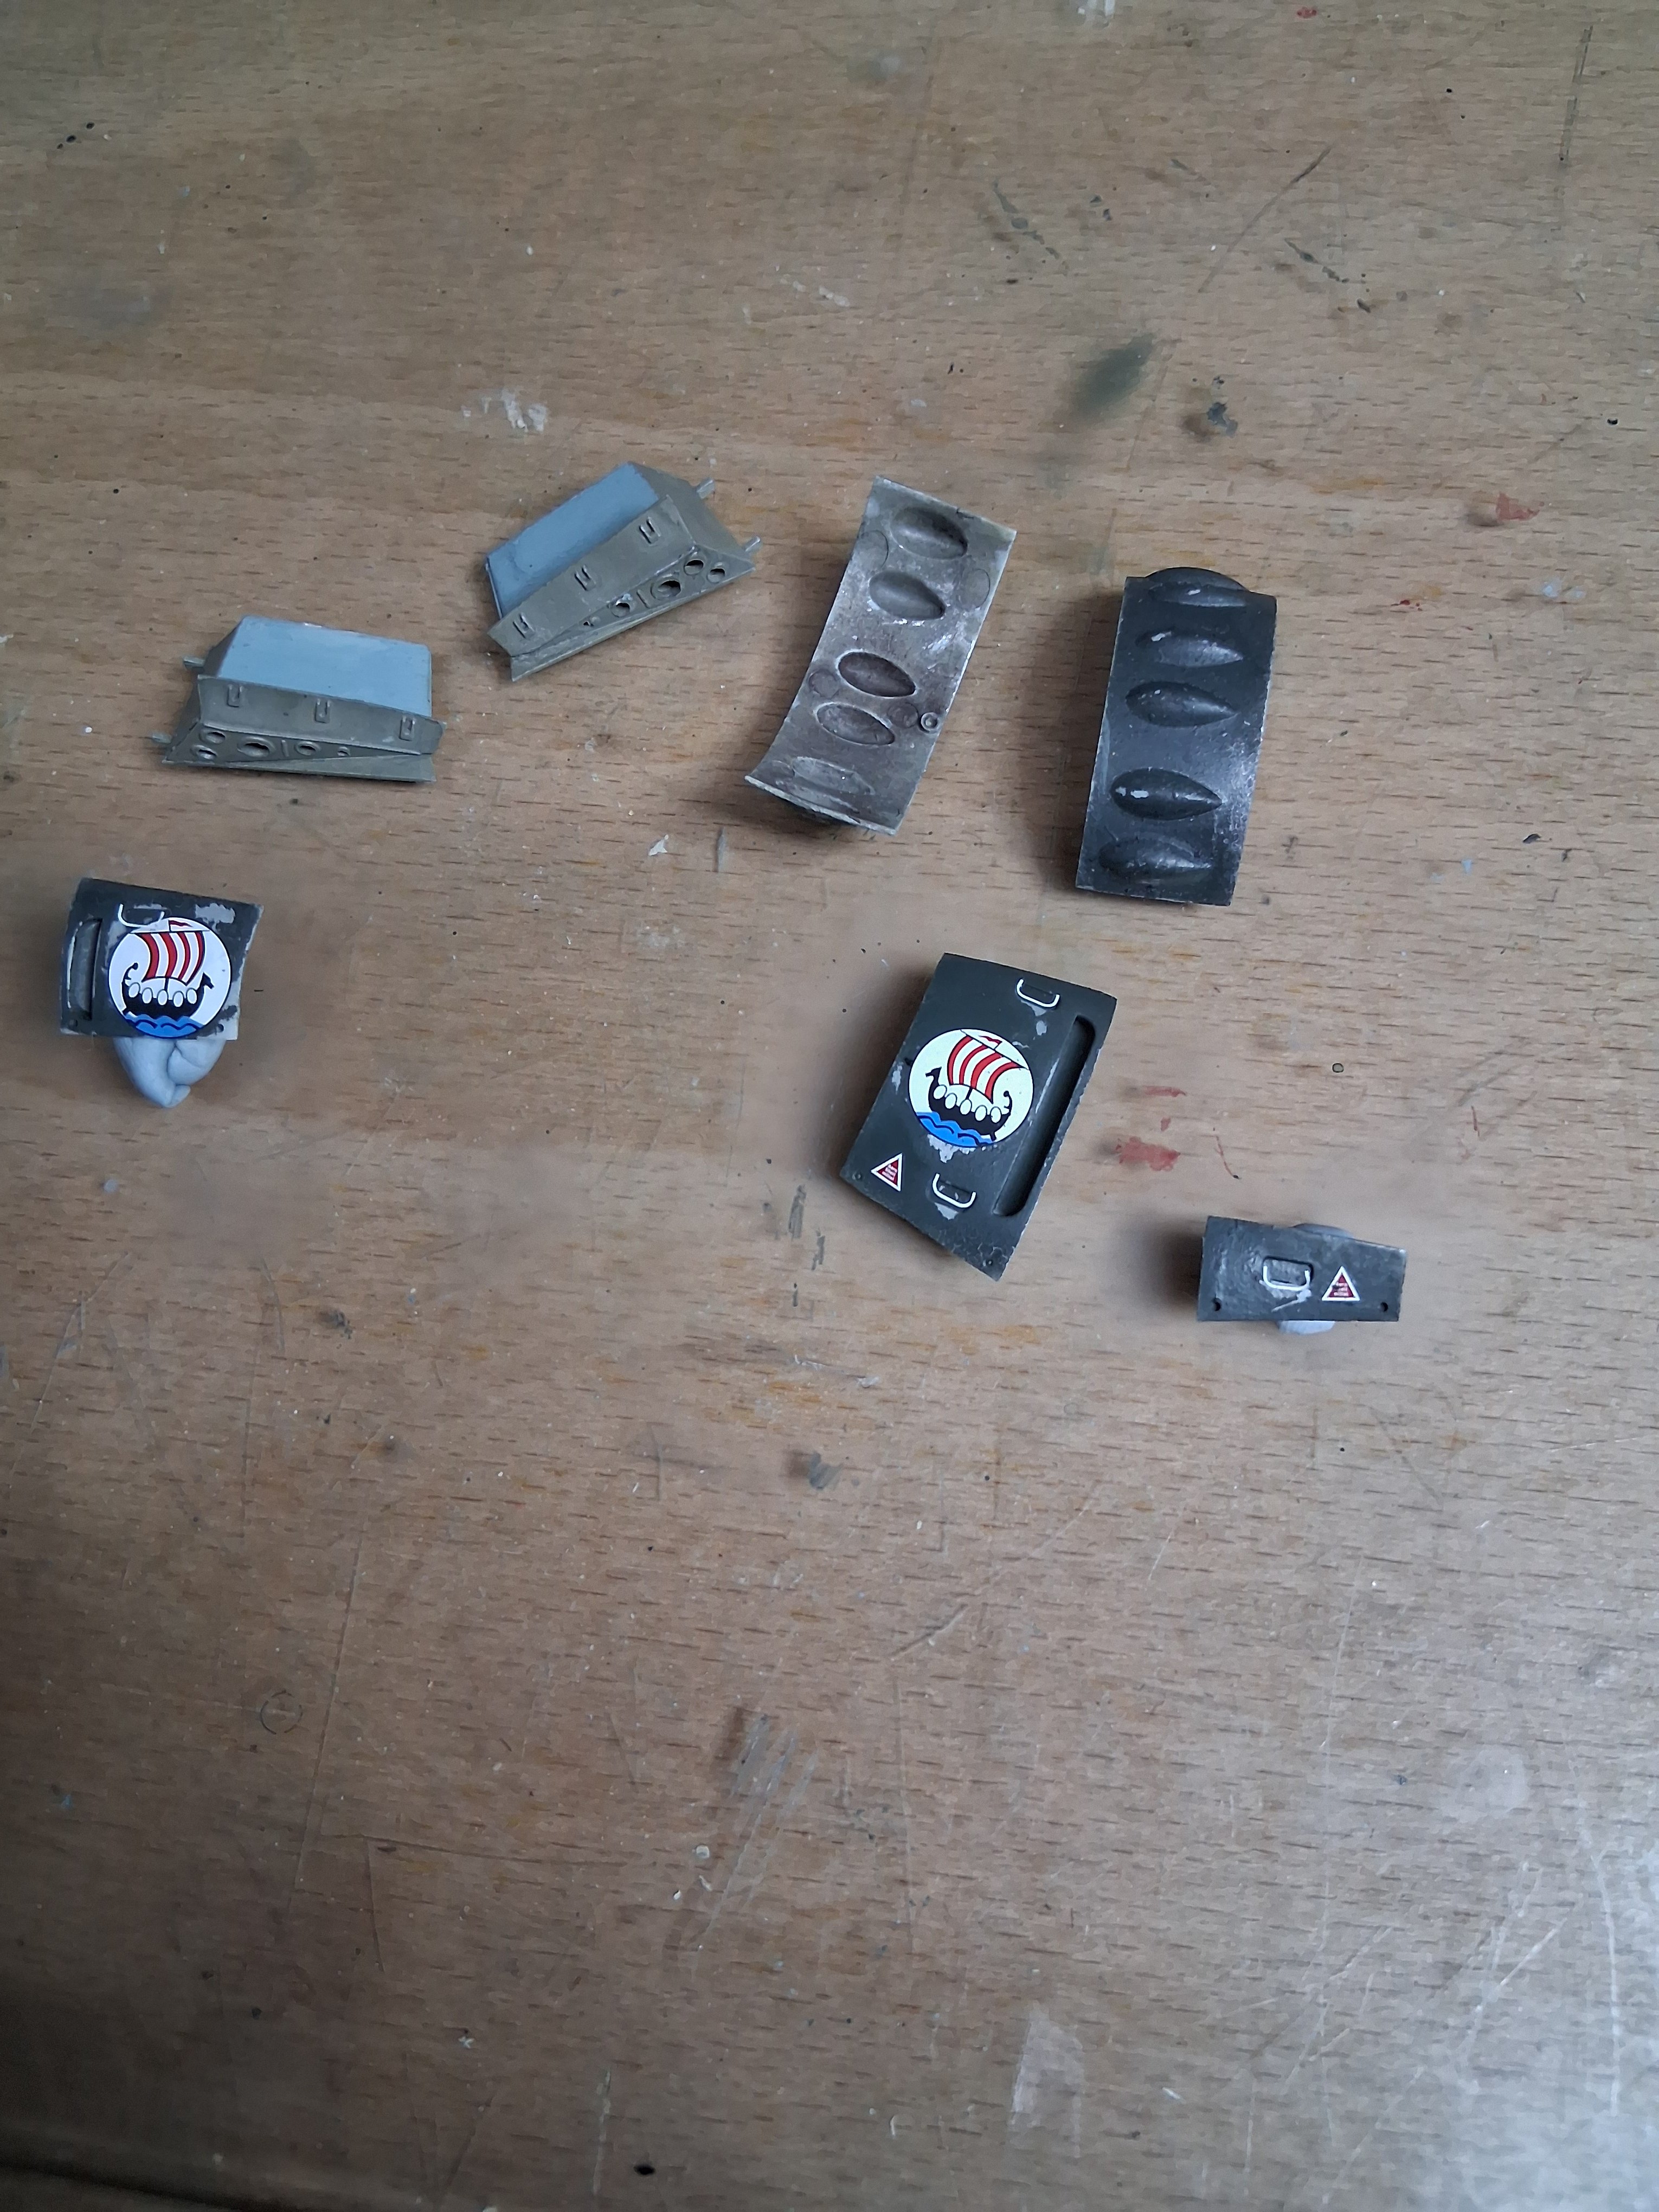
All 'stickered' up. Each foot step was 3 separate decals so I had to apply some wear and chipping before applying them.
- 70 replies
-
- 12
-
-
-
Arado Ar-196 by Ian B - FINISHED - PLASTIC - German seaplane
Ian B replied to Ian B's topic in Non-ship/categorised builds
Hi Hof Yes it's 1/32. Not sure if it is the new release dont think so. But the quality is super,I know I have changed bits but even a straight out of the box build it is very detailed. It was £35 from my local model shop..good value I thought The last time I made a proper plane was the later 1970s 😆 -
Arado Ar-196 by Ian B - FINISHED - PLASTIC - German seaplane
Ian B replied to Ian B's topic in Non-ship/categorised builds
Well it's sprayed! The two tone splinter pattern is very subtle. It will need some touching up around the cockpit and some other small bits..The white band is far to bright so I'll knock that back with the weathering

- 70 replies
-
- 14
-