Jack12477
-
Posts
5,676 -
Joined
-
Last visited
Content Type
Profiles
Forums
Gallery
Events
Everything posted by Jack12477
-
 Welcome to the carving project, Ryland. Good to see in the shop again.
 -
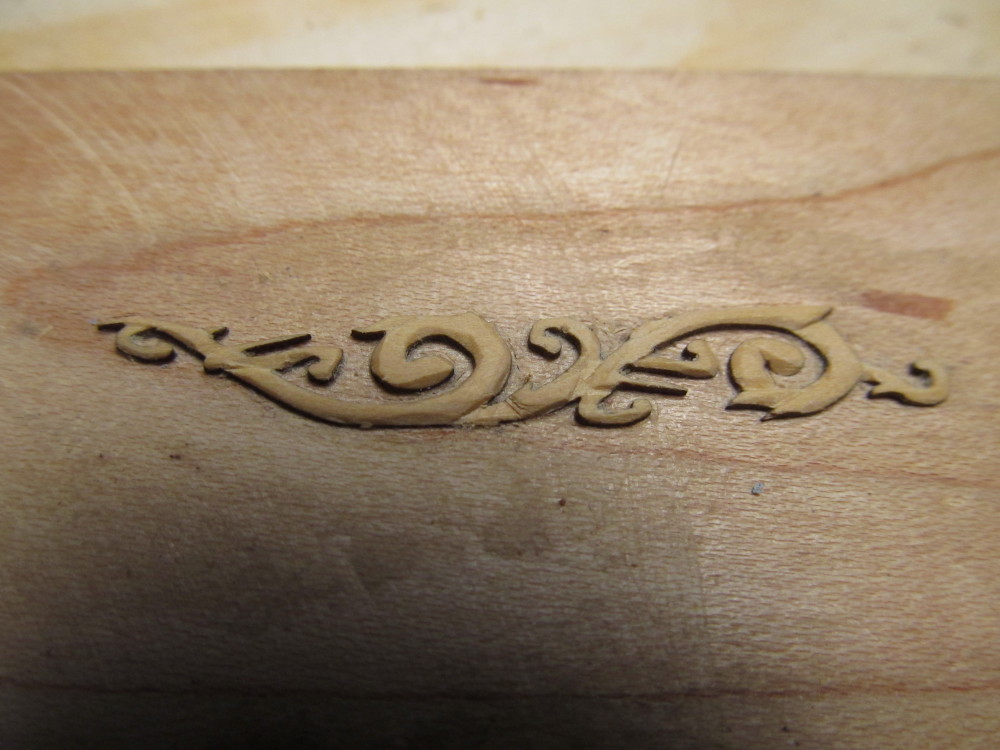
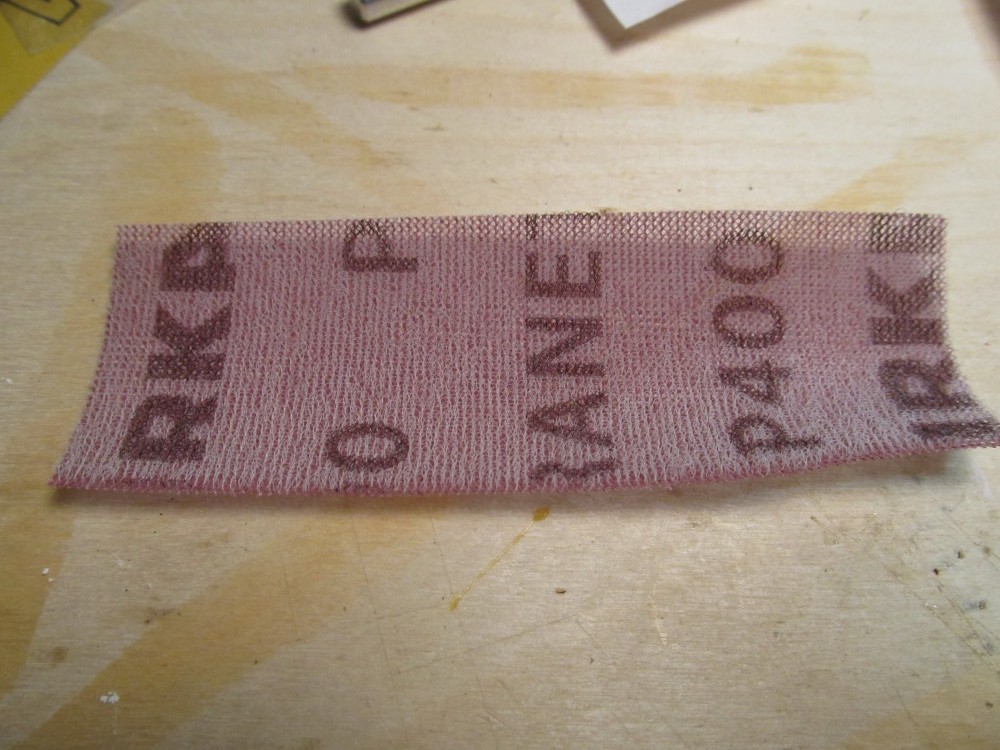
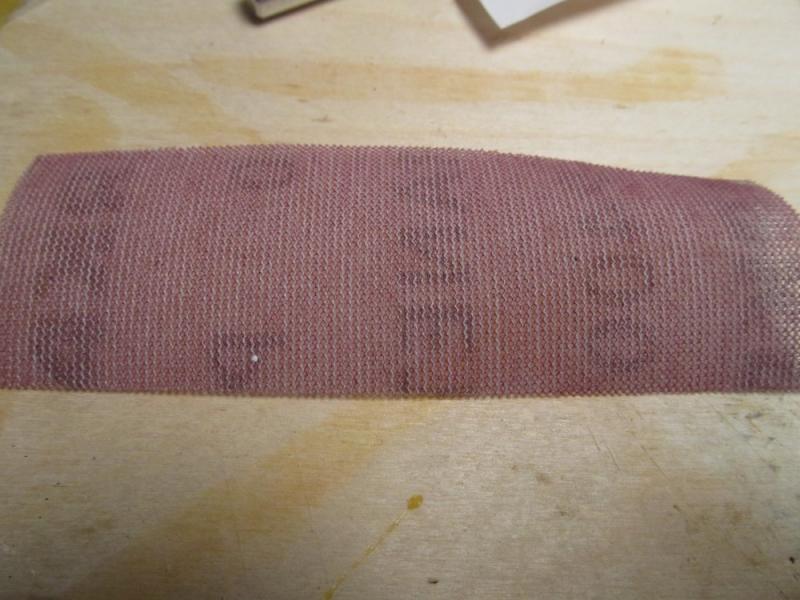
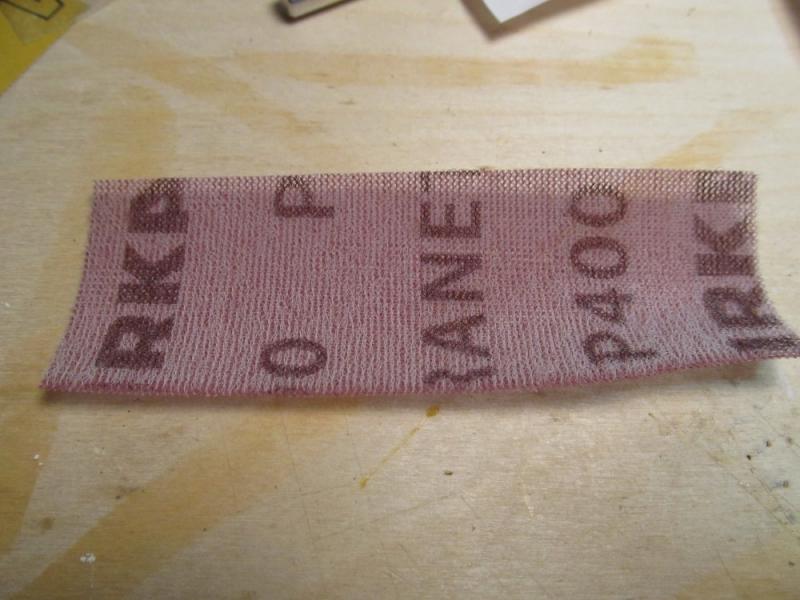
Not sure if I want to take any more off of these without damaging them. Altho under macro photography they do seem to show knife marks still. Used sanding sticks and my 400 grit sanding "cloth" . Seems my camera is better at magnification than my headpiece. 400 grit sanding cloth - made by Mirka called Abranet. comes in grits from 80-600. Mesh material, never clogs, just tap on hard surface to clear sawdust (or use a toothbrush). - last almost forever. I have pieces I've used for almost a year without wearing it out. Has Velcro like "fuzzy" on backside so it attaches to Velcro sanders. Comes in 4 1/2 inch wide rolls, but I just buy a linear foot at a time for my uses.
- 15 replies
-
- 11
-

-
In addition to what Gaetan and Joe recommend let me add a good ceramic stone, usually white in color, roughly 1200-1500 grit. Do not need lubricate, sharpen dry, clean with Comet type powder cleanser and toothbrush when they get really dirty (actually it's metal deposited on the surface) - they do not clog like other stone and put a nice edge on any knife or chisel. Use them all the time on my carving knives.
-
Very nice Toni. Welcome to the group.
-
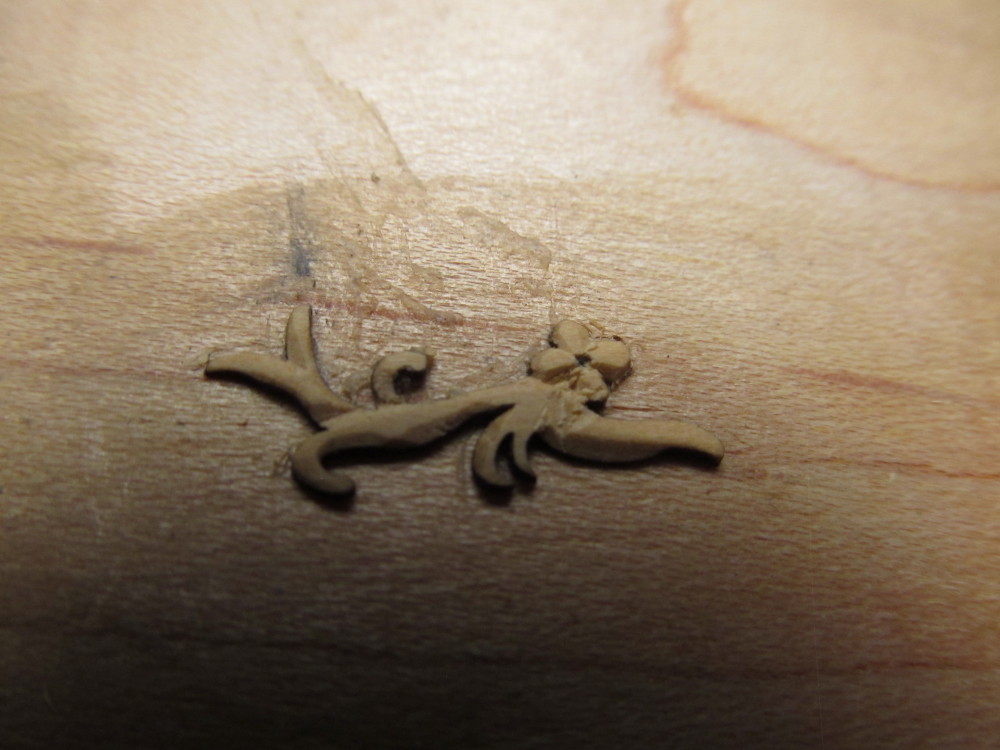
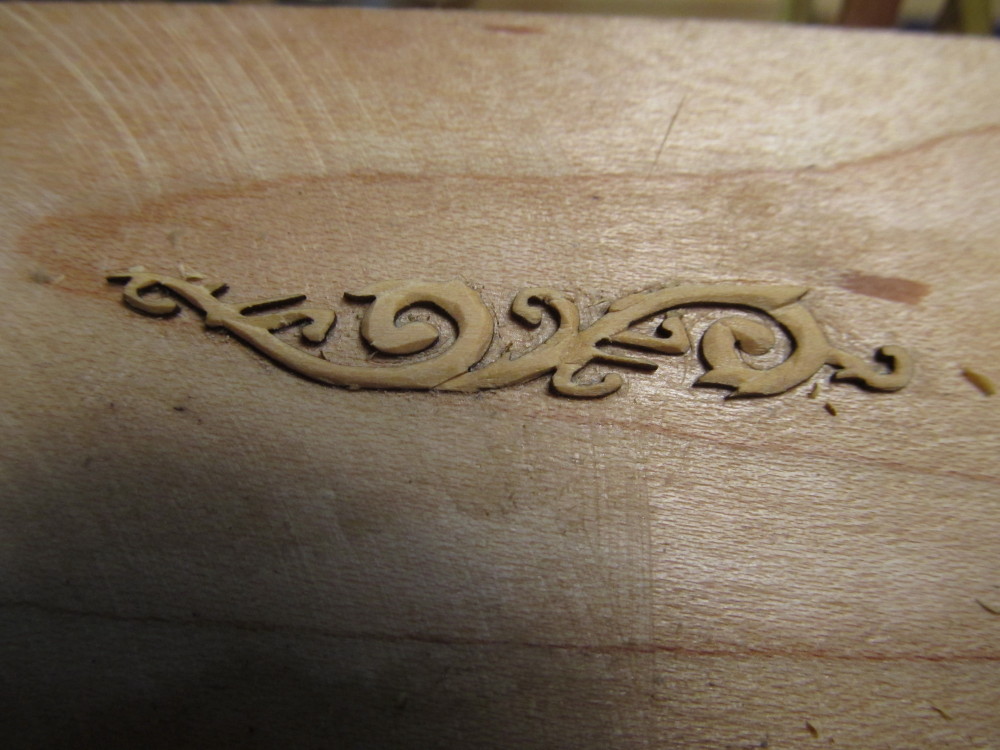
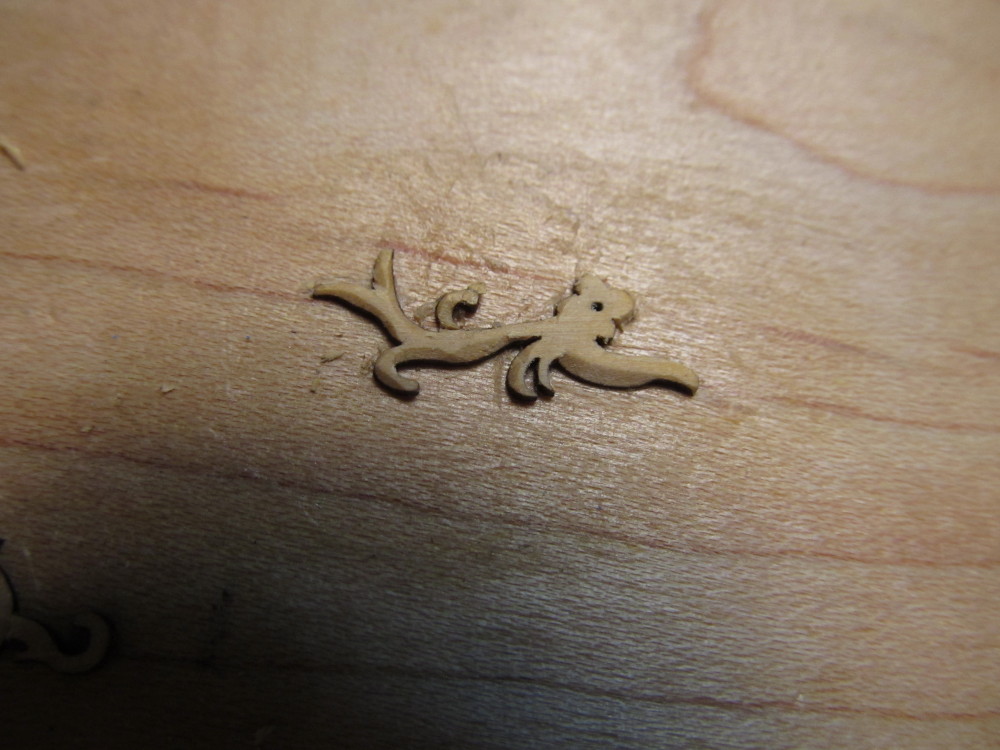
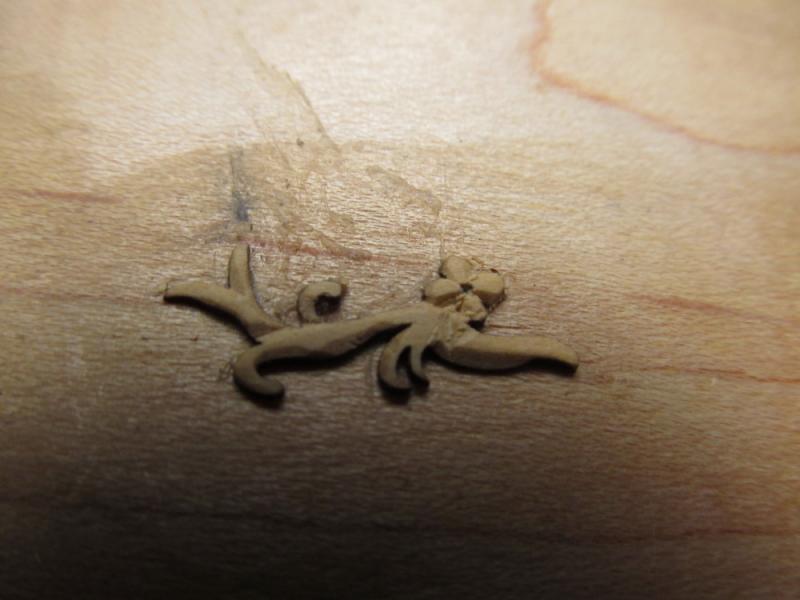
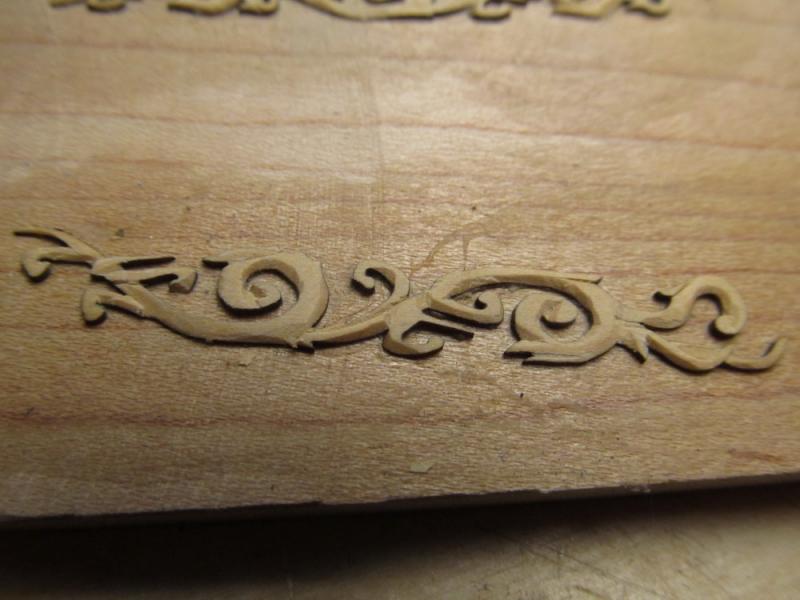
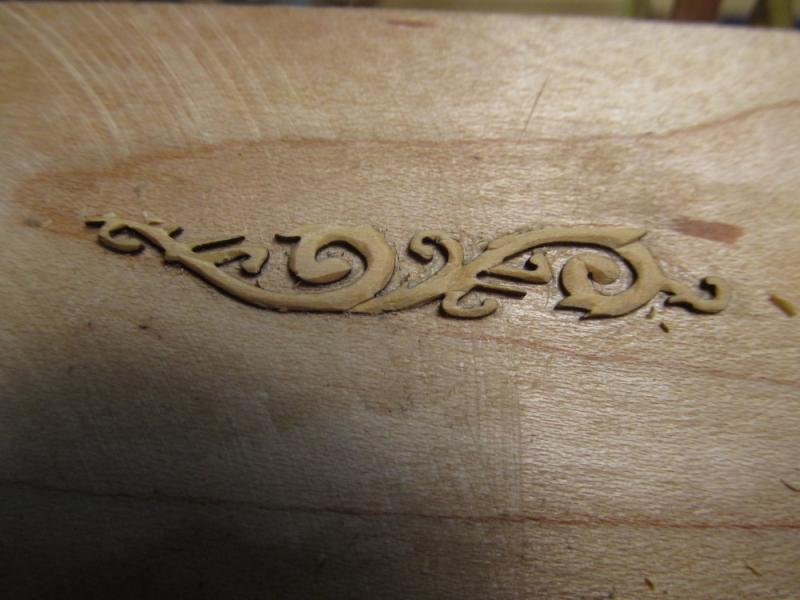
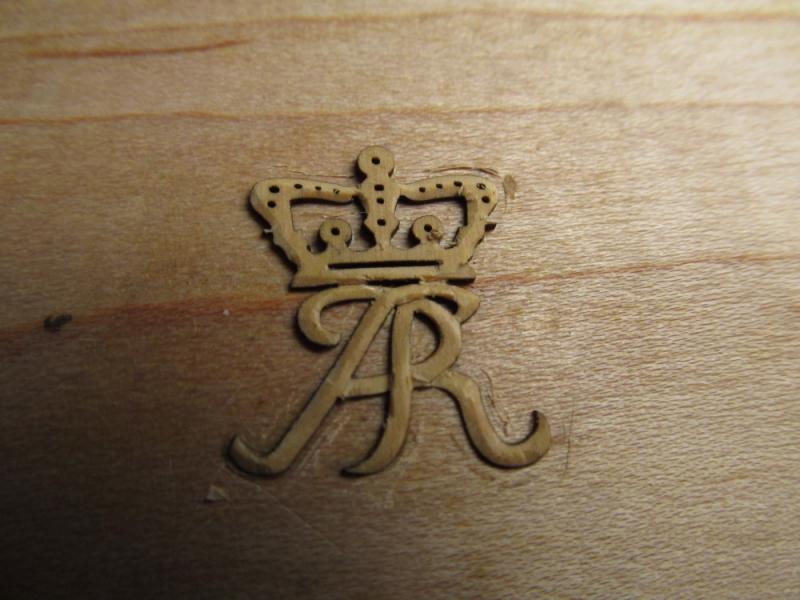
Some progress: Started carving the uppermost piece shown on the block, then moved to the small piece to the right of the block. Using mostly the #11 blade at this point but spent some time honing it on a ceramic stone (about 1200-1550 grit) then stropping it in a leather strop before I started carving. I'm finding that I cannot work on these for more than 1/2 hour at a time without getting a headache from eye strain. Hey, guys and gals, is anyone else going to join this fun group ? Or is it just Chuck and me ?

- 15 replies
-
- 10
-
-
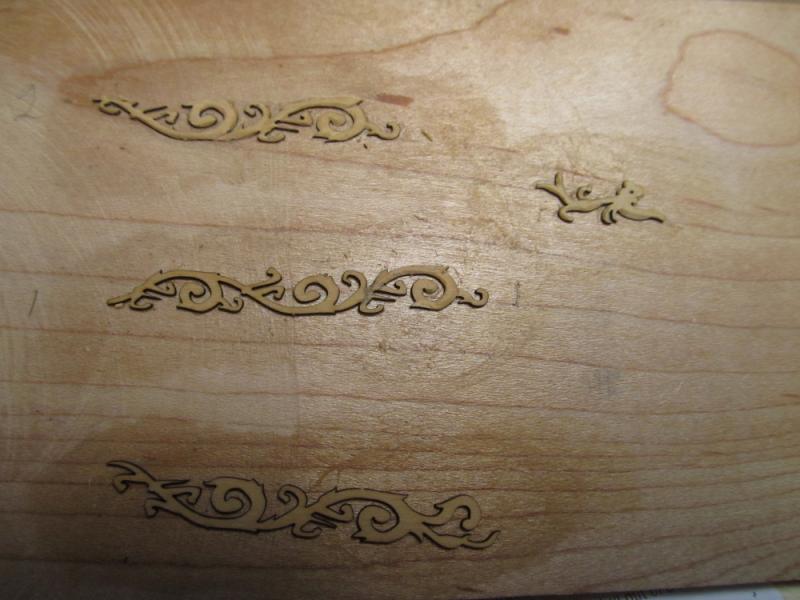
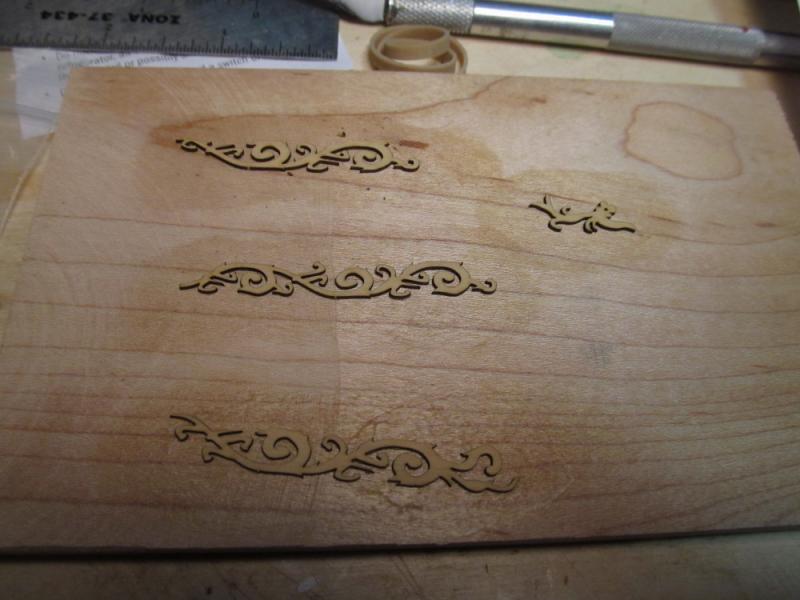
Okay, now on to phase 2 of the carving experiment. This time I used Chuck's recommended glue. I mounted all 4 to one base - easier to carve and keep track of.
-
Well I should have re-read Chuck's instructions before I glued mine to the base. I used yellow PVA glue and thought I might be using the base as a wall decoration for a while. After soaking in a bath of 91% isopropl alcohol for 24 hrs I was finally able to pry them loose but not without damaging one of them. Oh well, as we used to say in programming, RTFM. They are now drying out.
-
Eric, my condolences also on the loss of your Dad.
-
Good Luck ! Your beard may be longer than Rip Van Winkle's !! ;) If the other forum comments are correct.
-
Thanks Chuck and all who clicked the like button. I find any carving addicting - remember one I started after supper one night, wife came to cellar door to tell me she was going to bed, said I'd be up soon, and next thing I realized was that it was 3 o'clock in the morning and I was still in the basement carving away. Decided it was time to quit for the day. Yea, you can easily forget time. Thanks for the tip on char, I hadn't considered it when I started but in hindsight I think the residual char sets the piece off and gives it more definition against the background. I ordered two sets so I still have another for a do-over.
-
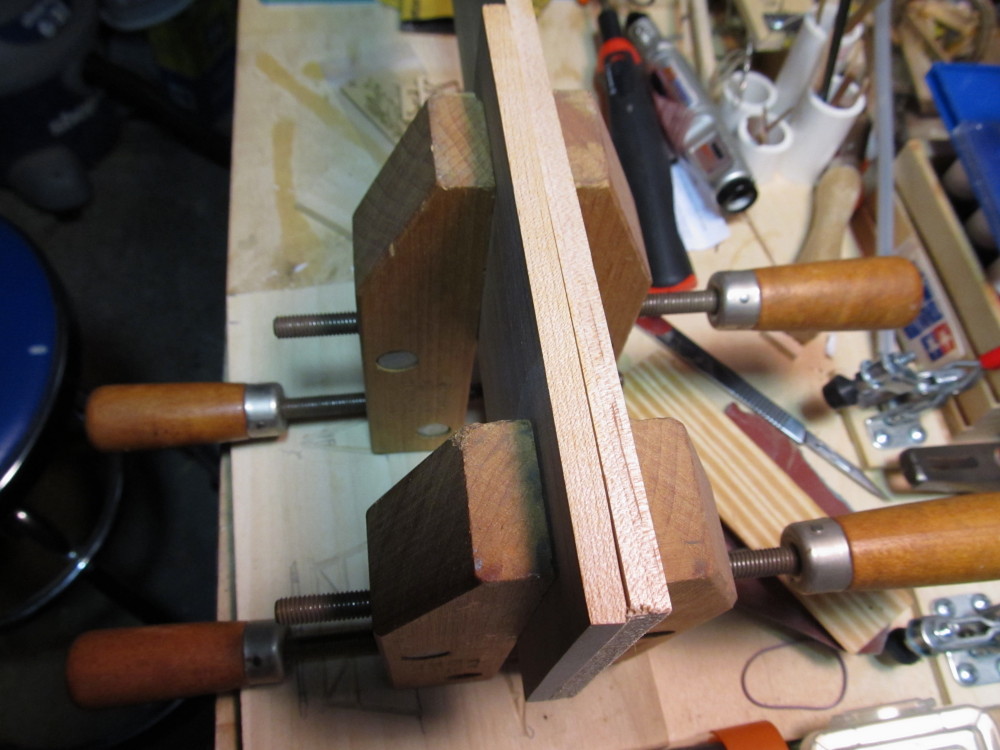
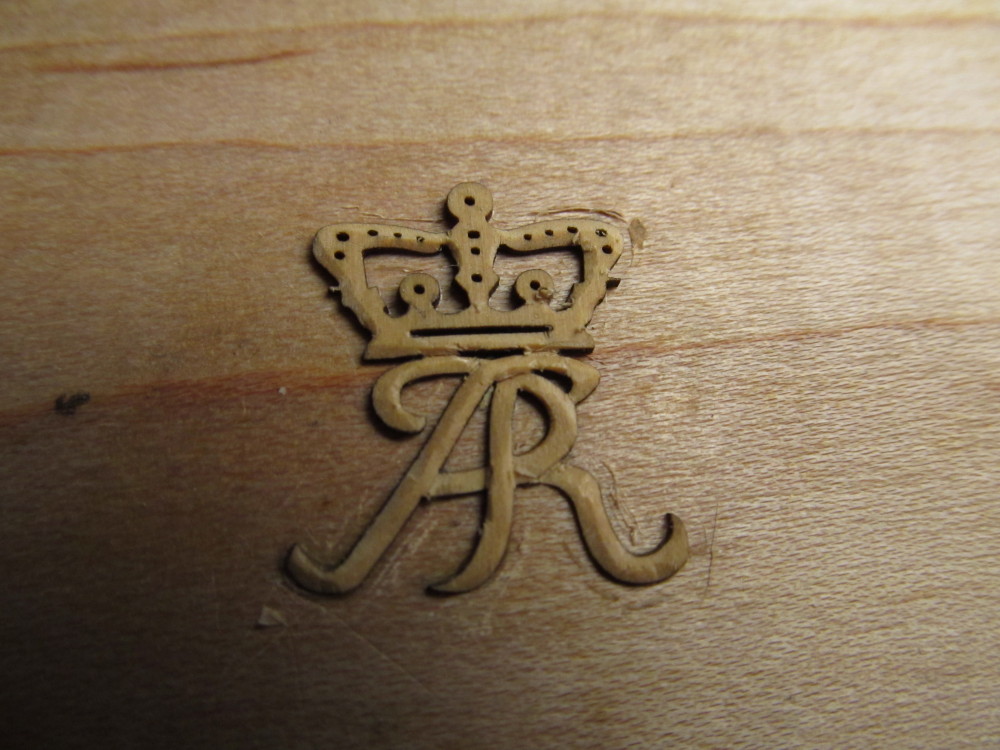
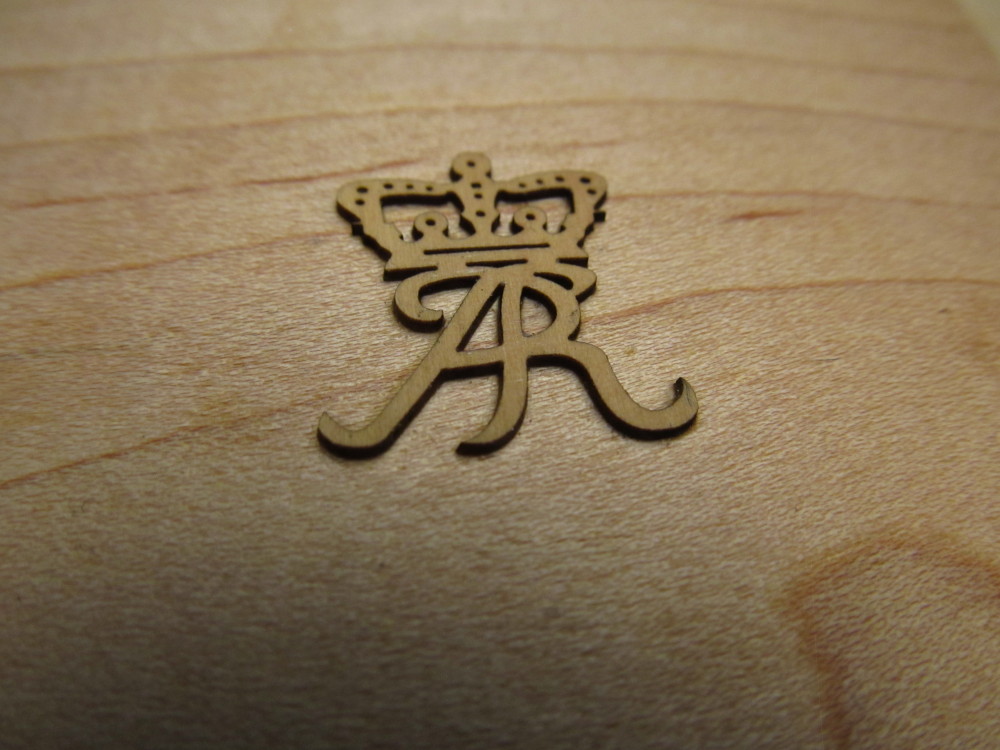
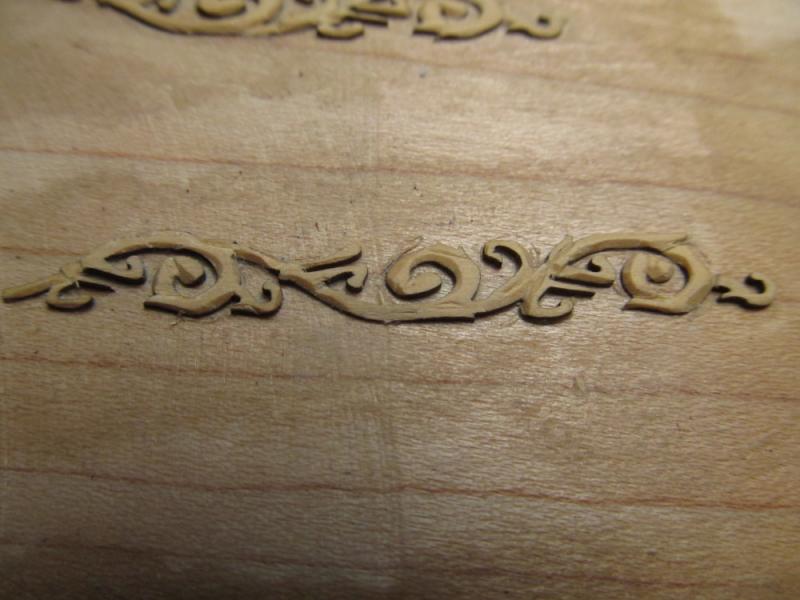
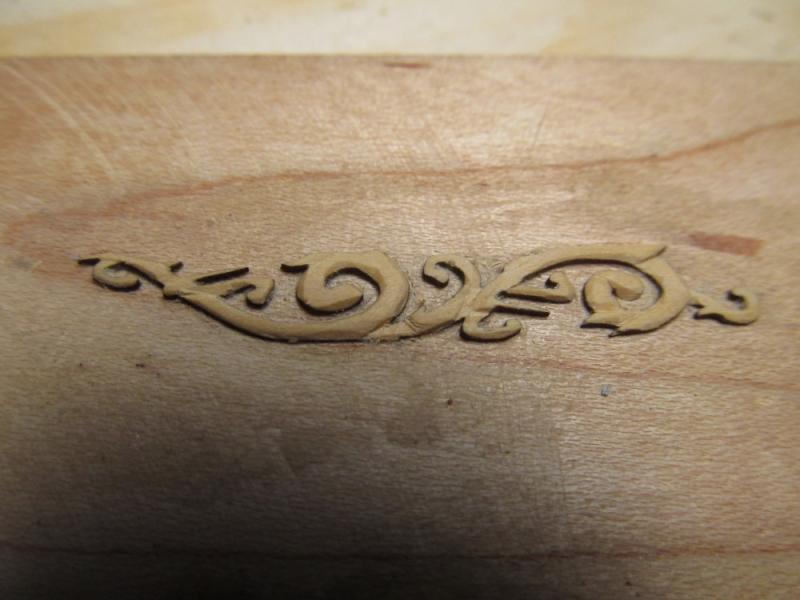
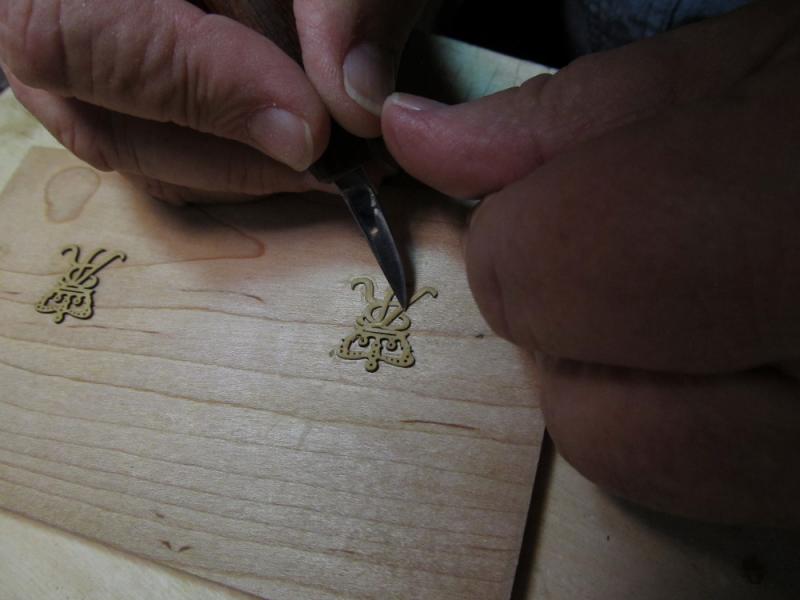
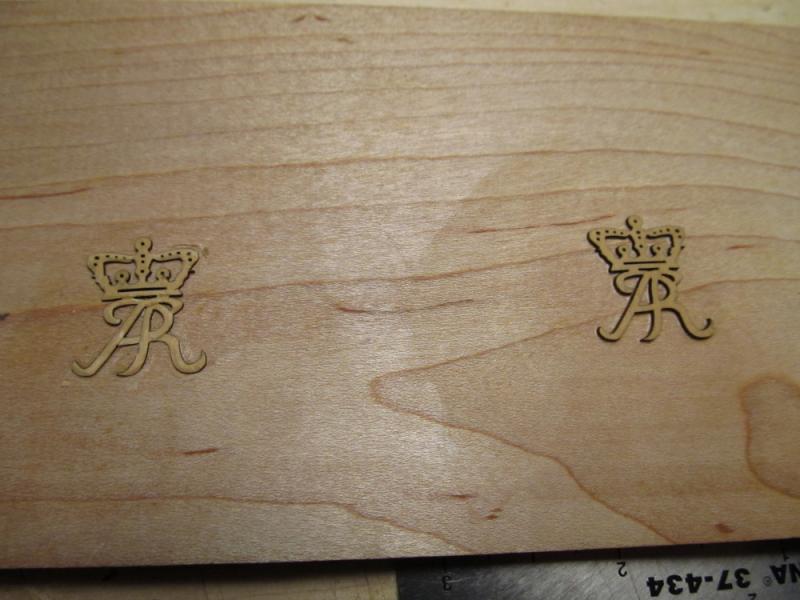
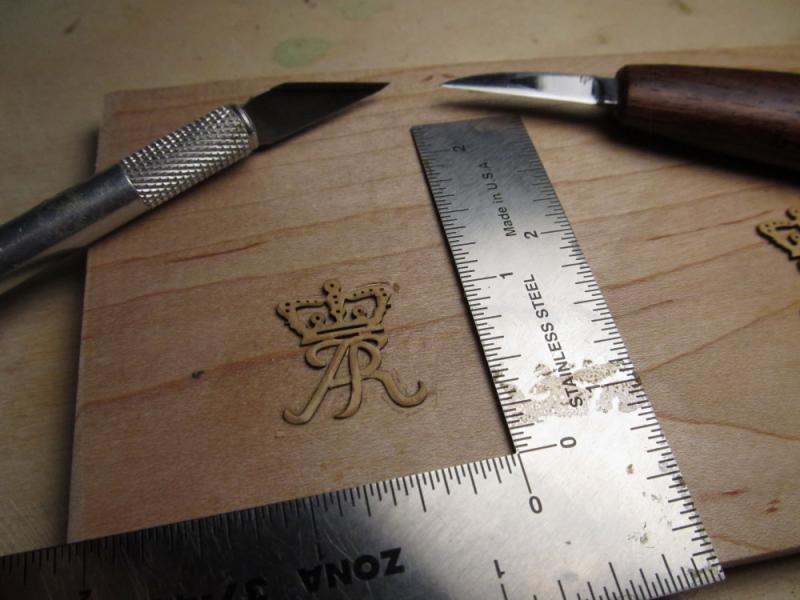
Okay, I started last night by gluing the two crowns to a piece of maple and let it stand overnight.( Photo 1). I glued both crowns to the maple base. After removing the base from the press this morning. I started carving the crown on the left first using only a brand new #11 blade. Quickly found my aging eyesight is not working too well at this small scale. Technically, I am nearsighted and need glasses for distance. But with advancing age I'm finding it easier to just remove the glasses entirely when doing really close up work (I do have reading glasses and a couple of pairs of those drugstore cheaters but none work as well as the old eyeball). I did switch to my visor magnifier (Optivisor I think is the brand) without eyeglasses but even with the magnification it was difficult to see what the blade was cutting and how much. Did some experimenting and found that holding the maple base in my left hand while carving with my right hand worked better. It also allowed me to turn the carving as needed. Using my thumb and first two fingers to hold and guide the blade while using the thumb of my left hand to either push the blade thru the wood or oppose the pull pressure gave me the most control over the blade (Photo 6) I have found from other carving work I've done that sometimes two hands give a more steady and finer control over the blade than a single hand alone. After carving for a while with the #11 blade, I switched to Dave Lyons detail carving knive which seemed to cut a little better. The challenge with both blades was getting the right cutting angle between the blade's cutting edge and the wood to allow the blade to remove any wood at all. And at such a small scale the wood shaving is very hard to see. Also determining how much wood is being removed is a bit of a challenge as well as you don't want to cut it too thin. More experimenting and carving tomorrow. Some progress pictures follow: Using opposing thumb of left hand : (sorry for quality - difficult to shoot ) Progress thus far:


- 15 replies
-
- 18
-
-
Ouch, Michael, that's some serious wound. Hope it heals fast. Boats can wait awhile.
- 749 replies
-
- 3
-
-
- albertic
- ocean liner
- (and 2 more)
-
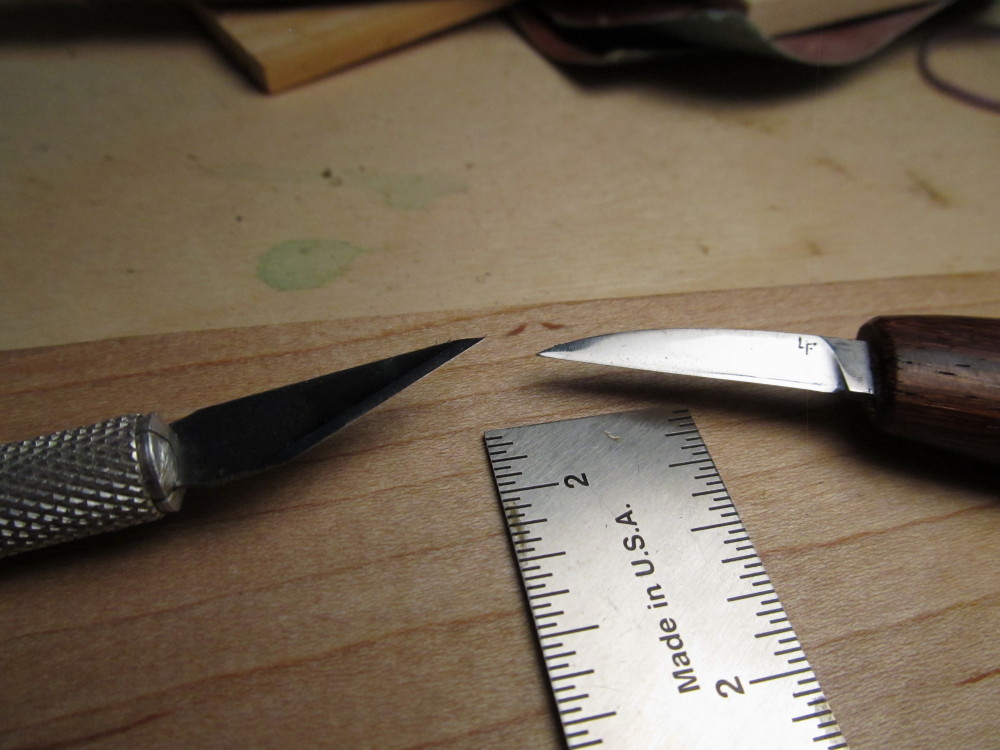
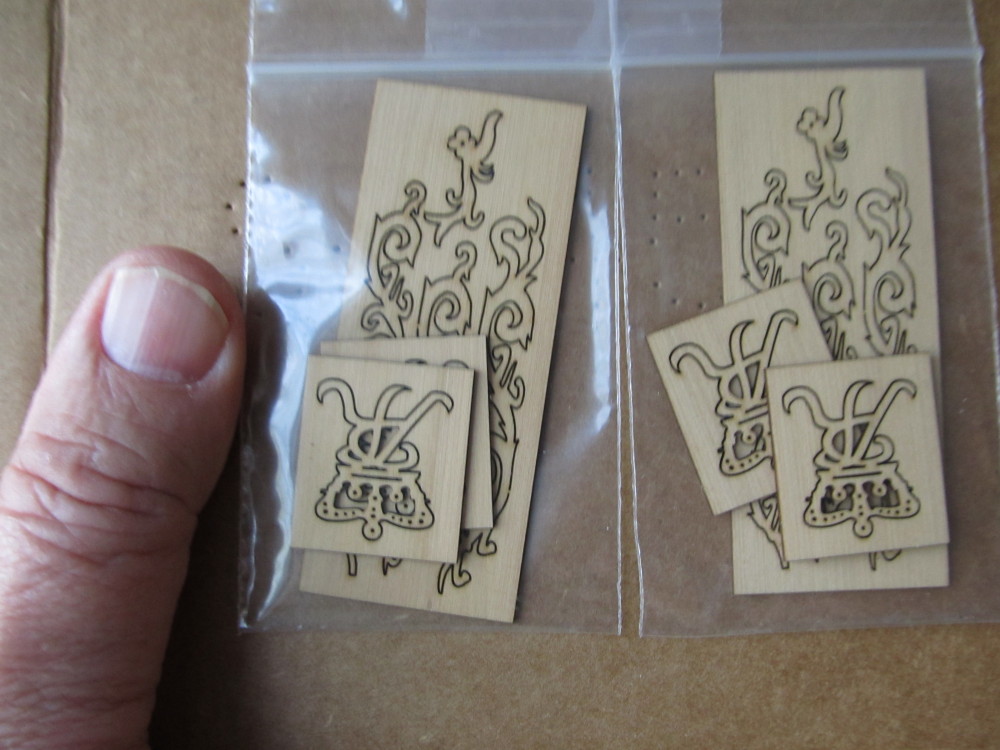
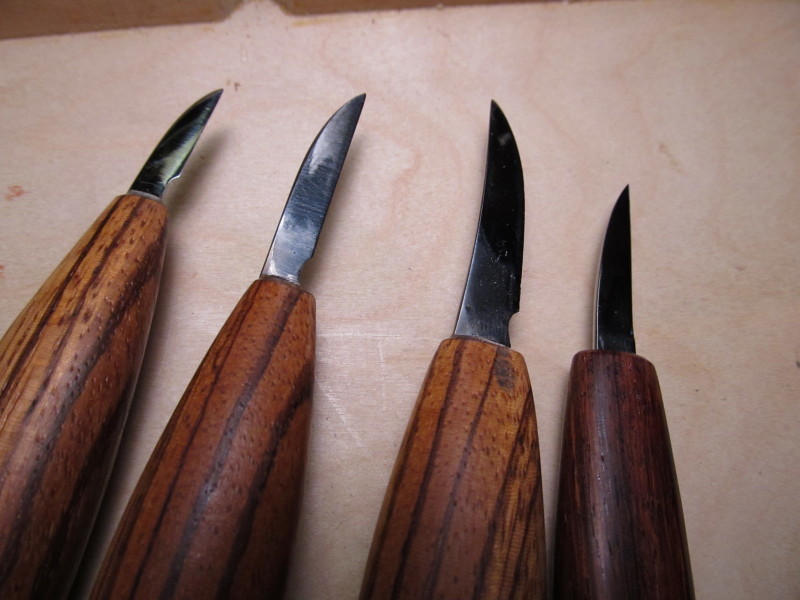
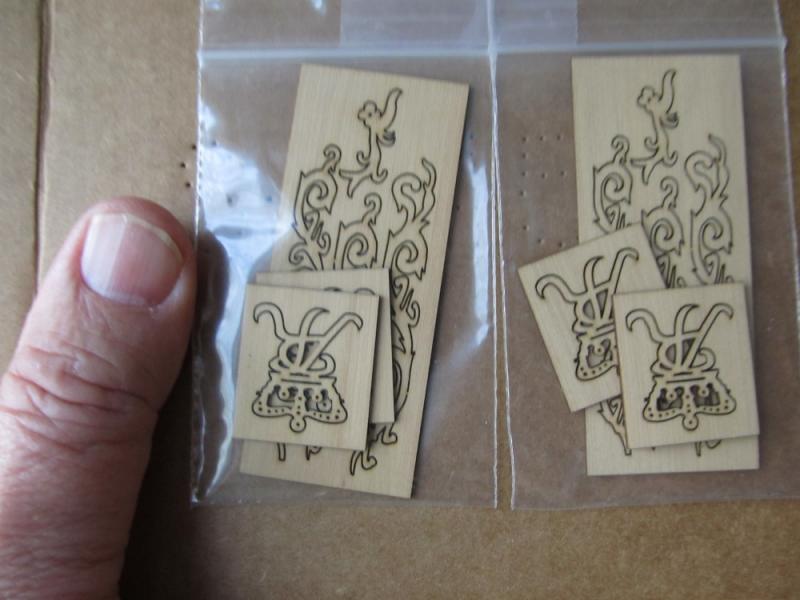
Received Chuck's carving sets on Wedesday - that's my thumb for size reference. Now to get out the knives, chisels, etc and start working. First I have to glue it down, going to use a scrap piece of maple which I have laying around. Will probably use the knives on the right and left in the picture below (3/4 inch and 1 inch blade respectively) in addition to the #11 Xacto blade.
-
Cutty Sark by NenadM
Jack12477 replied to NenadM's topic in - Build logs for subjects built 1851 - 1900
Looks realistic, Nenad, glad I could help.- 4,152 replies
-
- 5
-
-
- cutty sark
- tehnodidakta
- (and 1 more)
-
I picked up a couple of packages of Alpha Abrasives brand foam sanding sticks about 1/8 square x 6 1/2" long at Hobby Lobby - they come in a variety of grades one side is one grade opposite side is another grade, example 100/180, 120/240 - they come 12 to a package and are color coded for ease of identifying. They are good for small work. About $4.00 a package.
-
Very nicely done, Chuck
-
Denis, congrats on the addition to the family. You and Tom seem to have gotten the brunt of that storm which passed well to the north of me. I did get rain last night and all day today but nothing like what was reported up north.
-
Welcome back. - Nice work on the ship.
-
Michael, what about the braided electrical wire used in wiring telephones or model railroads, would that be small enough? Of course you'd have to strip off the insulation.
- 749 replies
-
- 4
-
-
- albertic
- ocean liner
- (and 2 more)
-
Michael, never thought for a nanosecond that you would even consider it. Makes for okay flotation in an RC model if you leave room for expansion while it cures but not a closed boat hull.
- 749 replies
-
- 3
-
-
- albertic
- ocean liner
- (and 2 more)
-
Pulling up a seat also, Michael. Druxey: "expanding polyurethane foam" ? ! ? WOW how much did that distort the model? Seen that stuff used are door jambs to the point where the door wouldn't close anymore.
- 749 replies
-
- 4
-
-
- albertic
- ocean liner
- (and 2 more)