


Jack12477
-
Posts
5,676 -
Joined
-
Last visited
Content Type
Profiles
Forums
Gallery
Events
Everything posted by Jack12477
-
 Feathermerchant, welcome aboard ! The dredge A-frame is leaving me a bit intimidated at the moment, so I'm working on other parts while I figure that one out - also I think I flunked Soldering 101 - having trouble getting the little brass pieces to "sit still" while I attempt to solder them. Also the cluttered nature of the plans makes for slow going. I did finish the small push boats - photos to follow shortly
- 250 replies
-
- 2
-

-
- willie l bennett
- model shipways
- (and 1 more)
-
Glenn, I haven't used pastels on wooden ships but I have used them extensively on wood Model RR structures and on plastic Armor models. You can get artist pastel chalk in any good art supply shop. The technique I used was to take the chalk stick and create chalk "dust" using a knife, micro-plane zester, anything. Then use a fine clean artist paint brush to dab it onto the wood. The other technique used to weather models was dry brushing with various paint shades. An artist fixative can be used to set the chalk "dust" in place. You can use a Q-tip to rub the chalk into the wood for an even deeper weathering effect. Stick to the earth tones, grays, and black chalks for the best weathering effects.
-
Hi Sjors, just discovered your new build - better late than never I guess
-
Chuck, I agree 100% with Mark's comments above.
-
At one time there were 2,000 Skipjacks registered in Maryland on Chesapeake Bay; today according to the Maryland Dept of Natural Resources there are only 30 and only 7 of those actually fish. On push days, which are the two days a week that the skipjack can be pushed by the yawl boat, a skipjack can harvest 150 bushels. At $50 a bushel, that is $7,500 a day. With four people on crew, plus the cost of fuel, that could mean more than $1,000 a day per person. In contrast, the limit on dredge boats is 24 bushels a day, or 12 per man Maryland's oyster harvest reached an all-time peak in 1884, at approximately 15 million bushels of oysters. The oyster harvest has since declined steadily, especially at the end of the 20th century The Skipjack was designated Maryland's state boat in 1985. Here's an article on the subject
- 250 replies
-
- 4
-
-
- willie l bennett
- model shipways
- (and 1 more)
-
Yes, under the laws of Maryland the Chesapeake Bay oyster boats cannot use motor power to drag for oysters, so all Skipjacks are sail powered with a pusher boat to get them to and from the oyster beds. The law was changed in 1965 to allow power to be used two days a week. Today most of them do not dredge for oysters under sail but use the pusher boats when permitted to do so. Something I never knew until I visited the area museums.
- 250 replies
-
- 5
-
-
- willie l bennett
- model shipways
- (and 1 more)
-
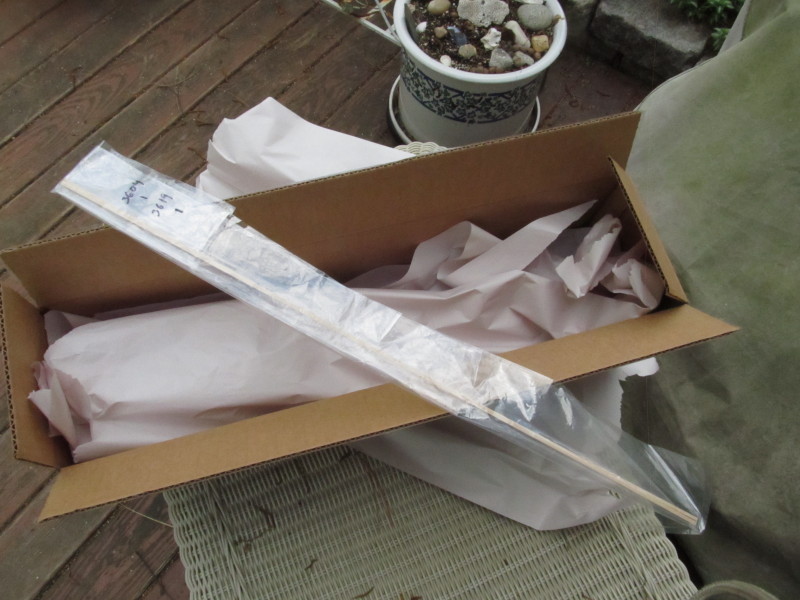
Well, I checked out Lowes and Home Depot and neither of their local stores carry basswood. Re-checked Michaels yesterday and they have nothing smaller than 1/8 x 1/8 and that was out-of-stock. The resupply from ModelExpo finally arrived. ME delivered the package to the US Postal Service (USPS) on May 9th, it was logged into the USPS tracking system on May 10th in Opa Locka Florida with a projected delivery date to me of May 13th. When it hadn't arrived by the following Monday I filled a inquiry with the USPS - who could not find it anywhere - it was still in Opa Locka according to their records. Then it suddenly appeared at my door on May 19th after arriving that same morning at my local post office with no explanation for the delay. The box: The resupply contents - yes ONE stick of each size. Boy was I surprised when I opened that box! Until I rechecked the parts list. I had read the parts lists as "part-number - 1/16 x 3/32 x 22 - - 29" as one bundle of 29 pieces when the part-number was really for 1 piece so I got one piece not one bundle of 29 pieces. I guess I can chock that up to "Jack's brain was on the train to Spain" when I contacted ModelExpo. No problem. The build has been side-tracked by Spring/Summer yard work and assorted other life things. I did start building the pusher boat - will post updates as I get further along with that. In the meantime we attended our youngest daughter's university commencement where she received her Doctorate in Education (EdD) degree; we now have two "Doctors" in the family, our oldest daughter has her Doctorate in Epidemiology (PhD) and next up will be our oldest grandchild's High School graduation. So the shipyard will be somewhat quiet for a while. Stay tuned !

- 250 replies
-
- 8
-
-
- willie l bennett
- model shipways
- (and 1 more)
-
Cool, thanks for the update Chuck - looking forward to both projects.
- 269 replies
-
- 3
-
-
- Queen Anne Barge
- Syren Ship Model Company
- (and 1 more)
-
Chuck, is this the same prototype you had sitting on the table next to your vendor table at the Northeast Joint Clubs show in CT this past April ? I'm looking forward to its availability.
- 269 replies
-
- 3
-
-
- Queen Anne Barge
- Syren Ship Model Company
- (and 1 more)
-
No, I got what you meant - dealt with them many times.
- 250 replies
-
- 3
-
-
- willie l bennett
- model shipways
- (and 1 more)
-
Thanks, Joe. Next time I visit Lowes/Home Depot I will ask someone. I'm in one of them all the time looking for something or other but never saw hobby size lumber.
- 250 replies
-
- 3
-
-
- willie l bennett
- model shipways
- (and 1 more)
-
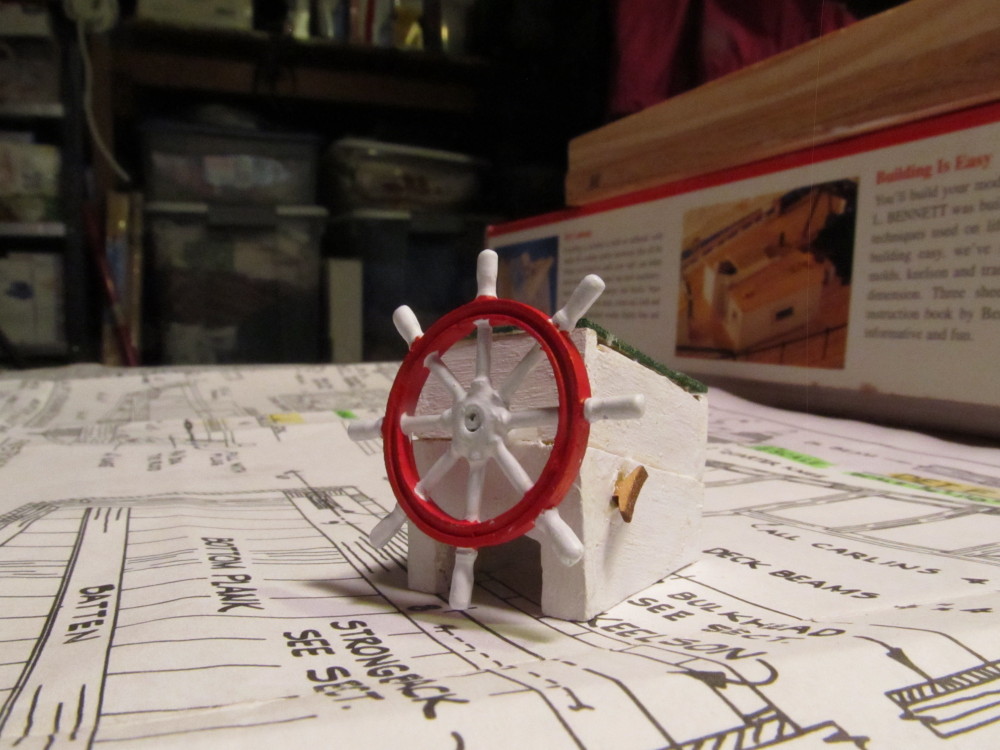
Joe, Lawrence thanks for stopping by and your comments. And all those who clicked the LIKE button. Joe: I have both Lowes and Home Depot close by but have never seen hobby sized lumber of any type in either of them. No ACE Hardwares near me. Another small update: Wheel house and ship's wheel completed.

- 250 replies
-
- 12
-
-
- willie l bennett
- model shipways
- (and 1 more)
-
Nice job Mark, but tell me how did you ever make those tiny window casings? Did you use the laser cutter? Those look perfect.
-
More like the north-bound Pony Express Rider
- 250 replies
-
- 4
-
-
- willie l bennett
- model shipways
- (and 1 more)
-
Russ I have a Michaels about 5 miles from here but it's supply of basswood and balsa wood is pathetic - the nearest Hobby Lobby is an hour away (one-way). I contacted ModelExpo and they sent me an email saying the replacement parts had been shipped May 9th with a USPS tracking number. Problem is the stuff never left the USPS "Origin" center in Florida - filed a complaint today with USPS - they promised a reply in 2 business days. So we'll see. Normally the USPS is pretty good about delivering stuff from ModelExpo and others, but this time something messed up.
- 250 replies
-
- 4
-
-
- willie l bennett
- model shipways
- (and 1 more)
-
Well, the resupply of my wood seems to be either lost in Opa Locka Fla in the USPS Origin Facility or it's coming up the Atlantic Coast in a dugout canoe . It was scheduled for delivery yesterday but seems to be lost. USPS is investigating so we will wait. Guess I can work on other deck structures or masts in the meantime

- 250 replies
-
- 7
-
-
- willie l bennett
- model shipways
- (and 1 more)
-
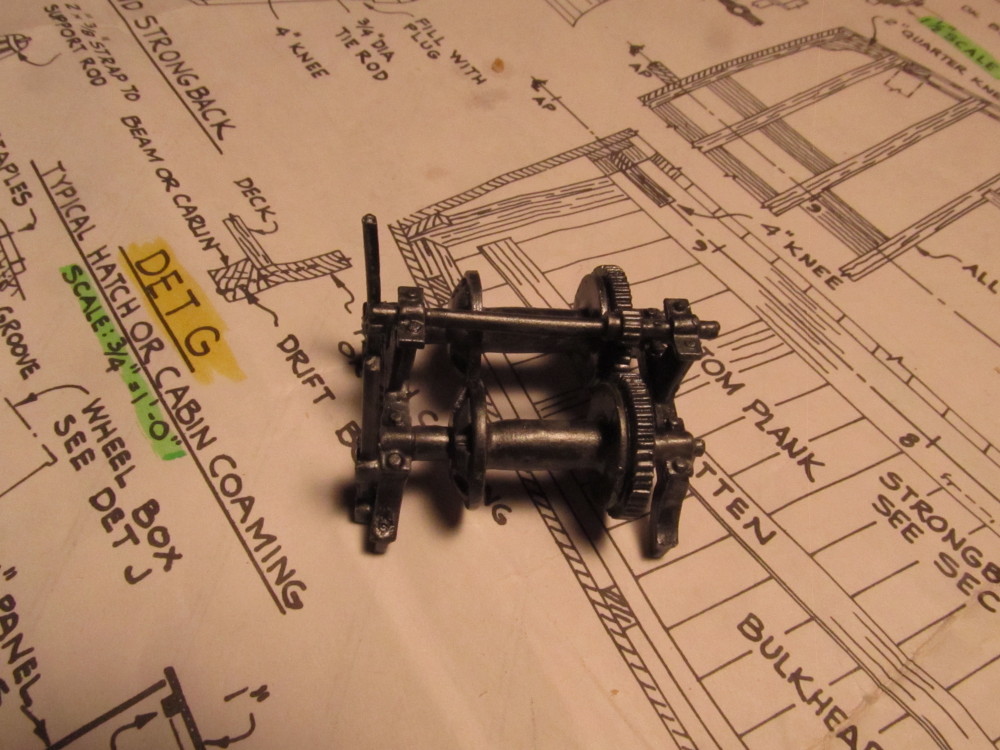
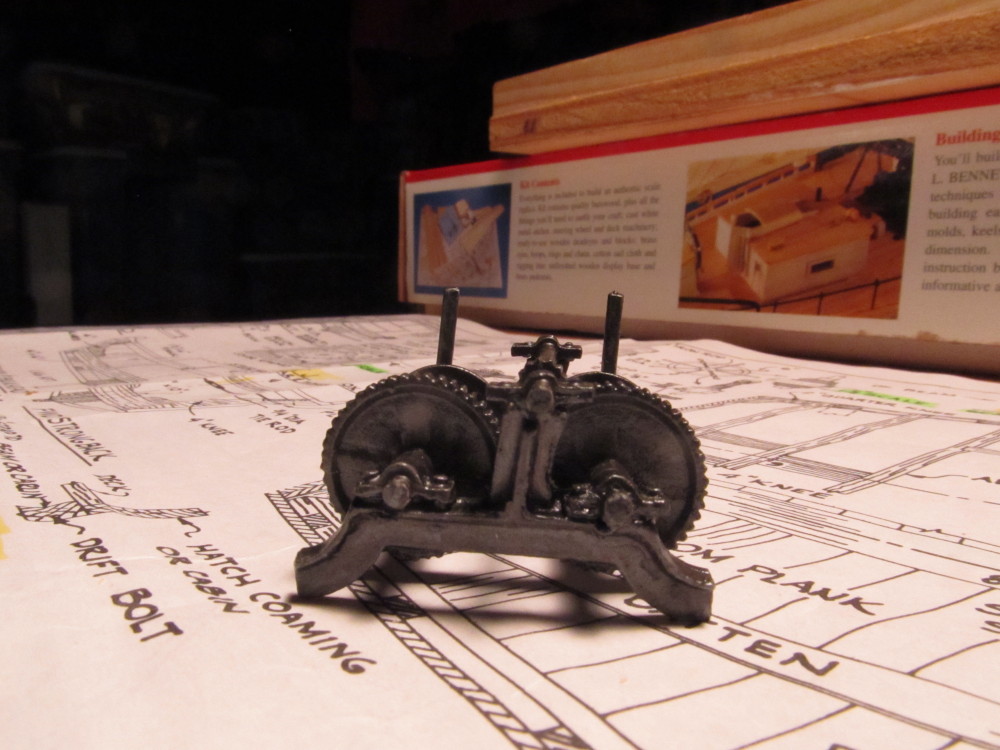
Thanks Mark, Carl, Russ. Mark: No it's not operational. The entire thing is several Britannia white metal castings I had to glue together - devil of a time doing that too - none of my clamps would work, kept twisting the pieces - finally resorted to weighting it down with a small (1"x1") steel machinist block - Used CA Medium 5-15 sec glue - glue worked fine once I could hold the parts together till the glue set. Carl: I'm using the new <to me> Vallejo brand paints (oily steel for the winch) - sprayed it with a thin coat of Testors primer then applied the Vallejo paint with a brush - then hit it with Testors Dullcote to dull it down - I think I need another coat of Dullcote - still looks "shiny". I like the Vallejo paints but still getting used to using them - really miss the old Floquil paints tho, they were great.
- 250 replies
-
- 4
-
-
- willie l bennett
- model shipways
- (and 1 more)
-
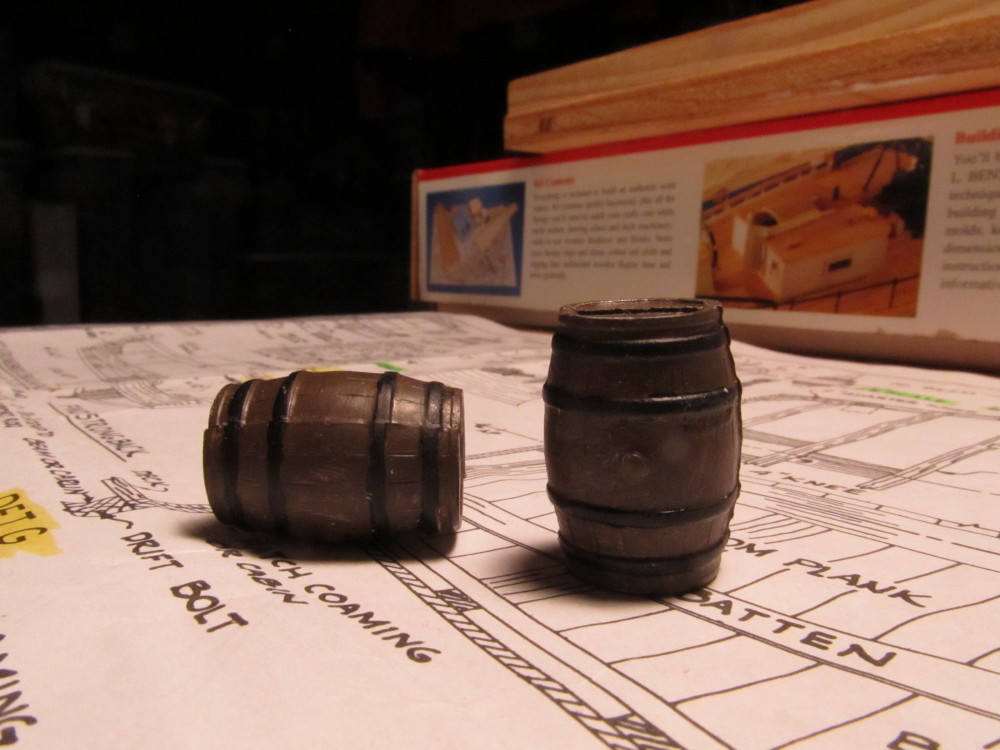
Small Update: Finished the assembly and painting of the winder, painted the two barrels. Working on the wheel house while I wait for the re-supply from Model Expo which was supposed to arrive today according to the US Postal Service tracking site but the site hasn't been updated since May 10th when it shown the package had arrived at the "Origin Facility" in Opa Locka Fla at 1:53 AM. So I wait and fiddle. Pictures follow:

- 250 replies
-
- 11
-
-
- willie l bennett
- model shipways
- (and 1 more)
-
Thanks, Gerty. No it is not completed yet - ran out of wood and had to re-order some from Model Expo - the resupply is in transit according to USPS. "m working on other parts till I get resupplied.
- 250 replies
-
- 2
-
-
- willie l bennett
- model shipways
- (and 1 more)
-
Druxey, what a magnificent work of art. Thanks for sharing this wonderful project with us. Very inspiring.
- 641 replies
-
- 8
-
-
- greenwich hospital
- barge
- (and 1 more)