Louie da fly
-
Posts
7,993 -
Joined
-
Last visited
Content Type
Profiles
Forums
Gallery
Events
Everything posted by Louie da fly
-
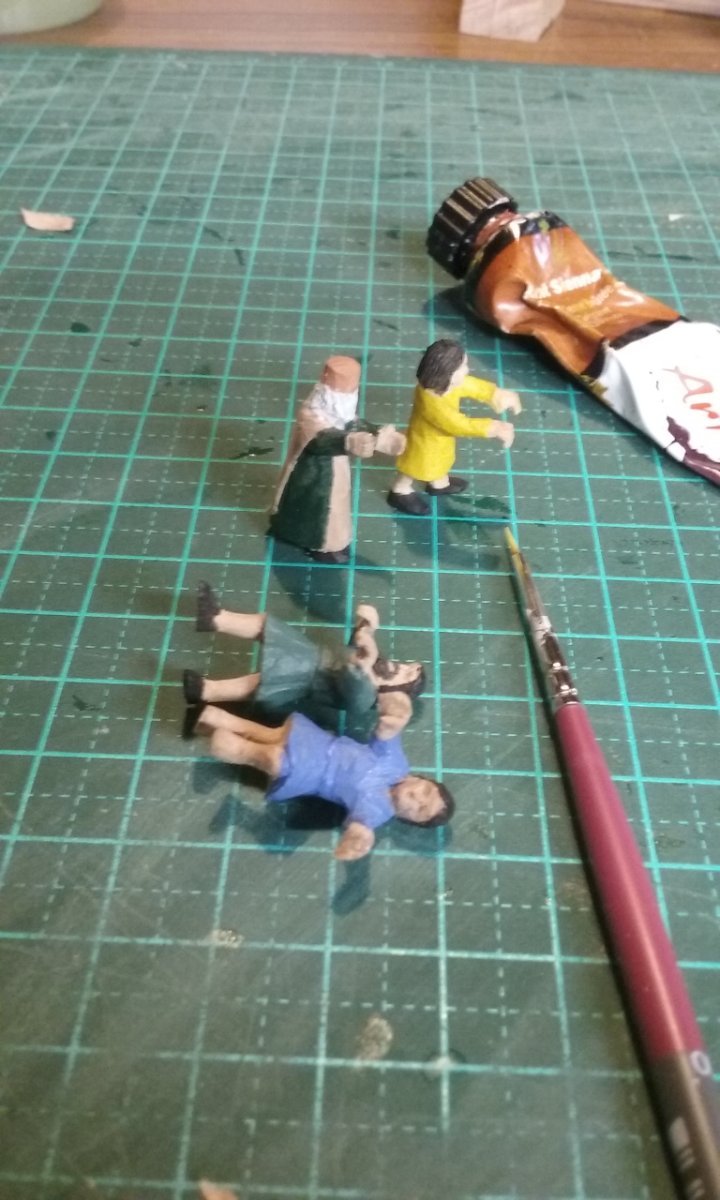
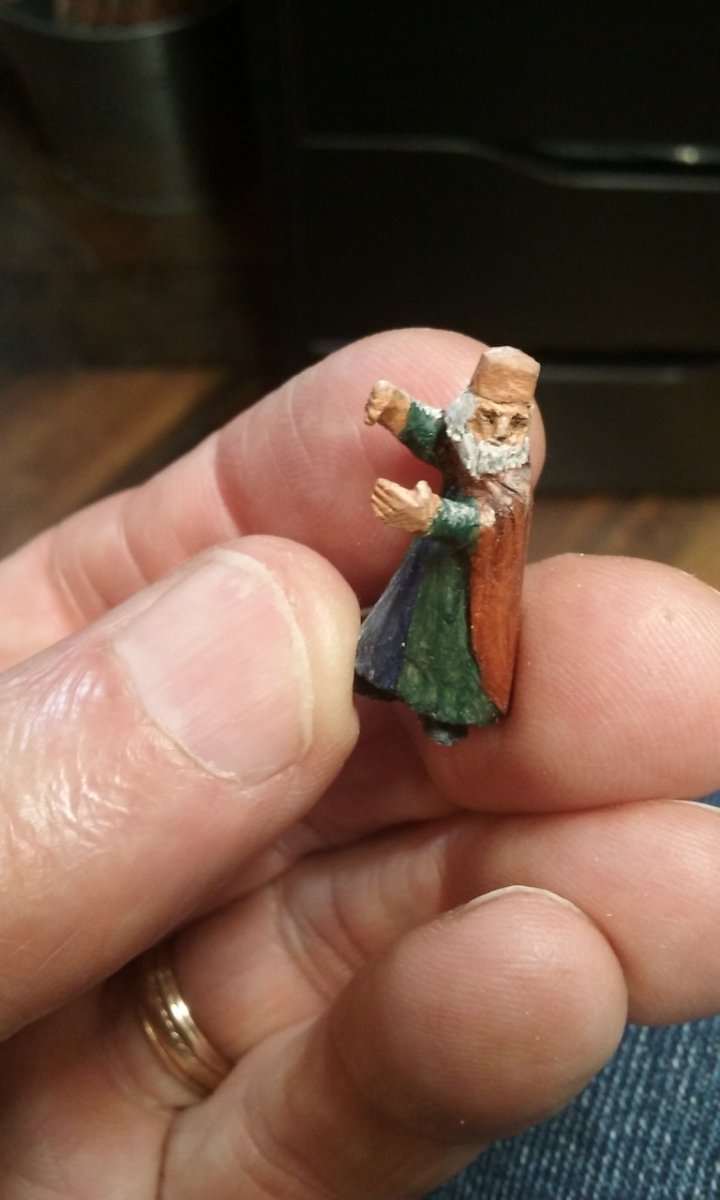
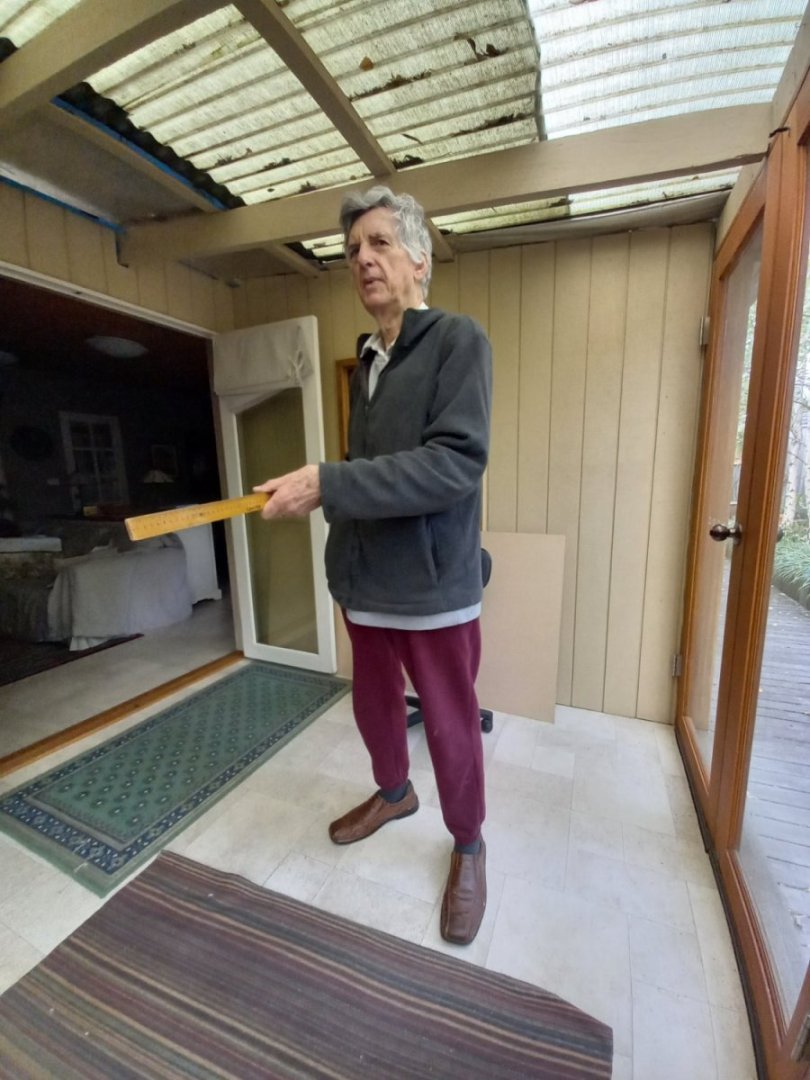
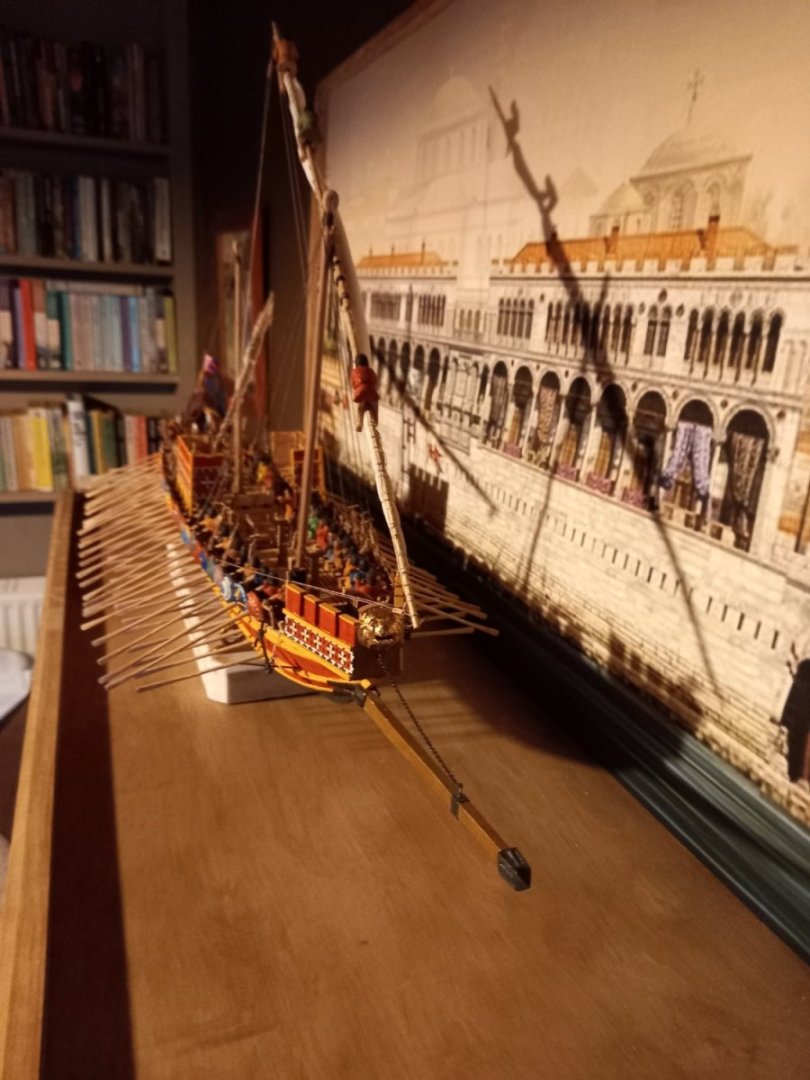
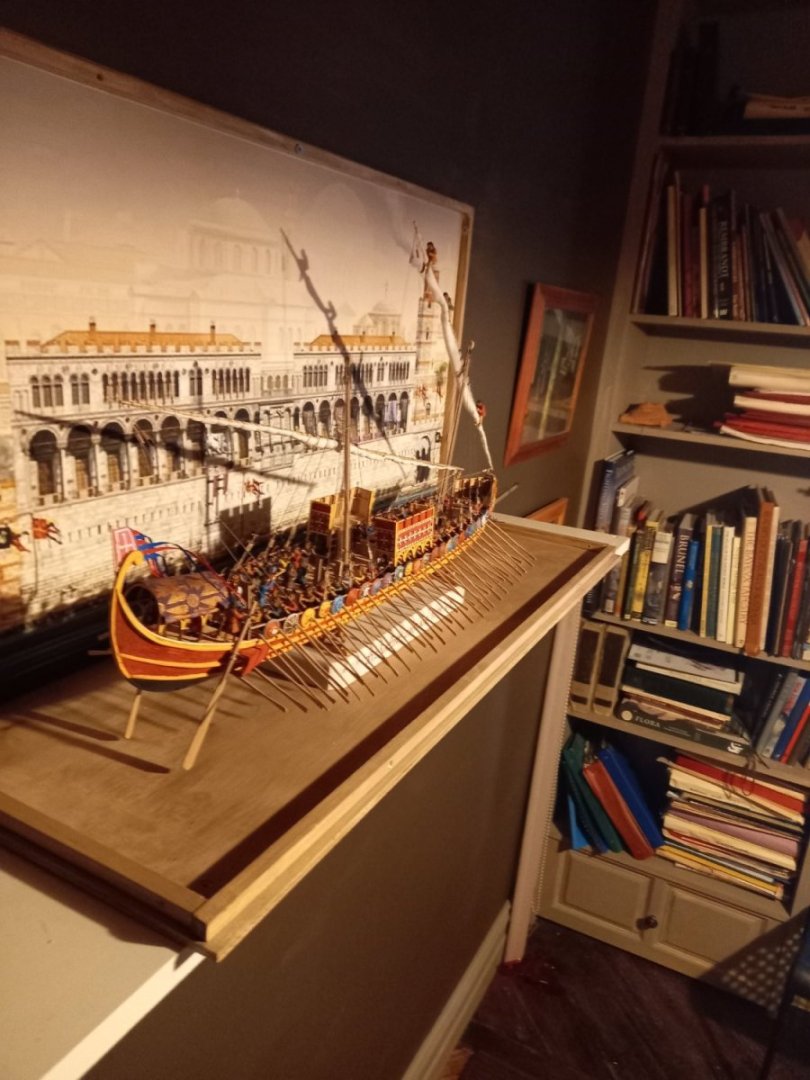
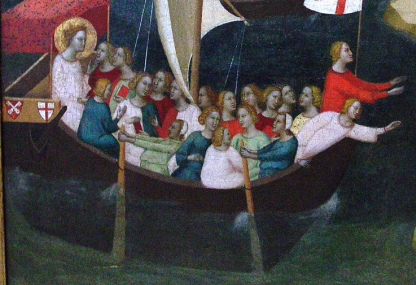
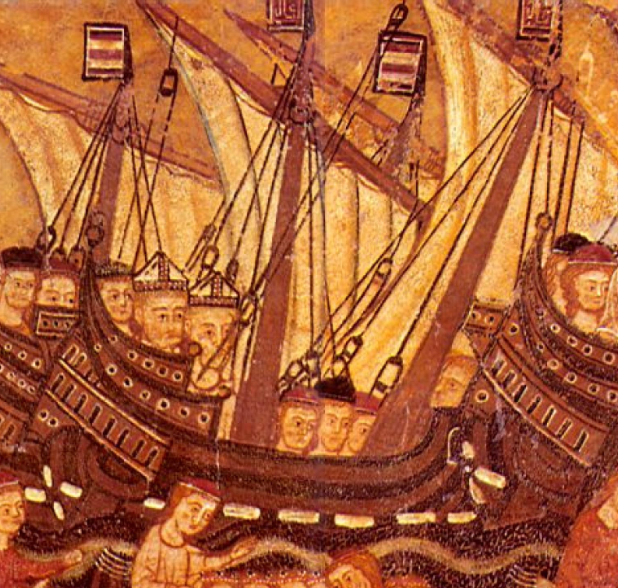
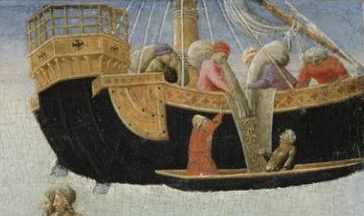
 I've been a bit distracted by my other build, the Golden City paddlewheeler, but I've also been working on crewmen for the San Marco ship. Here are a bunch I've already finished and have now painted, and two of them I've also shaded. I've exaggerated the light and shade as otherwise they look bland. And two new crewmen letting go and hauling on the shrouds as the ship tacks. (Big lateeners had to move the yard to the other side of the mast every time they tacked, and to do this the shrouds had to be loosened off - after tacking the lee shrouds would be somewhat loose and the weather shrouds tight.) Crewman hauling down on (new) weather shroud. And opening up the gap between his arms And the legs . . . Normally I'd do his face early in the process, as if I got that wrong there'd be no point in continuing - but in this case I couldn't get at it until I'd opened up the arms And the hands and fingers . . . (I'm getting better at fingers). And another crewman, belaying a shroud. Looks a bit like Sir Ralph Richardson at the moment, but that will change. Now more like Noel Fielding . . . Or perhaps Richard Harris? Yep, Richard Harris . . . I've decided to discard the two helmsmen (in the top picture - one in yellow and one in green) in light of the Black Sea discoveries about tiller location on quarter rudders, and I'll be making new ones. So I had to get some photos taken to base their arm positions on. And here are the two helmsmen just started: Steven


- 508 replies
-
- 14
-

-

-
That's just amazing, Glen! You always come up with the most imaginative ideas, and the execution is always superb - that cliff-face, that water! Your work is inspirational - gets me thinking I ought to do some dioramas or introduce more interesting details into my own builds. Congratulations on another magnificent build. Steven
- 174 replies
-
- 4
-
-
- Waa Kaulua
- bottle
- (and 1 more)
-
Gettin back to it after 45 years
Louie da fly replied to gmlogan's topic in New member Introductions
Welcome to MSW! I think you'll find a lot of us are "returnees" - getting back into ship modelling after having done it as kids. But the hobby has certainly moved on - better kits, better instructions (usually!) and much more information available out there, as well as wonderful resources like MSW, where there are many people with years of experience ready and willing to give help and guidance, answer questions - and a wonderful audience to admire your modelling efforts. And there's such a wide range of skill levels here, and acceptance and encouragement, whether you're highly skilled or a total newbie. Don't forget to start a build log for your Polaris - it's a great way to get help and encouragement. Instructions are here: And check out the other Polaris build logs, which should give you pointers that will (hopefully) enable you to solve problems and avoid errors in advance. Best wishes, Steven -
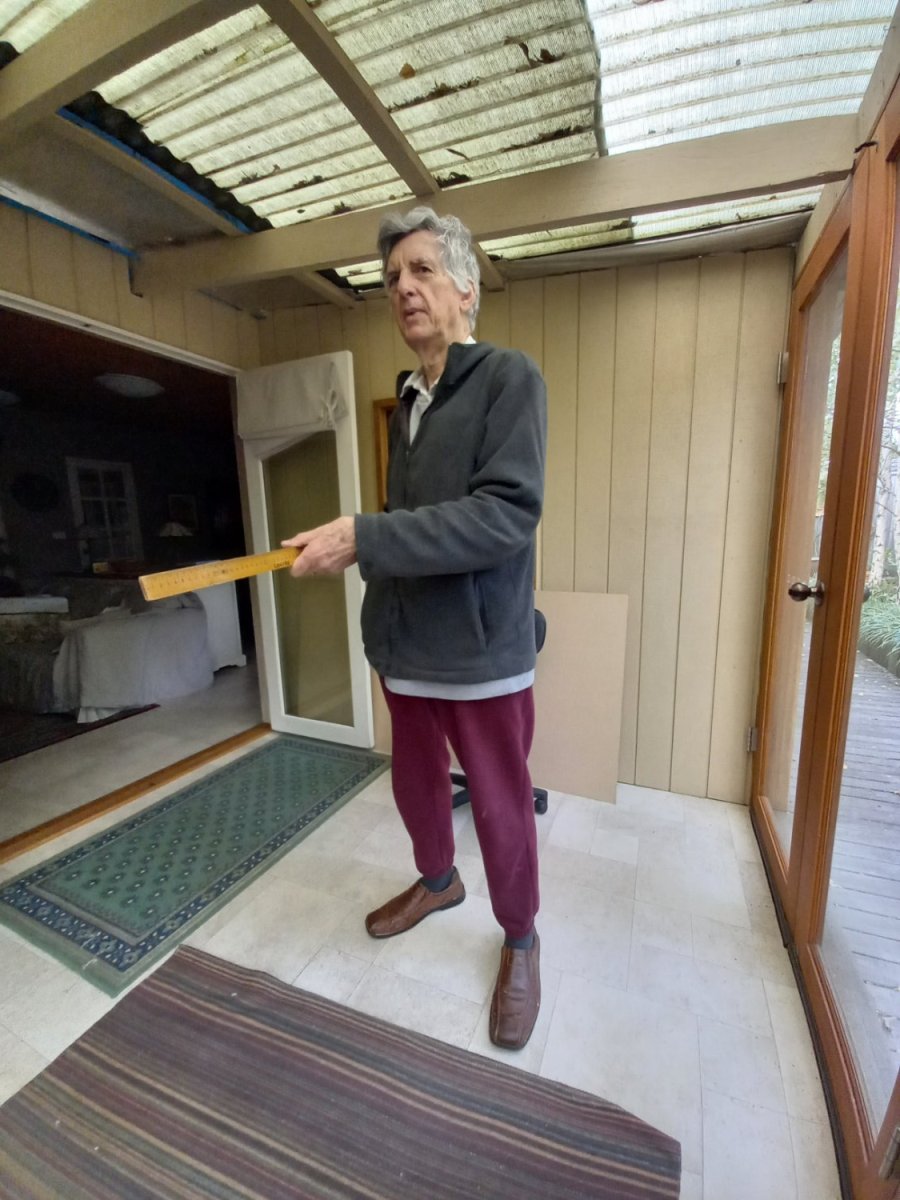
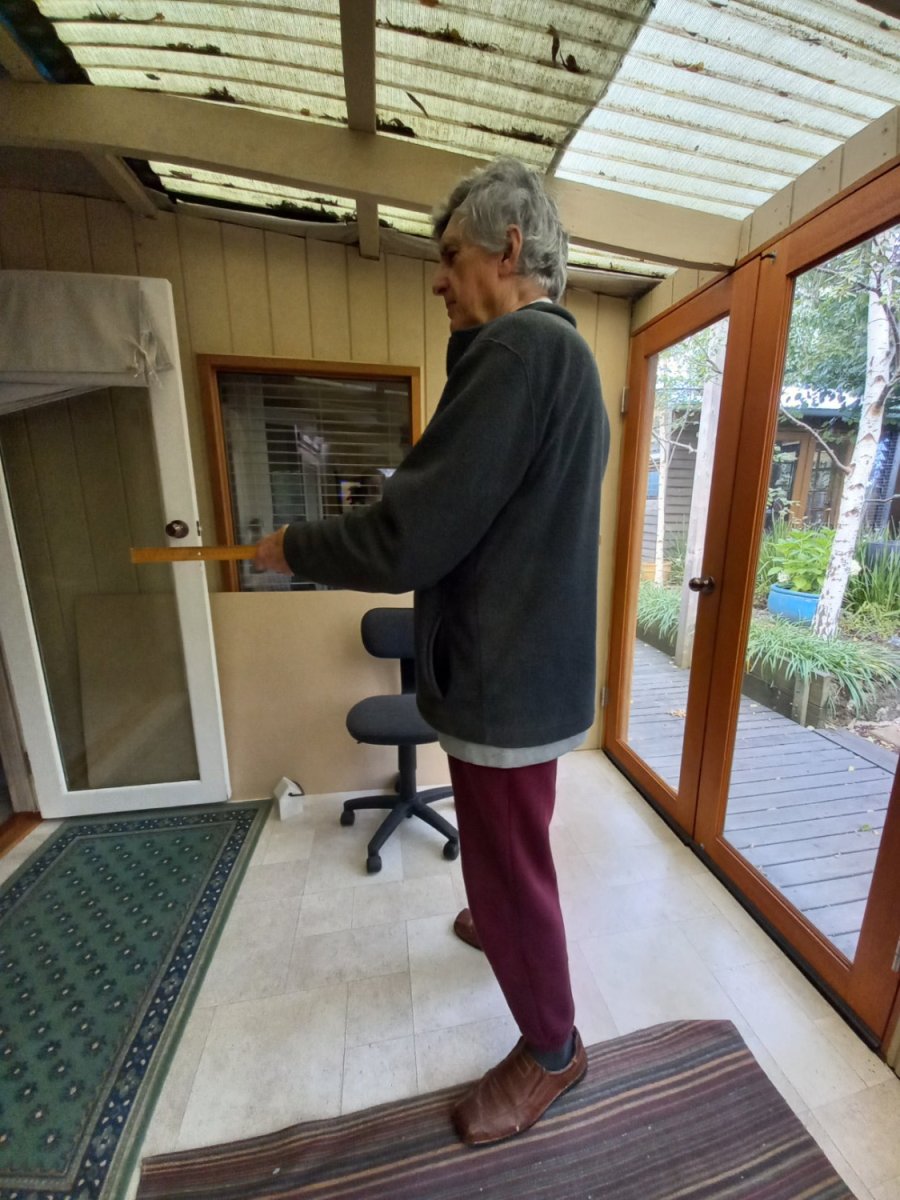
Oh, dear. I've just had to change my whole attitude to quarter rudders, now that I've seen this video from archaeologist Kroum Batchvarov, who's been working on the Black Sea finds: I'll have to carve new steersmen to replace the ones I've done, with the tillers facing aft, not sideways! Steven
-
Yes, it's the translucency I don't like. I like your solution, and I'll give it a try. Thanks. Steven
-
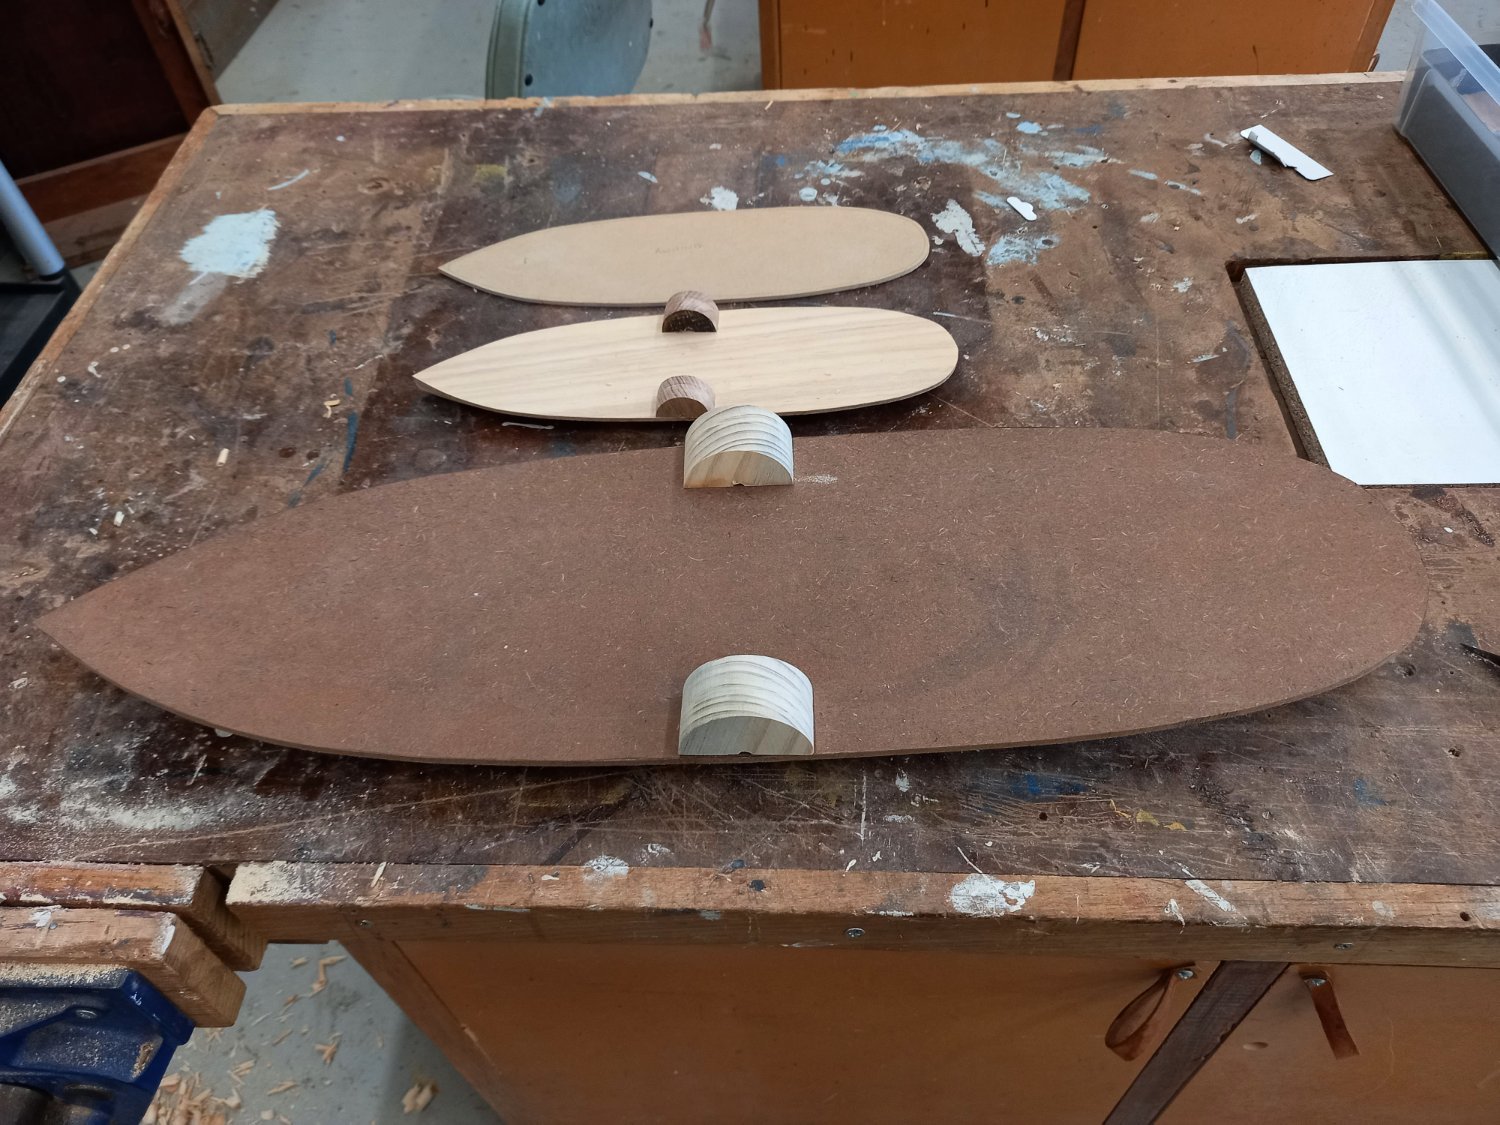
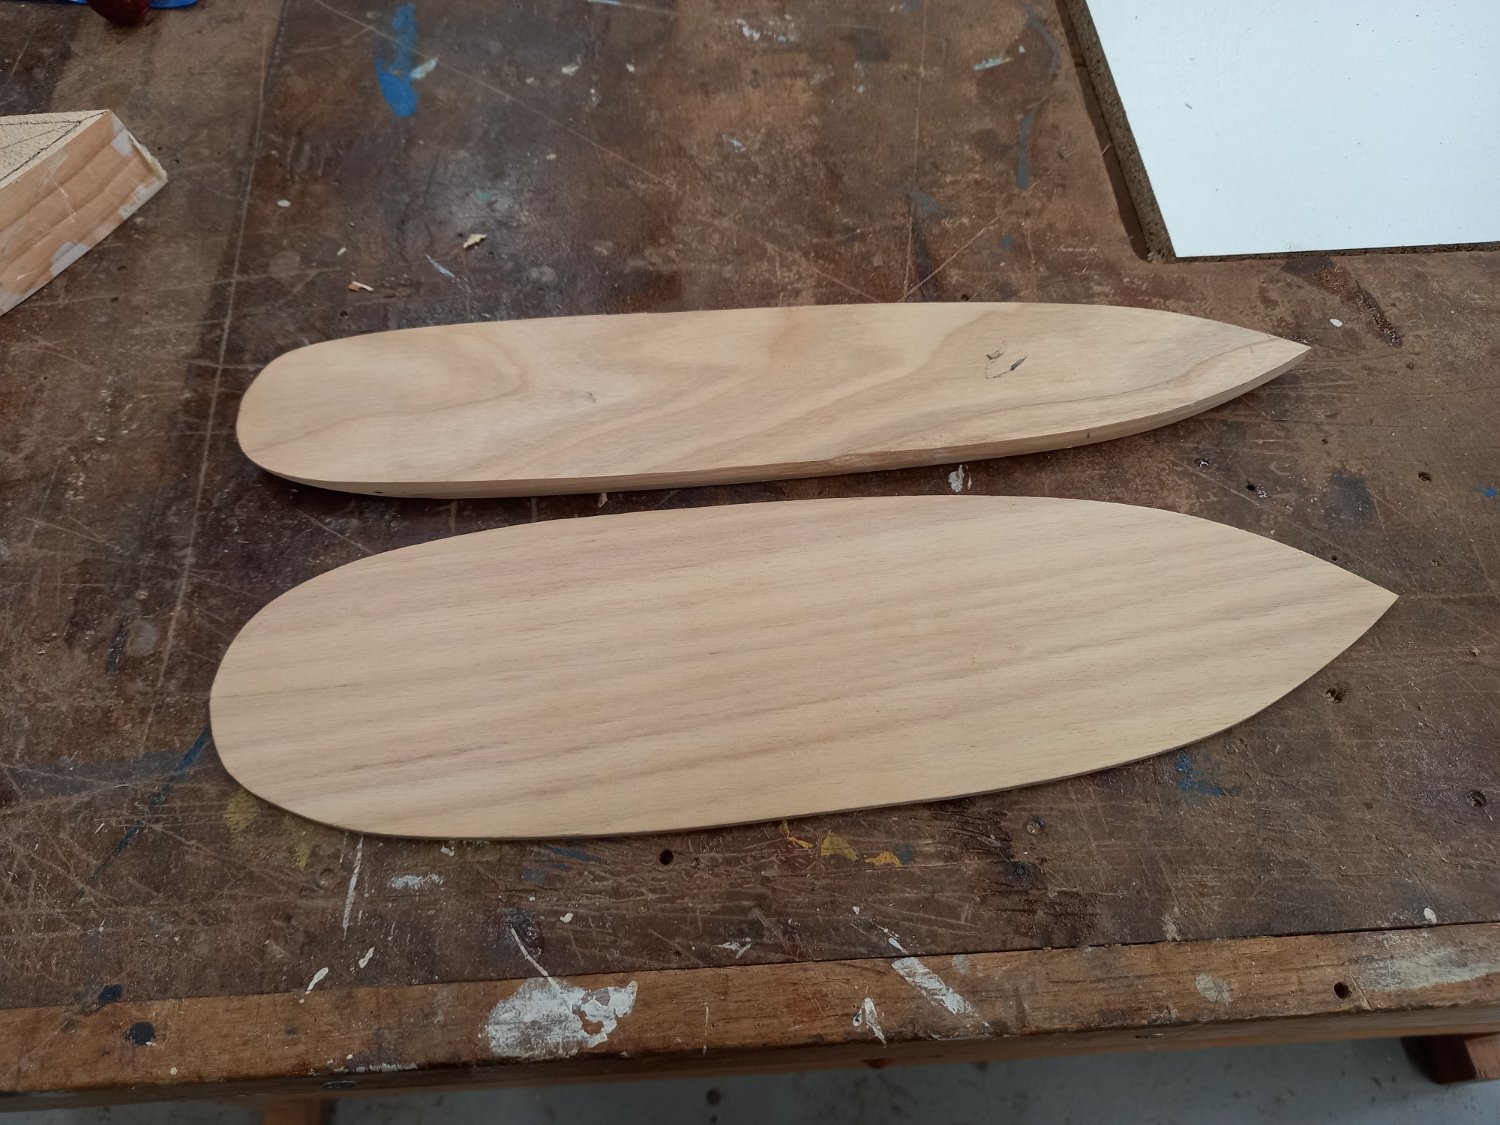
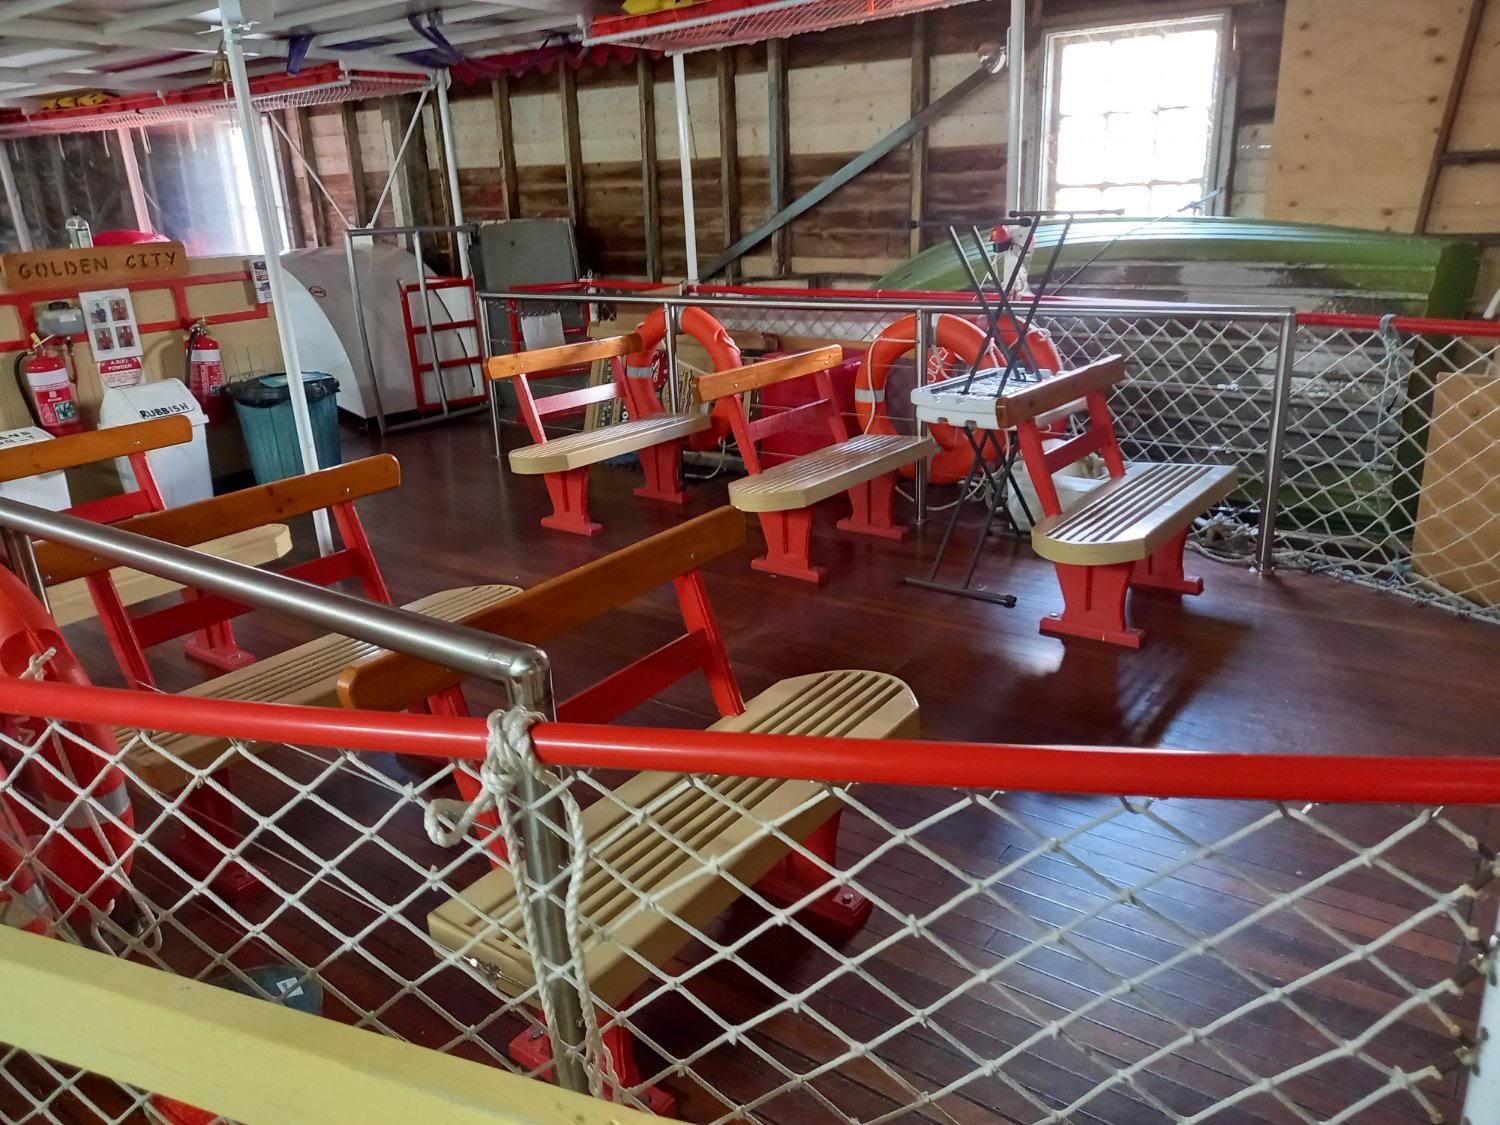
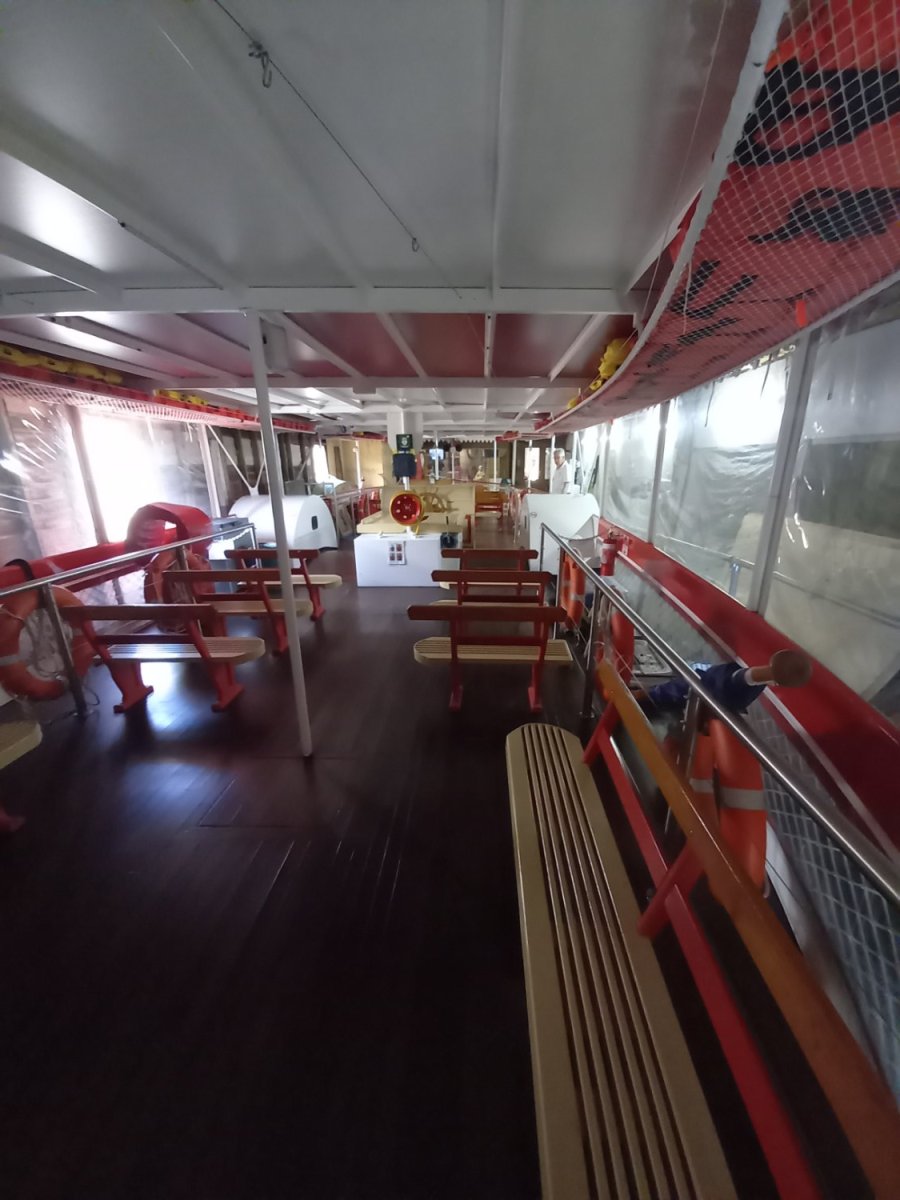
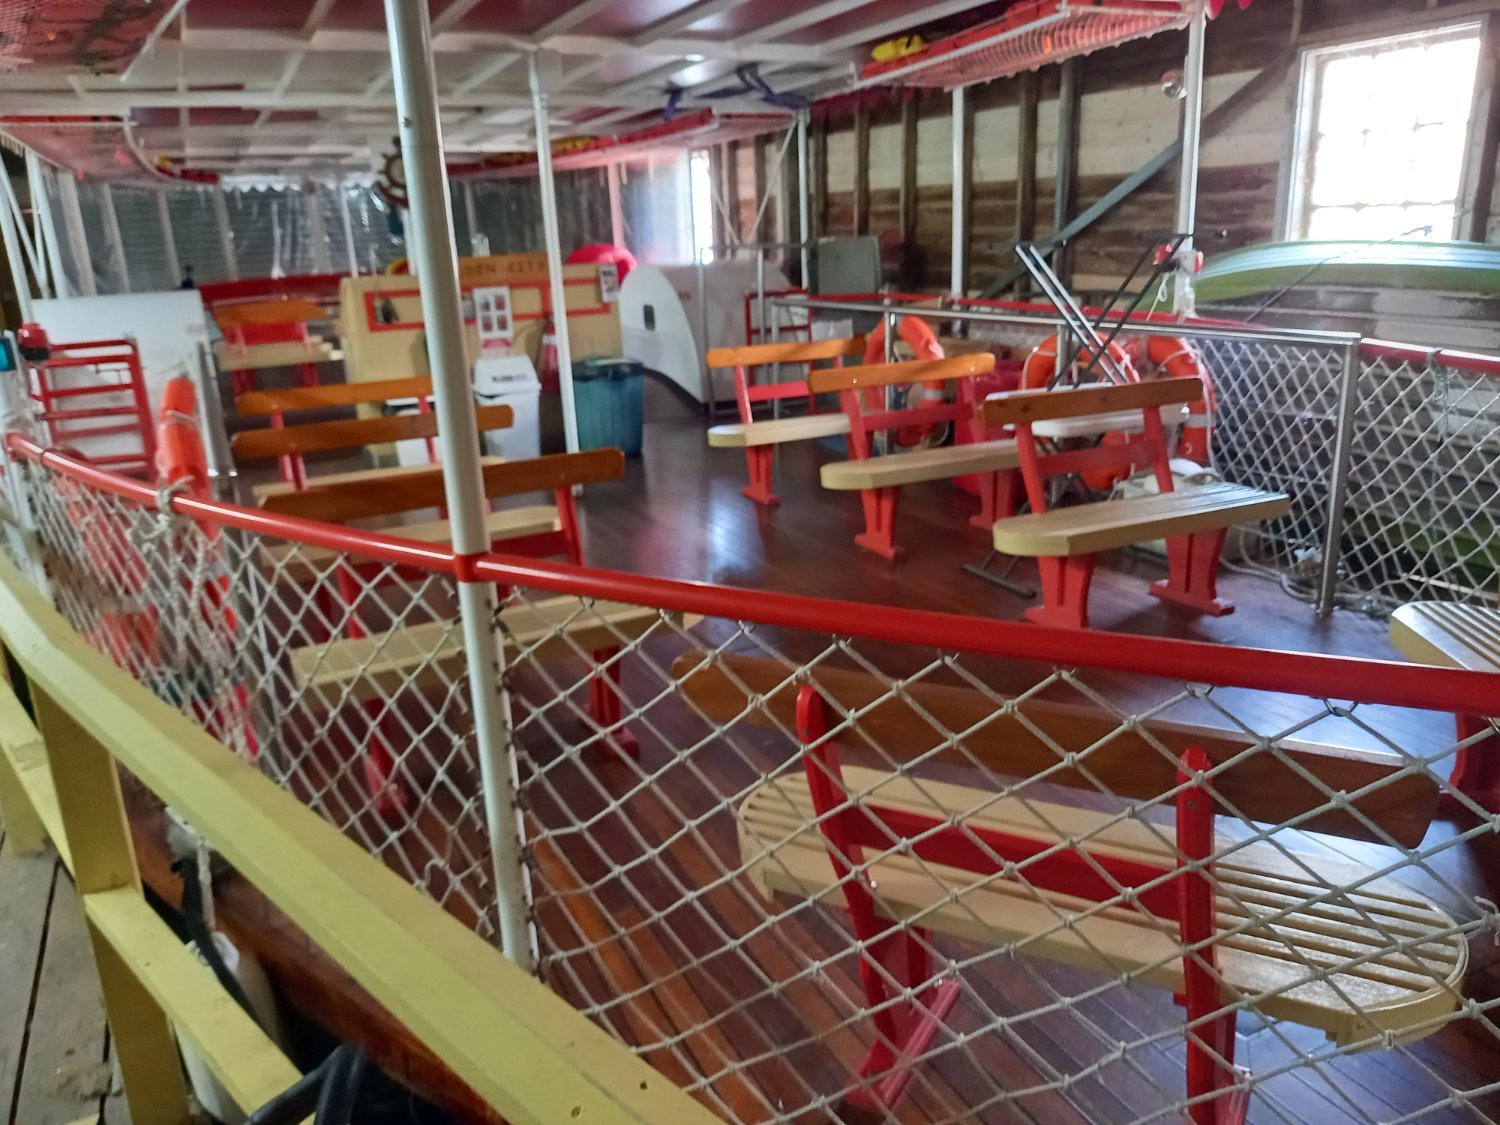
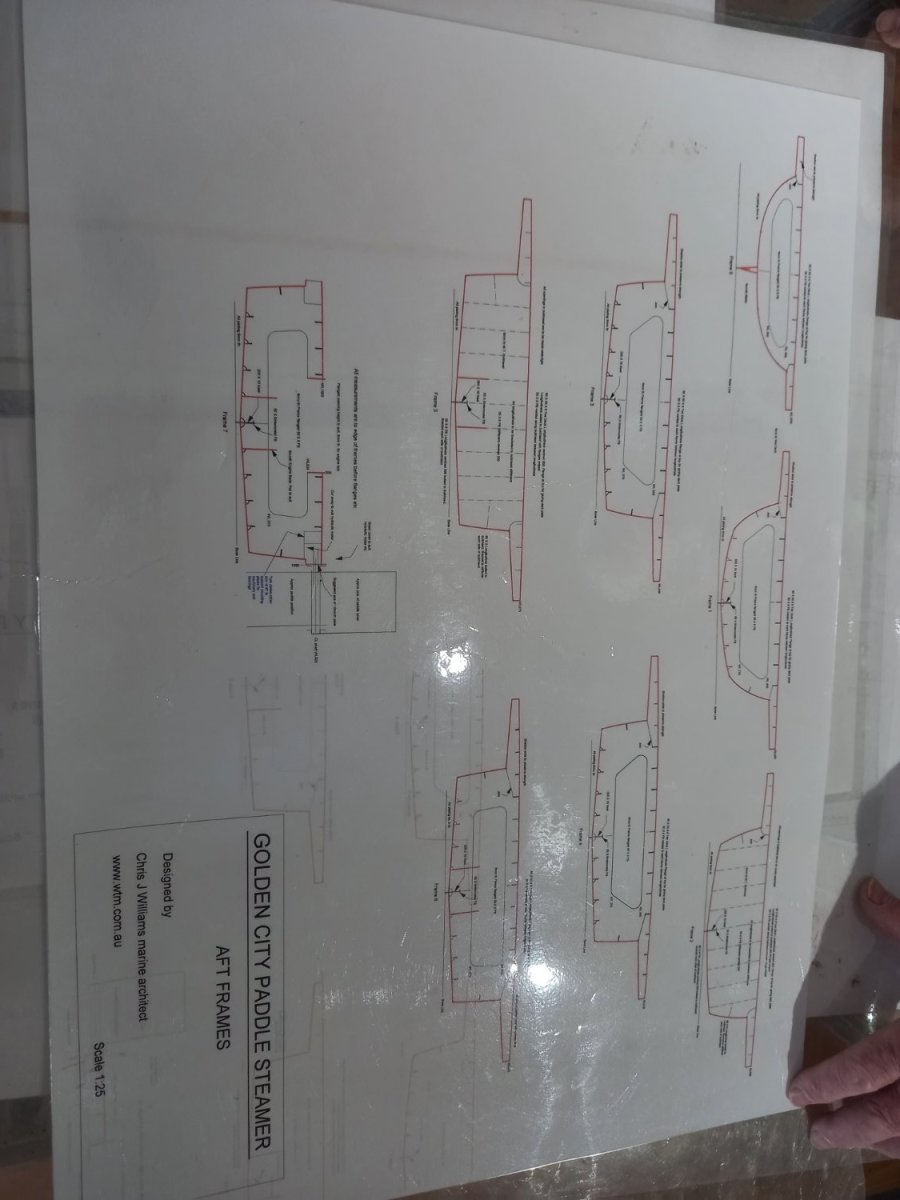
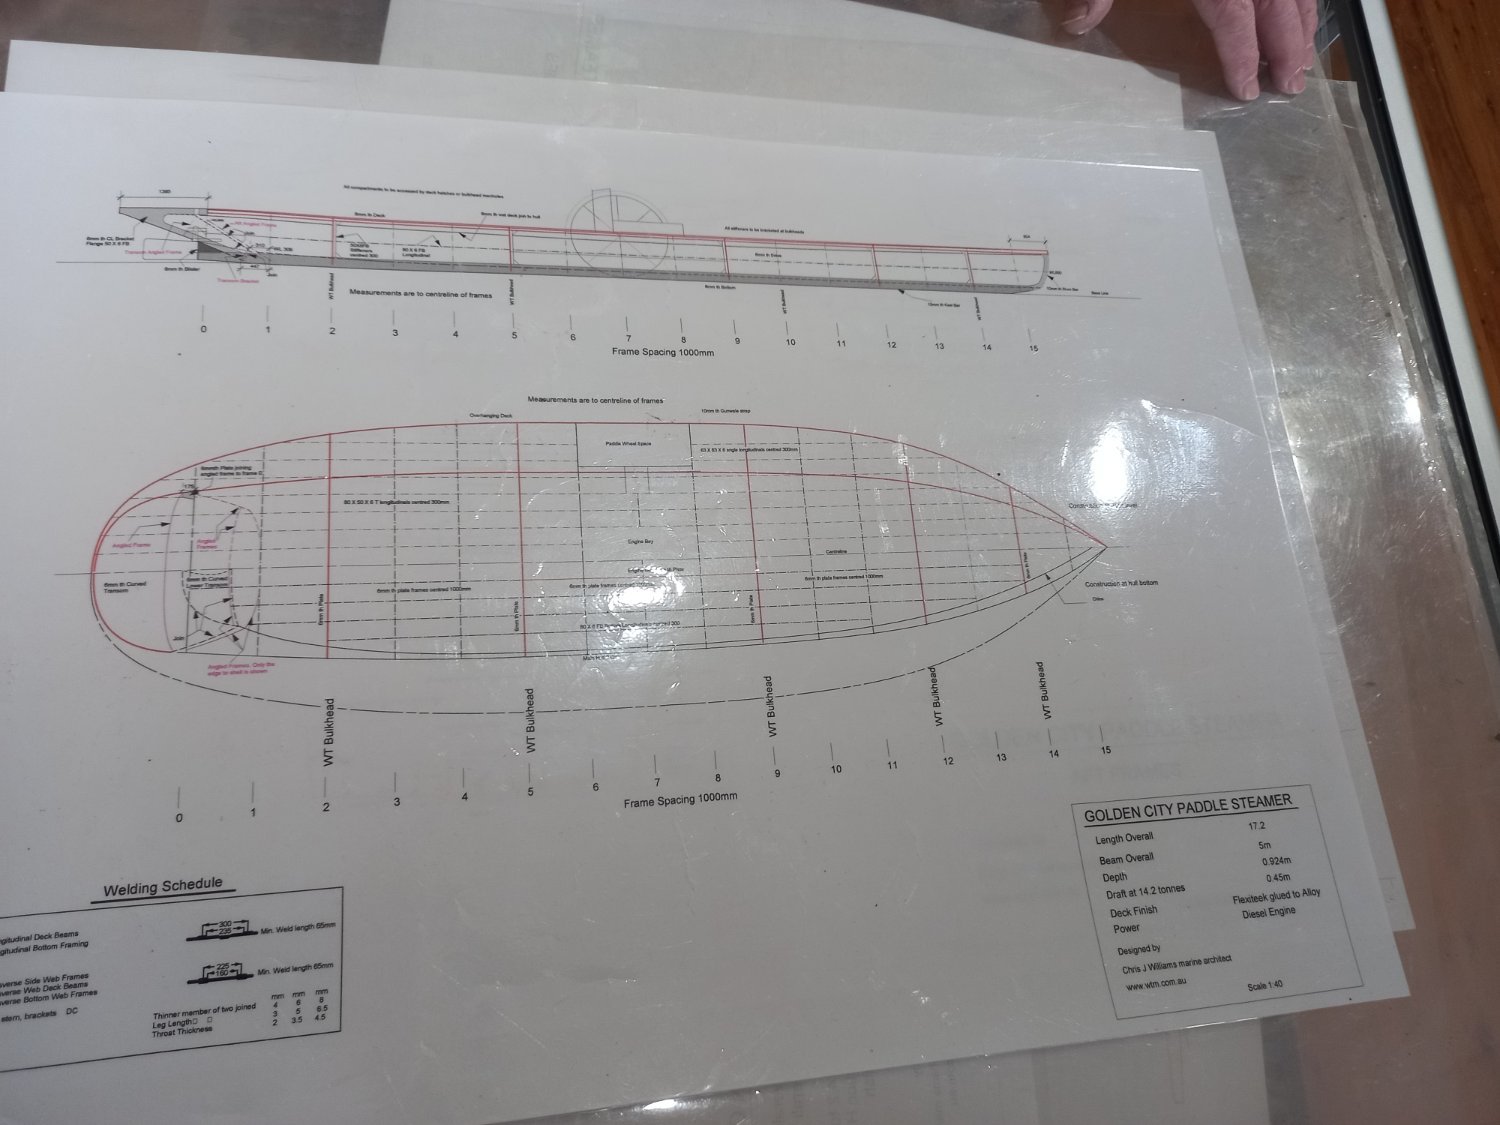
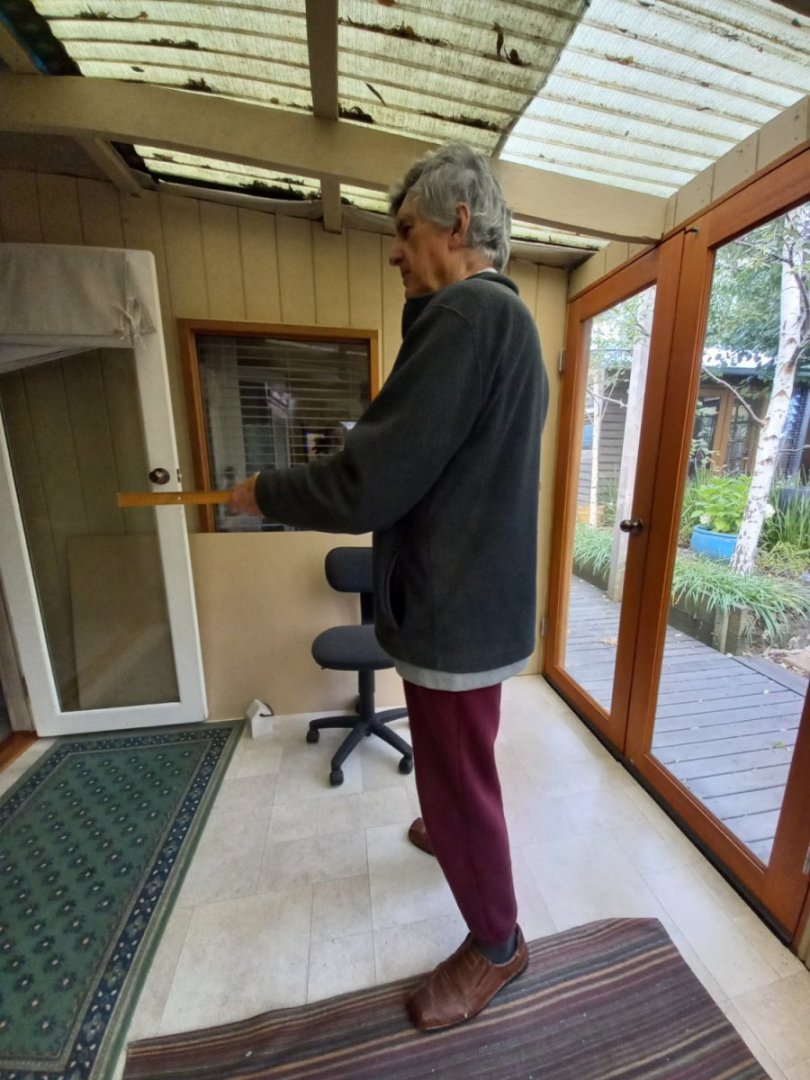
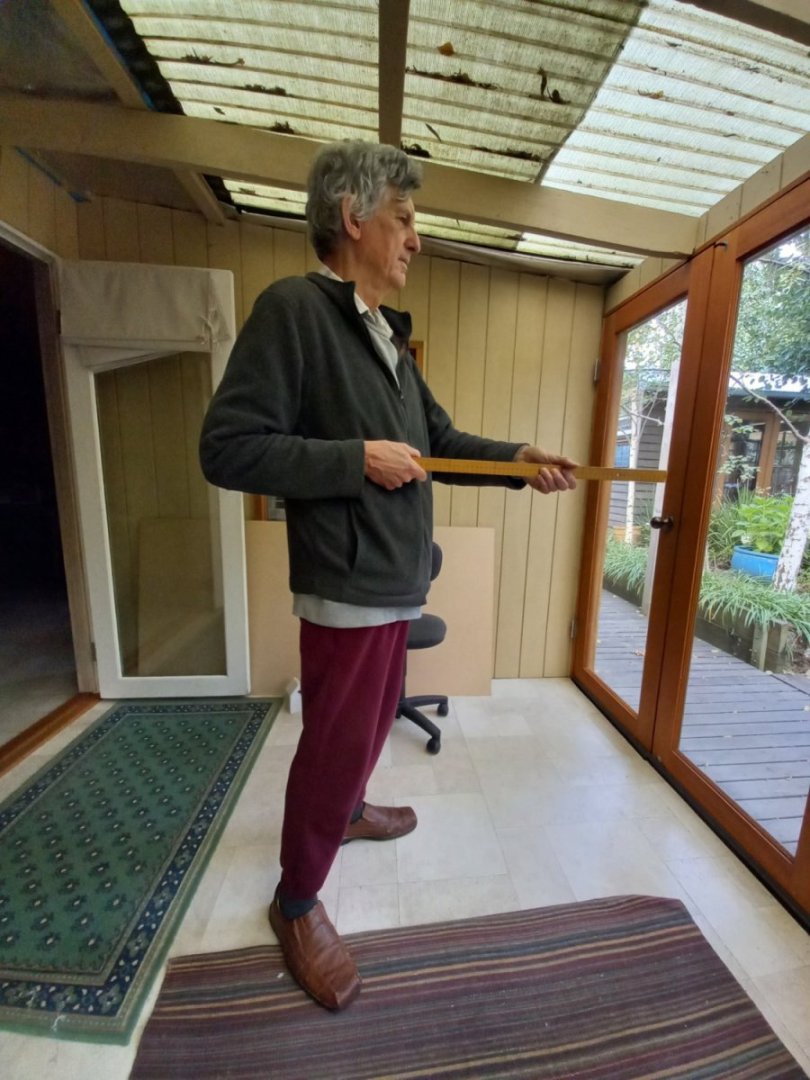
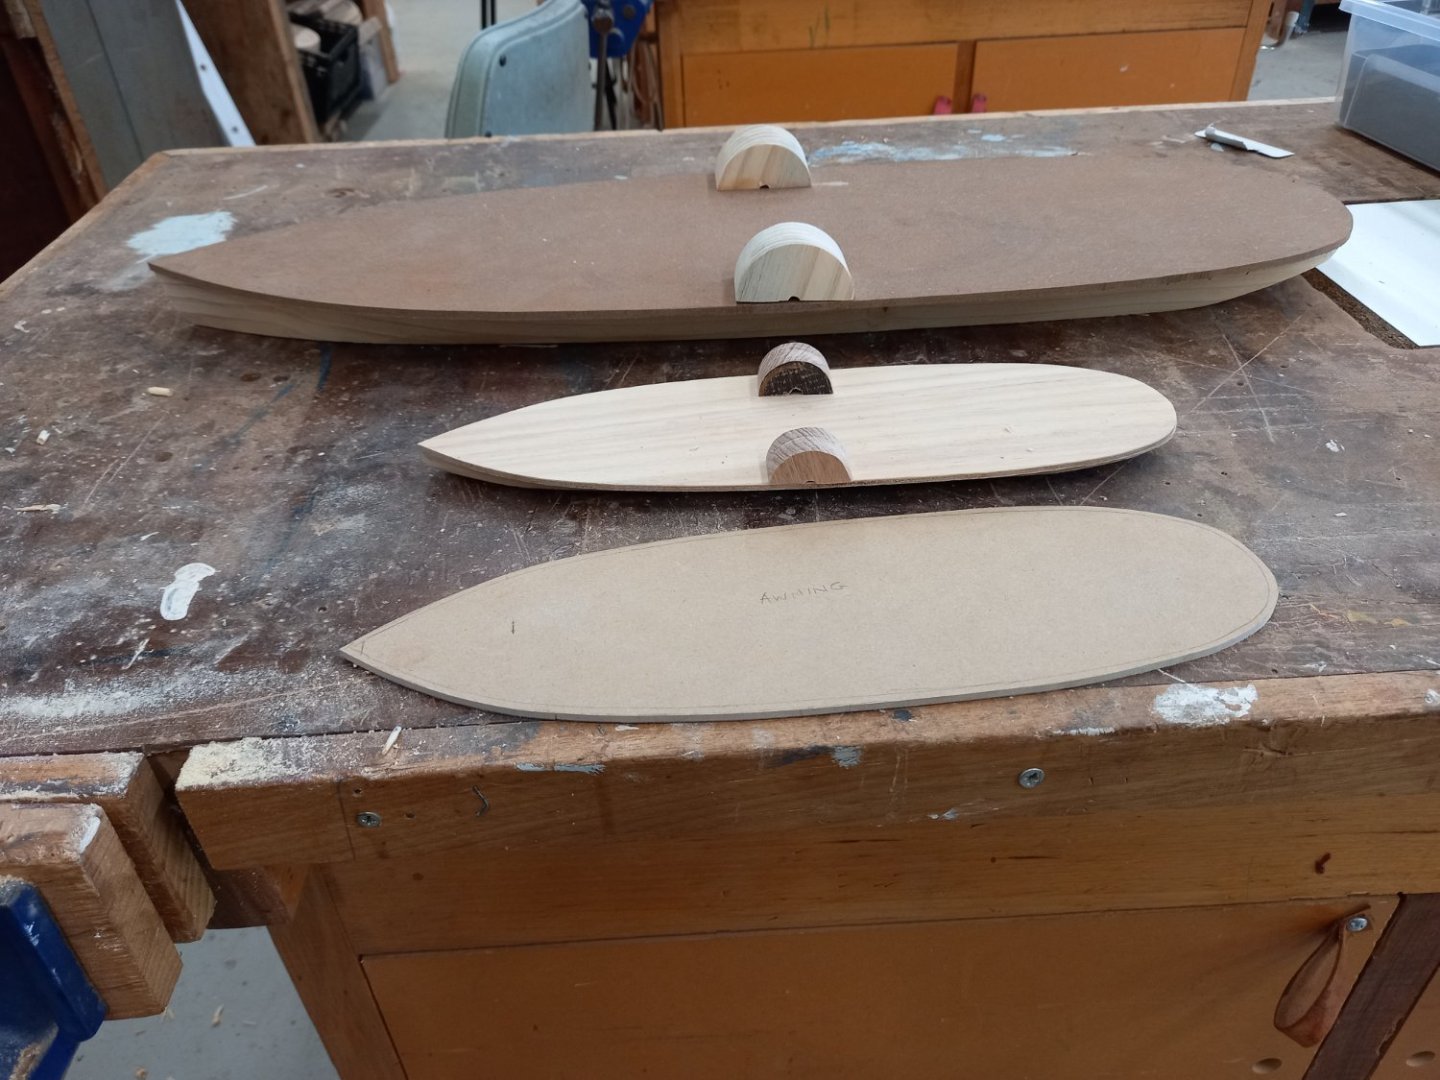
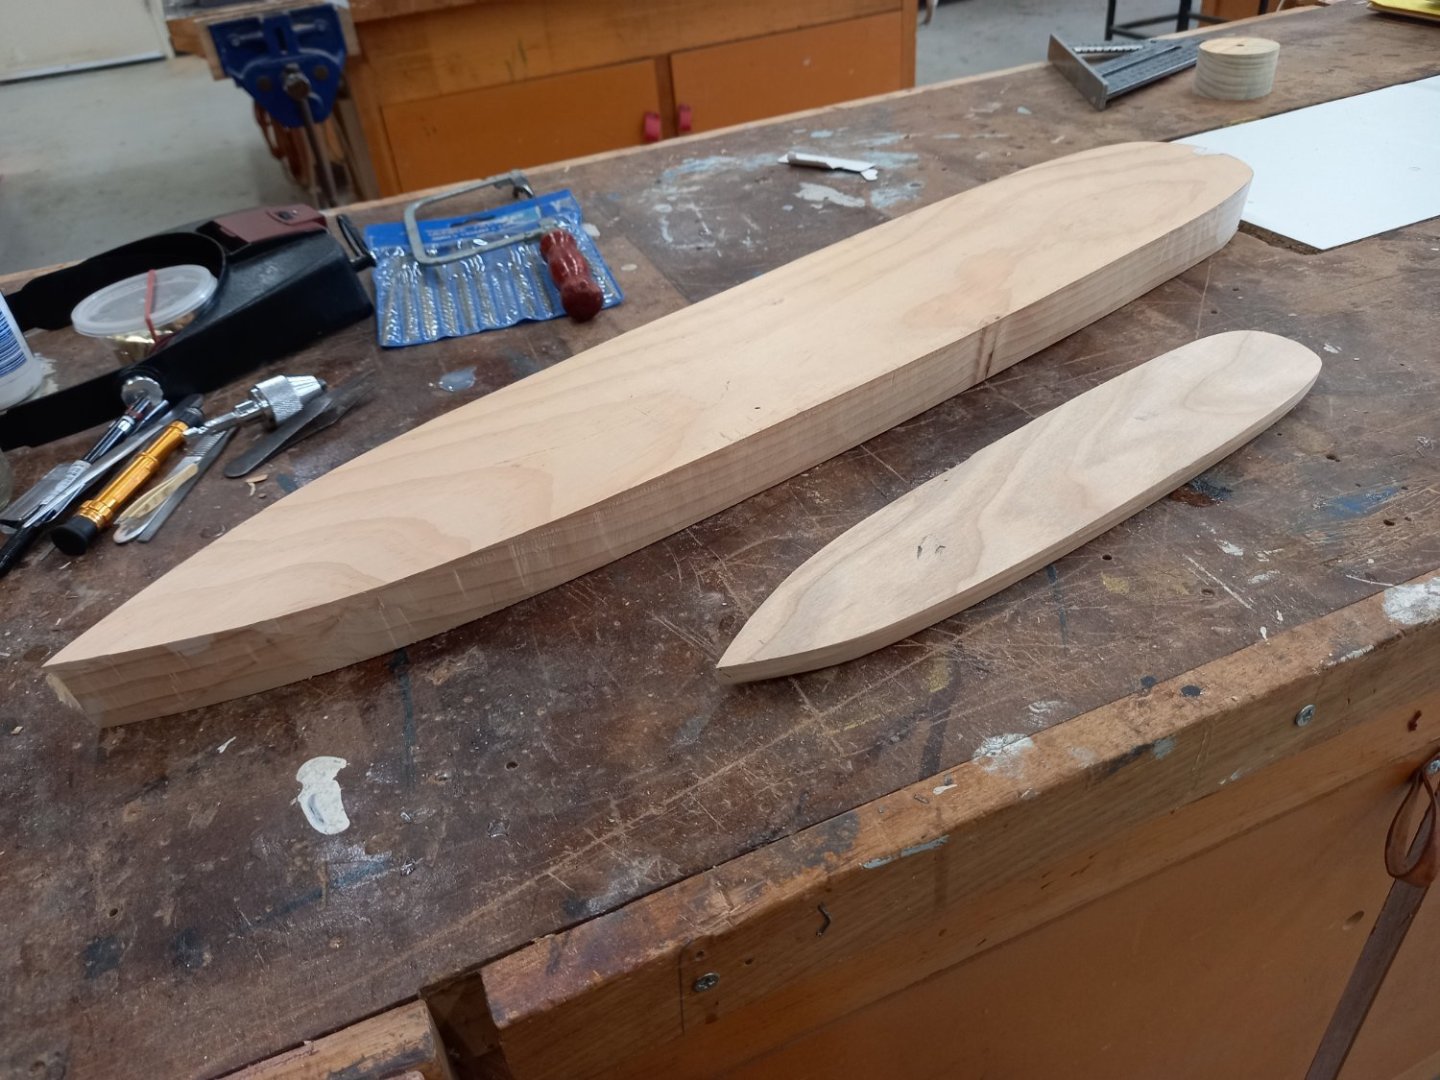
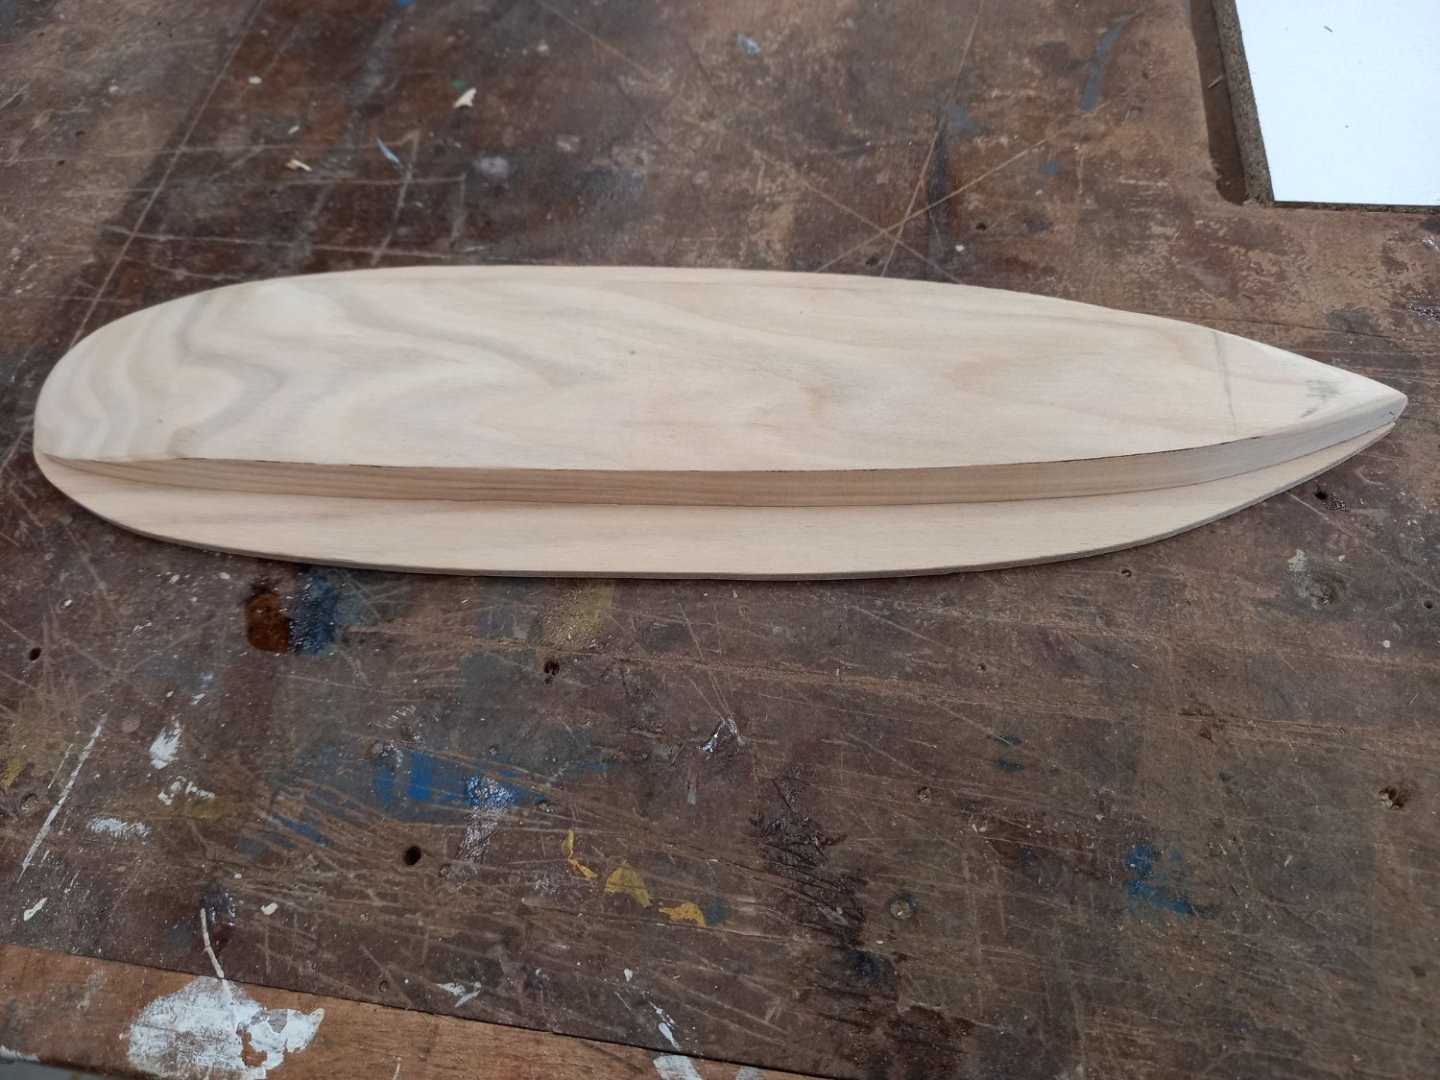
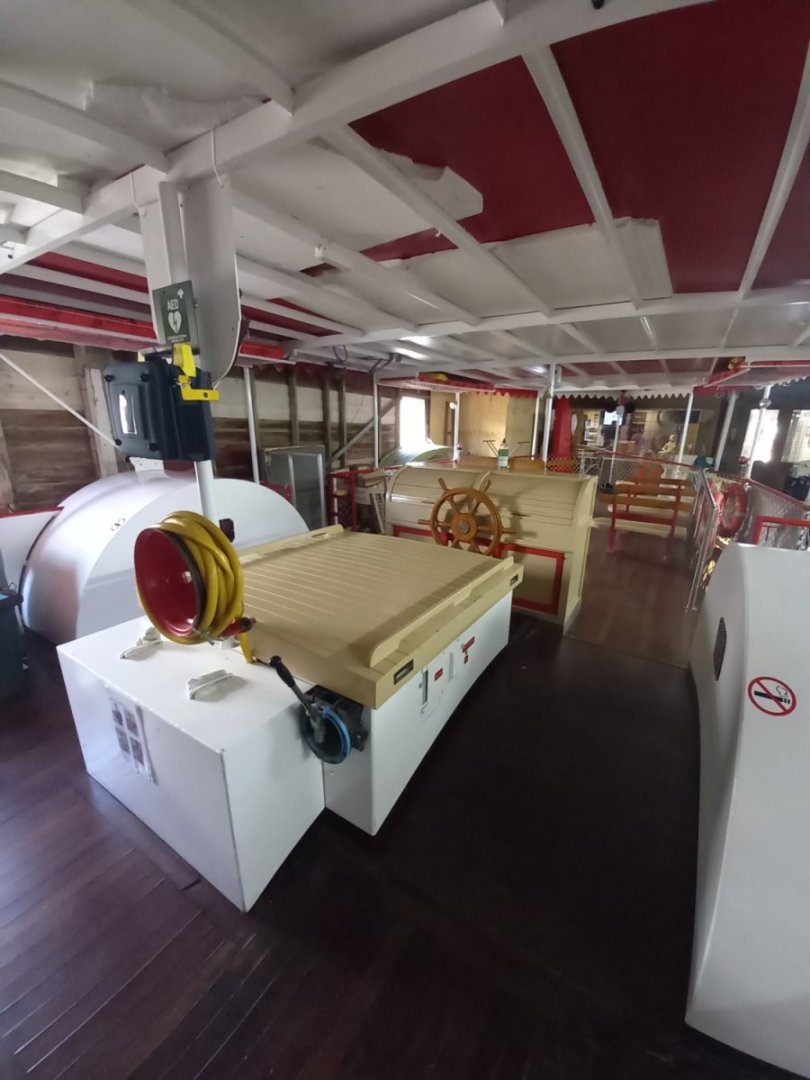
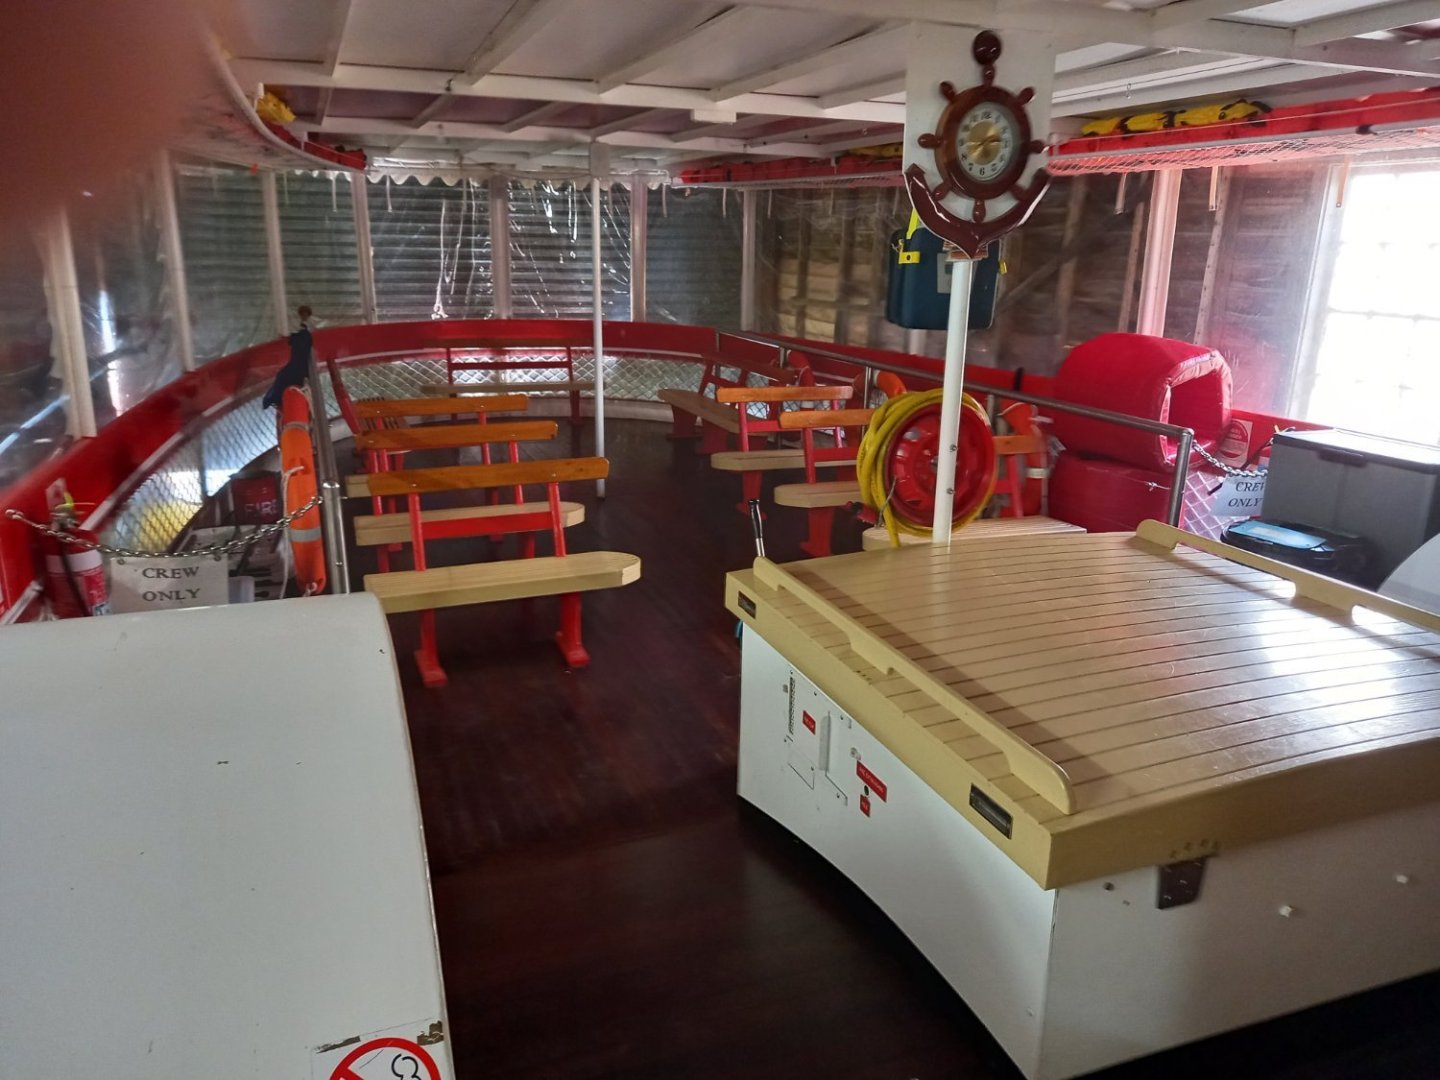
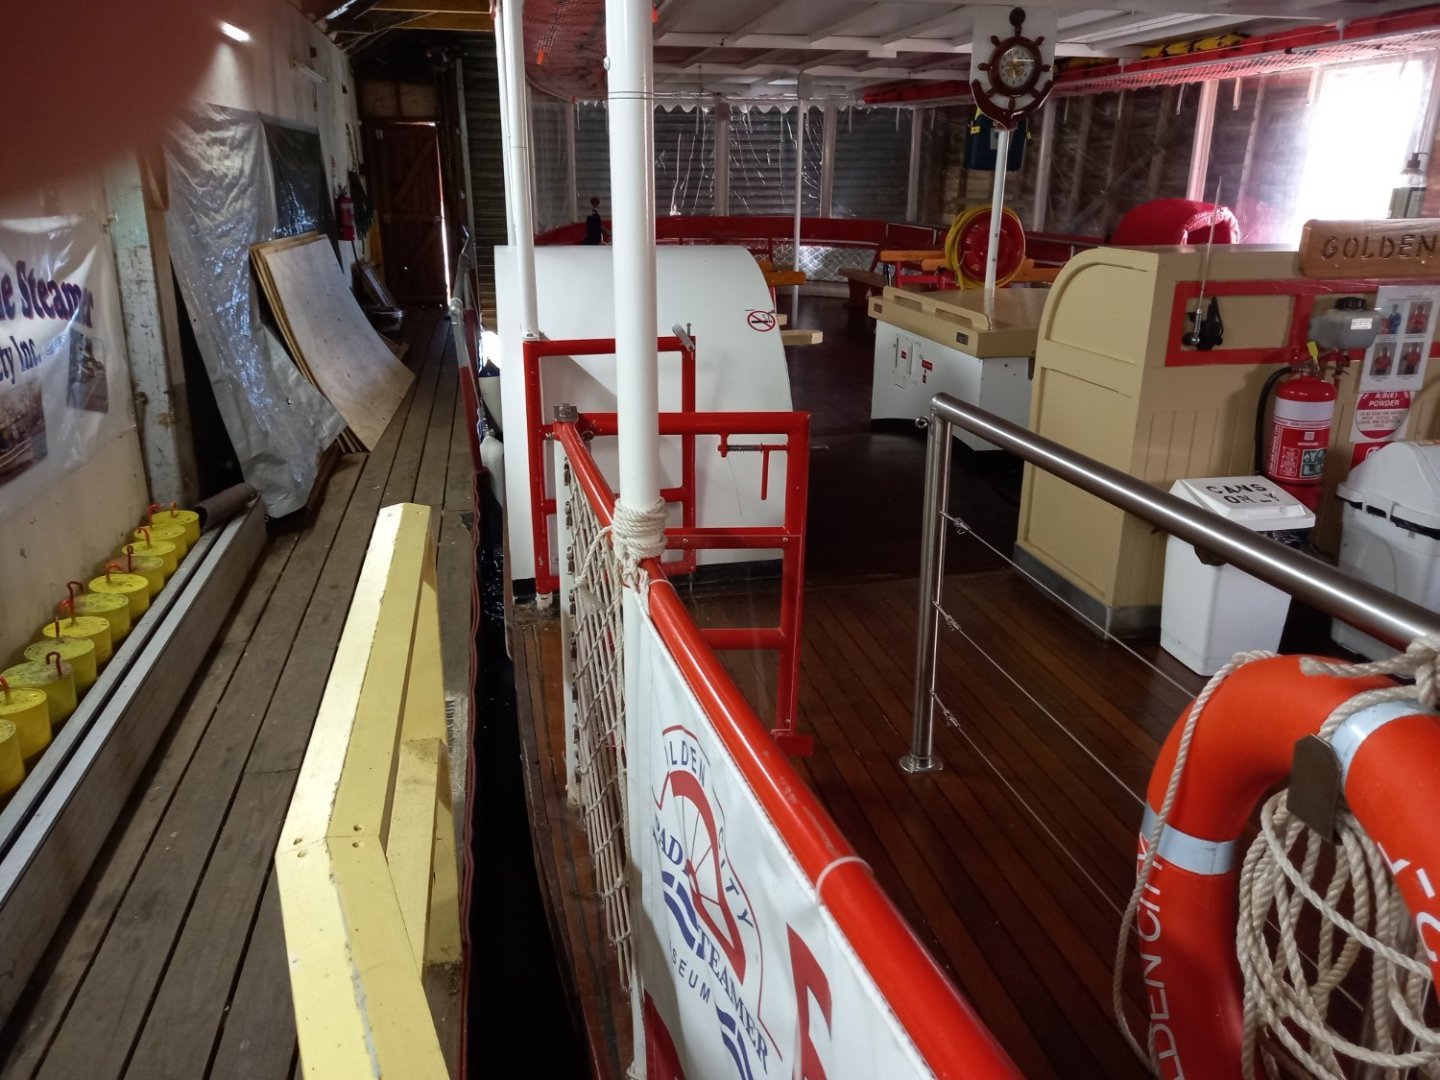
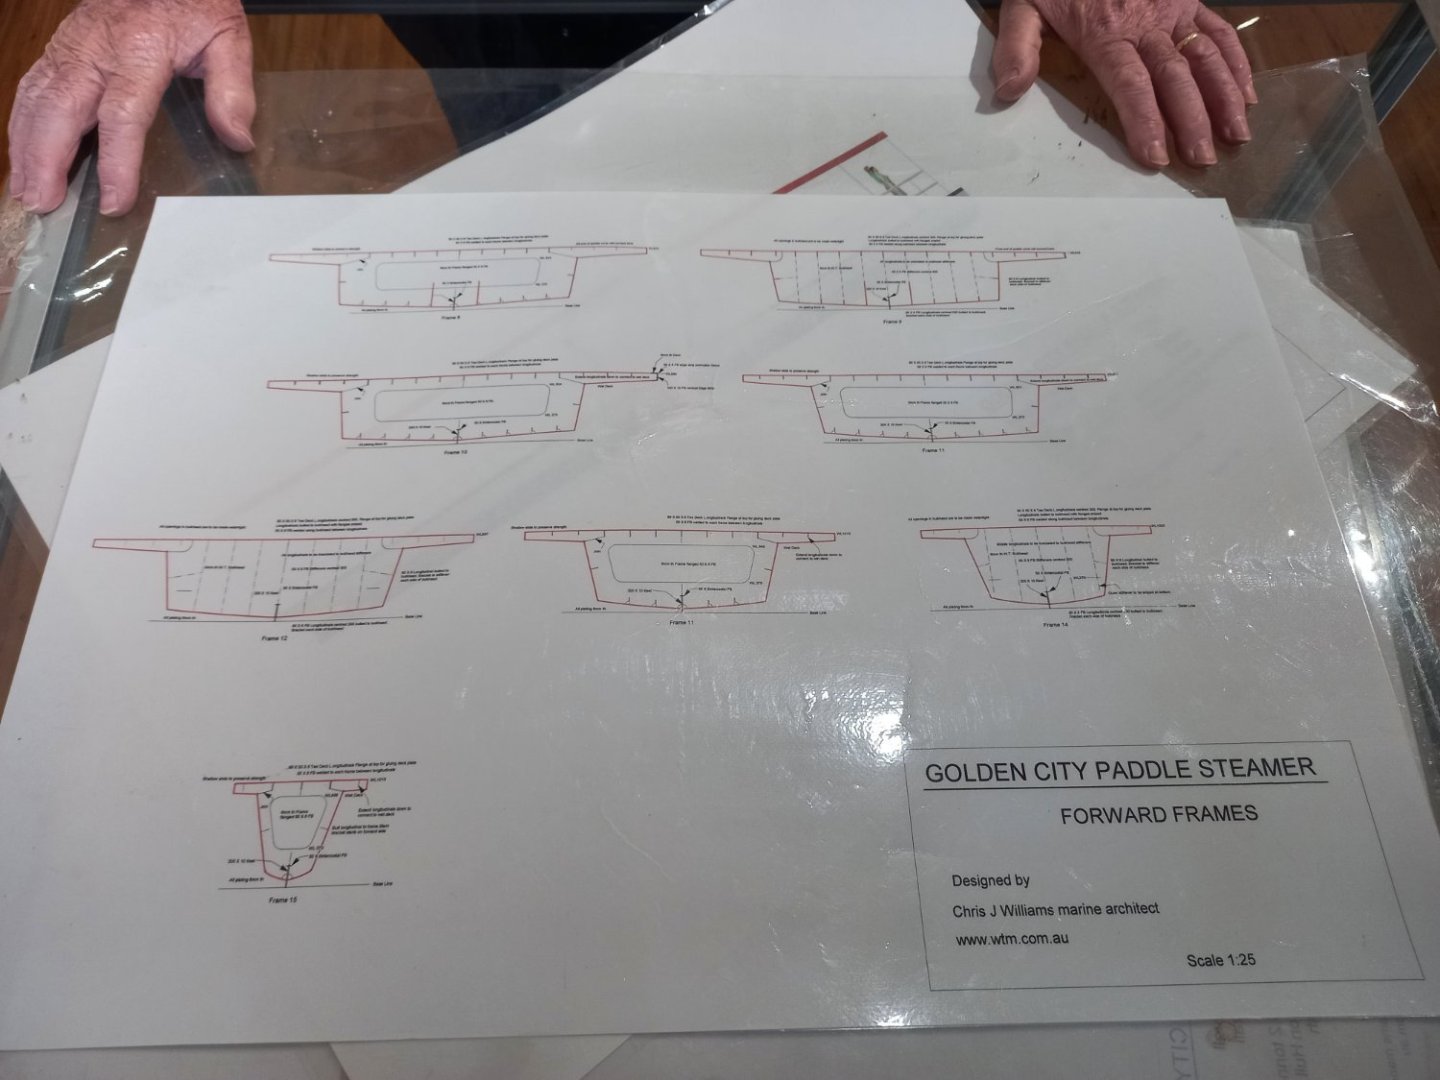
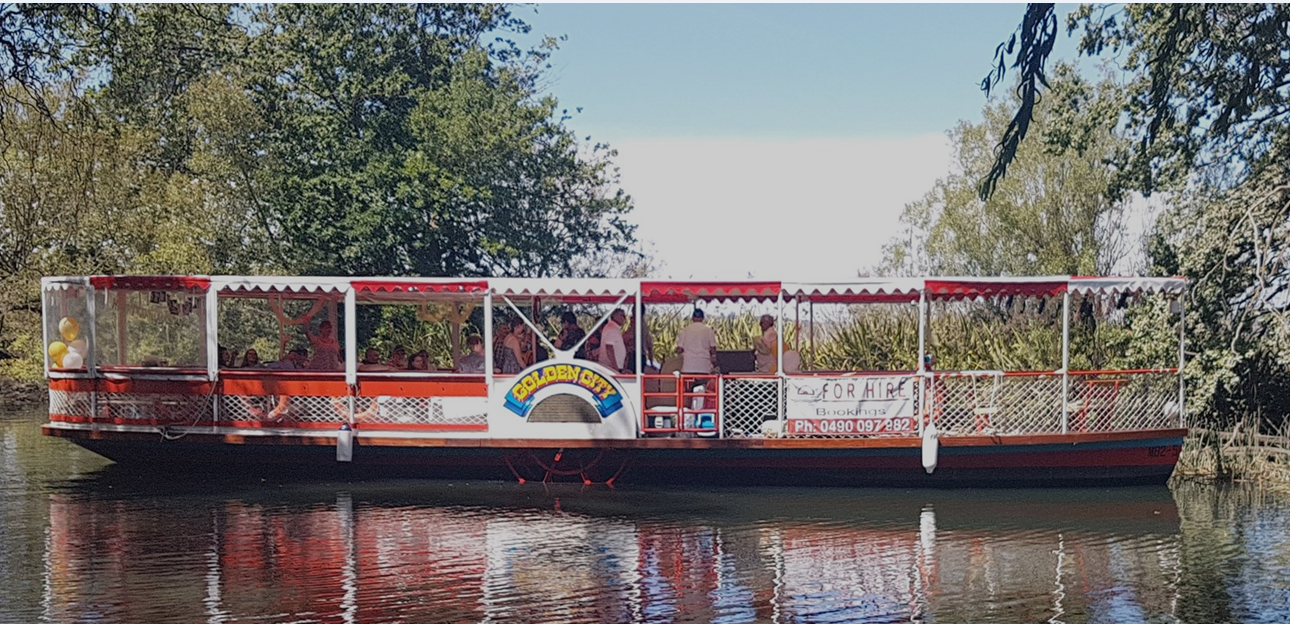
I'm starting on a model of the Golden City, a paddlewheeler which operates on Ballarat's Lake Wendouree, run by volunteers and taking passengers for trips around the lake every summer Sunday (weather permitting). It is a replica of one of the paddlesteamers which did the same thing back around the turn of the 20th century (unfortunately destroyed by fire some years ago). It will be a Solid model, and I'm first making one at 1:50 to iron out the bugs. After that I'll be making another at 1:25 to present to the people who run her, who also run a museum dedicated to the vessel itself and its history. I've spoken to one of the organisers who's very keen on the idea - apart from anything else, visitors to the museum get disappointed when they can't see the vessel if she's out on the lake, so a decent sized model (68 cm or 27 inches long) would be a great help. I've actually started on both models already, and if it all works out I'll simplify the design and make multiple 1:50 models to sell to visitors, as a fund-raiser for both the museum and for the Men's Shed where I make stuff (and which has so many wonderful boys' toys, like bandsaws, lathes, bench saws etc etc). Here are some photos of her And some I took close up while she was in her boatshed. Plus photos of the plans which the museum kindly got out for me, and which I then redrew to make the model. And here are the smaller and larger models so far. As you can see in the first and second photos the deck overlaps the hull considerably. Upside down, showing the overlap. And with 'paddleboxes' - just cut from a bit of 20mm wood with a hole saw and cut in half. Comparative sizes - 1:50 in front and 1:25 behind. The two together with paddleboxes. The bit in front is the roof awning, which fortunately is flat. And another shot of the two together. (The phone camera reduces the size contrast in the first photo and exaggerates it in the second.) I think the most difficult bit for me will be the posts that hold up the awning and the railings. I can't see any way to make them except out of wire, and I'm currently rubbish at soldering. Well, another skill I'll need to learn . . . Steven


- 110 replies
-
- 19
-
-
- Paddlewheeler
- Ballarat
- (and 3 more)
-
Thanks, Druxey, Pat, and those who've added likes. No problem with the corners. It's now encased in its acrylic box again, and the desk that was below it is back in position. Steven

-
Just to alert anybody who was planning to make a display case like mine, I have just discovered (when I shifted the case to a new room and took the opportunity to do a minor repair, for which I had to buy glue) that what I'd thought was clear polycarbonate sheet was actually acryclic. I've edited the posts that describe the process (from #1608 onward) to get rid of the error. And now she's in a new spot, here's a photo of her from two previously undiscovered angles. Pretty cool IMHO. Steven
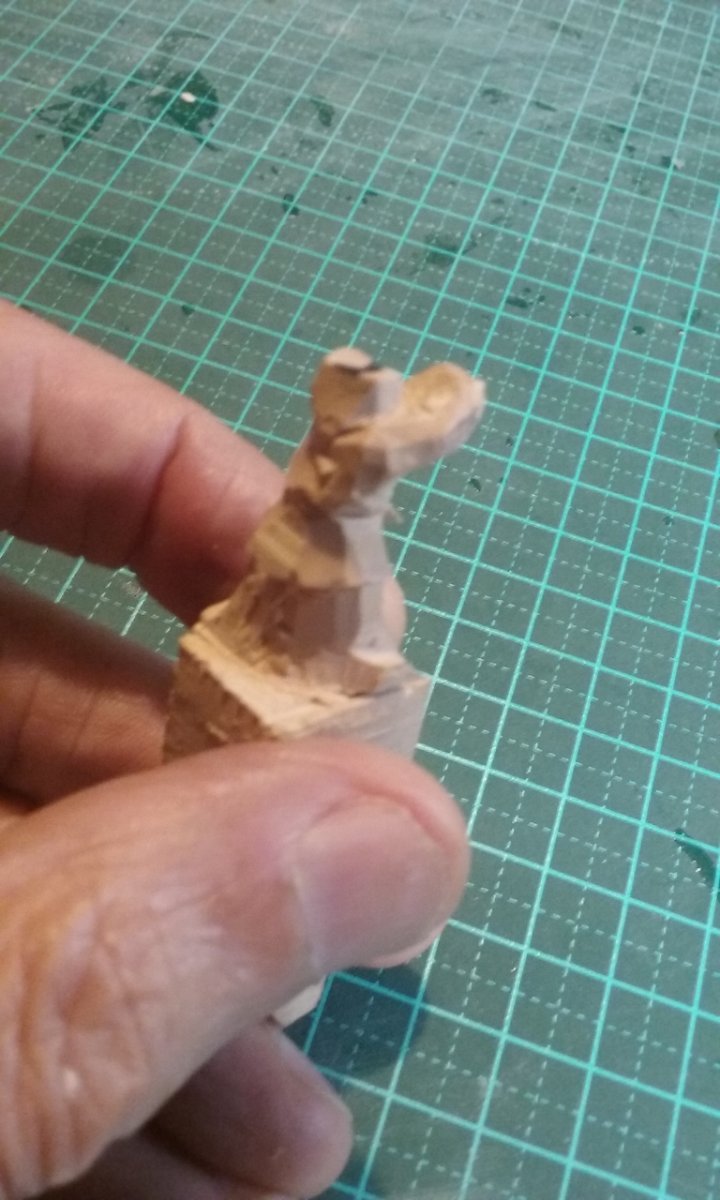
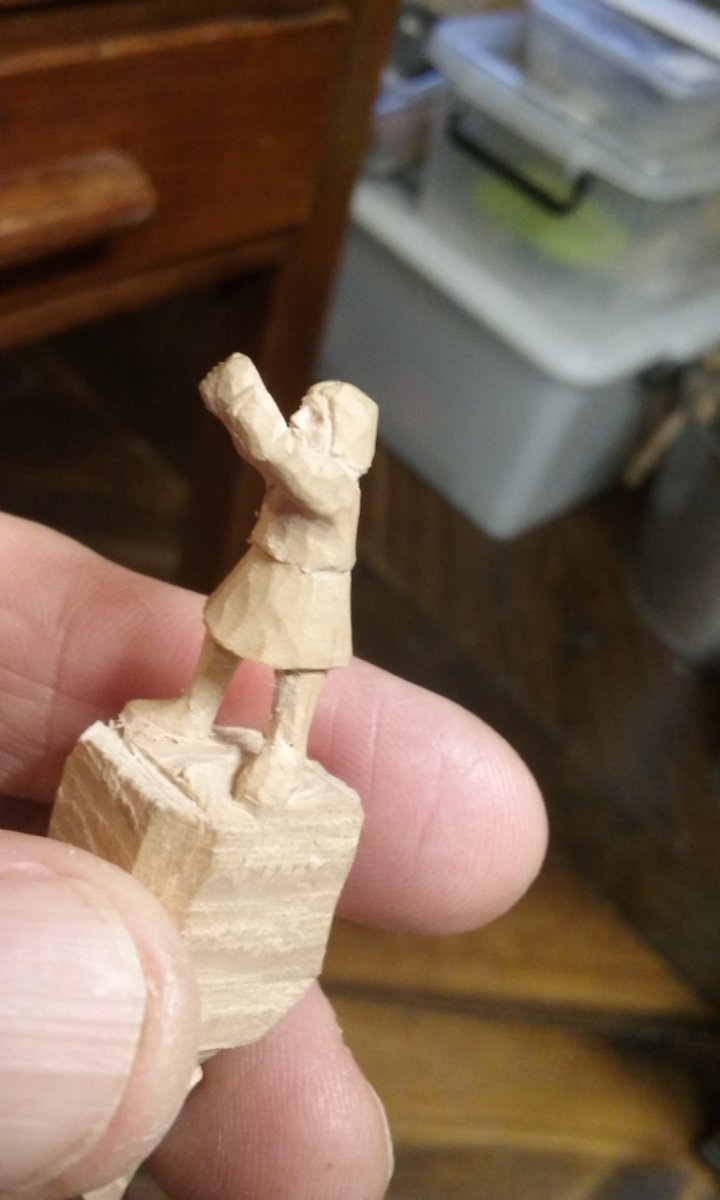
-
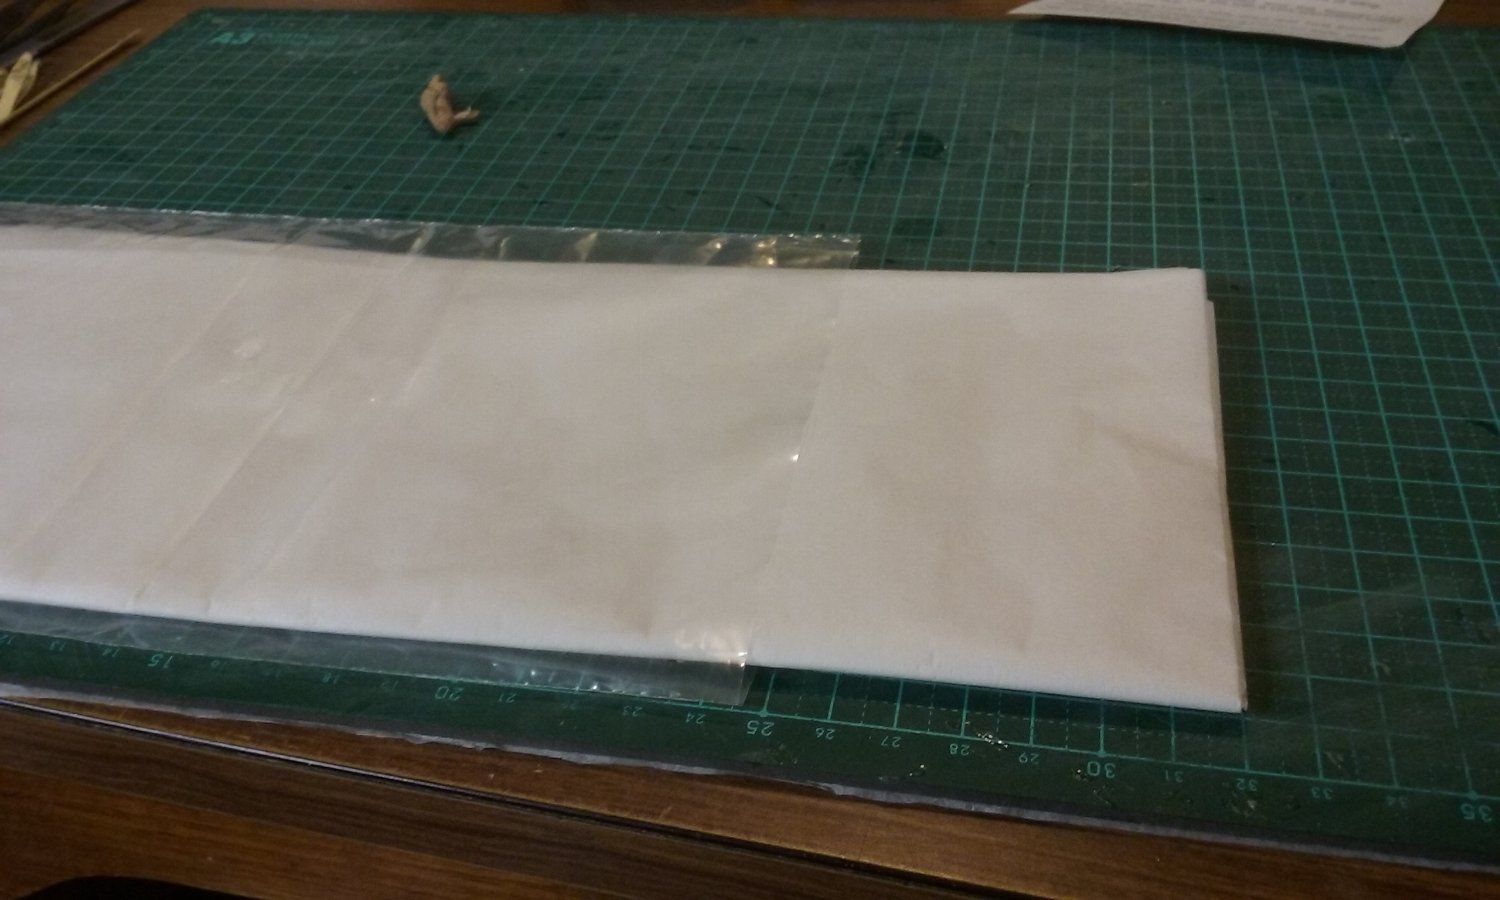
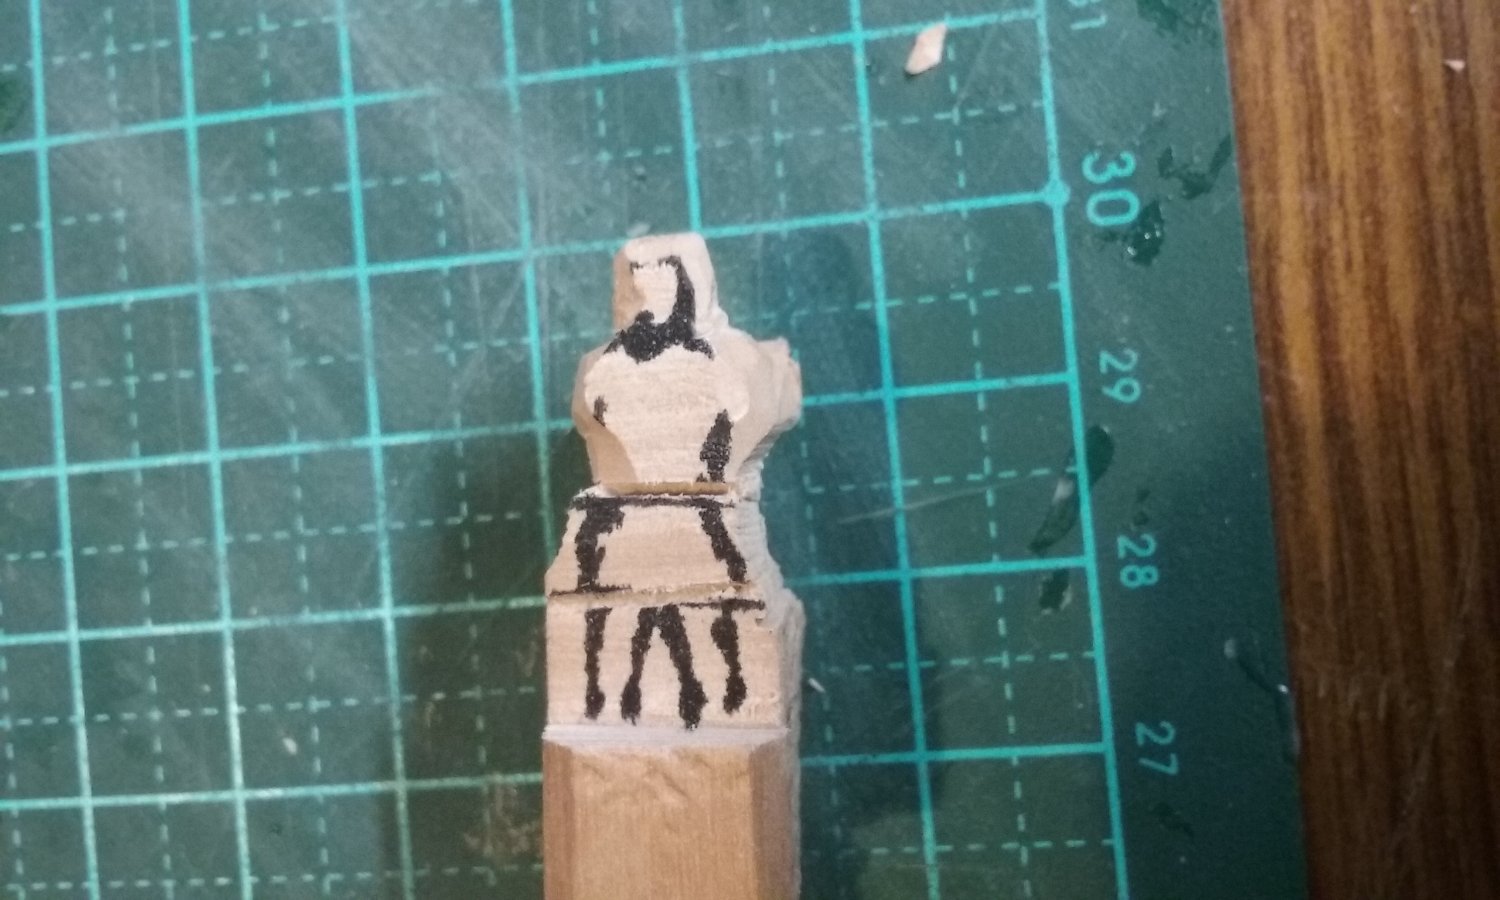
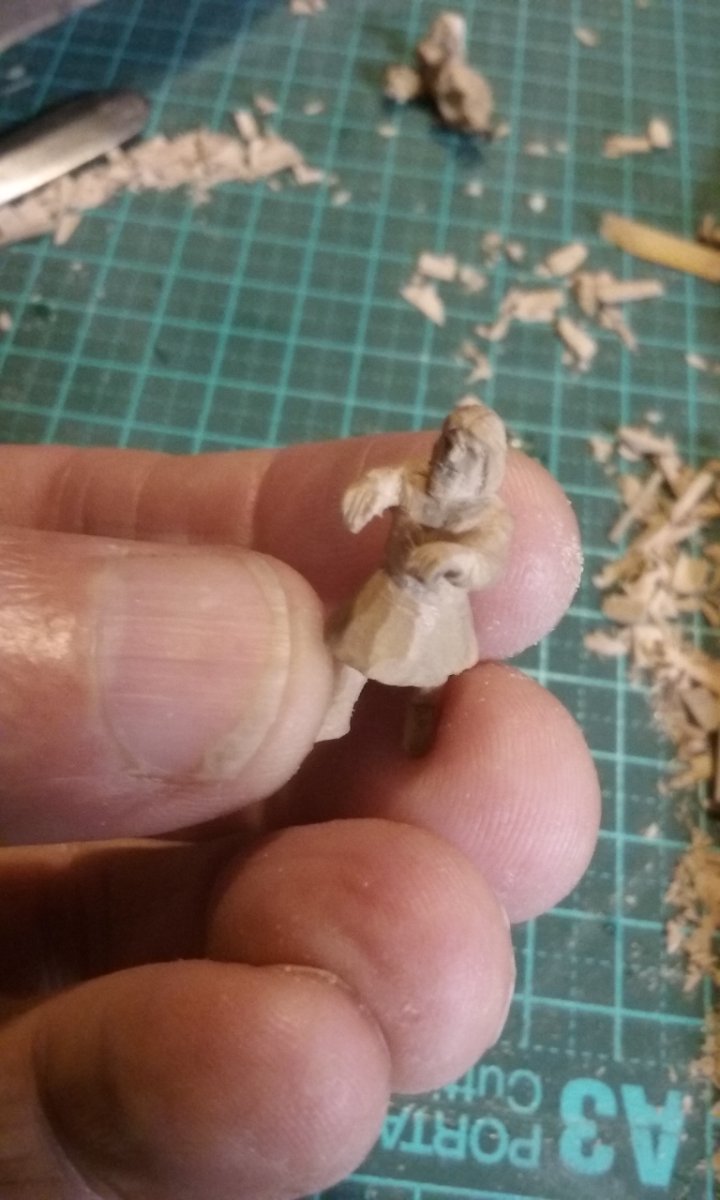
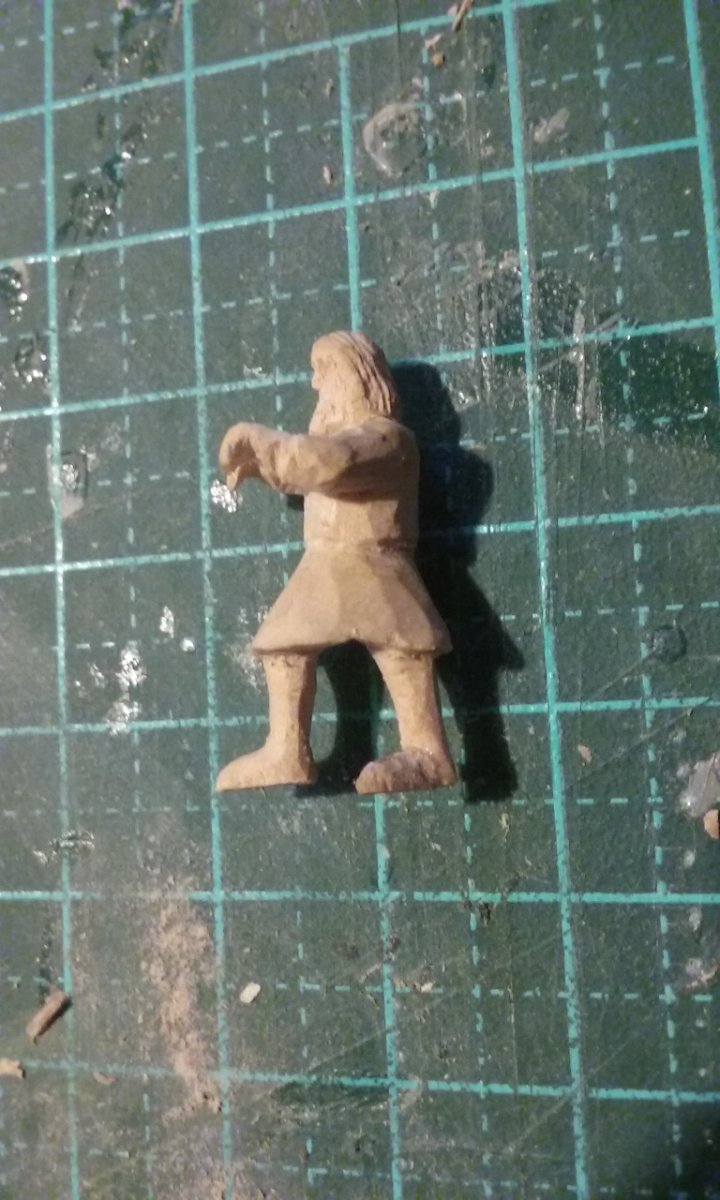
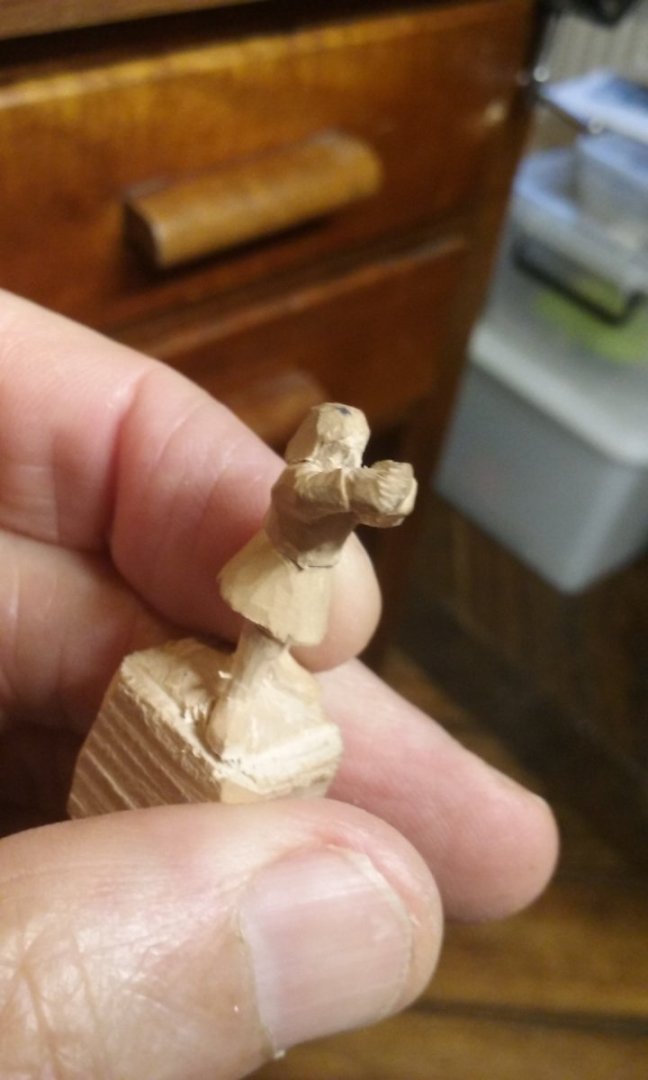
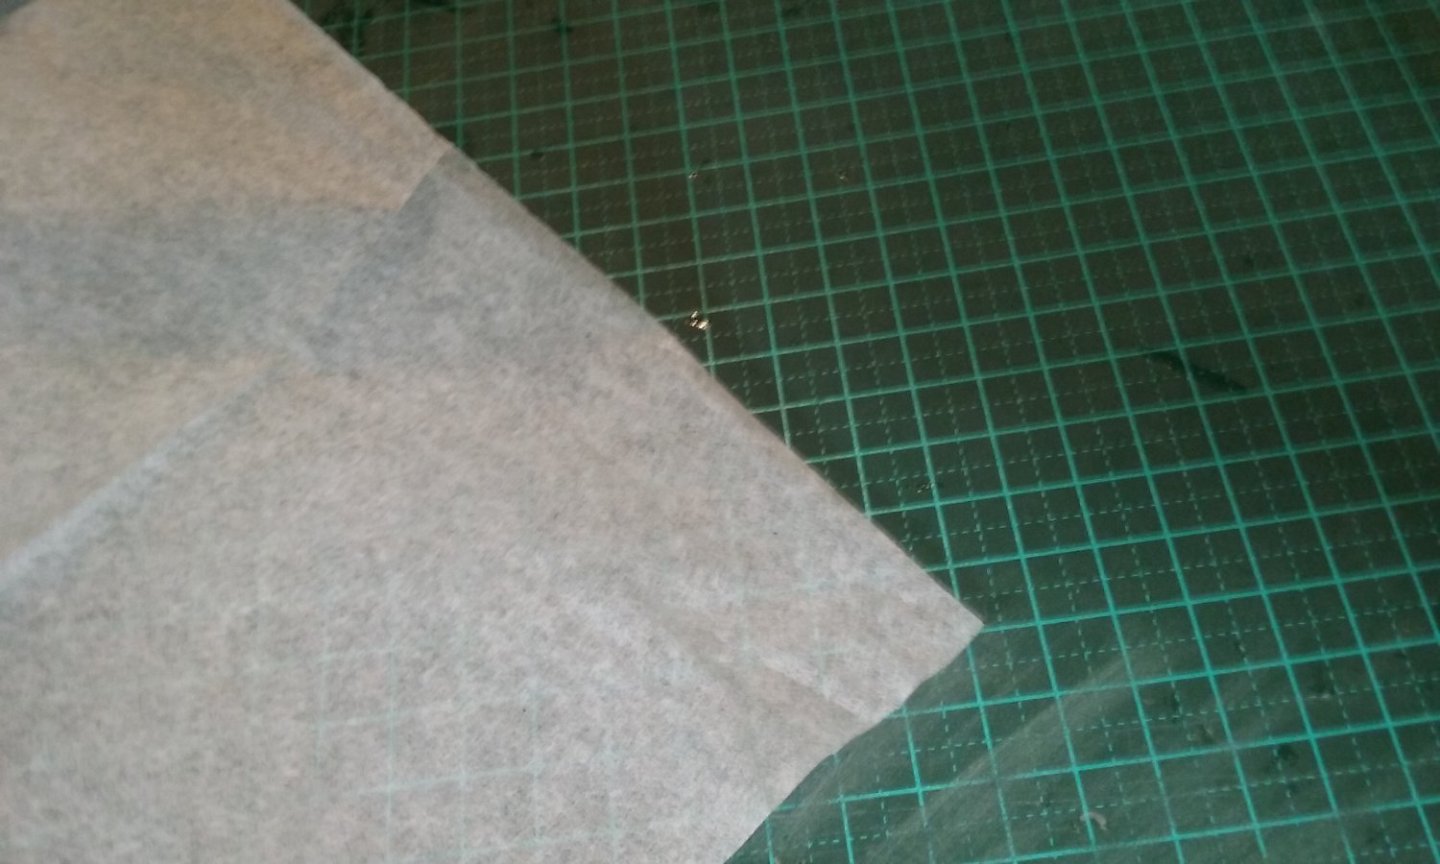
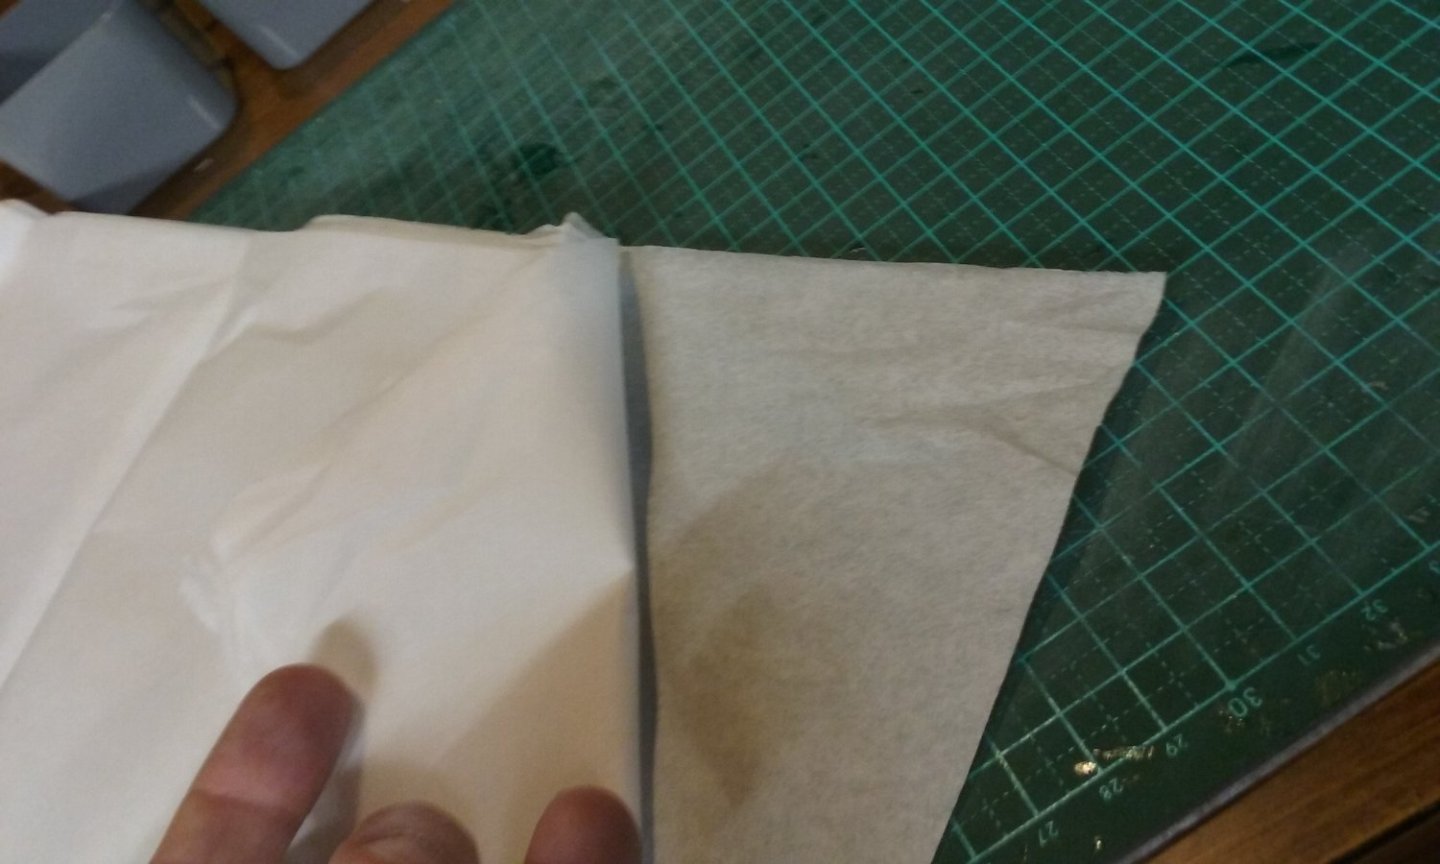
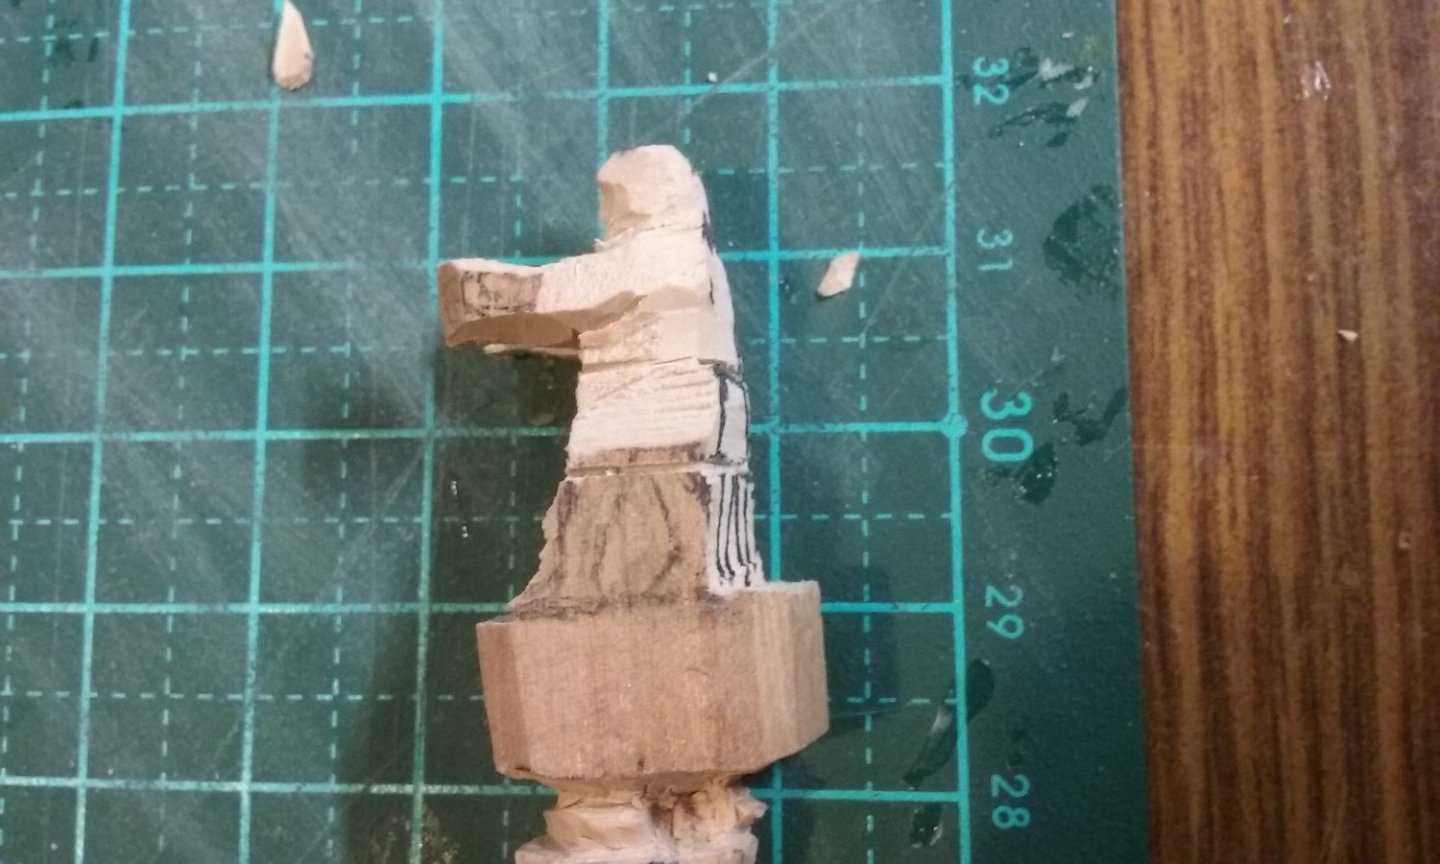
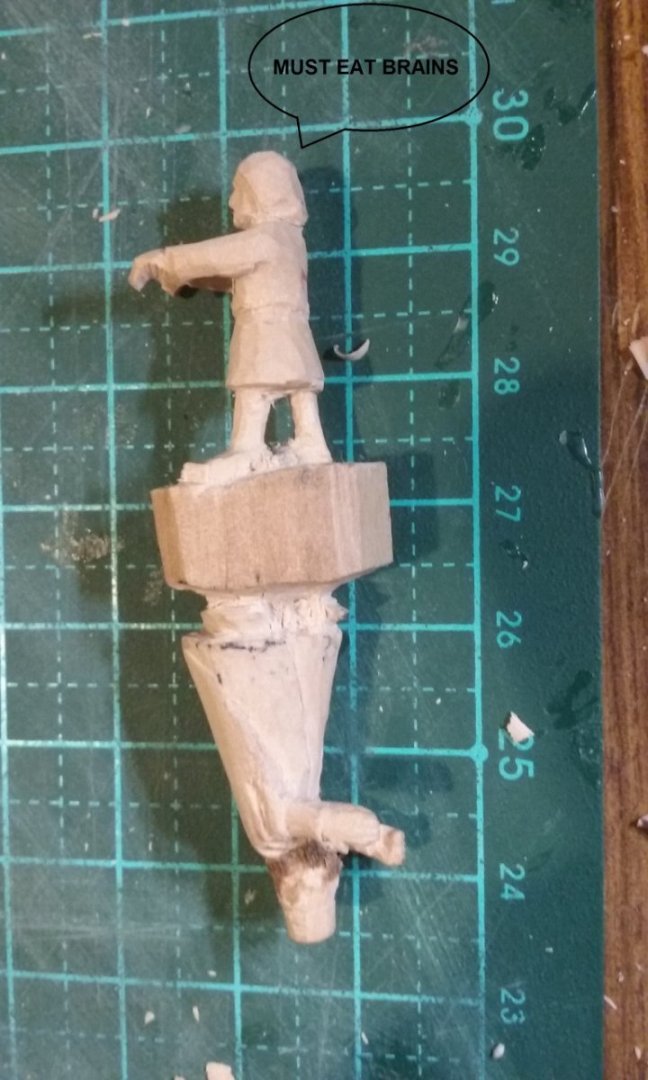
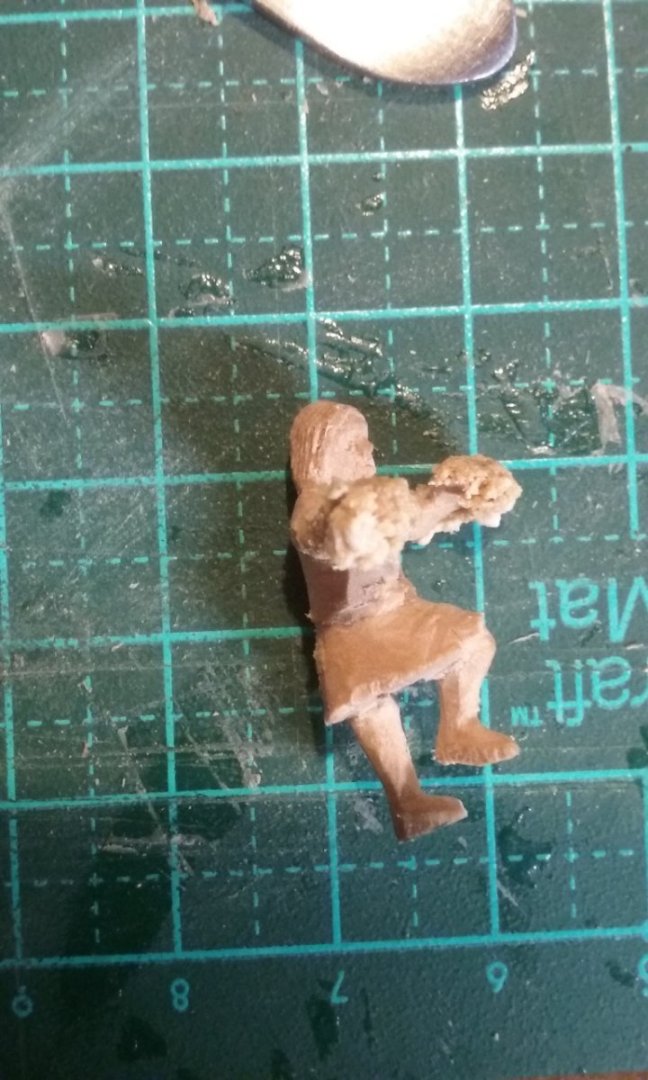
Well, the Silkspan I ordered arrived. Unfortunately it looks like I ordered the wrong thickness - I asked for the thinner version and it's see-through. Not much use for sails. I can either order more, of the heavier grade (postage costs as much as the stuff itself!), or try gluing two layers together to see if that will work. But I had an idea - there's a radio control aircraft club here in Ballarat. Maybe I can go along to them and try to arrange a swap - my Silkspan for heavier stuff. It - COULD - WORK! (shades of Gene Wilder as Young Frankenstein). In the meantime, I've been carving the second steersman. It didn't occur to me that in that stance he looks very much like a zombie . . . In fact, it's starting to look a bit like a zombie apocalypse . . . Steven


- 508 replies
-
- 14
-
-
-

-
Yep. That's real estate agent abbreviations from the old ads in newspaper "For Sale" sections, where they were charged per letter. Steven
-
Yes, my home is on a hill overlooking the Yarrowee River on which sits a wool scouring mill which closed in (I think) the 1970's. It wouldn't have been a very nice place to live at the time, what with the smells and whatever came out of that enormous brick chimney. And I can imagine the effluent was released into the river, though there are what were probably settling ponds. But it's a beautiful spot now, very des res. The mill is a beautiful Victorian building with decorative brickwork, arched windows etc. It's been languishing since it closed down, but somebody is currently refurbishing it to become a "multi-function centre" (whatever that is). We see it every morning from our bedroom window and it really is a beautiful addition to the scene, whatever it may have been back in the day. Steven
-
And I've just discovered that February 3rd is the feast of St Blaise, patron saint of woodcarvers (and wool combers). Steven
-
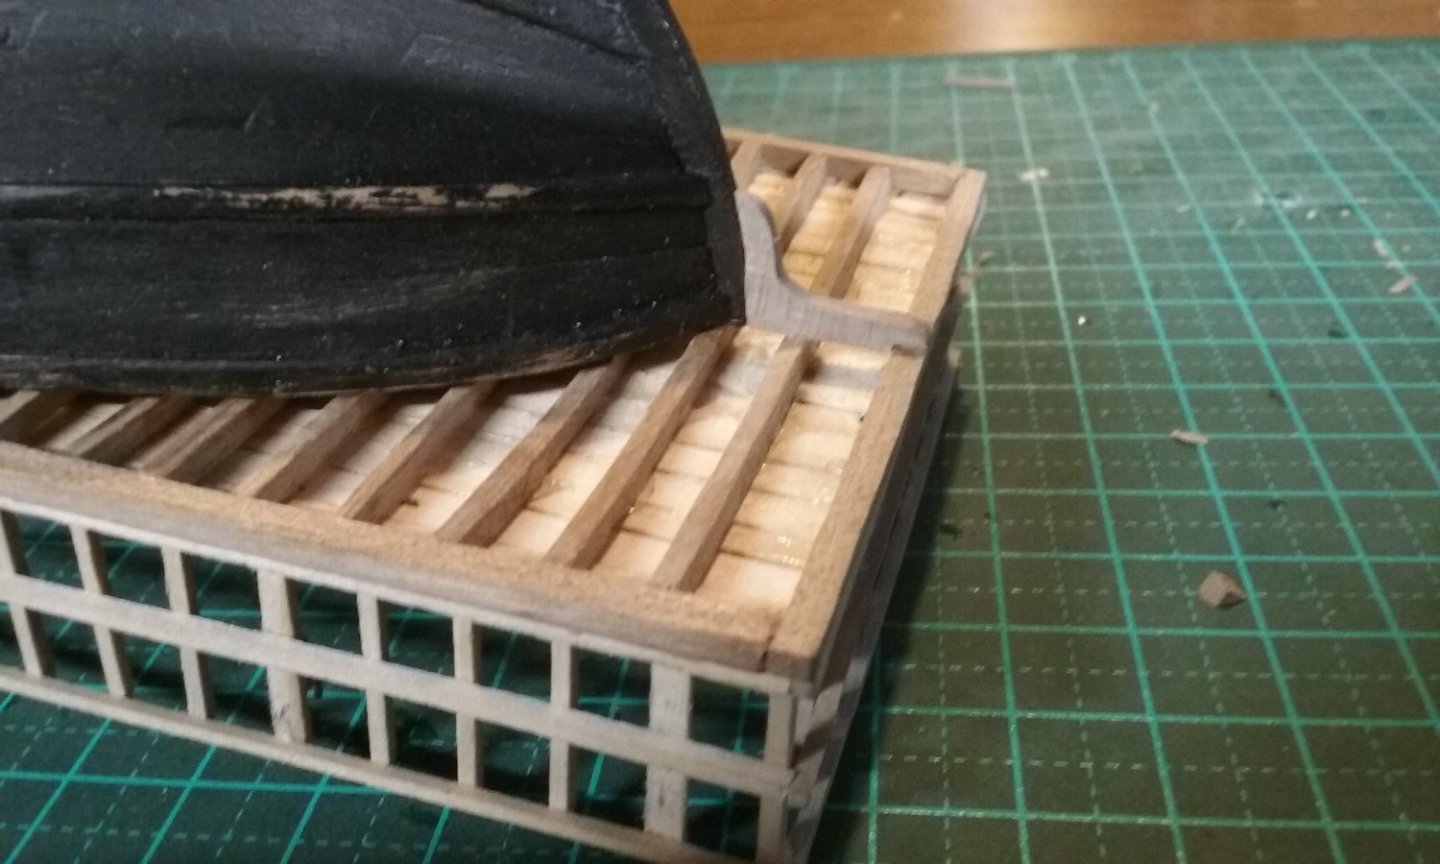
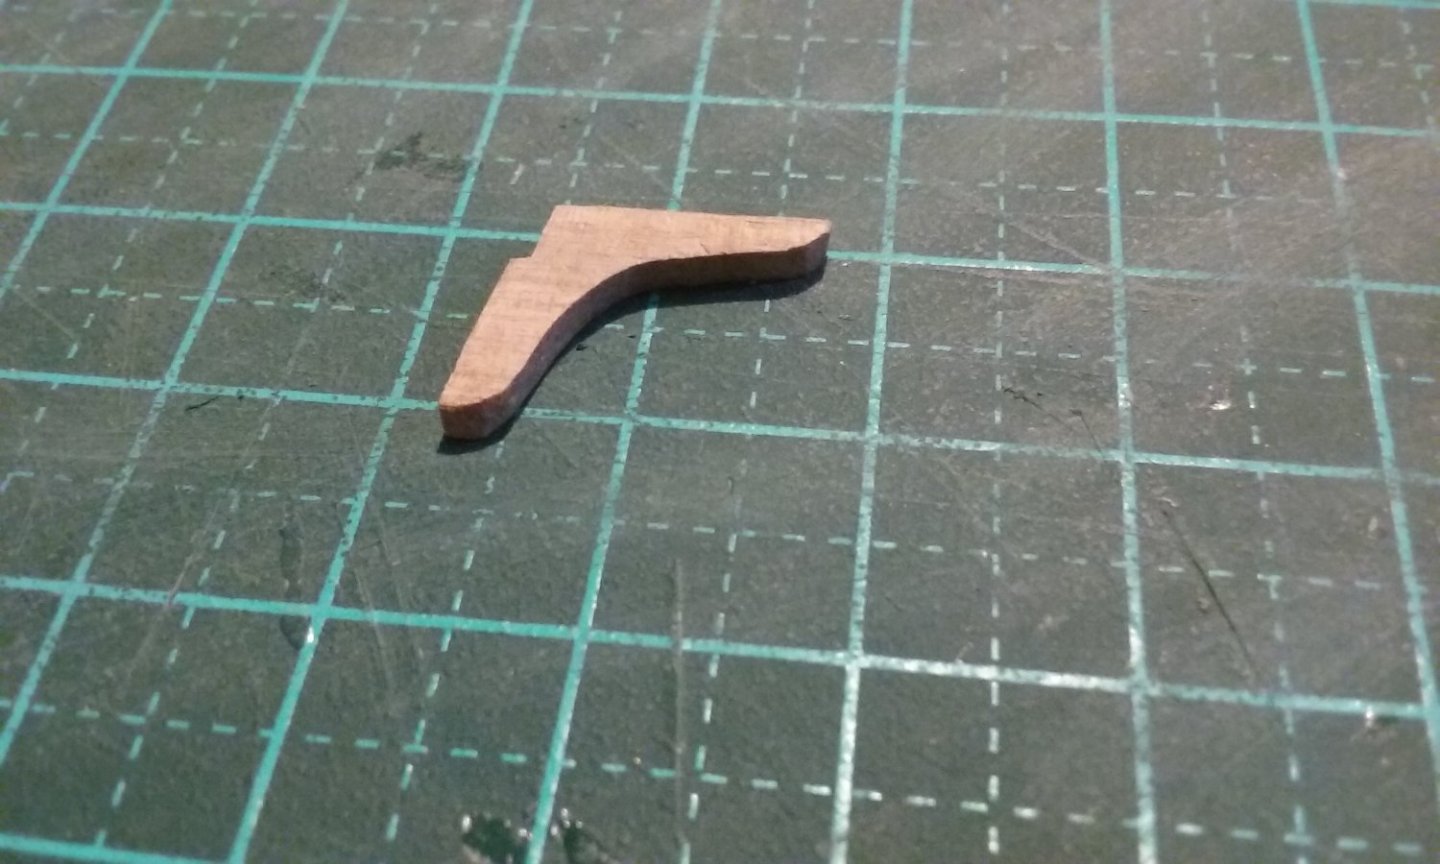
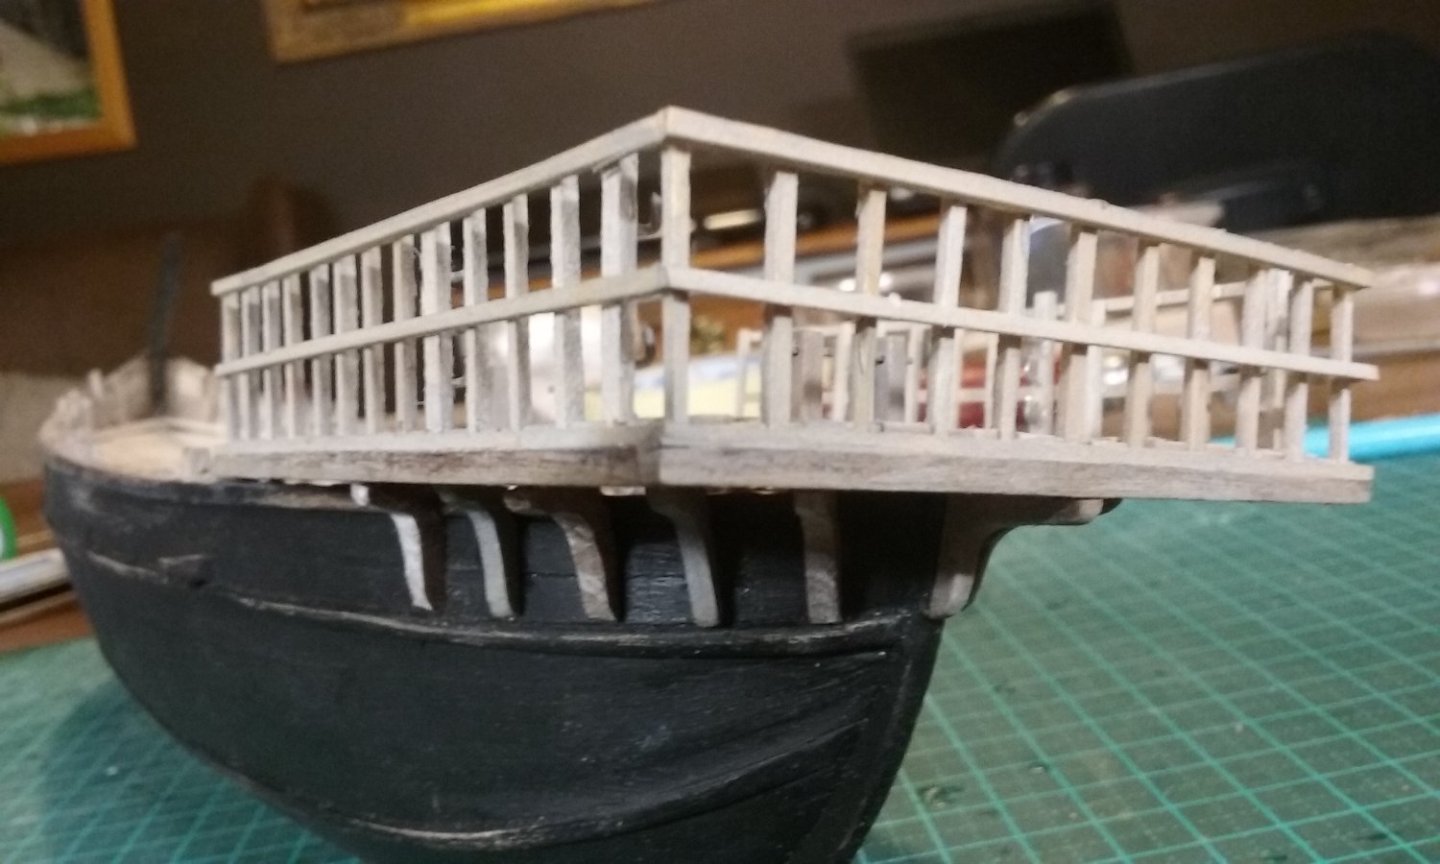
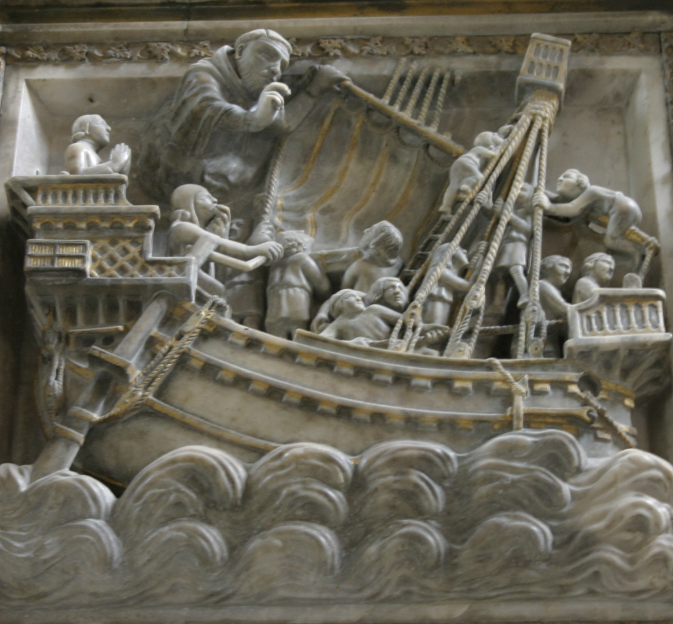
Yes, those supports seem fairly common in contemporary pictures. but they may not be able to support such a large cantilever, and as we have evidence of knees I'm quite happy to use them on my model. Steven
-
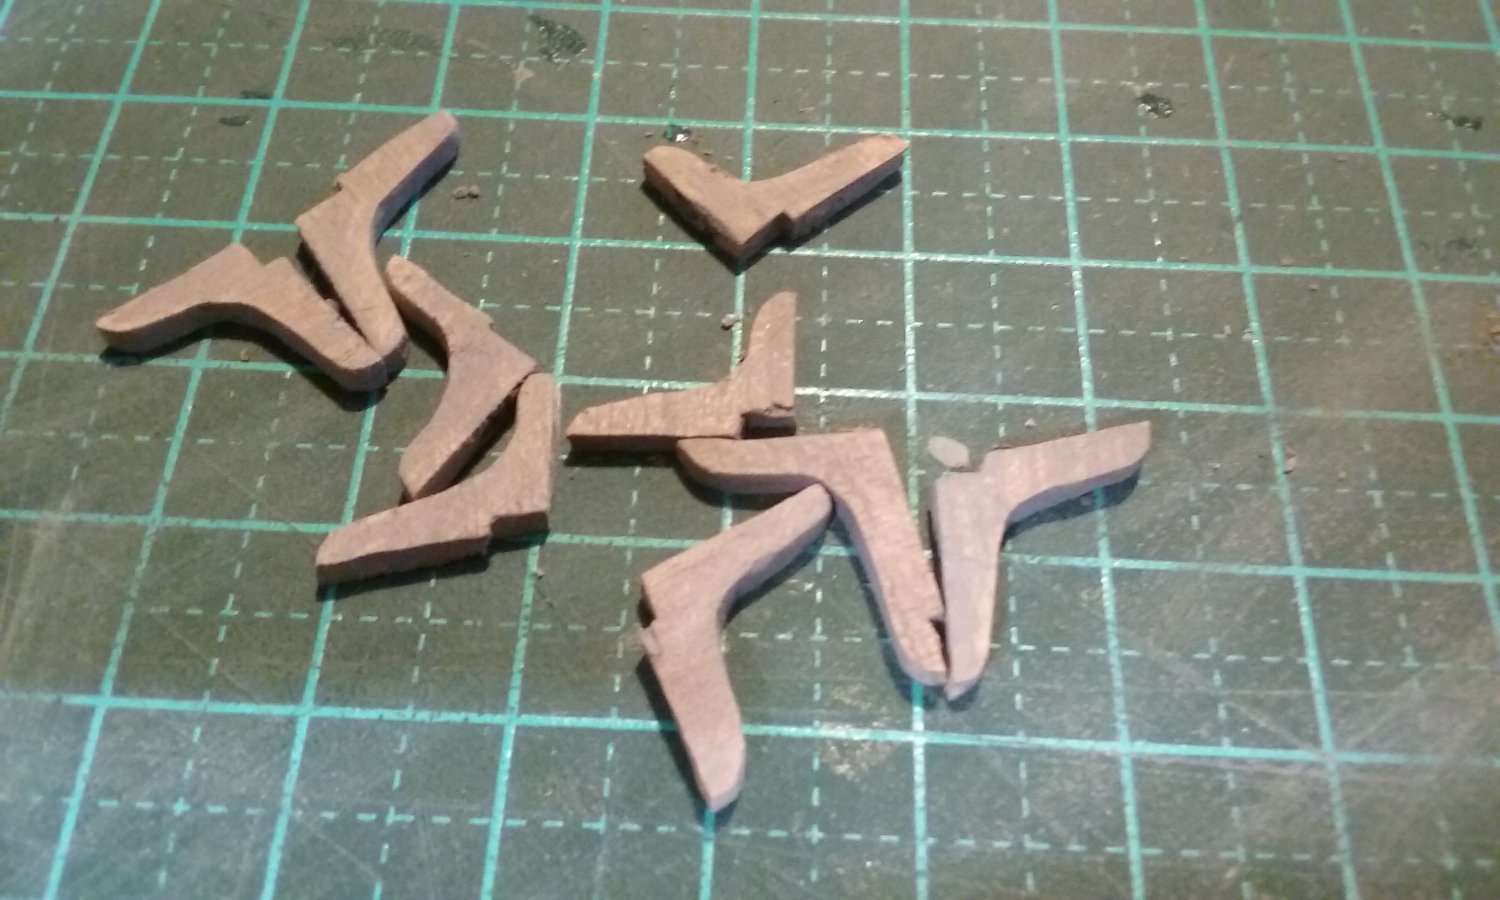
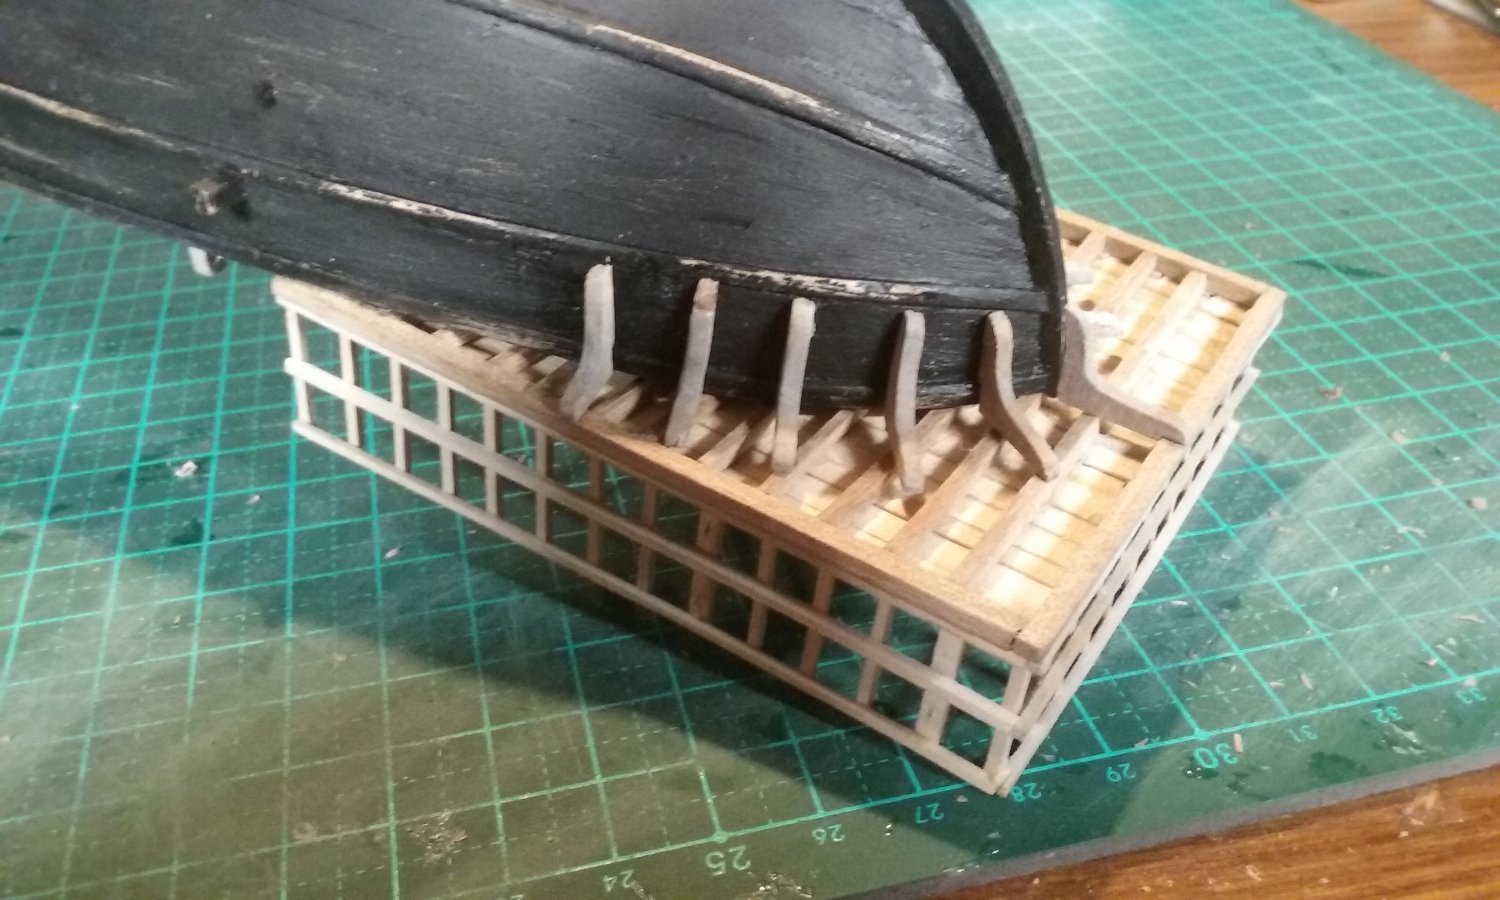
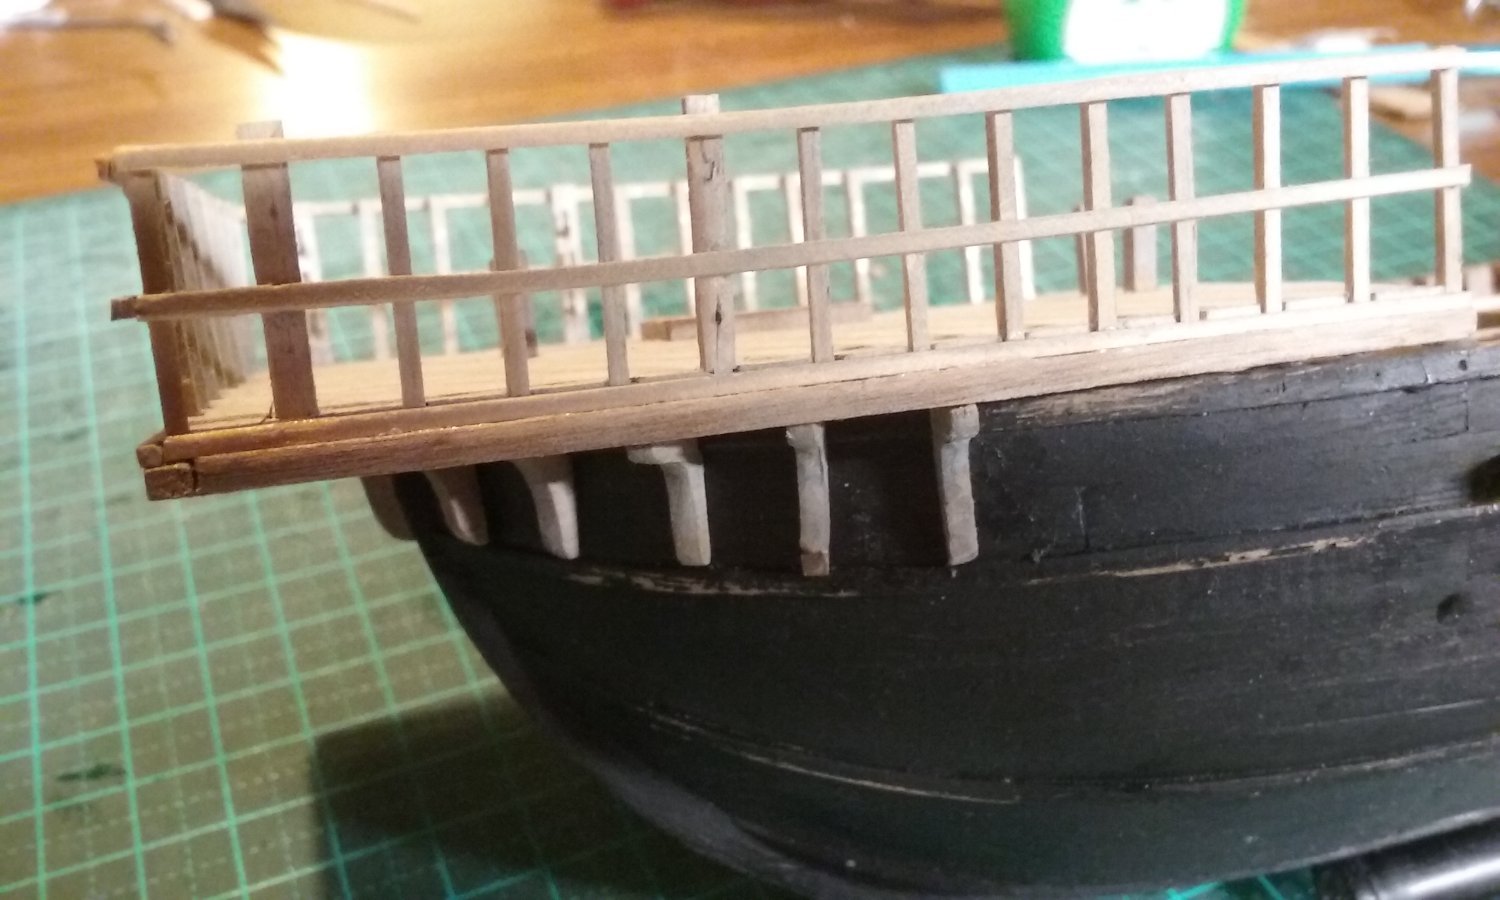
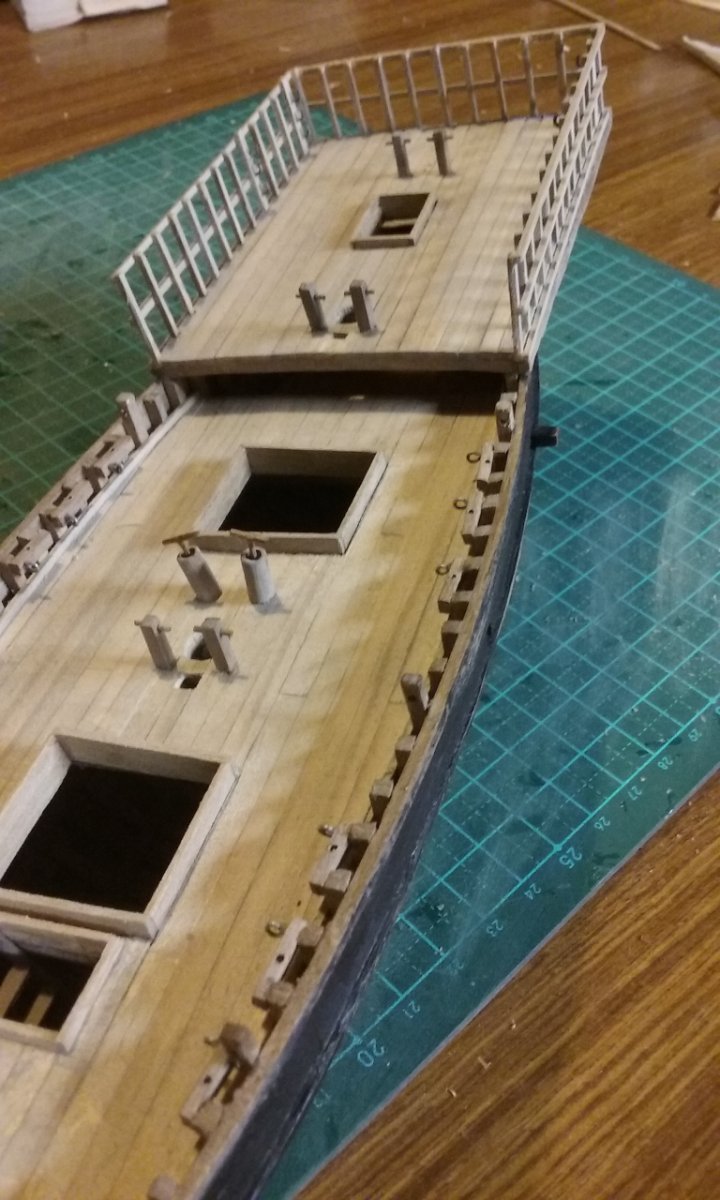
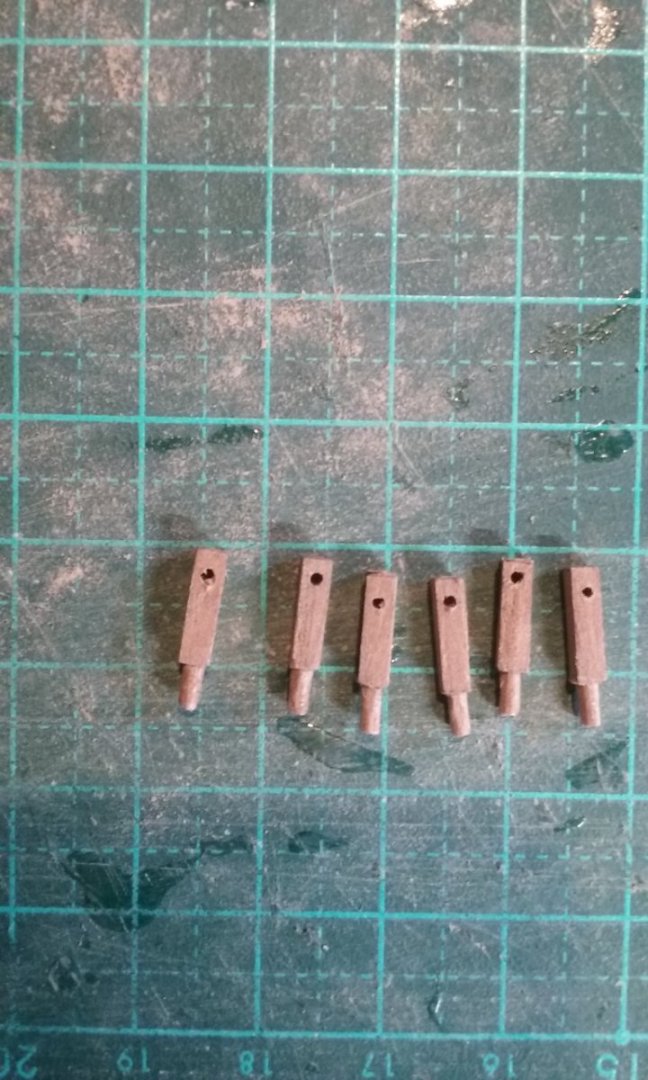
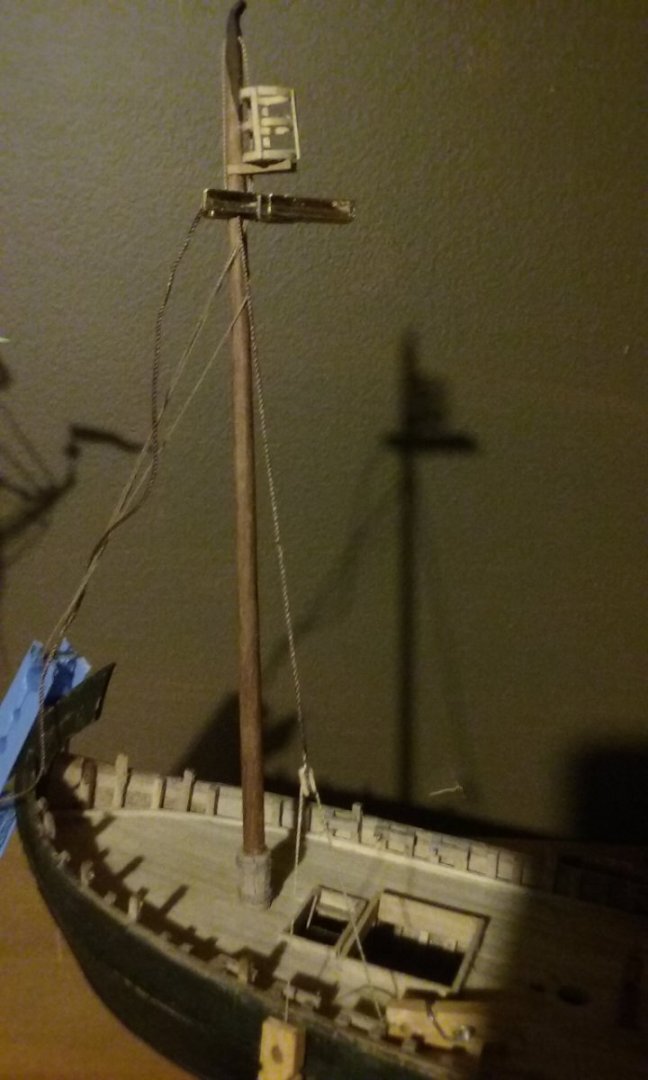
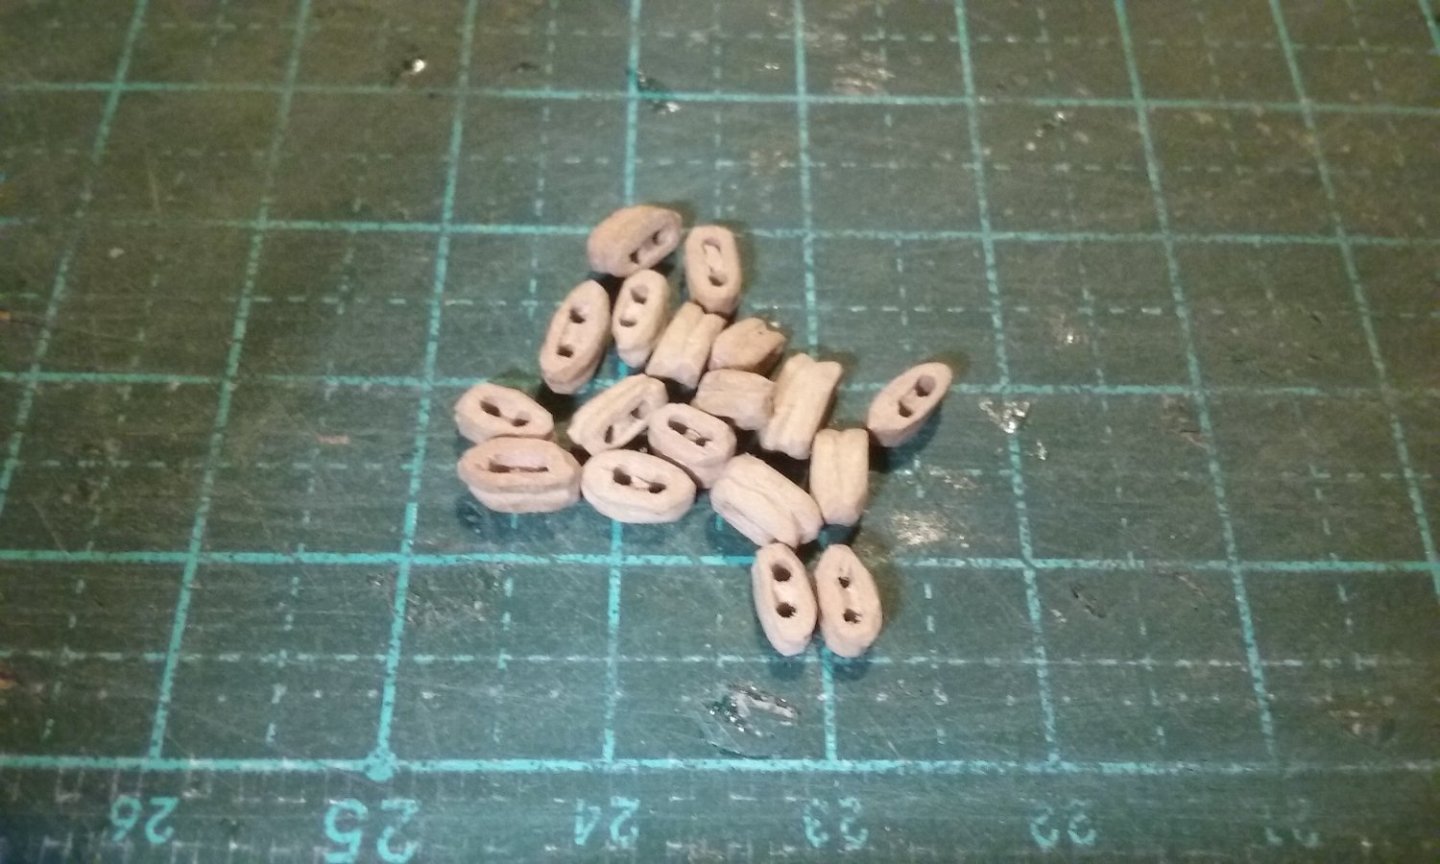
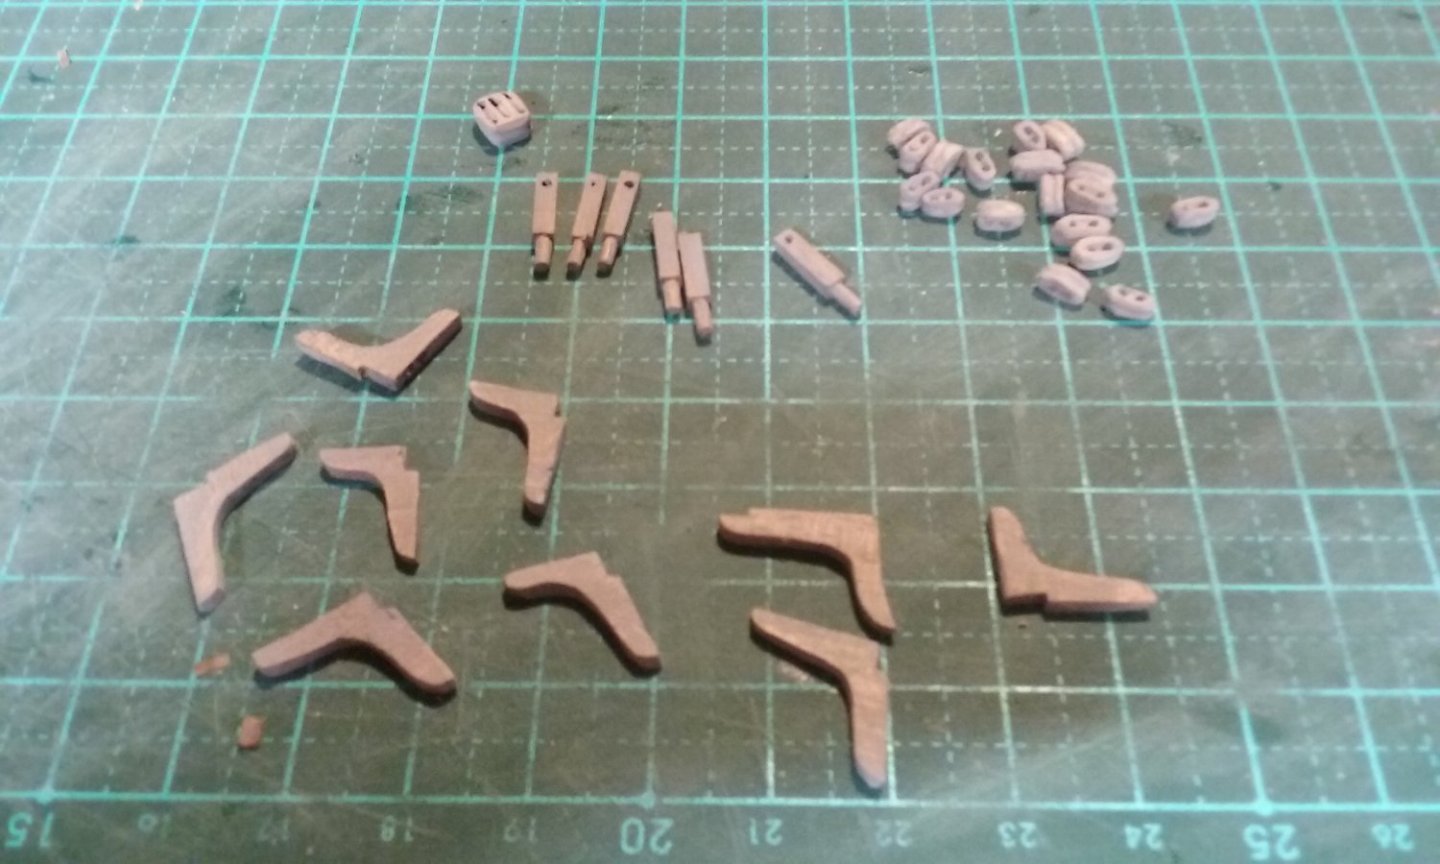
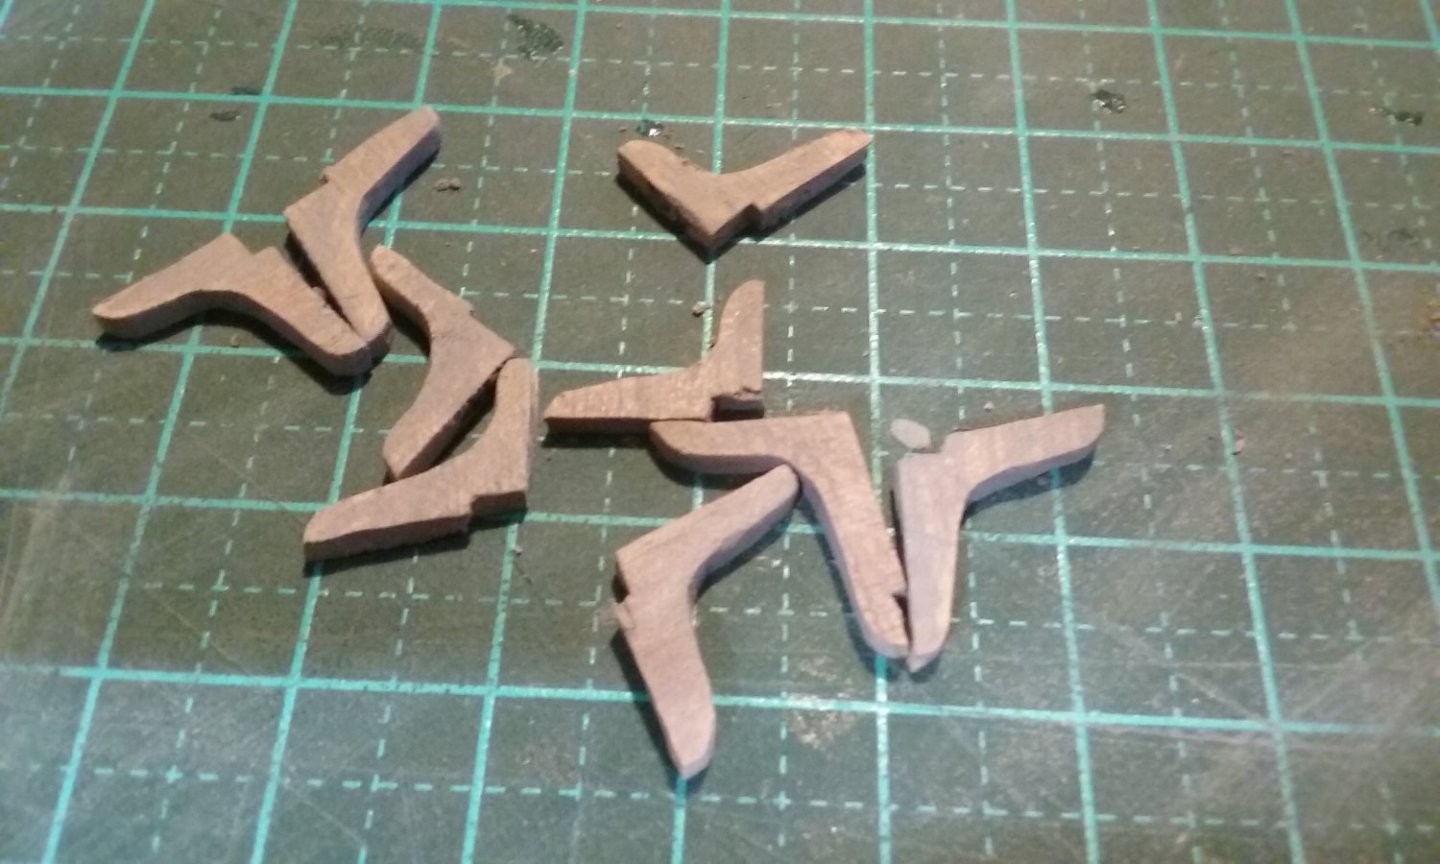
Thanks everybody for the likes and the flattering comments on my carving. I've also been working on the fiddly bits - blocks, bitts, knees (I can get a bit bored with carving after awhile). First I've made blocks - unfortunately nobody back in 1150 bothered to show how the shrouds were tied down - they didn't start showing that till about the 14th century. I looked at those representations - some had pairs of blocks (whereas in later vessels deadeyes would have been used), others had a single block. All were similar shapes, oval or egg-shaped. Originally I worked out I needed about 60, but that was when I was thinking of a pair of blocks for each of the the shrouds. Then apart from the difficulty of inserting an eyebolt into a large number of such small blocks, I also decided that the earlier the ship, the simpler the rig was likely to be. So I opted for a single block per shroud. I've so far made about 18. I was a bit worried that I'd made them too small, but as you can see, they look just about right when in place, and the "single block" method seems to work. Plenty more to make yet. Bitts - two per mast and knight, to tie off halyards etc. Knees to support the aftercastle, which cantilevers out quite a way at the stern and would be likely to work loose in heavy seas if it wasn't supported properly. Though not shown on the mosaics, there must have been some kind of support of this kind, and multiple knees are shown being used this way in other contemporary pictures. Then I weathered everything. Not very visible in this photo, but they've just been "dulled down" a bit. I ended up having to re-do quite a few of the knees to get them to fit properly and be consistent, and add an extra pair because they were originally too far apart. I still have to re-do the weathering on some of the replacements so they all match. And here are the bitts fitted. I won't be adding the knights until later - it's going to be a bit fiddly running the lanyards through the sheaves once the knights are in place and I plan to do that before I install them. Steven


- 508 replies
-
- 11
-
-
-
I wish I'd known about this on my dromon build. I was assured by someone who presumably knew that it wouldn't have had a tabernacle, but that the sailors would have lifted the masts out with sheers when dropping them. I've since seen quite a few contemporary pictures of ancient galleys with the masts lowered, pivoted at the deck. I should have gone with my gut feeling. Steven
-
G'day Dindsy, and welcome to MSW from sunny Ballarat! Steven
-
We seem to be very much of the same opinion on this. There are so many 'holes' in our knowledge of early ships - for example, how did Vikings hoist the sail? Was there a sheave in the top of a Viking ship's mast to take the halyard? Or was there a block hanging from the top of the mast? No masts have been recovered, so we just don't know. And all the rigging on modern reconstructions is speculative - almost no traces of rigging survive and nobody really knows how the wooden rigging items that have survived worked. I suppose I try to be as historically accurate as I possibly can, but in many cases we have to resort to guesswork, and be prepared to accept that the next archaeological discovery might prove our guesses wrong. But ship modelling is a hobby, and whatever approach a person decides to take, whether trying for total accuracy (impossible anyway!) or injecting a little artistic licence, is very much their own concern and nobody else's. Either way, if they produce a good model, surely they've achieved what they set out to do. Regarding shield thickness, your idea of sanding the edges sounds good, if you're prepared to do the work. Personally I think it would be worth it. It would look better and less clunky. Oars displayed in the rowing position shouldn't be too fragile, depending where and how you store your finished model - though I'd recommend not adding them till right at the end, to avoid accidents during the build process. I've got a dromon model with 98 oars out and in use, but it is in a secure case so cats/kids etc can't get at it (see the link below) I think there is also a case to be made for both oars and sail - when the wind is too light to travel at any decent speed, I believe a skipper might ship the oars as well to hurry things up. Steven
-
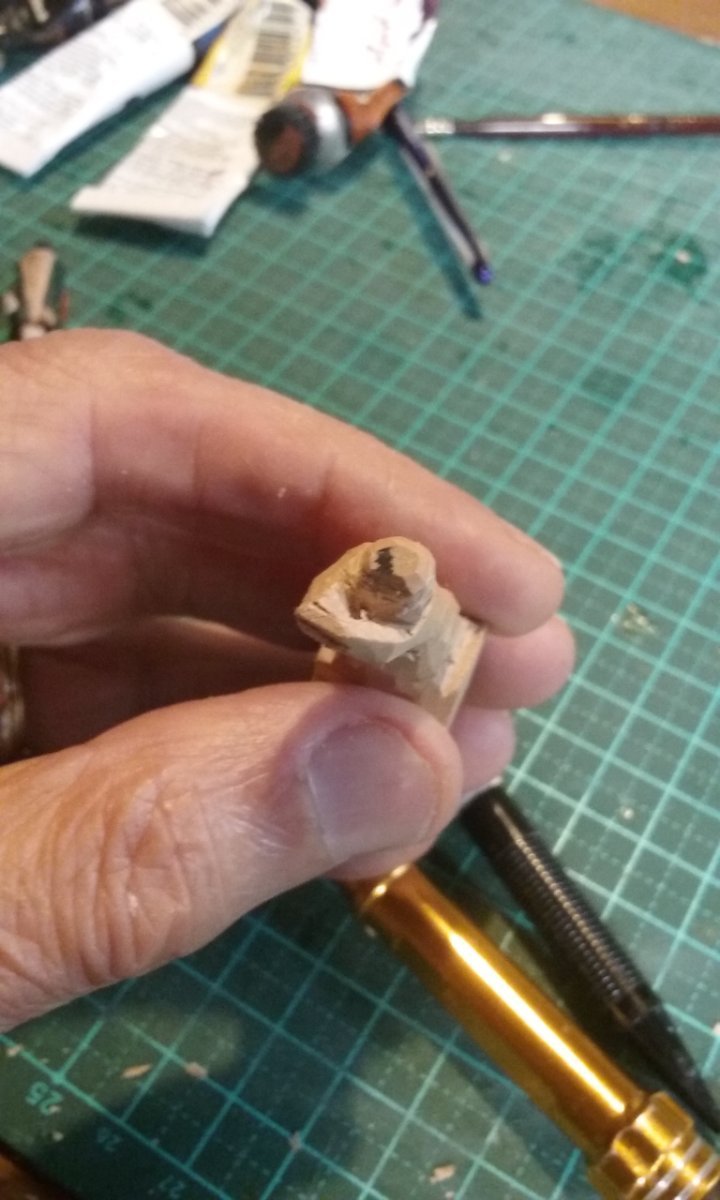
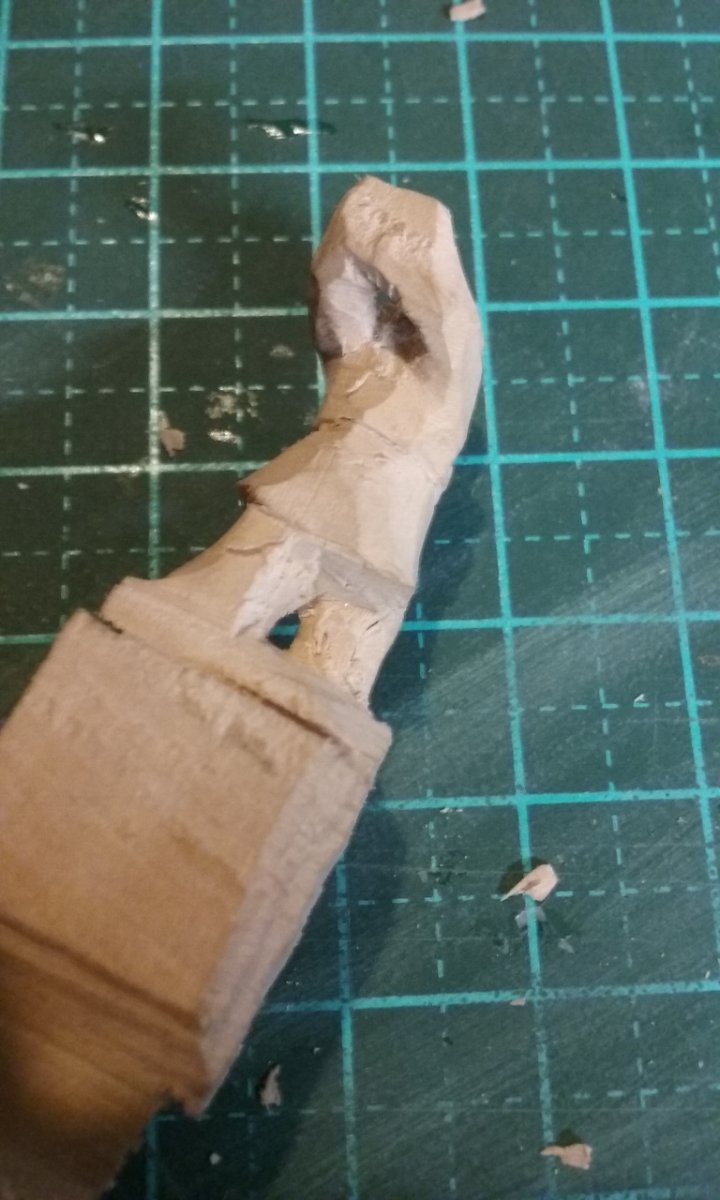
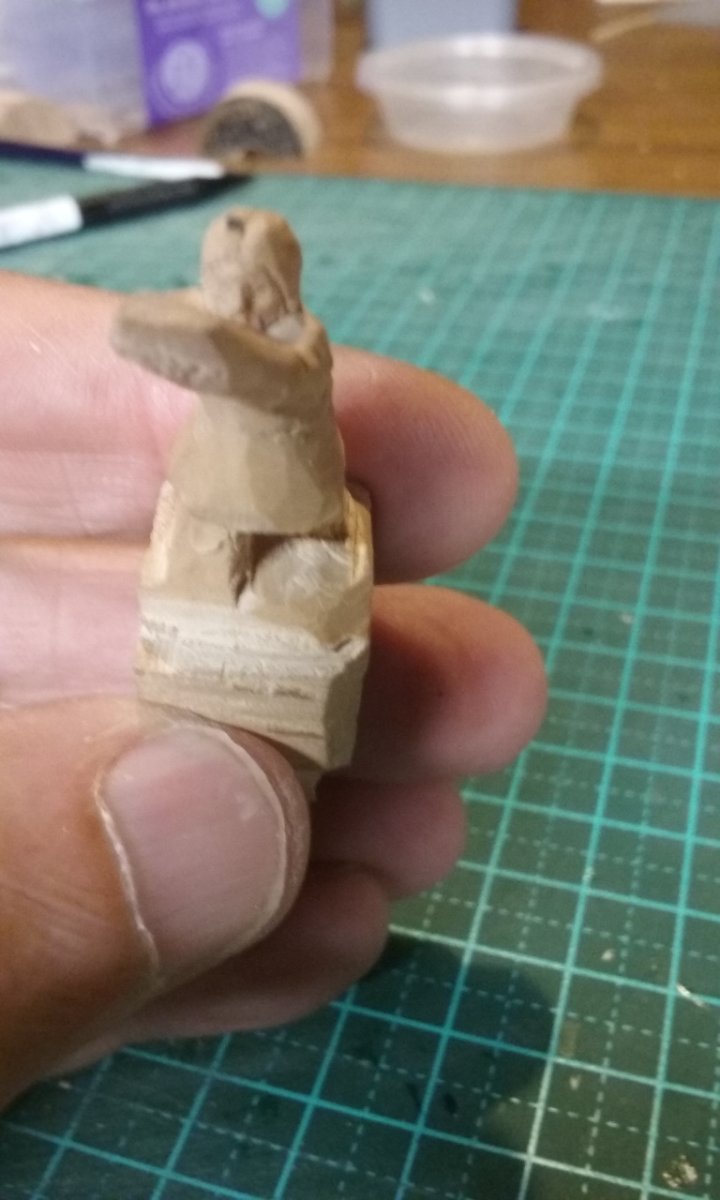
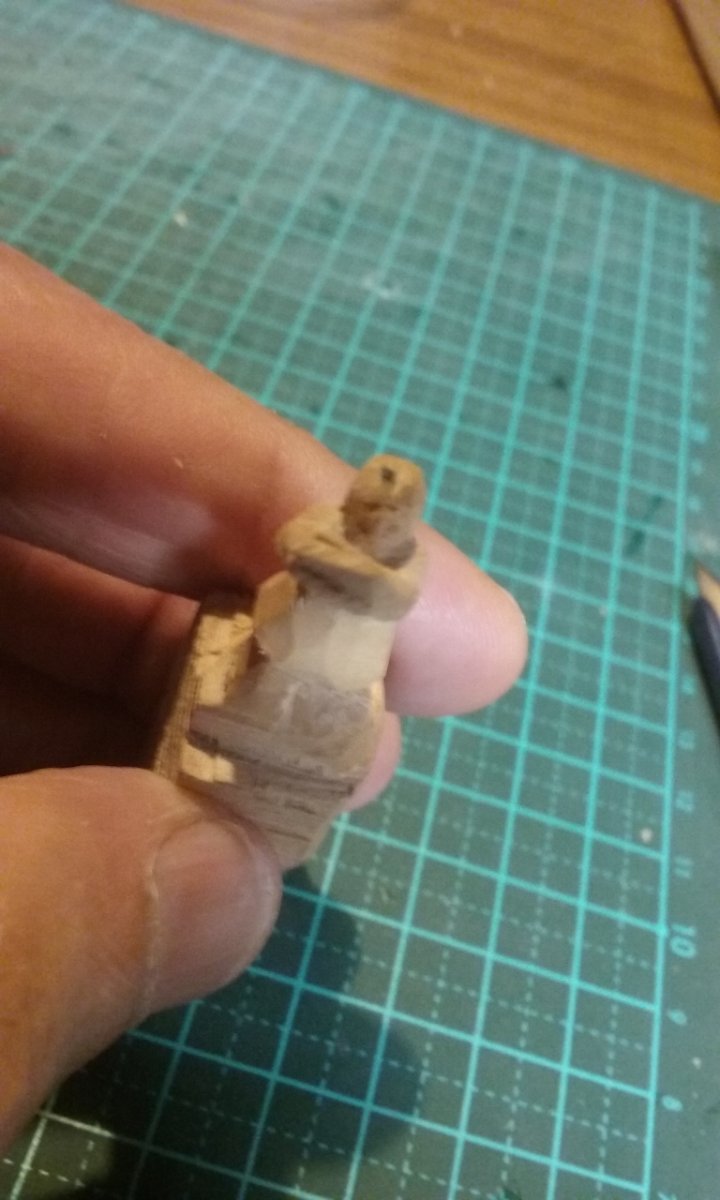
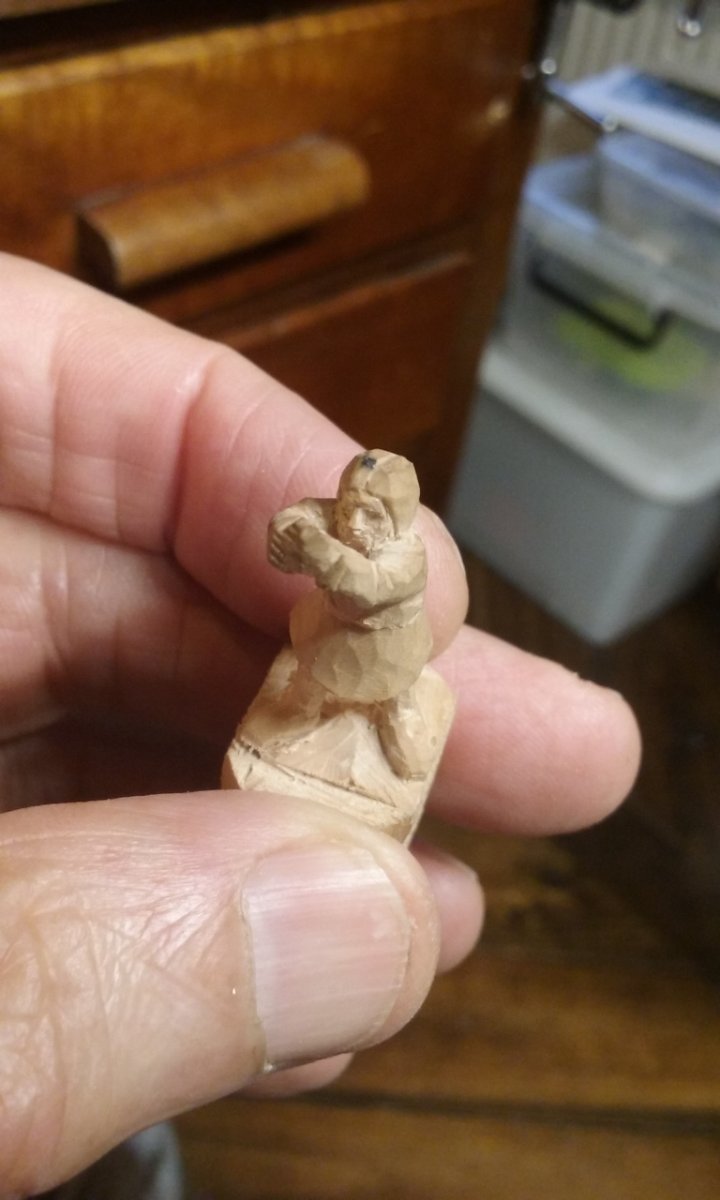
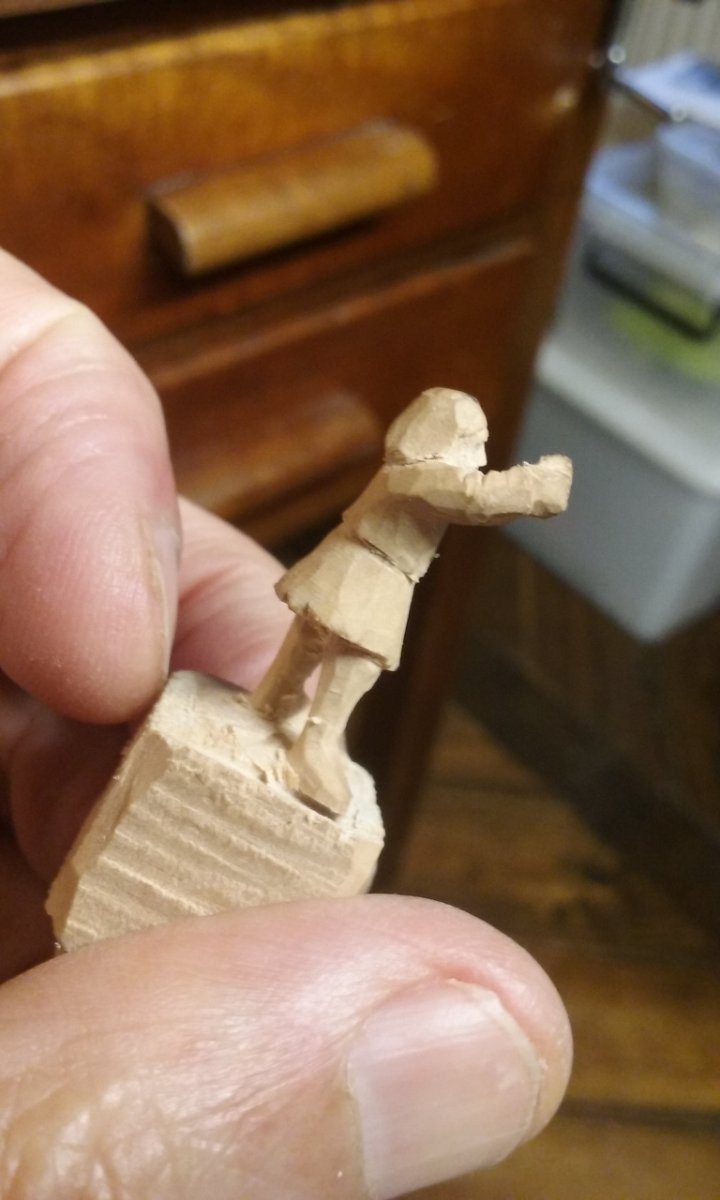
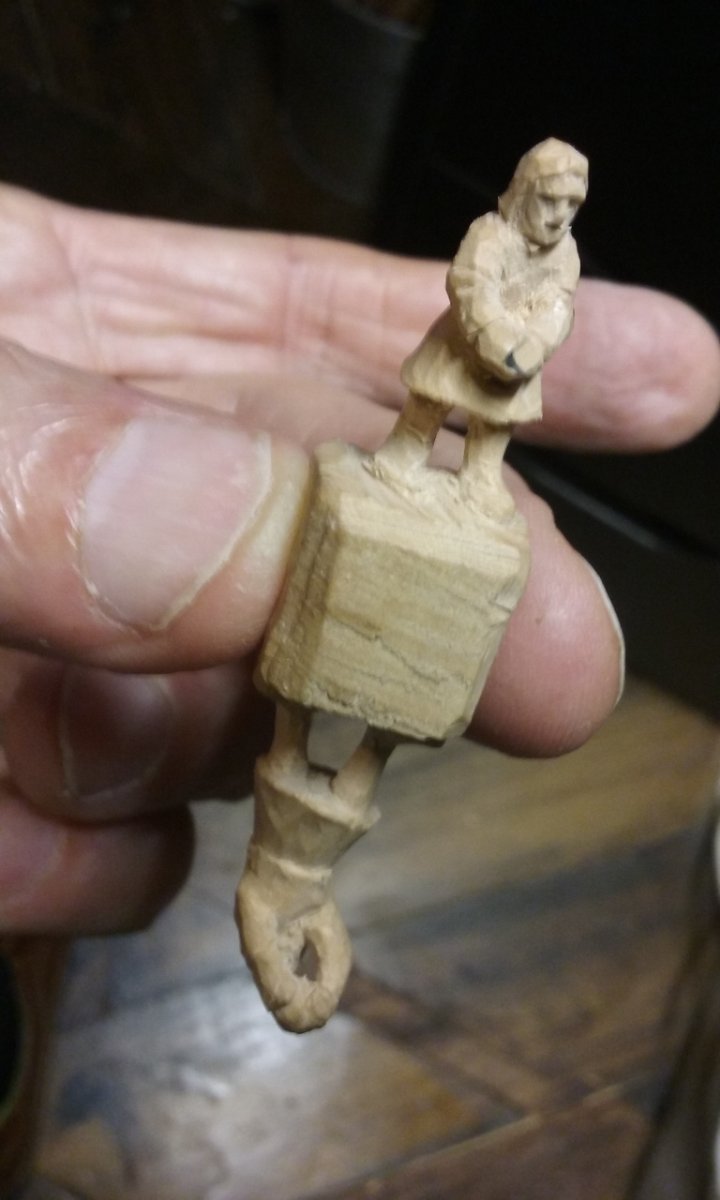
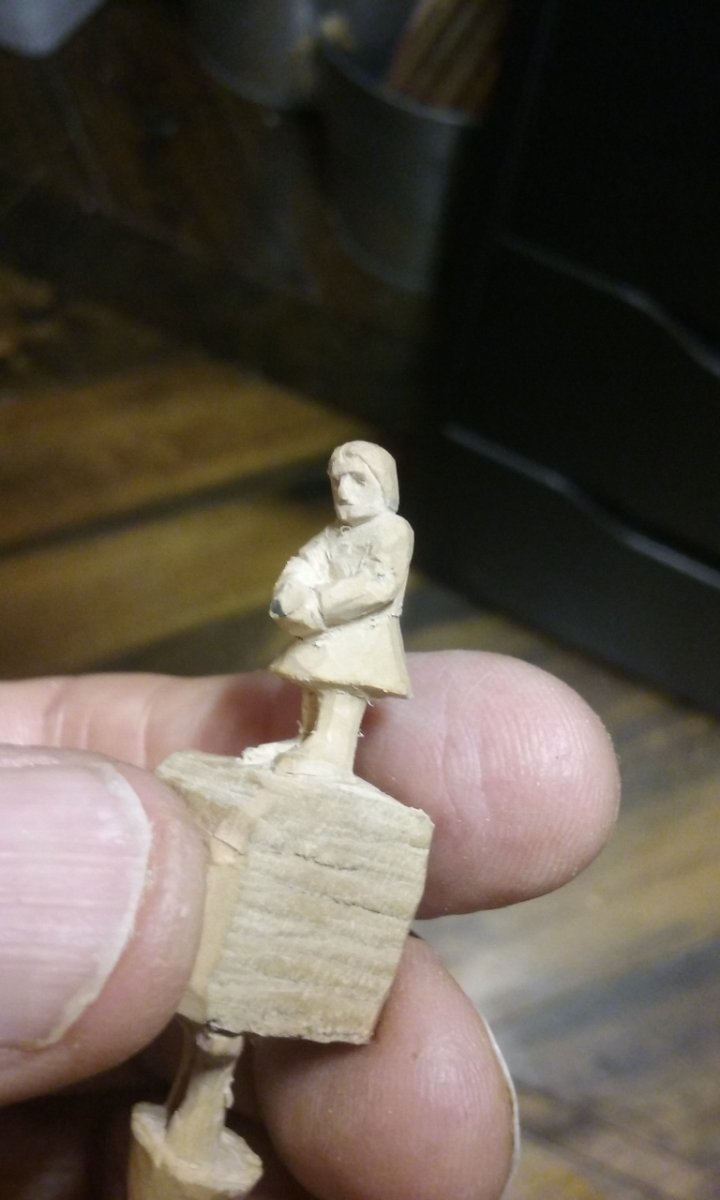
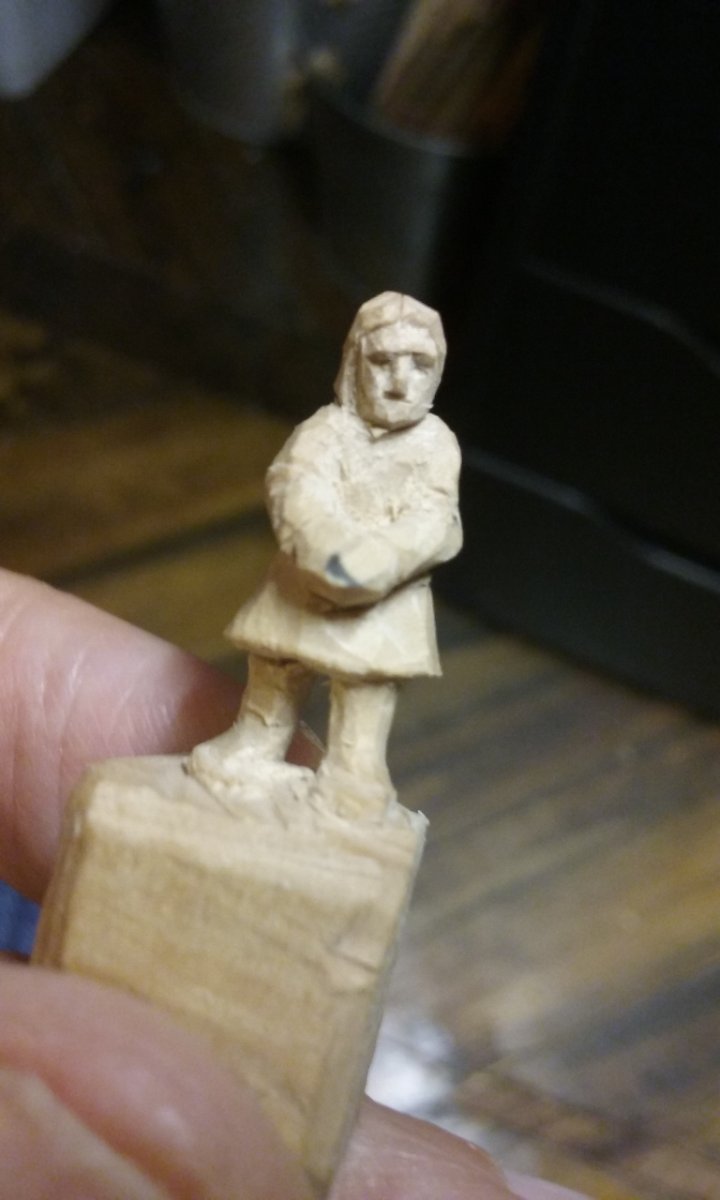
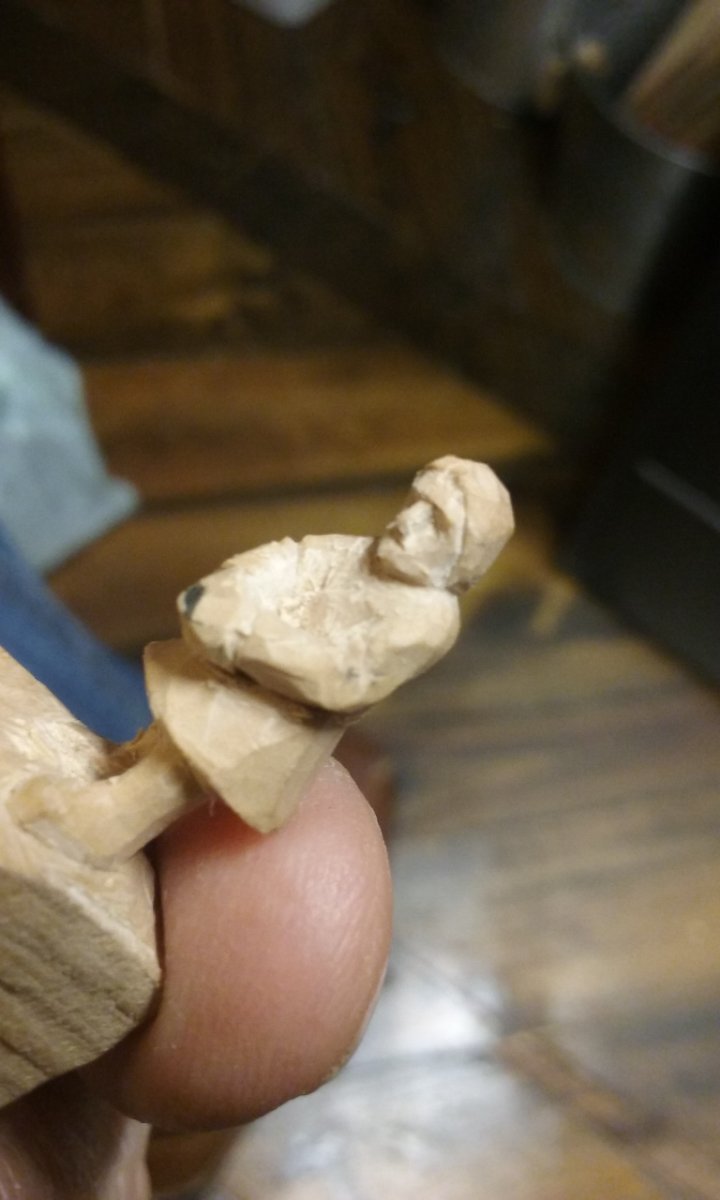
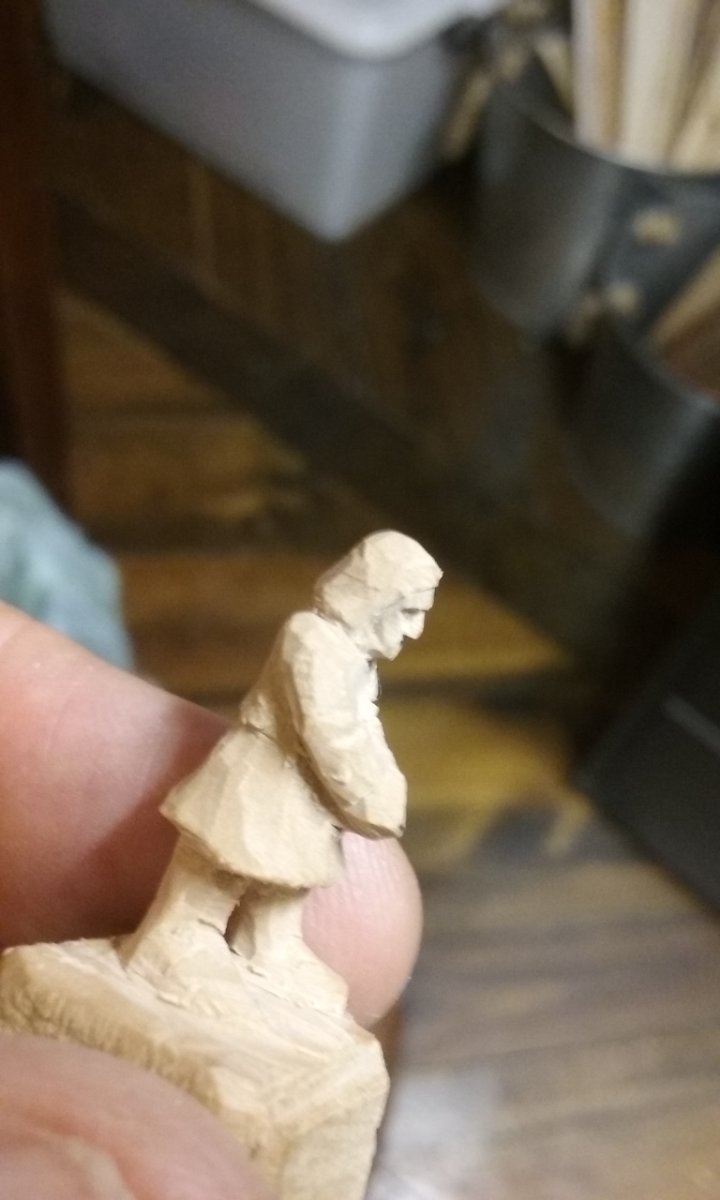
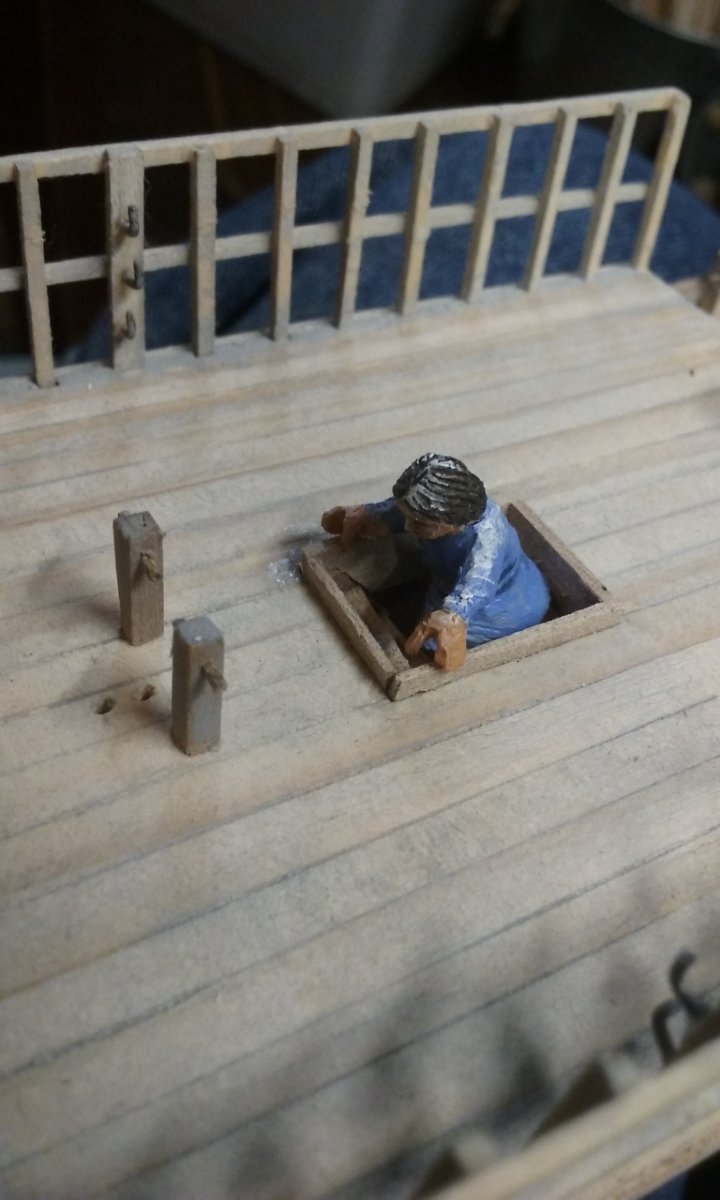
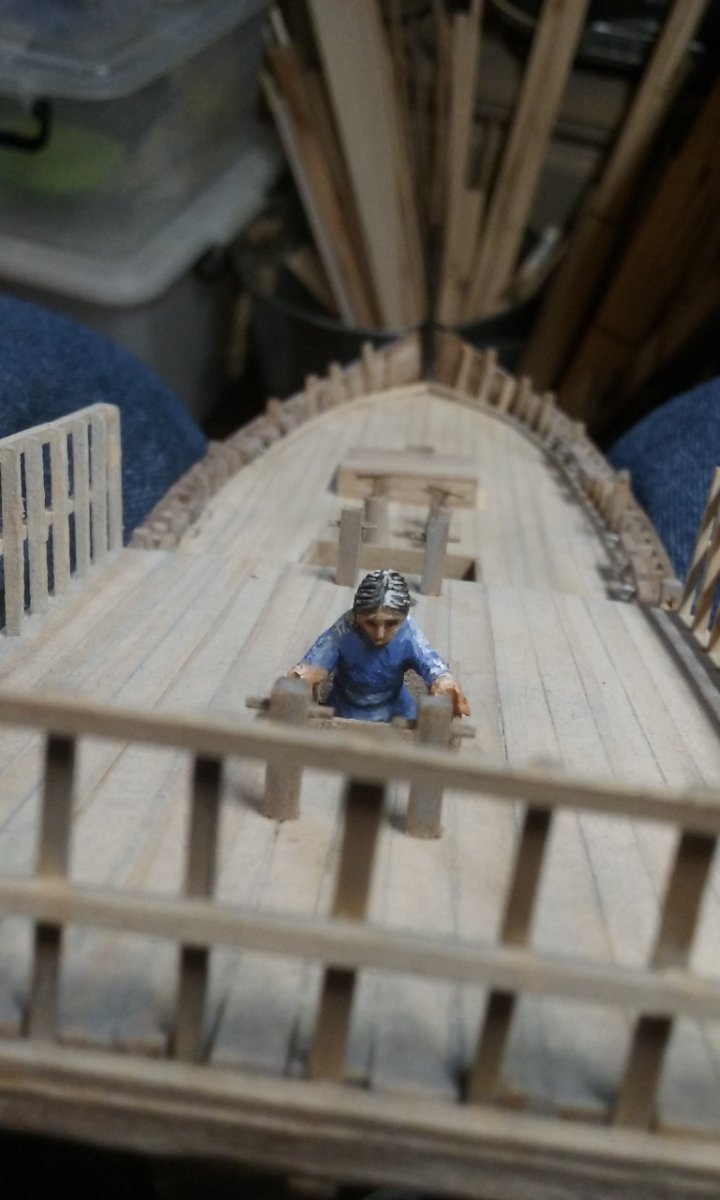
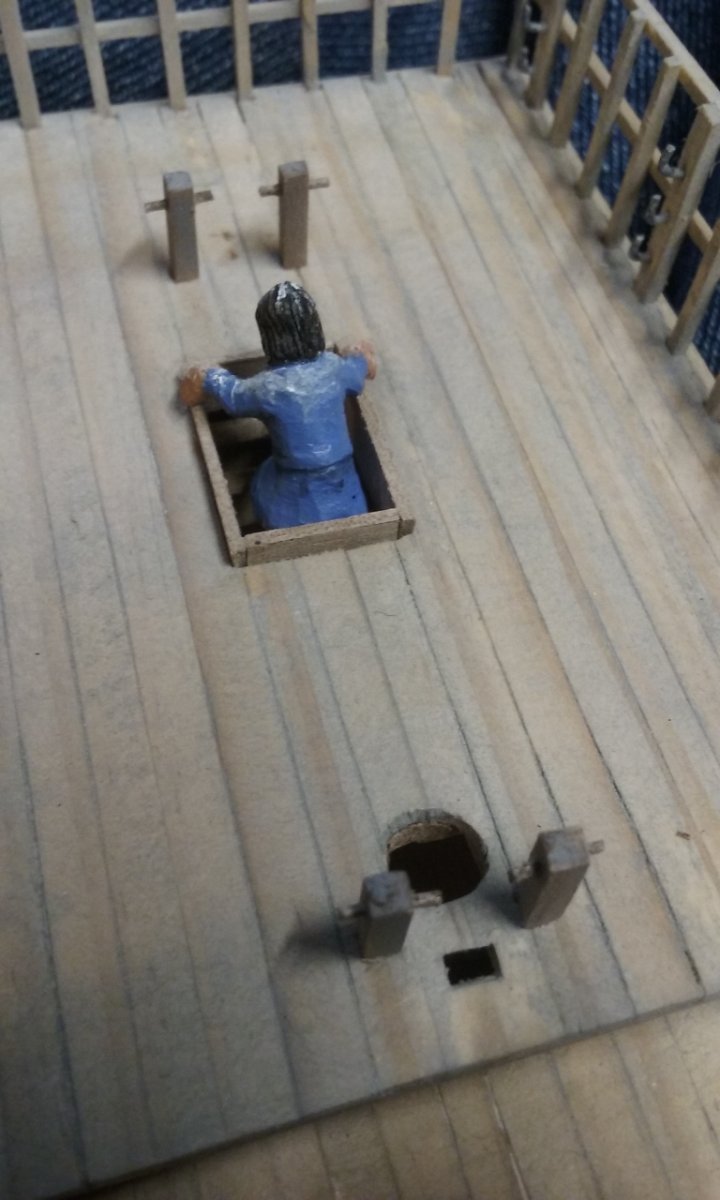
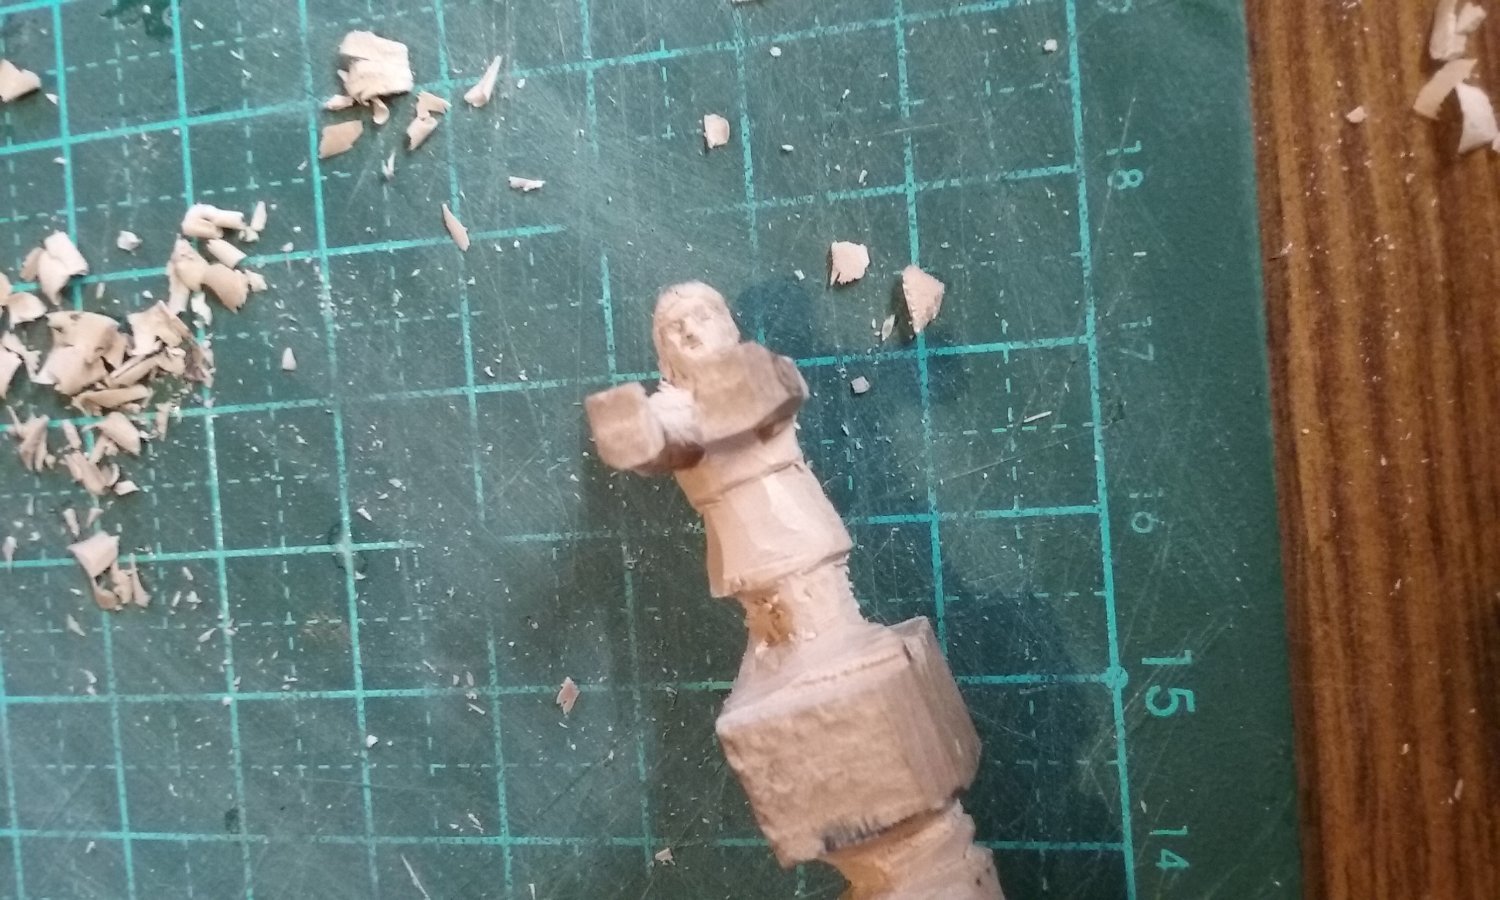
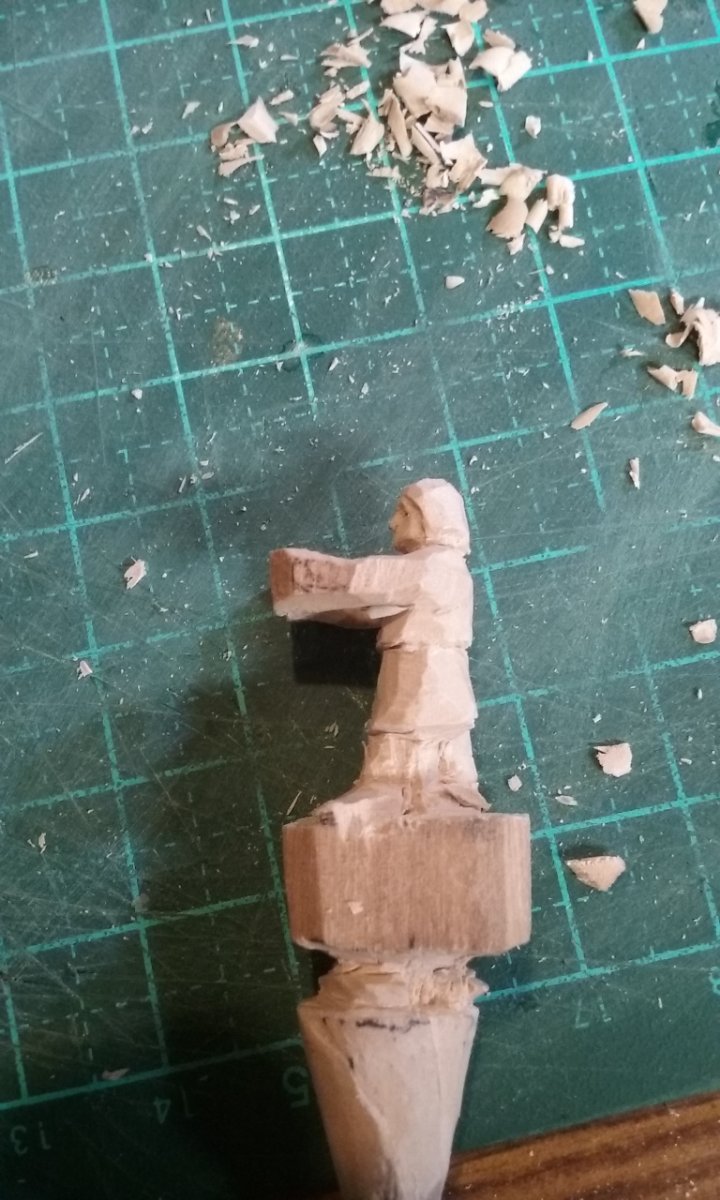
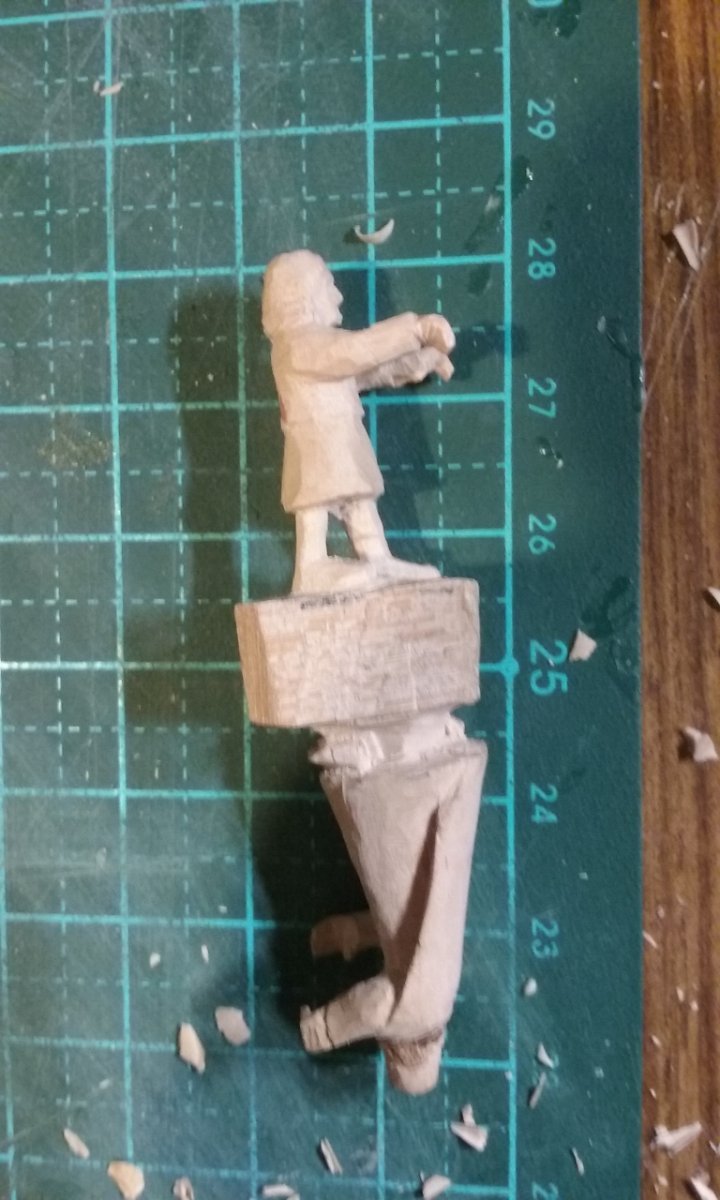
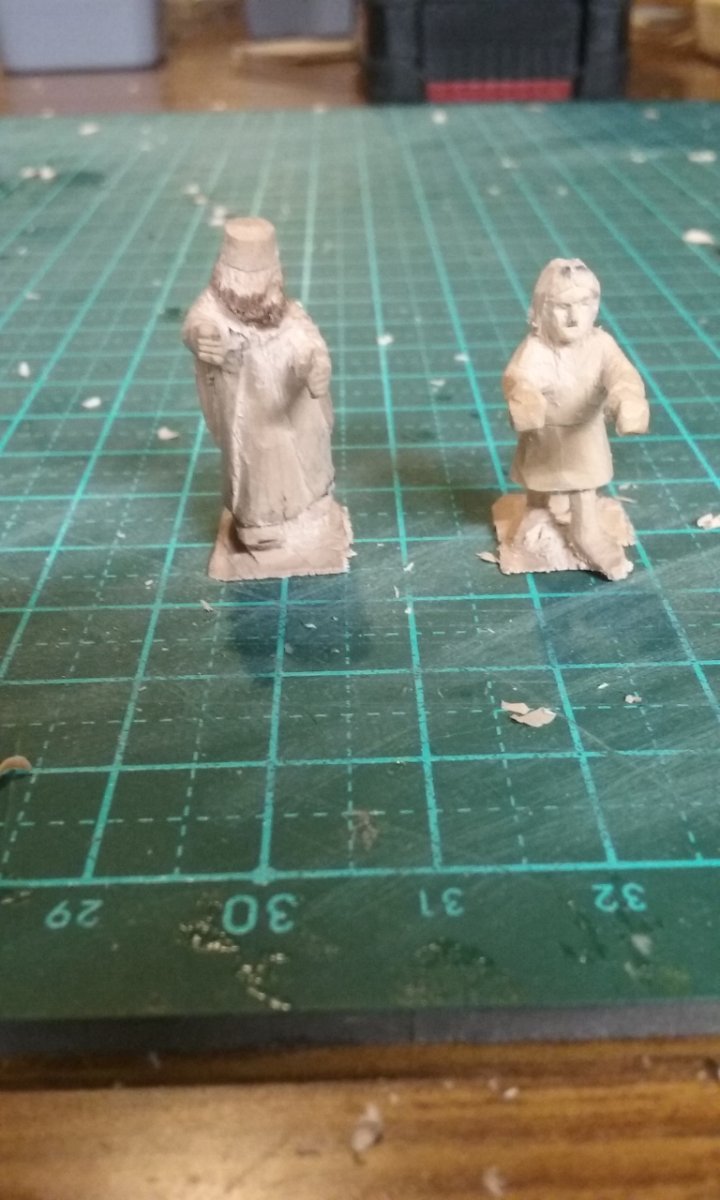
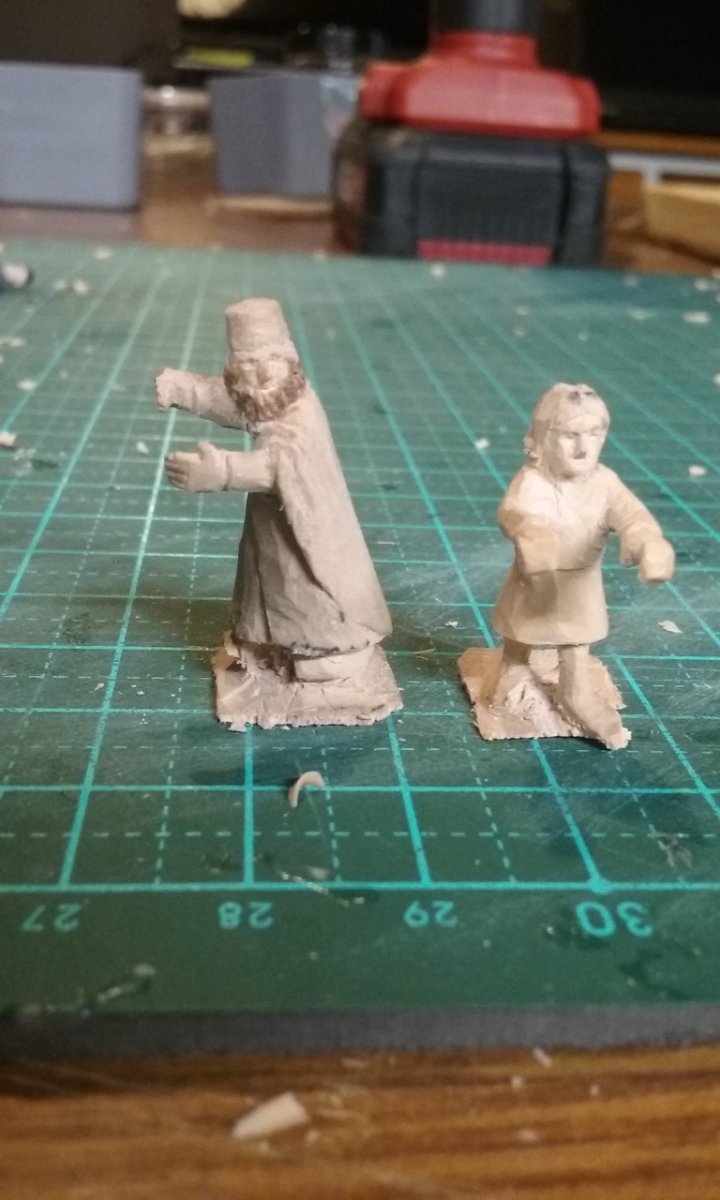
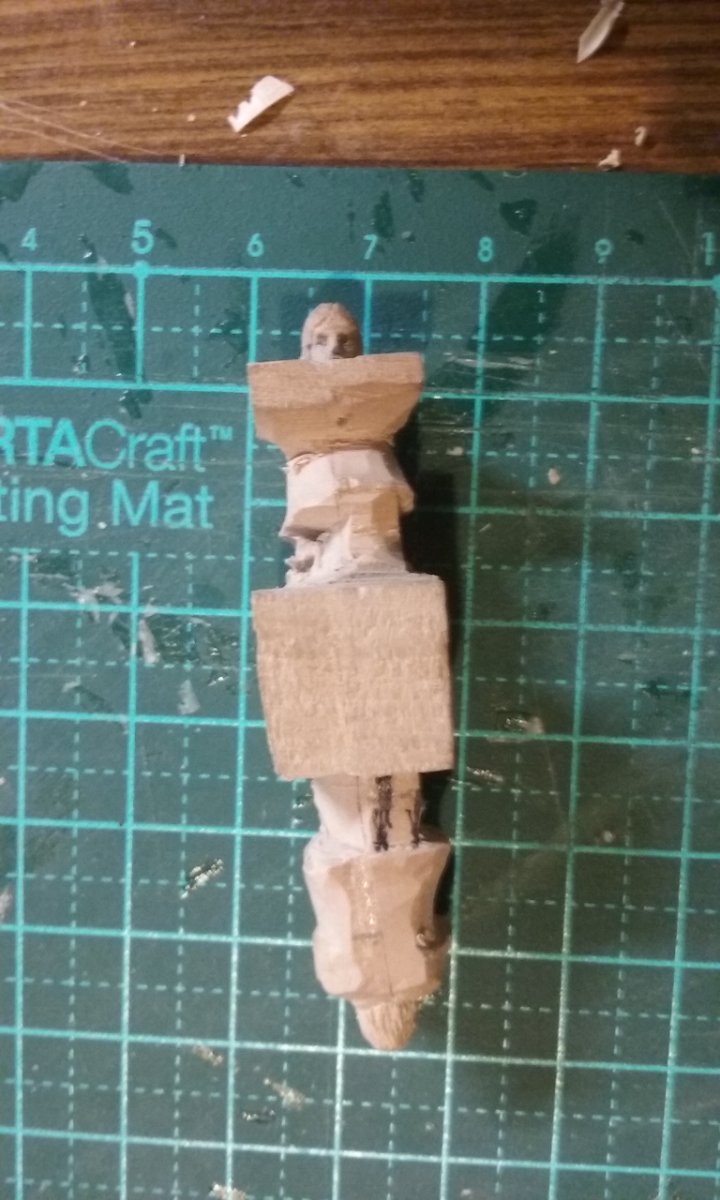
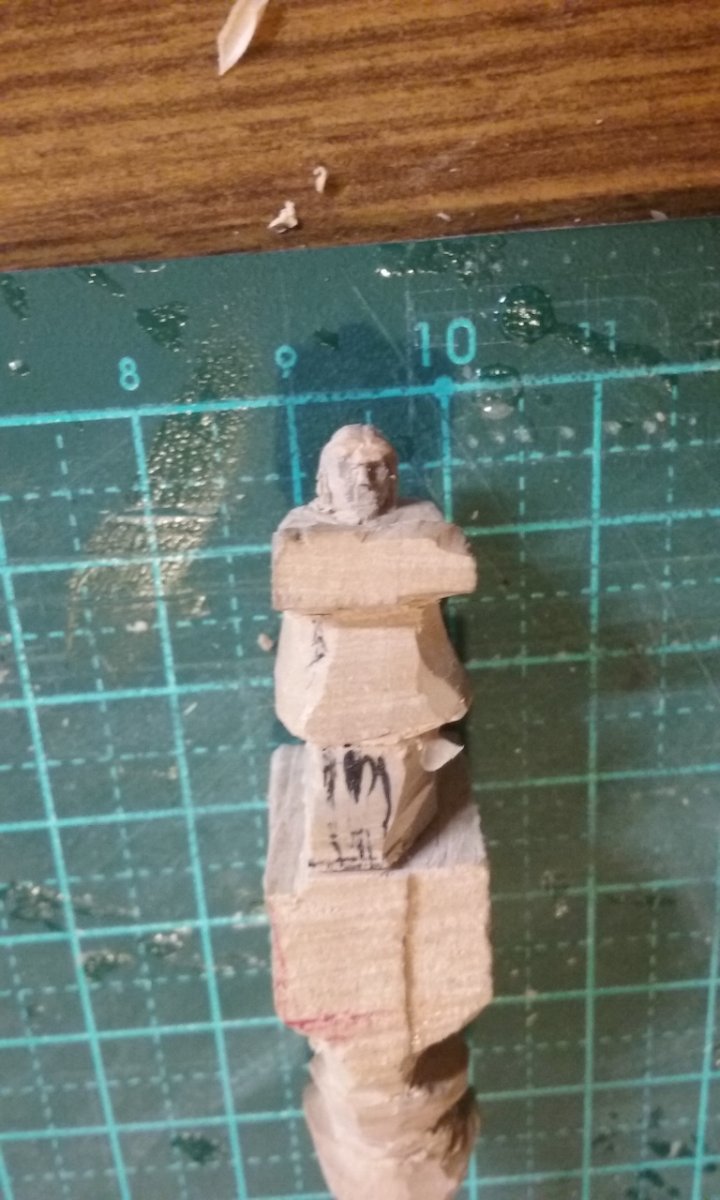
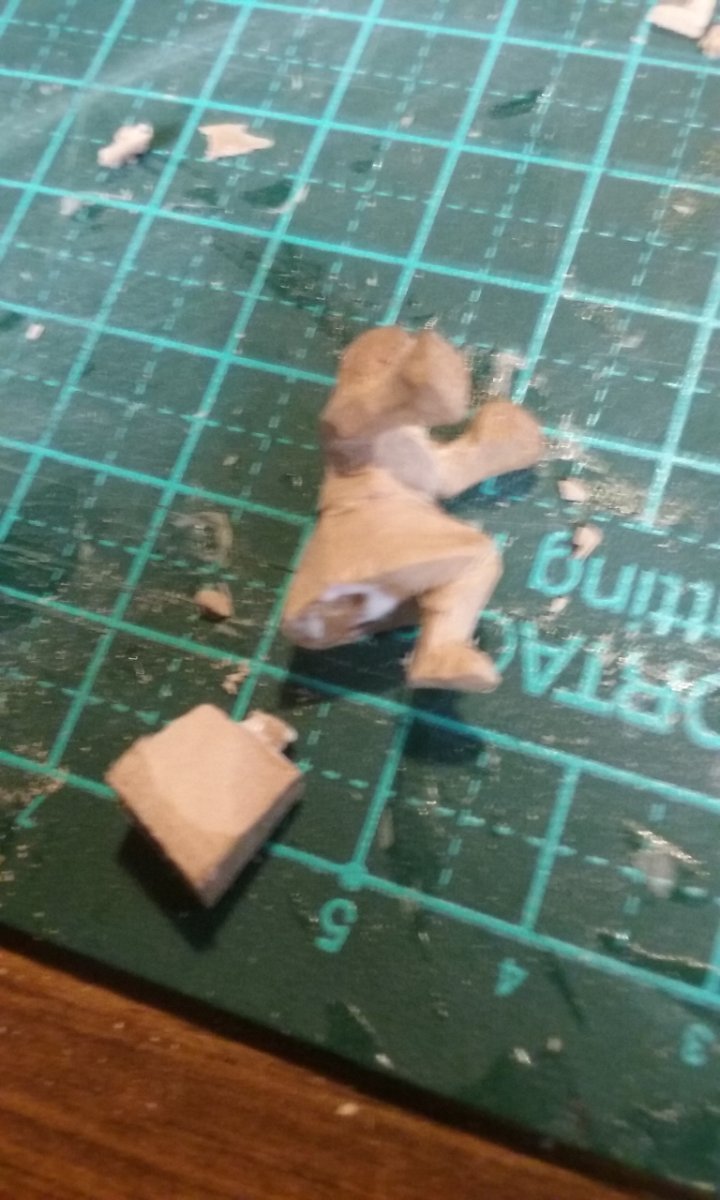
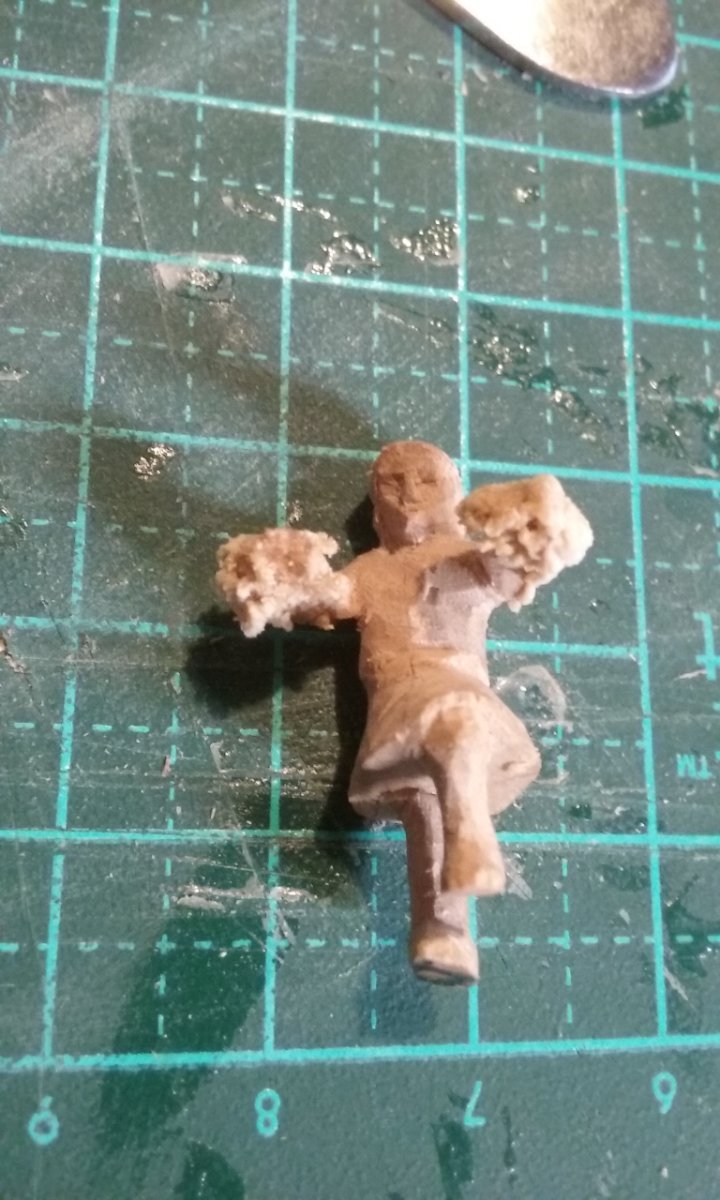
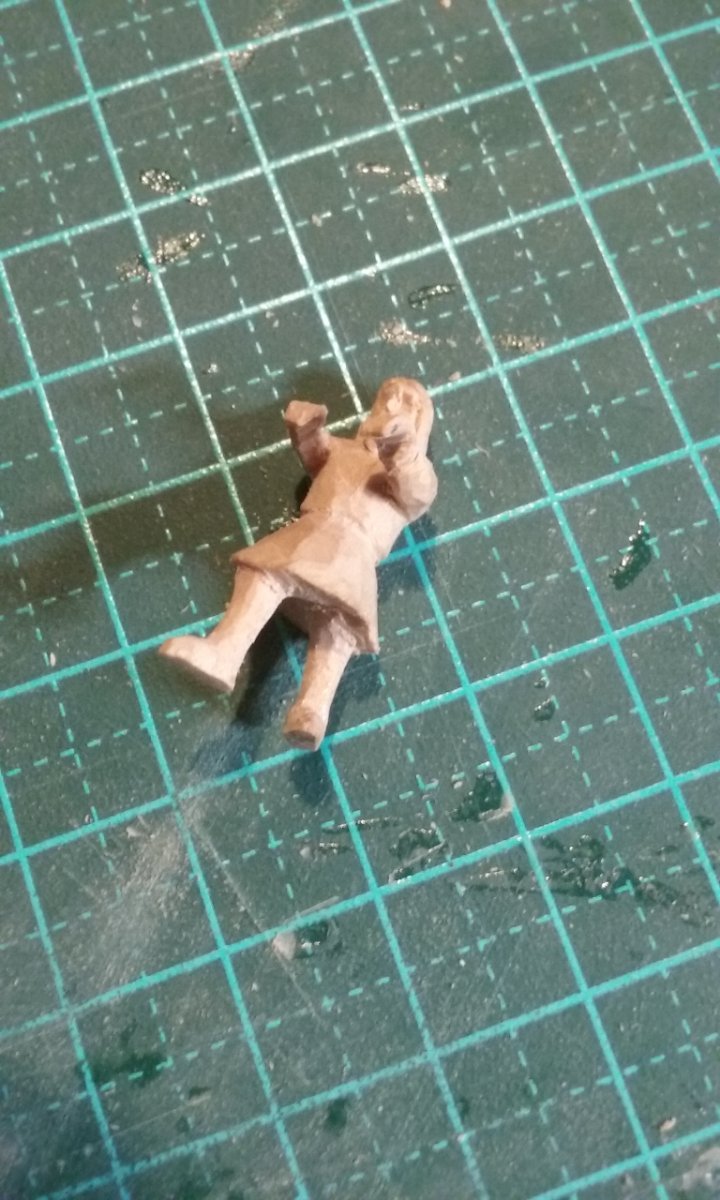
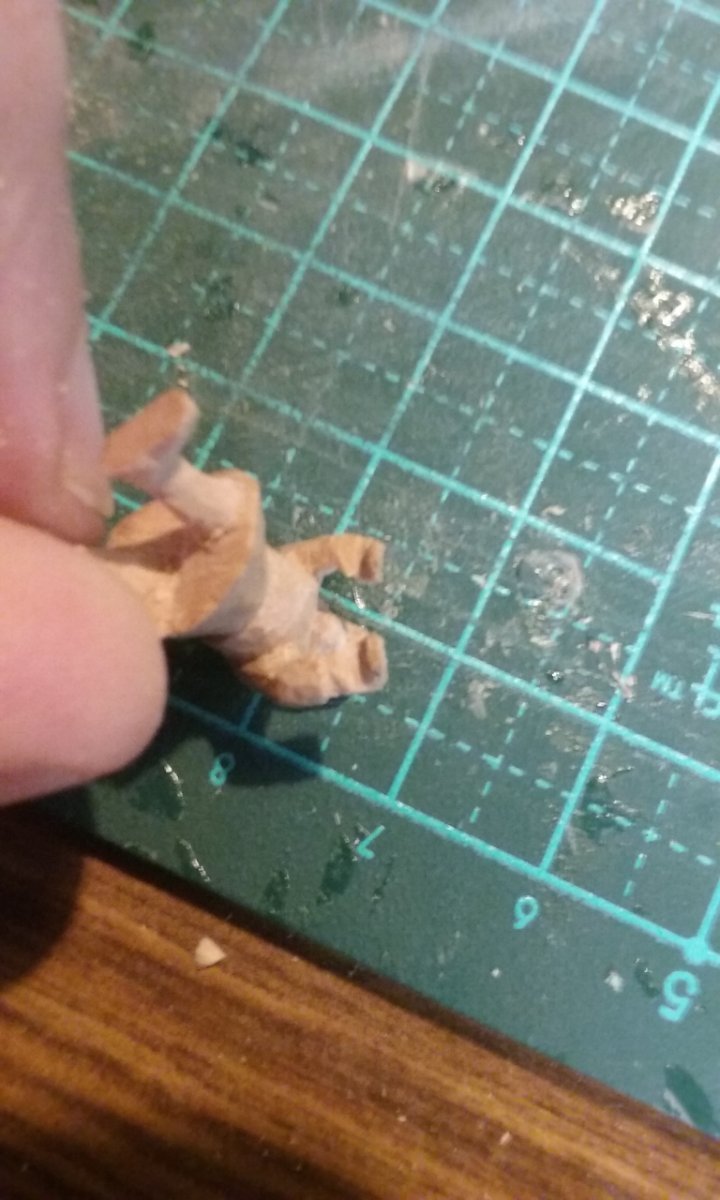
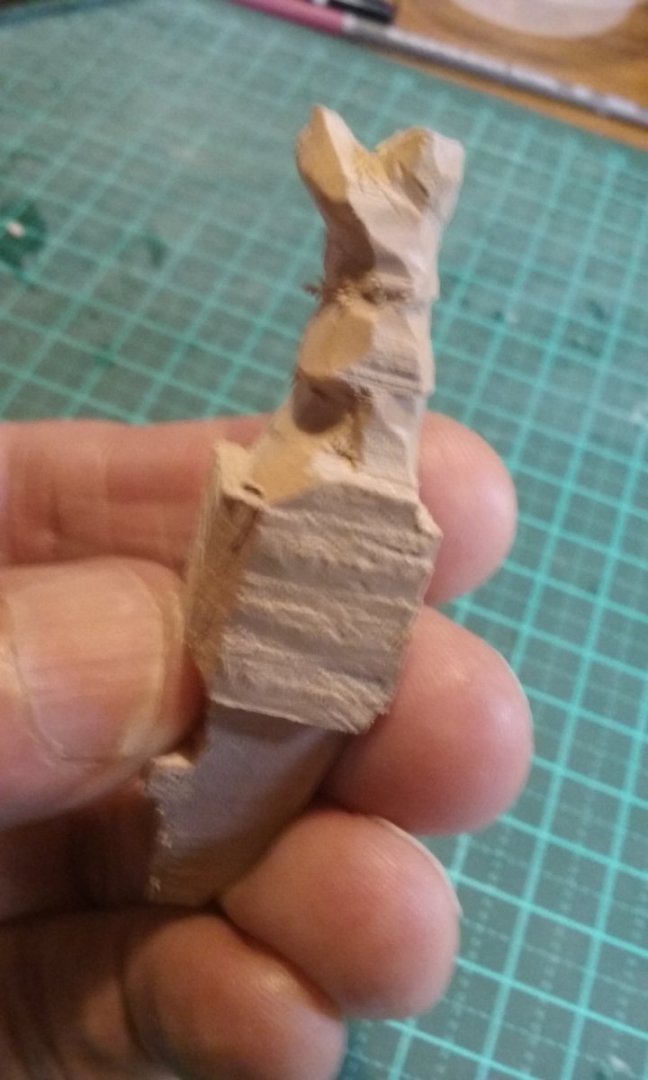
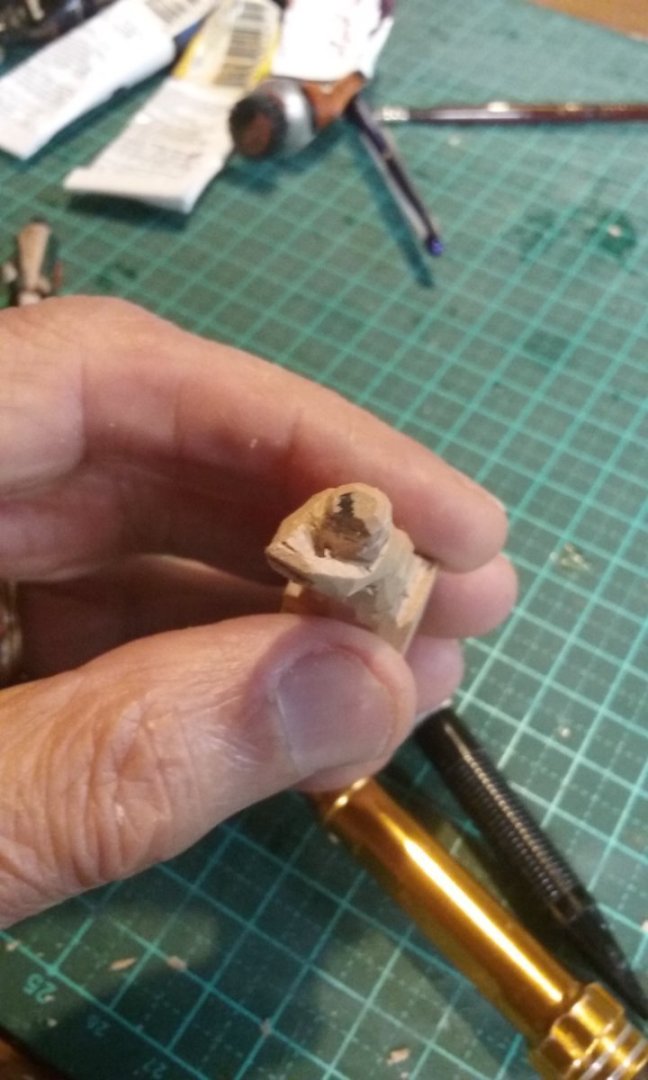
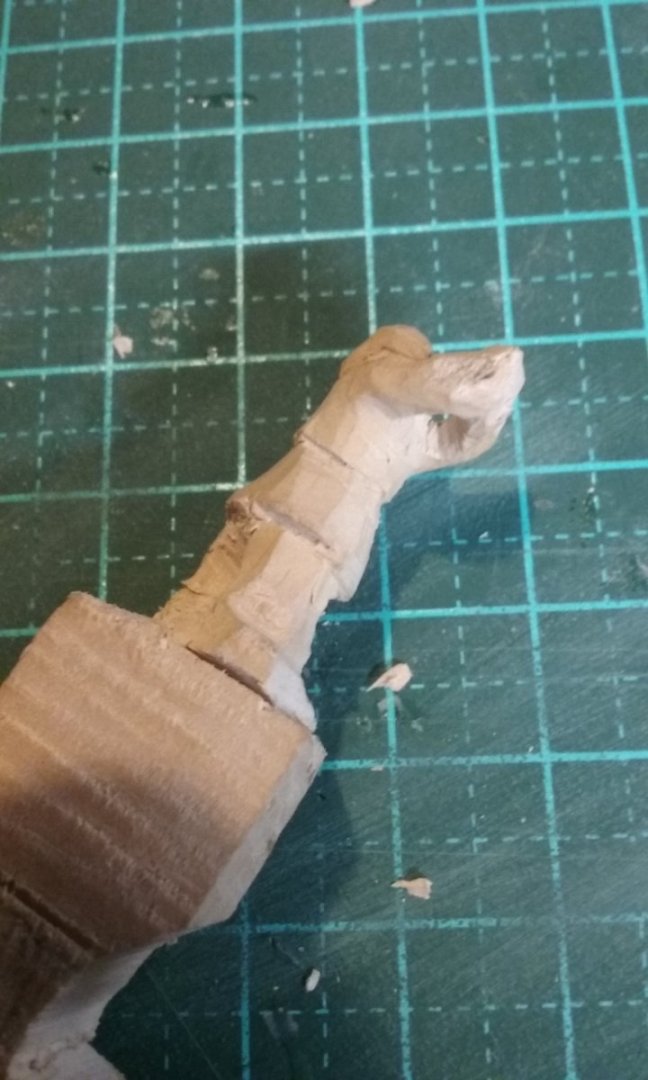
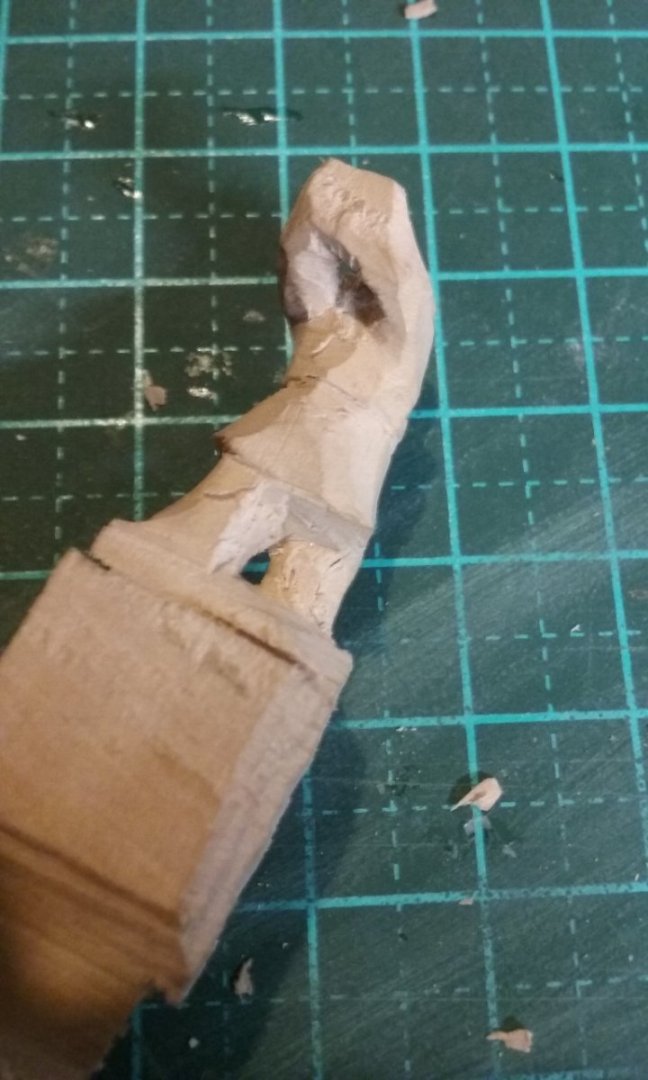
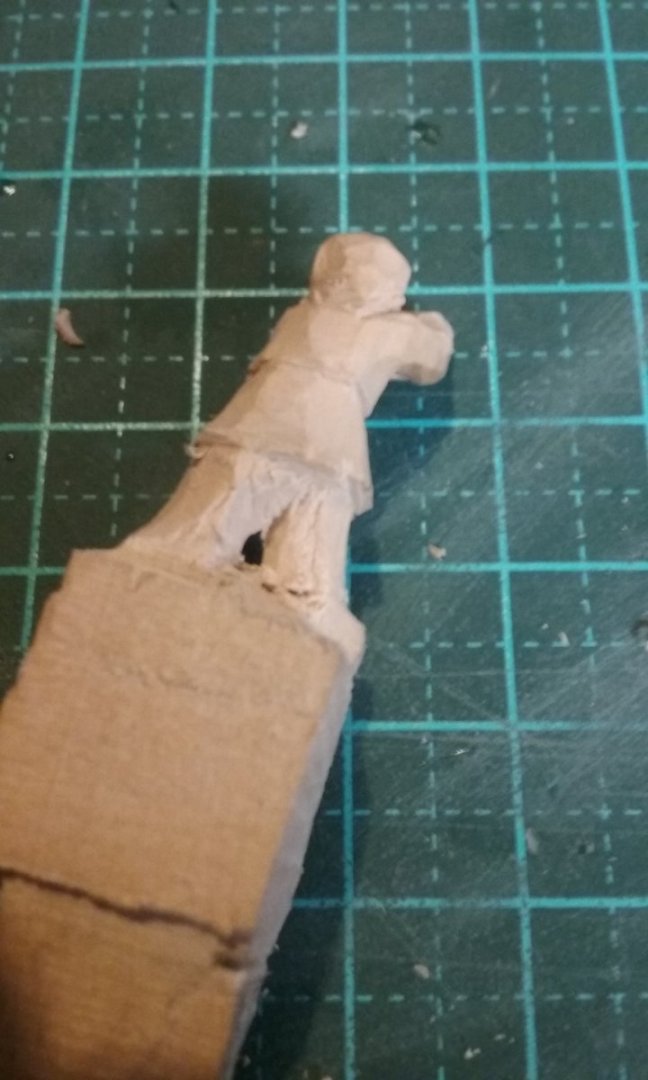
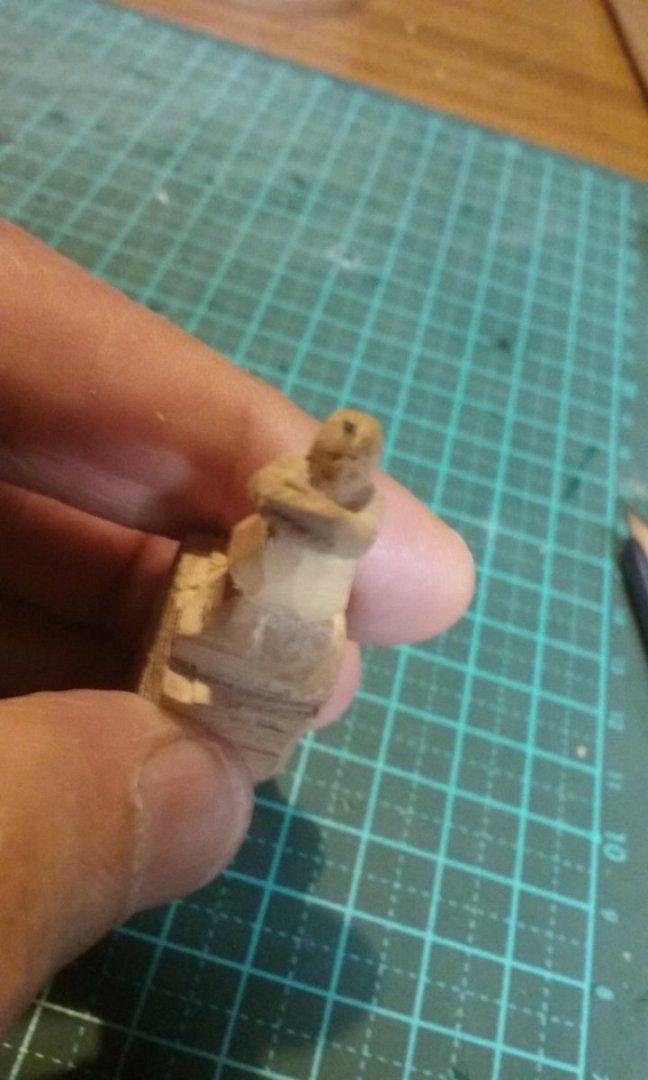
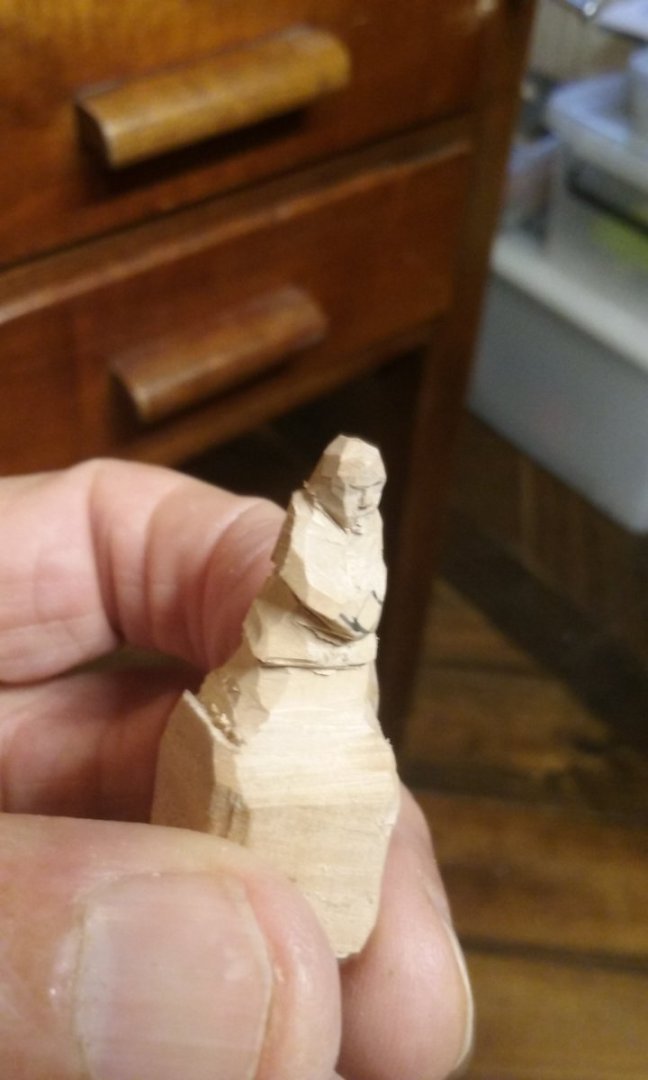
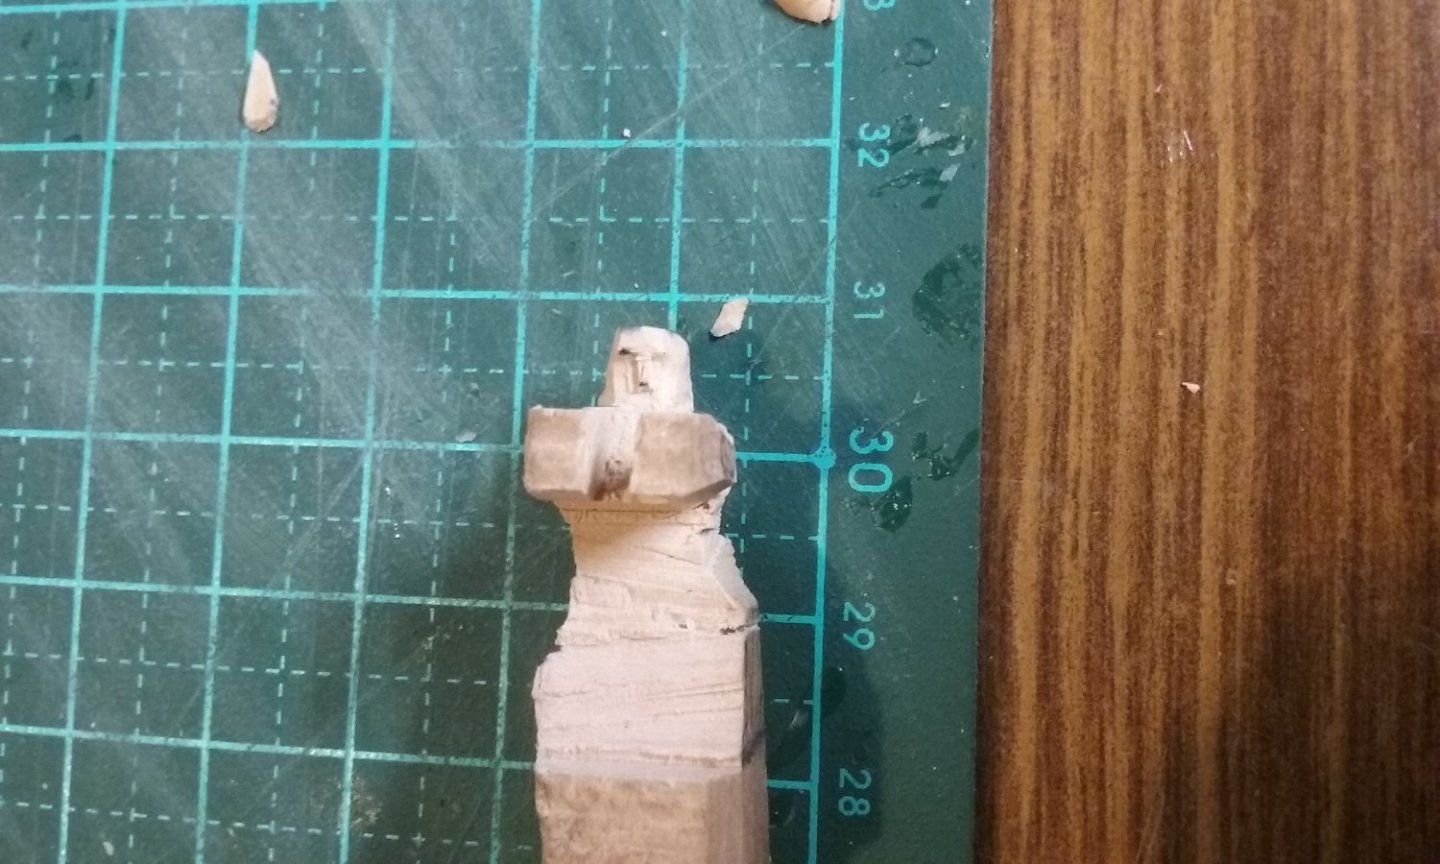
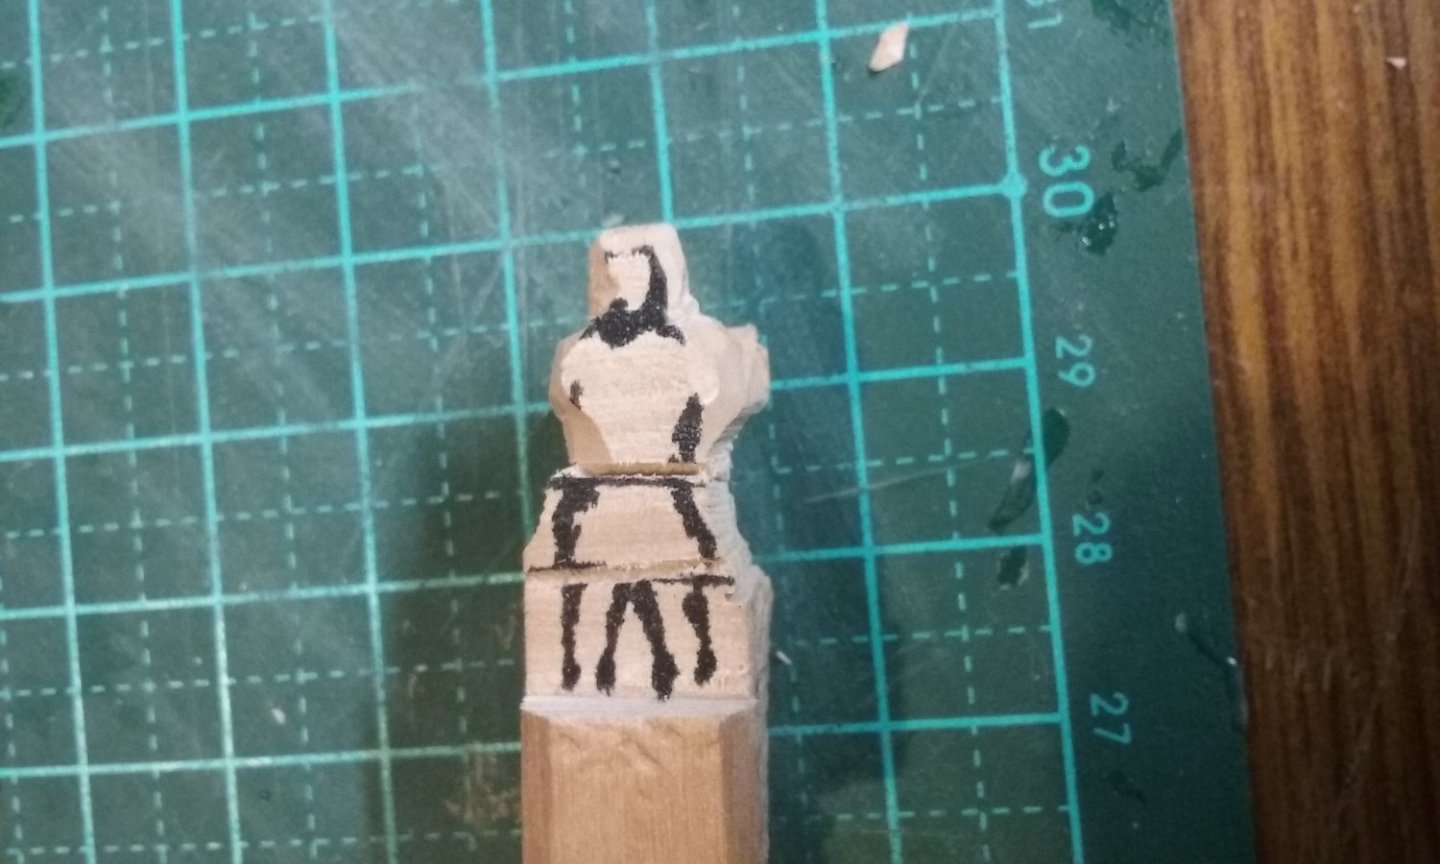
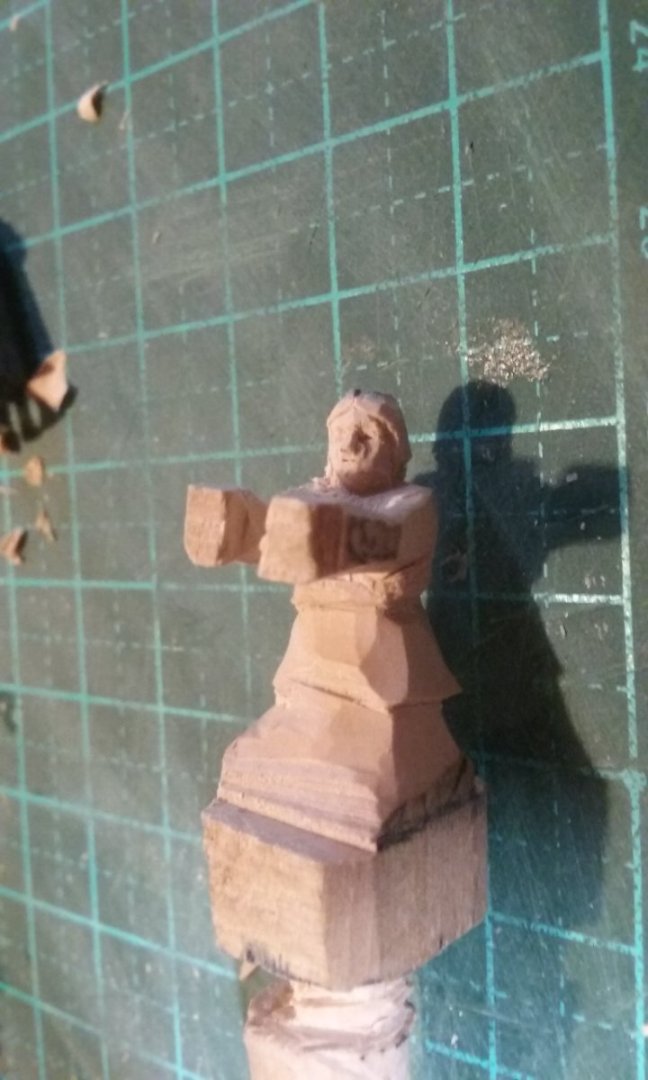
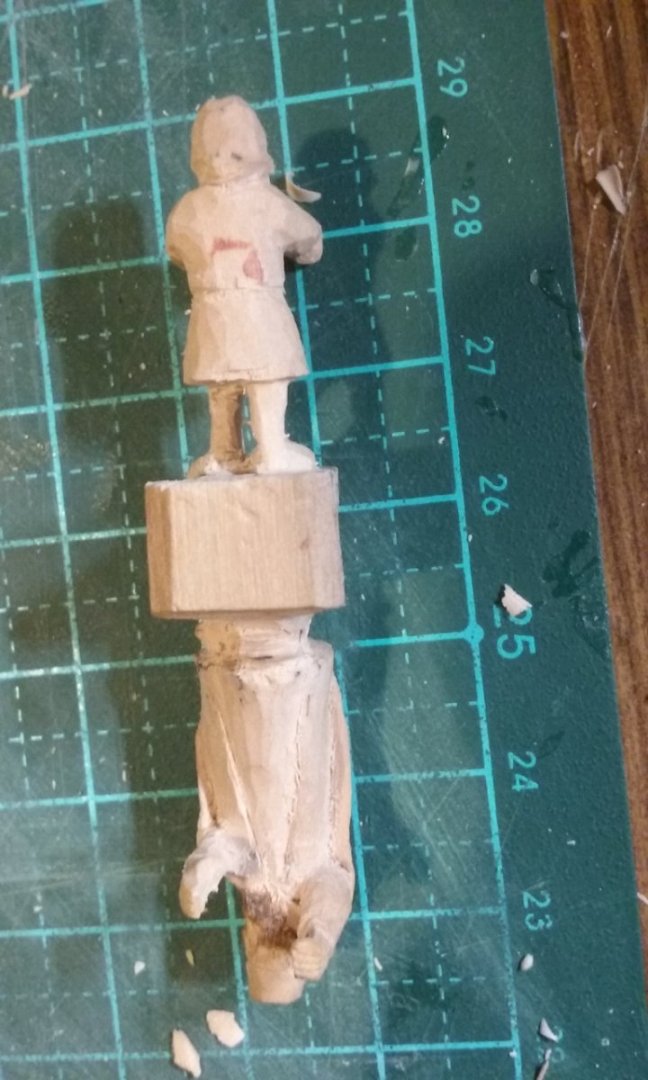
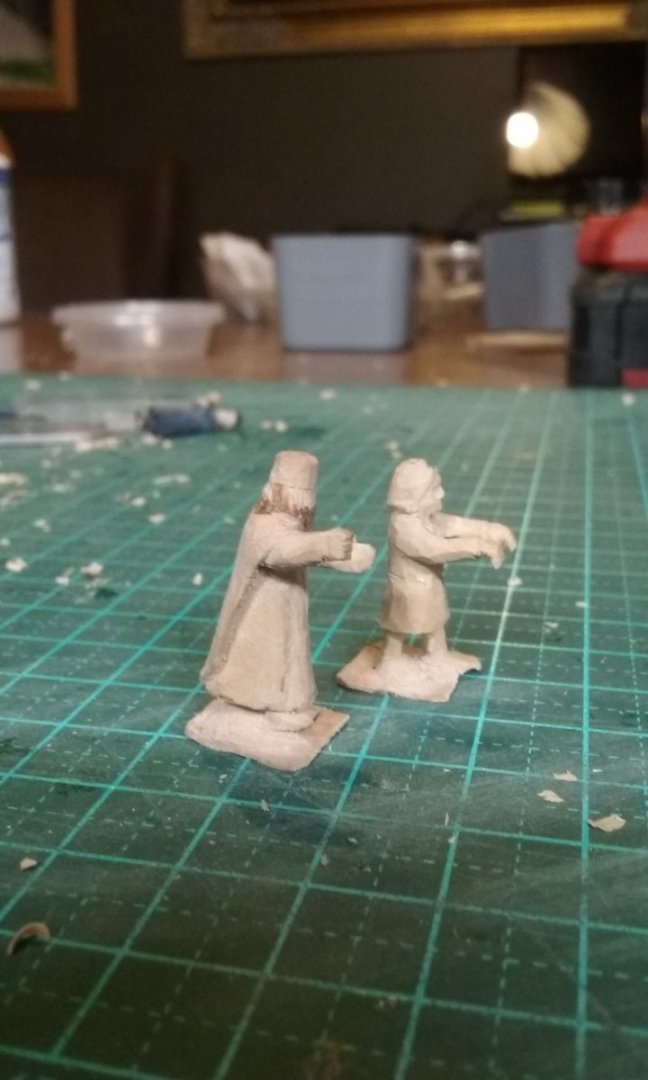
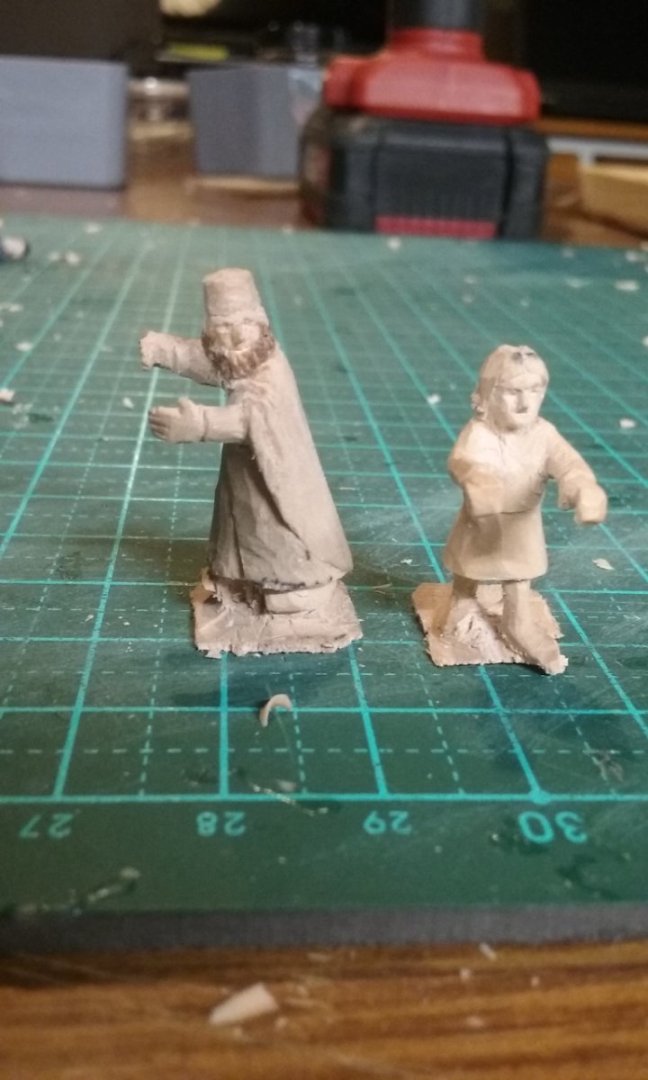
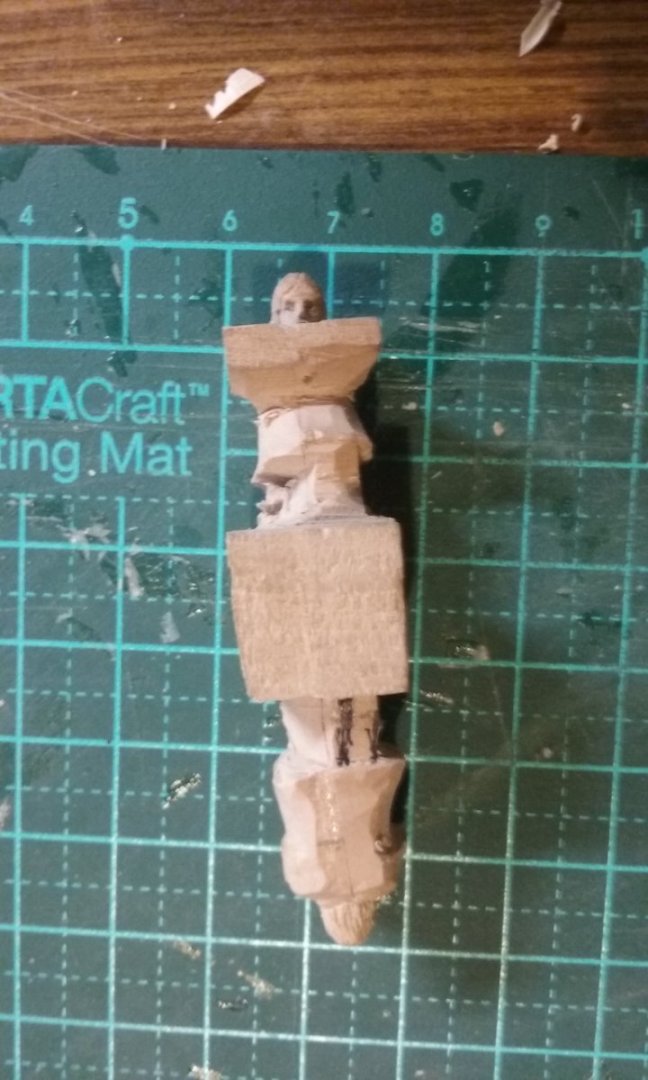
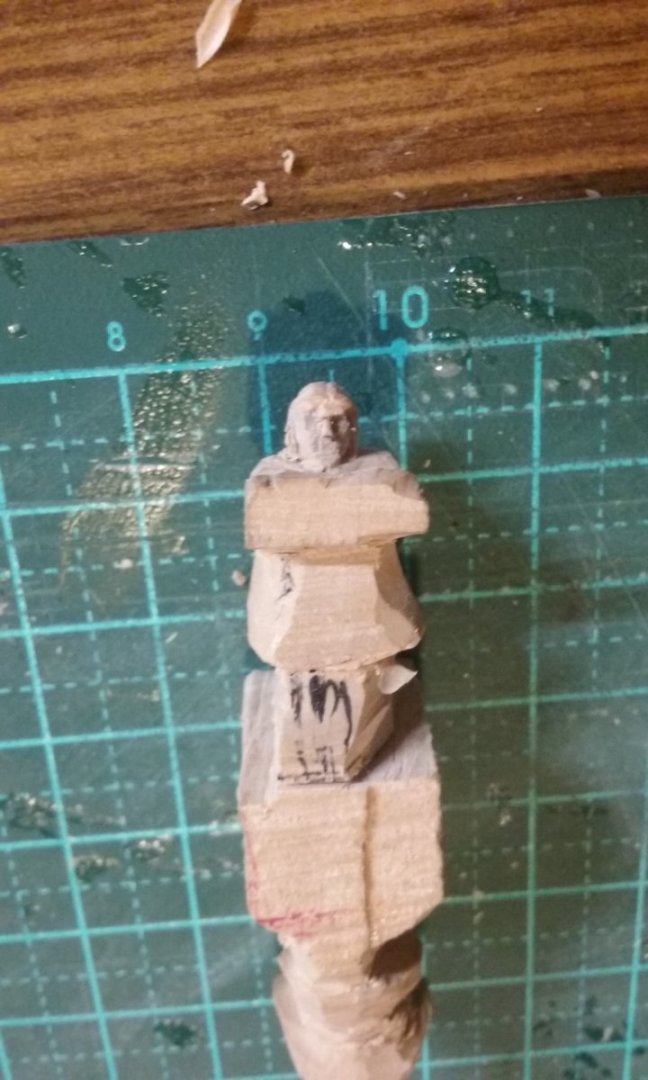
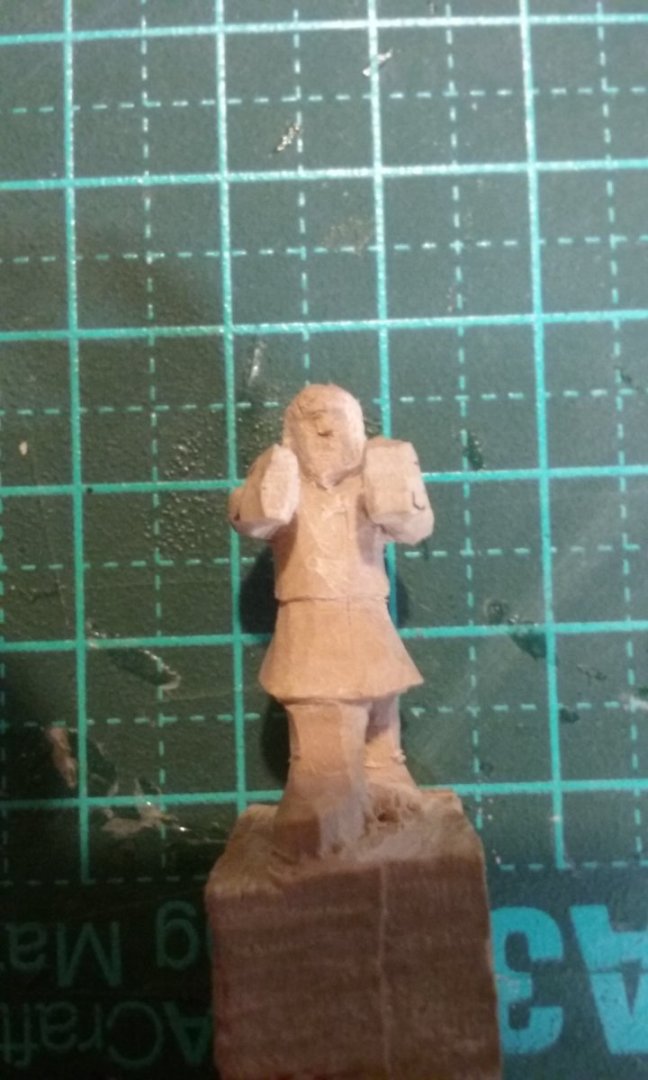
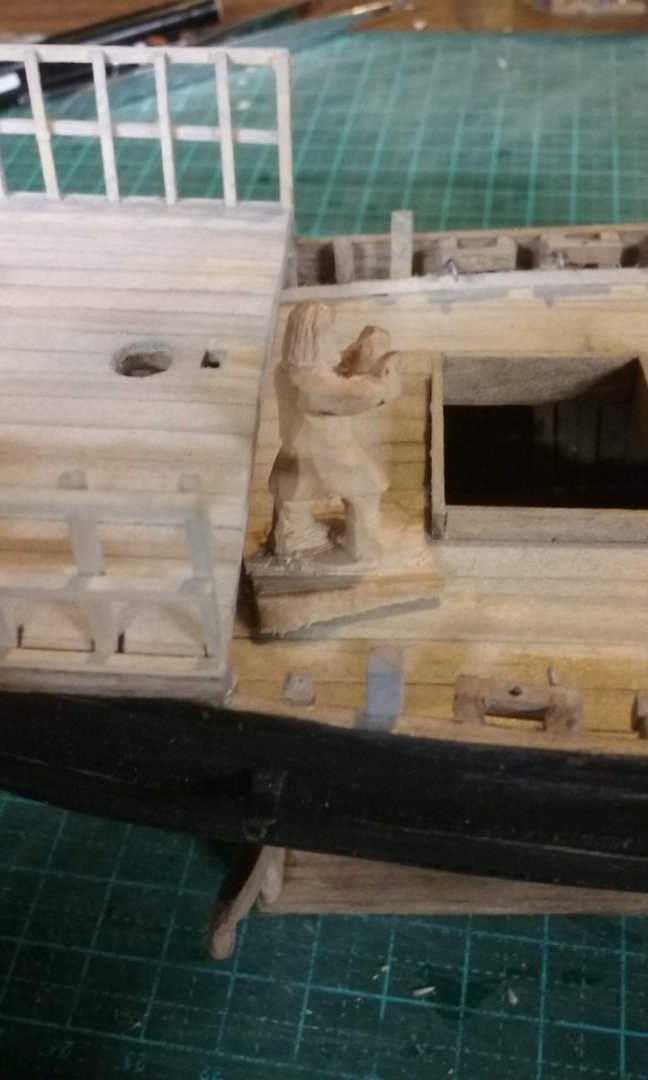
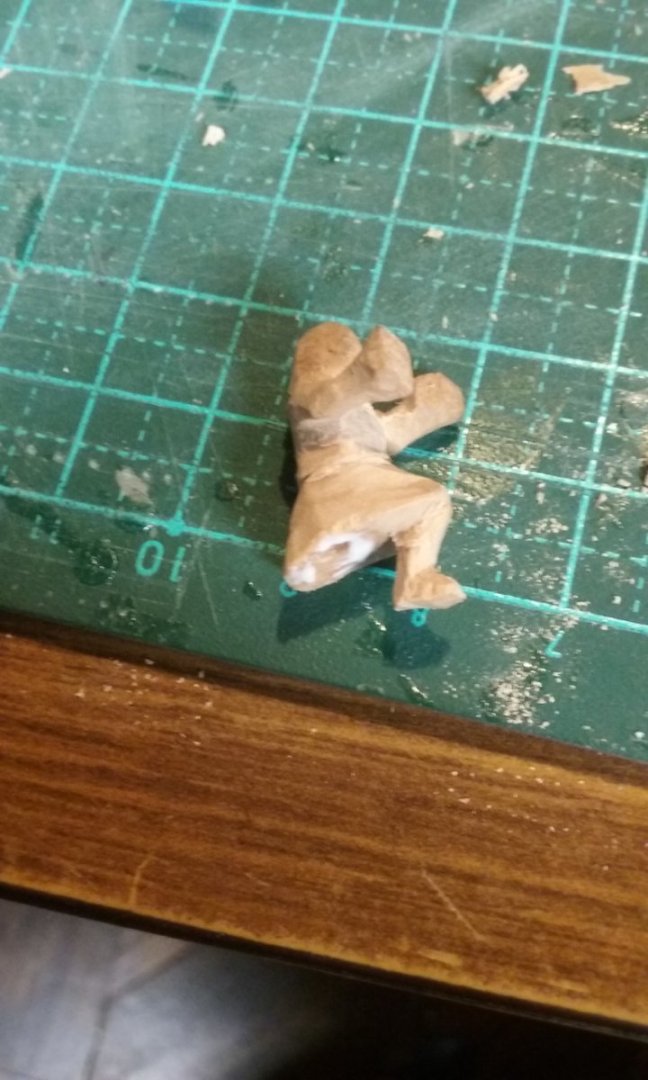
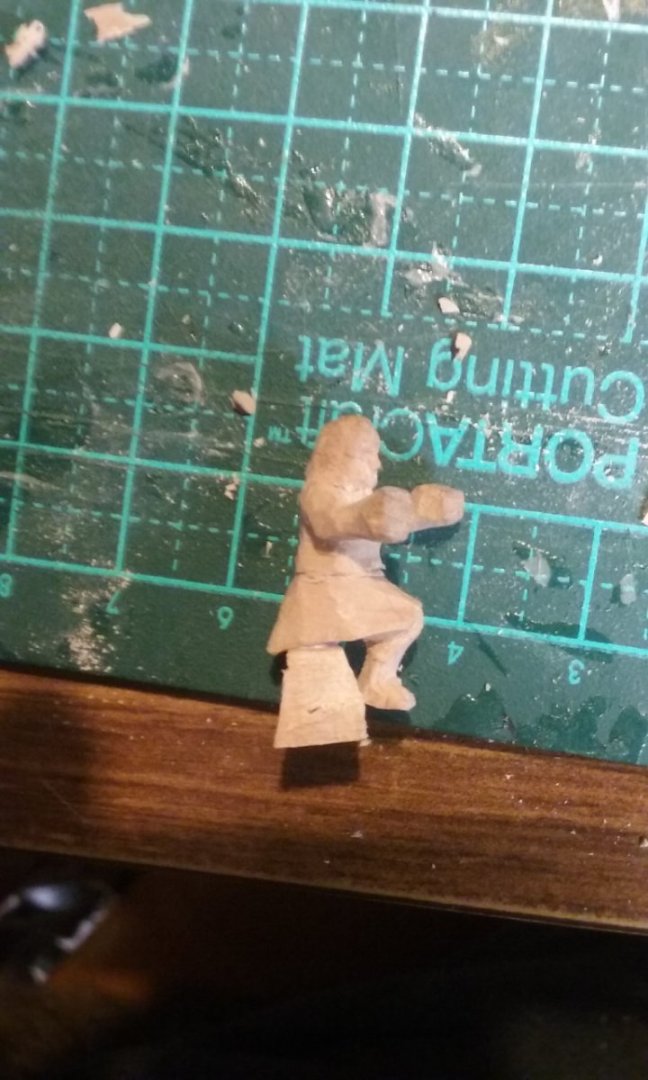
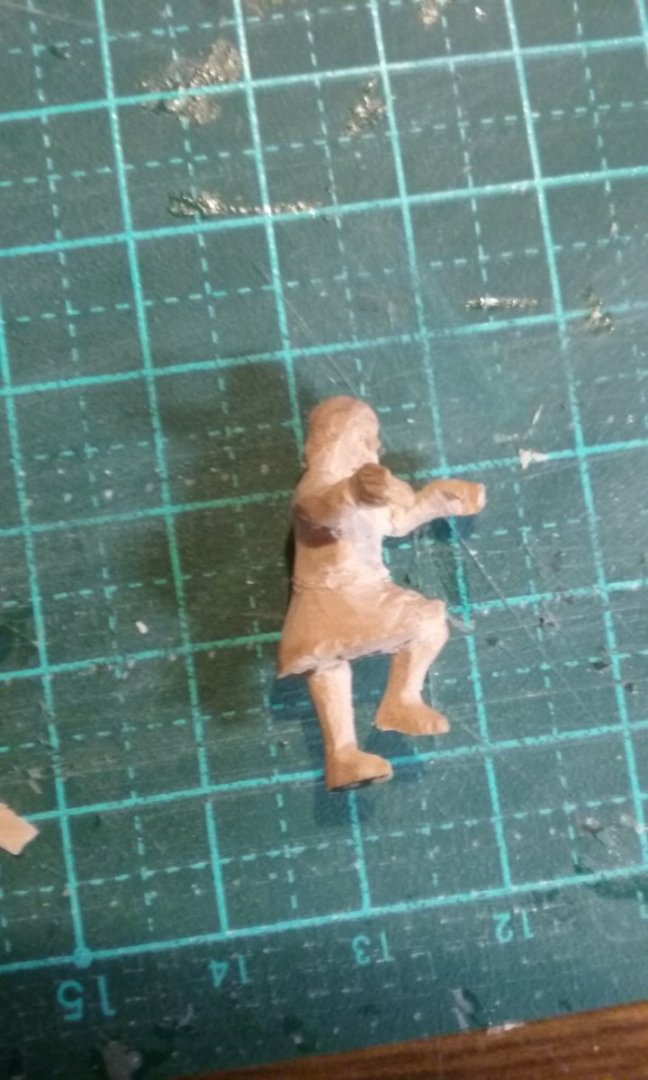
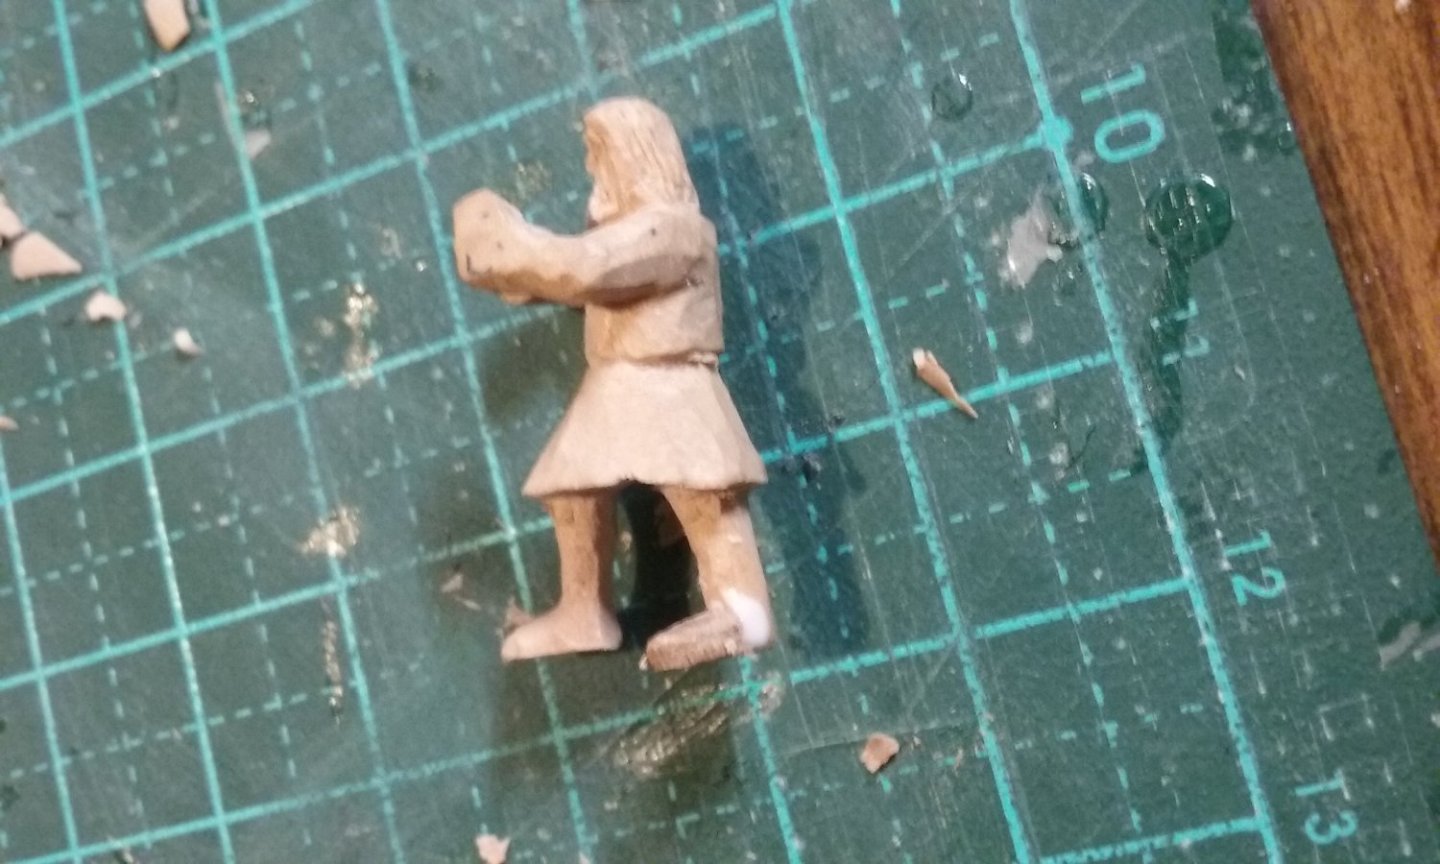
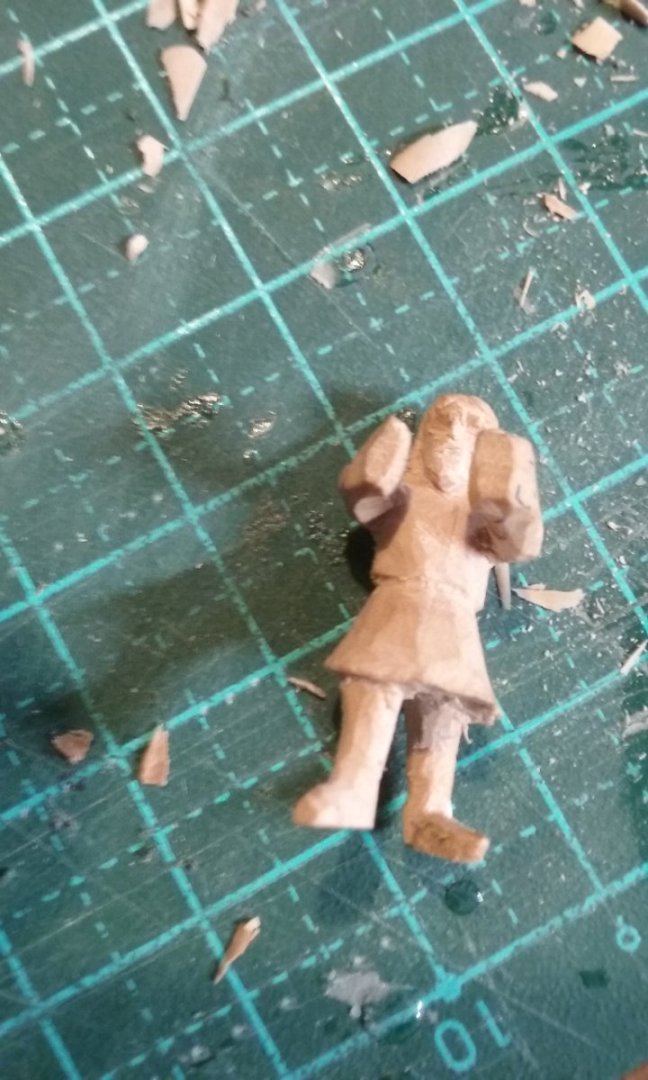
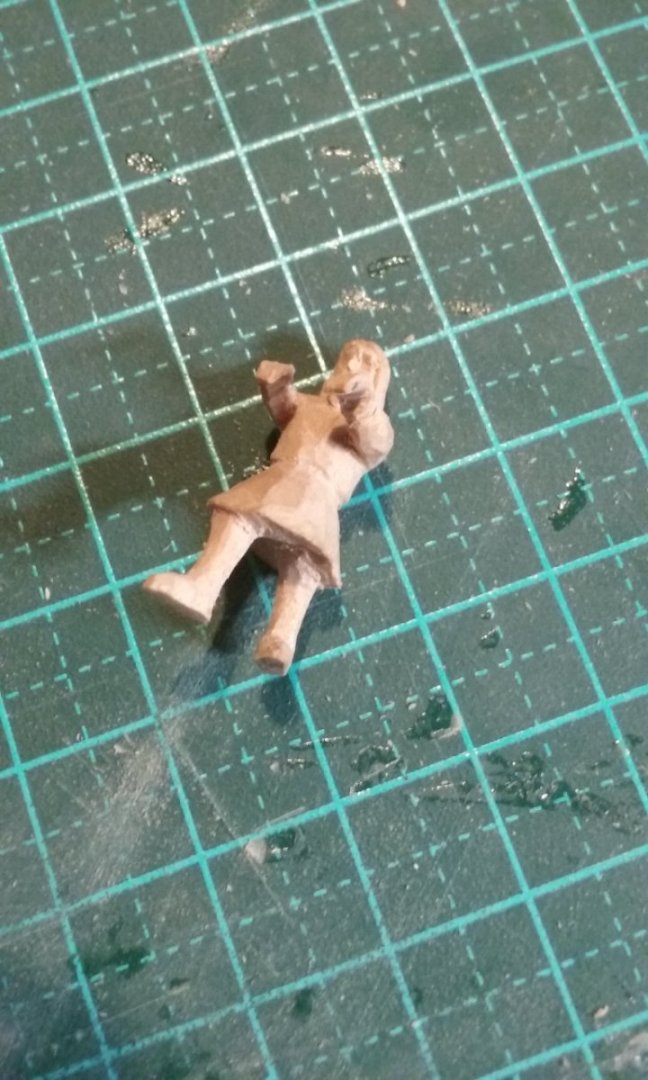
Thanks everybody for all the likes. Progress on the helmsman and the 'cabin boy'. Working on the faces first, so if I stuff up I'll be able to chuck the figure away without having wasted a lot of work on the body first. And here's the steersman with his arms separated. The idea is that he is standing with the tiller in his hands. I had to make him before I make the hole in the rudders for the tillers so I can get their height correct. The 'cabin boy' was originally going to be coming up the stairs from the officers' cabin carrying a full chamber pot to empty over the side, but I decided that was a little too tacky, so I'd just have him holding onto the sides of the staircase. Unfortunately, my estimate of where his feet should be on the stairs and so where his legs should be was inaccurate. So I had to remove one leg and re-do it. It was either that or making him all over again, and I certainly wasn't going to do that. Turns out I'd got the legs wrong on the steersman as well - so much for me getting cocky enough to tell other people how to carve figures. Hubris is a terrible thing . . . But at least in this case all I had to do was remove one foot and replace it with one pointing the right way. Look carefully - it's the left one. The joint was so fragile that I carved the foot to shape before I glued it in place - if I'd glued it and then shaped it, it would have come undone. A little gentle tidying up still needed, but not enough to force the joint to break. Another inaccurate estimate - this time the cabin boy's hands. Too close together, and weirdly angled - they look like the hands of 'Clamps', the robot from Futurama So I smothered the arms and hands with filler made from fine (powdery, in fact!) sawdust and white glue to bring them out to the right width and allow the hands to be re-carved. Still better than re-doing the whole figure. I'll post photos of the re-done hands when finished. And I've done the helmsman's hands, hollowed out to take the tiller. I'm still learning how to do hands. They're better than they were, but there's still plenty of room for improvement. Steven


- 508 replies
-
- 17
-
-
-
Well, those shields are rather thick, but you're doing a good job with them. I agree about the decals - and very few of those designs have any historical basis. Were you planning on using them? Steven
-
She's beautiful, John. And though progress may be slow, you're doing a good service in keeping the kids - and their parents - not only amused but also informed. And who knows, you may have sparked some interest in ships, ship modelling and etc - possibly even created a few future ship modellers! Steven