Louie da fly
-
Posts
7,993 -
Joined
-
Last visited
Content Type
Profiles
Forums
Gallery
Events
Everything posted by Louie da fly
-
 Getting close now. Regarding the fishing gear I can't comment on this period with any certainty, but apart from nets (with floats and weights attached, perhaps - depends on the technique they're using - just tossing the net over the side and drawing it back in? Or something a little more sophisticated?) the only other thing I've come across was Byzantine 11th century, a multi-tined 'fork' (it would be a trident if it had only three but there were more). The Serçe Limani "glass wreck" had the following: "The fishing gear found in the Serçe Limani shipwreck in Turkey included nets, spears, sinkers, and spindle-whorls. The shipwreck dates back to the 11th century AD. Fishing gear Nets: Three large nets with floats, a smaller casting net, and beach and open-sea seines Spears: A multi-tined spear Sinkers: Fishing-gear sinkers, some with Christian symbols Spindle-whorls: For making lines Netting tools: Tools for working with nets I tried to find images but couldn't lay hands on them. The article linked below Aha! 7th century AD, but some very nice pictures: https://www.ancientportsantiques.com/wp-content/uploads/Documents/PLACES/Levant/Dor-Galili2010.pdf I don't know if the fishing method would be the same, but it's probably quite likely. Oh, and a set of balances to weigh the fish with. The linked article has pics of (modern - but almost identical to ones found in archaeology) balances to weigh the fish, a fishing spear (and a mosaic of one in use) plus a mosaic of a net being used. It also mentions finds of fish hooks, and pictorial representations of hooks "with and without rods" Have fun with it. Steven
 -
Patrick, I've had a look at those pics (didn't realise at the time what ship they came from). I think it answers my questions. Many thanks. Steven
-
I've been away for awhile, so please forgive the longwinded reply - a lot to reply to all in one go, with the fast progress you've been having. Regarding your post #33 of Jan 15 I'm going to (reluctantly) take the role of advocatus diaboli. While I agree that it's quite possible contemporary pics don't show 'permanent" gaskets, it's difficult to draw definite conclusions - the gaskets may be temporary, but maybe the artist just didn't bother to show them. To be able to see the (unused) gaskets hanging down from the yard, firstly it would require a picture of a ship with the sail(s) set. Second you need a very good artist to notice and include such a fiddly detail. And I'm afraid even my favourite, Carpaccio, sometimes gets details wrong. Even he might have missed that detail, particularly of a ship under sail if observing from the shore. Not saying you're wrong. It's quite possible you're correct, just that the evidence is a bit equivocal. But that's not what is shown in the pictures in your post. In each case the yard is considerably above deck level with the gaskets being tied or already tied. OK, enough devil's advocate. On to the rest of the post. Actually, credit for this diagram should go to Woodrat, who generously shared it with me. See the motto in my signature . . . 😁 That's a nice fix for a problem forced onto you by the kit manufacturer, who probably never imagined that anyone would attempt this level of detail and accuracy on their model, and certainly wouldn't have thought through the consequences for sail control caused by the mast placement. You're doing a very good job of this whole build - very workmanlike, and based on thorough research and practical thought. And high quality modelling. Well above the quality you were presented with by the kit. Something to be justly proud of. Steven
-
Yep. It gets into the brain, doesn't it. And you're never the same again . . . Steven
-
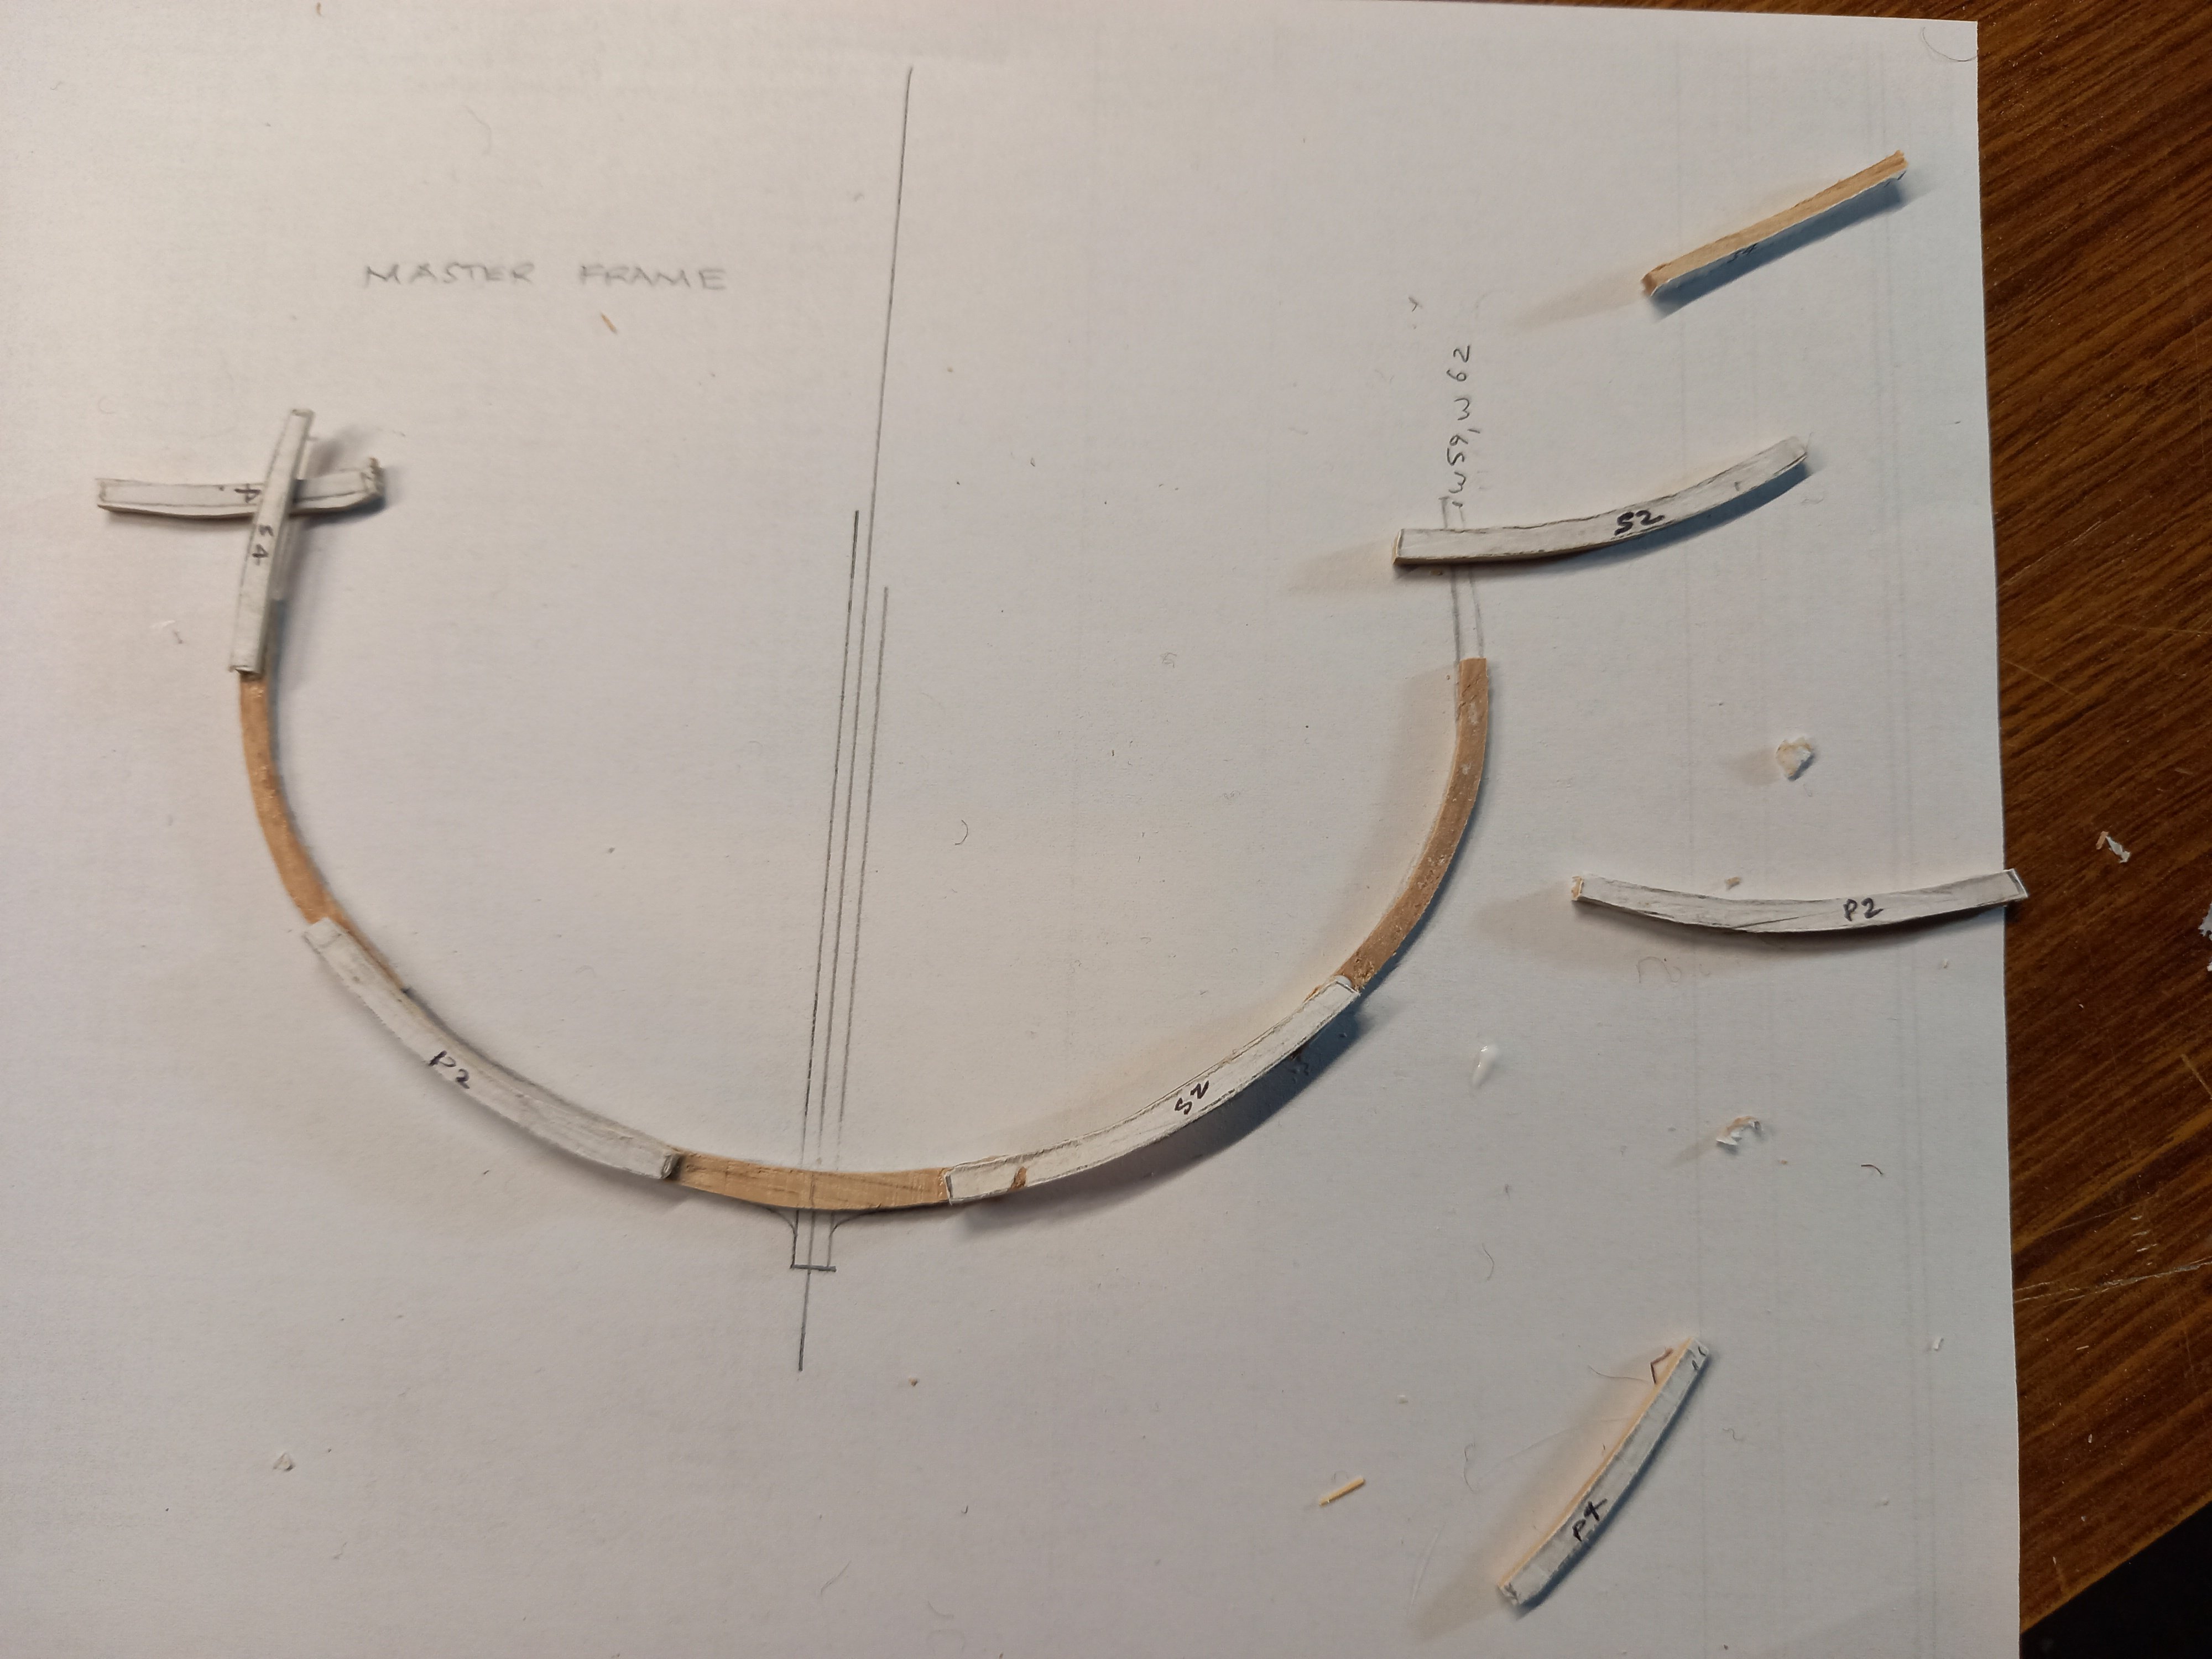
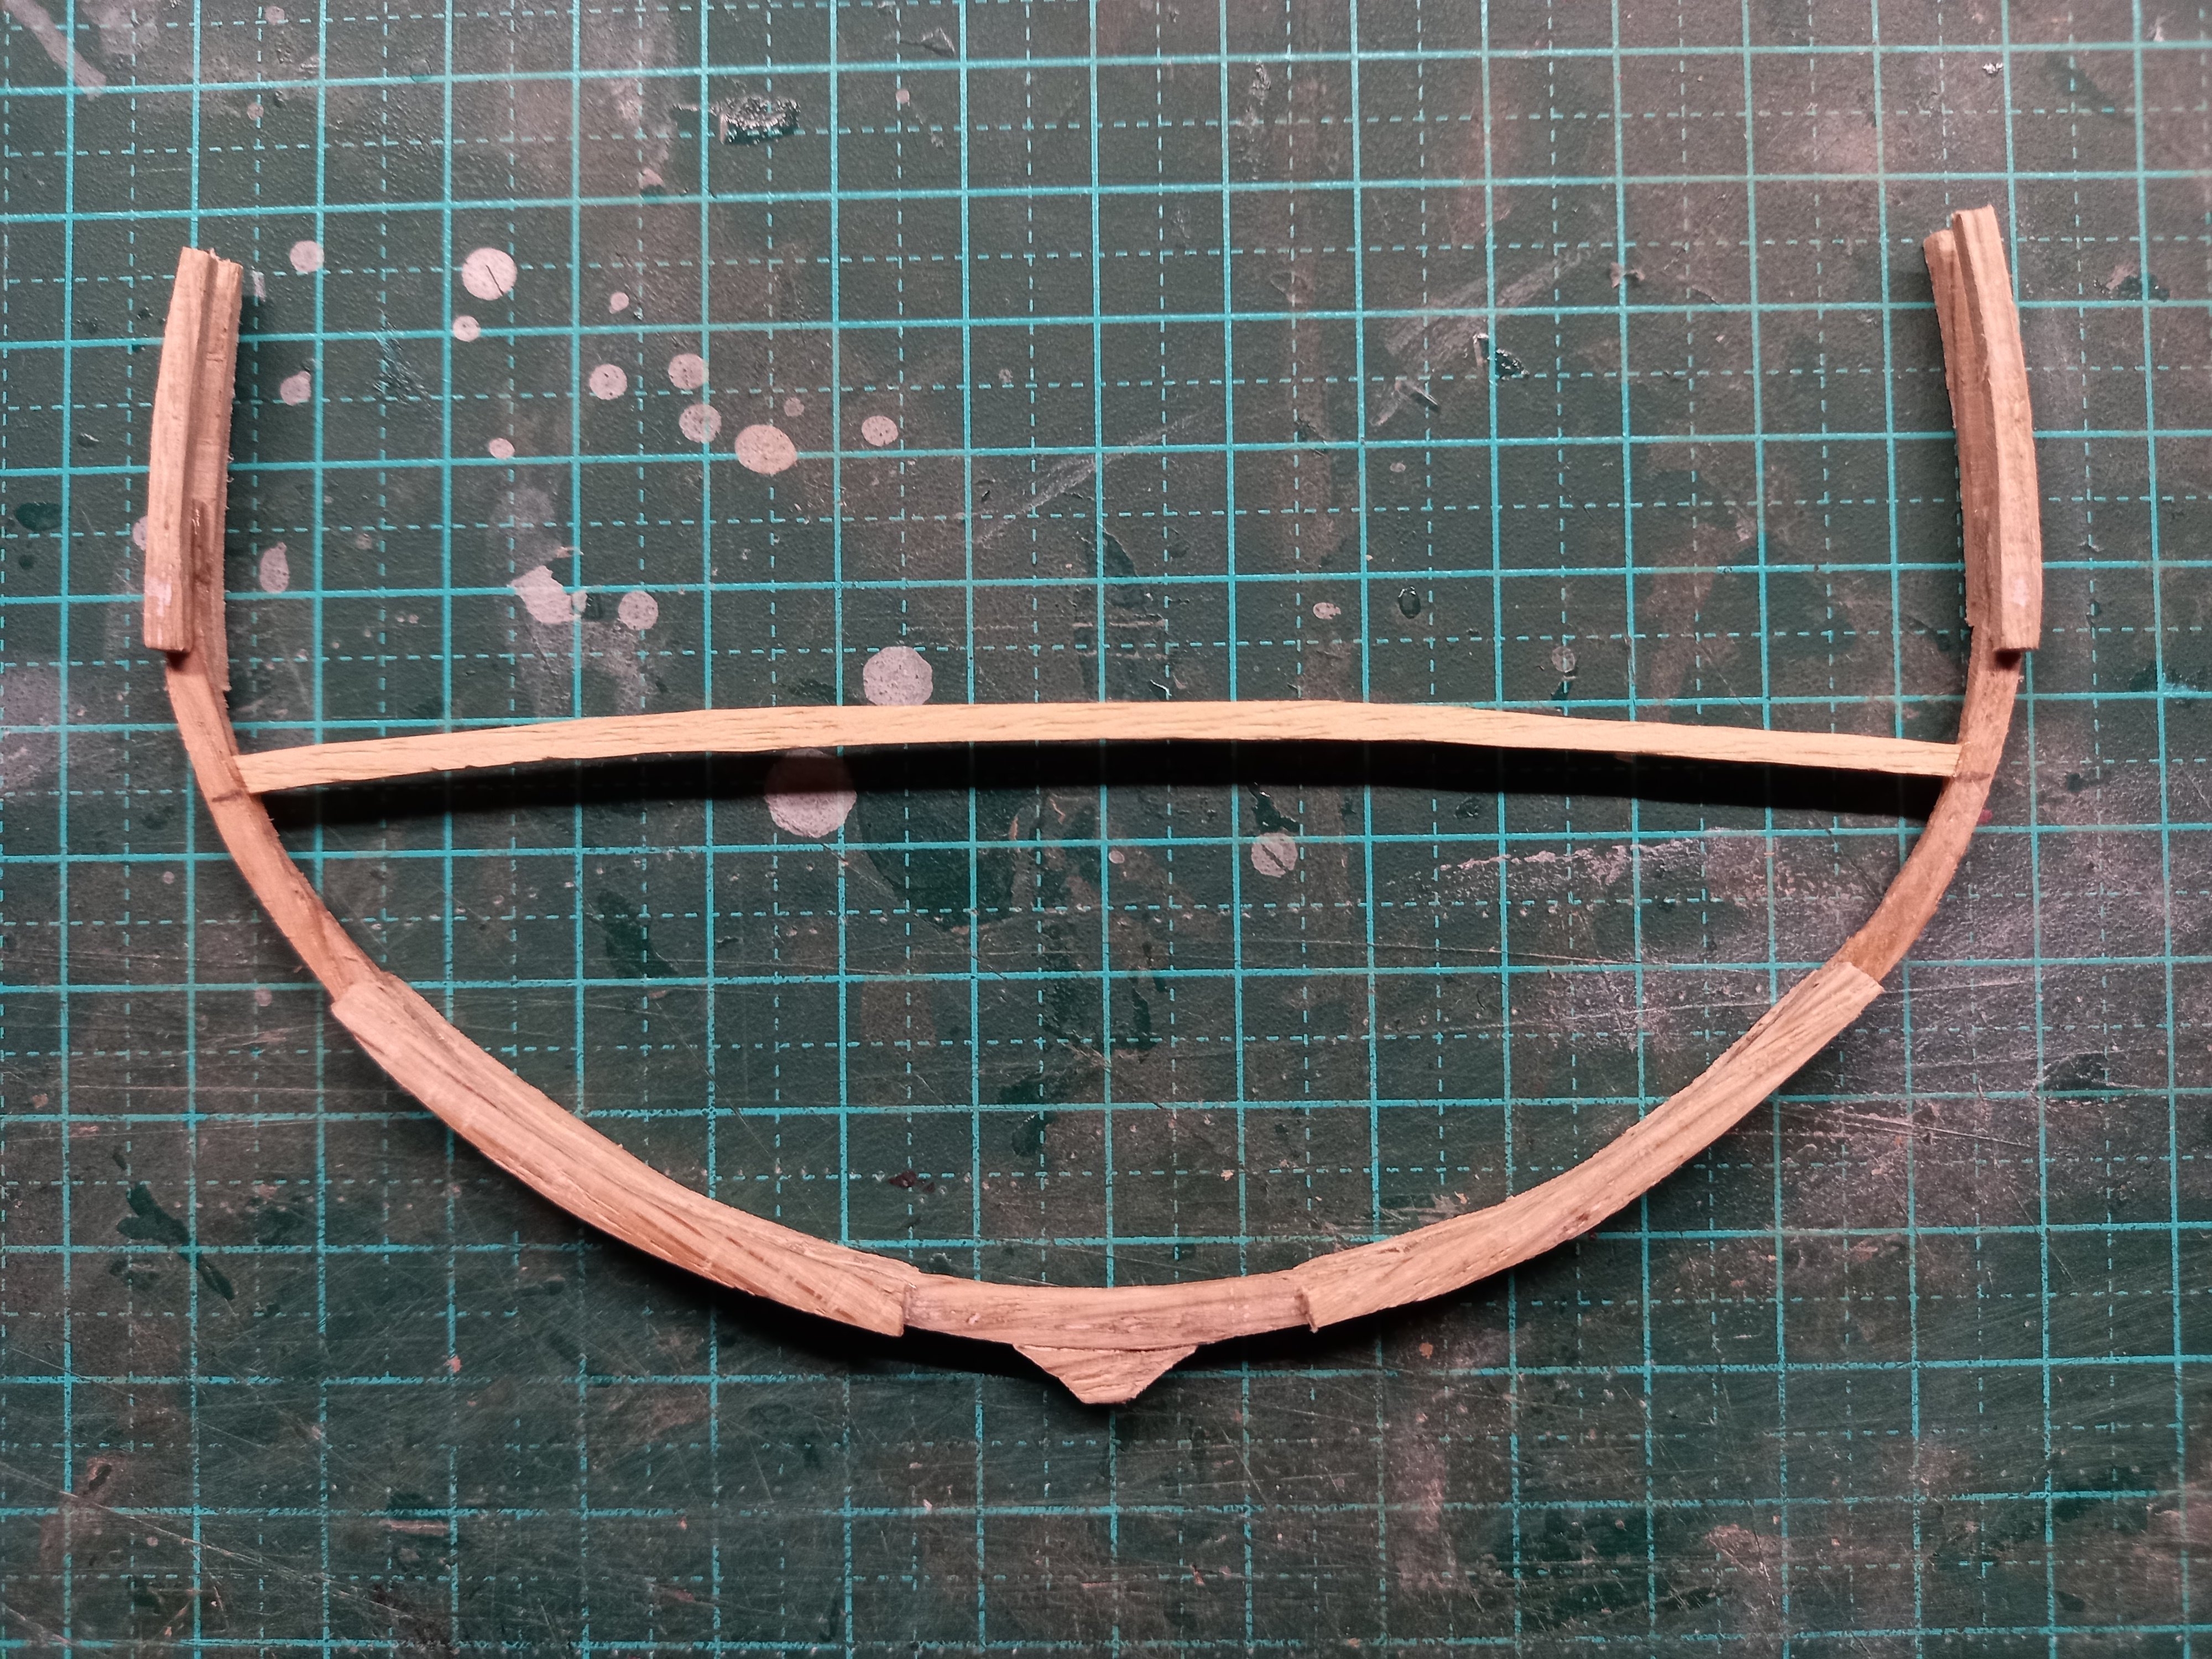
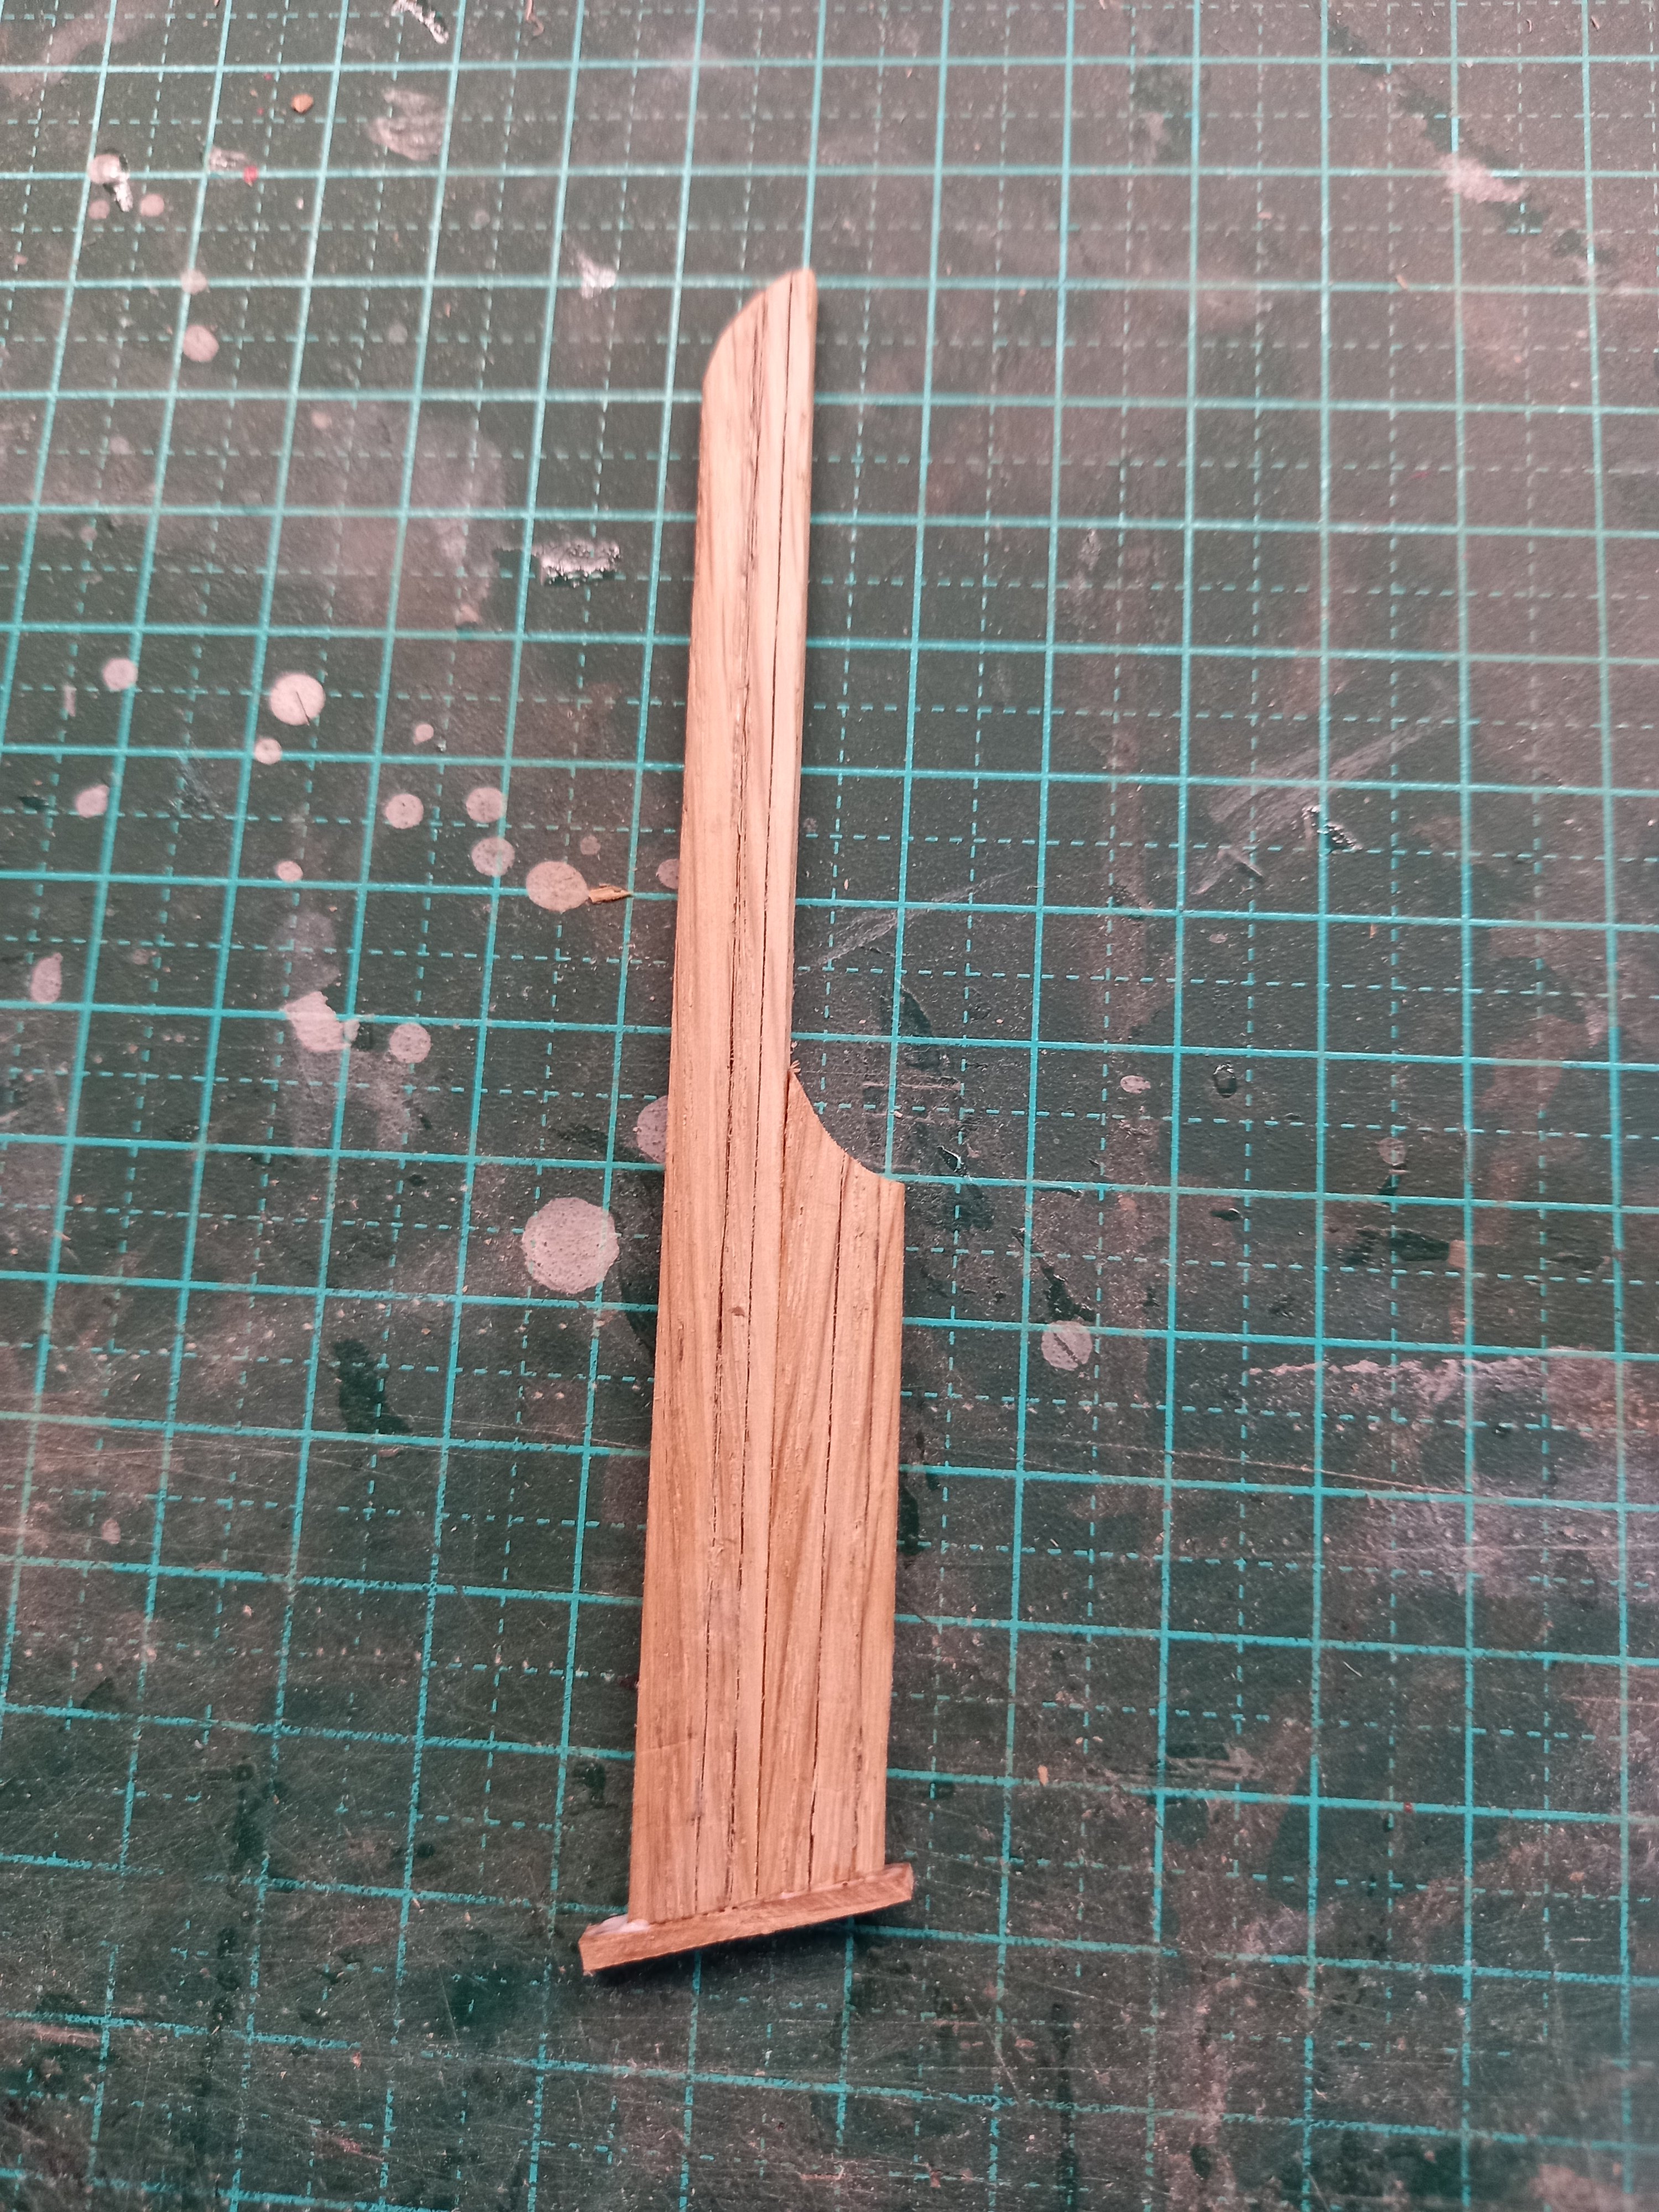
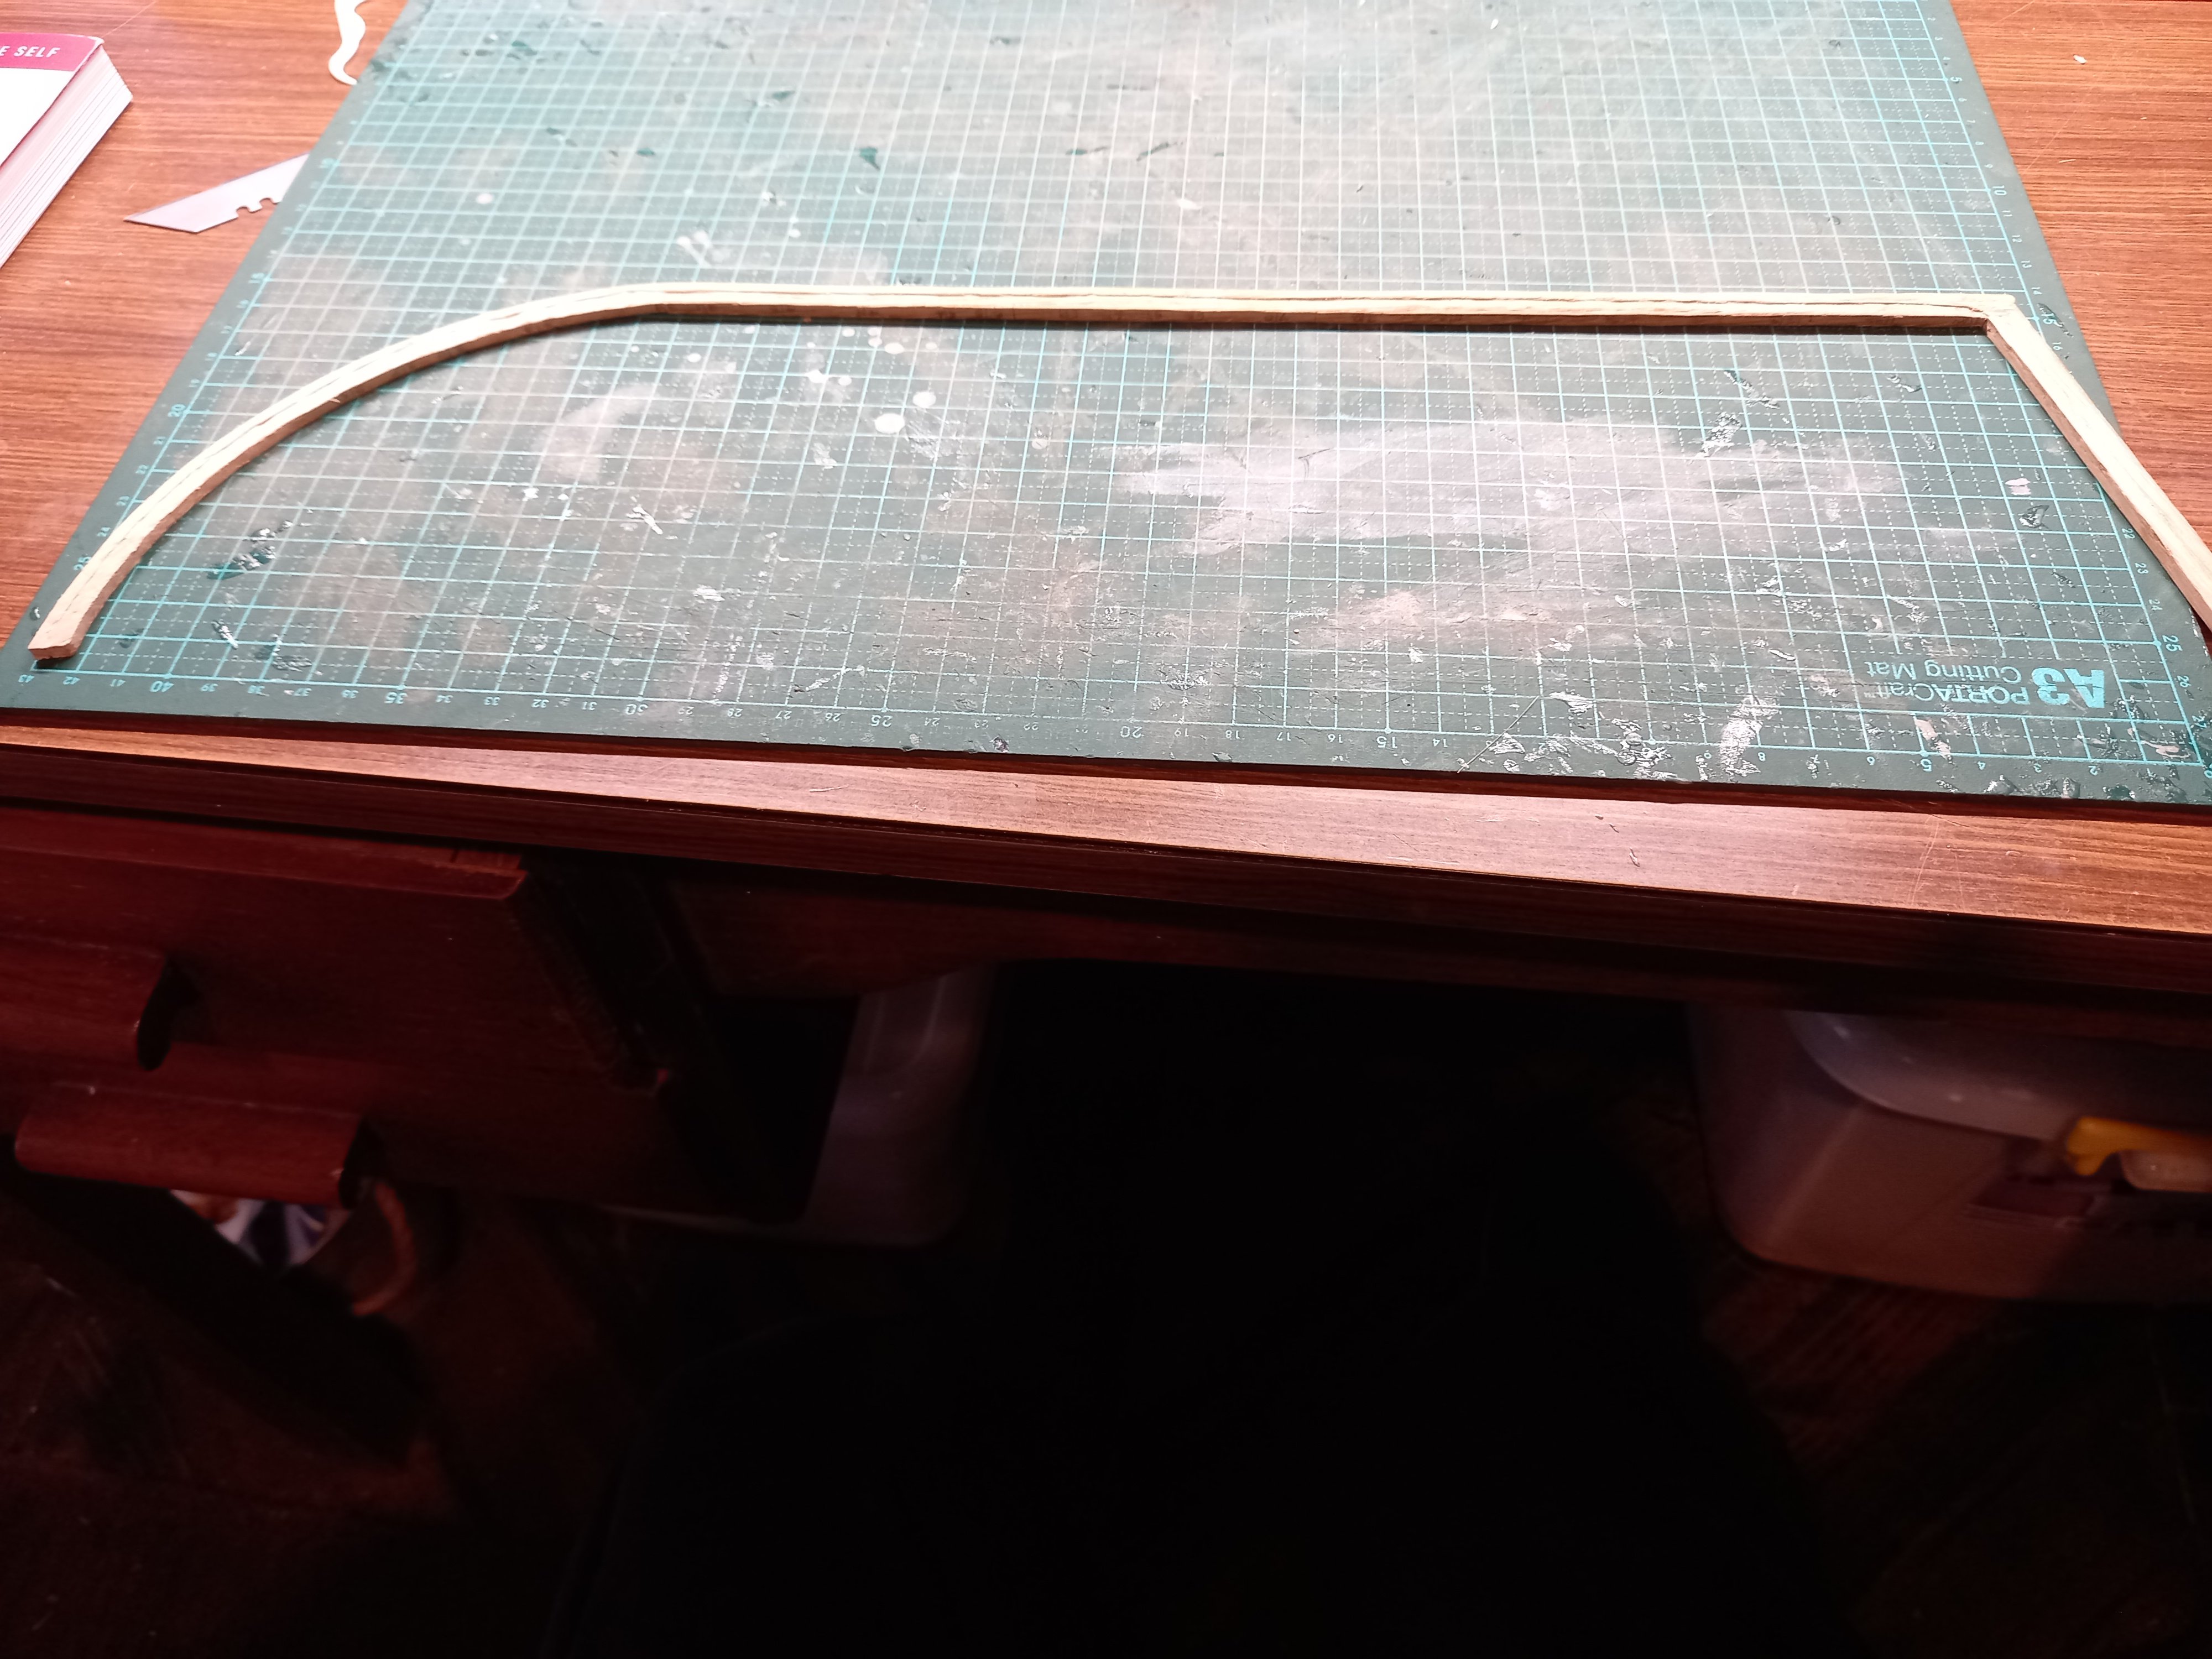
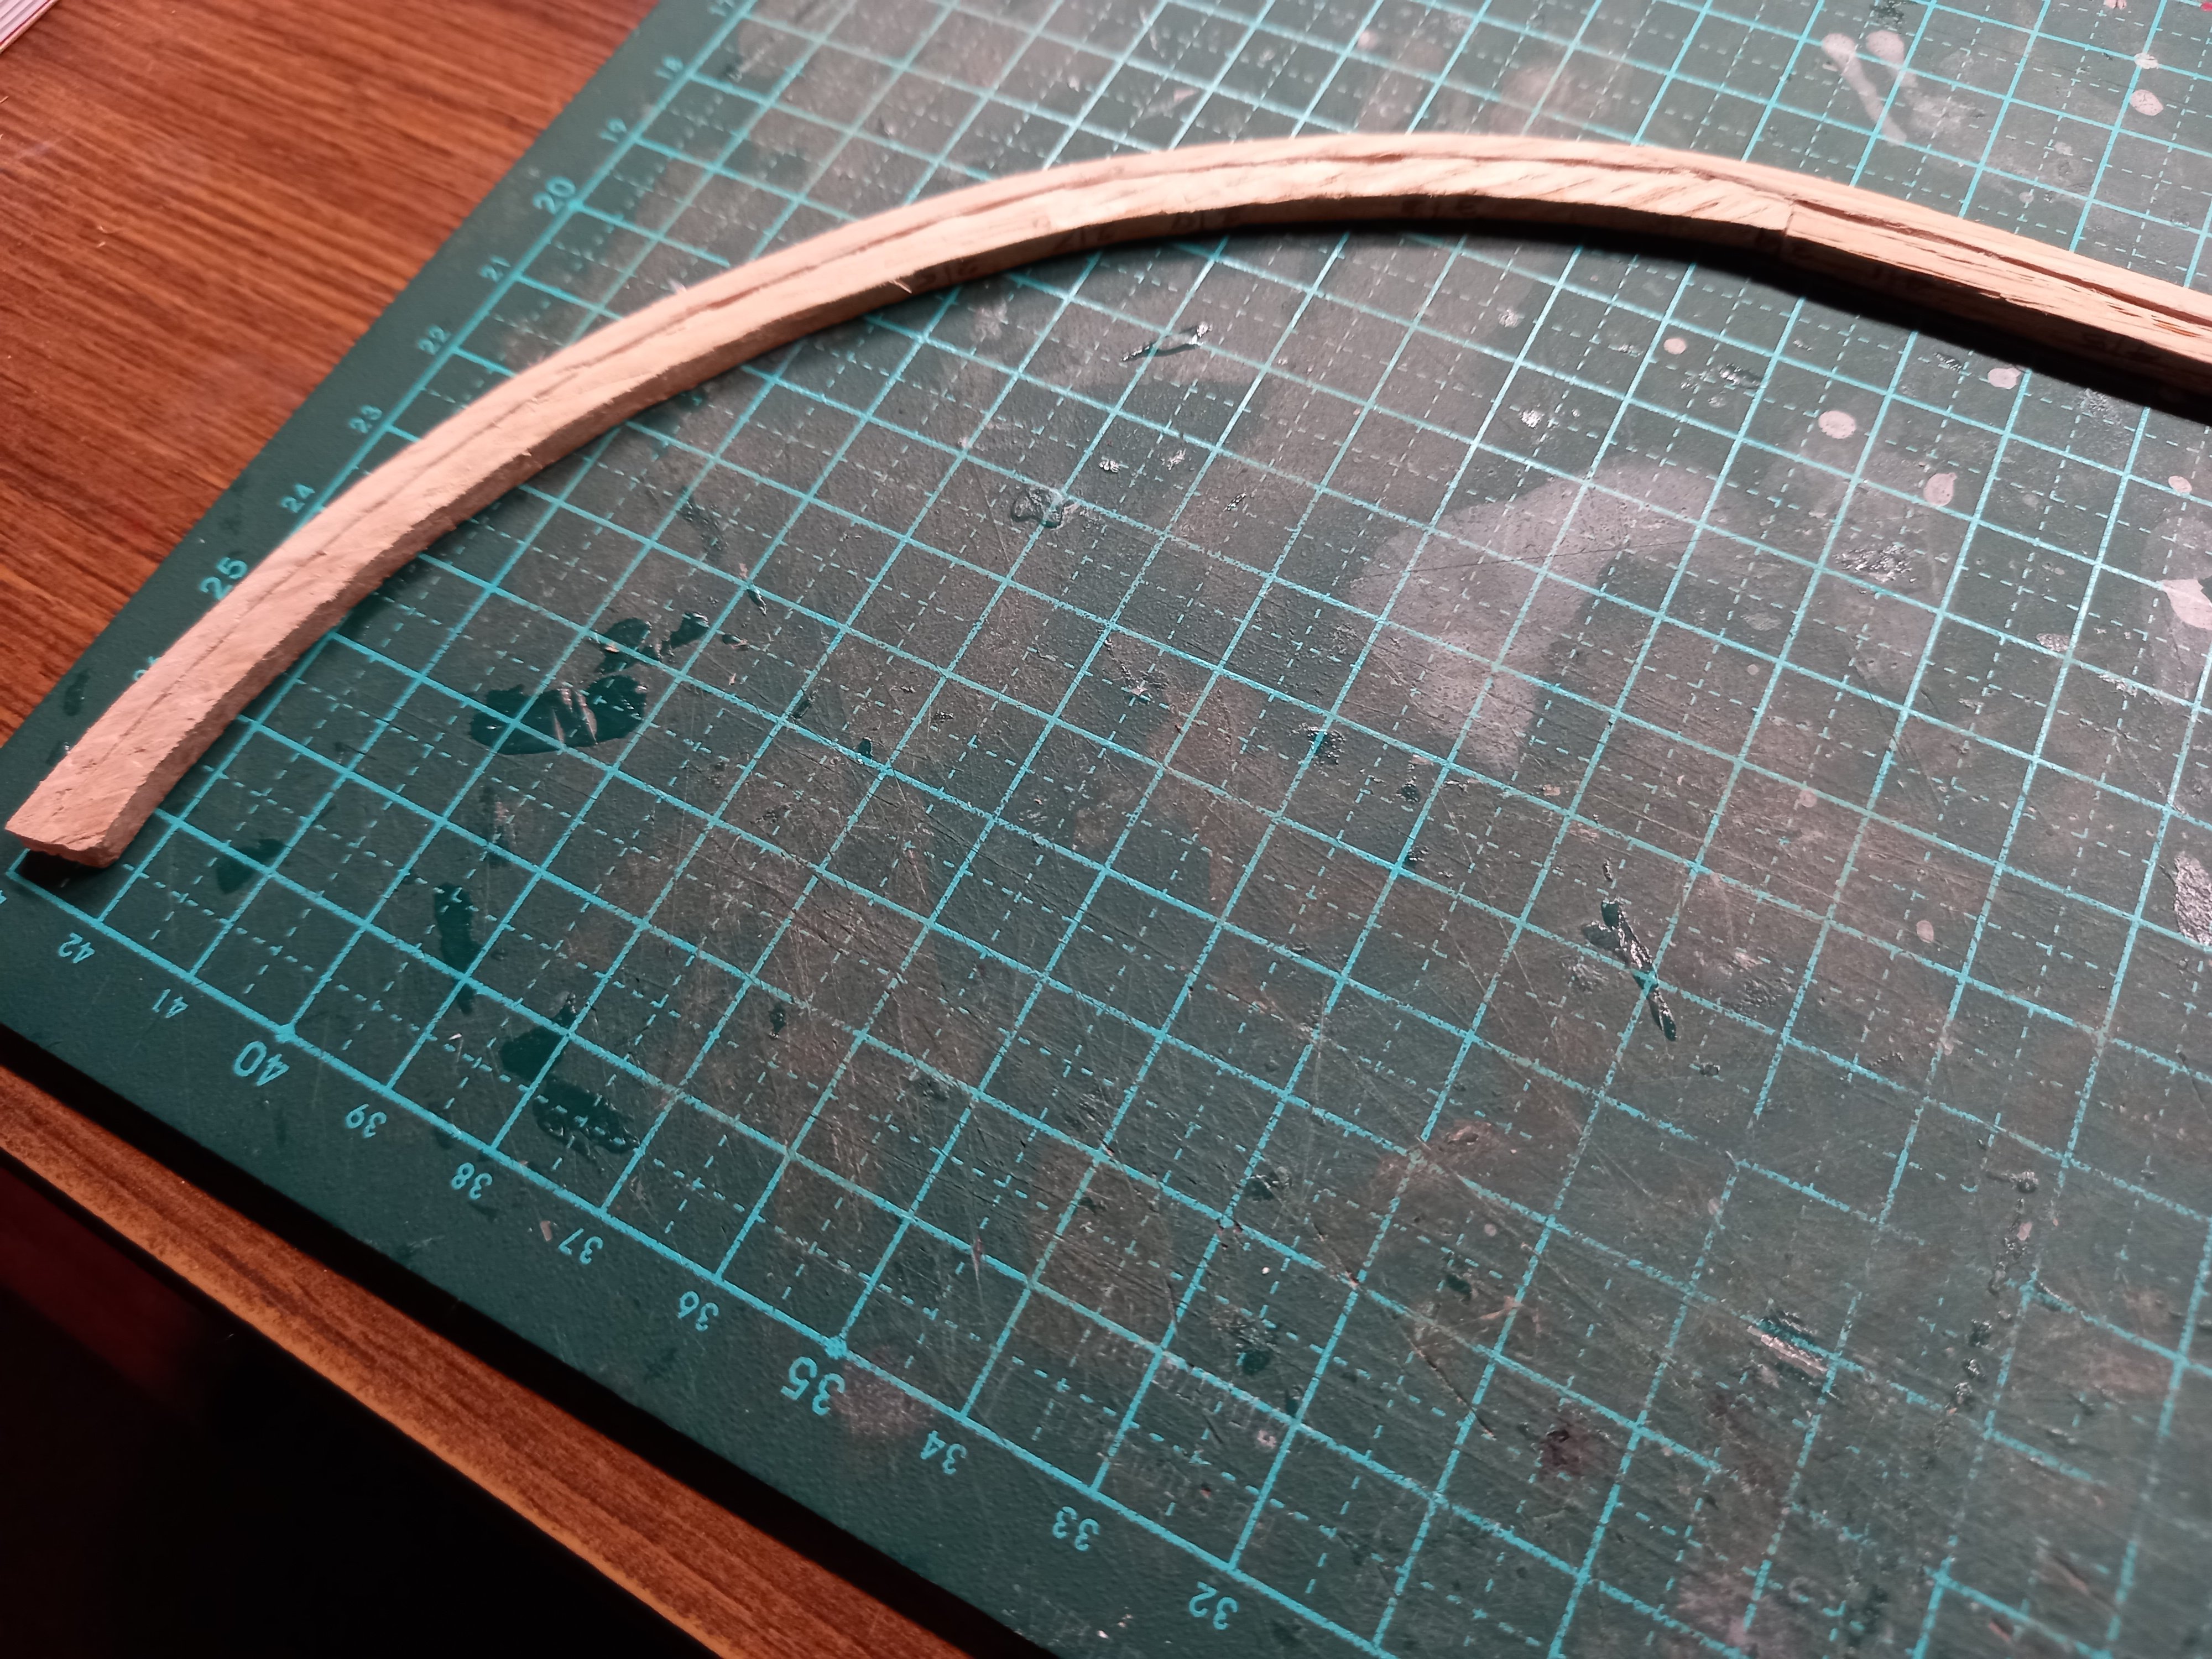
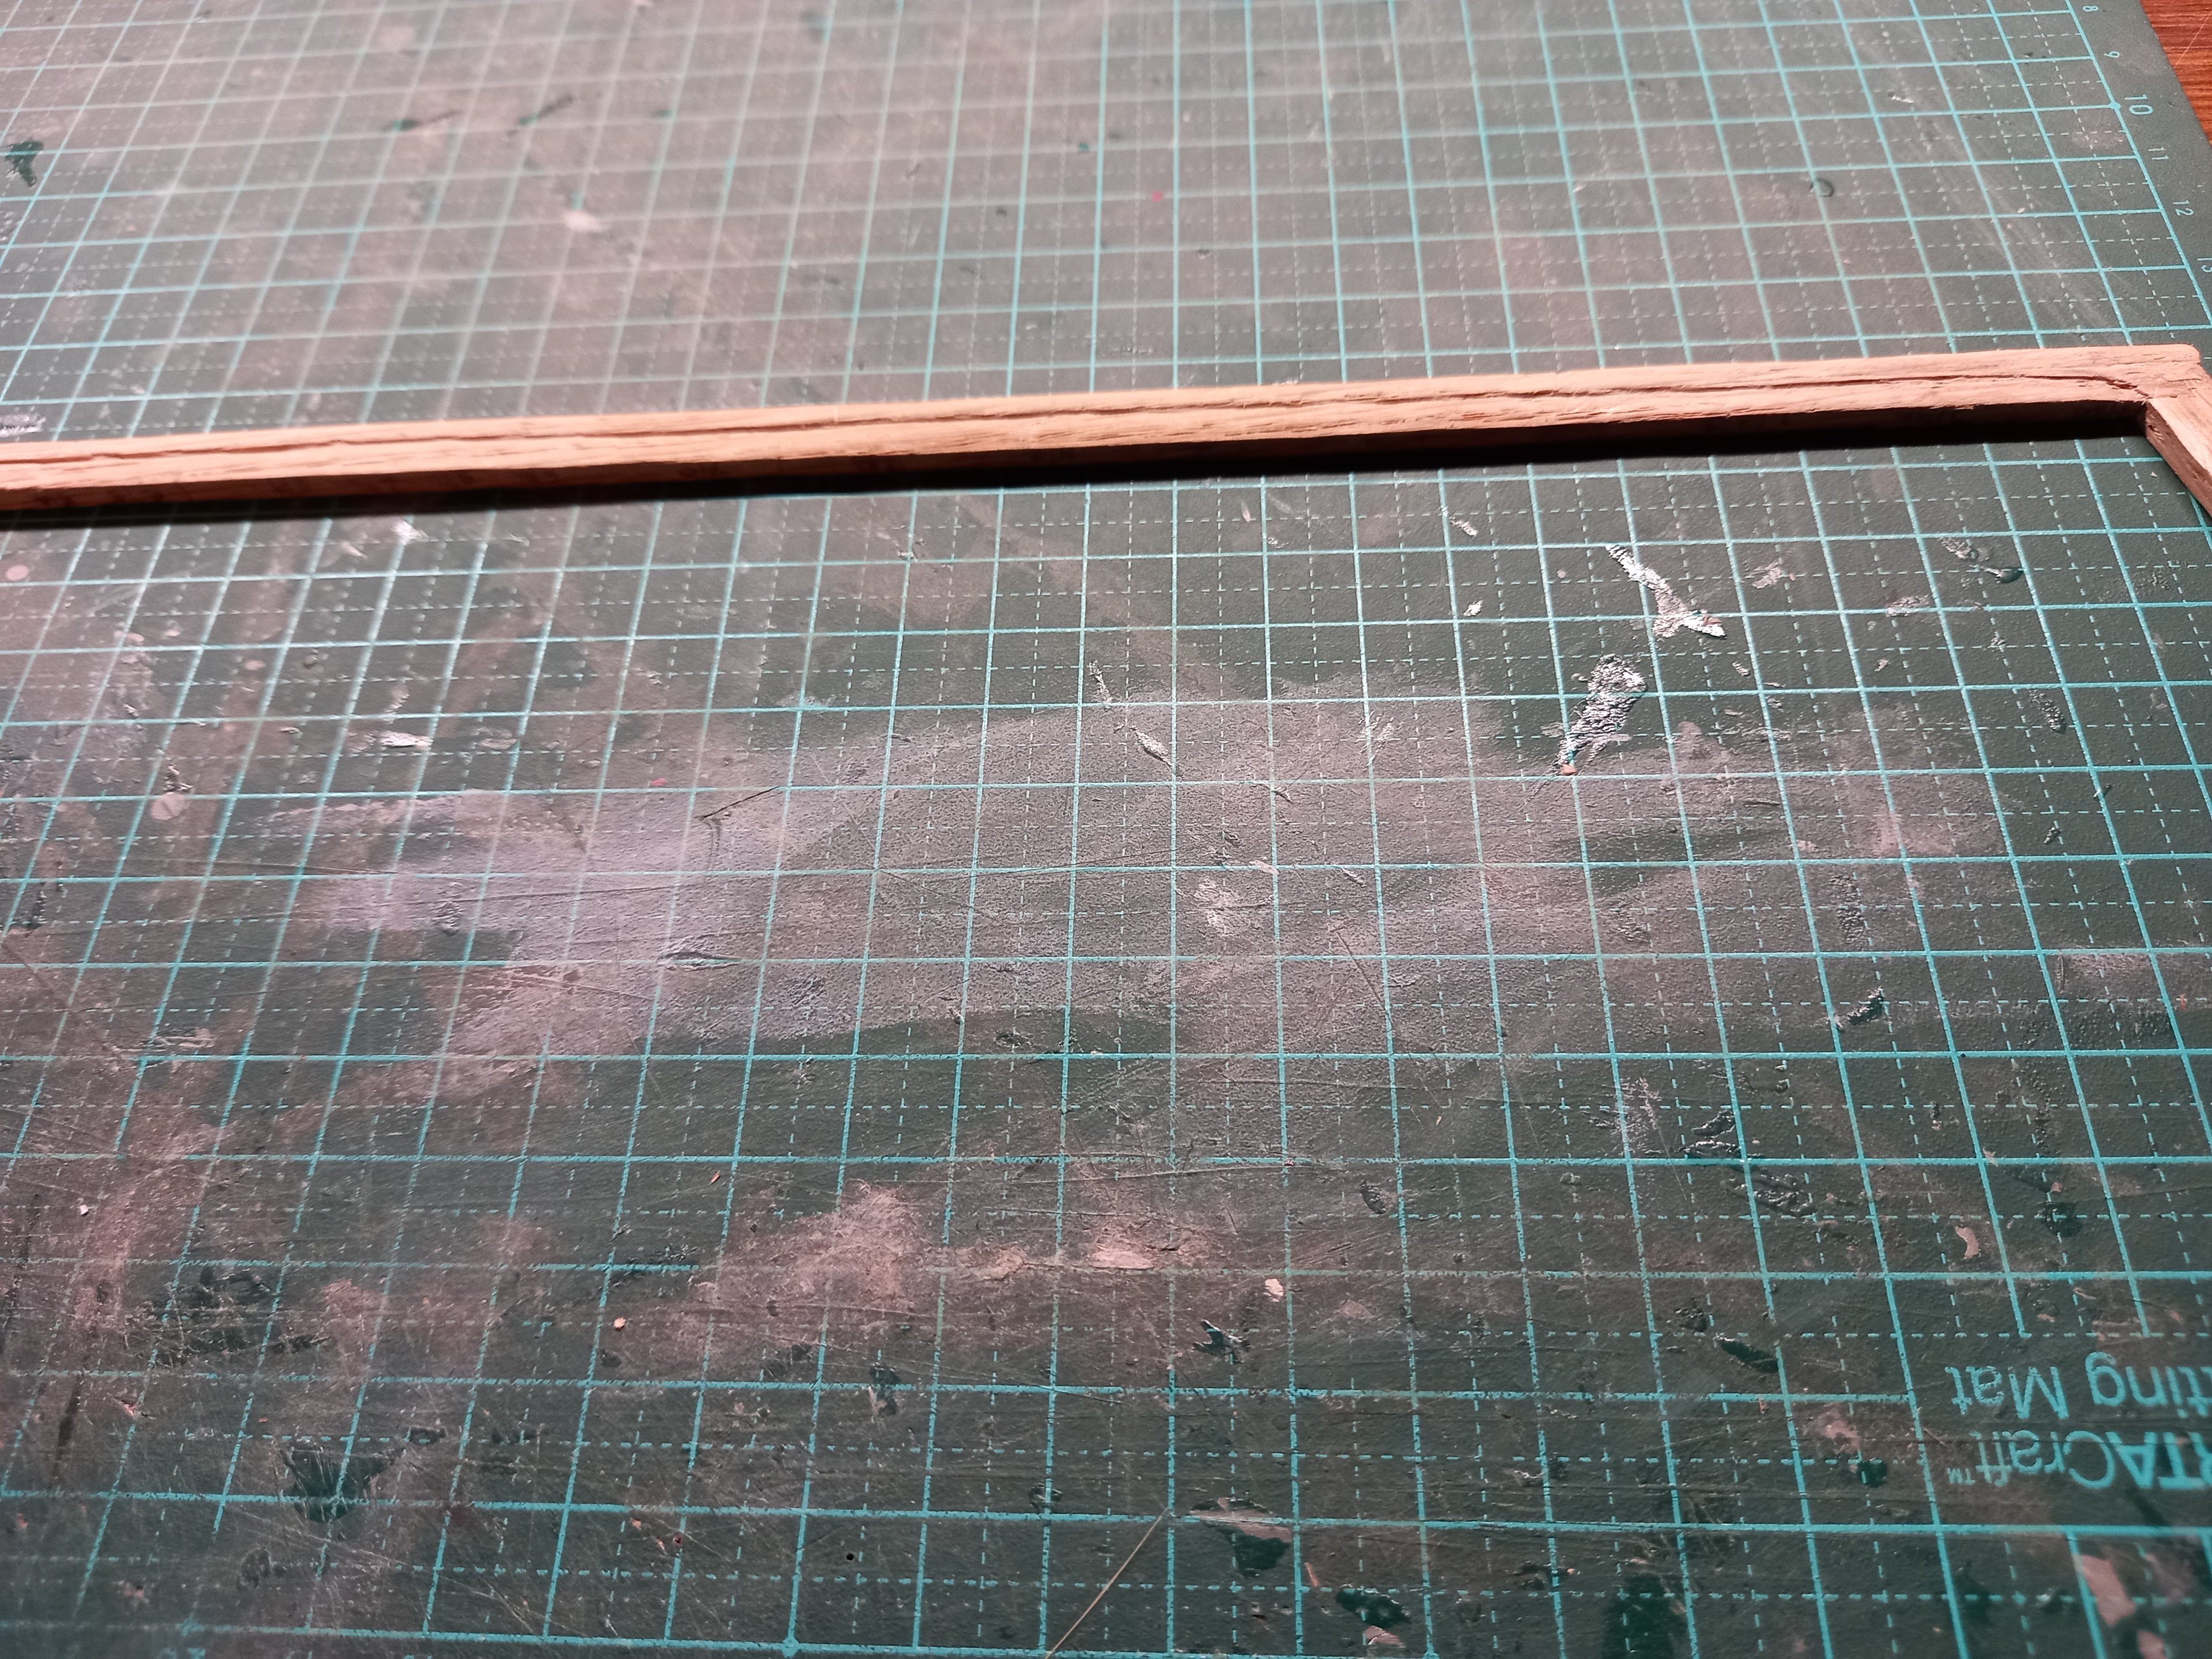
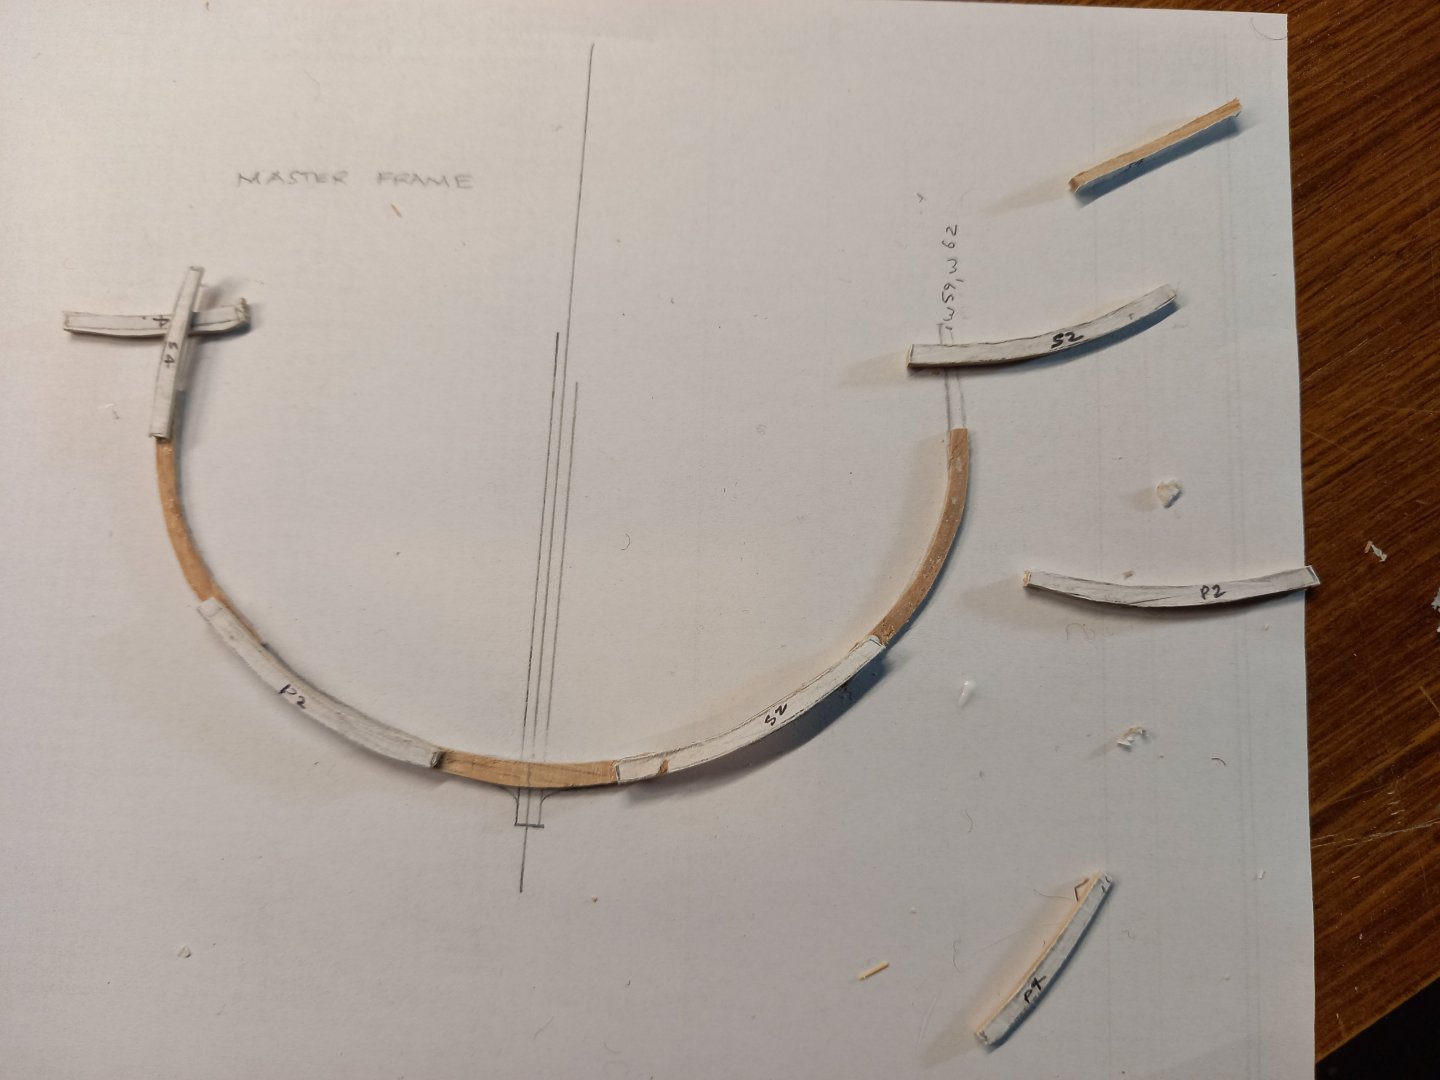
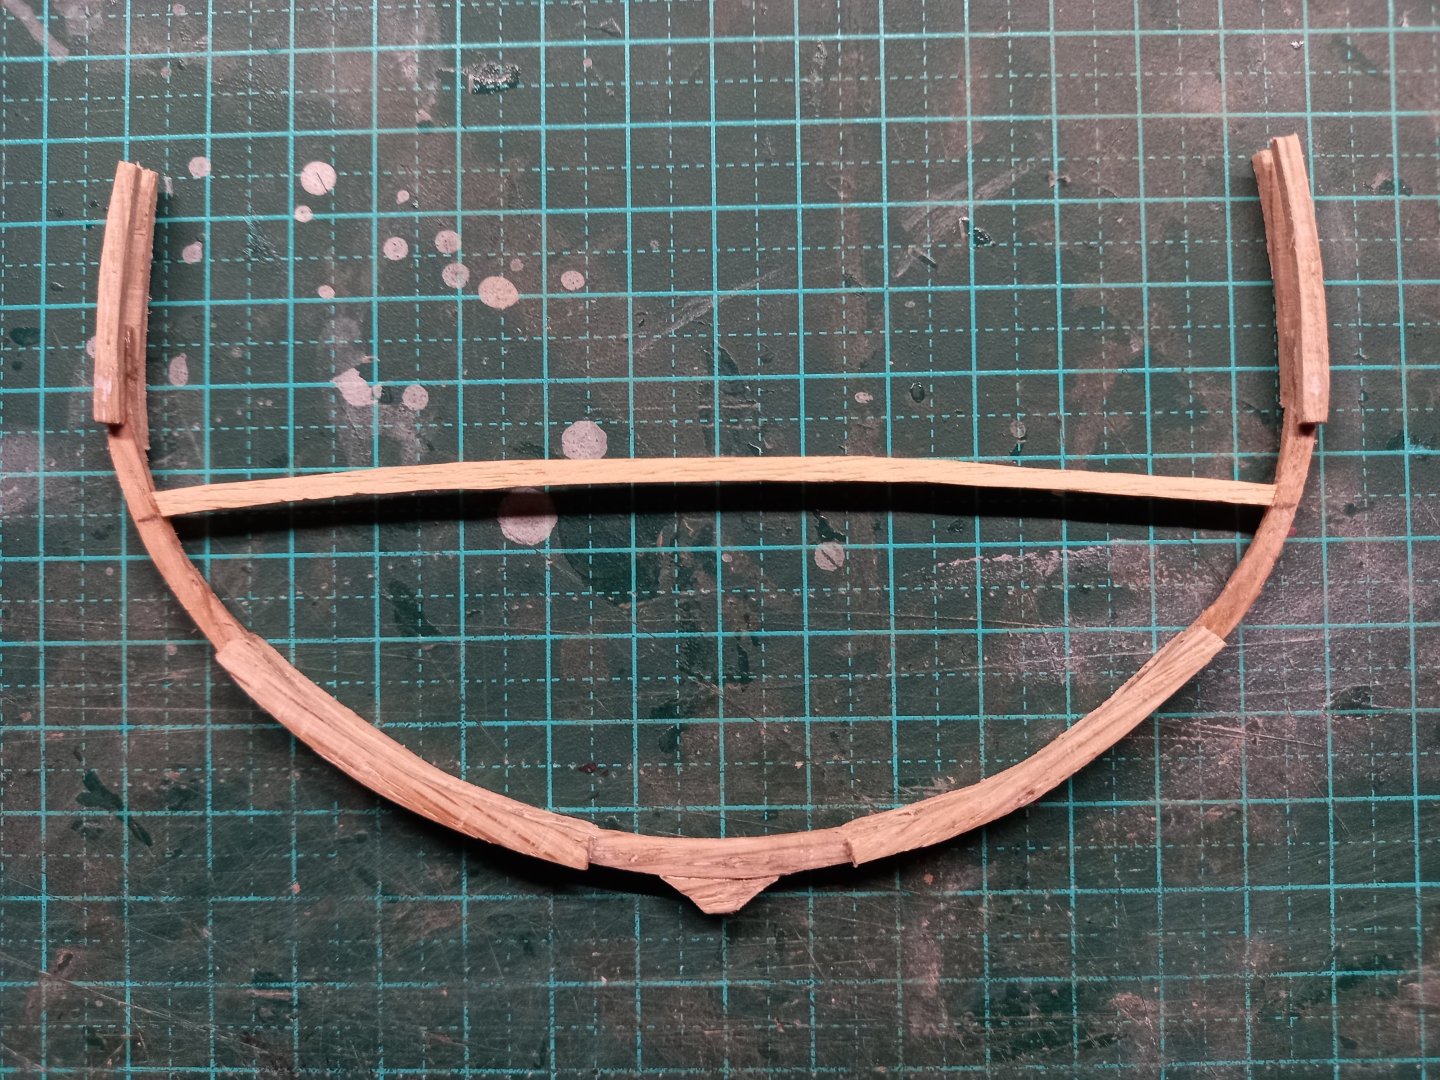
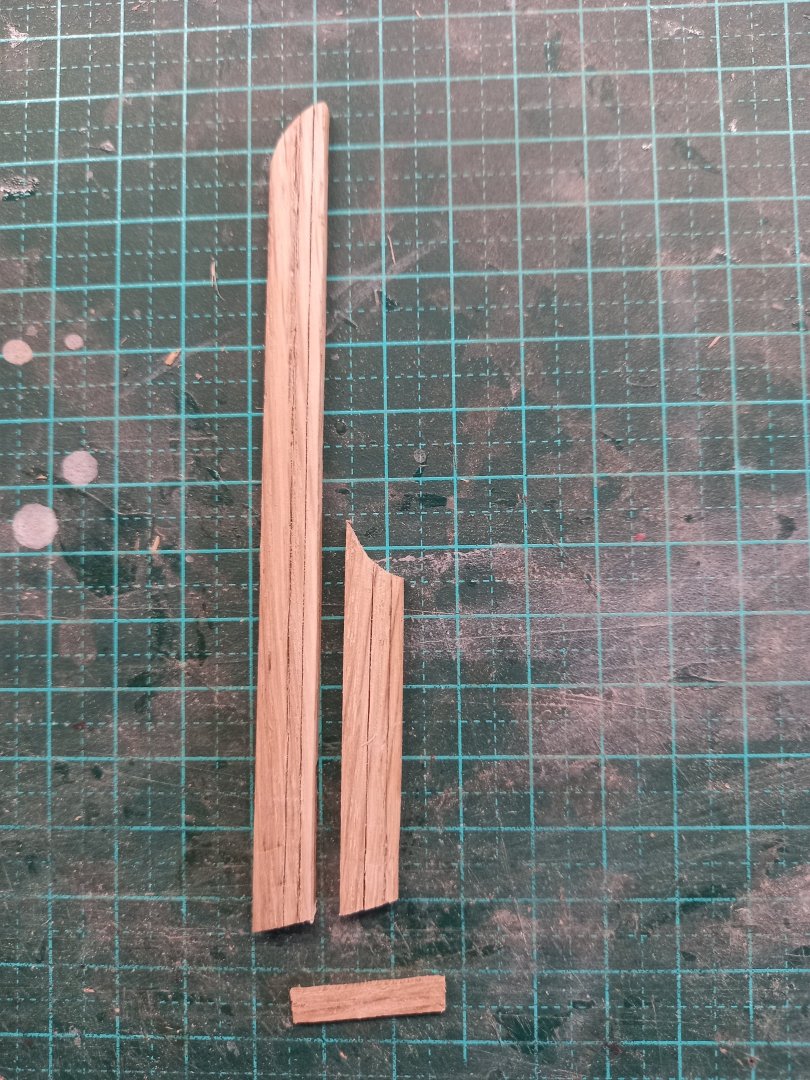
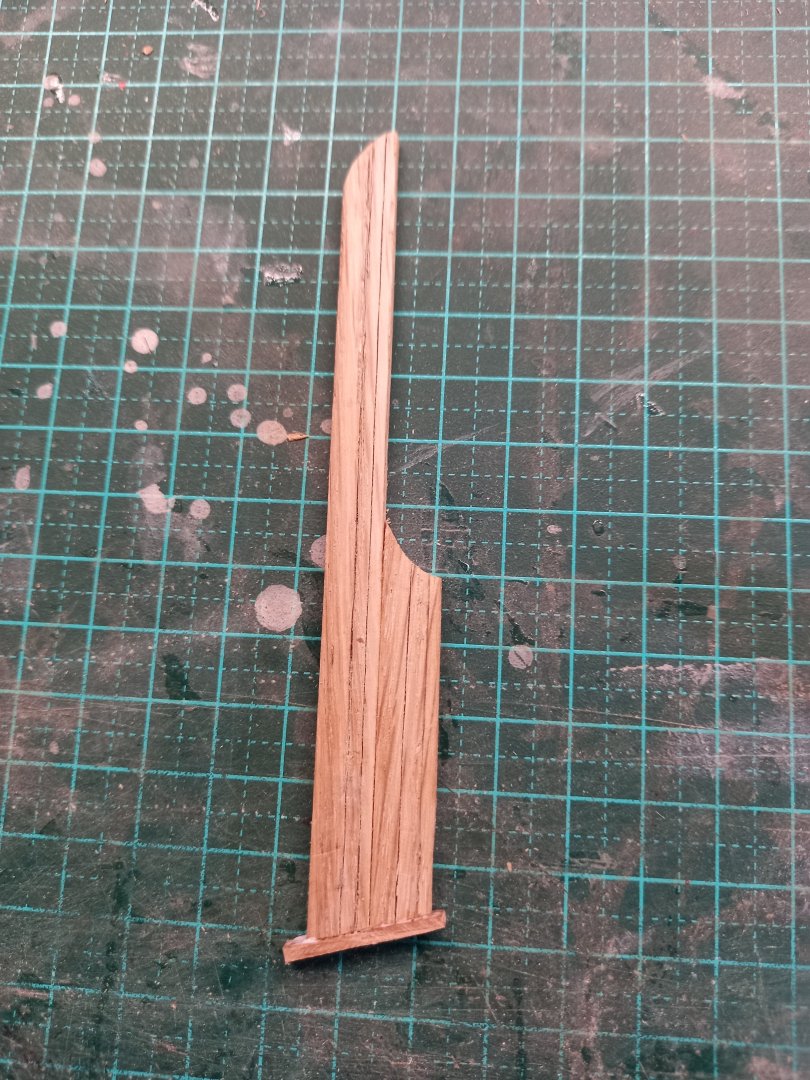
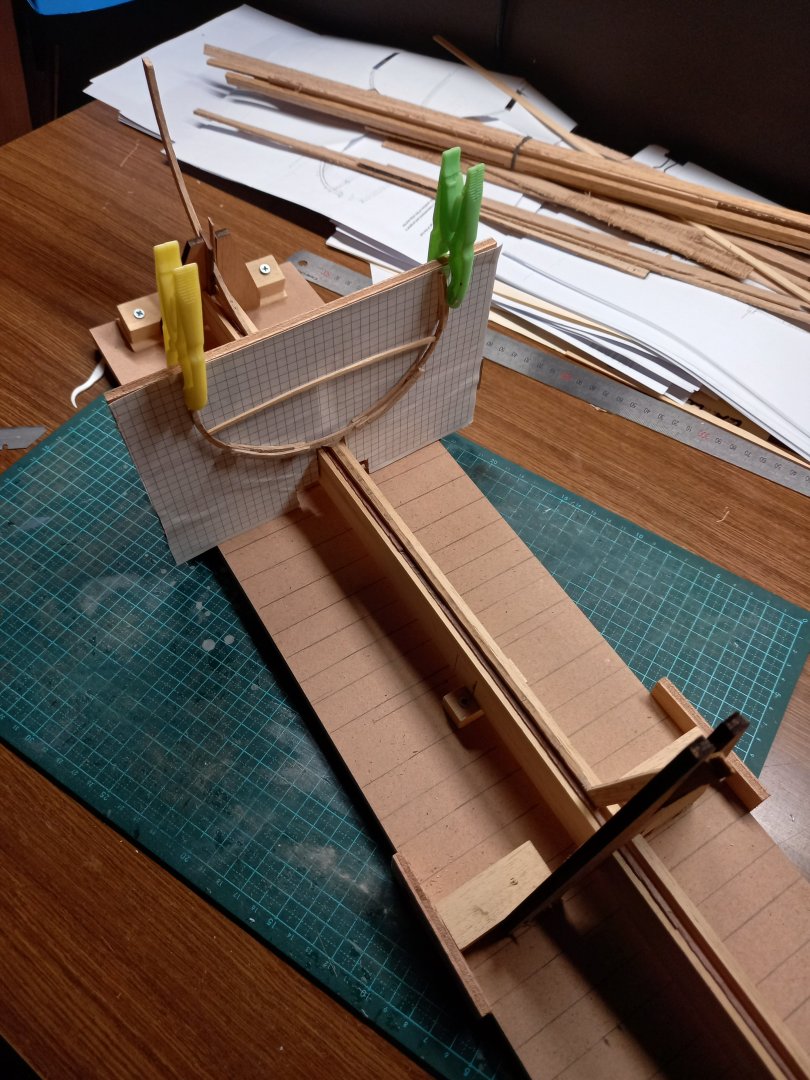
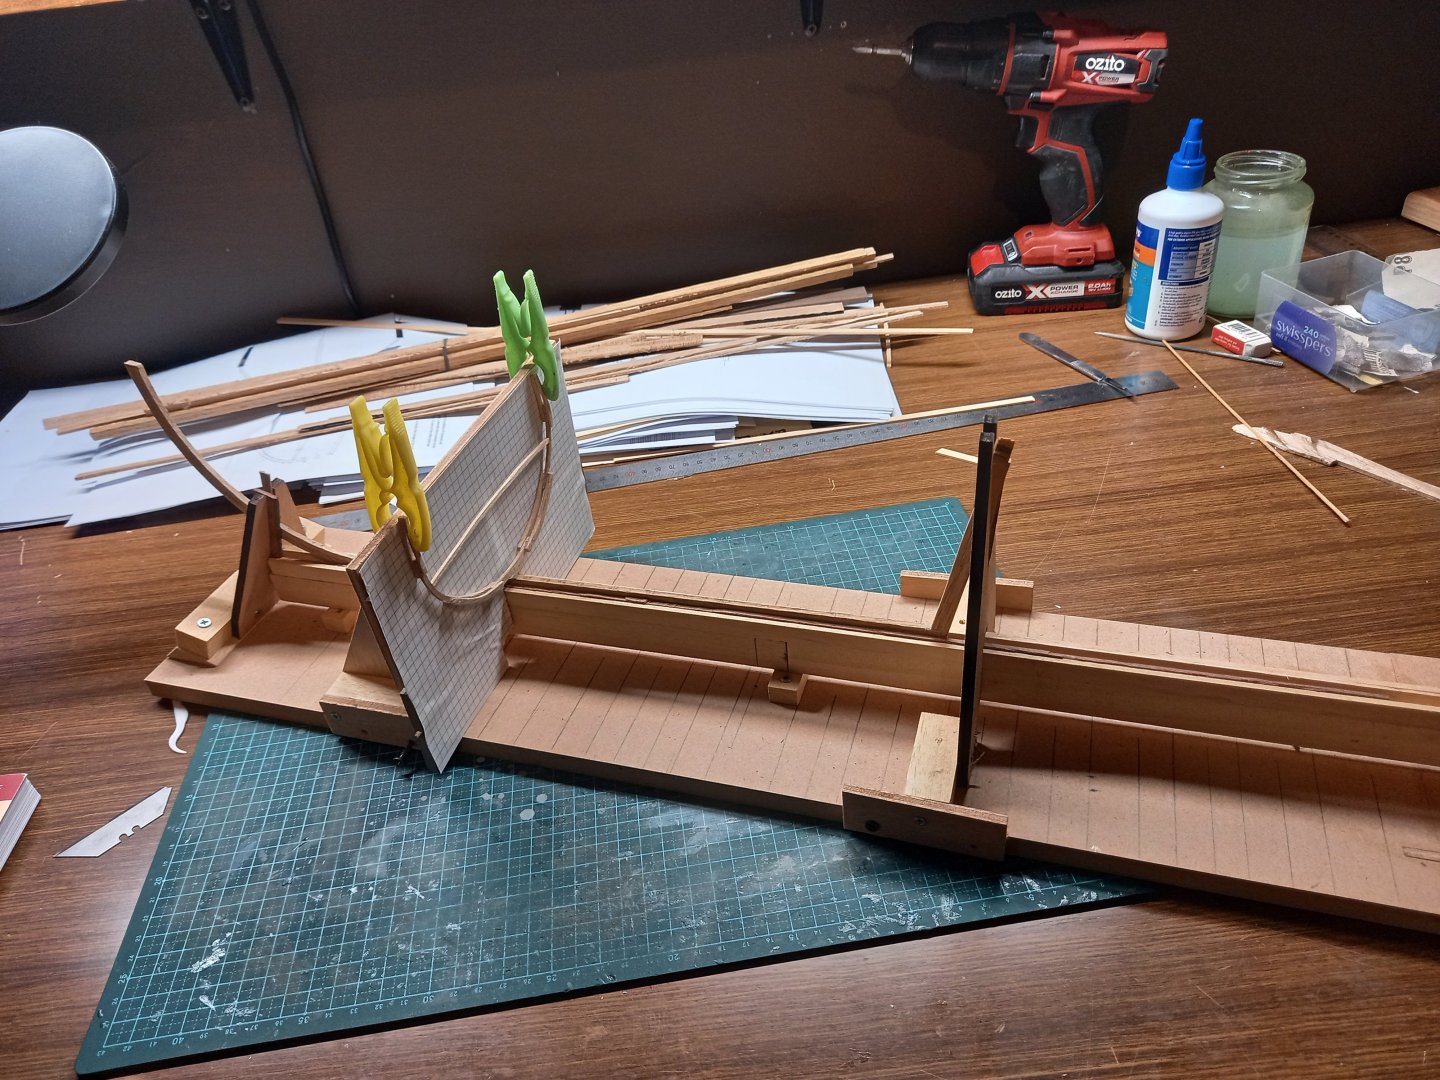
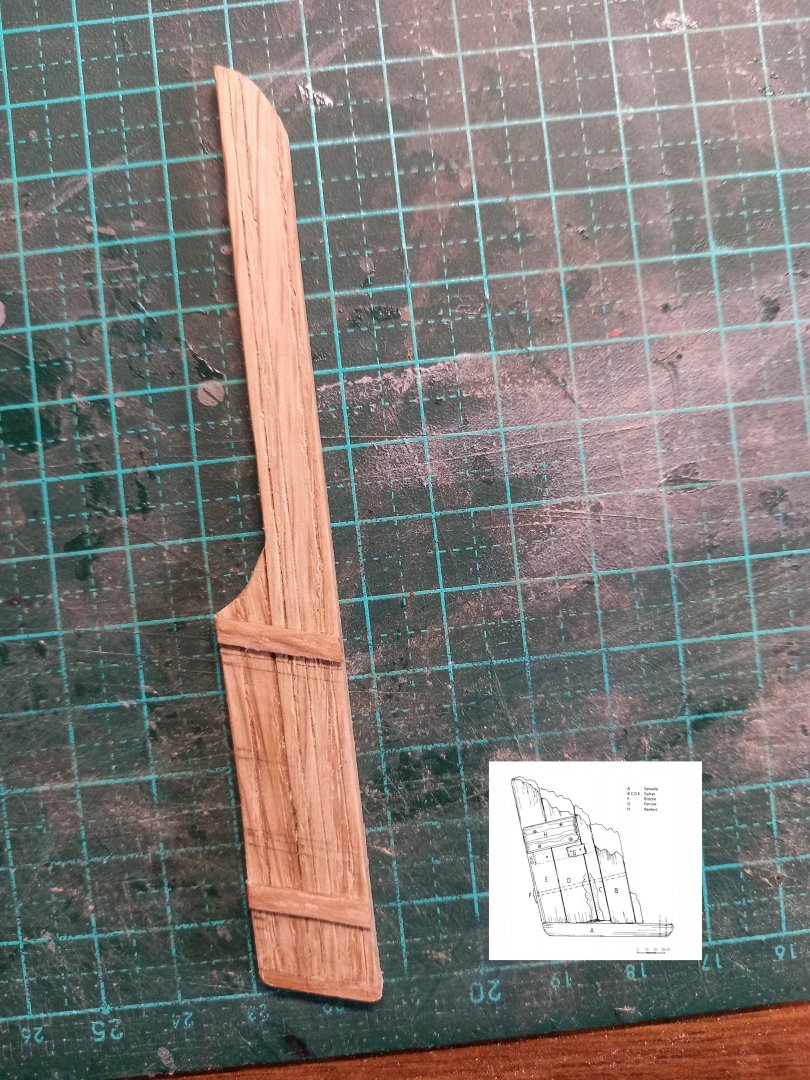
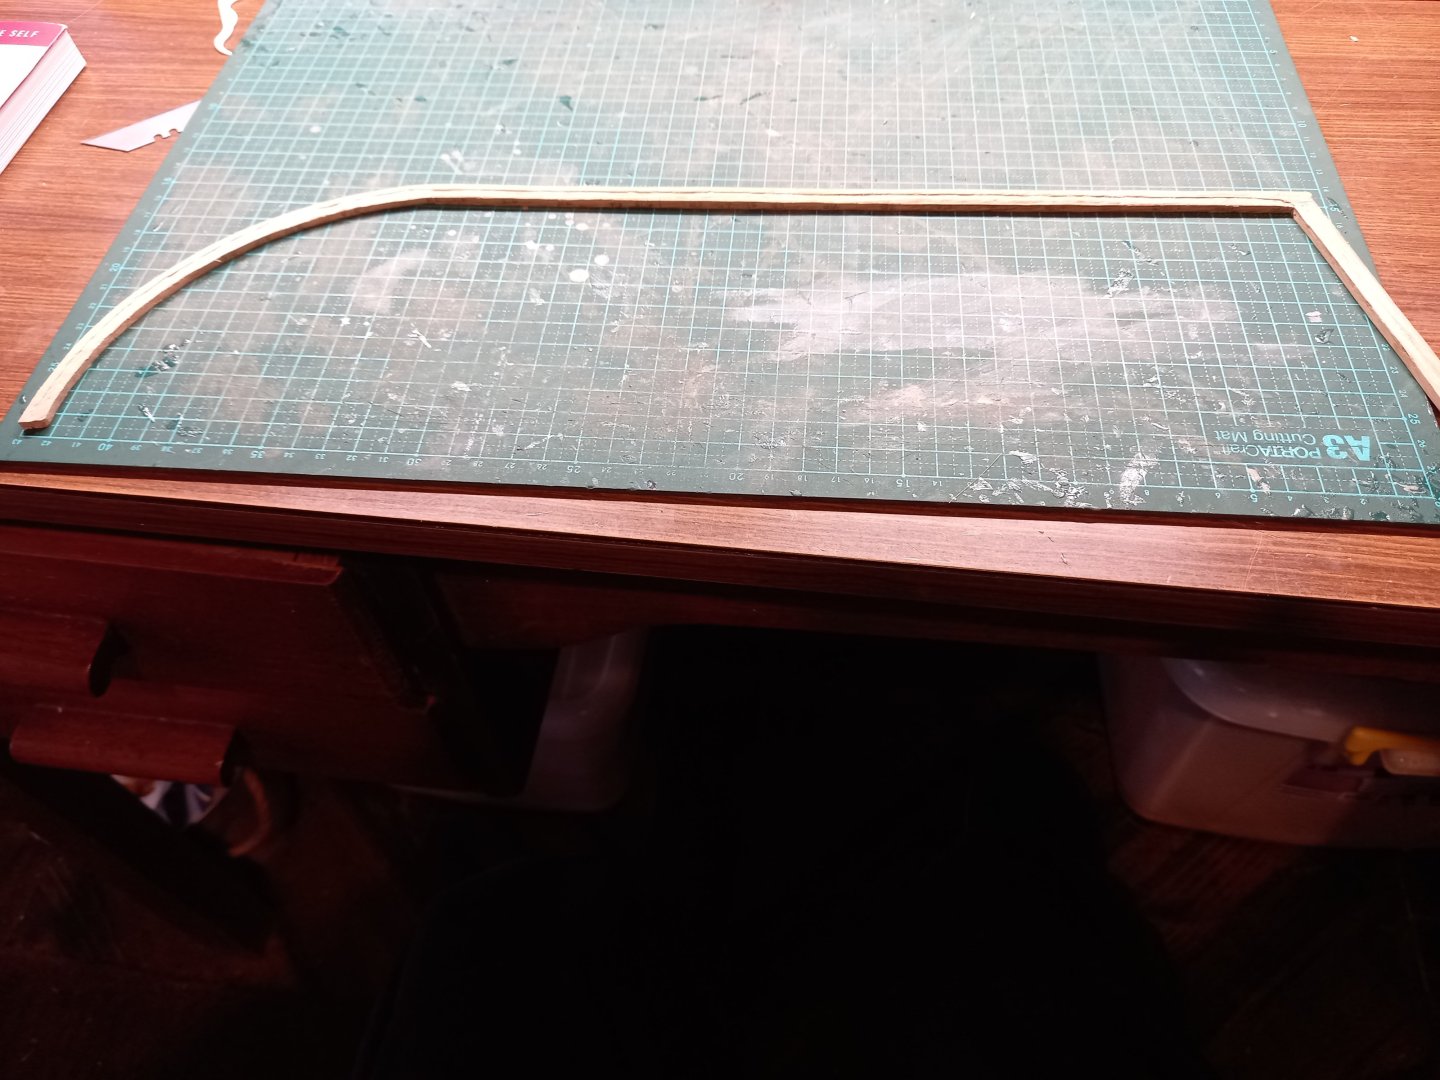
I've made the master frame - only 87 to go! I had to re-think the floor timber. I had based the frame shapes on a recent paper which showed the shapes of the frames which had been recovered and extrapolated from these to estimate the lines of the ship. I don't fully agree with the author's conclusions - I believe the bow has been made too sharp, so I drew my own lines. But the drawings in this paper didn't show the turn at the bottom of the floor timbers where they join the keel, as found on the actual floor timbers themselves. So having committed myself with this one I had to alter it to add that little extension. You can see the join in the second photo. Note that on the master frame the first and third futtocks are doubled - they overlap the other timbers on both sides - fore and aft of the floor timber. This apples only to the master frame - in all the others, the overlapping futtocks are on the side away from amidships. So on the frames astern of the master frame they are aft of the floor timber, on those forward they are towards the bow. Interestingly, this also occurs on the 13th century Contarina ship, on which my Venetian merchant ship is based, (from info supplied by Woodrat, who made a superb model of the Contarina ship itself). I've cut the rabbet in the keel and stempost. Neither the stempost nor the sternpost were recovered, so they've had to be done by educated guesswork. The angle of the sternpost could be worked out from the joint at the end of the keel, but the stempost was done mostly by eye. The rabbet isn't just a groove - it's a step in the thickness of the keel - thinner above, and shaped below. And it curves upwards at the stern. I've just been thinking - probably the sternpost needs a rabbet as well. Can anybody advise on this? The archaeologists recovered a fragment of the rudder (very unusual for ships of this period), and provided a drawing with precise dimensions. So I was able to reconstruct it based on this, plus contemporary pictures, plus some educated guesswork. The blade of the rudder was made out of several planks. I simplified things a bit, using larger pieces and scribing lines to show the edges of the planks. I'm getting a bit better with delicate work in oak, but it's not easy. And here's the completed rudder, with the drawing of the surviving fragment (note, not to quite the same scale) It was only when I put this photo up that I realised I'd got the timber reinforces on the wrong angle - they're supposed to be at right angles to the planks! Not parallel to the sole plate. So, out with the isopropyl alcohol to dissolve the glue and change the angle. Would I be right in thinking that the fore edge of the rudder should be rounded so it can swivel from side to side without any corners to foul the sternpost? And here's the keel and the master frame in my new slipway (with some alterations to help get everything at right angles in all 3 dimensions).
-
They could be pavises - https://en.wikipedia.org/wiki/Pavise Beautiful work, Patrick! And I agree with Druxey - no laser levels back then. And from what I've seen of the real thing, there was a fair bit of bodge going on at the time. 'Yeah, that'll do! Close enough. Who's ever going to know?' Puts my Great Harry in the shade, I'm afraid. Still, mine's quarter the size of yours and based on info from the 60's, before the Mary Rose was ever found. So I'm still happy enough with mine. (What am I saying? I love my Great Harry!) Steven

-
I know, I know. Beautiful work, mate. The gratings are particularly good, but the whole thing is just beautiful. Steven
-
I can't claim to know anything about what should be the correct height for the mainmast. McElvogue isn't my favourite author; I'd be looking at Anderson for preference, but even he is working with vessels that are from a period starting out 55 years after the Mary Rose sank, let alone when she was rebuilt (64 years). A lot can happen in that time. So at 1:80 you have 1-2 cm maximum to play with - that equates to 80-160 cm in the real world - 2'7" - 5'4' - in something like 150 feet above deck level - which is only 1.75% to 3.5% of that height. I can't see that making that amount of change would affect things very much. However it's possible that at this time the top and topgallant masts were rather lighter than they became later. Certainly in the late 15th-early 16th century, the topmasts and topsails seem to be nothing much more than an afterthought. But of course we also have to allow for the evolution of sails and masts over the period between then and when Mary Rose was rebuilt in 1536. So really I can't help a lot in answering your question, but I hope I've raised some ideas for consideration. Best wishes, Steven
-
Nice work, Dick. Up to your usual superb standard. The question of whether to include something that will never be seen is a thorny one. I'm a bit inconsistent about it - sometimes I do, sometimes I take the attitude "If you can't see it, it's not there". But it all comes down to personal choice, and yes, you'll know it's there, and that can be the important thing. Satisfaction and pride in your own work are, I think, what counts most. Steven
-
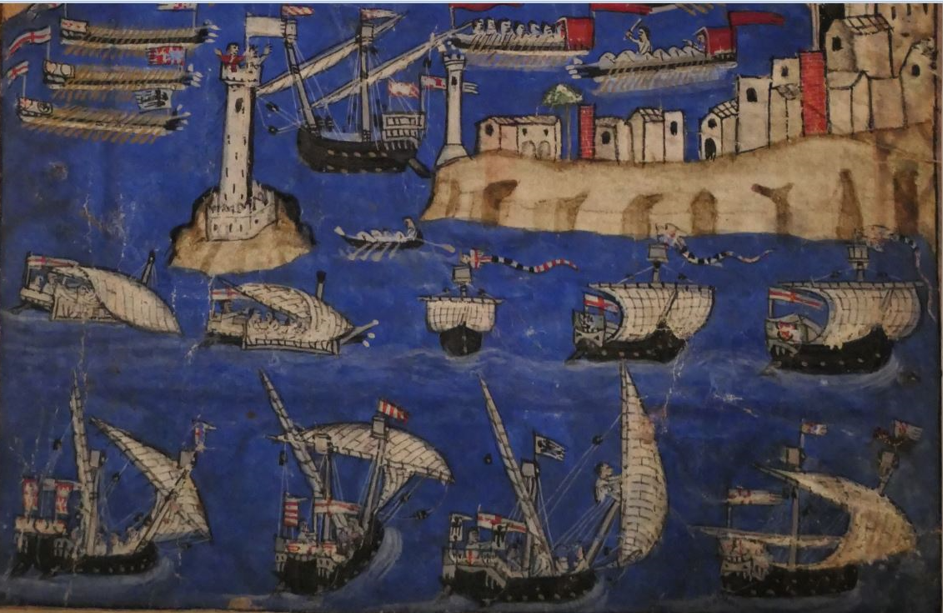
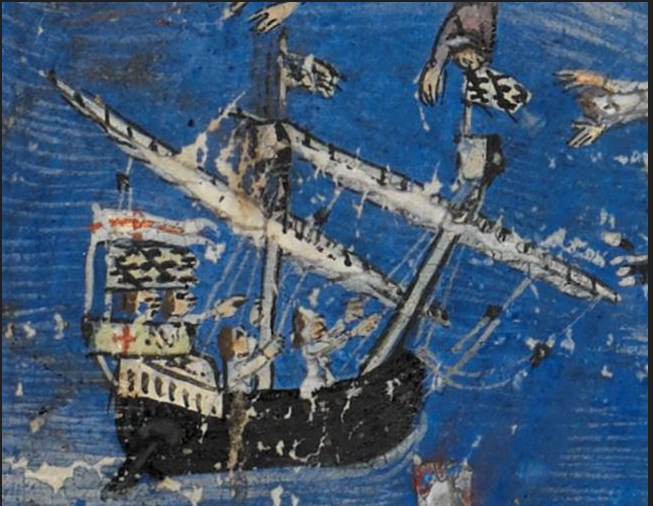
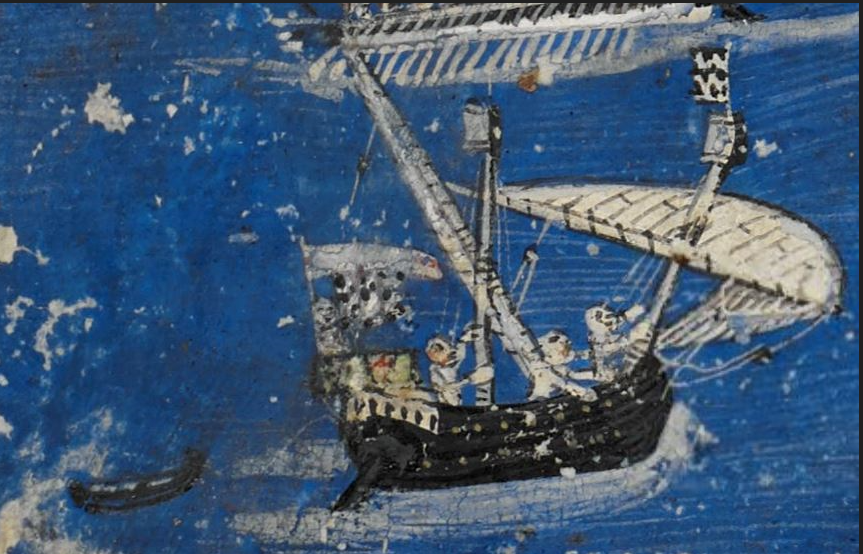
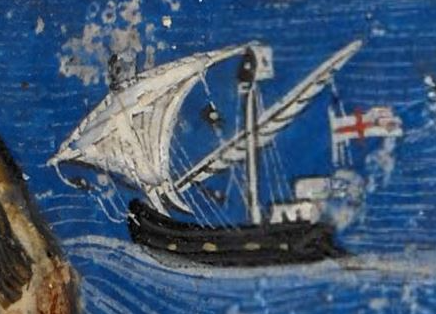
Good observation, mate. Here's a somewhat better resolution copy of the same picture. And some others from the same series that might be of help. Steven

-
That's very nice work. You've made a lot of forward progress since your previous post and its all looking very good. Steven
-
That's why a build log is so useful. Fire away with the questions, and remember there's no such thing as a stupid question. Steven
-
Hi to any moderator out there. I was looking to refer a new guy to the instructions on how to start and name a build log for a ship model kit, and I couldn't find them. The ones for a scratch build log are still there, but the ones for kits seem to have vanished. Could they be put back, please? They are a very valuable resource. Thanks, Steven
-
Welcome John, from sunny Ballarat! Where are you based? That model looks like a food good [dammit!]lead-in. A bit of planking but not too much or too complex. And various fittings to give you some practice in skills which will serve you well in subsequent models. I'd say go with that one, and start a build log, under BUILD LOGS FOR SHIP MODEL KITS. The instructions for how to do that used to be there, but I don't seem to be able to find them. But follow the same sequence as with scratch builds, https://modelshipworld.com/topic/8-before-you-post-your-build-log-please-read-this-starting-and-naming-your-scratch-build-log/ just put it in the kit section. A build log is very good for getting help and advice, asking questions etc. The people here are friendly and very helpful. And we get to see your progress and some nice piccies. And have fun with it. Steven
-
Tom, I just answered a question you'd put up in 'Masting, Rigging and Sails' back in November regarding the presence of reef points on the sails of Viking ships. It doesn't really apply now you've finished the model - I wish I'd noticed it earlier - but you might find it of interest. Steven
-
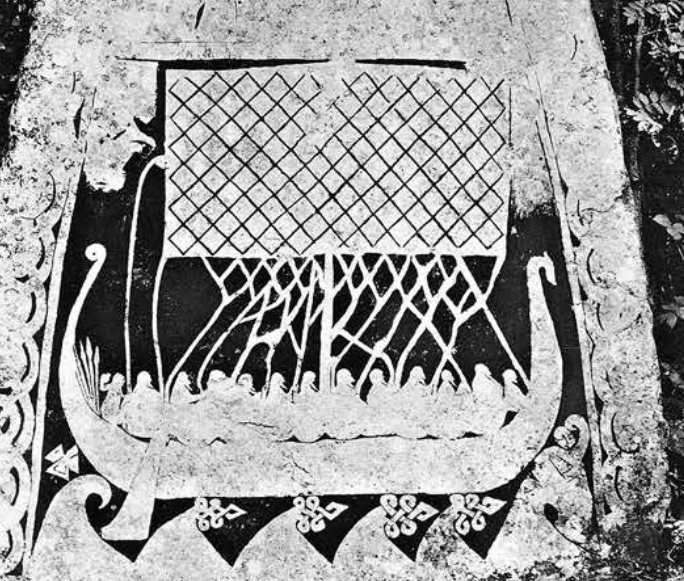
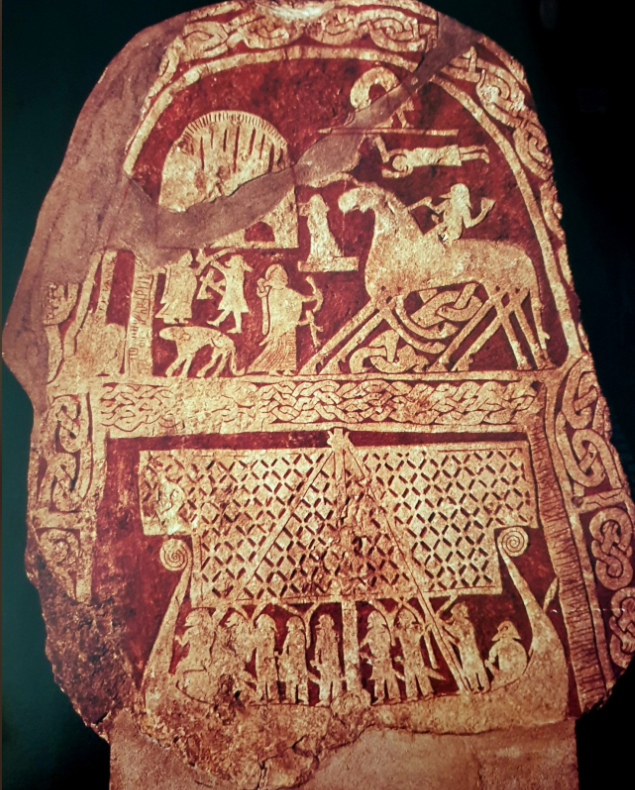
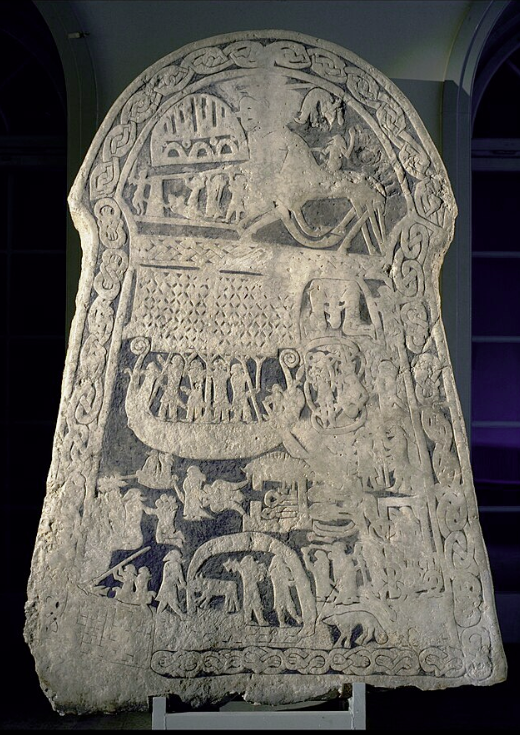
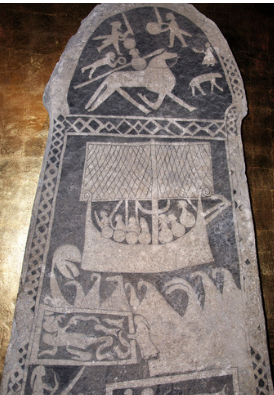
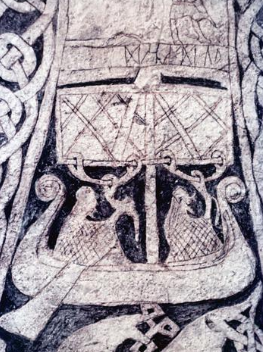
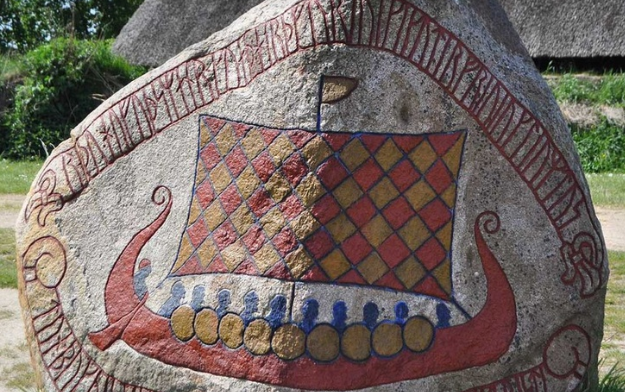
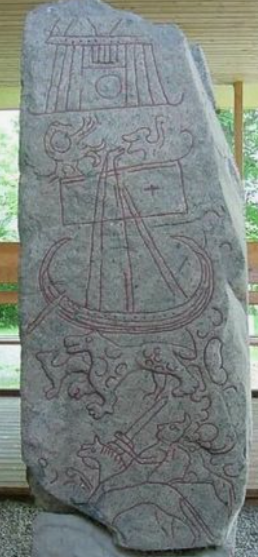
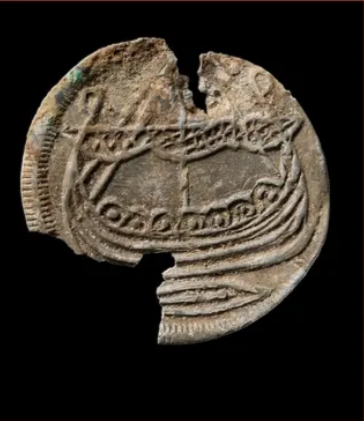
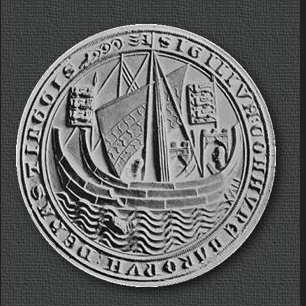
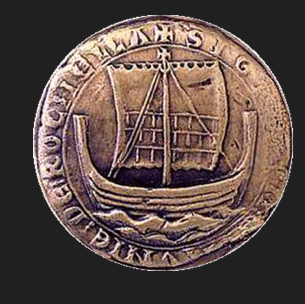
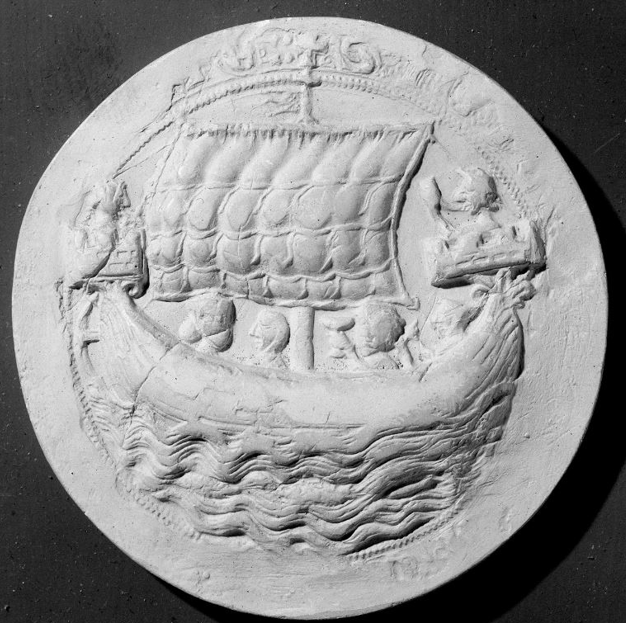
Regarding reef points. As far as I know there is no physical evidence and no contemporary representations of reef points on Viking ships' sails. There are, however, representations of other means of controlling the sails. I find this one particularly interesting: which is backed up with three of similar type but simpler: There's a modern interpretation of how that would have worked at https://vikingar.historiska.se/object_details.php?object=A073A34E-2719-4C7F-BAAD-4B681453D2CA&e=&l=en And here are some more representations of sails (the paint on the last one is modern), but not a lot of help in determining how the sail worked: https://i.pinimg.com/236x/92/10/f6/9210f65d03c07b188236eea760be023b.jpg Yes, reef points did exist in mediaeval times - in fact they were superseded by bonnets in the 15th century, which in turn were superseded again by reef points (of a different design) about a century later. There's a discussion of mediaeval reef points at https://modelshipworld.com/topic/25641-the-elusive-hulc-by-woodrat-finished-132-plank-on-frame-a-speculative-reconstruction-of-a-mediaeval-merchantman/page/6/ - but the earliest record I have of them is the seal of la Rochelle c. 1200, Hastings of "13th century" and Dublin of 1297 So to answer your question, no evidence for reef points on Viking ships, but some other very interesting rigging ropes which I would dearly like to be able to figure out as to how they worked. And the coin pictured above shows they seem to have furled their sails using brails, but no evidence as to how they shortened sail. Steven
-
Beautiful work, Dick. And those dagger knees are an eye-opener. Steven
-
Very nice work, Doug. Looking very good. As I mentioned earlier, I chickened out on adding netting on my own Great Harry, but I found gauze at a fabric store that would have done the job nicely. You know, the stuff that goes on bridal gowns etc. Might be worth checking out. Probably synthetic, but what the hey. I chose black, firstly because the original stuff was probably tarred, secondly so it didn't grab the attention too much away from the rest of the ship. Probably on what is known as a pavesade - basically just a railing that holds shields. They were probably tied to the rail by a rope passing through their enarmes (the straps at the back that you hold the shield by). That's certainly what I did with the shields on my dromon build, and it worked fine (though you have to make sure you get the alignment right). Steven
-
Nice save. Steven
-
Good to hear from you, Keith. Because of my own speciality of interest, I rarely look at other time periods so I didn't realise the other stuff you were doing. I fully understand putting the 'carrack' on the back-burner, though. It allows you to concentrate of the things you really want to be doing. Happens to me, too. Best, Steven
-
I'd lost track of this thread. Are you still out there, Keith? Have you done any more on the model? Hope all's going well with you. Steven
-
I second that. I've been following along and it'll be good to see her progressing again. Steven
-
I couldn't agree more. Such a beautiful ship. Steven