HOLIDAY DONATION DRIVE - SUPPORT MSW - DO YOUR PART TO KEEP THIS GREAT FORUM GOING! (Only 36 donations so far out of 49,000 members - C'mon guys!)
×


captain_hook
-
Posts
685 -
Joined
-
Last visited
Content Type
Profiles
Forums
Gallery
Events
Everything posted by captain_hook
-
 Very good work. I especially like the authentic colour scheme. If you don’t mind me asking a question - what sort of blue colour do you use for decoration?
 -
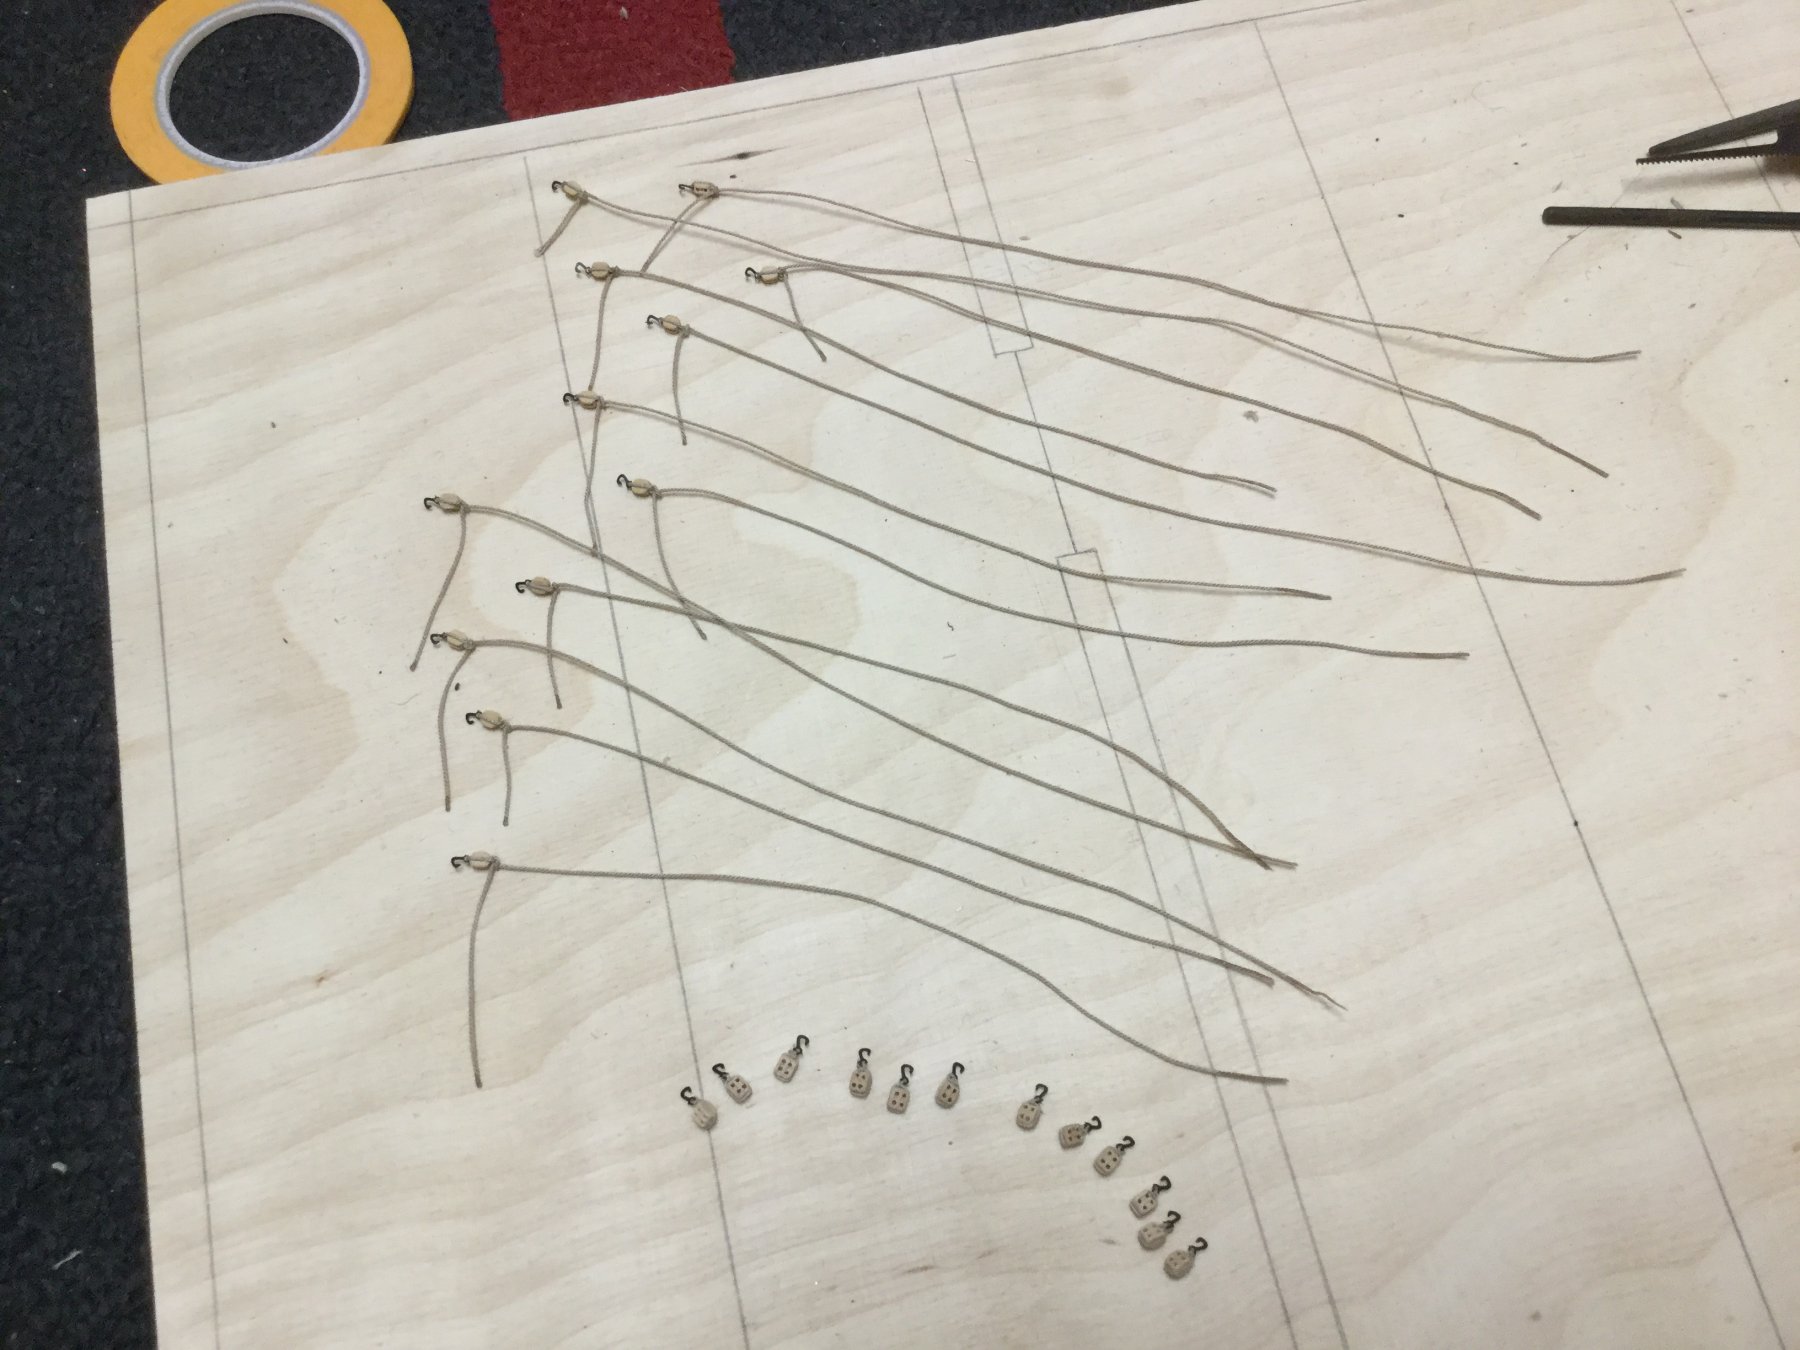
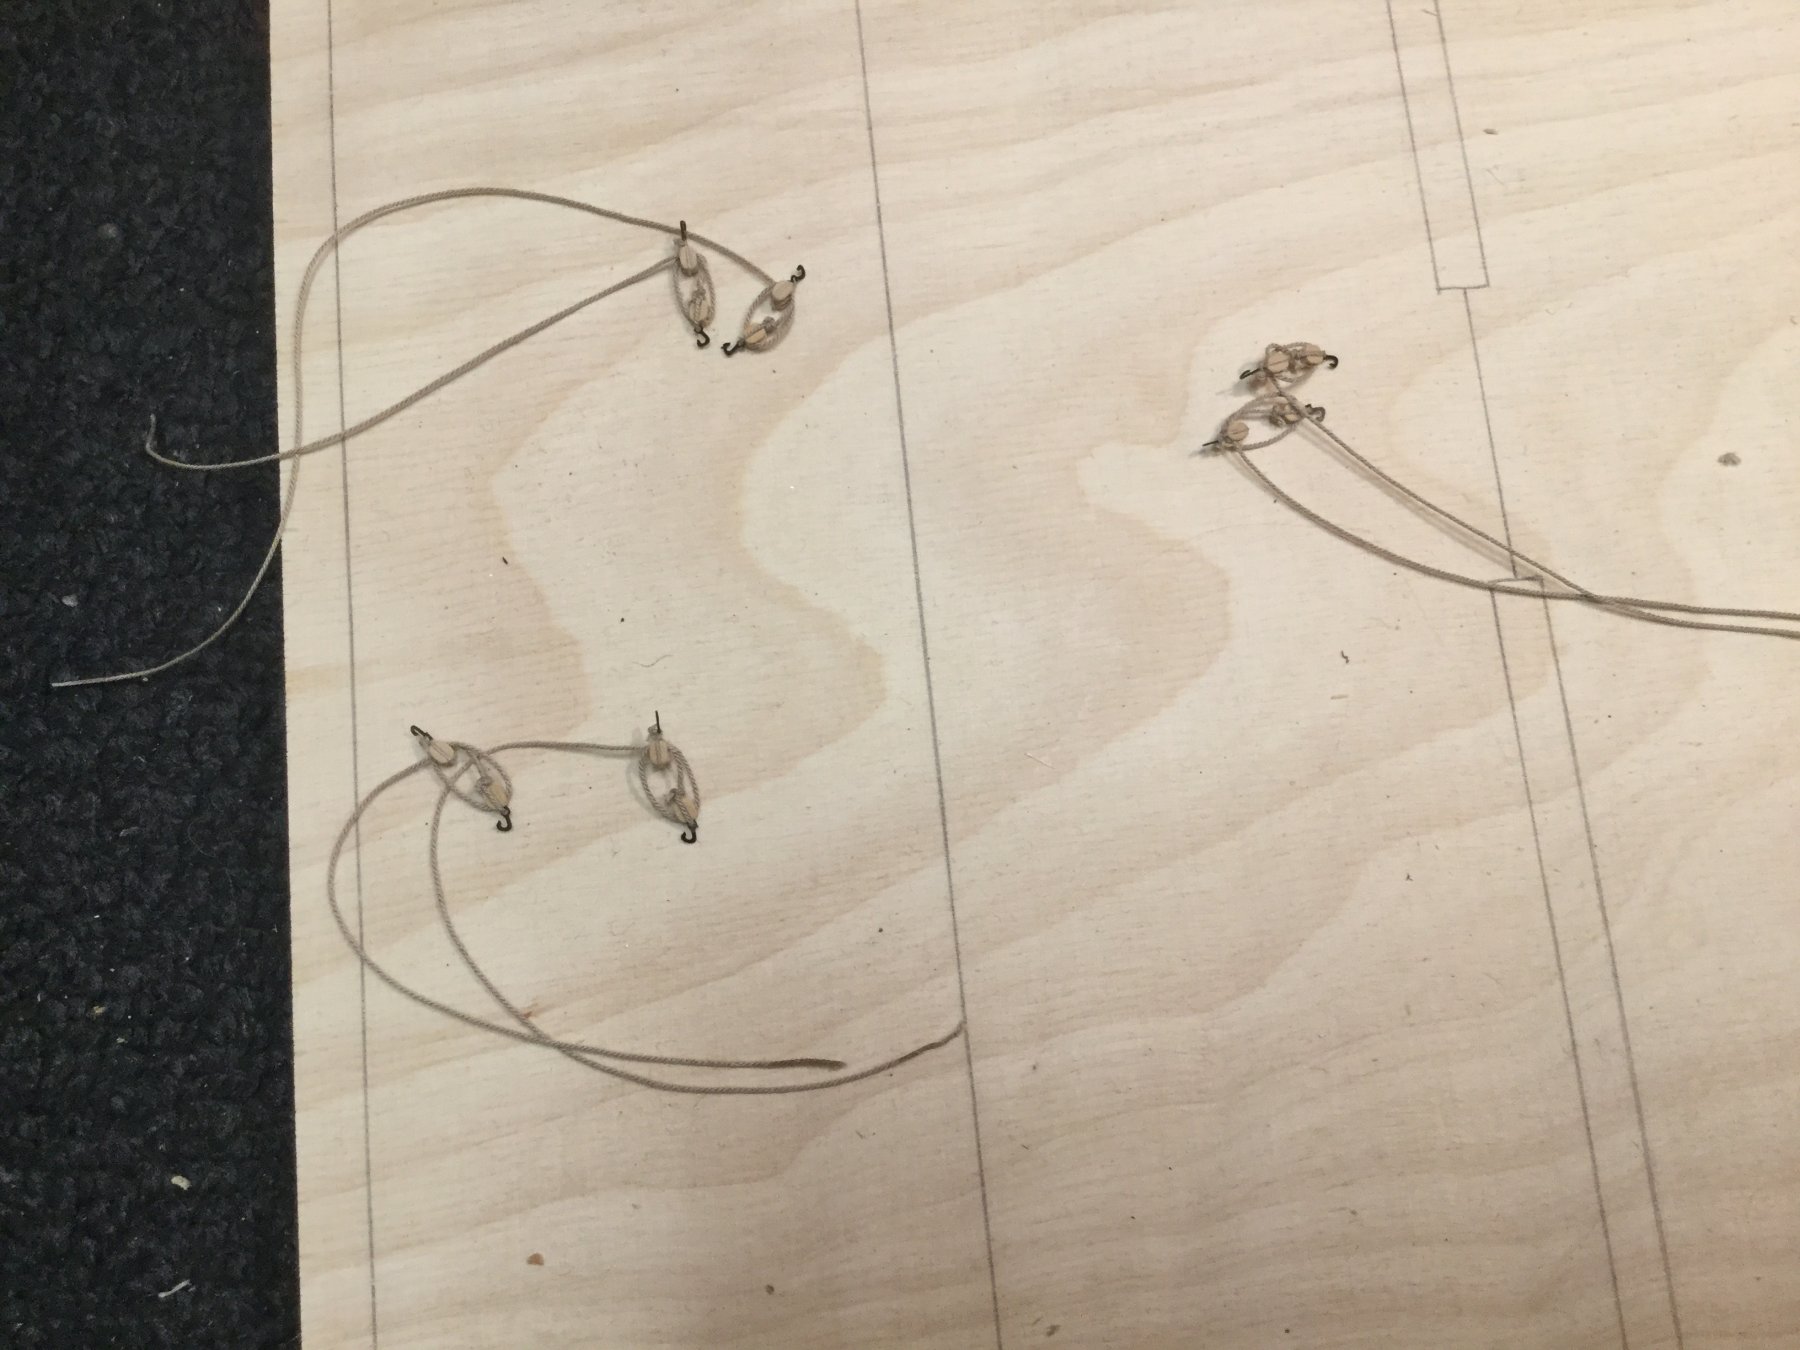
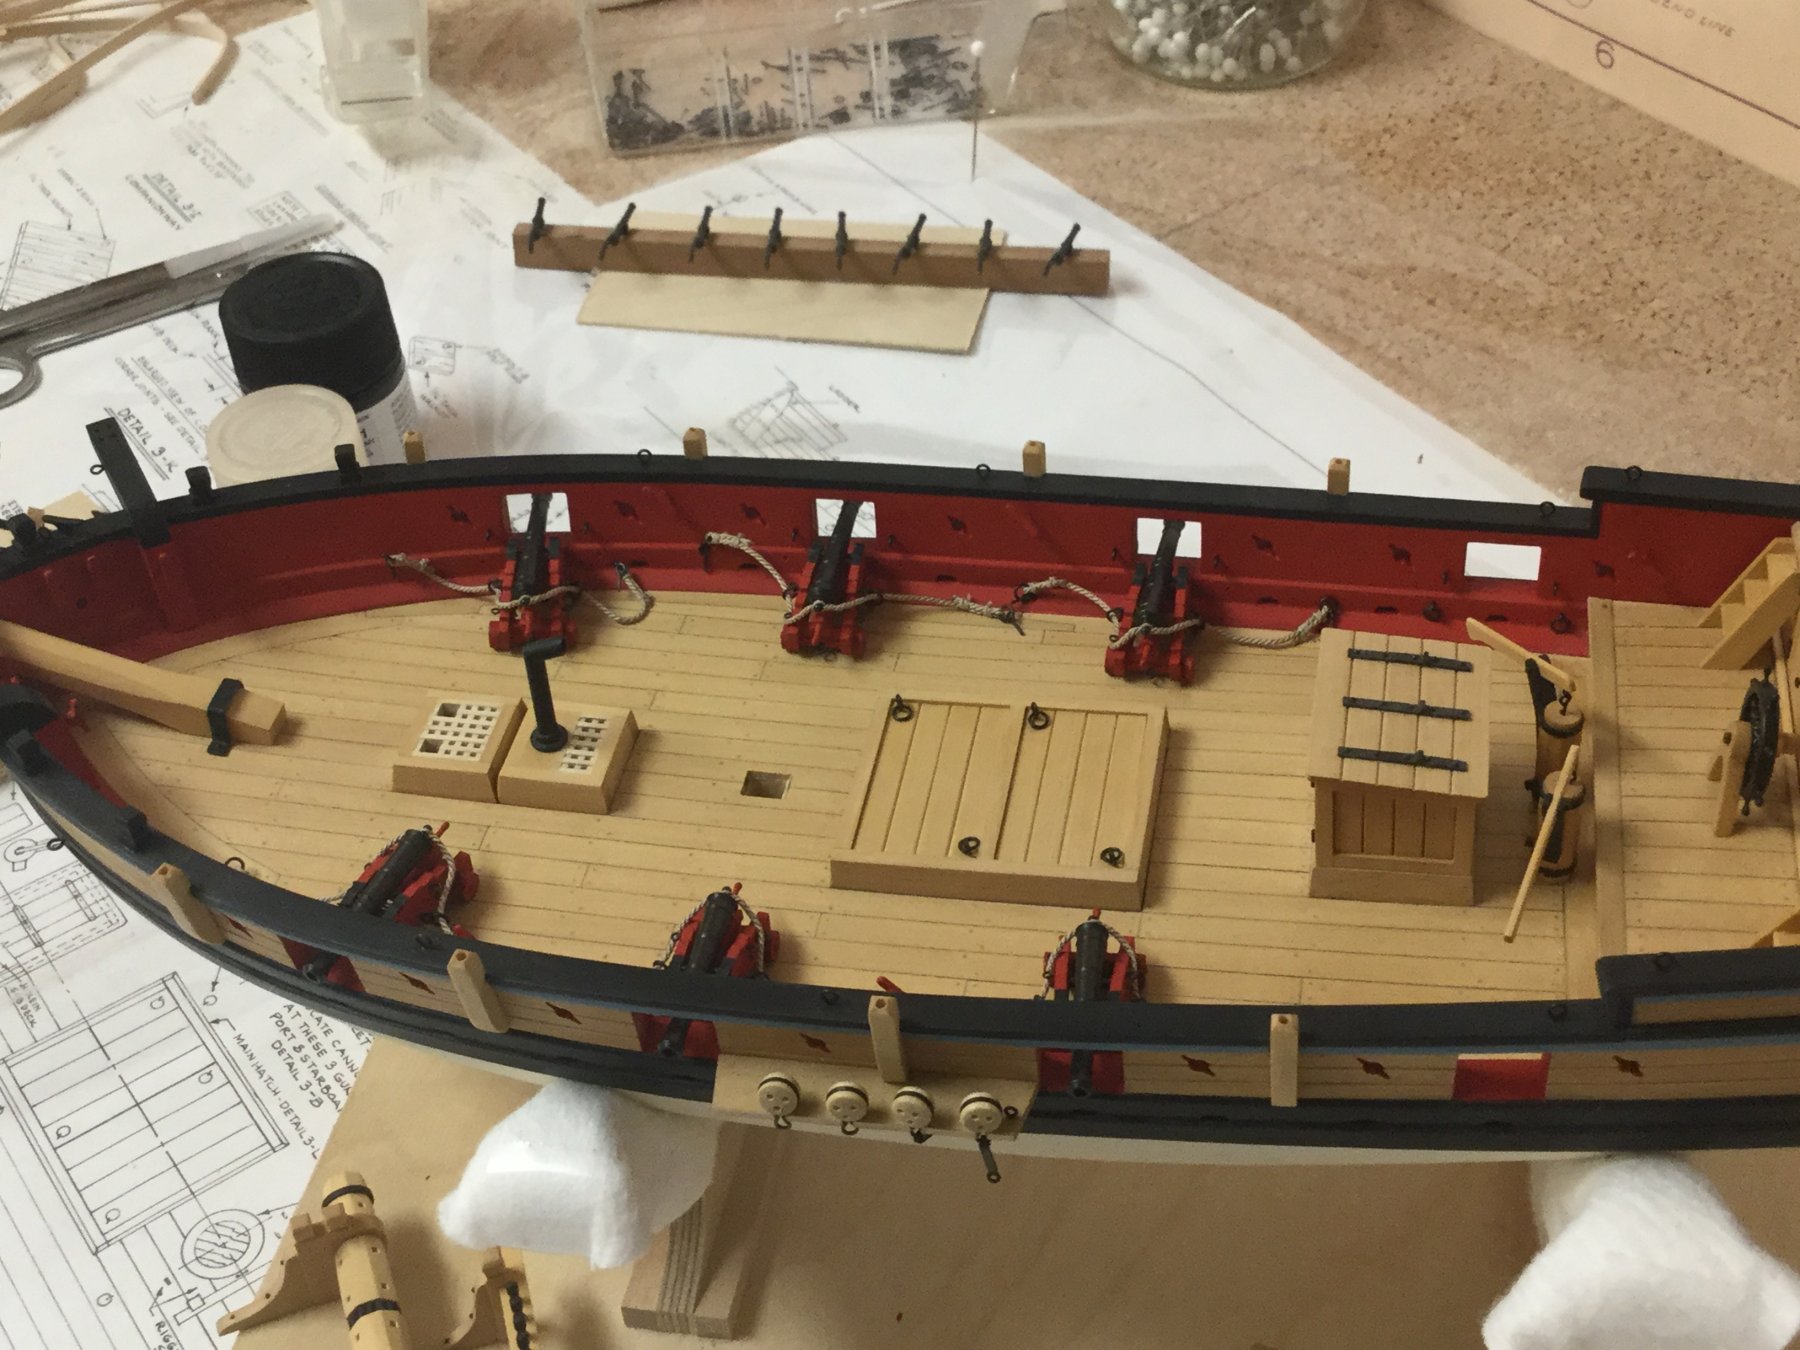
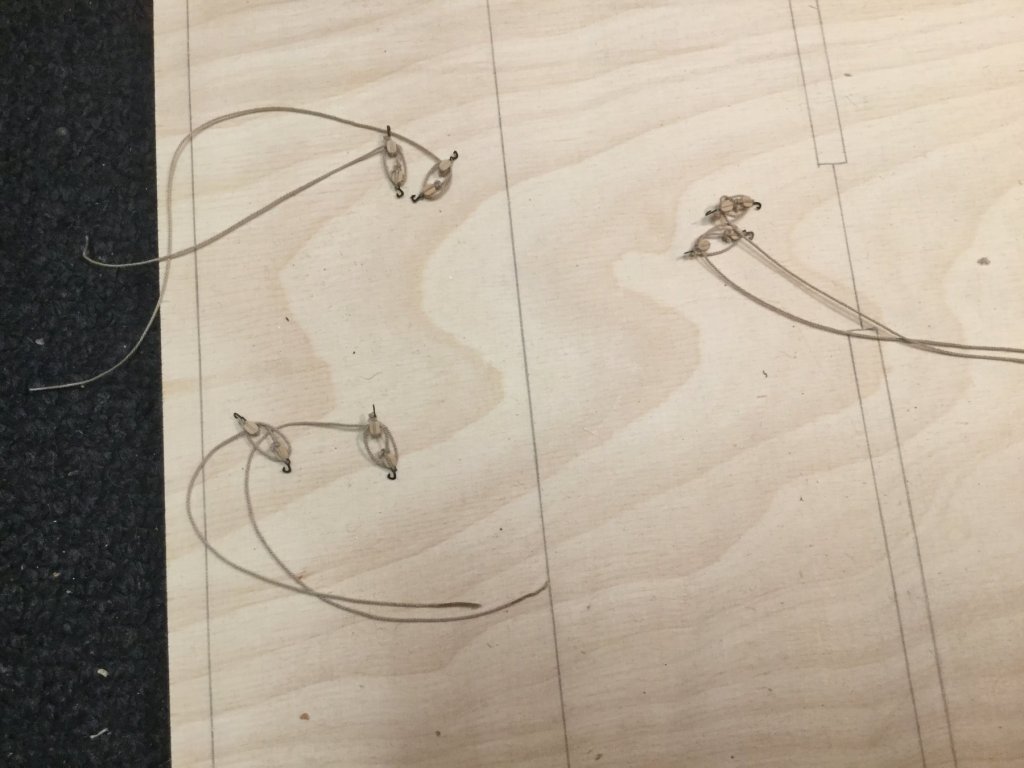
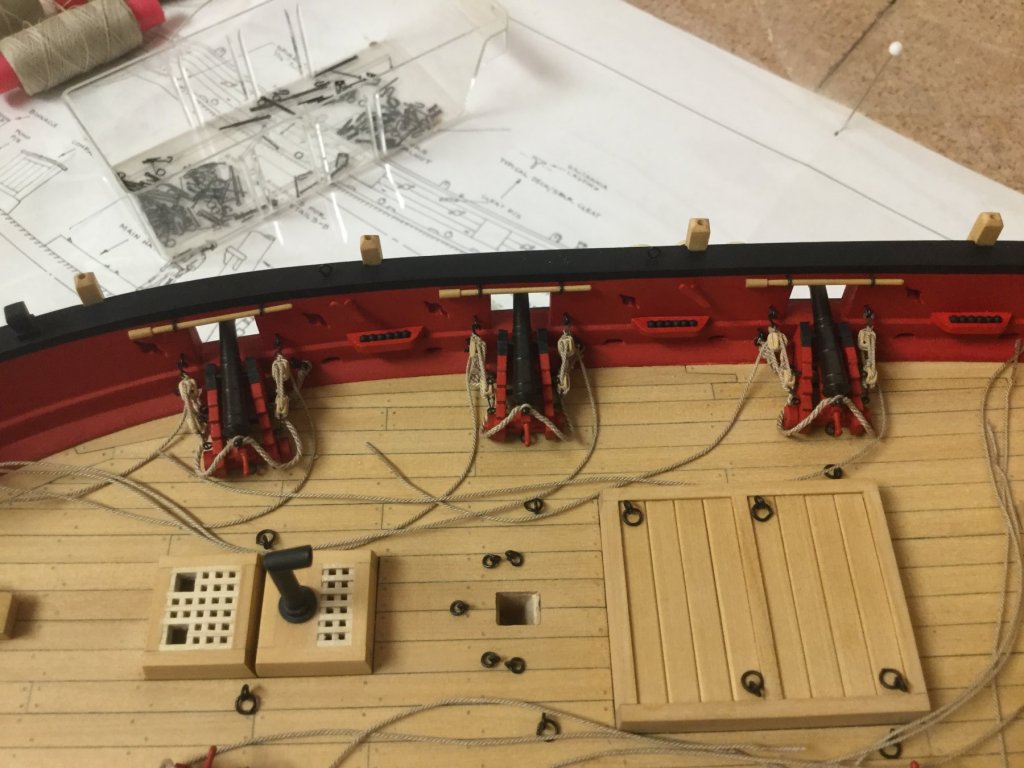
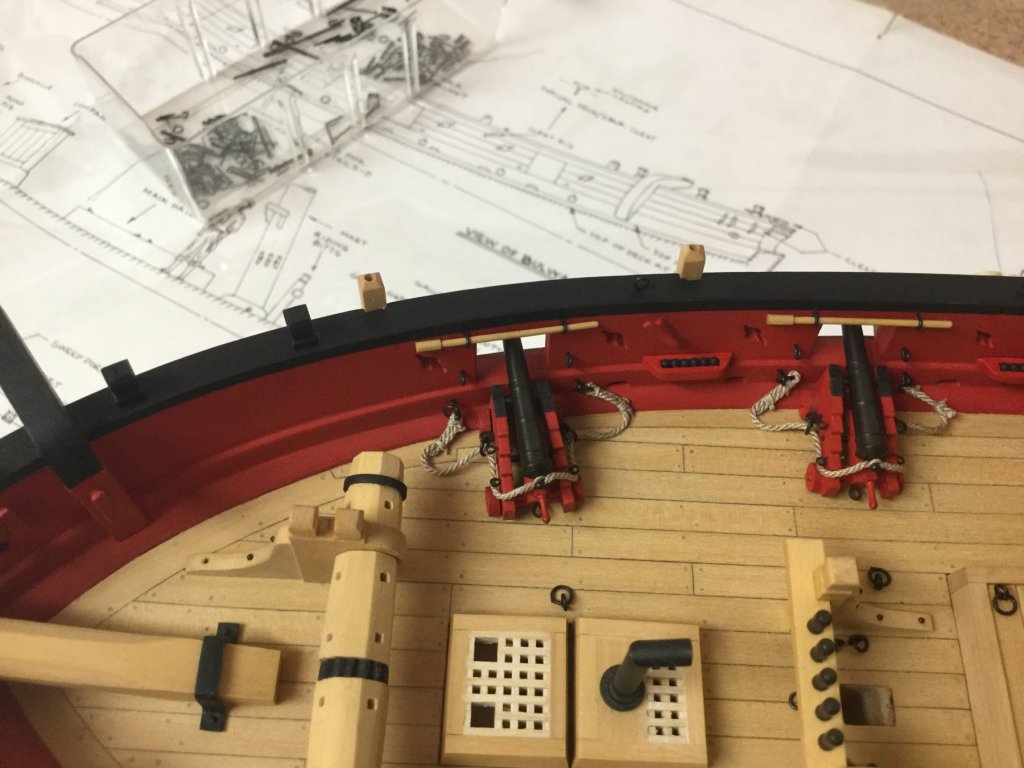
Thank you for the nice words and the likes. Rigging the guns is time-consuming, but at least I made all the gun tackles. I used syren 1/8‘‘ single and double blocks and 0.45mm rope for the tackles as well as 3mm blacked brass hooks. Will make the rope coils tomorrow if I find the time. Have to bring the breech lines to shape as well.

- 231 replies
-
- 10
-

-
- model shipways
- armed virginia sloop
- (and 1 more)
-
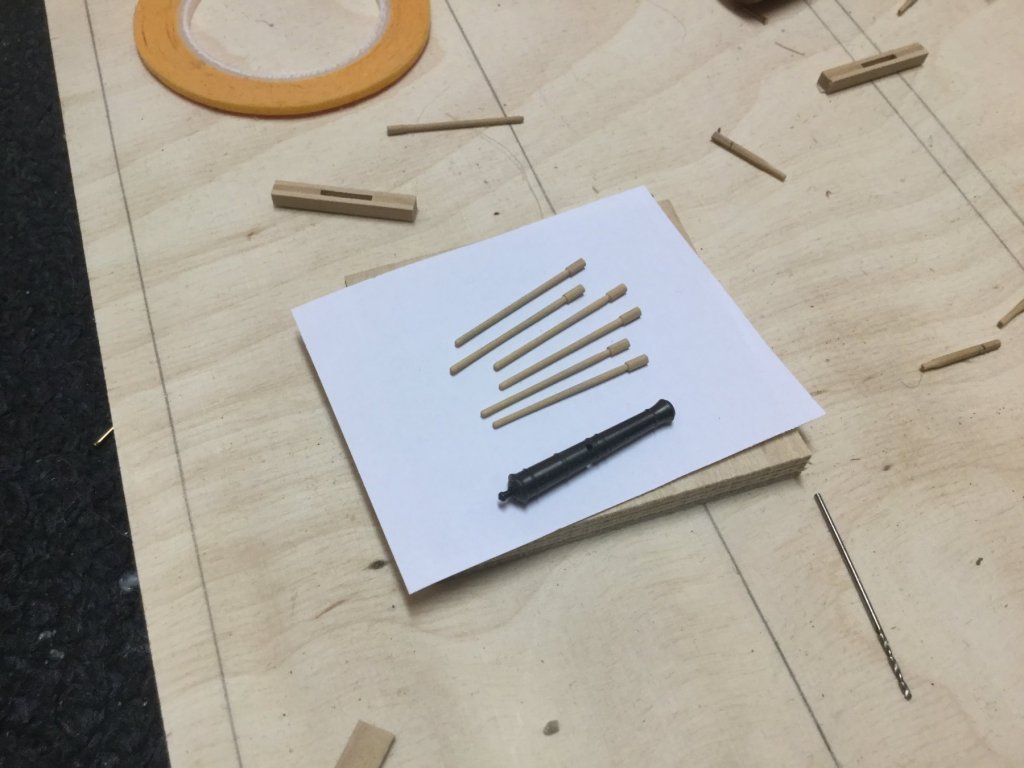
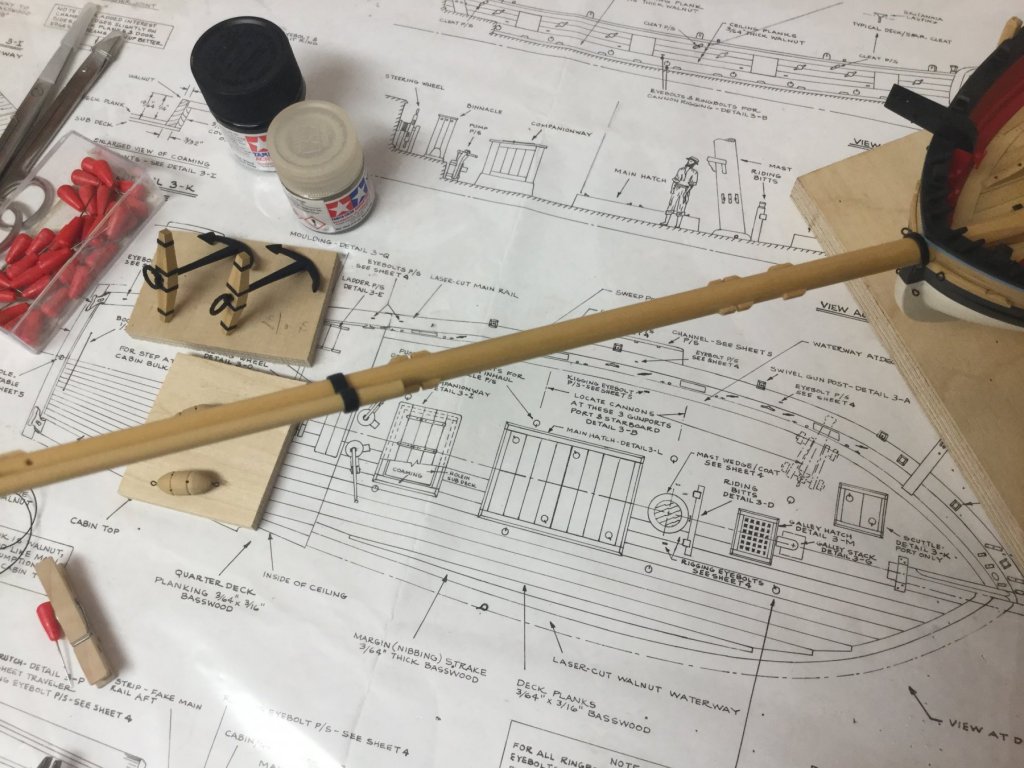
Thank you. The ramrod is only one of the tools to serve a cannon but it will represent all of them.
-
Added a ramrod to every cannon. It is made of a piece of 1/16‘‘ square stripes drawn through a 1,6mm hole drilled in a piece of stainless steel. Then tighten in a dremel and brough to shape with a needle file.
- 231 replies
-
- 18
-
-
- model shipways
- armed virginia sloop
- (and 1 more)
-
It is a beautiful looking ship you can be proud of. Nice work.
- 236 replies
-
- 2
-
-
- artesania latina
- kitbashing
- (and 2 more)
-
Nice progress you have made, your AVS looks great. It is interesting to see the AVS in a different colour scheme.
- 164 replies
-
- 3
-
-
- first build
- model shipways
- (and 2 more)
-
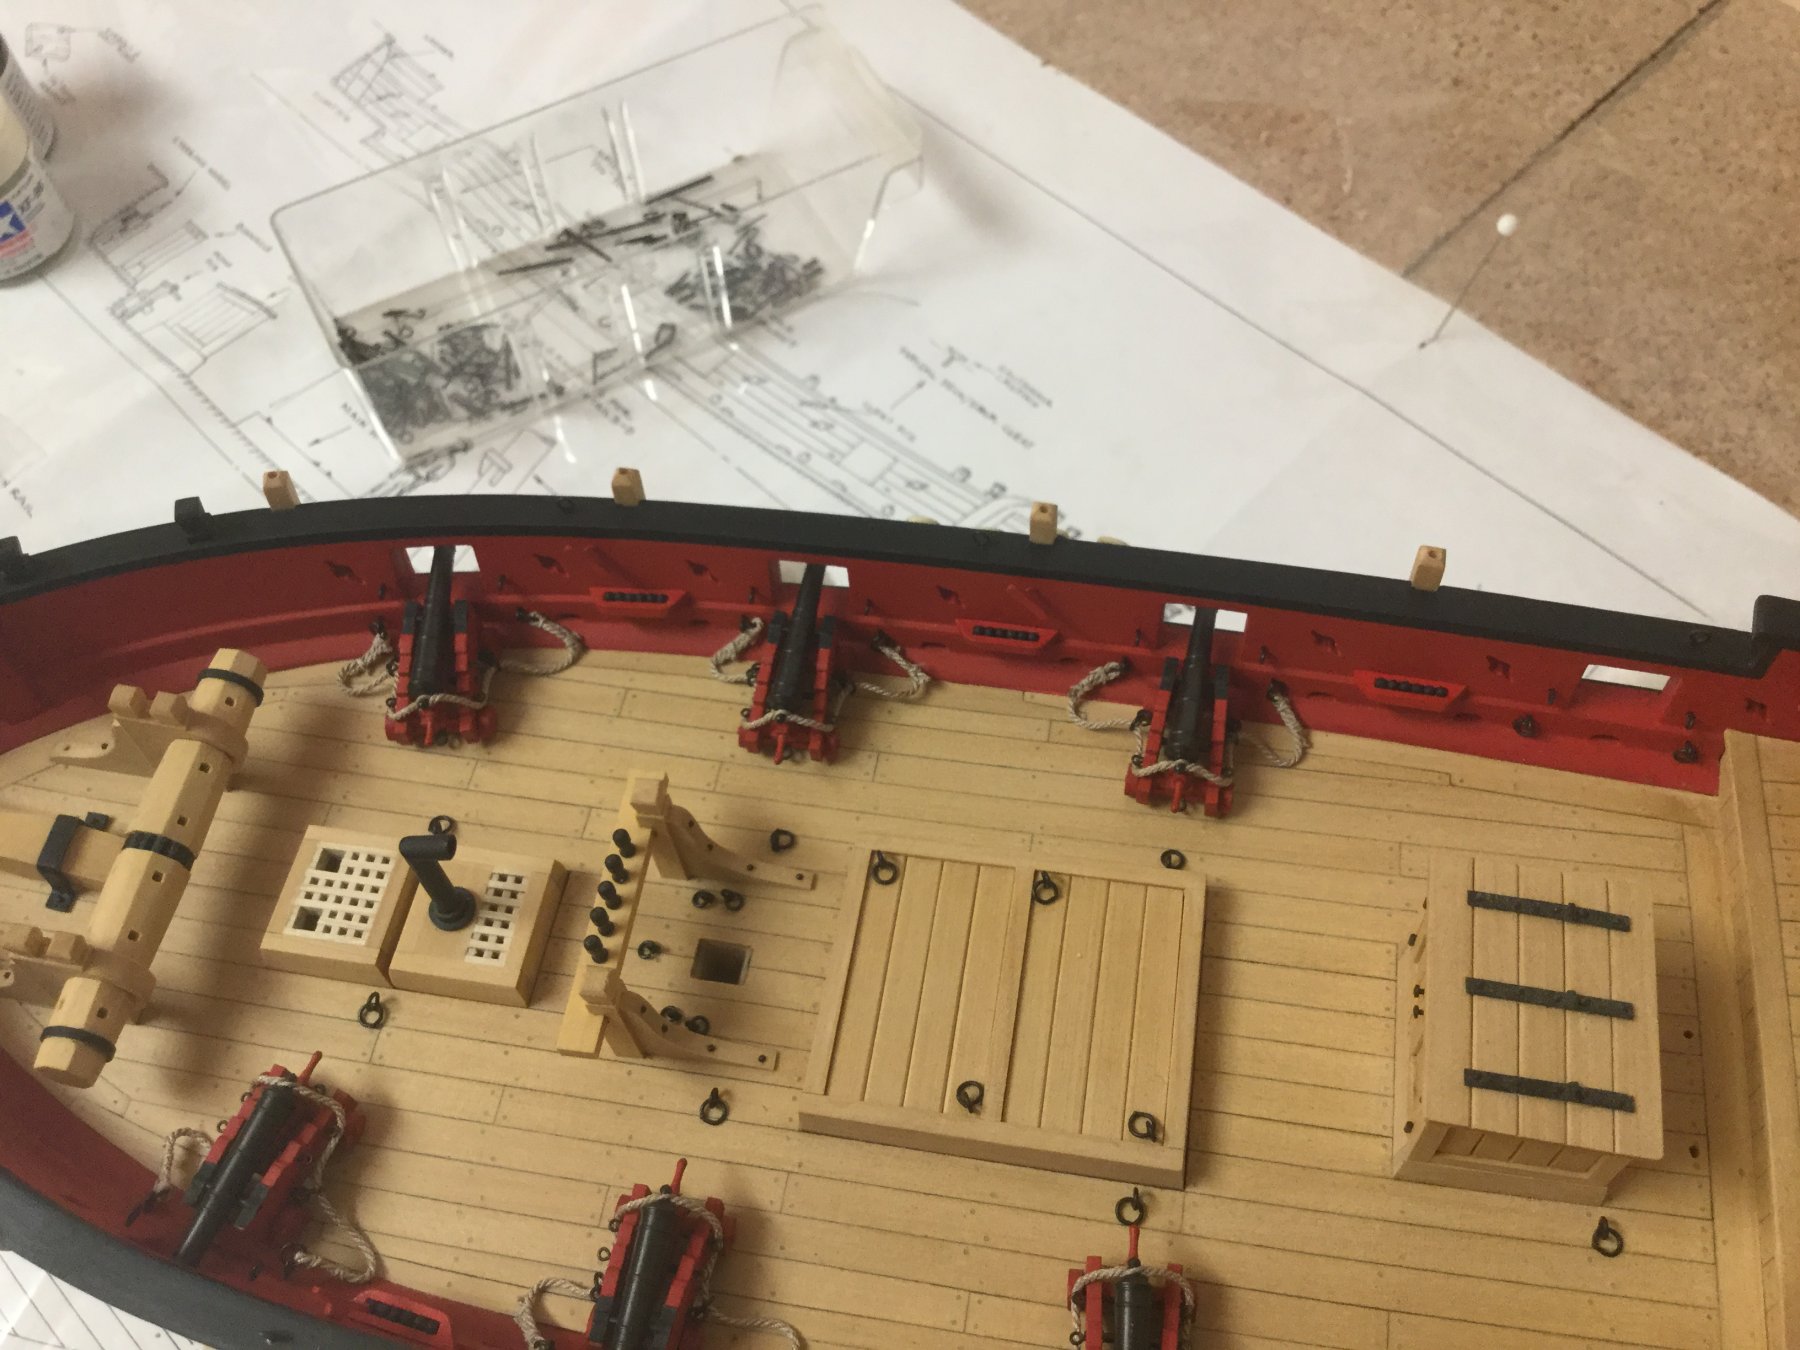
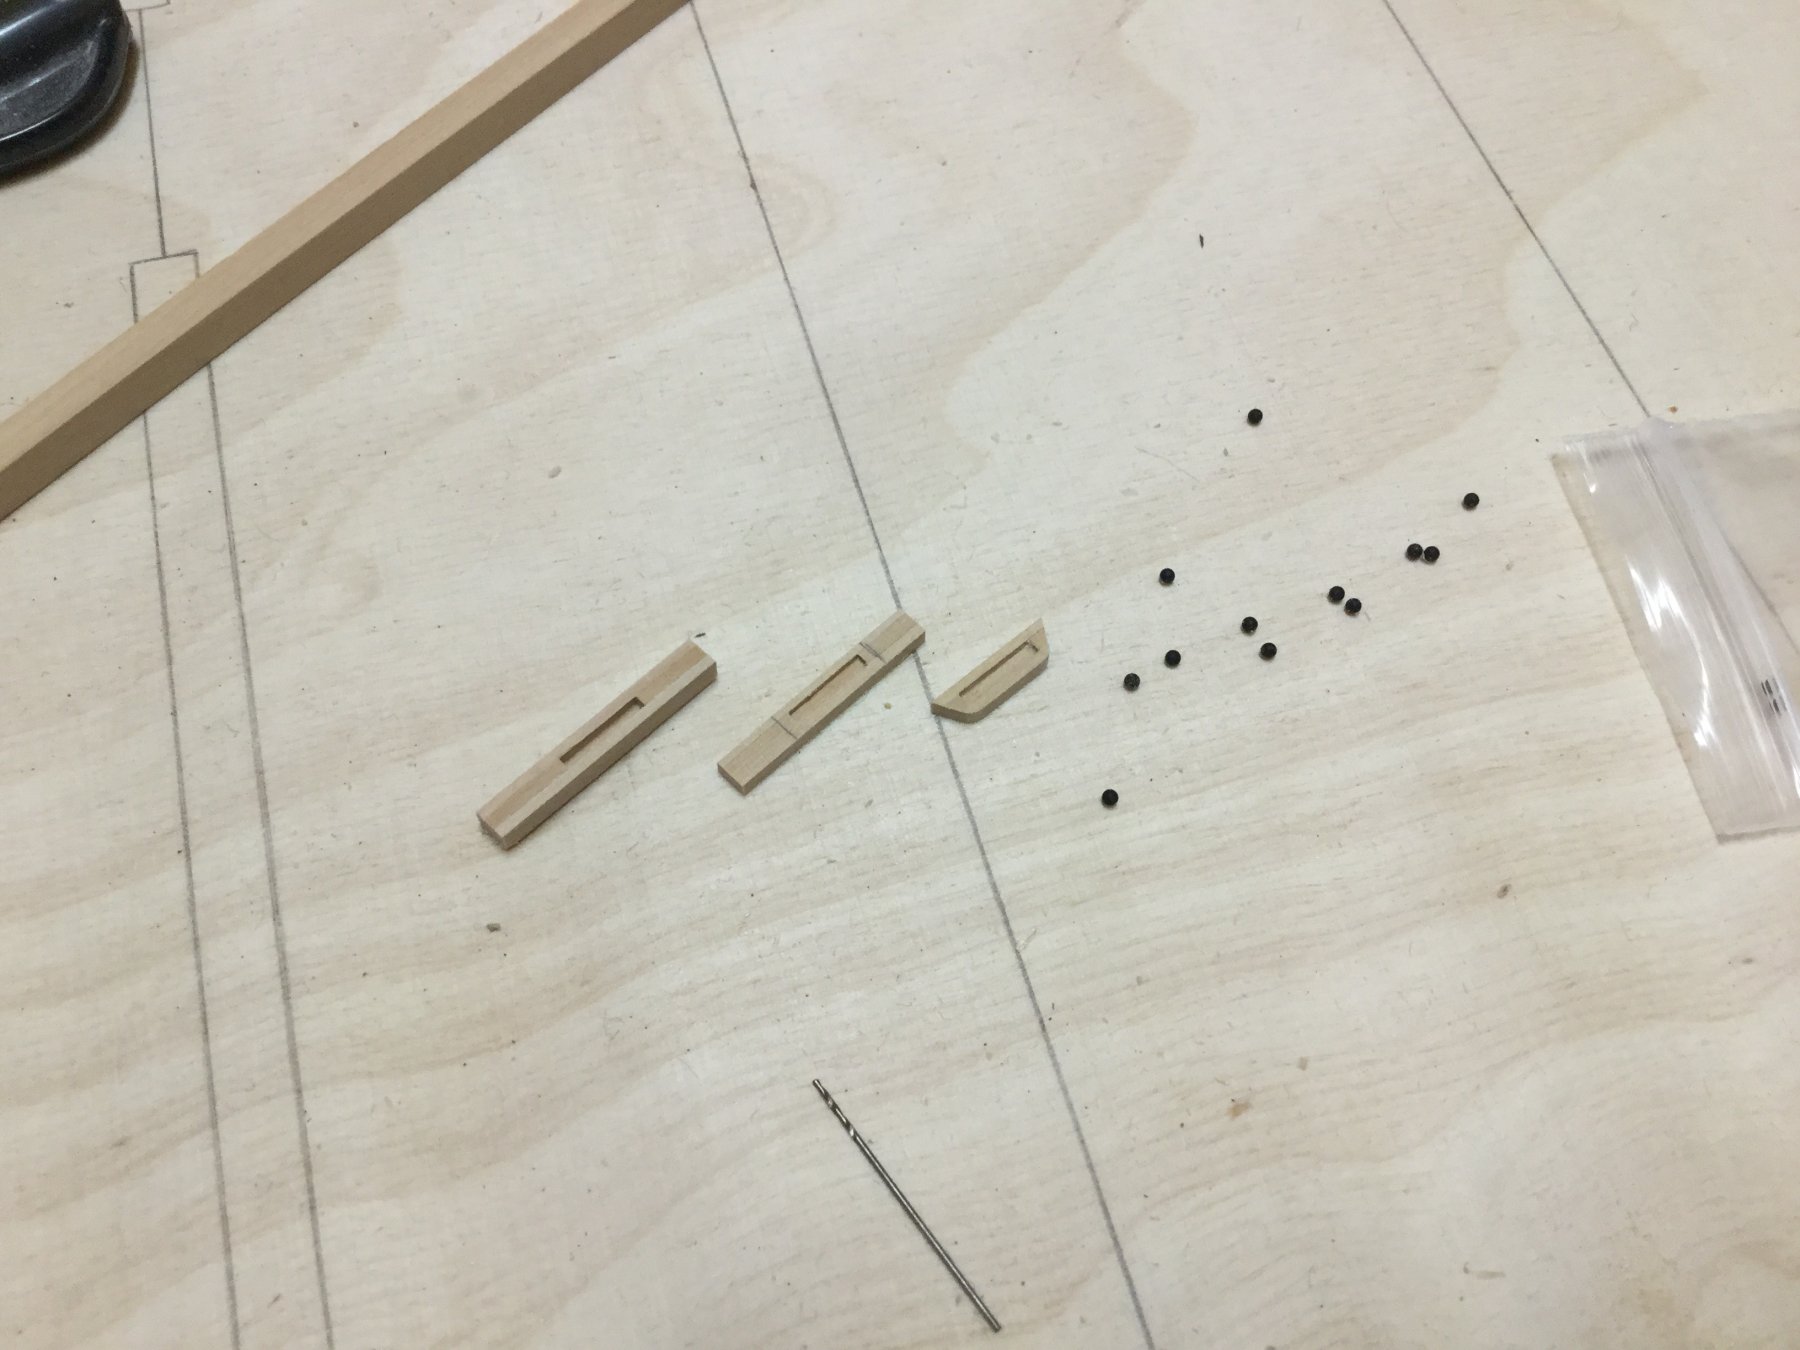
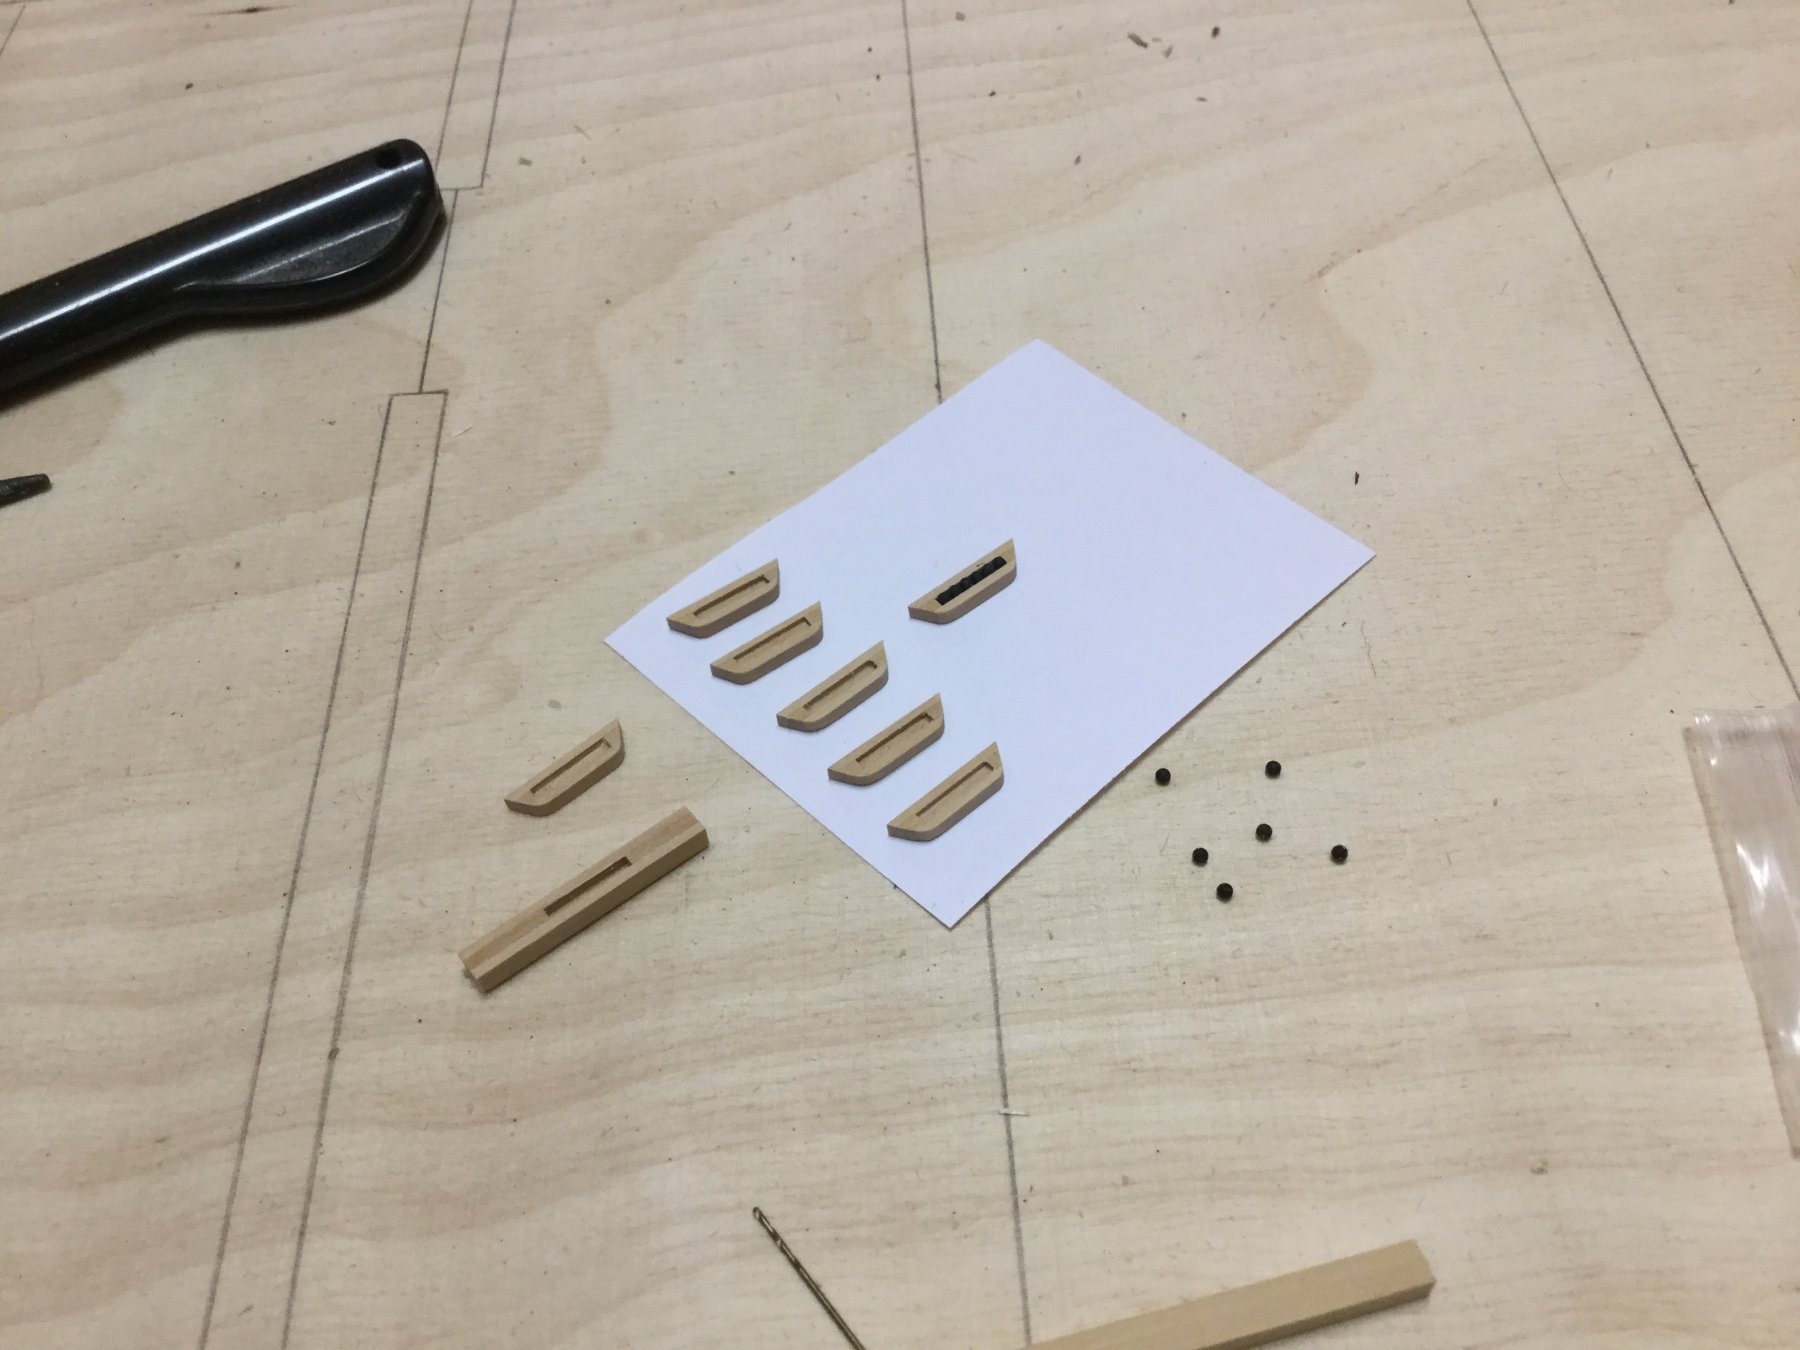
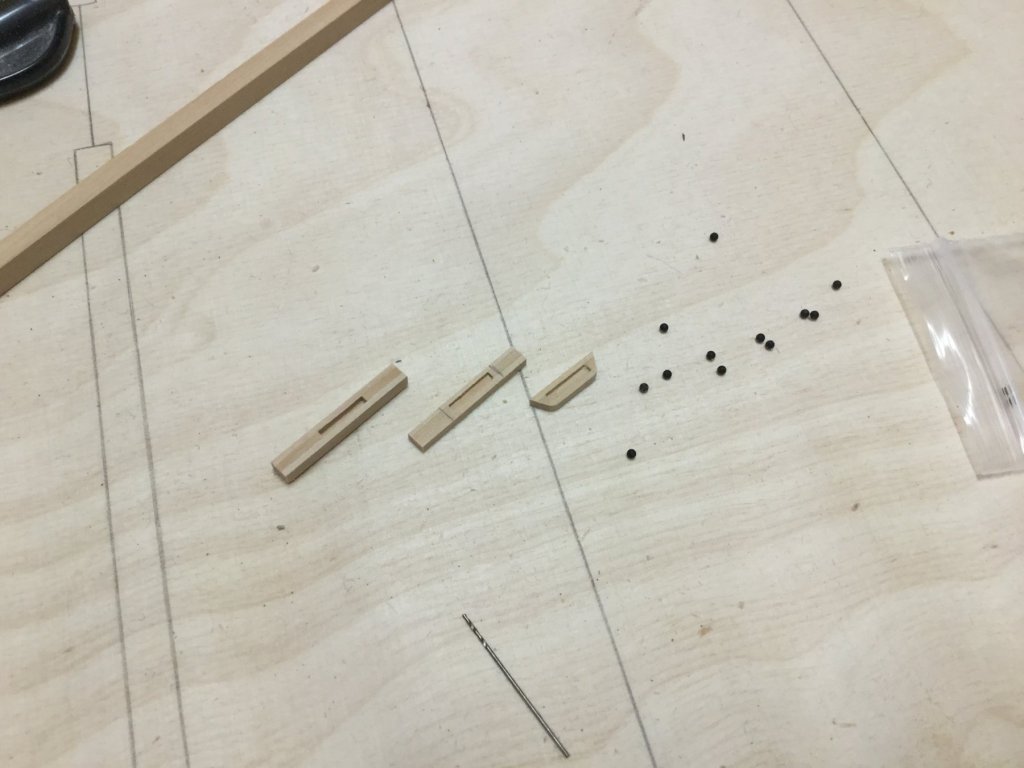
As I wait for some rope and fittings from Syren Company to arrive, I thought about adding a shot garland to each cannon. Since the 3-pounder cannonball has a diameter of about 6,5cm AFAIK 1,5mm steel balls may be a little oversized but a smaller diameter would be too small to recognize. The garland stores 6 balls each and is made of 1,5mm square stripes with addition to 1x3mm stripes glued to each sides. Then the space for the balls (9mm) is enclosed by 1,5mm square stripe pieces. Sanded both sides so the garland is only 2 mm thick in the end, then sanded a 30 degrees slope on each side and rounded the edges. Have to paint them red and installed them next weekend.

- 231 replies
-
- 10
-
-
- model shipways
- armed virginia sloop
- (and 1 more)
-
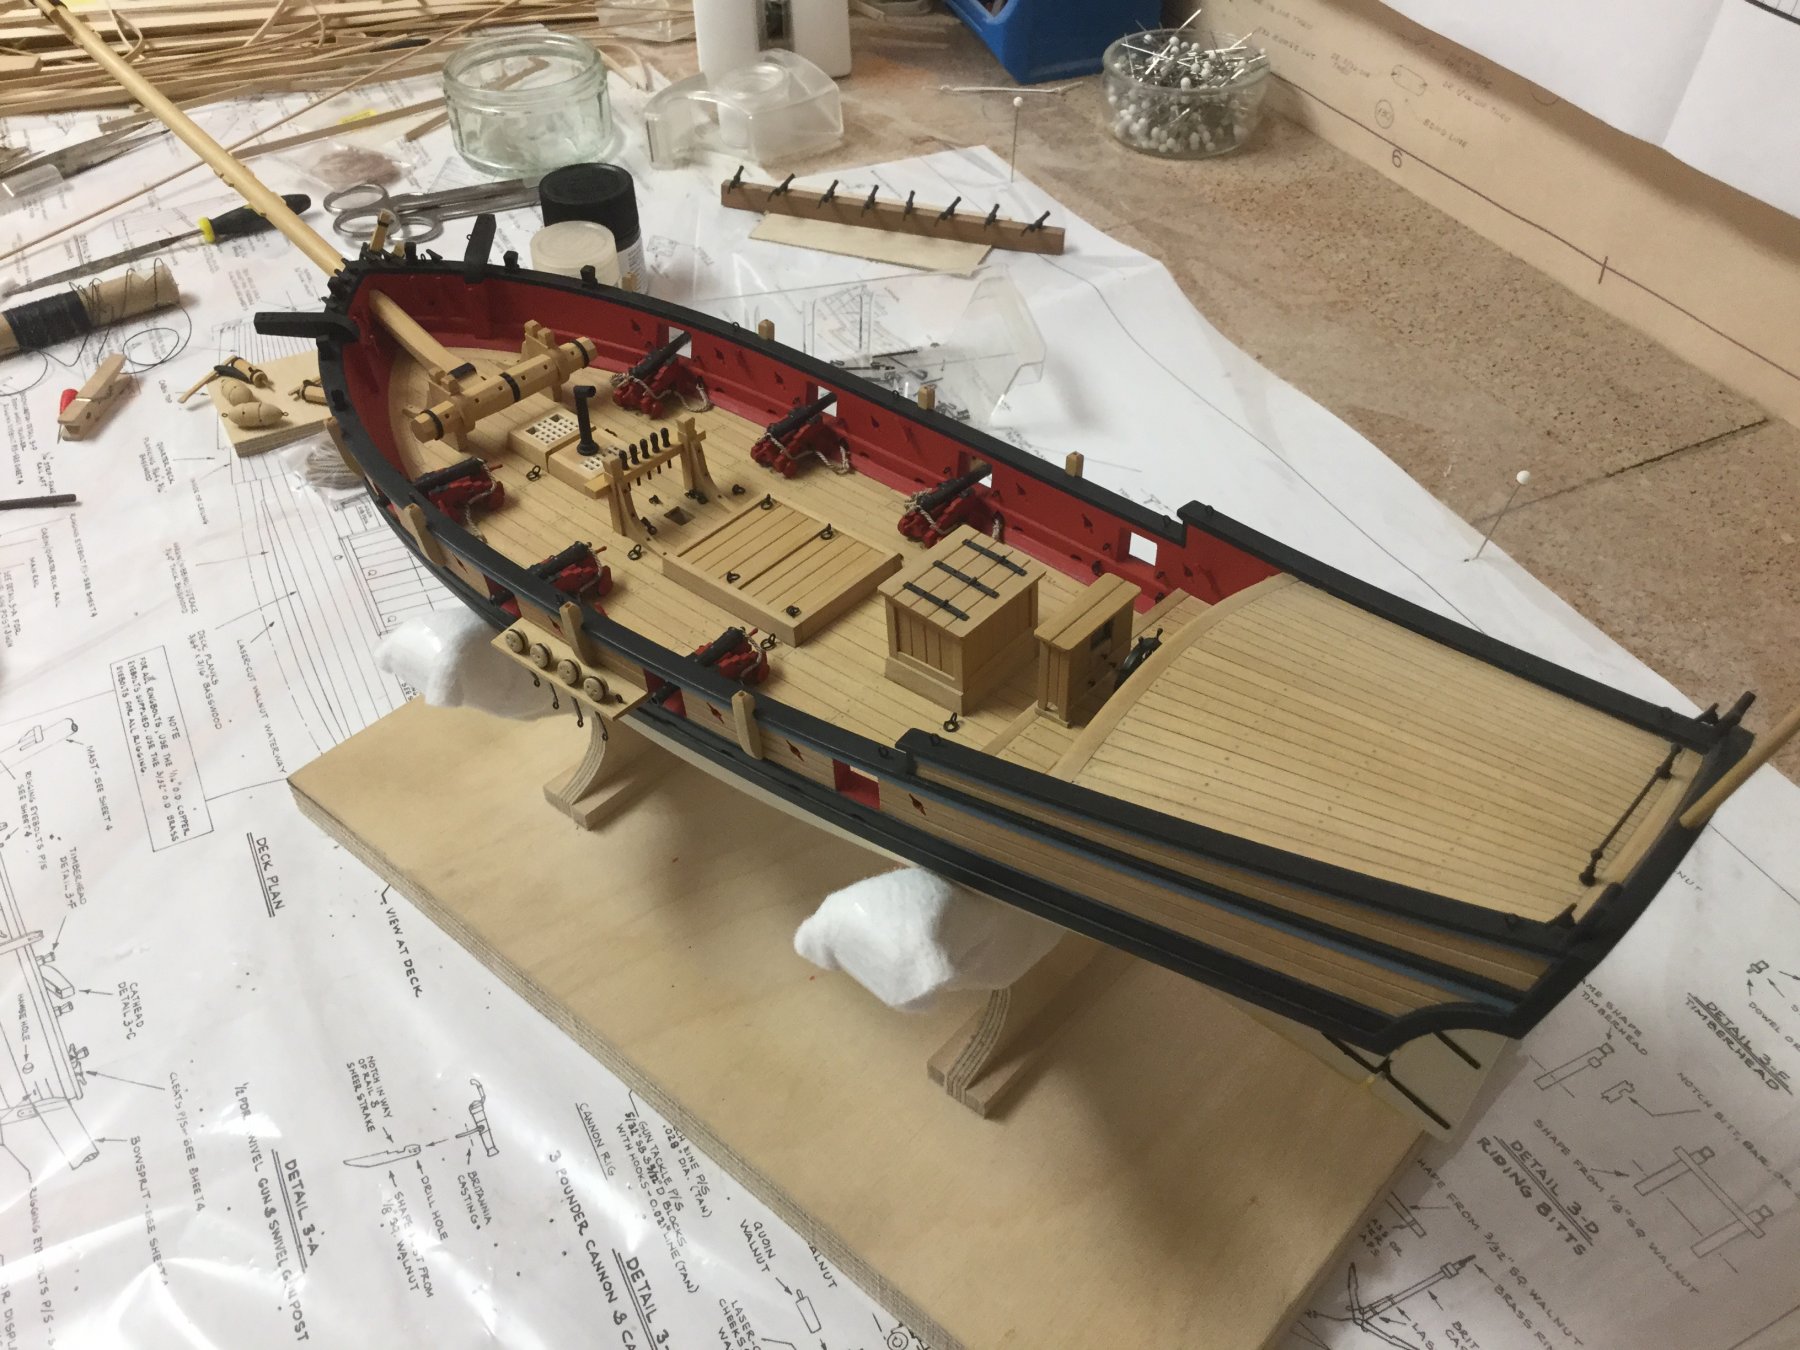
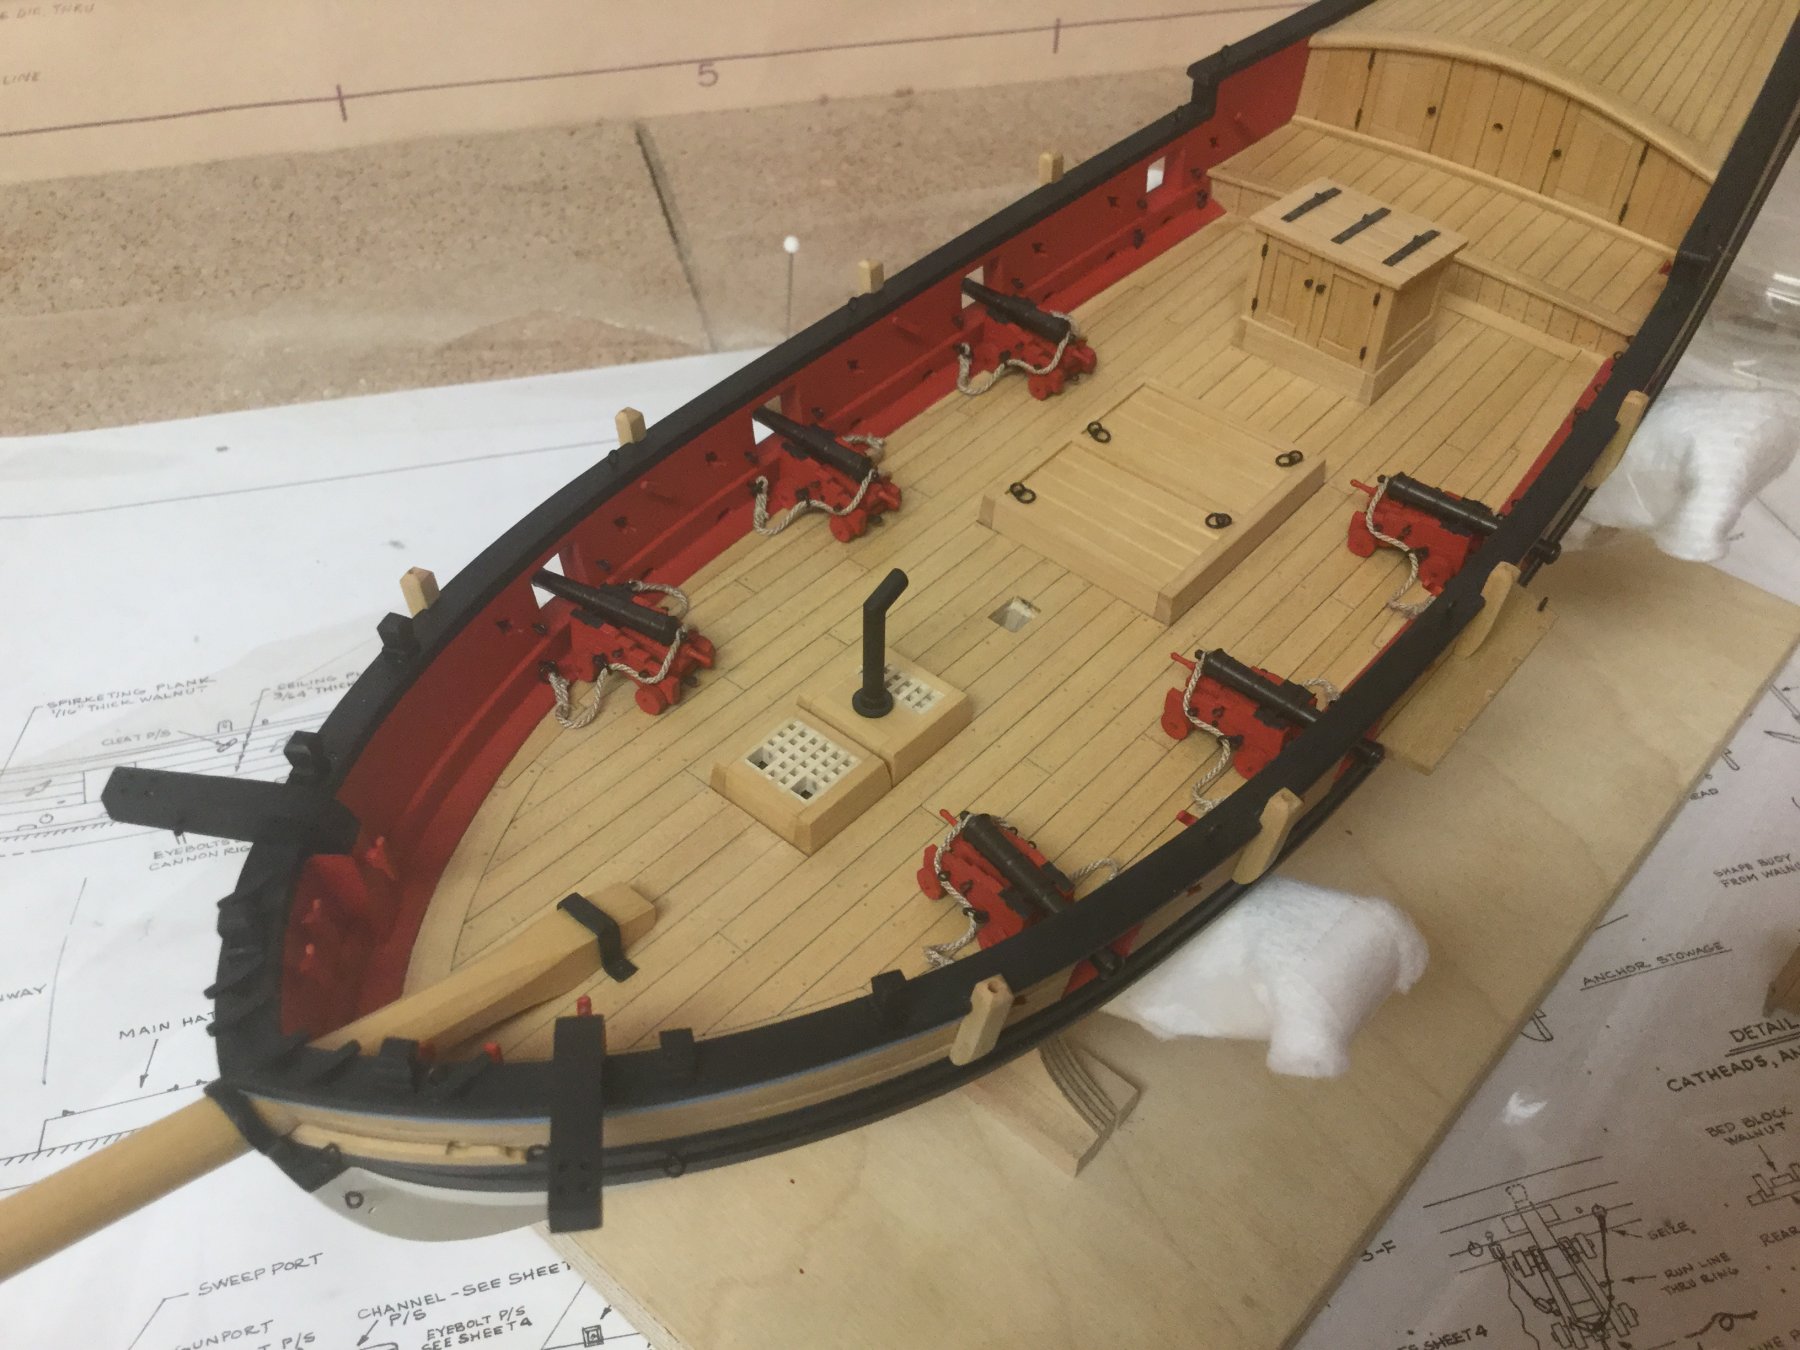
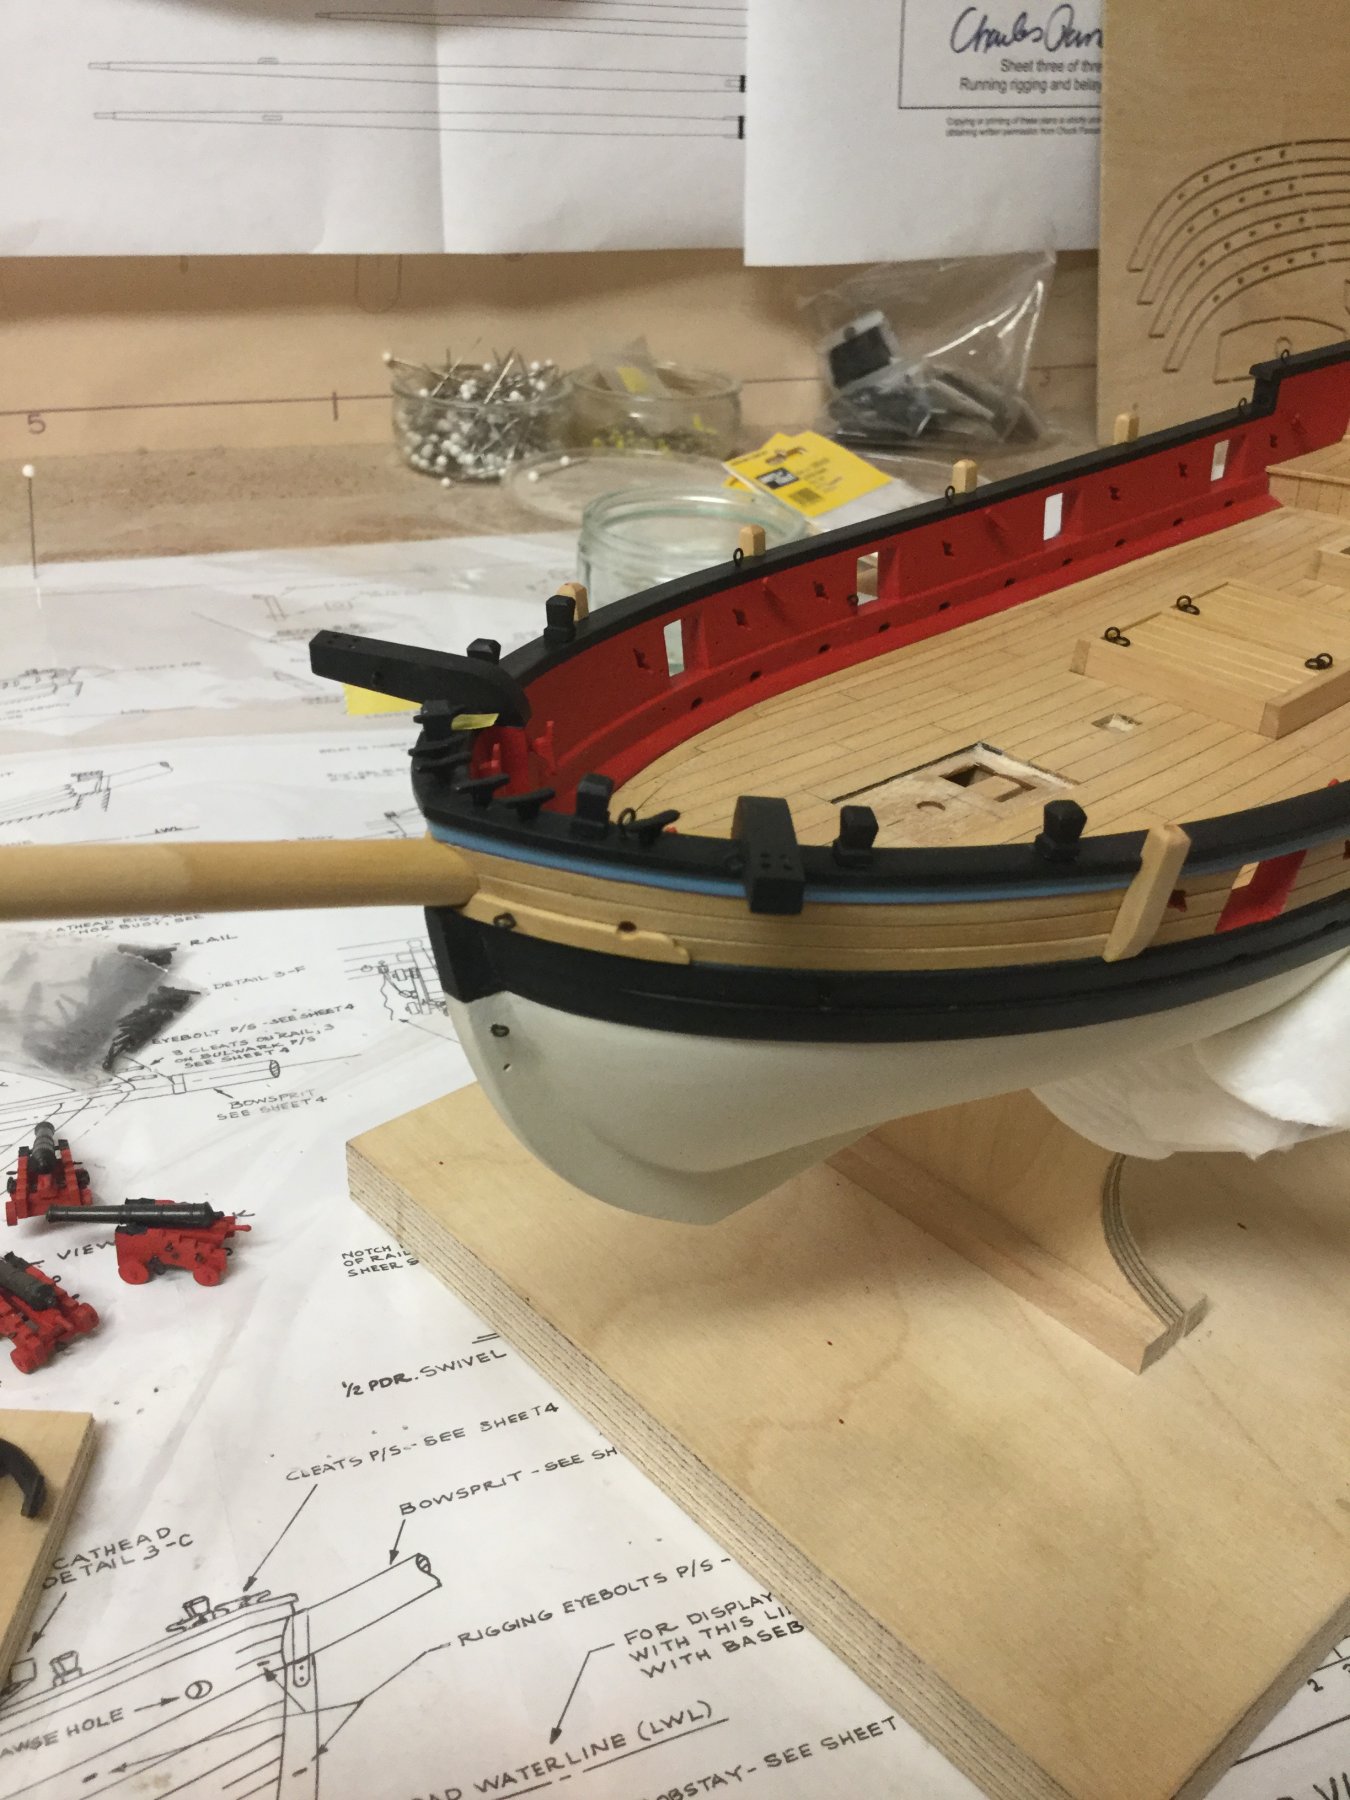
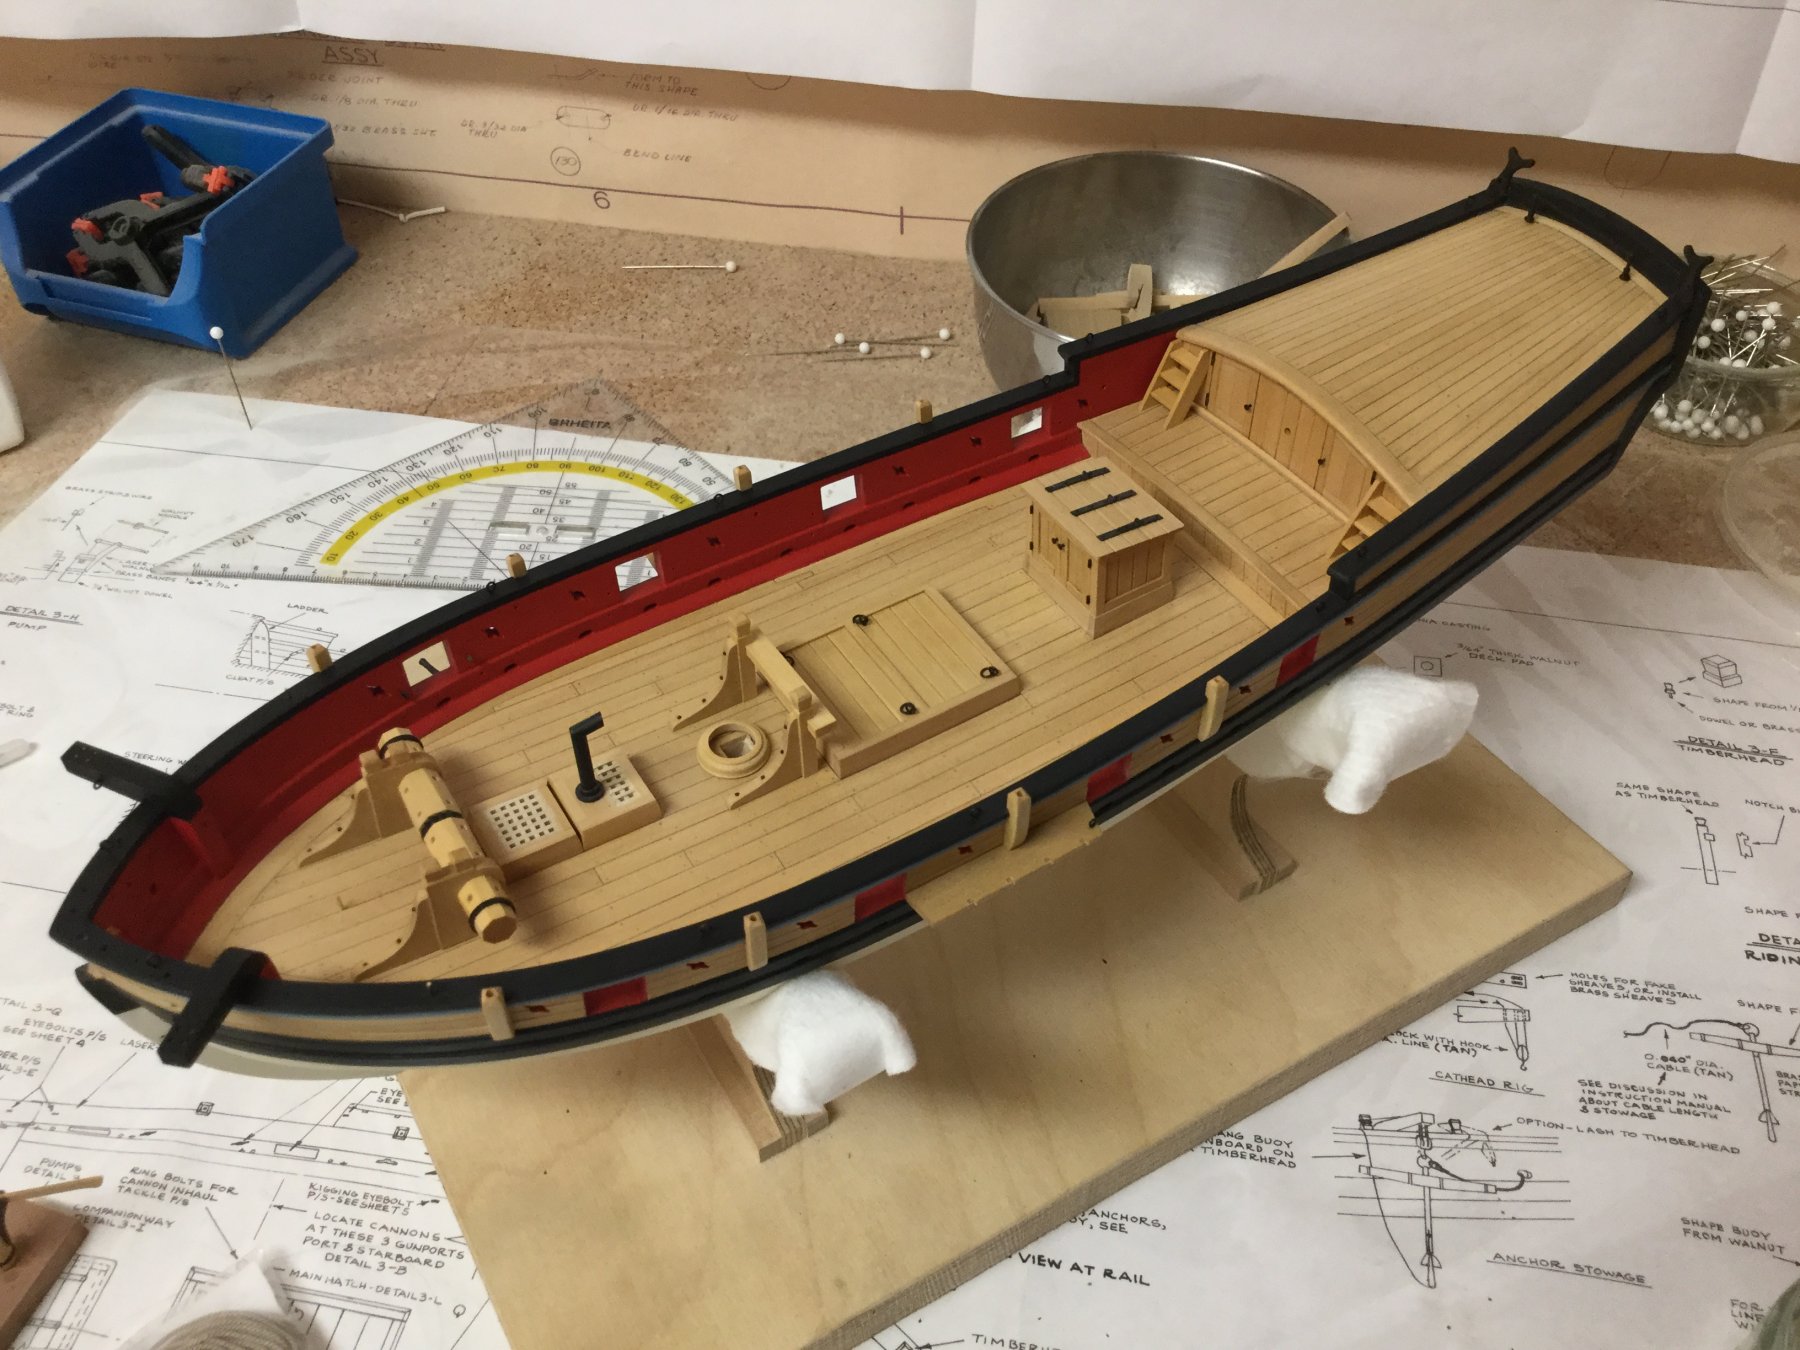
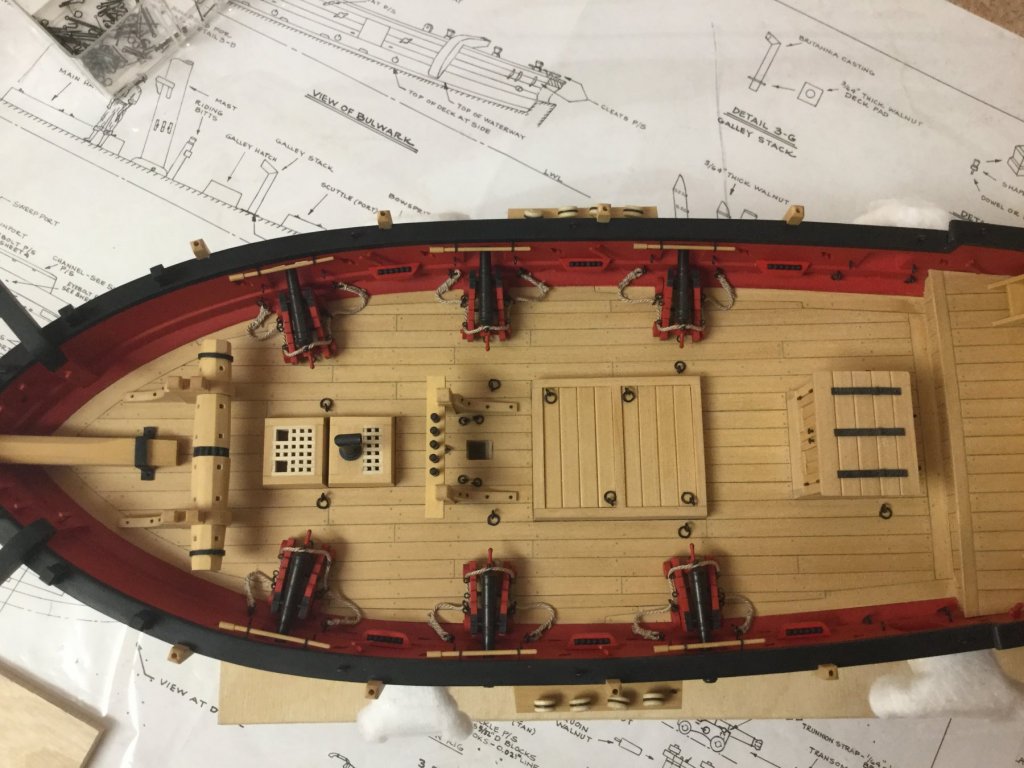
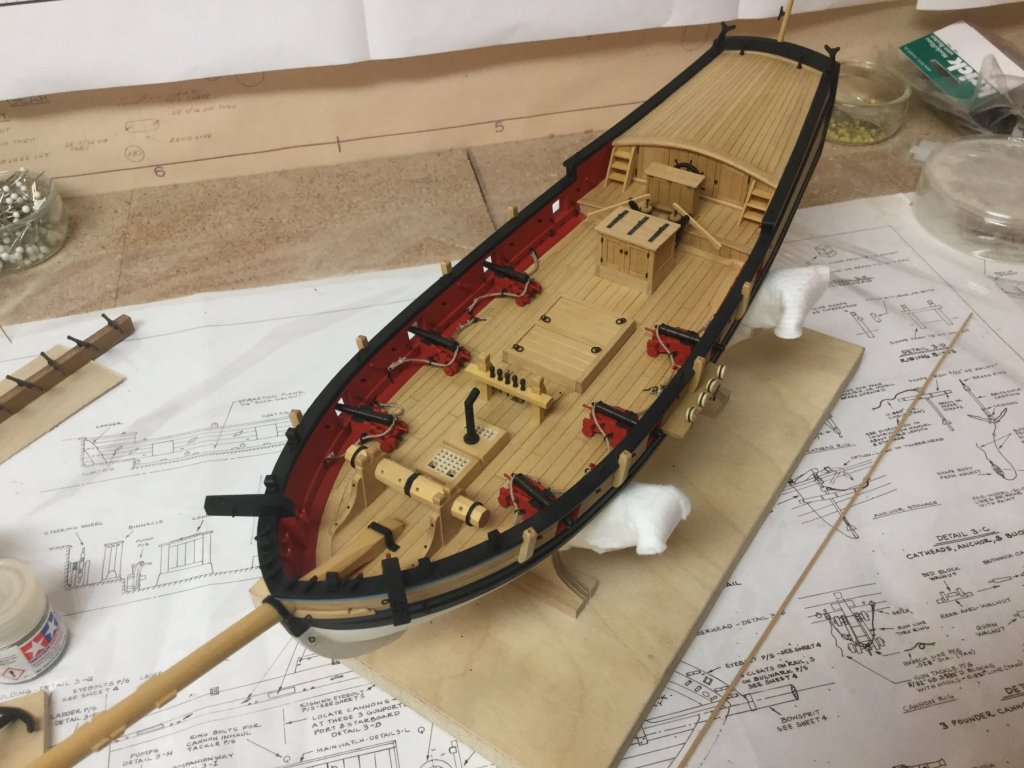
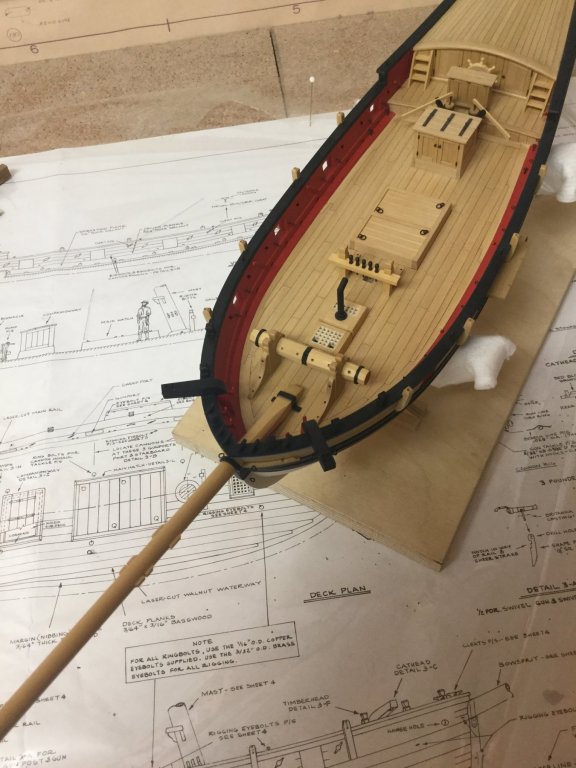
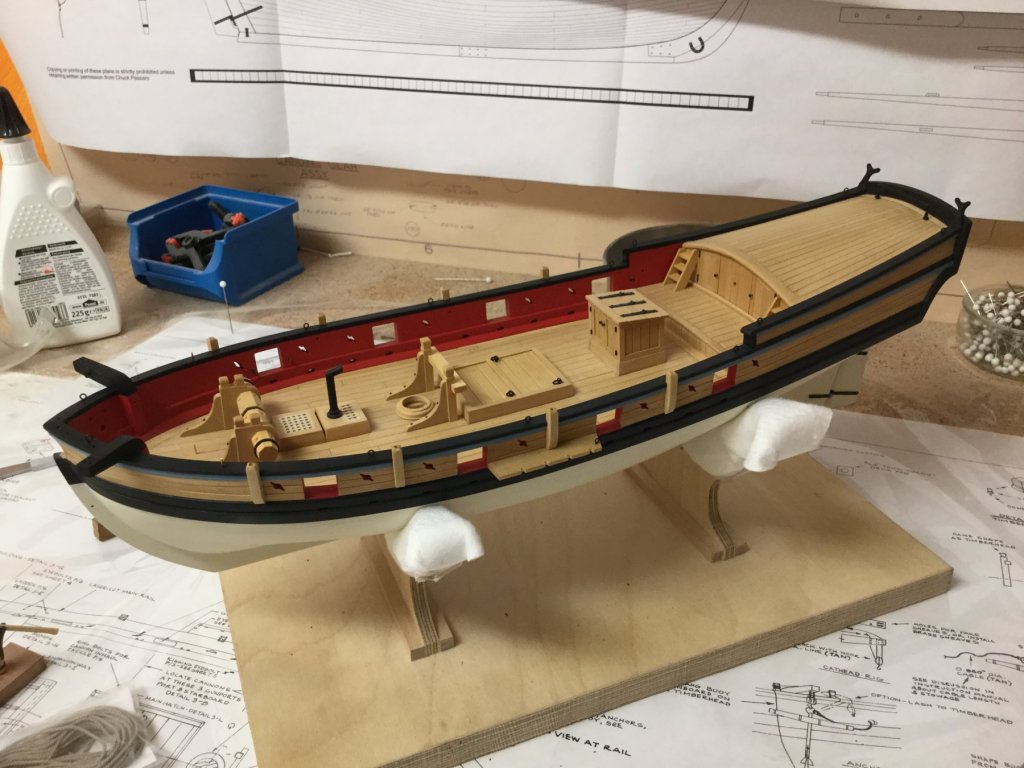
I finished the channels (donˋt know if that is the correct english word for ‚Rüste‘ - the sheet, where the chain plates are fitted on). Also installed all eyebolts on deck. All that is left (before rigging) is finishing the guns, gluing all the deck items and installing the mast.

- 231 replies
-
- 13
-
-
- model shipways
- armed virginia sloop
- (and 1 more)
-
Wow. That size of the model is really big. It is more like a 1-room-apartment, so you can bring a table and two chairs and have a cup of tea inside the ship.
-
Only small updates these time. Glued the eyebolts of the breech lines in place. Have to shape the breech lines after glu is dry. Will add the gun tackles next weekend.

- 231 replies
-
- 10
-
-
- model shipways
- armed virginia sloop
- (and 1 more)
-
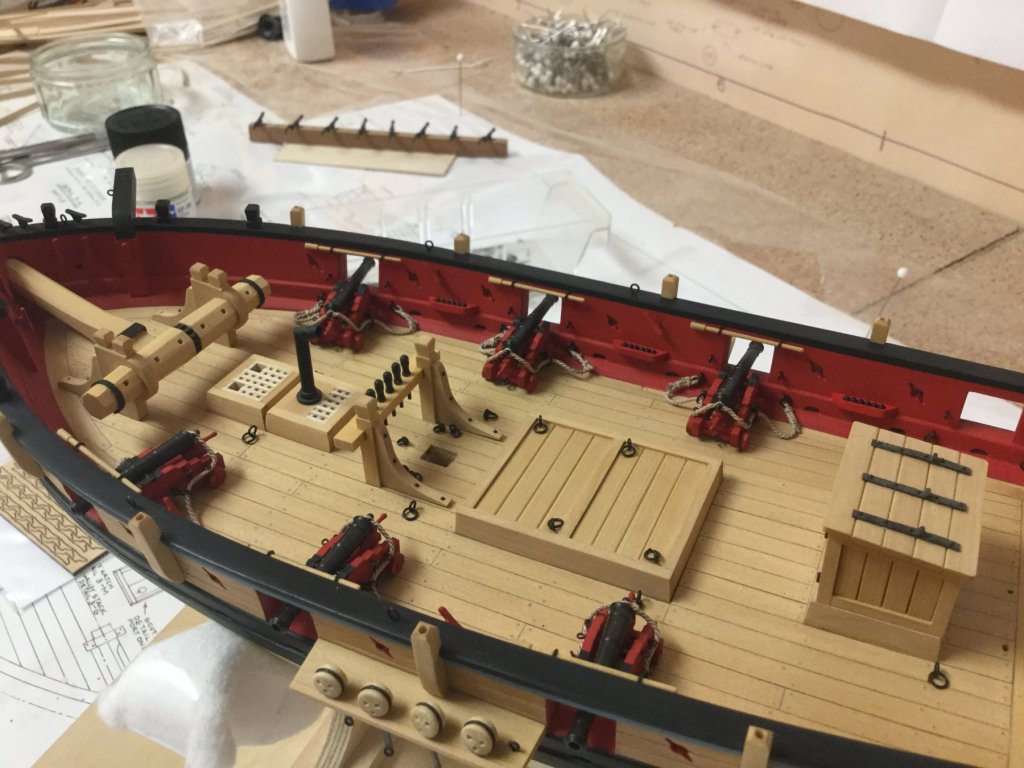
Thank you very much. I glued the guns in place. First I drilled a hole through the front axle, pinned that with a short 0,7mm nail (so that the nail is only about 0,5mm longer than the bottom of the front wheels) and positioned the gun in place. Pressed it down until the nail in the axle marked a spot on deck and drilled a hole into the spot through the deck. Then glued a longer pin into the axle and that into the predrilled hole on deck. Positioned until it has the correct angle. Epoxy gives a lot of time for correcting the angle. Next is gluing the eyebolds.


- 231 replies
-
- 10
-
-
- model shipways
- armed virginia sloop
- (and 1 more)
-
Such a beautiful work. Sieht super aus.
-
Added the stop chocks. This completes the boom except for the heel lashing and the footropes which will be done with the rest of the rigging later. Next is installing the guns. I think about a way to store some cannonballs. Maybe I add some sort of rack or sheet beside each gun storing 5 cannonballs.


- 231 replies
-
- 11
-
-
- model shipways
- armed virginia sloop
- (and 1 more)
-
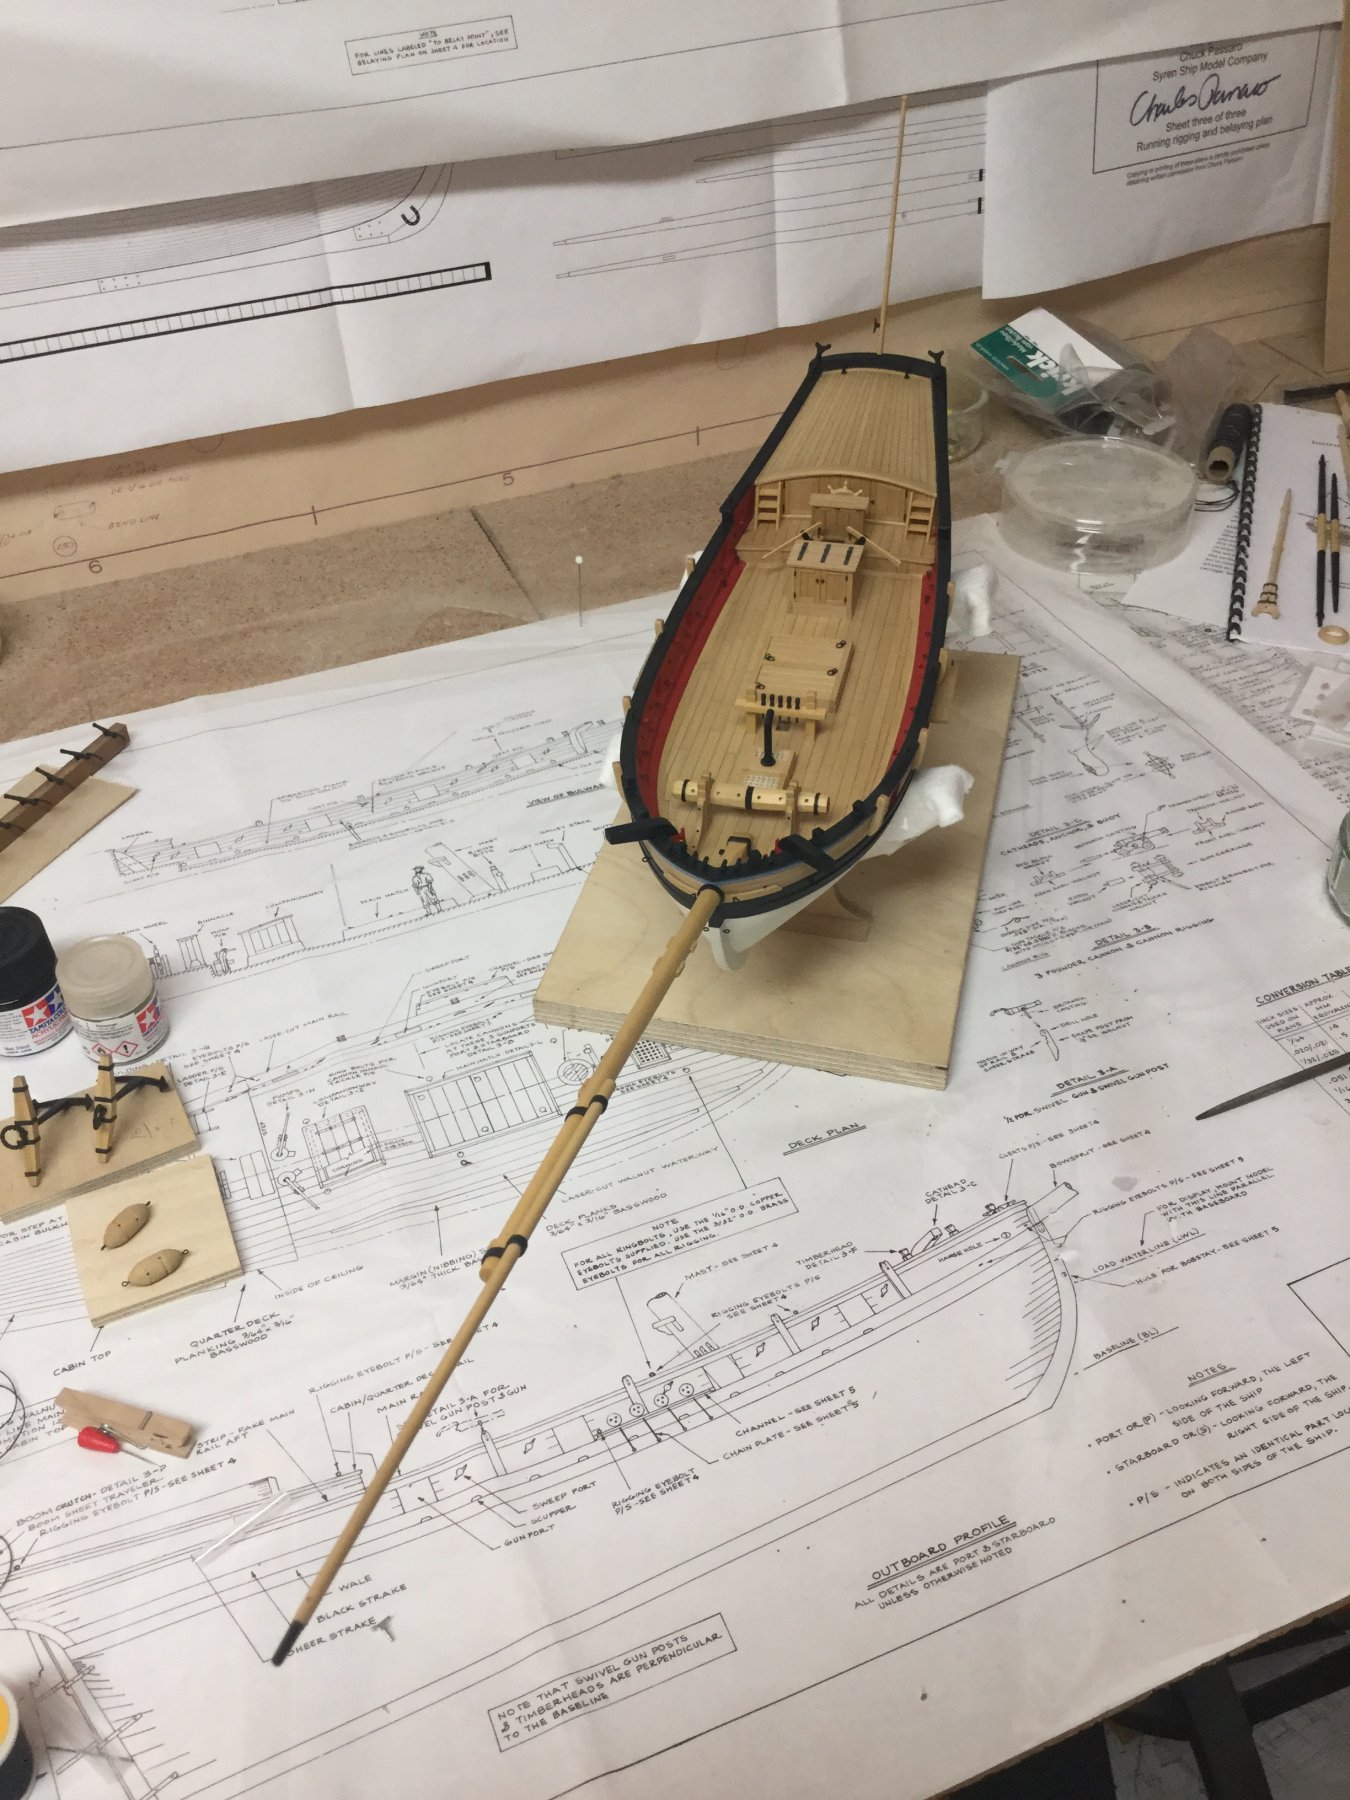
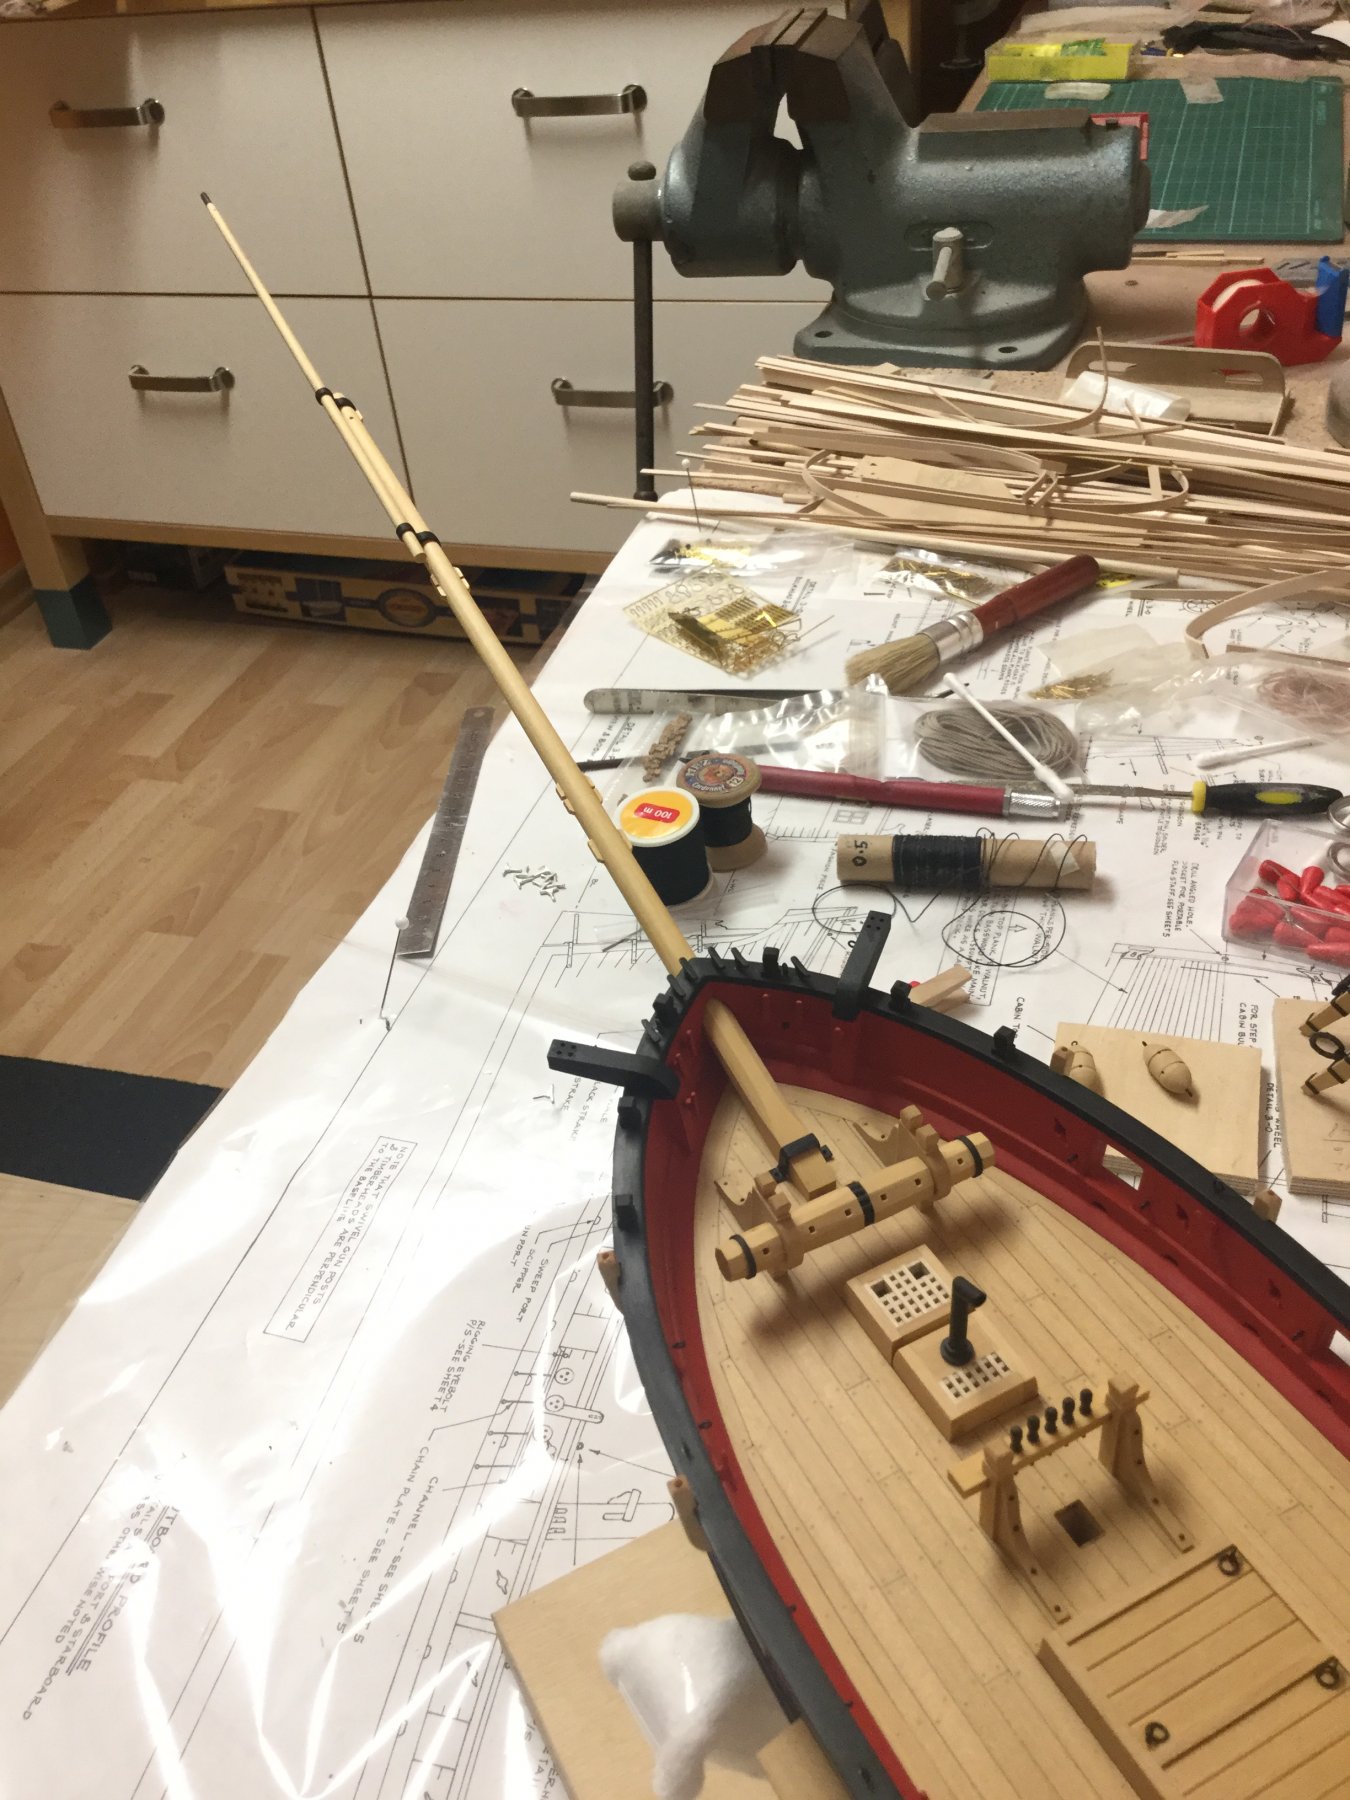
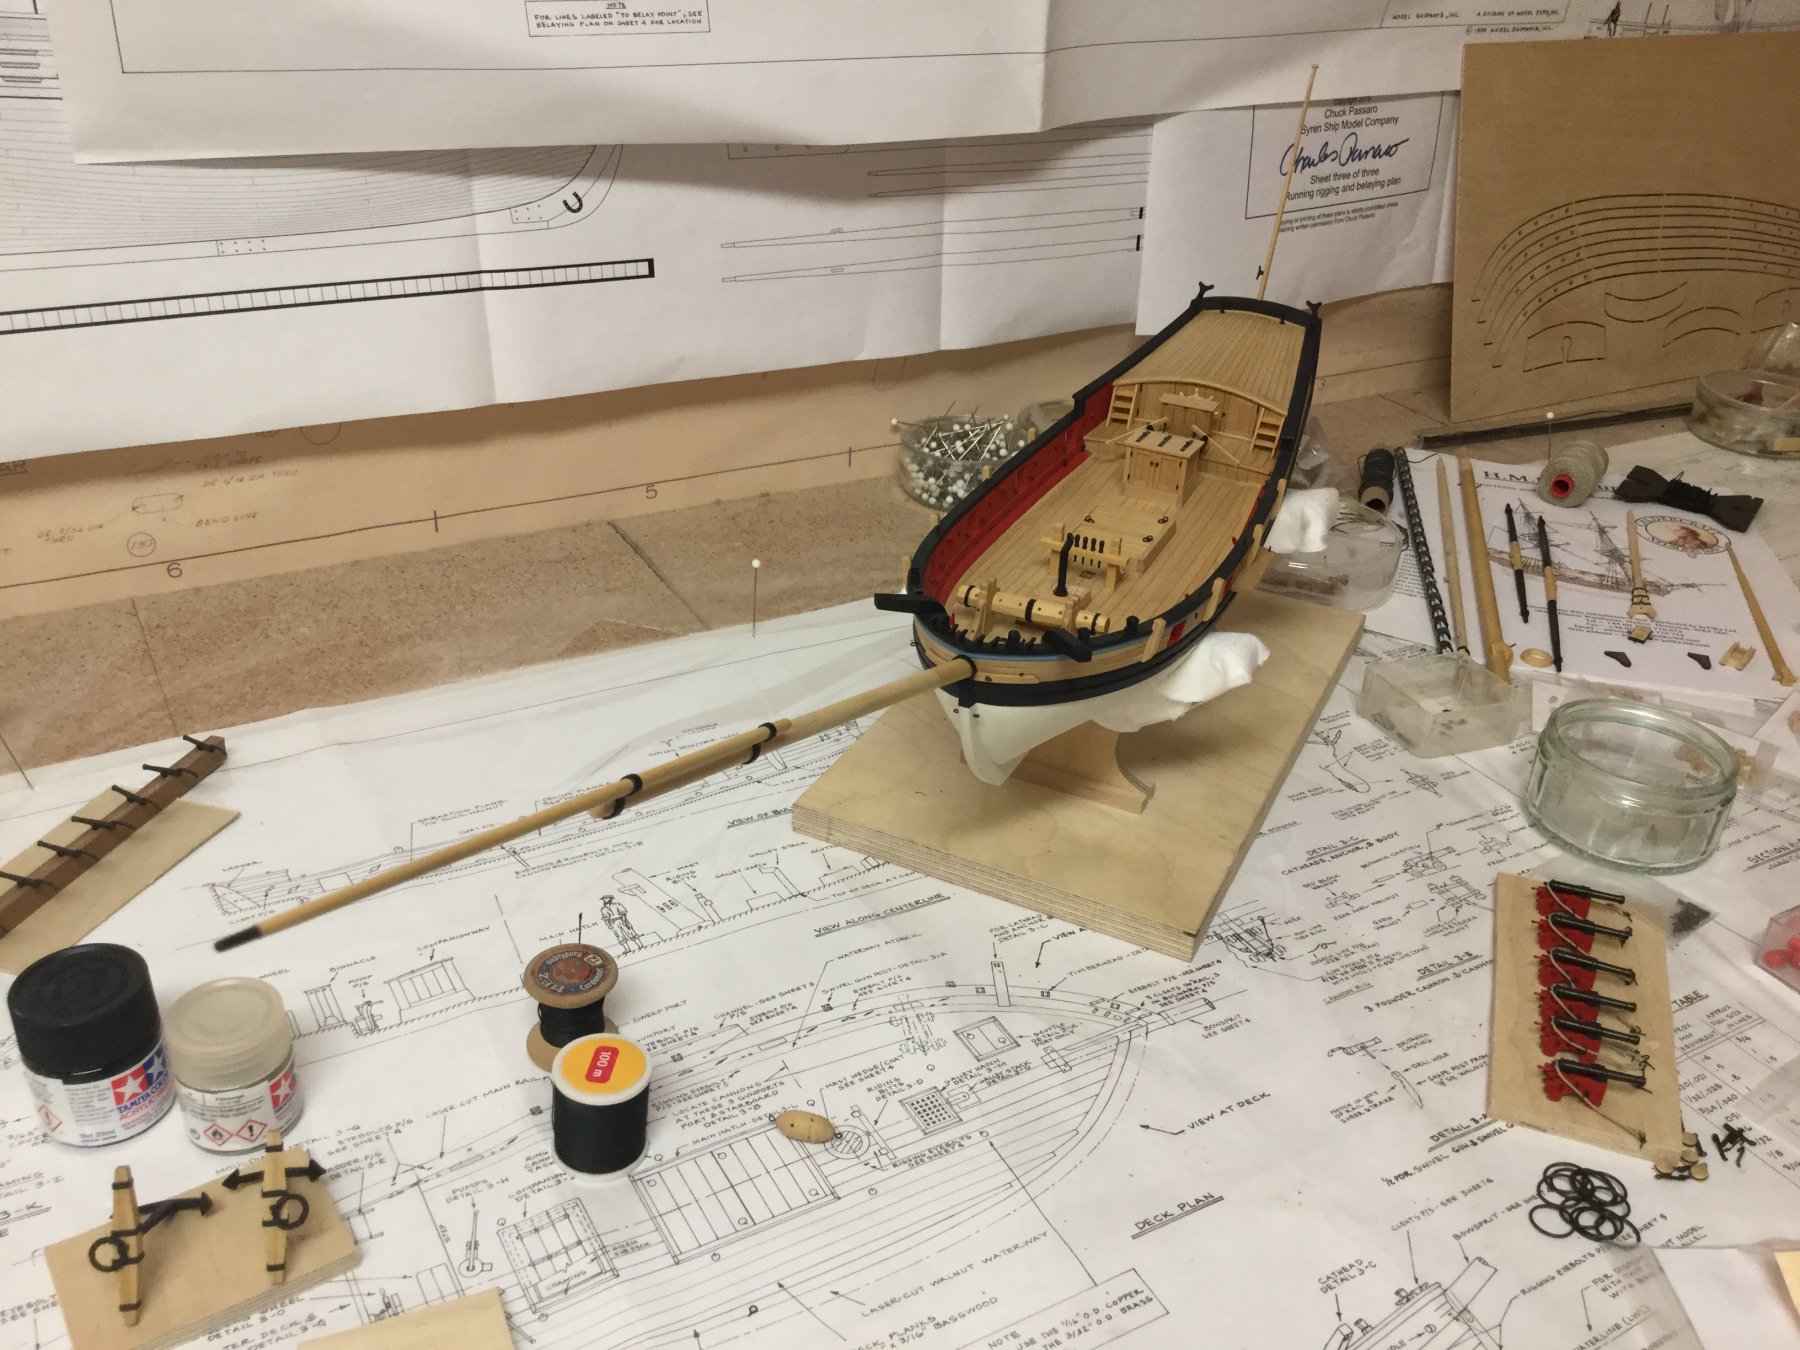
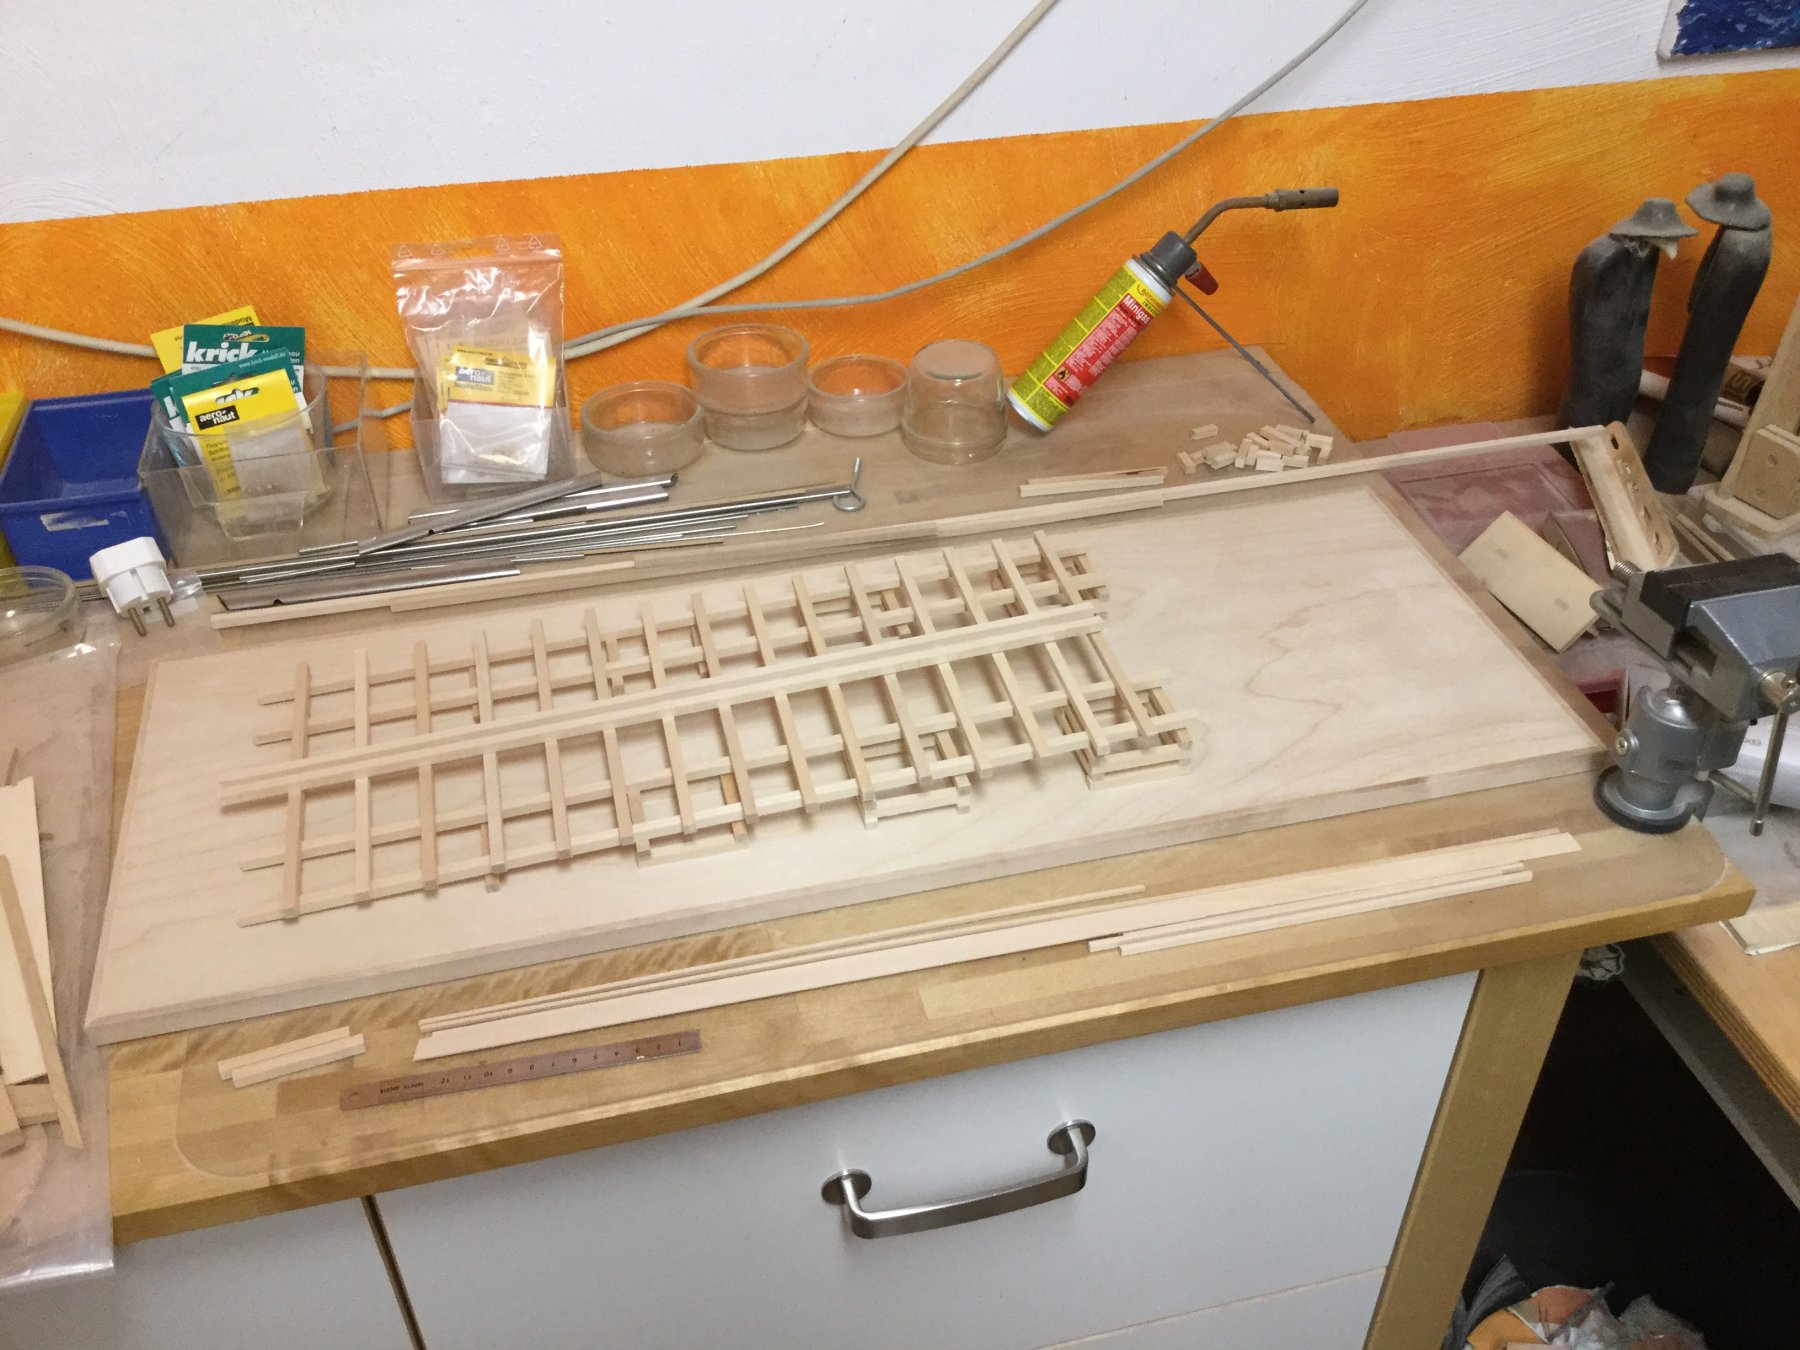
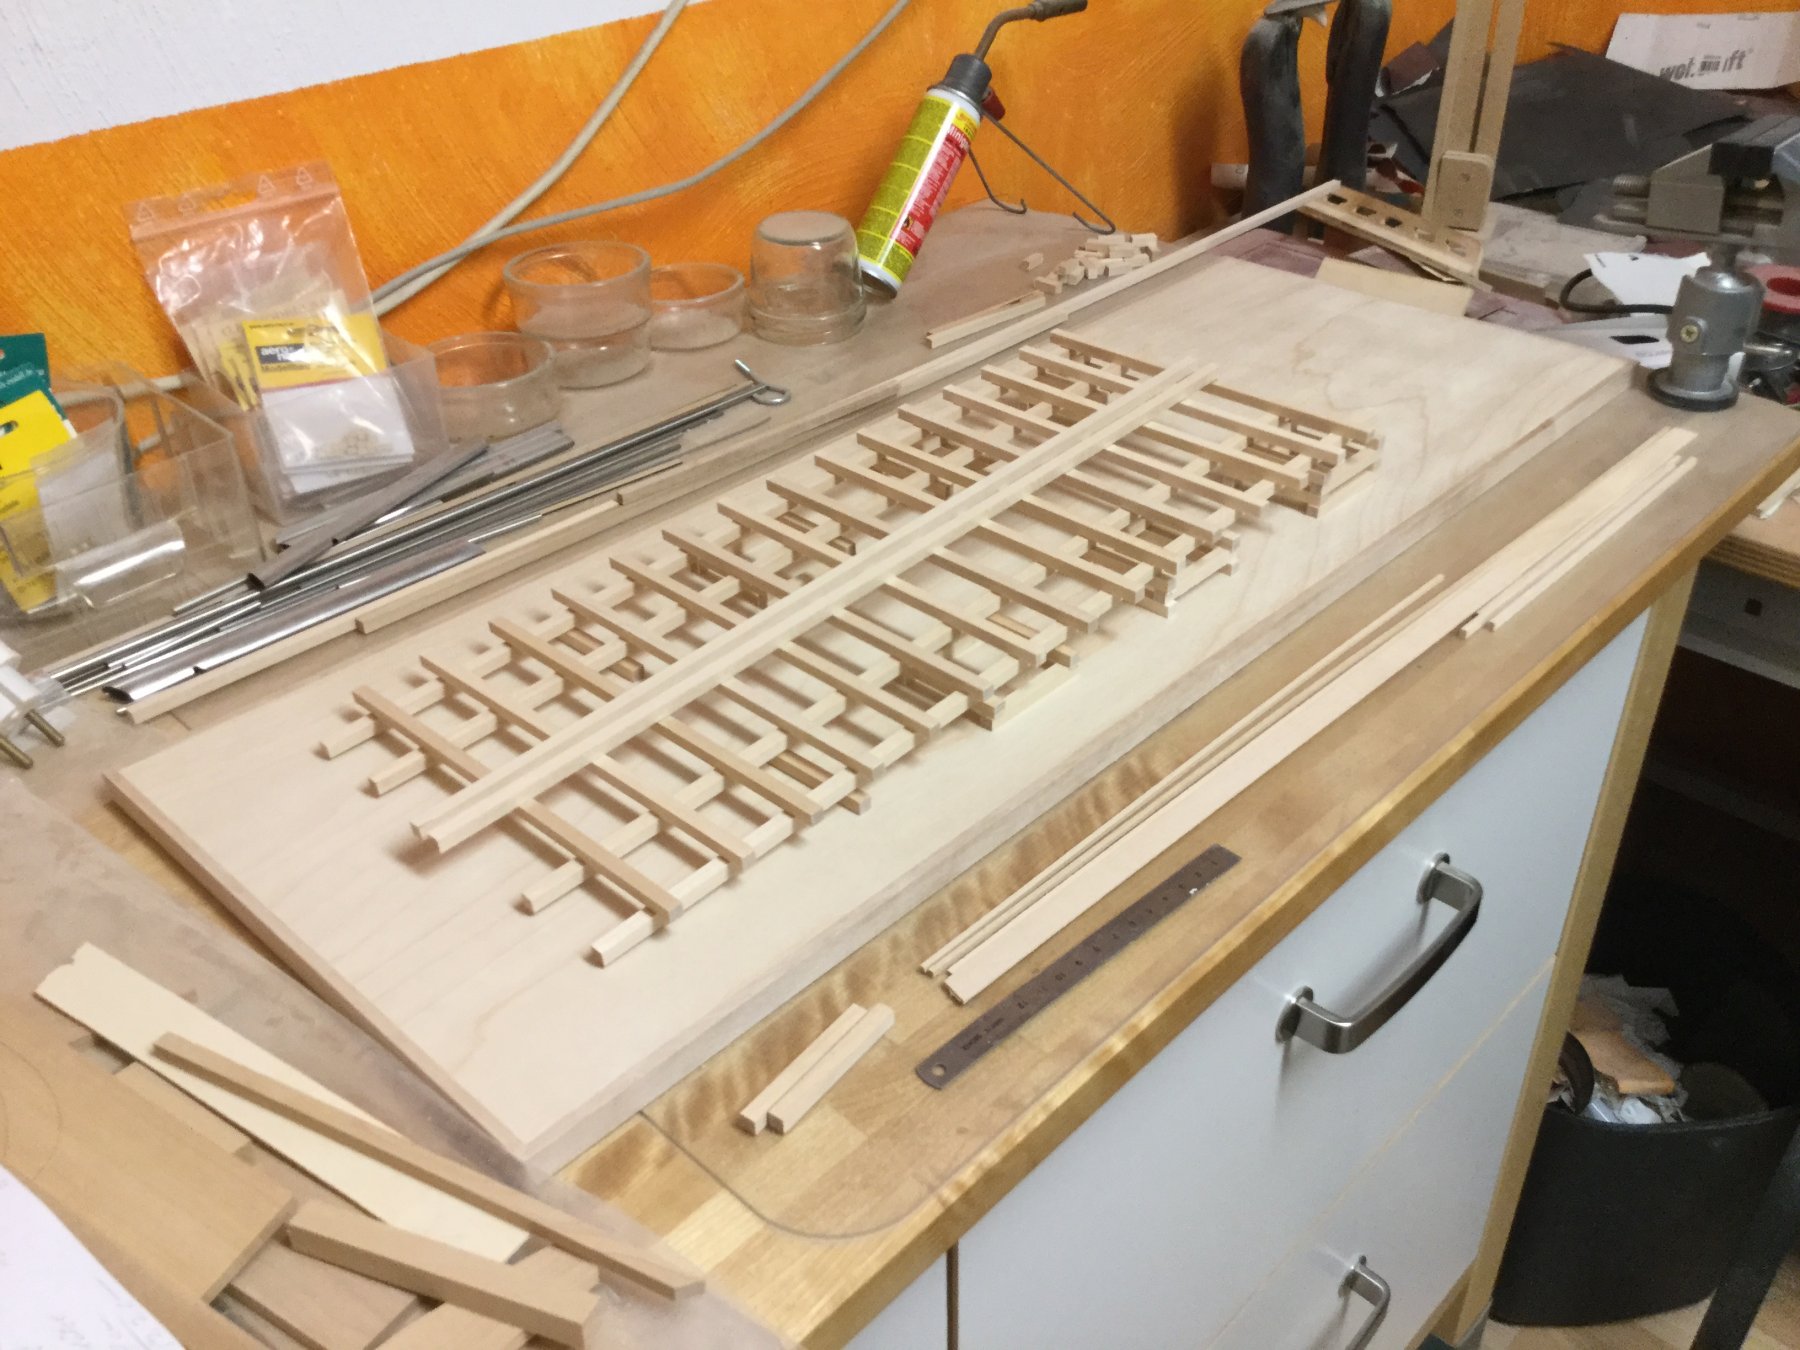
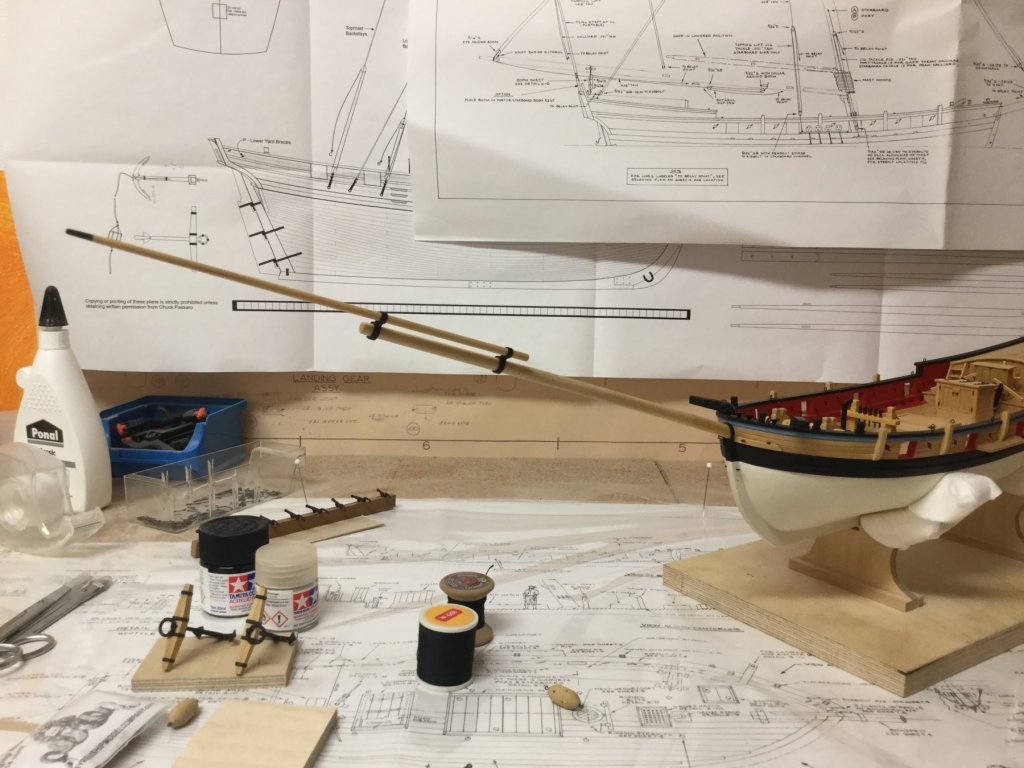
Thank you very much for the kinds words and the Likes. I took a 4-week break from modeling the AVS to prepare my next project, the H.M. Brig Badger POB in 1:48 scale. Drawn the bulkheads and some parts in Corel Draw to have them lasercut soon. Now it is time to return to the AVS. Installed all iron bands on the bowsprit.

- 231 replies
-
- 10
-
-
- model shipways
- armed virginia sloop
- (and 1 more)
-
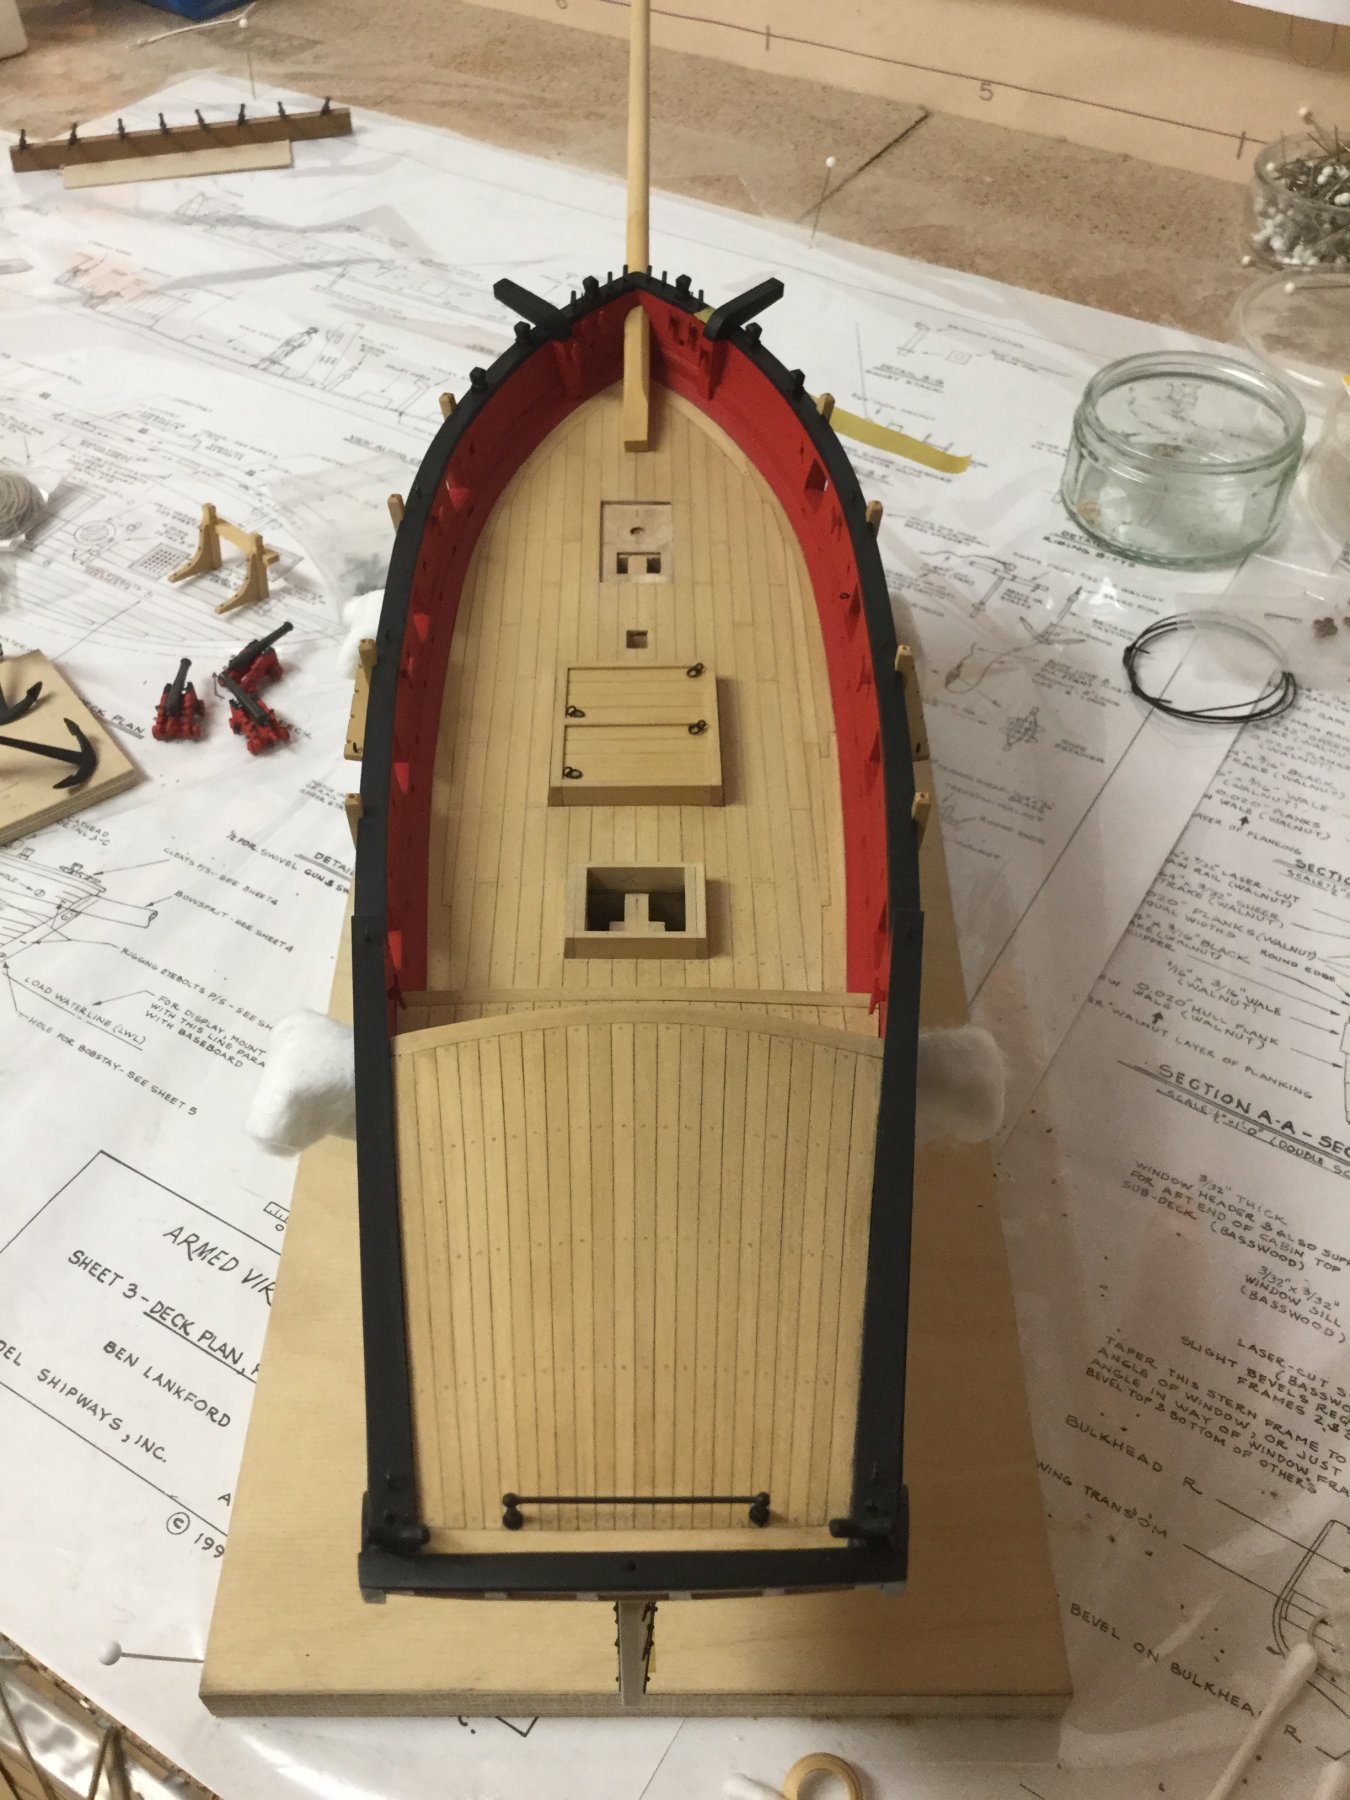
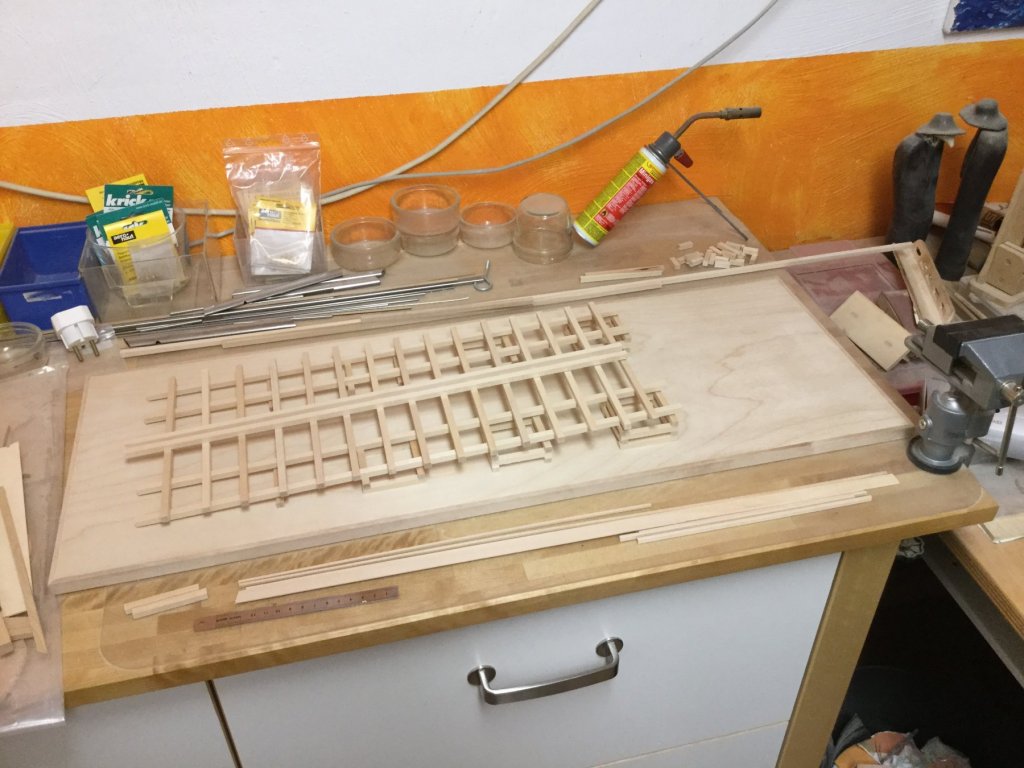
Very beautiful, please keep up the good work. I hope you don't mind me asking a question: How did you transfer the printed deck layout onto a plywood sheet? Best regards.
- 120 replies
-
- 1
-
-
- mercury
- victory models
- (and 1 more)
-
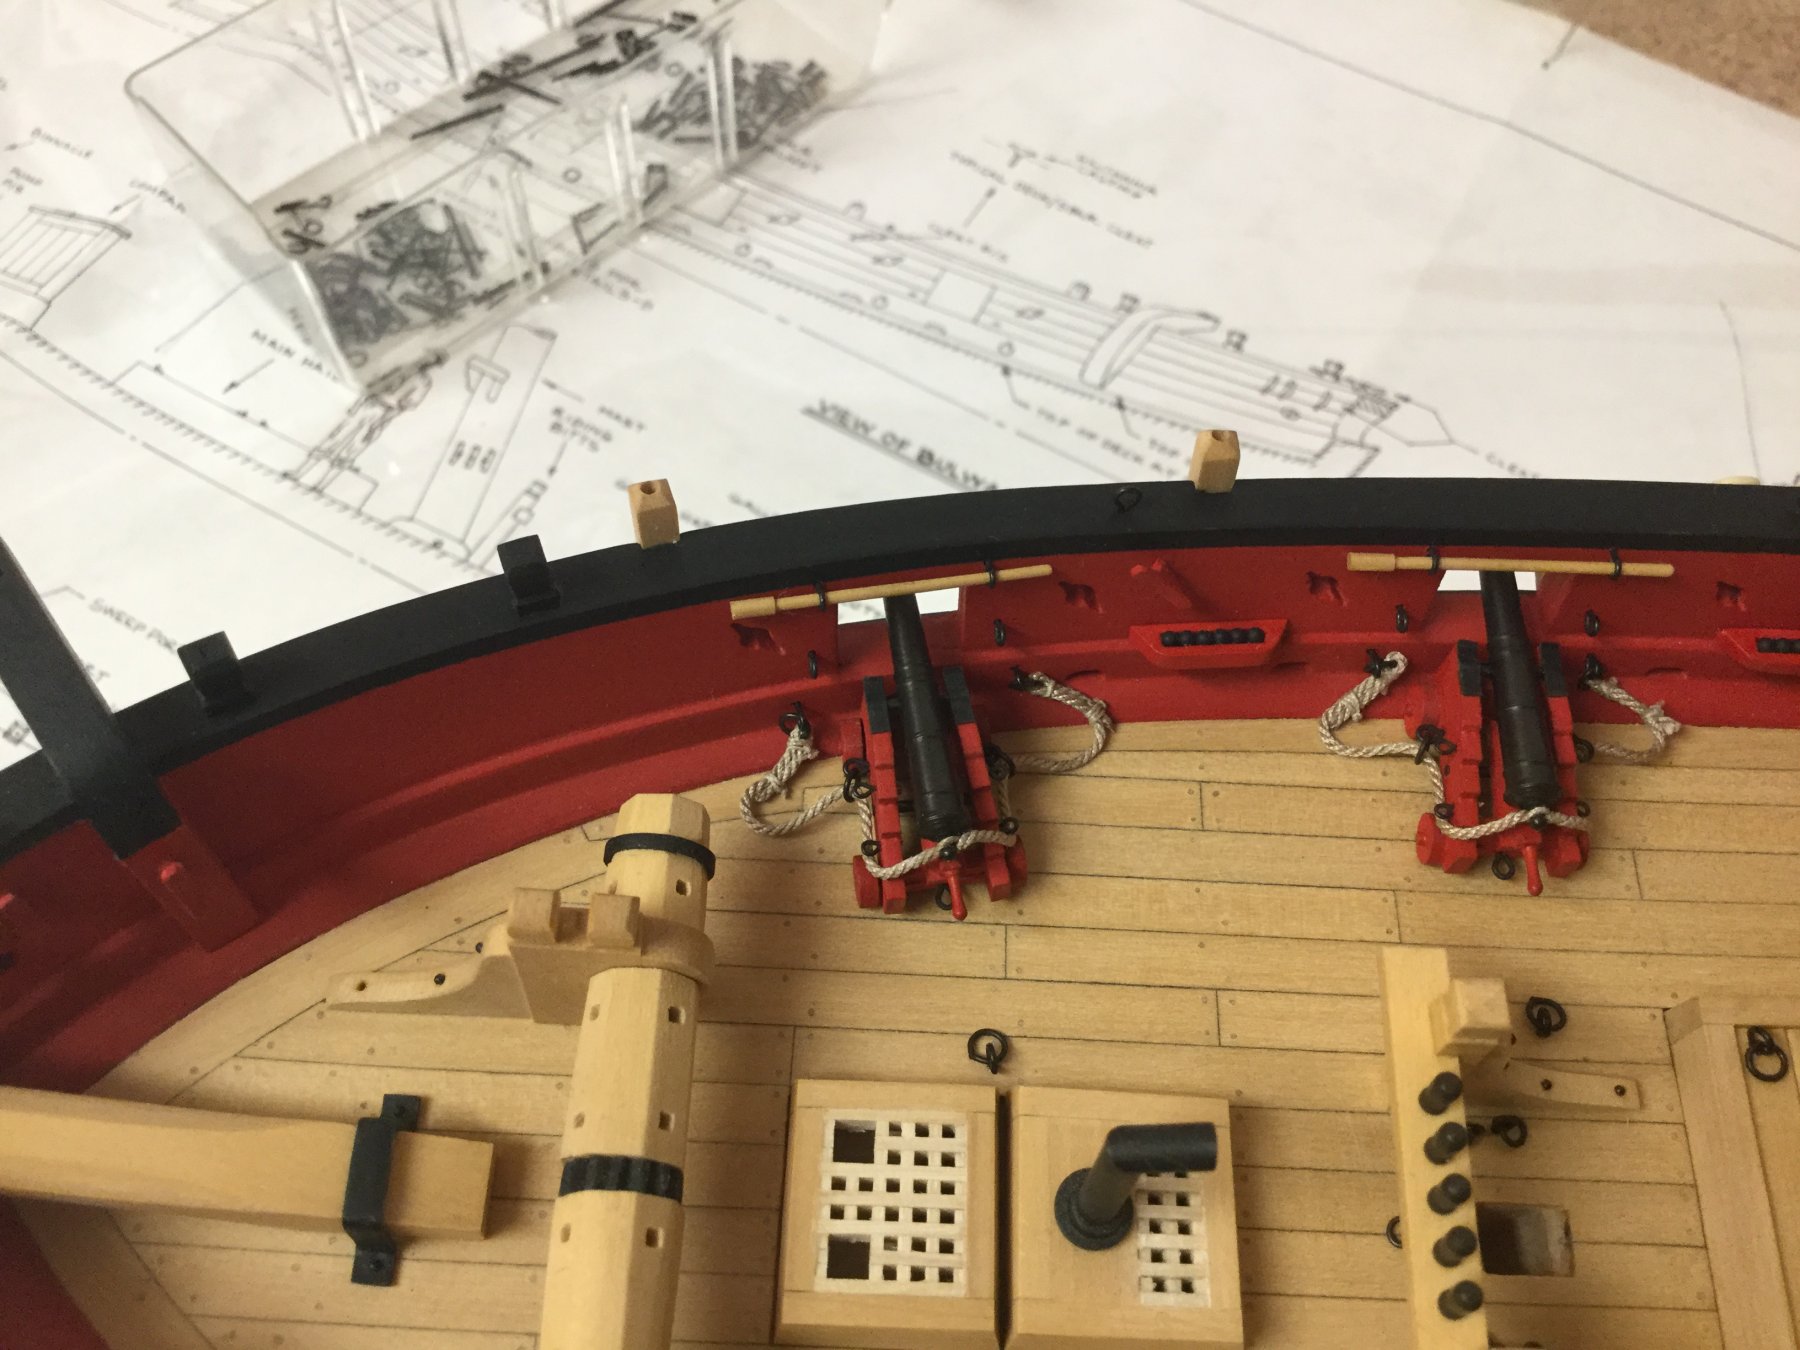
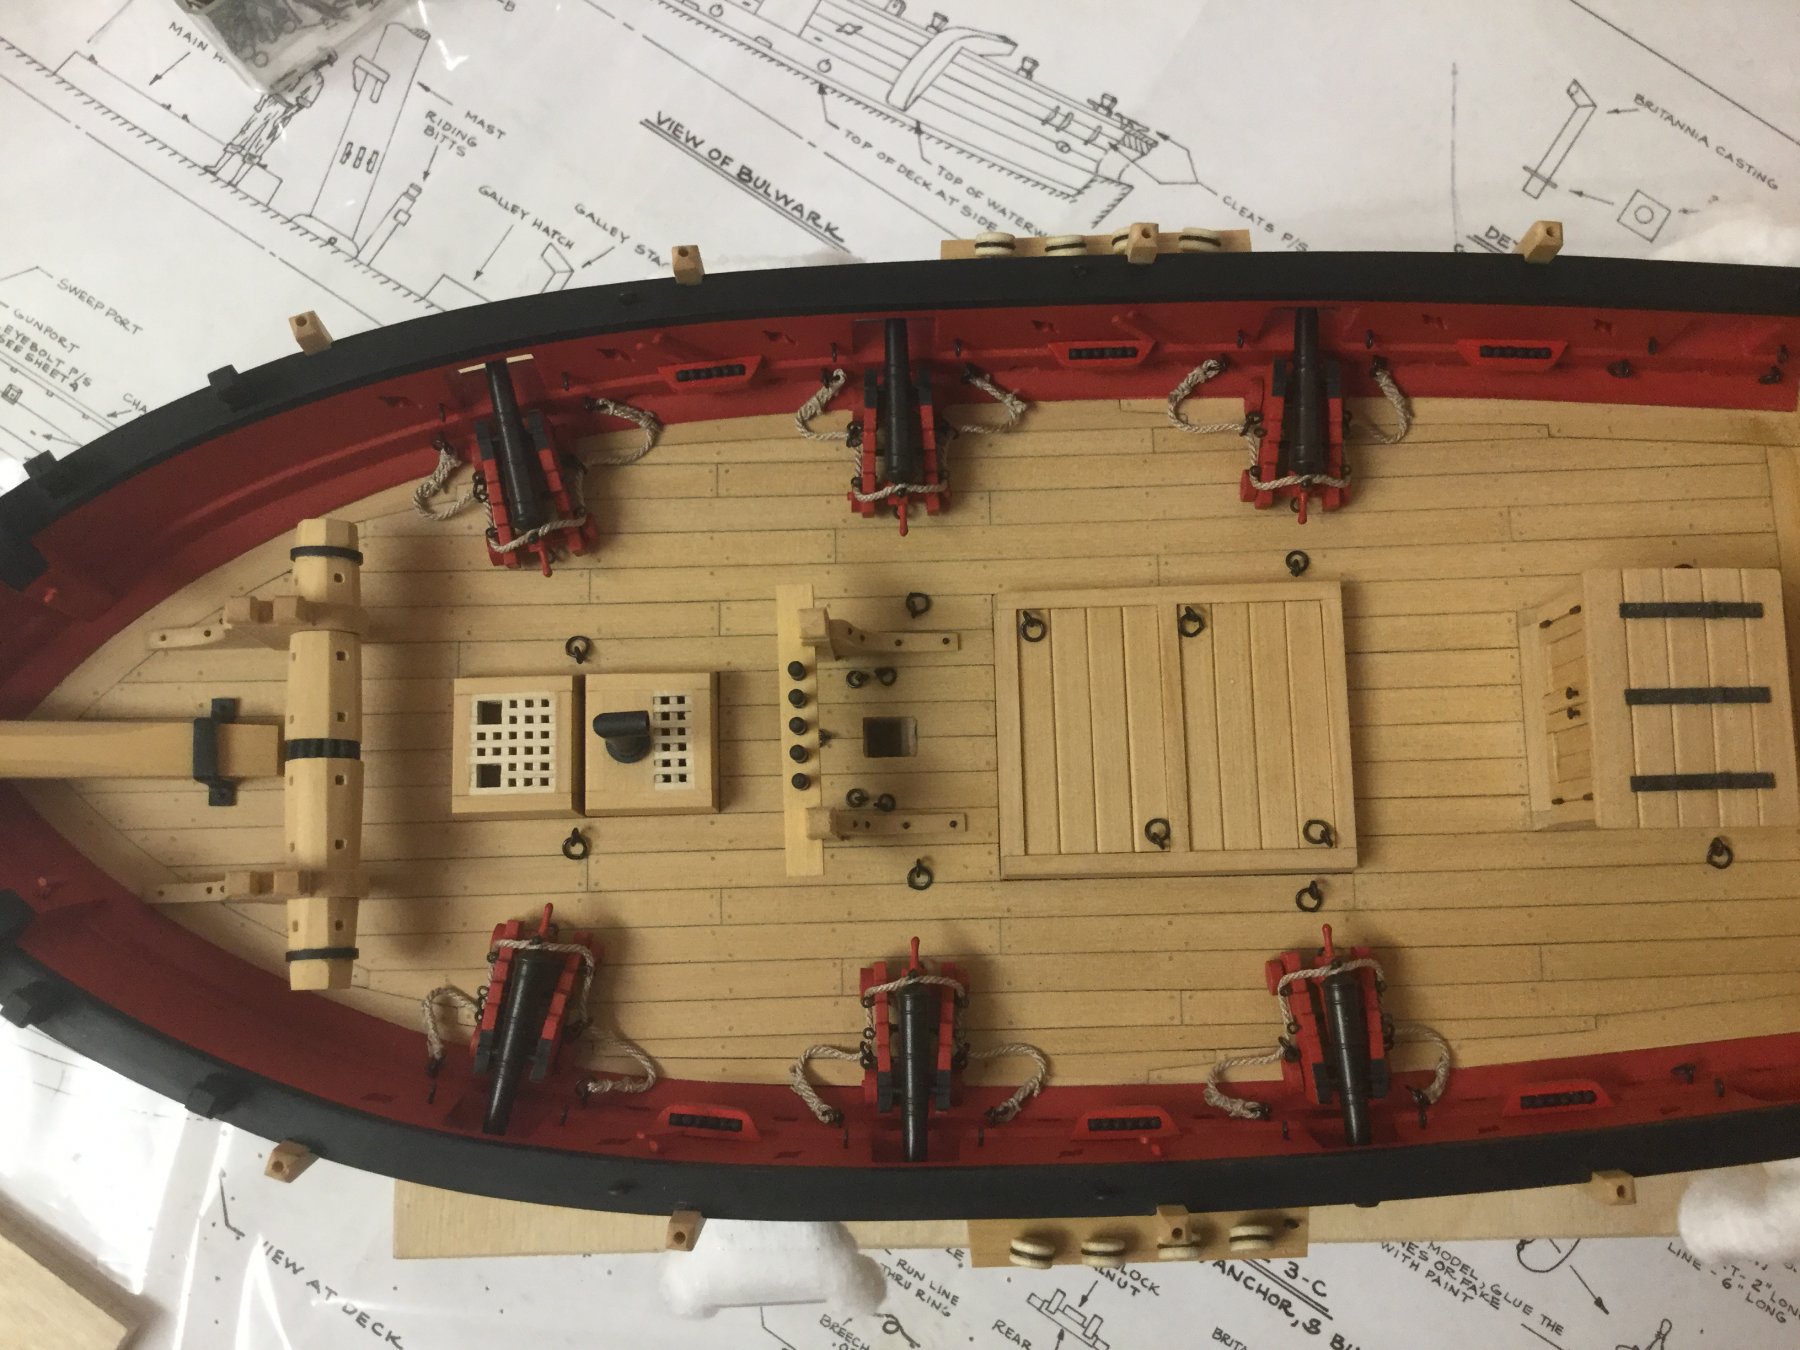
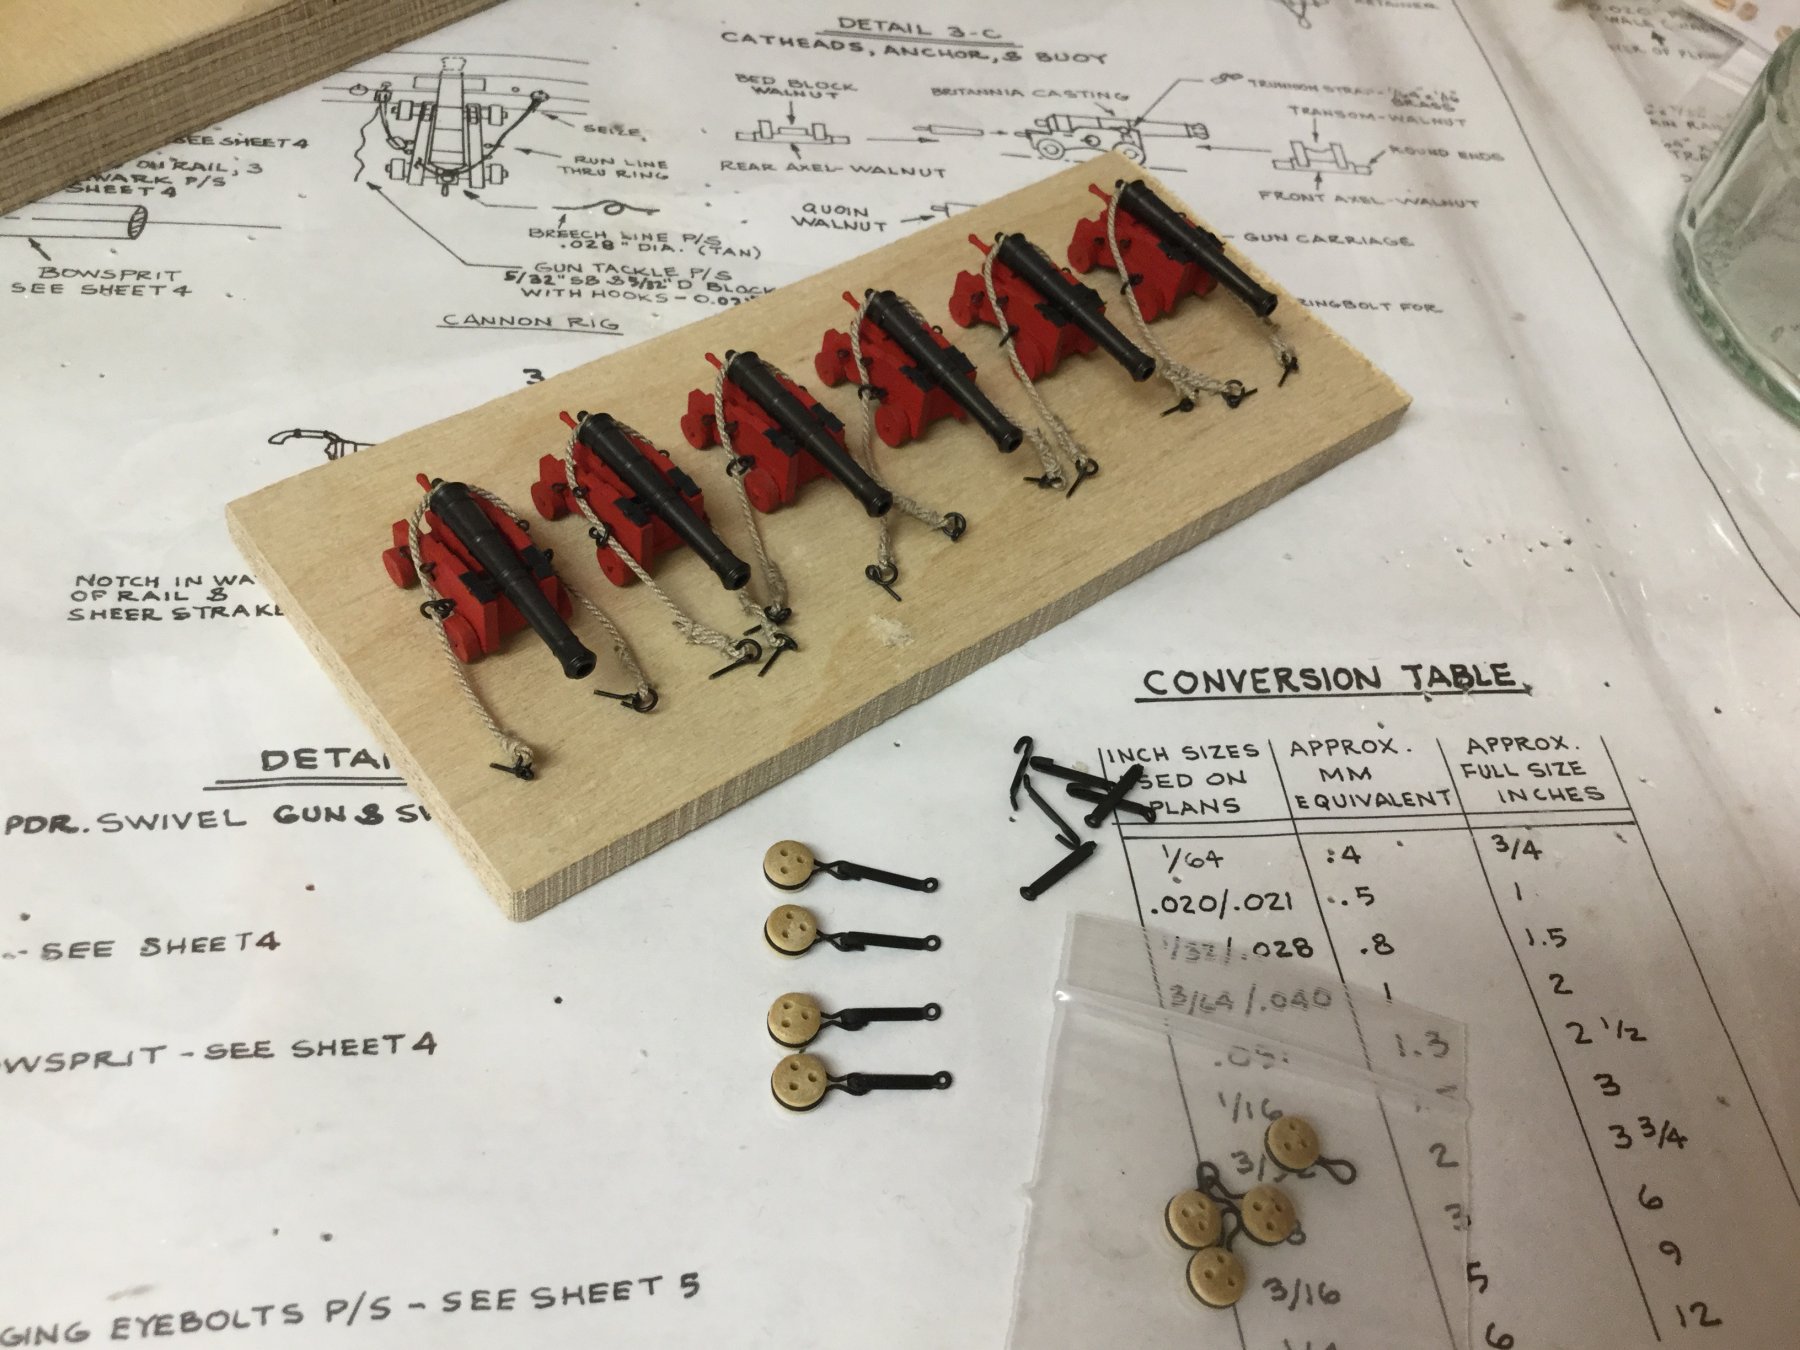
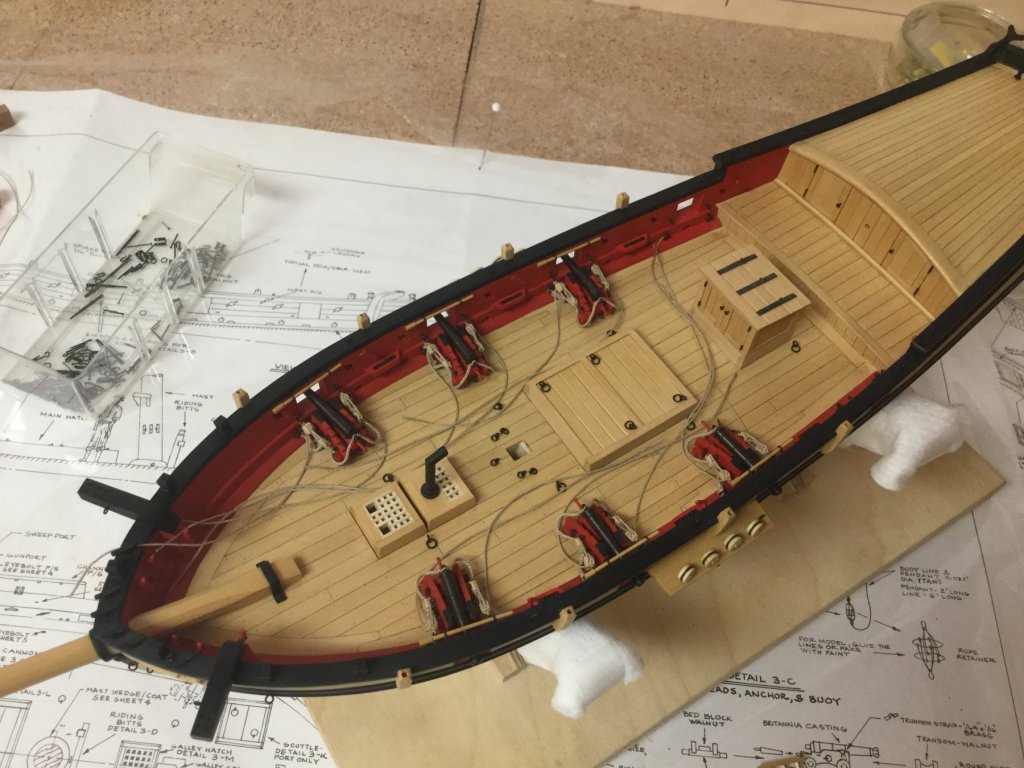
Rigged the guns and made the channels.

- 231 replies
-
- 7
-
-
- model shipways
- armed virginia sloop
- (and 1 more)
-
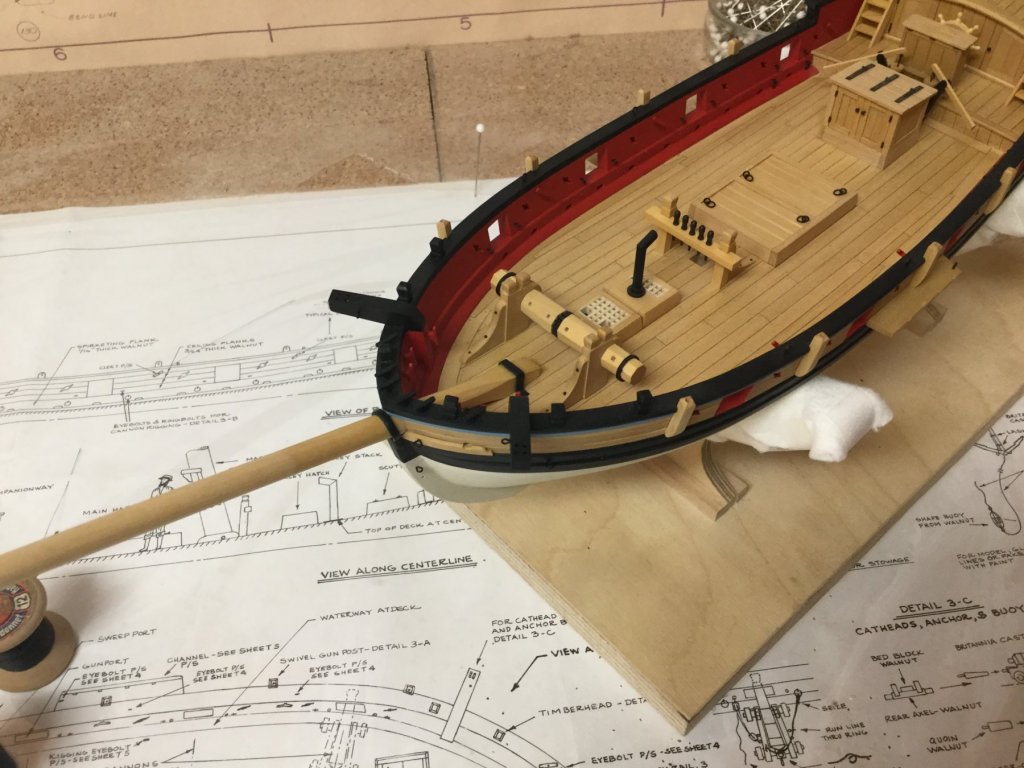
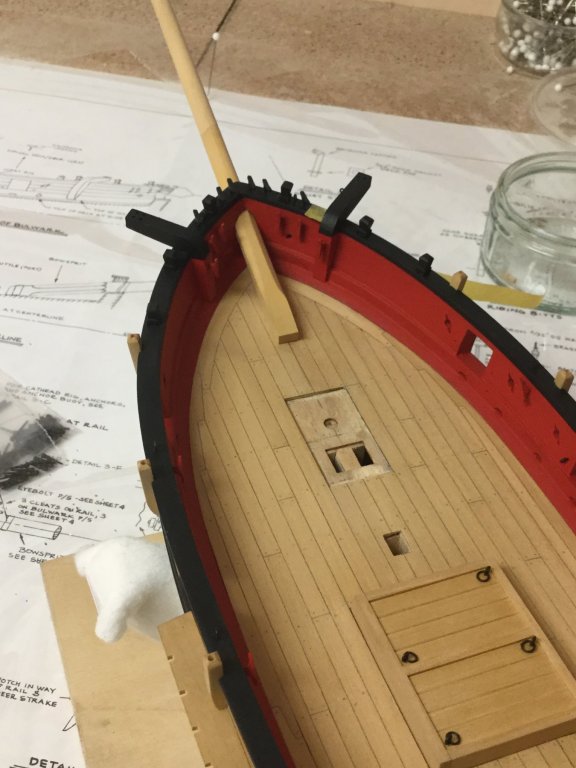
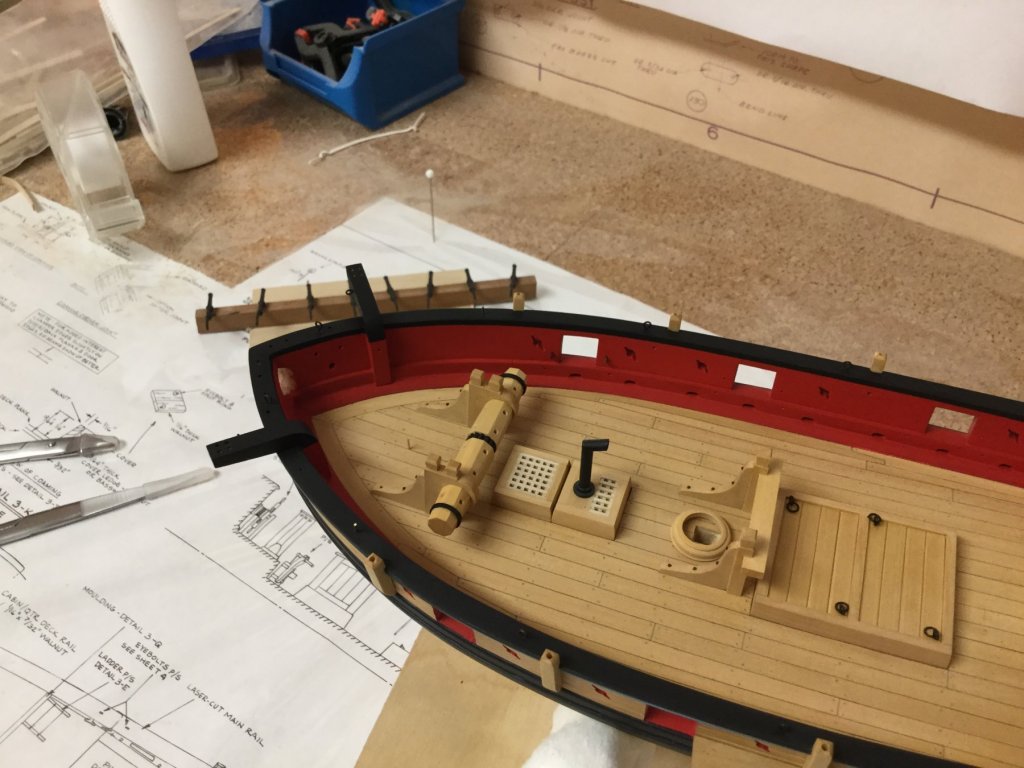
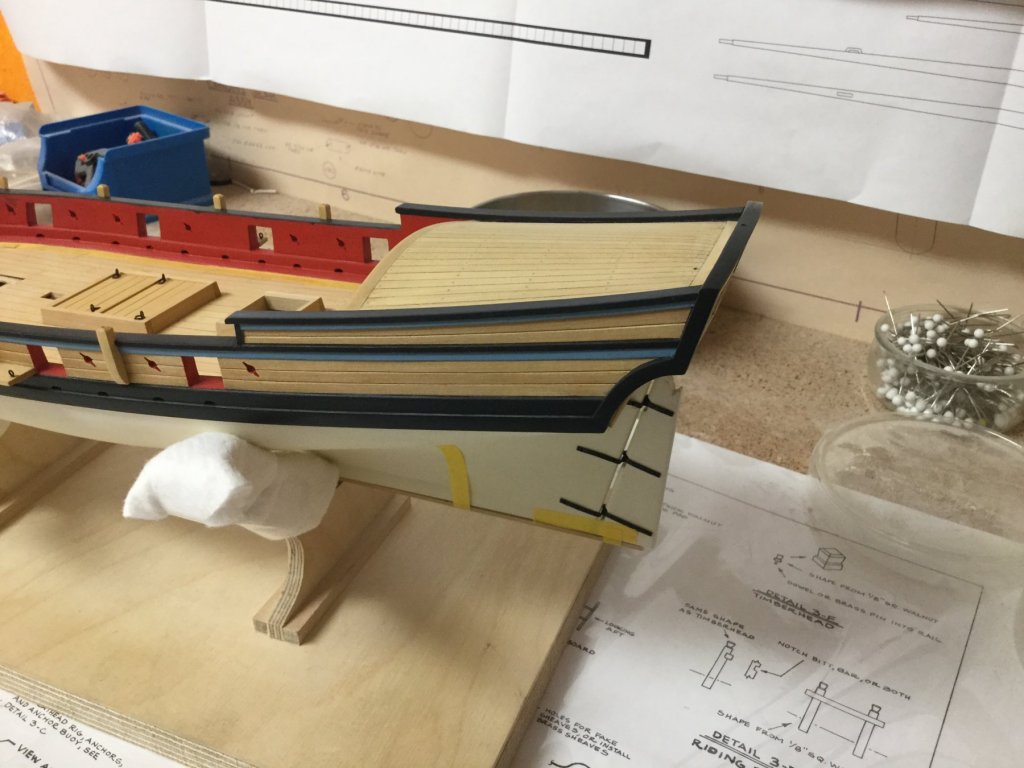
Installed all clamps, eyebolts and timberheads.

- 231 replies
-
- 10
-
-
- model shipways
- armed virginia sloop
- (and 1 more)
-
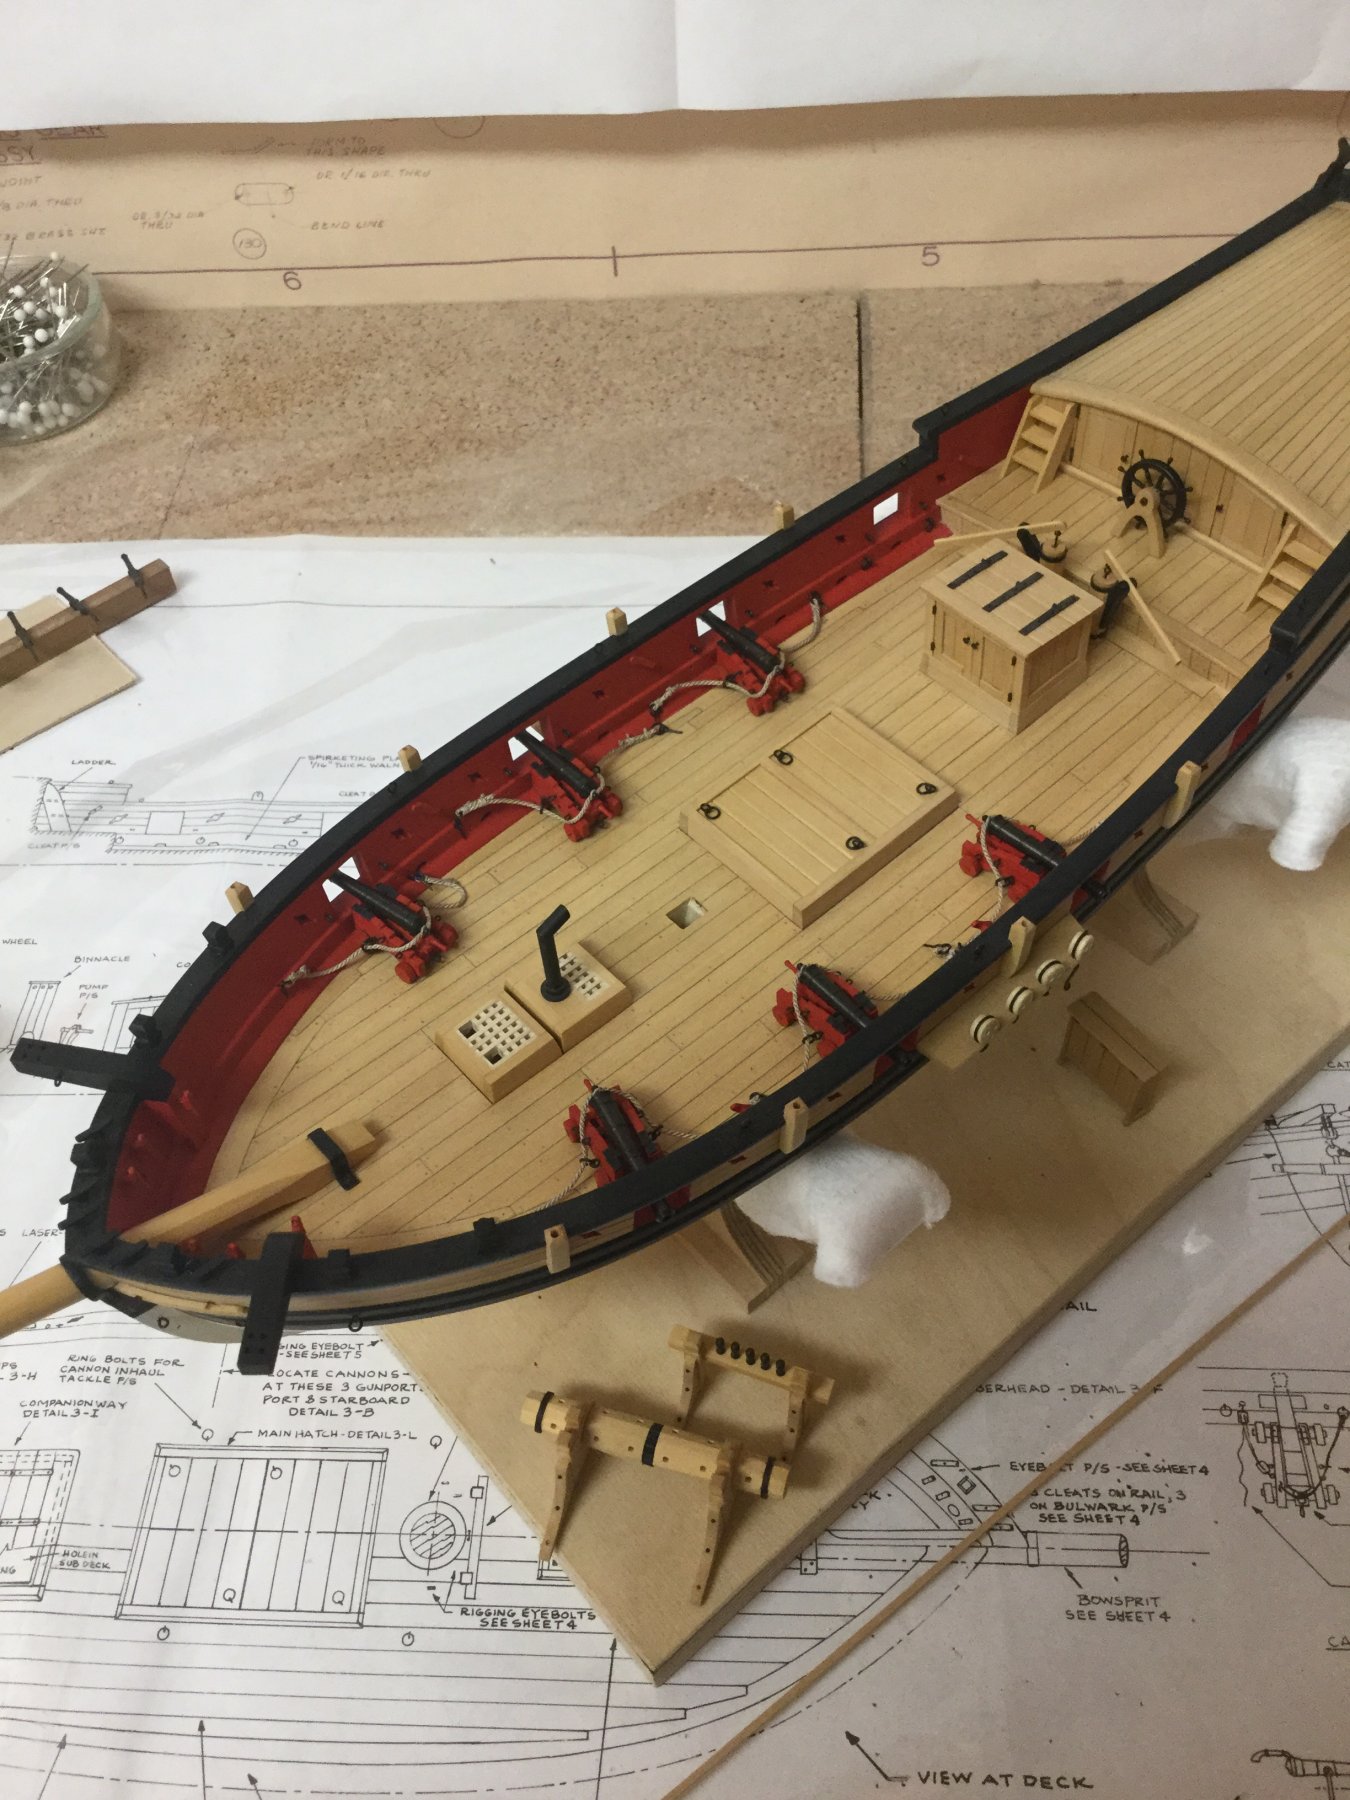
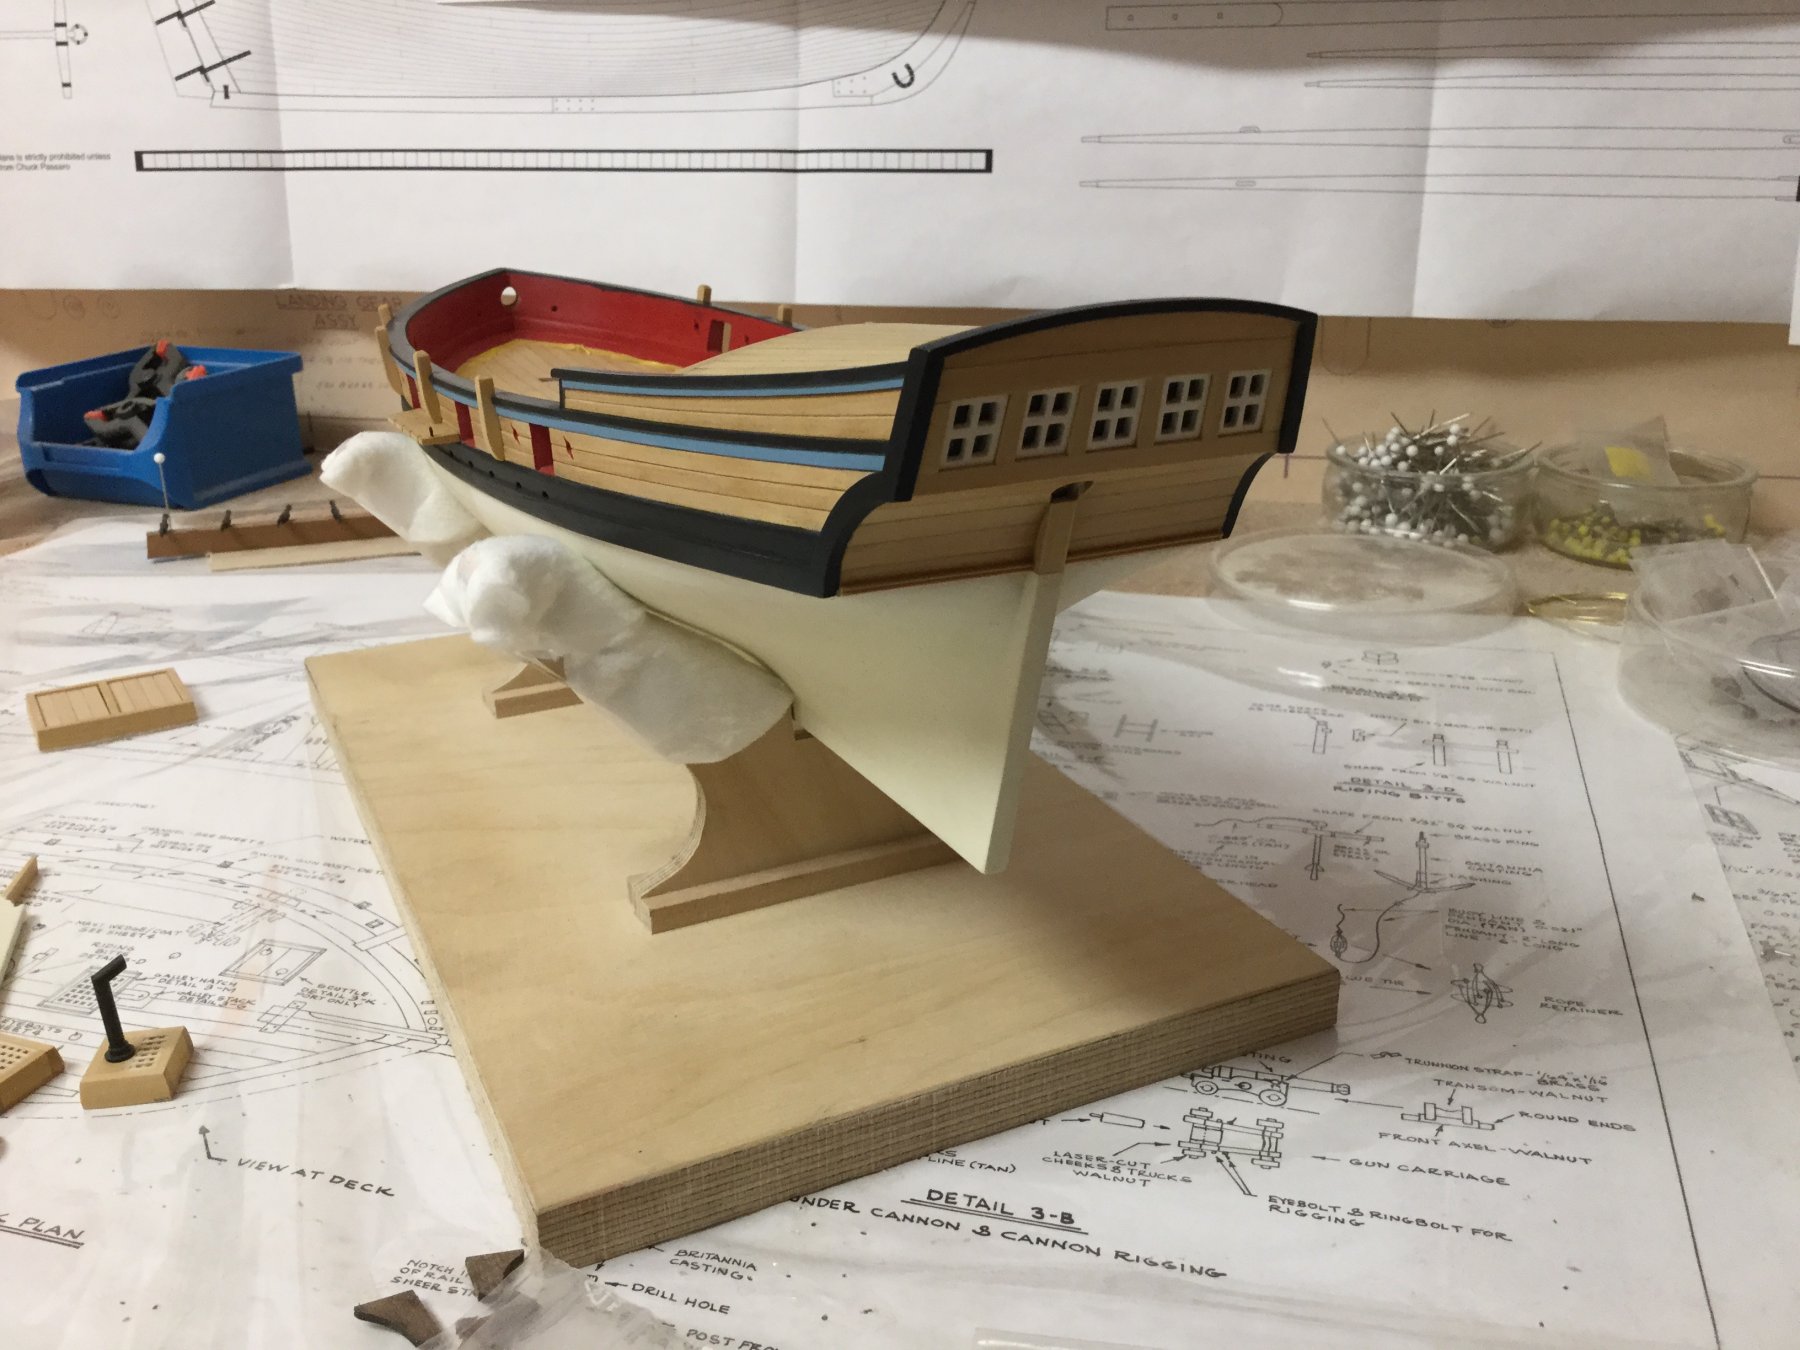
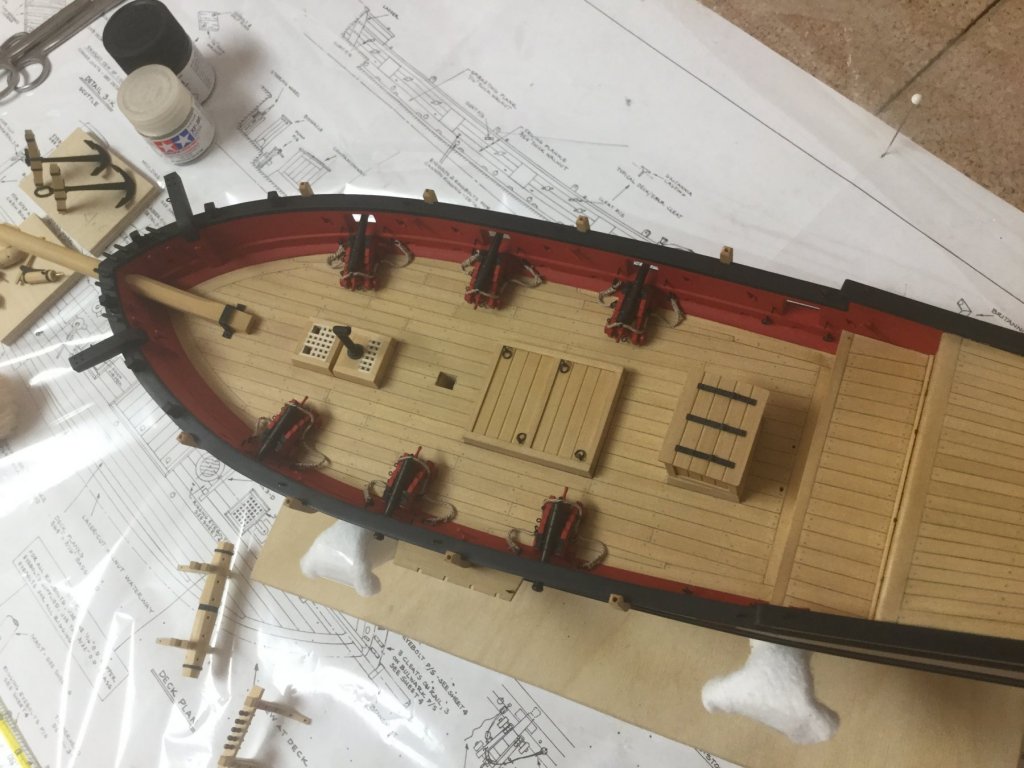
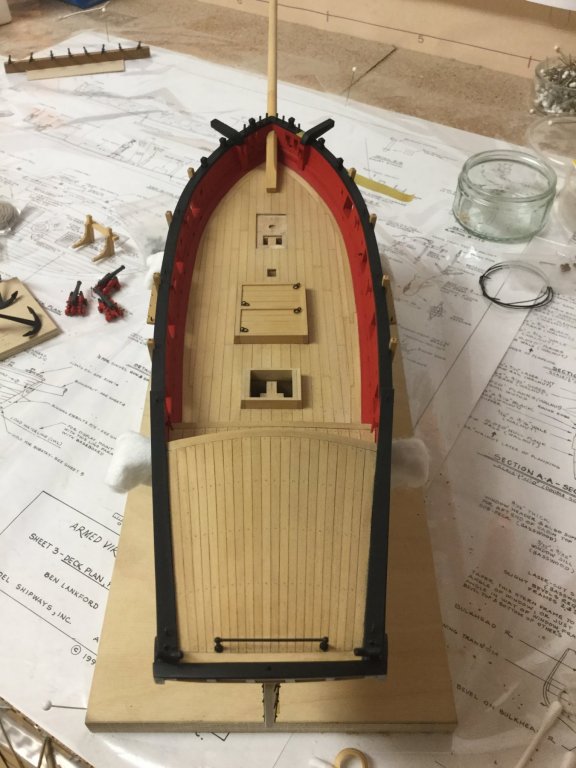
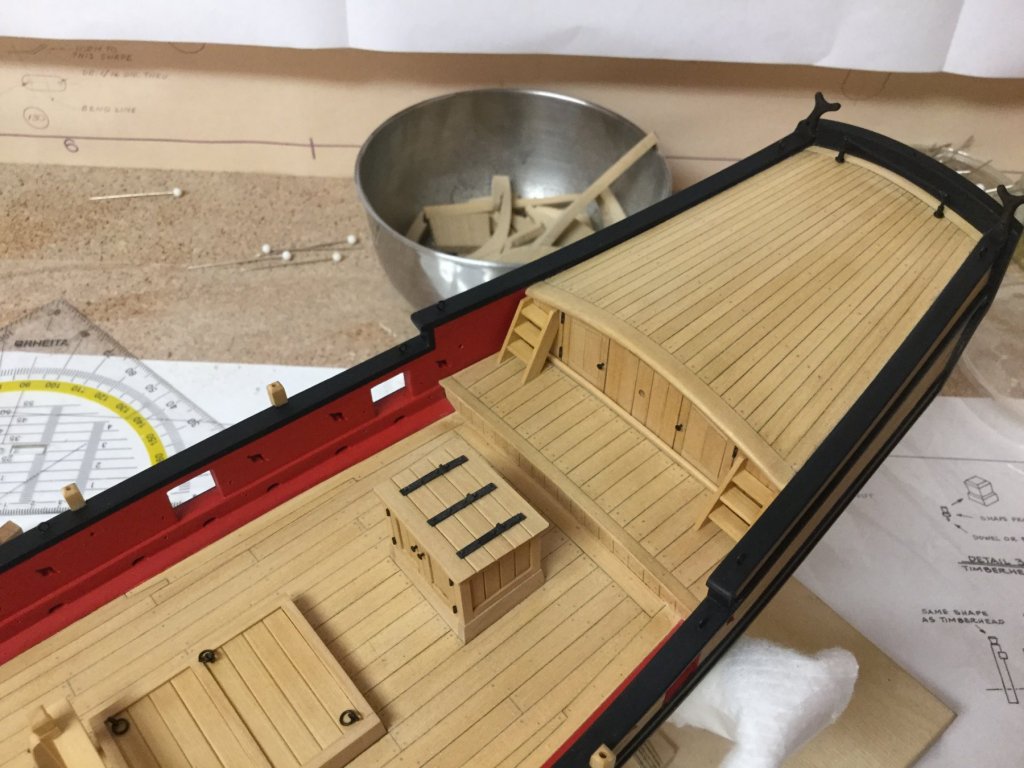
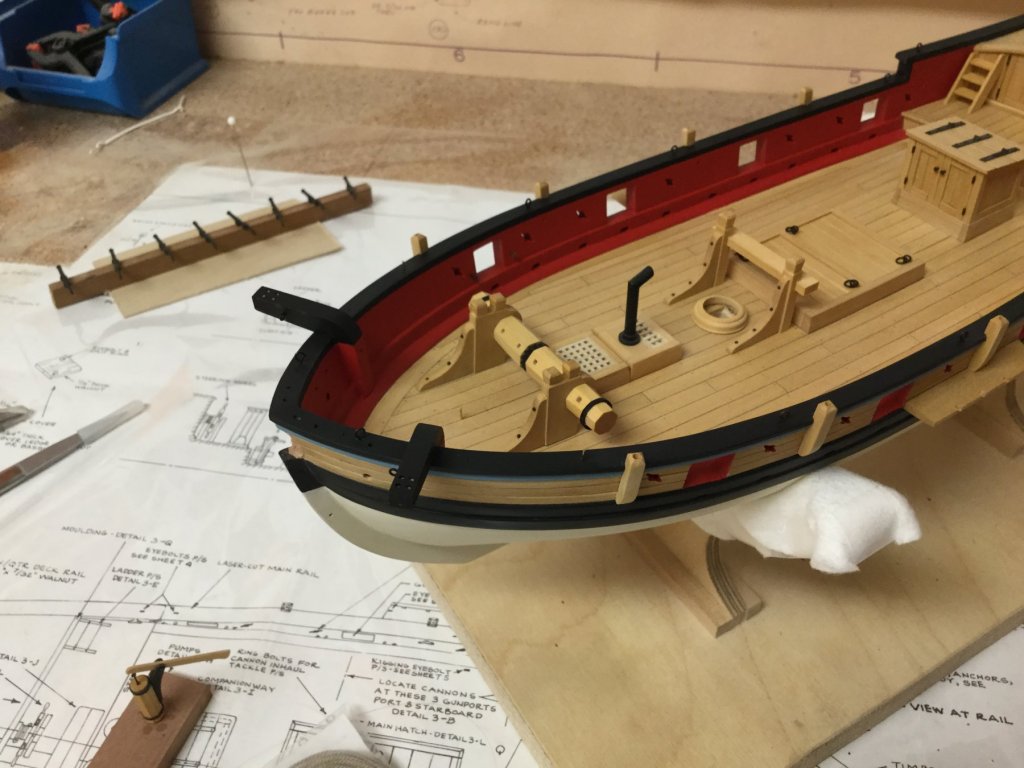
Happy new year 2019! I finished the painting, there is only some clear varnish left. I made two ladders for the cabin front and installed the catheads. The plan shows the catheads installed near the first gunport but a lot of contemporary plans of smaller vessels show catheads installed rather in front of the vessel, so I fitted them between the first two timberheads as I am going to use anchors larger than the kit-supplied ones. Drilled all the holes for clamps and eyebolds. I will install them later this week. All deck items are dry-fitted, nothing is glued yet. I will rig the guns before I install them on deck.

- 231 replies
-
- 8
-
-
- model shipways
- armed virginia sloop
- (and 1 more)
-
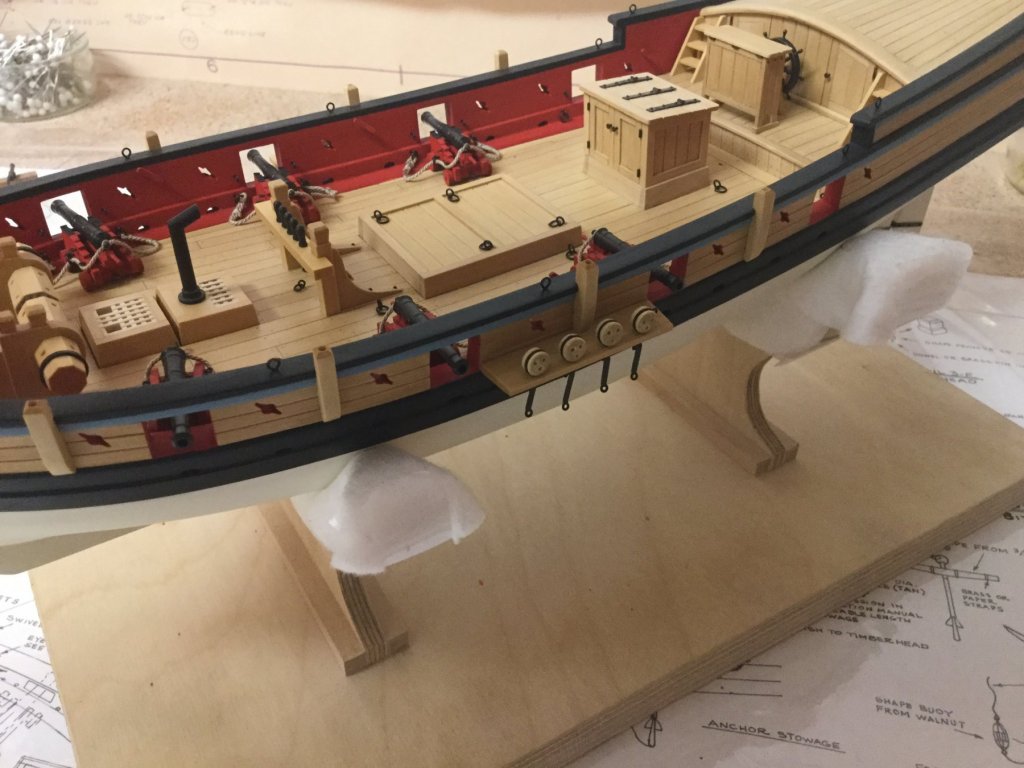
Thank you. I also started to build a base for the finished ship. Haven‘t decided to leave the wood natural or to stain with cherry colour.

- 231 replies
-
- 6
-
-
- model shipways
- armed virginia sloop
- (and 1 more)
-
I hope everyone had a merry christmas. I prepared the rudder and attached it on the hull using the supplied brass stripes and 0,8mm brass rivets, which I epoxied into the pre-drilled stripes. The glue has to dry 12 hours and the support strips to keep the rudder in place are shown on the photos.
- 231 replies
-
- 8
-
-
- model shipways
- armed virginia sloop
- (and 1 more)
-
Thank you. I have to fix some paint issues first and then I'll add the rudder.
- 231 replies
-
- 1
-
-
- model shipways
- armed virginia sloop
- (and 1 more)
-
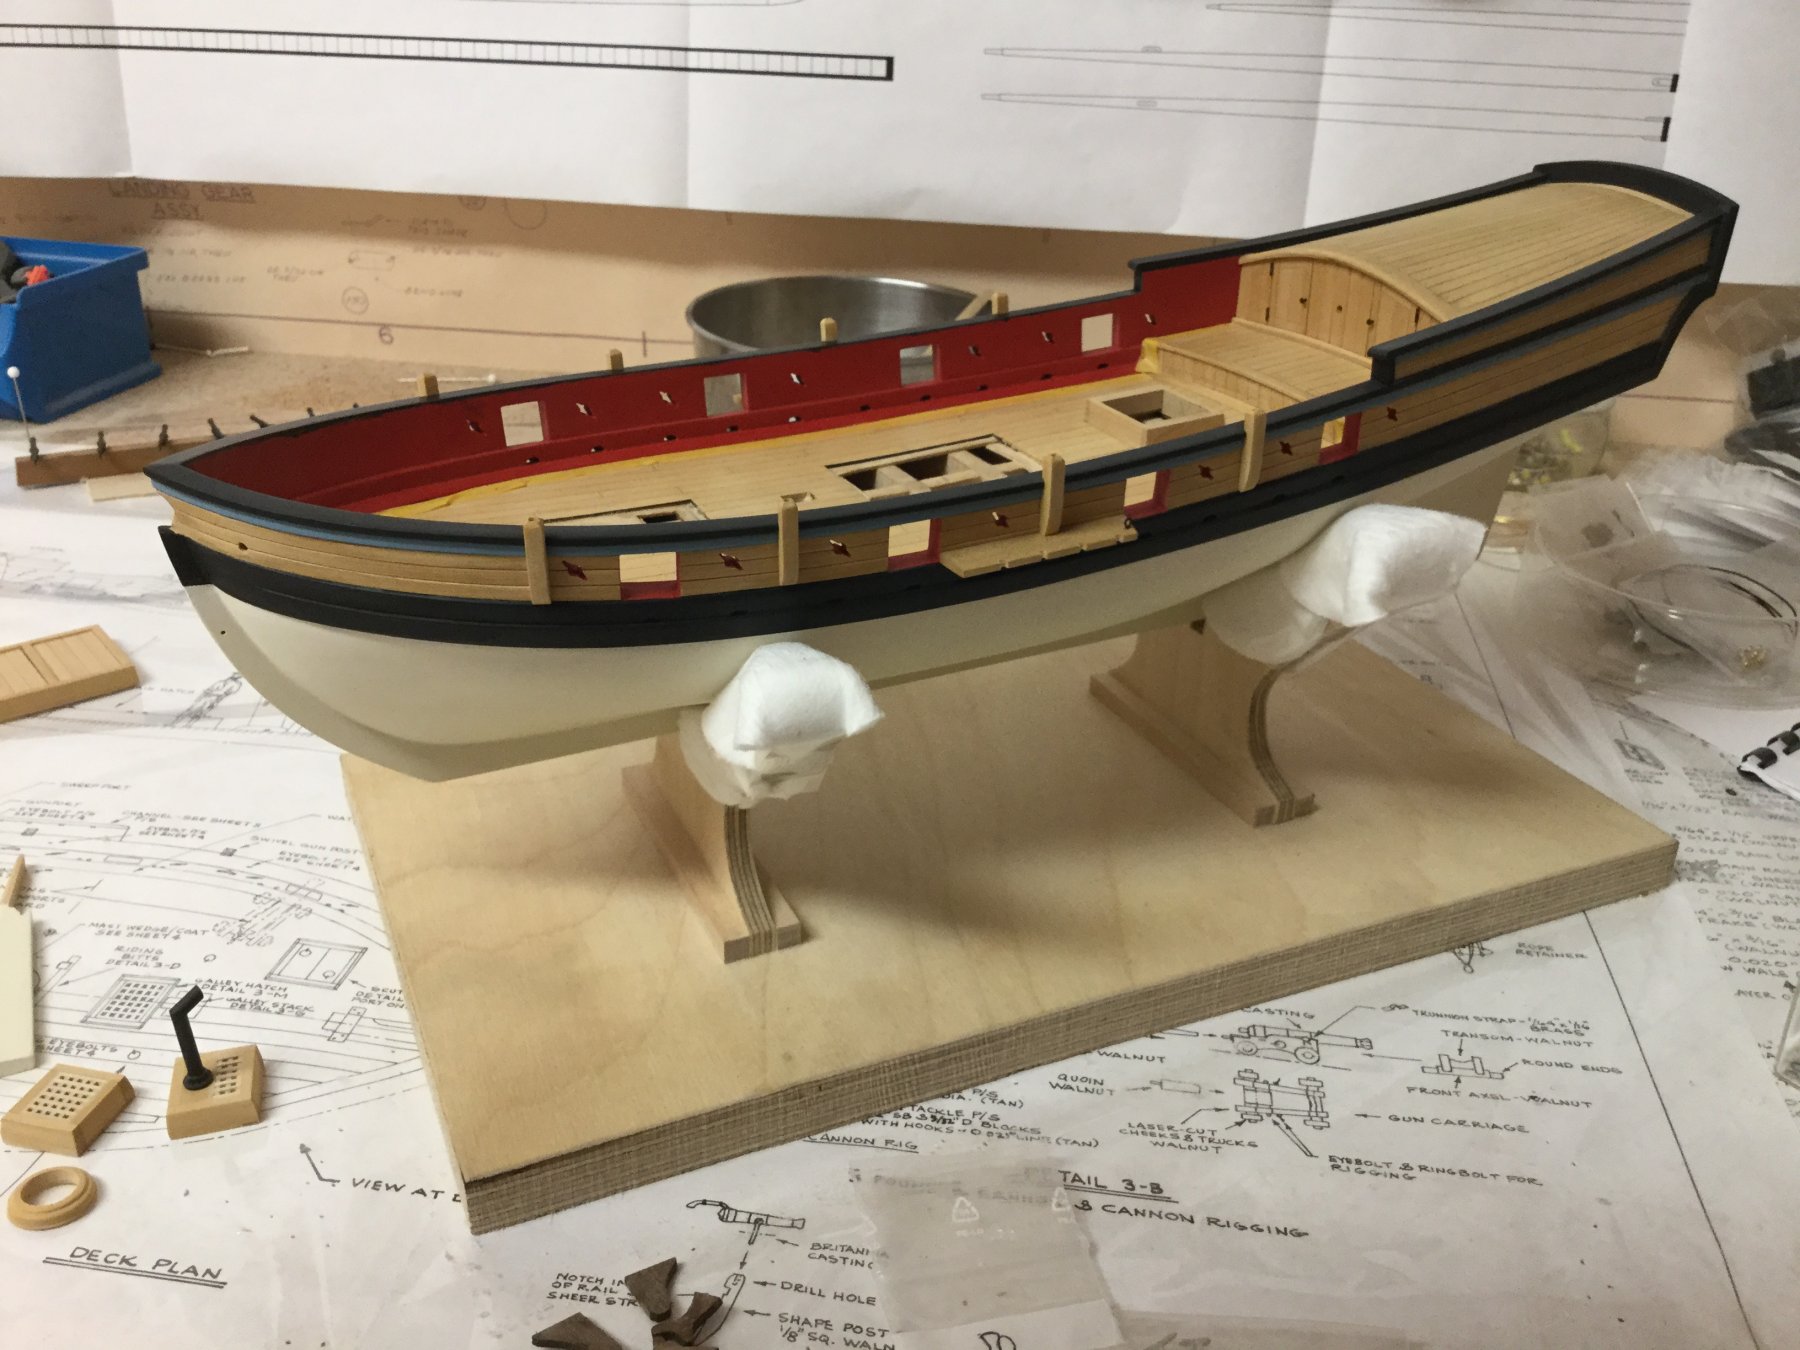
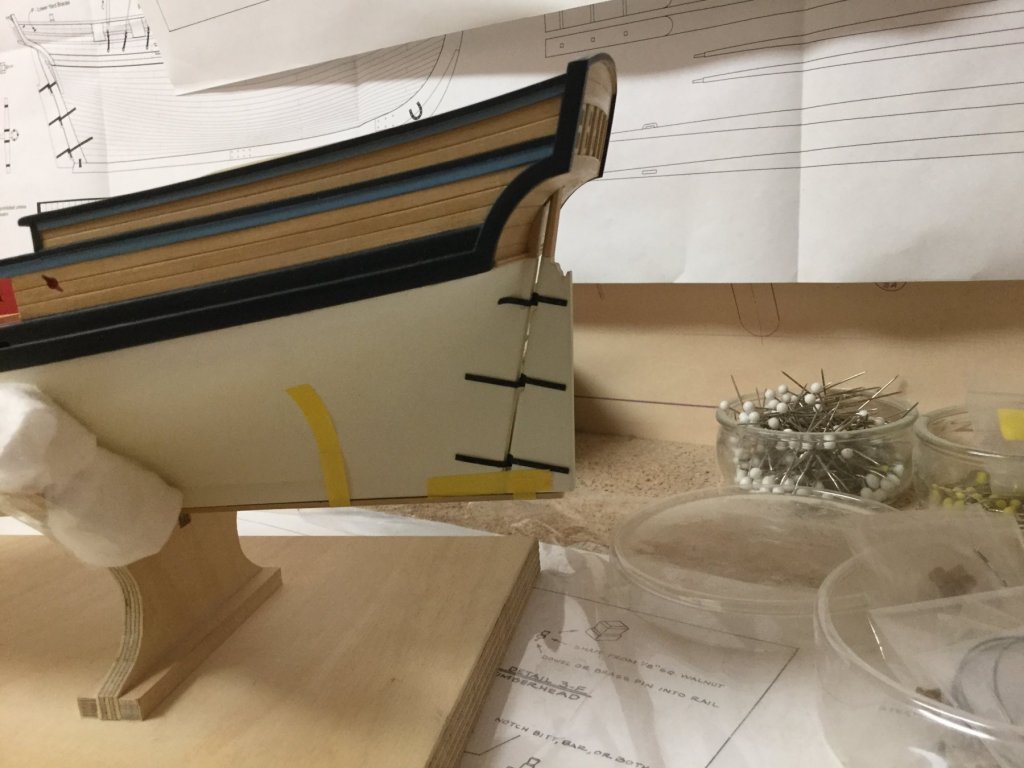
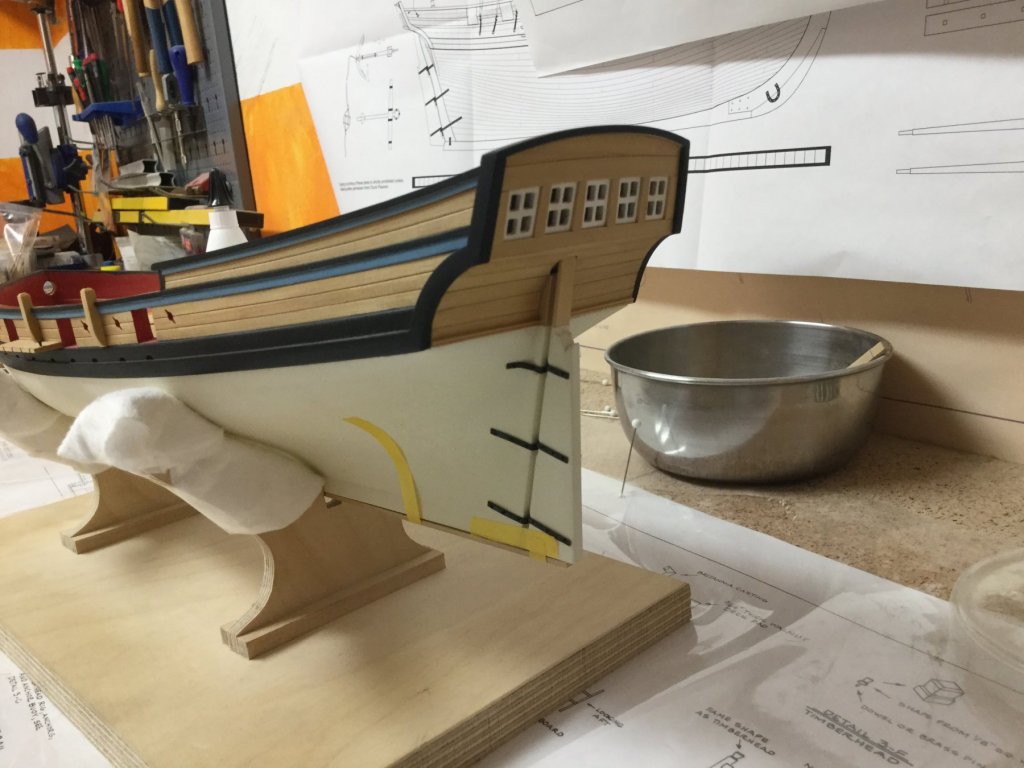
Finished the painting downwards the whale, all white. In the end I used my airbrush to get an equal colour layer that covers well. Added a profile strip left and right to the stem at the end of the whale to separate the colour from the wood.


- 231 replies
-
- 10
-
-
- model shipways
- armed virginia sloop
- (and 1 more)
-
All parts finished except the rudder and the cabin ladders. But the painting of the hull is more difficult than expected, so I cannot access the deck to install the items and to add the eyebolts. Have to paint more thin layers of paint to have some colour to sand flat. Should have used water based acryl instead of emaille. So I have to wait 6 hours before I can add another layer. Next time I will use my airbrush. 😏
- 231 replies
-
- 4
-
-
- model shipways
- armed virginia sloop
- (and 1 more)