HOLIDAY DONATION DRIVE - SUPPORT MSW - DO YOUR PART TO KEEP THIS GREAT FORUM GOING! (Only 36 donations so far out of 49,000 members - C'mon guys!)
×


captain_hook
-
Posts
685 -
Joined
-
Last visited
Content Type
Profiles
Forums
Gallery
Events
Everything posted by captain_hook
-
 Absolutely stunning. You will need a separate room to display this ship.
 -
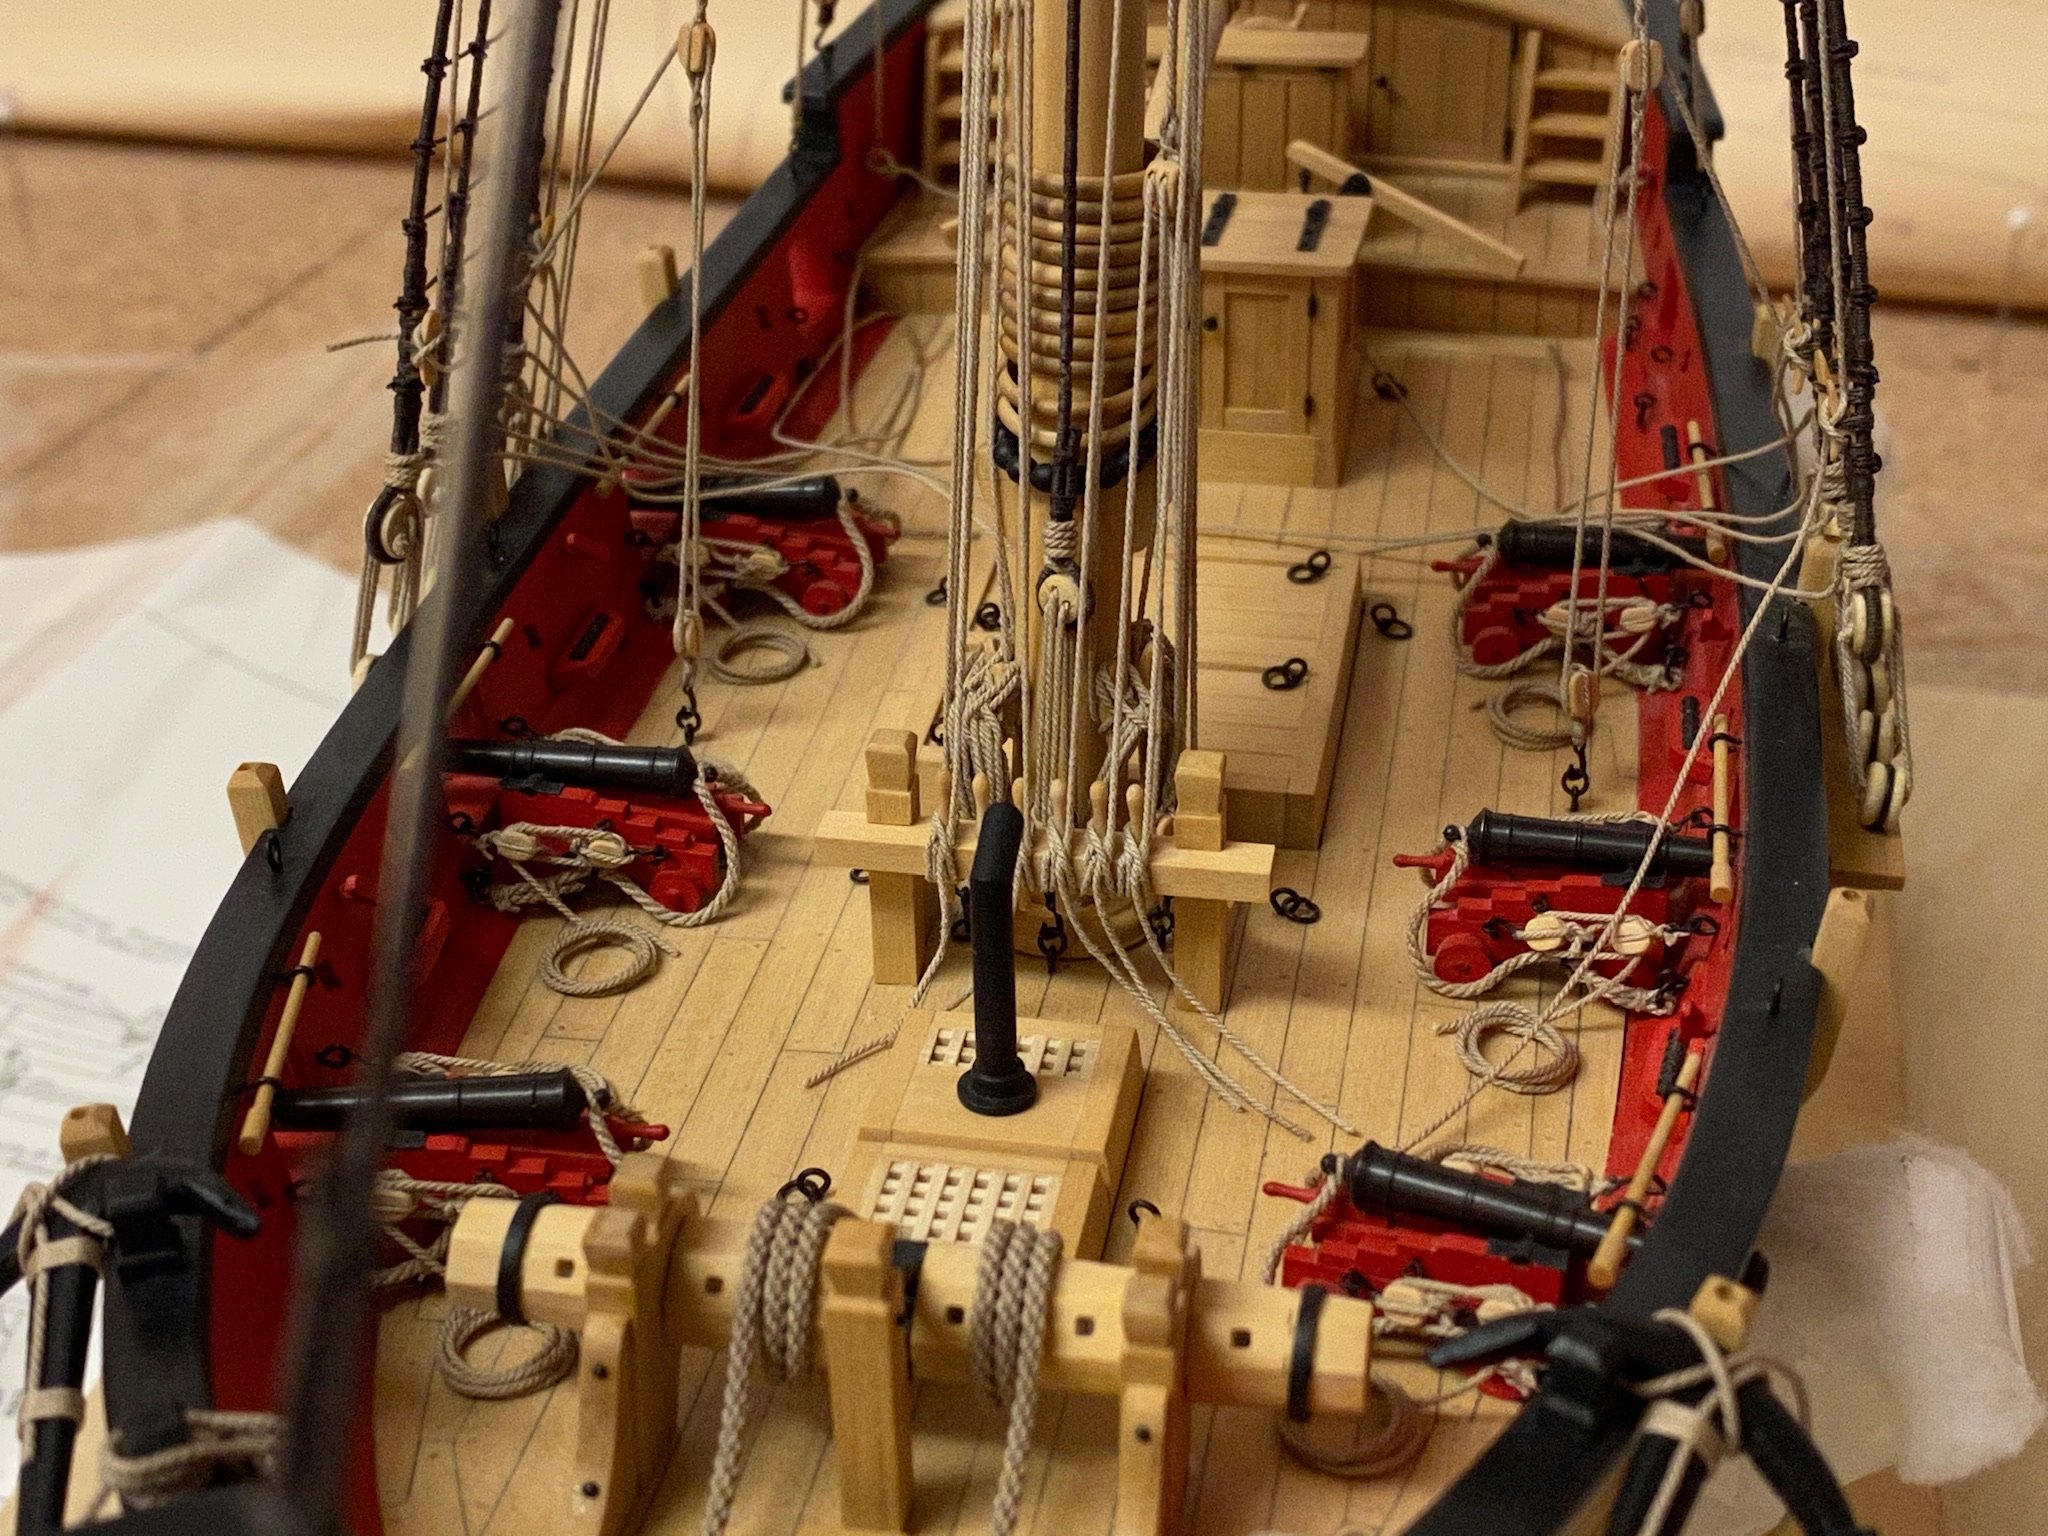
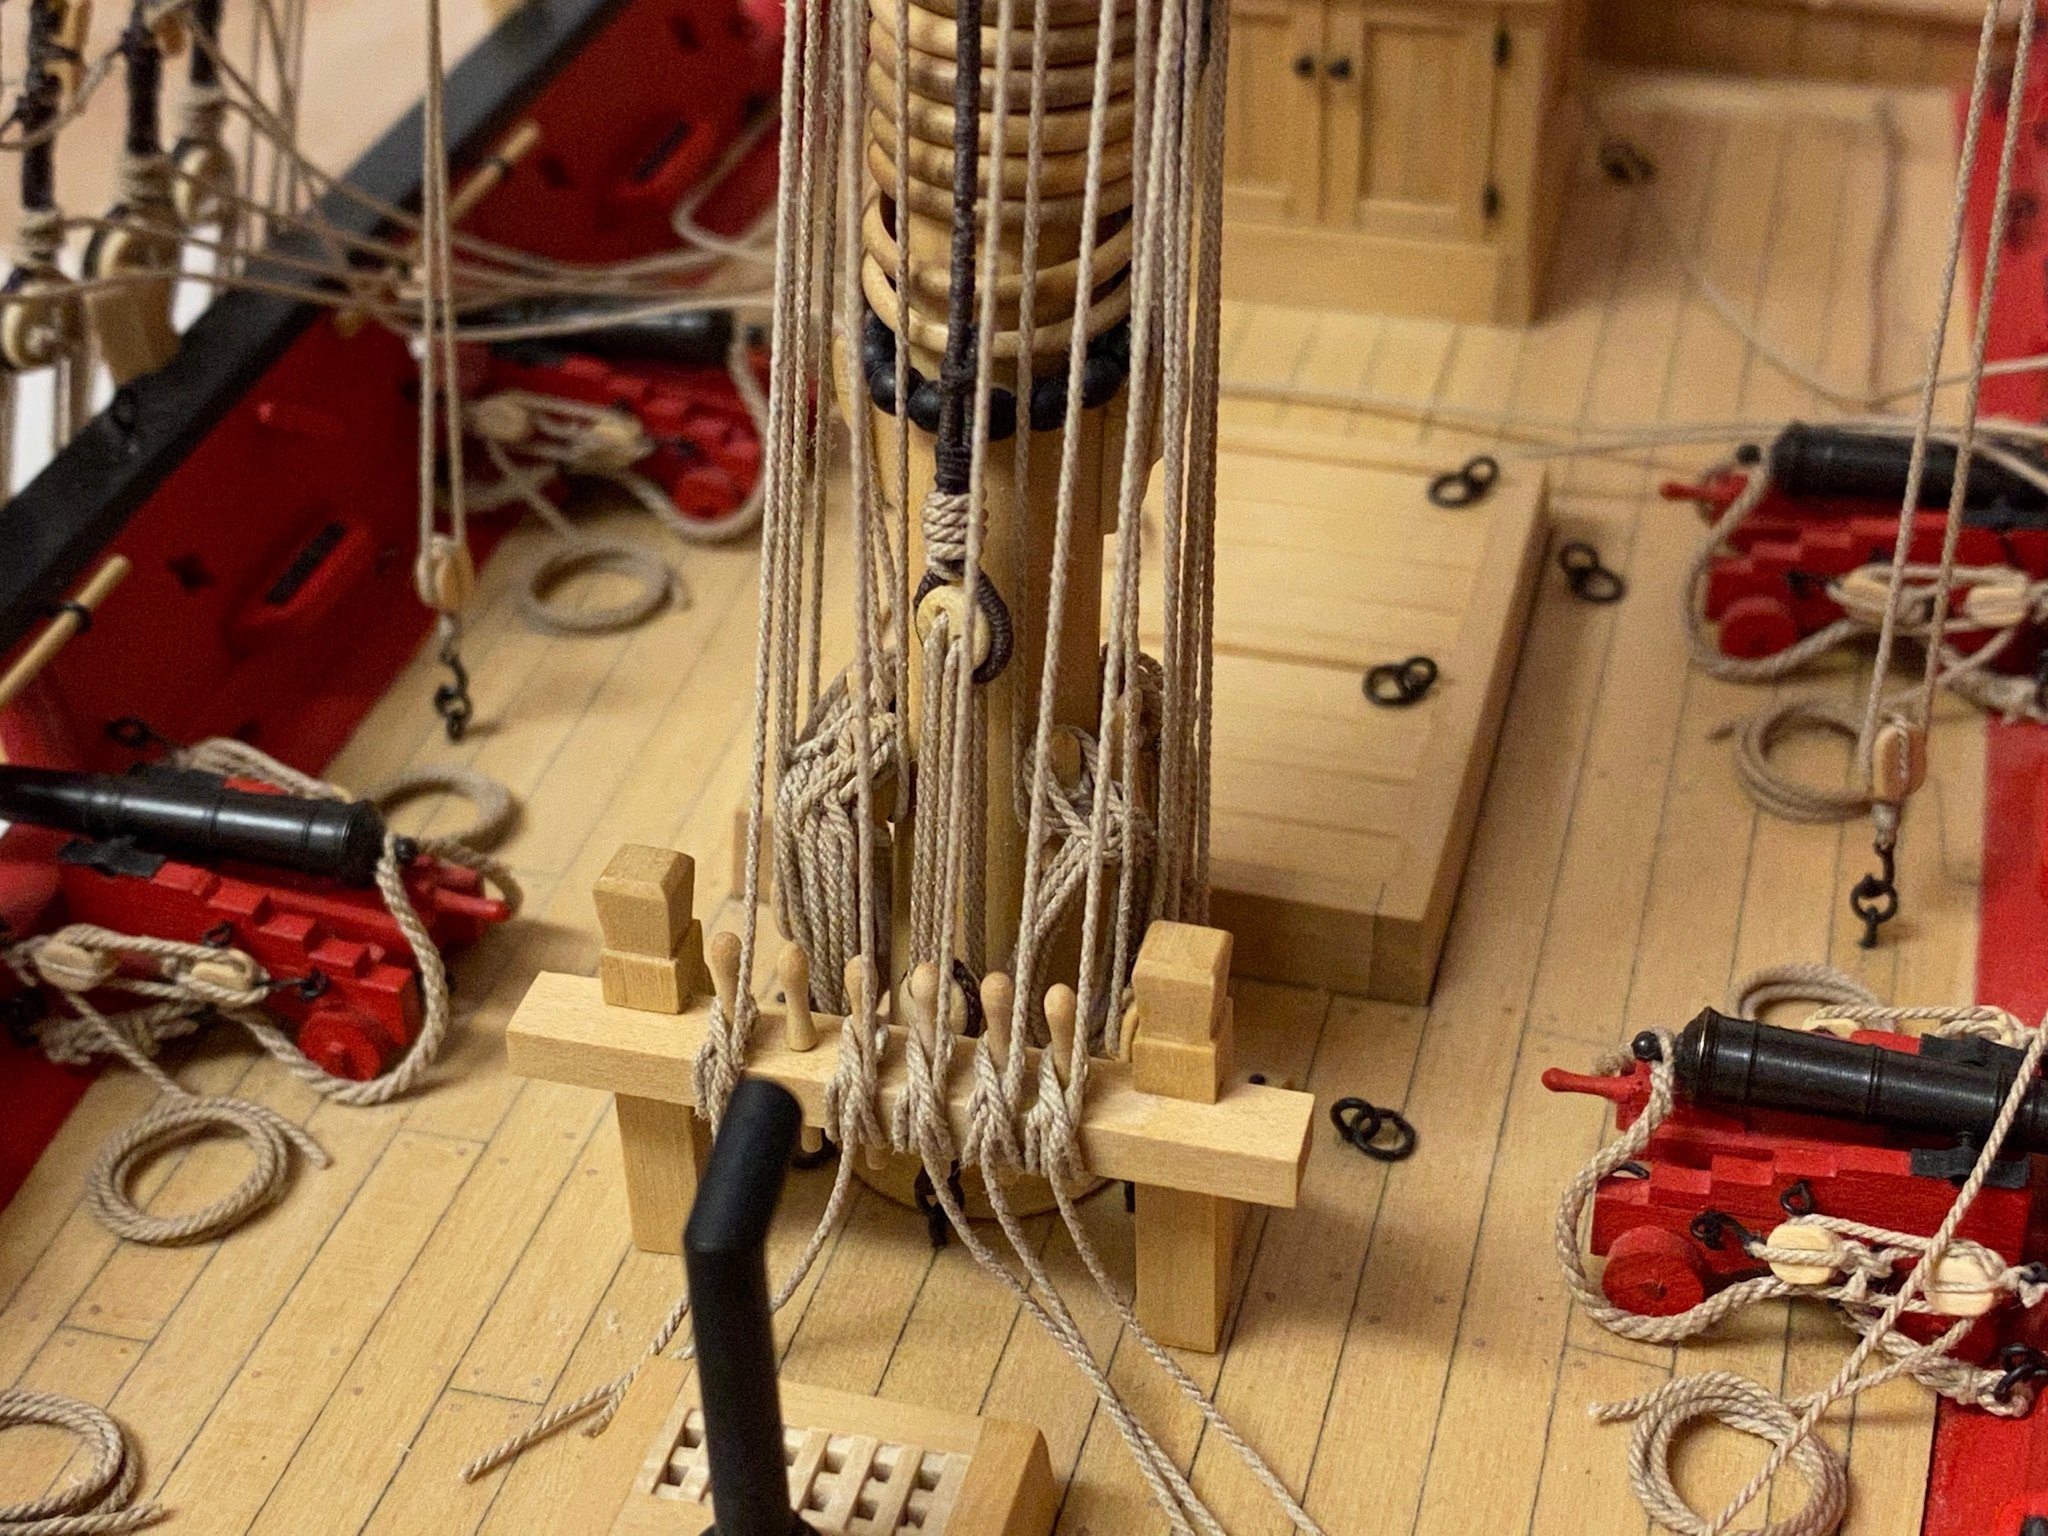
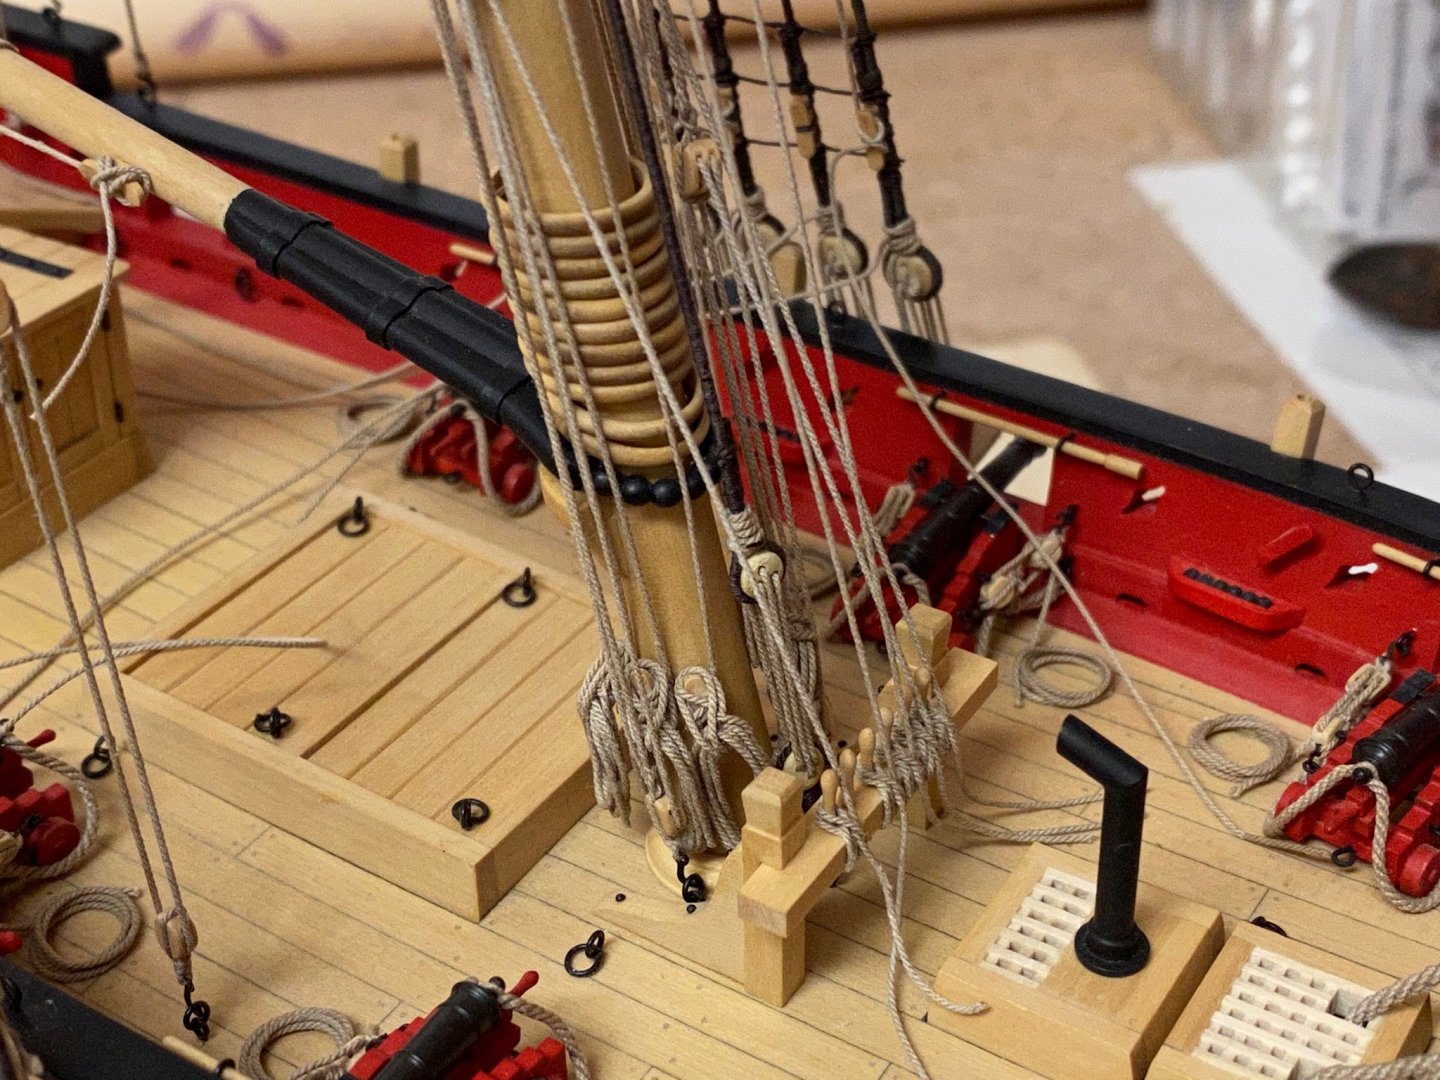
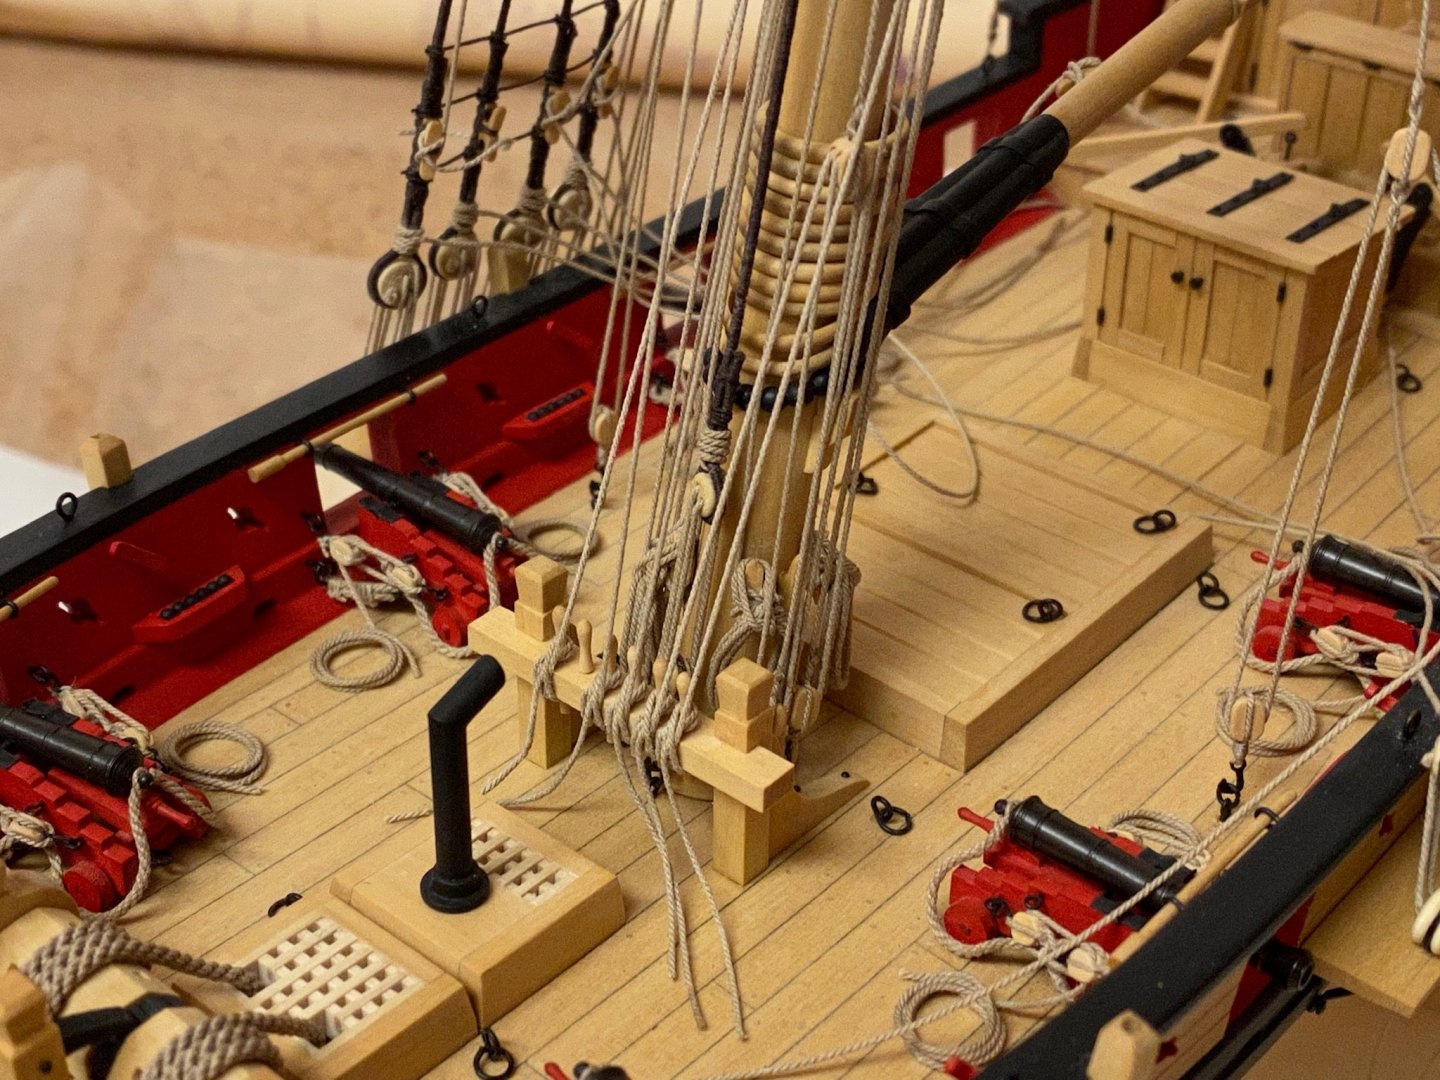
And ... more ropecoils. Only 5 more to go.

- 231 replies
-
- 6
-

-
- model shipways
- armed virginia sloop
- (and 1 more)
-
Strange times. In germany the people got used to consider life as safe - no hunger, no war, no epidemical issues for about 70 years. I was born into that safety. Now within 14 days a lot of that felt safety has gone. People start to worry about their health, employment, financial issues and you can feel the rising internal tension that is the result of a learned helplessness. I can‘t imagine how the current situation in Italy and Spain affects the people there.
- 231 replies
-
- 1
-
-
- model shipways
- armed virginia sloop
- (and 1 more)
-
Thank you for the nice comments and the likes. As social restrictions are supposed to continue the next three weeks here in Germany I’ll use the opportunity to finish the AVS in the next days.
-
More rope coils and belaying... BTW the pictures taken by the new smartphone are much brighter than the previous ones made with my 5-year-old tablet.


- 231 replies
-
- 13
-
-
- model shipways
- armed virginia sloop
- (and 1 more)
-
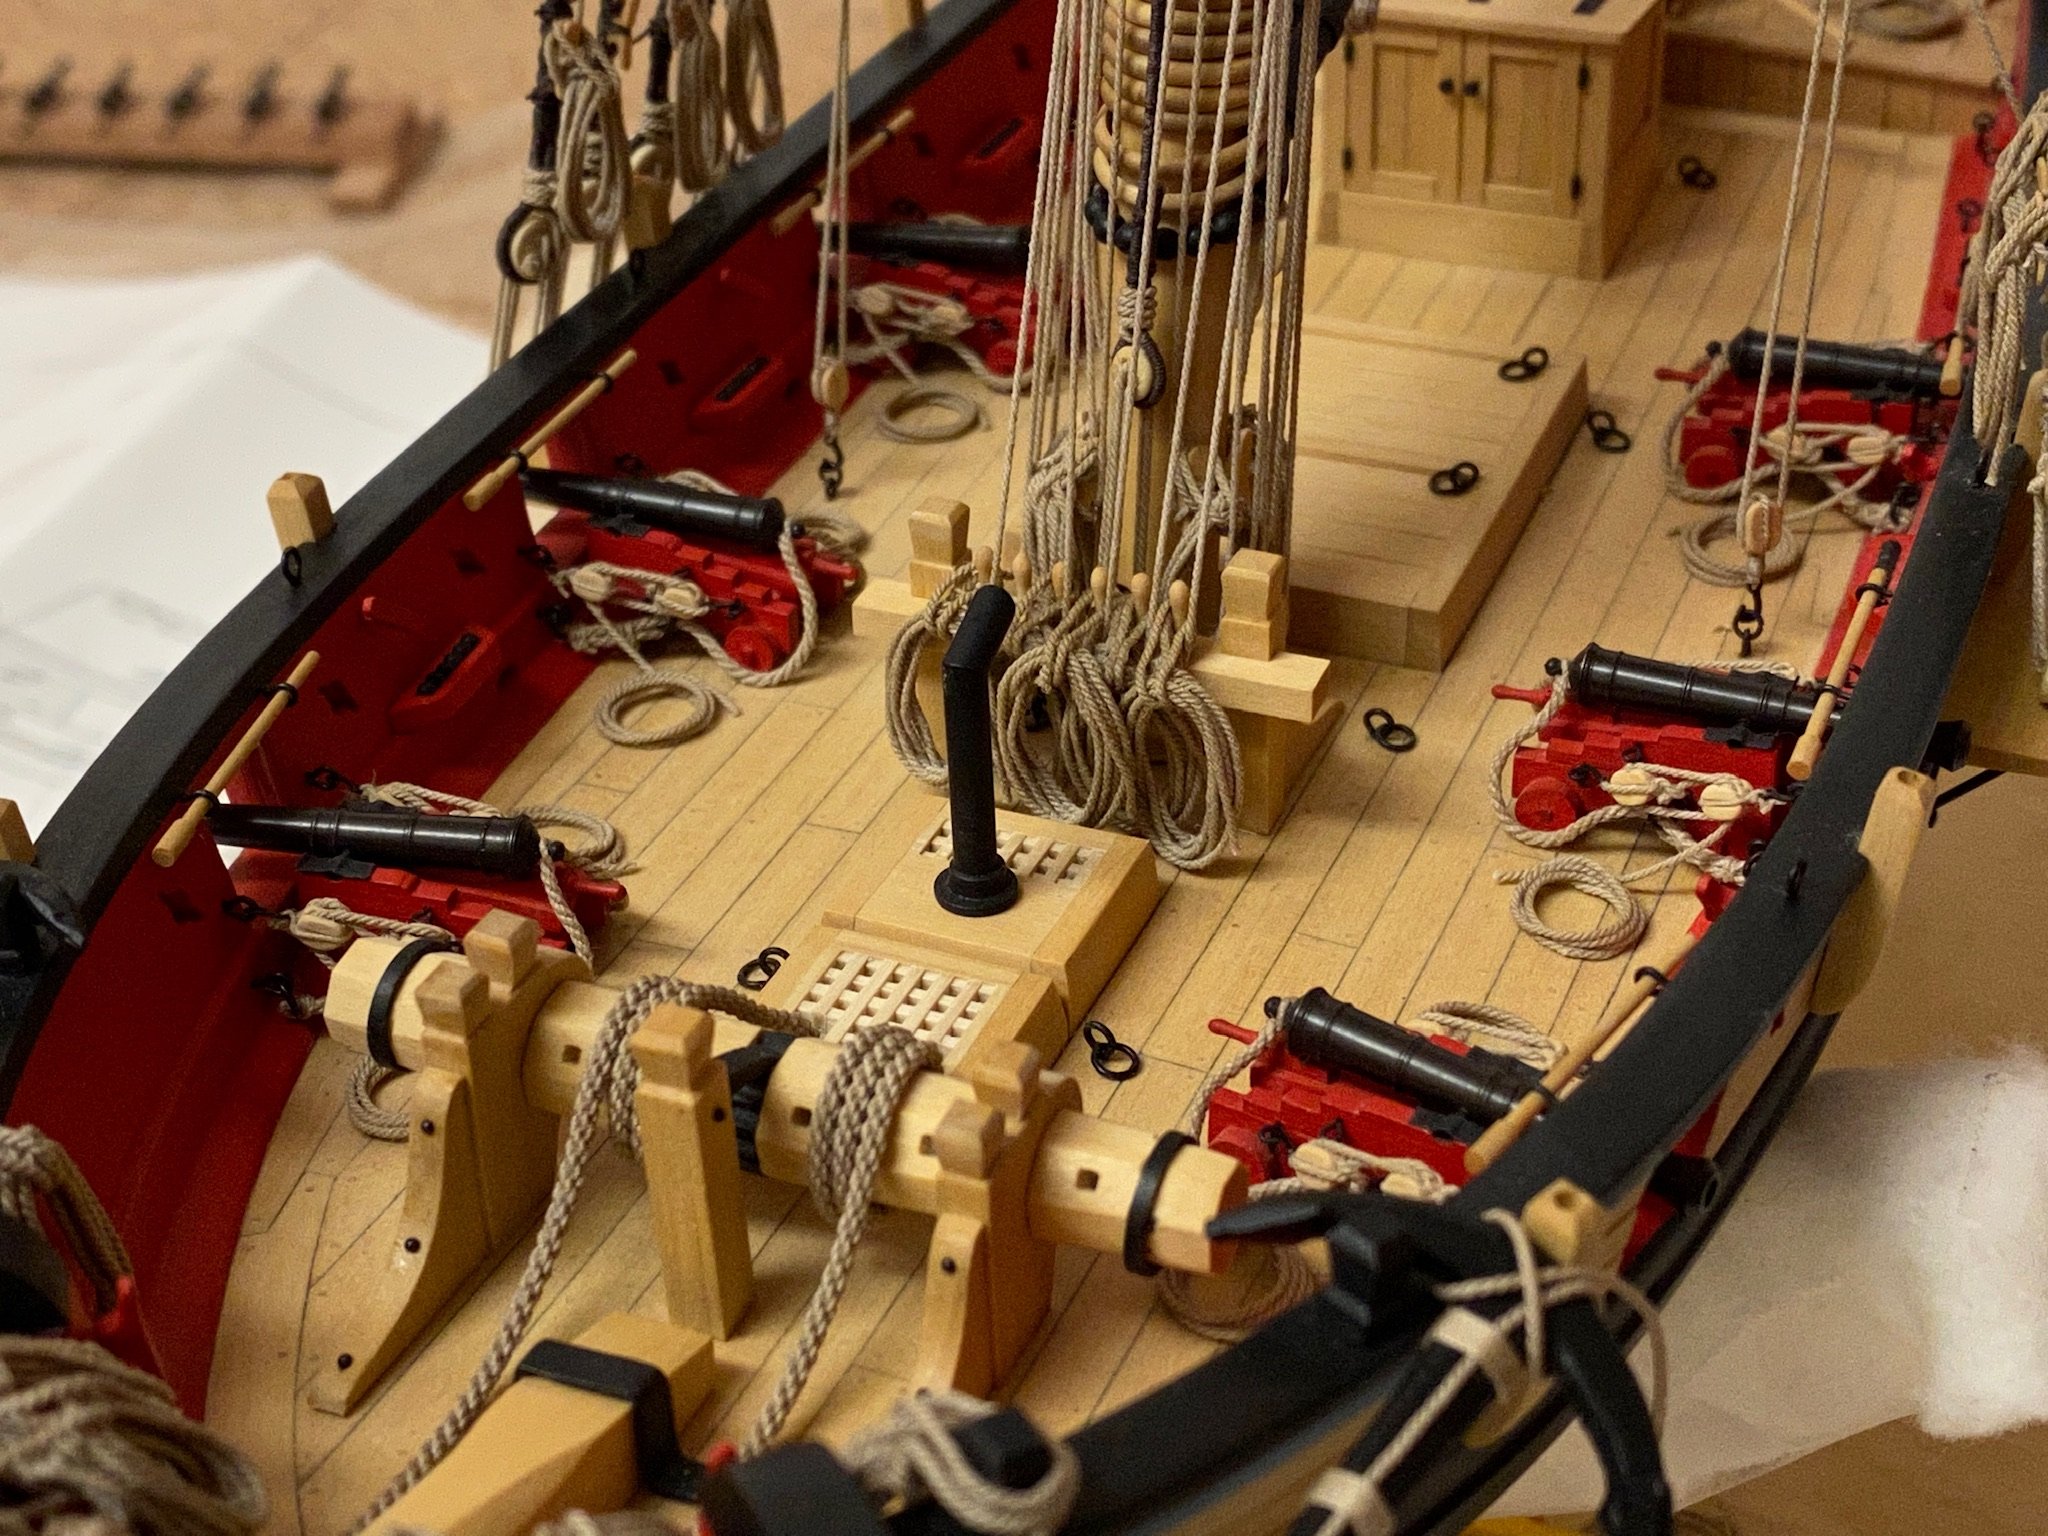
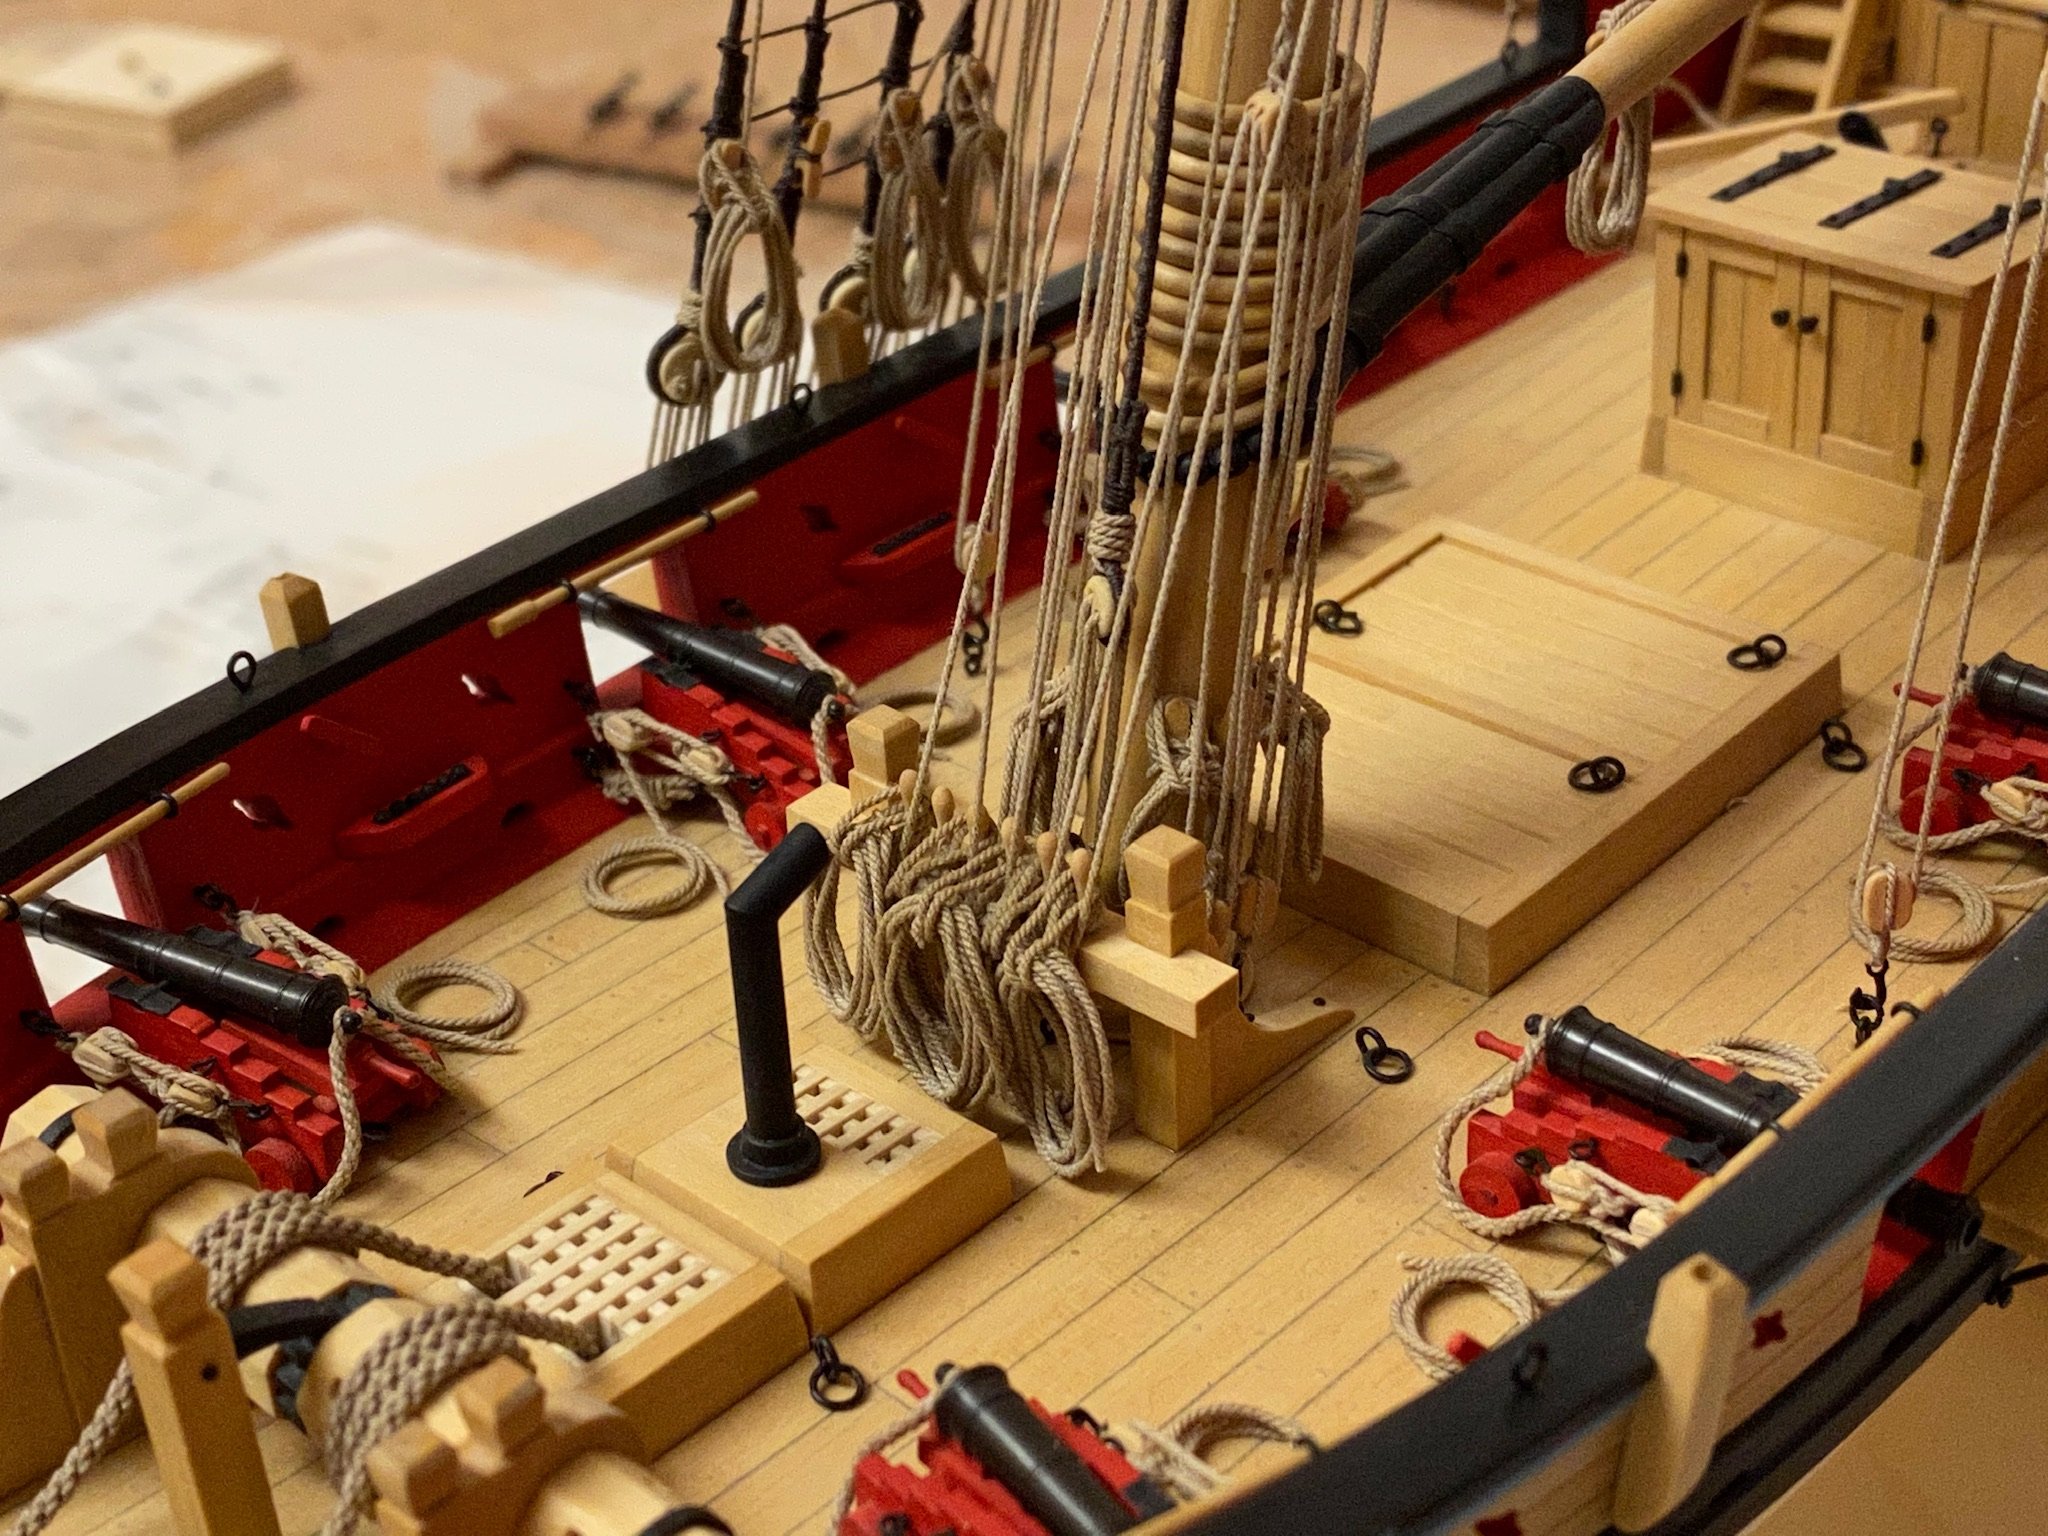
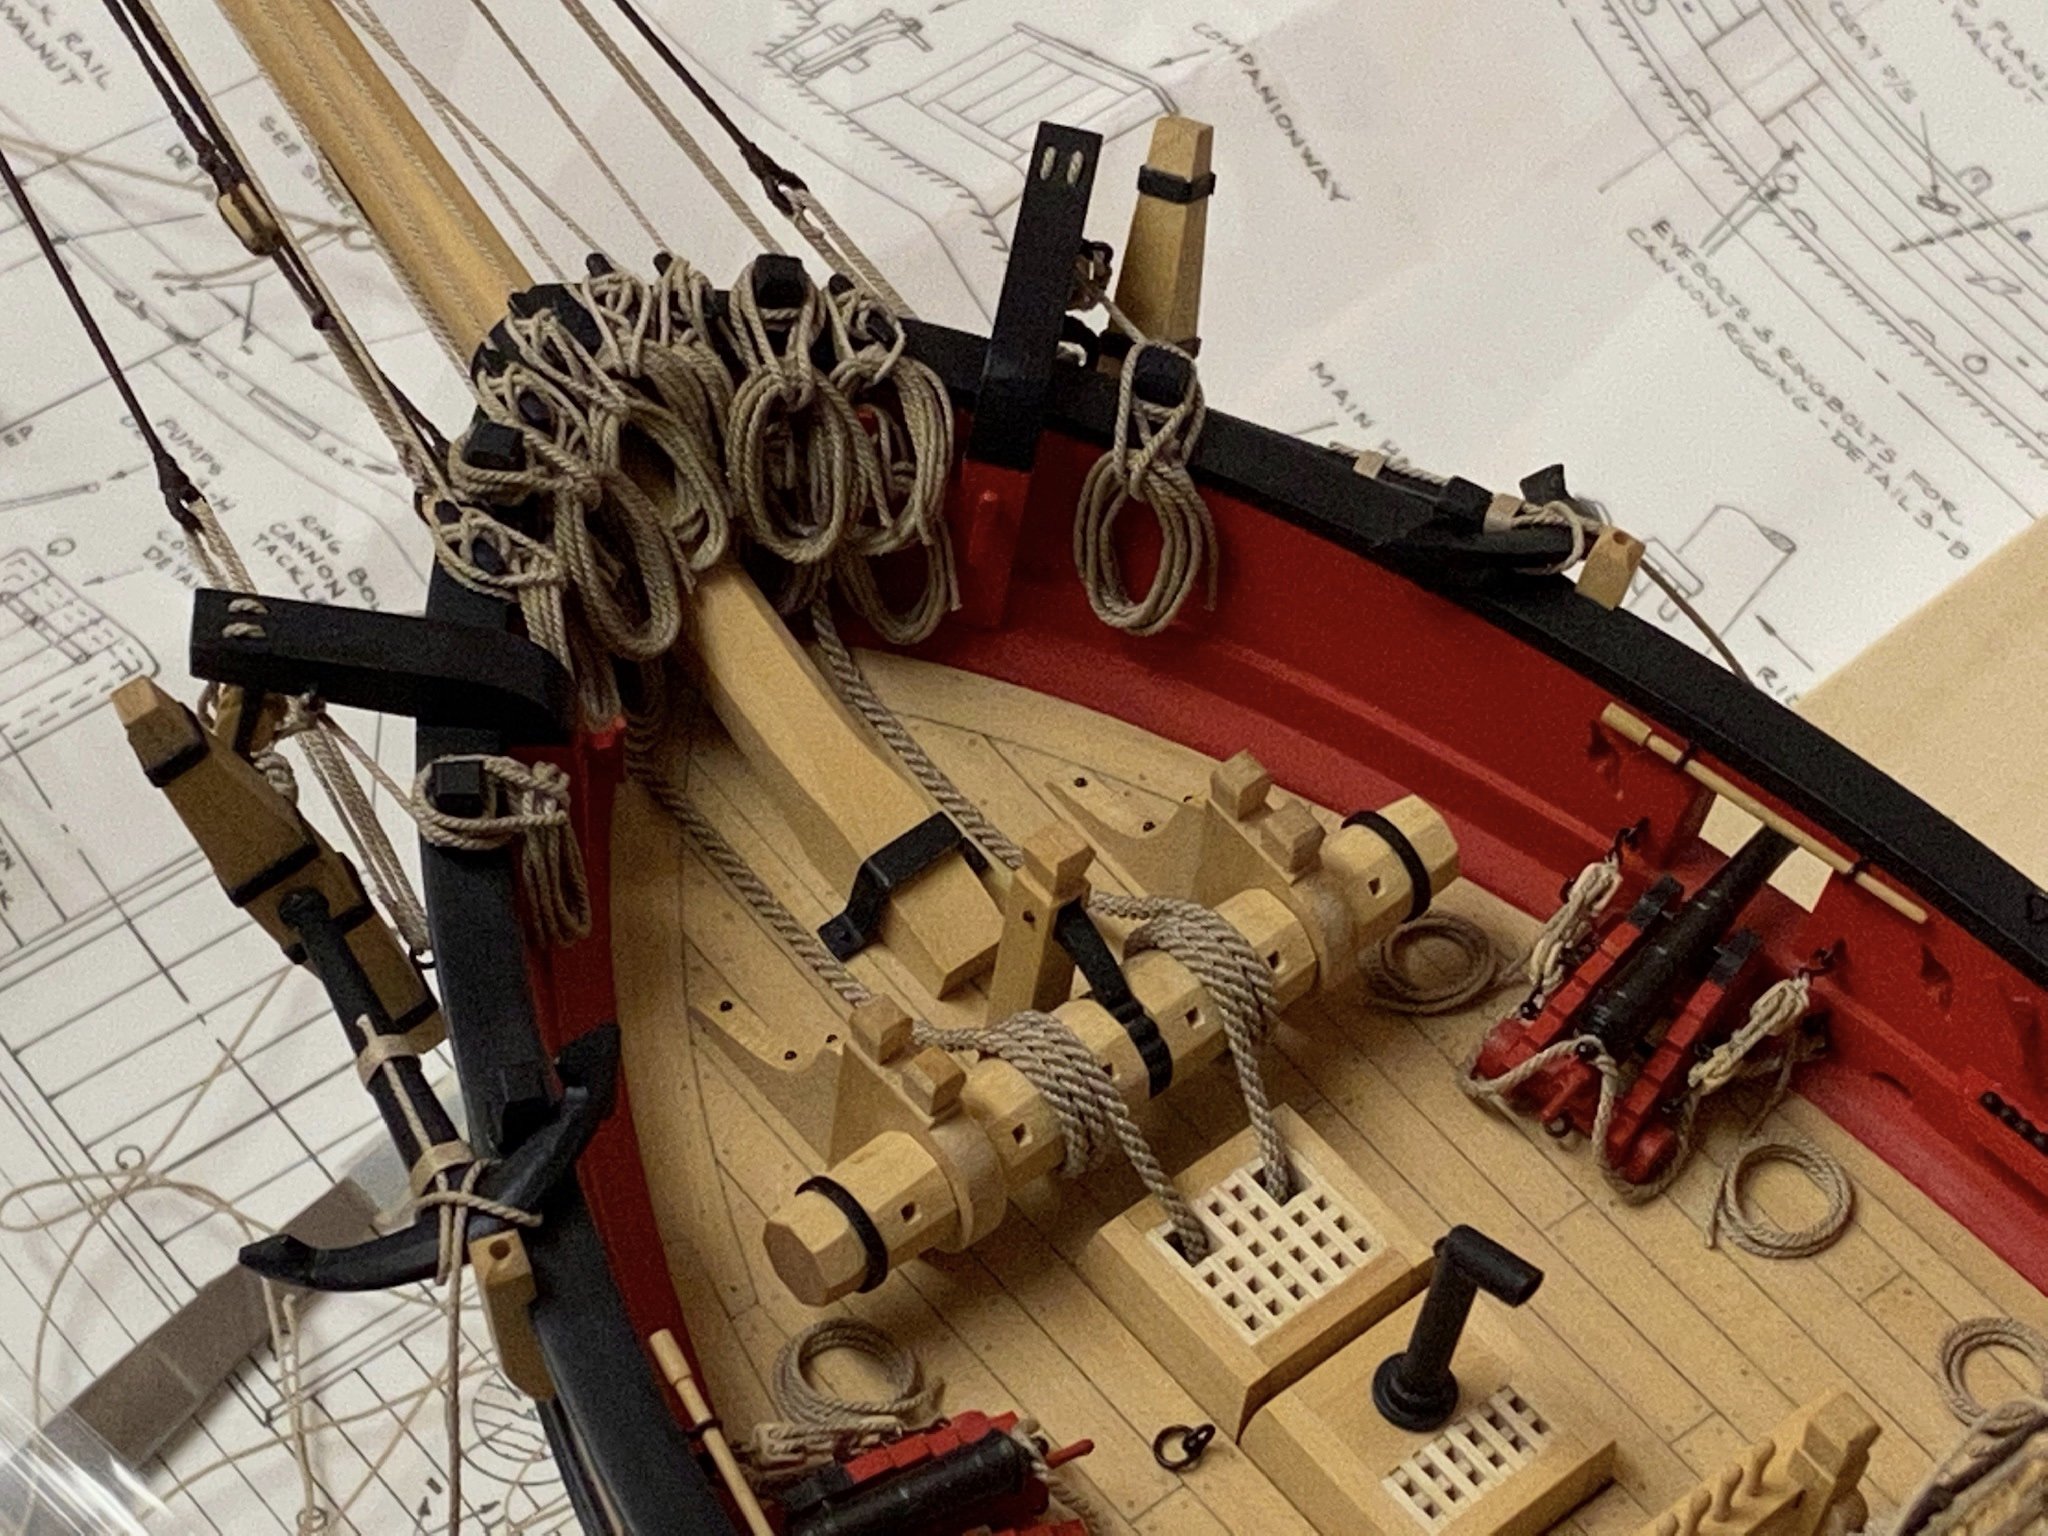
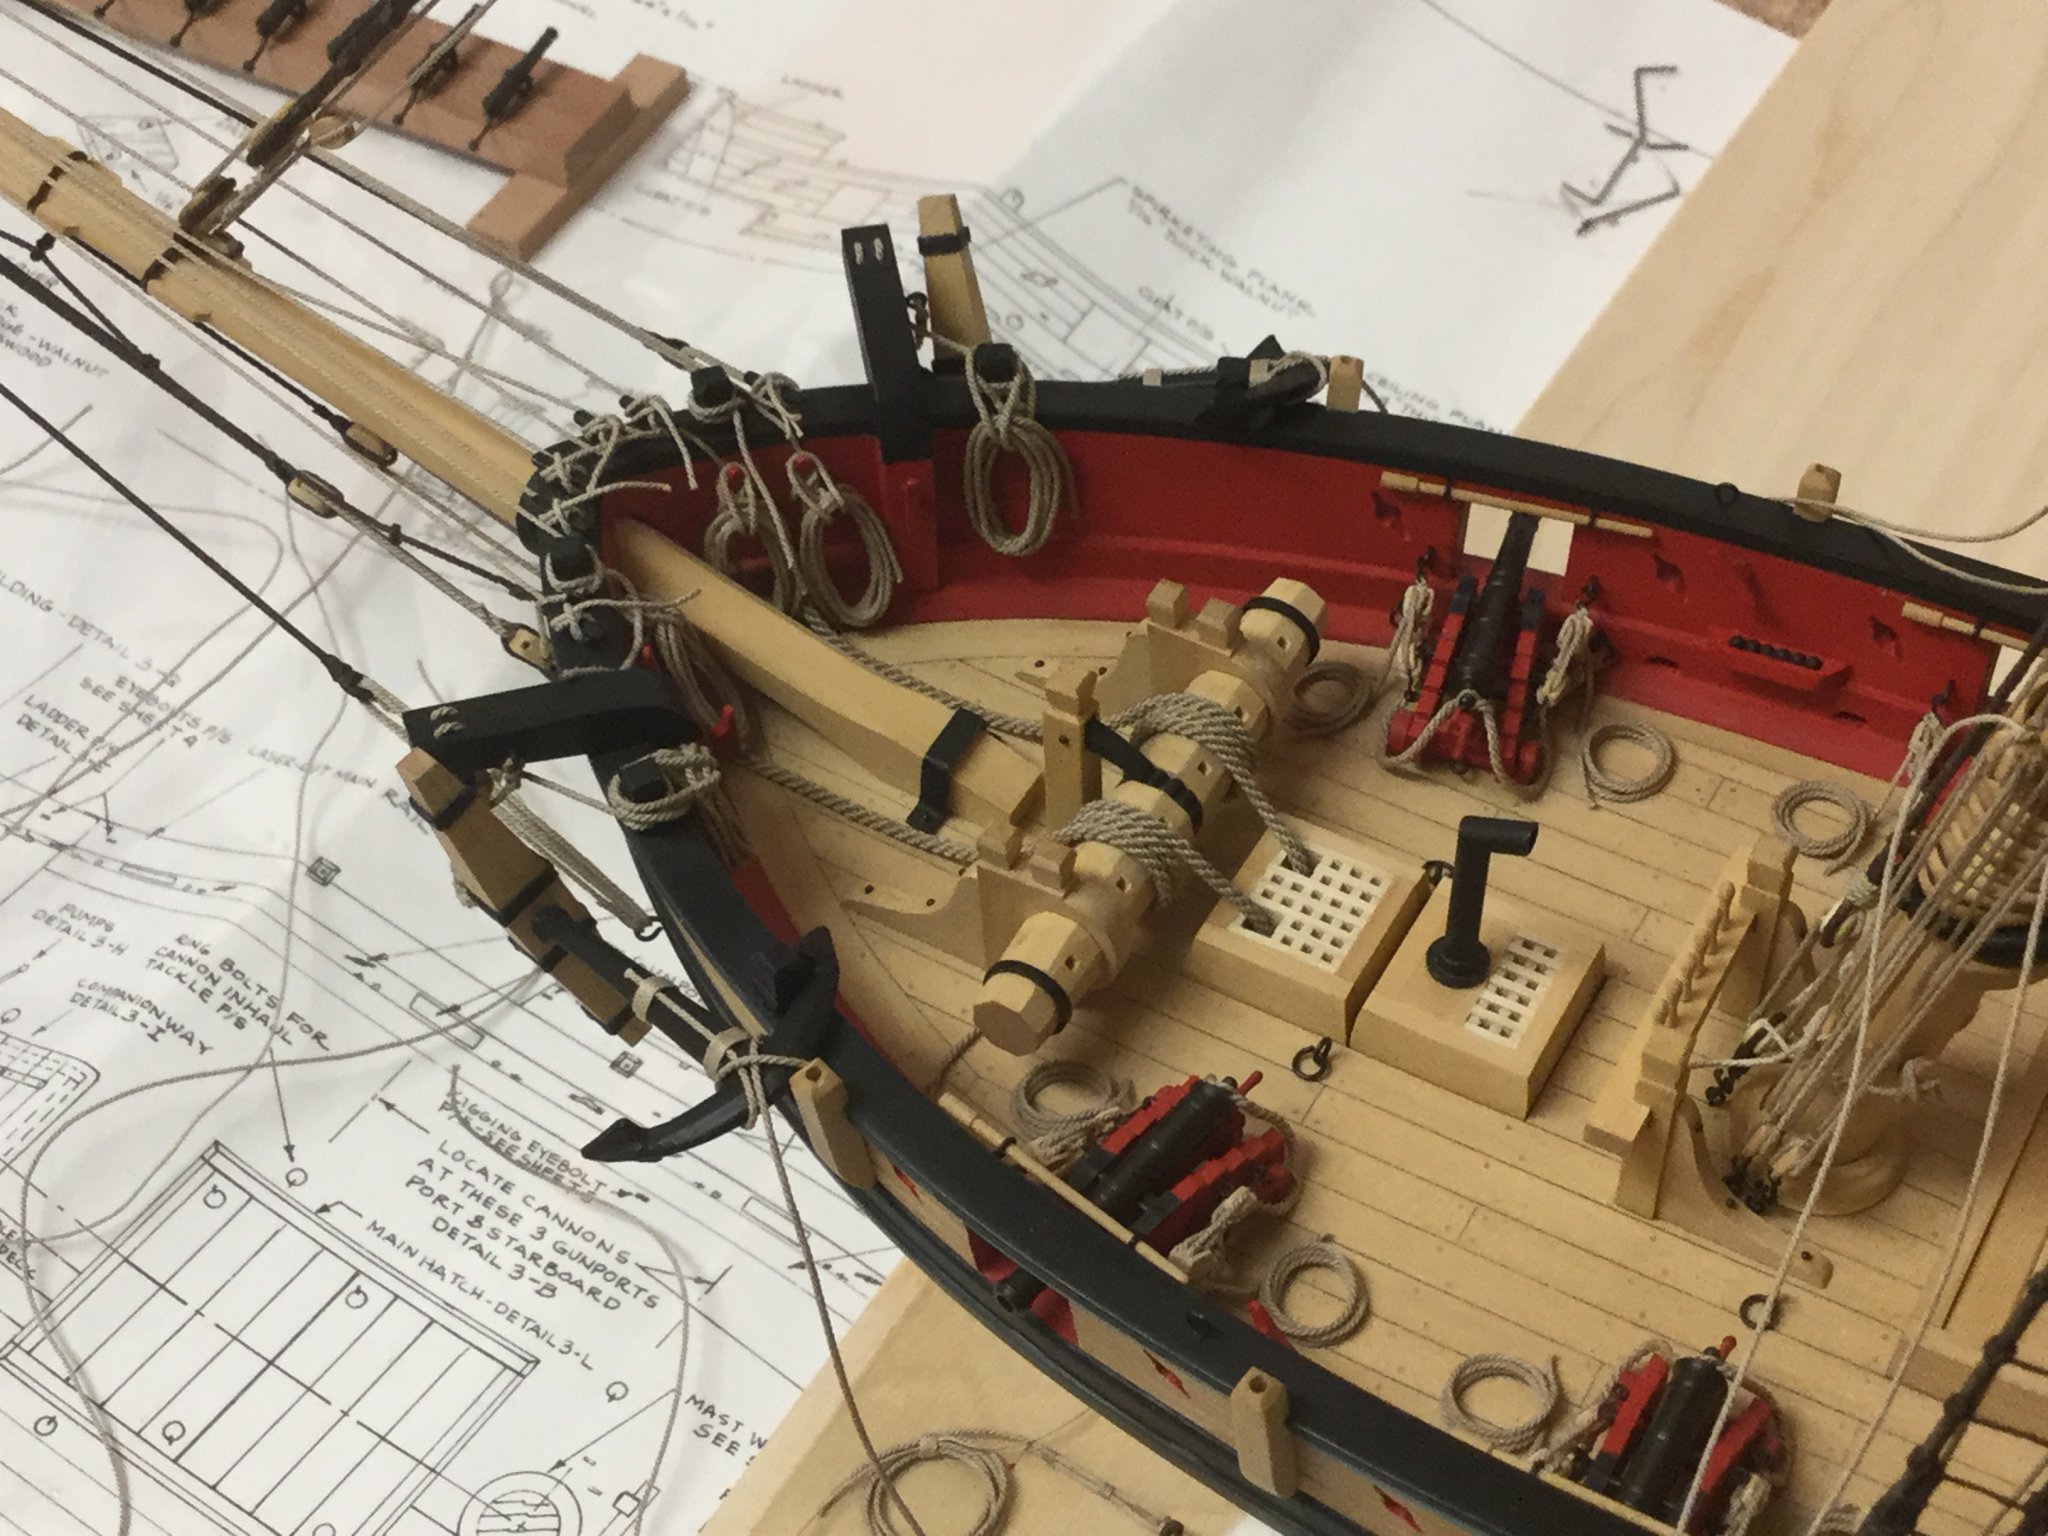
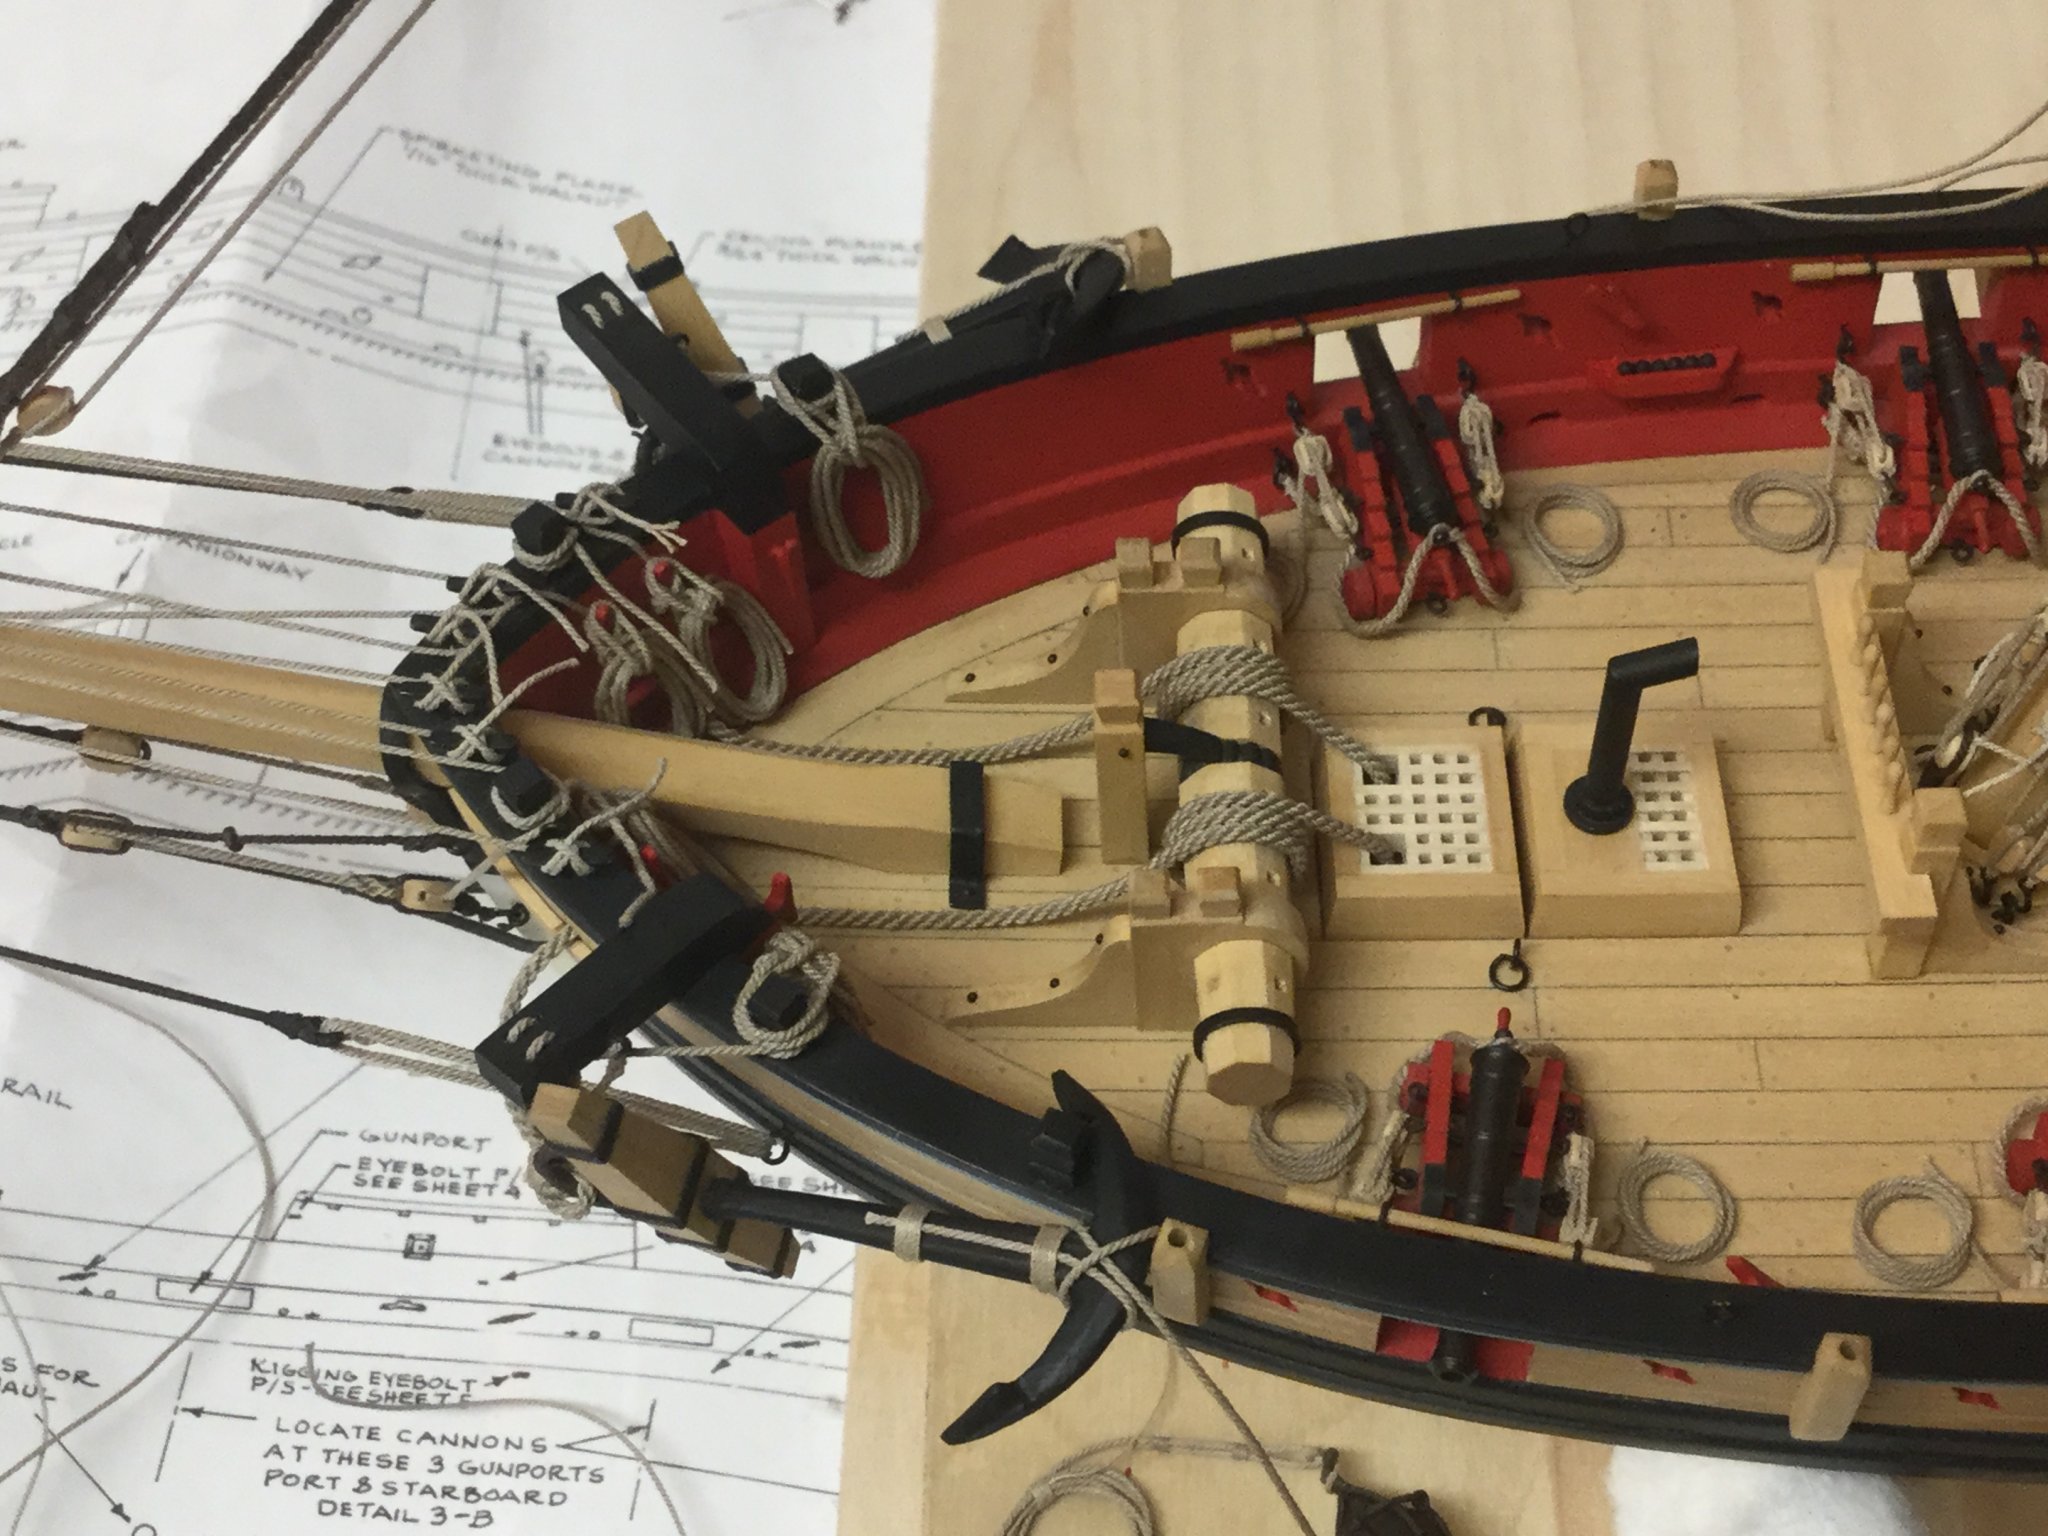
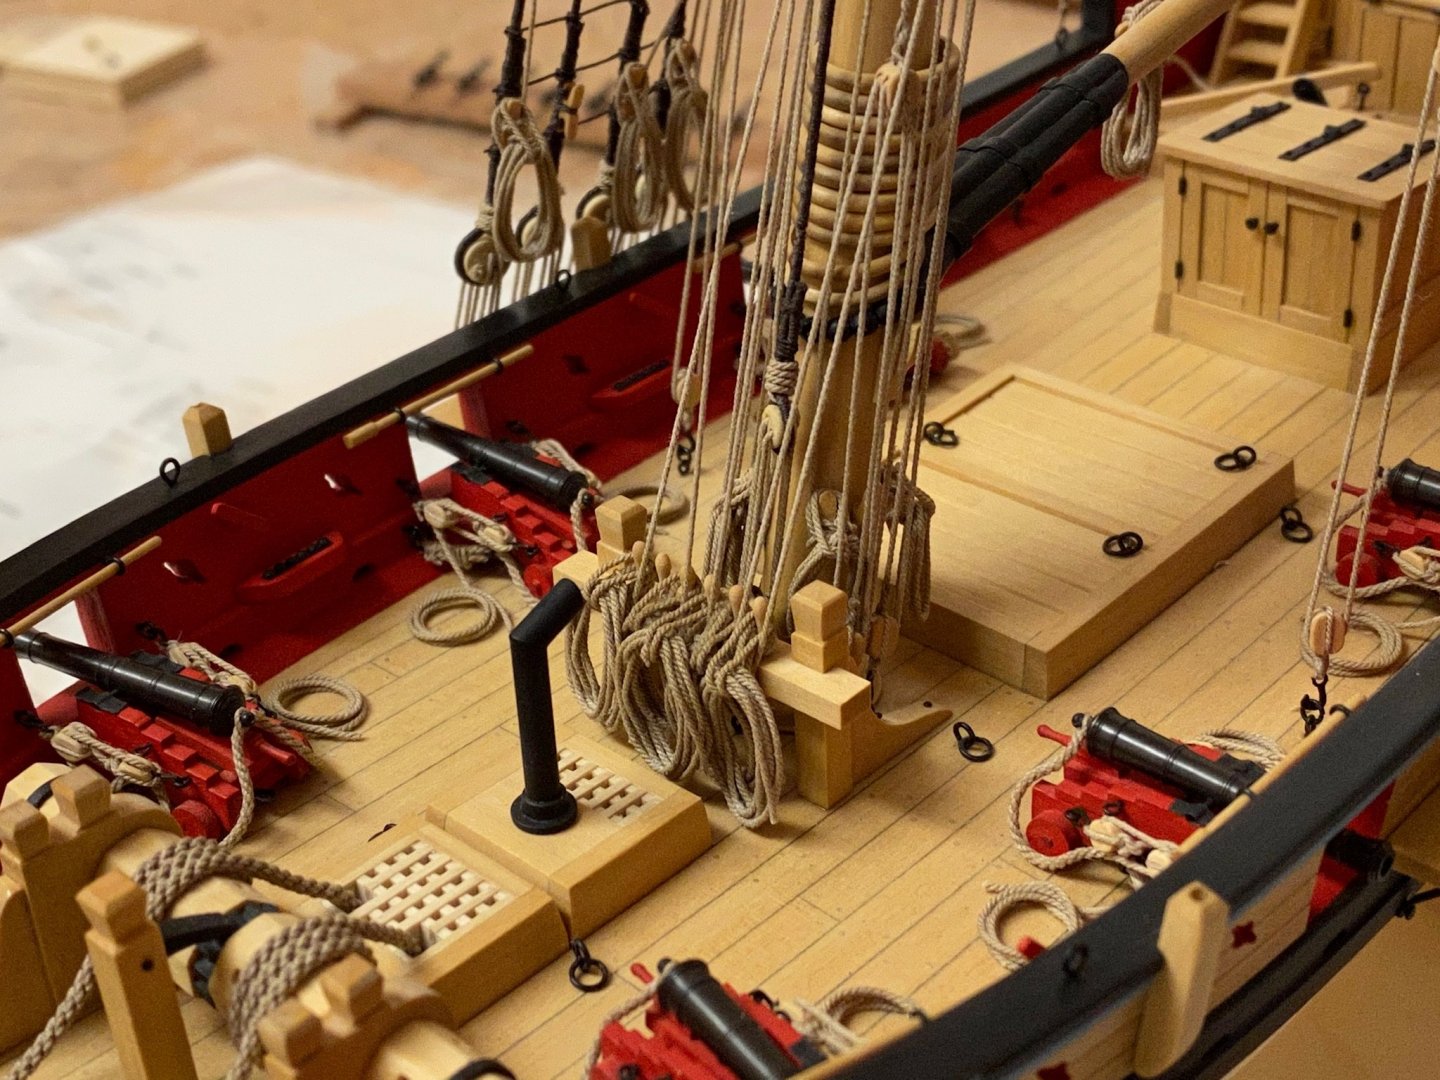
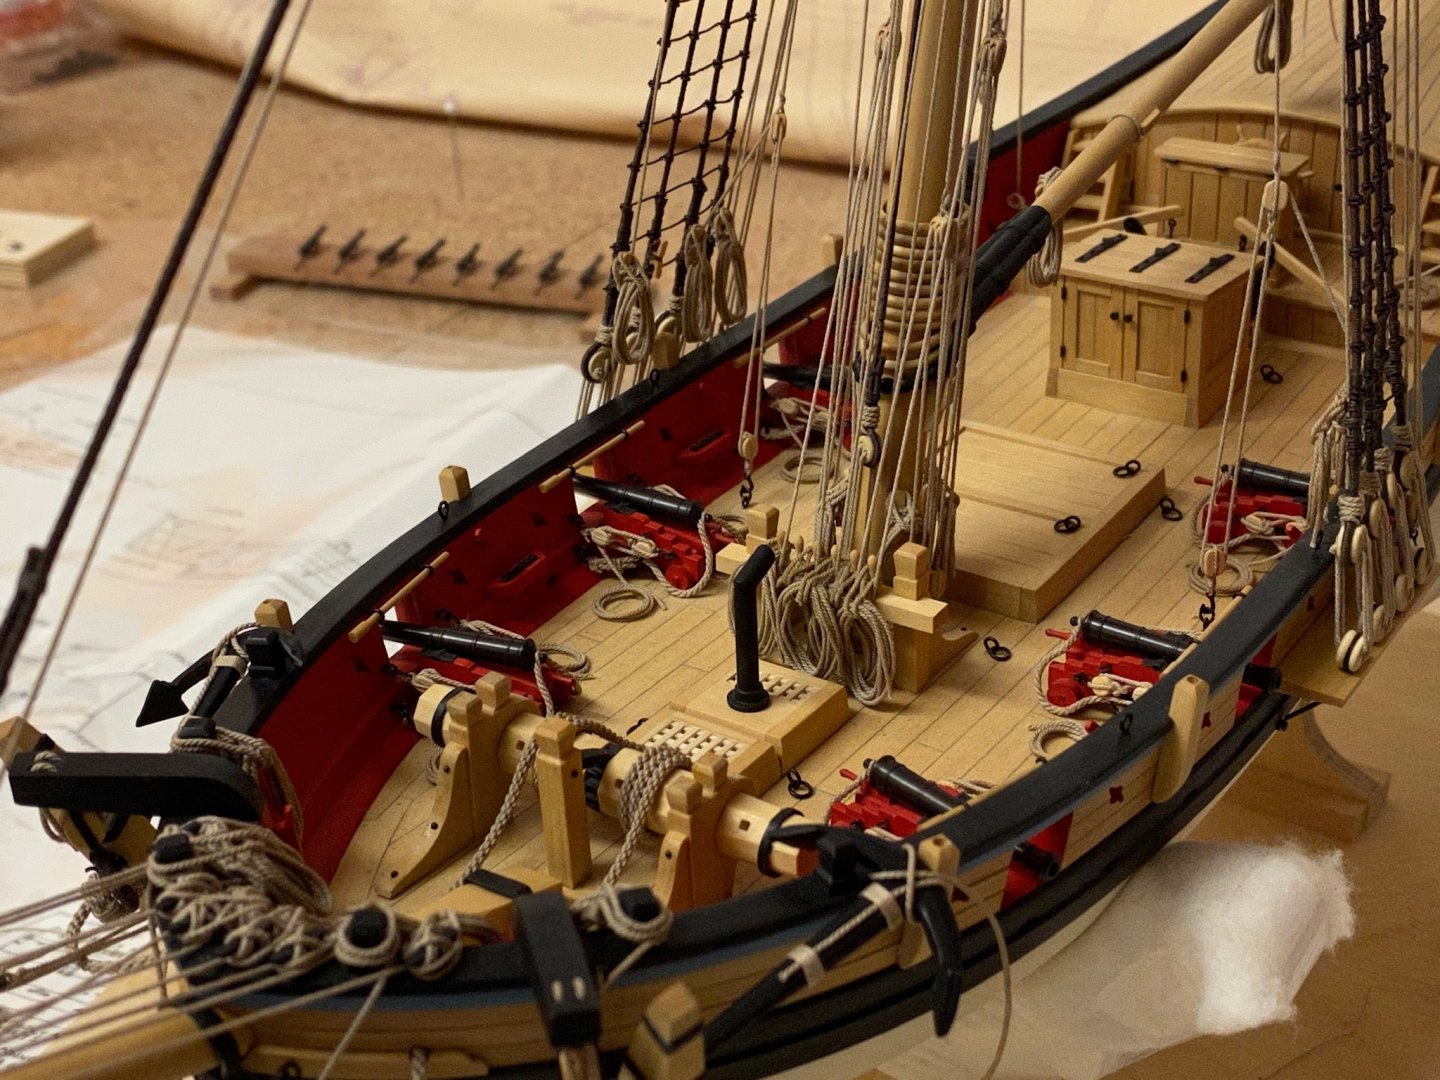
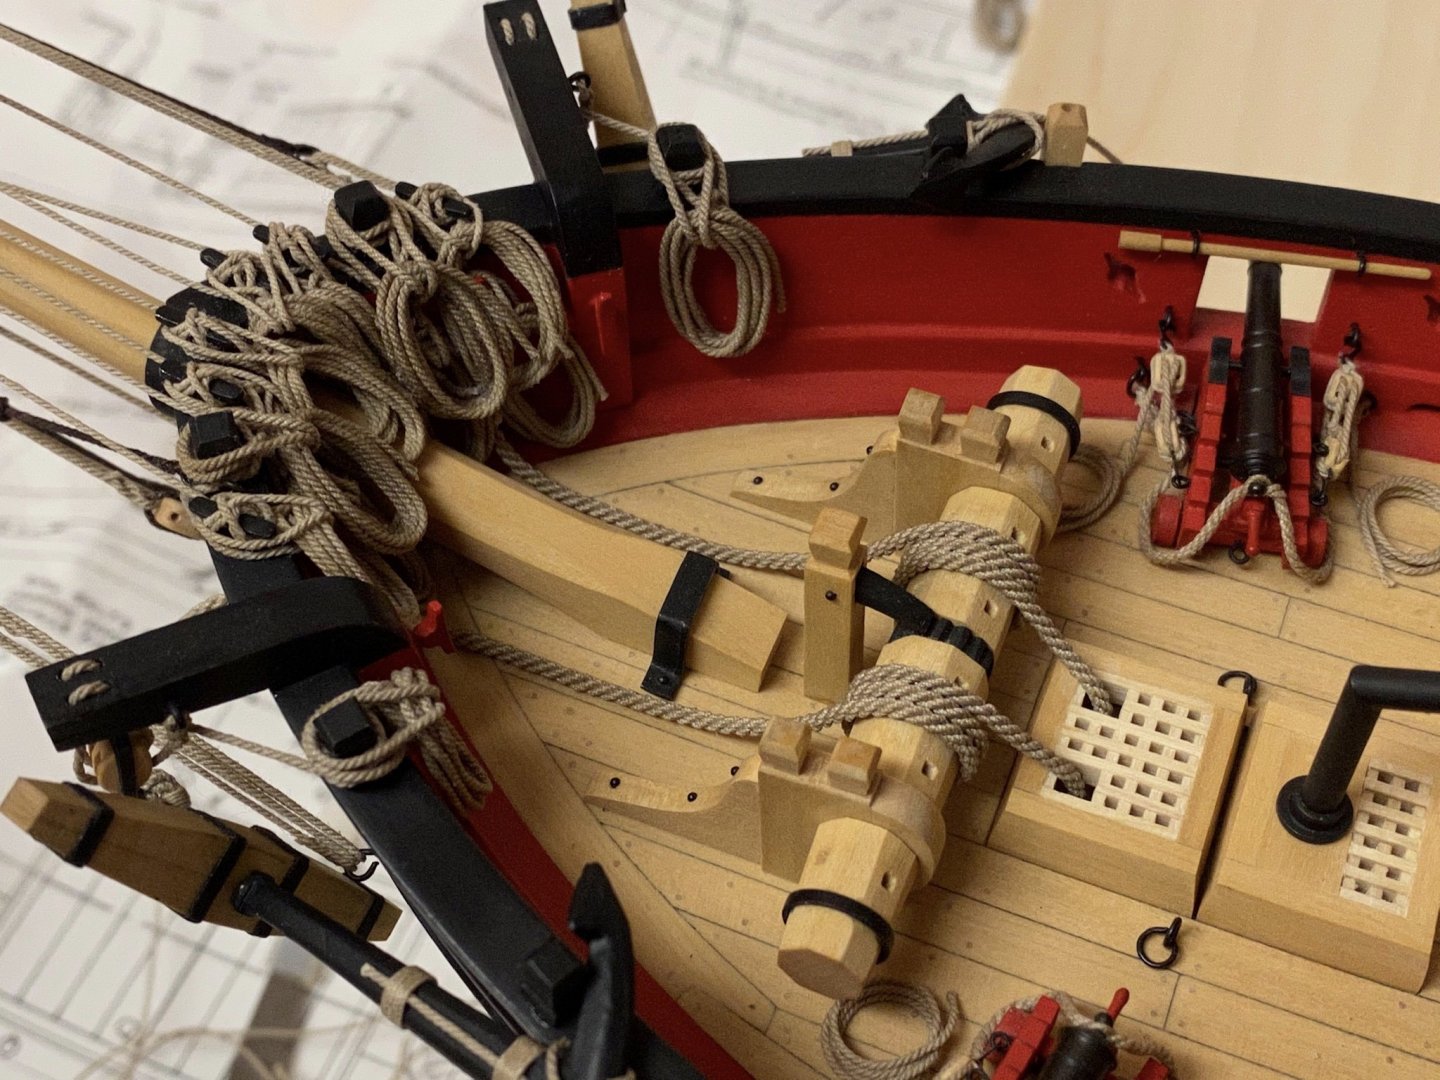
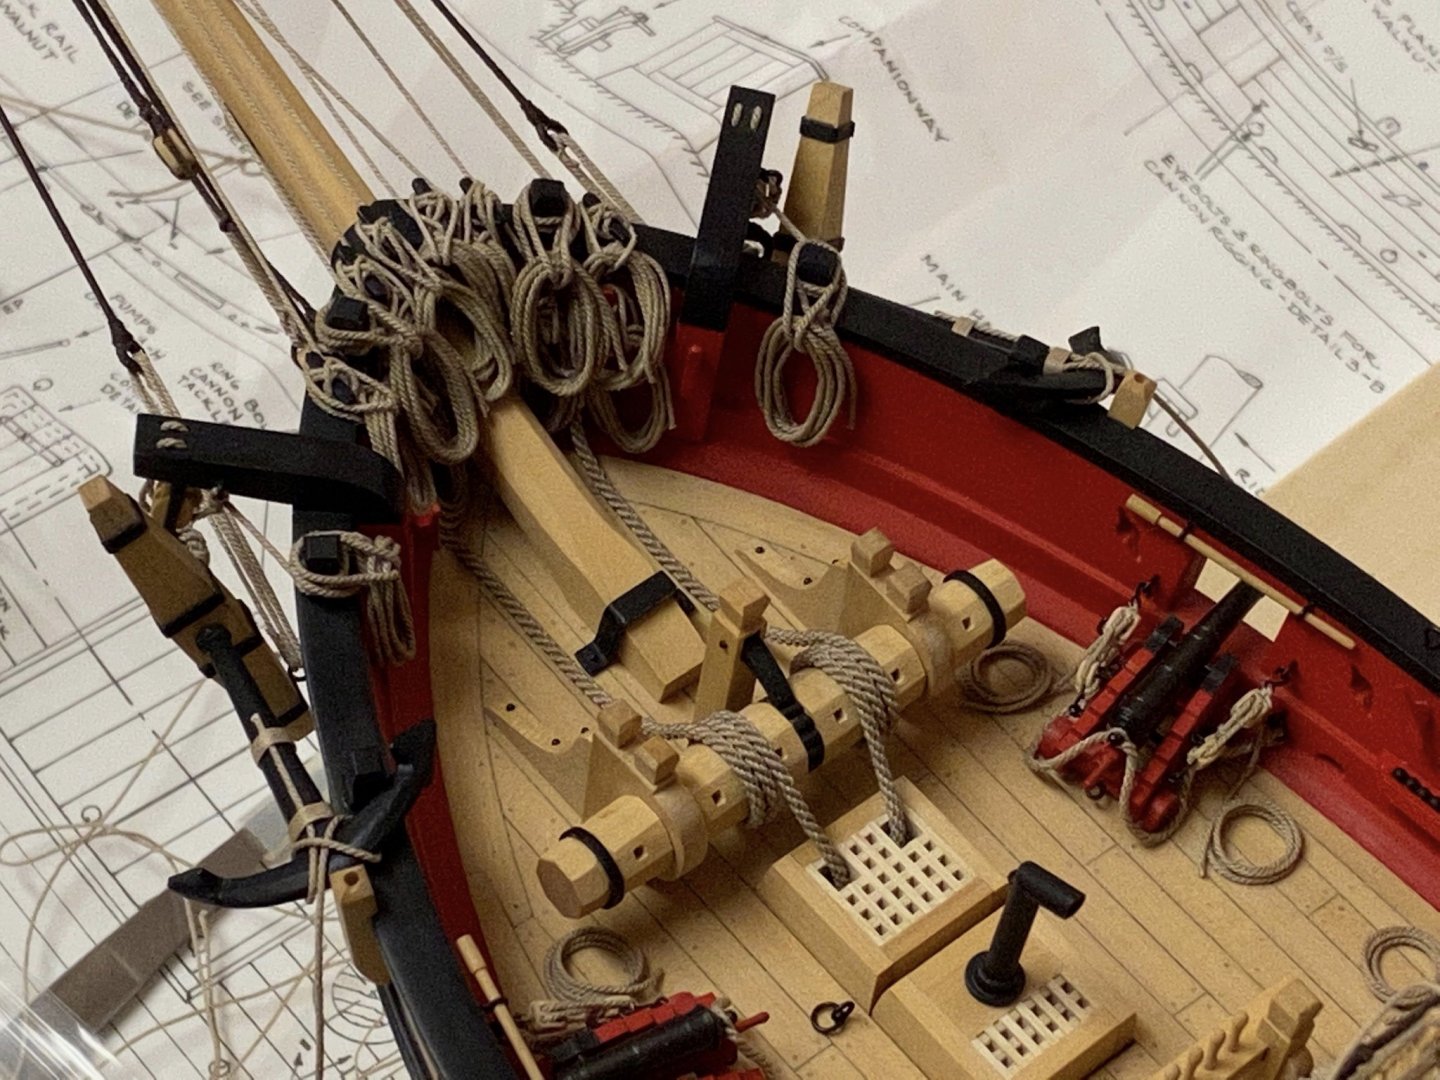
Continued to add ropecoils to the clamps on bow. Finished them today. Syren Miniature rope really look like the real thing. Now, some sailors have to clean up the mess. Will do the mast clamps on thursday.


- 231 replies
-
- 13
-
-
- model shipways
- armed virginia sloop
- (and 1 more)
-
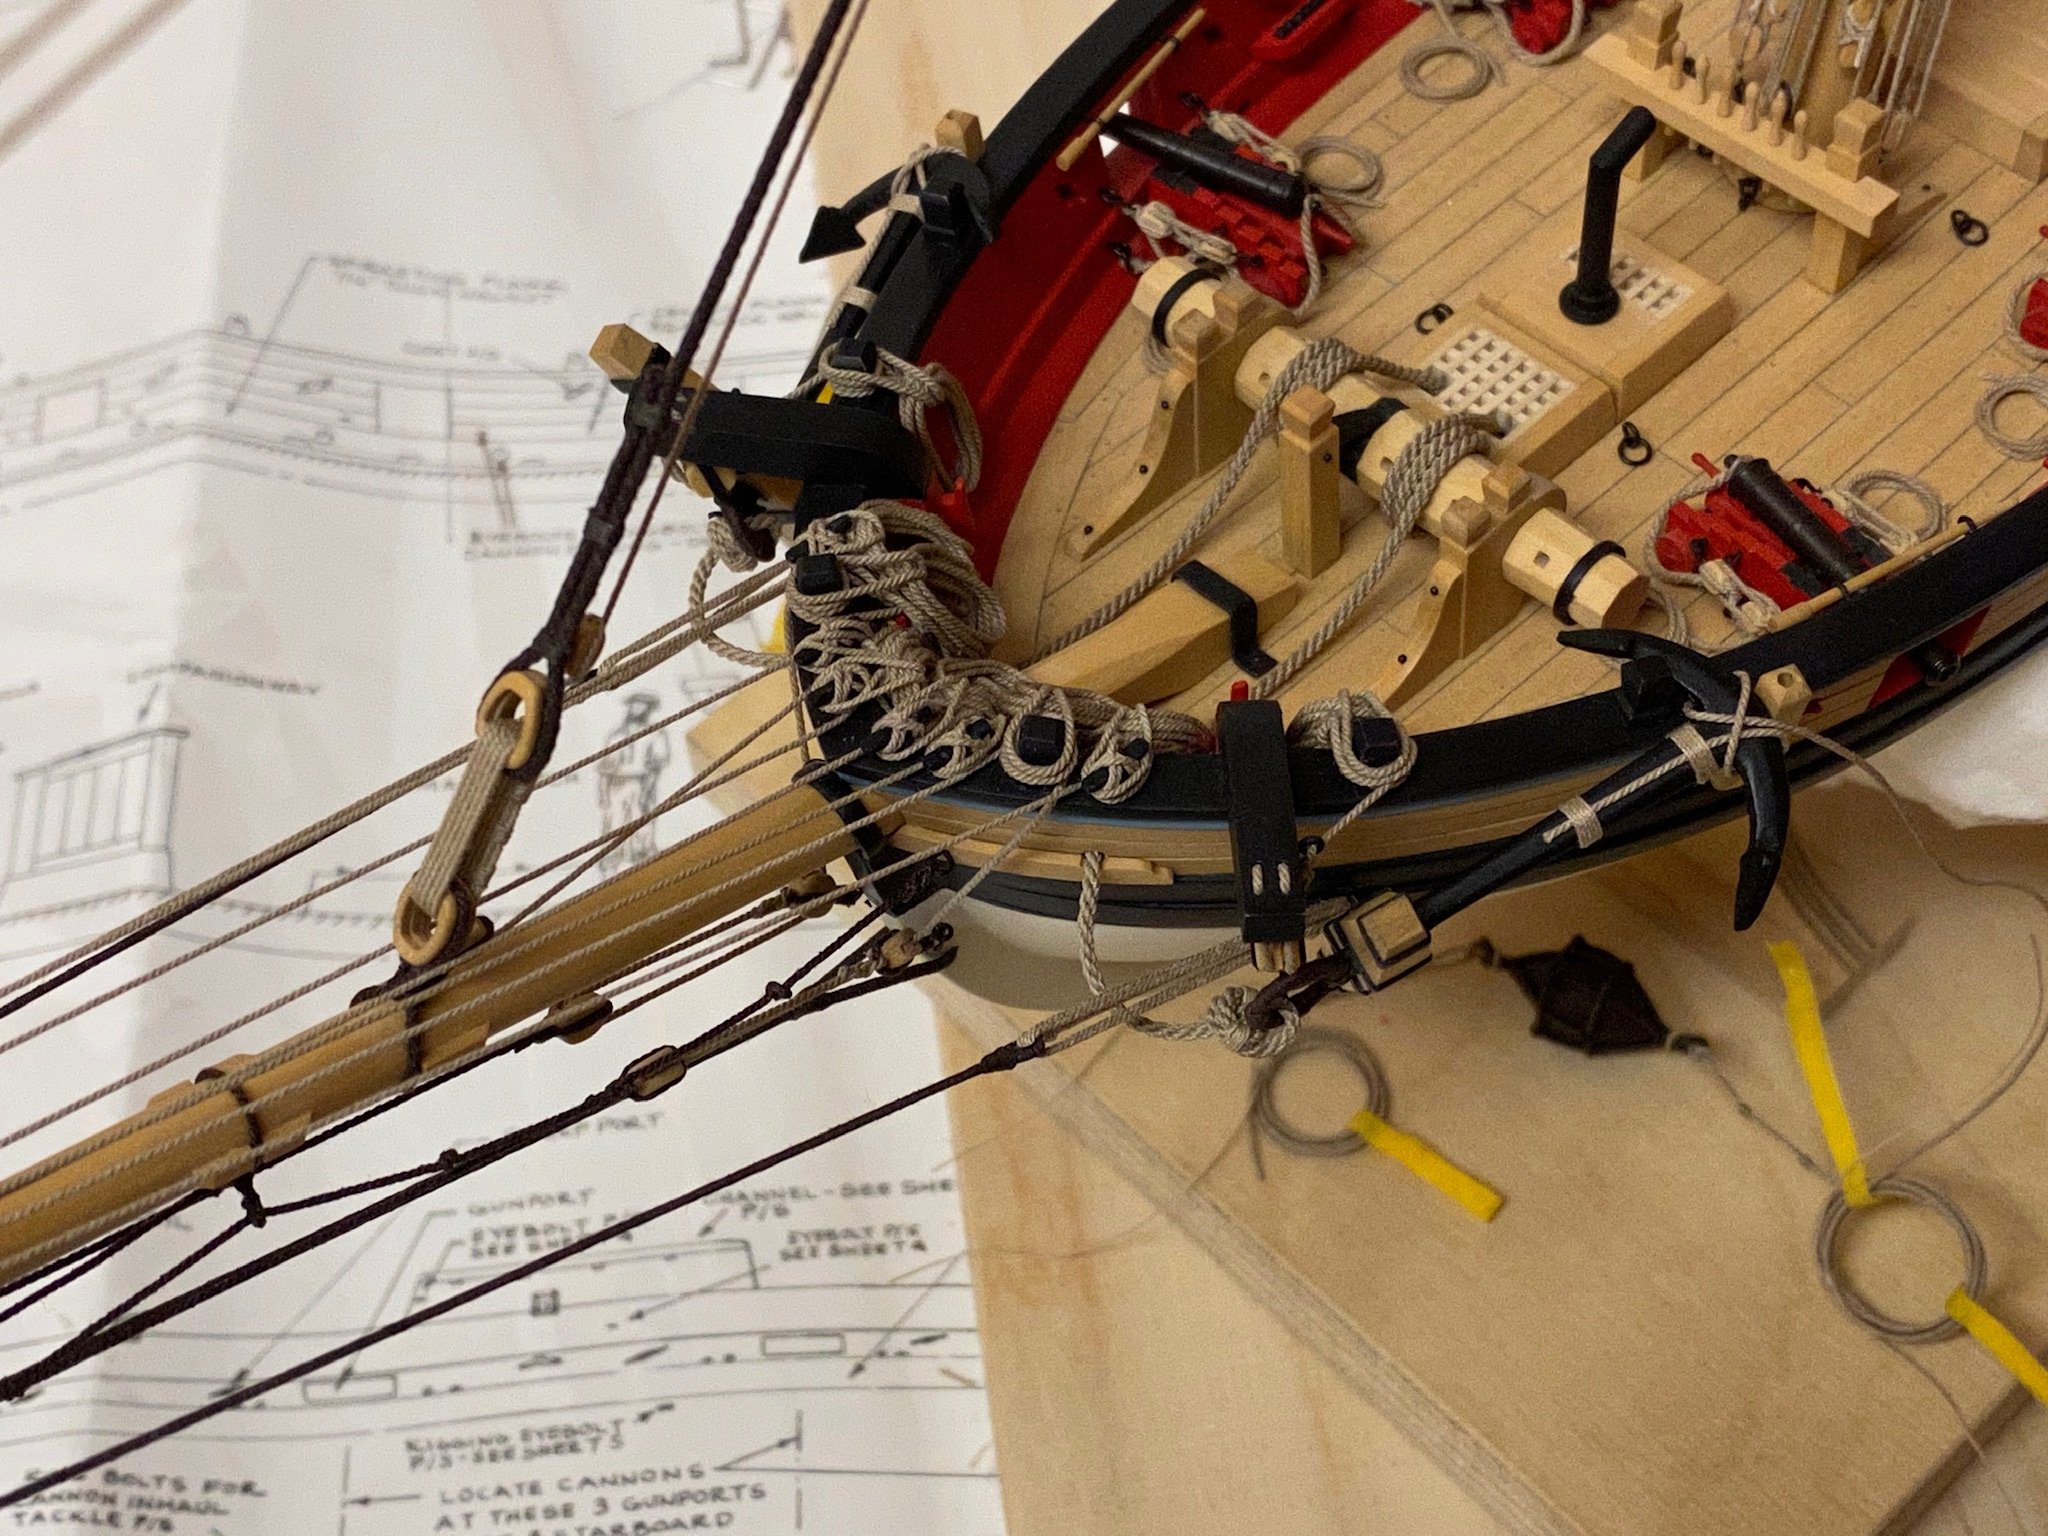
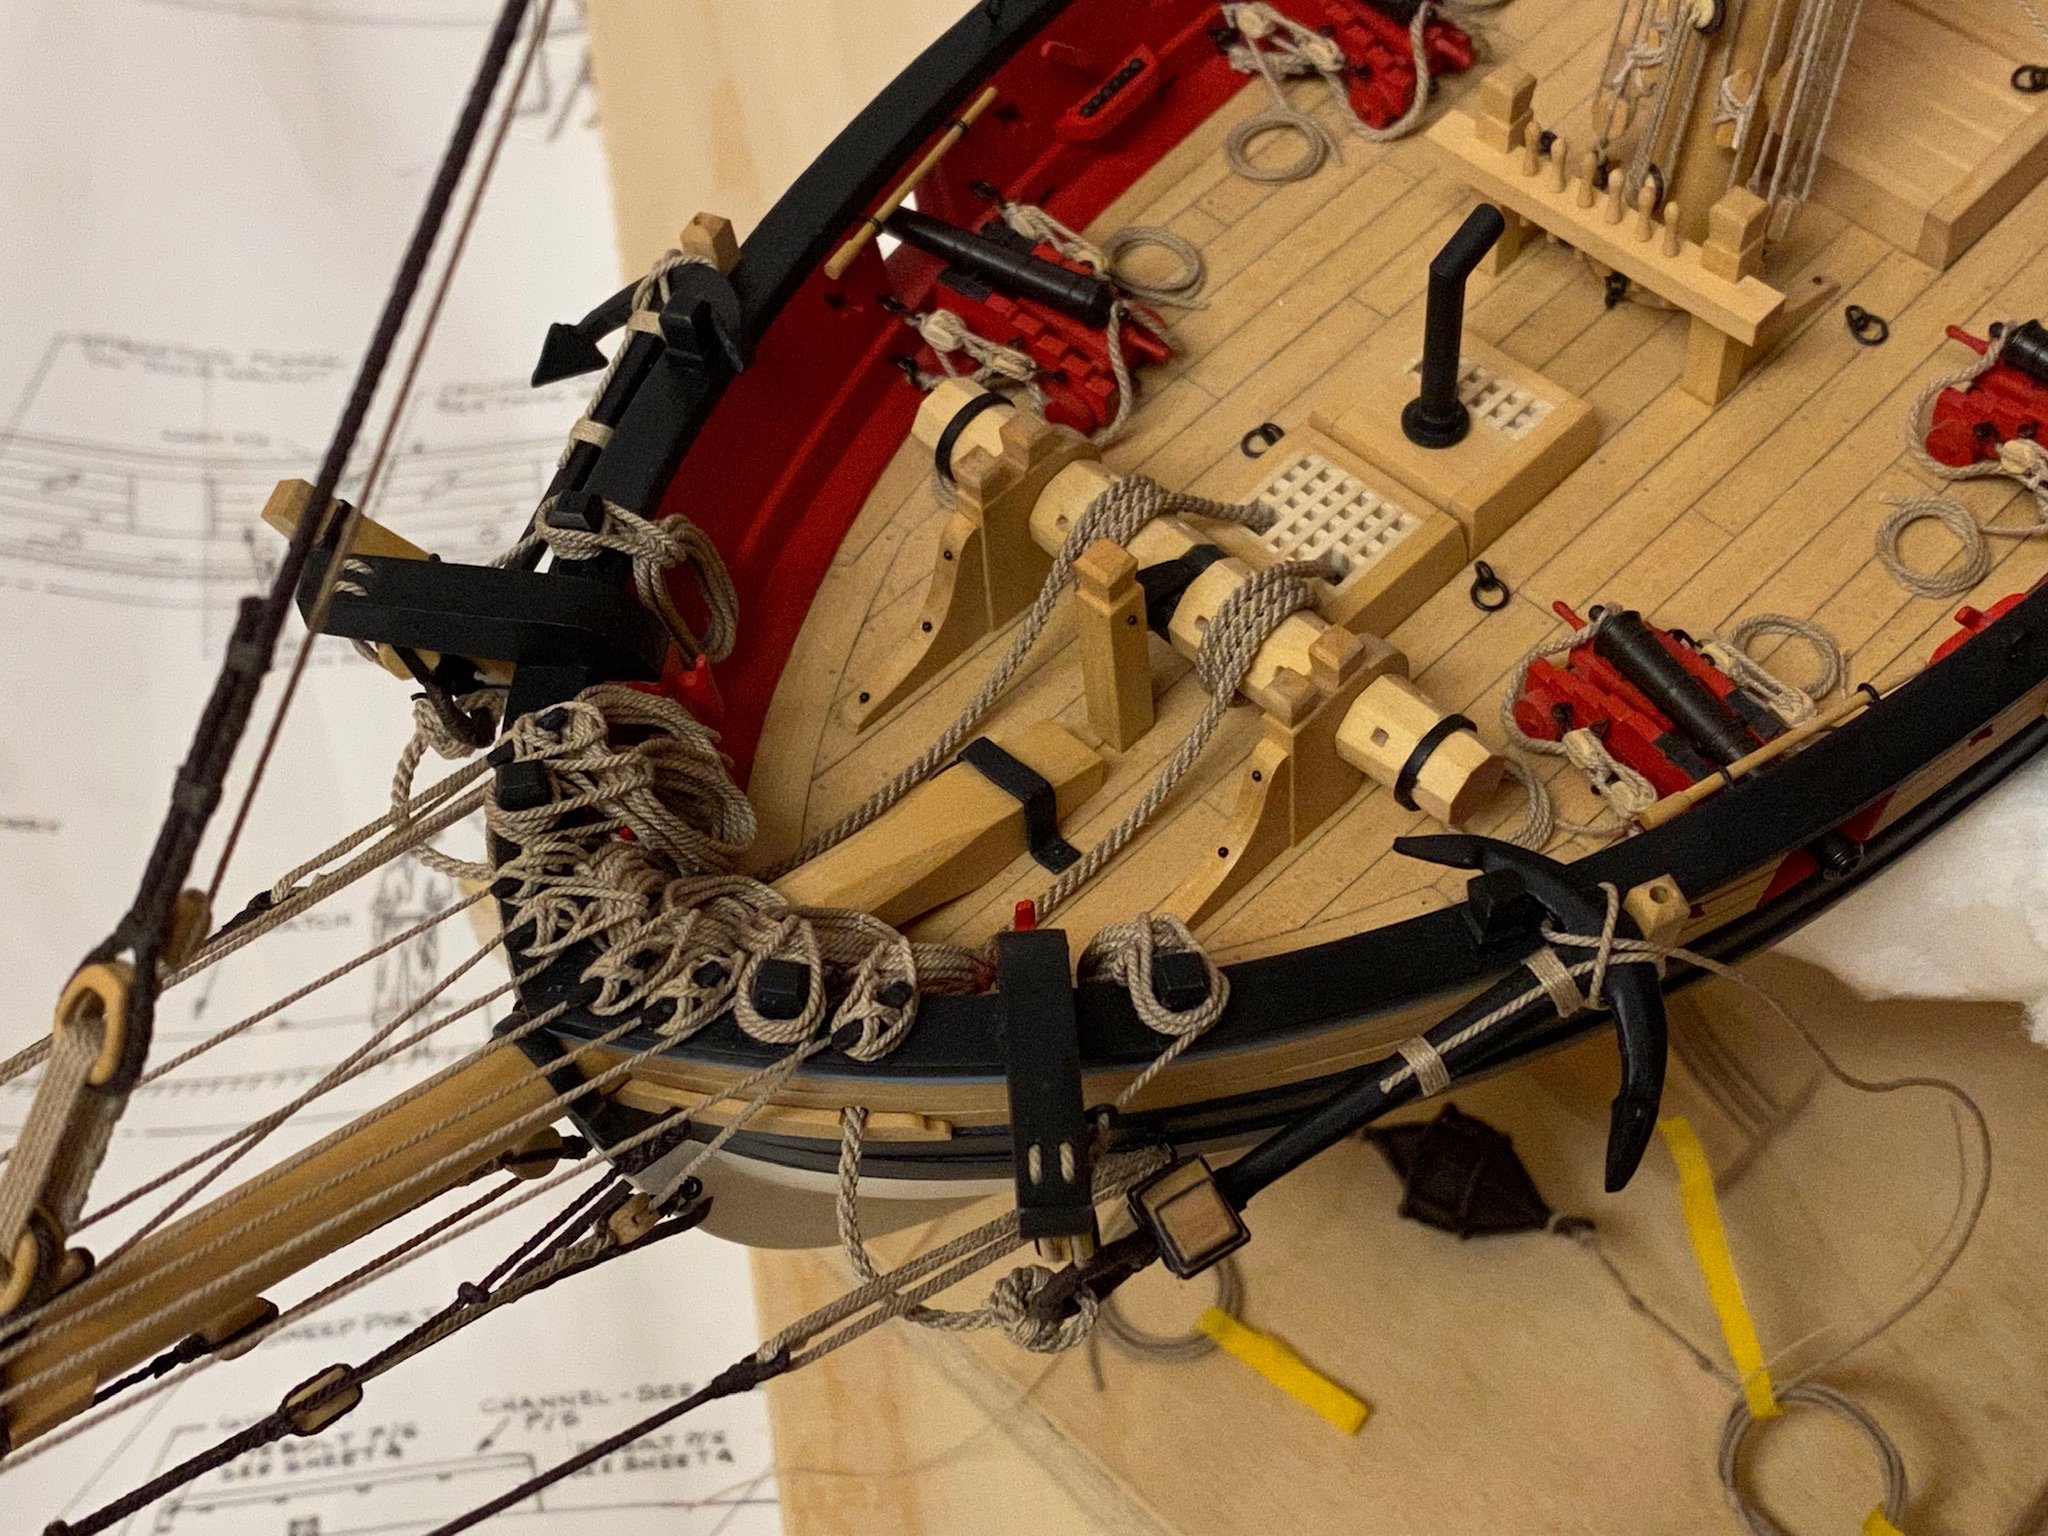
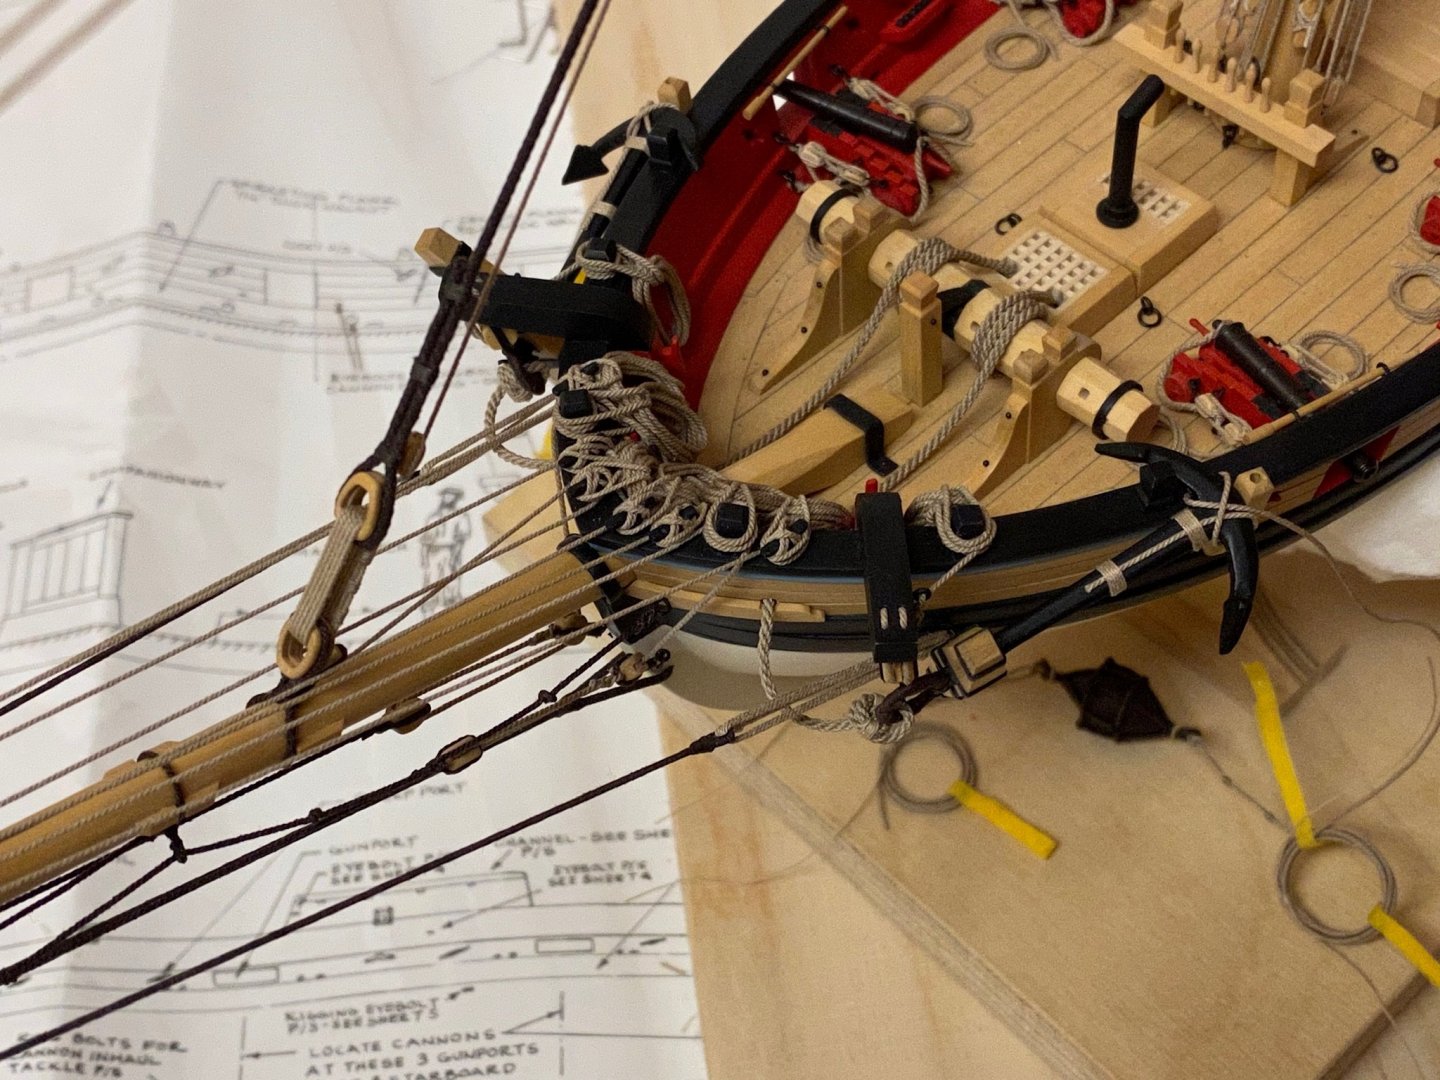
As daily life is restricted here in germany due to government regulations during the corona epidemia I have plenty of time to continue the build. Installed the anchors and some rope coils.


- 231 replies
-
- 12
-
-
- model shipways
- armed virginia sloop
- (and 1 more)
-
Closed Hearts and ‚Infinite‘ Lashing
captain_hook replied to captain_hook's topic in Masting, rigging and sails
Thank you very much Allan. I have tried that on my AVS today and hope that I got the instructions the right way.

-
Hello everyone, I have a question regarding closed hearts and lashing. Looking at photos of contemporary models some stays have closed hearts that seem to be connected by infinite lashing - with no visible start or end. I wonder how this can be archived on a model - maybe some sort of splicing hidden on the back of the lashing but don‘t know. A picture below for visualisation. Thanks for any input.

-
Still recovering from the flu but at least managed to attach the buoys to the anchors. Have to tighten the rigging before the assembly will be installed.

- 231 replies
-
- 12
-
-
- model shipways
- armed virginia sloop
- (and 1 more)
-
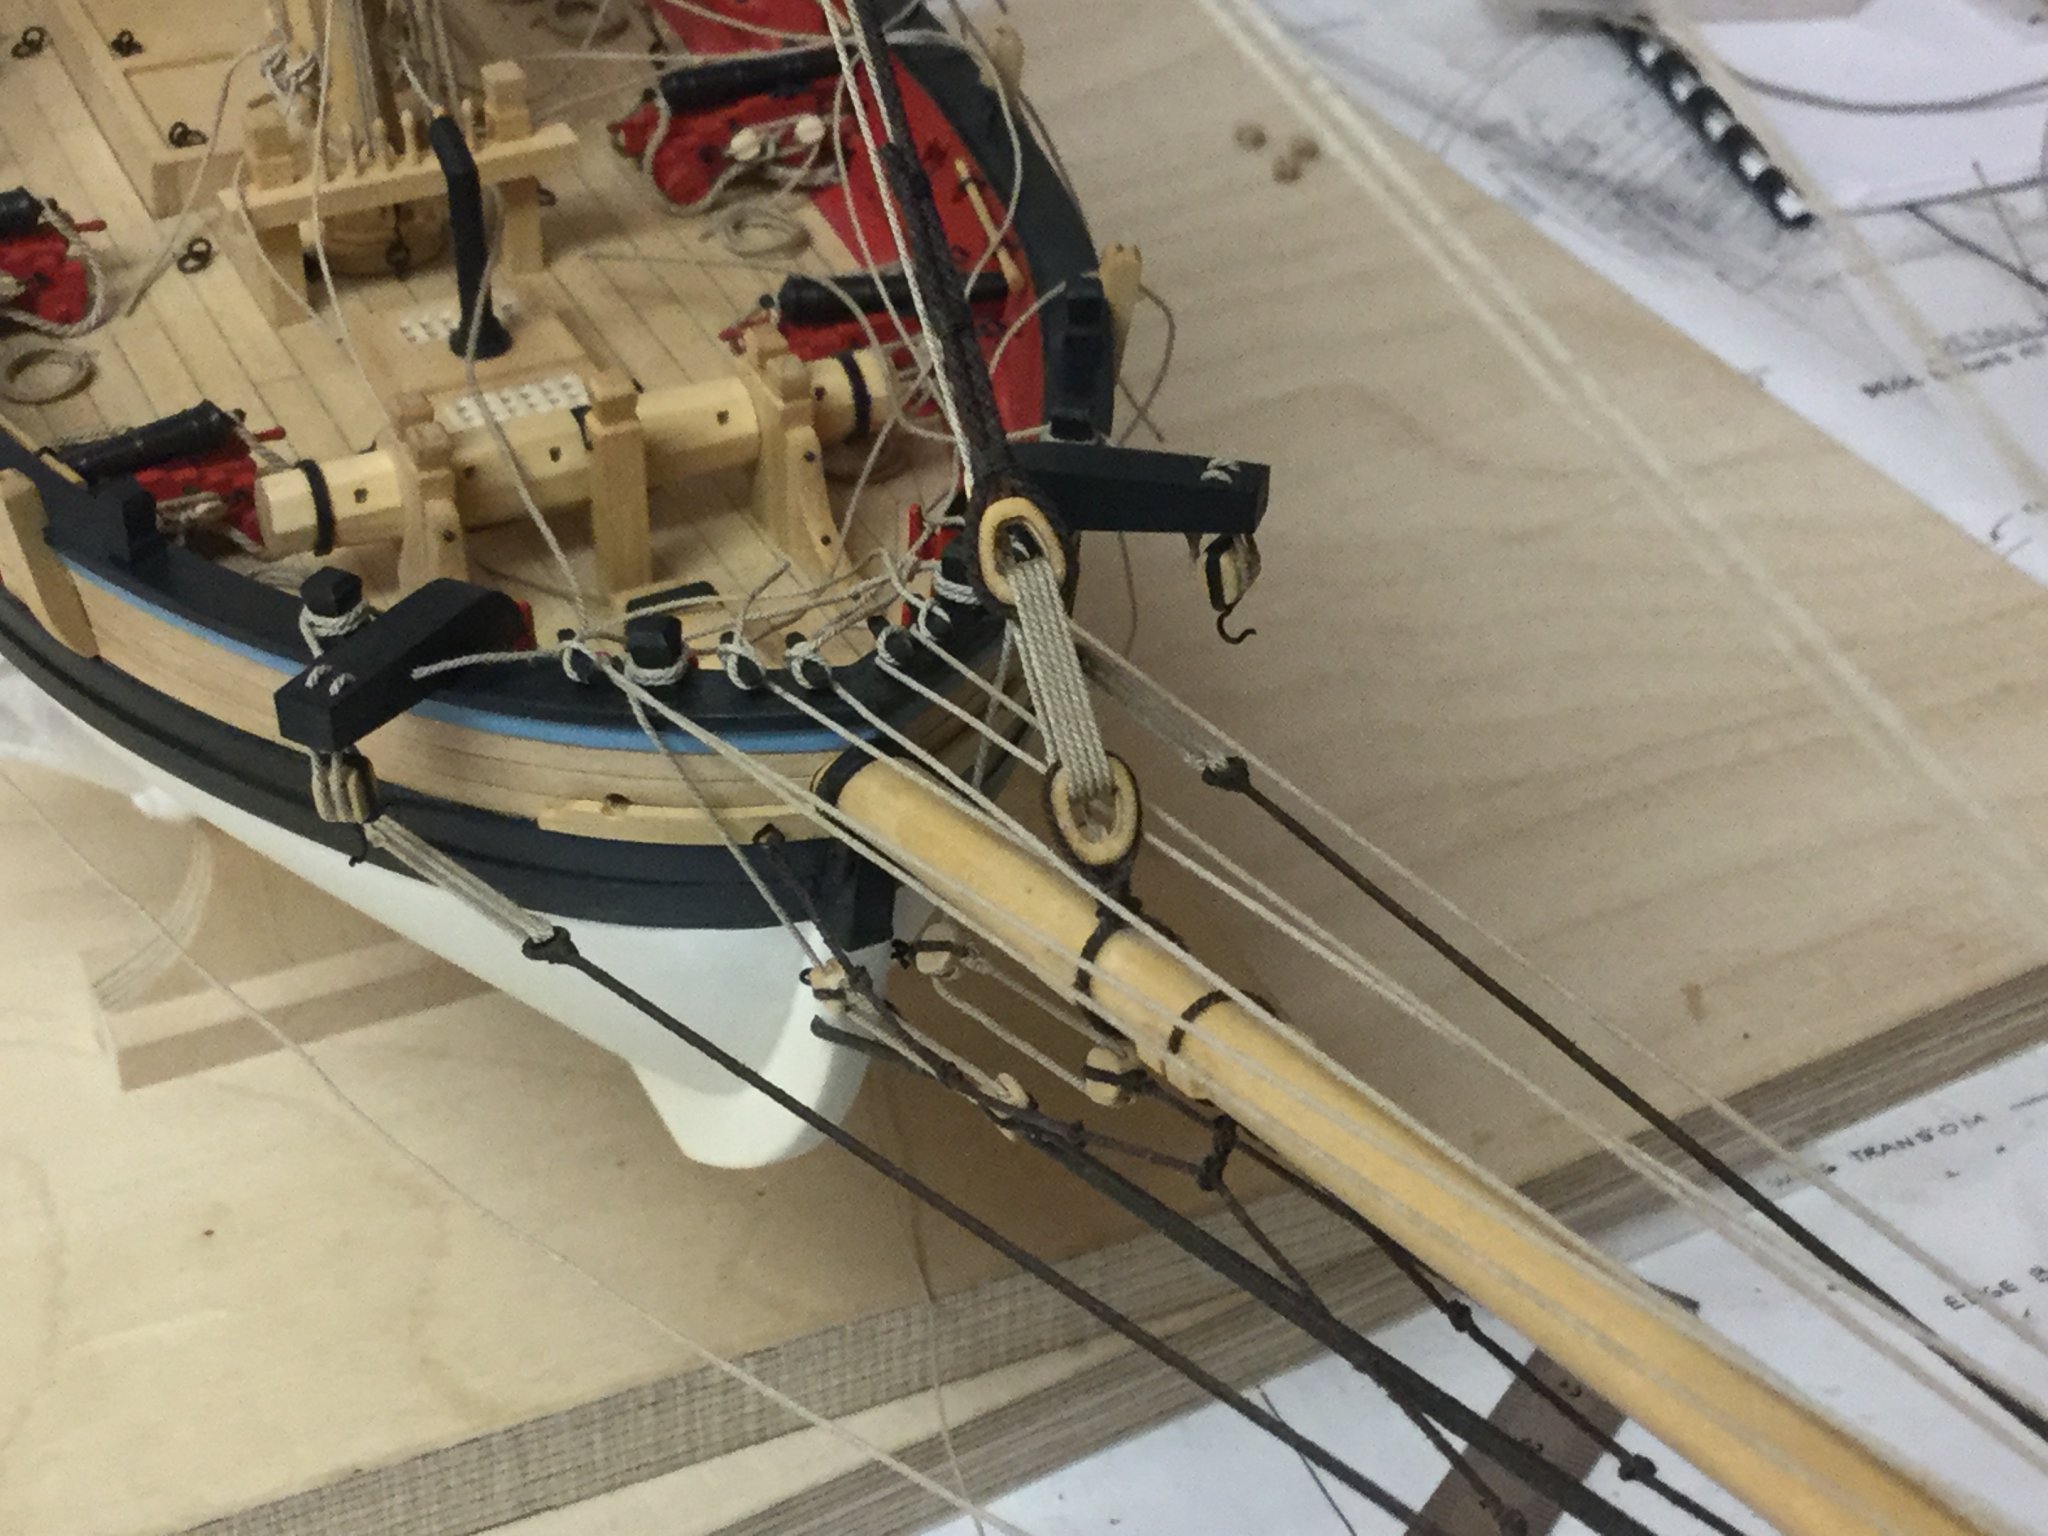
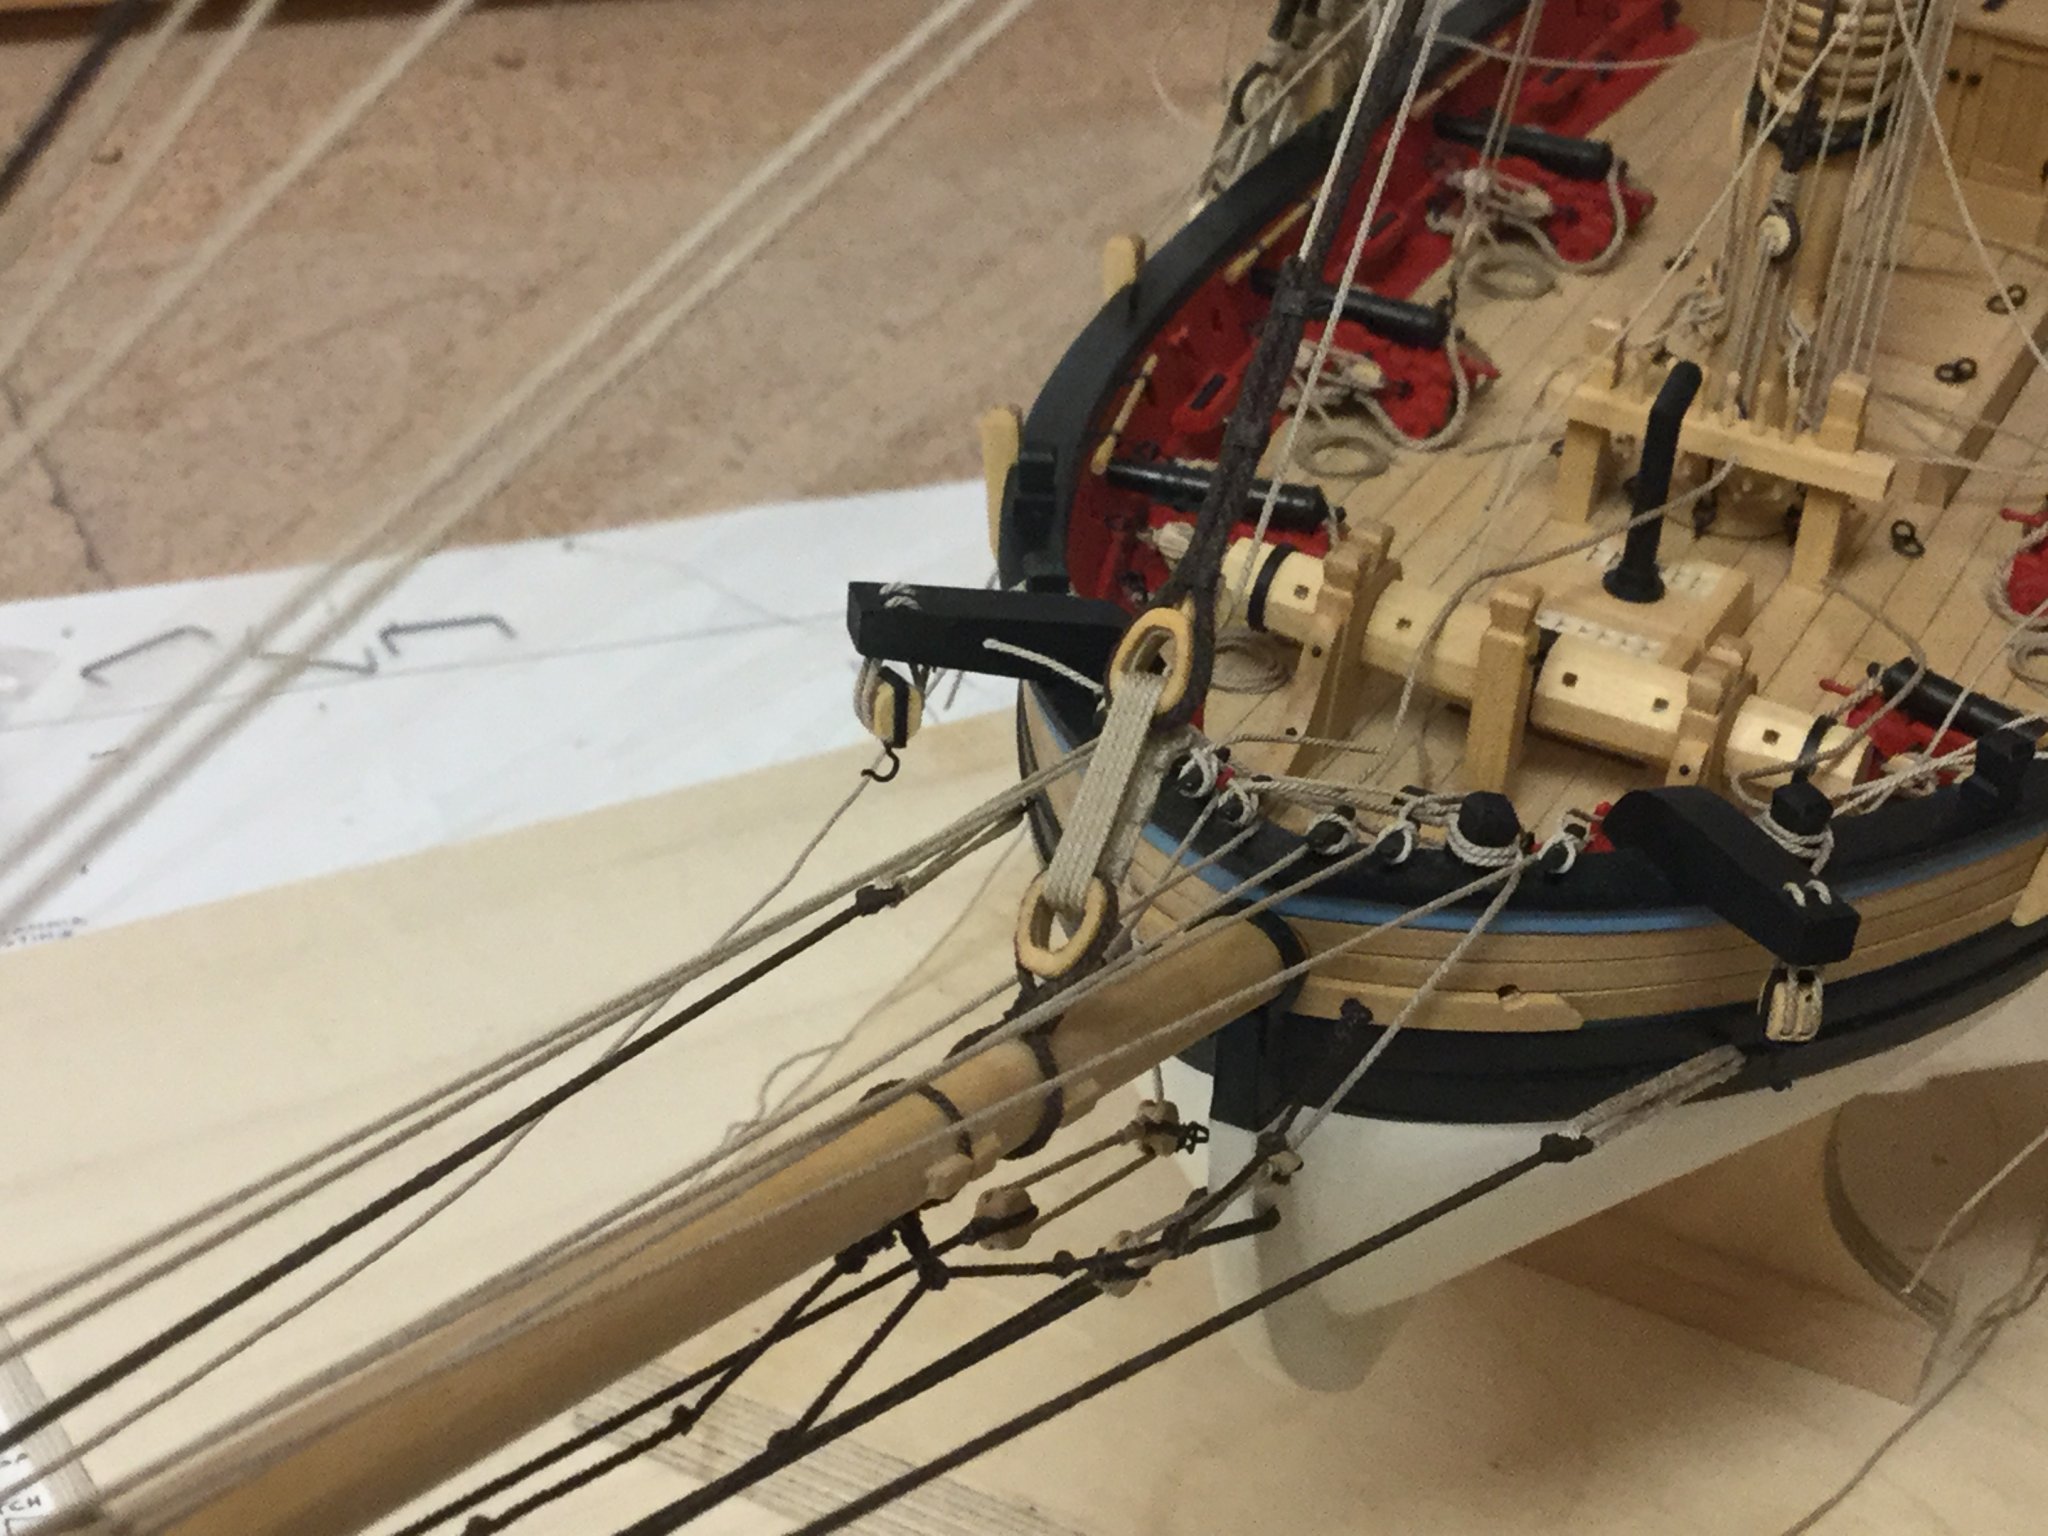
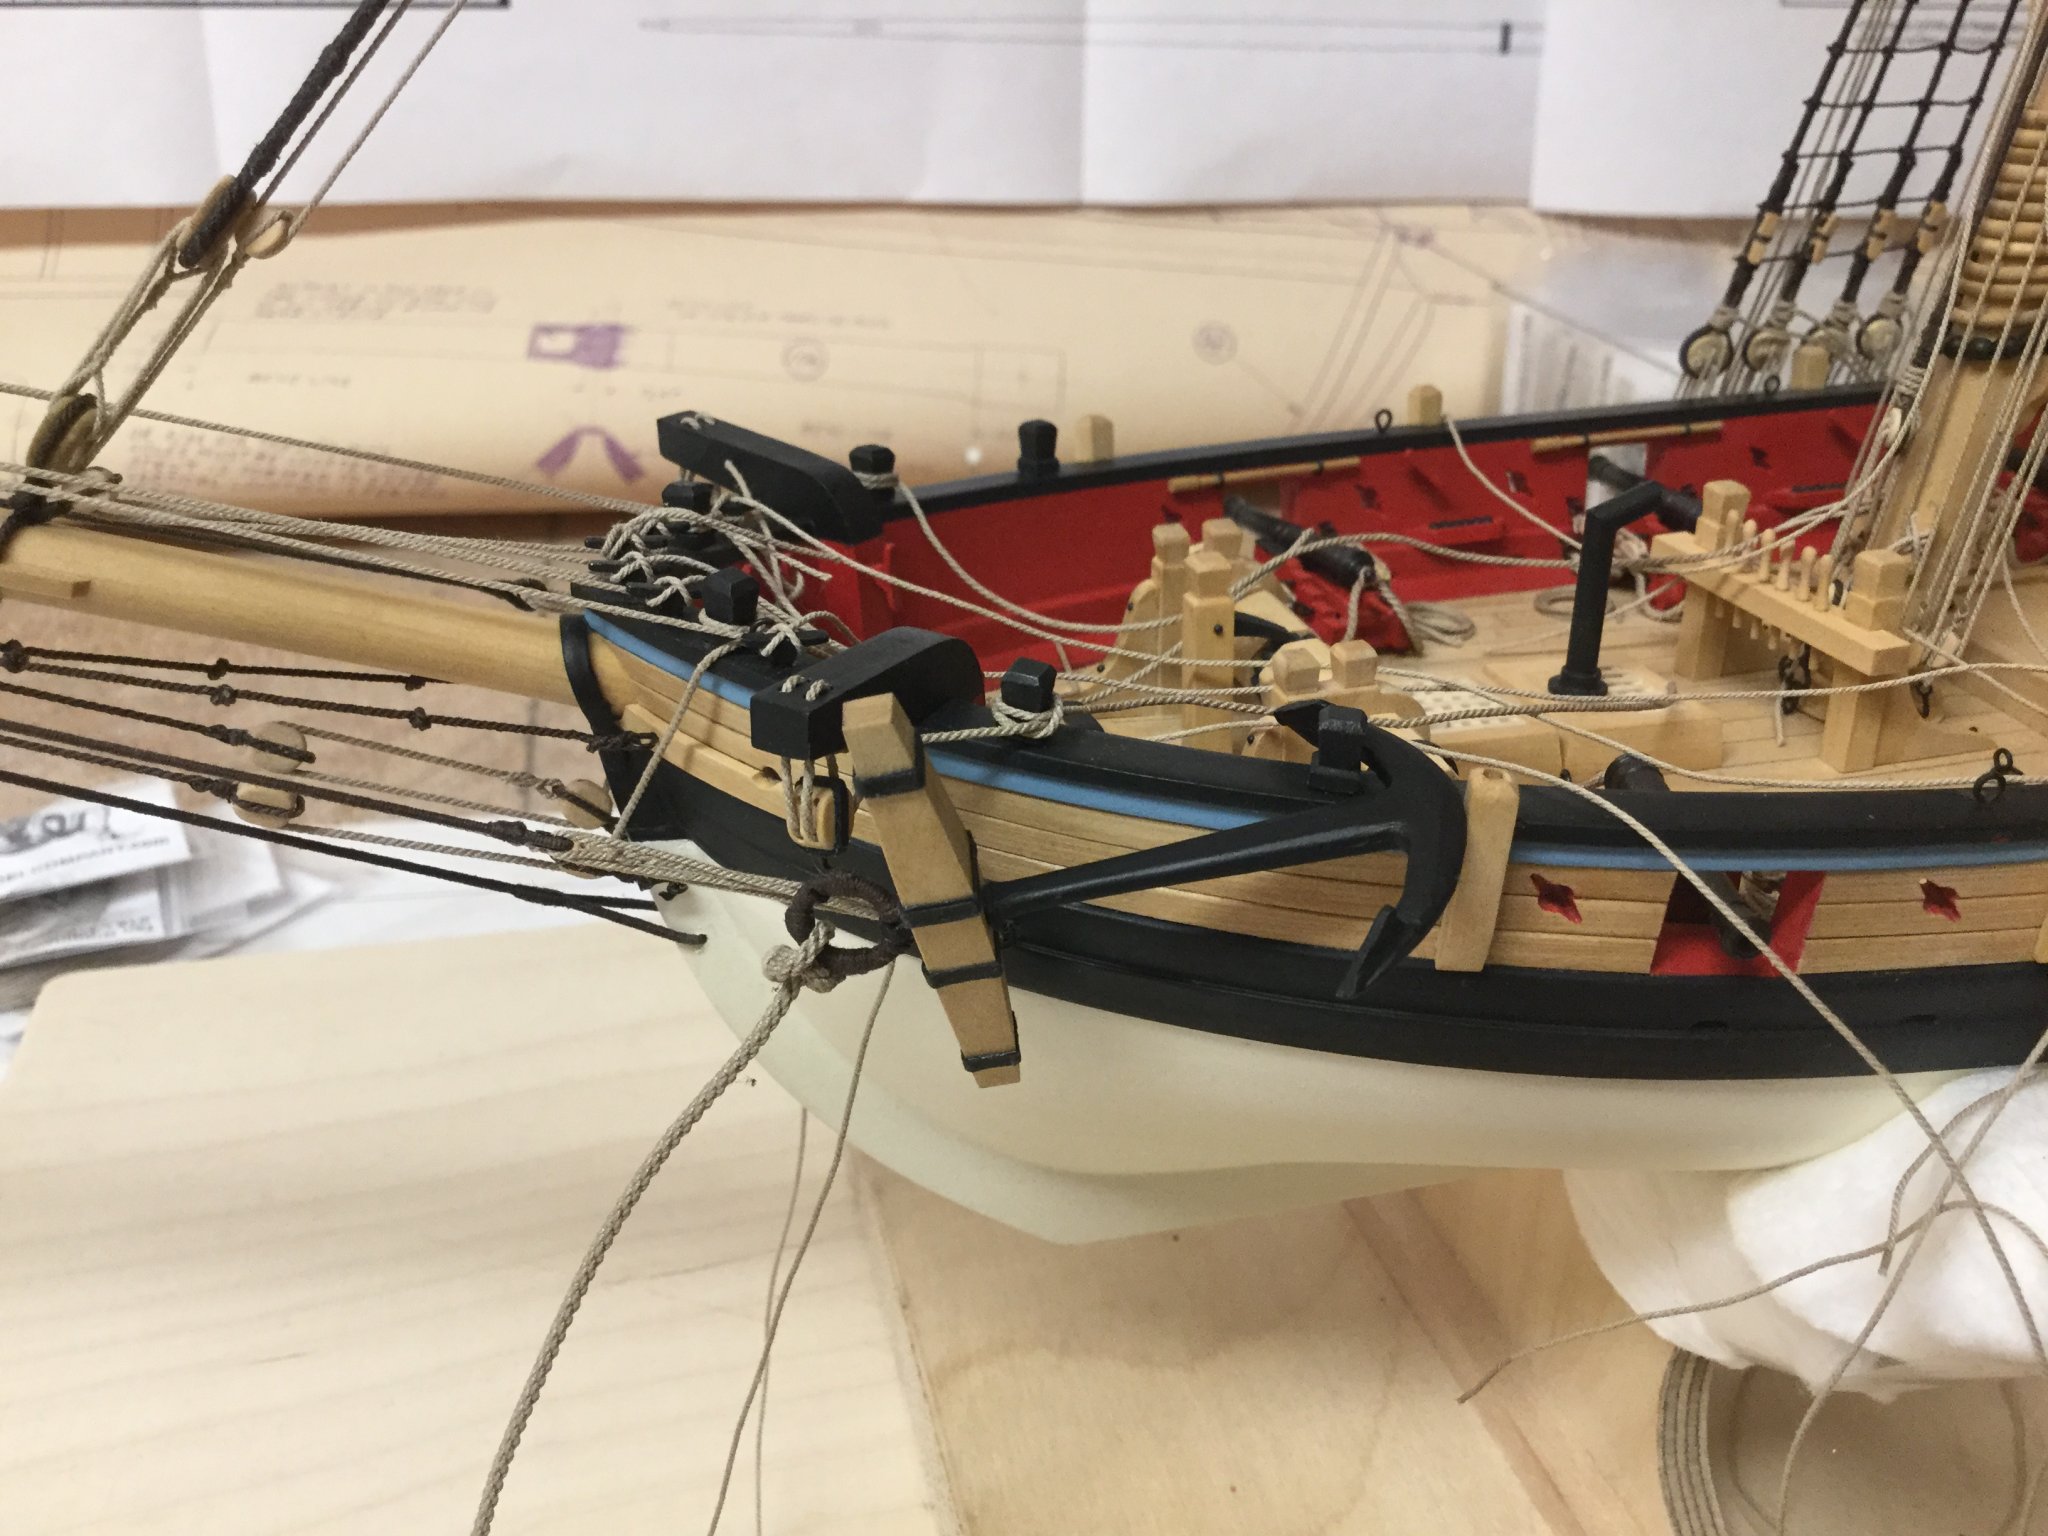
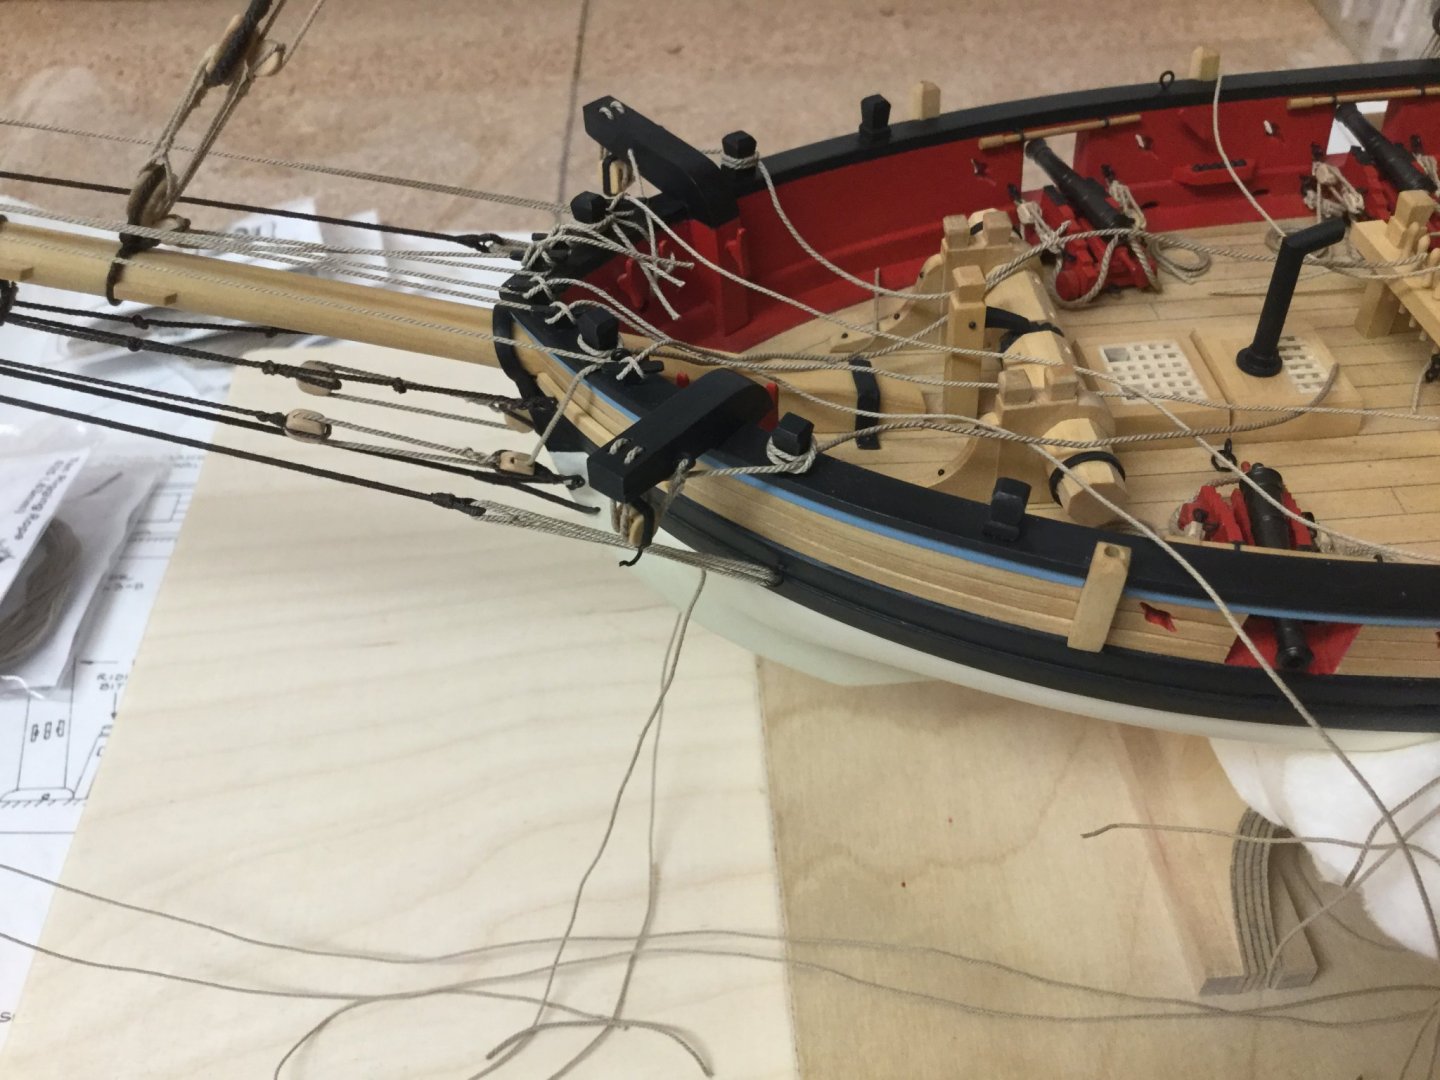
Rigged the cathead and test-fitted an anchor before the buoy-rope is attached to it. Only minor steps due to an influenza that knocked me out for some days.

- 231 replies
-
- 11
-
-
- model shipways
- armed virginia sloop
- (and 1 more)
-
What a nice subject. The carving is just beautiful.
-
HMS FLY by cafmodel - 1/48
captain_hook replied to cafmodel's topic in - Build logs for subjects built 1751 - 1800
I wonder if you will offer pear or boxwood upgrades for this kit when it will be offered. I‘ve seen your enterprise kit, very beautiful although it seems somehow simplified and the lower decks are skipped. But cherry isn‘t as beautiful and nice to work with as pear and boxwood (just my opinion), so I decided not to look for it in the future. -
Finally the anchor buoys are finished. Now I have to attach them to the anchors.
- 231 replies
-
- 7
-
-
- model shipways
- armed virginia sloop
- (and 1 more)
-
Thank you for the nice comments and likes. @ASAT: Yes, there is an airborne base in Wiesbaden-Nordenstadt, but I don’t know if it is still active. There are several words for that - Fasching, Fasnacht or Karvenal depending where you live in Germany. It is hard to explain why Germans love to celebrate that. Starting on 11/11 every year it is a mixture of dressing up and some (political incorrect) entertainment and humor. There are meetings in big halls with evening-filling shows and street-parades with dressed up groups and dancers especially at the end of the season.
- 231 replies
-
- 4
-
-
- model shipways
- armed virginia sloop
- (and 1 more)
-
The last steps ... As Carnival is celebrated in Germany these days spare time is limited. But I made some new anchor buoys templates more scale and have prepared the rigging but haven‘t decided which one I will use. The other ones will be stored for the next project. Will rig them next weekend and then hopefully turn to the final step.
- 231 replies
-
- 8
-
-
- model shipways
- armed virginia sloop
- (and 1 more)
-
This is very frustrating when things break - especially when it is your first build and you are still in the first stage. But believe me - it may be as important to quickly learn to fix things as to build the model itself because mistakes and flaws will happen all the time - it is a part of the hobby 🤫.
-
You may drill a little hole into the broken part and the bulkhead and pin the part back into position. As the bulkheads seem to be made of MDF and the upper ends may be supposed to cut off after first and second planking they are only used to give the first planking some shape and support. You can cut off the pin (I.e. a needle) later when the planking is done. Another option is to support the broken parts with a small plywood strip on each side that will be sanded down with the fairing - but you will have to adjust the false deck, so the strips will have some space. Another option is to glue a little wood block behind the broken part and onto the deck that can be removed later (don’t use waterproof white glue).
-
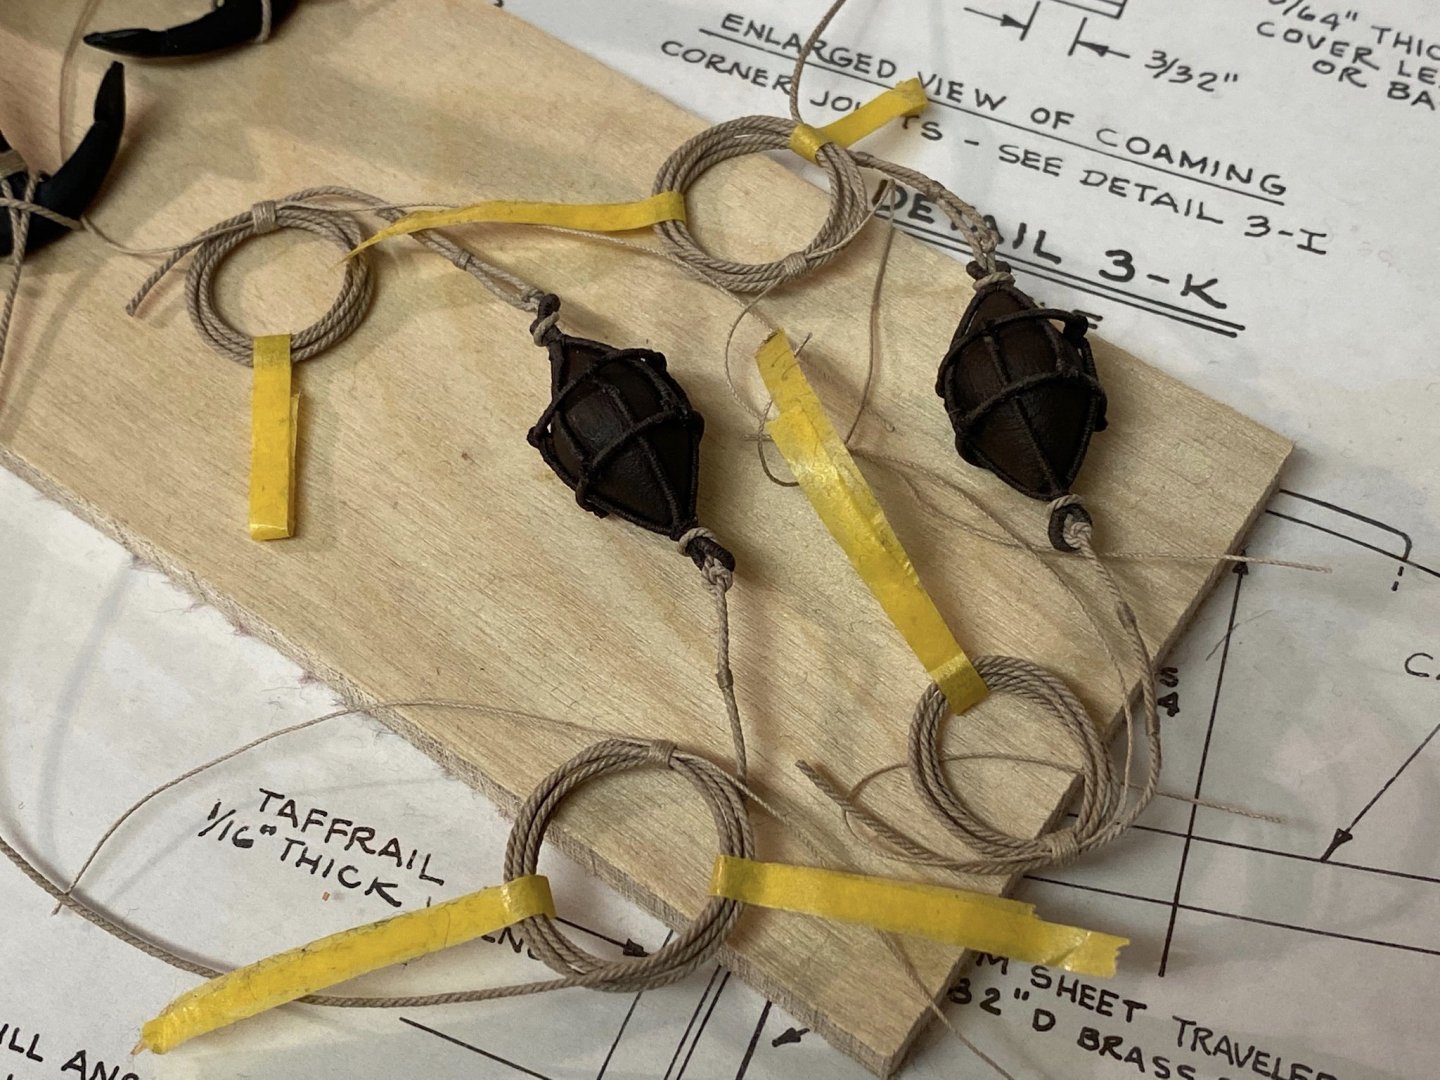
Thank you for the nice feedback. I did some work on the anchor buoys. Used served .018“ rope to rig the buoys. But the proportions don‘t look right so I may redo the rigging on next weekend. The last steps seem to need the longest time.
- 231 replies
-
- 7
-
-
- model shipways
- armed virginia sloop
- (and 1 more)
-
For Beginners -- A Cautionary Tale
captain_hook replied to ccoyle's topic in New member Introductions
There is just another point that might be considered. Kits are always simplified to give even unexperienced builder the chance to complete it, to get a successful experience, to motivate them to buy another kit in the future and to keep production cost as low as possible. So even kits of bigger and more known ships like Victory, Sovereign or Constellation are simplified in some way share issues like gun barrels not to scale, overdimensioned rope, low-quality planking material or even miss some deck items that would be to expensive to make them just for one single kit. But a novice builder - maybe because of lack of information - mostly don’t have a choice but to keep faith into the provided plans and material, believing that everything supplied is just right and well designed to reproduce a miniature of the original. As the builder gets more experienced, he will likely upgrade kits with aftermarket fittings or alternative planking wood or even start scratchbuilding them because the supplied fittings or items simply aren‘t correct, simplified or out of scale. Considered hundreds of hours put into a frigate or ship of the line, it would be a pity for the builder to regret using supplied items or simply followed the plan / instructions after the model is build and experience and knowledge has grown afterwards - especially when a scale model was intended to build (what is likely to be promised by the kit manufacturer). -
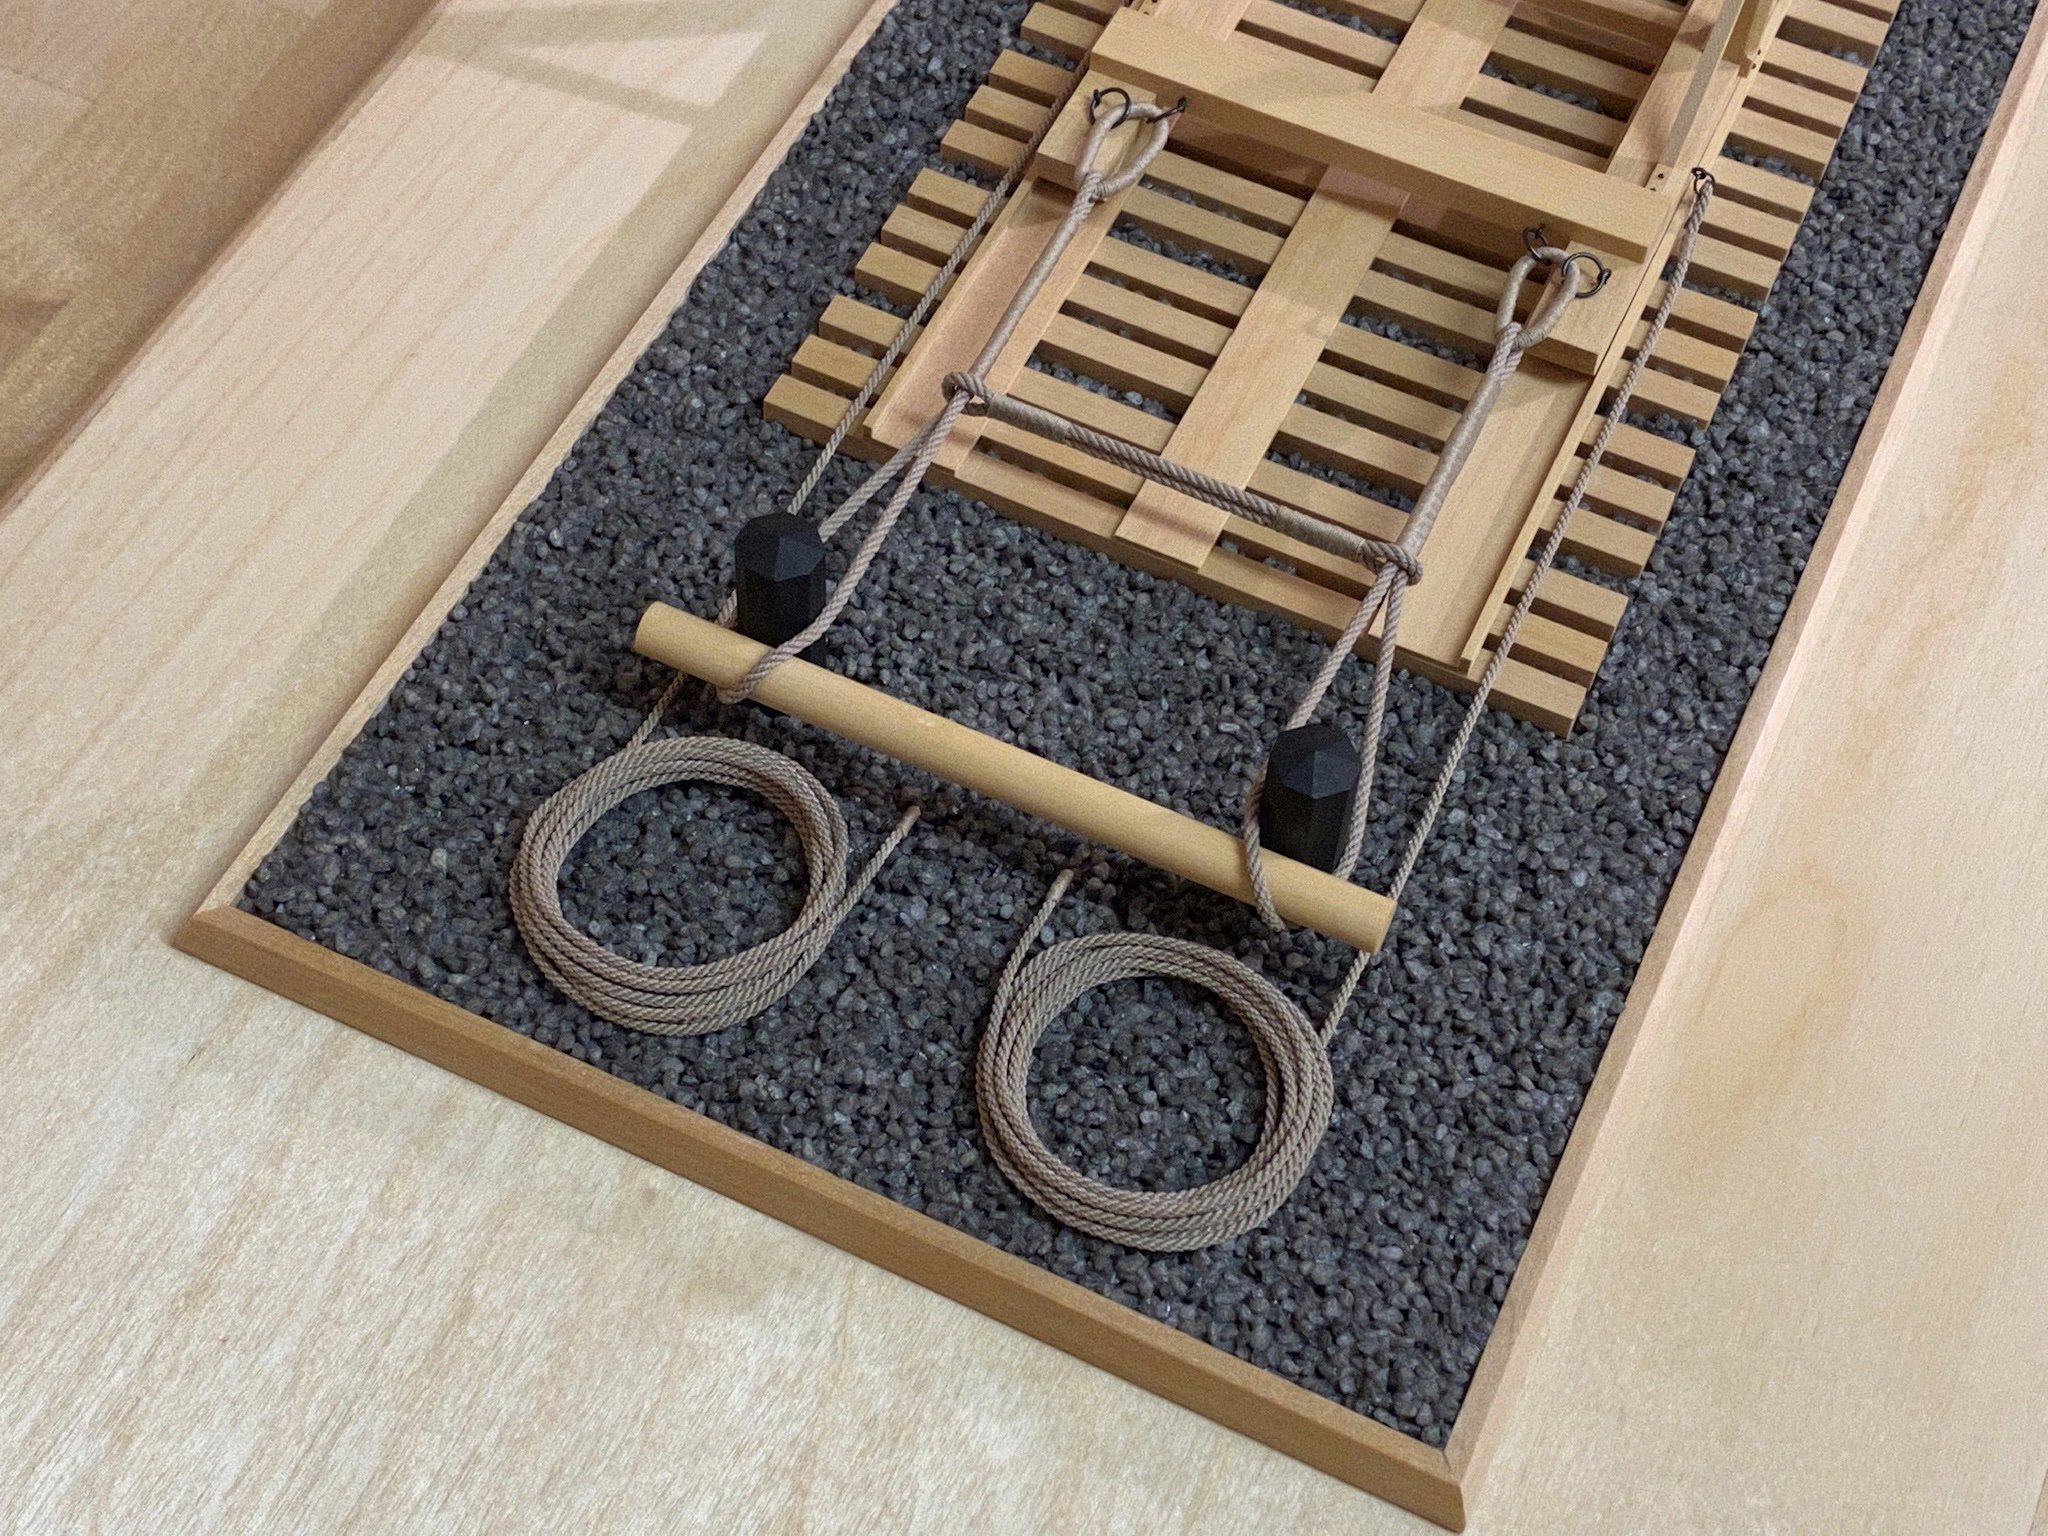
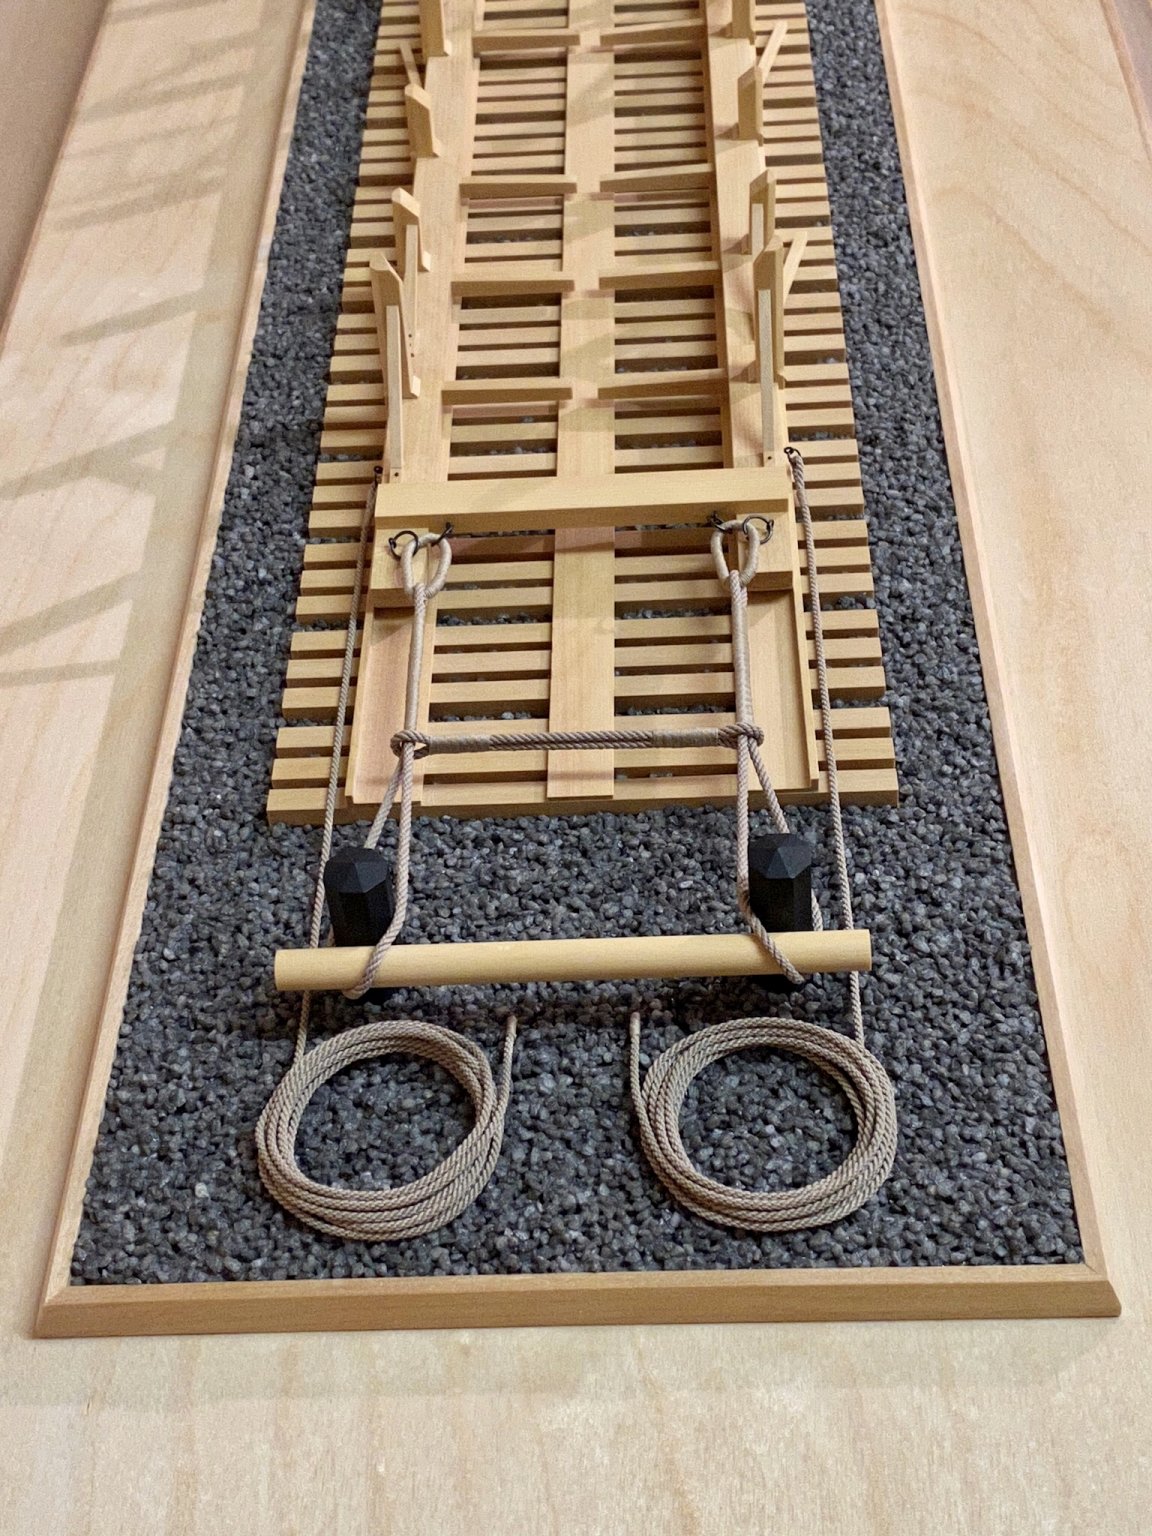
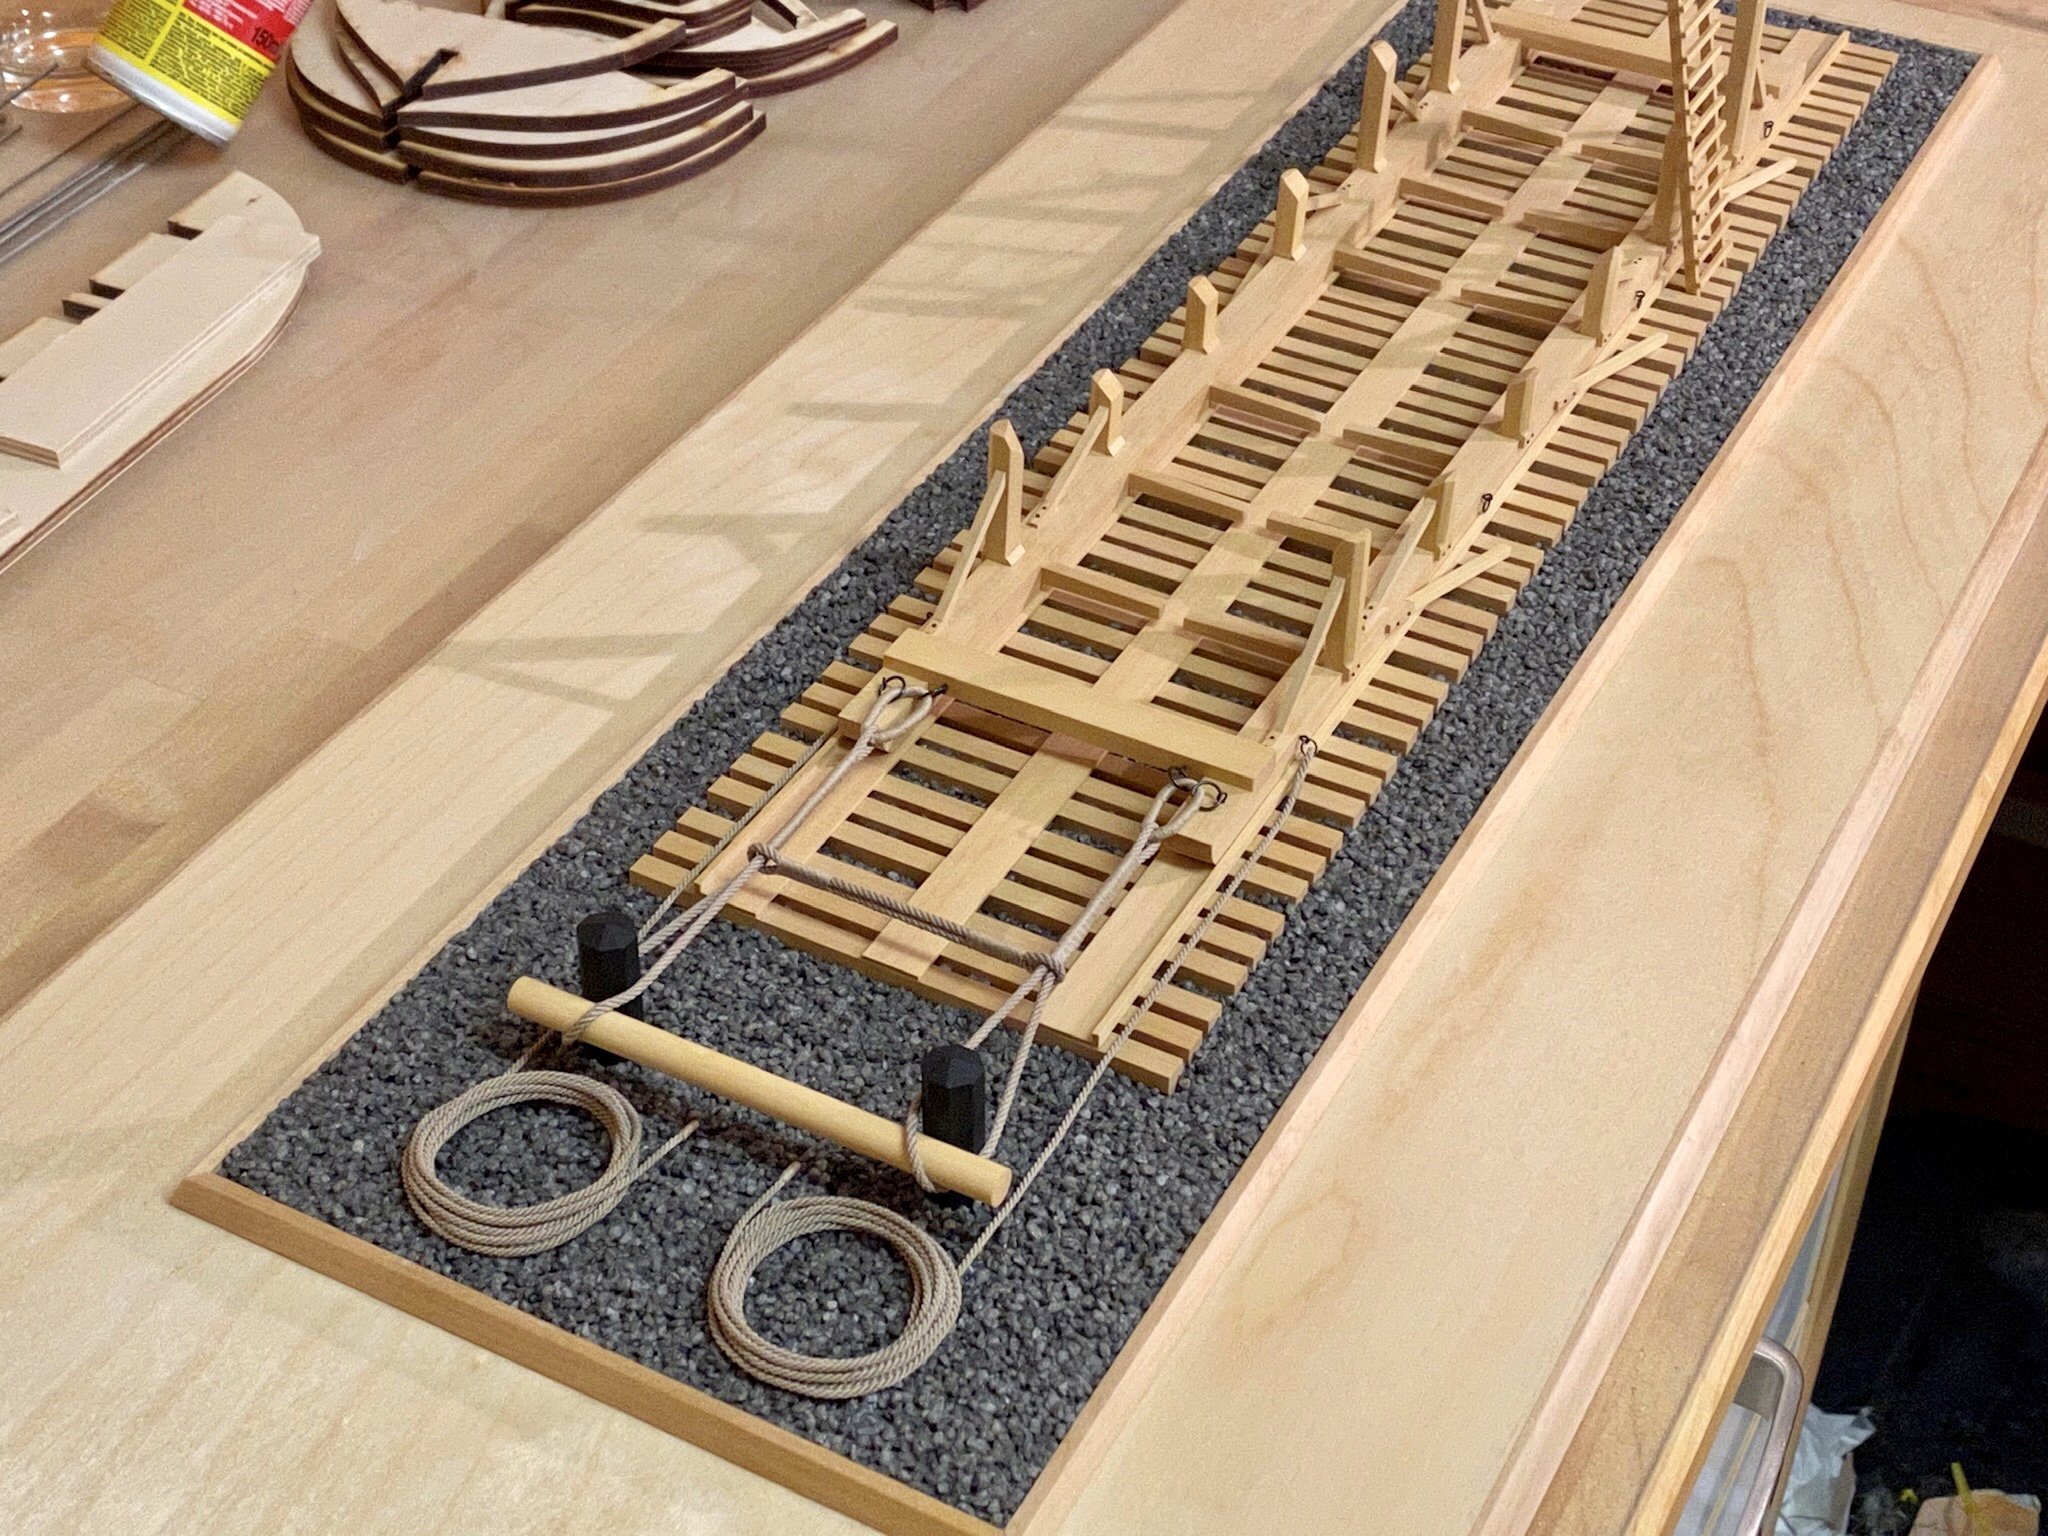
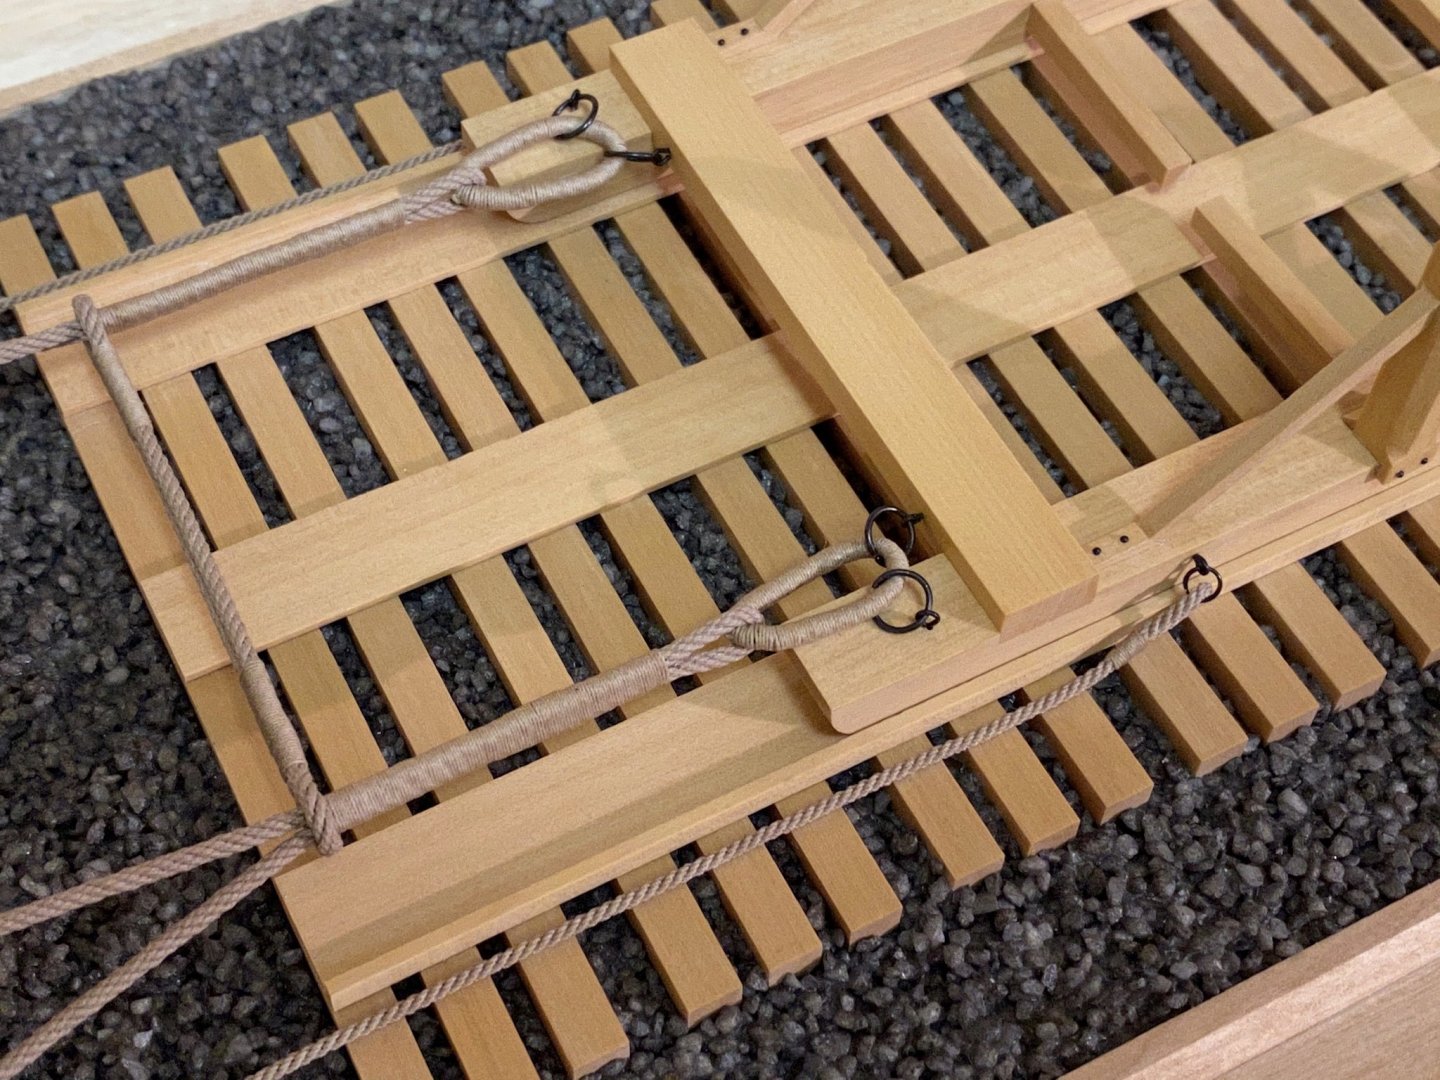
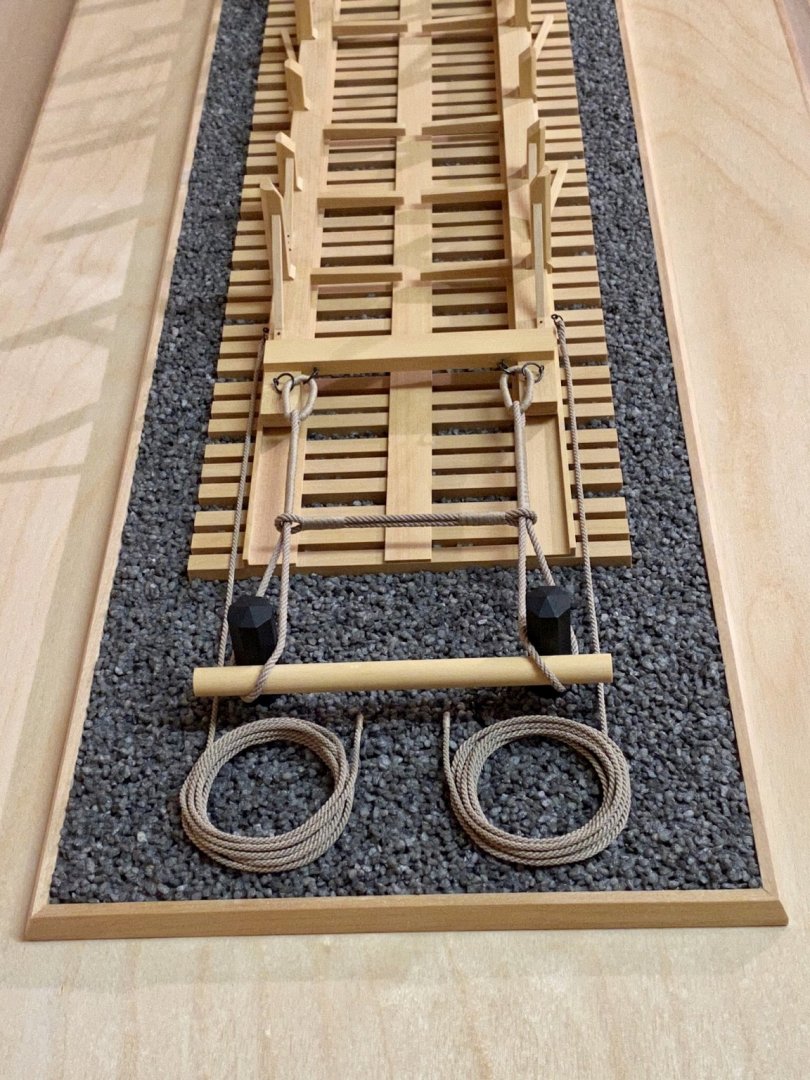
The ropework on the base has been finished. So it is finally ready for mounting the AVS on it. The anchor buoys are next..


- 231 replies
-
- 12
-
-
- model shipways
- armed virginia sloop
- (and 1 more)
-
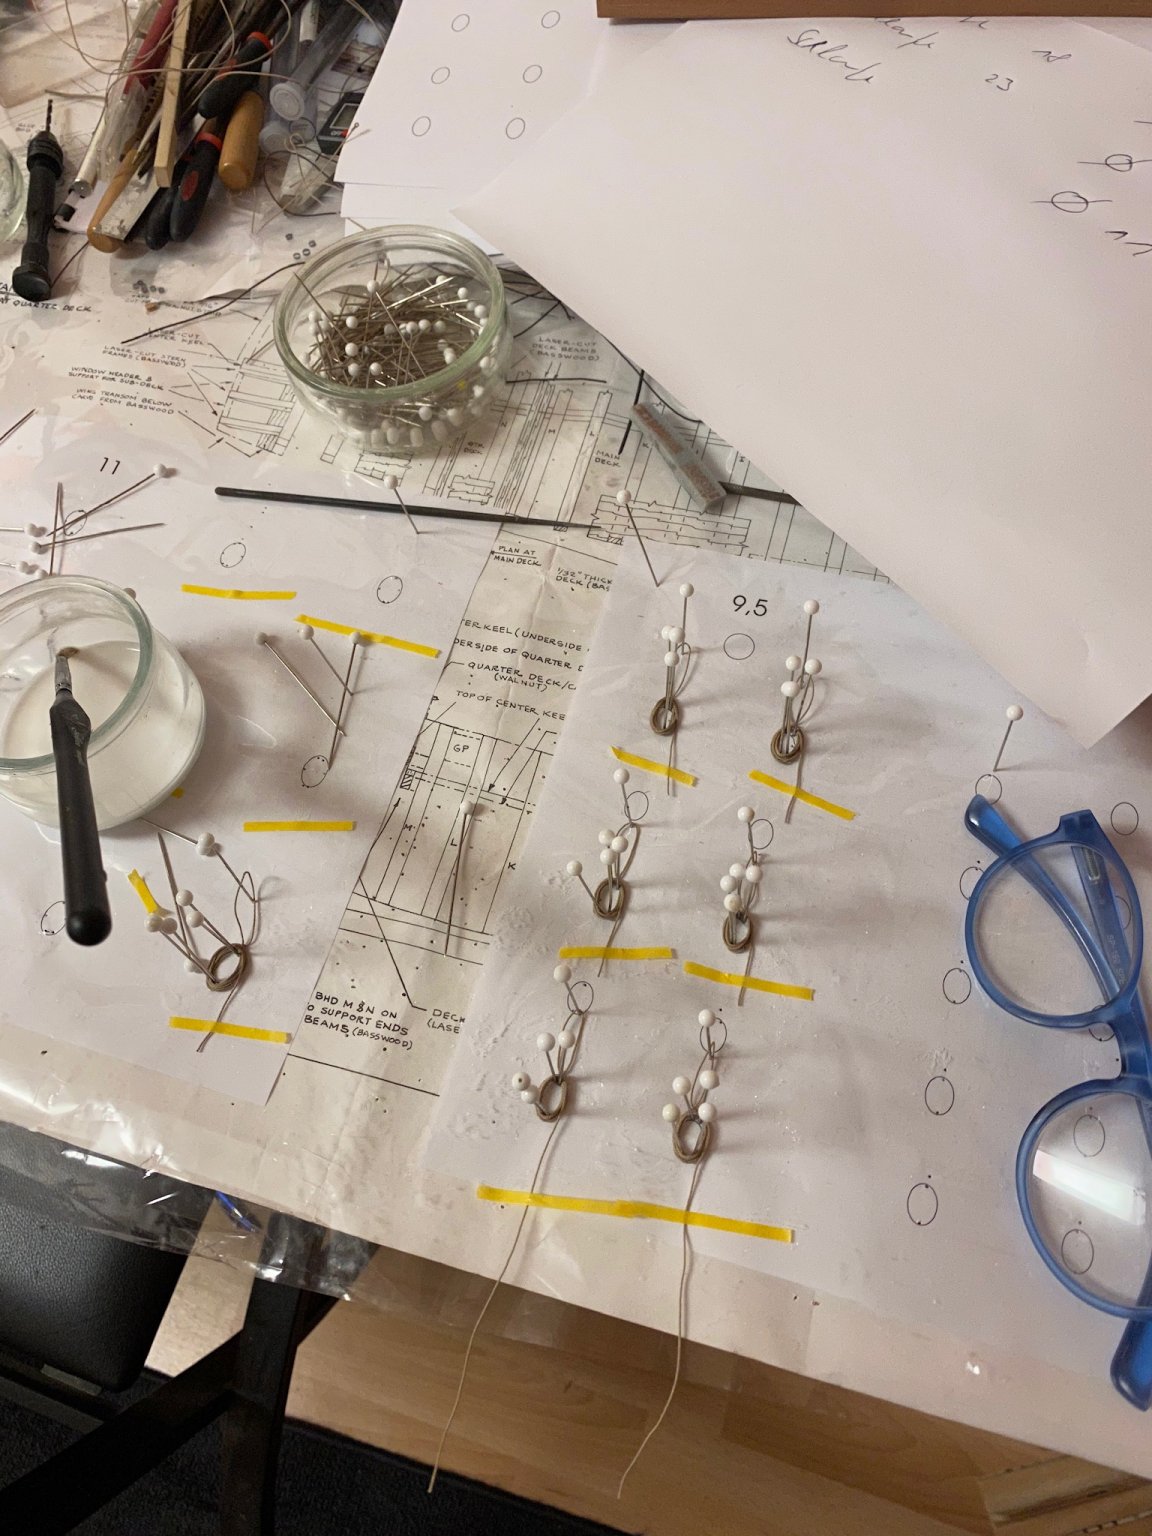
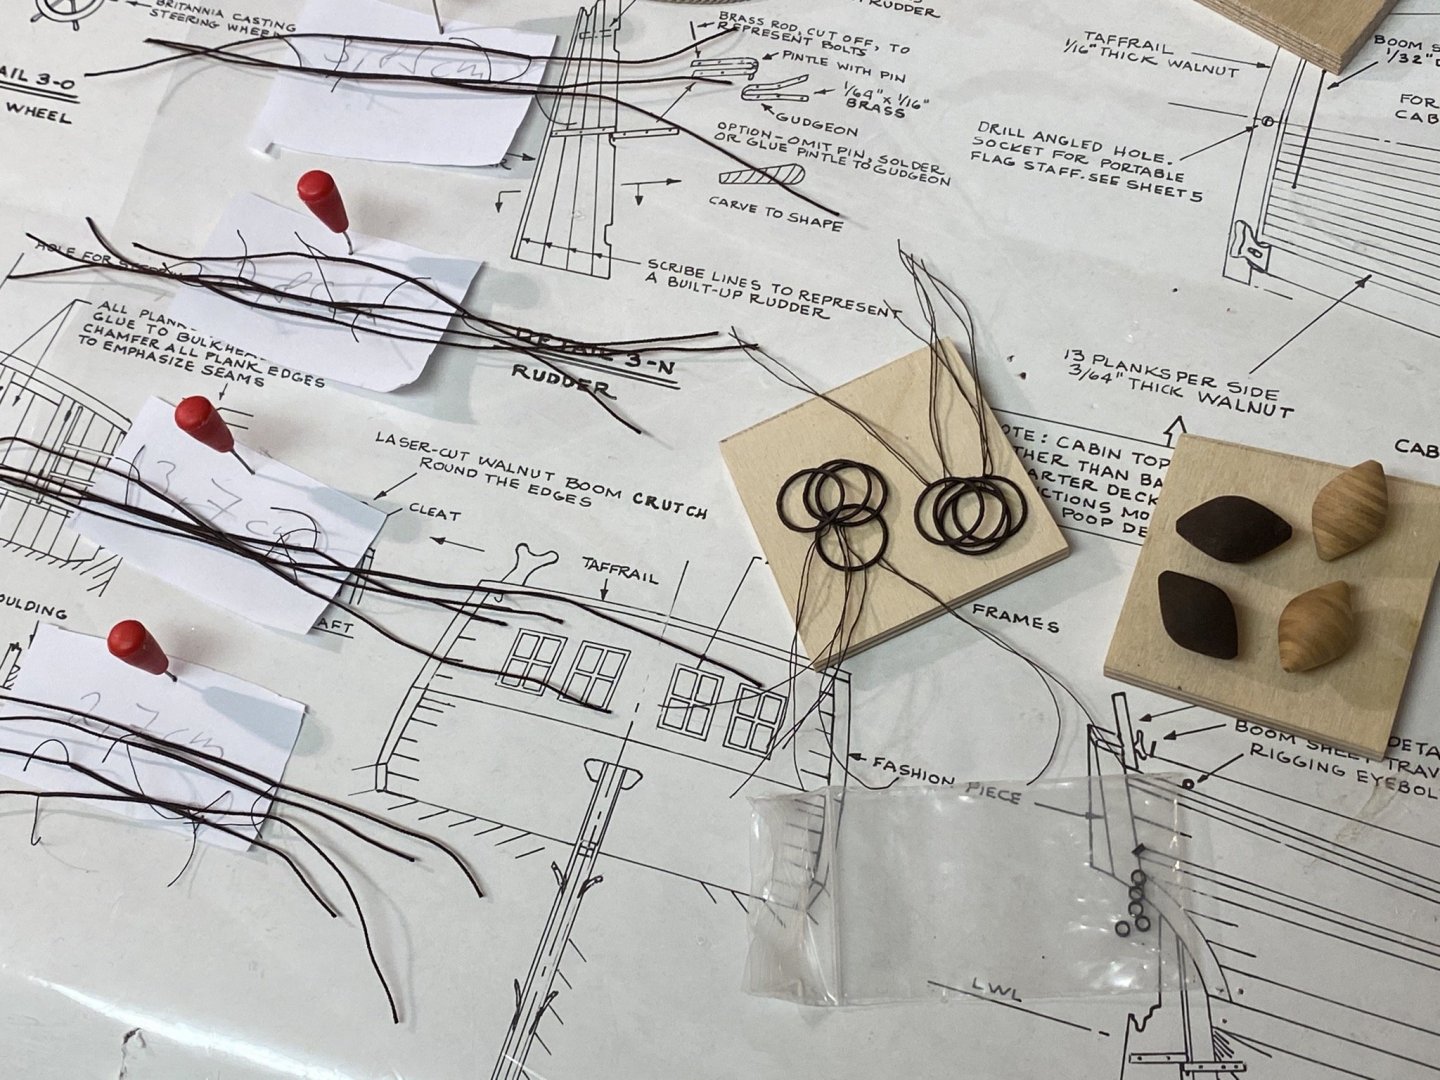
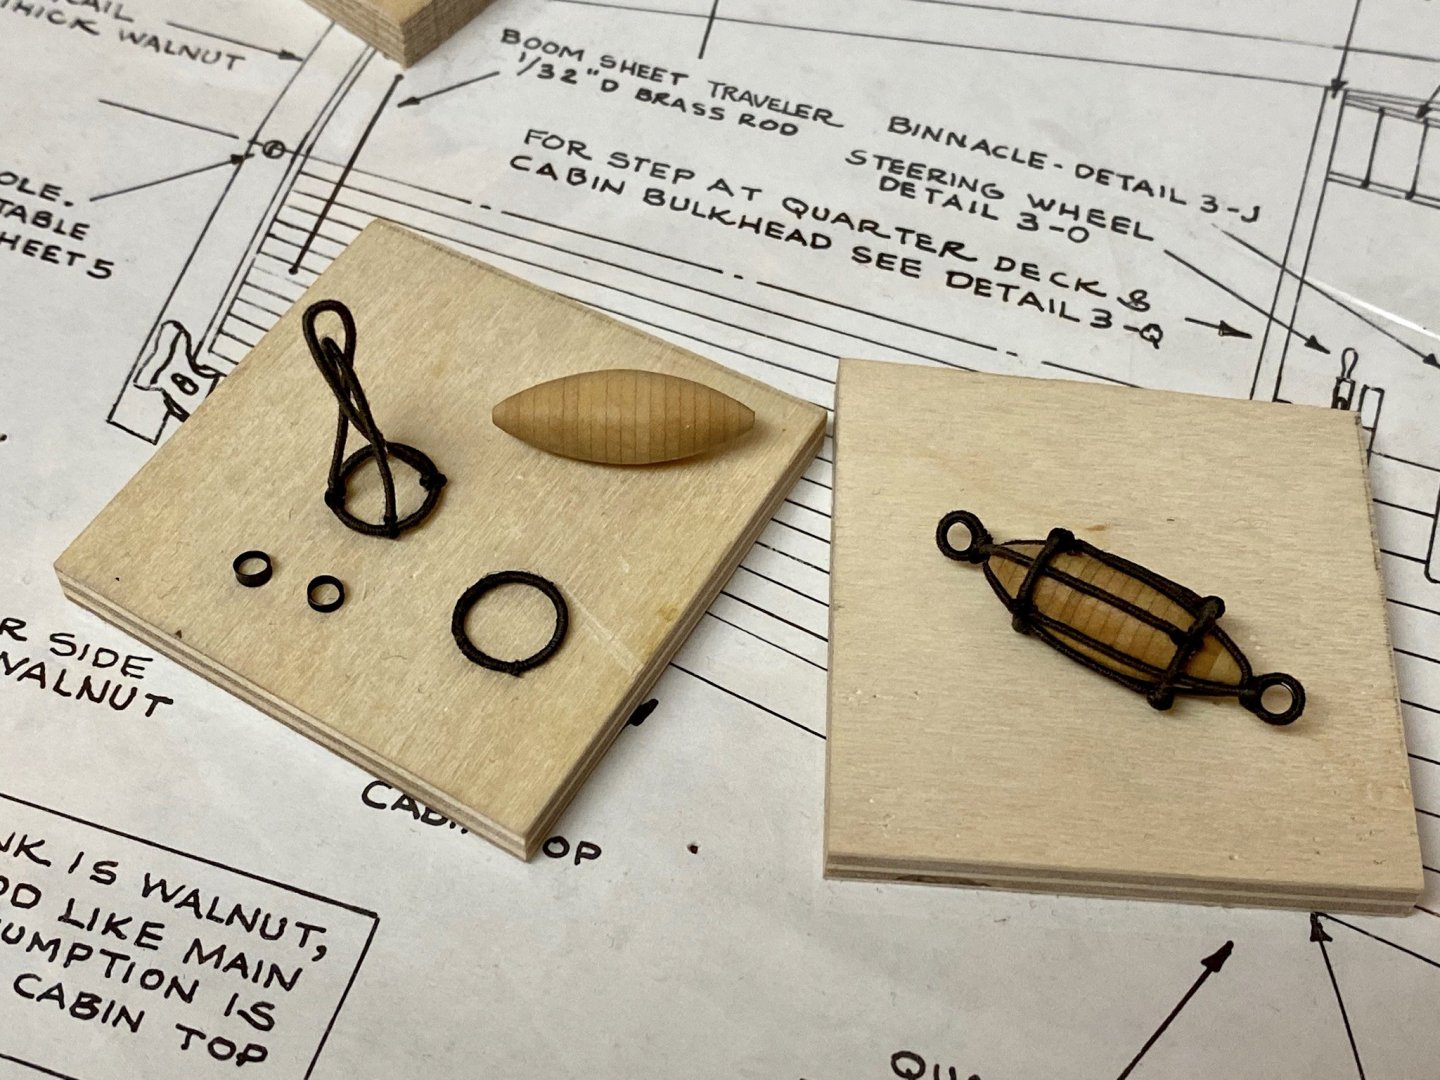
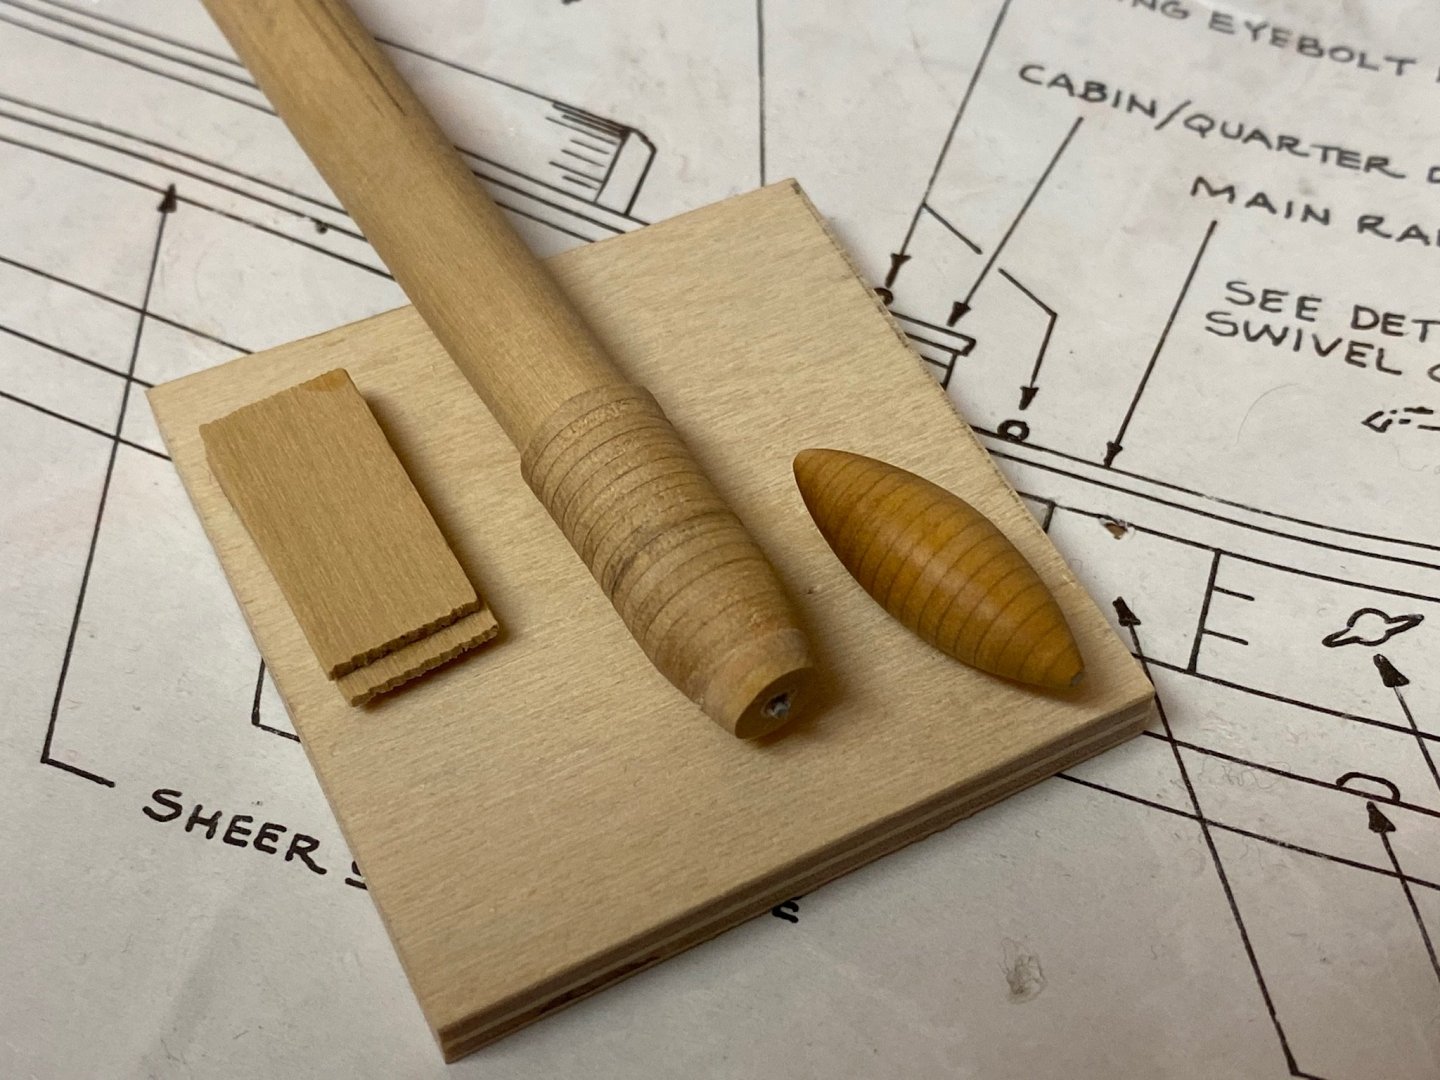
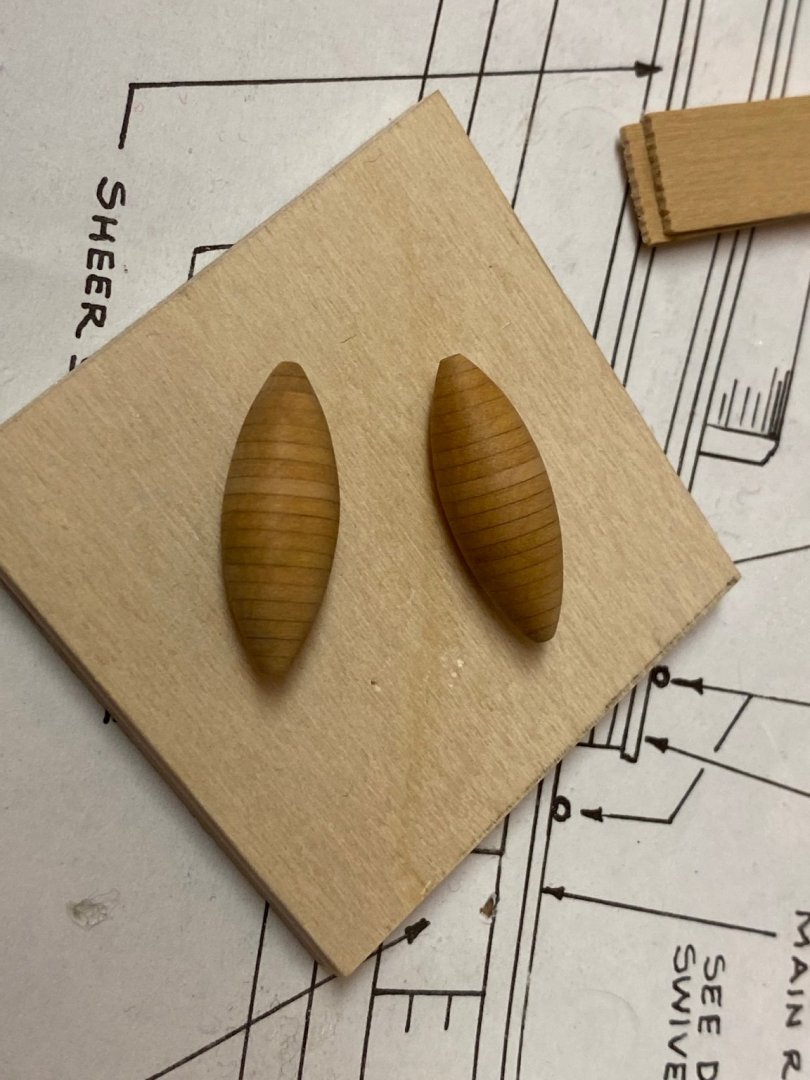
I studied several pictures and drawings of anchor buoys and experimented with different shapes. As they are originally made of several layers of cork there was either the option to paint the blank ones I made before dark brown or to simulate the layers with thin layers of boxwood. A rather bright wood color will allow to see the different layers rather than a dark colored wood like pear. I made my final templates out of 1mm sheets of boxwood glued on each other with 0.8mm steel wire inside to prevent the assembly to break when brought to shape. Did this with a needle file in my stood drill as I don‘t own a lathe (yet). Now I‘m free to worry about rigging the buoys...
- 231 replies
-
- 7
-
-
- model shipways
- armed virginia sloop
- (and 1 more)
-
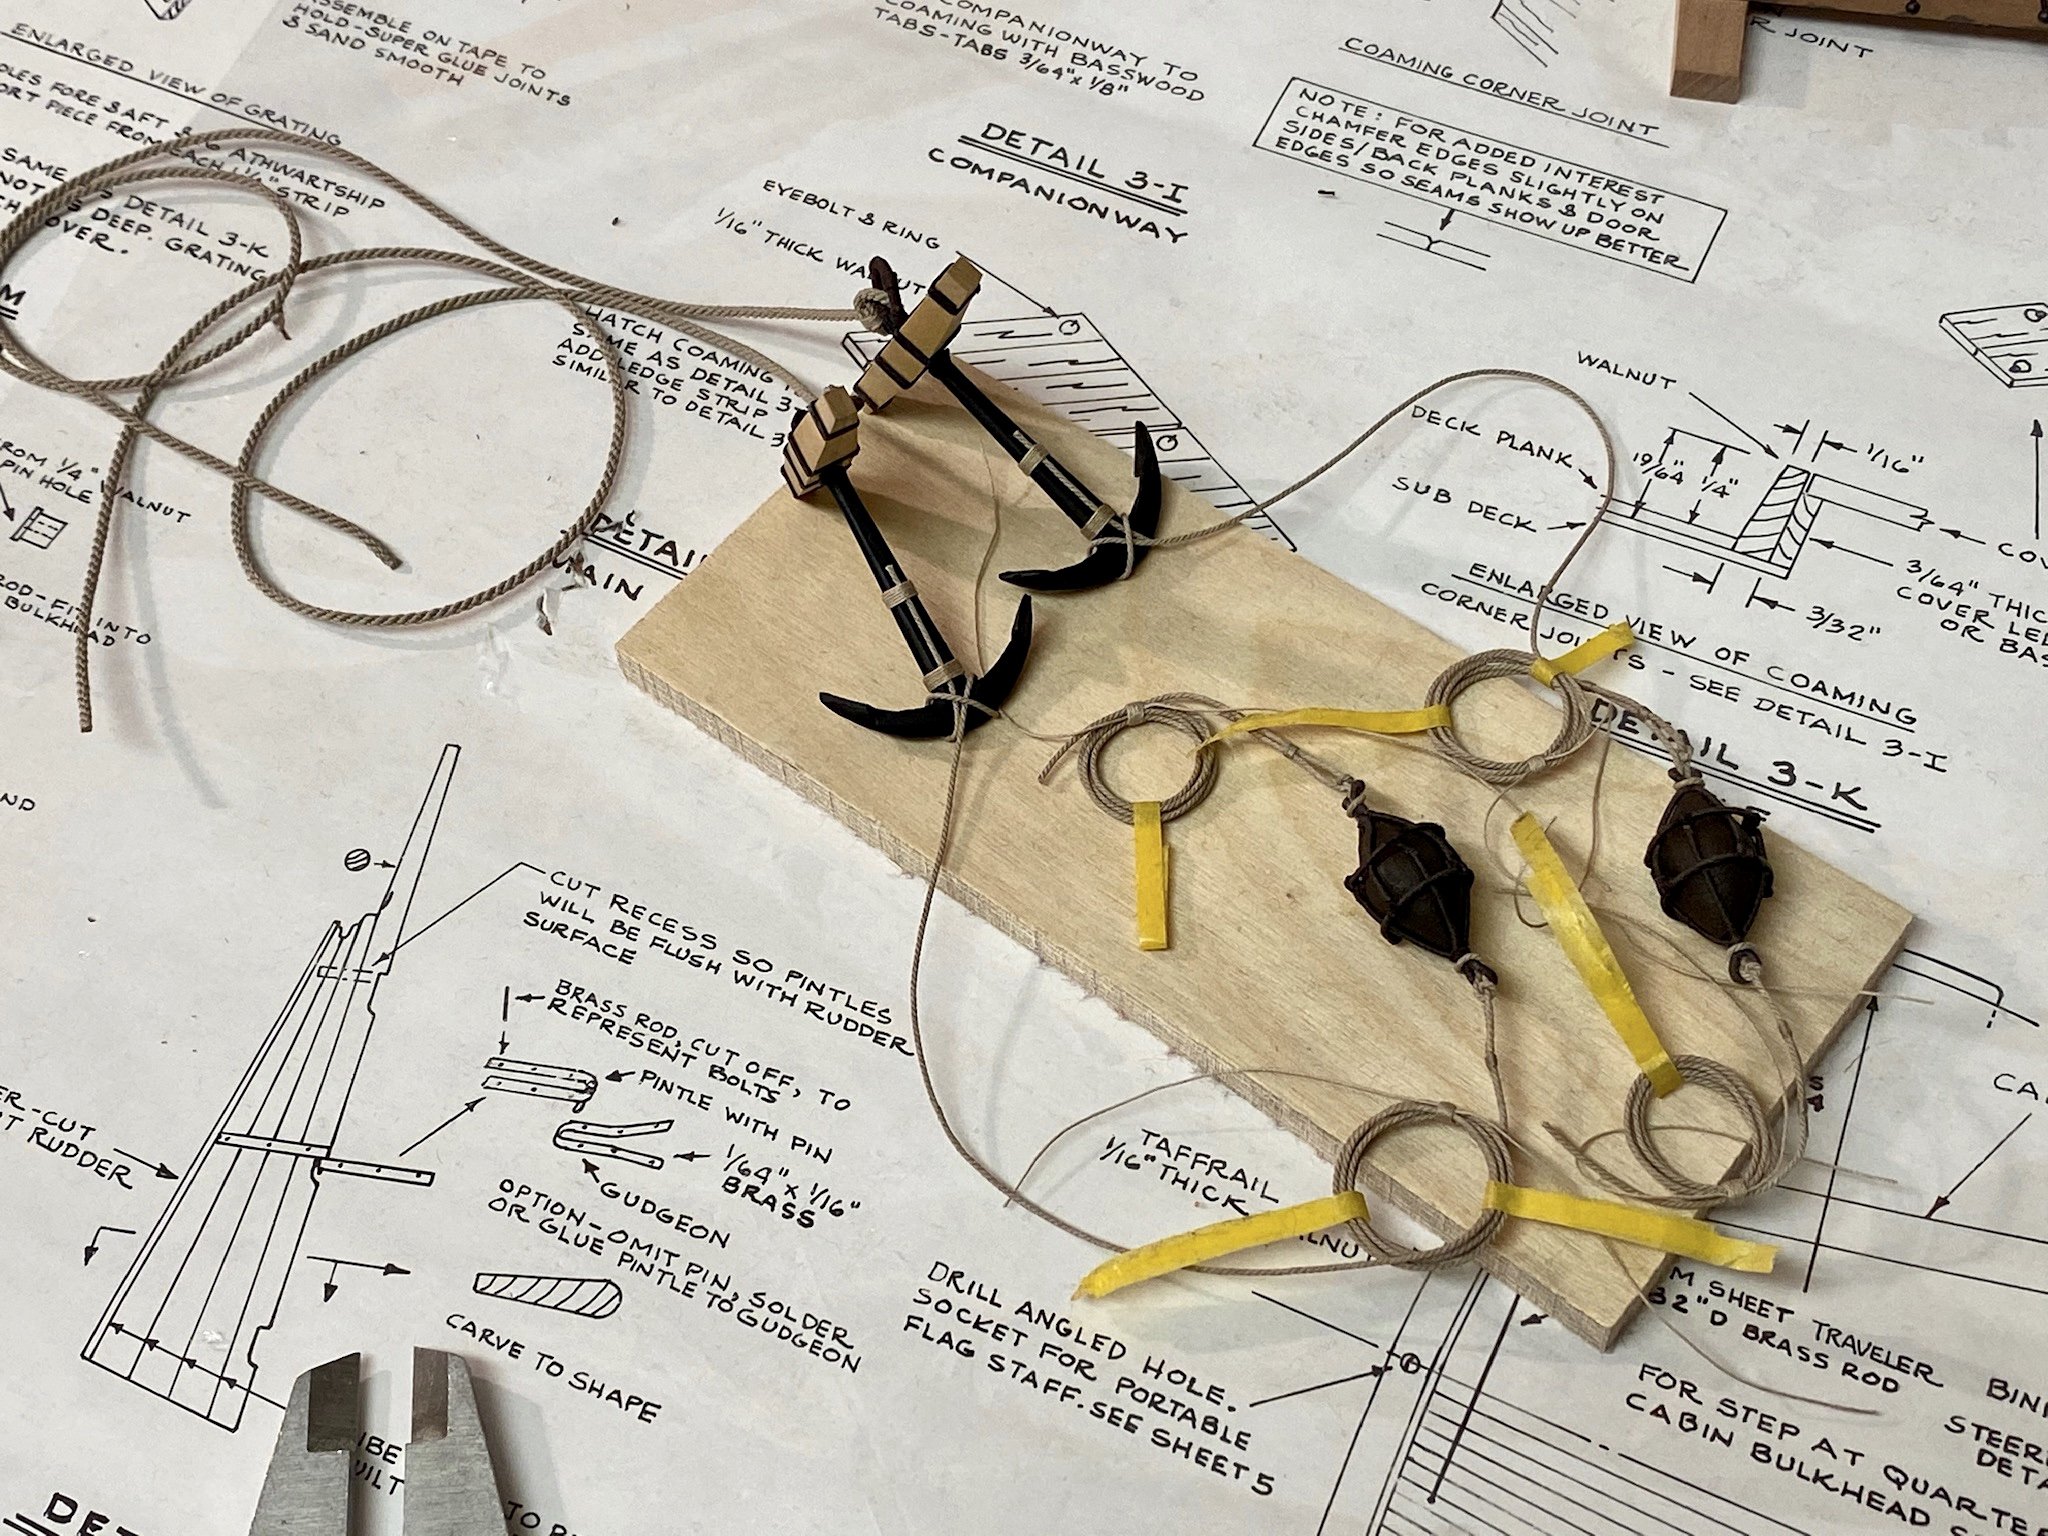
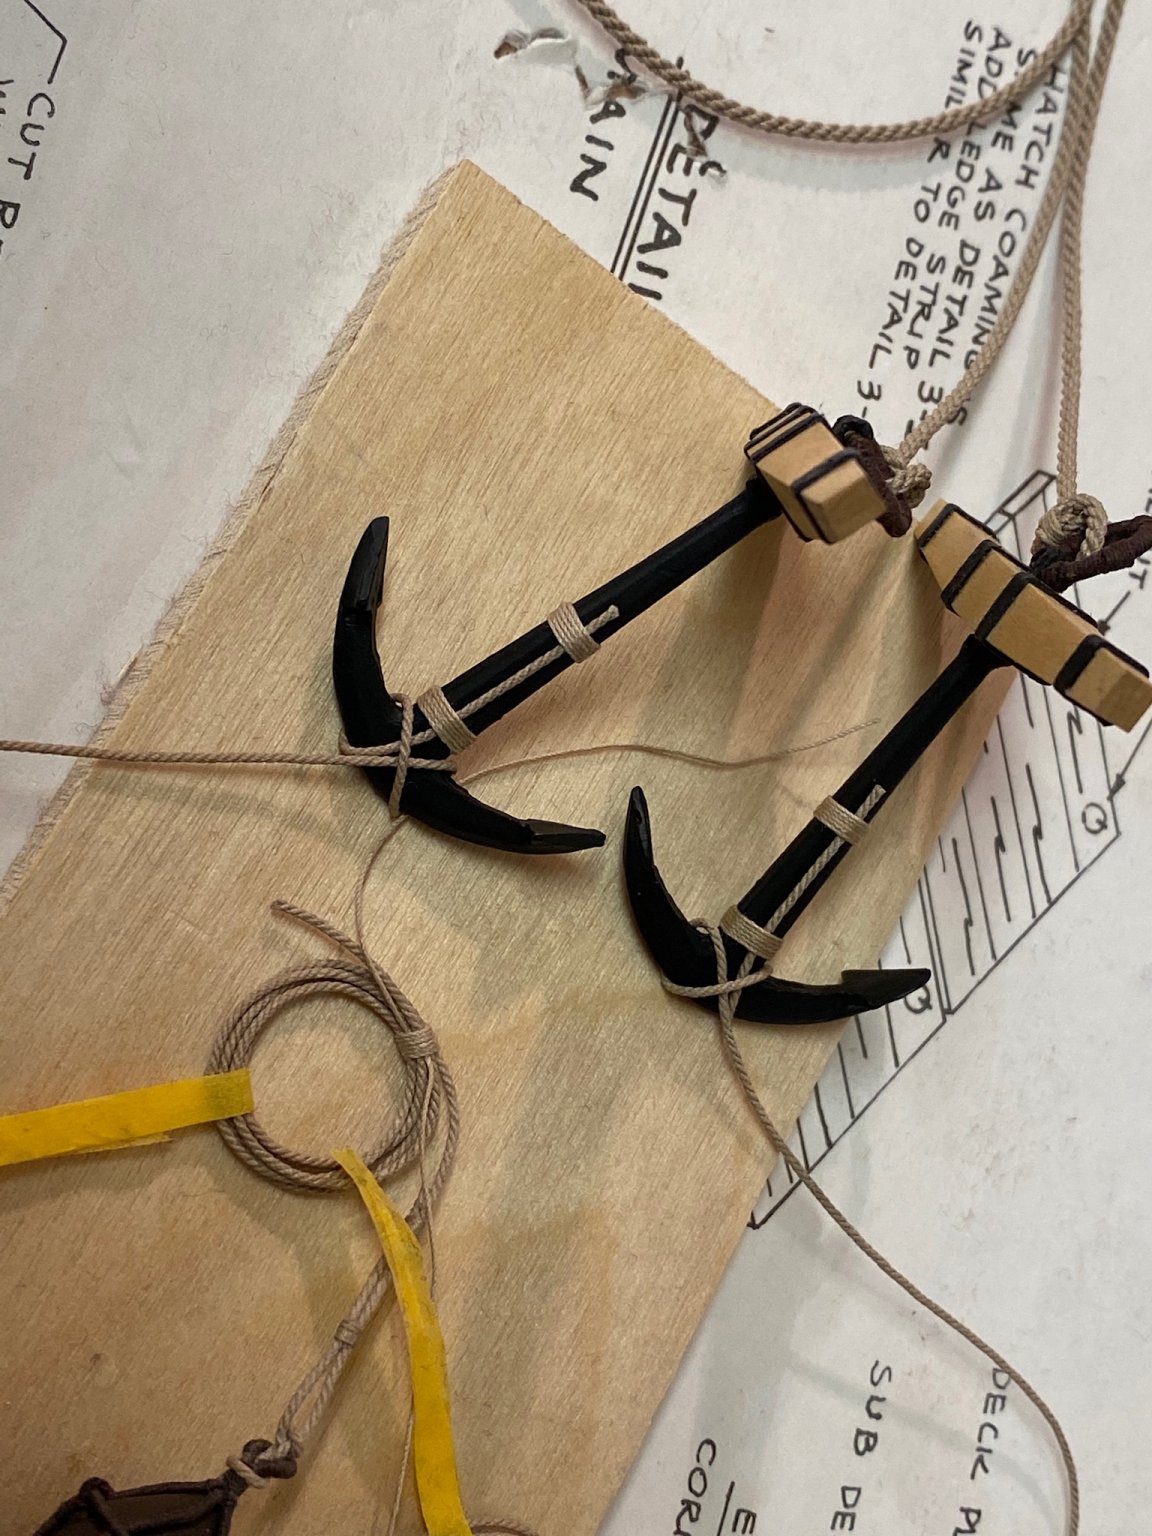
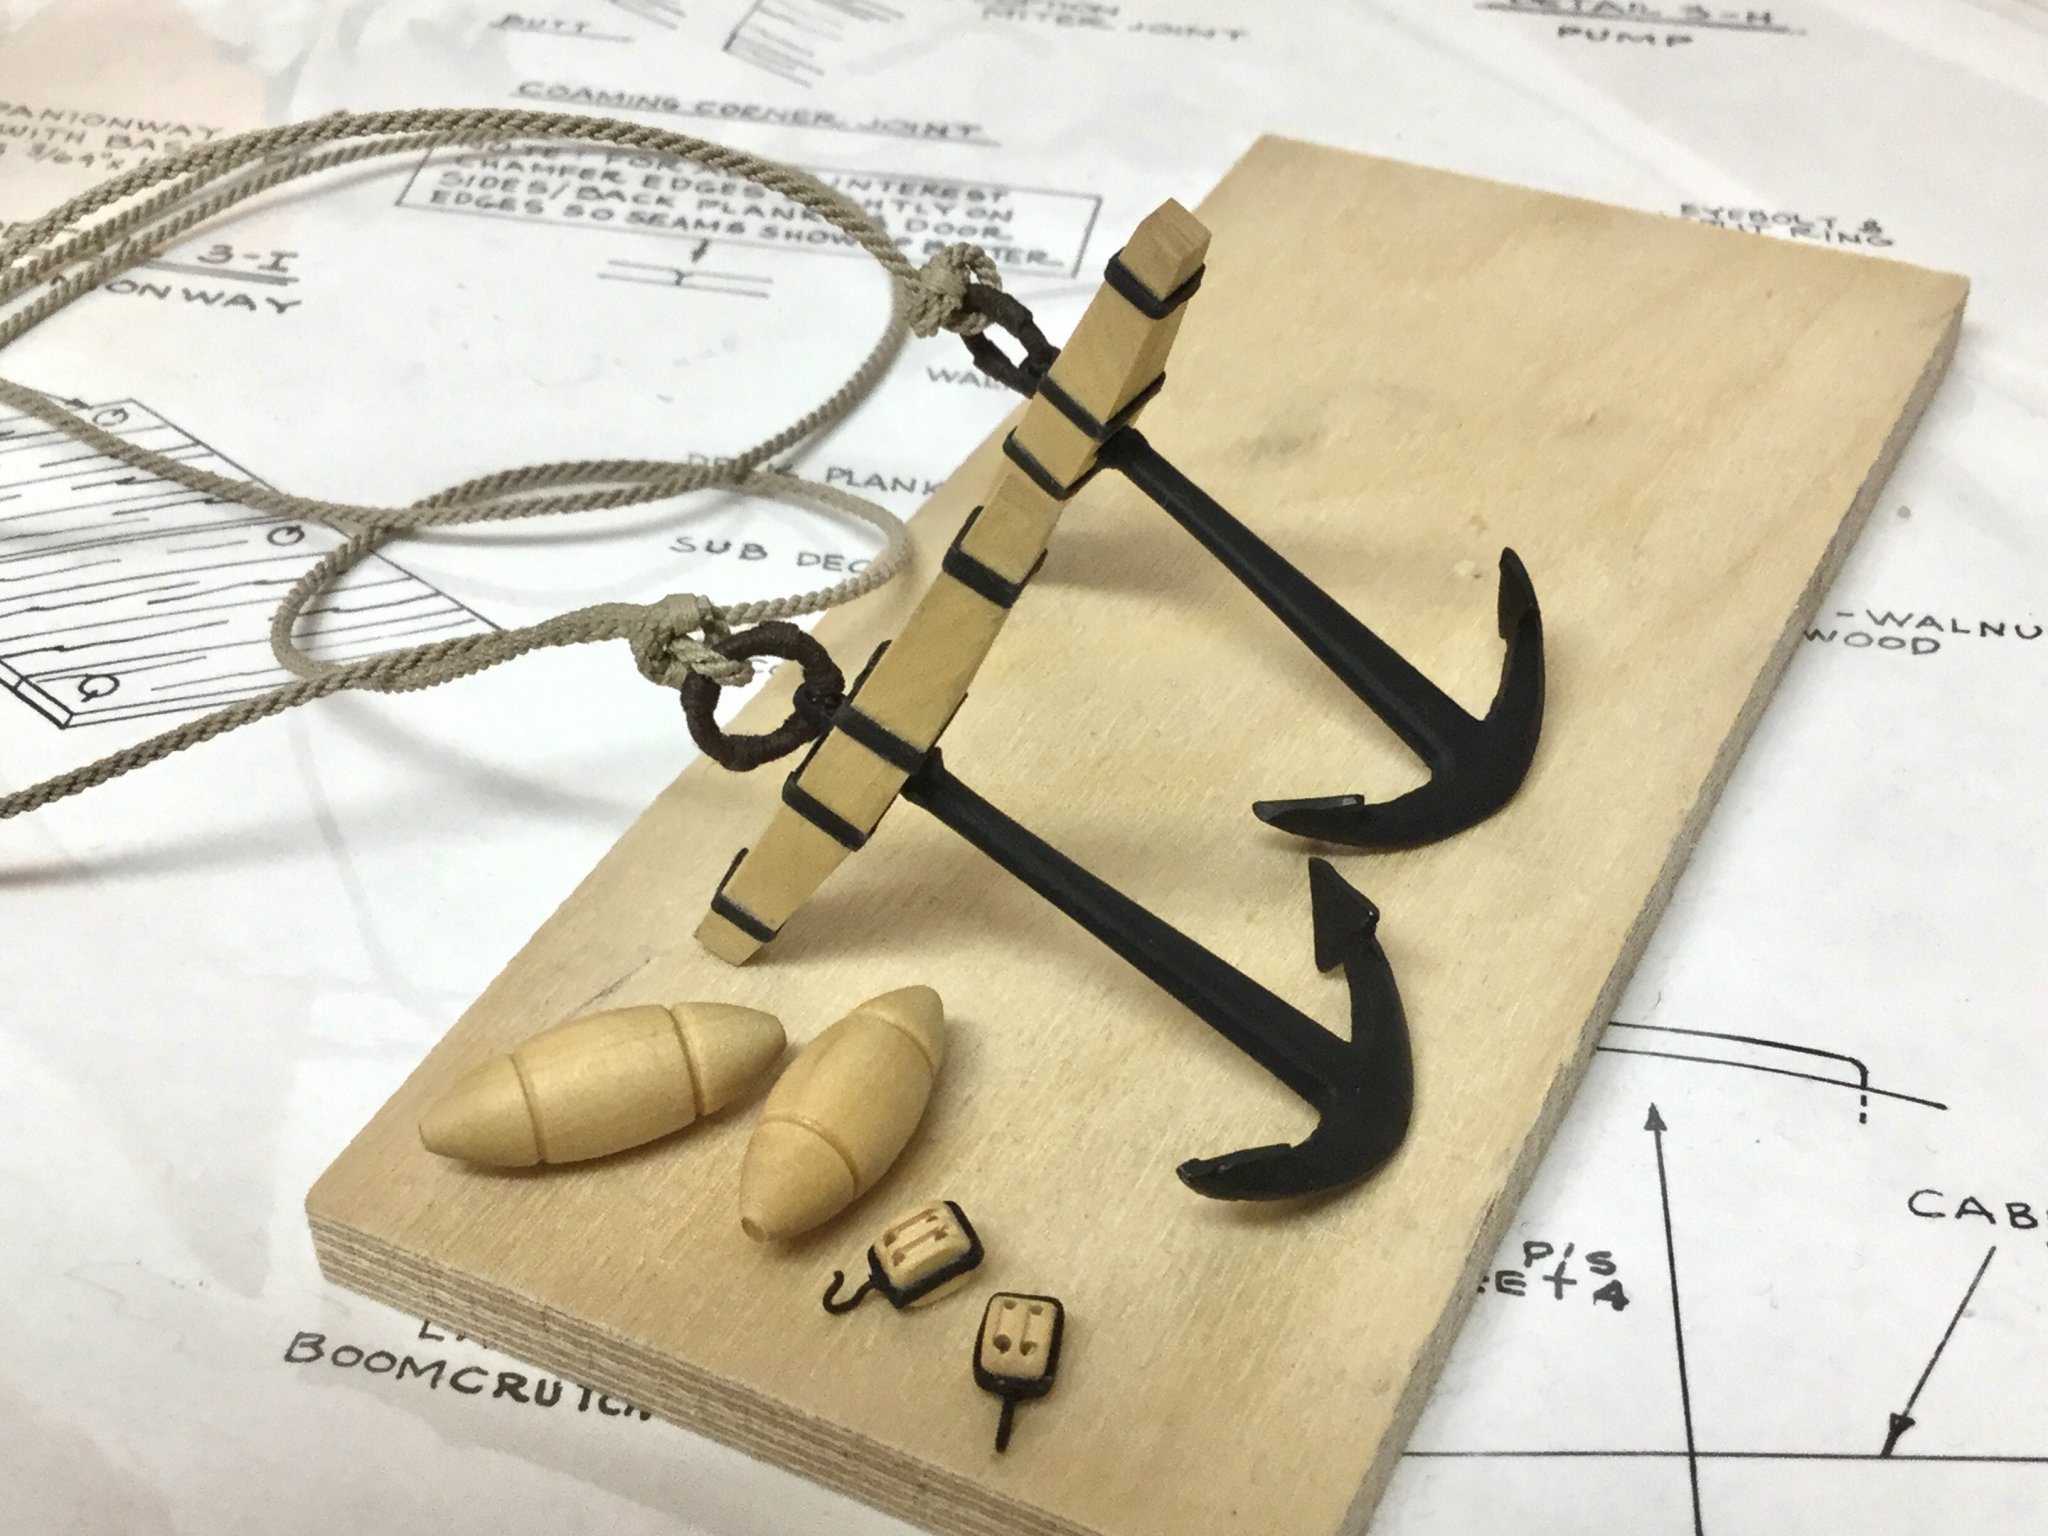
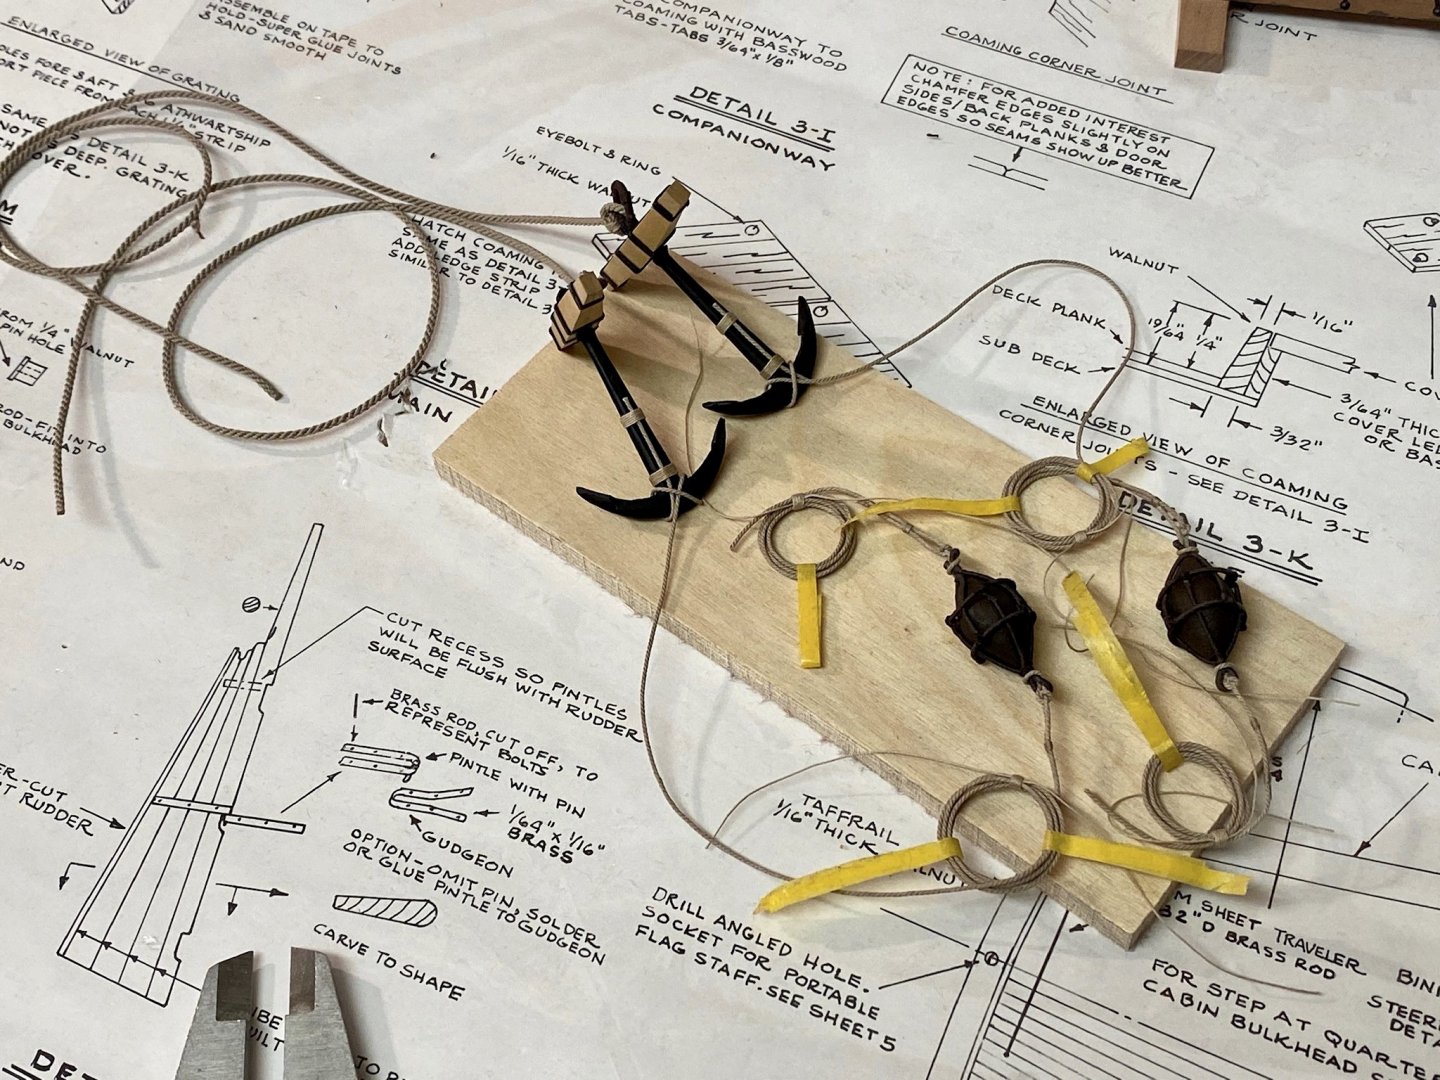
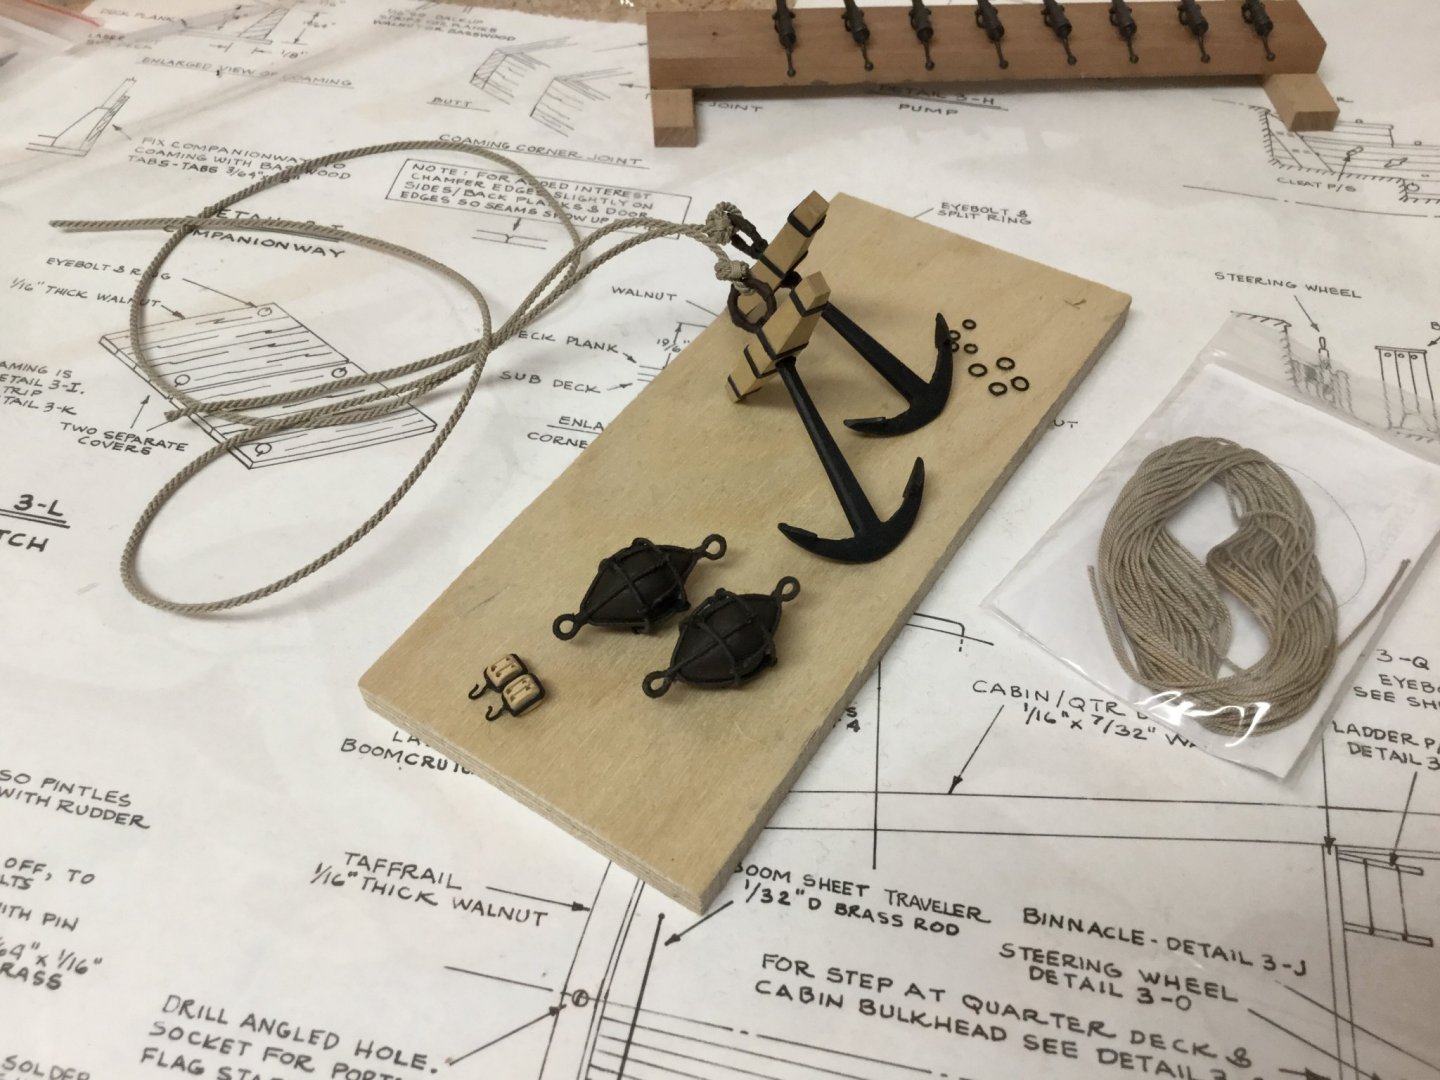
Some work on the anchors. The kit-supplied ones are very small, so I decided to use some bigger ones. Served the ring with .008 rope. Attached the anchor cable with a knot I found in Mondfelds „Ship models“ book. Surrounded two 3/16 double blocks with black card to simulate an iron band and attached two hooks made of eyelets. Made two new templates for anchor buoys that looks more to scale. Although the anchor buoys are made of cork AFAIK I think about leaving them unpainted.

- 231 replies
-
- 12
-
-
- model shipways
- armed virginia sloop
- (and 1 more)
-
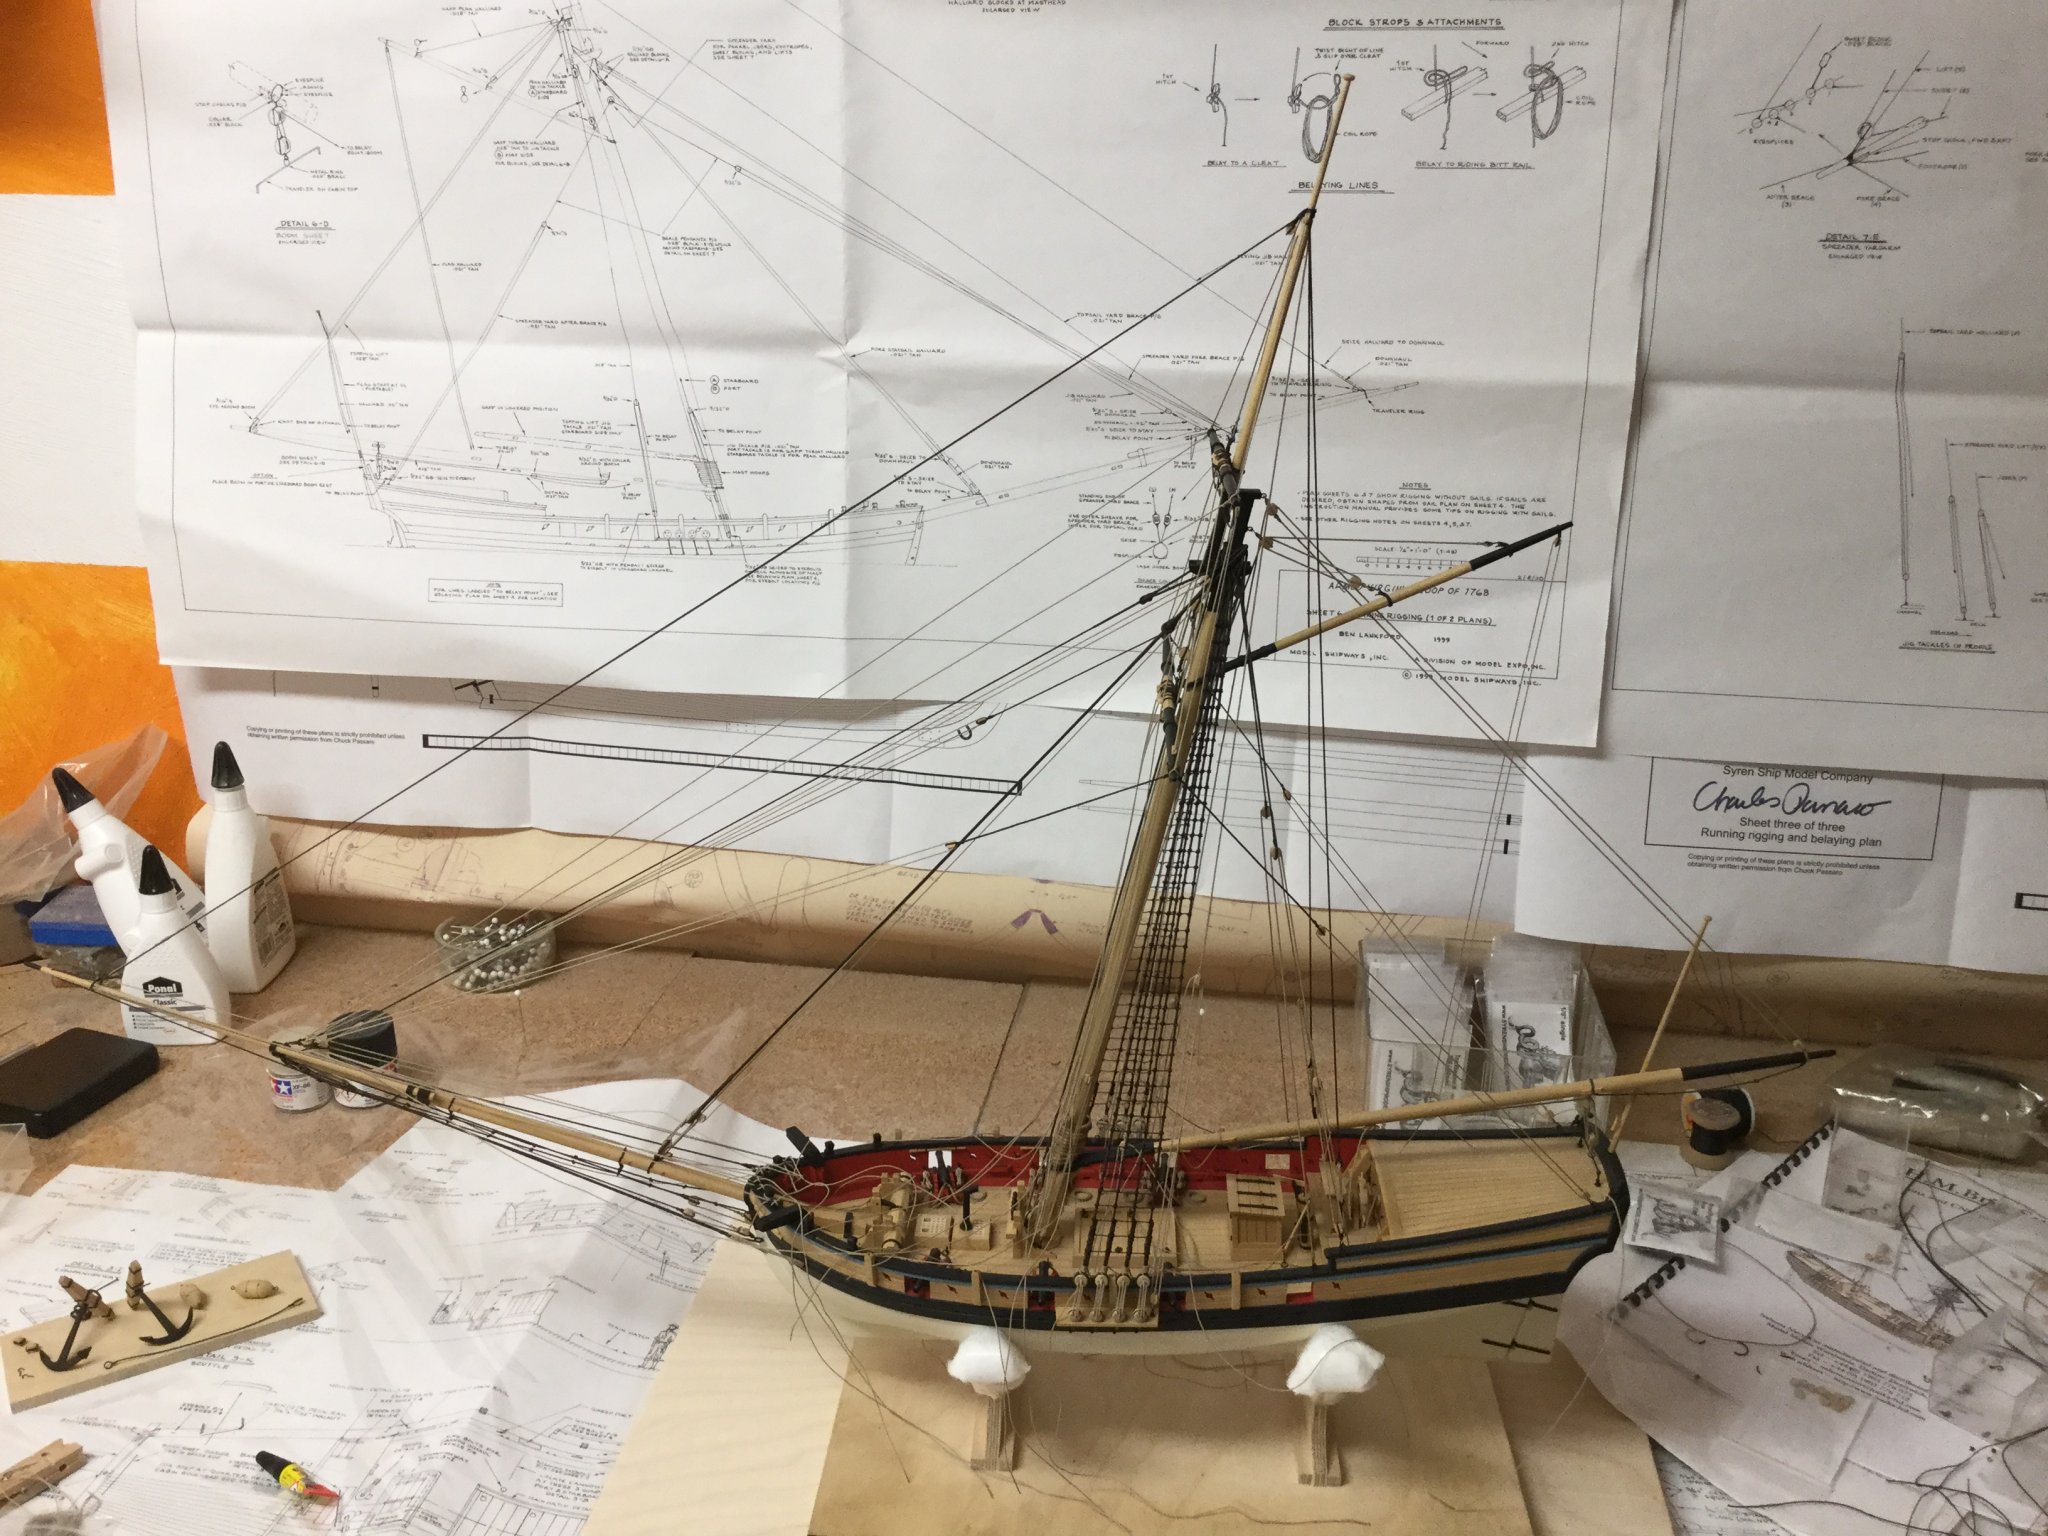
Happy new year!!! I have finished all the running rigging but still have to readjust the tension and to fix loose ends to the belay points. Unfortunately I‘m running out of tan rope and have to wait for another syren order to arrive to resupply my stock until I start to make some rope coils. Will use the time to finish the anchor and buoys and the base.


- 231 replies
-
- 11
-
-
- model shipways
- armed virginia sloop
- (and 1 more)