HOLIDAY DONATION DRIVE - SUPPORT MSW - DO YOUR PART TO KEEP THIS GREAT FORUM GOING! (Only 72 donations so far out of 49,000 members - Can we at least get 100? C'mon guys!)
×


captain_hook
-
Posts
685 -
Joined
-
Last visited
Content Type
Profiles
Forums
Gallery
Events
Everything posted by captain_hook
-
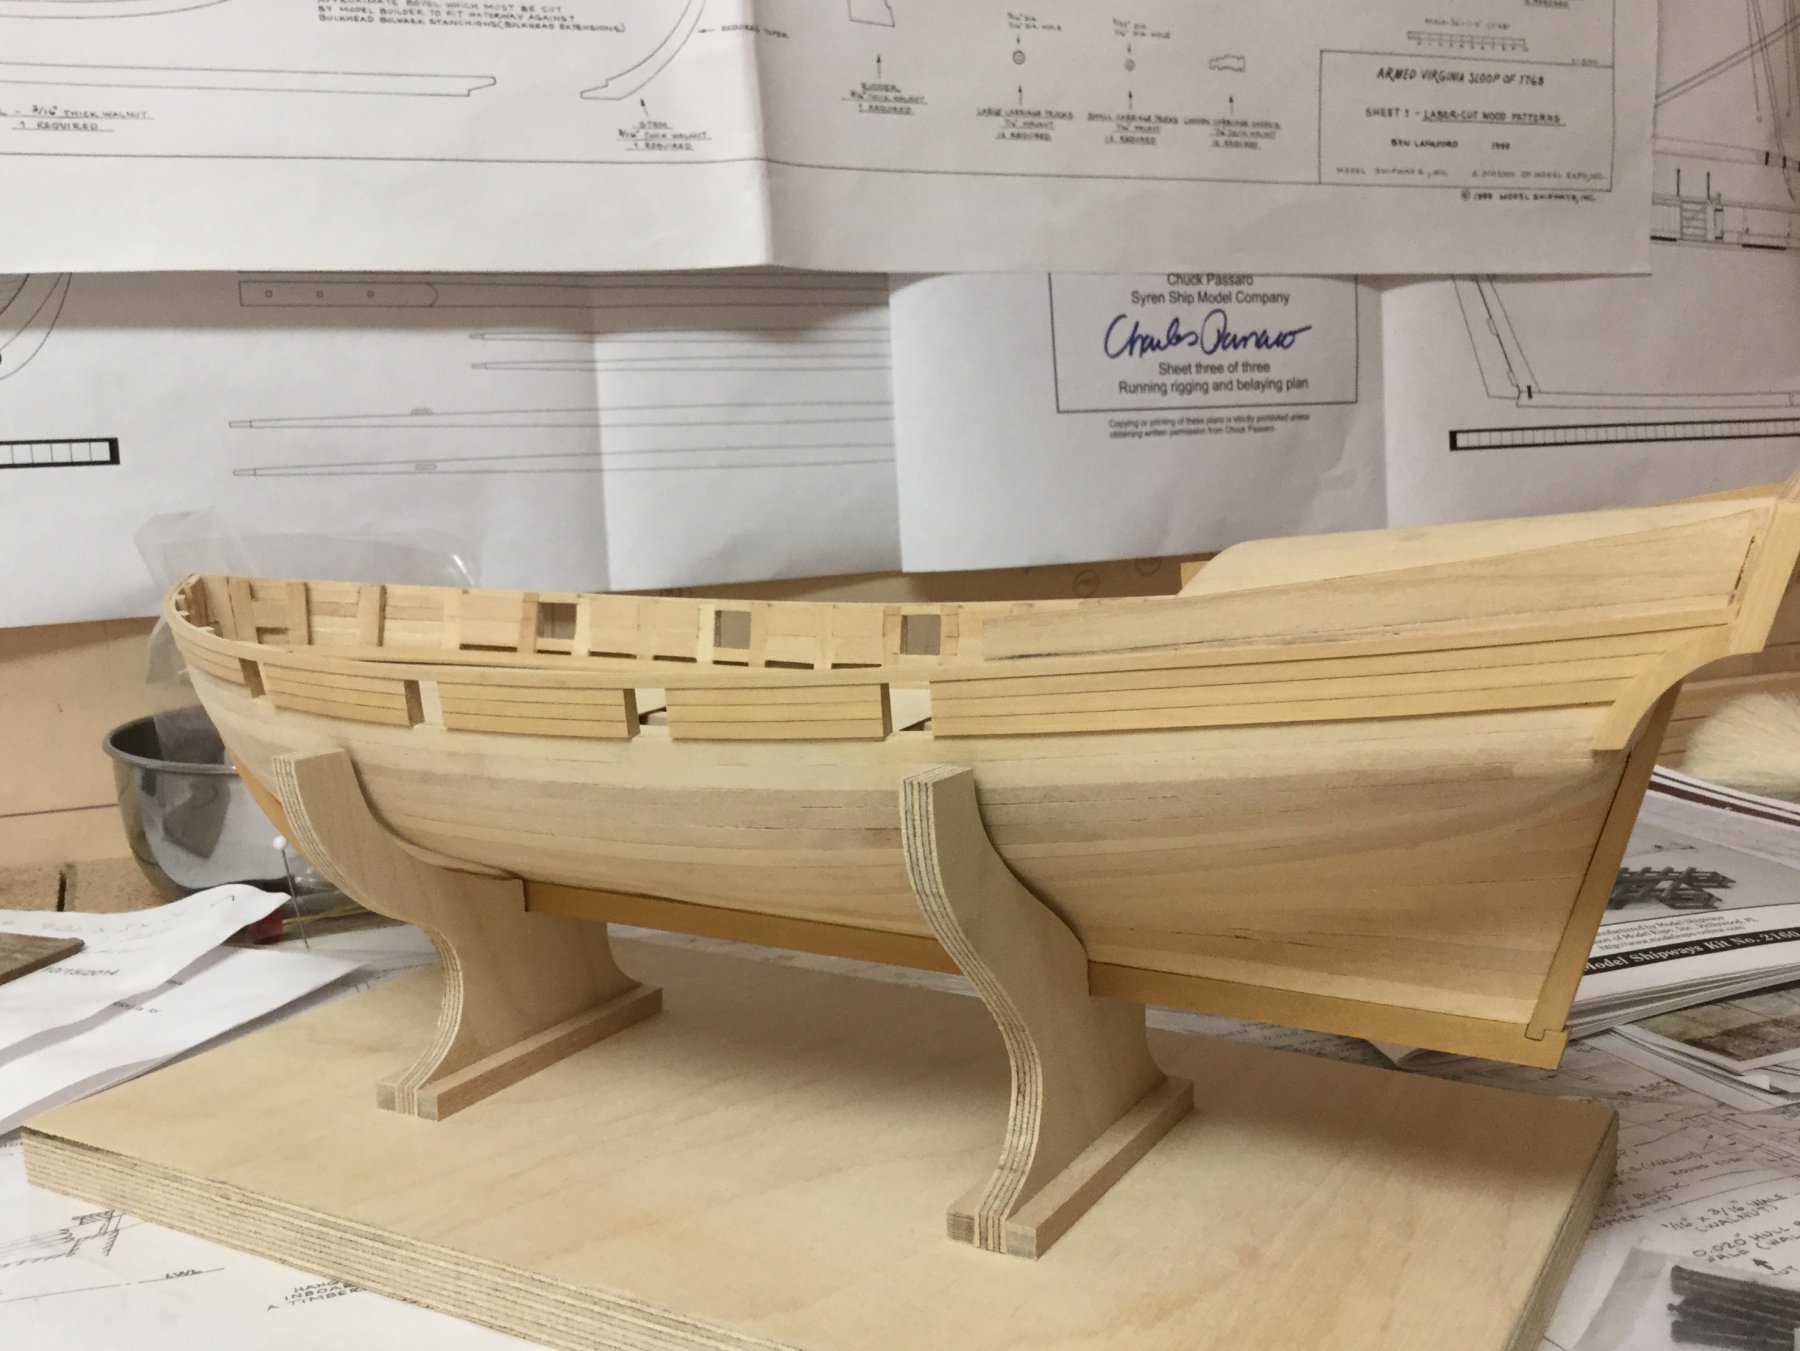
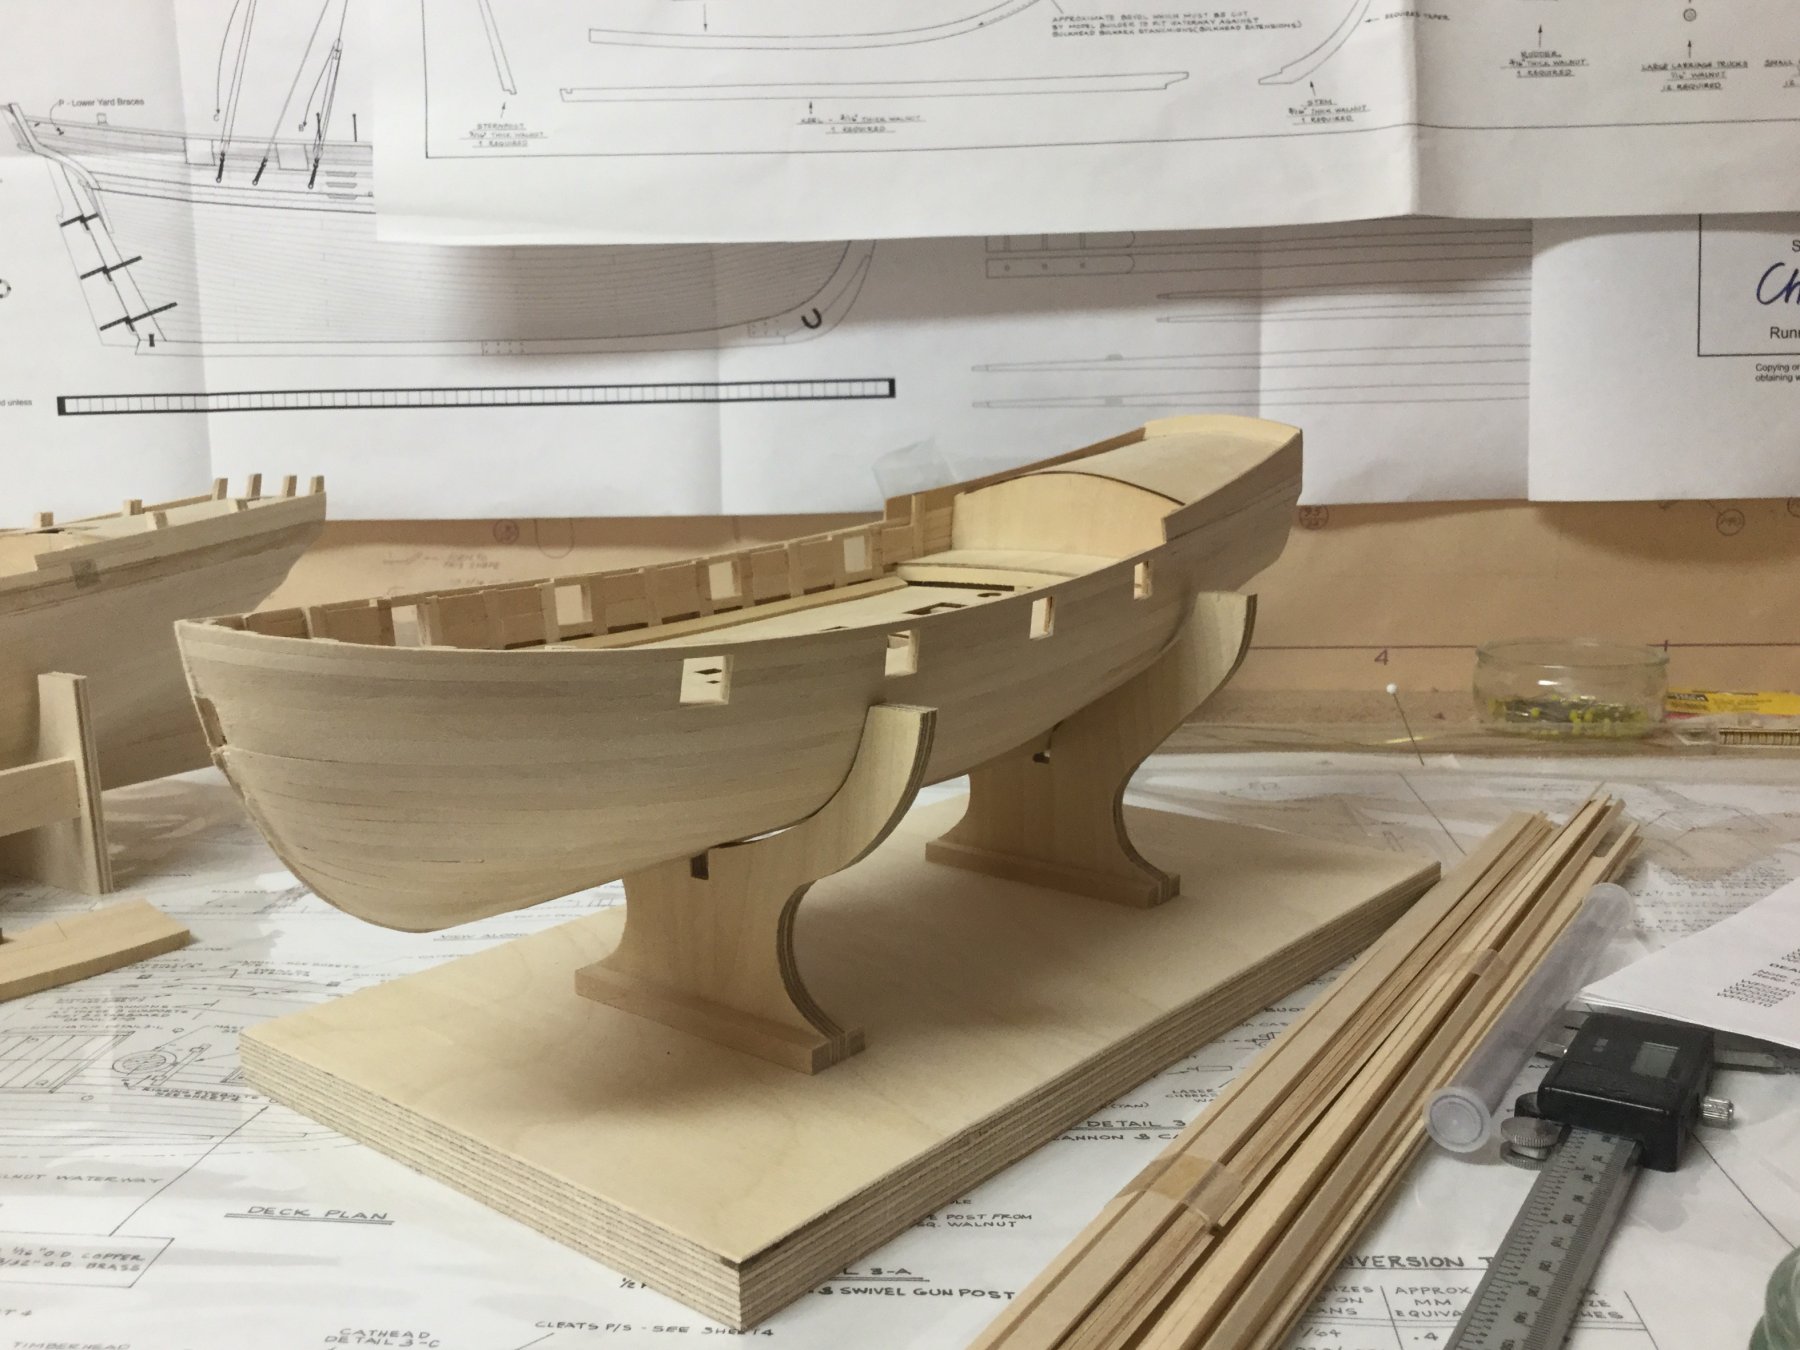
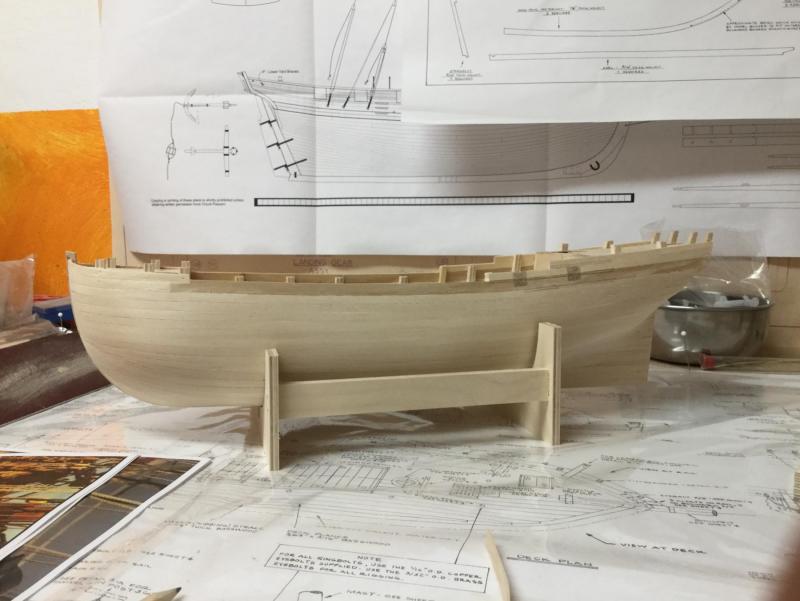
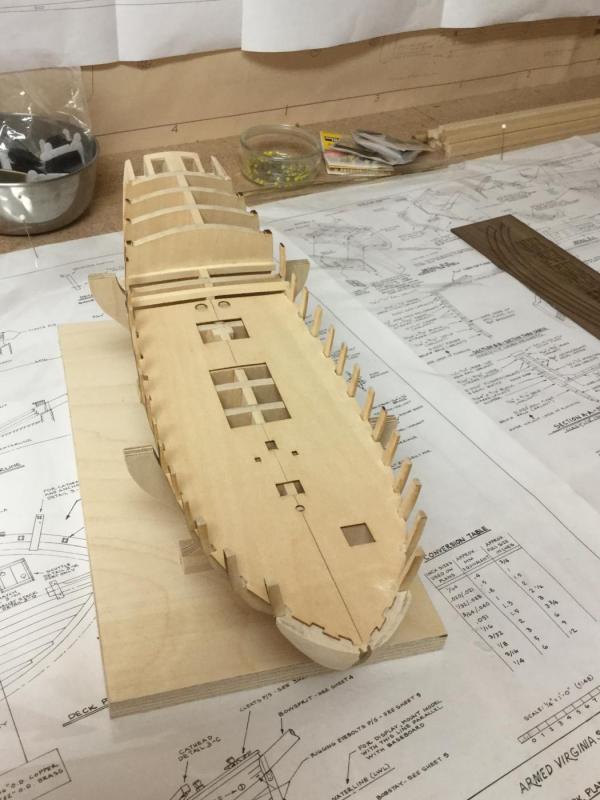
 I completed the gundeck planking. Eastern I have vacation time so I can do more planking.
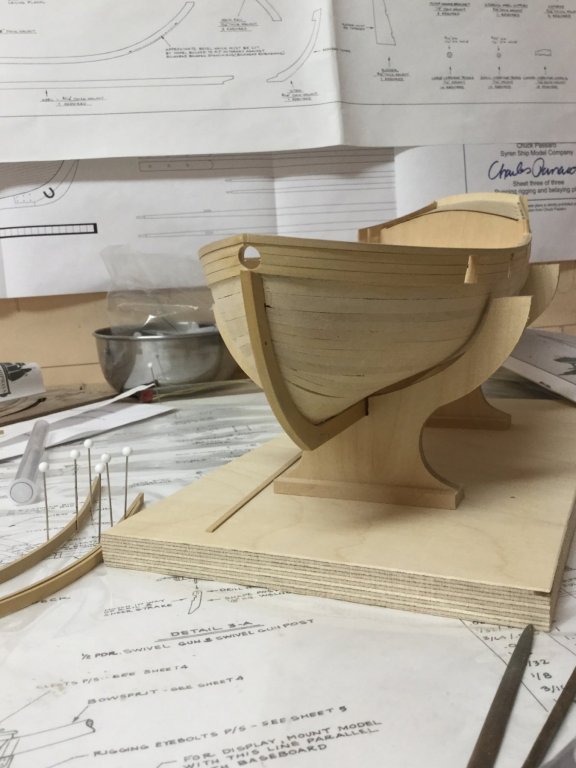
- 231 replies
-
- 9
-

-
- model shipways
- armed virginia sloop
- (and 1 more)
-
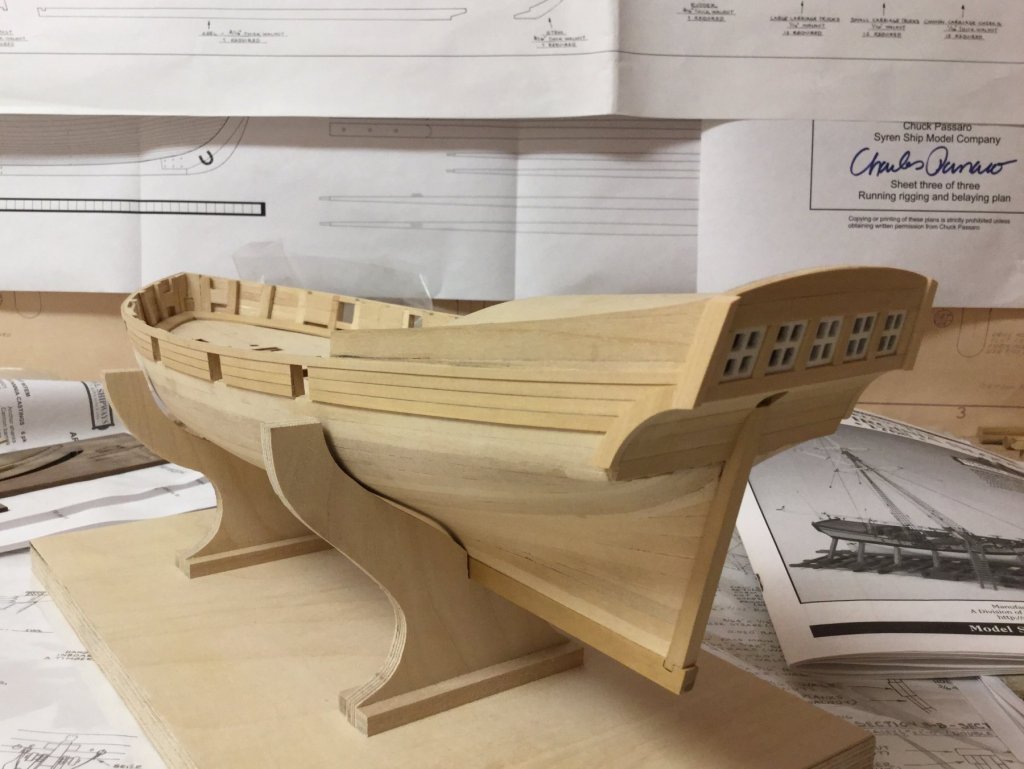
I started second planking today - finally. I used a pencil to simulate chalking between the small planks, since I still plan to leave the gundeck planking natural boxwood. Hope I don‘t mess it up in the end and have to paint the planks yellow. To be continued next weekend 😀

- 231 replies
-
- 8
-
-
- model shipways
- armed virginia sloop
- (and 1 more)
-
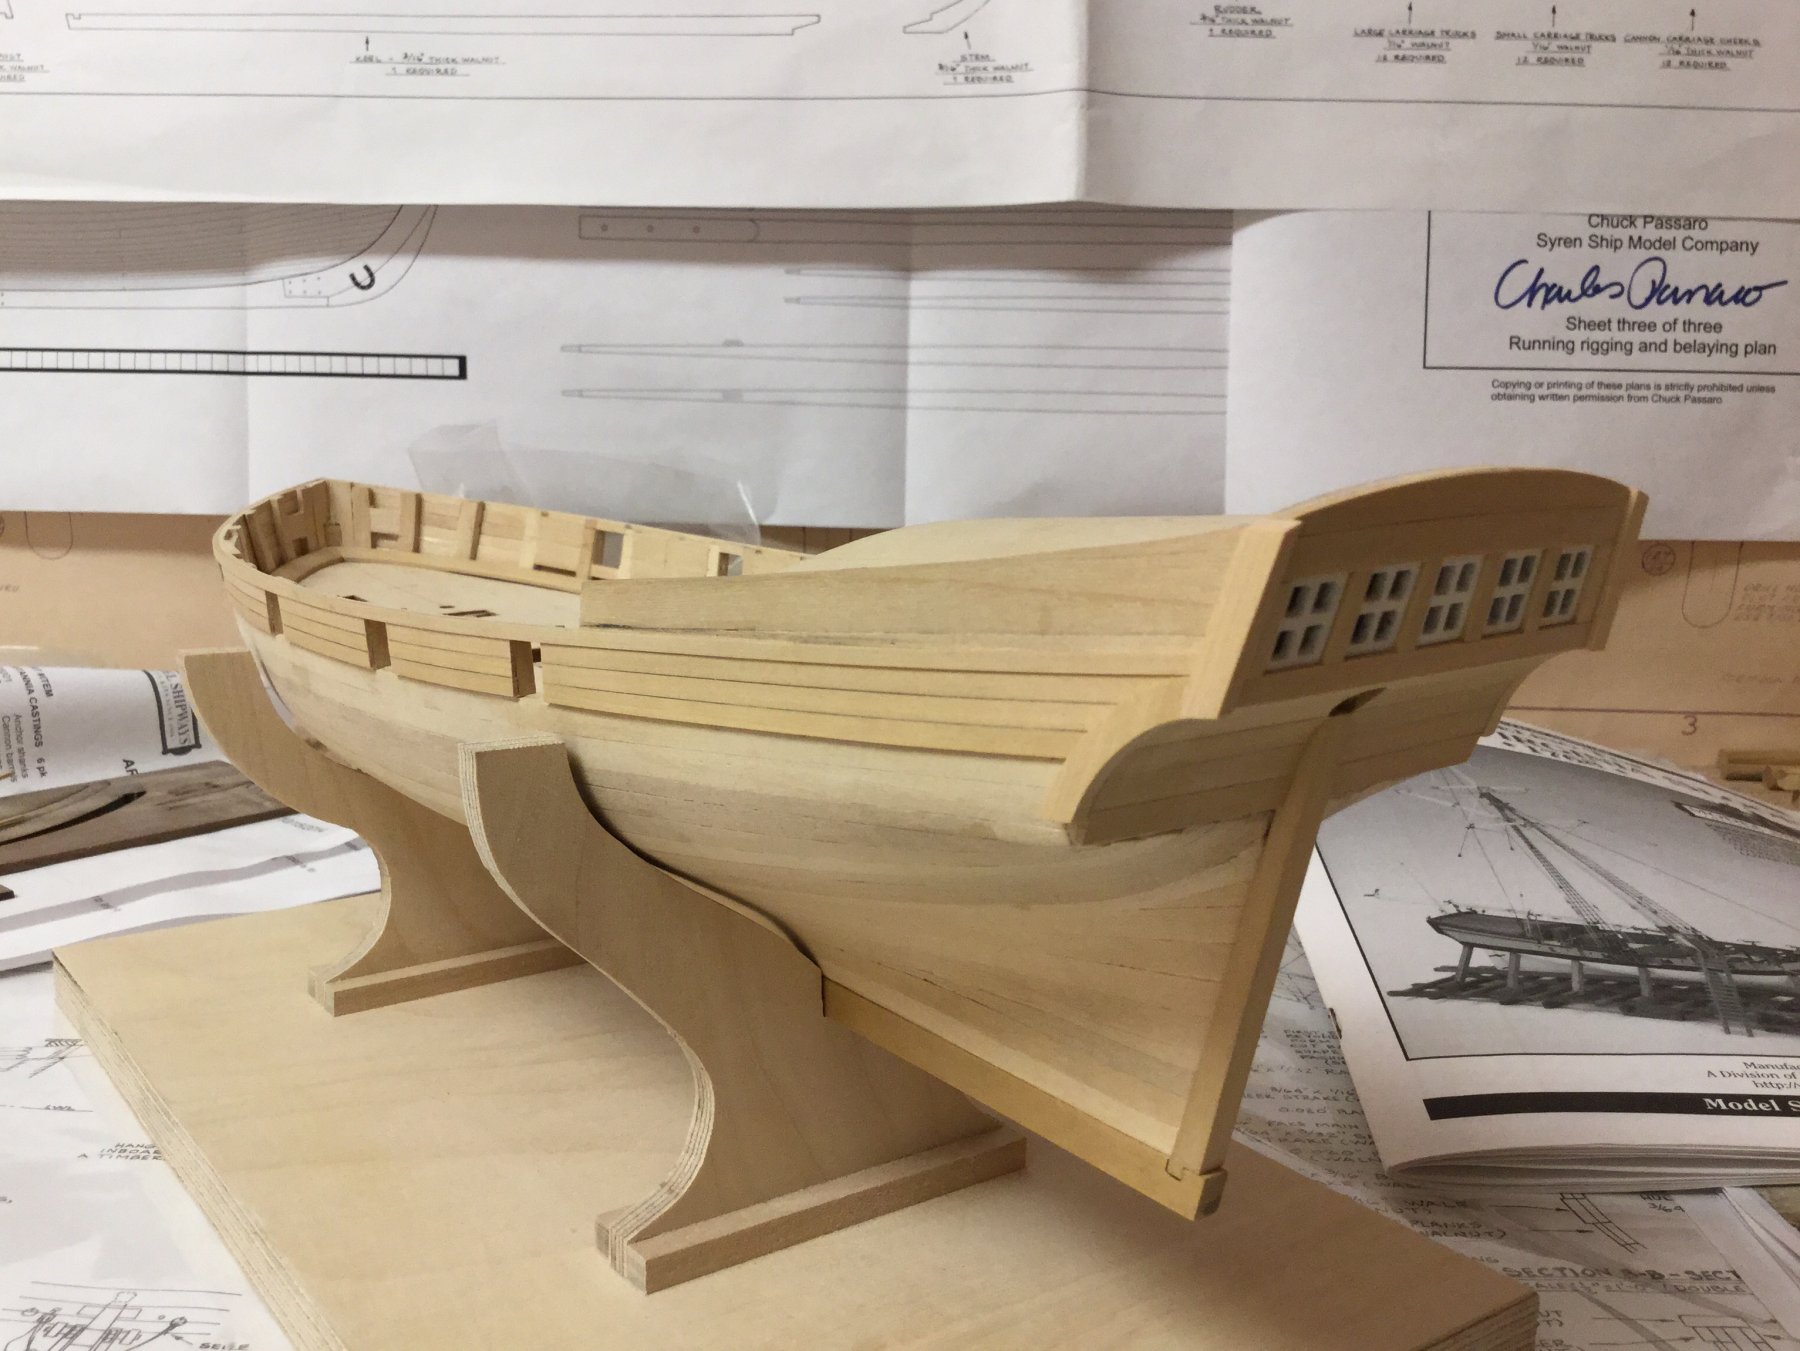
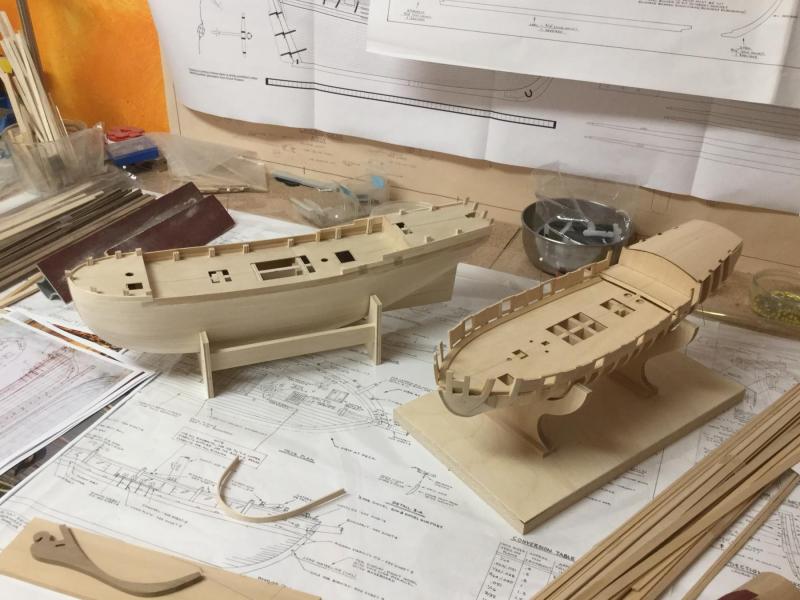
Added the fashion pieces and cut a round hole for the rudder.
- 231 replies
-
- 5
-
-
- model shipways
- armed virginia sloop
- (and 1 more)
-
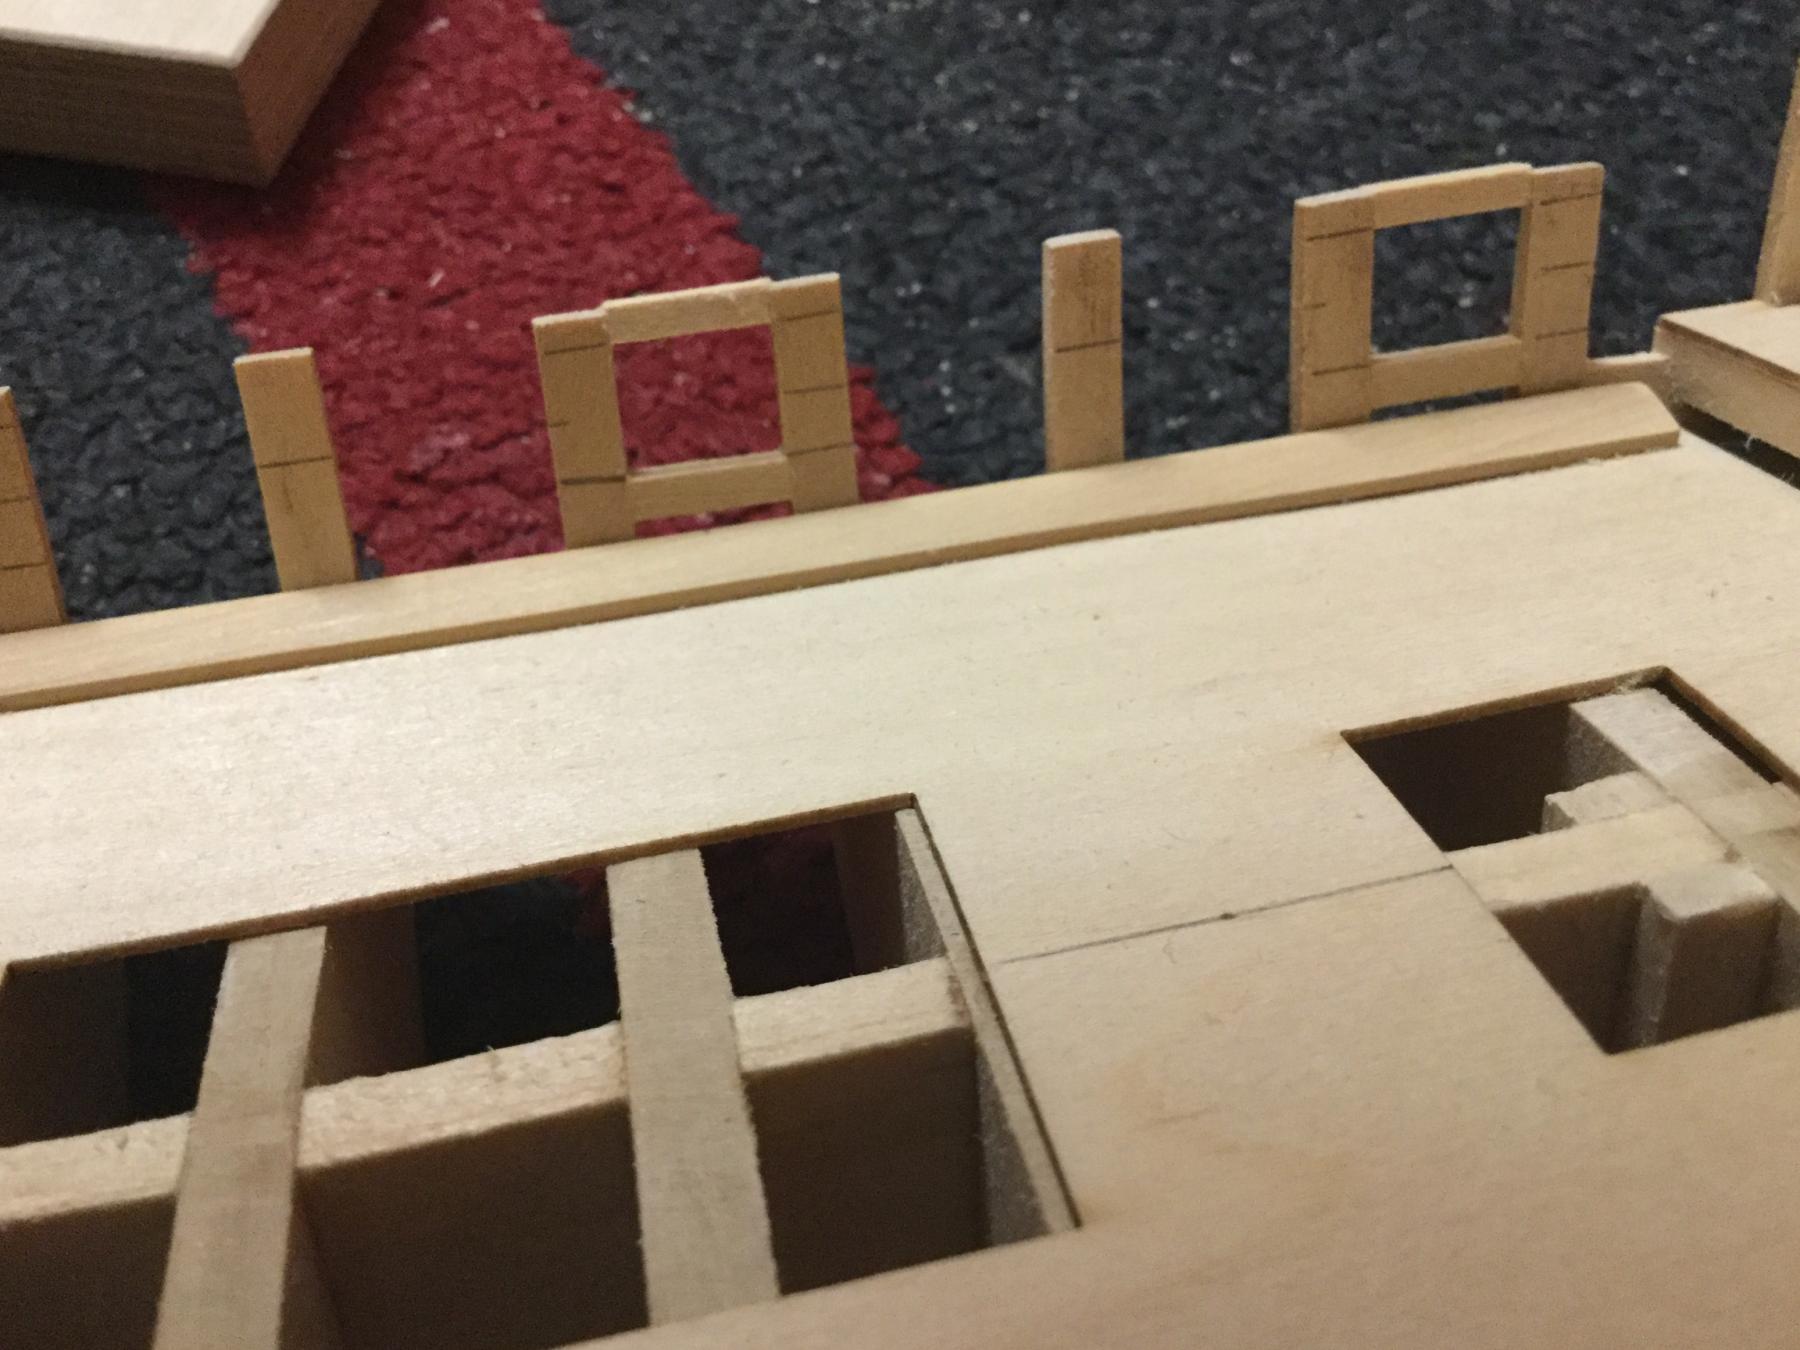
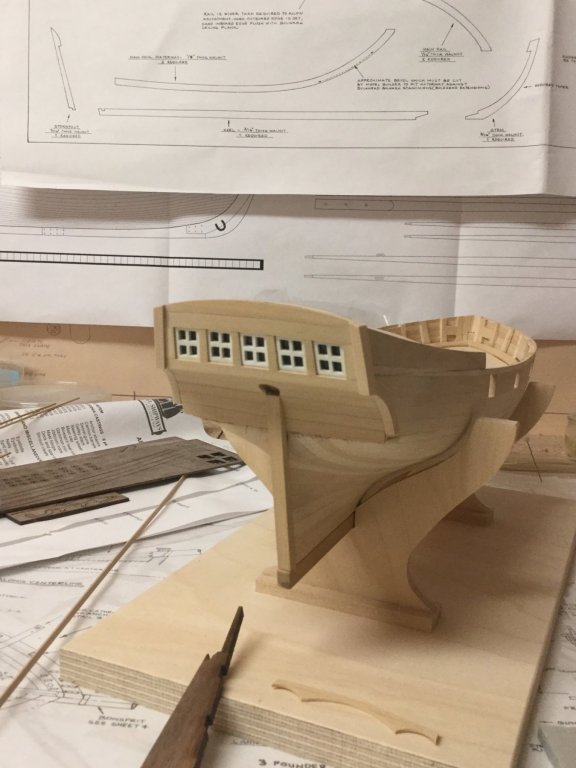
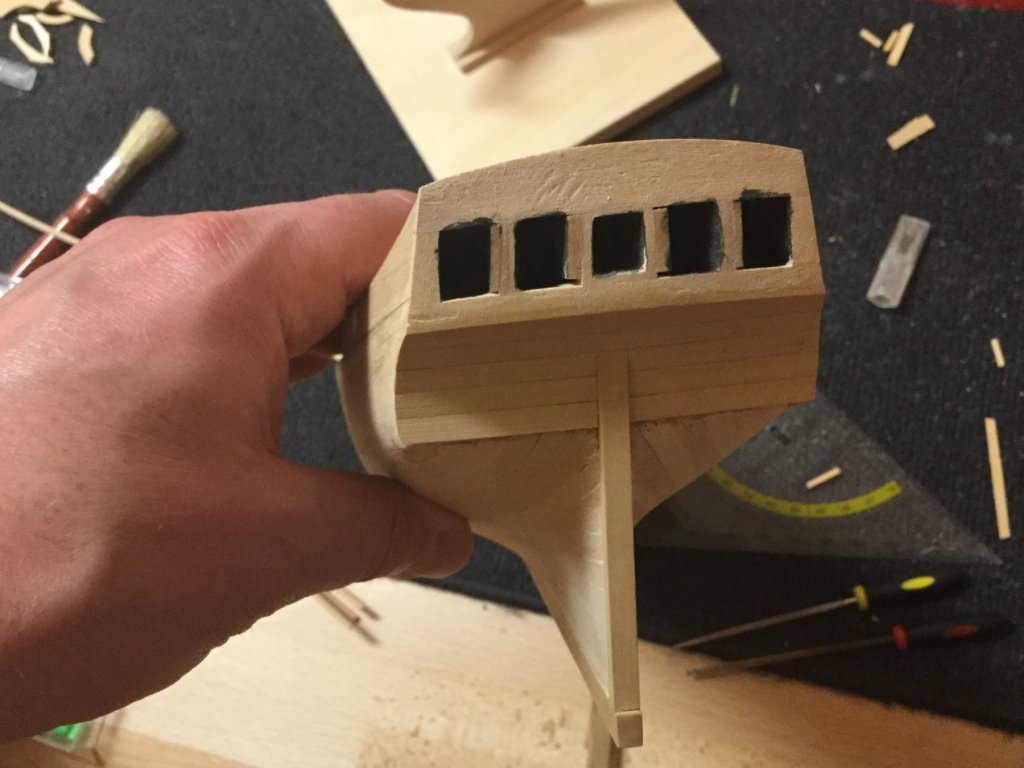
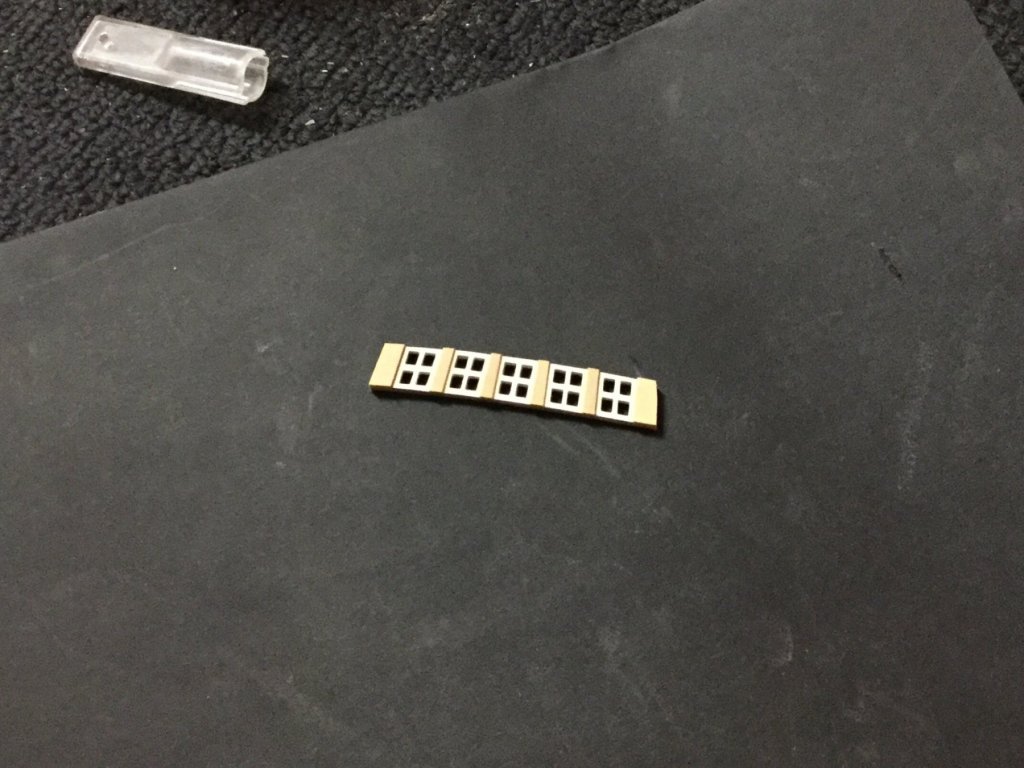
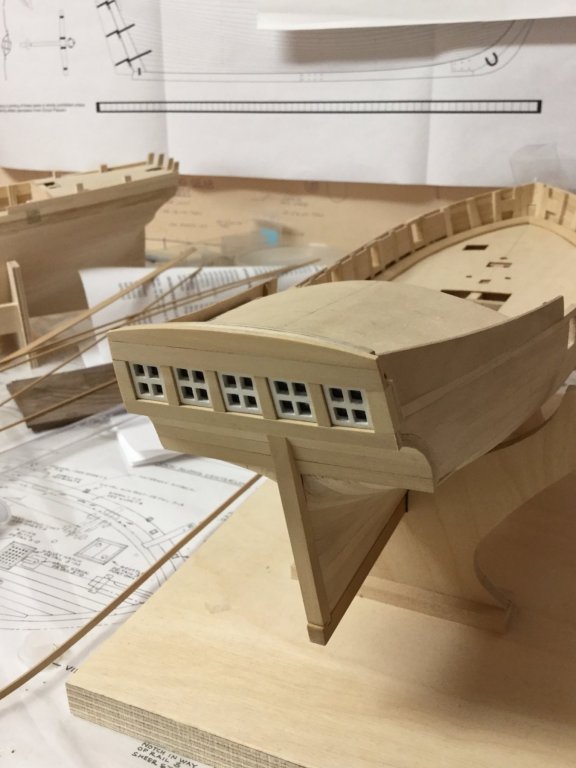
Quite some time has passed since my last Update. So busy with my professional self-employment. Anyway, I thought some time about the cabin windows, wasn‘t pleased with the kit-supplied solution. So I decided to add a fifth window - a rectangle one - in the middle of the inner ones. The windows are separated by equal boxwood stripes so the lower edge of the windows stay parallel to the lower edge of the plank running at the bottom of the cabin.


- 231 replies
-
- 8
-
-
- model shipways
- armed virginia sloop
- (and 1 more)
-
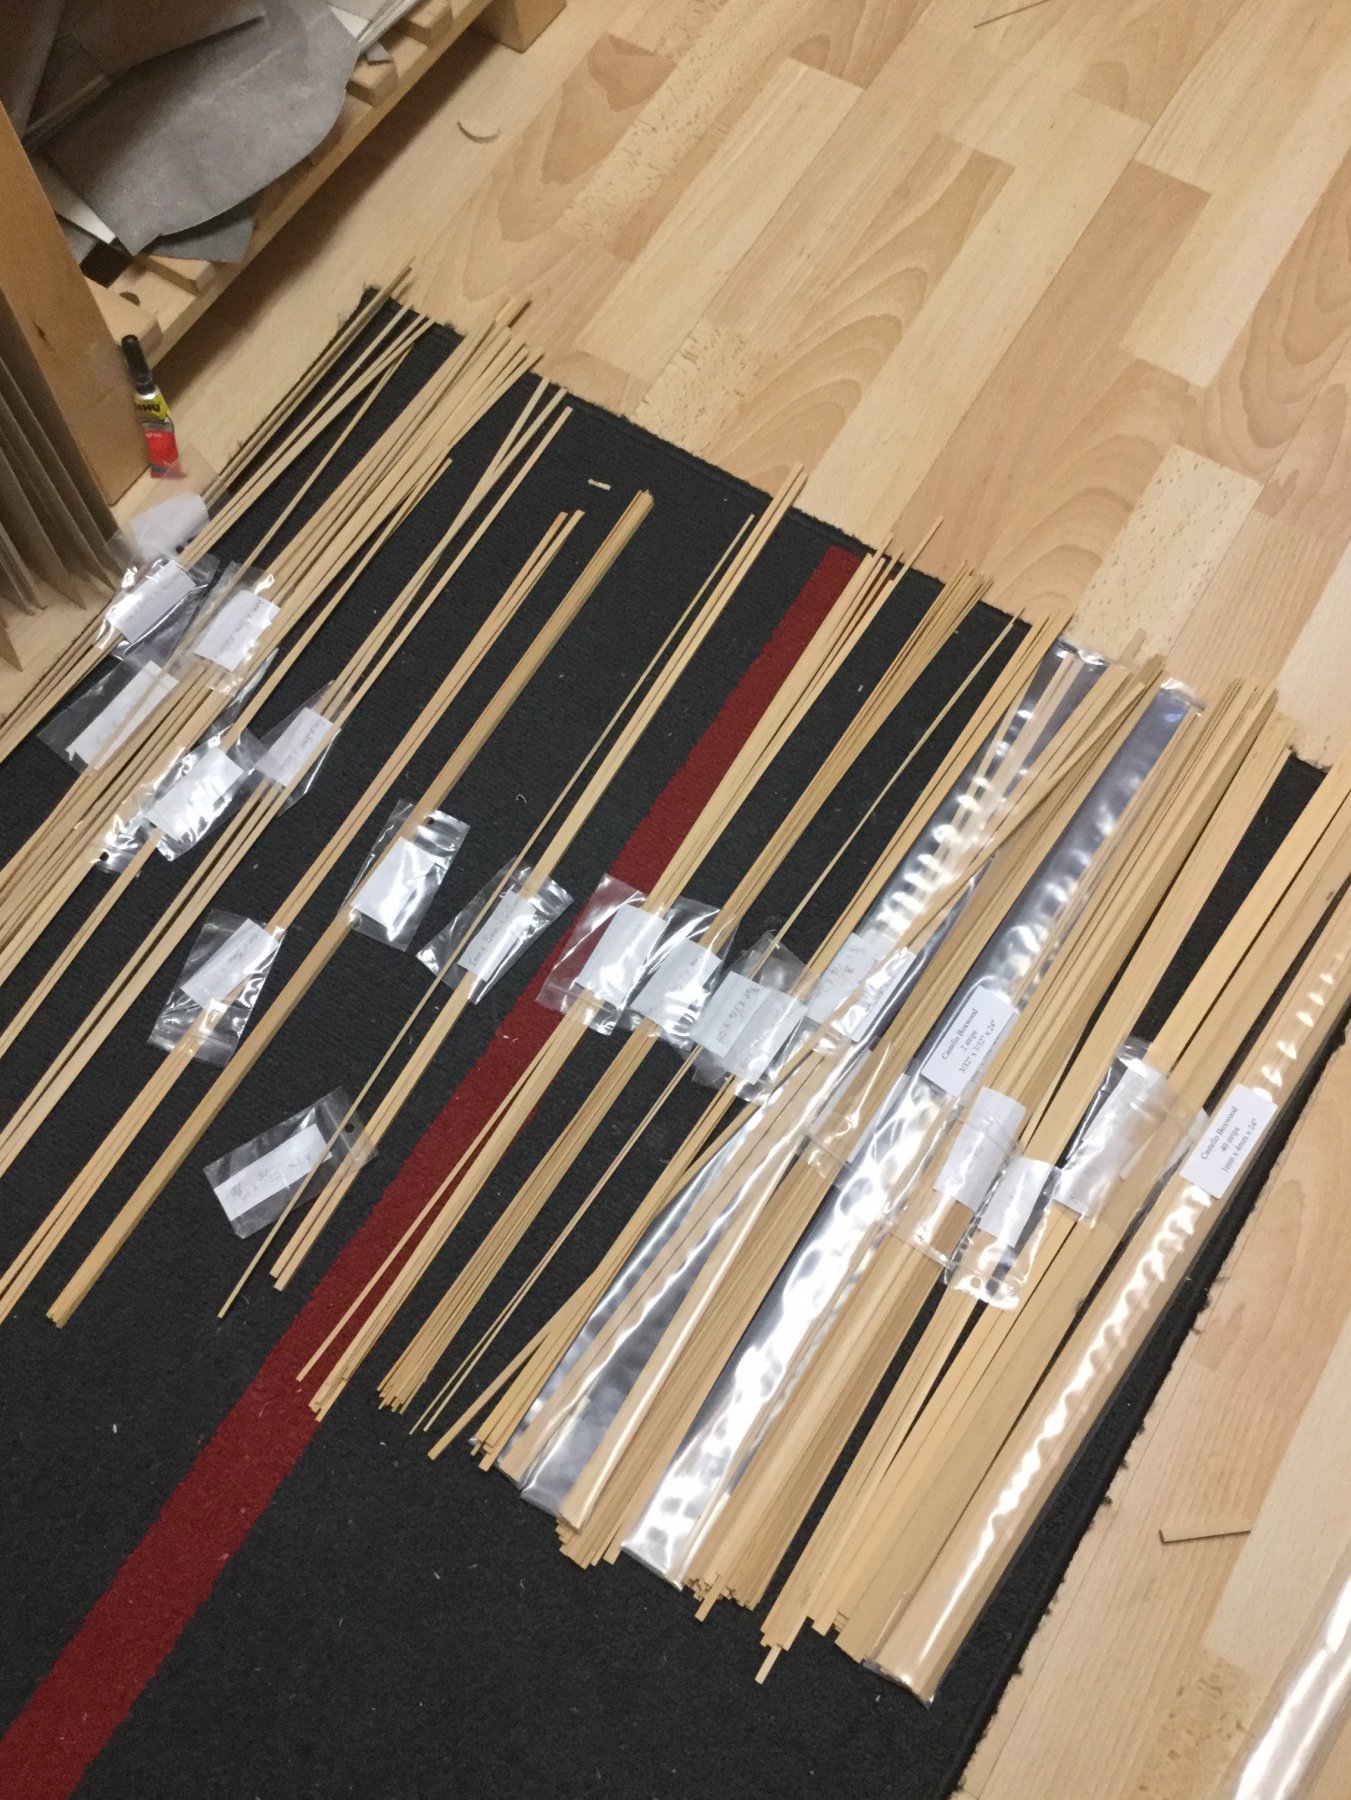
I ordered several times from Jason at Crown Timberyard, each times great quality. But have heard that castello from wood project source is of good quality as well. I have looked for a castello source here in germany and even in the rest of Europe but haven't found any yet. There are several sources for swiss pear but none for castello :-(
-
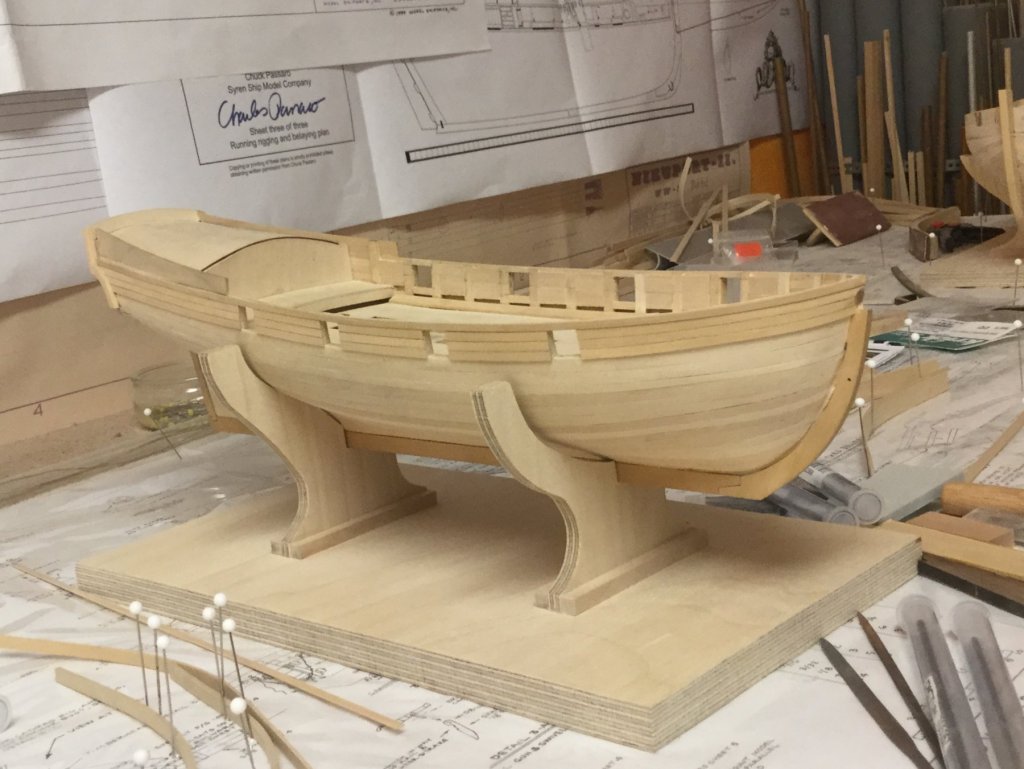
The first planking is done. Took me some time to get back to the AVS due to the almost one month waiting time for my CT boxwood order to arrive in germany.


- 231 replies
-
- 6
-
-
- model shipways
- armed virginia sloop
- (and 1 more)
-
Started to plank the transom and counter.
- 231 replies
-
- 3
-
-
- model shipways
- armed virginia sloop
- (and 1 more)
-
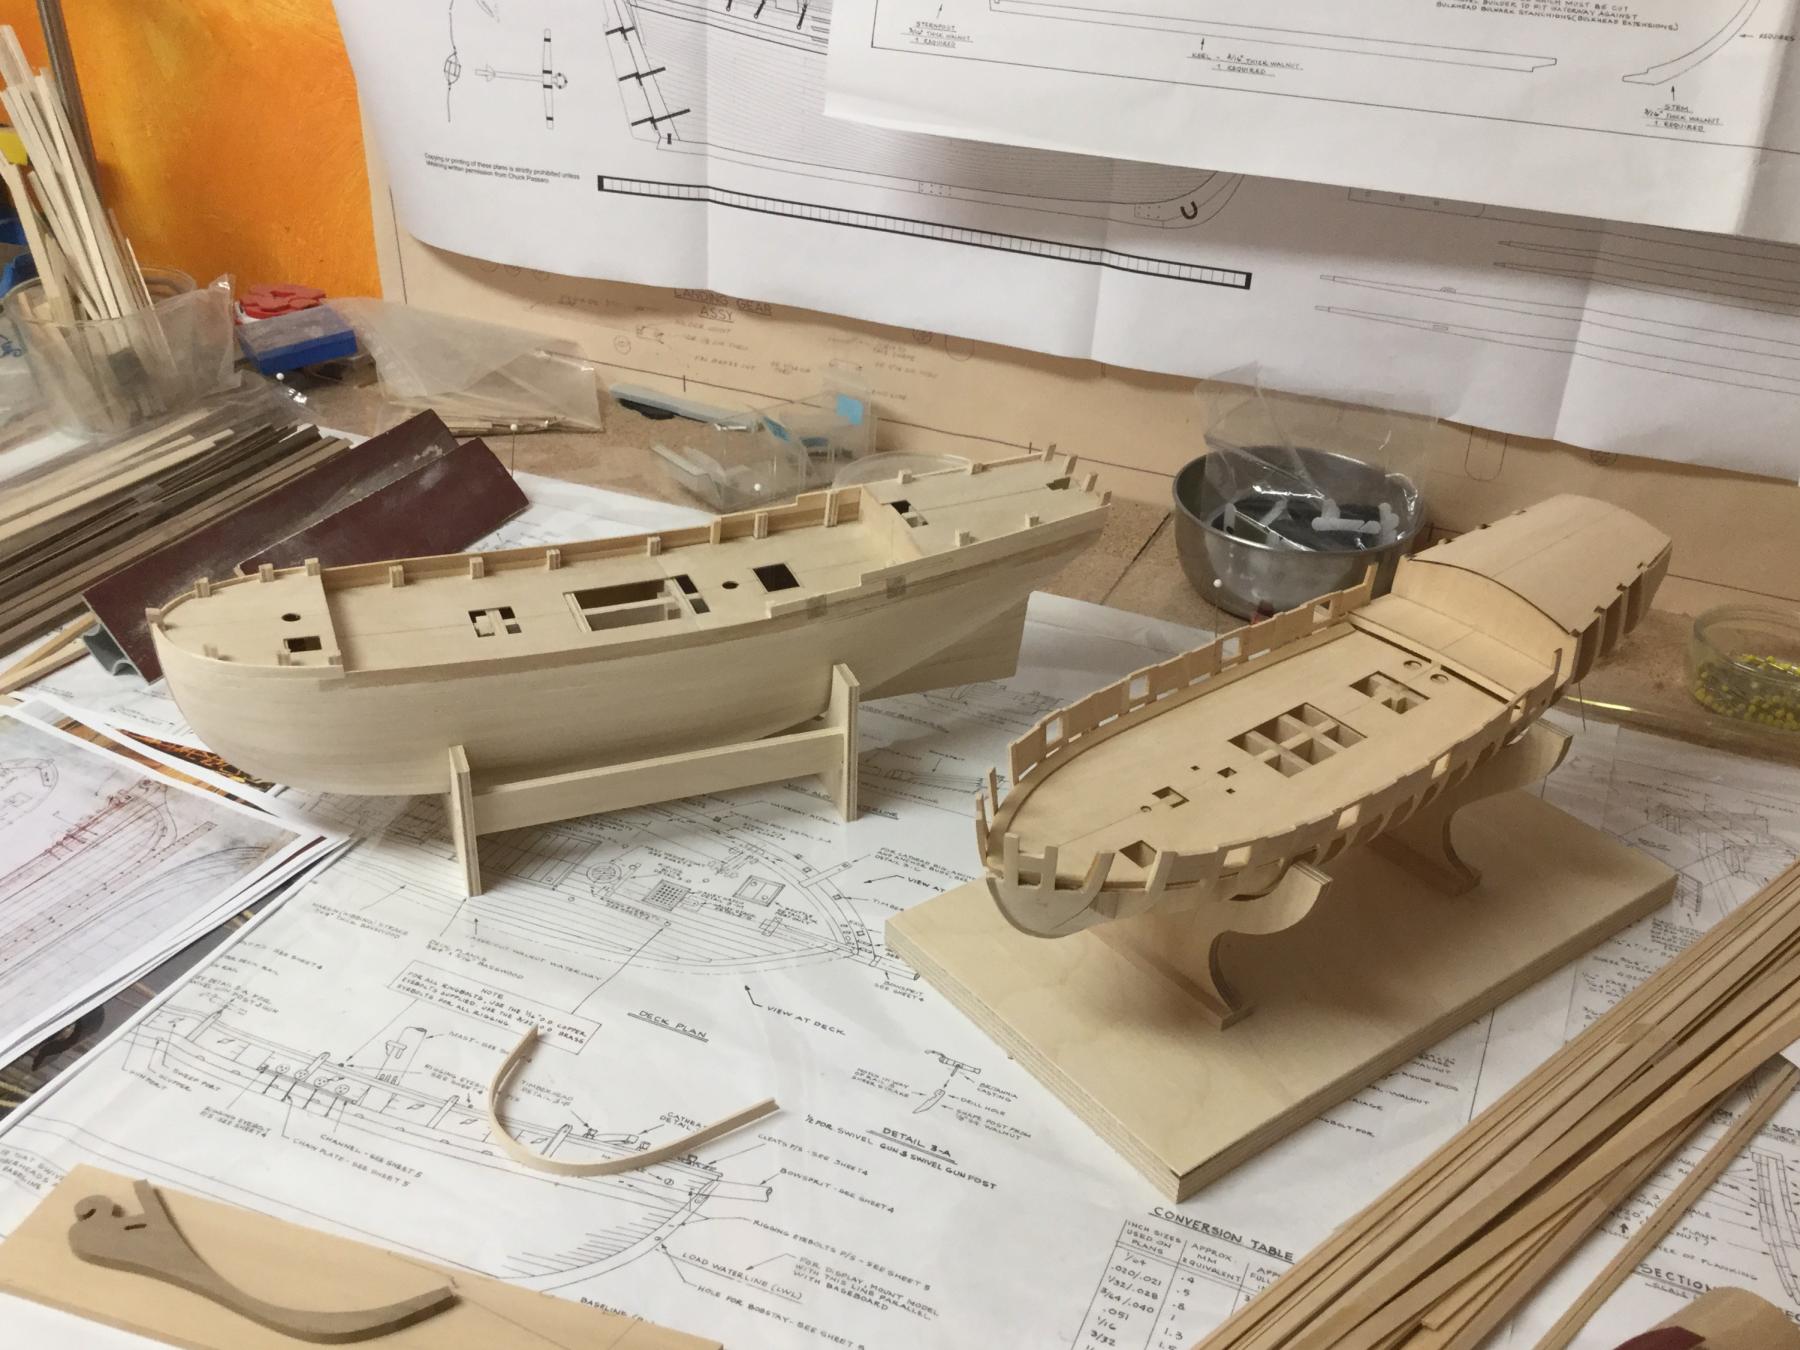
I have to move the first planking to next weekend. I bought the HM Brig Supply Kit almost 5 years ago when I was new to the hobby but have left the box in the shelf since then. Two weeks ago I discovered the plywood bulkheads and keel parts had started to warp and I decided to build the skeleton and at least first plank that ship prior to the AVS to prevent the parts from further warping. I will do the 1759 version as shown on the NMM plans. So I had to change some parts and prepare another hatch. Maybe I will start another build log for her but building two ships in parallel is way too much stress, especially when it comes to continue two build logs. Turning back to the AVS...

- 231 replies
-
- 4
-
-
- model shipways
- armed virginia sloop
- (and 1 more)
-
You've done a wonderful work here so far. Can't wait to see more progress.
- 3,618 replies
-
- 4
-
-
- young america
- clipper
- (and 1 more)
-
It is better for ship modelling to calm down family members expectations. Next time my daughter expects me to build a Hogwarts miniature ... :-) Then I can put the AVS aside until next year.
- 231 replies
-
- 1
-
-
- model shipways
- armed virginia sloop
- (and 1 more)
-
Brian, I followed your suggestion and doubled the filler blocks. My daughter watched Harry Potter first time on TV today. Guess what she asked me to build for her after that....yes, a magic wand. Took me some time to do that, lucky me, had some castello strips left for that. So building will continue tomorrow...
- 231 replies
-
- 8
-
-
- model shipways
- armed virginia sloop
- (and 1 more)
-
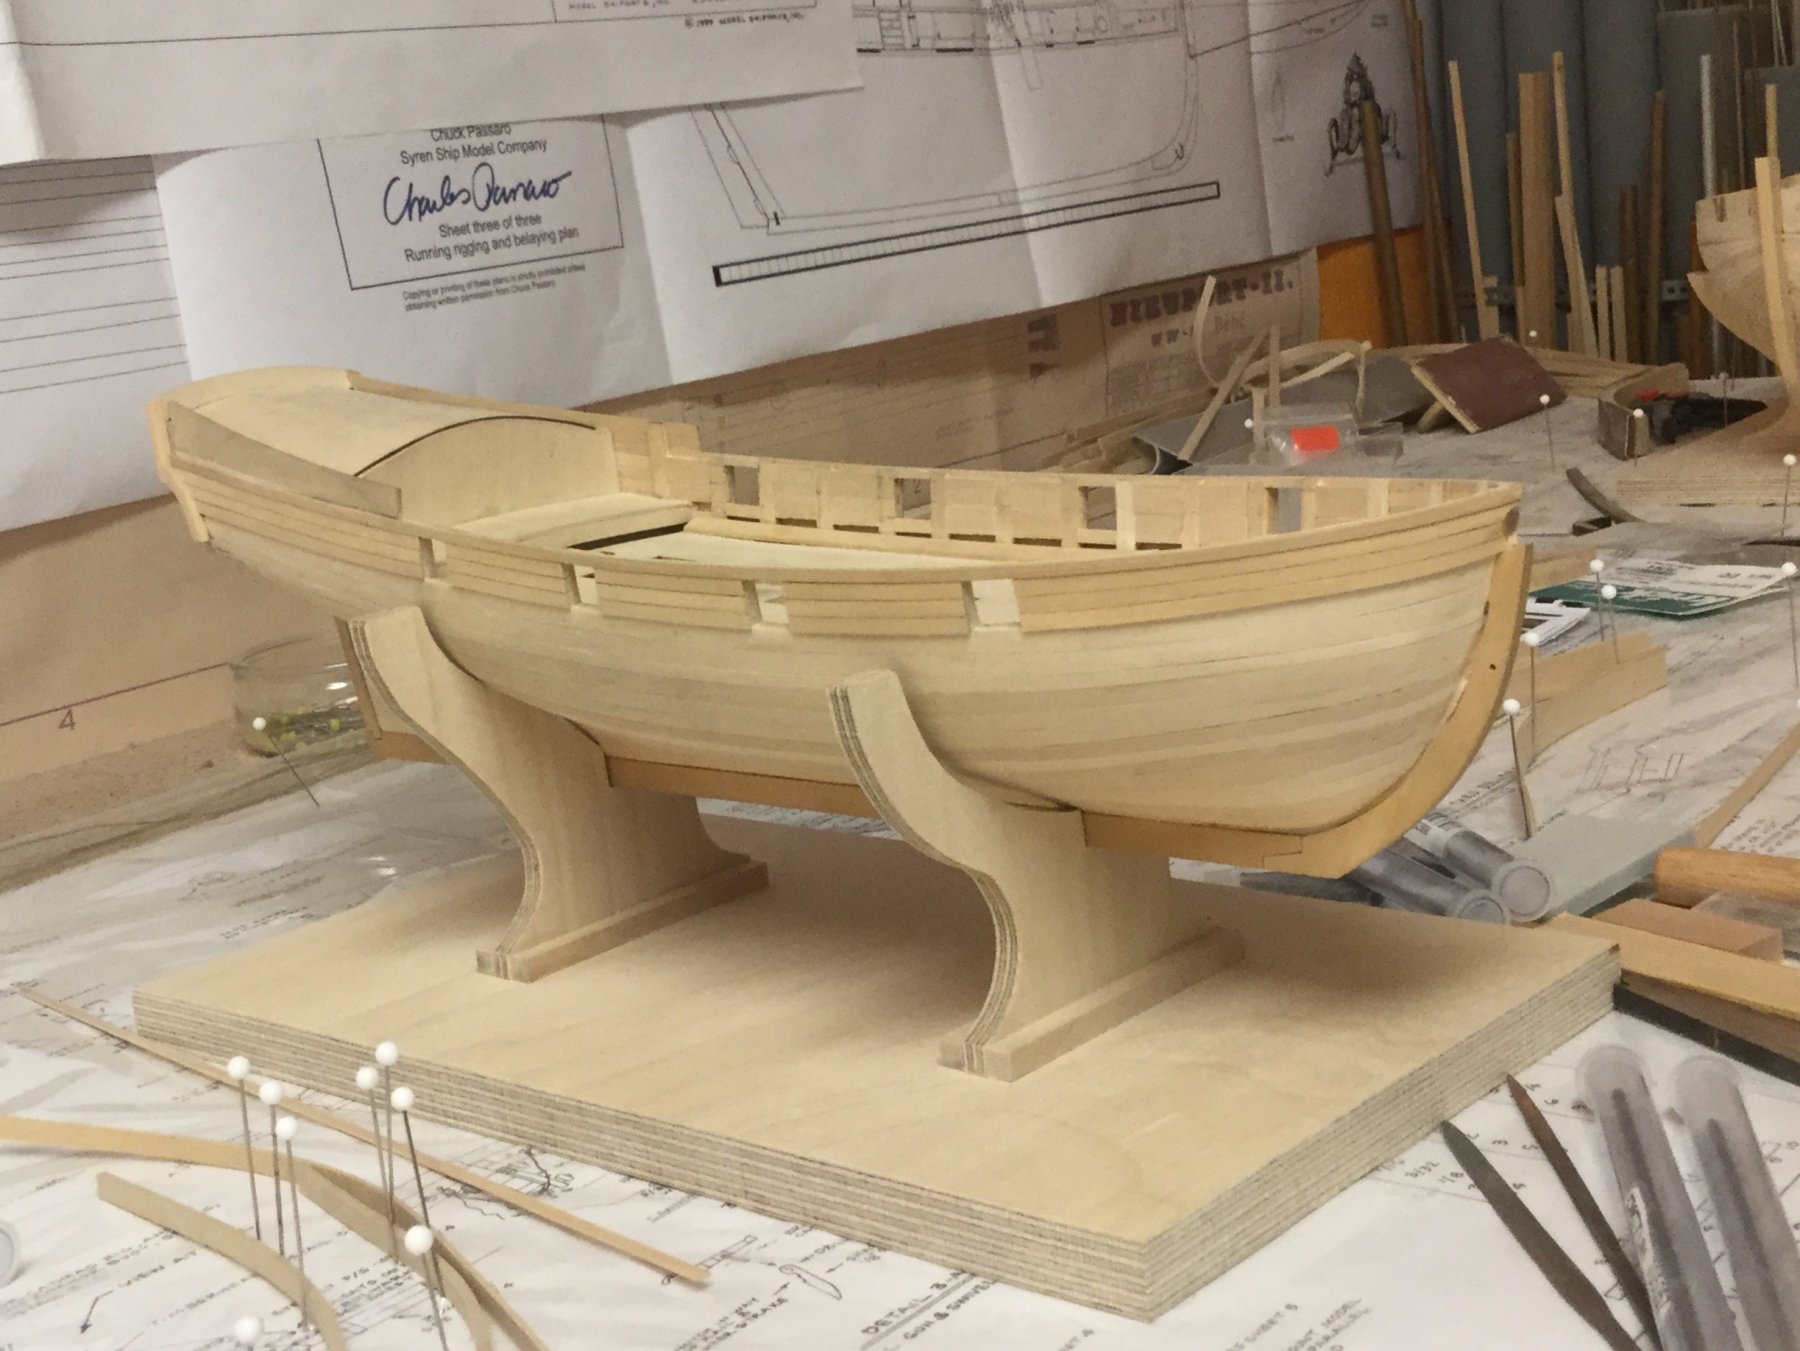
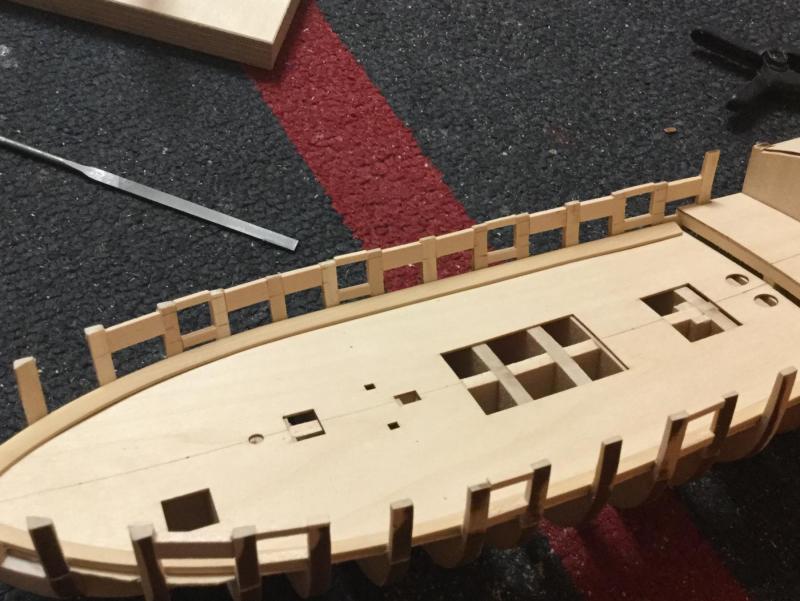
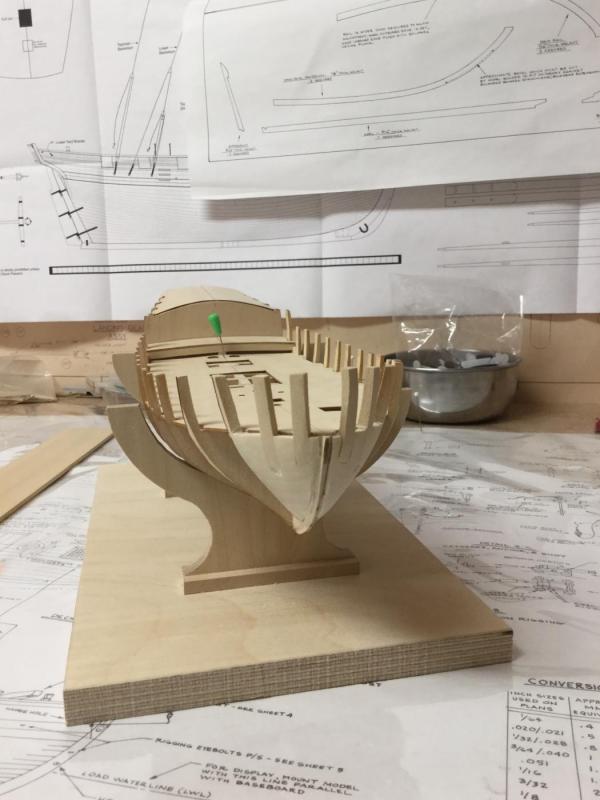
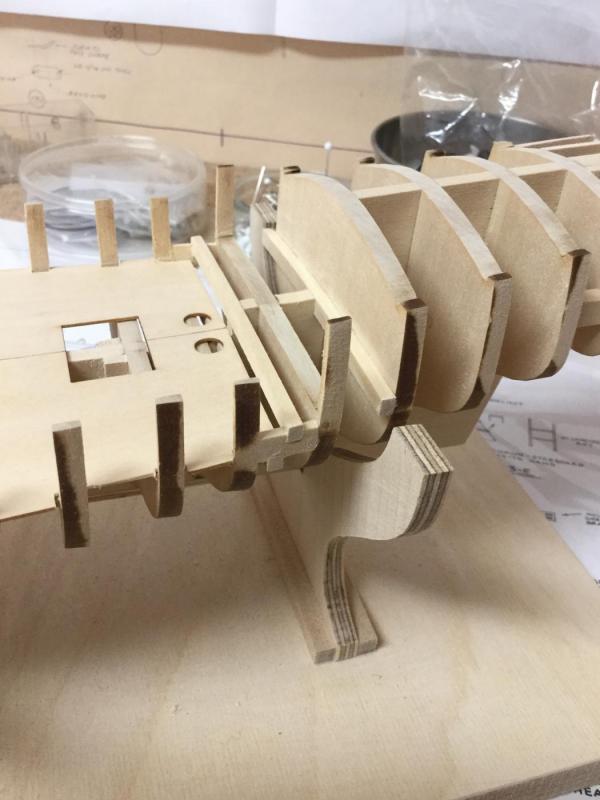
After glueing the gun- and sweepports I spend a remarkable time sanding the hull and bevelling the bulkheads. This finishes stage 1 in the construction manual. The hull is now ready for first planking.

- 231 replies
-
- 6
-
-
- model shipways
- armed virginia sloop
- (and 1 more)
-
Installing the filler blocks: I took the distances from the waterway to the lower edge of the gunport filler blocks and sweepport blocks from the plan, cut a rectangle piece of wood from scap that distance long and used it to draw a reference line on the bulkheads with a pencil. Then glued the filler blocks on top of the line. First side is complete...
- 231 replies
-
- 4
-
-
- model shipways
- armed virginia sloop
- (and 1 more)
-
Waterways cut, shaped and installed. Next: Gunport filler blocks and sweepport blocks. Greg: My building speeds varies between nonstop-building for hours and one or two weeks without any progress. Too many other things to do that are worth doing them.

- 231 replies
-
- 4
-
-
- model shipways
- armed virginia sloop
- (and 1 more)
-
No, just kidding. I cut the parts from boxwood sheet I have in stock. Used the walnut parts as templates.
- 231 replies
-
- 3
-
-
- model shipways
- armed virginia sloop
- (and 1 more)
-
It's the export-version of the MS kit for europe that include laser-cut boxwood parts instead of walnut parts. :-)
- 231 replies
-
- 1
-
-
- model shipways
- armed virginia sloop
- (and 1 more)
-
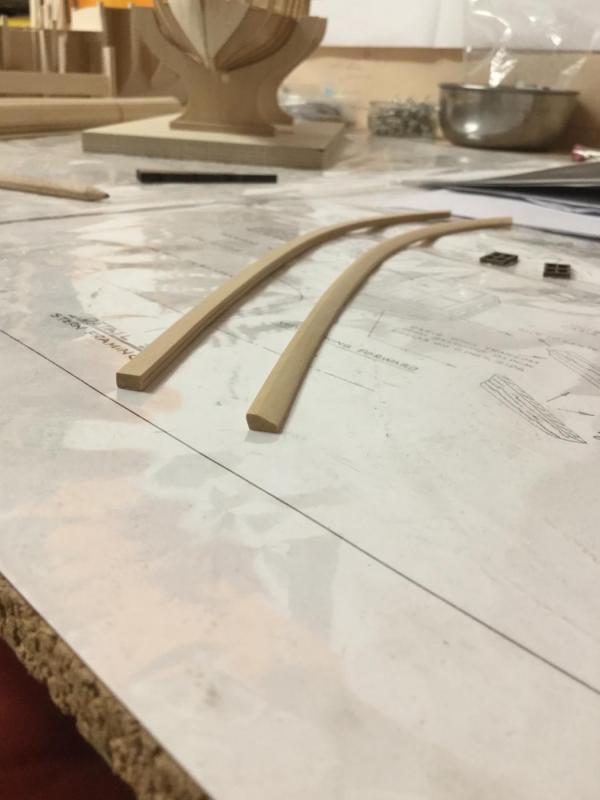
Snow has fallen and I used most of my spare time to go sledding with the family. So only some minor progress. Started to shape the waterway. One more to go.
- 231 replies
-
- 3
-
-
- model shipways
- armed virginia sloop
- (and 1 more)
-
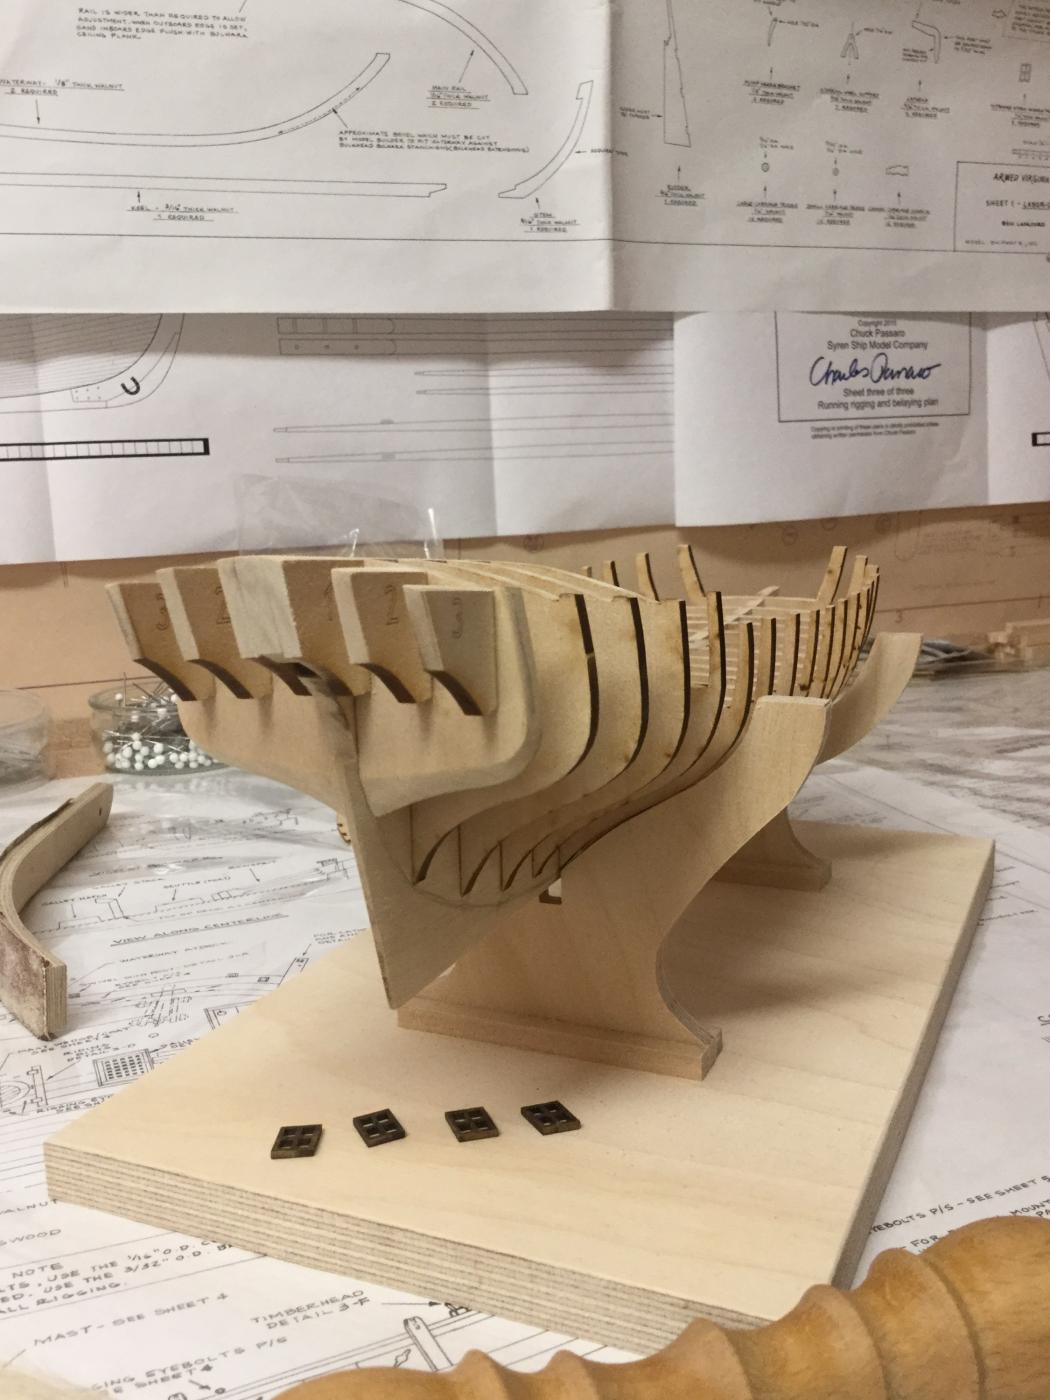
Thank you and everyone for the likes. Yes, the connection seems to be solid, but I may add a (toothpick) pin for each head later before bevelling the bulkheads. Still have to add a lot of filler parts for gun- and sweepports. It is curious. When I built the sherbourne and ballahoo, I was able to start first planking very soon. Only adding the bulkheads and some filler blocks to the false keel, bevelling the bulkheads and I was ready to begin first planking. The AVS require al ot more of preparation and attention before beginning the planking. That is surely a nice lesson of patience for me to learn. :-)
- 231 replies
-
- 3
-
-
- model shipways
- armed virginia sloop
- (and 1 more)
-
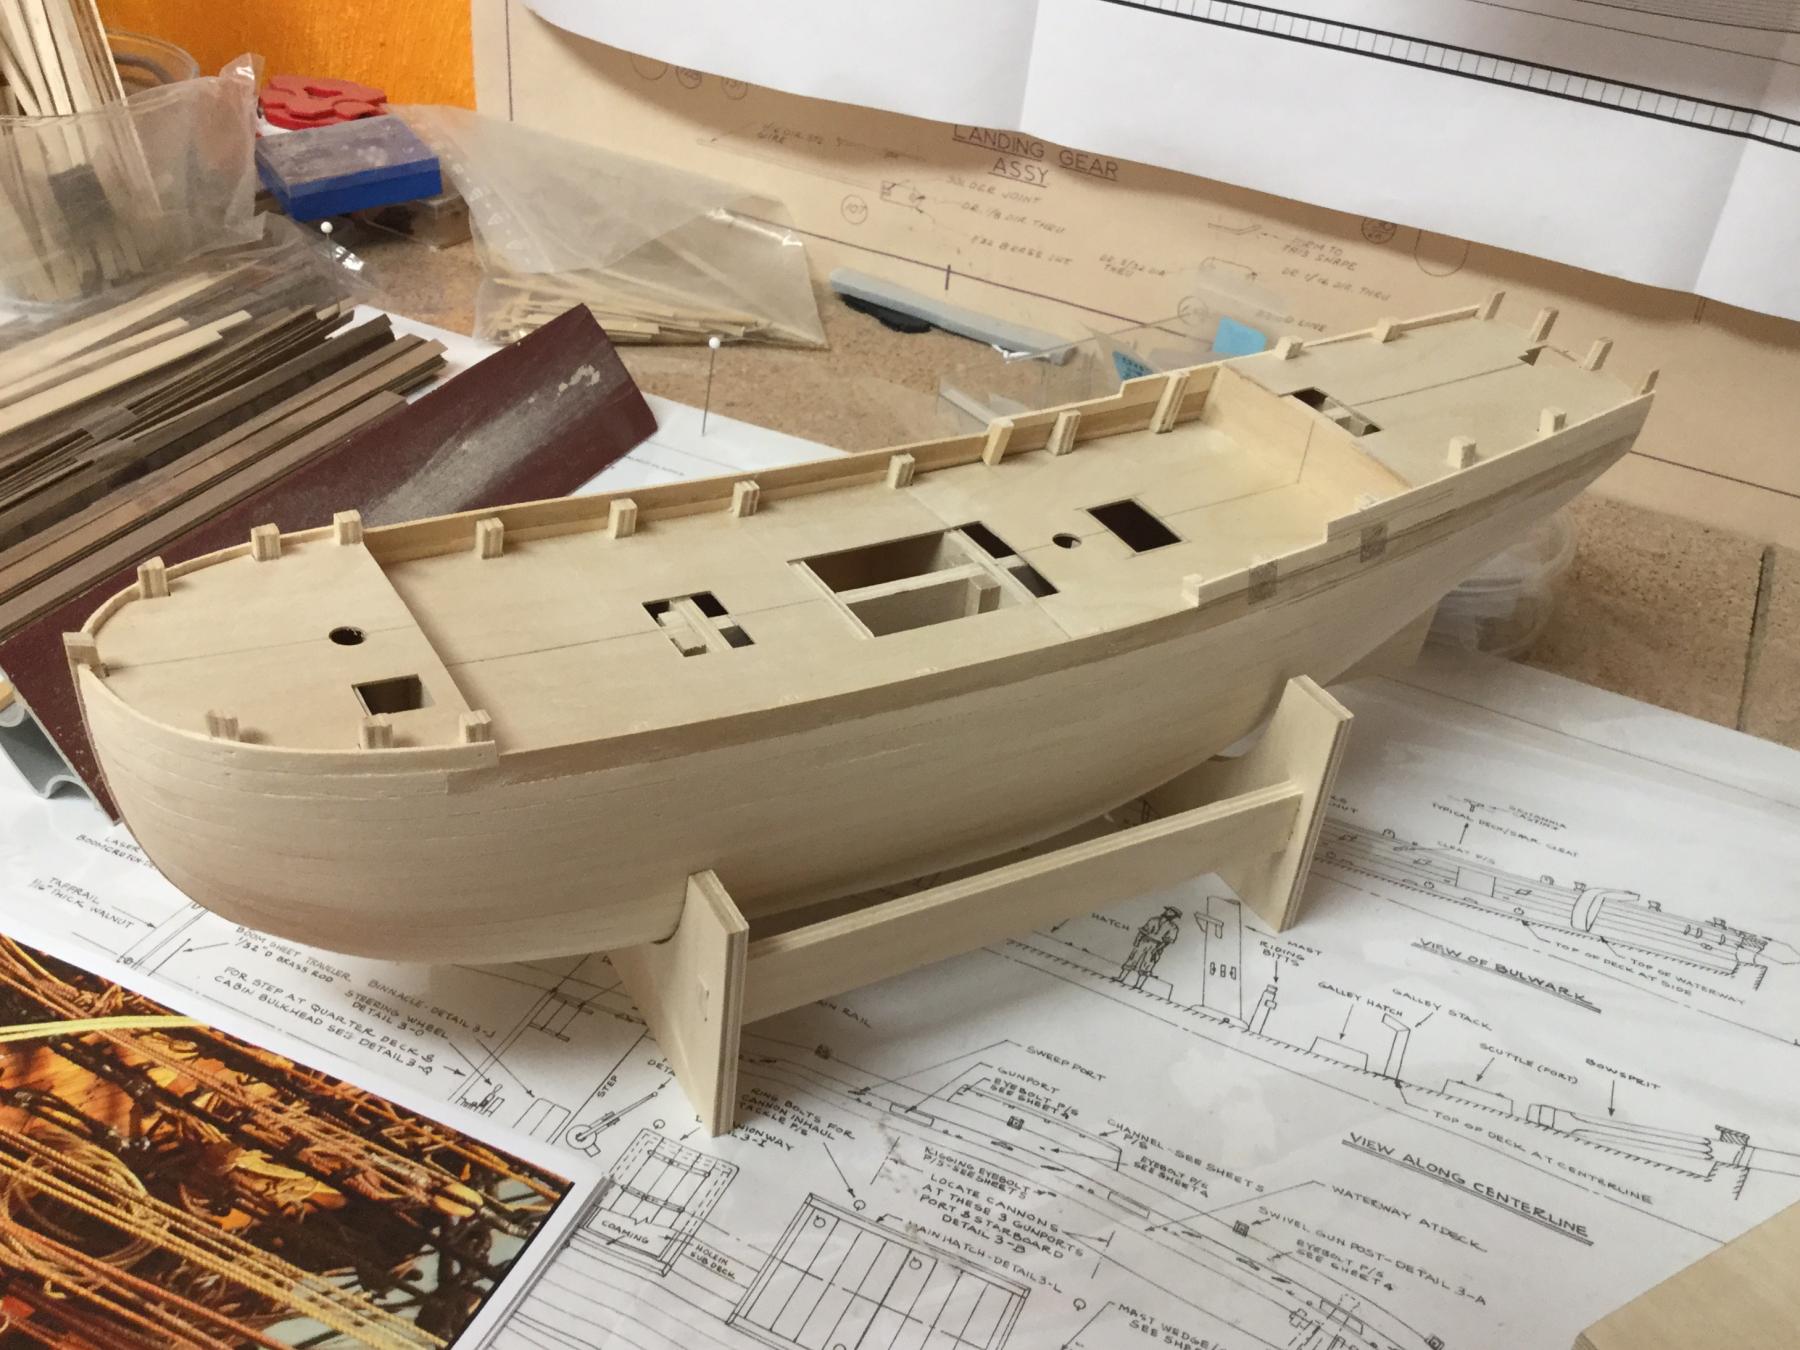
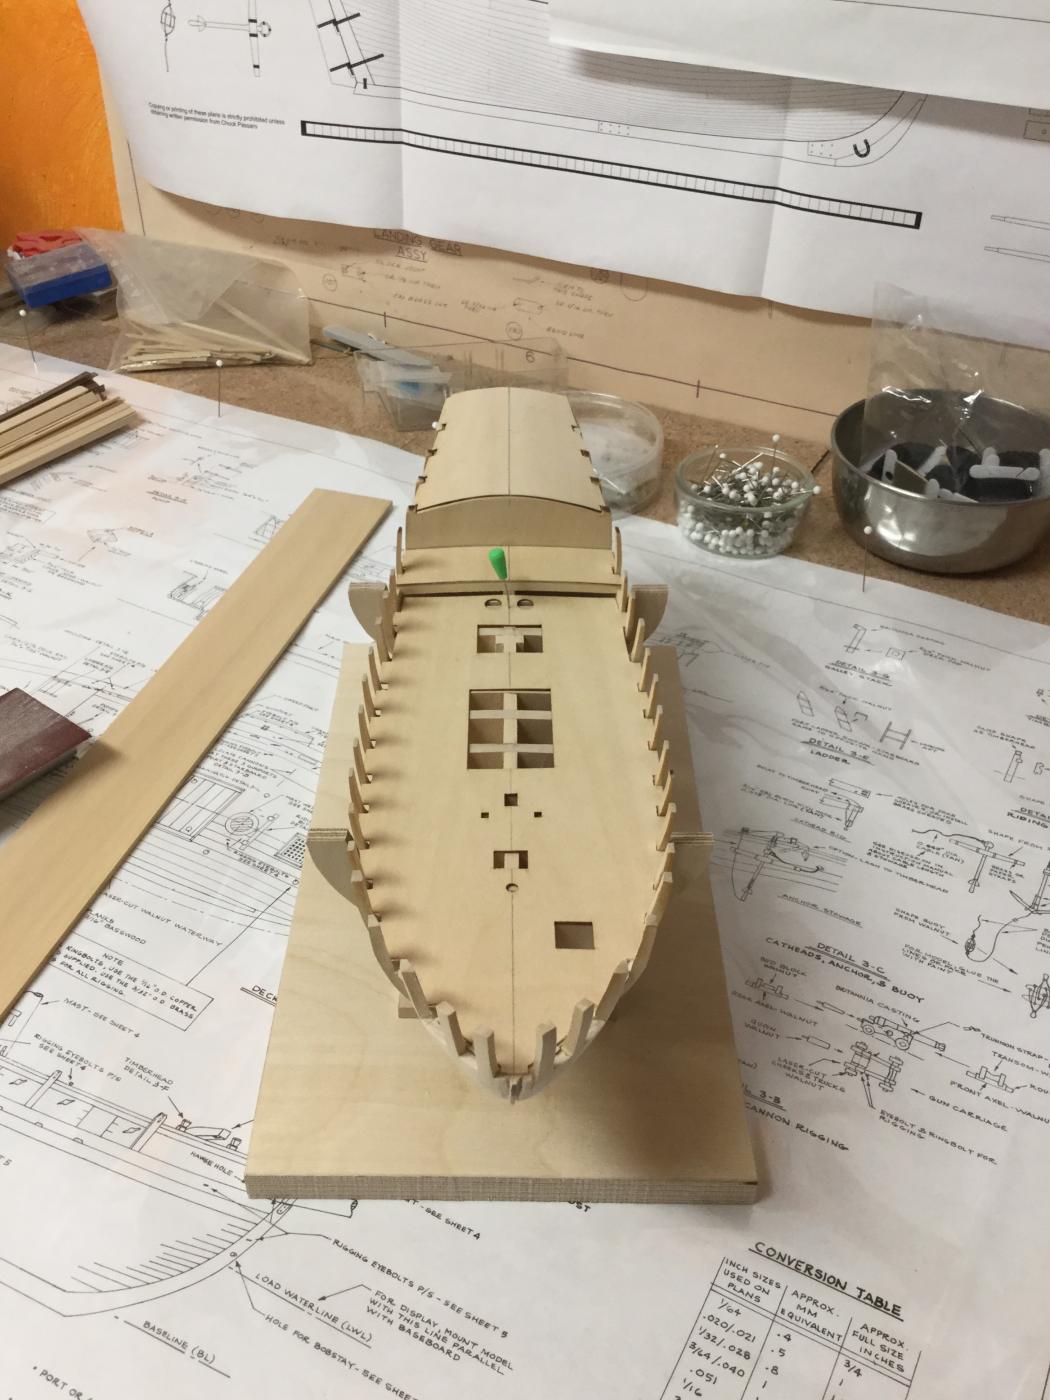
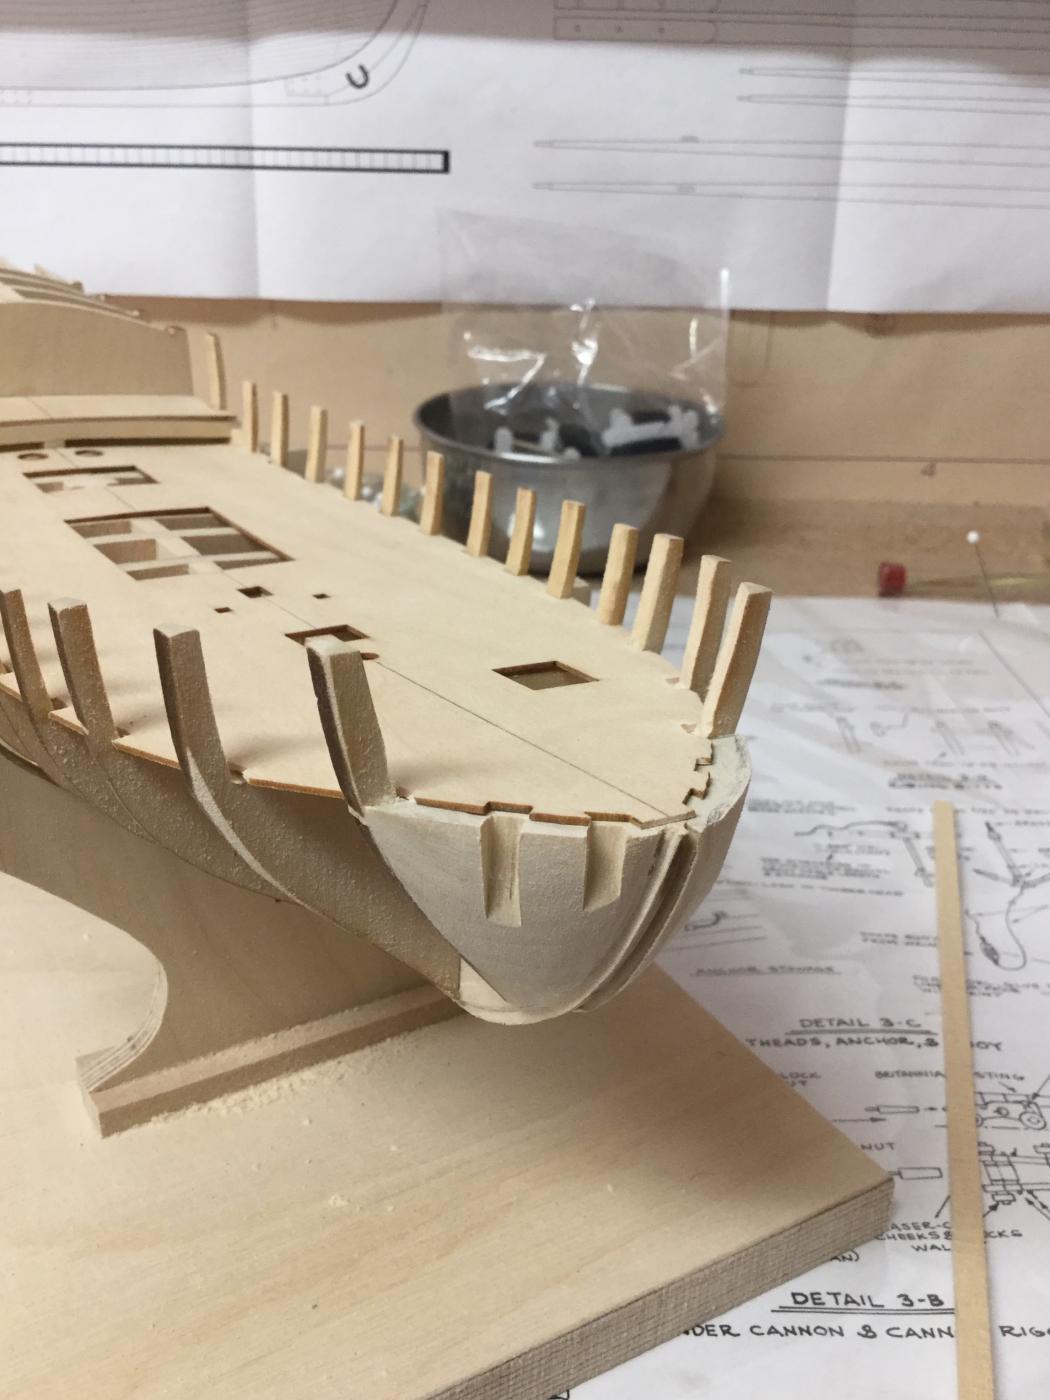
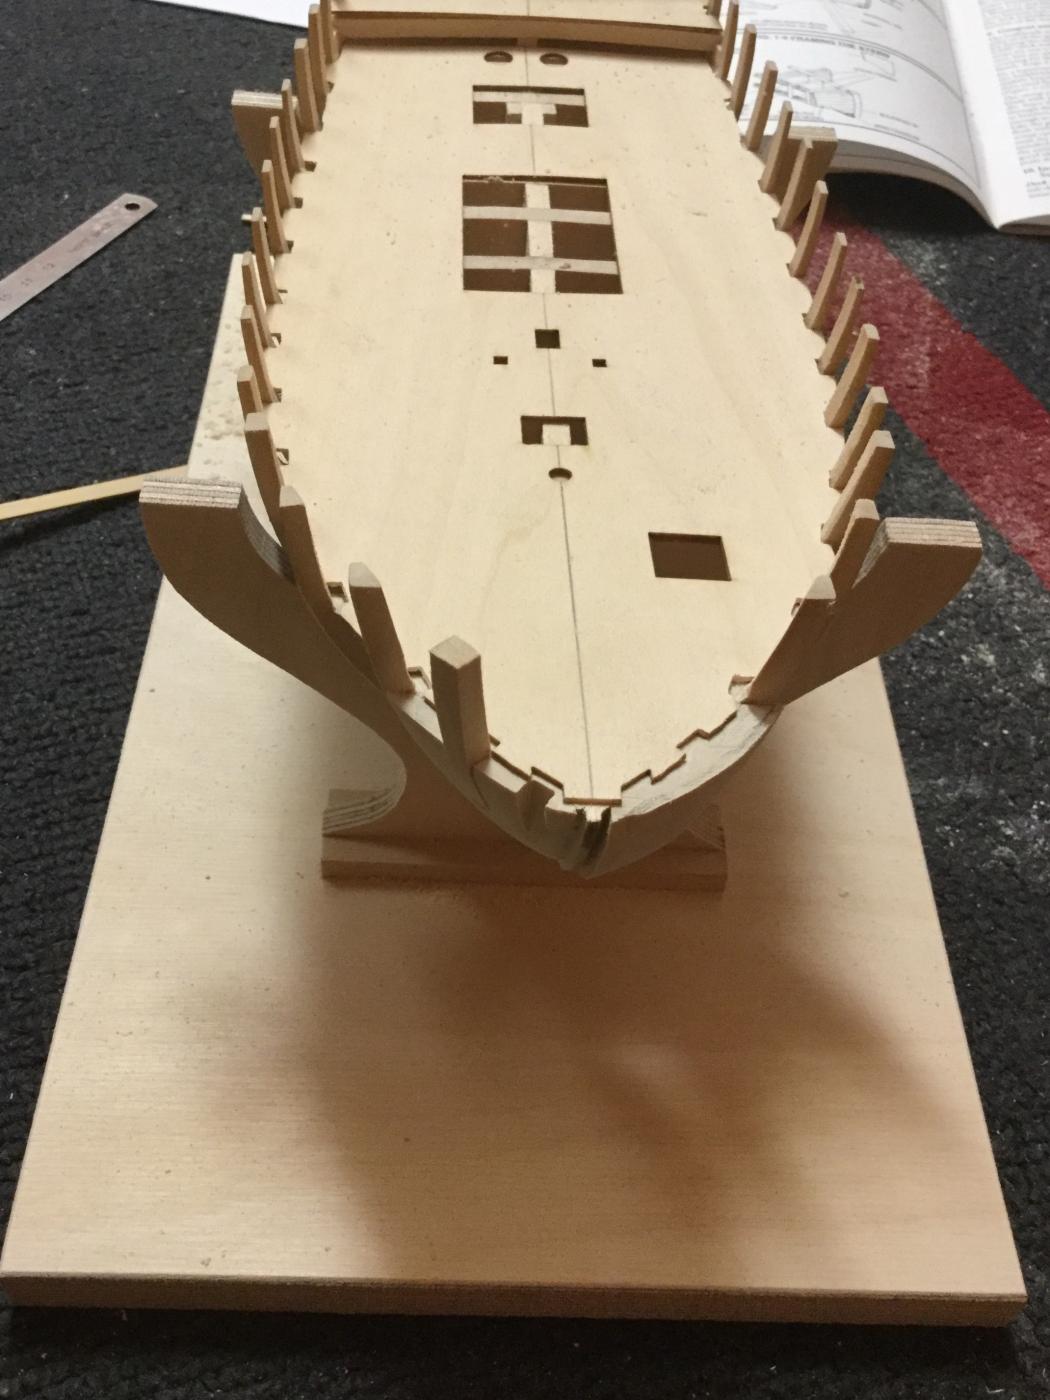
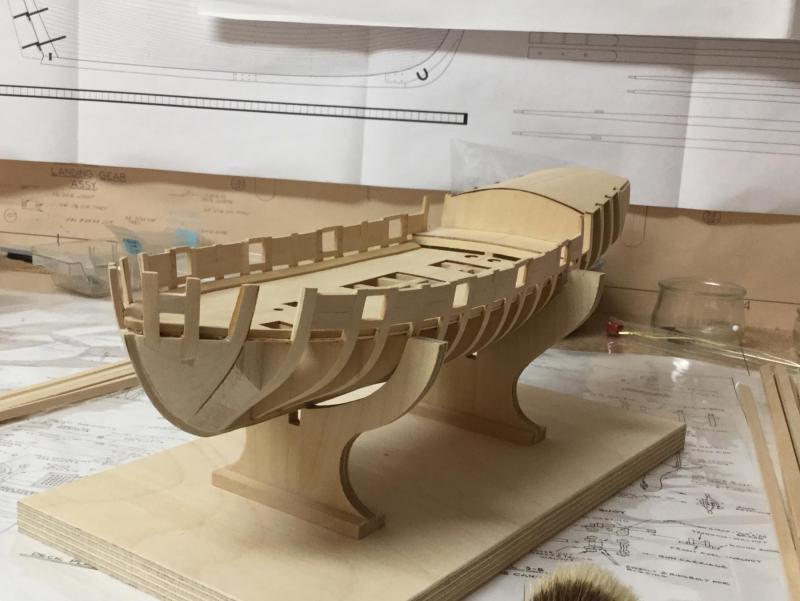
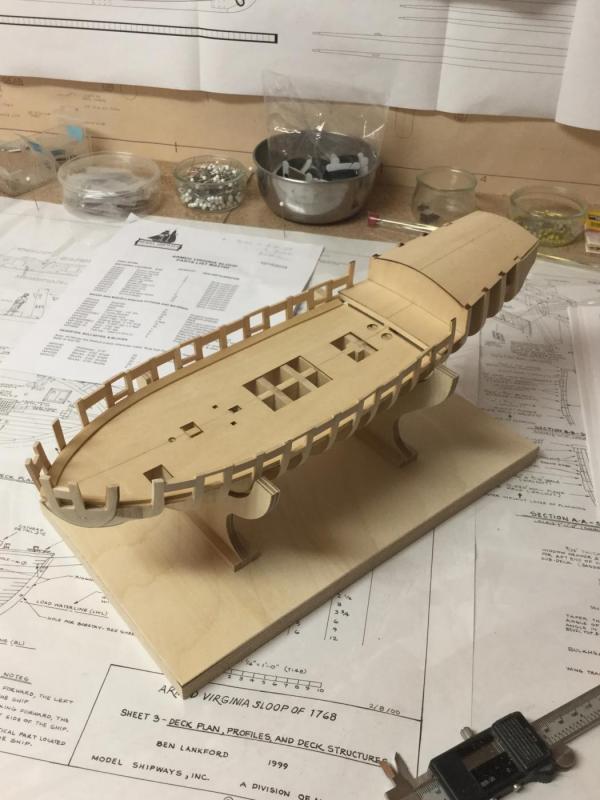
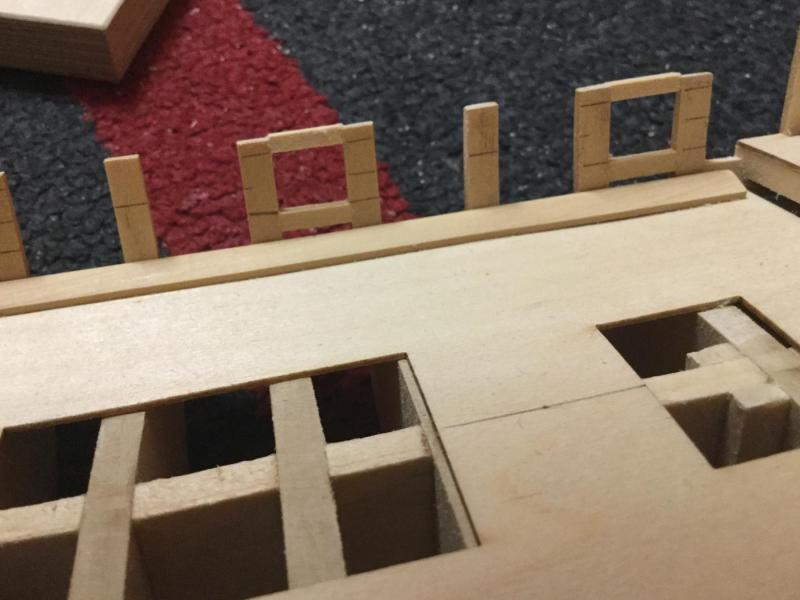
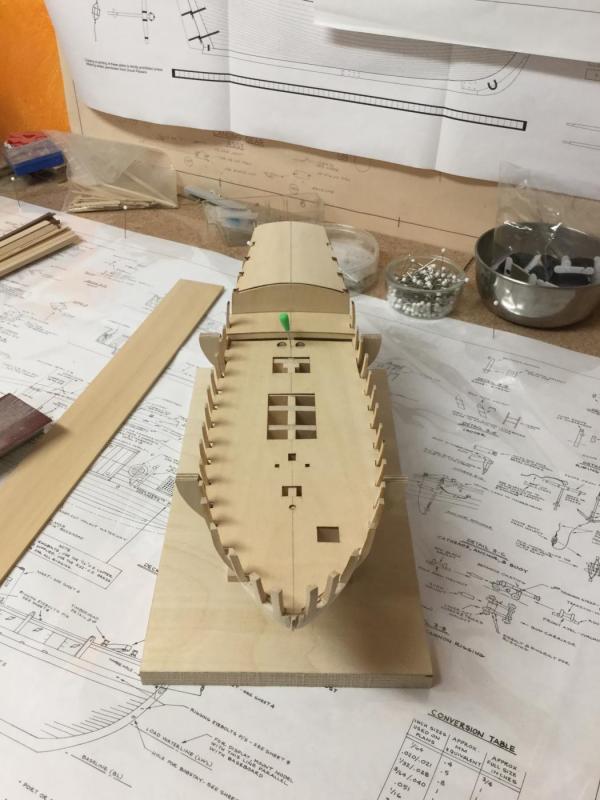
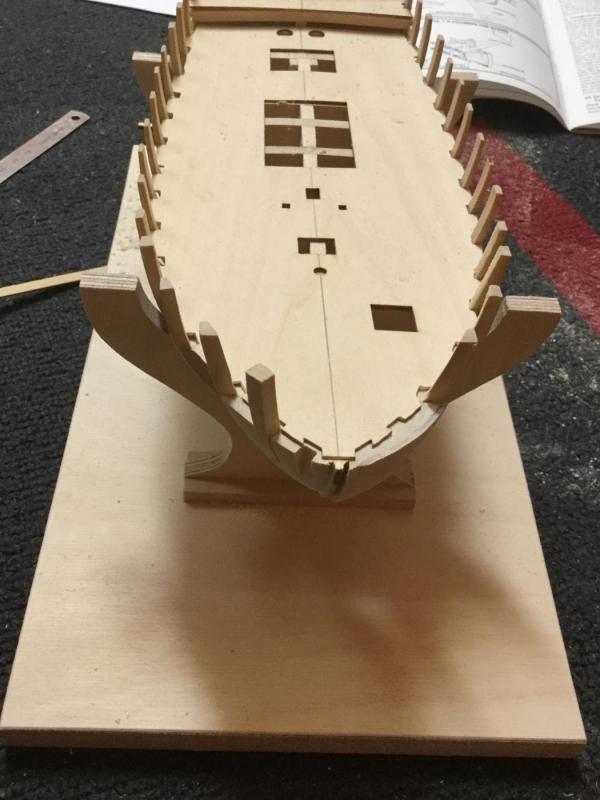
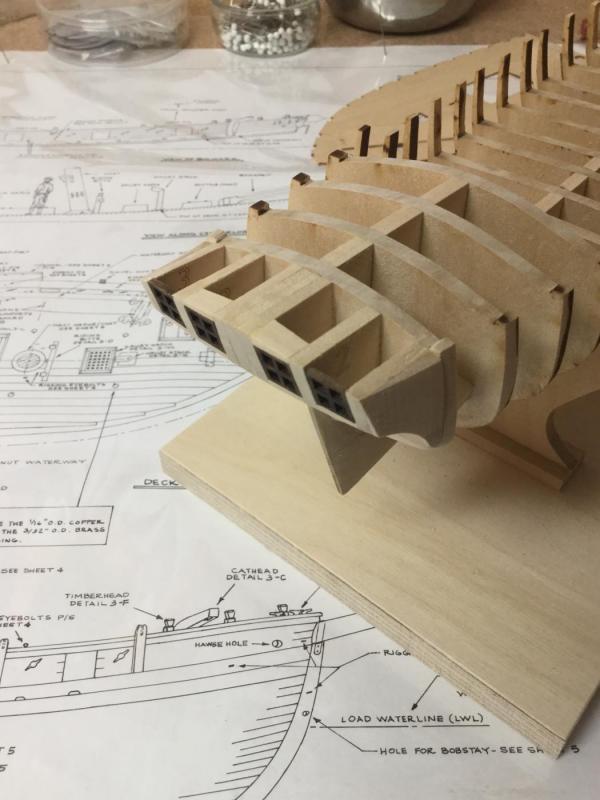
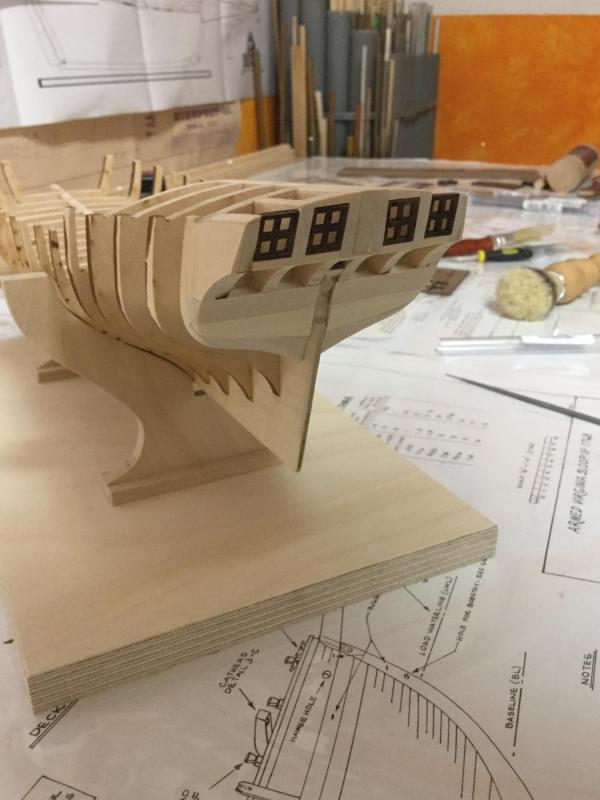
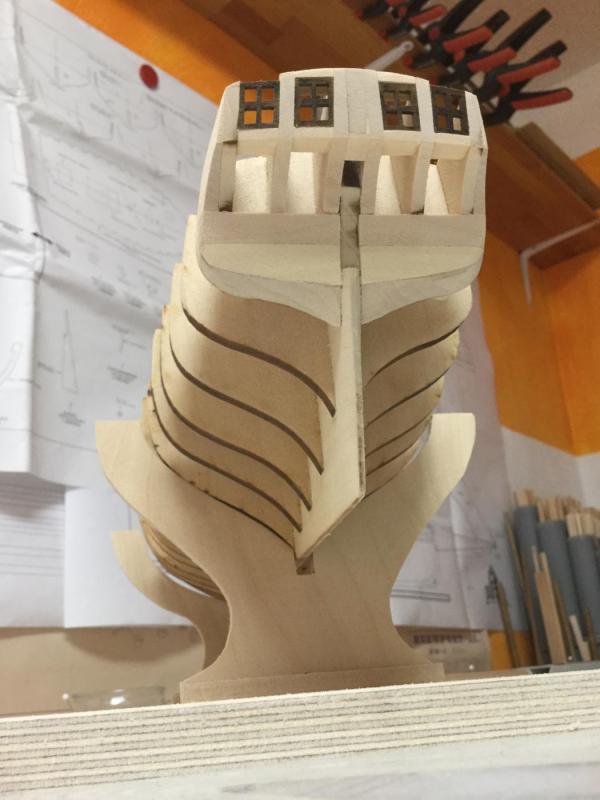
All knight- and timberheads installed and false deck parts glued. Hope to finish all remaining steps tomorrow before starting first planking.
- 231 replies
-
- 4
-
-
- model shipways
- armed virginia sloop
- (and 1 more)
-
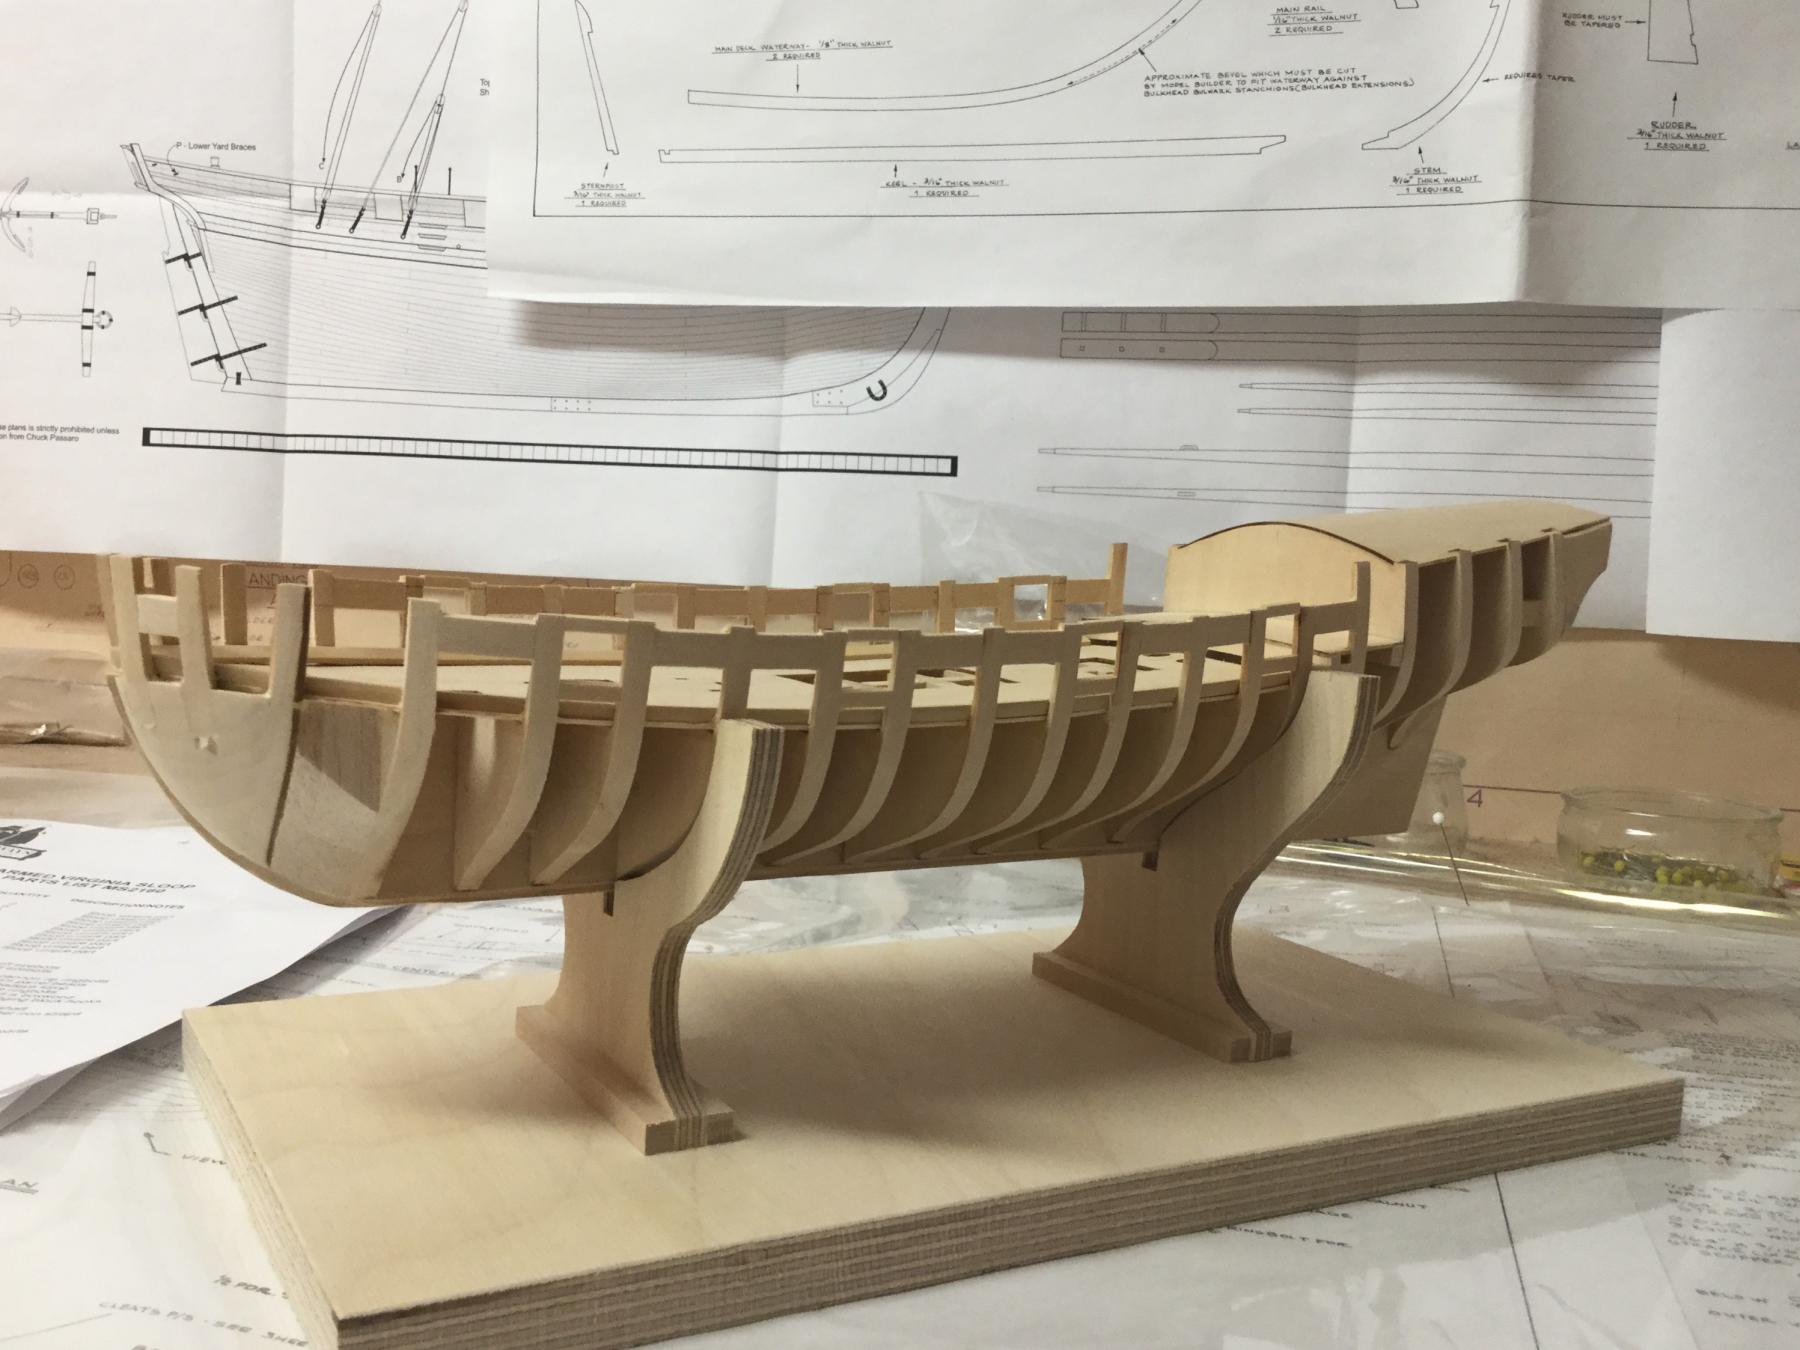
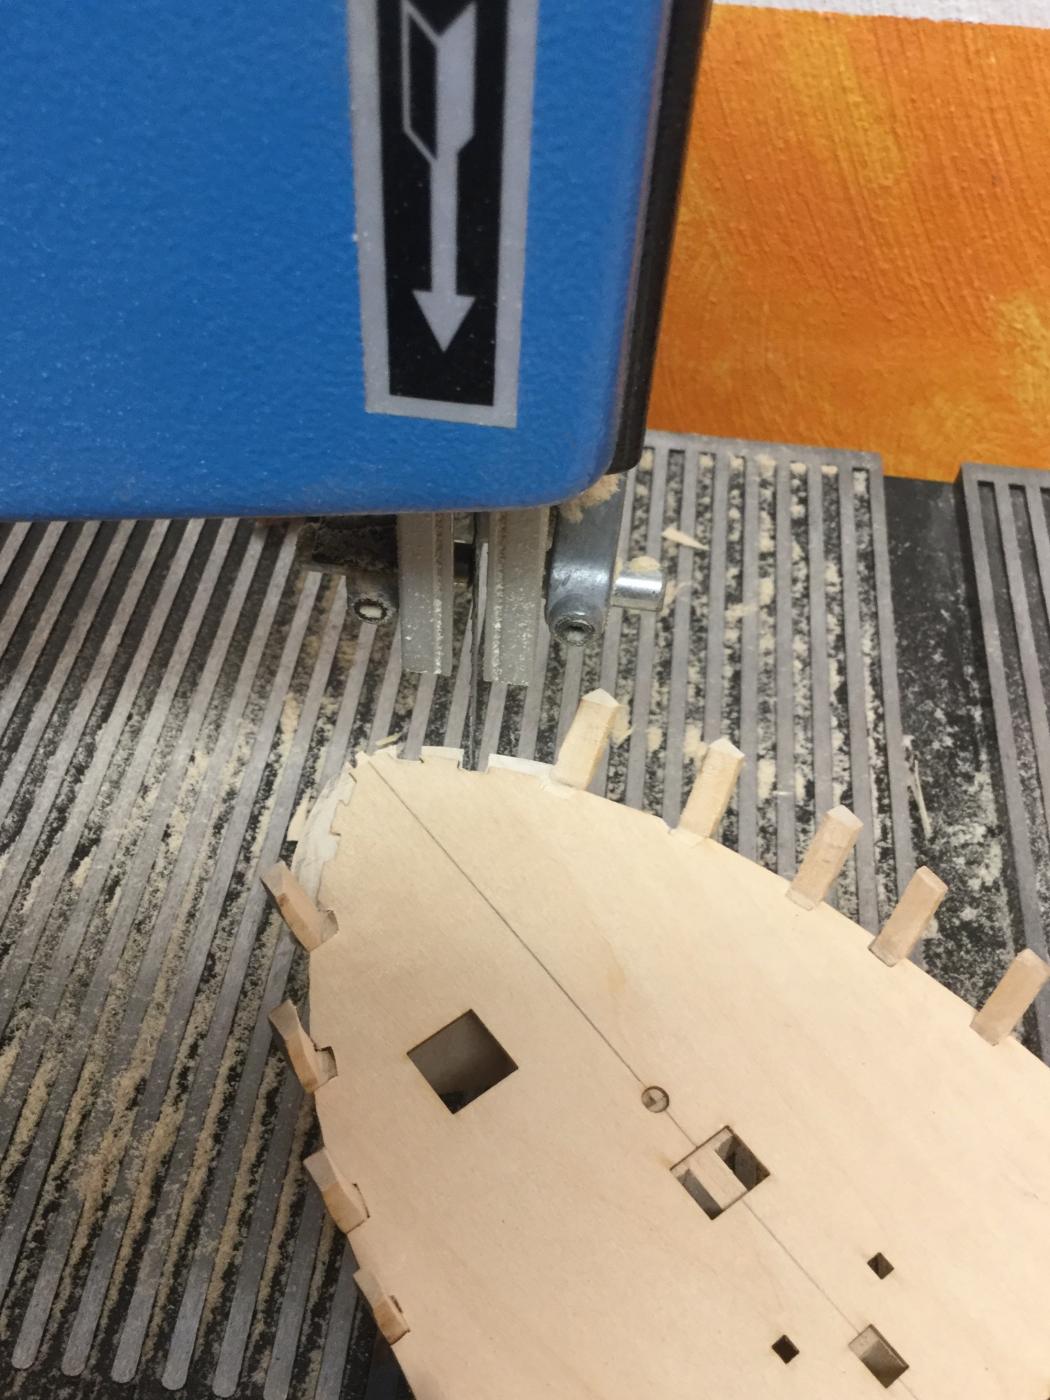
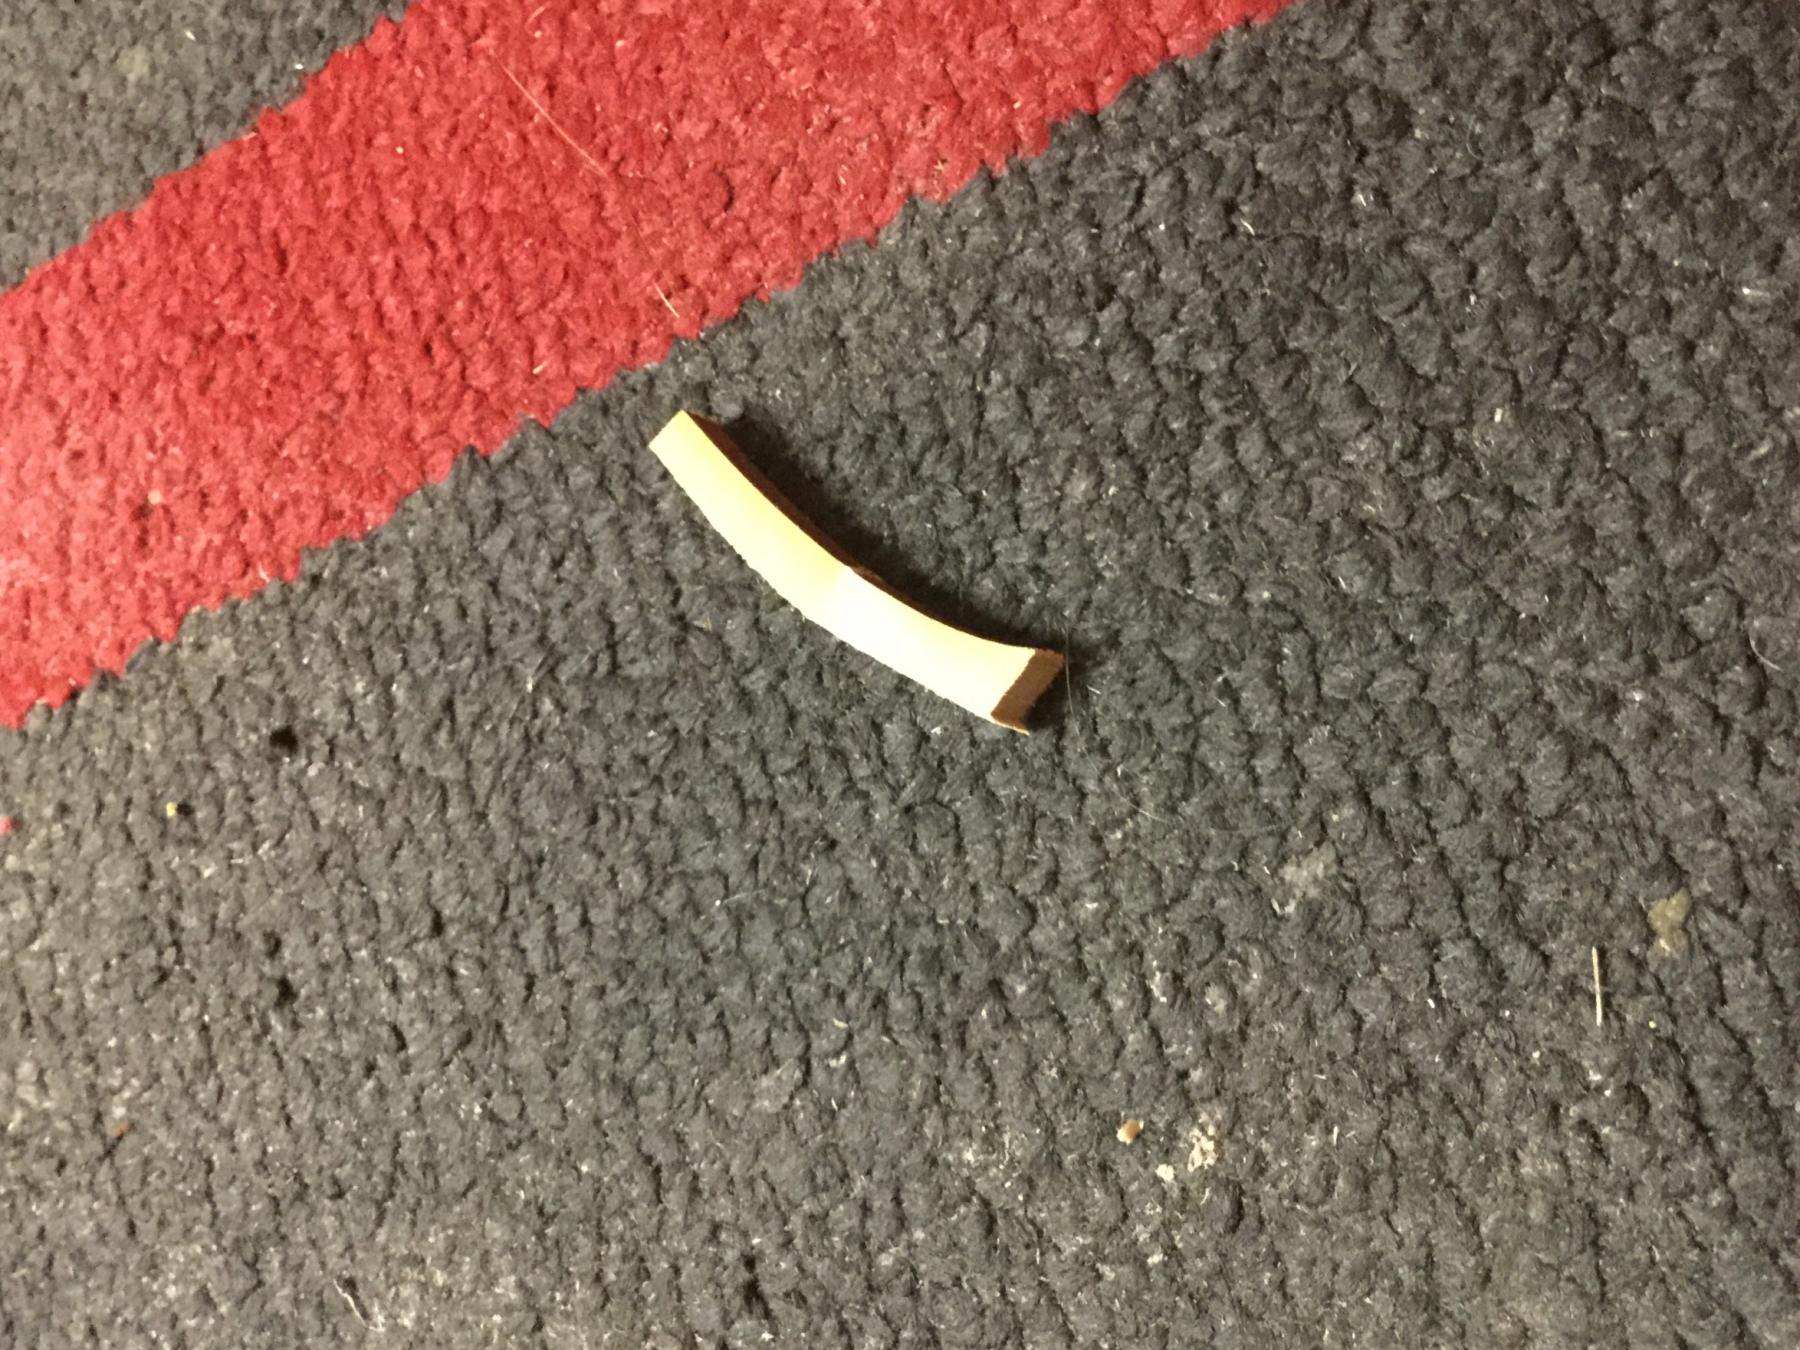
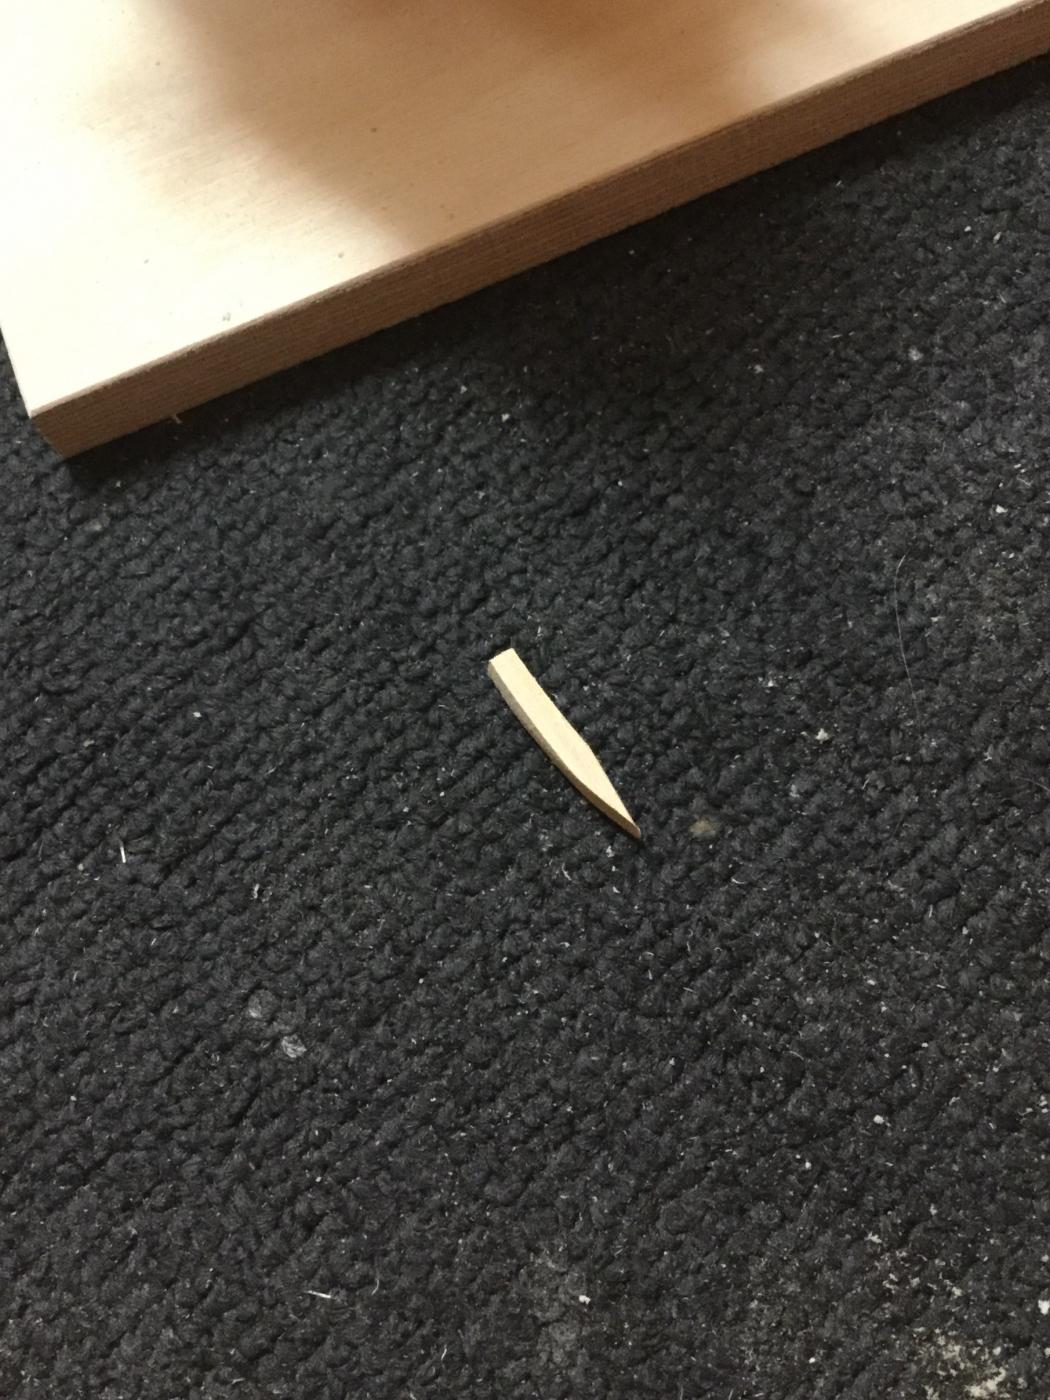
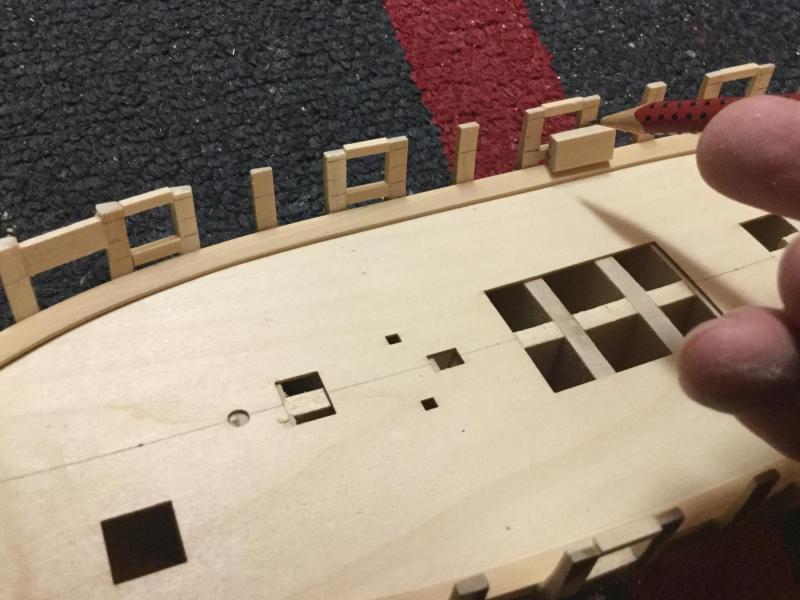
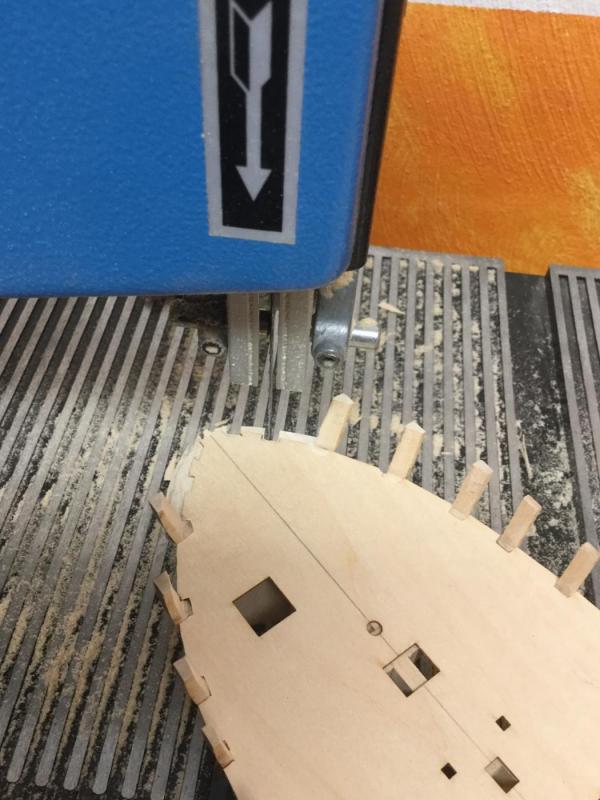
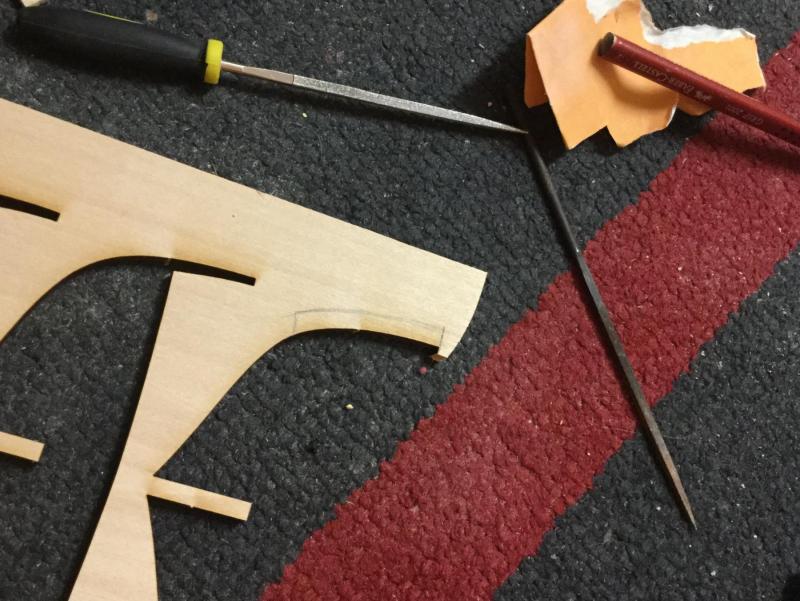
To install the timberheads and knightheads I first sanded the bow fillers roughly to shape. Then used my scrollsaw to cut the notches for both of them. The model had to stand upright on the platform to ensure vertical notches. For the timberhead pieces I used the scrapwood that held the bulkheads earlier and draw a piece close to the bulkhead outline. Cut that with my scrollsaw, sanded it to shape and installed it into the previous cut notch. I will give it its final shape when it comes to bevelling the bulkheads. Only three more to go...


- 231 replies
-
- 4
-
-
- model shipways
- armed virginia sloop
- (and 1 more)
-
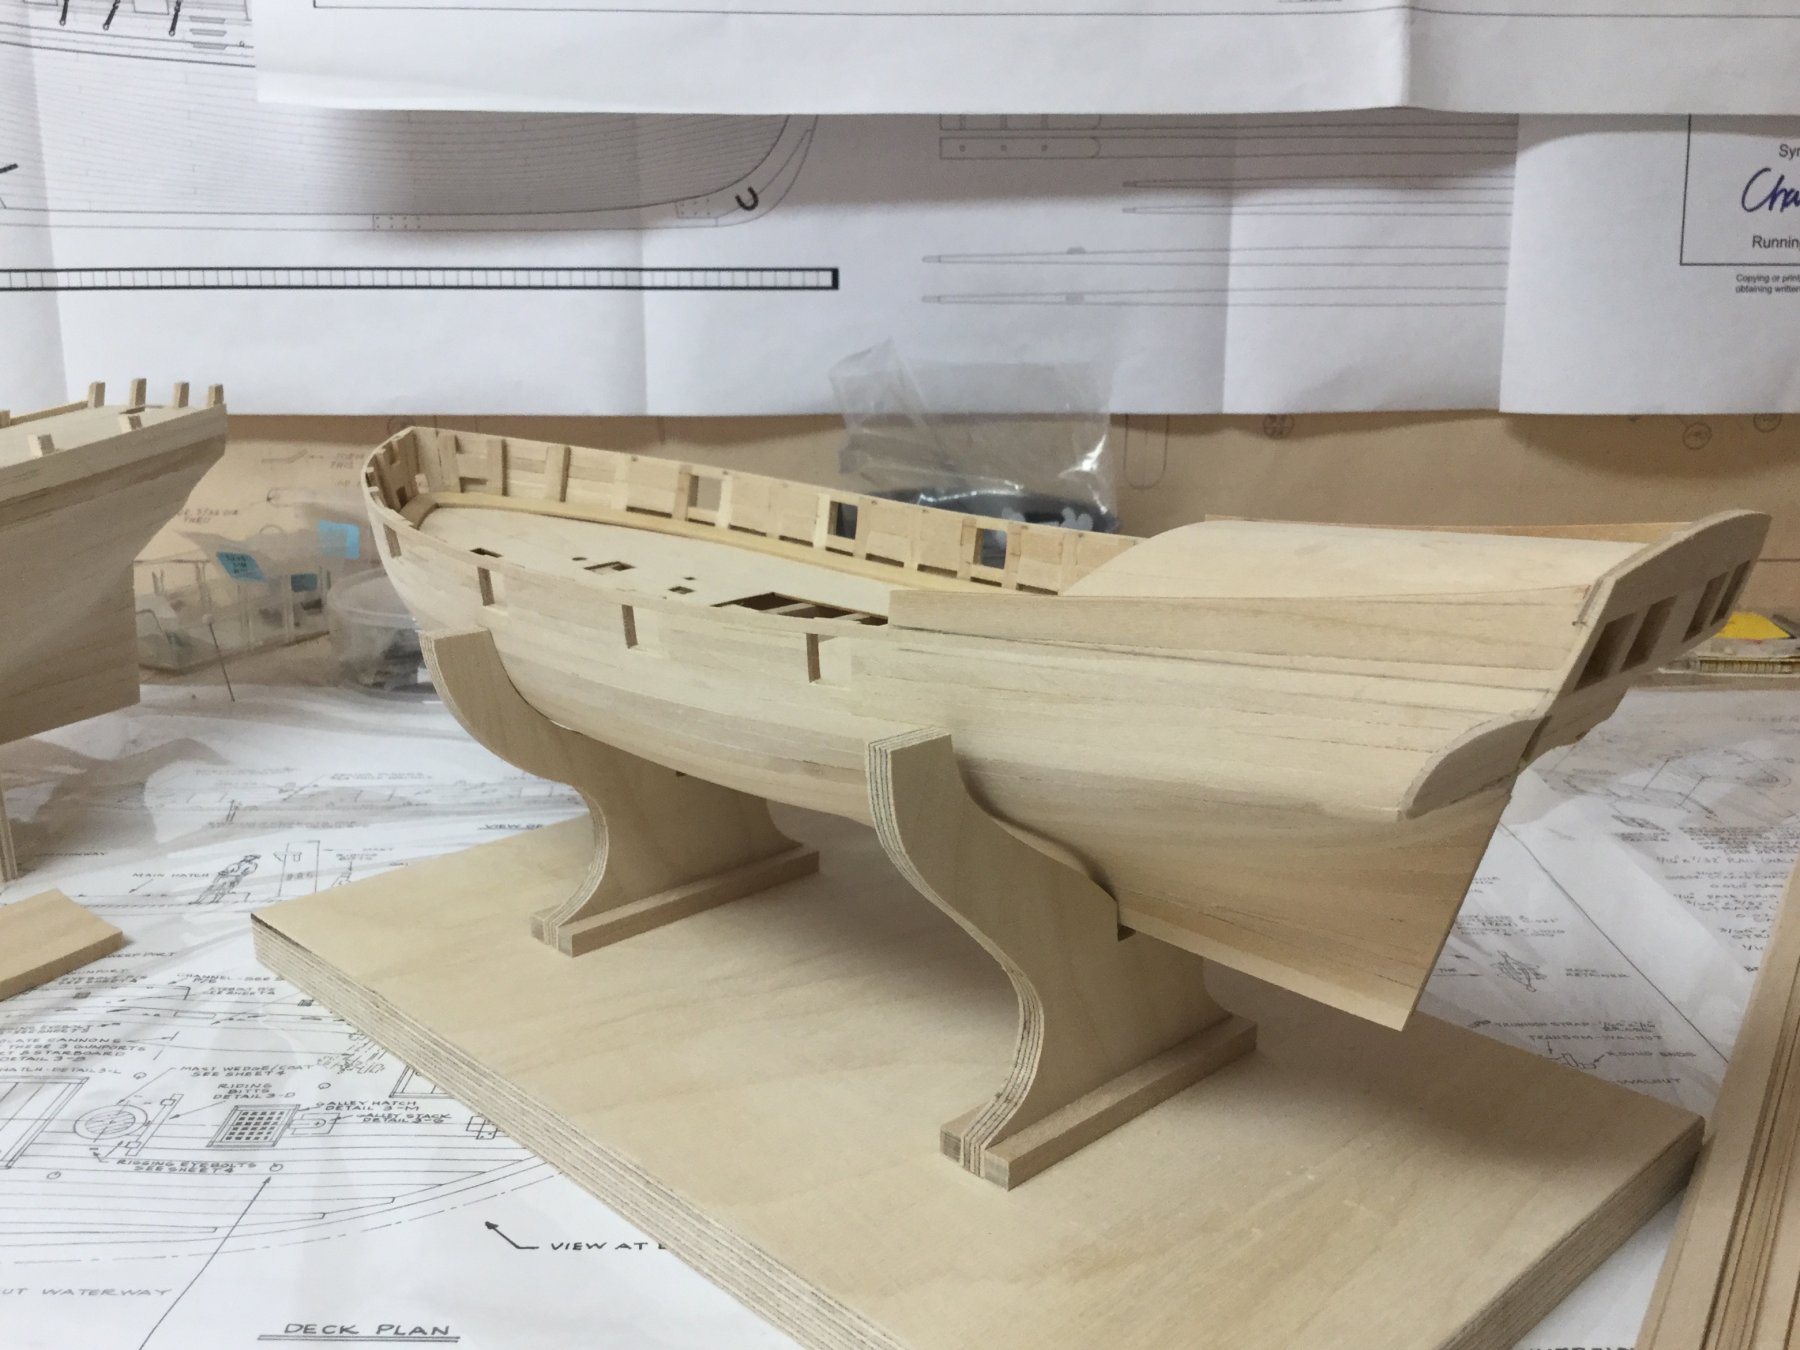
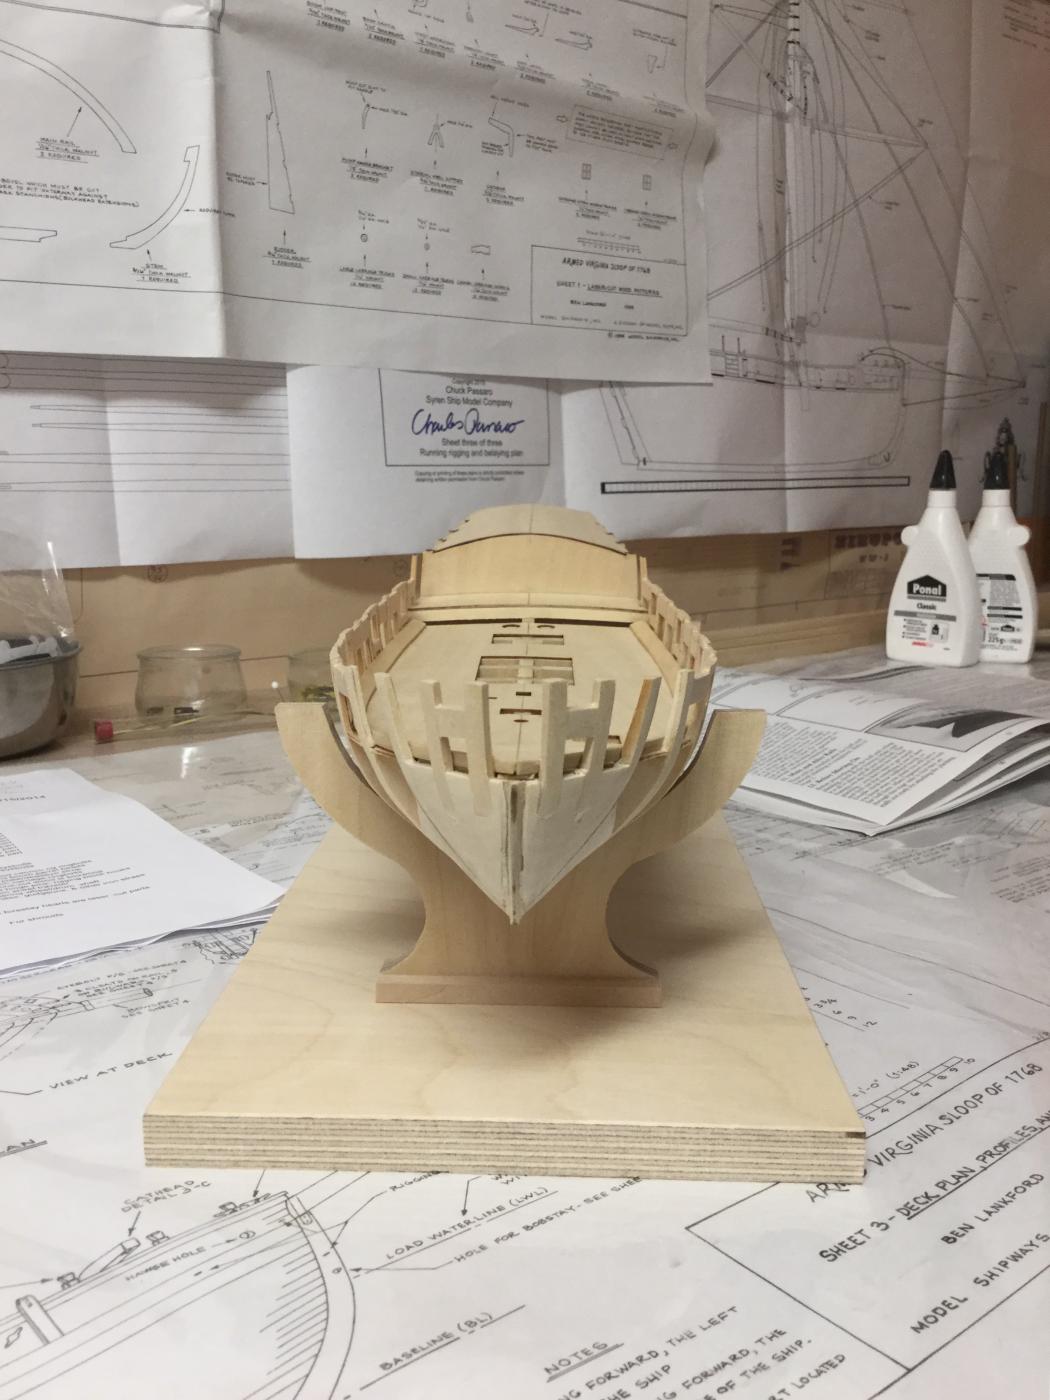
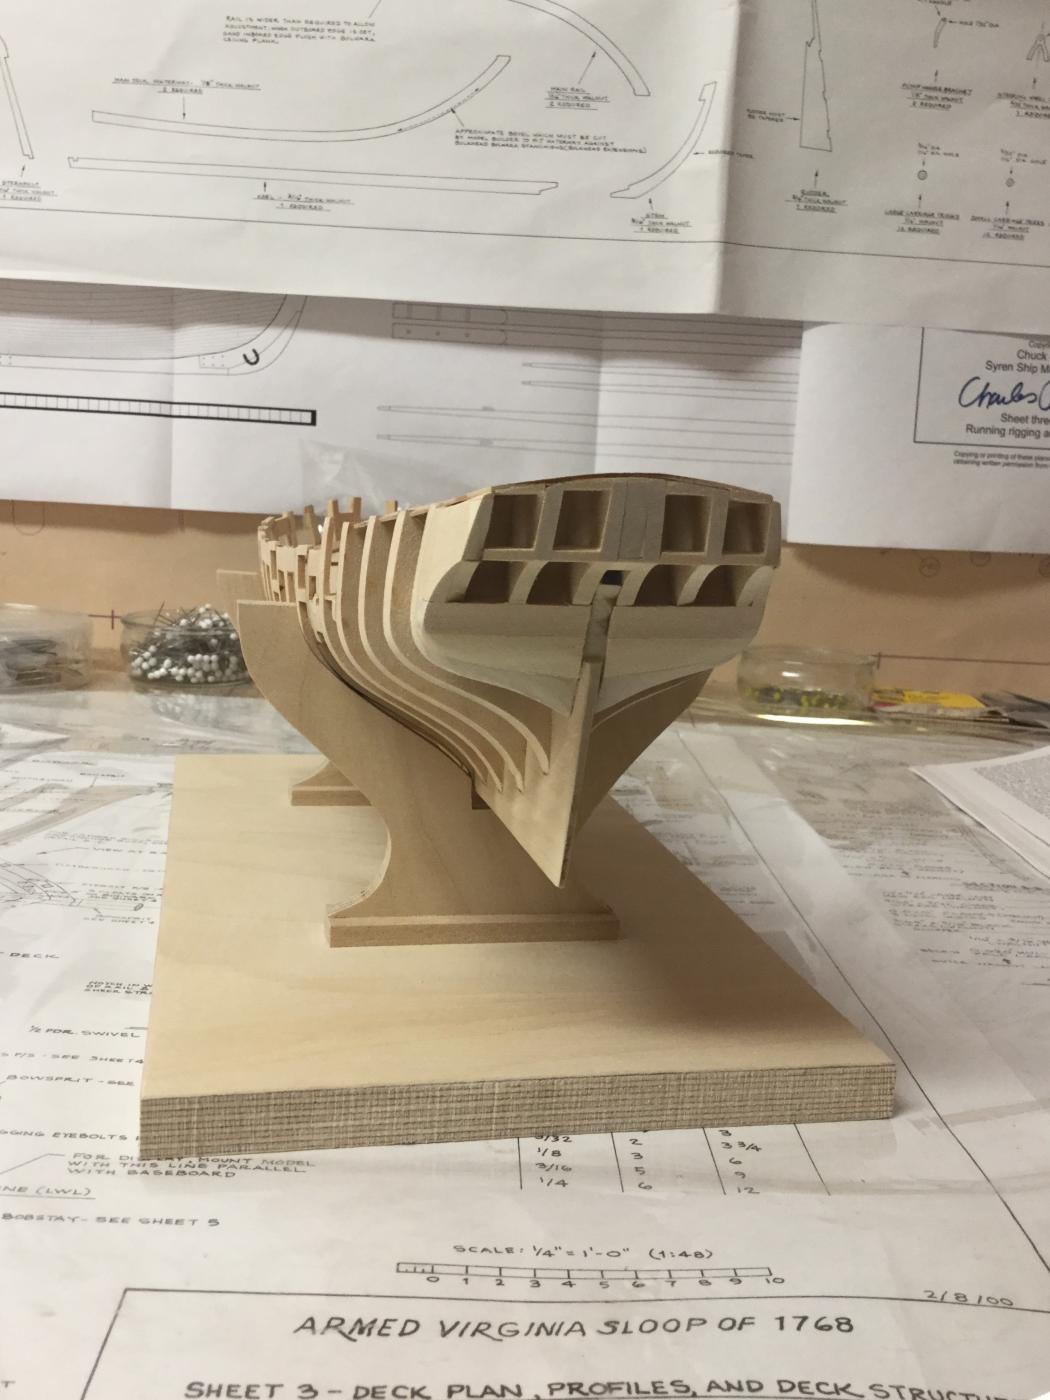
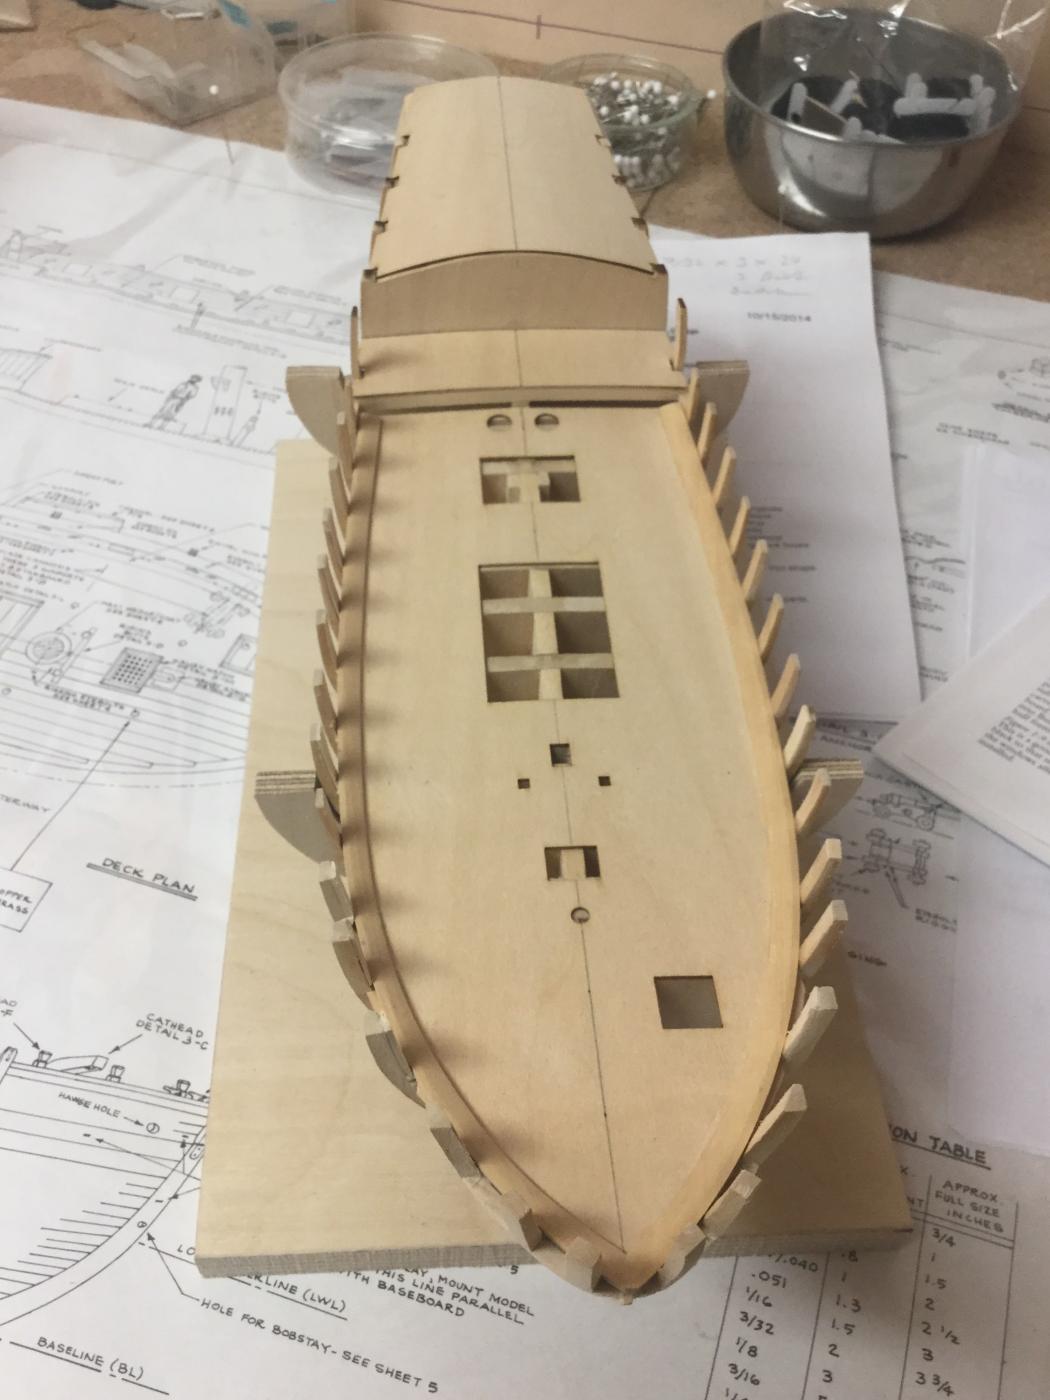
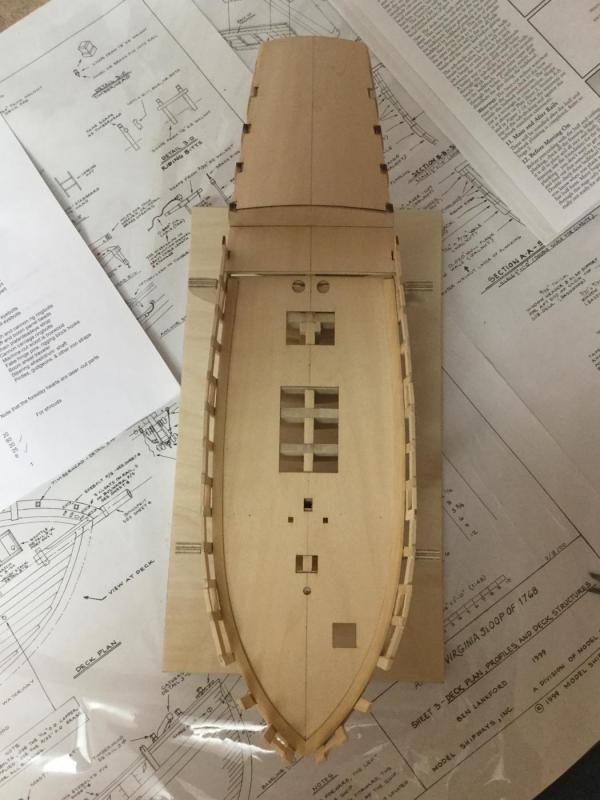
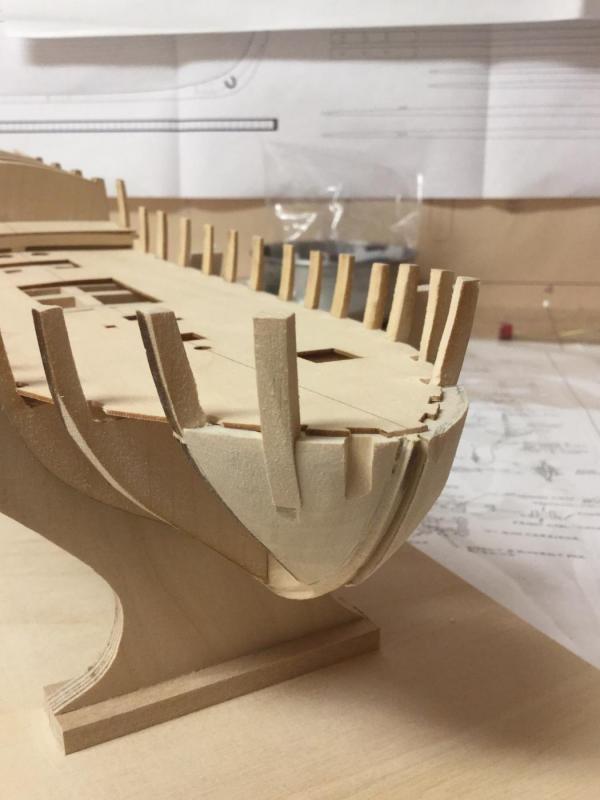
Added the deck beams and a support for them. Dry-fitted the false deck. To make planking the deck easier and to check proper alignment I draw a centerline from top to bottom to all false decking parts. Added stern filler blocks too but still have to do a lot of sanding there...
- 231 replies
-
- 5
-
-
- model shipways
- armed virginia sloop
- (and 1 more)
-
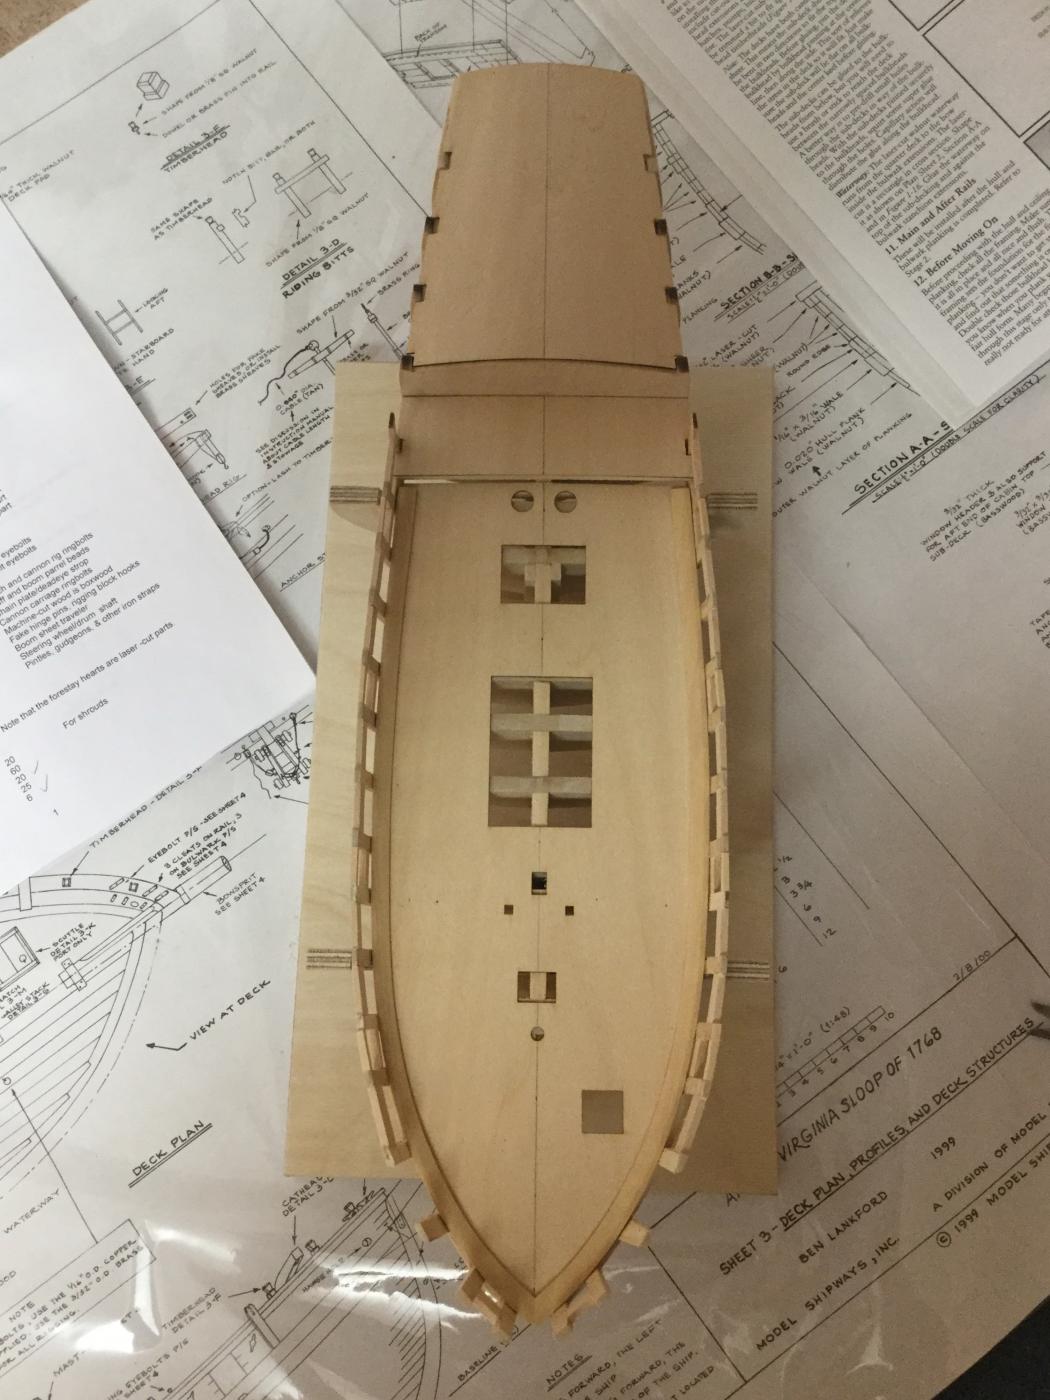
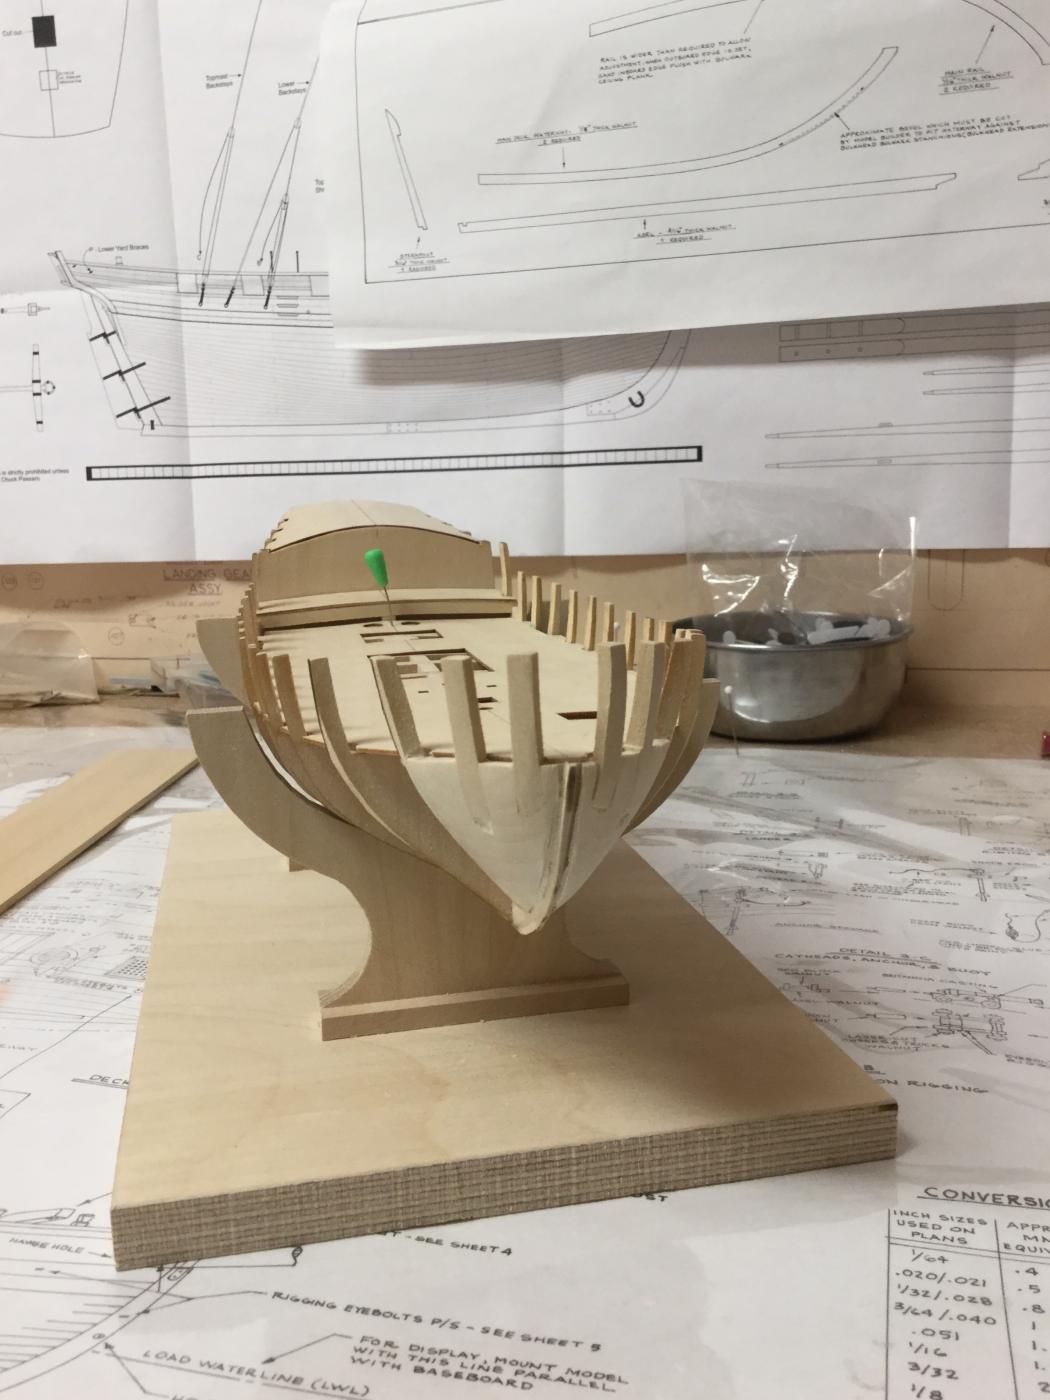
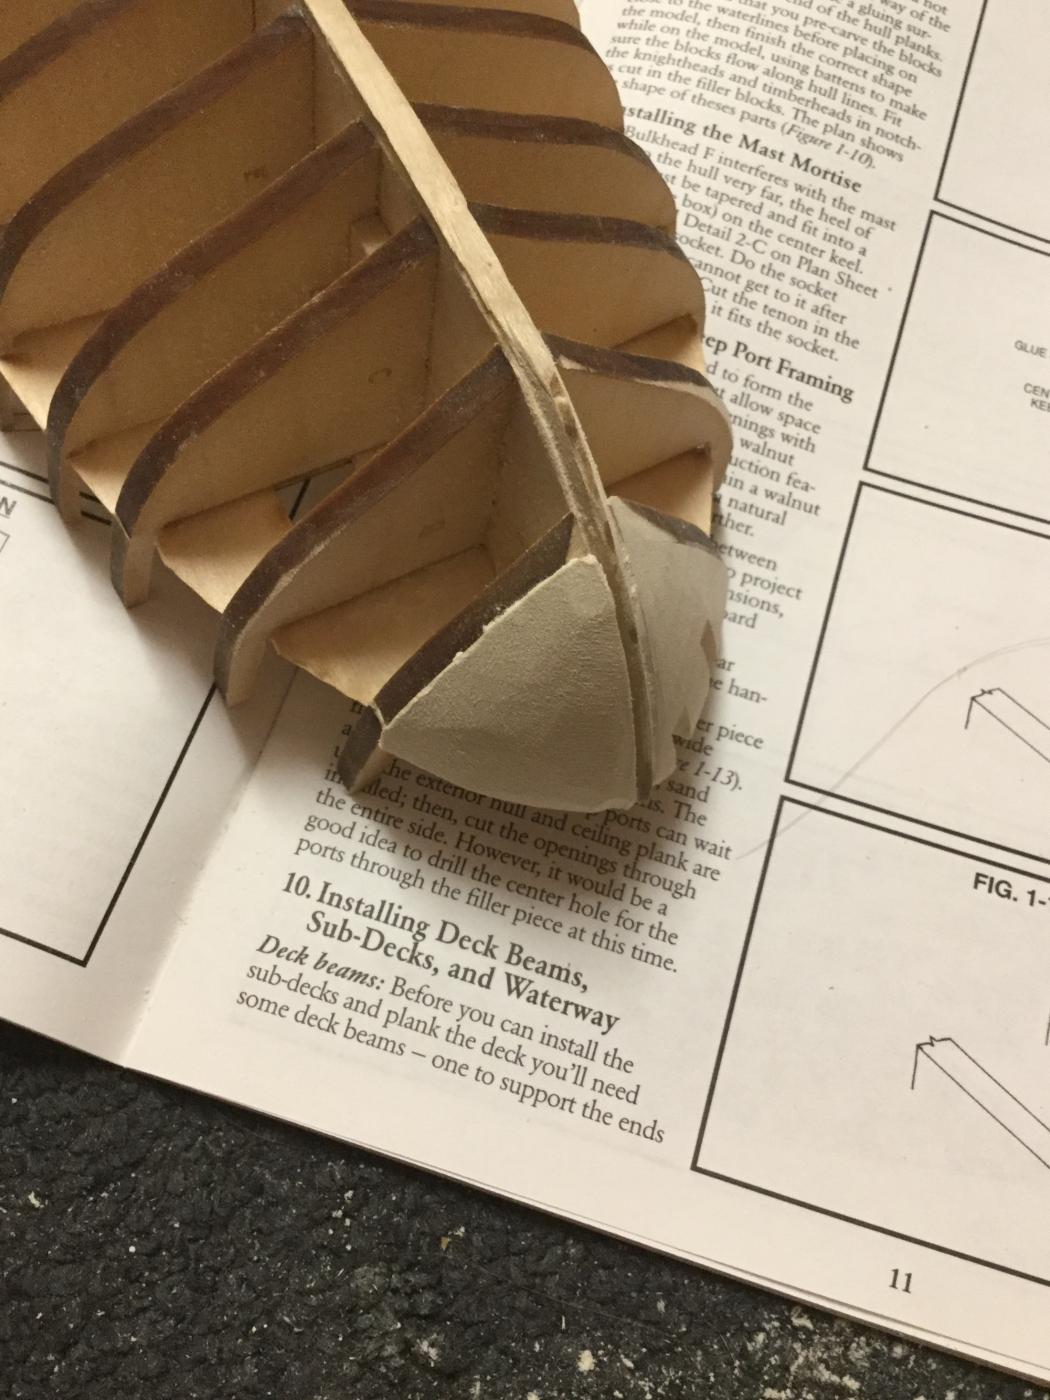
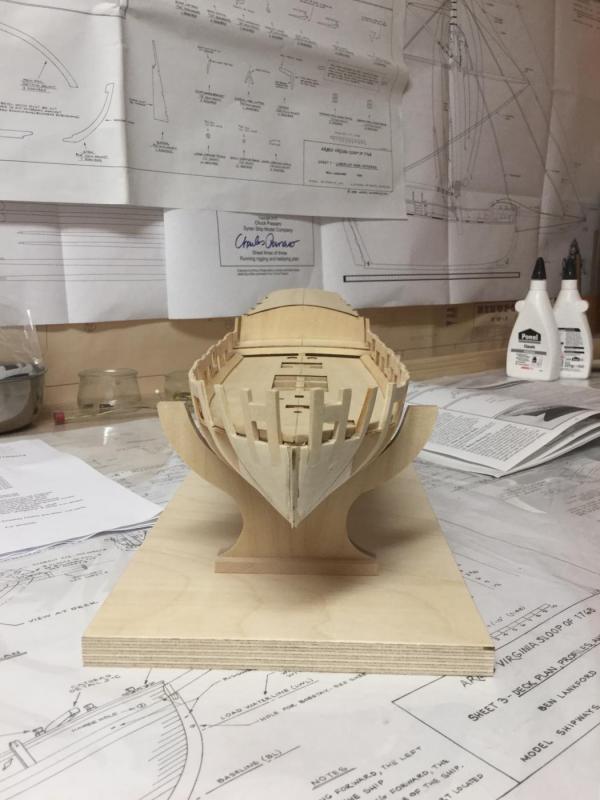
Thank you very much, Brian. I missed that on the plan (maybe I should look on the plan more often). I refitted the stern frames, added blocks and transom and the window sills. Then I spend an hour sanding everything to shape. Dry-fitted the windows last. The outer windows leave nearly no space for the upper window sills so I have to add them later after glueing the cabin top sub deck or reduce the lower sills a little. Next: Adding bow filler blocks..
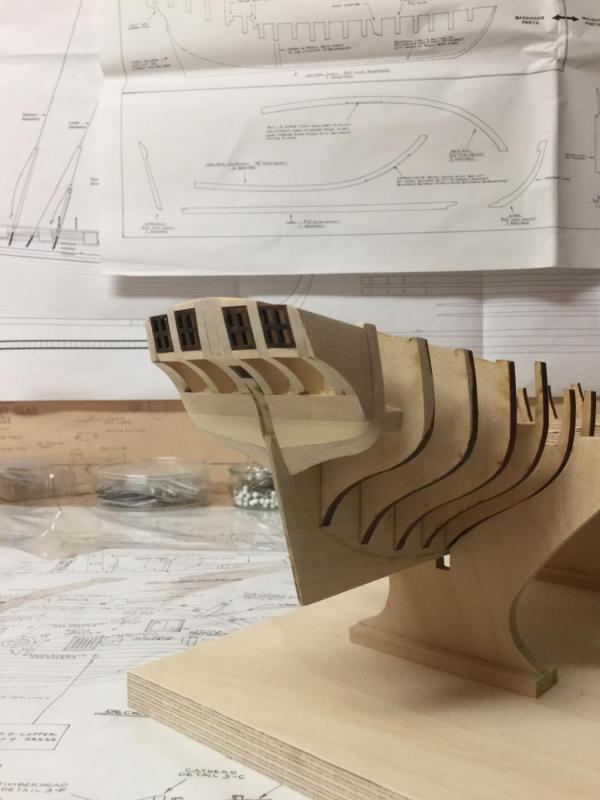
- 231 replies
-
- 4
-
-
- model shipways
- armed virginia sloop
- (and 1 more)
-
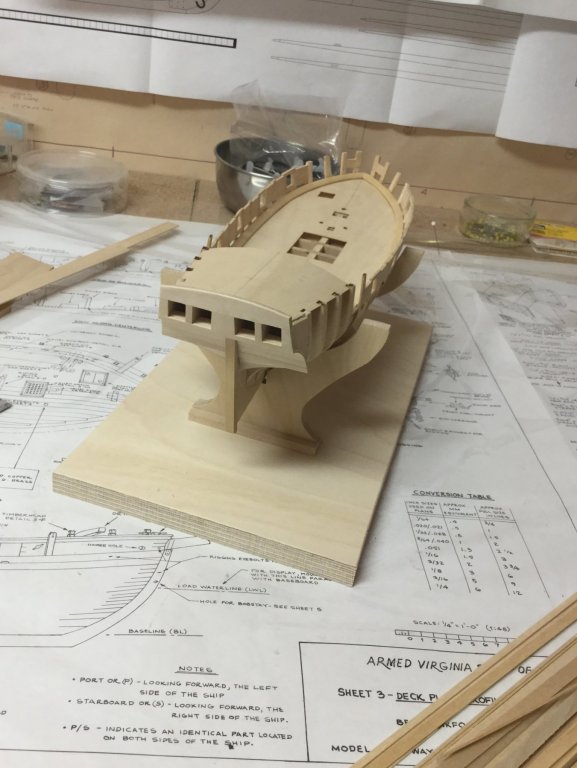
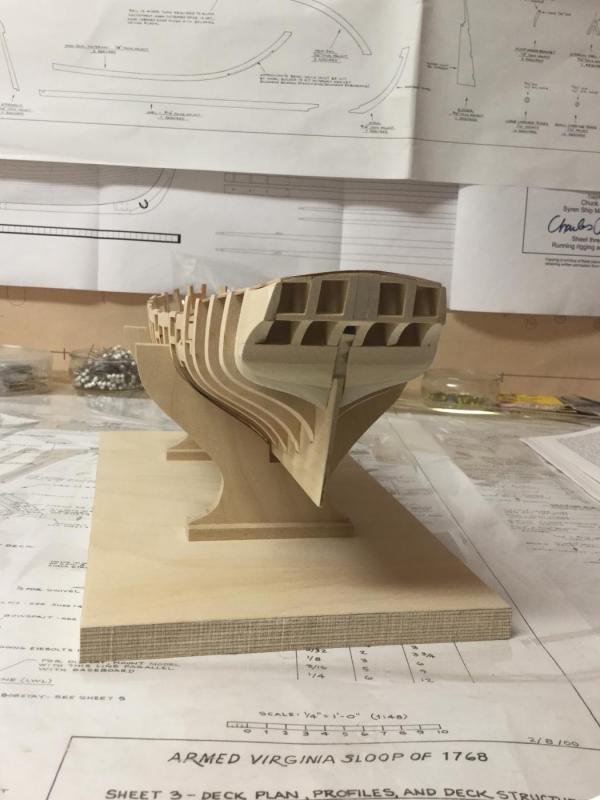
Thank you all for the likes. Only minor progress. I installed the stern frames next and used the window parts for alignment. Then sanded the upper edges flush with the bulkheads.

- 231 replies
-
- 4
-
-
- model shipways
- armed virginia sloop
- (and 1 more)