-
Posts
979 -
Joined
-
Last visited
Content Type
Profiles
Forums
Gallery
Events
Posts posted by mugje
-
-
- GrandpaPhil, FrankWouts and bruce d
-
 3
3
-
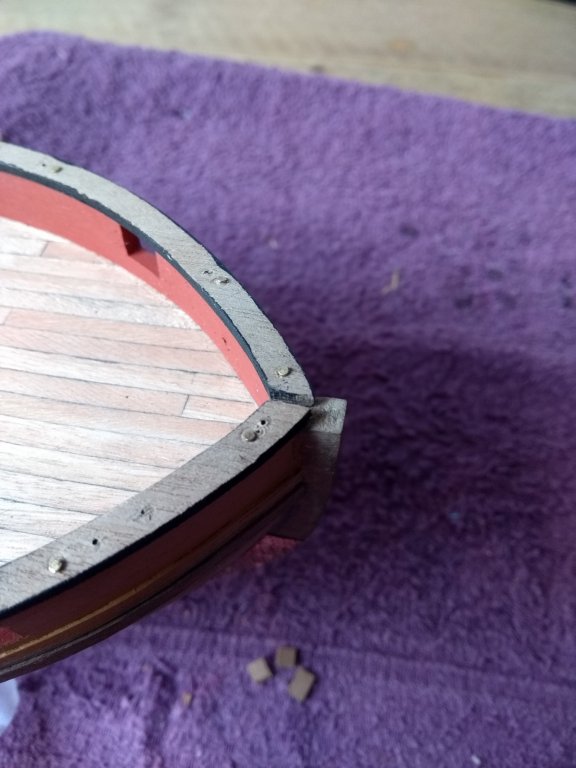
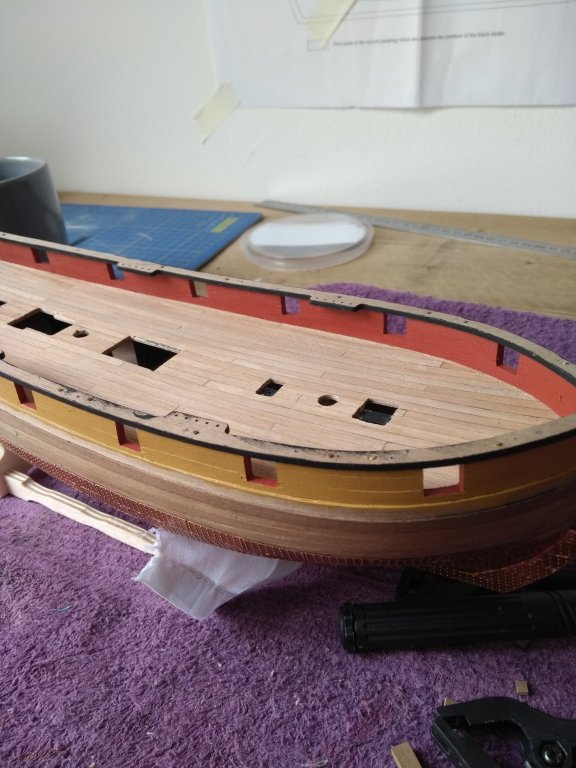
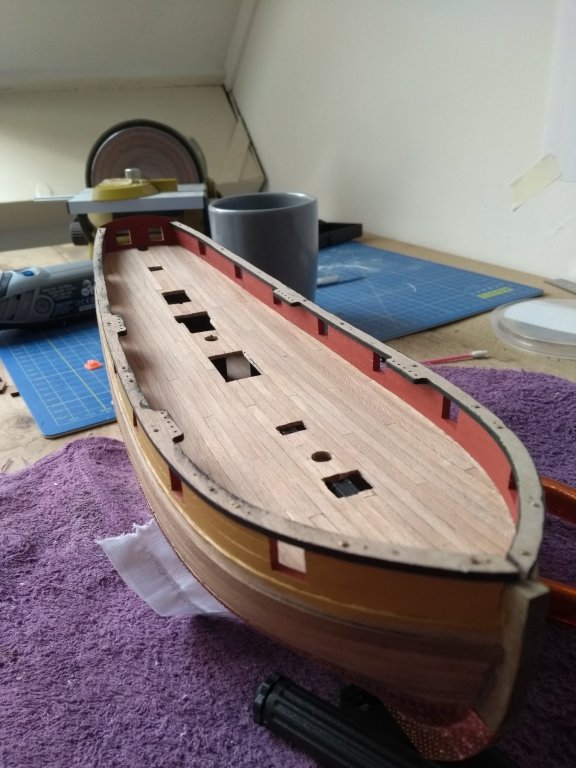
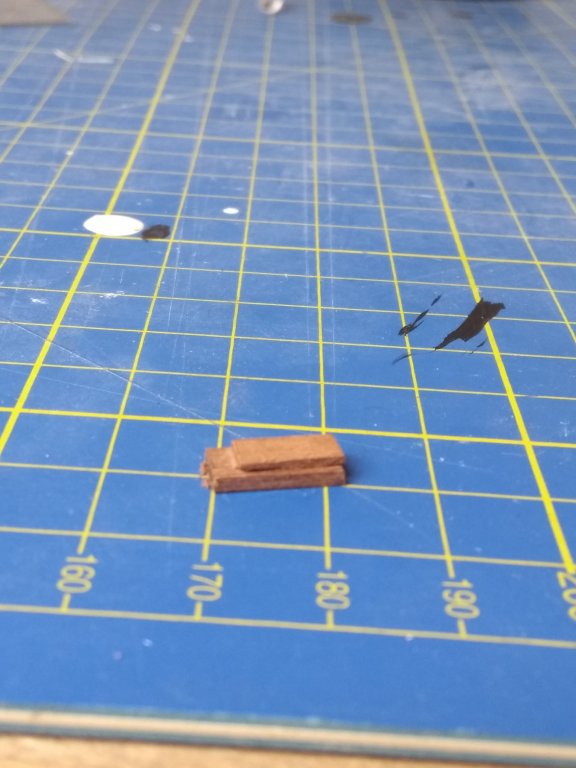
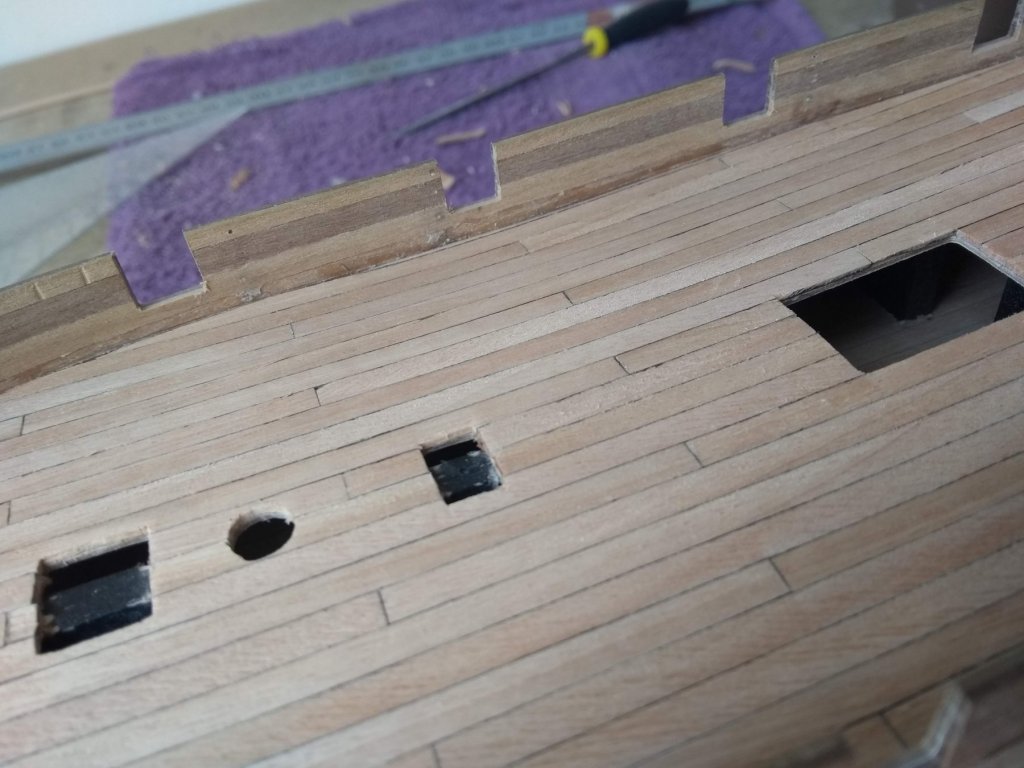
Okay...tested the method with the elastic bands, but couldn't get it just right. But the scrap pieces did help! I used the scrap pieces with clamps against the bulwarks, so it was easier to align the capping rails. But still used pins to nail the rails at the bulwarks. This worked pretty okay. Still needs lot's of touching up afterwards 😁😉
I found that the montage of the capping rails one of the most difficult parts of the build was for now, but really satisfying when it's done 😊👍
- bruce d, Dubz, FrankWouts and 3 others
-
 6
6
-
Great tips! Thank you both!
I have now first soaked the capping rails and dry fitted them with nails really careful, drilled the rails and the bulwarks. I'm letting this set for two days (going on a trip tommorow😁)
Then i hope the rails have the nice bend already in them when i'm gonna glue them with the elastic bands👍.
Sounds like great tips guys. I tried the bands but they pusht them inside the bulwarks, but the trick with the pieces of scrapwood sounds really clever👍
-
Does anyone has some tips about how to install the capping rails? It's a tricky situation.
I tried with wood glue and nails, but it's not really accurate. The nails are splitting the bulwarks.
I only drilled holes in the capping rails (a bit smaller then the nails itself). Maybe also in the bulwarks?
It's to difficult to clamp it somehow.
-
Interesting build! I like the ship to and considering it for a second build. The wood choice is difficult tho!
-
-
Beautiful ship and something that i want to build in the future! The walnut looks really good indeed. The wood supplied in the kit of the Pickle was of a much less quality. Tanganyika looks the same 😉
Horrible 😁
-
- BenD, Edwardkenway, GrandpaPhil and 9 others
-
 12
12
-
- tarbrush, Edwardkenway, BenD and 7 others
-
 10
10
-
-
-
- GrandpaPhil, bruce d and FrankWouts
-
 3
3
-
- tarbrush, BLACK VIKING, egkb and 7 others
-
 10
10
-
- GrandpaPhil, bruce d and FrankWouts
-
 3
3
-
- Javlin, Edwardkenway, Duanelaker and 5 others
-
 8
8
-
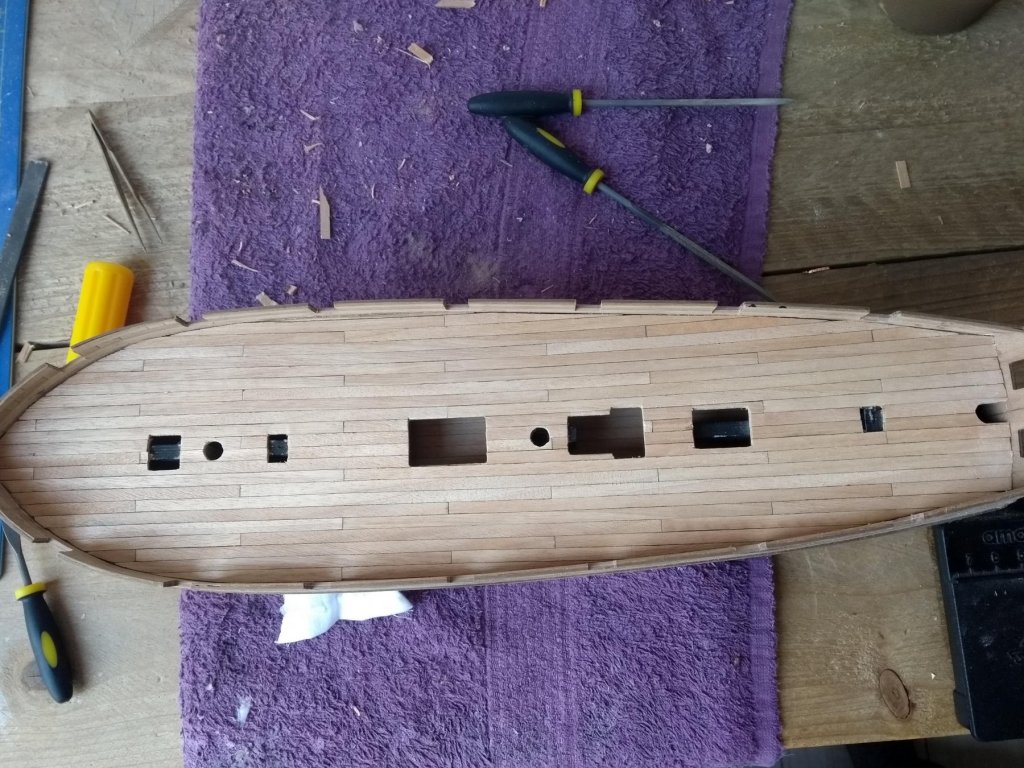
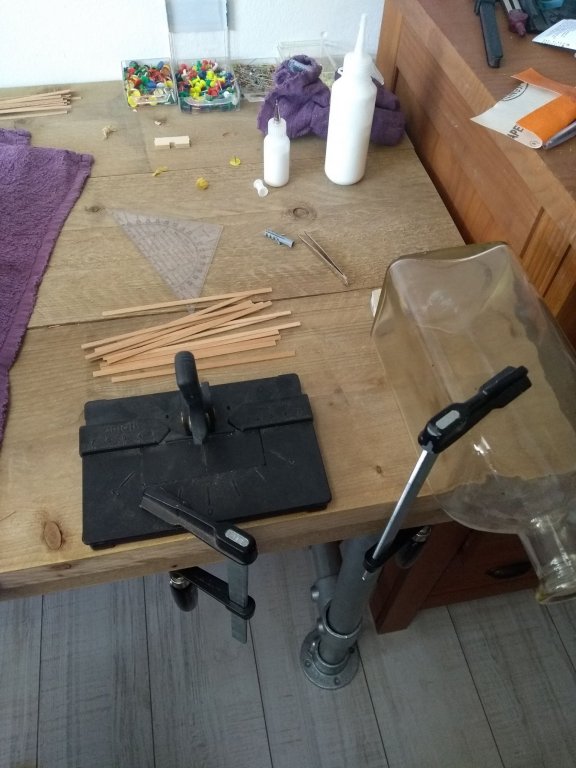
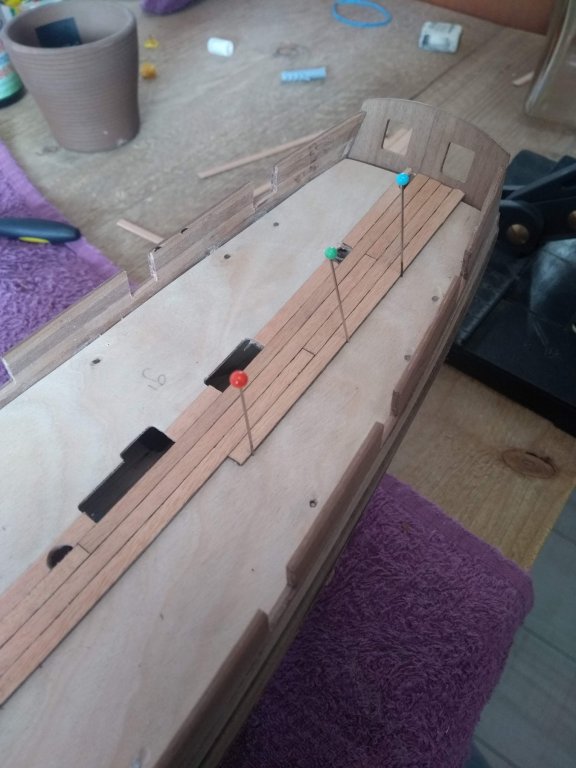
Planking process happening

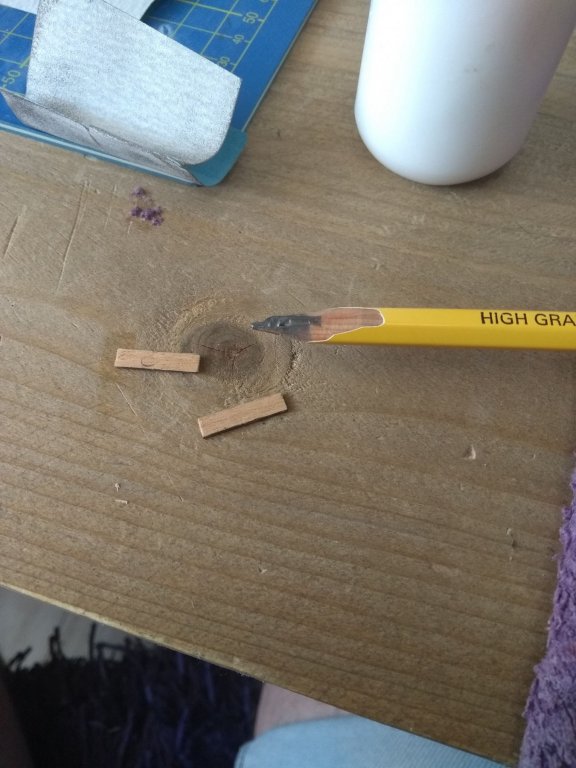
I apply the caulking with a 2B pencil, and clamp the planks with pins. By the way...the provided wood is horrible. The tanganyika planks are really brittle and rough.
When the deck planking is finished, you don't sand the deck right? But scrape it with a knife or something like that?
- egkb, Duanelaker, Gregory and 5 others
-
 8
8
-
12 hours ago, GrandpaPhil said:
The Pickle is coming along nicely!
Thanks Phil!
-
19 hours ago, Heinrich der Seefahrer said:
No I don't find some troubles - less circumstances will be in your build if you copy the decks part drawing (simply on transperent paper) and work on the brench with this - seperated from the kit. So you can cut the planks to length and shape - after this you than add it onto the plywood.
Please remember to lay. some soft cloth between ships hull and stand. This due to the pressure of adding the decks planking that may harm the wounderfull coppering.
The waterway can be simply build by some 1/4 circle of wood bent to the decks outline shape by hot water steam - please remember to add the scubbers by drilling through the hullside and paint it with some plumbum like metal grey. Succubers are one of the very often neglected little details that are able to push your build in the first class row.

If you have a look into Mondfeld Historical Modelshipbuildung there are several examples of scubbers to find - most important is to add one pair (port and starboard!). Placed in the line of the pumps and on tne deepest point of the deck (rectangular to the ships central line) they will be located right.
Thank you for all your help and tips, they are really helpful! It's nice to see people that help beginners. It so important to keep motivated. I immediately ordered the book from Mondfeld on amazon, so that is something to look on for. Like i said...i don't know if i'm gonna modify or add a lot, because there's is so much to learn just building the kit. Sometimes i lose sight of all the information haha.
-
19 hours ago, Duncbe said:
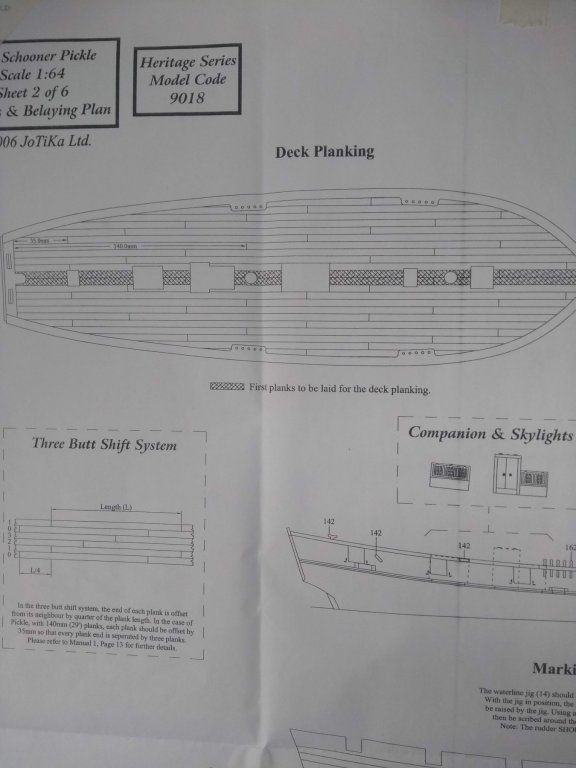
Yes the plans provide this already, so that's nice. I see that you build the some older Caldercraft kits. I assume there are not instructions in the manual to plank in three butt shift system?
- FrankWouts and BenD
-
 2
2
-
Ah tnx for the explanation. It sounds like an easier progress to do the main planking first and then mount the deck on the ship.
Well, with the next ship i will keep that in mind. I had to first find out what the waterway was haha, but now i get it.
Caldercraft does not have a waterway in there plans, so i don't know if i'm gonna do that for now. It's offcourse more authentic to install
one, but i'll think about it.
The pattern of planking is explained in the plans, so i can begin planking from the midline and don't see any troubles with that?
-
-
- egkb, FrankWouts, Duanelaker and 7 others
-
 10
10
-
33 minutes ago, Heinrich der Seefahrer said:
Hello Peter,nice work you do! Ease remember to clean the copper by using isopropanol before giving it a clear layer of colour - due to varnish any fingerprints that will appear in some years on the copper.
And shouldn't the deck been planked before installing it due to lighter planking or are the manuals' advises like this?
I wiped the copper plates clean with a mixture of vinegar and salt. Is isopropanol then still needed? And what do you mean with a clear layer of color?
To varnish the copper plates?
And yes, in the manual they put the deck first on the ship and then planking it. Would it be better not to? (with the next ship :D)
-
14 hours ago, flyer said:
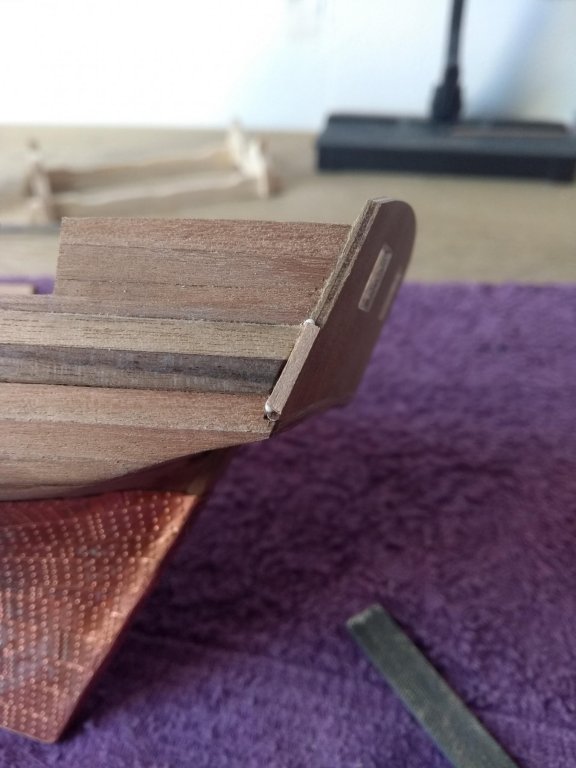
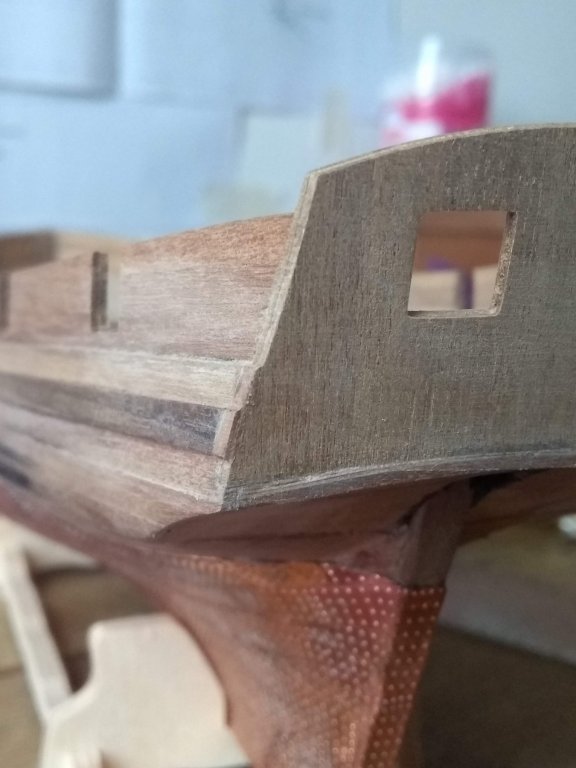
...or you could make your own, more realistic, stern fascia.
Hey mugje, great work so far.
I think that schooners and other small craft in Pickles time usually had a more elliptic stern, similar to what I tried with my Pickle.
Have fun!
Peter
You have build a lovely Pickle Peter! Very clean work, something to aspire to.
I will stick to the original stern fascia, i don't really want to do modifications on this ship.
With my limited knowledge of ship building and history, it's easyer to keep the building progress going.
But thanks for your input

- flyer and FrankWouts
-
 2
2


.thumb.jpg.495c64293ce50ed49137585f51be51dc.jpg)

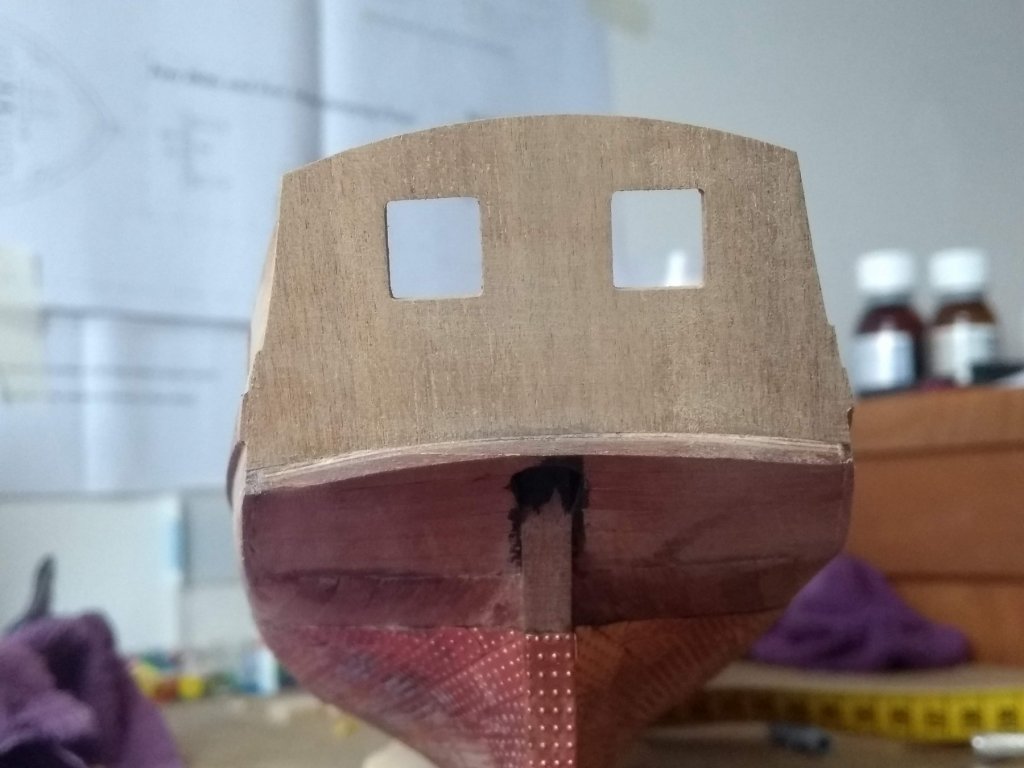
HMS Pickle by mugje - FINISHED - Caldercraft - 1:64 - first build
in - Kit build logs for subjects built from 1751 - 1800
Posted
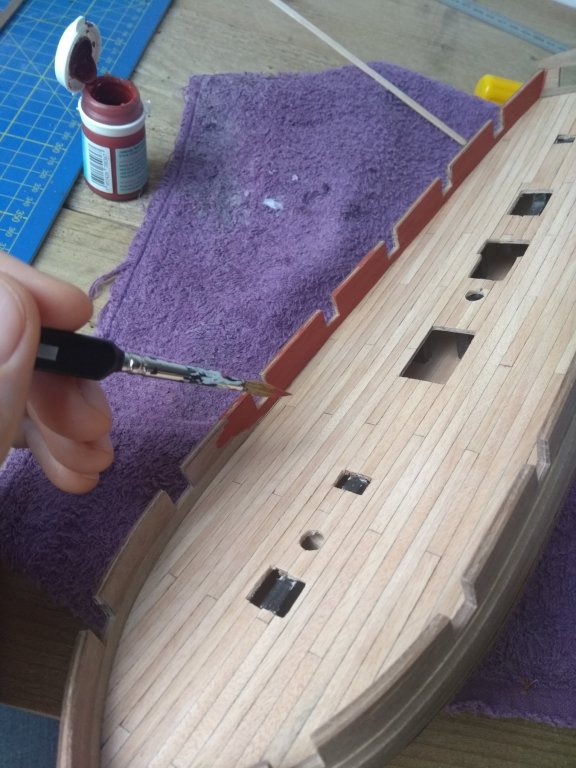
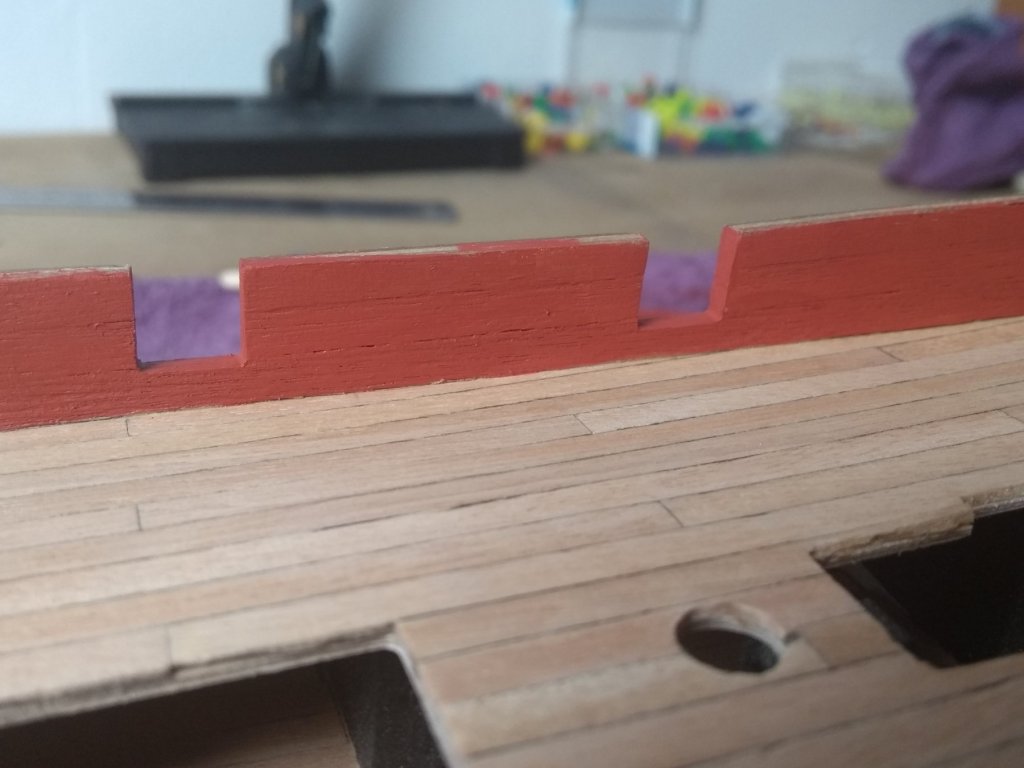
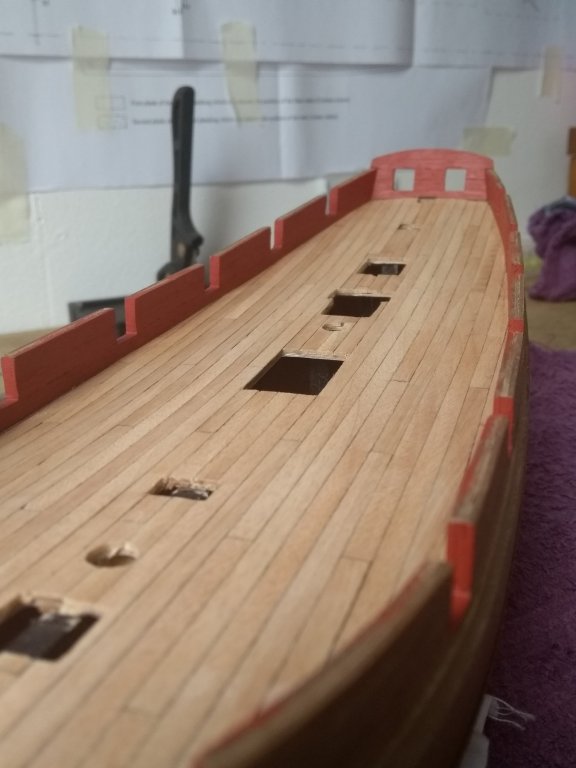
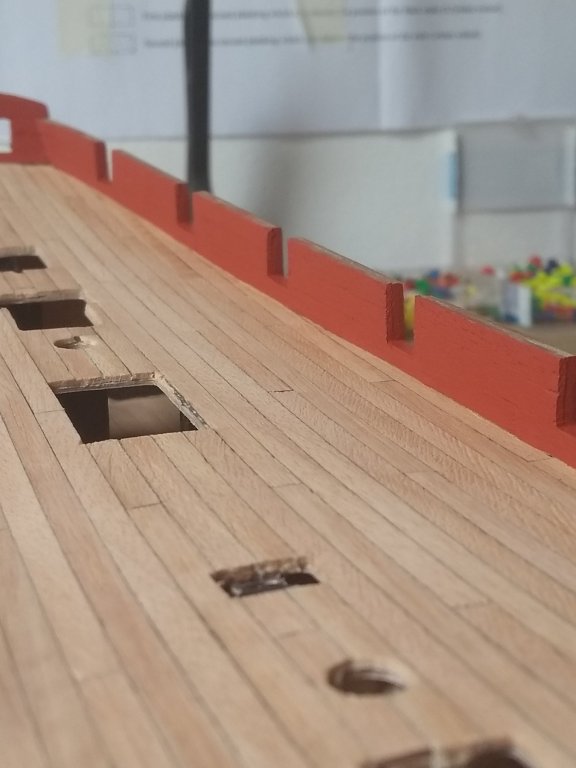
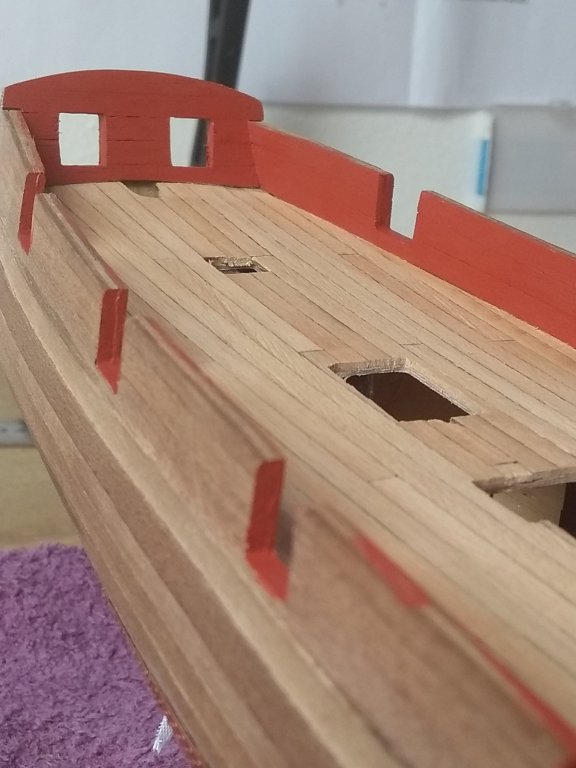
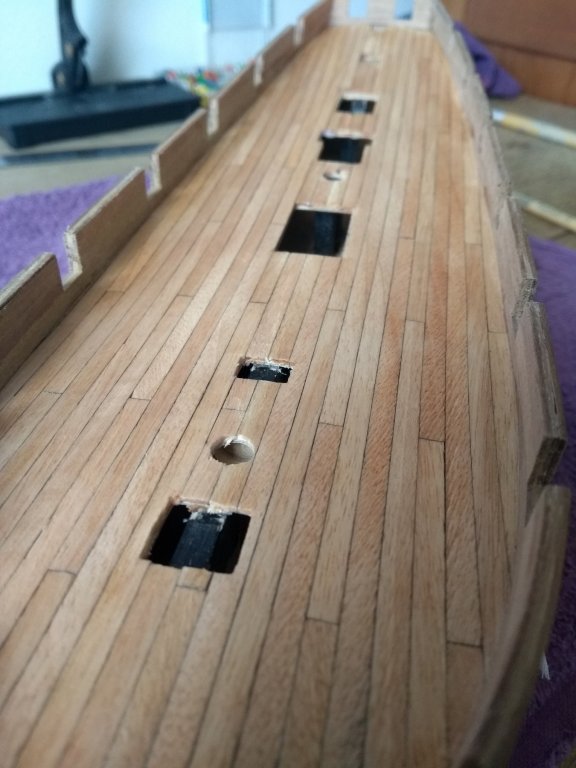
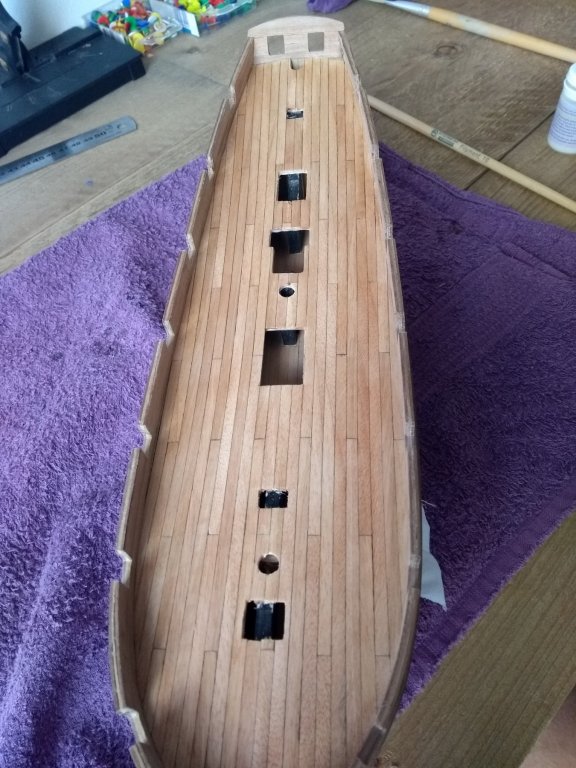
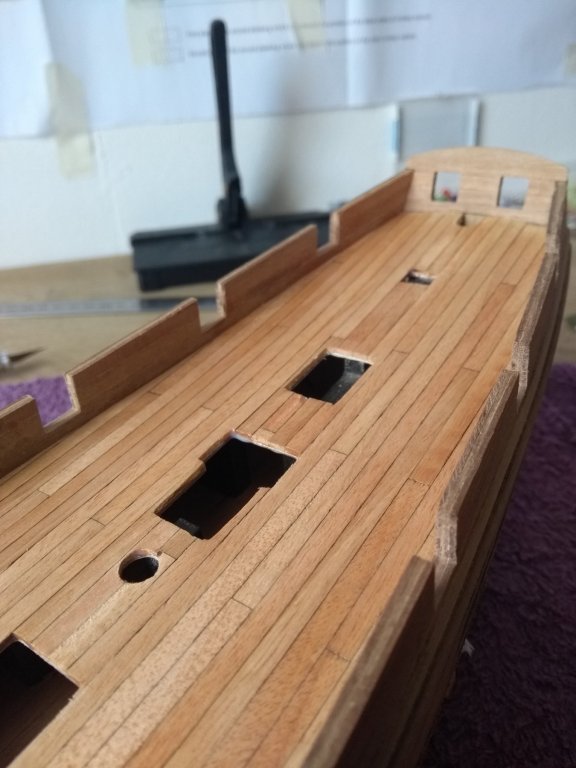
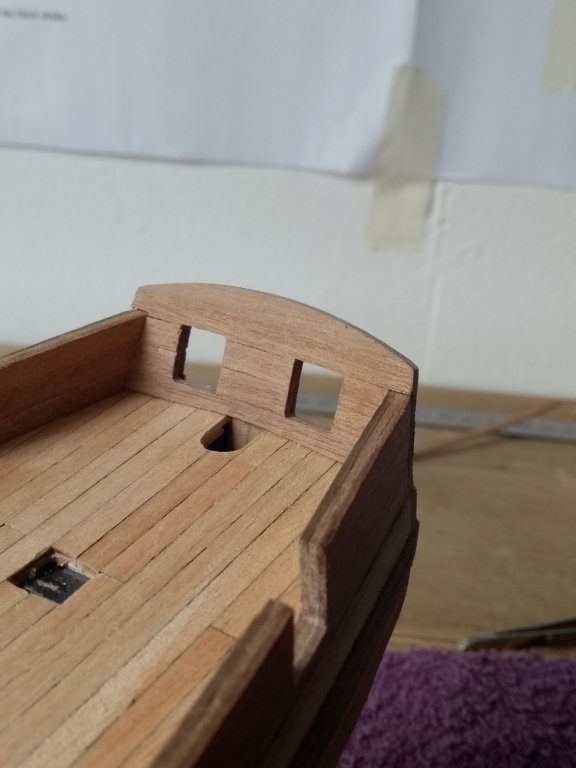
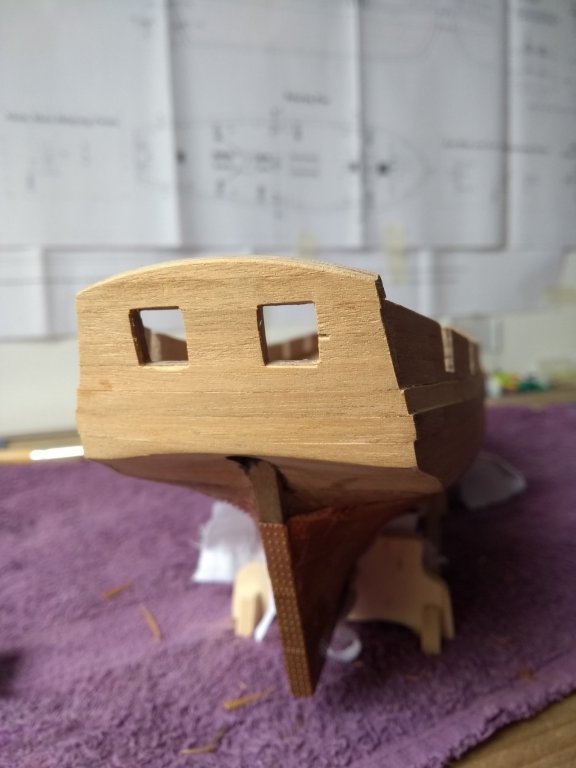
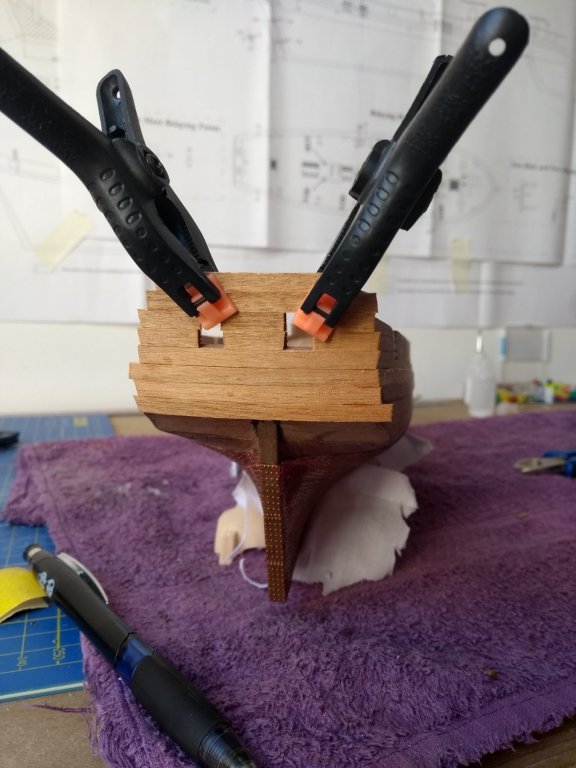
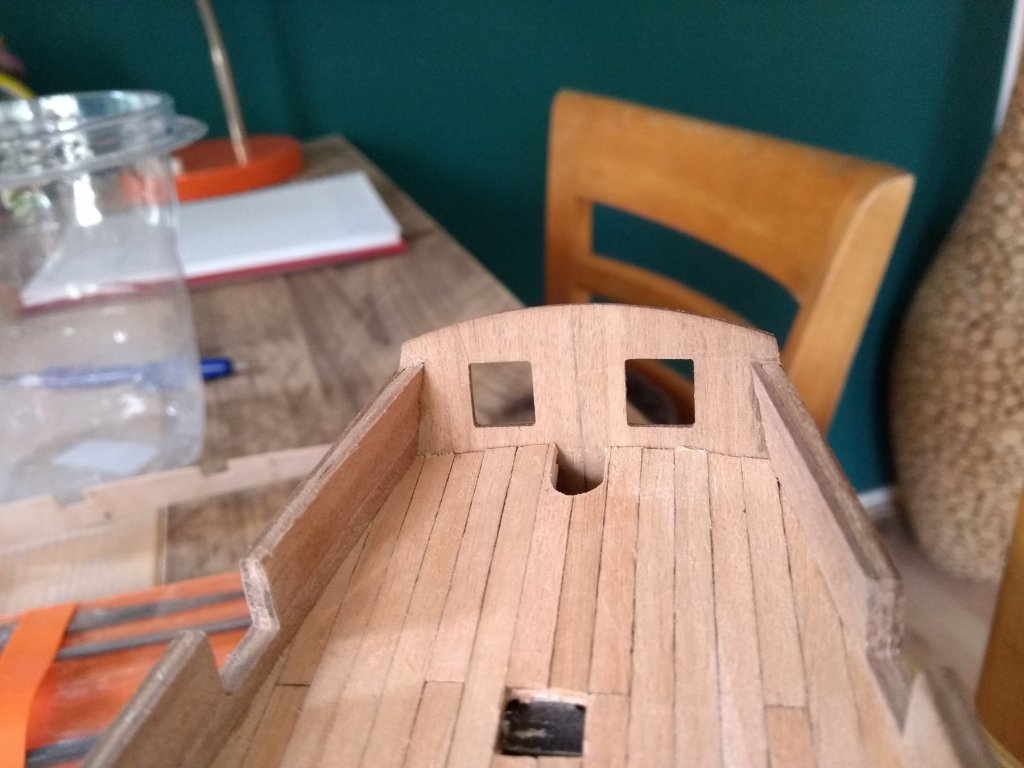
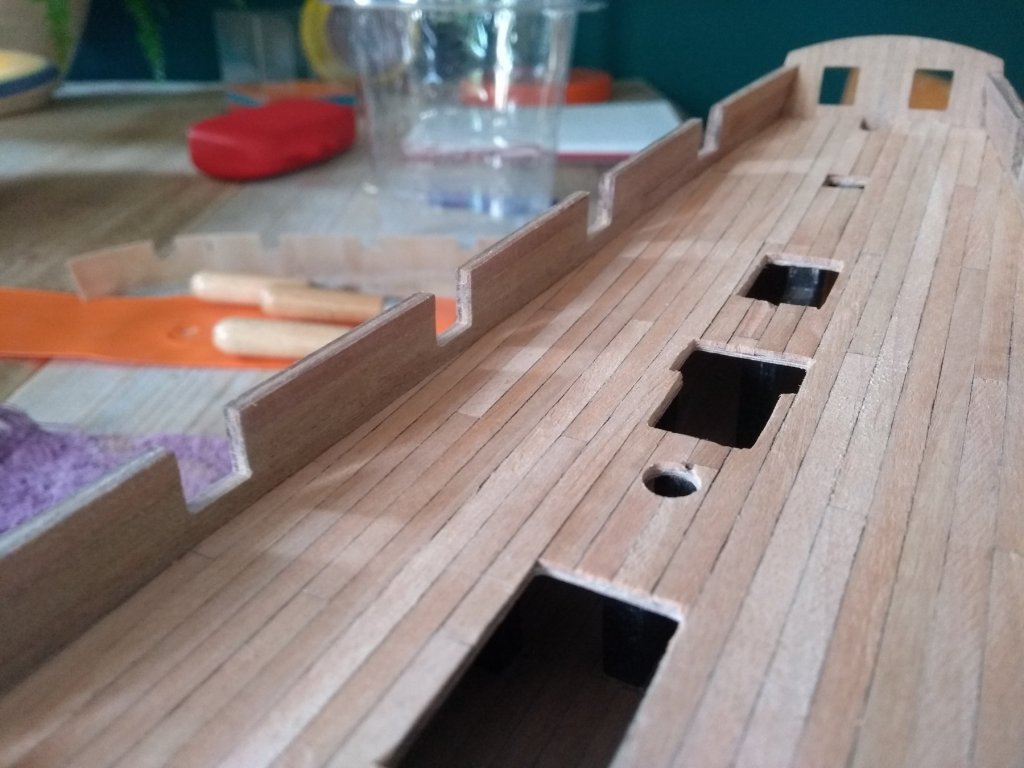
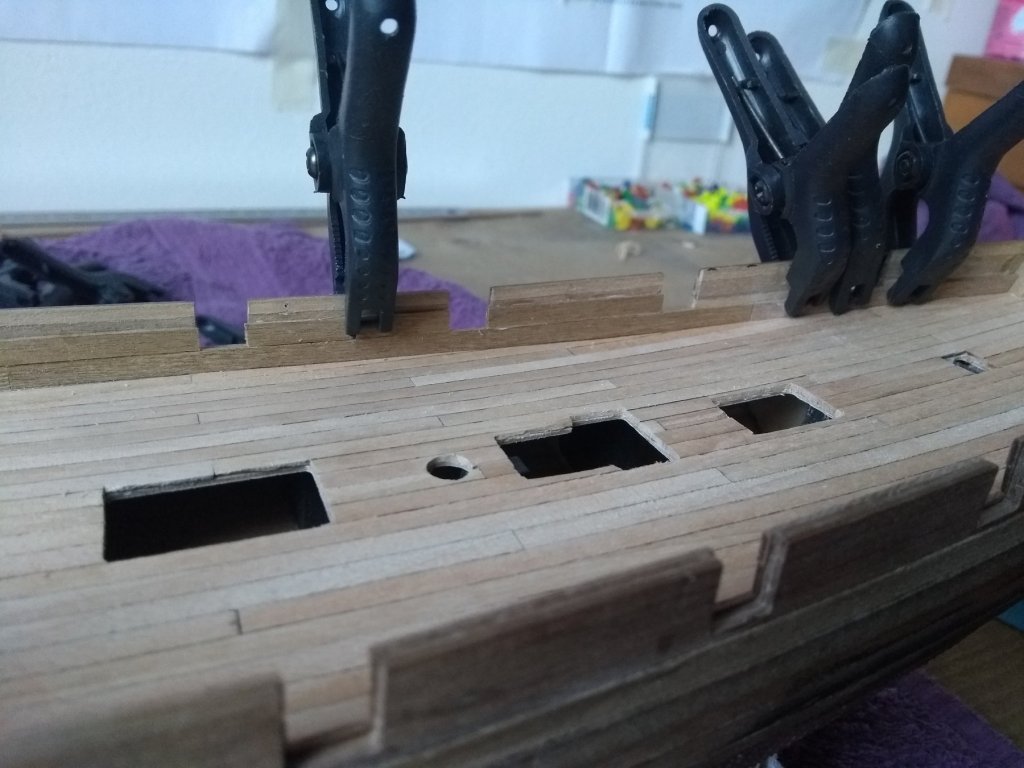
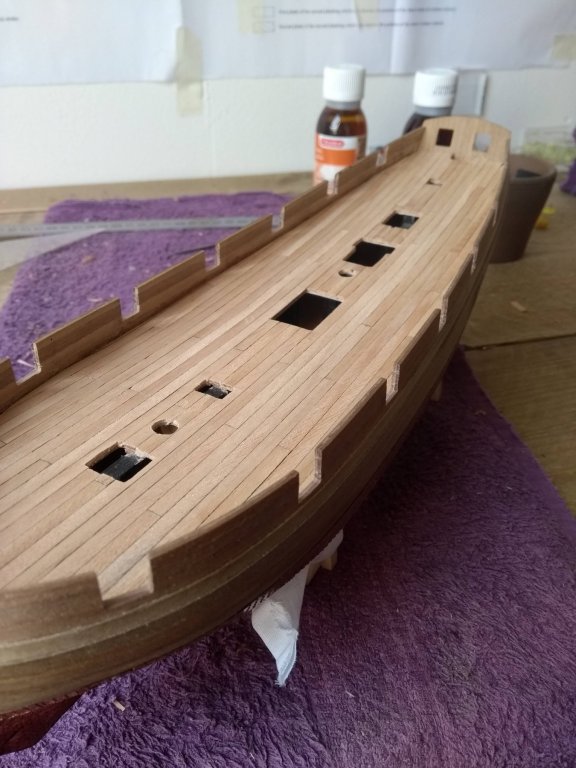
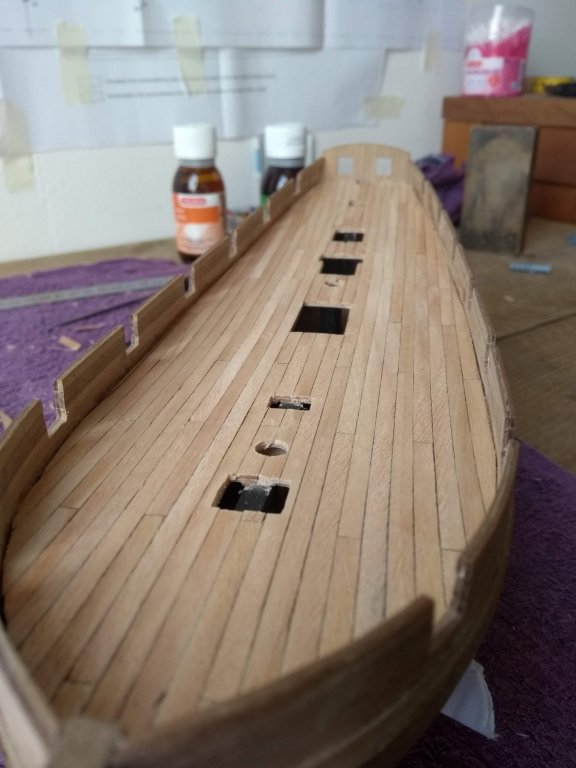
Getting more and more respect for the people who make the ships 'naturel' regarding the colors! I can correct a lot of mistakes with some filler and paint, so that's handy for now😂