


mugje
-
Posts
979 -
Joined
-
Last visited
Content Type
Profiles
Forums
Gallery
Events
Posts posted by mugje
-
-
Just ordered the HMS Pegasus from Amati for my second build at Cornwall modelships
")
The doubt was between the Syren, Granado and Pegasus...but in the end, the Pegasus was just the most appealing to me.
Big step forward in complexity, but I think I can manage it with the help of the forum

-
15 minutes ago, Norway said:
Pristine work mugje...
You are so much faster than me with the Pickle build. Can't find as much time for my build as i wish with work and family.
I'm doing foremast channels now.
Very nice to follow your build.


Tnx! You're ship also does look great!
Nice clean work👍
I have at the moment not a job so a bit more free time 😉
- Old Collingwood and J11
-
 2
2
-
1 hour ago, SpyGlass said:
Just catching up - you are getting along great.
On the subject of foot ropes here is a pic of the real thing in action - somewhat larger vessel than Pickle of course .
 and on a modern vessel about Pickles size
Note the overlap of sections of foot rope in both
Tnx Spyglass, and great pics! That's helpful
- J11 and Old Collingwood
-
2
-
-
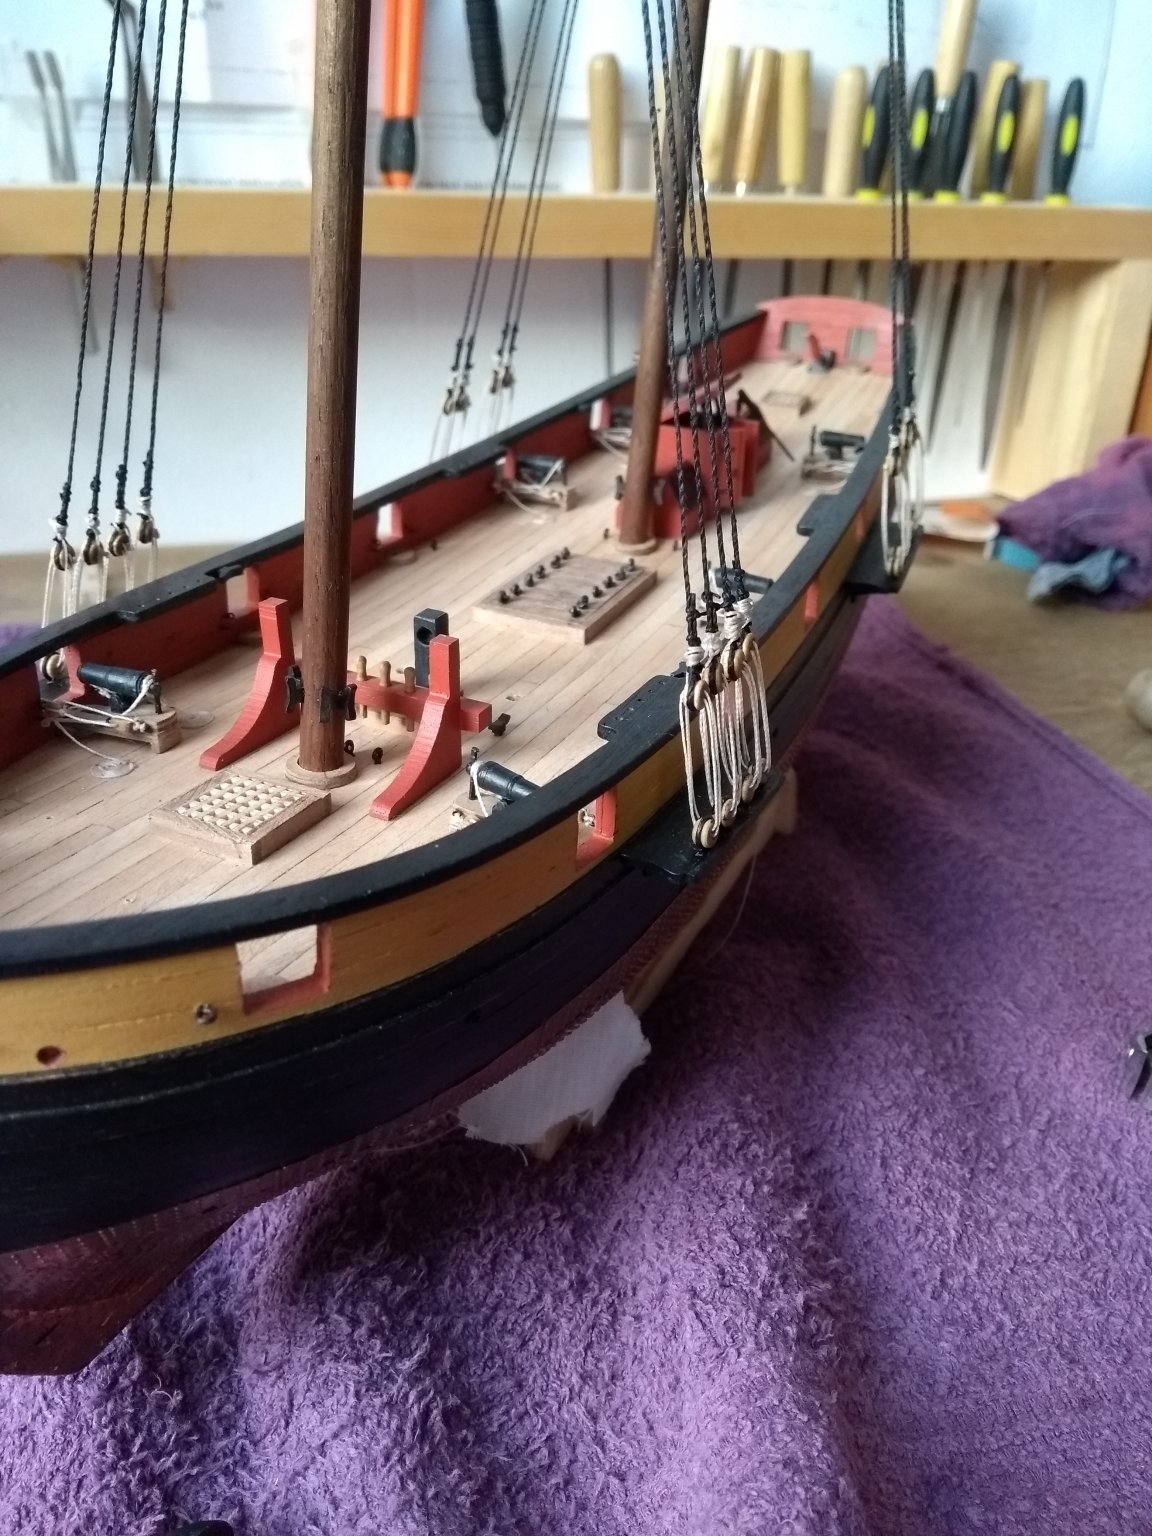
Ratlines are done! Nice to notice that you get very proficient at tying the ratlines at the end...😊
- Edwardkenway, Dubz, egkb and 7 others
-
10
-
On 11/2/2019 at 1:21 AM, Old Collingwood said:
Yes please, hard to grasp with photos.
OC.
Offcourse the knots are overscale executed, and probably wrong...but it's more clear I hope. It's the top shroud that rests on the hounds at the top of the mast. Personally I think I need to use the left eye splice?
- davyboy, J11, Old Collingwood and 2 others
-
5
-
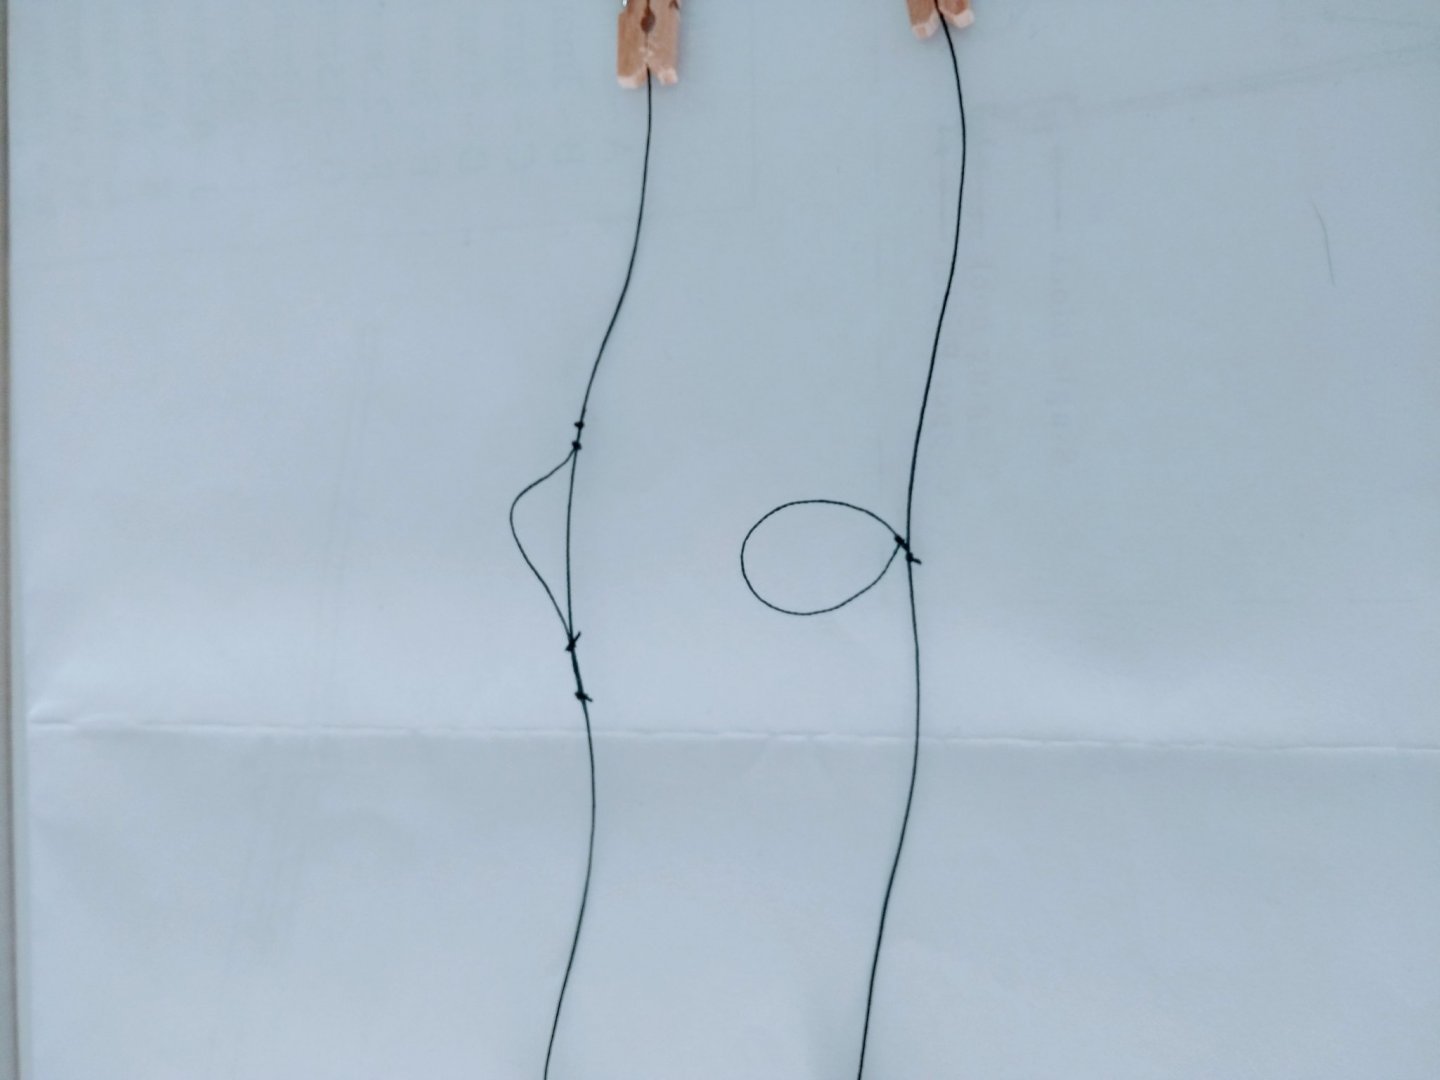
I will have to make an eye splice in the middle of the rope...let me see if I understand this correct.
The manual says: "For the foremast, to begin, measure an 850mm length of 0.5mm black thread. Using a length of 0.25mm black thread, form an eye splice at the mid pointof the 850mm length of 0.5mm black thread to form an eye of approximately 6mm in diameter".
How would attach this eye at the 0.5mm black main thread? Just a loop like this ___!___ with the O on top? Or like -----O-----?
Maybe I need to shoot some photos to explain...
-
-
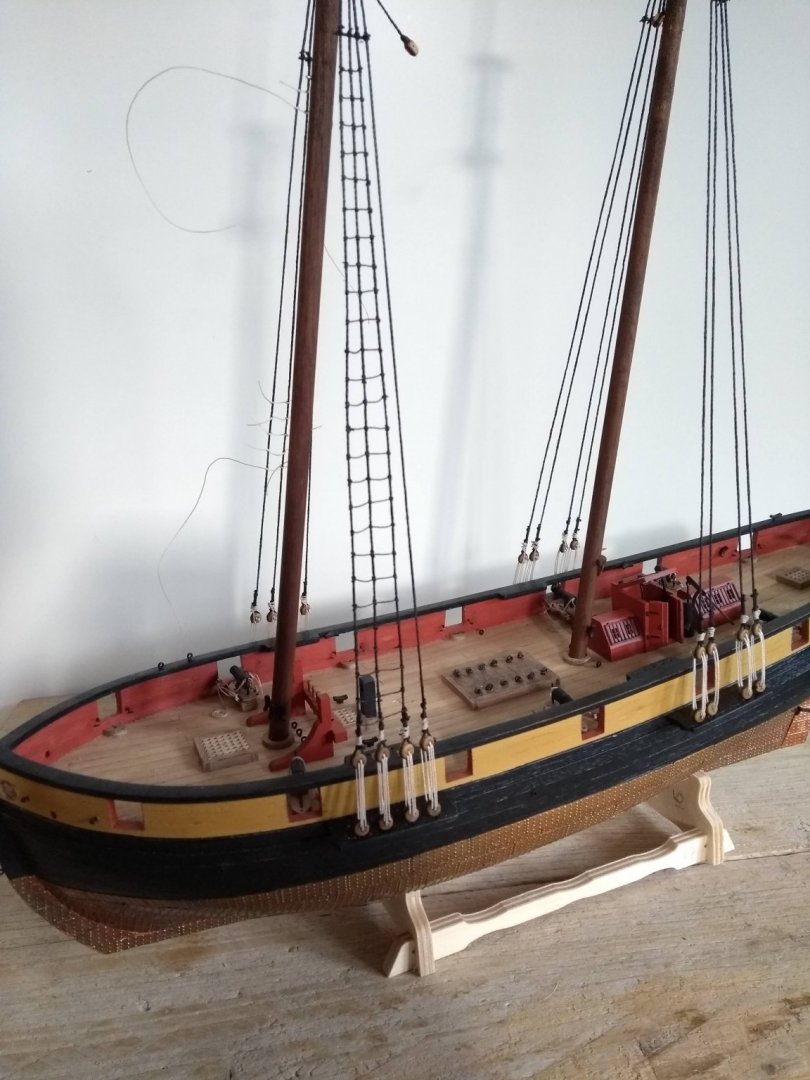
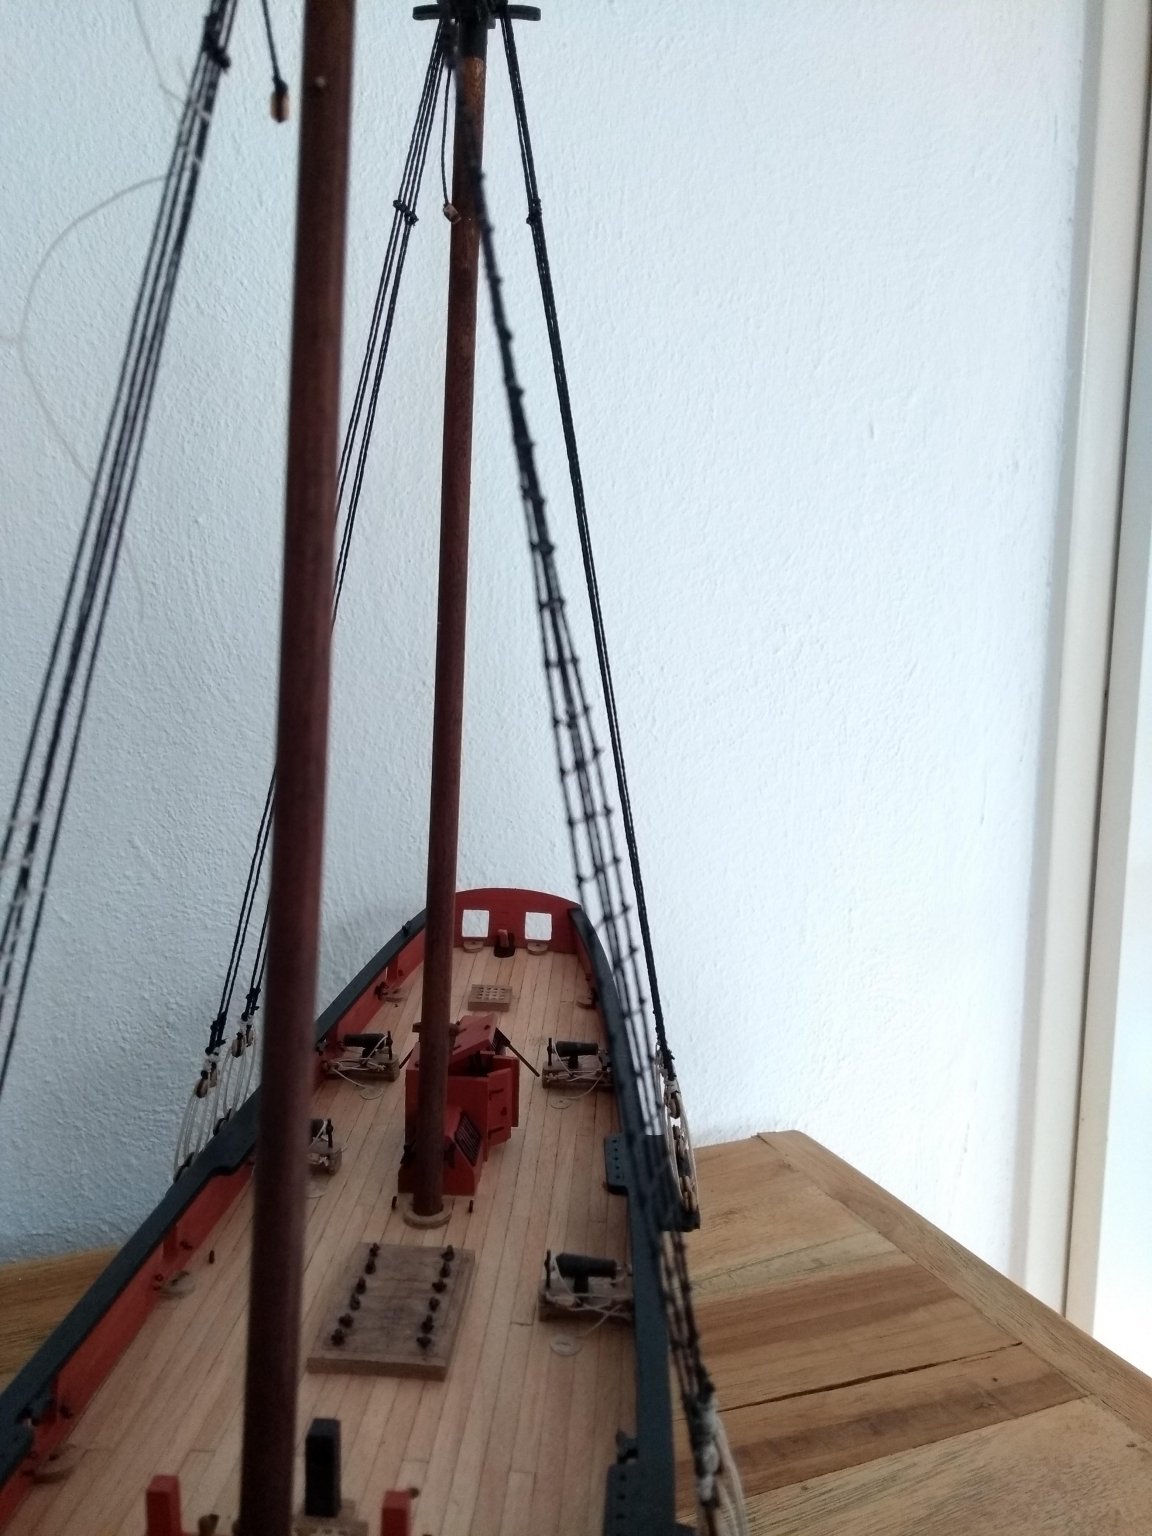
Slowly and steady progress...taking my time with the ratlines
- egkb, Kikatinalong, Edwardkenway and 4 others
-
7
-
Wow you got great skill! It's really nice to follow your log
-
-
-
-
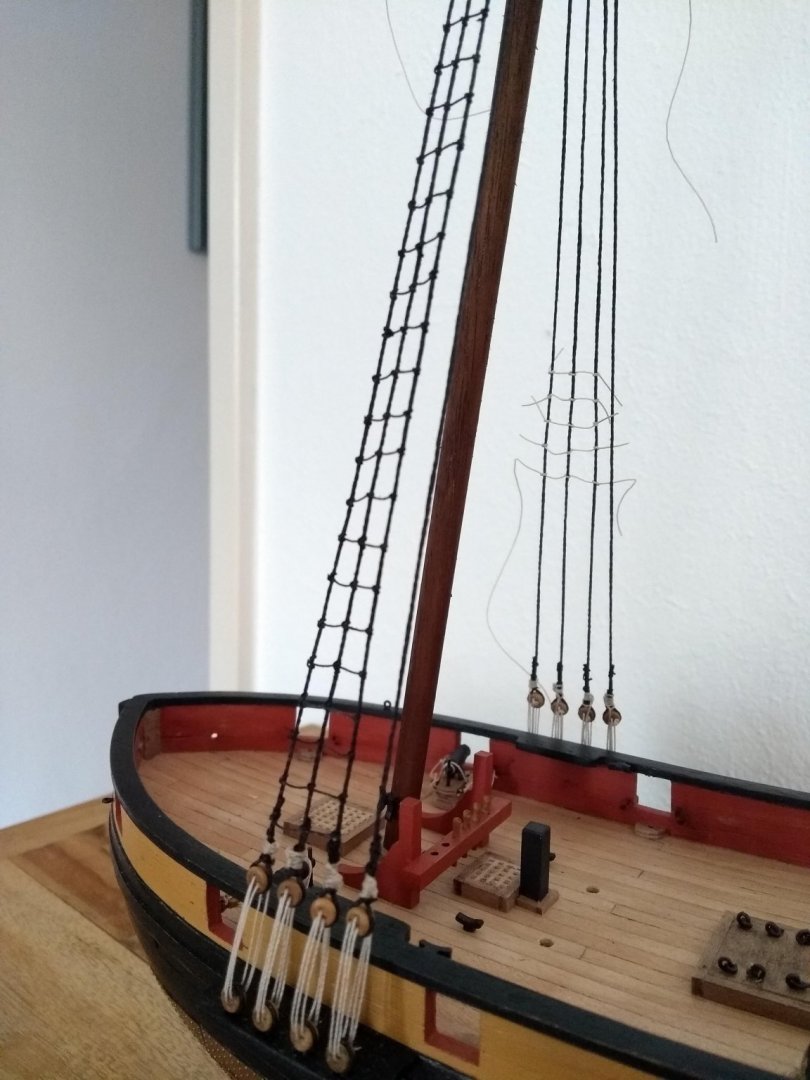
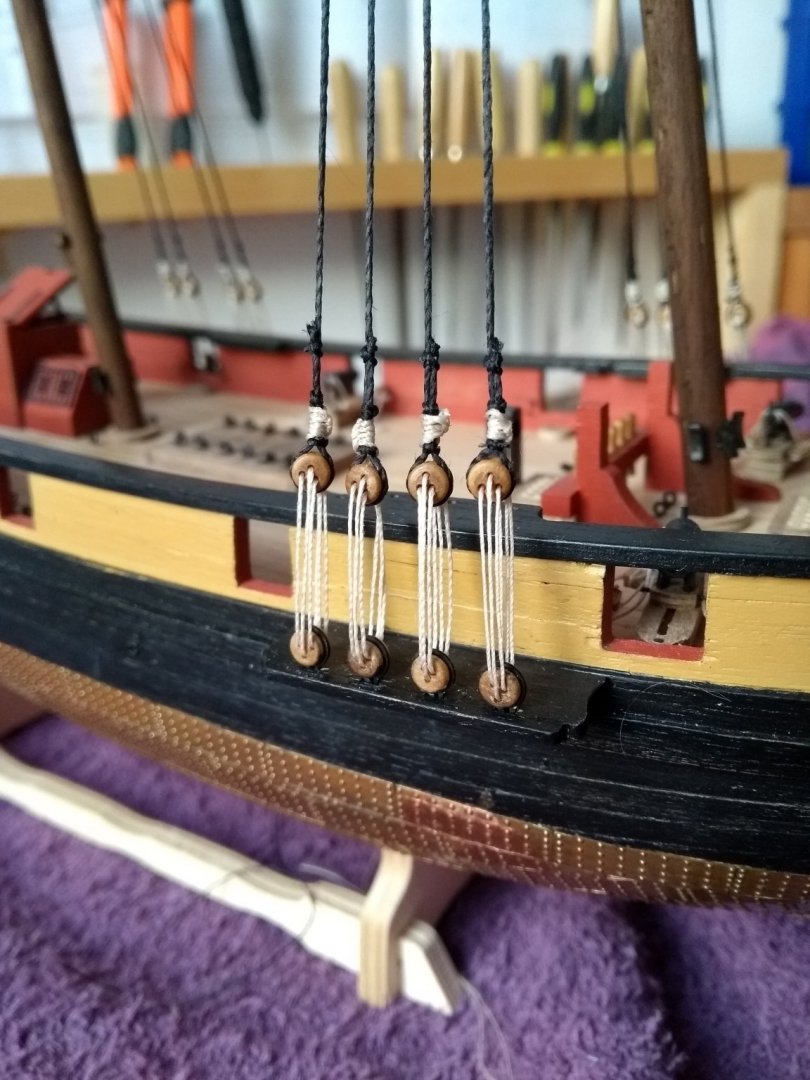
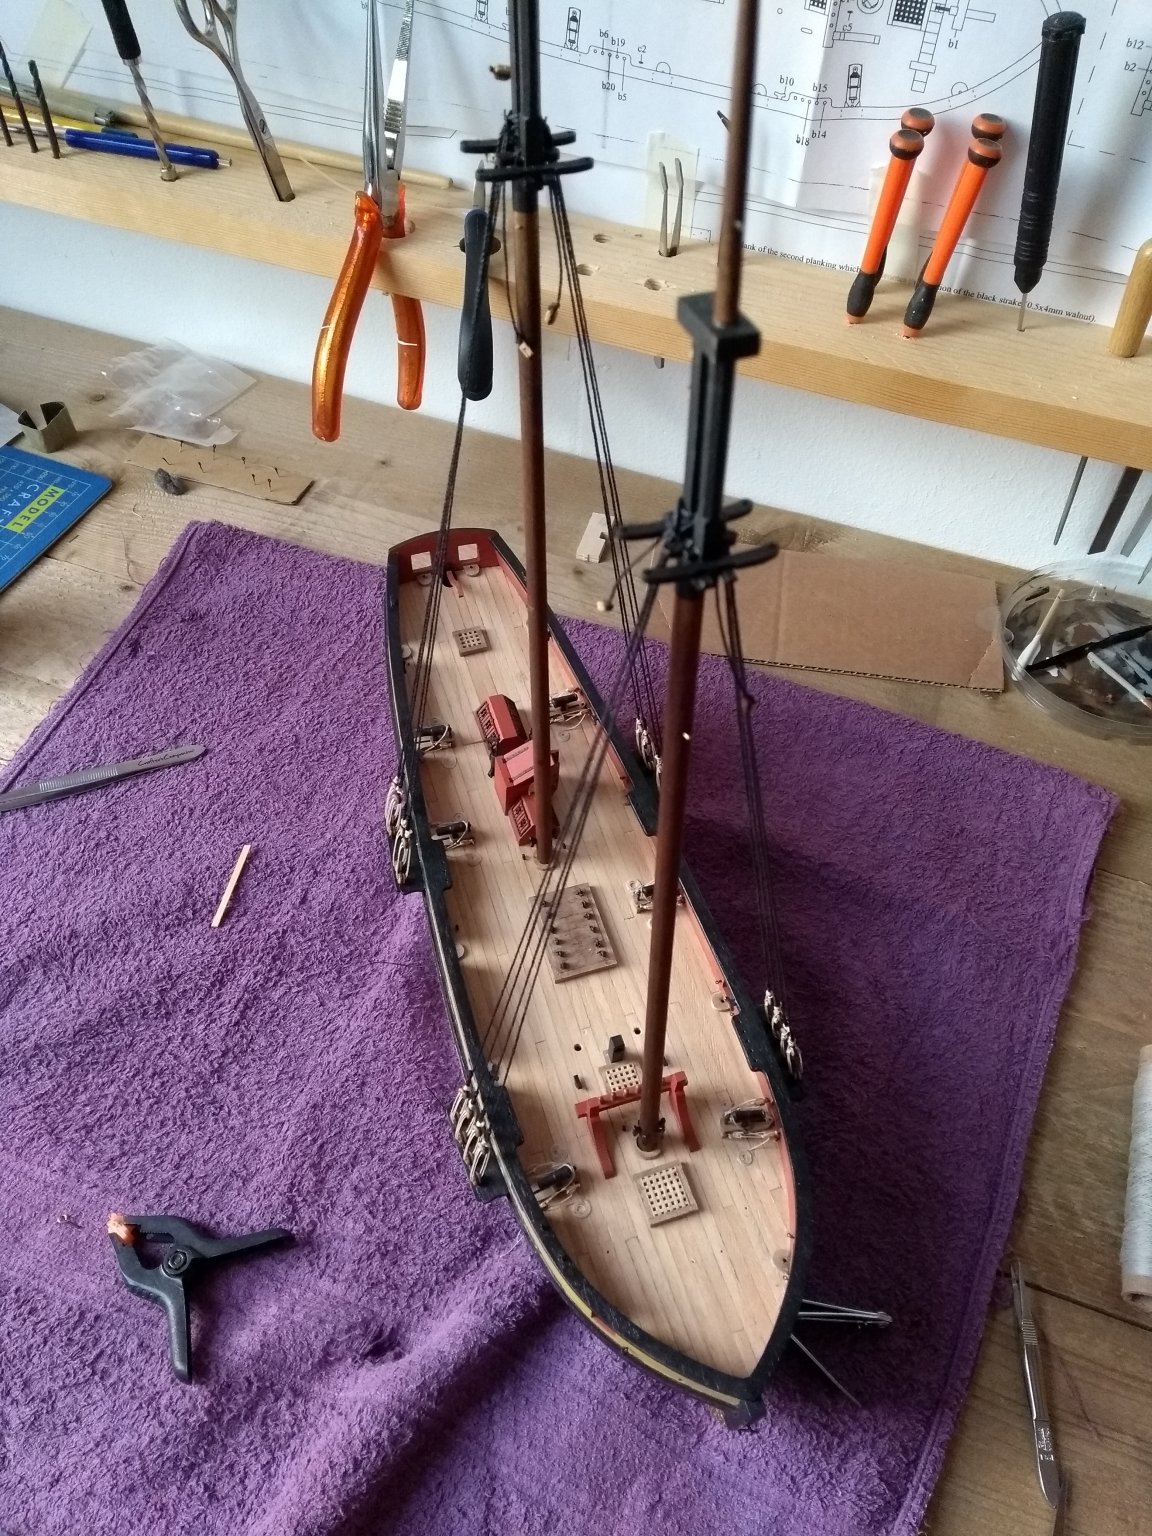
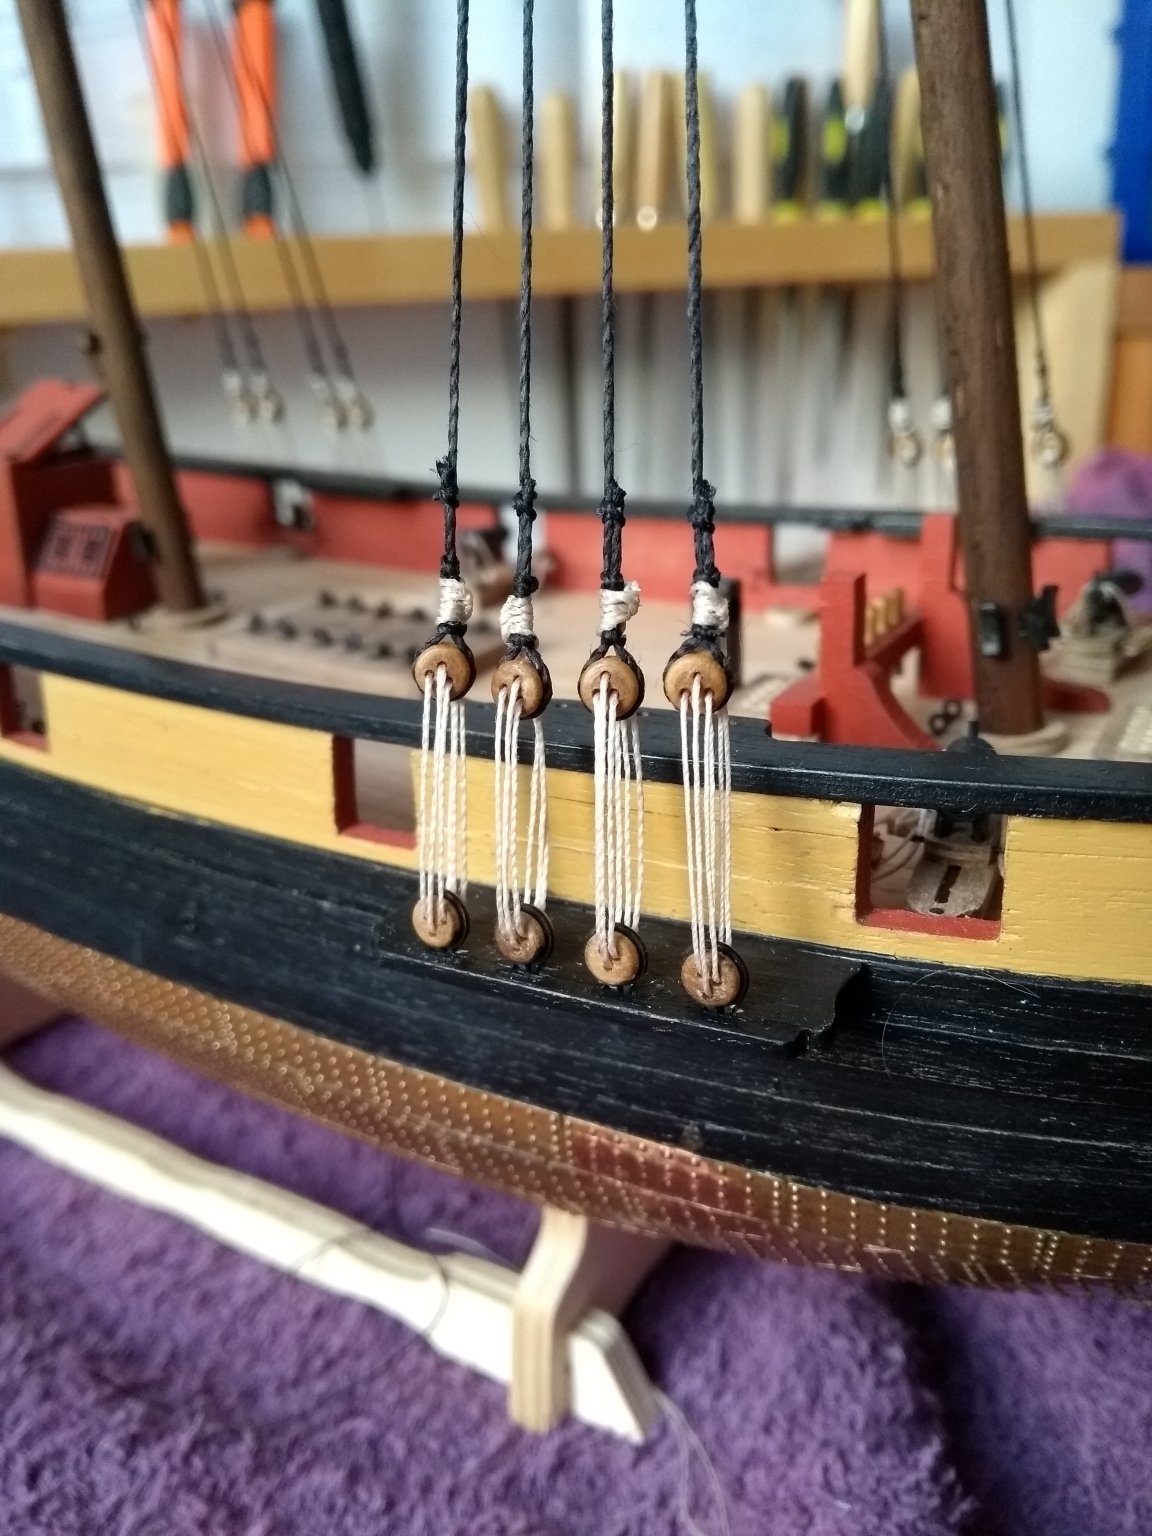
I've tightened the lanyards, and the twist is almost gone. It looks much better, also the lanyards. So...a bit extra work on top of tying the ratlines...but that's part of the learning process.

- J11, egkb, Old Collingwood and 5 others
-
8
-
-
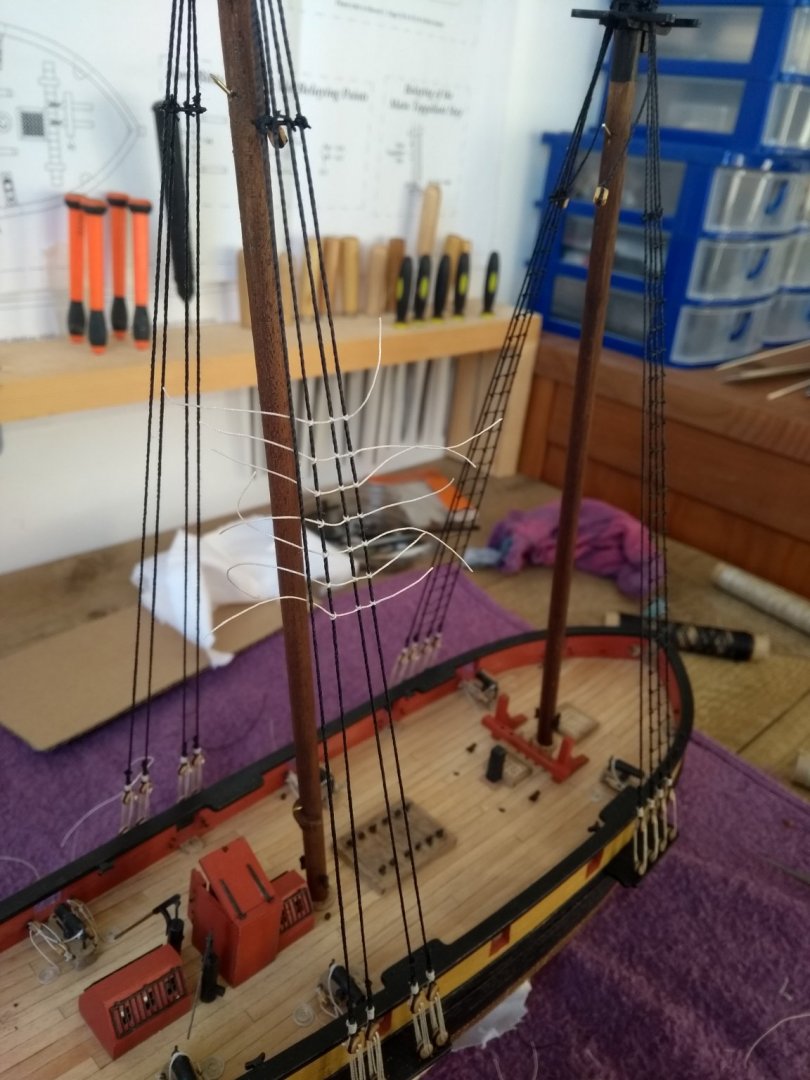
Busy with the ratlines! The first batch ready, it wasn't easy but i'm pretty happy with the result.
The only thing is, that there is a twist in it, from top to bottom. Probably because of the paint and glue that added some
stiffness to the whole.
Anyone an idea what I can do about that? Or is there in this stage nothing what I can do to fix this?
On the first not so sharp picture you can see the problem.


-
4 hours ago, Old Collingwood said:
Tnx! There's a whole story about the Pickle, that's nice!👍
-
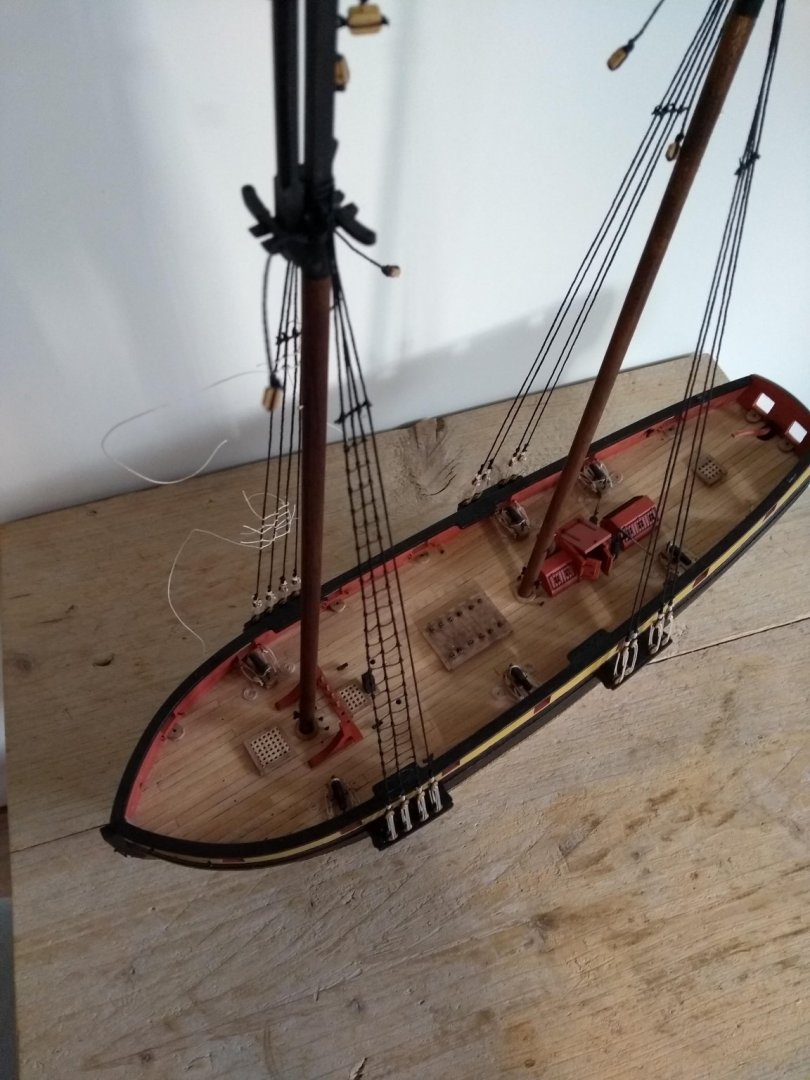
Busy with the ratlines! The first batch ready, it wasn't easy but i'm pretty happy with the result.
The only thing is, that there is a twist in it, from top to bottom. Probably because of the paint and glue that added some
stiffness to the whole.
Anyone an idea what I can do about that? Or is there in this stage nothing what I can do to fix this?
On the second not so sharp picture you can see the problem.


- Retired guy, Dubz, KARAVOKIRIS and 5 others
-
8
-
you are going pretty fast, good job!
-
Thanks for the elaborate answer and compliment Peter, and everybody tnx for the likes.
Good point on the tightness of the lanyards/shrouds. I'm making a mental note in my head for the next time i'm going trough that process. With building a model there are often questions about authenticity or just good looking for the modeller.
-
Next step is knotting the ratlines. Caldercraft supplied for this 0.10 naturel thread that need to be stained black when it's knotted against the lower shrouds.
Why they didn't supplied black thread in the first place? I don't know. Or is it mean't to be more authentic? Because they tarred it maybe? 🤔
-
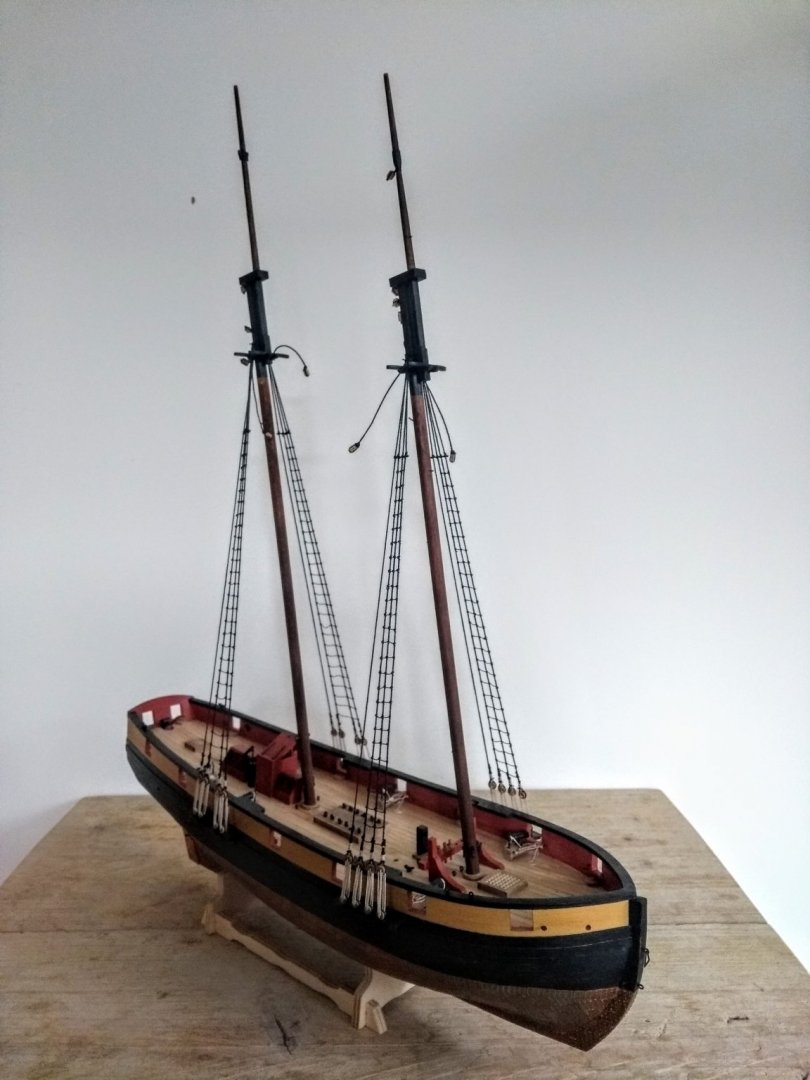
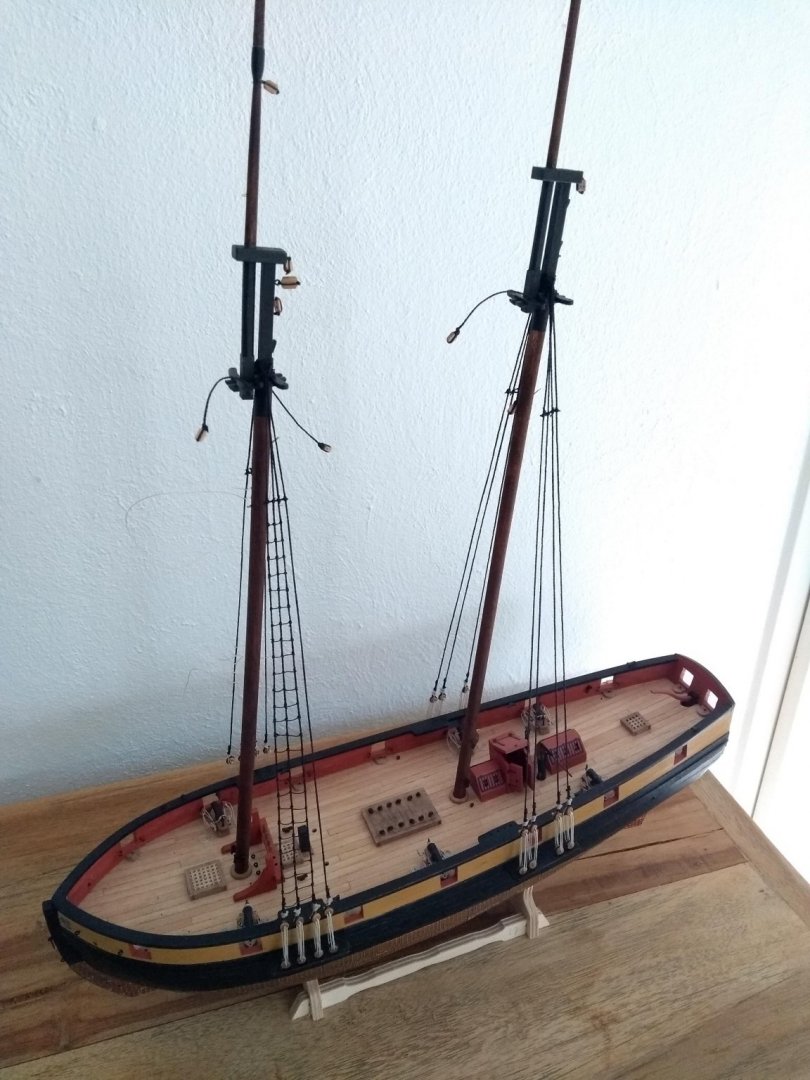
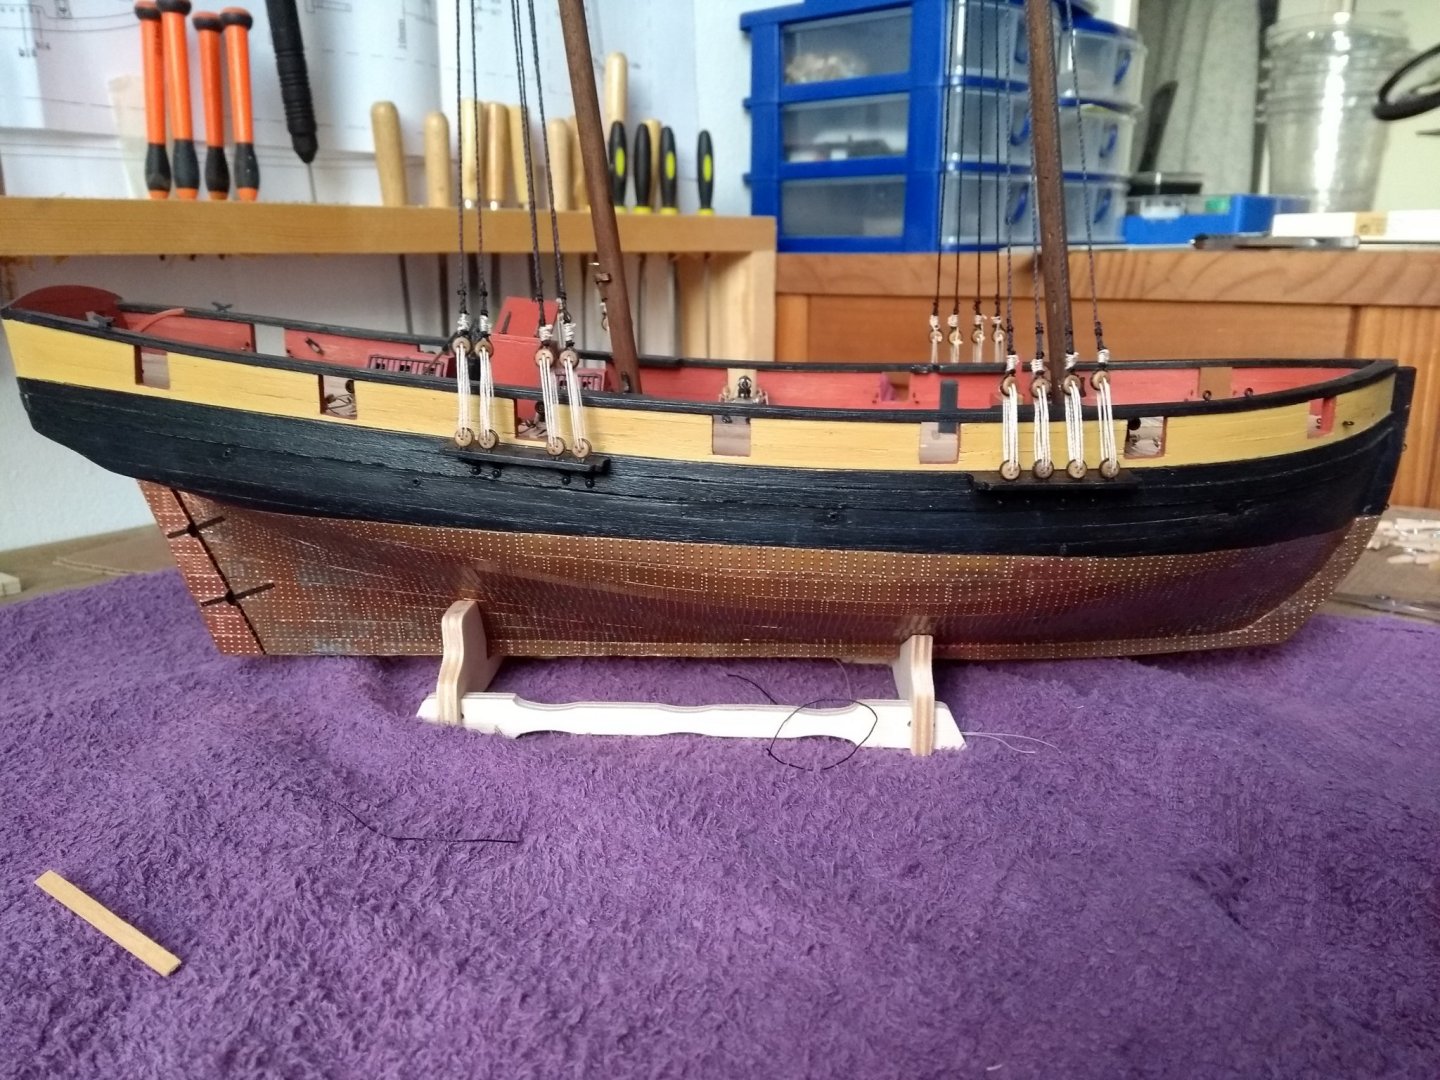
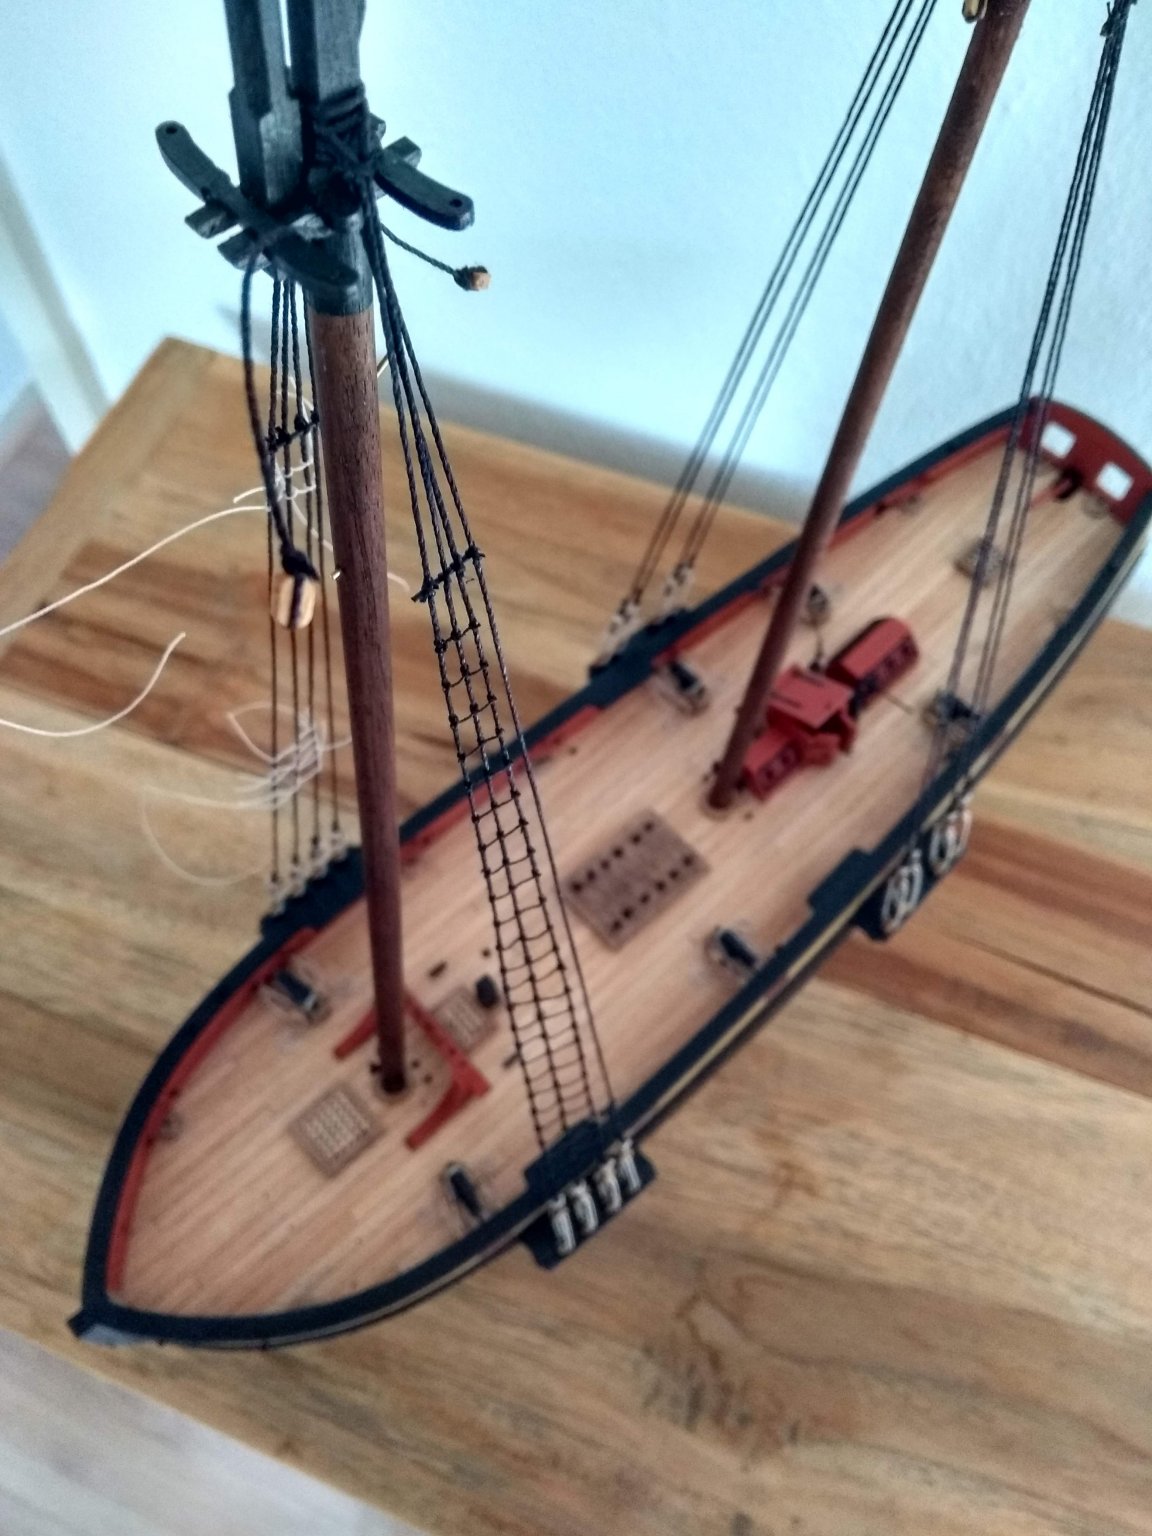
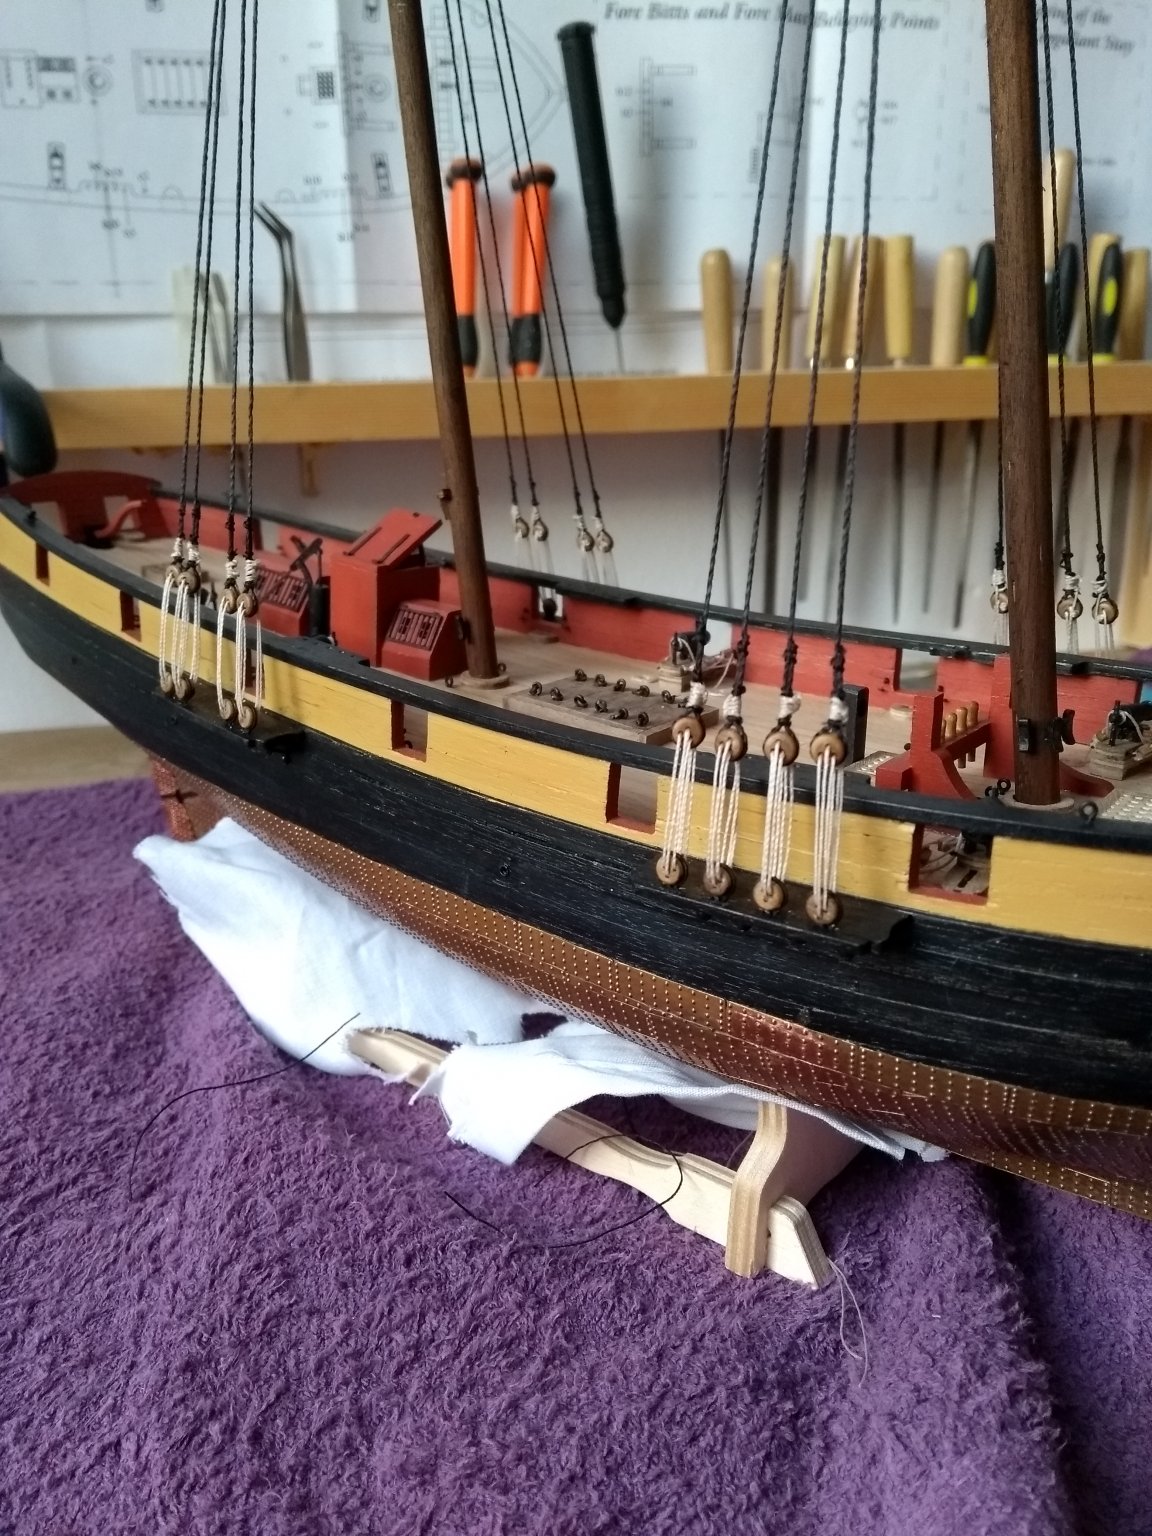
The lower shrouds are finally done. After retrying a few times i'm happy how it turned out 🙂
The lanyards could a bit tighter, but it's not to bad in my opinion for now.


- Dubz, Retired guy, Mirabell61 and 6 others
-
9
-
-
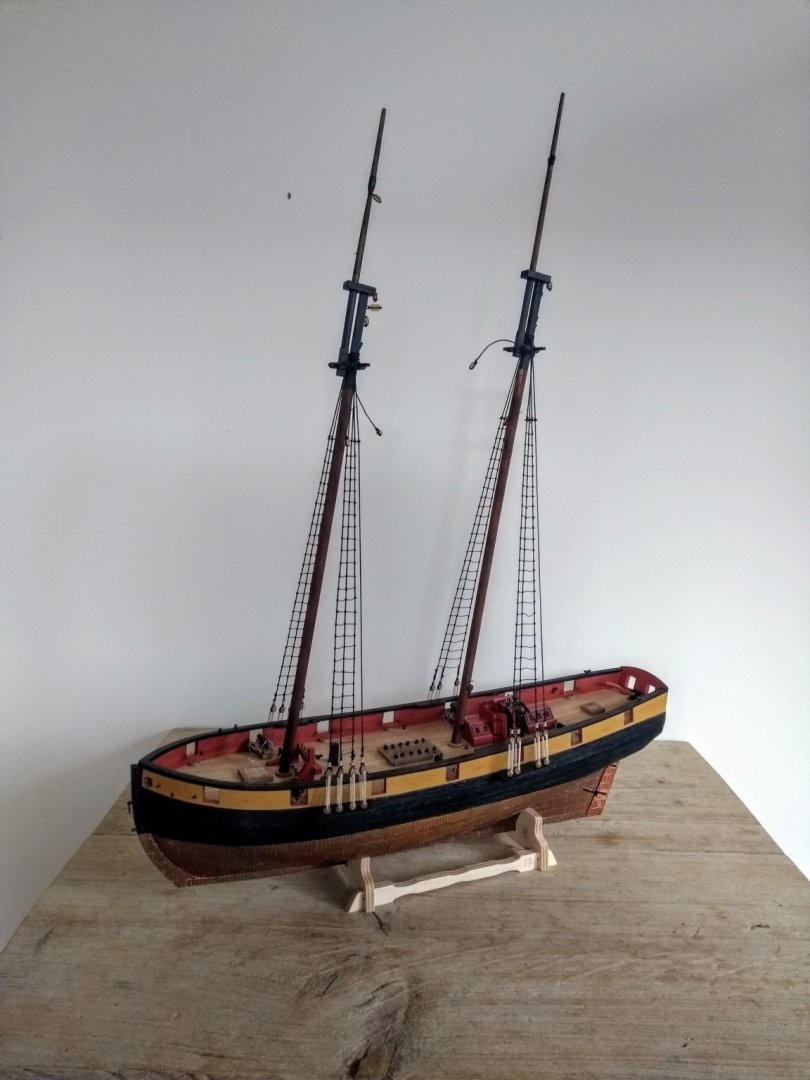
Tanganyika looks more like the ship on the box 🙂
- Jim Rogers and Ryland Craze
-
2


HMS Pickle by mugje - FINISHED - Caldercraft - 1:64 - first build
in - Kit build logs for subjects built from 1751 - 1800
Posted
Hahaha nice! Great choice 😁