HOLIDAY DONATION DRIVE - SUPPORT MSW - DO YOUR PART TO KEEP THIS GREAT FORUM GOING! (Only 20 donations so far - C'mon guys!)
×


Rick01
-
Posts
652 -
Joined
-
Last visited
Content Type
Profiles
Forums
Gallery
Events
Everything posted by Rick01
-
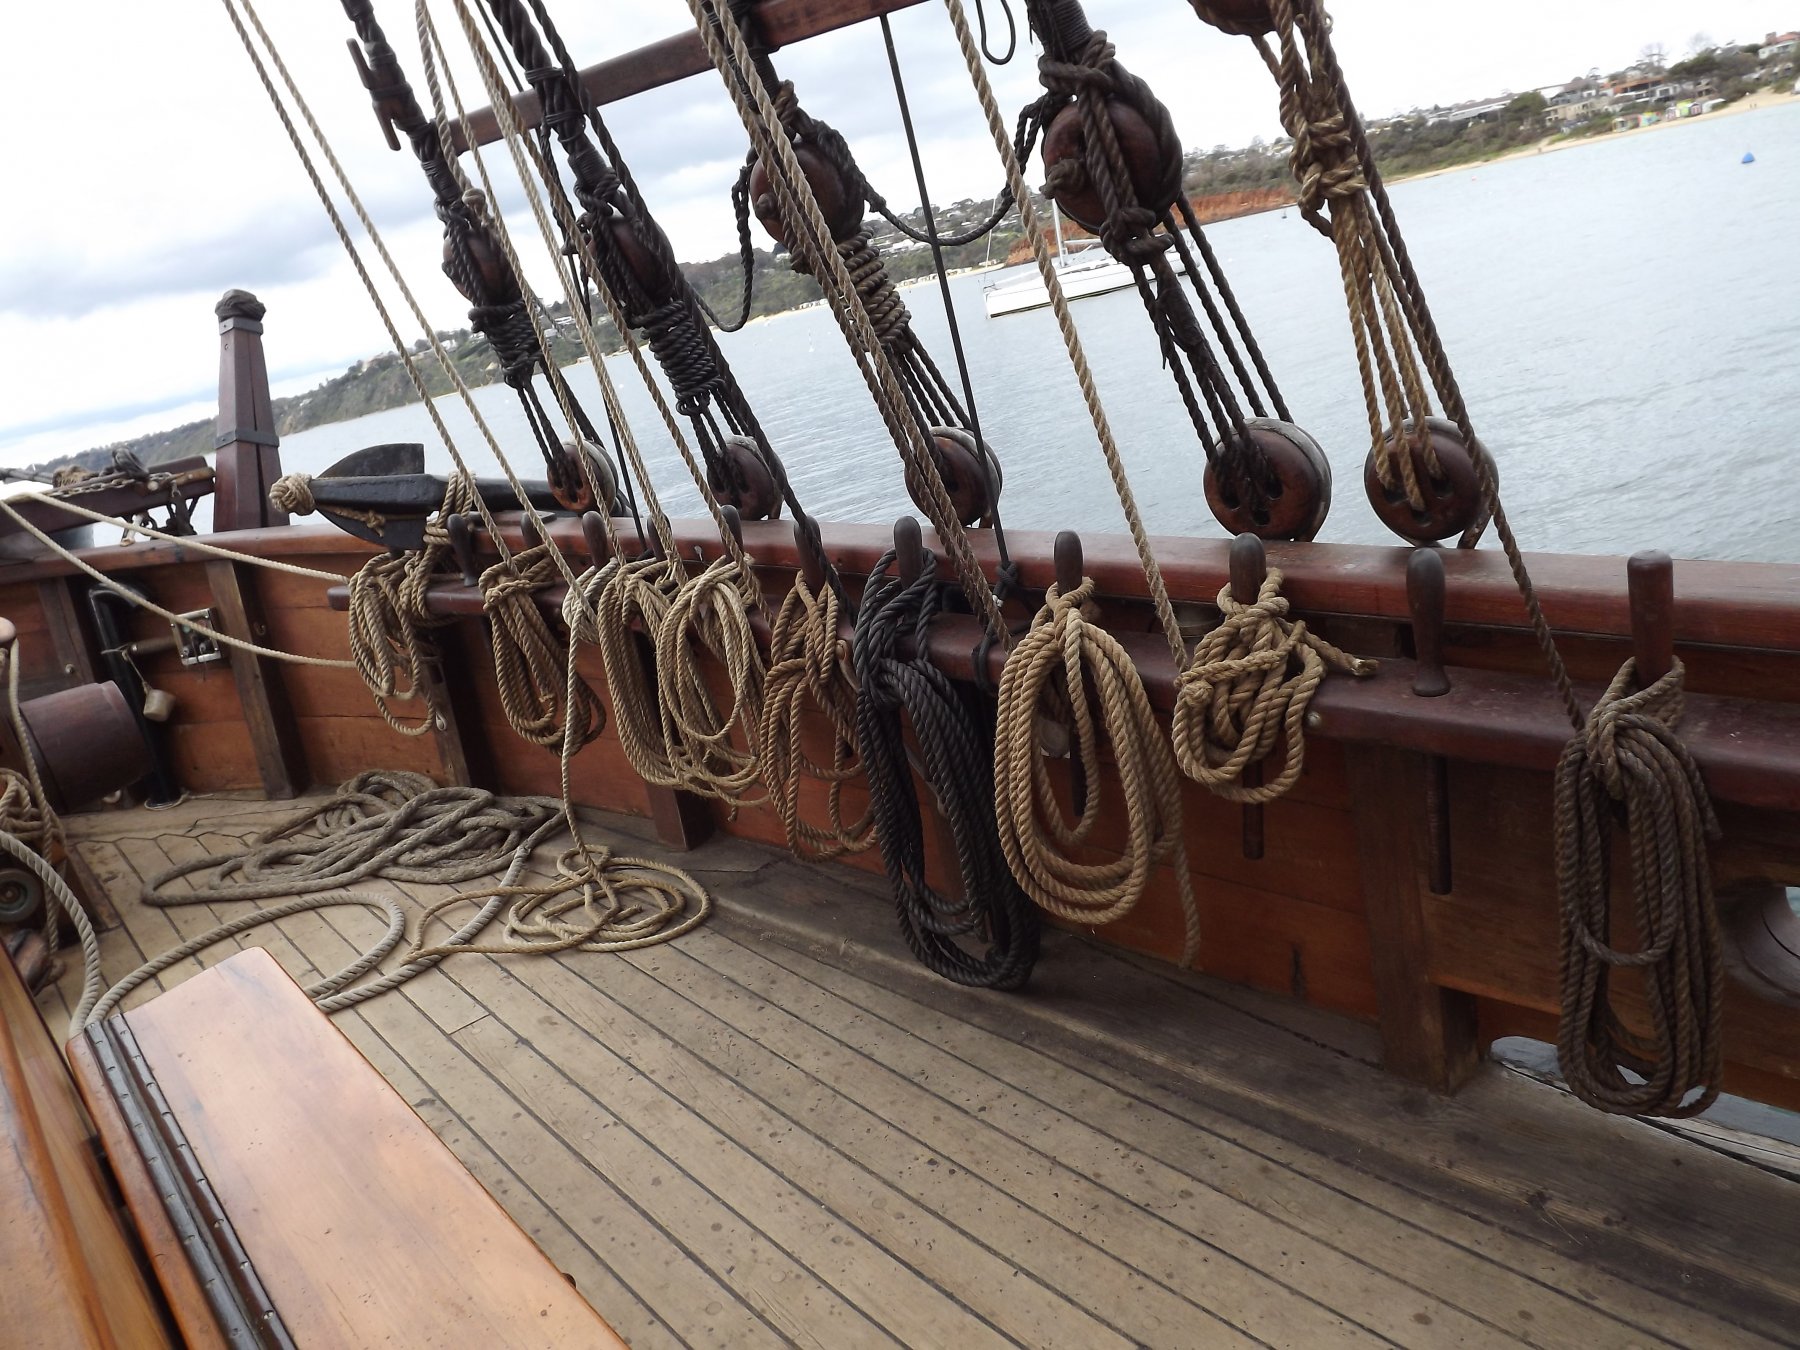
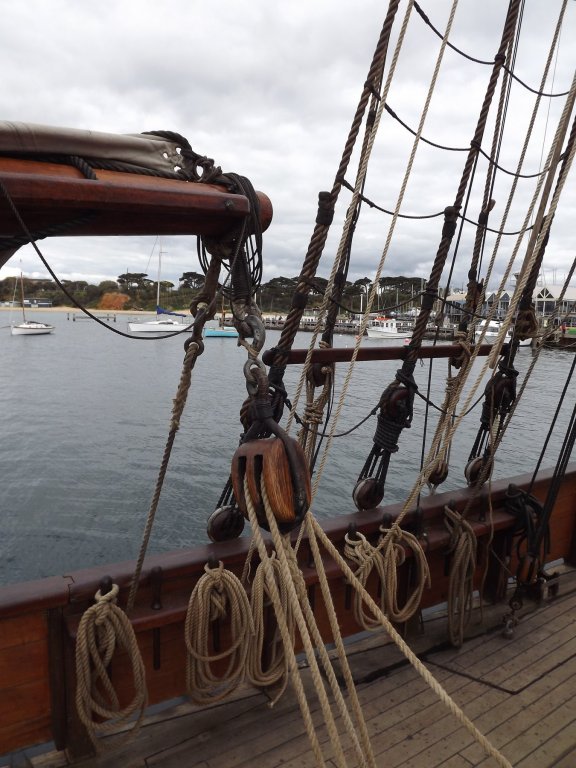
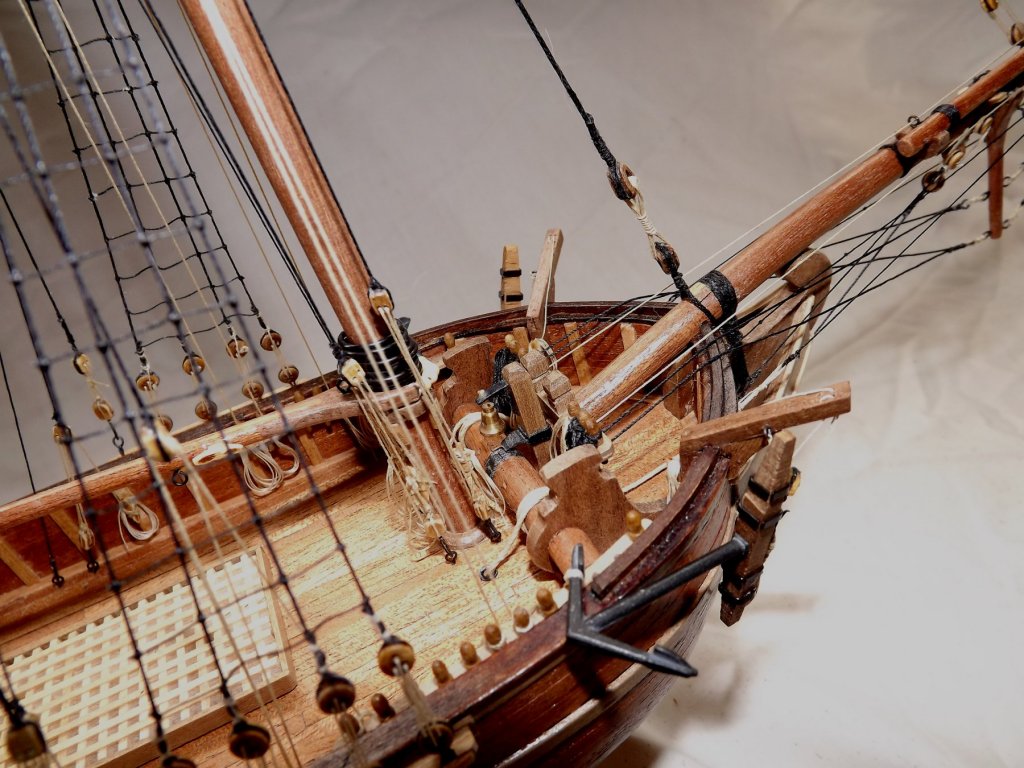
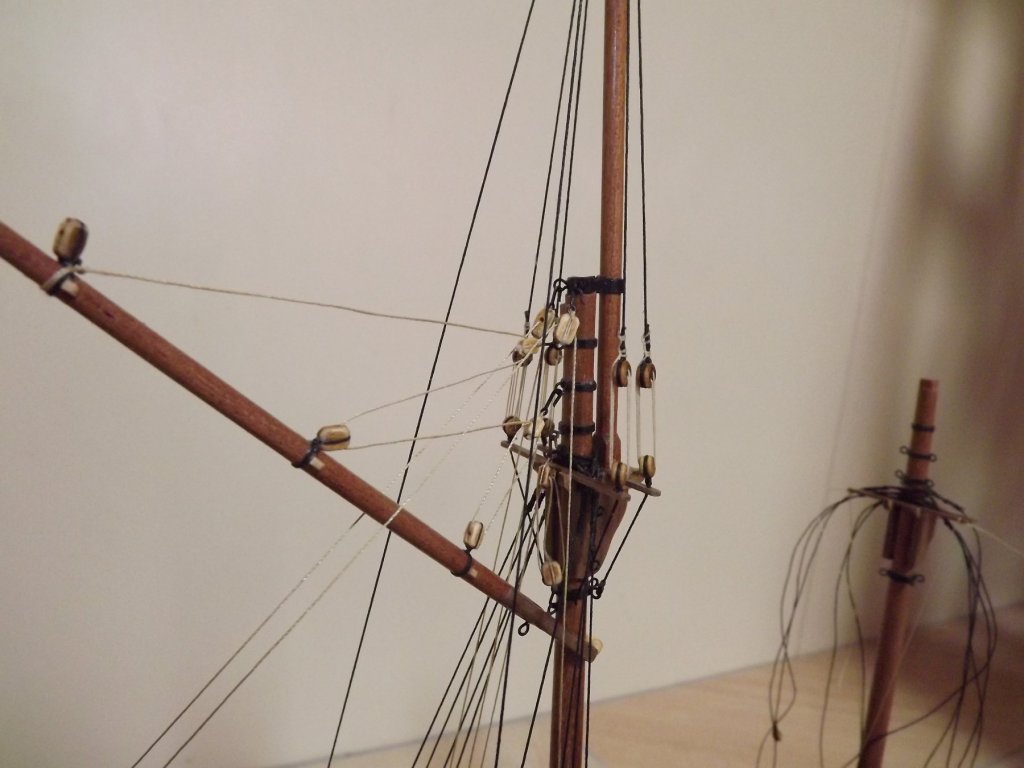
Here's a shot of a working replica of a 53' topsail schooner pin rail. Belaying pins are about 40 cm long and you can see that there's a reasonable gap (probably about 1/2 length of the pin) allowing for easy access for rope. Rick

- 714 replies
-
- 4
-

-
- lady nelson
- victory models
- (and 1 more)
-
You know you'd have been pretty mad with me if I'd let you carry one and lay the deck without the waterway. 😉 Whilst we're at it - have you thought about making the deadeye with 5 holes for the mainstay? Not needed for a while I know but just thought I'd ask! Rick
- 714 replies
-
- 2
-
-
- lady nelson
- victory models
- (and 1 more)
-
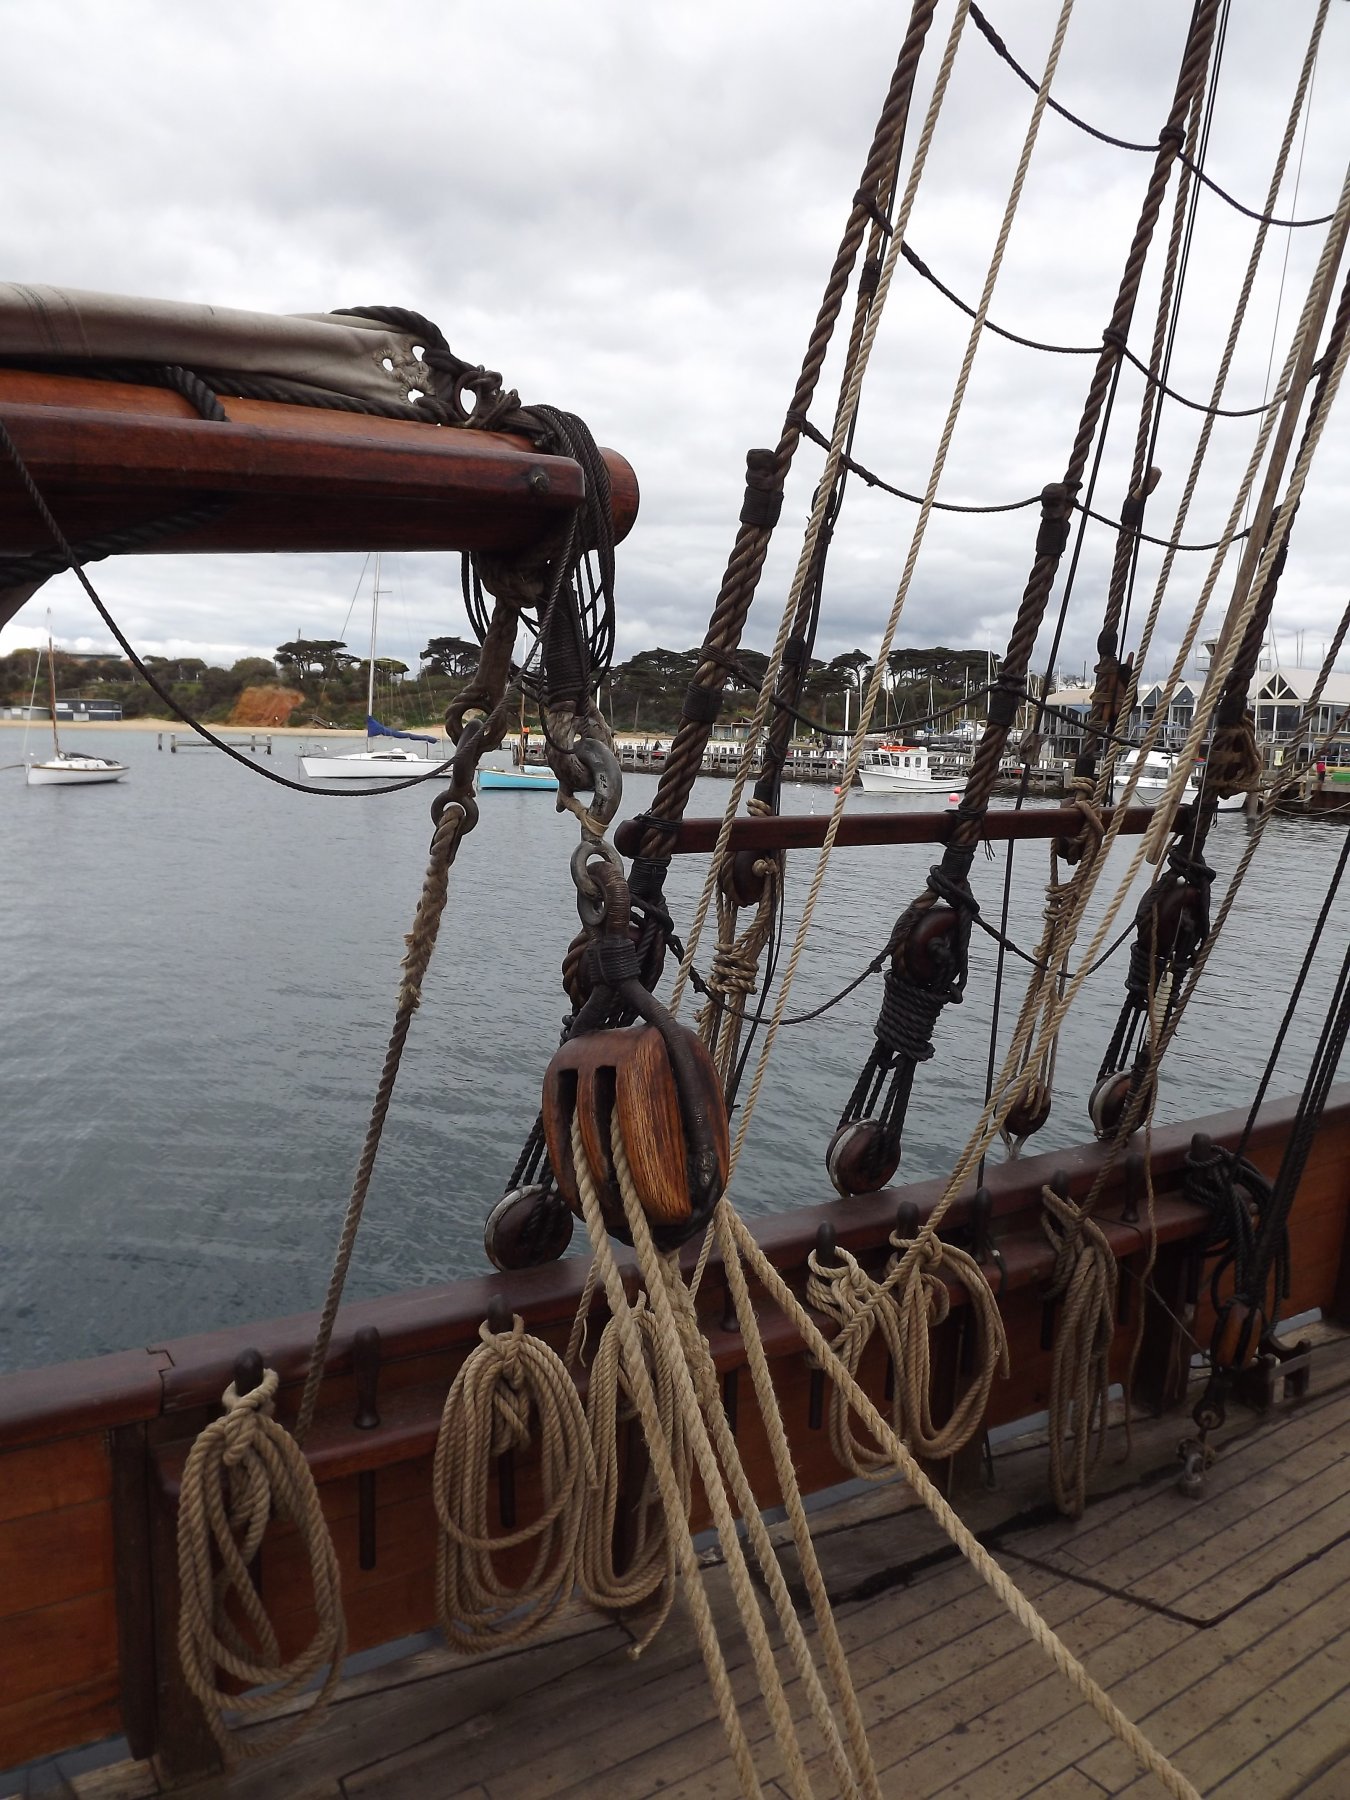
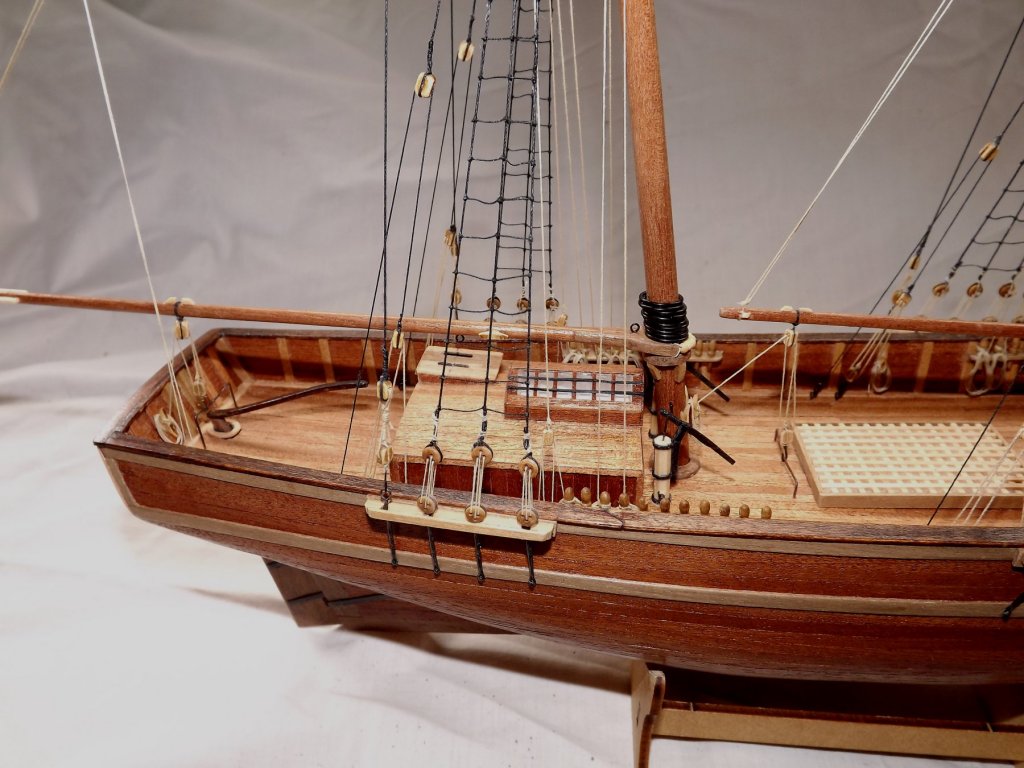
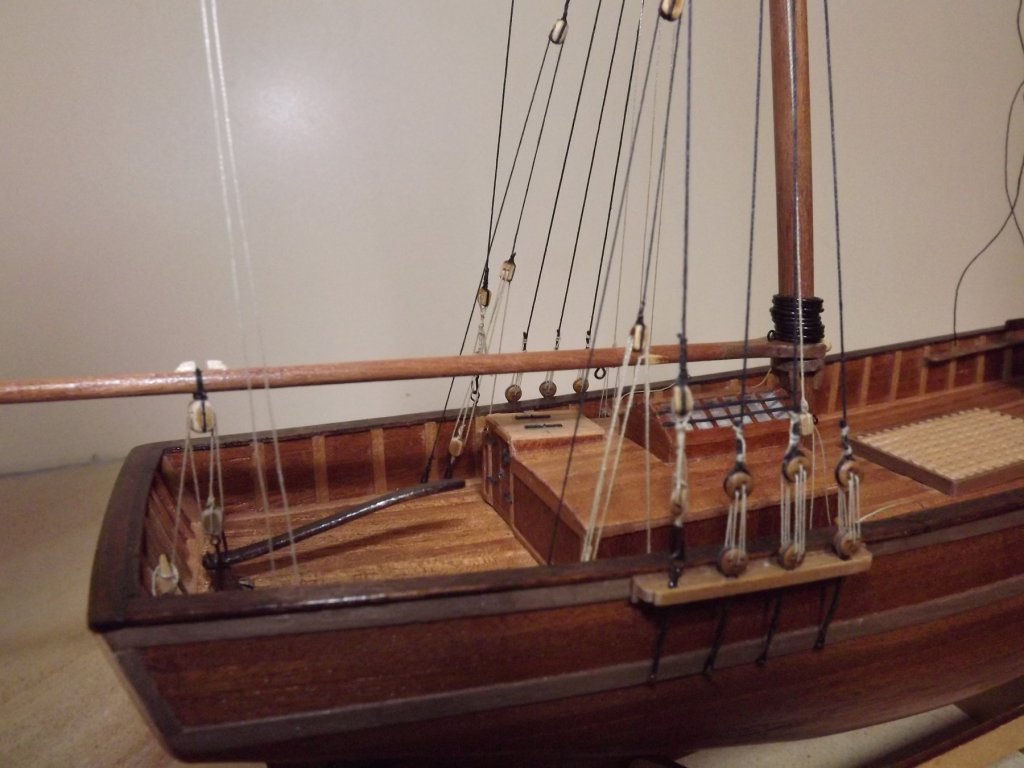
Looking good - I particularly like the hinges and door knobs. I found that the heads of brass nails worked quite well when I was making mine. I also faced the companionway backwards - most of the contemporary models I've looked at are oriented that way. You probably haven't spotted it yet but the part number 44 (belaying pin rail) has the pins way to close together. At some point I've got to remove mine and refit with probably two rails each side. Rick
- 714 replies
-
- 2
-
-
- lady nelson
- victory models
- (and 1 more)
-
Long time since I did mine but as I recall I did the same as you have and did the first planking trying to leave the correct space for the keel and stem. I then looked at the plans and decided that the instructions were stupid so dry fitted the keel and stem trimming the excess first planking until they fitted fairly neatly, glued them in place then proceeded with the final planking. Forgot to say I actually hated all the ply fittings so I spent a few hours making solid ones from a 3/16th (I think) sheet bought for the purpose. If you go with the original parts, fit then plank remembering that the grain needs to run the full length of the stem. Rick
-
I fitted before the last planking. Reason being that this way you guarantee to have the timber fitted tightly up to the keel and stem post. Rick
-
Just one thing to remember - make sure that you can fit the irons through the mortise before gluing it all up. Very embarrassing when you find the mortise slightly too narrow (as I found out ) and have to rebuild it. Rick
- 714 replies
-
- 2
-
-
- lady nelson
- victory models
- (and 1 more)
-
Oops - https://modelshipworld.com/index.php?/gallery/category/4-gallery-of-contemporary-models-from-museums-and-private-collections/ Try this. Rick
- 714 replies
-
- 1
-
-
- lady nelson
- victory models
- (and 1 more)
-
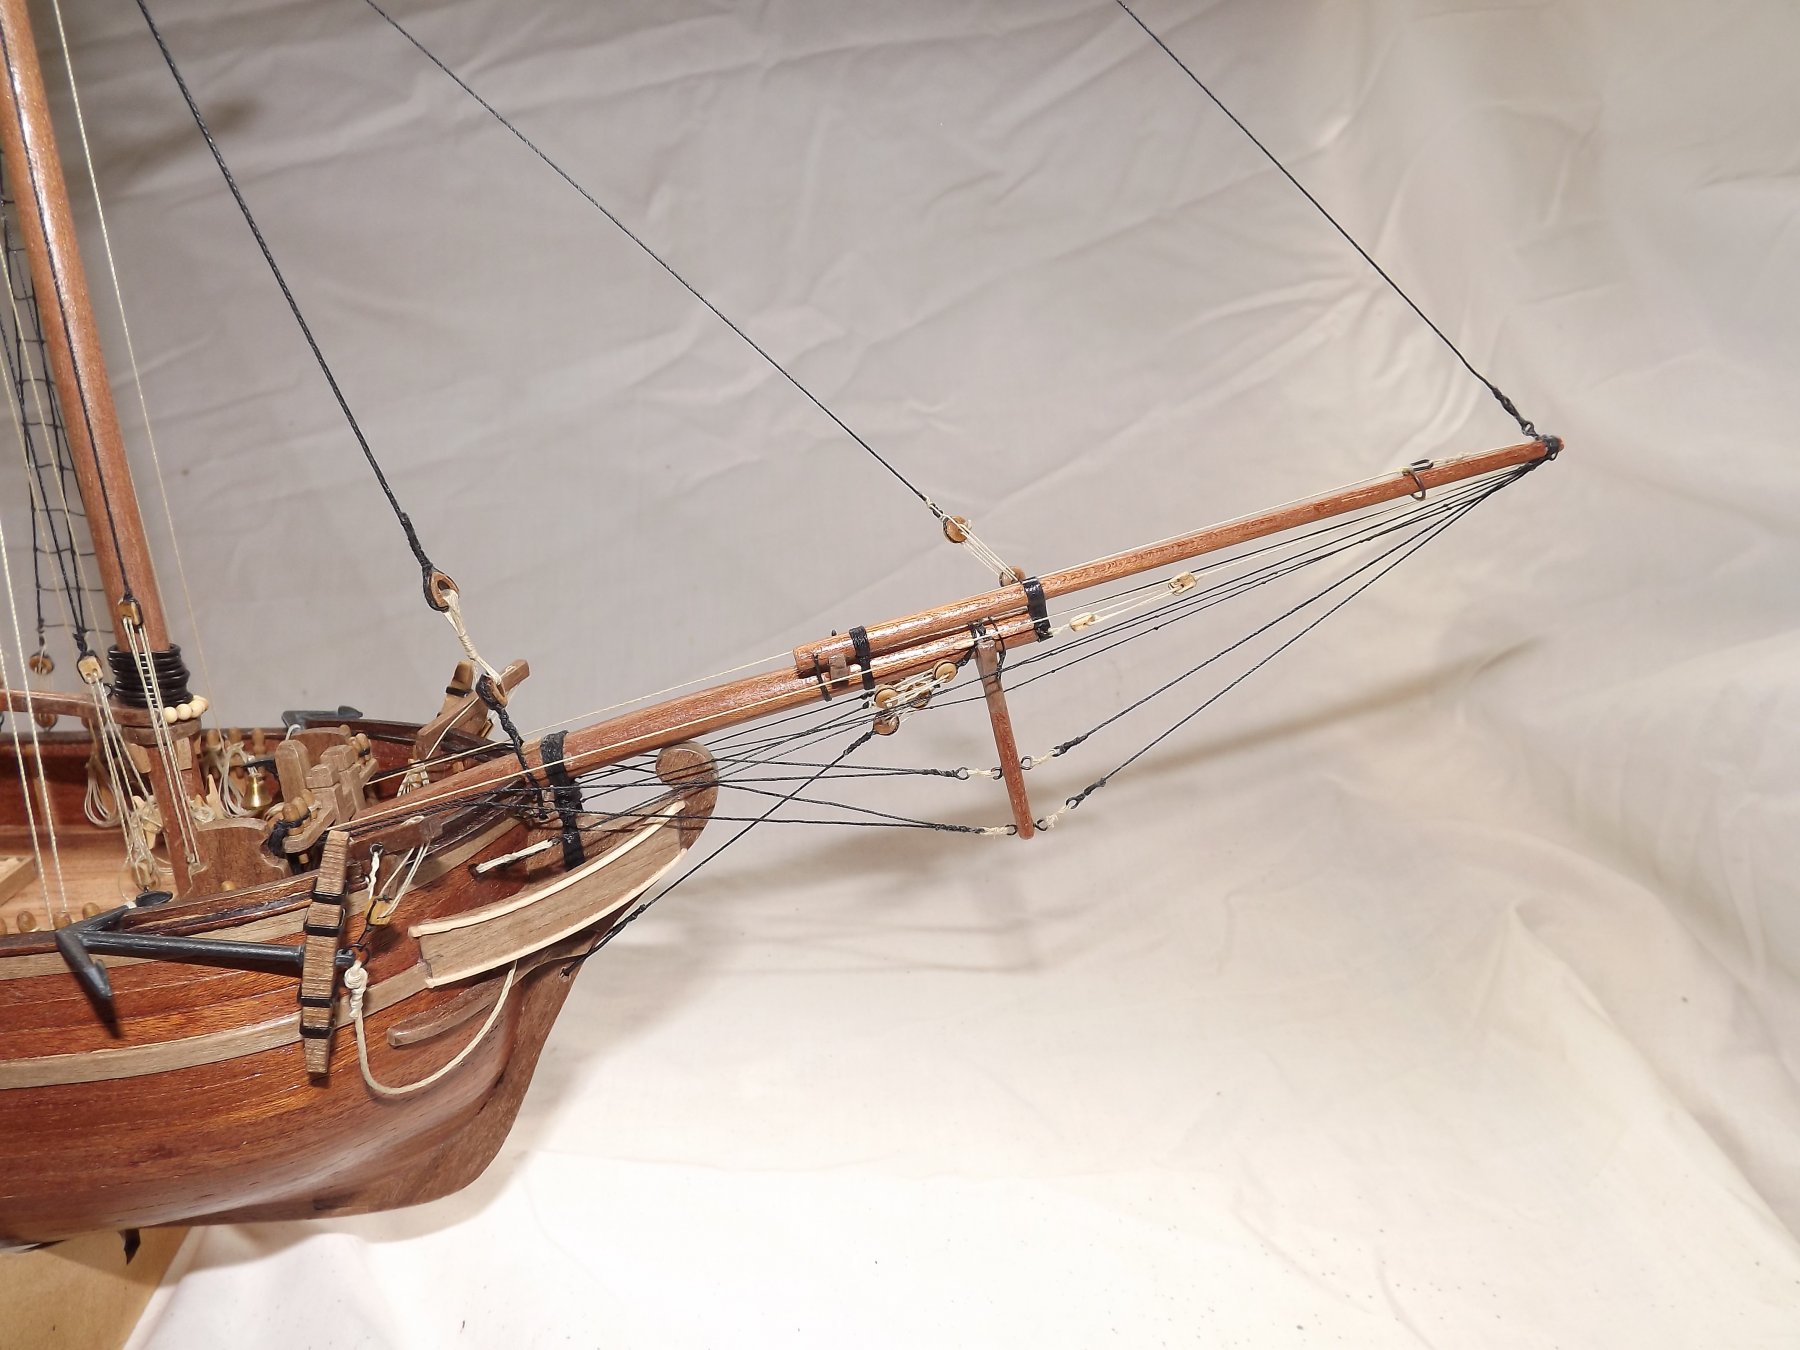
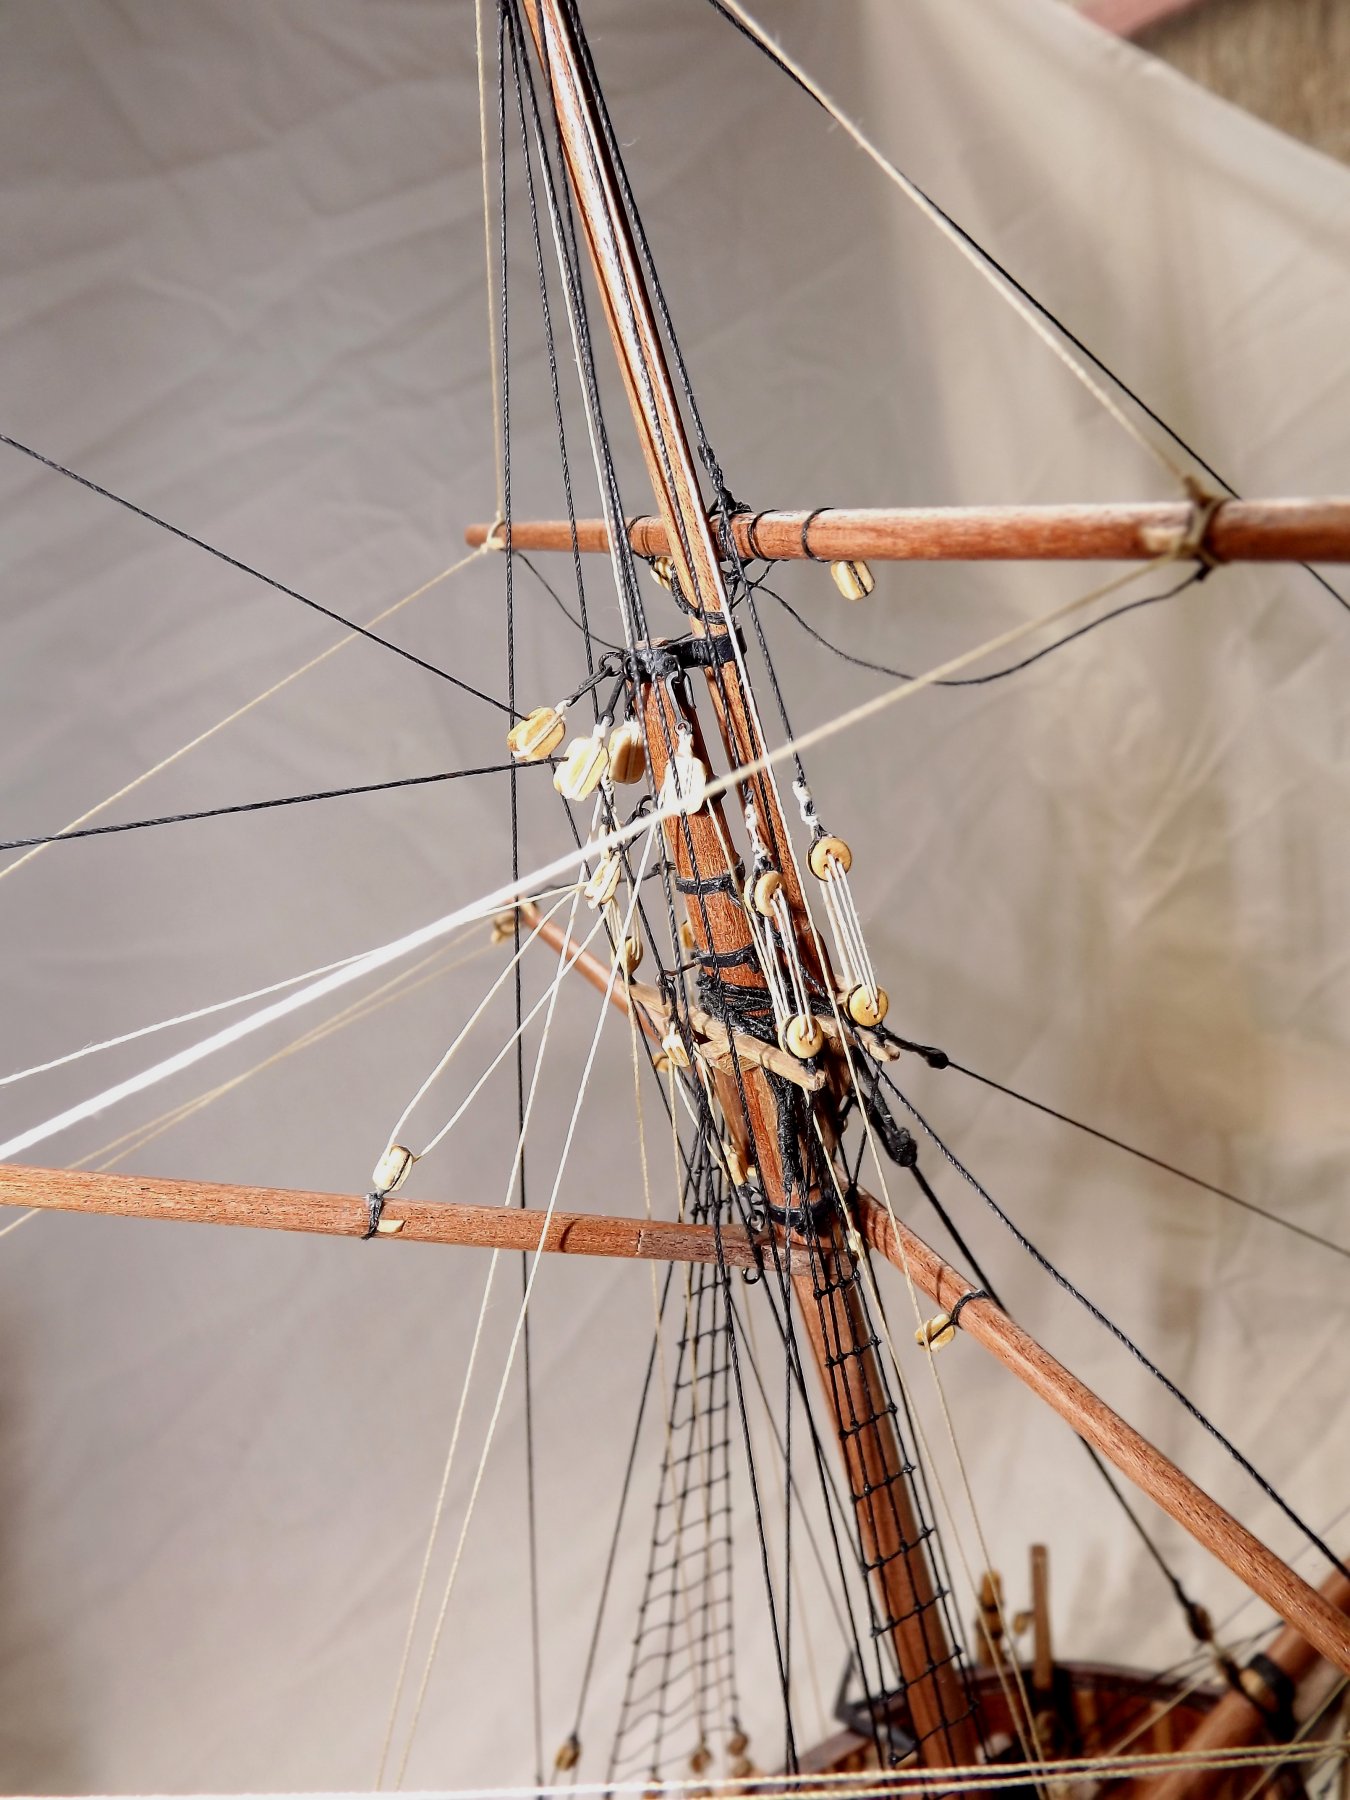
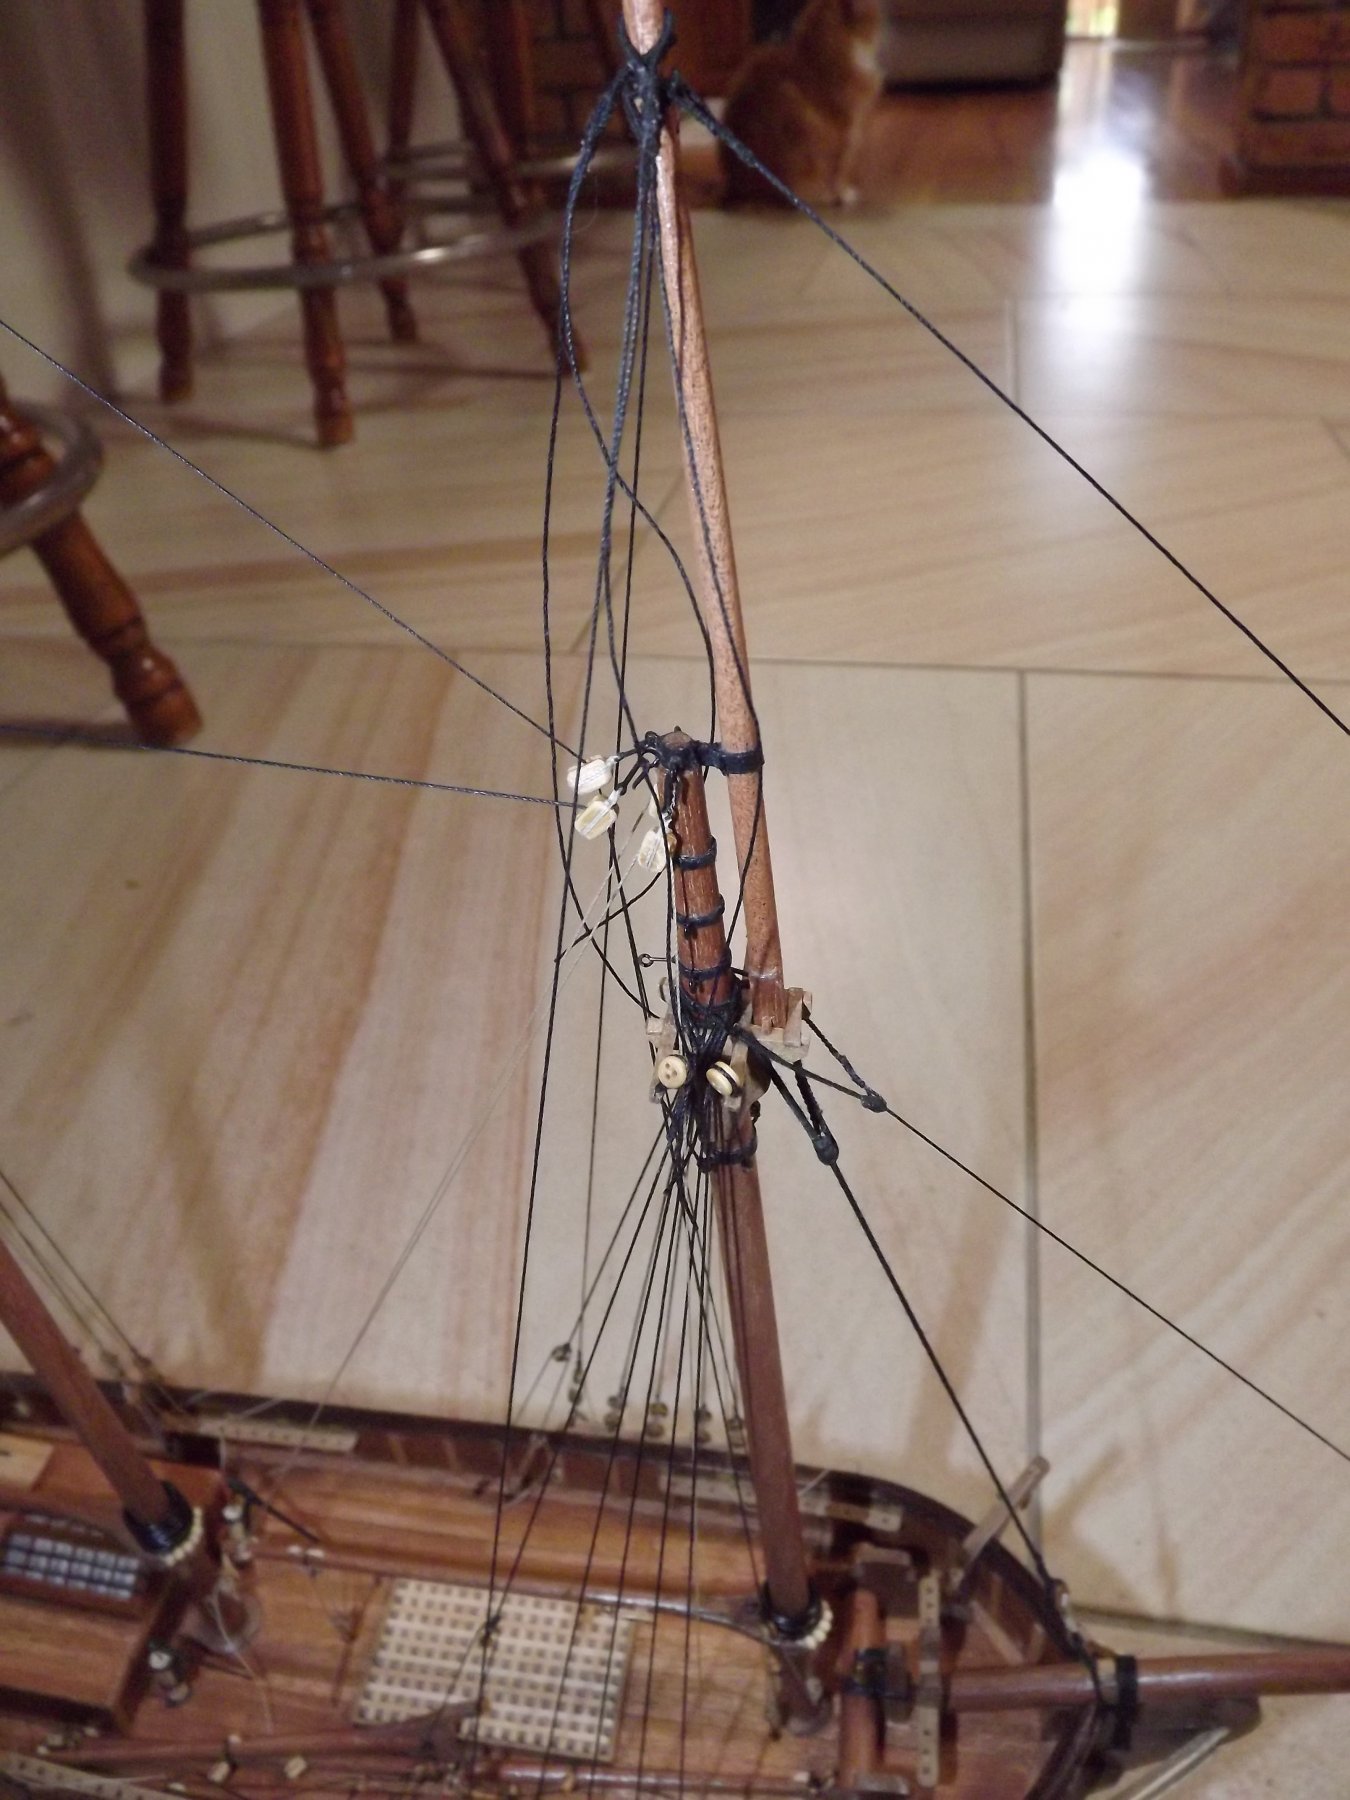
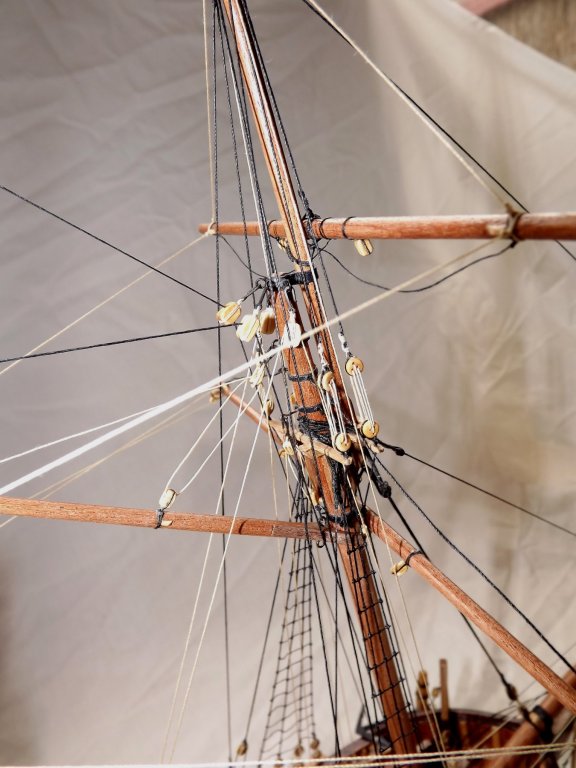
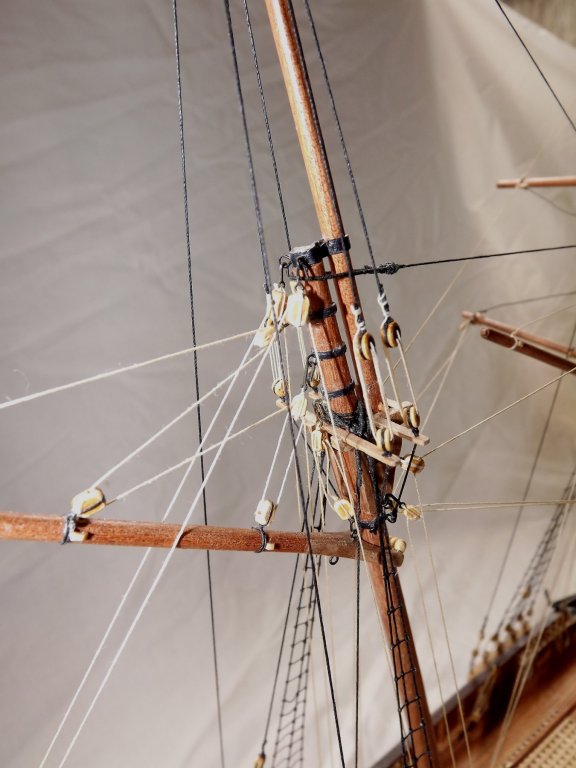
The beauty of this kit is that it represents a typical cutter of the period allowing for a certain amount of leeway in the build. A quick check of the book shows that the two shrouds for the topmast carry smaller deadeyes with the lower one having a hook attaching to an eyebolt behind the main deadeyes. Just to confuse matters a check of the Maritime Museum models tends to show 4 shrouds for the main mast then (where a splitter is mounted) the shrouds for the top mast have an eye not a deadeye this then is tensioned to an eyebolt again behind the main deadeyes. Check page 2 of this gallery "English Naval Cutter 1763" shows it reasonably well. Rick
- 714 replies
-
- 3
-
-
- lady nelson
- victory models
- (and 1 more)
-
You putting in a waterway before deck planking? I seem to remember that the plans just planked right up to the gunwales. Rick
- 714 replies
-
- 1
-
-
- lady nelson
- victory models
- (and 1 more)
-
I sketched in the areas where the deck fittings were to be situated, planked up to them then dropped the fittings in after. Sounds a bit awkward but I found it easier than trying to manouvre planks round hatches etc. Good to see you back! 🙂 Rick
- 714 replies
-
- 1
-
-
- lady nelson
- victory models
- (and 1 more)
-
Coming on well. For the twists and bends in the planks I've found the water and hair drier less strain on the timber and can be done a few times to get the exact curve that you want. Rick
-
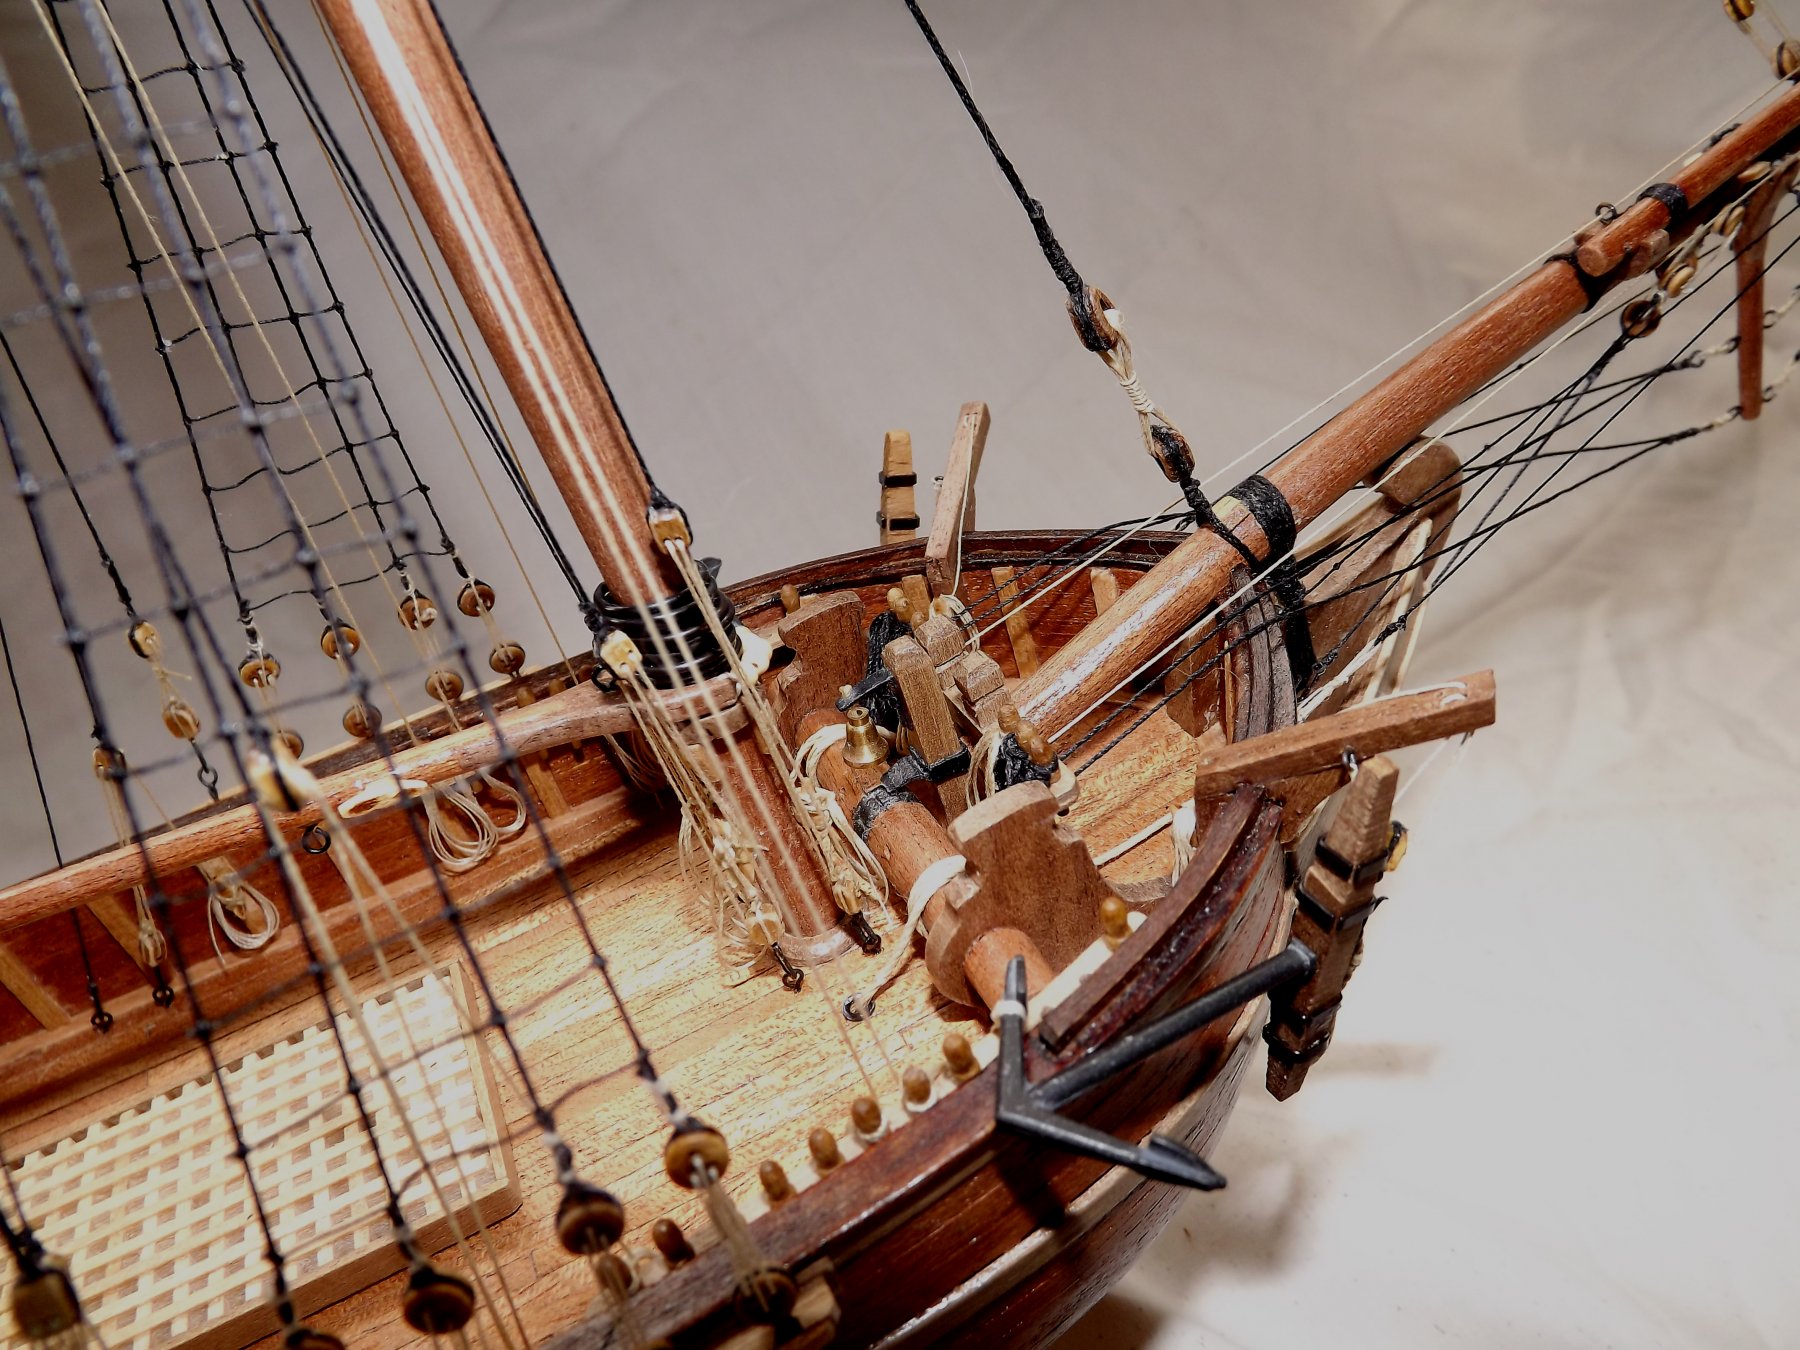
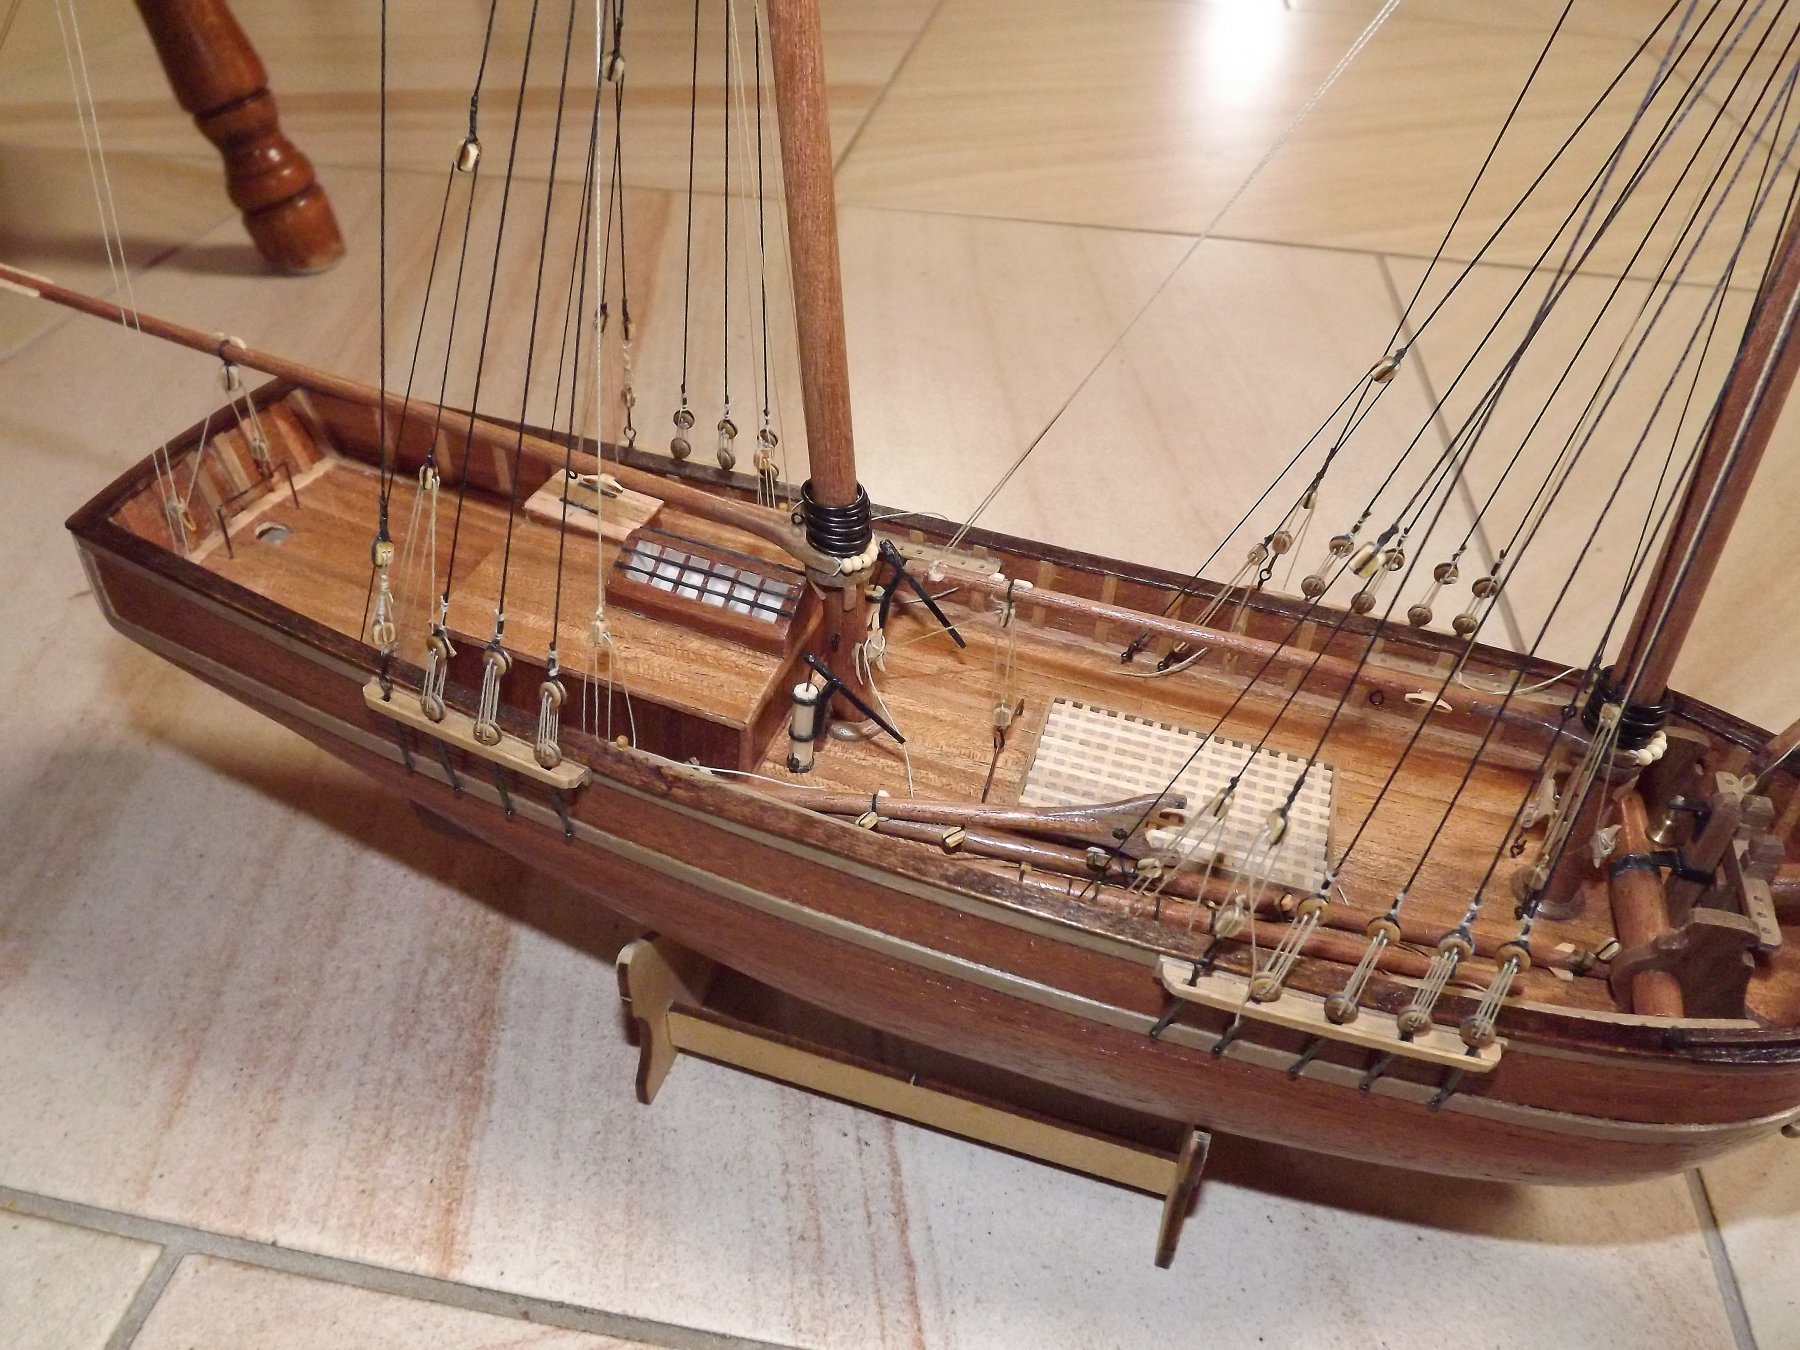
It's an interesting one. I opted for two ports only as the placement of the launch well and truly blocked even a carronade from operating forward of skylight. I forgot to mention that mast rings were omitted from the kit. One item I'm unhappy with on my build is the fact that the anchor when brought up to the cat head then fouls the bowsprit guy if you try to bring the flukes up to the cap rail as it should be when not in use. At some point I'm going to have to re-hash that whole section! Rick
-
As for the gun ports it seems that often extra ports were "painted" on to give the impression that the ship was better armed than it actually was. I'm afraid I can't quote the source for this but it was information I gleaned from a thread on this forum. If you check the first print on this pdf https://silentworldfoundation.org.au/wp-content/uploads/2017/07/Signals-86_pp14-20-30-31-Mermaid-2.pdf you'll see that there is one port open at the stern with a gun barrel poking out which is where I chose to place a cannon (I wasn't aware of the carronades!!) and looking at the cutaway you'll see that he has sketched a launch stored on deck where at least 3 of the foremost ports appear, leading me to believe that they would have been false ports. The first sketch also clearly shows the flying gaff not a topsail yard as per the instruction sheet. Rick
-
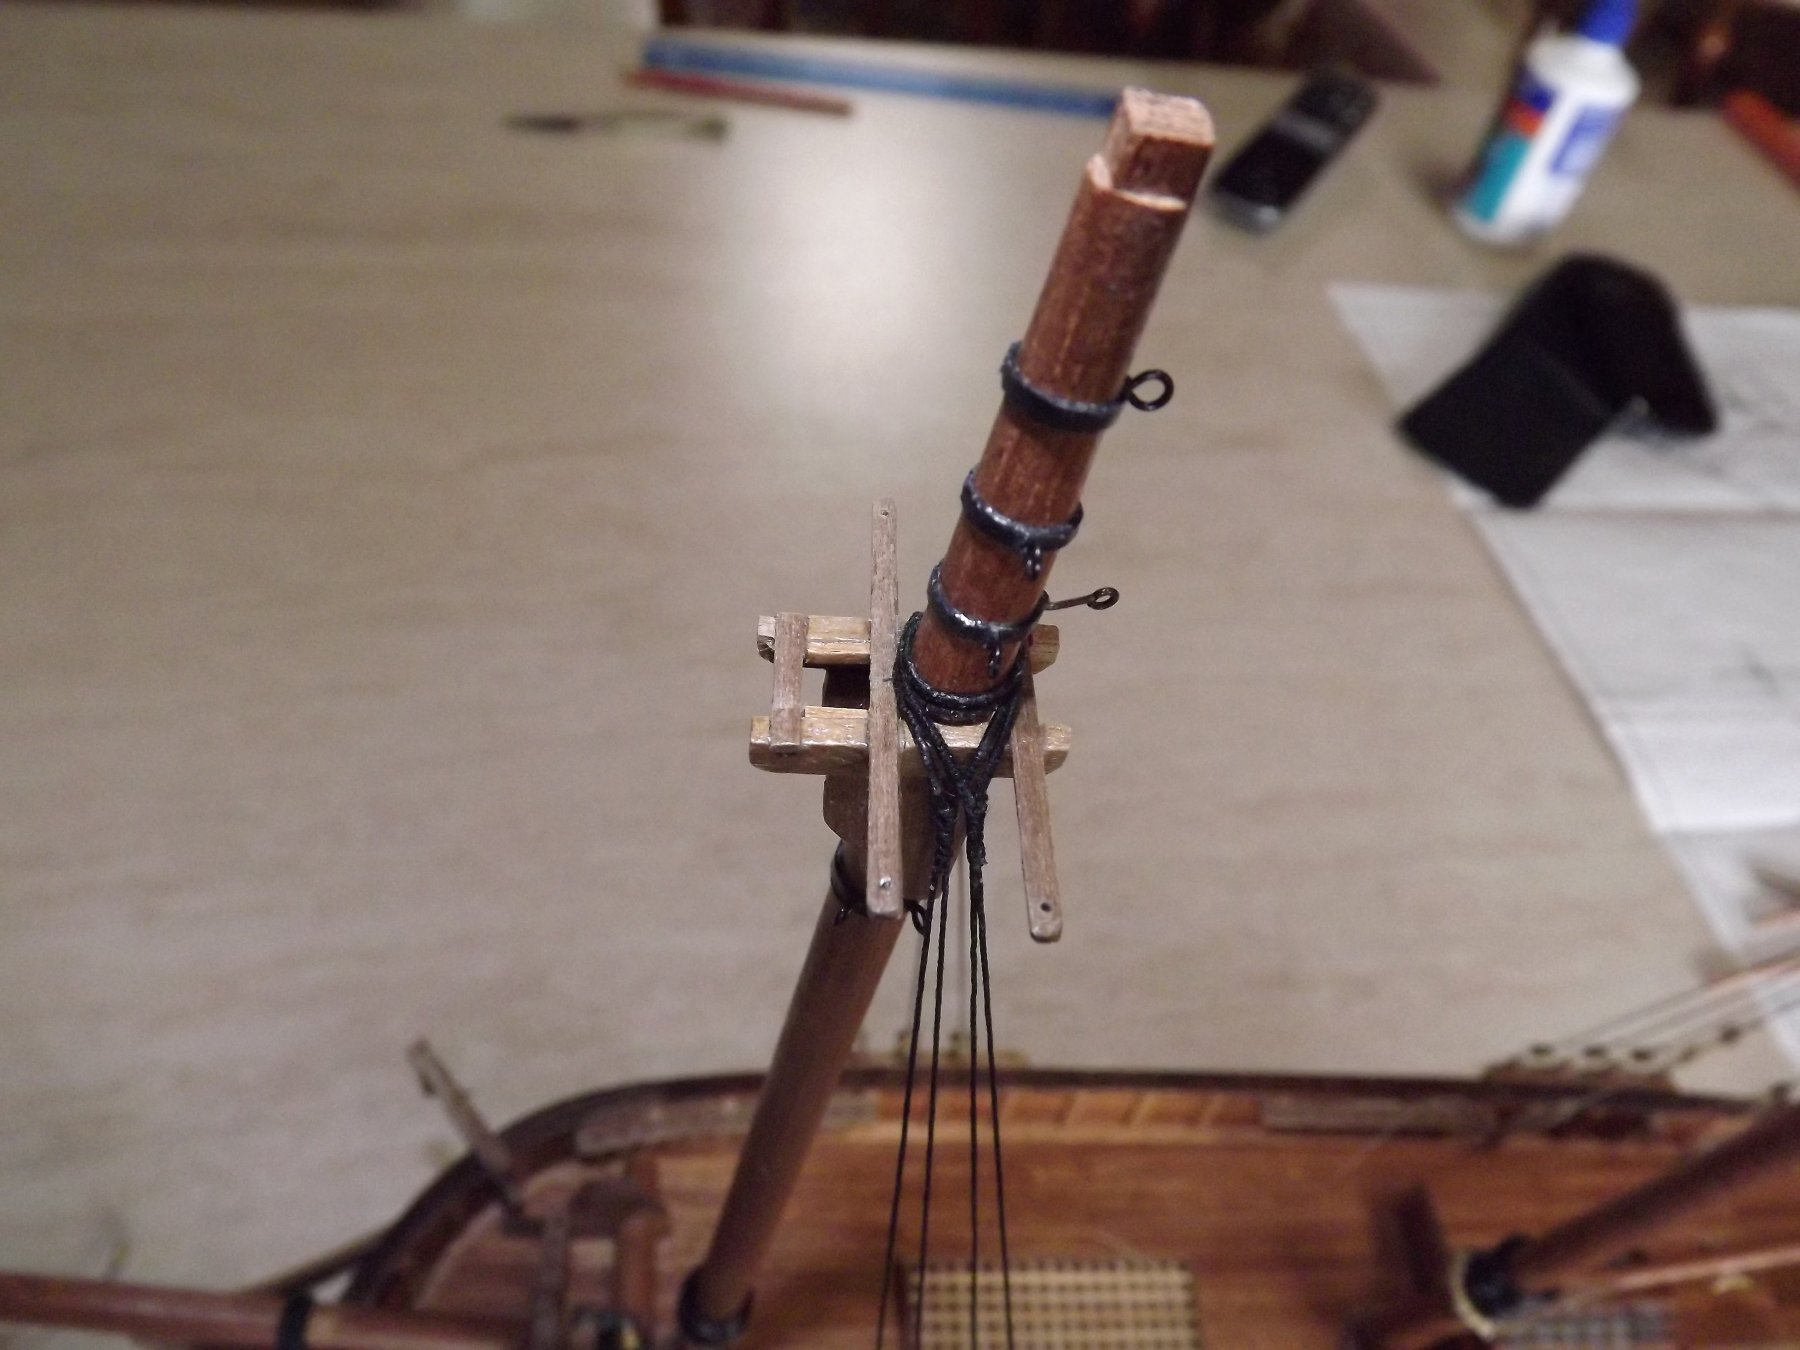
There's a good basic planking tutorial in the Articles database on the home page which is worth reading a couple of times before you get too frustrated and I found a short soak in water then clampling to a curved mould to be much easier when plank bending. I also had some trouble with mixed quality timbers in this kit so sorted through ALL the planking to get a selection that I was happy to use. All the ply fittings I dumped and replaced with solid timber - ply just doesn't stain smoothly. If you haven't already then check the National Maritime Museum for models of cutters. This link is what I used for additional information http://collections.rmg.co.uk/collections.html#!csearch;authority=subject-90254;collectionReference=subject-90254;innerSearchTerm=cutter;start=0 Decking needs a waterway and using Kings sketches I repositioned the gunports, also using his cut-away to reposition all the deck furniture hatches etc. As for the hobbit home main gangway - total redesign and build. The top mast spreader (8.7 in the instructions) will need the lower mast cap rebuilt as it has no provision for the spreader to sit properly (see page 17~18 of Petersson) and the fixed top yard should be omitted as all King's paintings/sketches show it as a flying gaff. There are probably more items that I missed as it was my second model only and I was still learning and attempting my own research. One thing you will find useful is a scalpel and a few dozen no. 11 blades all quite cheap on Ebay (plus a pack of bandaids) and a small steel rule. Makes cutting planking very much easier. Don't be afraid to make your own tools along the way either I think we all have a number of home-made items that we've found essential. Rick
-
There are a few other areas of "dissent" that I came across. I did make some notes on the plans as I went so if you'd like I can dig them out and post them here. My knowledge of rigging etc. is also pretty much zero but given that basic physics applies right down the line "if it ain't going to work then it can't be right". 😉 Rick
-
Ooops - gunwales should read bulwarks!! I ended up having to add a couple of mm to the stem to allow for the bowsprit and rigging holes. As you've rounded the transom this may well also affect the fit at the stern for the bulwarks. 🙂 As for positioning all the deck furniture I used Kings cut-away sketch as a guide assuming he had a fair idea of his own ship. Blew it up to 1/48 and worked from there.
- 241 replies
-
- 1
-
-
- mermaid
- modellers shipyard
- (and 1 more)
-
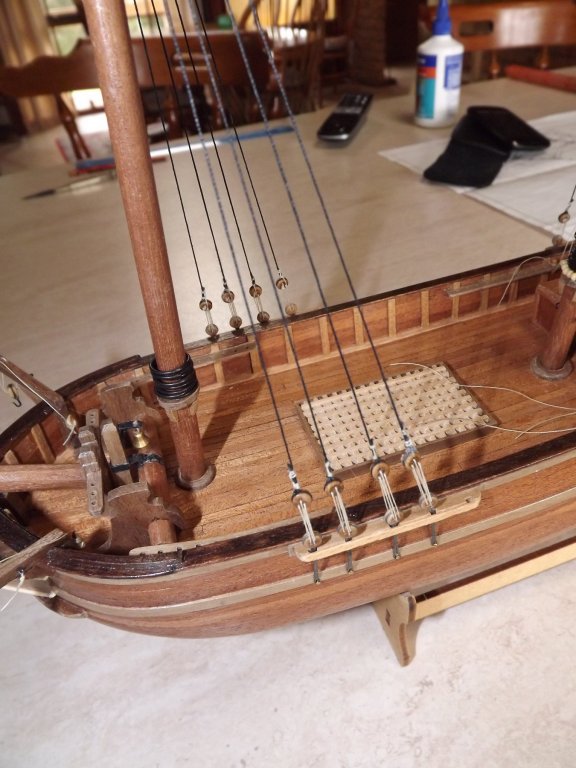
Hi - I guess you've found the older build logs on the Mermaid with our own variations and problem solving. I seem to recall a particular problem was with the gunwales.Instructions advise "identify and fit" with no mention of the fact that there is a (from memory) 1mm different in height front to back. Gunwales sit nicely either way but if you get them with the high side to the bows it stuffs up the rest of the fittings at the bow. I had a short discussion with the mfg. of the kit and was told this would be rectified in the next redraw of the instructions. Note also the runof the anchor cables - starboard side leads onto the drum incorrectly so that when turned on anchor raises whilst the other is lowered!! Rick
- 241 replies
-
- 1
-
-
- mermaid
- modellers shipyard
- (and 1 more)
-
But.. but.. but ... Koalas aren't bares!! 🙂😉
-
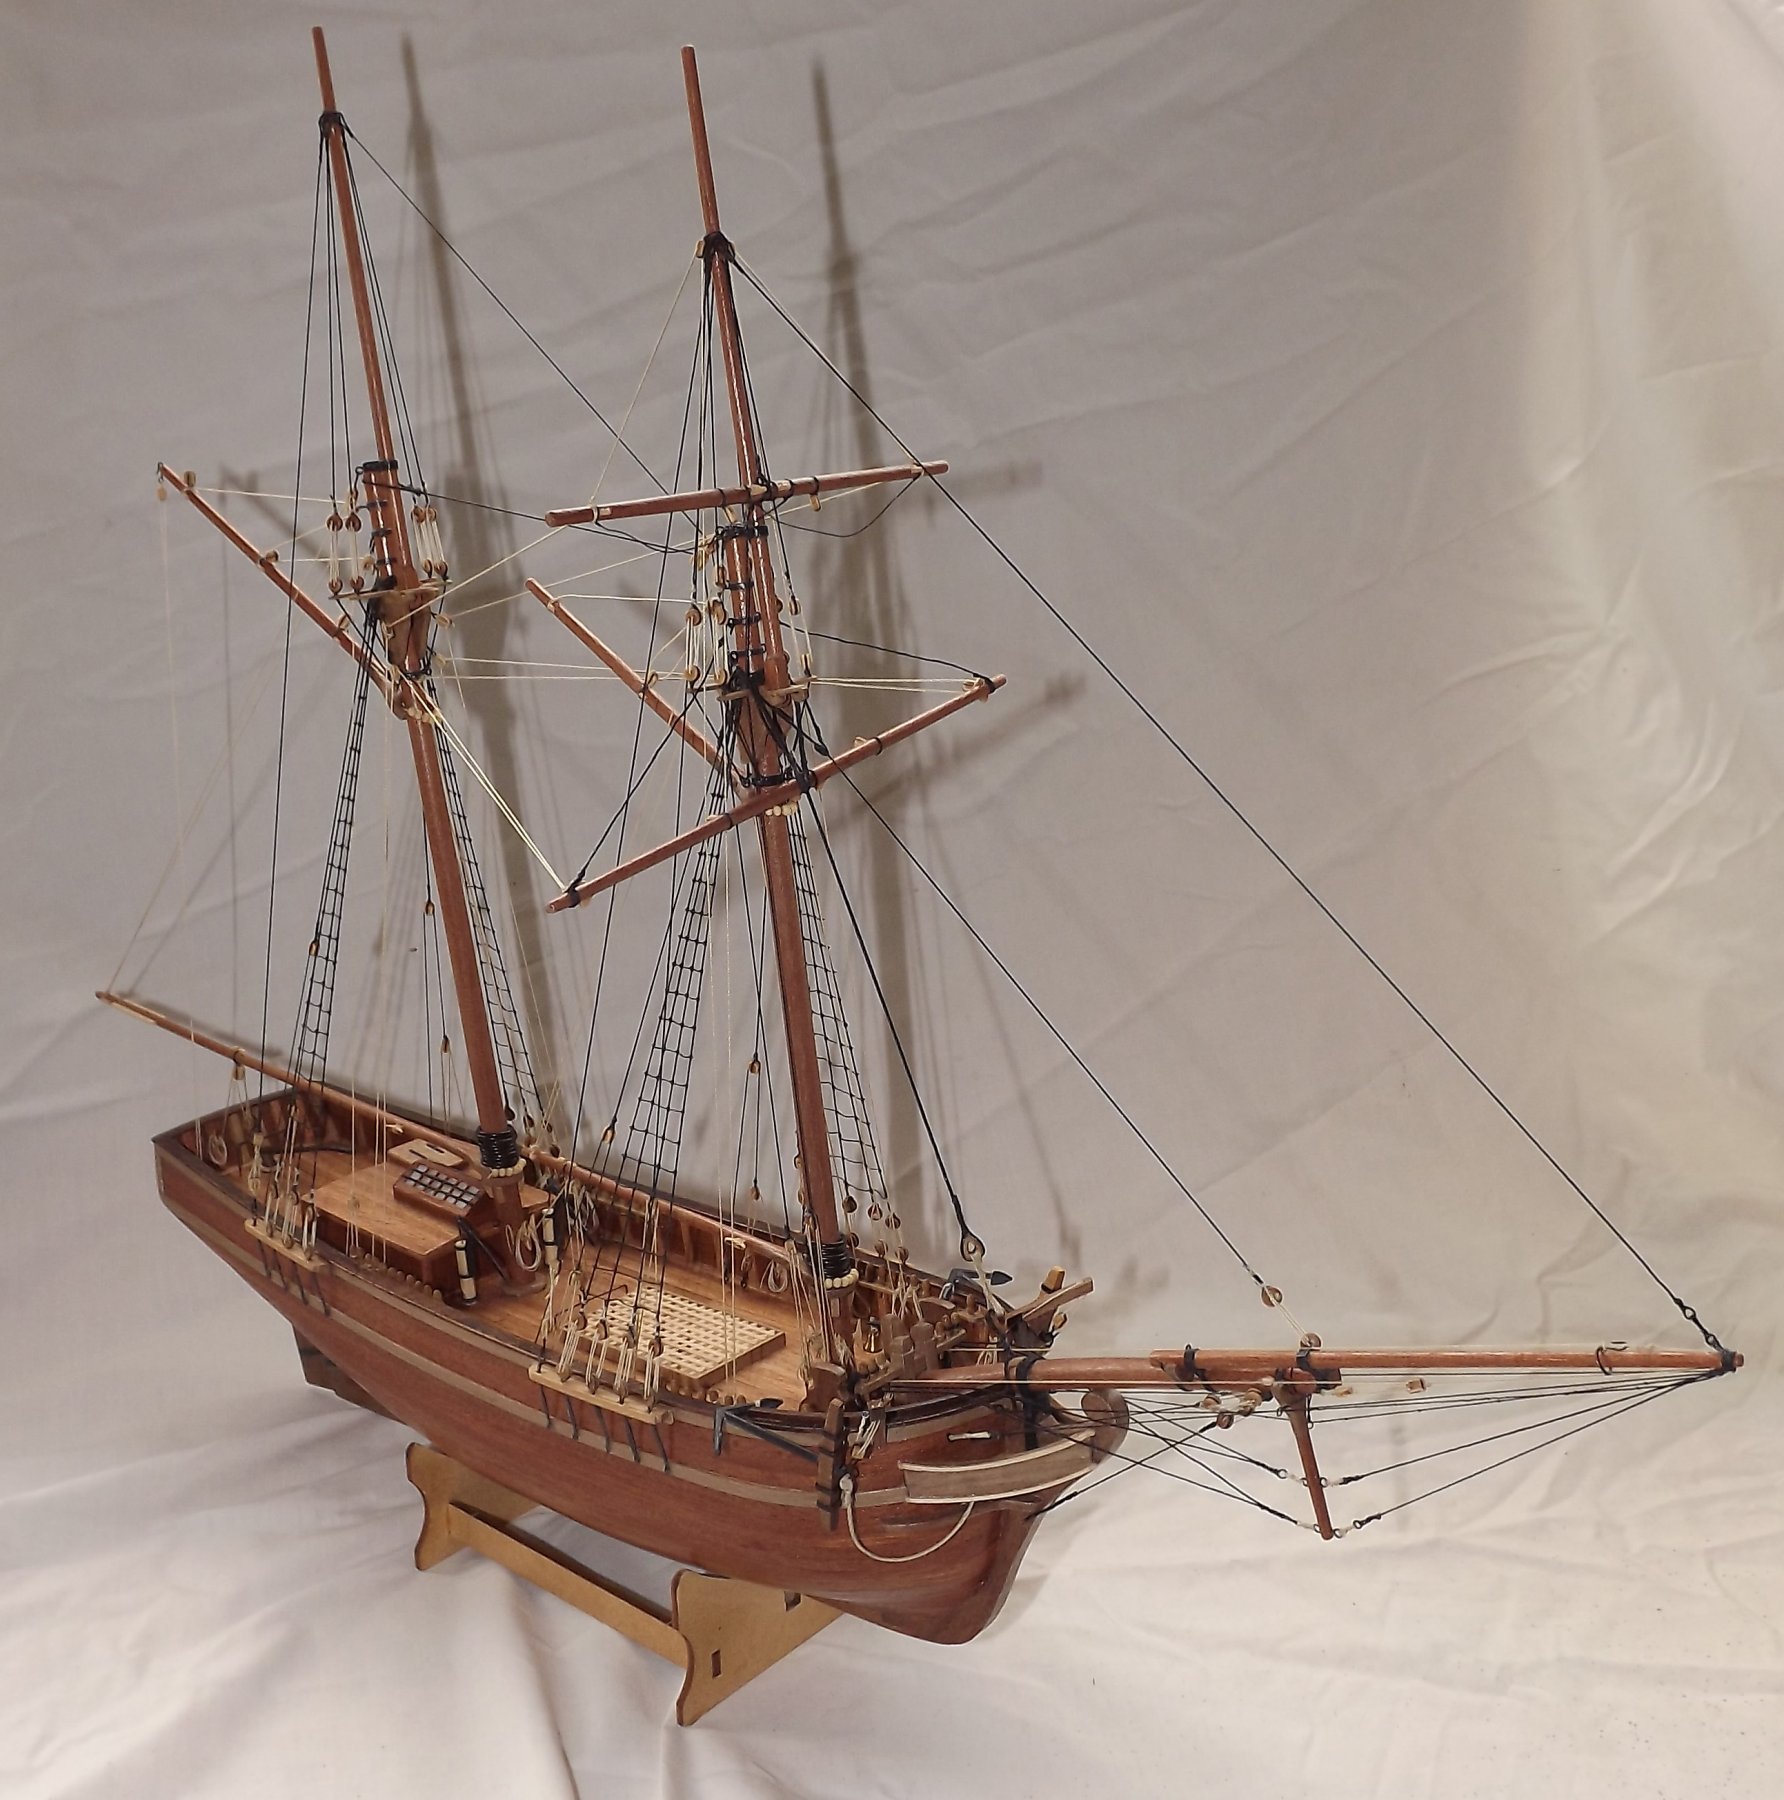
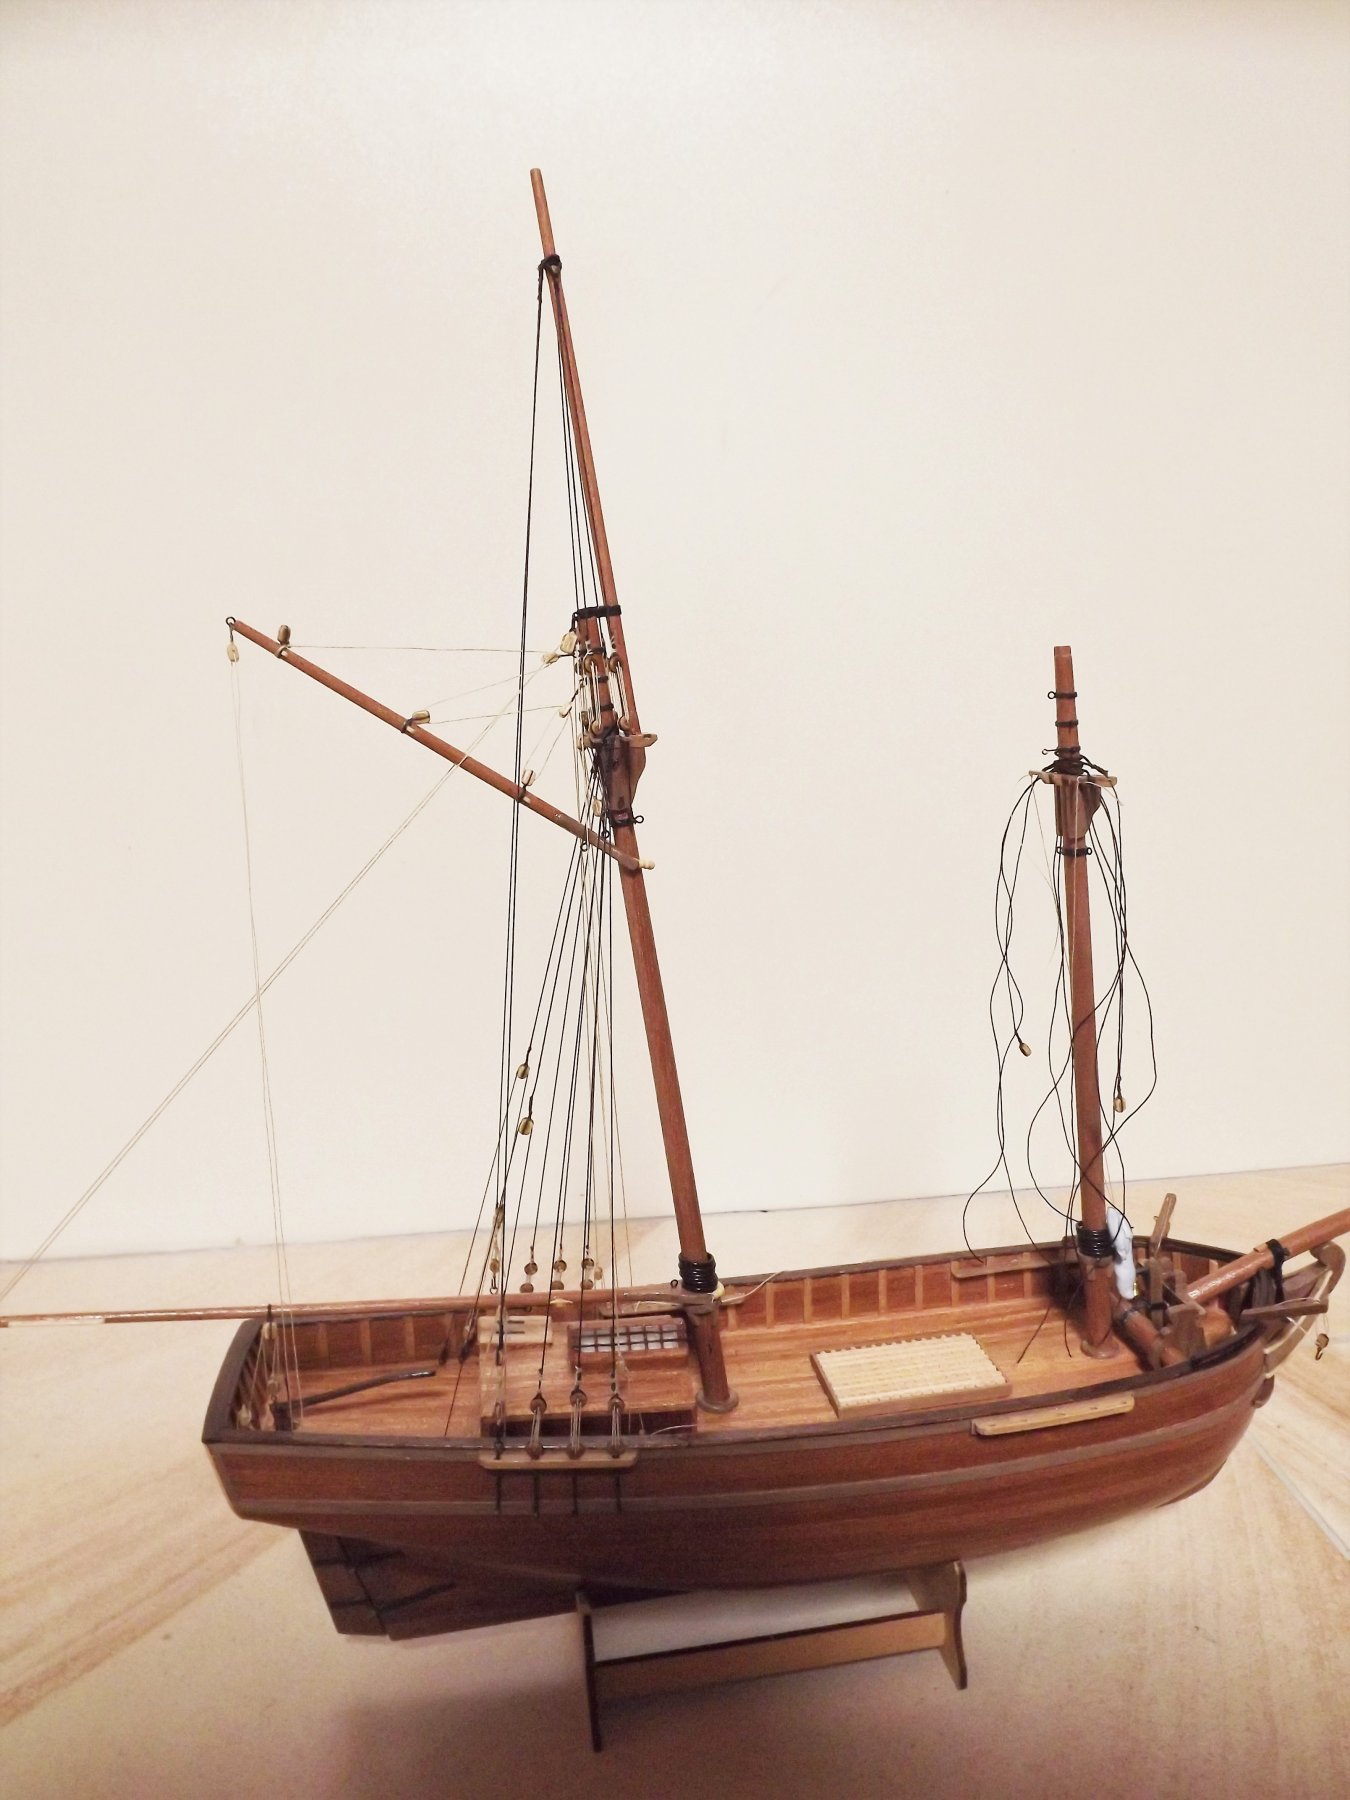
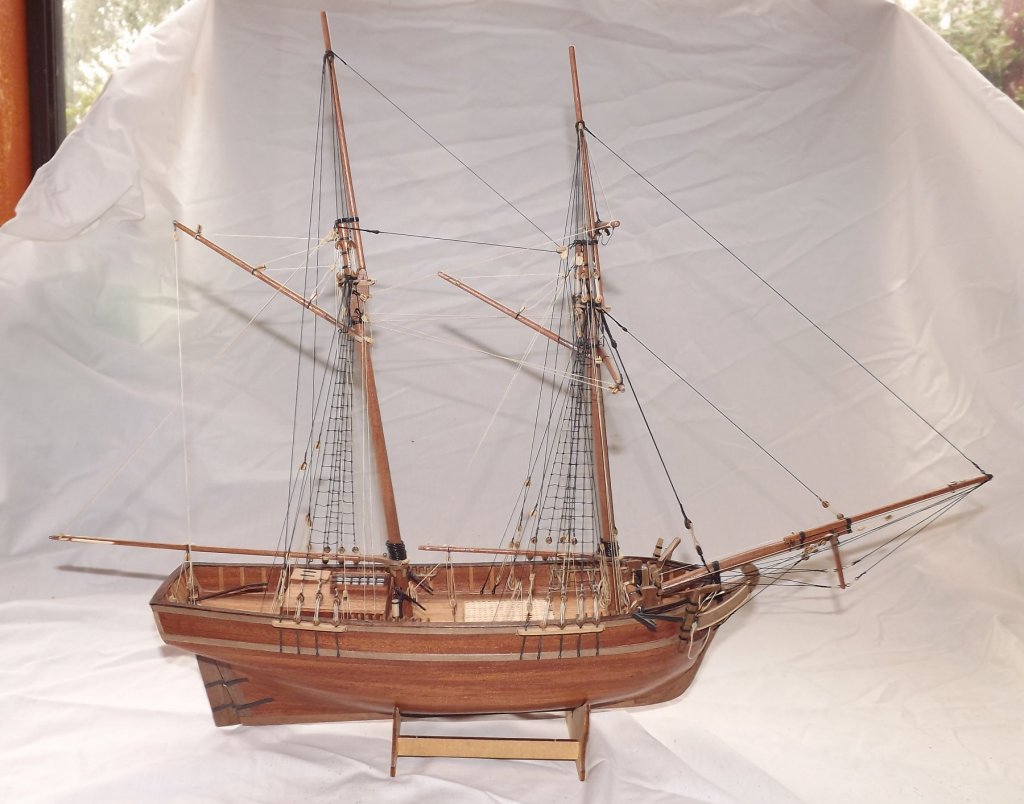
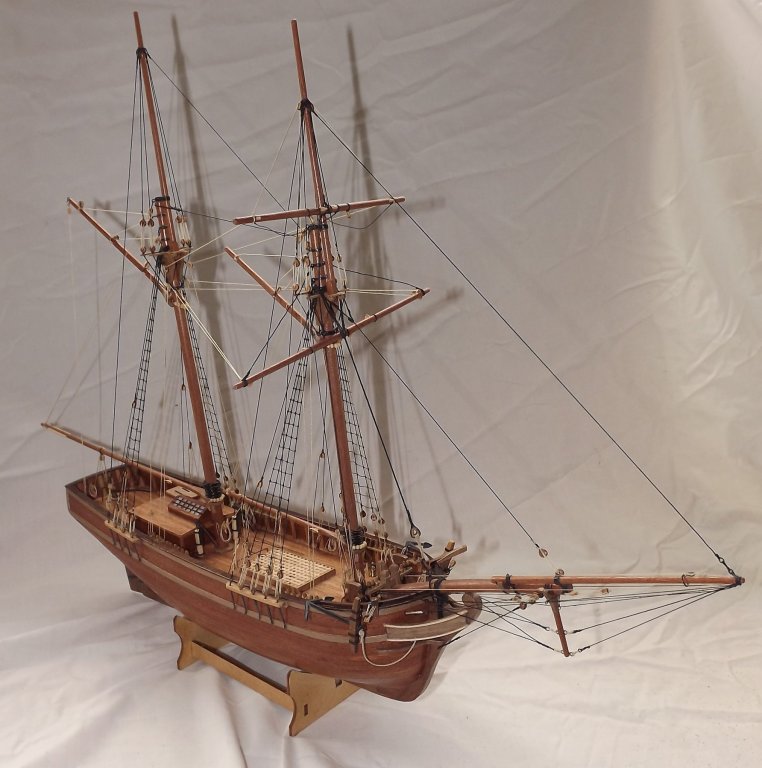
Completed at last - I still have to make a stand and case for it but otherwise I've actually made a Scratch built model!! May not be the best one on the forum but I'm happy with the result. Rick
-
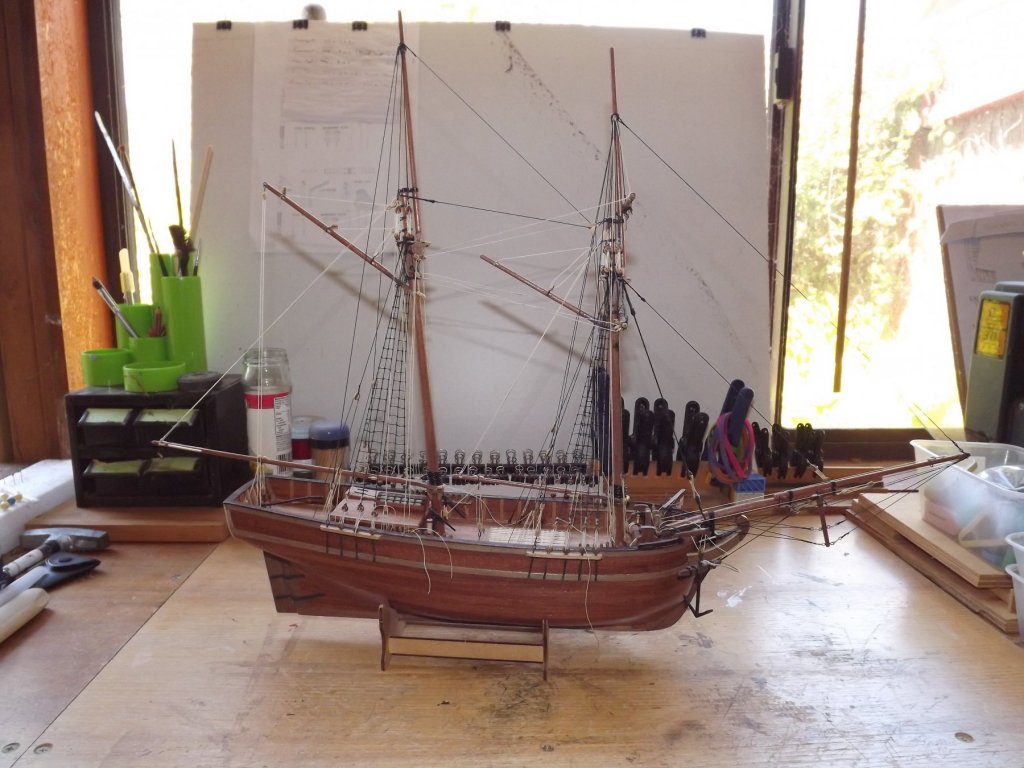
Down to the final bits now. I've approx. 30 rope coils to make and attach, anchors to secure, a stand to make plus a case and I'm finished. I'm back on two legs at last but 8 months of crutches have ruined my left shoulder so fine rope work is a bit of a pain but I'm getting there. There are problems with it but for my first scratch build I'm happy.


-
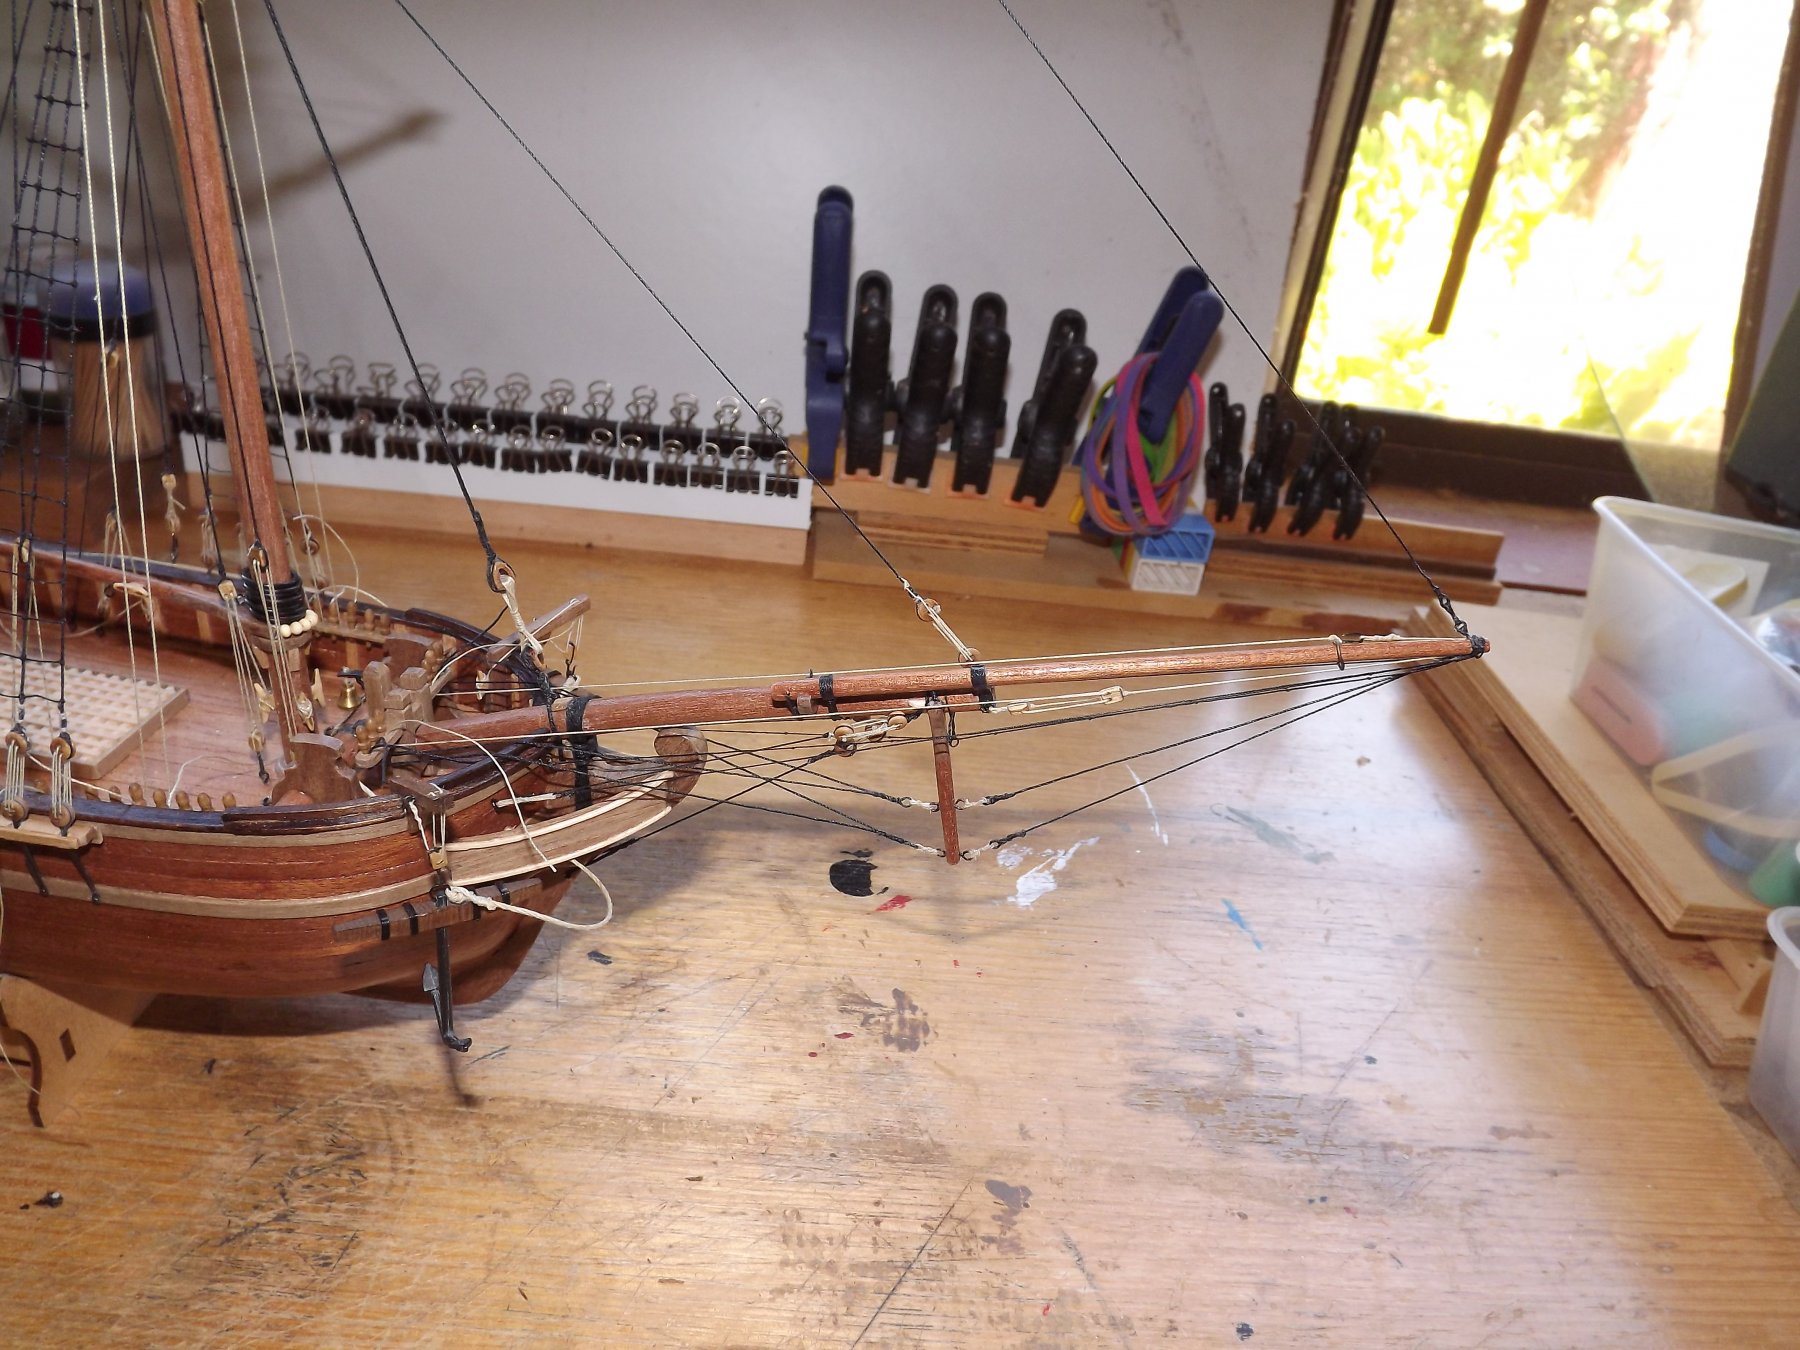
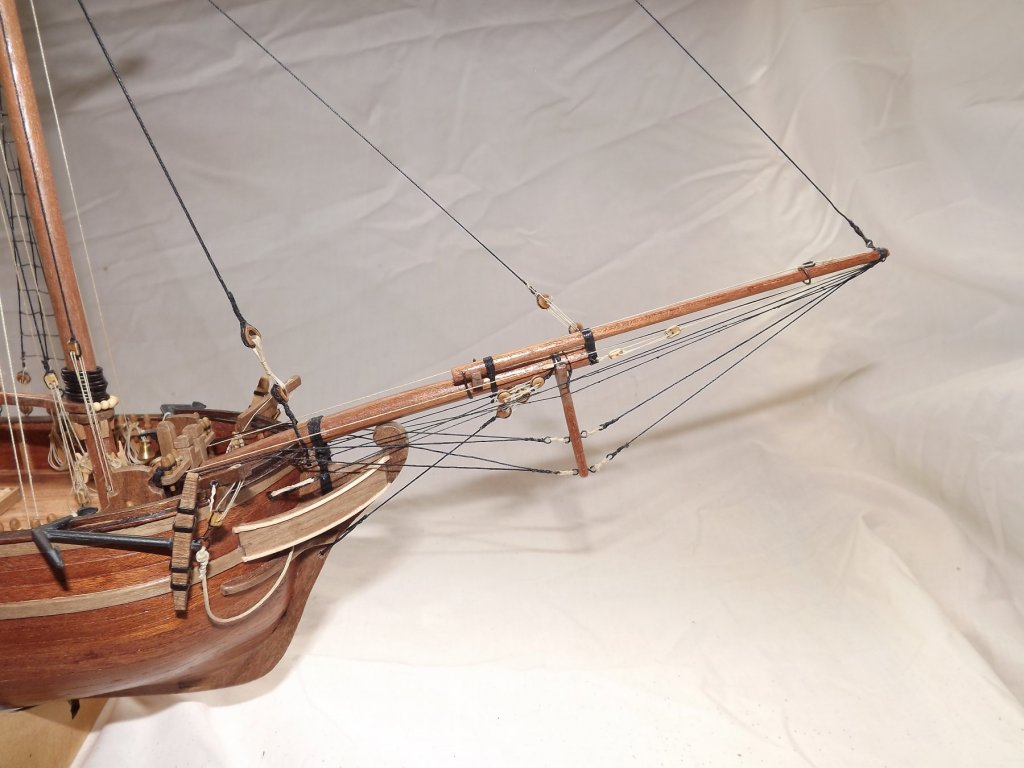
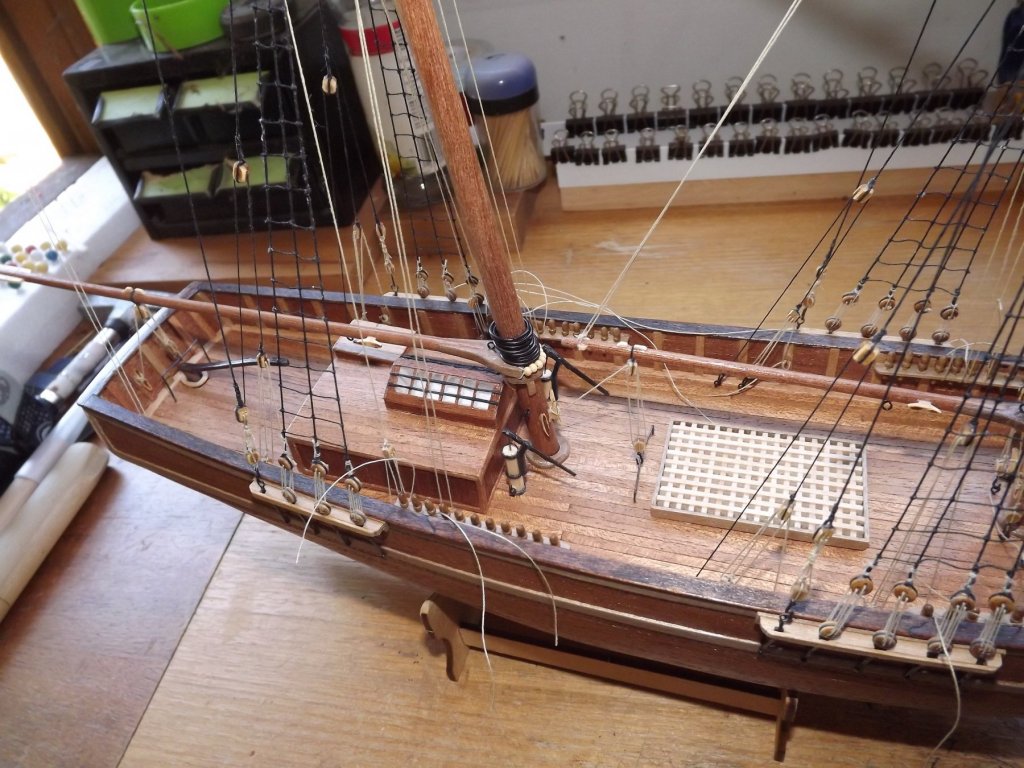
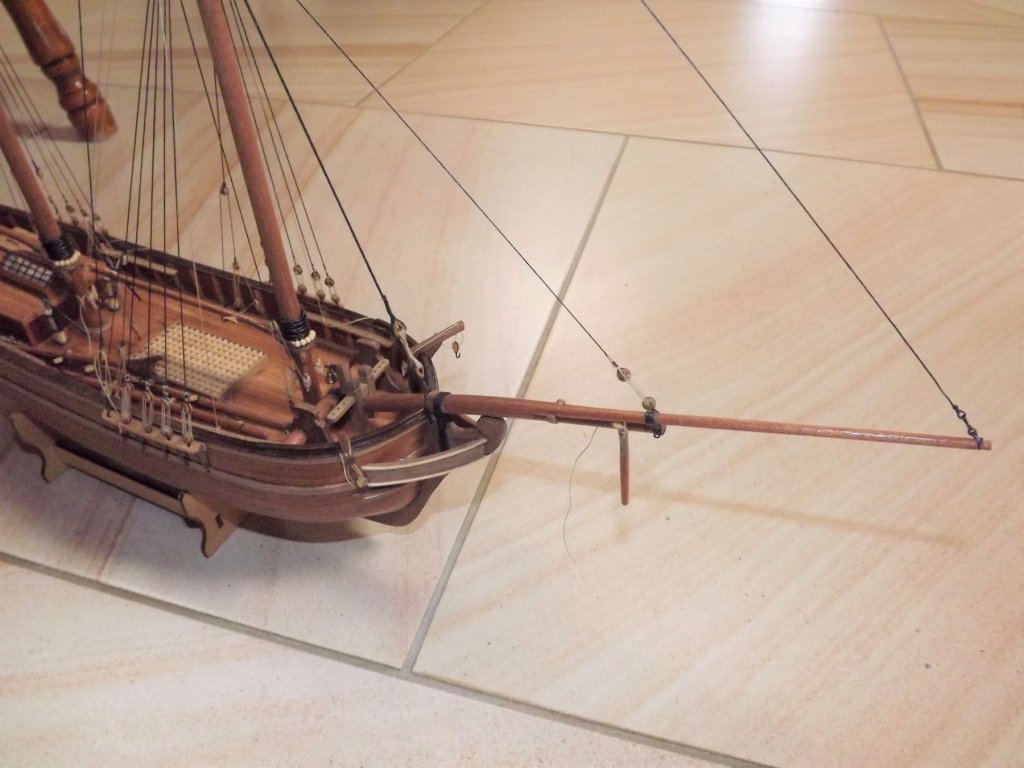
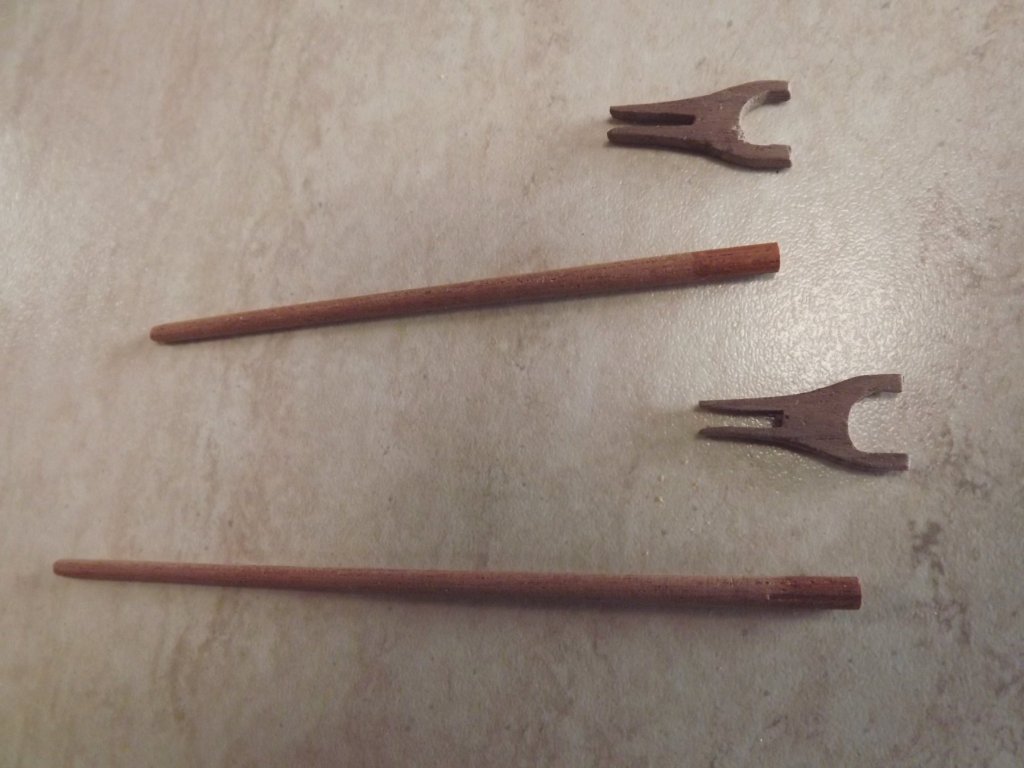
Got a few steps further. Bilge pumps made and located but not yet fixed in place. Fore boom also completed. Ran out of parrels so gaff is still dismounted. Bowsprit completed together with dolphin striker. Little bit of the rigging also under way. This area is causing some problems - I've been on crutches for near 9 months and this has played havoc with my shoulders, surprisingly with fine work your shoulders seem to take quite a bit of strain which has meant that much of the rigging is on hold 'til I'm walking without crutches again - quite soon I hope. Rick


-
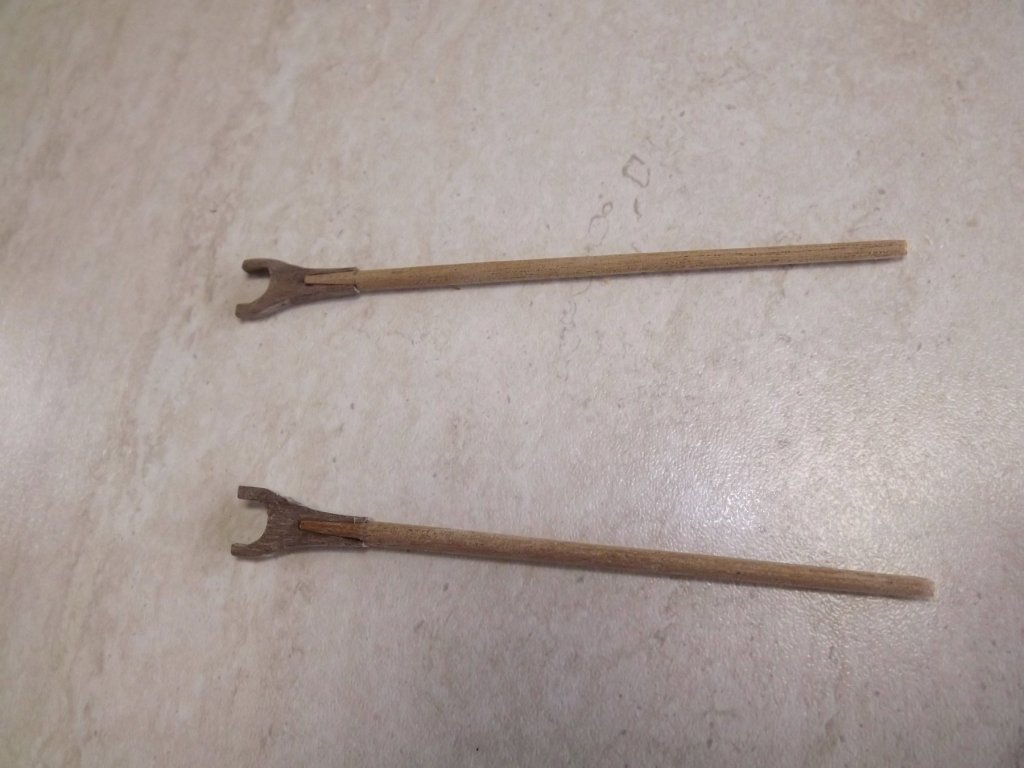
A little more progress. Fore mast being worked on now Fore gaff, boom and yokes under construction and assembled ready to be cleaned up and dressed.

-
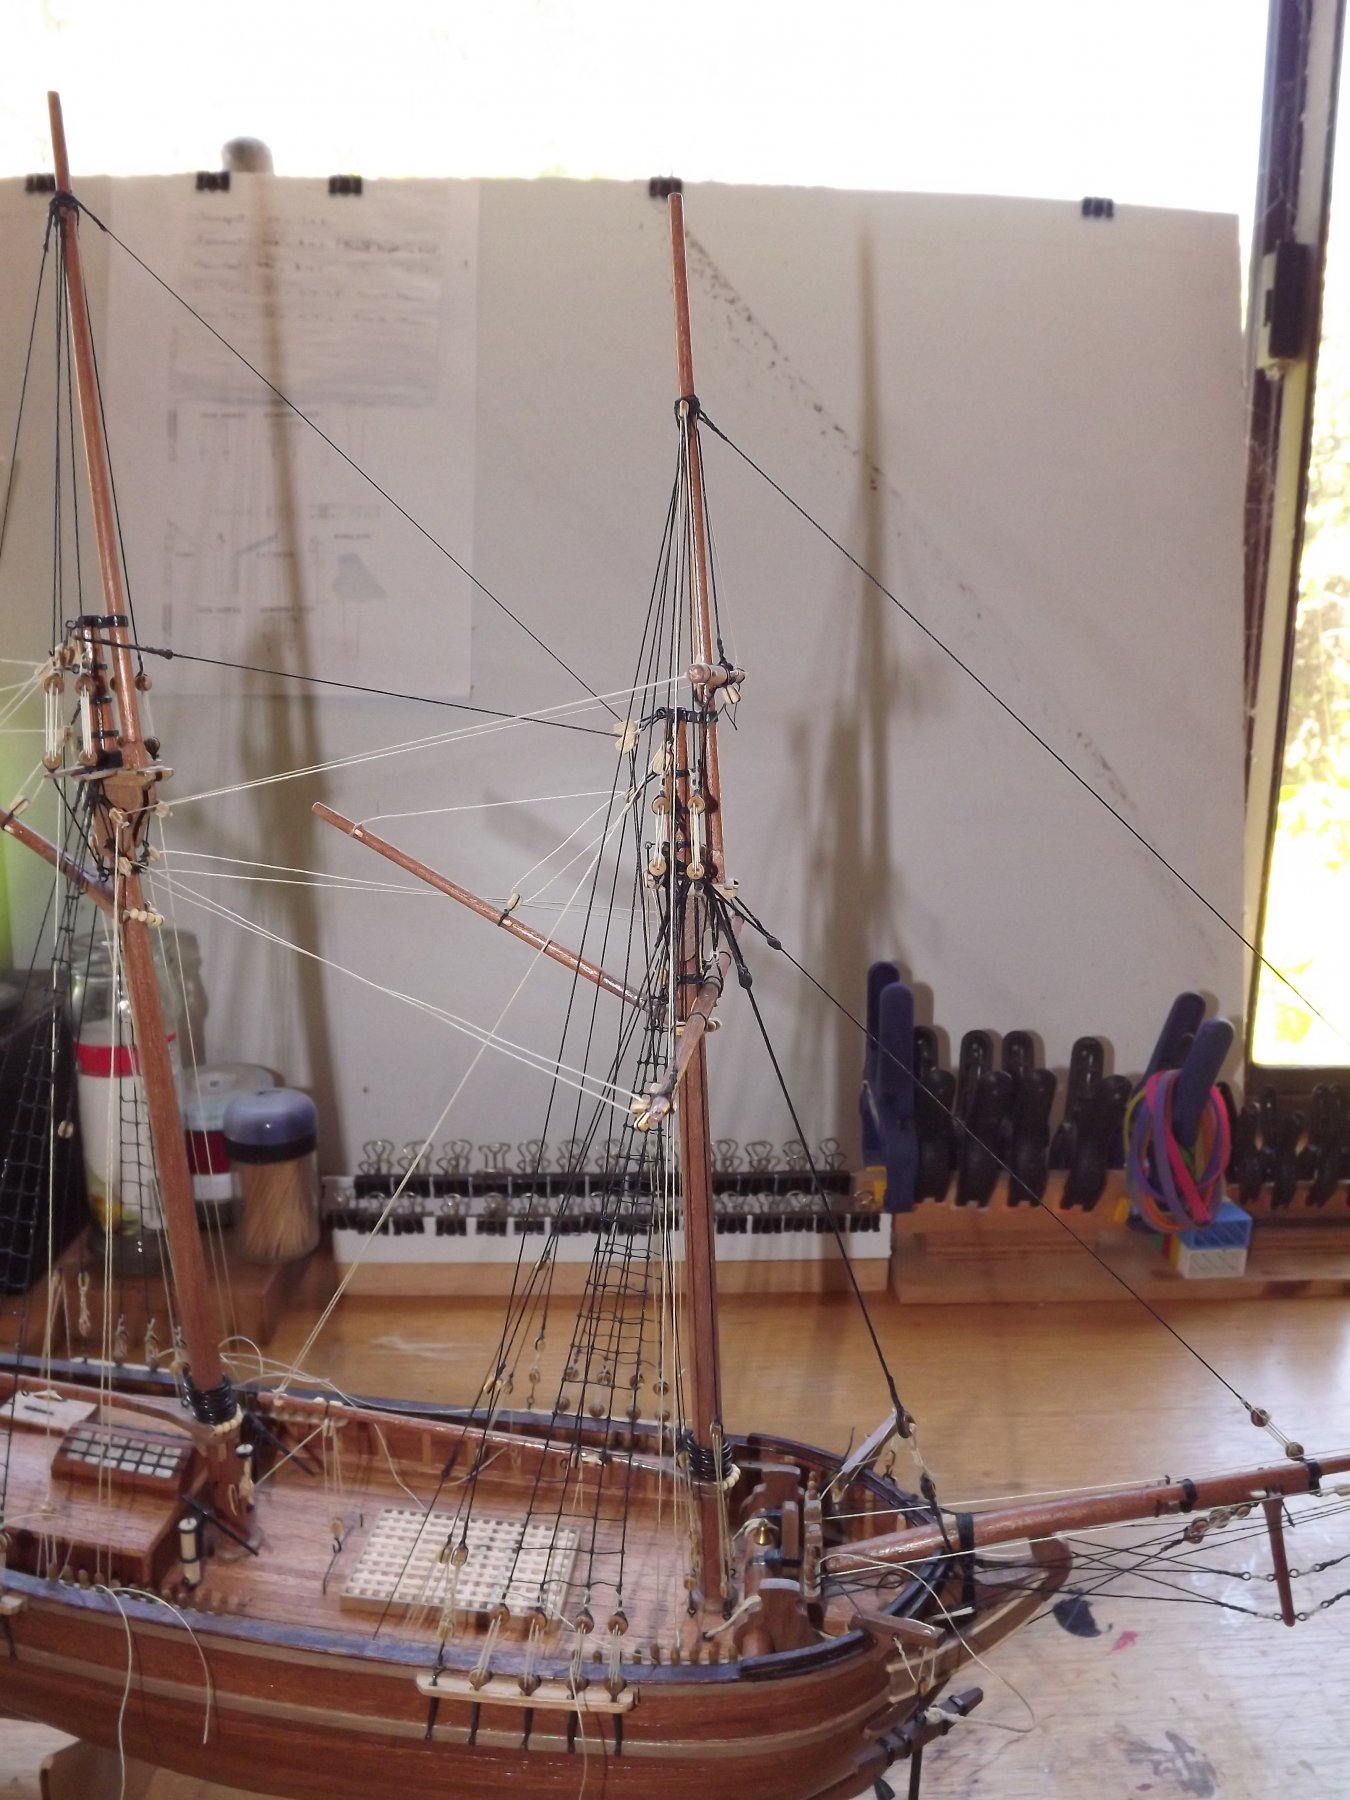
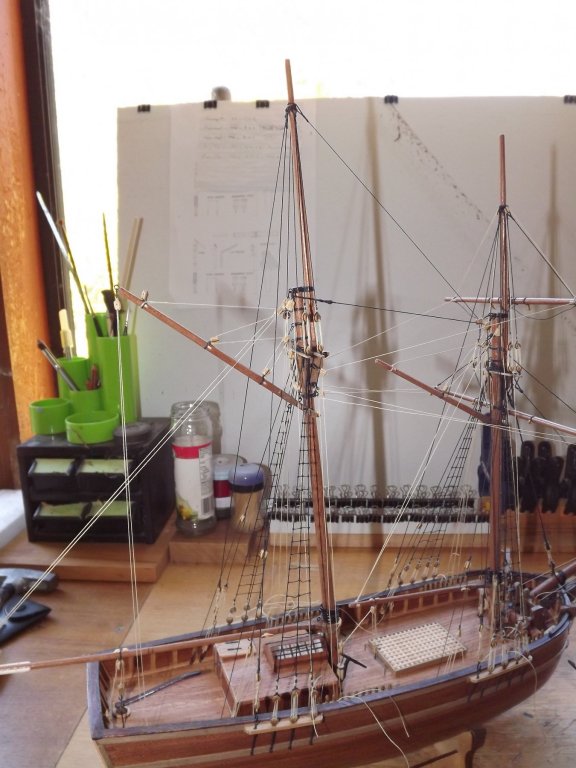
I know the build is slow but I'm getting there. Lower masts now stepped and main mast top plus boom etc. fitted. Majority of the rigging has also been added with the ratlines yet to be installed and some loose ends tidied up.

-
She's coming on - take your time with the first planking but remember that it will be covered and can be filled and sanded back to give a good solid base for the final effort.