


Rick01
-
Posts
652 -
Joined
-
Last visited
Content Type
Profiles
Forums
Gallery
Events
Everything posted by Rick01
-
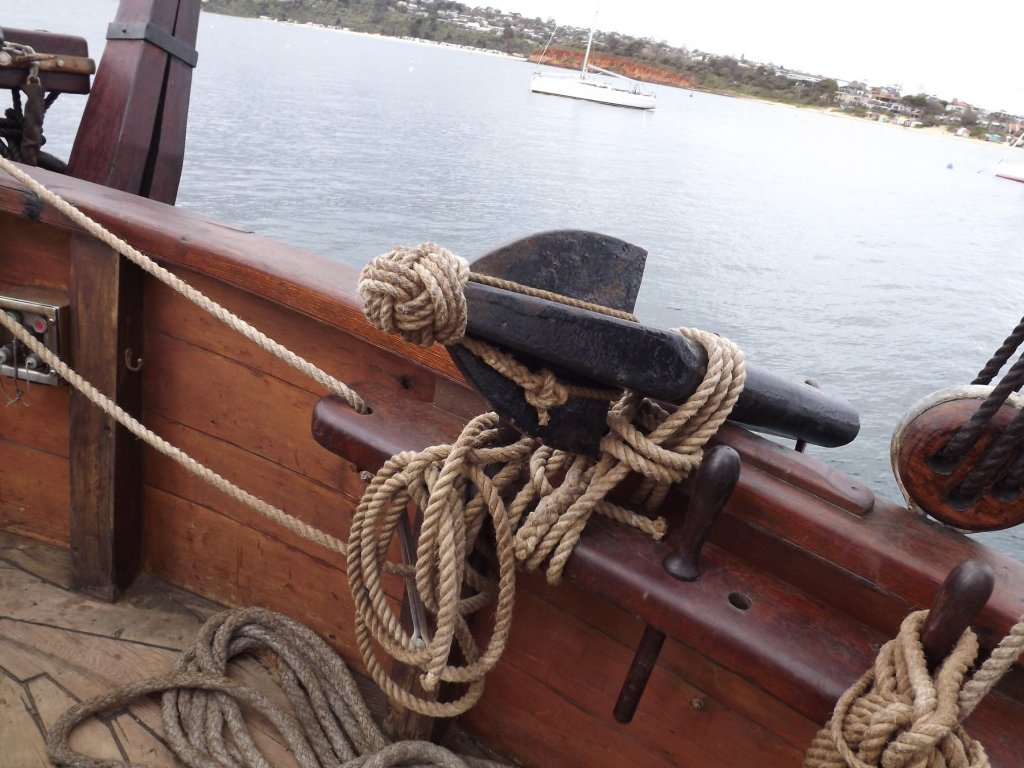
The model you've illustrated is similar to the photos I've got of a replica topsail schooner of similar dimensions, in this instance however lashed to the pinrail. I'm afraid I can't help with the knotting however. Rick
- 714 replies
-
- 7
-

-
- lady nelson
- victory models
- (and 1 more)
-
Looking good so far. I use an exterior grade PVA glue with the occasional dab of super glue at the bow to secure the planks. Chuck's planking is far superior to the instruction sheet! Rick
- 241 replies
-
- 1
-
-
- mermaid
- modellers shipyard
- (and 1 more)
-
Could you hide the join of the two halves where it's twisted round the knob on the base of the cannon. Bit fussy that way but may be a tad less traumatic than ripping out the rings on the carriage. Rick
- 714 replies
-
- 2
-
-
- lady nelson
- victory models
- (and 1 more)
-
I made mine on the ring bolts then inserted them in the bulwarks - I'm not sure that was much easier than the way you're doing it however. Sorry I didn't mention this before 😢 Rick
- 714 replies
-
- 3
-
-
- lady nelson
- victory models
- (and 1 more)
-
Racing stripes! 😉 A bit different I will admit. Rick 😊
-
Hmmmm. Rick
-
I know we've slightly high-jacked this thread but I just had to add this to clarify Drop Bears https://australianmuseum.net.au/learn/animals/mammals/drop-bear/ Rick
-
Cabbie - do a search for "Cutter Mermaid" in topics, content only, custom dates 01/01/14 ~12/02/19. It should bring up a few questioons I've raised at various times. These will hopefully help. Rick
-
Sorry Harry way off - I'm referring to P.P. King commander of HM Cutter Mermaid. He has left a number of water colours of her plus a sectional sketch which allows for you to position deck fittings. The plans with the kit are good up to a point but accuracy is not the best, She carries a flying gaff not a topsail, the lower mast cap needs to be remade as it does not provide sufficient space before the foot of the top mast for the spreader to sit. None of his sketches show culverines, frames probably need omitting as they don't appear on models of that period ....... The sketch I'm referring to also helps with basic rigging. My build pictures may help a little. Hope this helps rather confuses. 😊 Rick
-
Best way here is for you to look at this https://silentworldfoundation.org.au/wp-content/uploads/2017/07/Signals-86_pp14-20-30-31-Mermaid-2.pdf . It'll tell you little about the ship and show you the drawing I'm referring to. Check it out and then if things aren't clear I'll find my old work somewhere and post it for you. Rick
-
I didn't find it that big a problem. First off I ignored the layout provided with the kit (along with a lot of other stuff that wasn't properly researched) blew up that sectional sketch by King to match the kit plan size, then dropped lines off it showing the position of everything he had noted on the deck. Transferred to the plan layout and went from there. It's a bit tight in places but one really must assume that he knew his ship after what 3 years? Rick
-
It's only been a couple of years so that's just a short break! ;-) Rick :-)
-
Can't help with the technical side but personally I think it's crazy just going to sea in an armed 50ft row boat on steroids! 😉 Rick
- 714 replies
-
- 3
-
-
- lady nelson
- victory models
- (and 1 more)
-
Ahh - but which foot? One of them is an "Otto Bock" basic type. 😉 Rick
-
Is this available in Australia yet? Rick
-
Looks good - having it set up that way makes more sense (to me) than the plans. Rick
- 714 replies
-
- 2
-
-
- lady nelson
- victory models
- (and 1 more)
-
I did use the supplied cannon and made (rough) carriages designating them as 3lb size. https://www.arc.id.au/ArmstrongPattern.html gives various dimensions and details if you want to turn a few on a lathe at 6lb dimensions. Rick
- 714 replies
-
- 2
-
-
- lady nelson
- victory models
- (and 1 more)
-
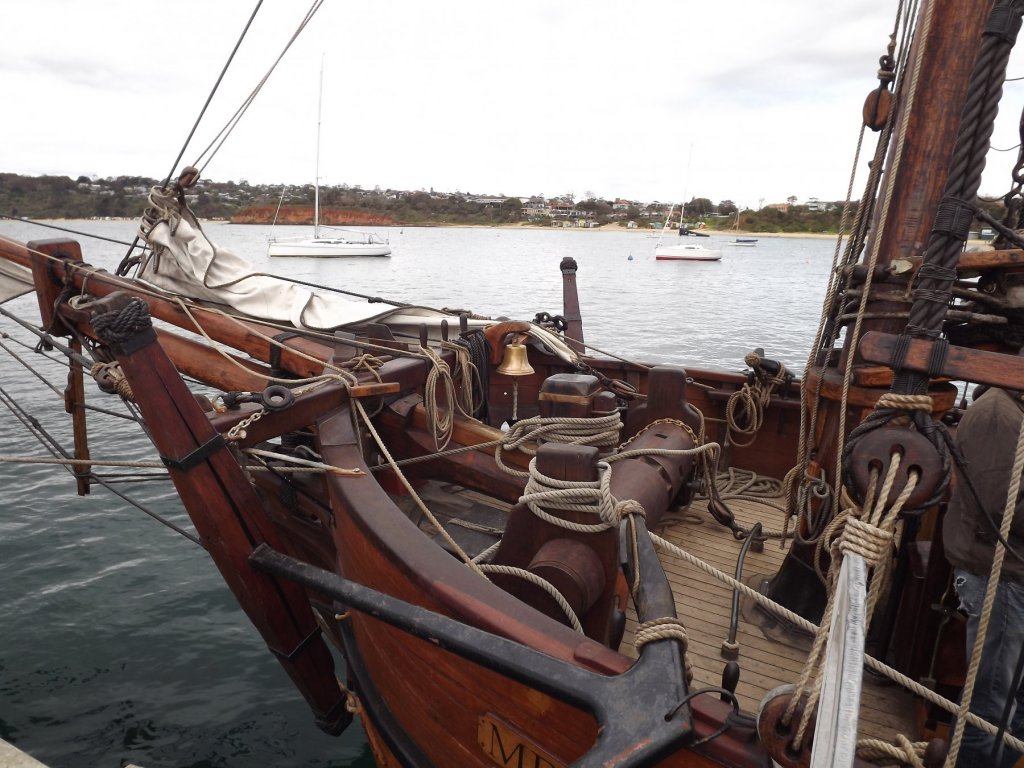
Sounds good to me! Could also have run a line off it through a block up on the jib and used it to stow cannons in the hold (or possibly a ski tow rope). What I have seen a few times are those rollers that you can just see sitting on a bar mounted just behind the mainmast. Rick :-)
- 714 replies
-
- 2
-
-
- lady nelson
- victory models
- (and 1 more)
-
Love the work on the pumps and small windlass. I used a heavy black card to make my pump handles, sandwiched layers together to make a solid handle with a slot in the end for the plunger. You going to position the small windlass by one of the hatches? On the Trial they're actually for raising and lowering the centreboards. Rick
- 714 replies
-
- 2
-
-
- lady nelson
- victory models
- (and 1 more)
-
I did some further checking and it looks as if it's a fifty/fifty choice, so I've learn't something. Can't really go wrong following "Trial" however (as long as you don't try dropping those centre boards in 😉 ). Rick
- 714 replies
-
- 2
-
-
- lady nelson
- victory models
- (and 1 more)
-
Hope you haven't glued anything yet - the holes for the bars should be on alternate faces left and right for ease of use. Looking really good otherwise, as for your chisel, I'd love to be that good but as I'd probably stuff up something that small I have a nail with the point filed to a square section, drill hole, insert nail, couple of sharp taps and it's done. Rick
- 714 replies
-
- 2
-
-
- lady nelson
- victory models
- (and 1 more)
-
A quick hi from Frankston Victoria 🙂 Rick
-
You're following "Trial" I'm guessing - the rings that I see are those on the deck for the guns and would have a hook off the block through them so that there's no gun tackle laying around when the guns are all stowed. With the ring the orientation of the eyebolt isn't quite as important - anyway that's my interpretation of it! Rick
- 714 replies
-
- 2
-
-
- lady nelson
- victory models
- (and 1 more)

