HOLIDAY DONATION DRIVE - SUPPORT MSW - DO YOUR PART TO KEEP THIS GREAT FORUM GOING! (Only 69 donations so far out of 49,000 members - Can we at least get 100? C'mon guys!)
×


DesertWolf
-
Posts
130 -
Joined
-
Last visited
Content Type
Profiles
Forums
Gallery
Events
Everything posted by DesertWolf
-
 Augie, What a fantastic build! Your rigging is right up there with the best I've ever seen. You can be really proud of her!
 -
Matti Your paint technique is so perfect that I nearly thought the museum pictures were more photos of your build! (taken with a broken flash of course). One day you must take the time to describe your process in more detail to our mere mortals.
-
Hi Randy I used my AL instructions a long time ago to light a barbeque fire... it's far better to follow your build and see how things SHOULD be done. Keep it up!
- 384 replies
-
- 2
-

-
- san francisco ii
- artesania latina
- (and 1 more)
-
Happy birthday Aaron. Hope the year ahead is filled with joy. As soon as I'm home I'll drink 31 beers in celebration
-
Thanks Jack. Your solution will also make the whole rudder fitting sturdier... I was always worried that prying little hands will play with it one day and break it off!
-
Update of my progress over the weekend... Glued the stem and cutwater to the false keel (I had to sand quite a bit of the parts away to get rid of the charring left by the laser cut.) I measured the required “overhang” of the keel plank at the stern and cut it off at a 30 degree angle as instructed. I should not have done that. I should have measured the angle of the rudder’s corner that will be adjacent to the keel’s protruding point once the rudder is mounted. I will now have to file the rudder’s corner a bit so that it fits snugly against the keel when it is mounted. I knew that clamping the keel plank during the gluing process would be a challenge (the keel plank that came with my kit is as crooked as a banana!) To solve the problem I drilled three 0.8mm holes in the keel and glued pieces of wire into them. Once dried, I trimmed the wires leaving about 4mm sticking out. Then I marked and drilled 0.8mm holes in the false keel for the wires to fit into. This allowed my keel plank to fit snugly into the proper position (I almost couldn’t get the keel plank loose again after I tested the fit… so I naturally drank 3 beers to calm my nerves before I tried again. Or that’s what I told the Admiral at least...) Finally, I glued the keel plank to the false keel. I used electrical insulation tape to hold the keel plank down while the glue dried. Unlike masking tape, the insulation tape sticks quite well to wood - but still pulls off very easily without leaving any sticky residue or marks.


-
The scratch built quarter galleries and transom look fantastic! What an improvement over the kit parts. The fact that it was done without detailed plans makes it an even bigger achievement. Keep it up!
-
Thank you Jack. That is a very neat solution to the problem, giving hinges that looks superb! My rudder has notches in it where the pintles & gudgeons should sit and I think this will hinder me from using your approach (since the hinge mechanism is "sunk" into the rudder, one will be able to see the piano wire running between the rudder and transom) Am I missing something?

-
Hi Matti, The stain and paint work looks brilliant! What a beautiful ship this is going to be.
-
Wow Jim, it looks fantastic so far. Your planking is excellent (nice and tight) and your "shield technique" will make you a legend. That's what I love about this site - so many good ideas to copy.
-
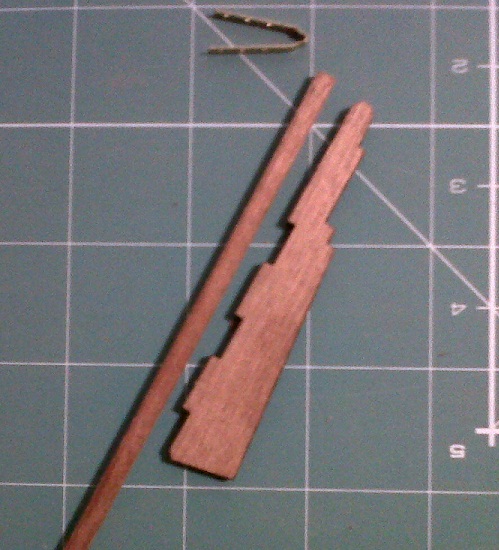
My AL San Francisco II comes with a piece of brass wire and some brass strips to make the pintles and gudgeons of the rudder’s hinging mechanism. No matter how hard I try, once the brass strip is crimped around a piece of wire to make the pintle the whole thing just becomes too big. The pintle sticks out a mile behind the rudder – you can fit a bus in-between the rudder and the transom. Any advice on how to make my own pintles and gudgeons (on a 1:96 scale) will be appreciated (method, tips, tricks, jigs, special tools… anything). And out of curiosity, did the way the rudder was hinged vary much over the centuries?
-
Excellent work on the rigging so far. Ditching the AL tread is the way to go!
-
Hi Eric Can't wait to see an update. You guys are lucky that you can order better rigging line. No such luck here. It’s definitely an advantage to live on the same continent as good manufacturers
-
Thanks Randy and Eric. I unashamedly steal the customizations on your beautiful models. I hope mine turn out as good as yours.
-
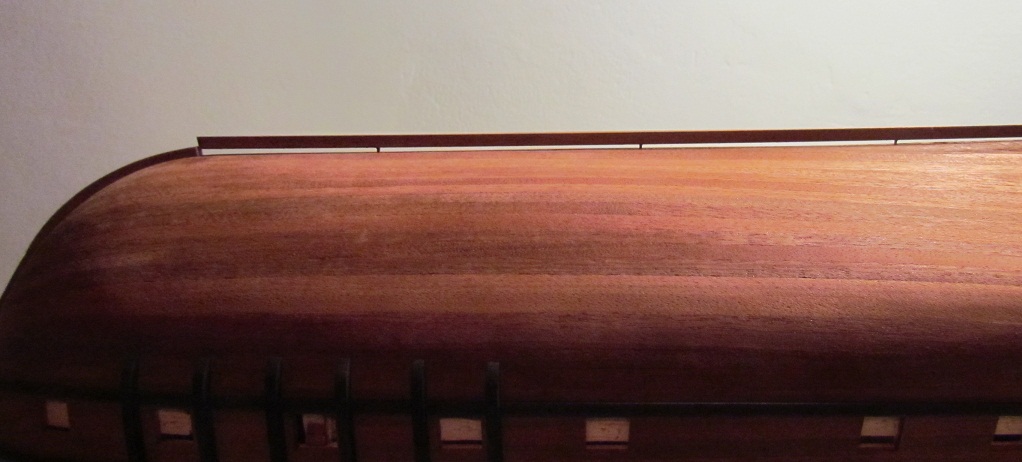
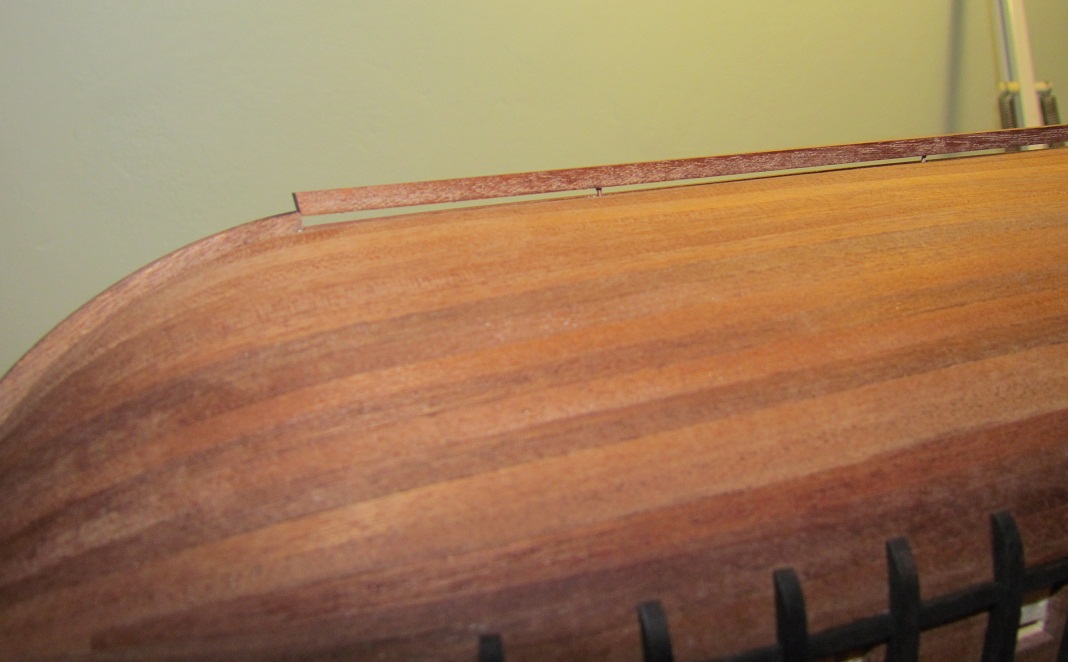
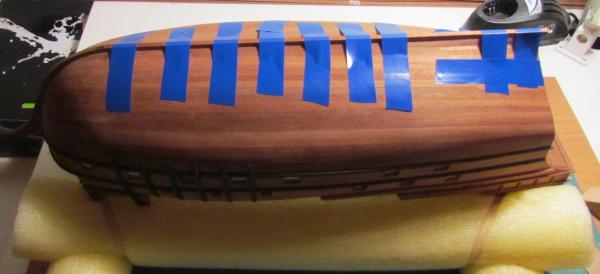
Starboard gun port lids (dry fitted). I will glue the gun port lids in place once the hull has been varnished.

-
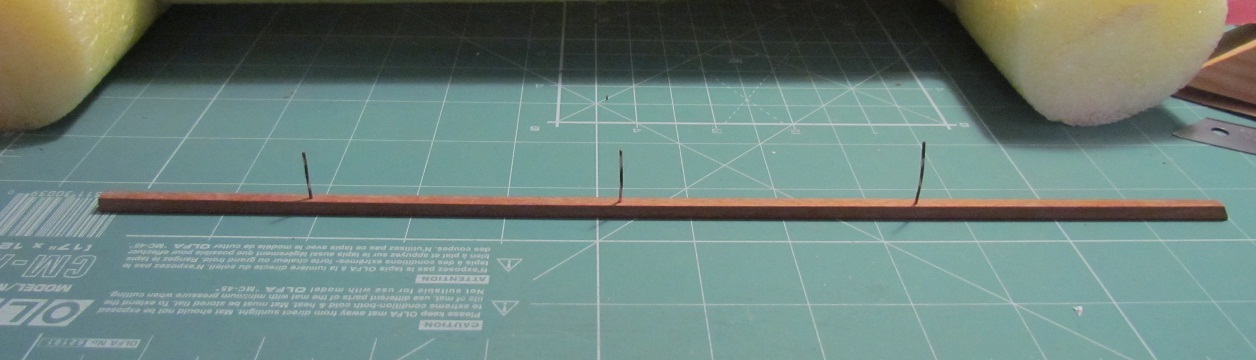
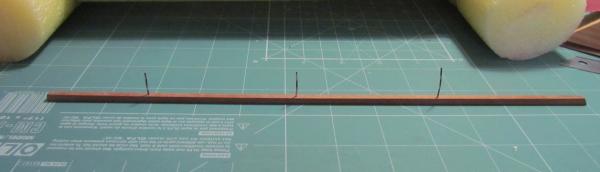
If this hobby does not teach you patience, nothing will. I took me 6 weekends to make all 22 gun port lids (27 actually – including 5 flops where the planking lines on the gun port lid did not align with the hull planking lines in the end). Moved on to the false keel and rudder now… and immediately pintles & gudgeons became a new swear phrase
-
Hi Robbyn Good luck with rigging 2.0! The first round looked great to me already!
- 773 replies
-
- 1
-
-
- san francisco ii
- artesania latina
- (and 1 more)
-
Thanks Jim. Much appreciated! Good luck with your planking. I'll be looking out for the first pics of your planking progress. The only tips I can give you are: use filler blocks - it makes life a lot easier (I had to build up blocks from sheets of balsa) don't let your garboard plank creep up the bow (else your bow will become crammed too quickly and you may need to use drop planks) "spile" as many planks as it takes in the bow area - the extra effort will be worth it
-
Hi Danny What a beautiful piece of work. You are a true master of this art. The wealth of information that you share so freely in your posts (all the way back from the Modelshipworld v1.0 days) helped me to avoid so many pitfalls during my first build. I think it is safe to say that without all the advice, tips and jig ideas you have shared over the years, my SF2 would be somewhere on a dump by now and I would never have found a hobby that I love. Thanks again.
-
Wow Matti, it is looking great so far. Excellent job with the planking! The Wasa has always fascinated me. Can't wait to see this build progress.
-
Ferit, This is an absolute masterpiece! A perfect build that inspires me. Your talent is amazing.
-
Welcome to the SF2 club! It is a really nice build, but the cryptic instructions makes my life as a beginner rather difficult sometimes. I had 72 planking strakes. I broke one and ended with just 3 to spare. Good luck with the build. Looking forward to seeing your progress!
-
Eric, Excellent work so far. The shrouds and deadeyes look great! I still think your San Fran cannons are the best in the business. Did you make the extra blocks and eye bolts yourself and did you use some template/book for the layout of all the extras? Now that I have seen your cannons I will never be satisfied with the standard San Fran cannon assembly. Between yourself and Randy you guys keep on making extra work for me
-
Thank you everyone for the comments. Much appreciated. Themaddchemist, as much as I want to relax while doing this hobby, having a port lid fall through the opening into the hull can raise one's anxiety (and beer consumption!) considerably . When do you plan to start your SF 1 kit? I like the SF 1 kit more and will follow your build with great interest when you start.