


wyz
-
Posts
411 -
Joined
-
Last visited
Content Type
Profiles
Forums
Gallery
Events
Posts posted by wyz
-
-
Oh, yes! Those new pics of the planking look pretty darn nice Ron. I assume you solved all the problems that had you so vexed.
Tom
- Ron Burns, FrankWouts and Edwardkenway
-
 2
2
-
 1
1
-
I love what I'm seeing from you Frank. Your model is coming along nicely.
Tom
-
I'm happy to see that my Canadian buddy was able to find the cash for a Jim Byrnes saw. You are just starting to find out what a great purchase it is. I hope you enjoy this tool, and that it makes sawing tasks easier and more precise. Now, take your ship model building to another level. Eventually your wife will calm down, but you have to know the next big purchase will be for her. 🙄
- Rustyj, scrubbyj427, Ron Burns and 1 other
-
4
-
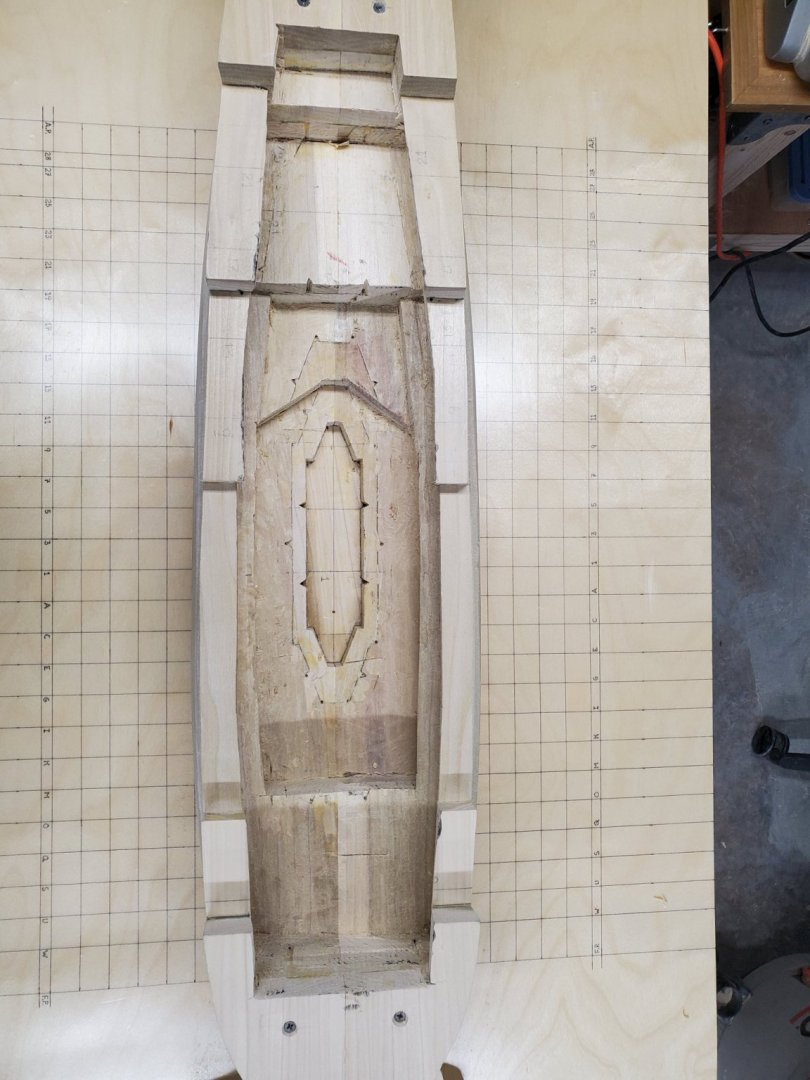
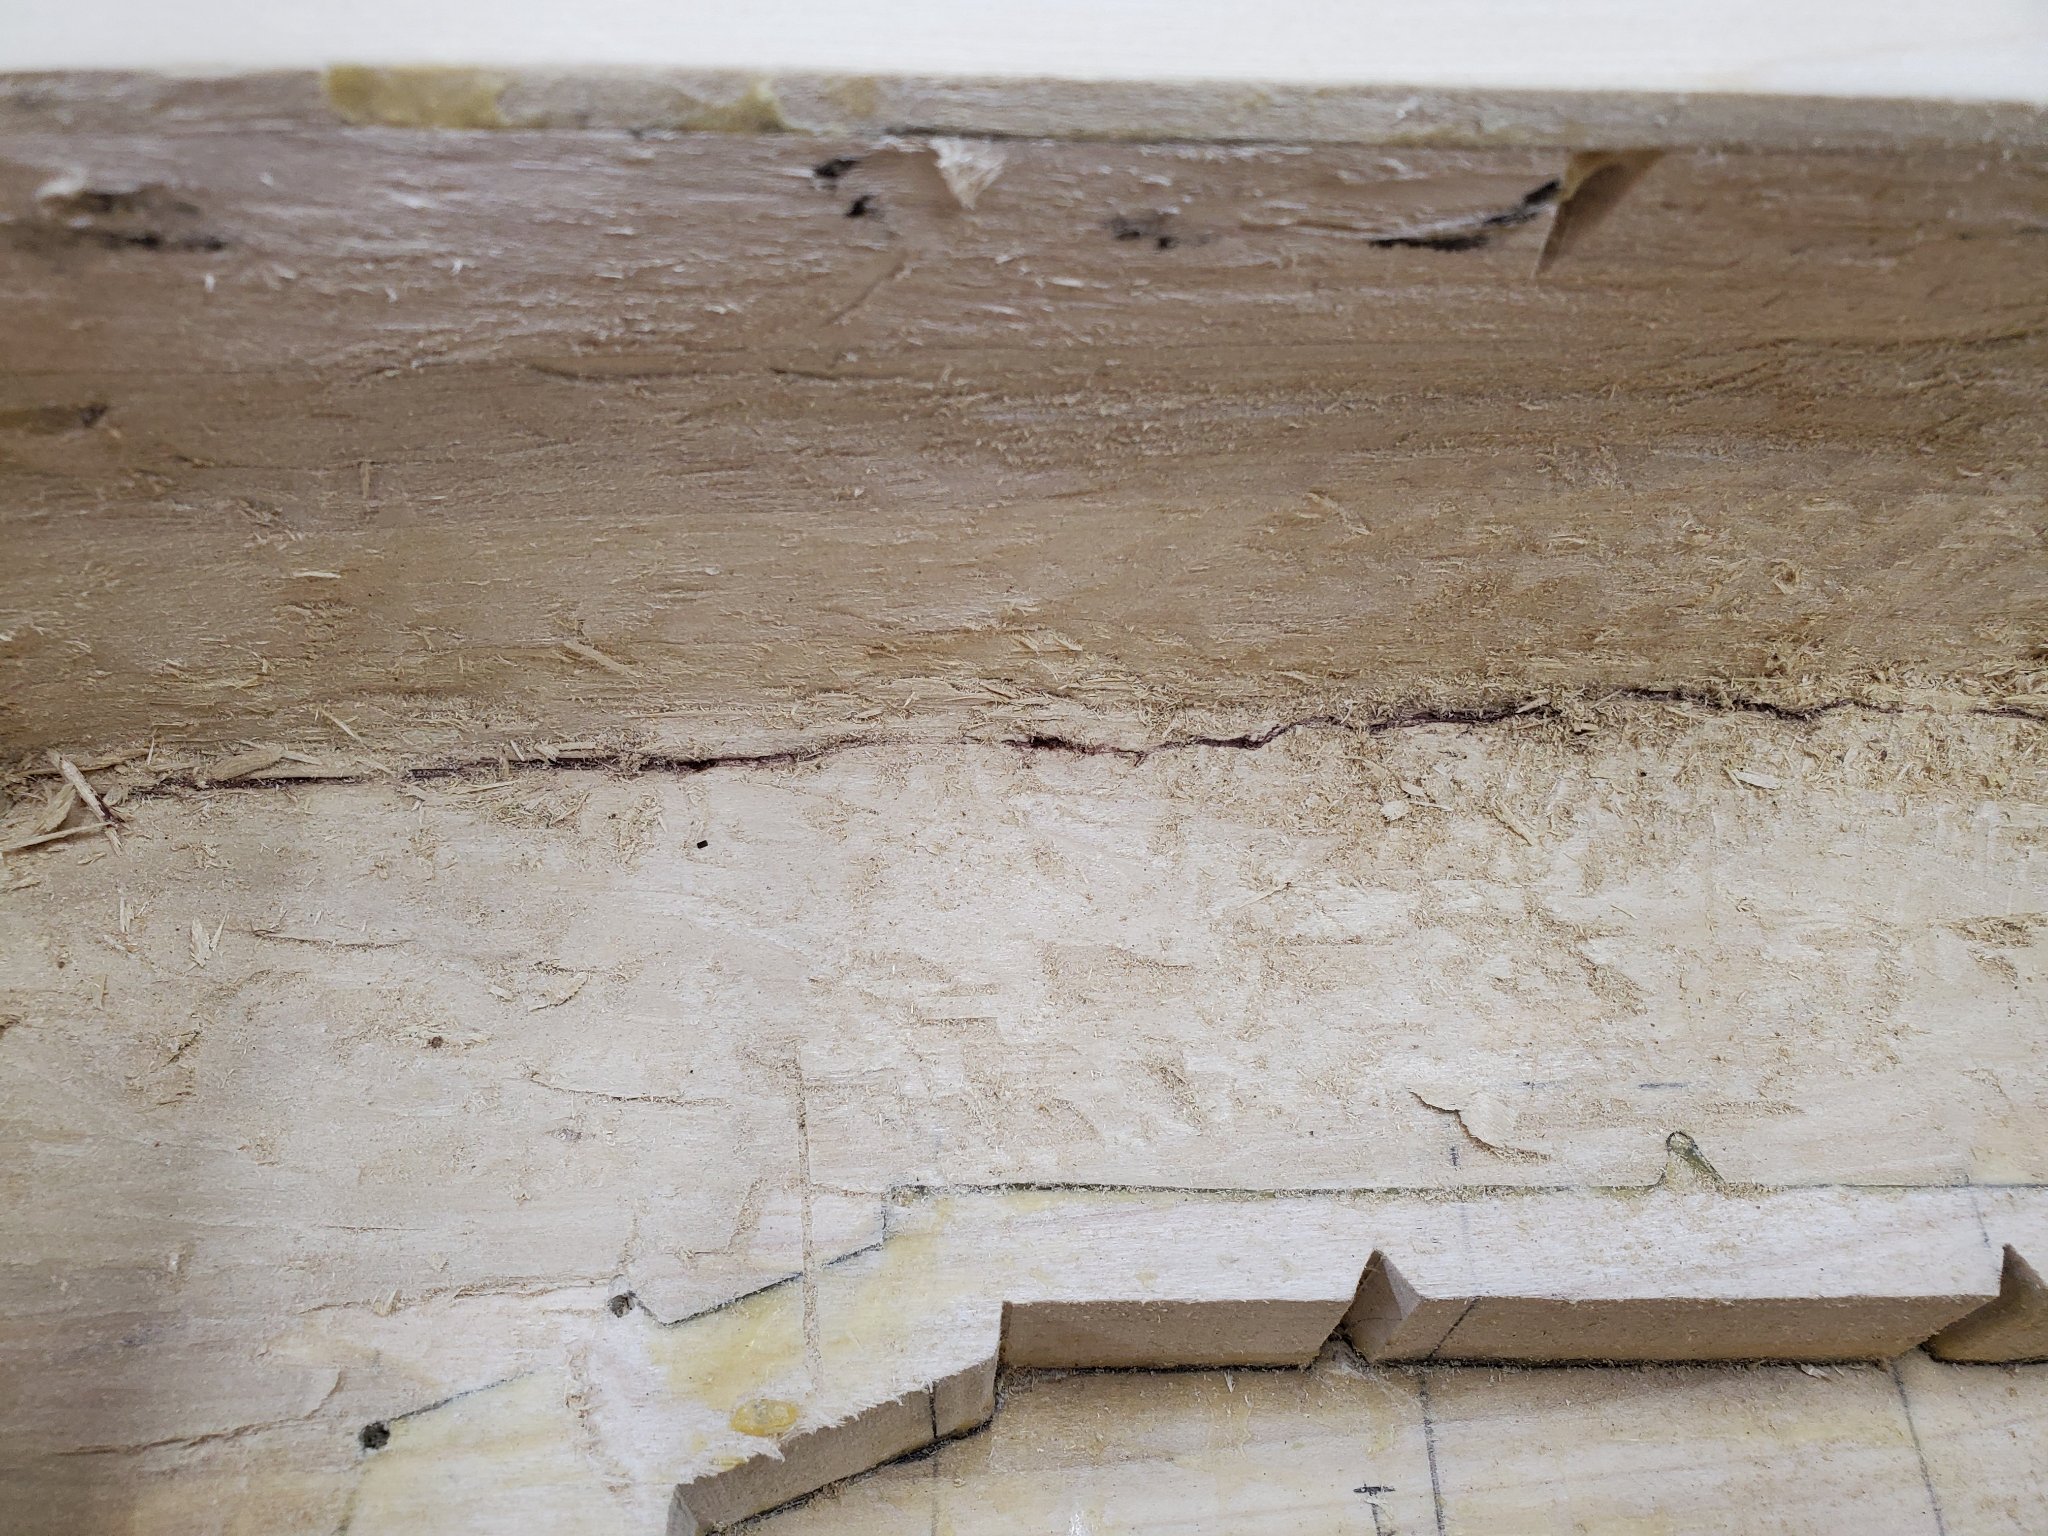
Today, when I was carving out the interior of the hull, I came across something quite disturbing in the third lift from the bottom, a brown ribbon-like streak of what looks like rotted or partially rotted out wood. I probed it with a dental tool in a number of spots and found that in some areas it had a sawdust consistency, while in others it was a little harder, but not much harder. At first, I thought it was localized and tried to carve it out, but the more I did so the longer and deeper it became. I continued to carve but nothing changed. The problem is that I'm dangerously close to the hulls exterior in places, approx. 3/8", and I haven't even begun to shape with templates yet. This is not good. When I constructed that particular lift I had absolutely no evidence whatsoever of this problem, inside or outside. What could it be? I know my fellow Winchelsea builders are not constructing a solid hull, but I want to know if any of you have ever seen or heard of anything like this before?

-
Steve, you're building one beautiful model. It's turning out great. Your new home may slow you down some, but I doubt it will affect the quality one bit. It's fun to read through your build log, and I will continue to follow your progress.
Tom
- CaptMorgan and FrankWouts
-
2
-
Wow, that floor looks fantastic!
Tom
- FrankWouts and scrubbyj427
-
2
-
Yes, take it to a professional printer. I used Tyco and everything came out perfect. Don't use your printer as it's very likely you will start this project all messed up.
Tom
-
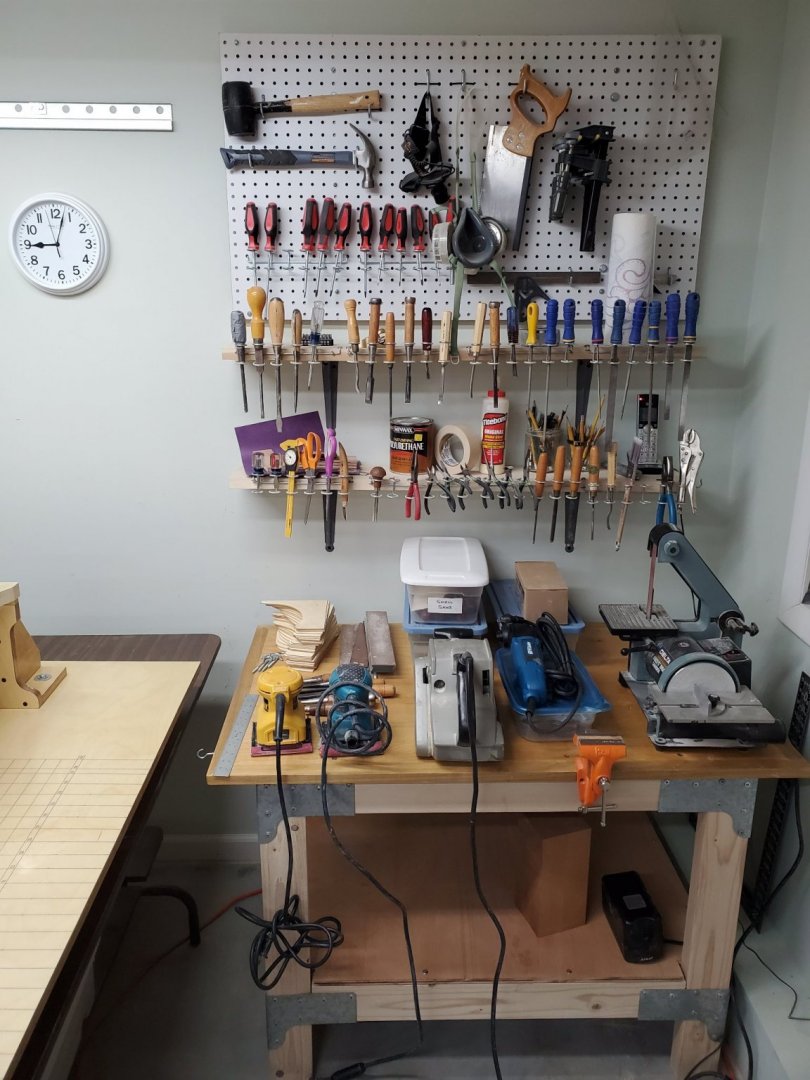
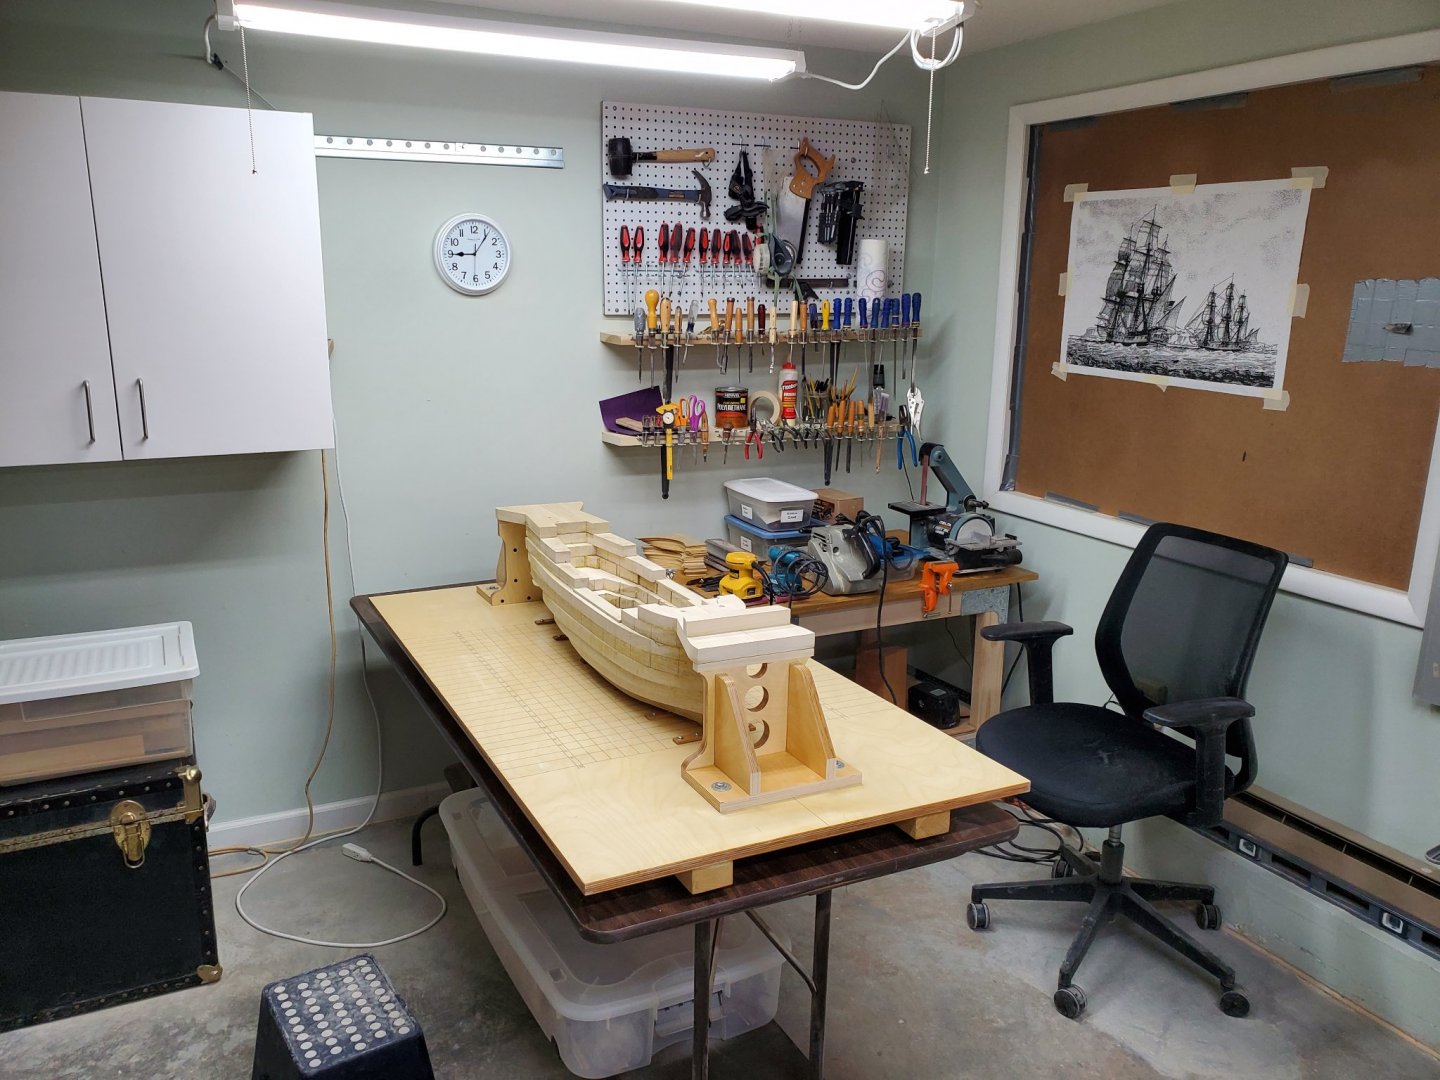
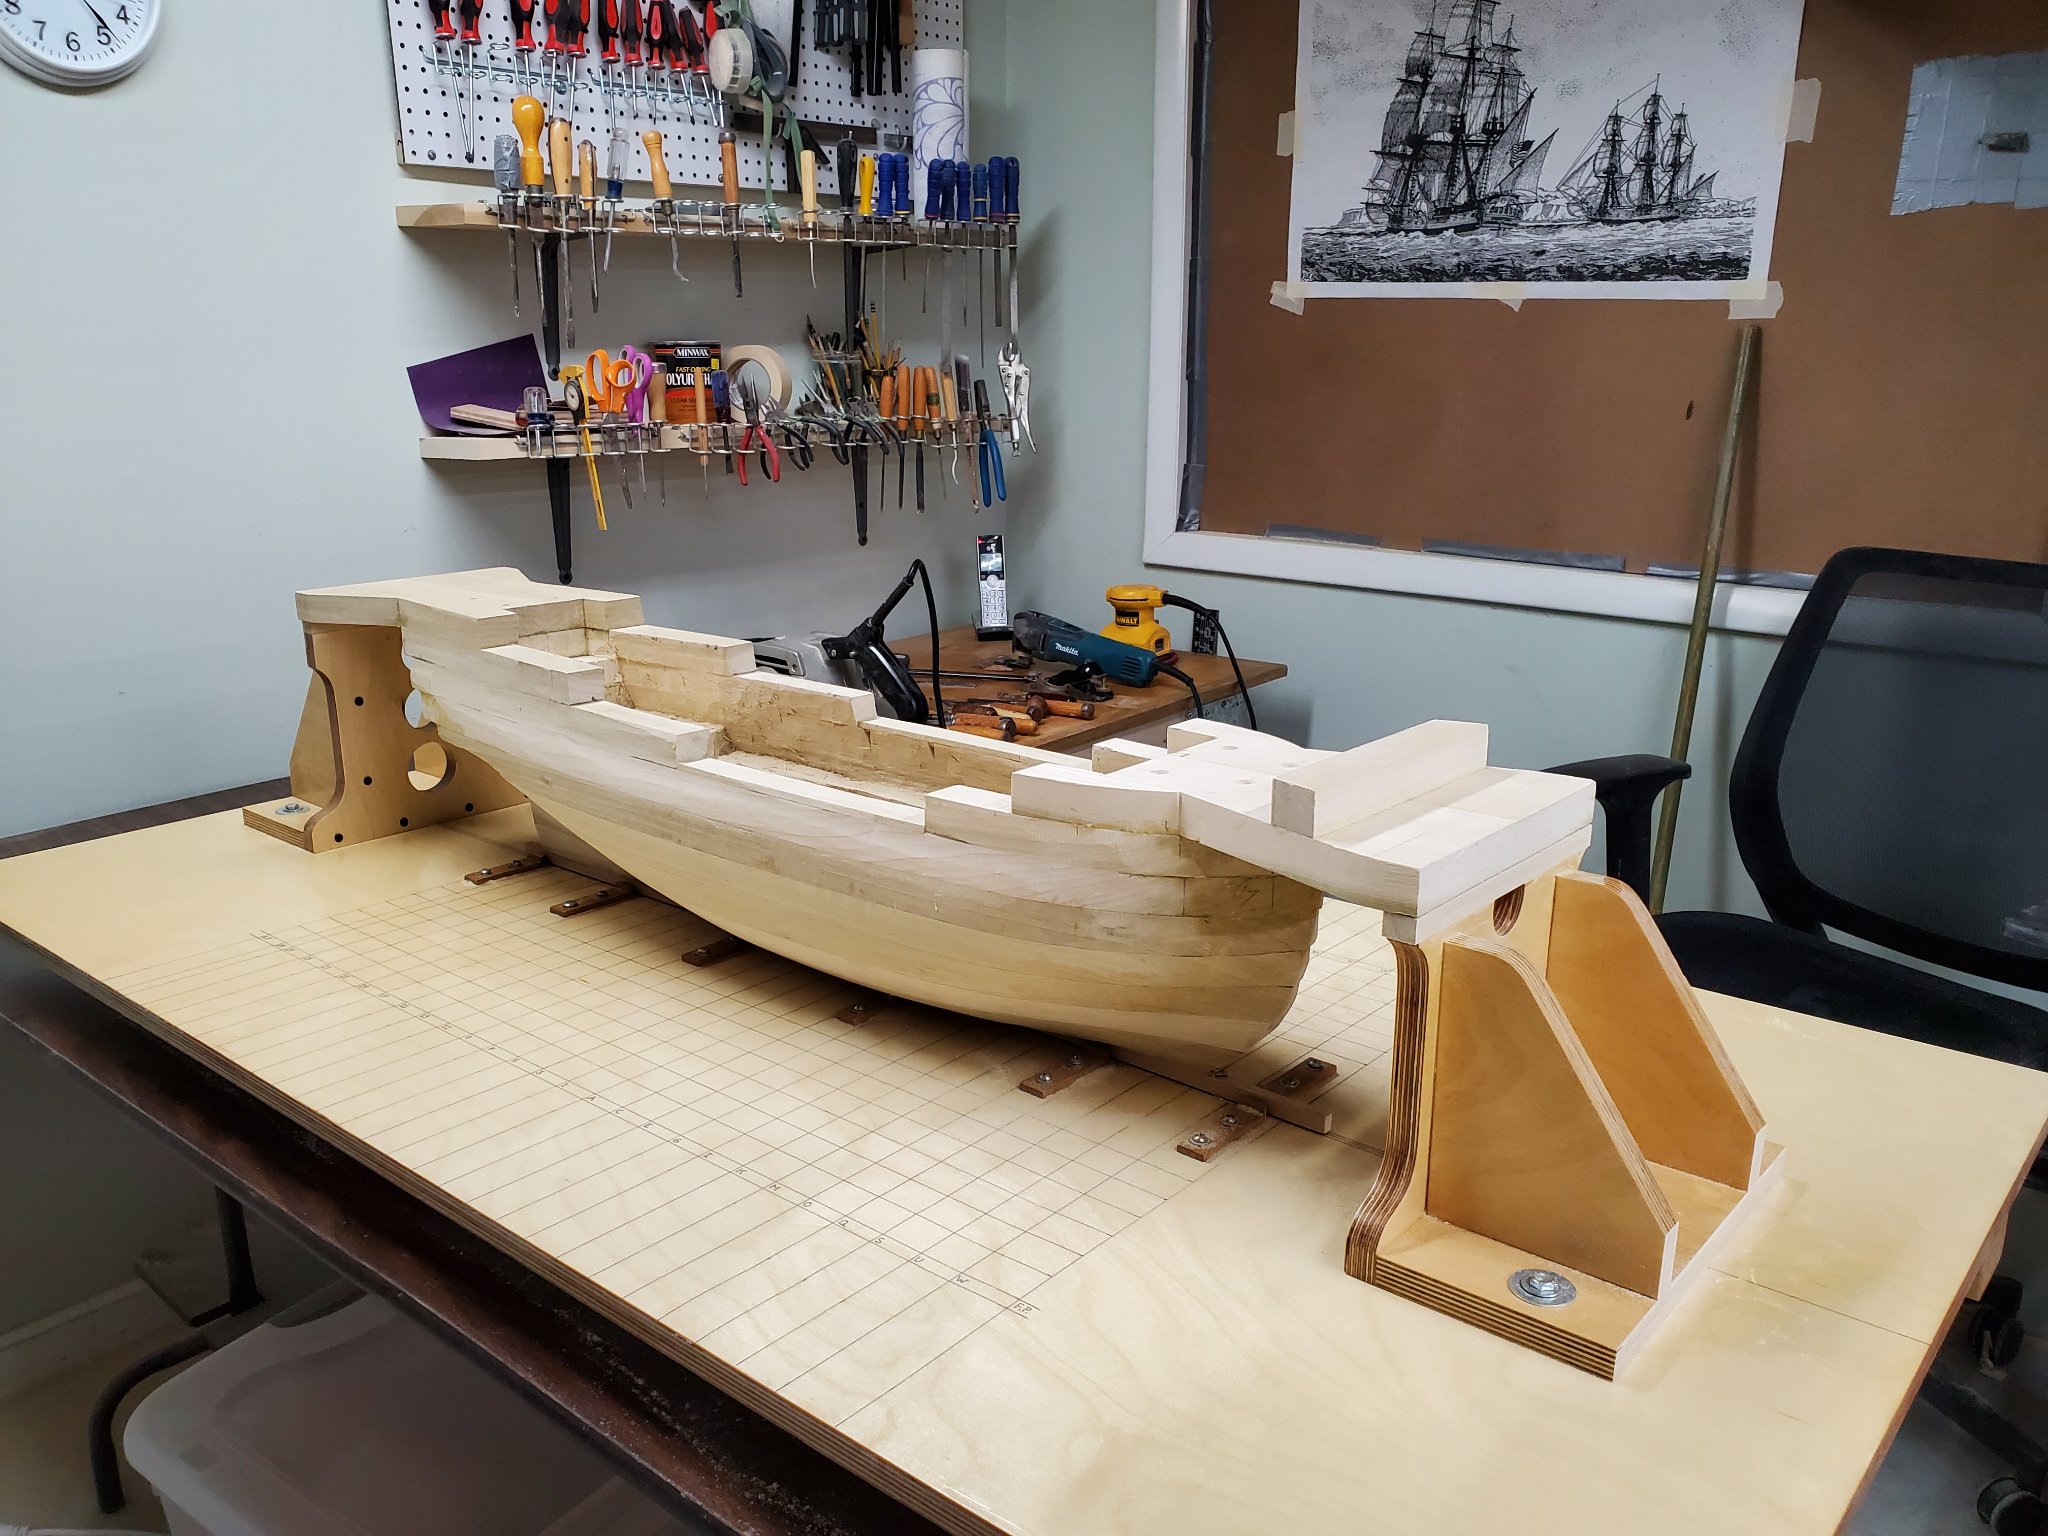
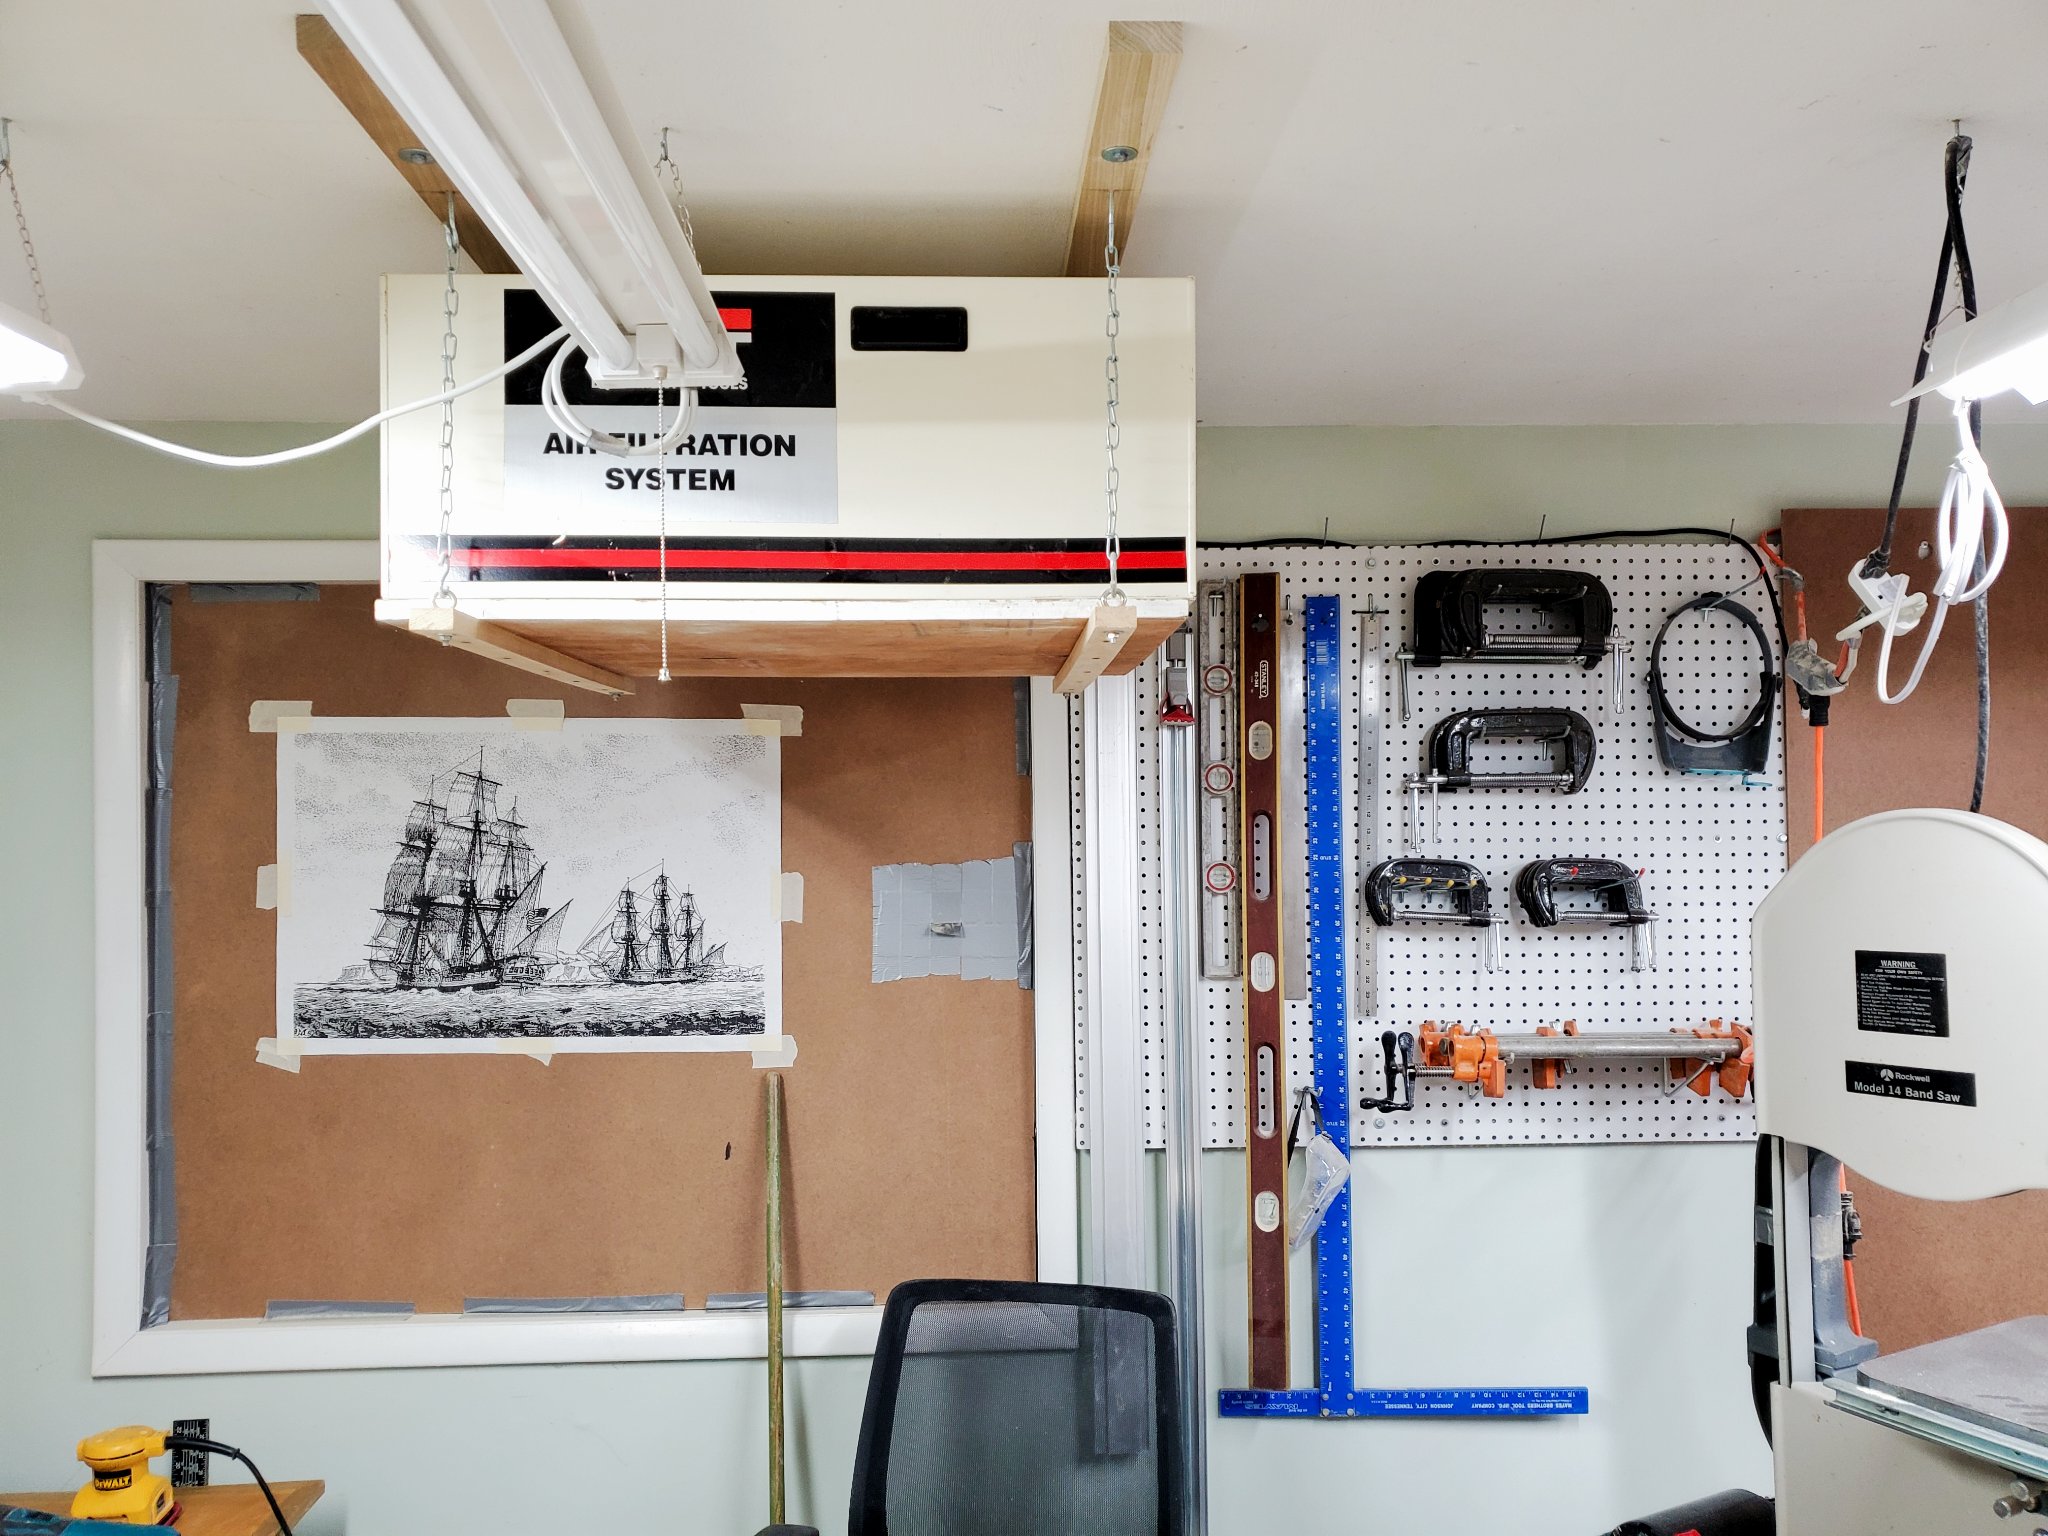
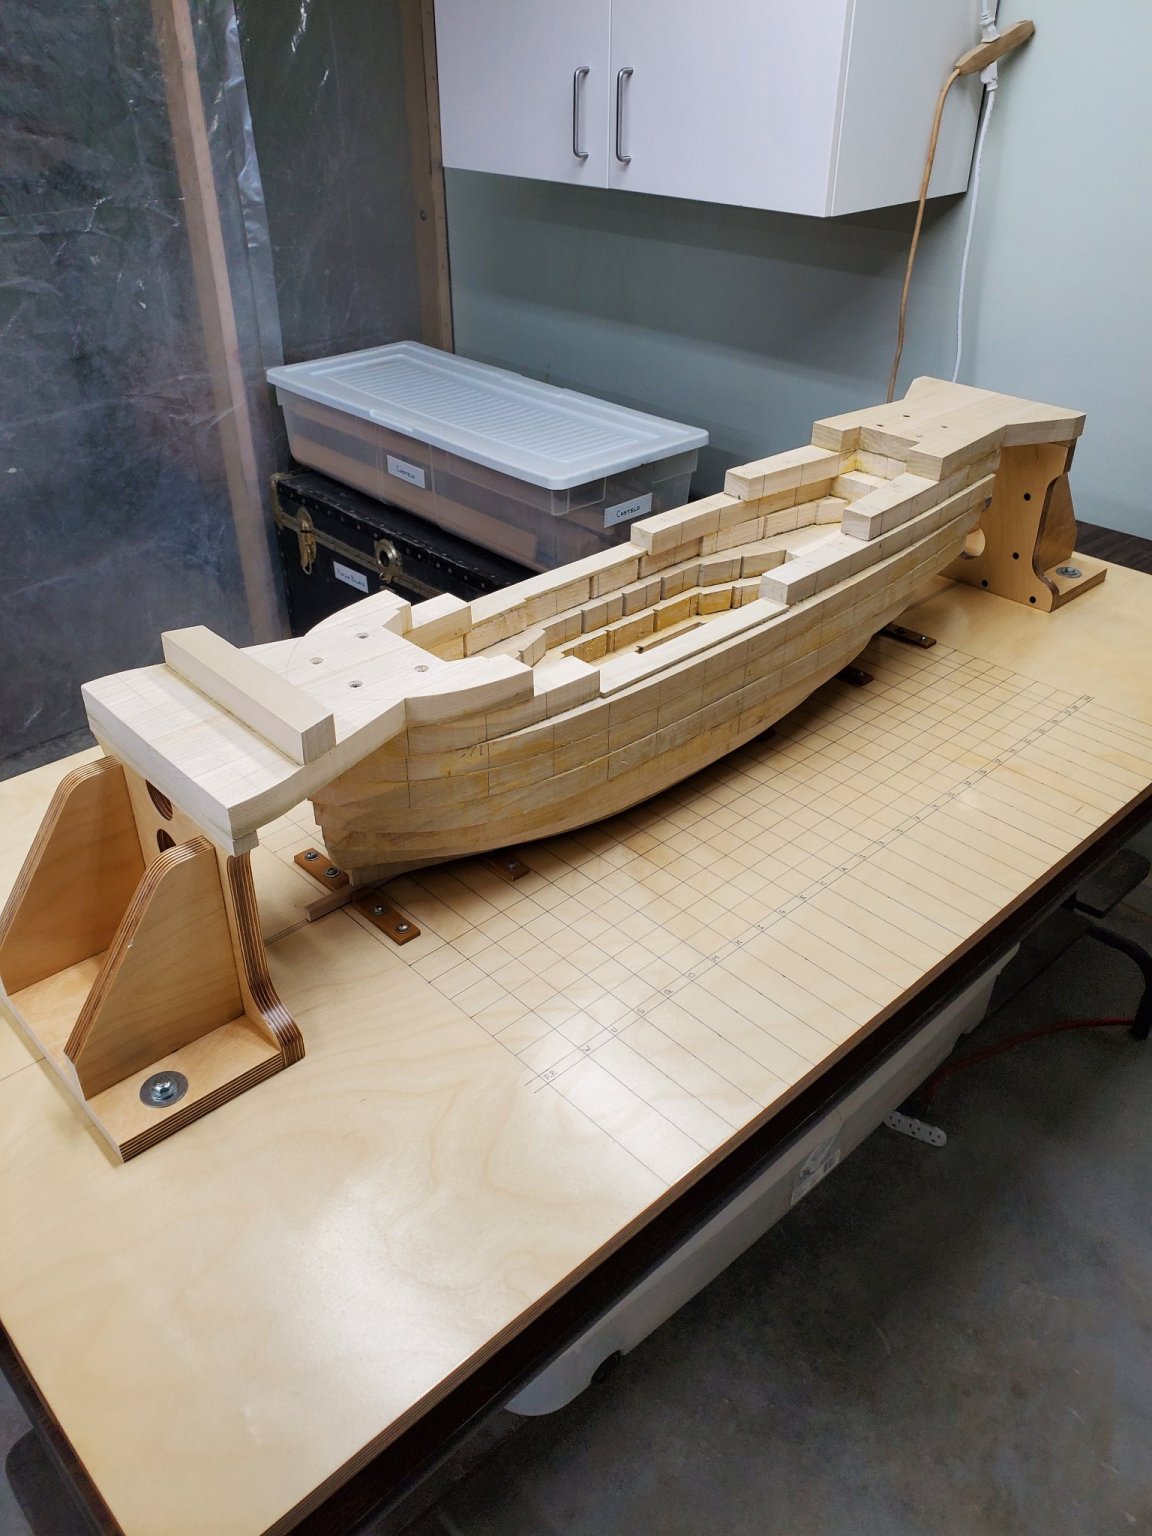
Over the past three days I started to shape Winnie ll with mallet, chisels, gouges, a block plane and a few power tools. Exterior shaping is pretty much where I was at on Winnie l when I hurt my back, but the interior hollowing out is, as you can see, much further along. Although the model is 6.2 lbs lighter than when I first began it's still quite heavy at 18.6 lbs. The Jet Air Filtration System was suspended from the ceiling today, so I was free to use the heavy dust producing power tools. Very soon I will start hull shaping with the set of plywood templates I made. The photo of the work bench shows the tools I used on the first pass.


-
I love the progress you're making Bob. Your Winnie is one sweet looking model.
Tom- FrankWouts and Elijah
-
2
-
With Baltic Birch plywood you will be sanding until your arm falls off. It's Poplar core without question. Yes, Poplar core is weaker than Baltic Birch. You just have to be very careful around protruding pieces, and use temporary reinforcement.
Tom
- FrankWouts and Edwardkenway
-
2
-
It's a really nice start Frank. I'm going to enjoy following your build. Take your time and do it right. There is no rush as it's not a race.
Tom
- Edwardkenway and FrankWouts
-
2
-
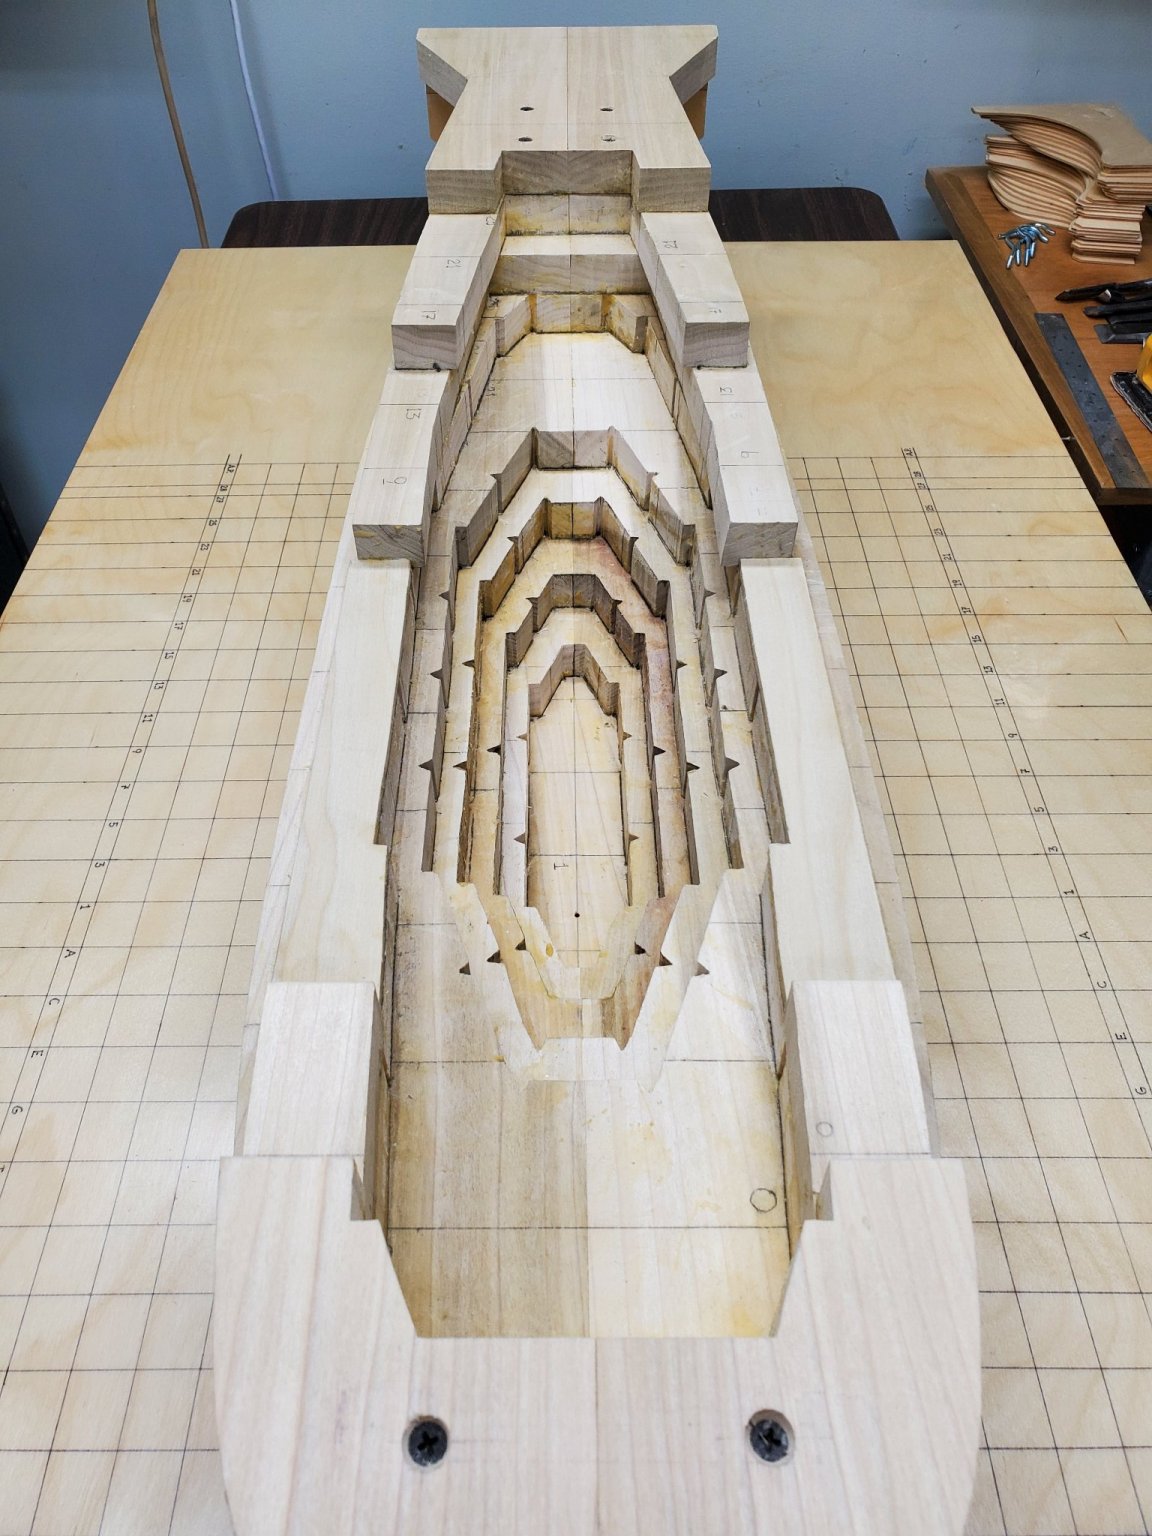
A big thank you to JJ, Frank and Ron. This past month I've put in a lot of hours at the drafting board and in the shop trying to get Winnie ll ready for hull shaping. Last night I broke out the gouges, chisels and mallet and cut loose on the port side of the hull. Today I started in on the hull's interior with a Makita oscillating multi tool. That tool makes the job much easier. I still don't have the Jet Air Filtration System installed, so I can't use the Porter Cable belt sander with the 36 grit belt. It will be up and running by Thursday evening. That's ok, there's more than enough hand work to keep me busy until then on the interior and exterior of the hull.
- FrankWouts and Jorge Diaz O
-
2
-
Welcome aboard Jan. You chose quite an attractive model to build. This group project has a number of talented and very friendly model builders. Feel free to ask questions about anything, as no question is too stupid. 😉
Tom
-
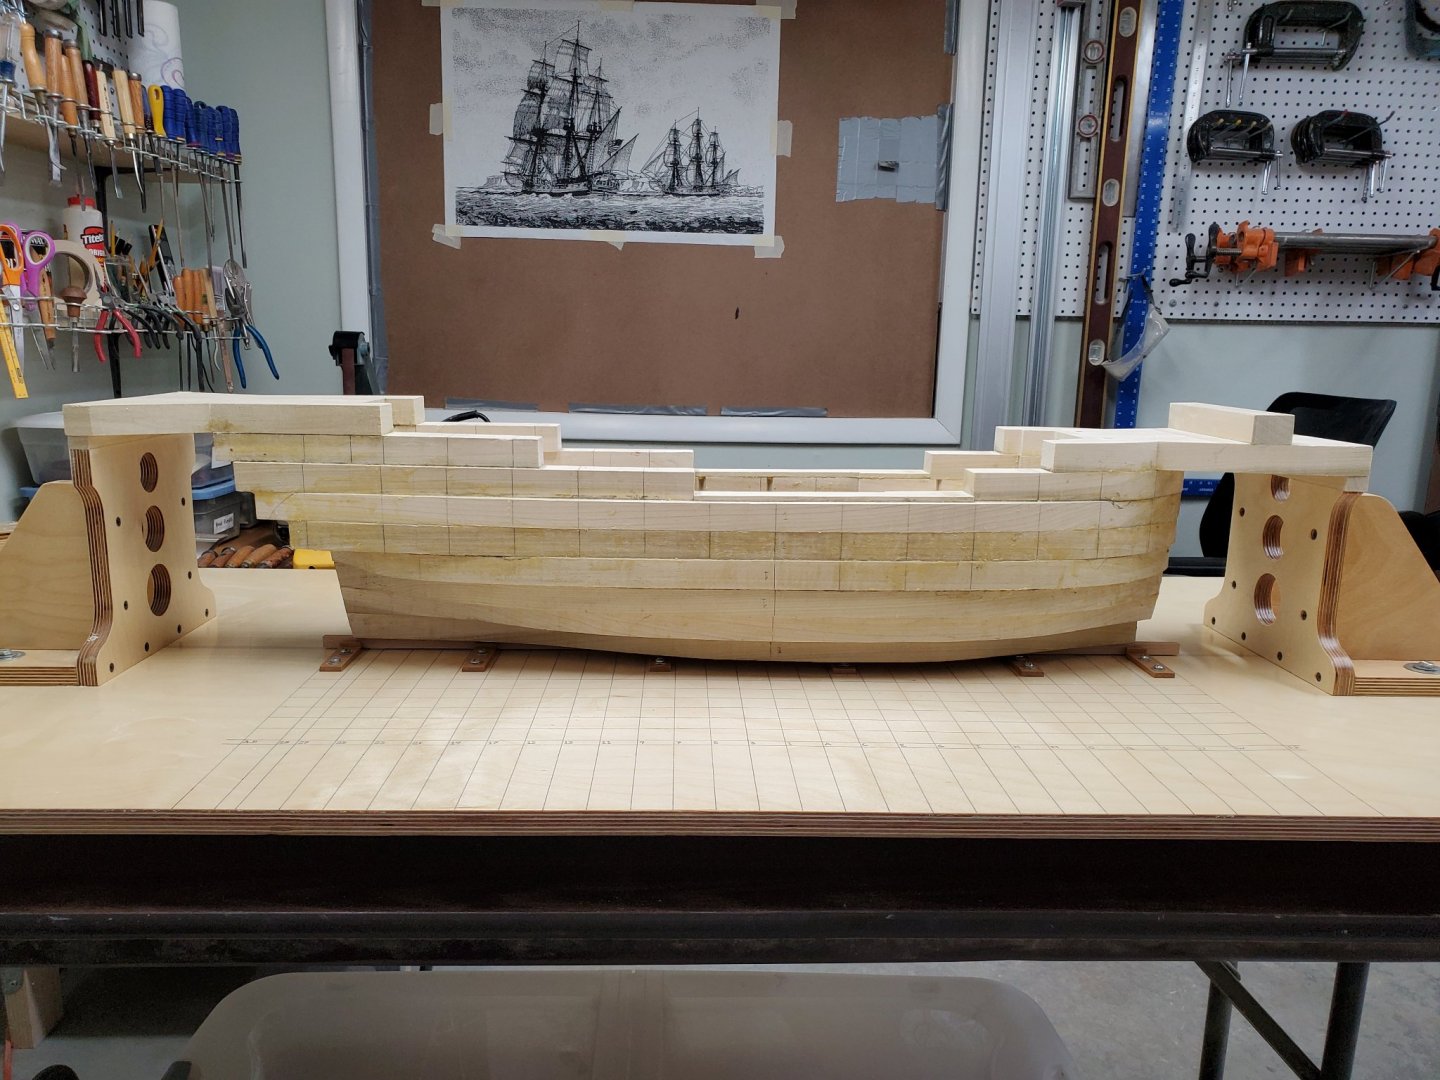
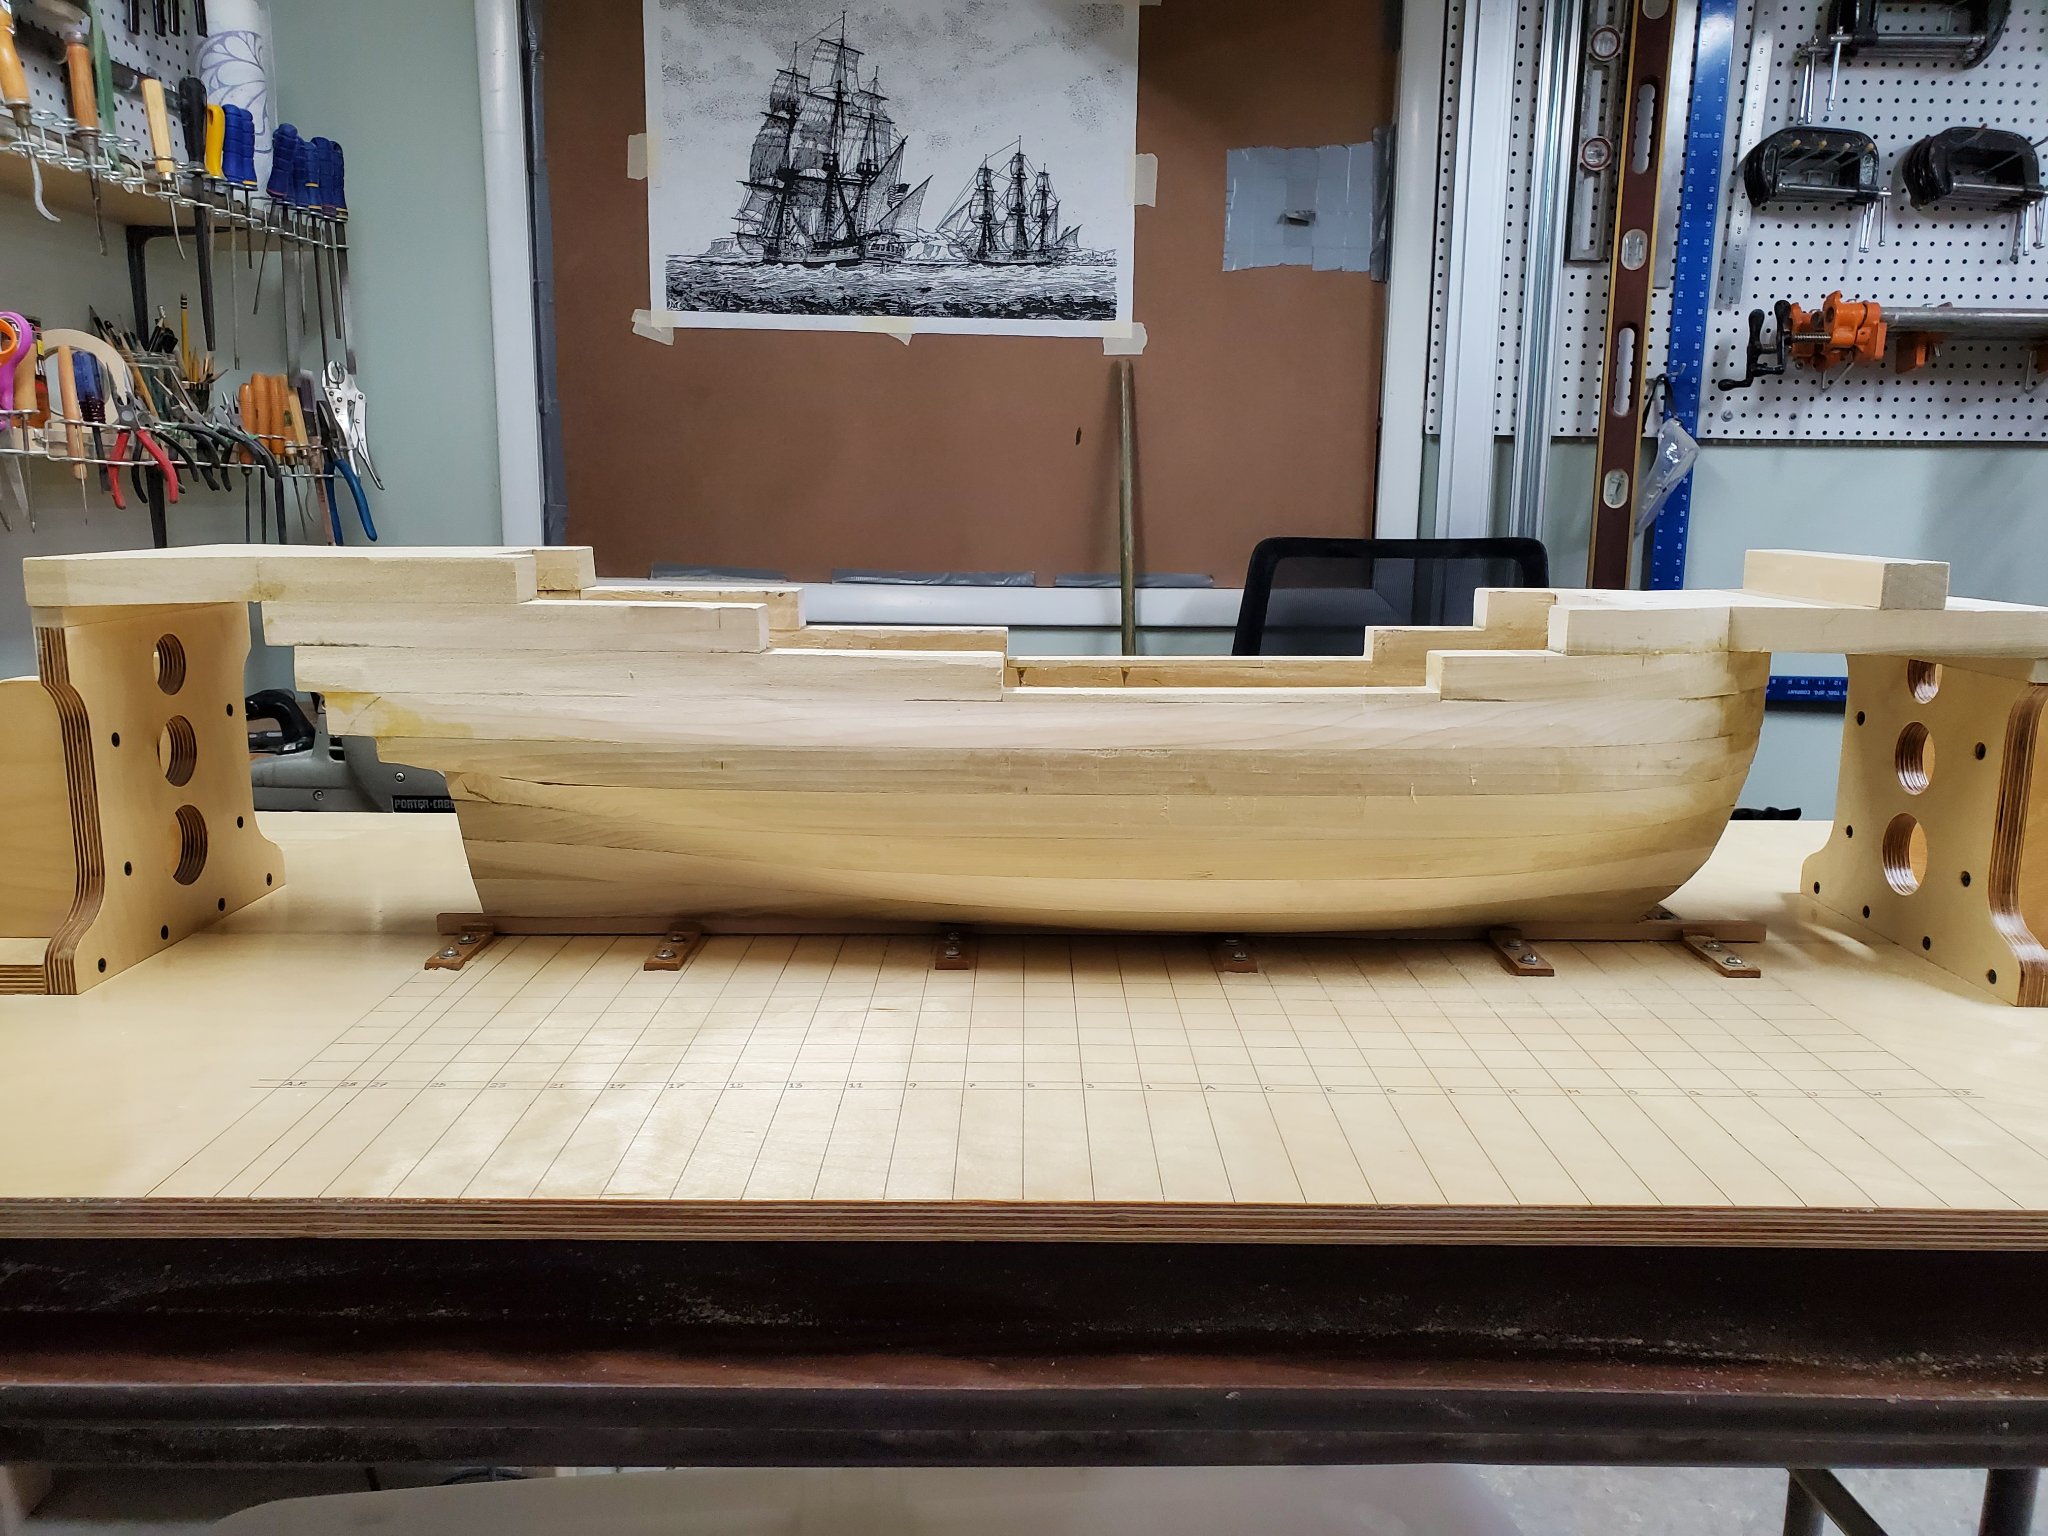
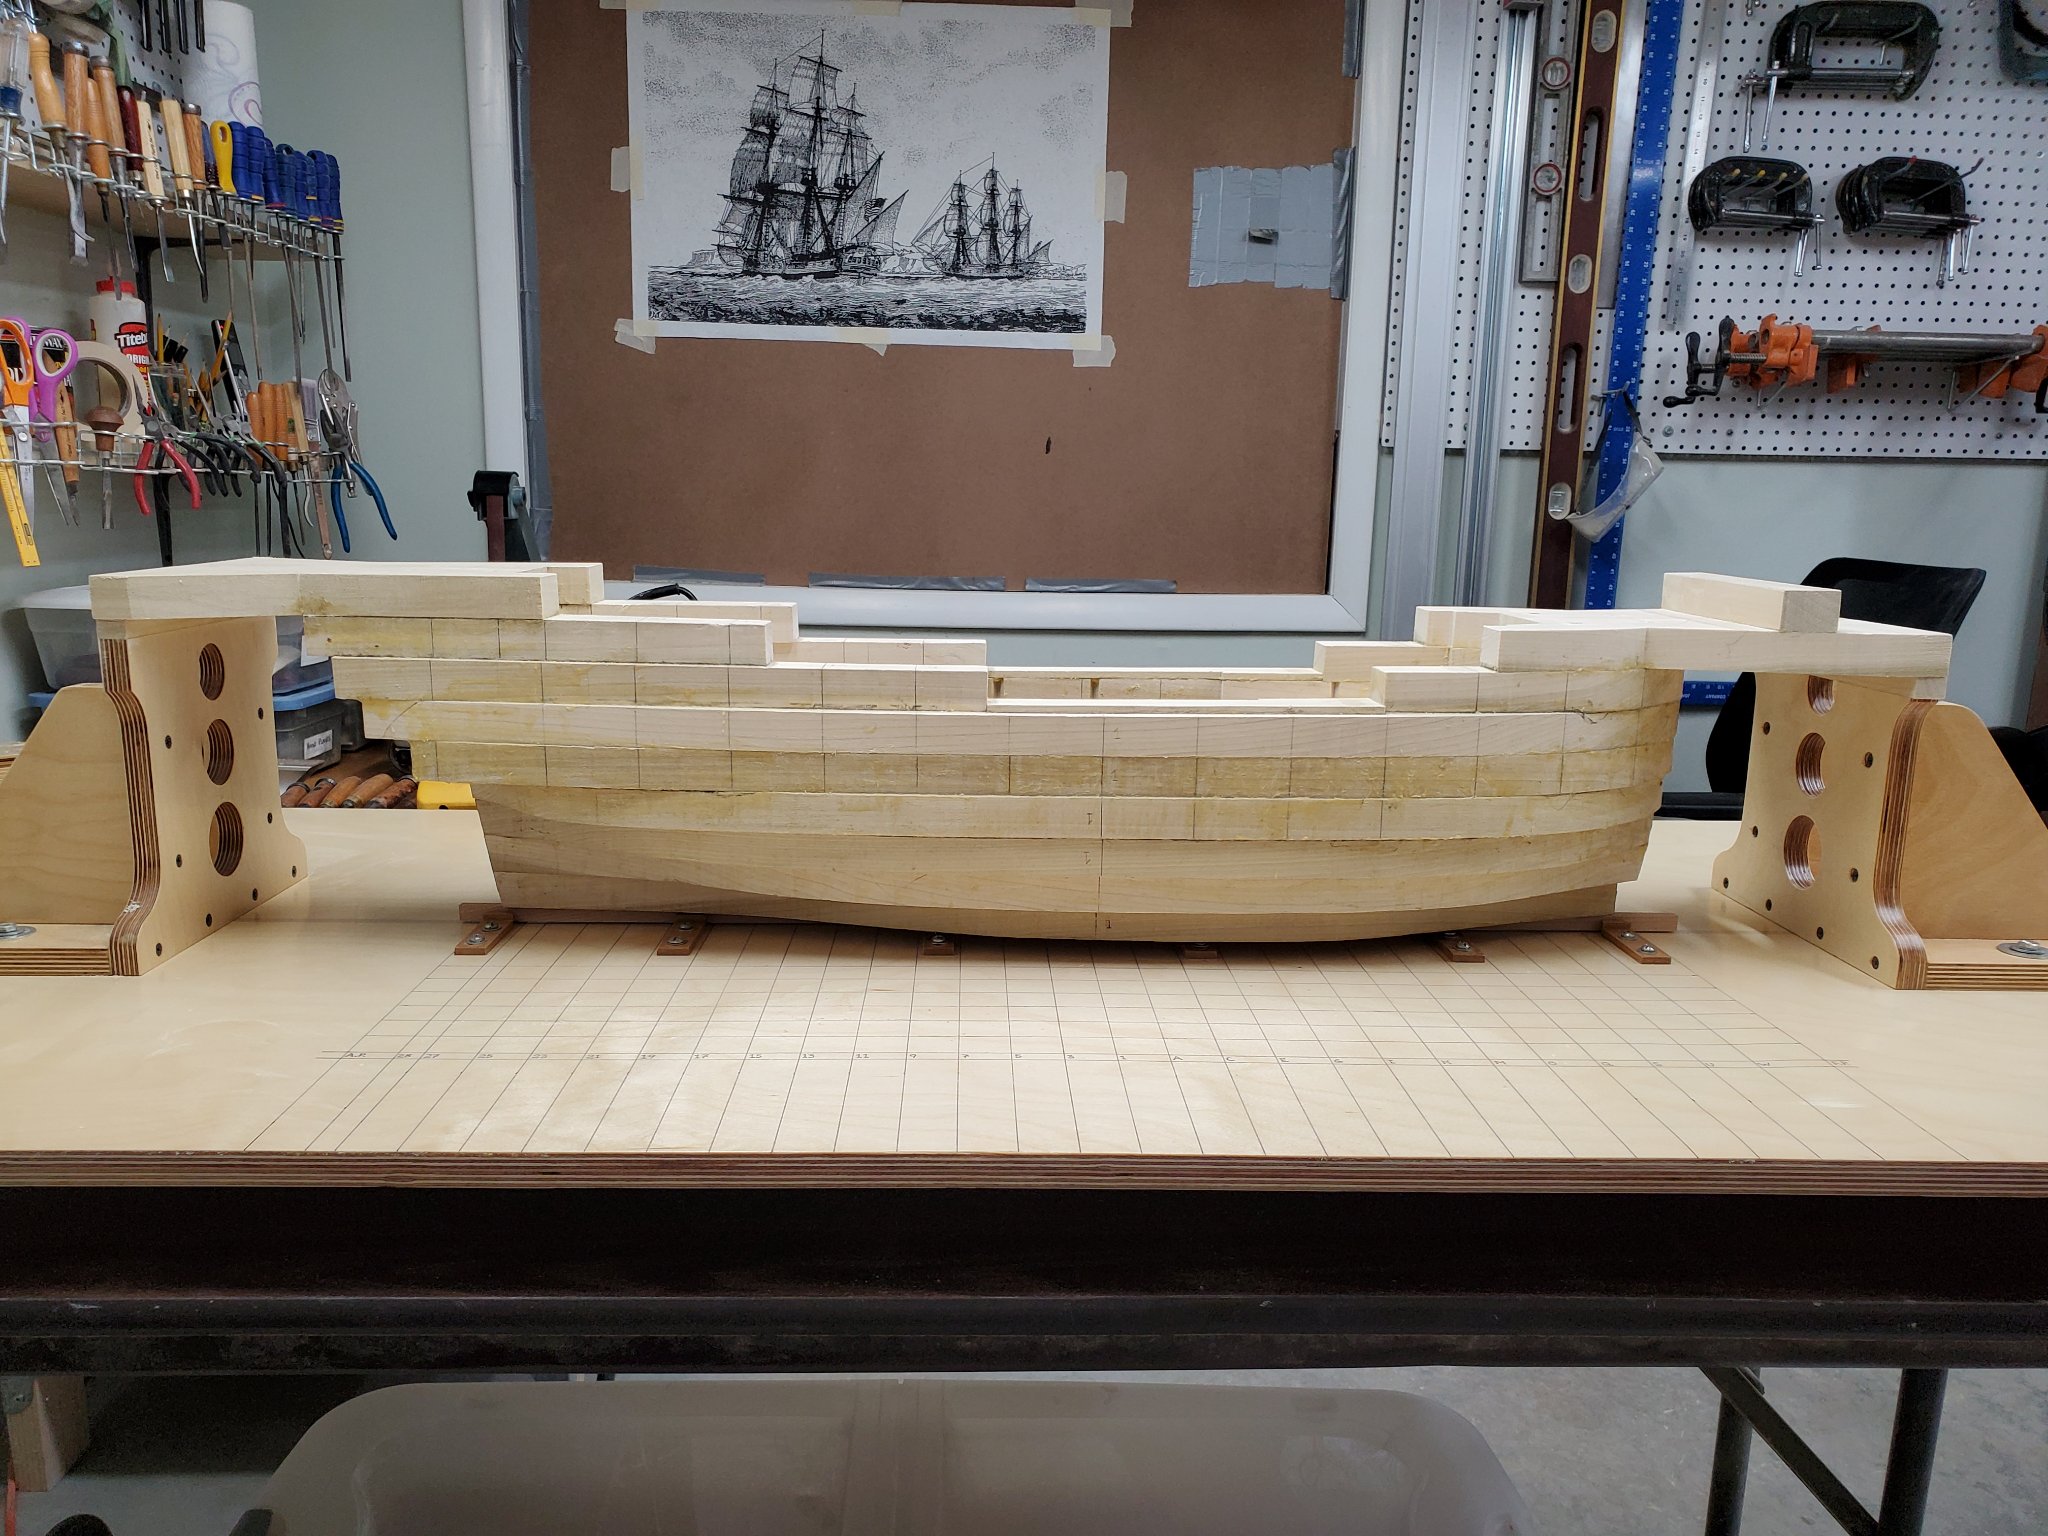
I've been working hard to get Winnie ll to the point where I was at with Winnie l just prior to me hurting my back, and tonight she makes her debut. Is this version as heavy as the first hull? No, no way, but it's still quite weighty at 24.8 lbs. I lightened the hull but not appreciably. She's still a big girl! As you can see in the first photo I brought in some "heavy-weight" tools to trim Winnie down a bit. When I shape a hull it's standard procedure to move many of the front shop room tools to the back.
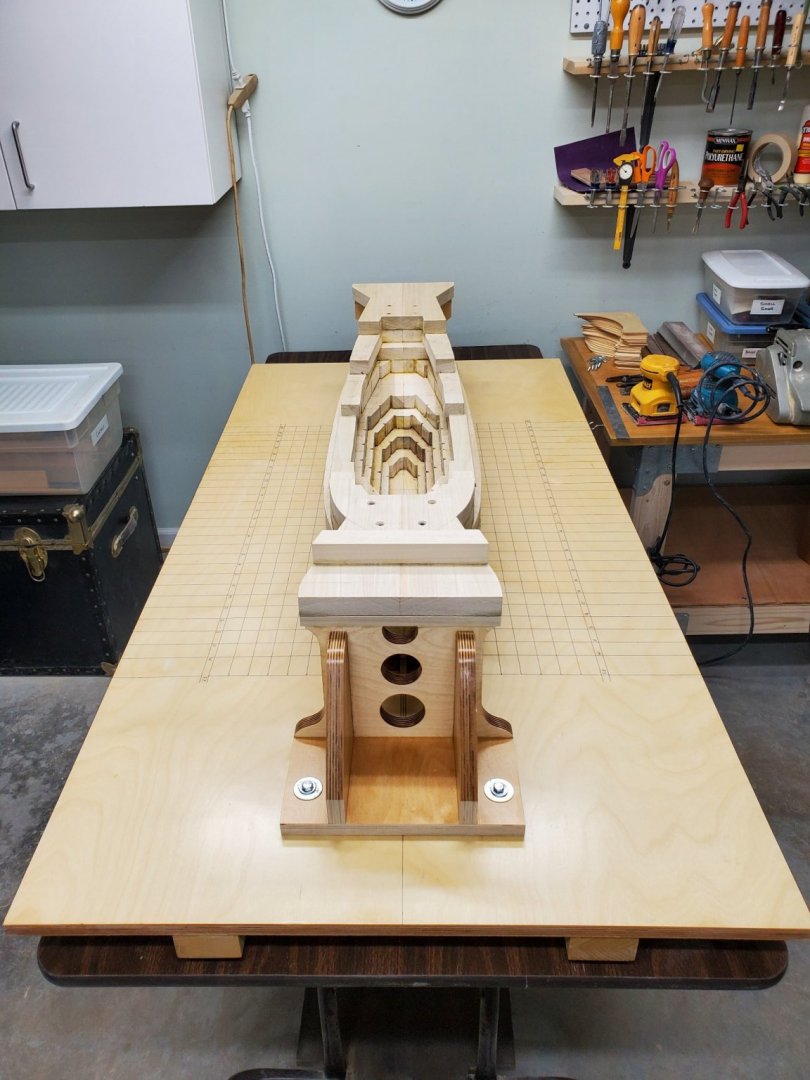
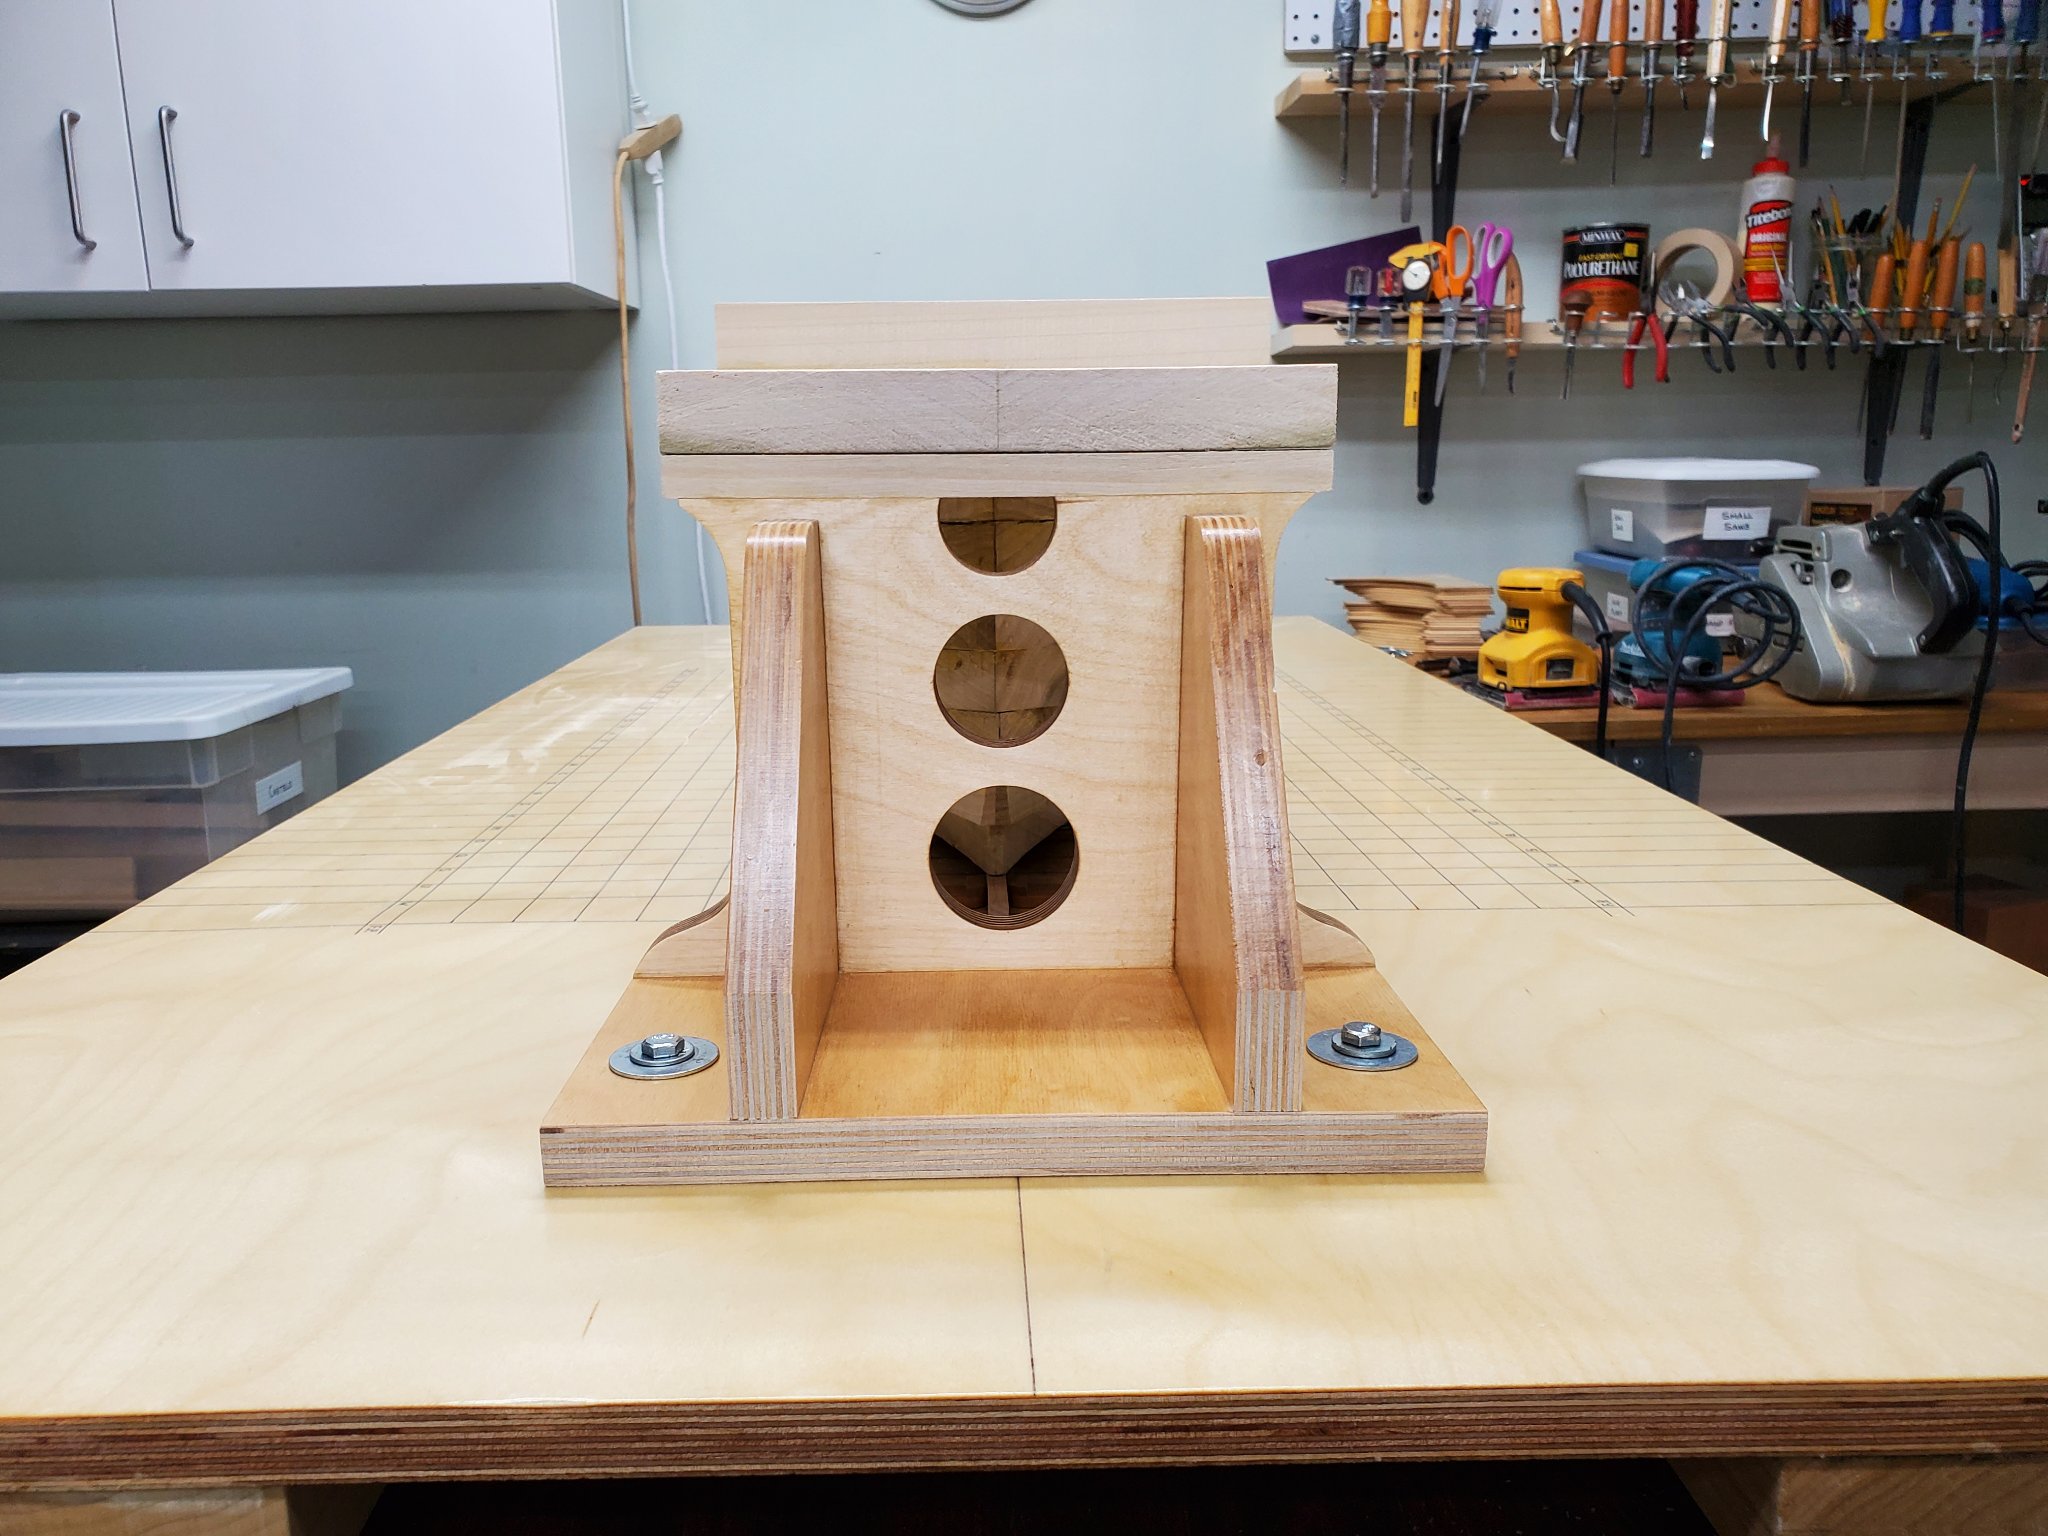
Winnie ll is different from the first version in several ways. I removed the horizontal arm reinforce pieces in the bow and stern, the model is hollowed out a little further, and I made changes how I attach the temporary keel to the hull. In the past I just used #4 1 1/4" Phillips flat head screws, but in Winnie ll I drilled holes and inserted 1/16" diameter Birch dowels in the bow (4 in number) and stern (5 in number). Why? With the wood removed from the bearding line astern there simply wasn't much room on either side of the hull for even very small screws, especially if they didn't go in perfectly centered. Now any slight error won't matter as I can sand or carve away any visible part of a dowel. In the bow I used them for a slightly different reason. As I shape the curvature of the hull it's simply easier to saw through or carve away a glued in dowel instead of removing screws.
It's time to make some saw dust, but there's one more thing I have to do before I start shaping the hull. I need my friend to help me move and mount the Jet Air Filtration System in the back shop. Dust is going to be a serious issue when I start sanding the hull. There is no way I'm going to start without it.
Tom


- Greg M, Hubac's Historian, Jack H and 5 others
-
8
-
Thank you, Frank and Greg for your best wishes concerning my back. Daily exercises are helping to strengthen it and make it less likely I will hurt it again. I'm moving along at a decent pace with the model. Yesterday I glued the first four lifts together, and today I would like to do lifts 5 through eight. Hopefully by the end of the weekend I'll have Winnie II ready to be mounted on the building board and ready for carving. Yes!
- Jorge Diaz O, FrankWouts and Greg M
-
3
-
Yes Frank, I no longer have back problems, and I've already started a solid hull Winnie II.
-
It's no longer prep Ron. Things are moving along quickly. I've started to build Winnie II. All the lift interiors have been cut out with a few pairs glued together. My back problems are, literally and figuratively, behind me.
- FrankWouts, Stuntflyer, Ron Burns and 1 other
-
4
-
This is a fun build to follow. It seems a lot of other people feel the same way, and for good reason too. Your Winnie is turning out great. I'm still laughing at your decision to leave the stern carving upside down.
-
Welcome back Ron. I wondered why you hadn't posted in a while. It was great news that the cancer hadn't returned! All MSW stuff pales in comparison to that. I hope you continue to feel better and better, and get to spend more time in your shop. From what I can see your model is looking nice..... no, looking great! In November I bought a Jim Byrnes saw with all the accessories. My wallet cried OUCH, but it was nevertheless a great purchase. It's the Rolls-Royce of miniature circular saws. The look and feel of it cries out precision and attention to detail. Who else sells a micrometer stop, in standard and metric, for their saw?
Tom
- FrankWouts, Matt D and Ron Burns
-
3
-
Welcome to the Winchelsea Project Shawn. Rusty gave you some good advice. If you aren't going to replace the frame I too would build up the edge with strip wood. On one of my earlier models I got exceedingly aggressive sanding a frame and had to make repairs. This is a problem that's not difficult to repair.
-
Ok, I'm back up and running again. The lift templates were done last week, and I'm now in the process of sawing the lifts to shape. Yesterday I finished the hull shaping templates with the application of their 5th and final coat of polyurethane. I will start showing pictures again when I have something new to show, so don't expect anything until I get to the point where I stopped working on Winnie I. With my back feeling much better it's nice to return to the shop to work on the model again.
- FrankWouts, Rustyj, JpR62 and 1 other
-
4
-
As the ancient Chinese philosopher Lao Tzu once said, "The journey of a thousand miles begins with one step." Frank, it's a great first step! LOL You only have a million more. My primary wood to wood glue is Titebond (red), but for certain jobs I use fast, medium and slow curing cyanoacrylate glues. I also use either rubber cement or the tiniest drop of contact cement for temporary holds. There are even occasions when I have used Elmer's white glue diluted with water for certain rigging work.
Tom
-
I read through your build log this morning Fred, and it brought a smile to my face that yet another Winchelsea builder was willing to start the project anew or rip out a sizeable part of their model because they just weren't happy with their first effort. That desire to "get it right" is commendable. Fighting through mistakes is simply a part of model ship building. It feels so good to rectify those screw-ups! Fred, W2 is turning out nice. Keep up the good work.
Tom
-
My back is healing, albeit slowly. I've started my second solid hull Winchelsea, but only the prep work for actual construction. The lift templates are finished, and I'm making steady progress on the hull shaping templates. Still, it should be a couple of weeks until I can start making sawdust again. If I hadn't been so crest-fallen when I hurt my back I might not have been so hasty to trash my first attempt. The lesson: If you make a serious mistake or some other tragedy befalls you put the project down and walk away from it for a while, at least until you are clear-headed again. Oh, how I rue the decision to not do that.
Tom
- FrankWouts, Matt D, JpR62 and 4 others
-
7


HMS Winchelsea 1764 by Stuntflyer (Mike) - FINISHED - 1/4" scale
in Member Build logs for the HMS Winchelsea
Posted · Edited by wyz
The precision of your workmanship is an inspiration to all of us Mike. Your exacting attention to detail is producing an exquisite model, and certainly something to be very proud of.
Tom