russ
-
Posts
3,086 -
Joined
-
Last visited
Content Type
Profiles
Forums
Gallery
Events
Everything posted by russ
-
Boxwood was a good call for those smaller pieces. It makes them sturdier and they have a crisp look that is easier to get with boxwood. Nice paintwork on the spars. Russ
-
Those ratlines look pretty good. Like they say, practice makes perfect. I agree about the white glue. You can water it down a slightly as well. It will soak in and it dries clear. Russ
-
The deck looks great. Nice work on a BIG model. Russ
-
Rocker: I see. It is still a good idea to do some tuning, though. Make sure the blade is at 90 degrees, make sure the fence is parallel, maybe wax the table, etc. A good hollow ground blade should do nicely. Russ
-
John: It works suprisingly well. I have made another jig that I think will work better and we will see. I need 20 deadeyes for this model so that is not too many. This is the kind of thing I can work on while waiting for glue or paint to dry. Russ
-
That is quite good. The color on the plates is very nice. Good work. Russ
-
Robbyn: I thought it was for one sheet. Ooops. On the hinges, try making each one in one piece. Curve over the corners of the "arrows". For the bolts, try a very small dab of CA on the end of a toothpick and see if that works. Russ
-
I think Mark is right. Sounds like the saw needs some tuning. Russ
-
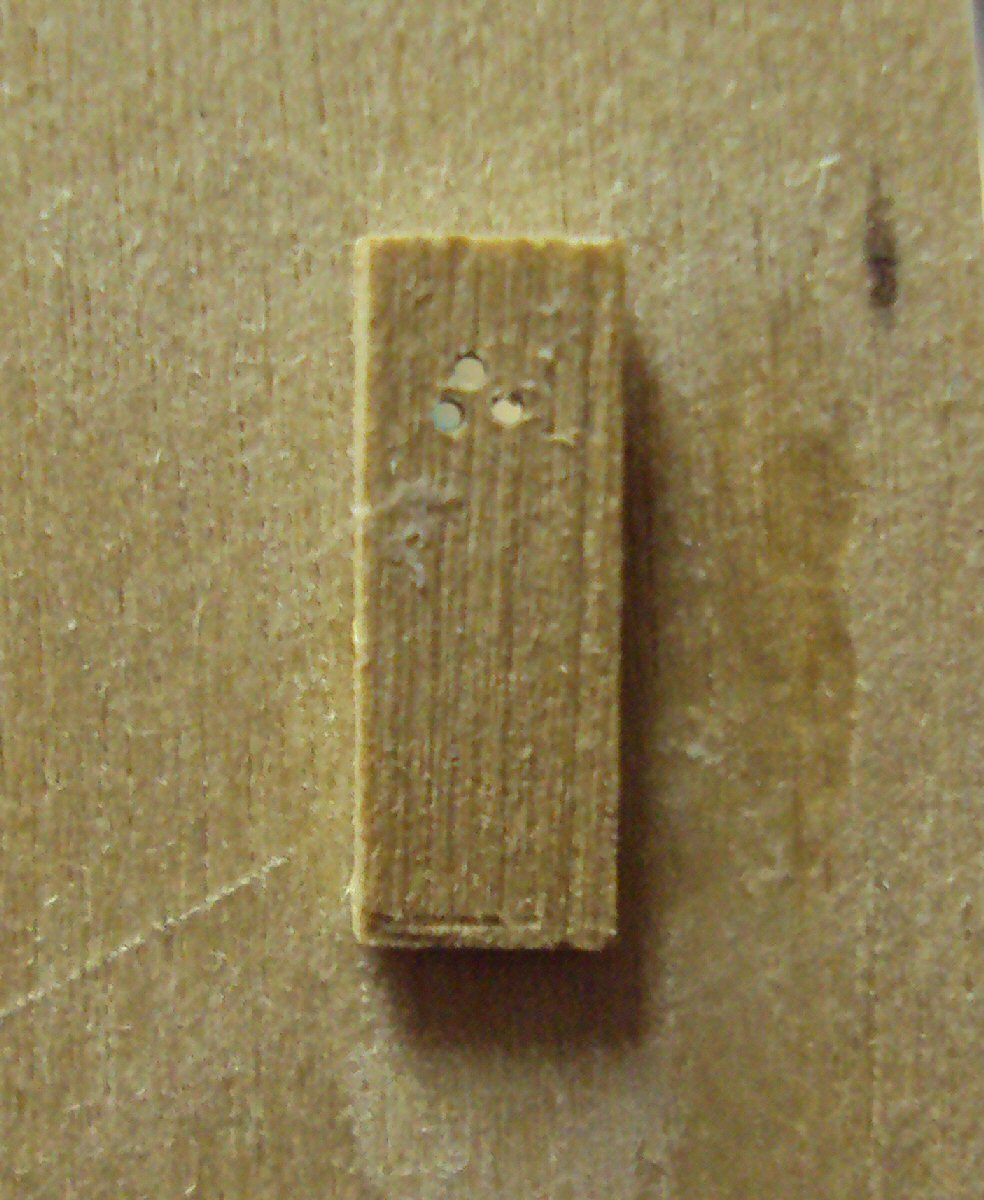
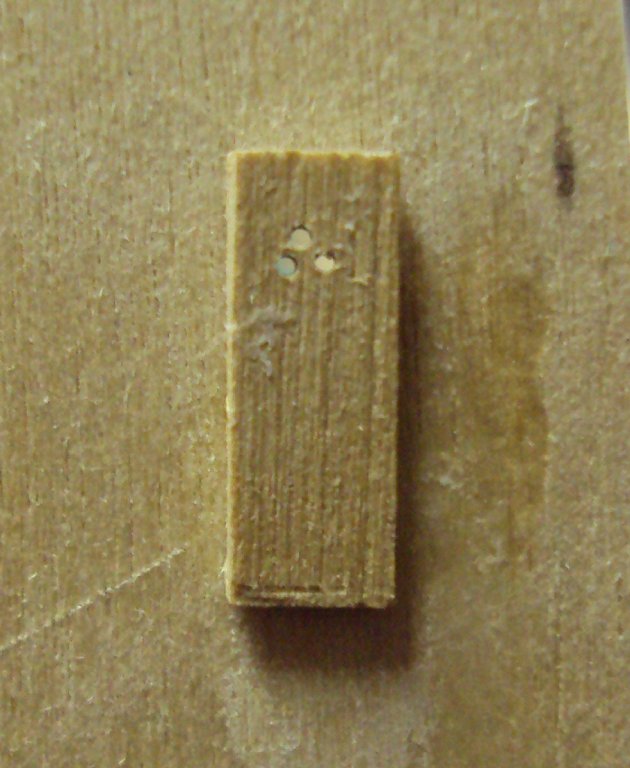
While the glue is drying on some bulwarks stanchions, I decided to test out my deadeye jig. Here is the prototype for this model. Questions and comments welcomed. Russ
-
That is a good way to clamp the frames for drying. Make sure the entire frame is flat and that the glue joints are solid. Good work. Russ
-
Pete: Are you clamping the glued up frames any? Clamping will definitely make for a stronger glue joint. In any event, I would definitely let them cook for at least 3 hours before handling. The frames look good so far. Russ
-
This is a very interesting subject. Nice build. Russ
-
That's great Mick. Glad you enjoyed it. I agree about the gift idea. Russ
-
Okay, I see what has happened. The false keel should have been thinned slightly in the after section so that the planking would sit lower and then the keel and sternpost would match up. In any event, I would have attached the keel, sternpost and stem before planking. It would have made it easier to account for this situation beforehand. The only remedies I see right now, without totally remaking the pieces in thicker wood, is to 1) use some left over planking material to pad them on either side so that it matches up, or 2) sand down the planking next to the keel and see if you can get it to the same thickness as the keel. I am not at all certain that 2 will work though, if the difference is that much. Russ
-
I am not certain what you have in your kit, but the keel, sternpost and stem should all be the same thickness as the profile former to which they attach. Are yours different thicknesses? Russ
-
Alfons: You need to create clean surfaces by filing them up good and bright. I would make your wye or lug as it sometimes called, on the end of a brass strip. Create a pin on the end of the lug and drill the lug for its eye. Now, drill a hole into the band to receive the pin. It should be a snug fit, just enough to create some contact inside the hole and with the edge of the lug against the band. Now apply your solder and make the joint. After the joint is made, trim the lug to size and shape if with a file. Here are a couple of bands I made for the Ketch model. These all had the joints made first and the pieces trimmed to size afterwards. The first lug is made from the stem of the band after that first joint was sodlered to make the band. The rest had pins inserted into holes drilled into the band. Hope this helps. Russ
-
That looks pretty good so far. The old saying goes that you can never have too many clamps. Russ
-
Solder brass rod for deadeye
russ replied to cog's topic in Metal Work, Soldering and Metal Fittings
Dida: When soldering the deadeye strops, do the soldering before the deadeyes are inserted. That way, they do not get burned. The strops should be flexible enough after annealing and soldering that you can easily slide the deadeye into the strop and then squeeze the strop around the deadeye. Russ -
John and Bob: Thanks for the kind words. Russ
-
Hull Planking questions
russ replied to fnkershner's topic in Building, Framing, Planking and plating a ships hull and deck
Floyd: The basswood sheets usually come 2 or 3 inches wide. I think mine were 3 inches wide. They come in regular thicknesses from 1/32" and up. You will need to decide what thickness you need for your model. I cut just a little fat and then sand down using an emory board. Russ -
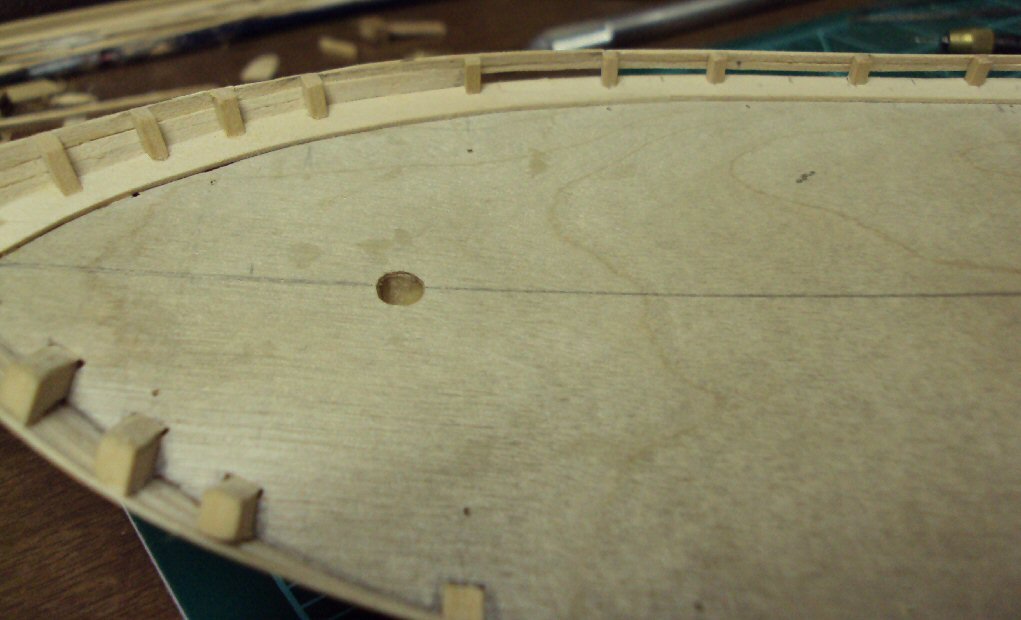
Here is a little more progress. I have fitted the bulwark stanchions across the transom. These are commonly spaced more closely than along the sides. Questions and comments welcomed. Russ
-
Copper Plating Pattern
russ replied to capnharv2's topic in Building, Framing, Planking and plating a ships hull and deck
So far as I know they did not use the wooden batten when they added the plates along the waterline. I know there is a chapter on coppering etc in Brian Lavery's The Arming and Fitting of English Ships of War 1600-1815. I find this book to be very useful on many areas of period ship modeling. Russ -
Robbyn: You can cut that .005" thick sheet material with a pair of scissors. I do that all the time. That is how I make my strips for everything I need. However, I do not pay $15 a sheet. Check your local crafts store. Russ
-
Hull Planking questions
russ replied to fnkershner's topic in Building, Framing, Planking and plating a ships hull and deck
Floyd: First of all, spiling is nothing more than transferring the curve of the edge of the previous plank onto the edge of the next plank so that they make a tight joint along their length. Because of the curves involved, this usually means using wider stock from which to make planks. Once you create that spiled edge, then you measure off the tapers at each bulkhead and create the tapered edge on your plank opposite the spiled edge. To plank with the strips in the kit, you would need to do some careful tapering on each plank and probably use some stealers or drop planks as necessary to get the hull planked. Other than that, just let the planks lay as they want and fill in the area to be planked as best you can with all sorts of pointy ended planks etc. I would buy 5-6 sheets of basswood from the LHS or crafts store and spile, but that is me and what I know best. I planked my current project like that and it cost very little and was very satisfying. Russ -
You can paint it with a brass color if you like. See what the crafts store has in artist's acrylics. They are usually 40-50 cents for a bottle that will last forever. Russ