russ
-
Posts
3,086 -
Joined
-
Last visited
Content Type
Profiles
Forums
Gallery
Events
Everything posted by russ
-
Copper Plating Pattern
russ replied to capnharv2's topic in Building, Framing, Planking and plating a ships hull and deck
In the late 18th century, British warships had the plates ending at an angle without the top belt of copper. They used a wooden batten to mark the waterline and the plates butted into the wooden batten at an angle. This has been noted on early coppered models like the Bellona. In the 19th century, it became the custom (and perhaps a rule) to add that top strip of copper plates. How a model should be coppered really depends on the time period and perhaps nationality of the ship in question. Russ -
The doors are looking good so far. I like the idea simulating hinges. If the flattened wire does not work out, you can get very thin brass strip or sheet to make them. You can also use paper or tape painted black to simulate them. The hinges can be made from your wire. Russ
-
Dida: It stands for cyano acrylate glue, commonly referred to as super glue. There are different viscosities, thick, medium, and thin. They are sold under many different name brands. Hobby and crafts shops carry it. Russ
-
Sinan: Thanks for dropping by. I am glad you are enjoying it. Russ
-
David: Check my signature for the skiff build. The advice you give about using PVA glue is good stuff. Slow and steady wins the race in modeling. Russ
-
Al: The best advice I can give is to find barrels that are a rough match for the size of the barrels you need. You are looking for a barrel about 2 1/4" long, maybe slightly smaller. That would be about 9 ft long at 1/48 scale. Model Expo and Bluejacket Shipcrafters are two companies I can think of off the top of my head where you can look for different size barrels. They are not going to sell them by scale so much as size. You need to look for the size barrel you need. Russ
-
I am glad your reposting this log. There was a lot of good stuff in it. Russ
- 51 replies
-
- 1
-

-
- sharpie schooner
- finished
- (and 1 more)
-
Hopeful: Thanks for dropping by and your kind words. Glad you have rejoined us after the crash. Russ
-
Sam: Thanks. The transom is, more or less, straight across. For fitting around the stern frames, I did that using trial and error. Mostly error. The steeve is the slight upward angle at which the bowsprit points out beyond the hull. In this case it is governed quite a bit by the sheer (curve) of the deck. The bowsprit wants to continue that graceful curve of the deck's sheer. The catboat restoration continues. I will repost it eventually. Just need to make some time and some progress. Russ
-
Bob: The deck work is great. I like the fact that you pinned and glued the pinracks. That will pay dividends. The pins themselves look great. Nice work as always. Russ
-
Augie: I have just been looking over your build here. The photos with the standing rigging in place are awesome. The entire model is just outstanding. Paintwork, details, nice taut rigging, and some good looking spars so far. Great work indeed. I will be checking in to see how you progress from here. Russ
-
Mark: Beautifully constructed model. It really came out nice. Great work. Russ
-
Augie: I agree that they were incredible craftsmen. I will add one other item about Martin Fountain. He could not read or write, but according to the family, he could do any math in his head. The story goes that he could look at a table of offsets and tell you whether or not the resulting design would work. That is incredible, especially for people like me who struggle with anything beyond simple math. Russ
-
Augie: Thanks for the kind words. These boats were very graceful for being so shallow. This particular boat is patterned after a schooner called American Girl built by Martin Fountain in 1900. My design is for a slightly smaller boat and the size was necessary for the client. In any case, Fountain was a master designer and builder here in Biloxi so he gets a good deal of the credit for this particular design. Russ
-
Thanks. I like to have a "real world" look at the overall extent of the model early on in the build. The masts have yet to be shaped, but the bowsprit looks pretty good so far. At least I know that the steeve of the bowsprit is what I drew in the plans. Russ
-
Very nice work, especially with that thin veneer. That stuff is not easy to deal with. Russ
-
That is good progress. My only observation is to make sure that the slot for the keelson is lined up well before you install the keelson. Russ
-
Gerty: Thanks for the kind words. I am looking forward to more planking tonight, if everything goes to plan. Russ
-
Cap'n Bob: Thanks. No one is more surprised than me. Michael: Thanks for looking in. I am going to add a stanchion at about the midpoint of the scupper opening and then one at each end of the opening and then fill in between them. I will use a plank for a gauge to make sure the opening stays consistent. Once the opening has been dealt with, I will add at the bow and stern. Russ
-
Bob and Bob: Thanks for your kind words. I appreciate the support. I will get some stanchions in next. I am pleasantly surprised at how rigid the planking is there. Russ
-
Alfons: Thanks. There is no nibbing in the decks on the contemporary photographs. So, no nibbing here. Russ
-
Bob: Nice work on the headrails. You created those very well. I especially like the rudder and the preventer chains. The gudgeons and pintles look great. If you had not said they were paper, I would not have guessed. Likewise on the quarter badges. That is a wonderful job with the kit casing. Looks every bit wood to my eyes. Excellent work. Russ
-
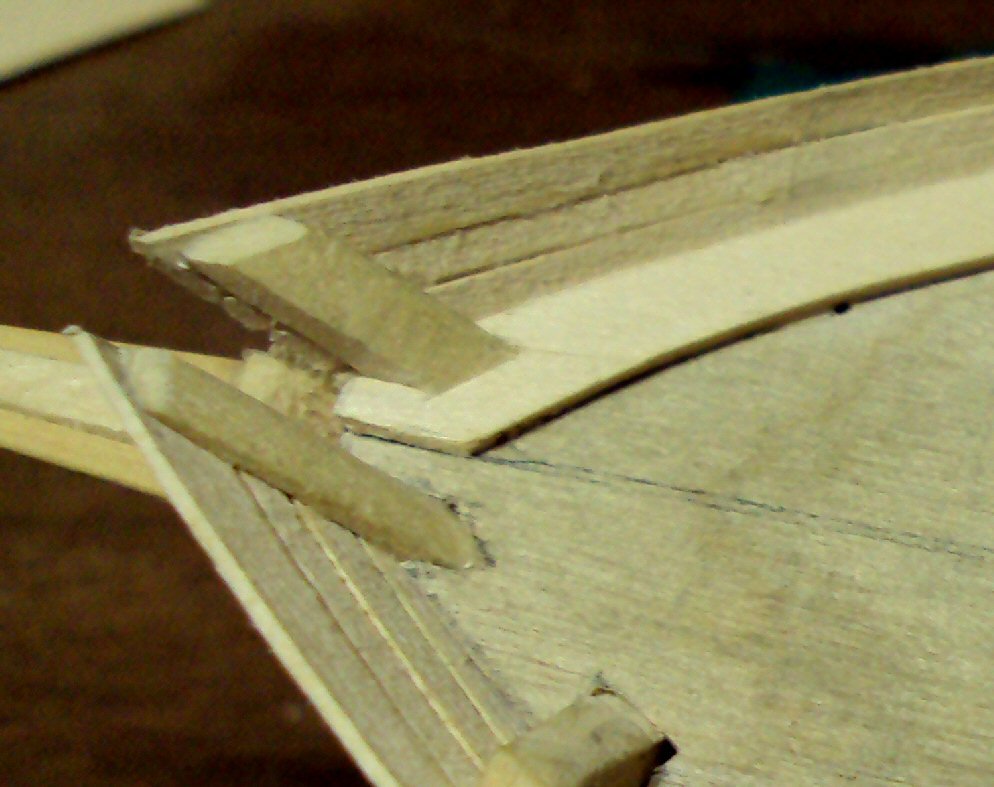
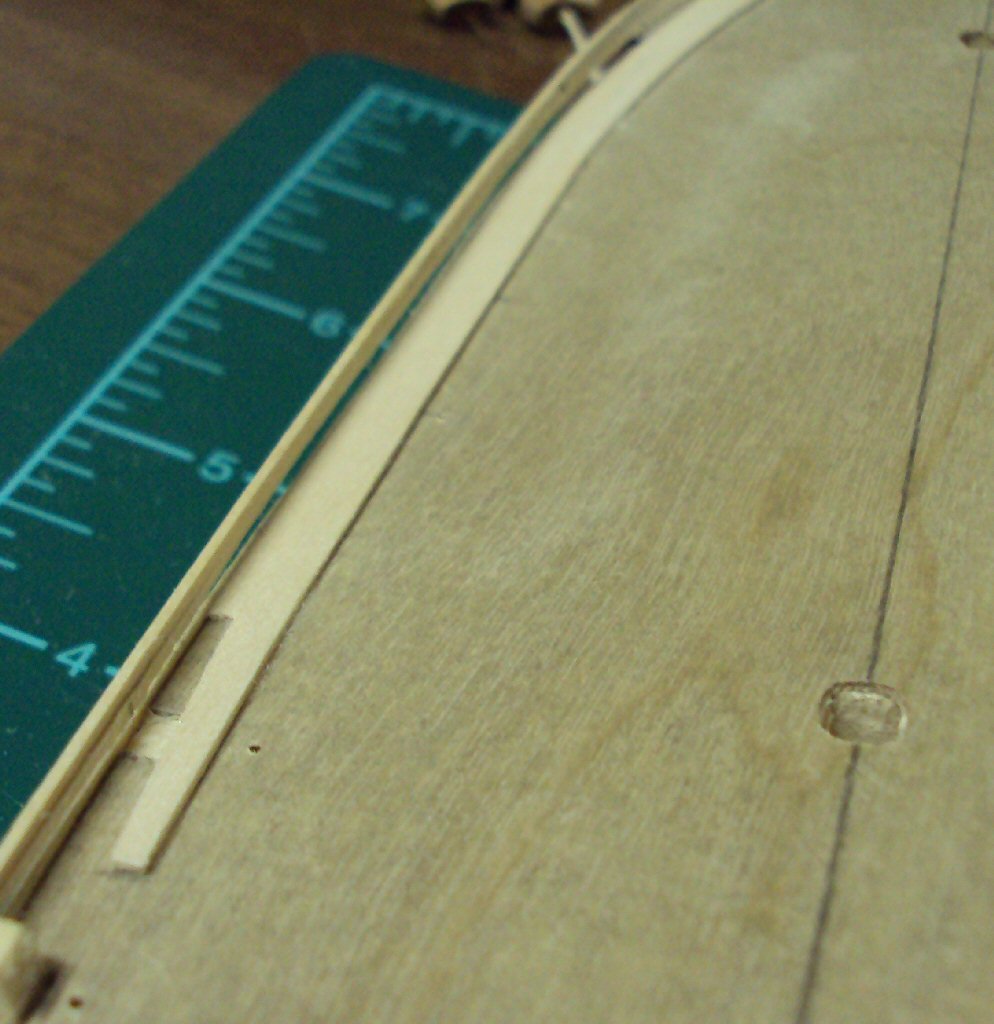
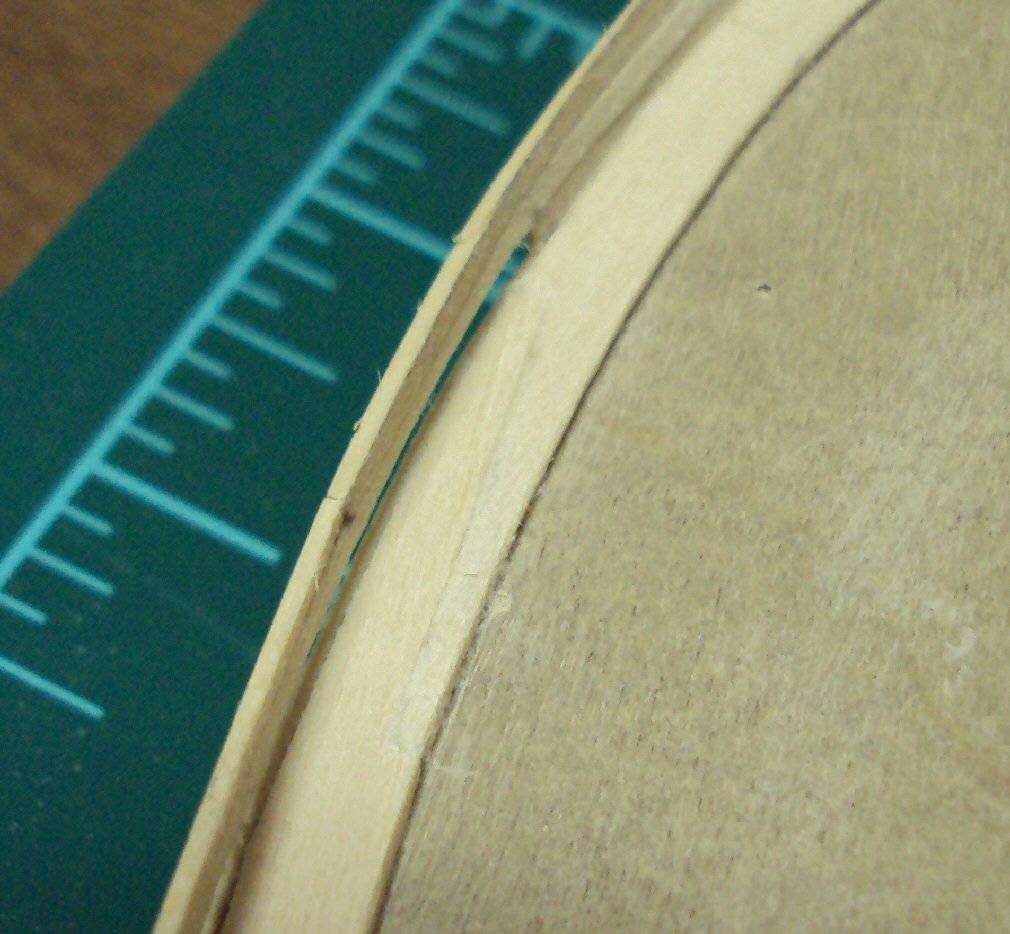
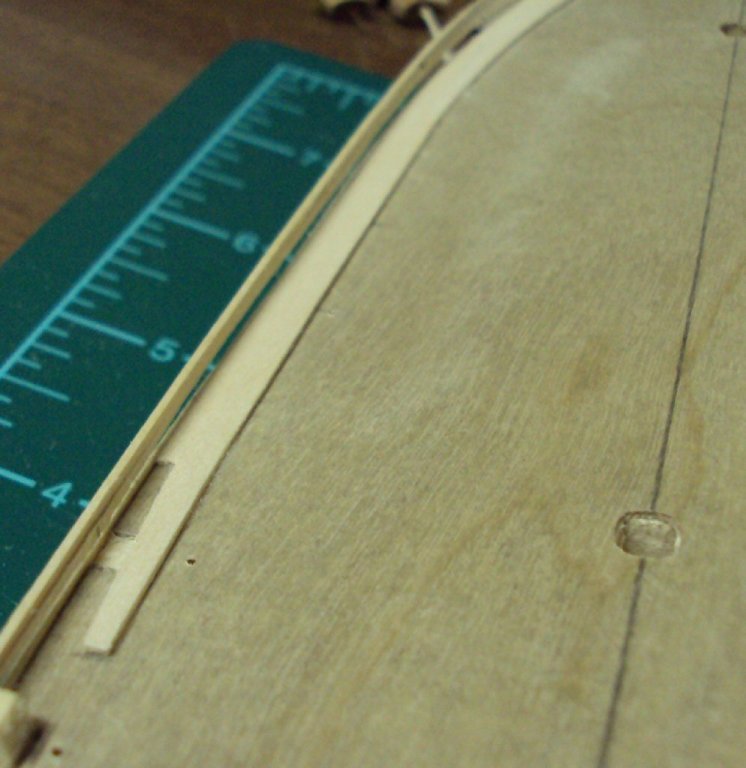
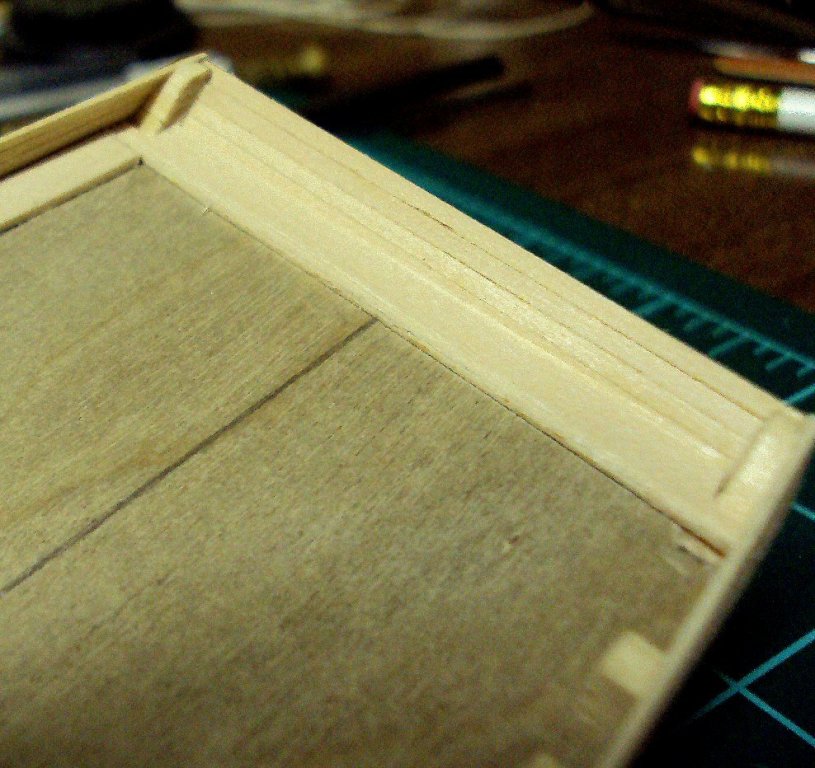
Finally some more progress. I am installing the margin plank on deck. This needs careful handling and I am glad to say I have not made a complete hash of it so far. The first thing is to remove the bulkhead extensions above deck. The bulwarks have already been planked and so they are largely unsupported during the margin plank installation. There are some frightening moments during the fitting of the margin plank. The good news is that the joints are fairly tight. The bad news is you can hardly see my scarph joints. Questions and comments welcomed. Russ


-
Ron: I used to be able to tell you right off the top of my head the thickness of the deadeye, but I cannot recall the source I read it in. However, I "think" (not to be trusted) the deadeye's thickness is half its diameter. Your deadeye jig should be that depth (whatever it is) so that you can cut the deadeye off in the jig and then pop it out afterwards. If someone knows for sure the relative thickness, please correct me here. Russ
-
Sam: I would work around it. No sense throwing the baby out with the bath water. Russ