KeithAug
-
Posts
3,991 -
Joined
-
Last visited
Content Type
Profiles
Forums
Gallery
Events
Everything posted by KeithAug
-
 It is sometimes fun to follow a first scratch build because prior knowledge does not constrain how things are done and mistakes provide endless opportunities for innovation. Following along is going to be educational.
- 53 replies
-
- 1
-

-
- William Atkin
- Sloop
- (and 1 more)
-
She is quite something in a Star Wars sort of way. I think I am going to enjoy this.
-
John, Excellent - you have made it back to work. Do remember that when retired your time is your own.
-
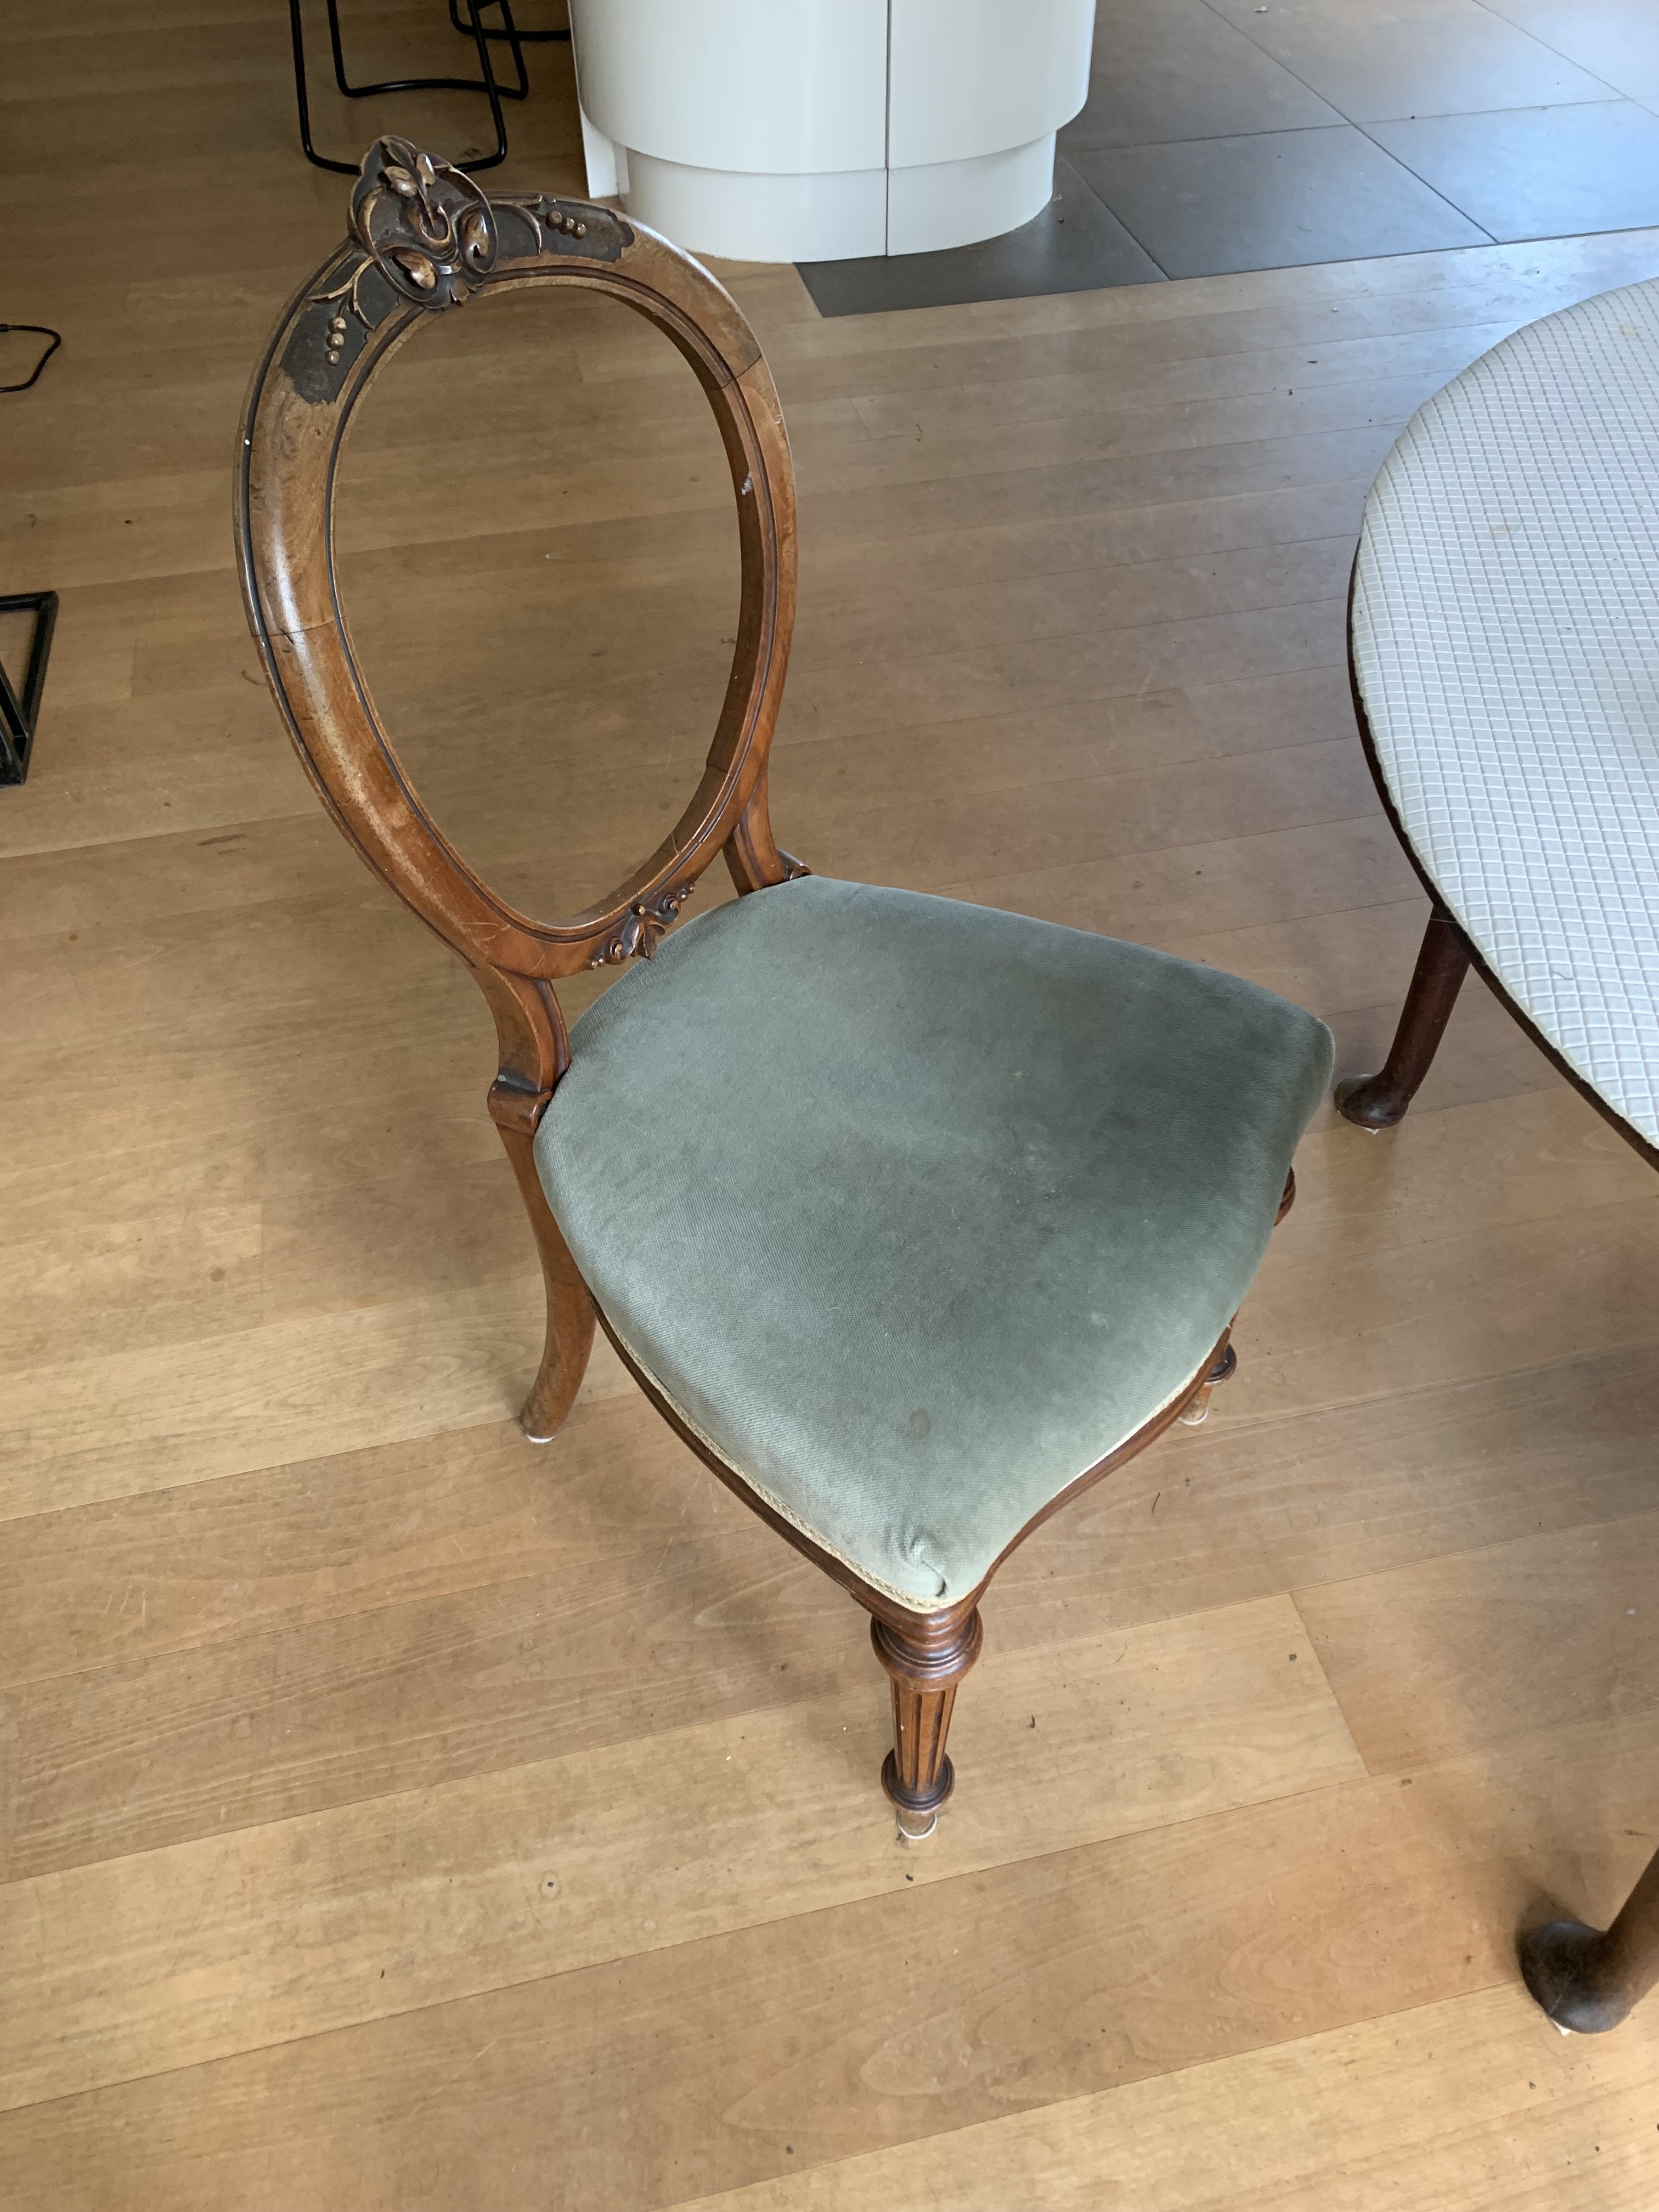
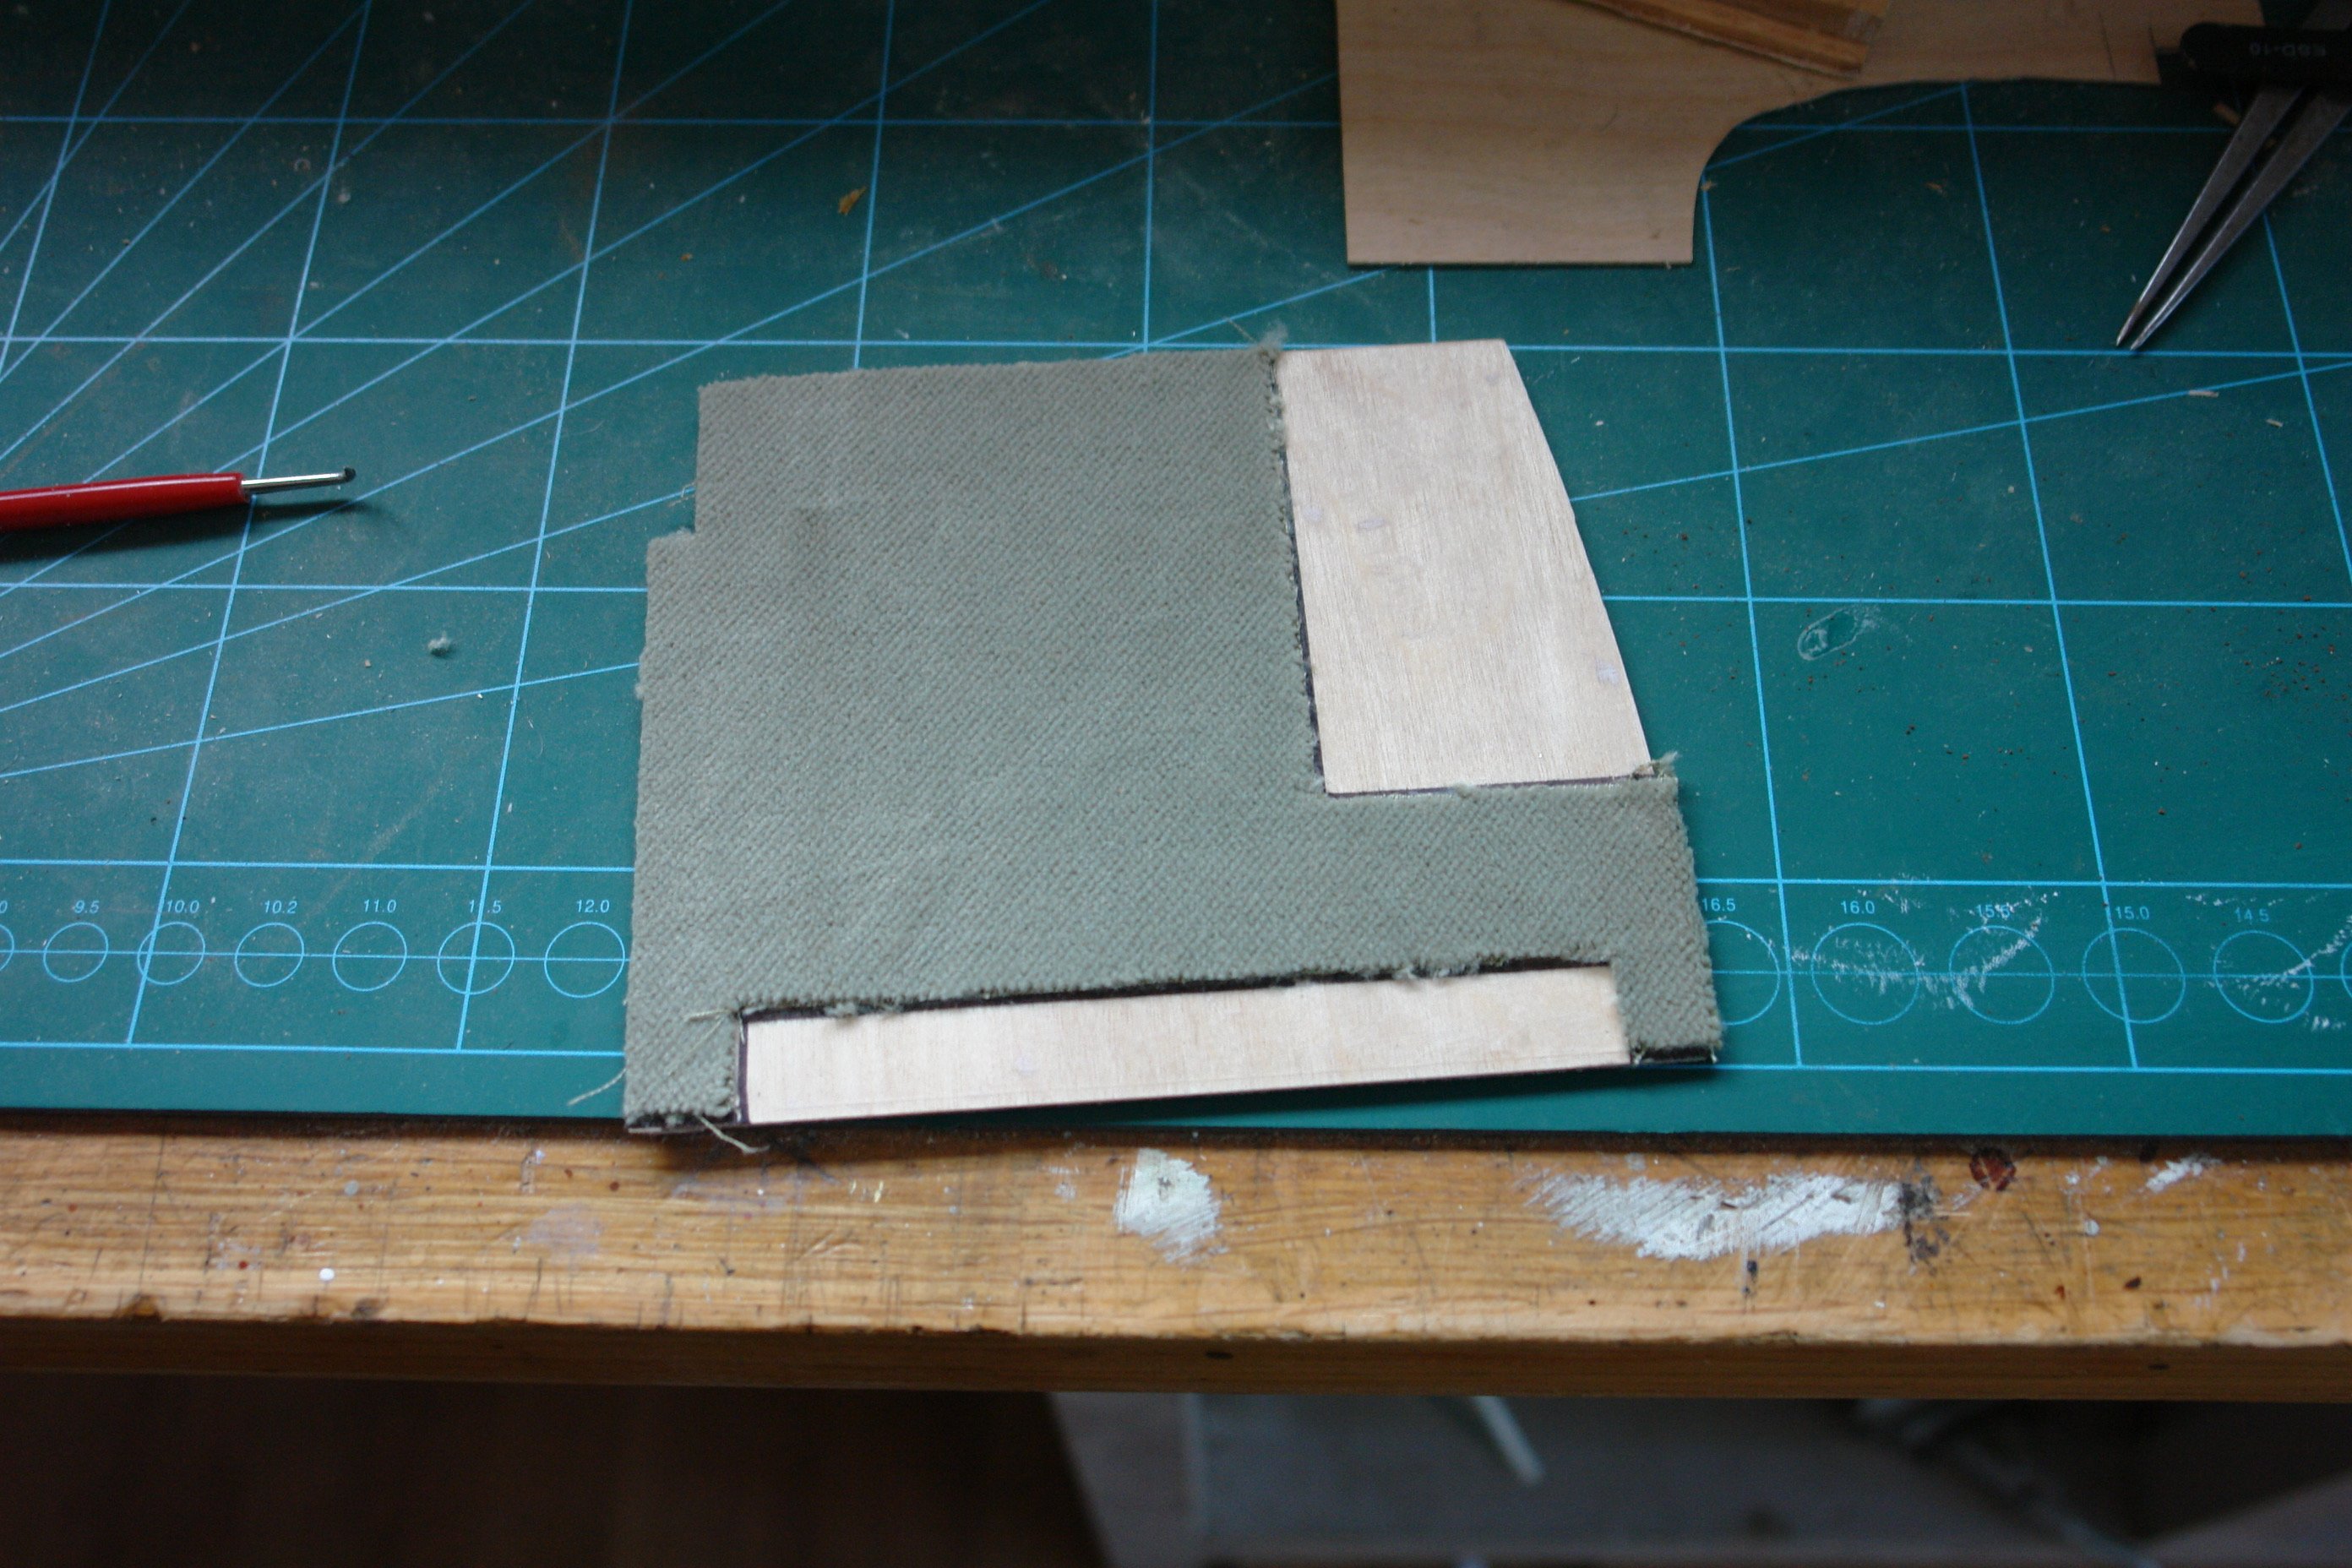
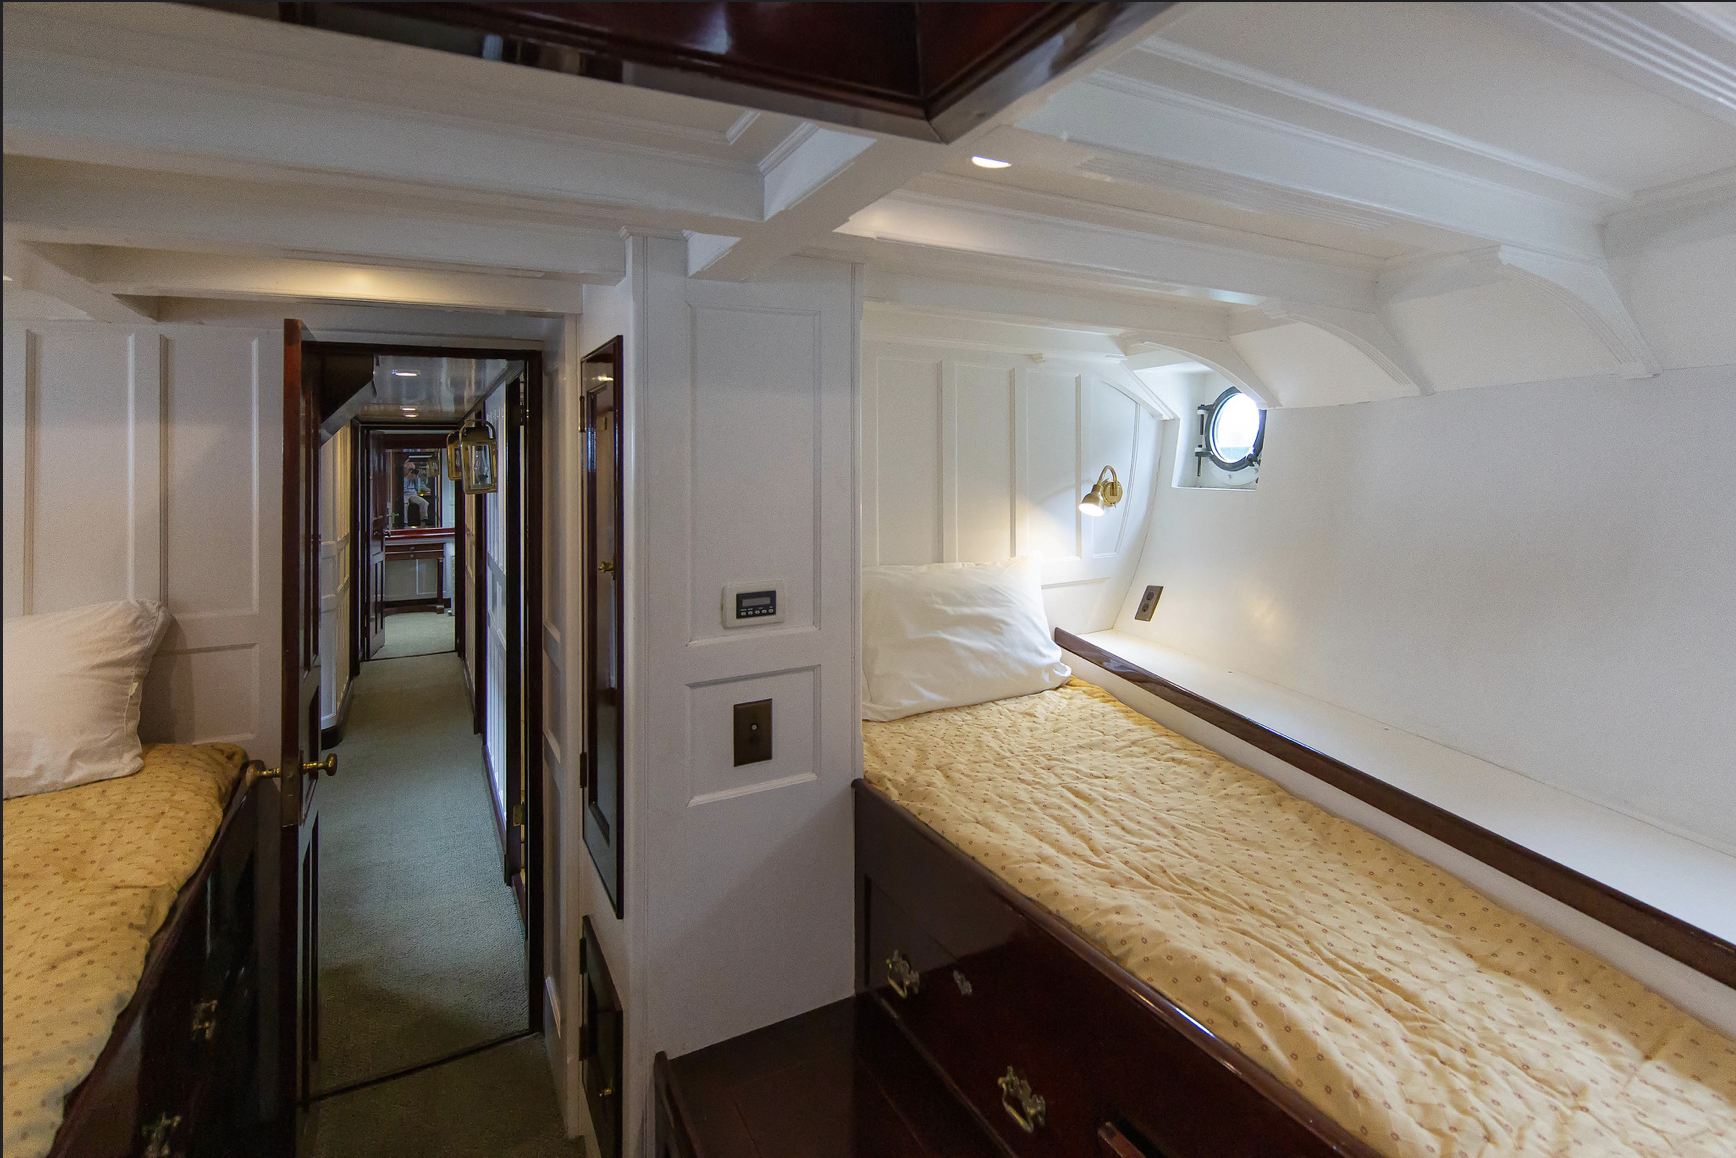
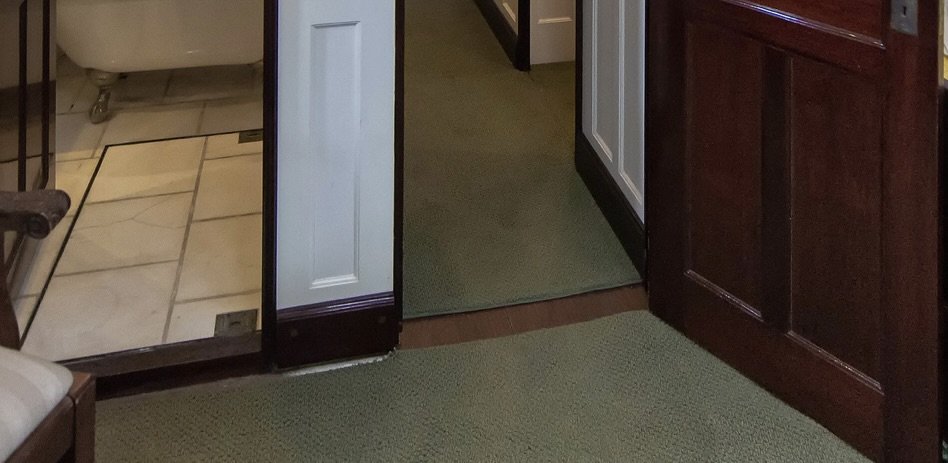
Eberhard, John, Rick, Keith, Yves - thank you for your comments. Also thanks to all my other visitors. One of the things I needed to sort out was the carpet. The same carpet is used throughout the owner and guest accommodation. The next picture is blown up from one of the accommodation photos. The carpet is olive green. Fortunately I had a cunning plan. The next photo is of a family heirloom. The chair is part of a dinner table set which was owned by my wife's grandmother, my wife's mother, my wife and now my daughter. So it is on its 4th generation. It could be older but no one can remember that far back. It is looking pretty good, particularly as I last re-upholstered it over 40 years ago. Now you might think that finding fabric from a job completed 40 years ago was going to be a bit problematic. Then again you don't know my wife. I went to her beautifully organised fabric box and there it was, second piece from the top. Locating it took about a minute. Sometimes I just get lucky (my wife claims it is called organisation). I carpeted the owners floor. He was delighted with the colour match and texture. The fabric is Dralon, so it should be hard wearing. 😀


-
All very precise Paul. Great workmanship.
-
Amazing build Roel. She is a little gem.
-
Yves - Quite something. I wonder what it is like inside.
-
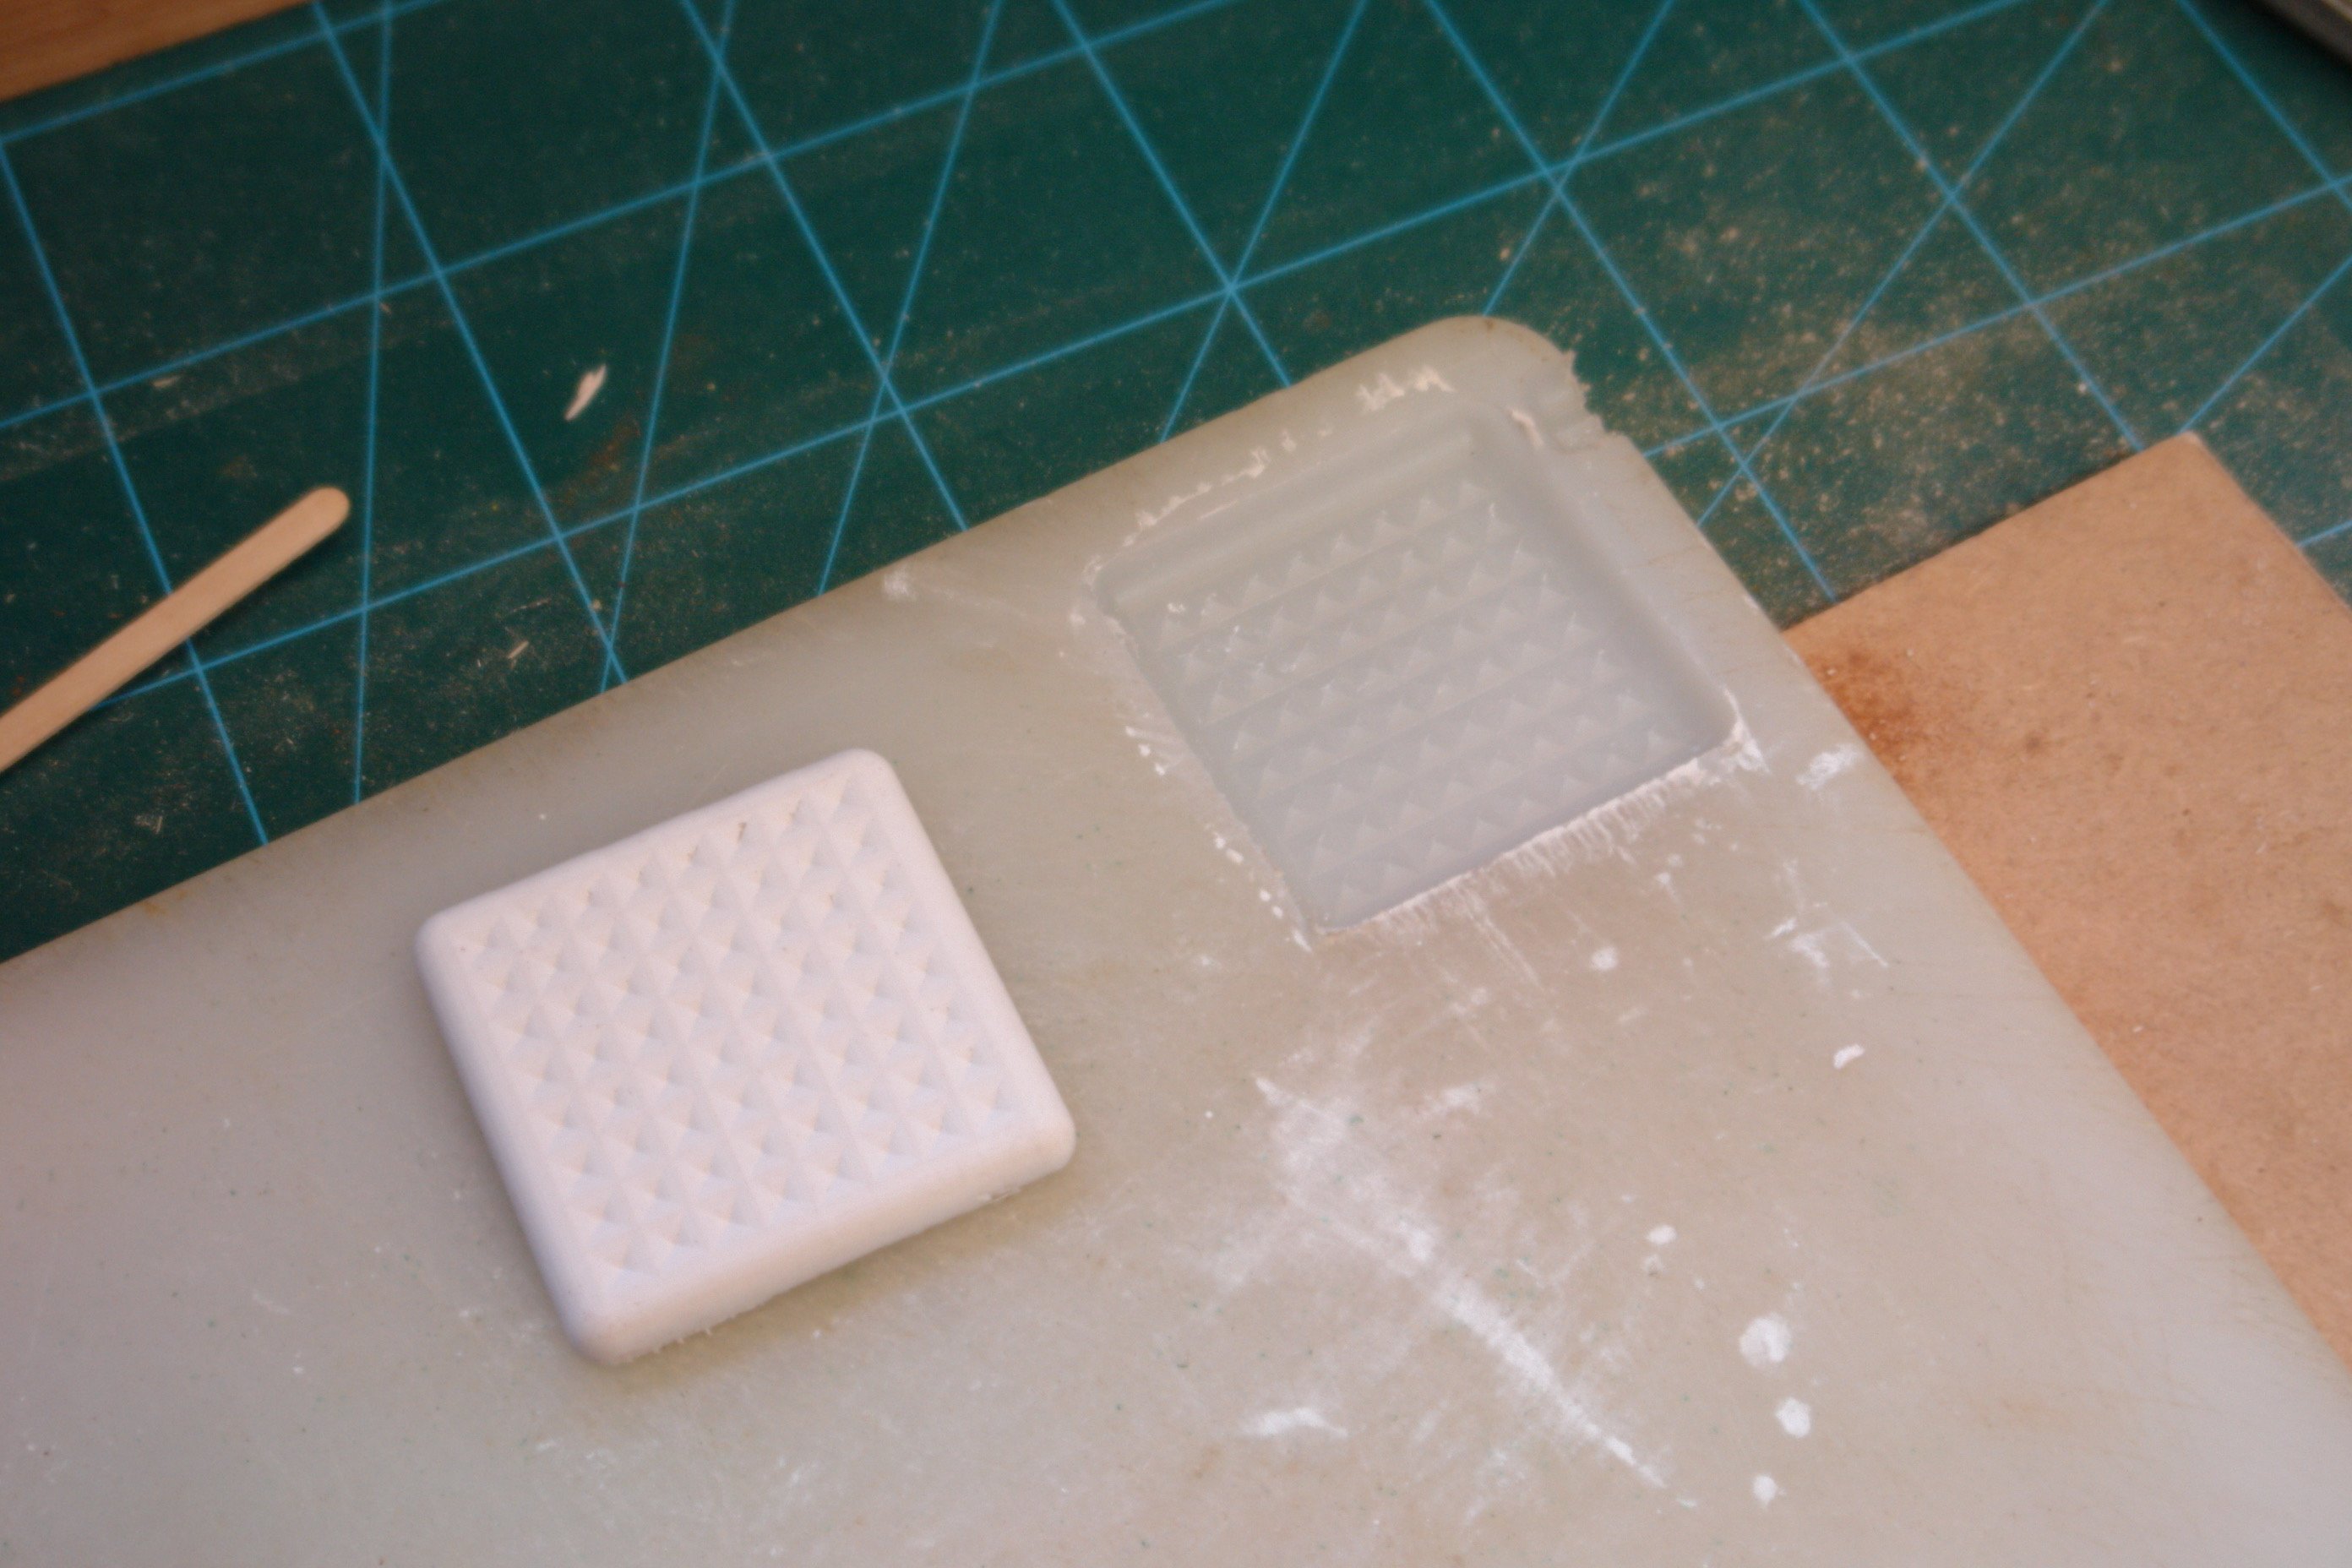
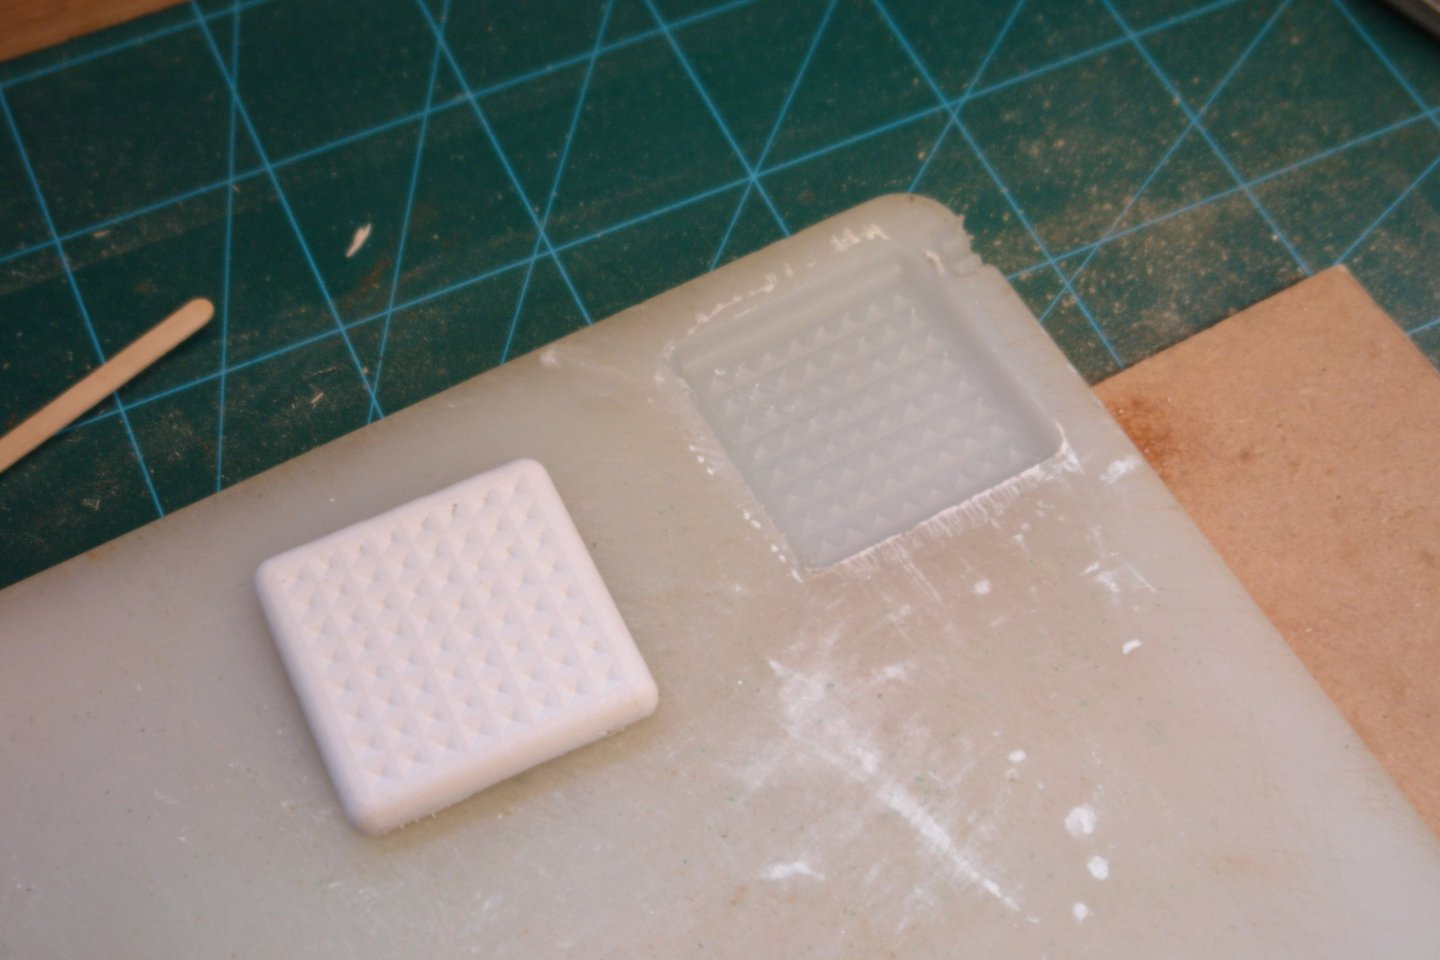
Eberhard Yes - an old kitchen cutting board, nice and flexible to ease extraction. Fabric mesh embedded in the paster to prevent breakage while extracting. The board was cut with a ball nose end mill.
-
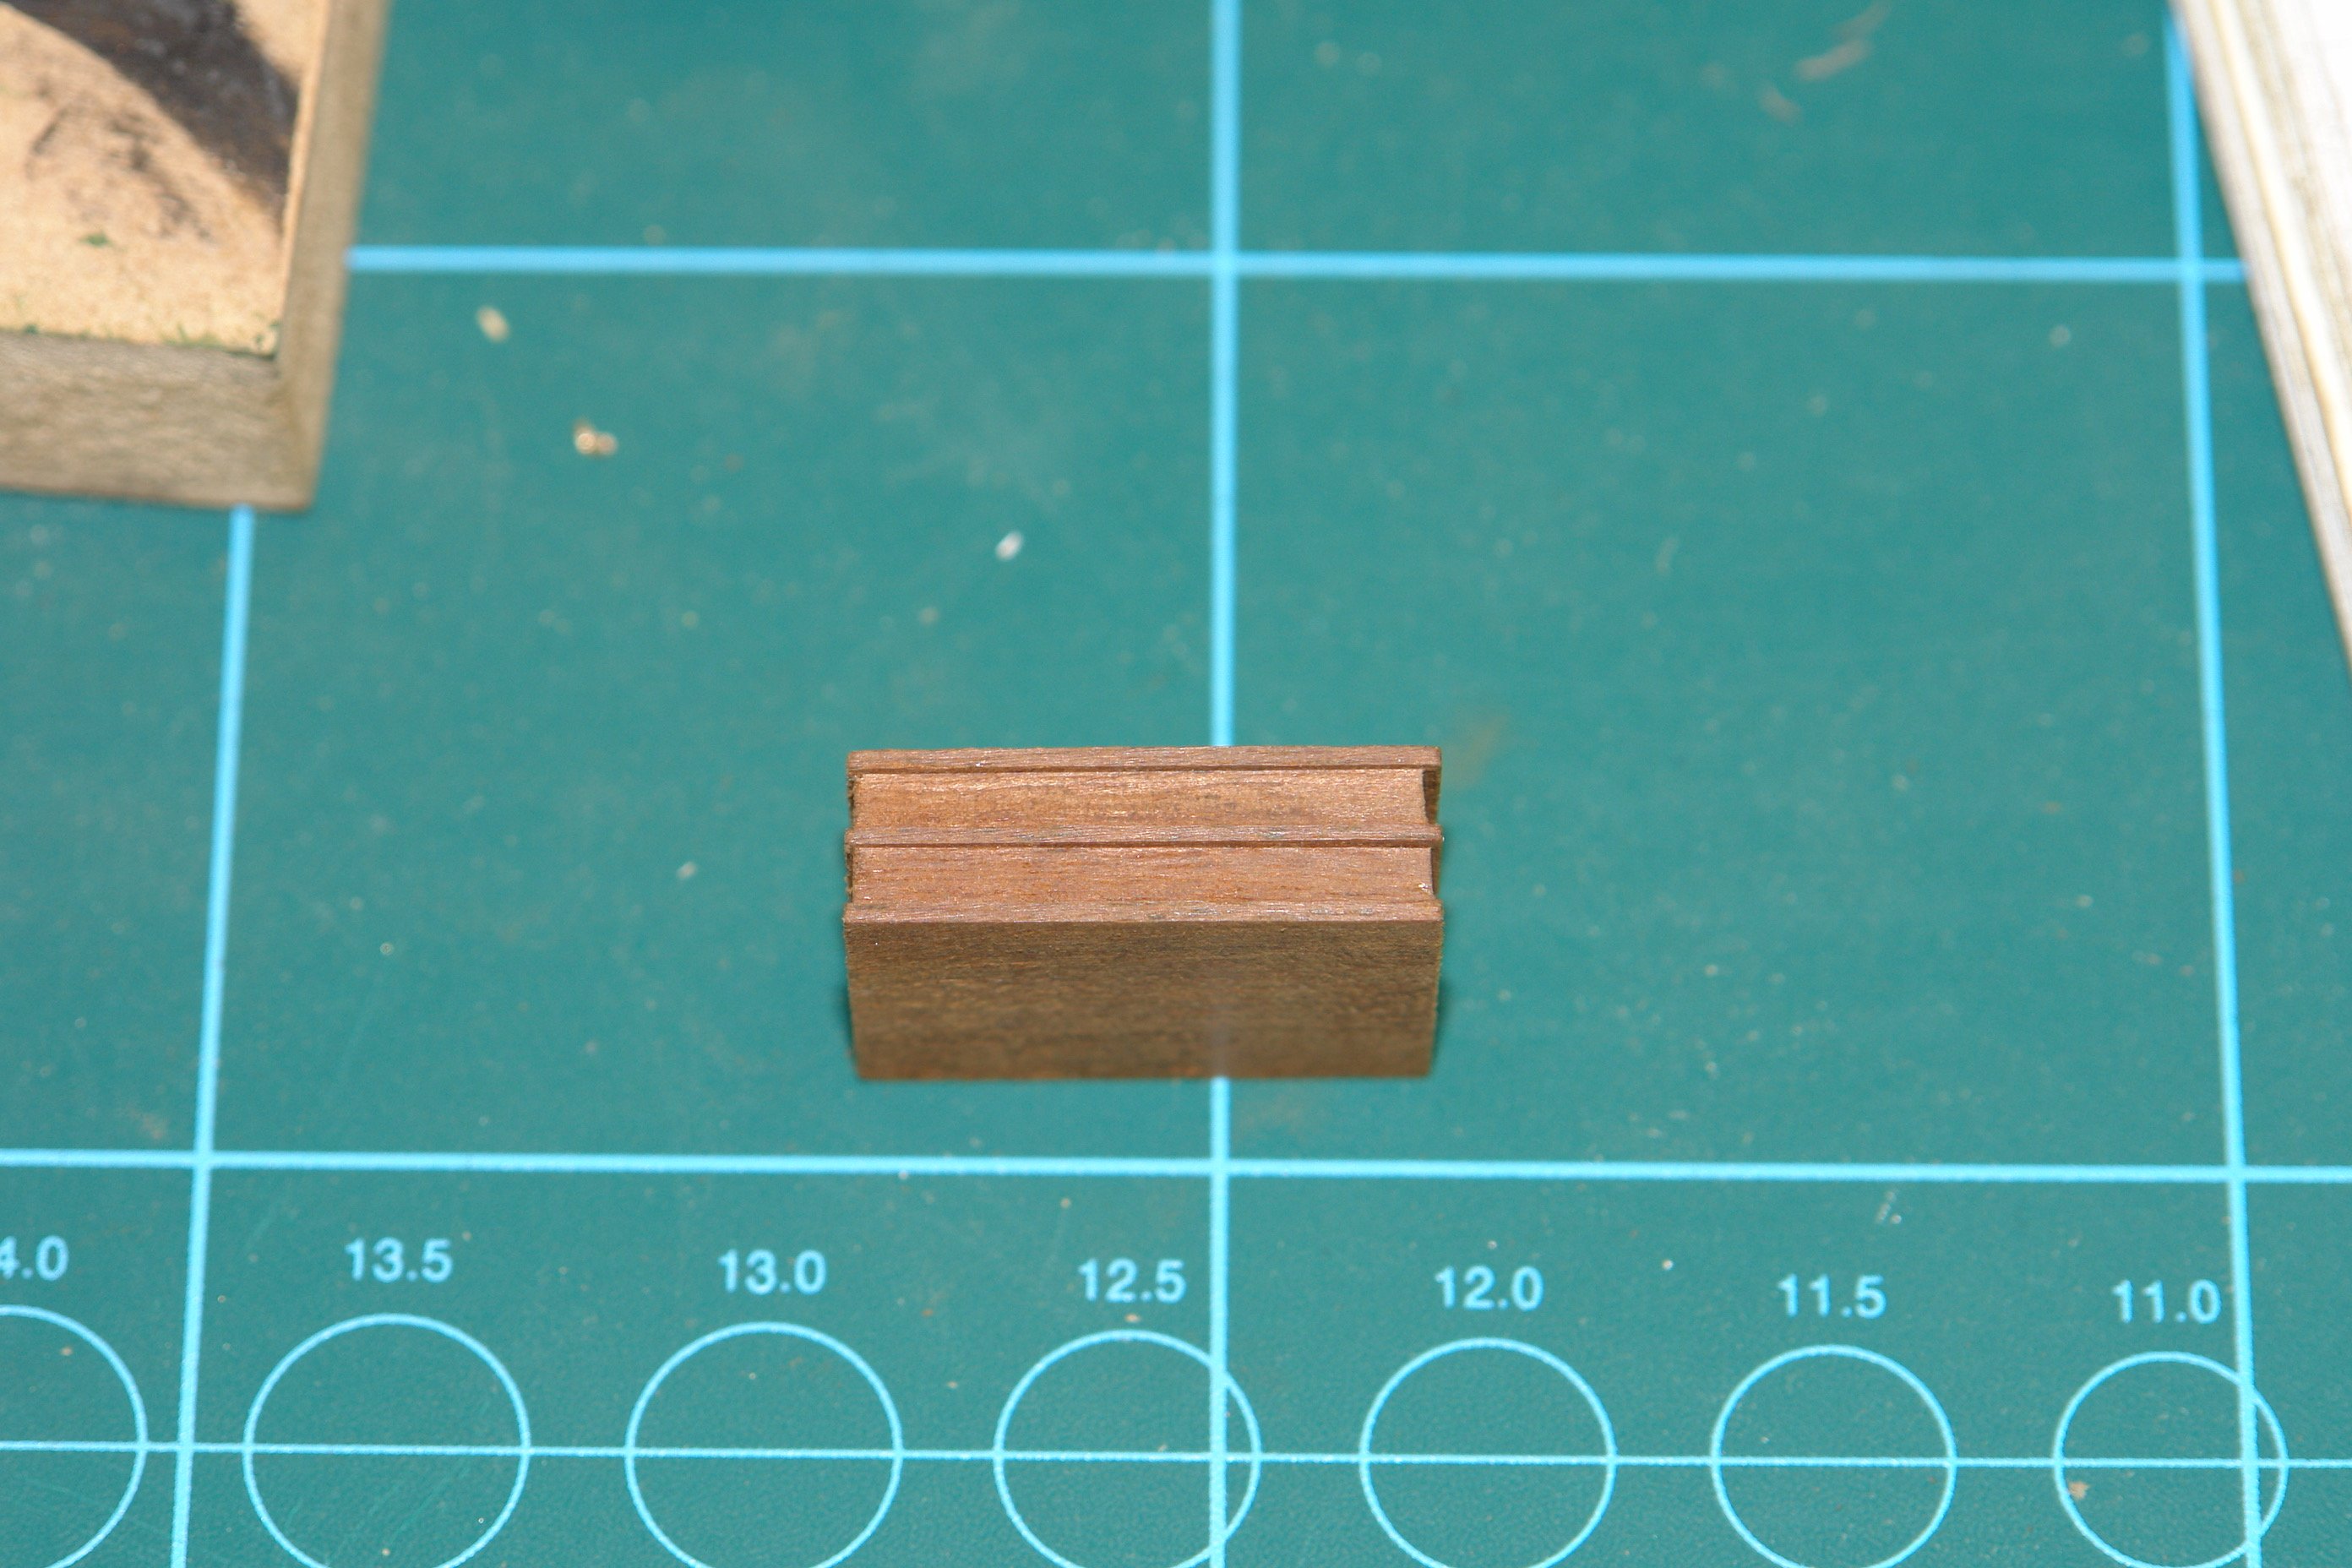
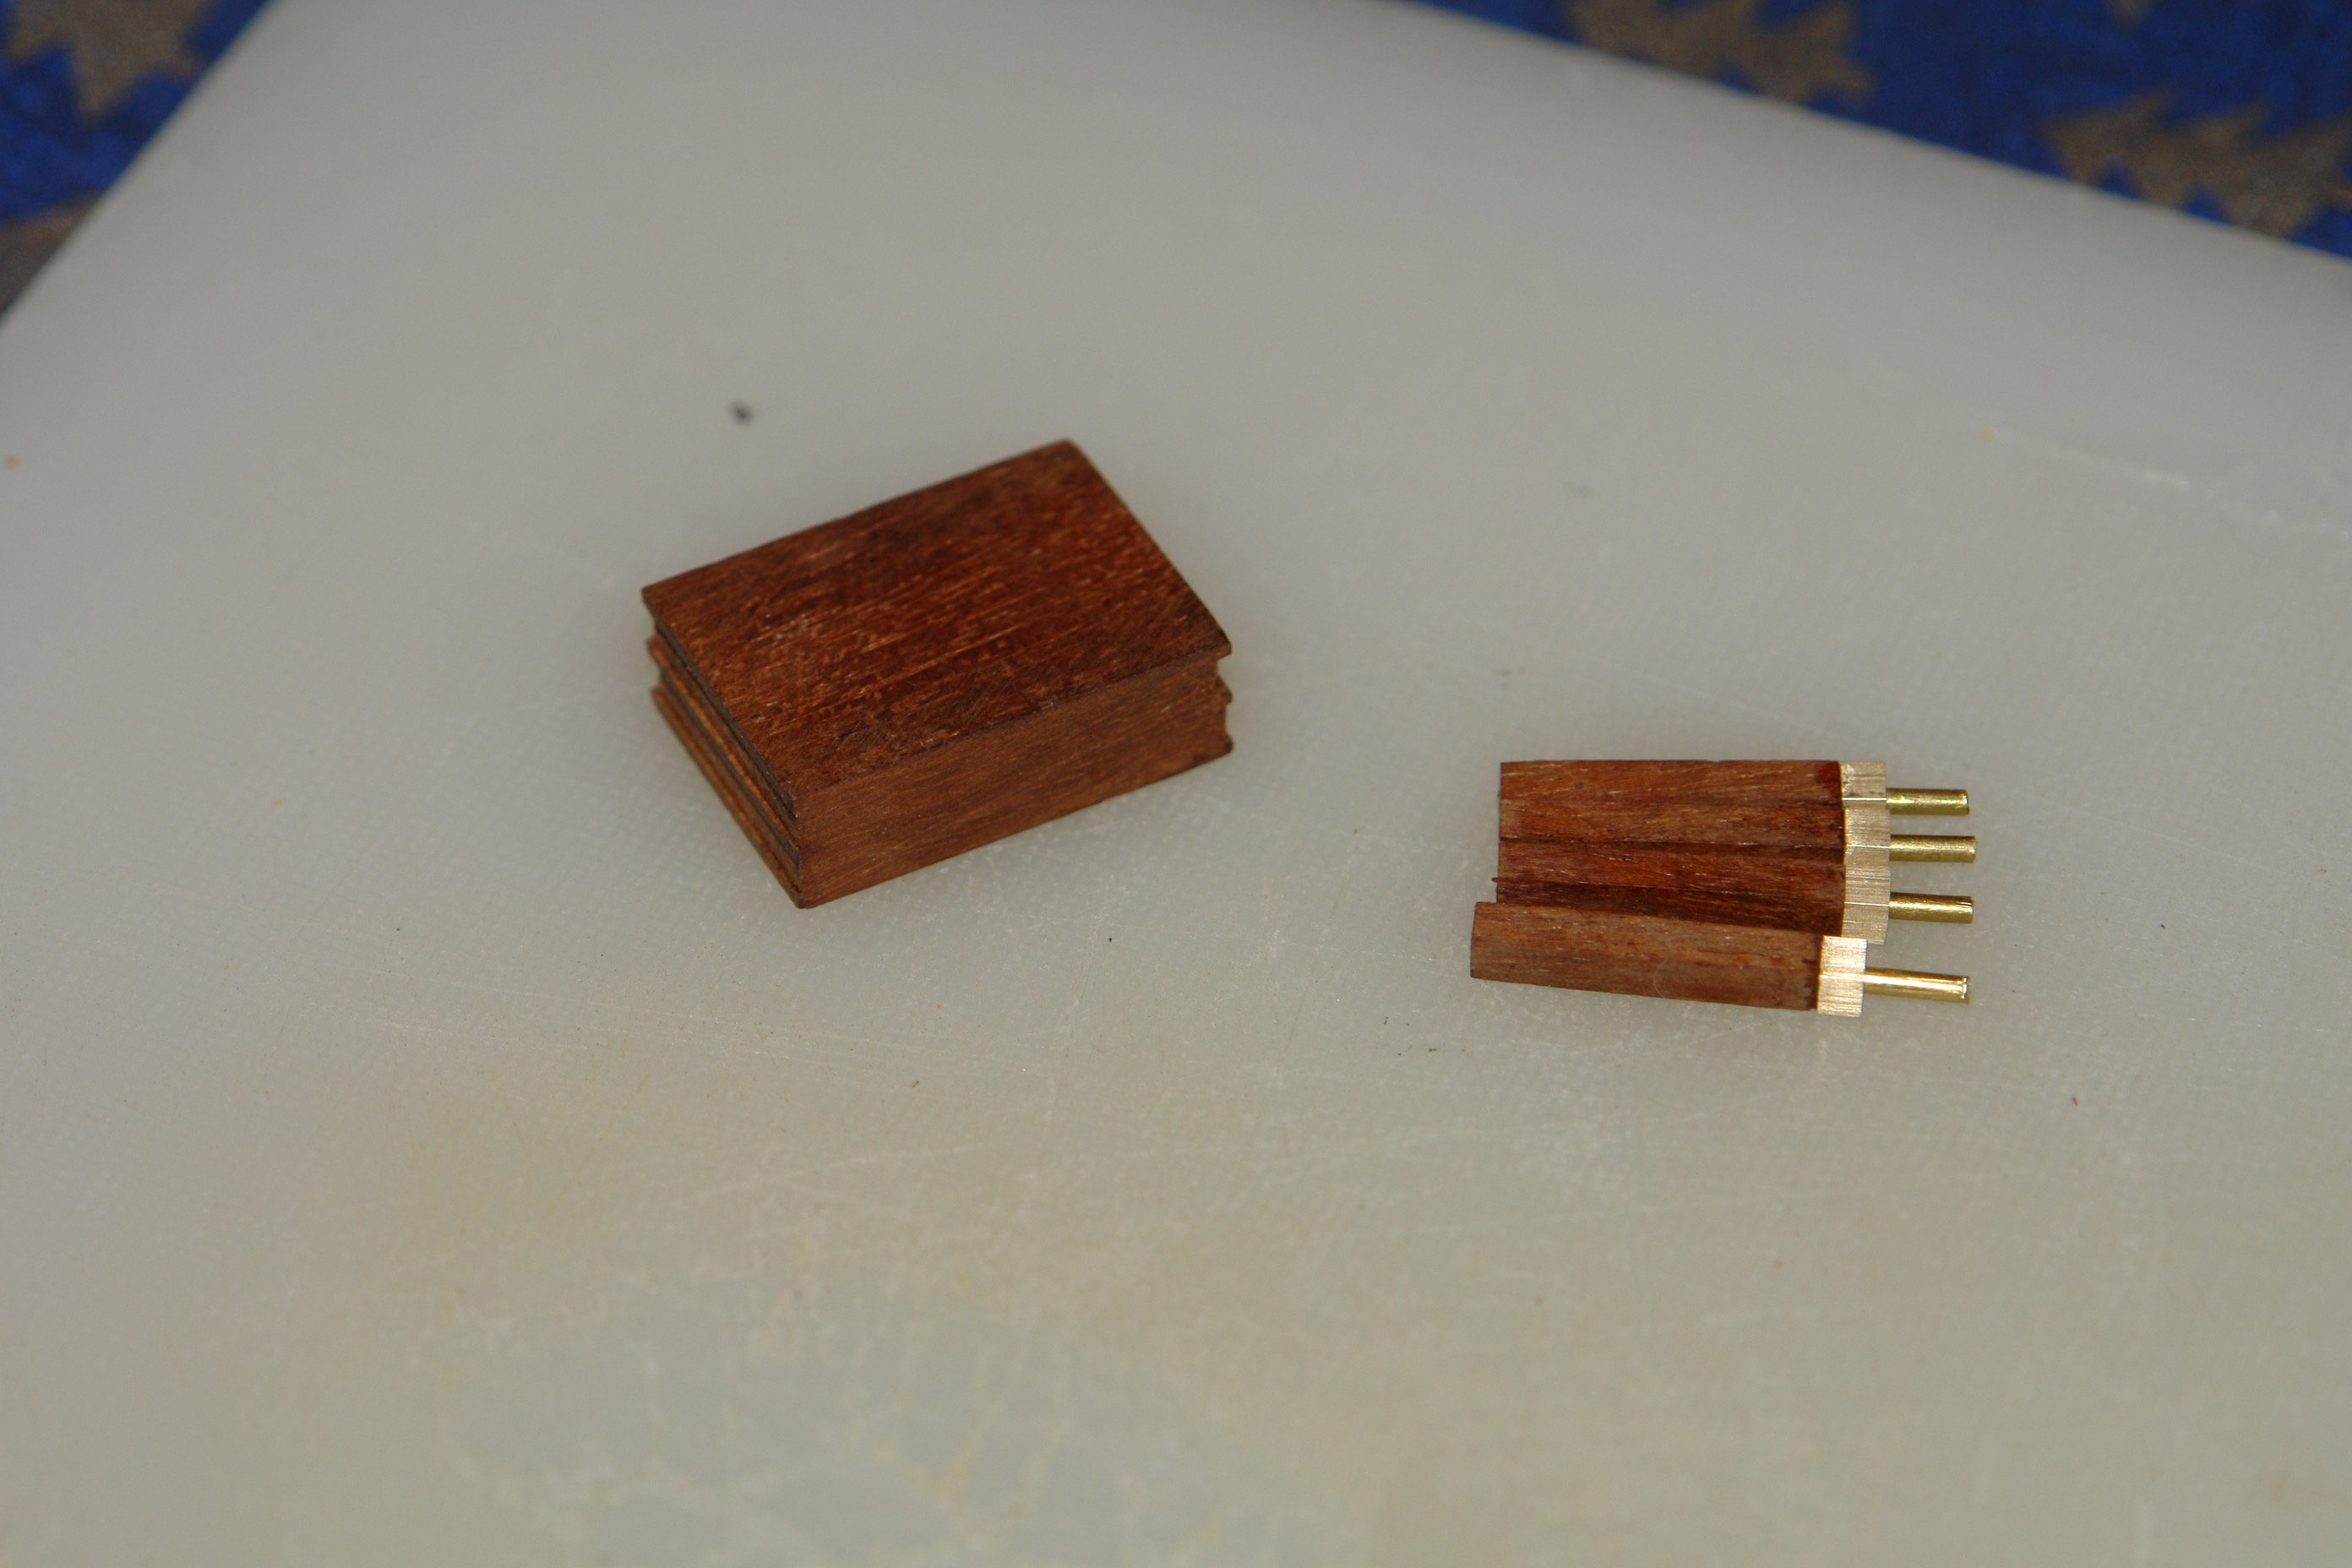
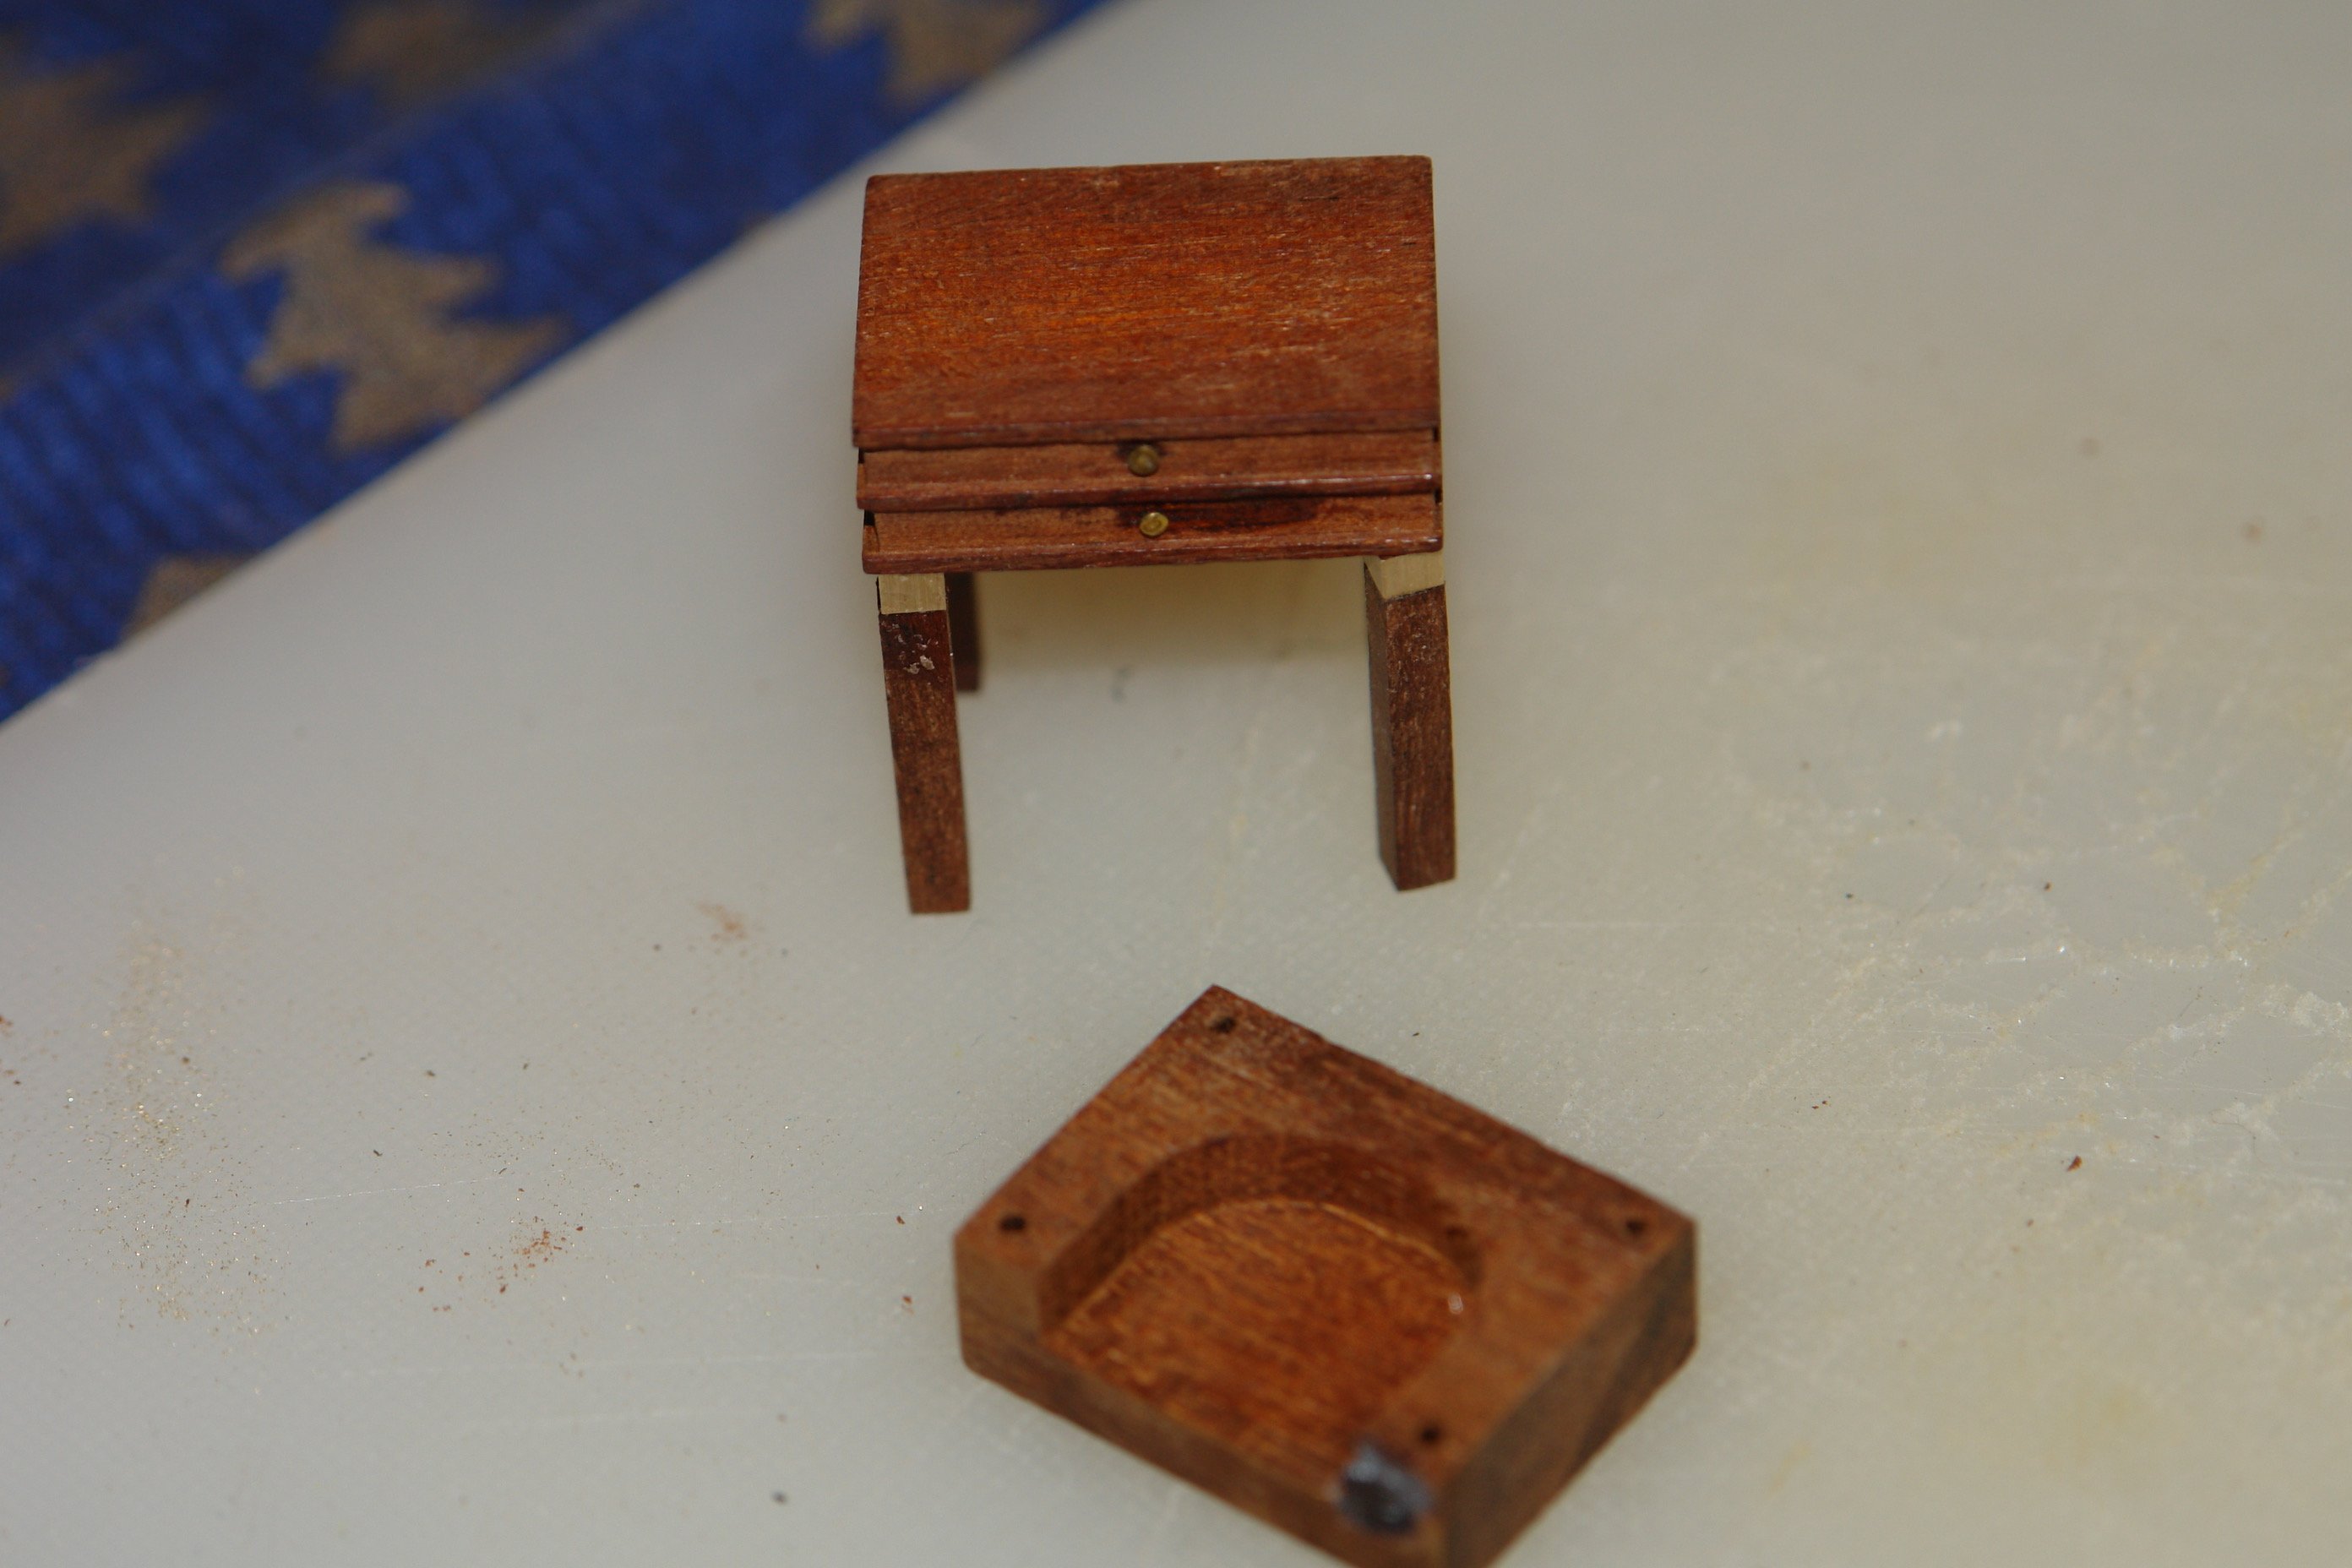
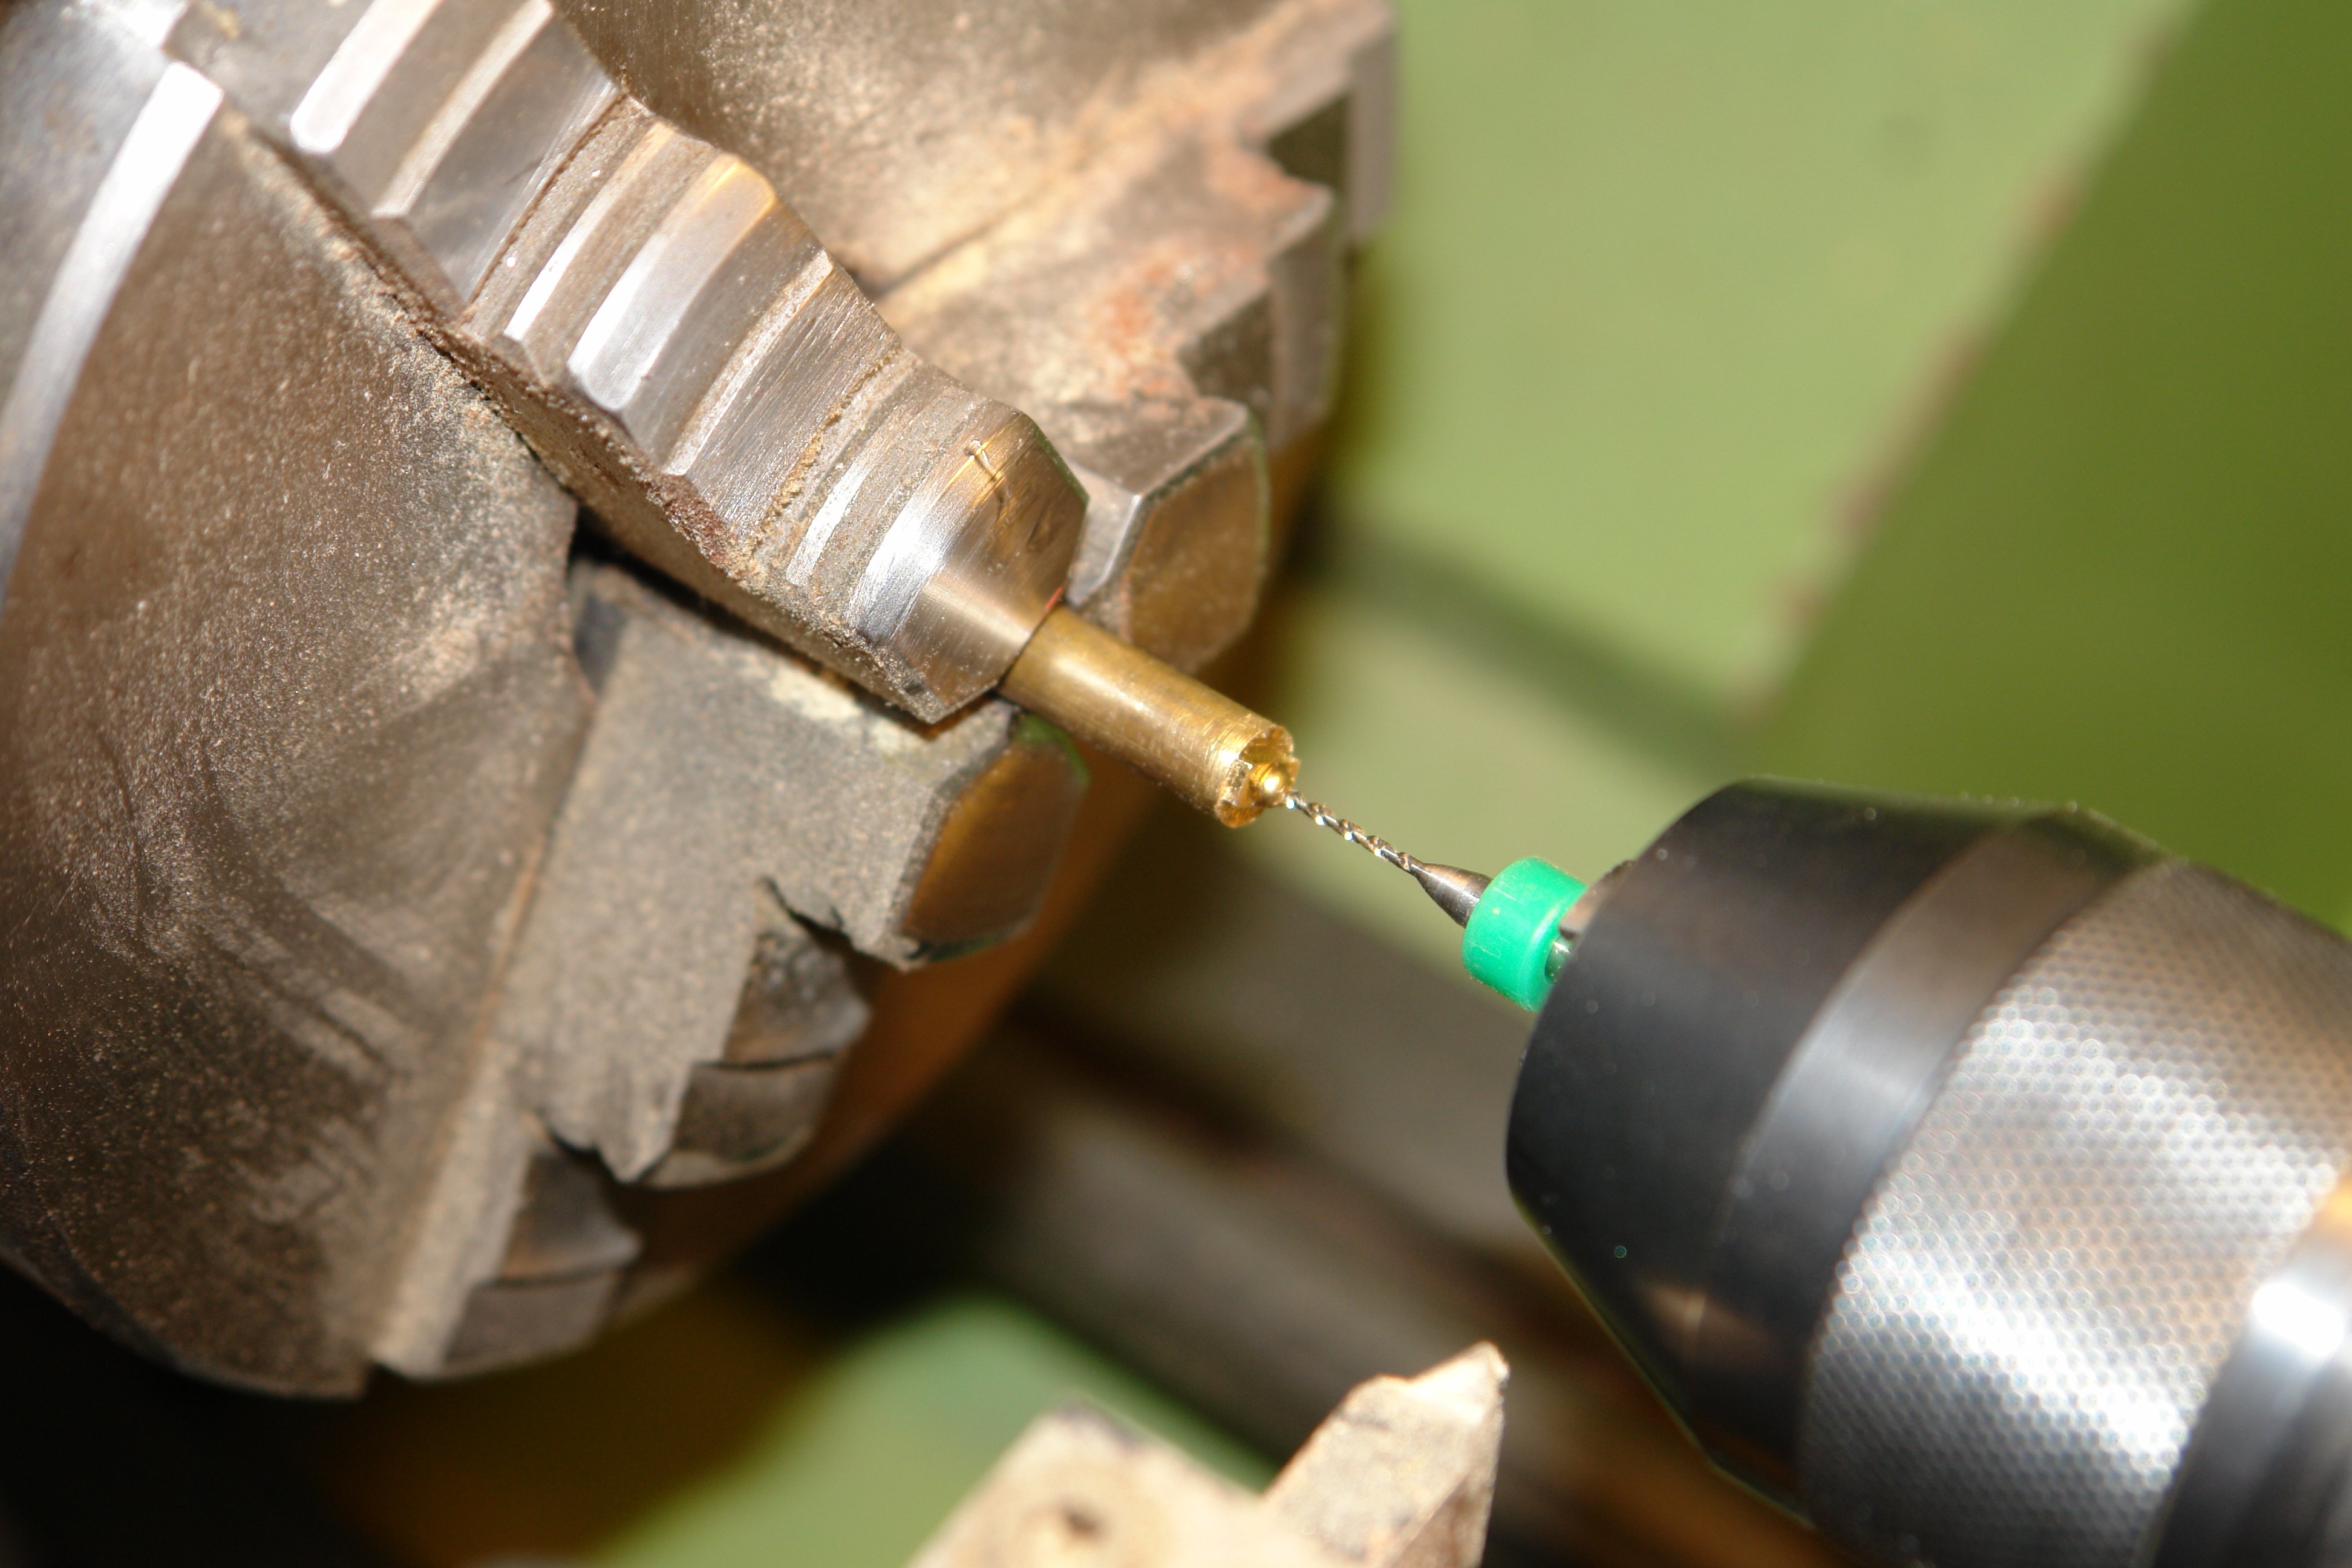
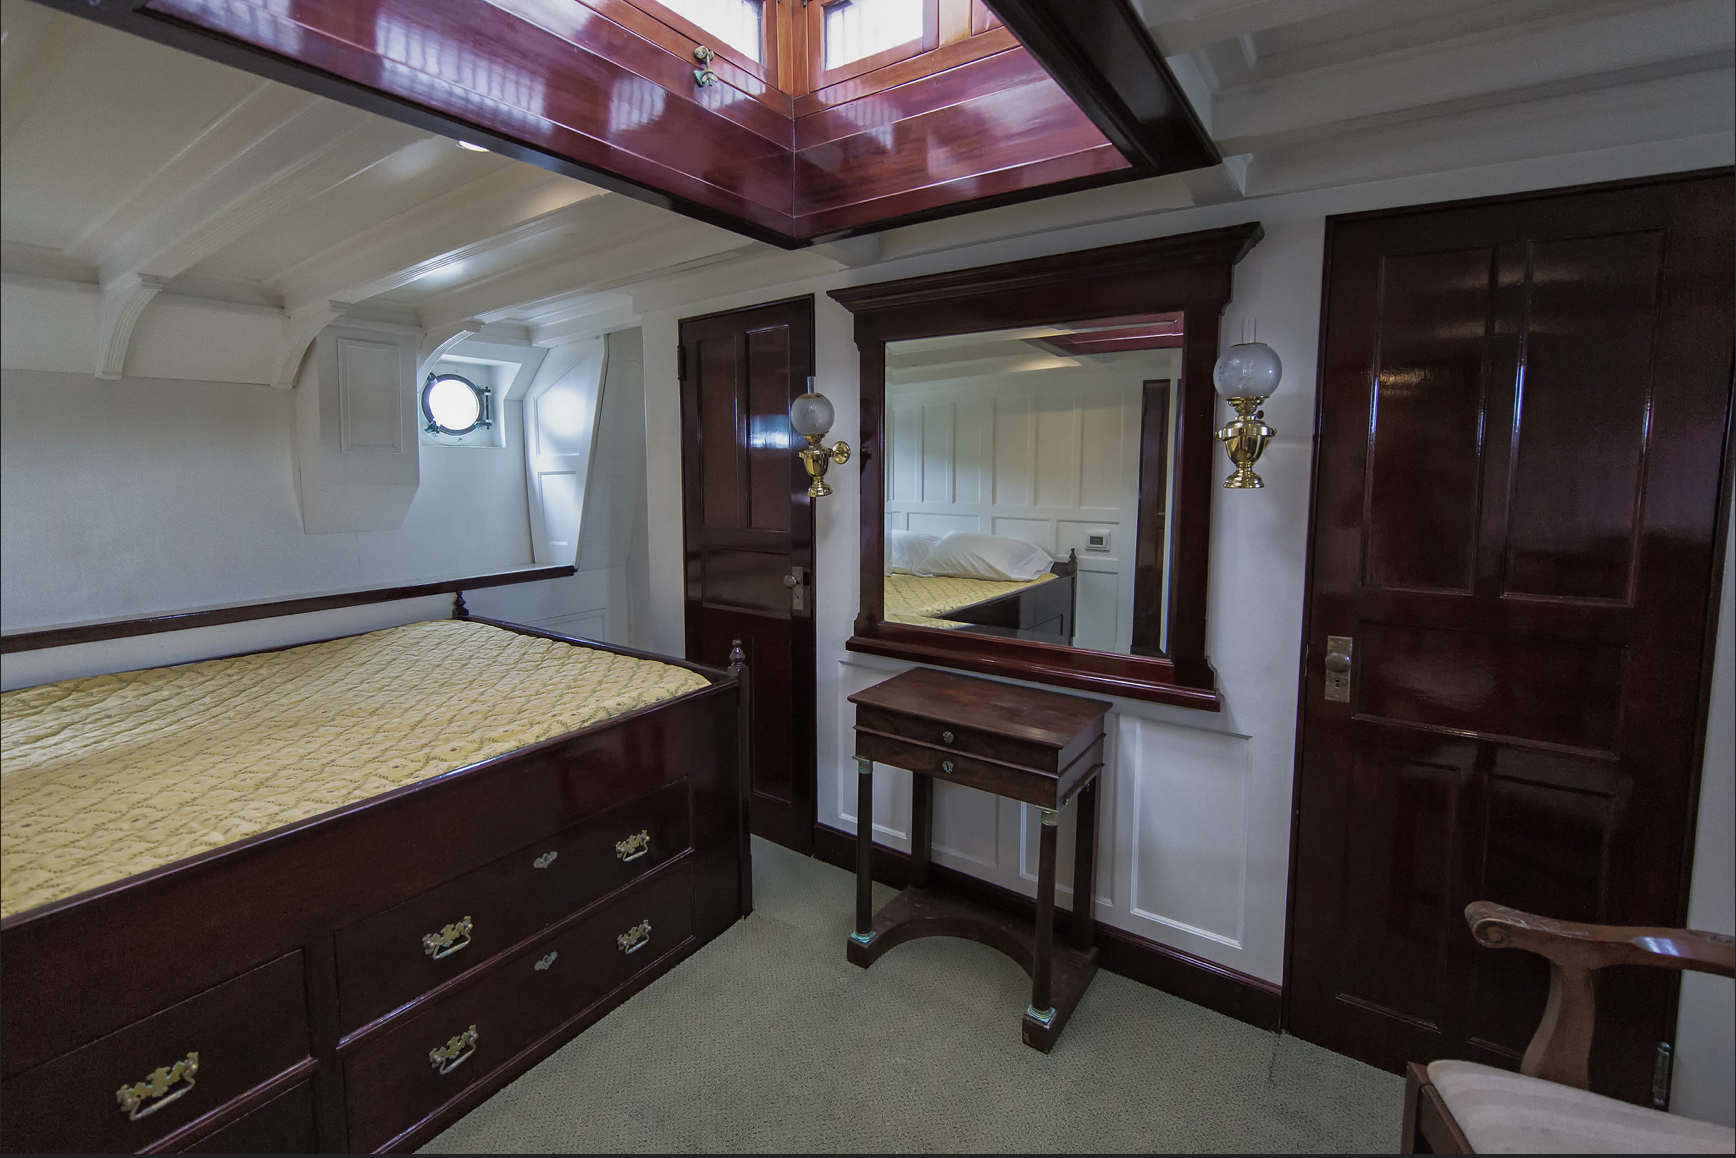
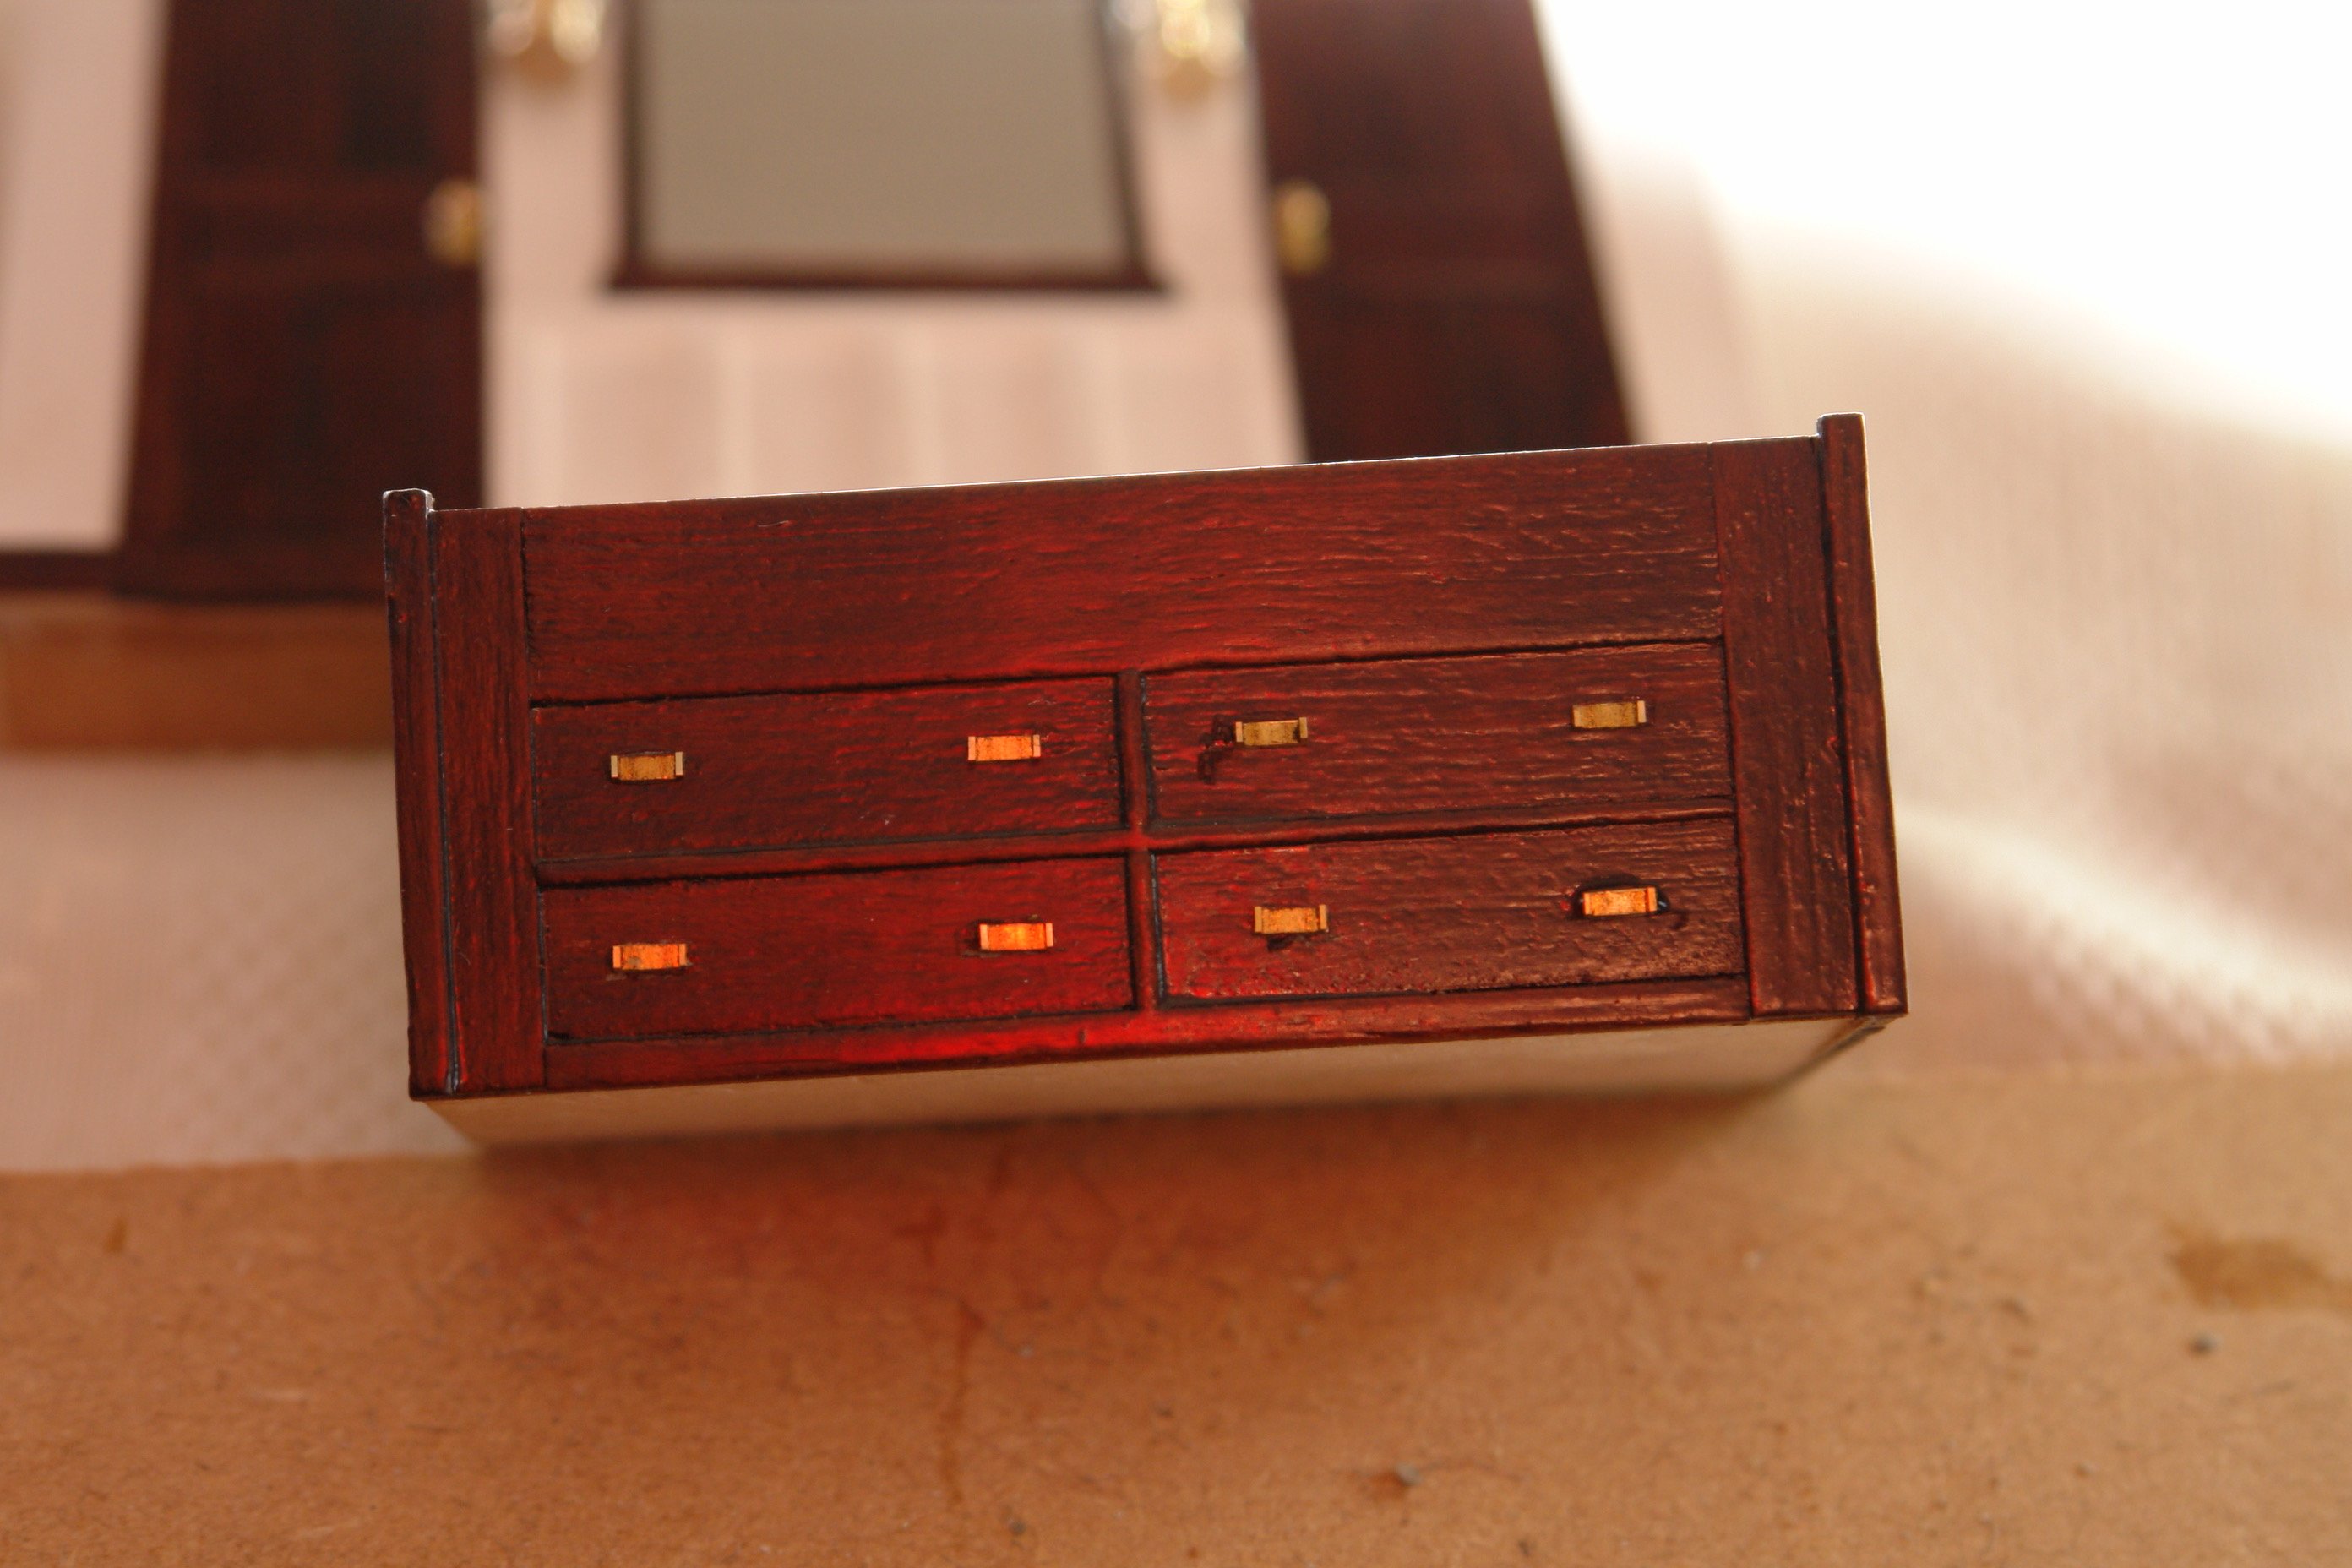
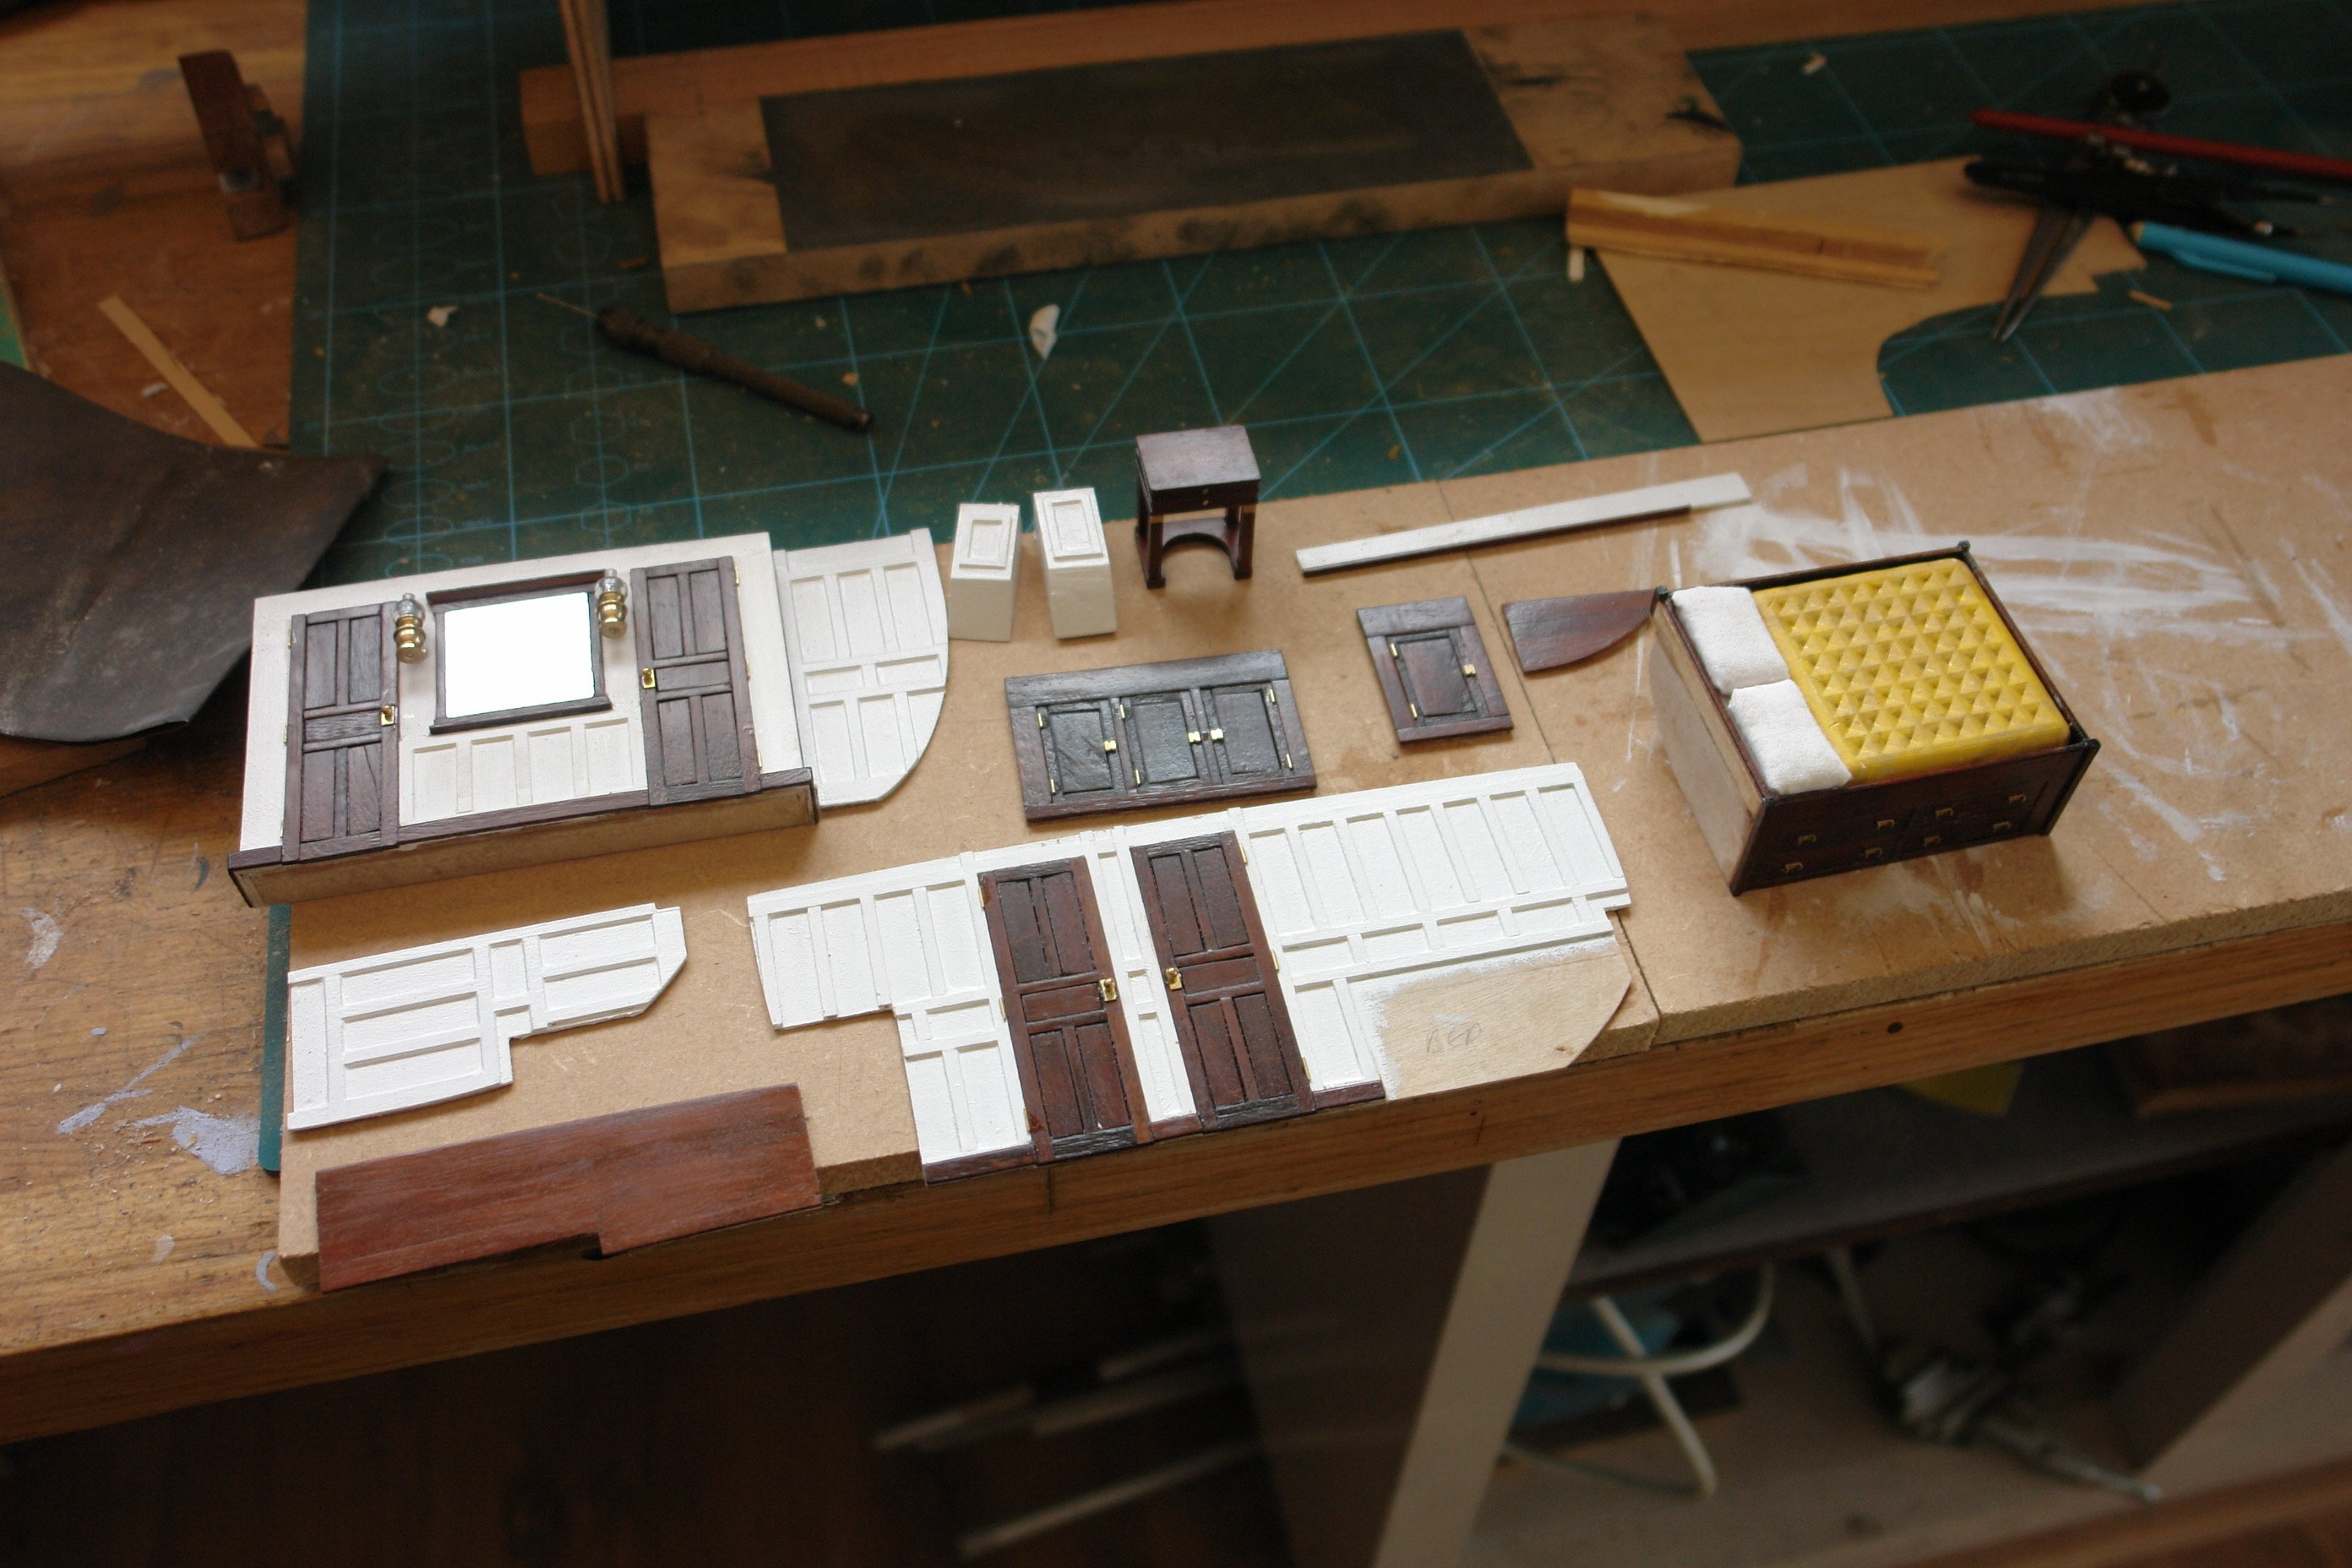
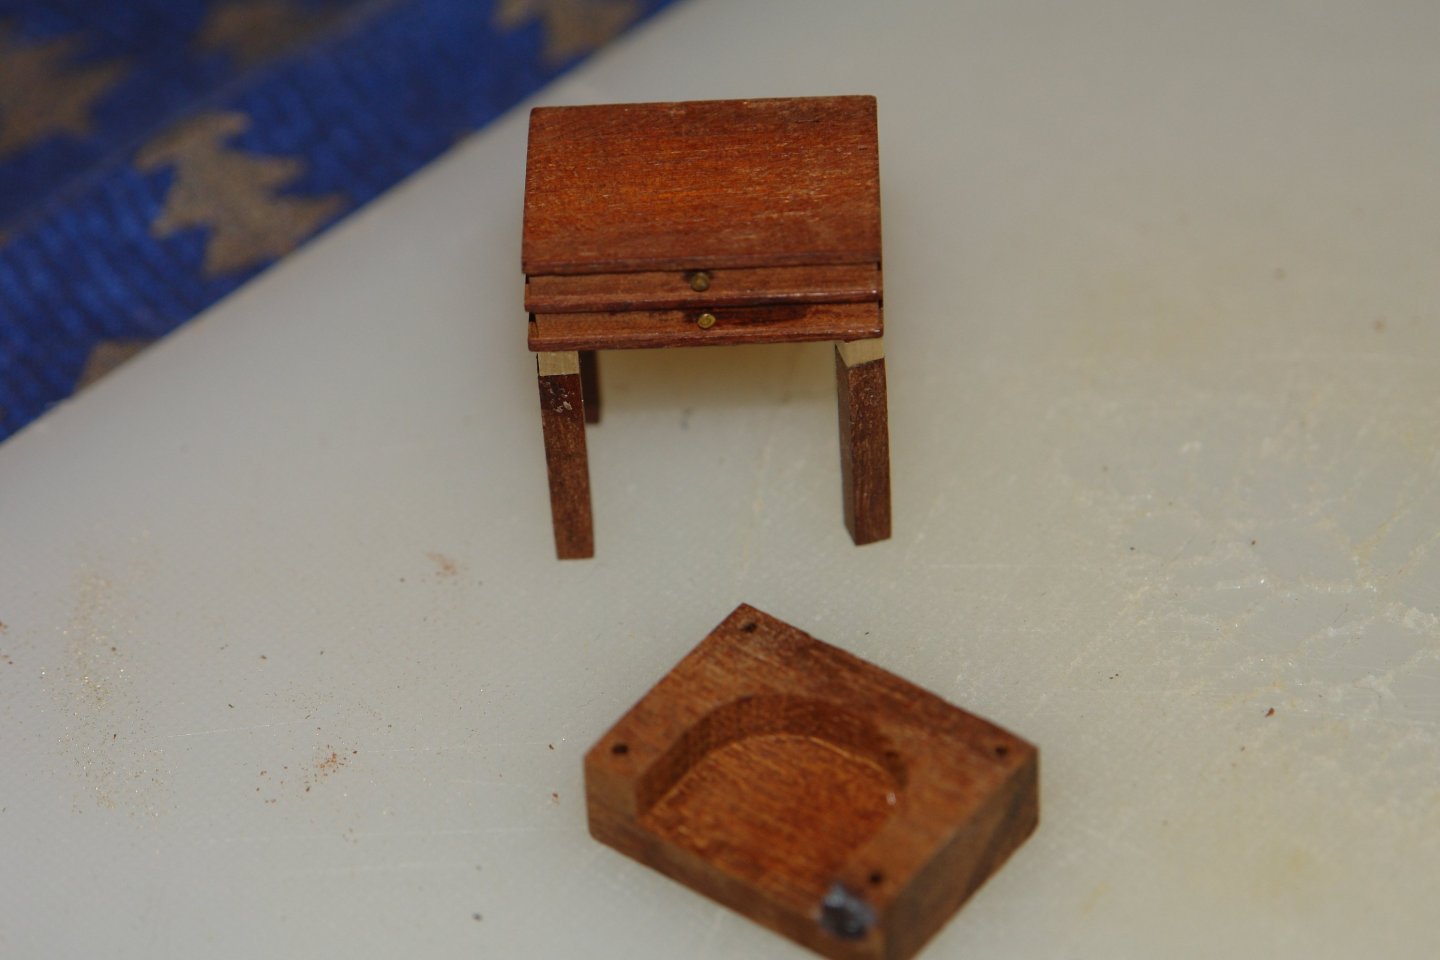
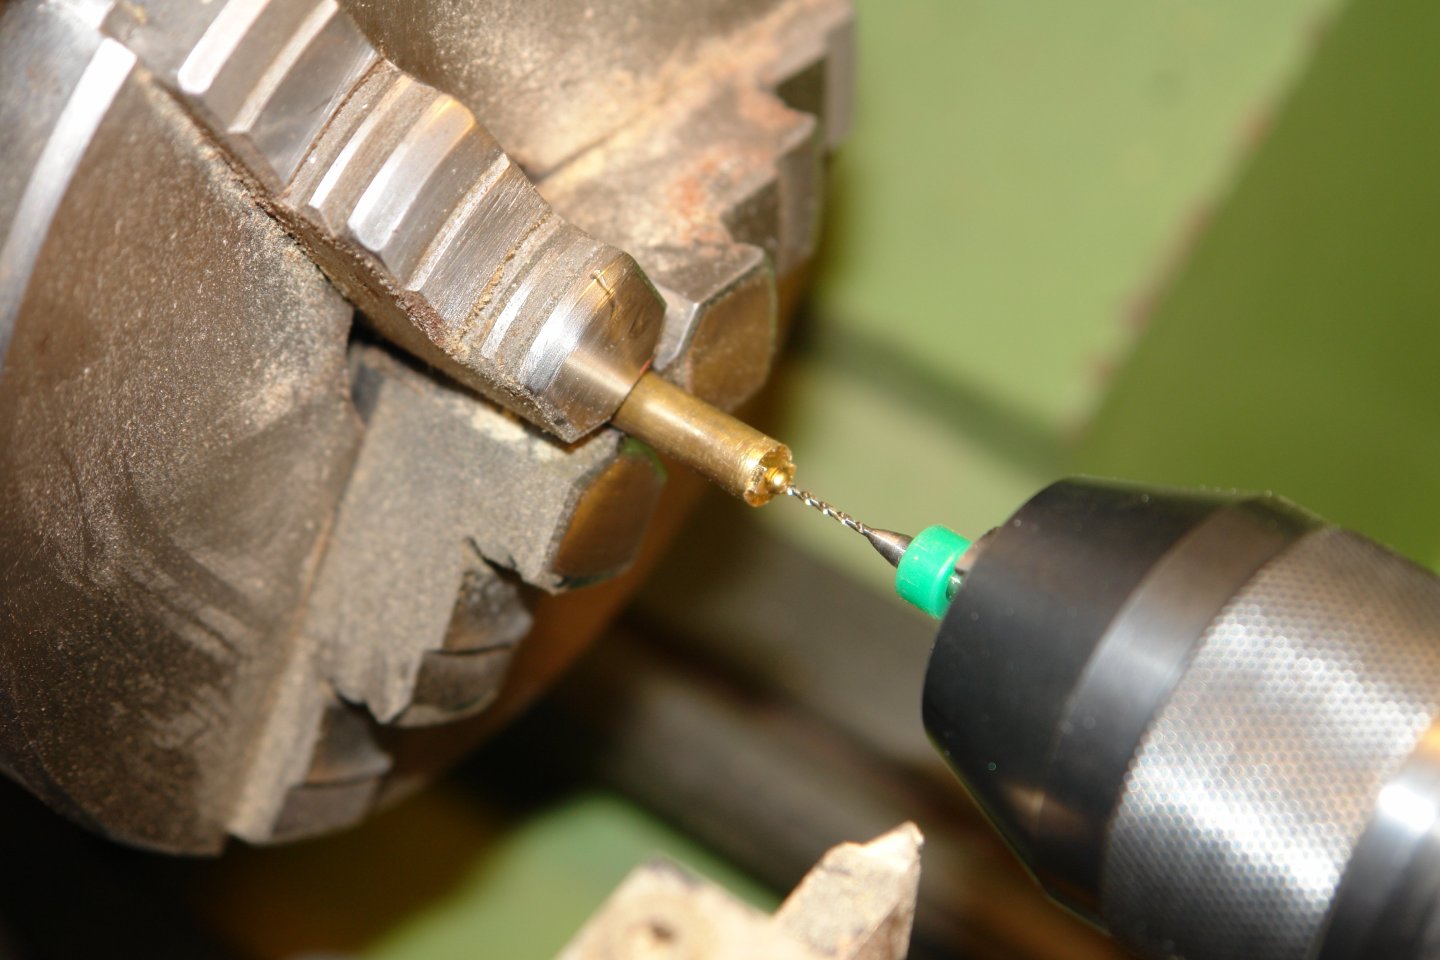
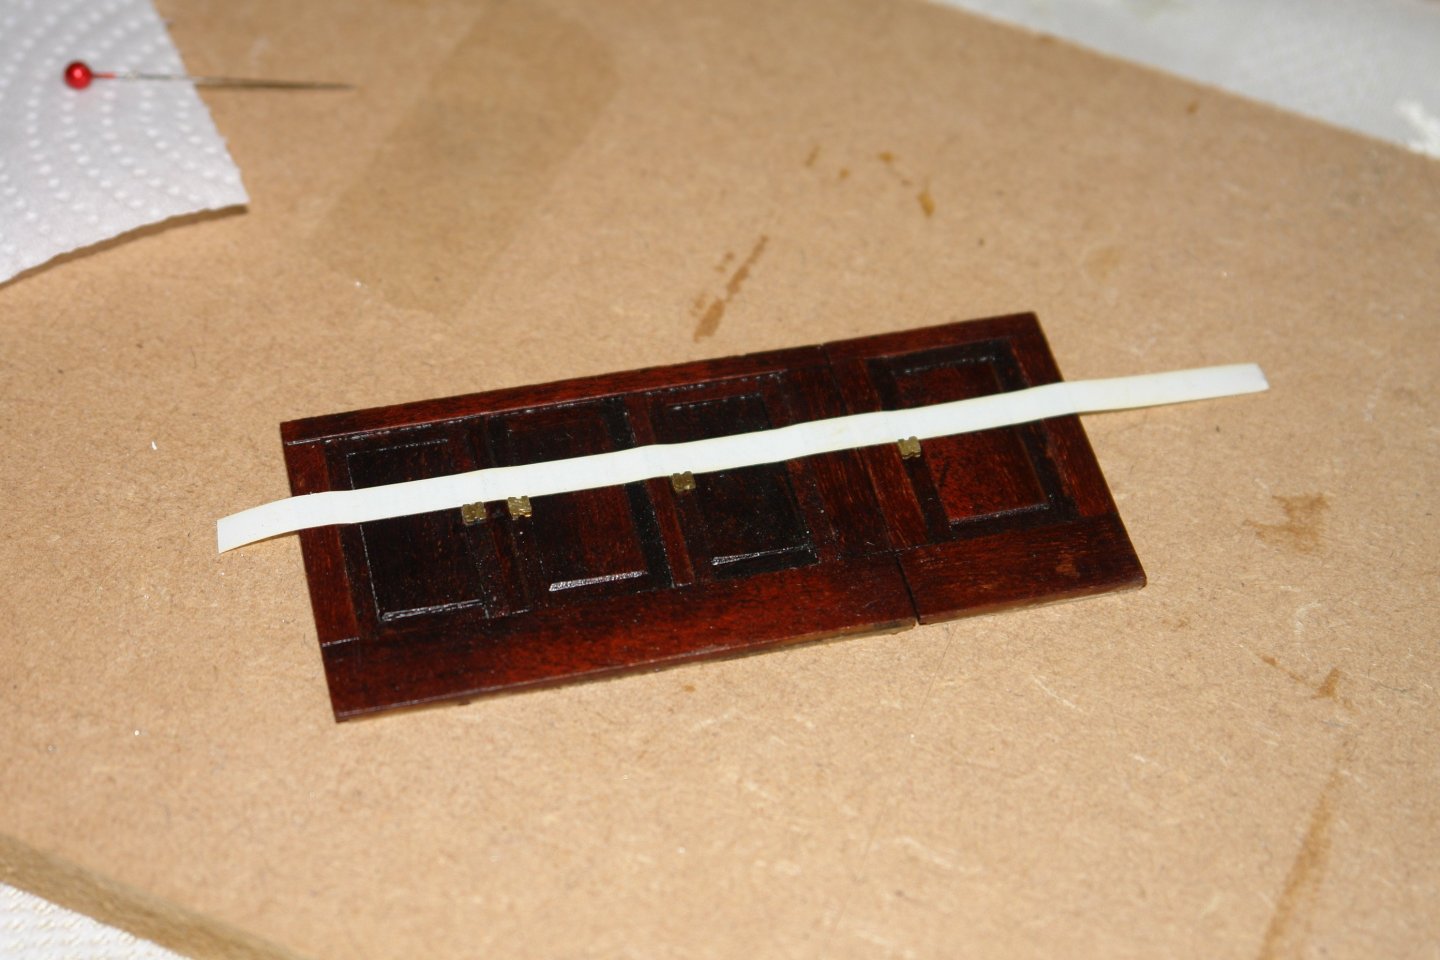
Thank you Pat. I am moving along with the owners cabin. There is a nice little dressing table between the lockers on the forward bulkhead. I started with the top / draws milled form a solid piece of mahogany. The legs have a bit of brass work. The base is likewise milled from solid. the handles are brass pin heads. I needed door handles. I had some 0.1" brass balls but these need to be drilled to take a shaft. I put piece of brass in the lathe and centre drilled it to form a cone. The balls were glued into the cone and then drilled with a .040" drill. I then got on with the rest of the panels. The bed has various draws. And there are cupboards on the starboard wall. The bed has a quilt but I am simplifying it. I keep reminding myself that most to this will be hidden below deck with only a very small skylight for viewing. I made a mould and cast the quilt in plaster. I now have most of the bits I need so assembly staring tomorrow.


-
Clearly she was inspired by a house brick. And that reminds me of our local river as a child, in a very industrialised area. The river ran black, decorated by cream coloured suds of some unknown chemical. On windy days the suds would be whipped off the surface to be blow across the town to the shrieks of the local women as they rescued their husband's shirts off the neat rows of communal washing lines. On summer's days we would go down to the river for what we optimistically called the "River Don Brick Floating Contest". I understand the river now has fish in it. A benefit of deindustrialisation.
- 406 replies
-
- 10
-
-

-
- Billy
- sternwheeler
- (and 1 more)
-
Good luck with the build. I looks like an interesting project. You might find that building small is just as time consuming as building the real thing.
- 53 replies
-
- 2
-
-
- William Atkin
- Sloop
- (and 1 more)
-
Prop looks great, your lack of machine tools is just an opportunity for innovation. I assume you used soft solder?
-
Excellent job Mark, I keep looking at the concrete, it is amazingly realistic.
-
Beautiful hull - presumably you then went on a long holiday. Looking forward to the next instalment.
-
She is pretty as a picture Craig and such beautifully neat work. In every way a real delight.
-
Very posh shed. The ship has lovely lines. It reminds me of the Sutton Hoo ship currently being reproduced using traditional skills and tools - https://www.bbc.co.uk/news/articles/ced6dw7pz31o
-
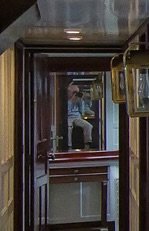
It's actually on one of the sale brochure photos. I assume the official photographer.
-
Keith, John, druxey, Rick, Steve, Andy, mcb - thank you all and everyone else for your patience. I appreciate all your visits and comments.
-
Thank you Rick. While studying the photo's i discovered the owners cabin already has an occupant. Is that anyone you know Rick?🙂

-
An enjoyable catch up John. A huge amount of work in that paddle wheel, very impressive.
-
Yep - but how do you turn them round to see the explosions?
- 494 replies
-
- 2
-
-
- minesweeper
- Cape
- (and 1 more)
-
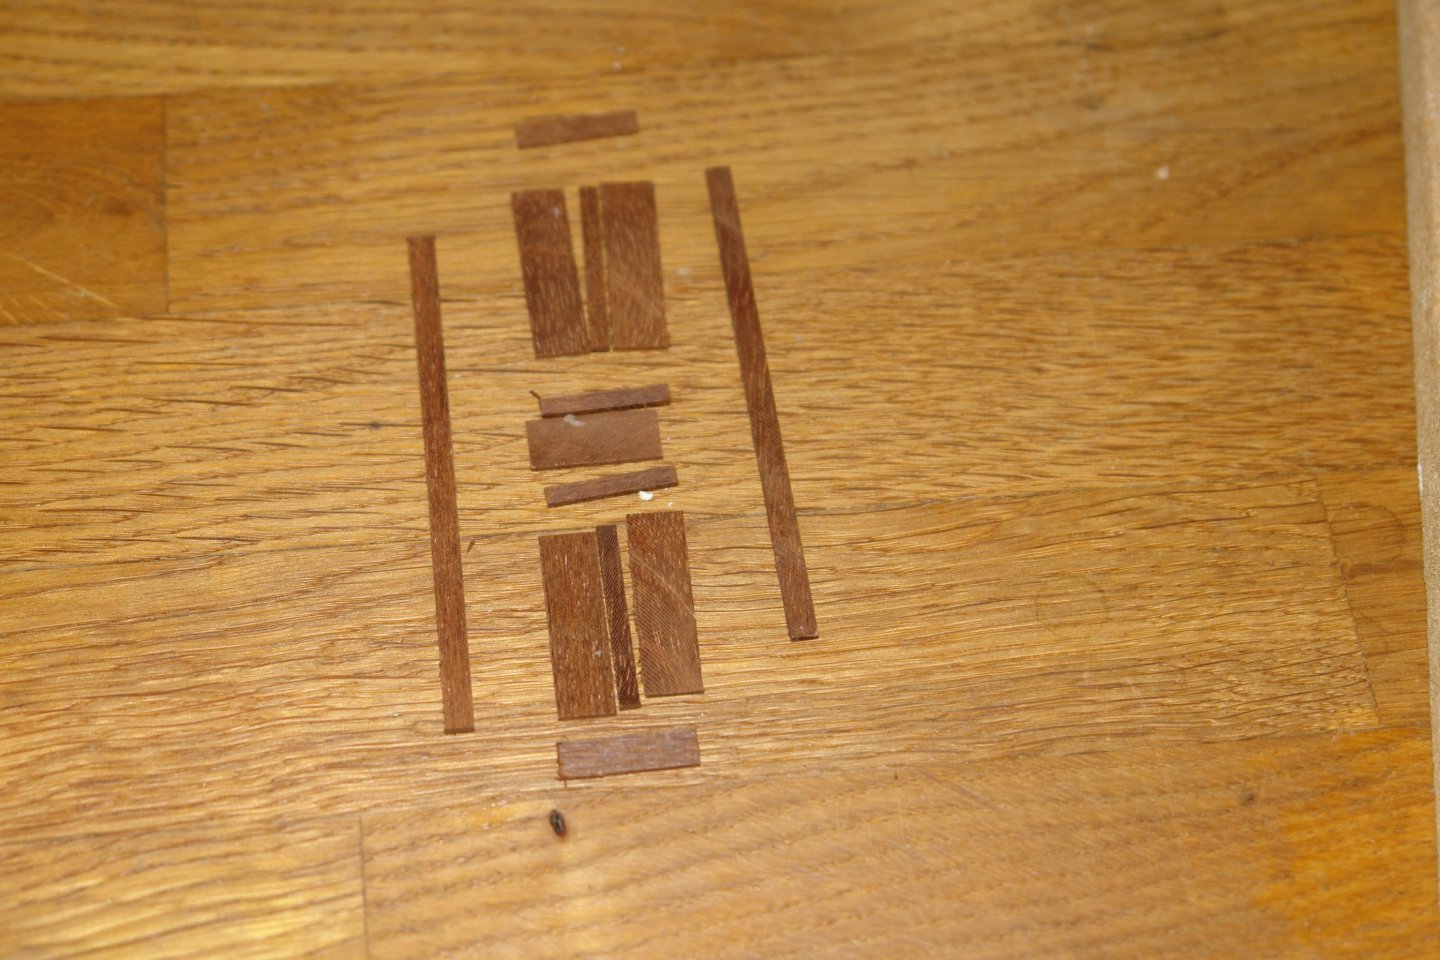
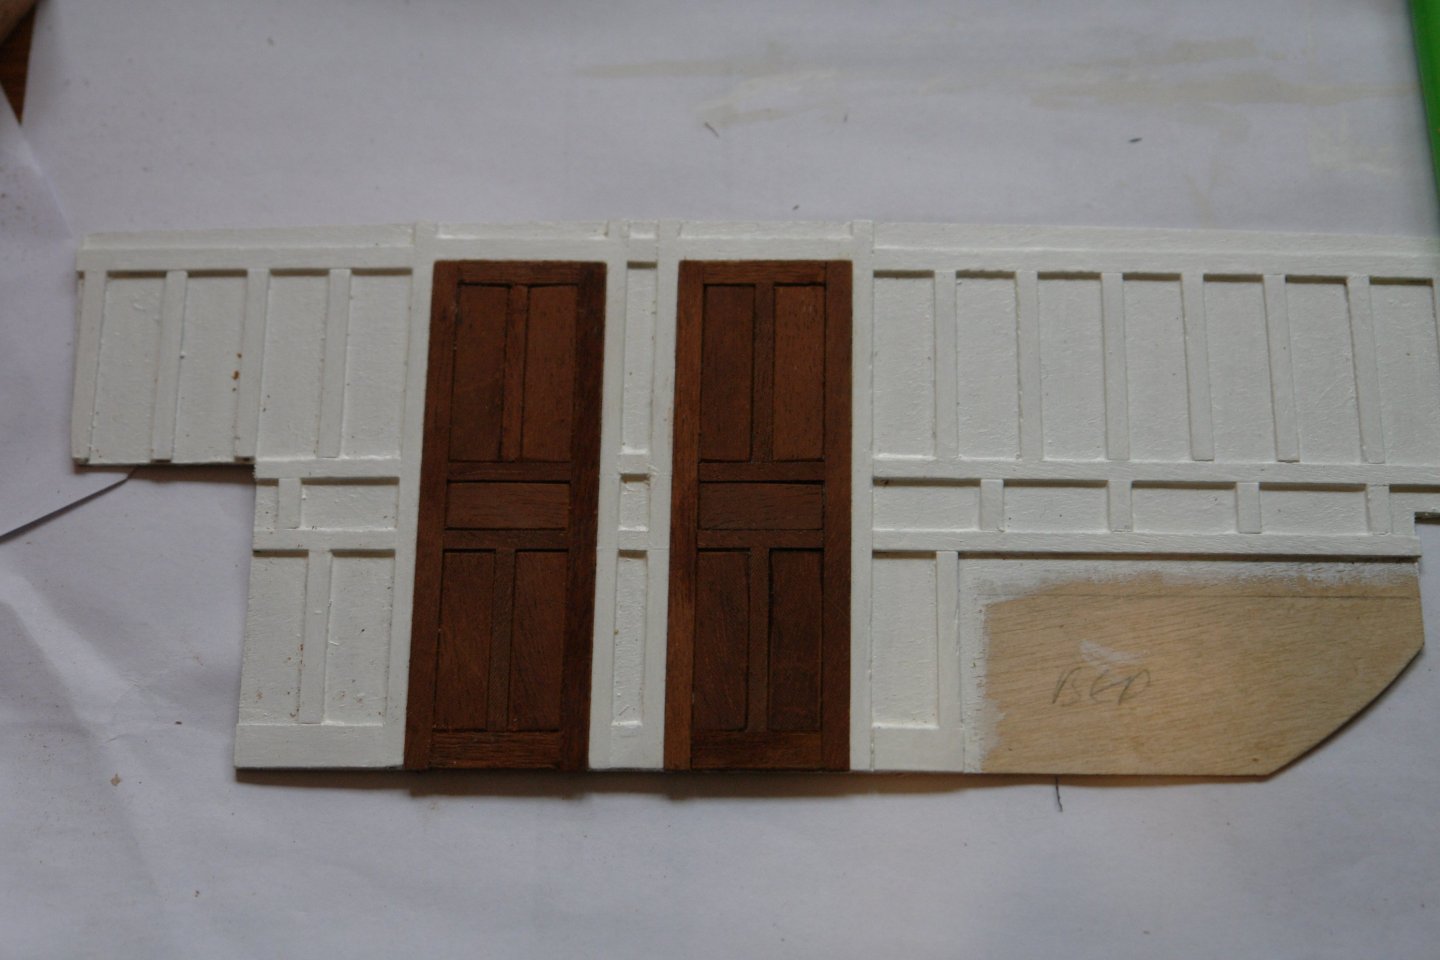
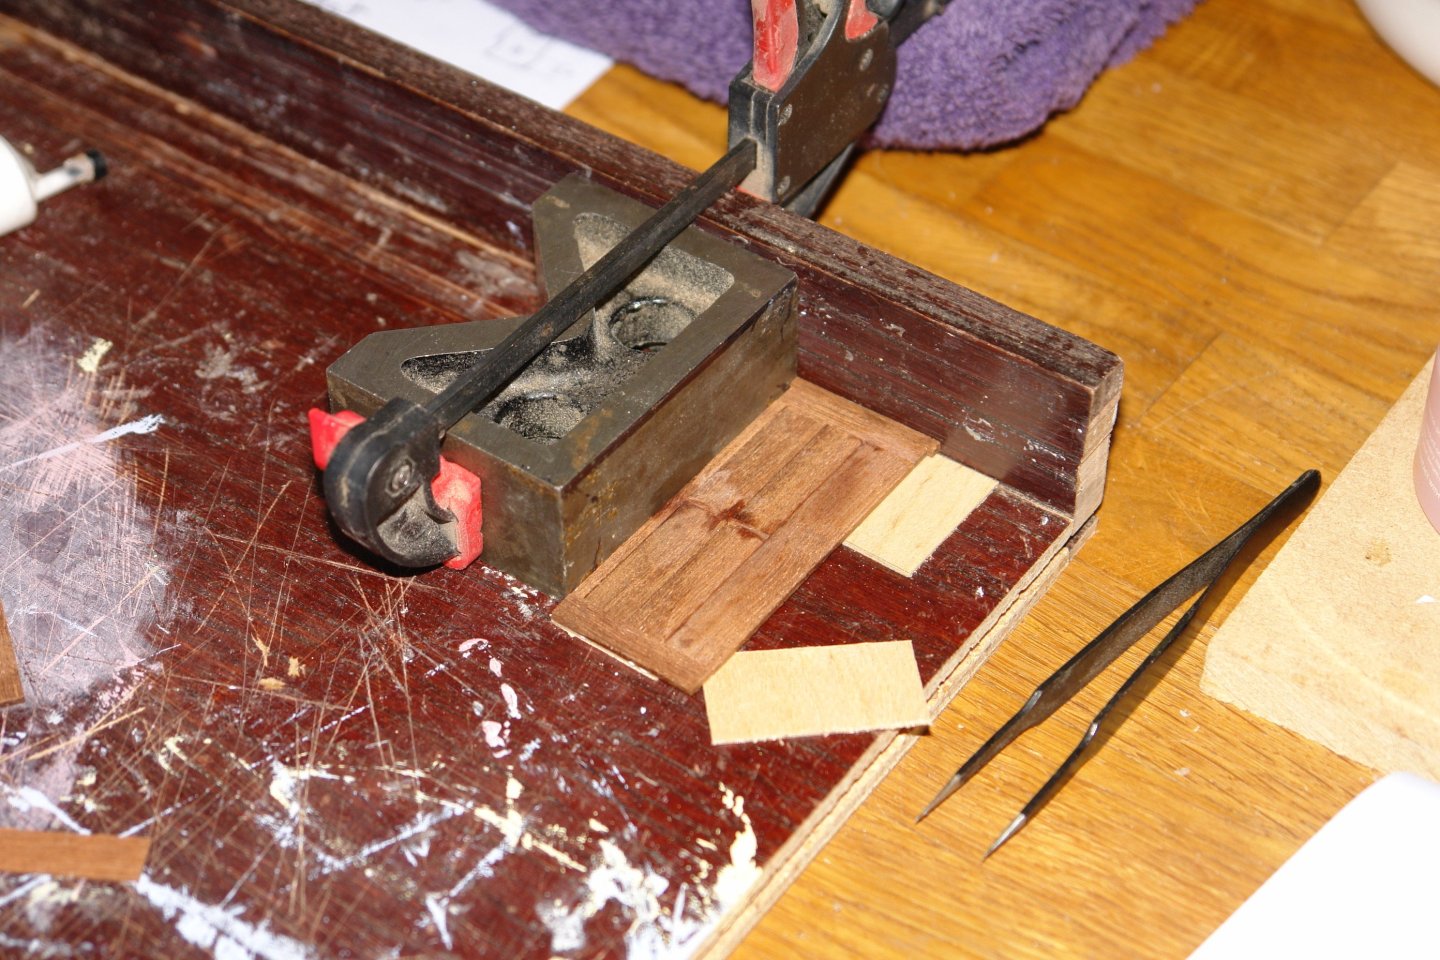
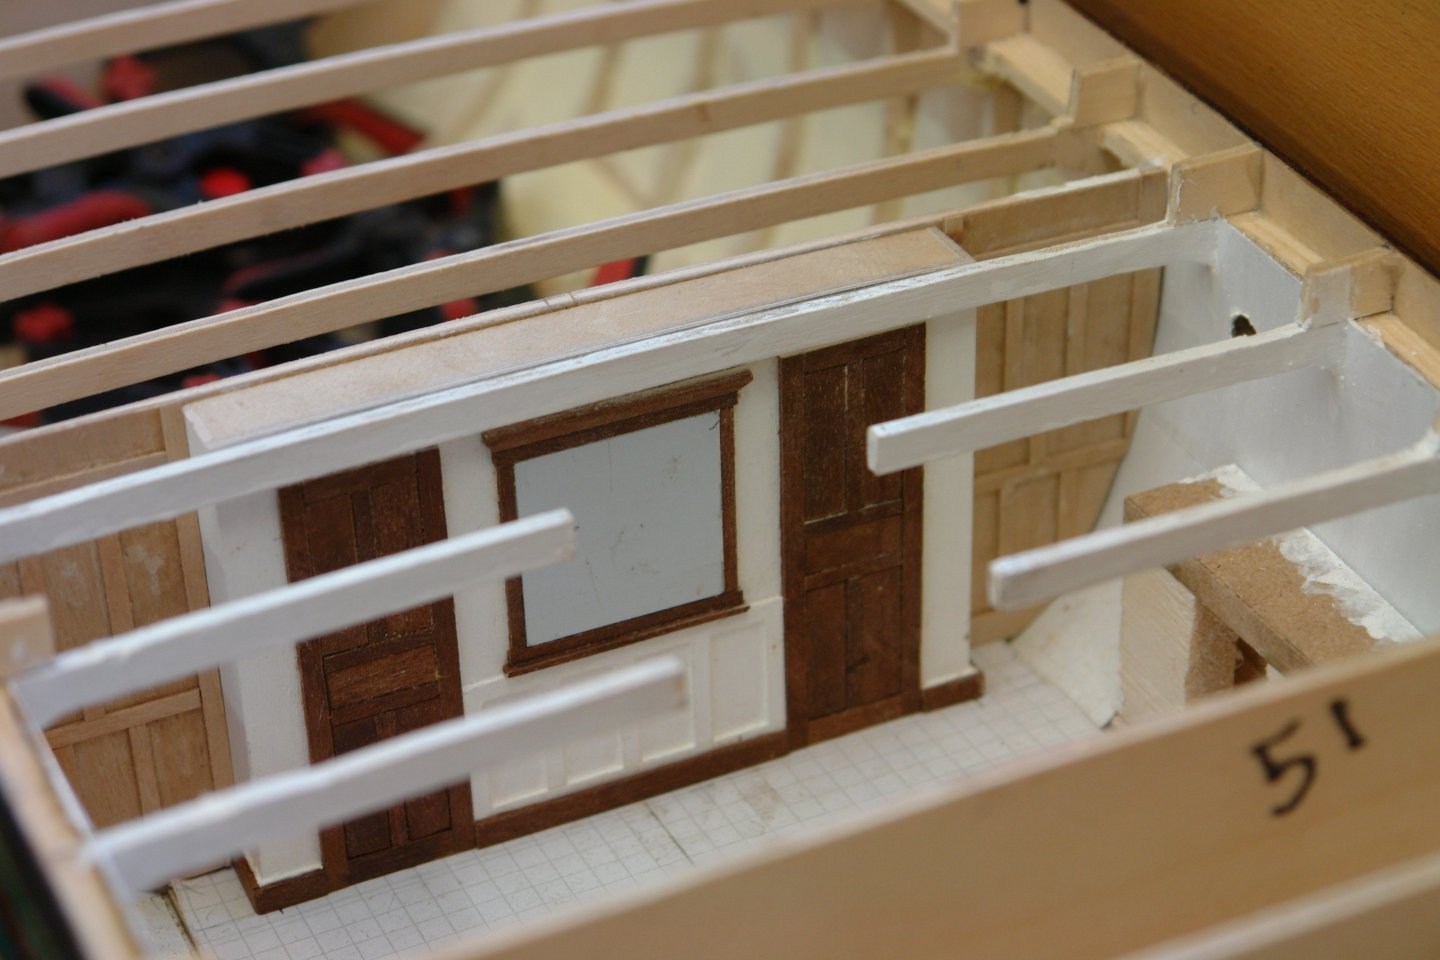
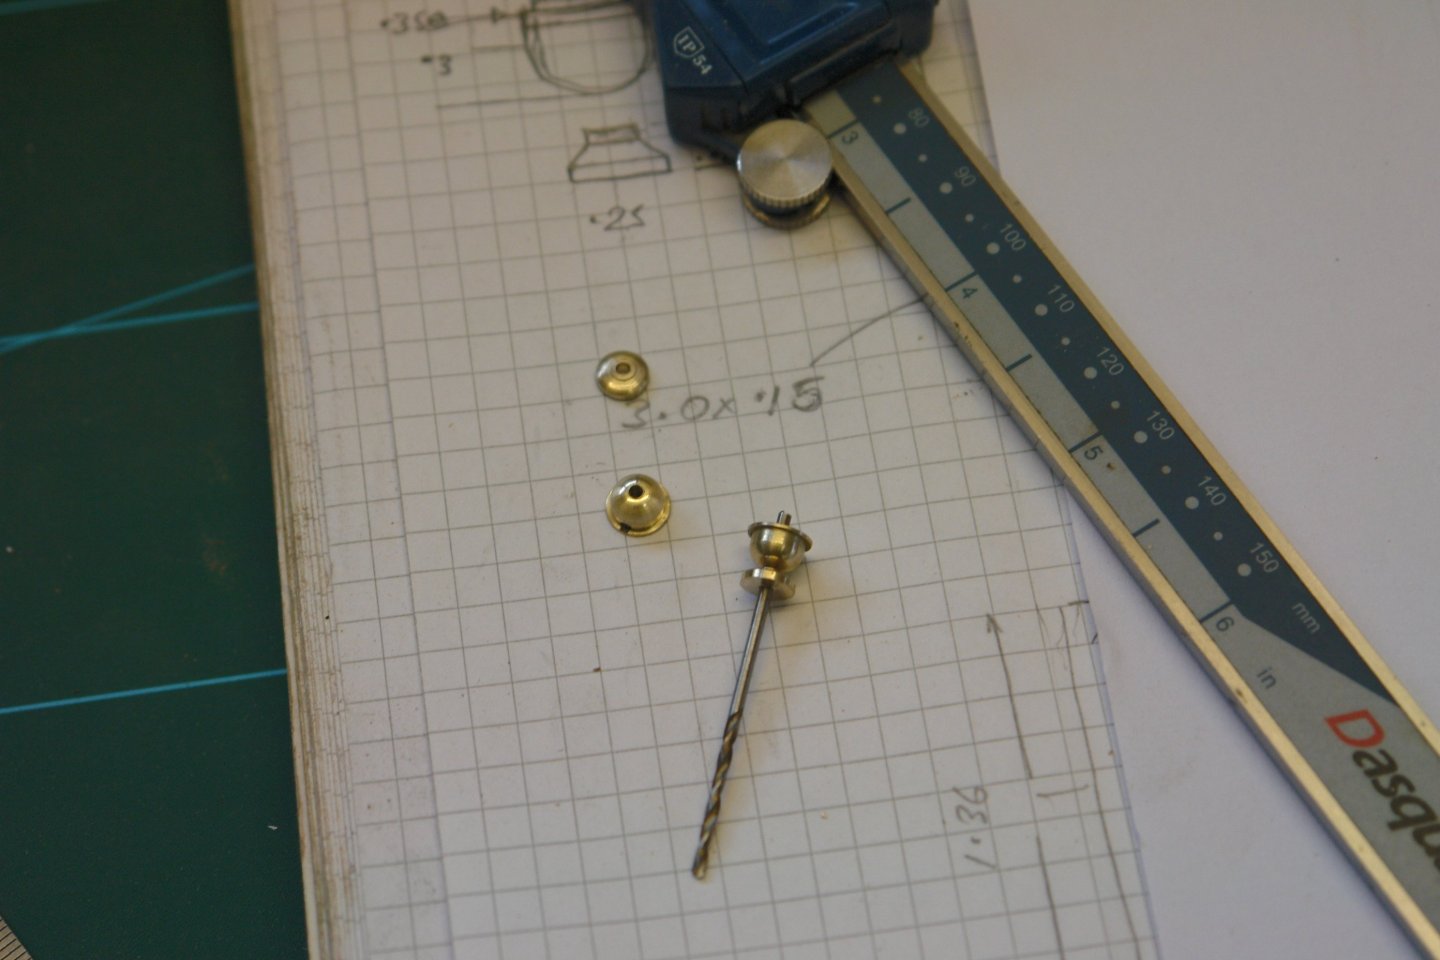
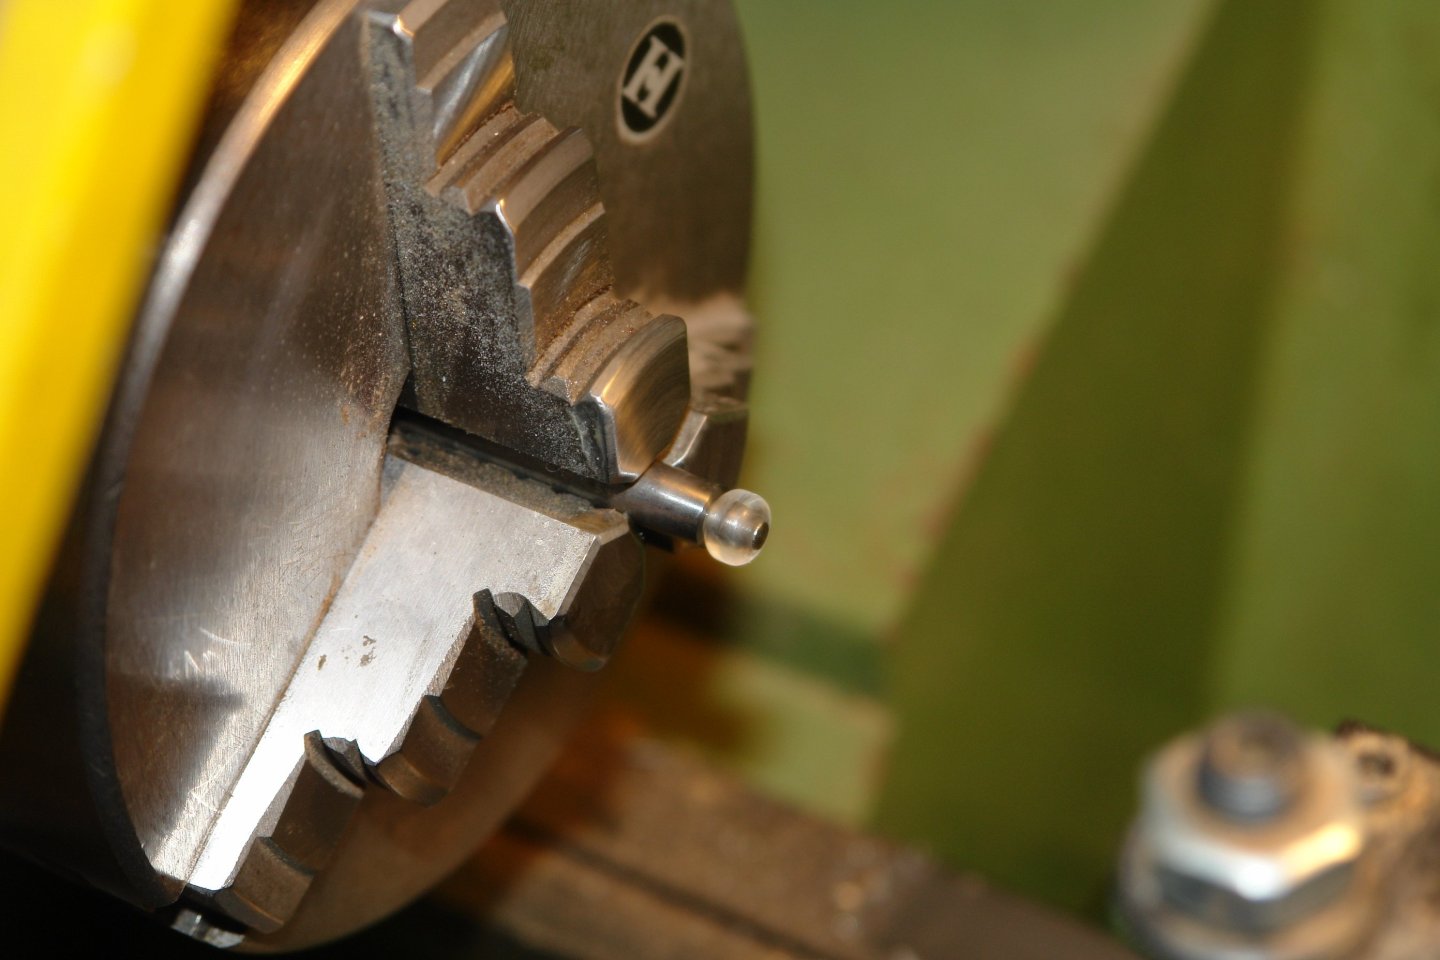
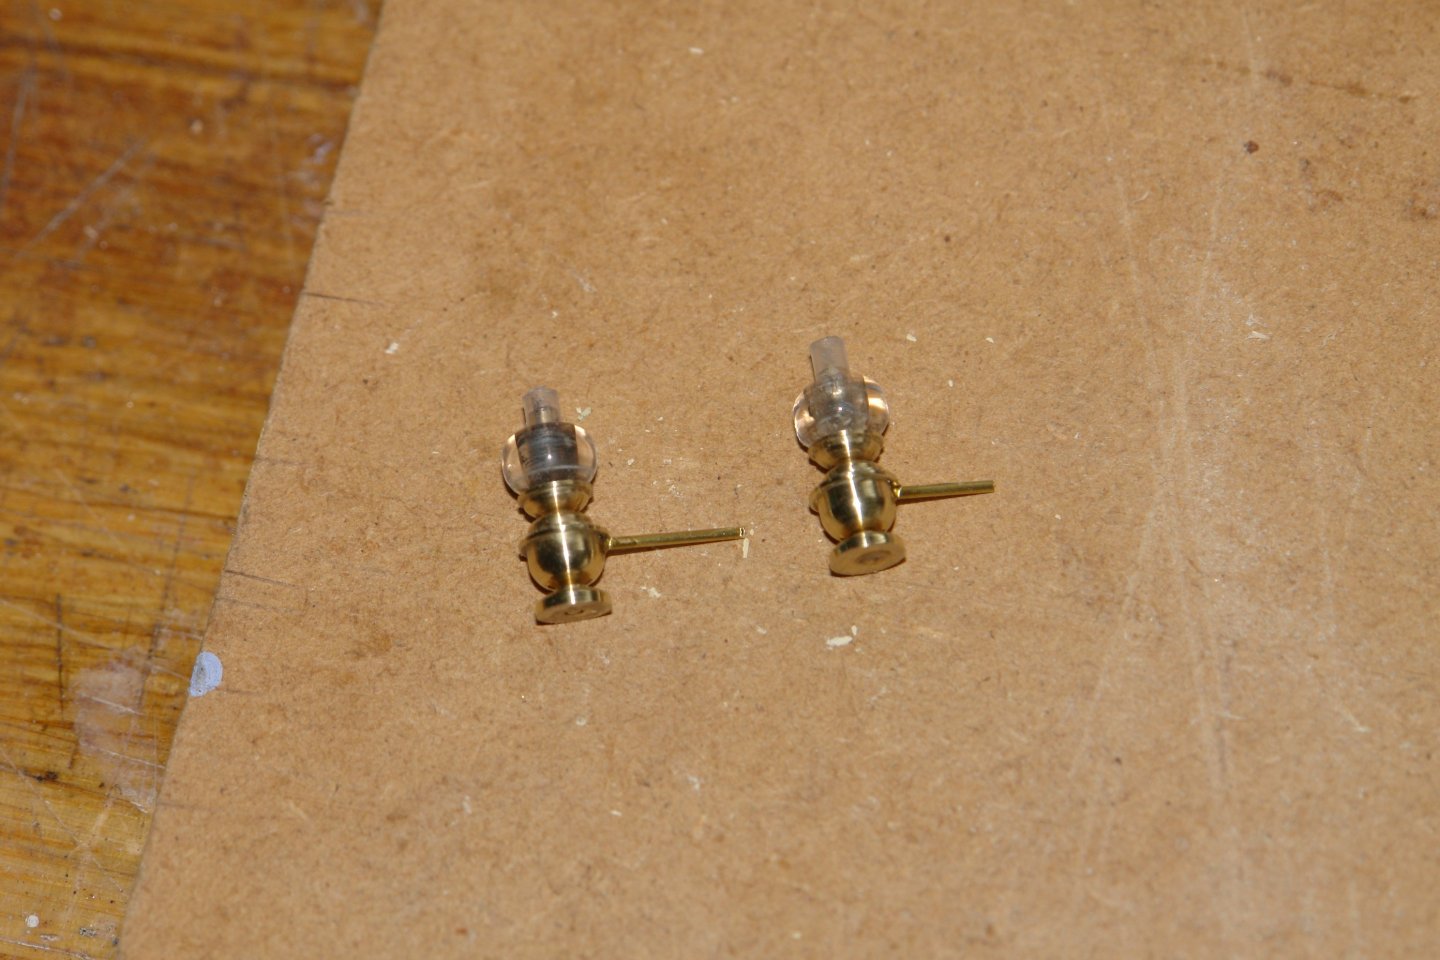
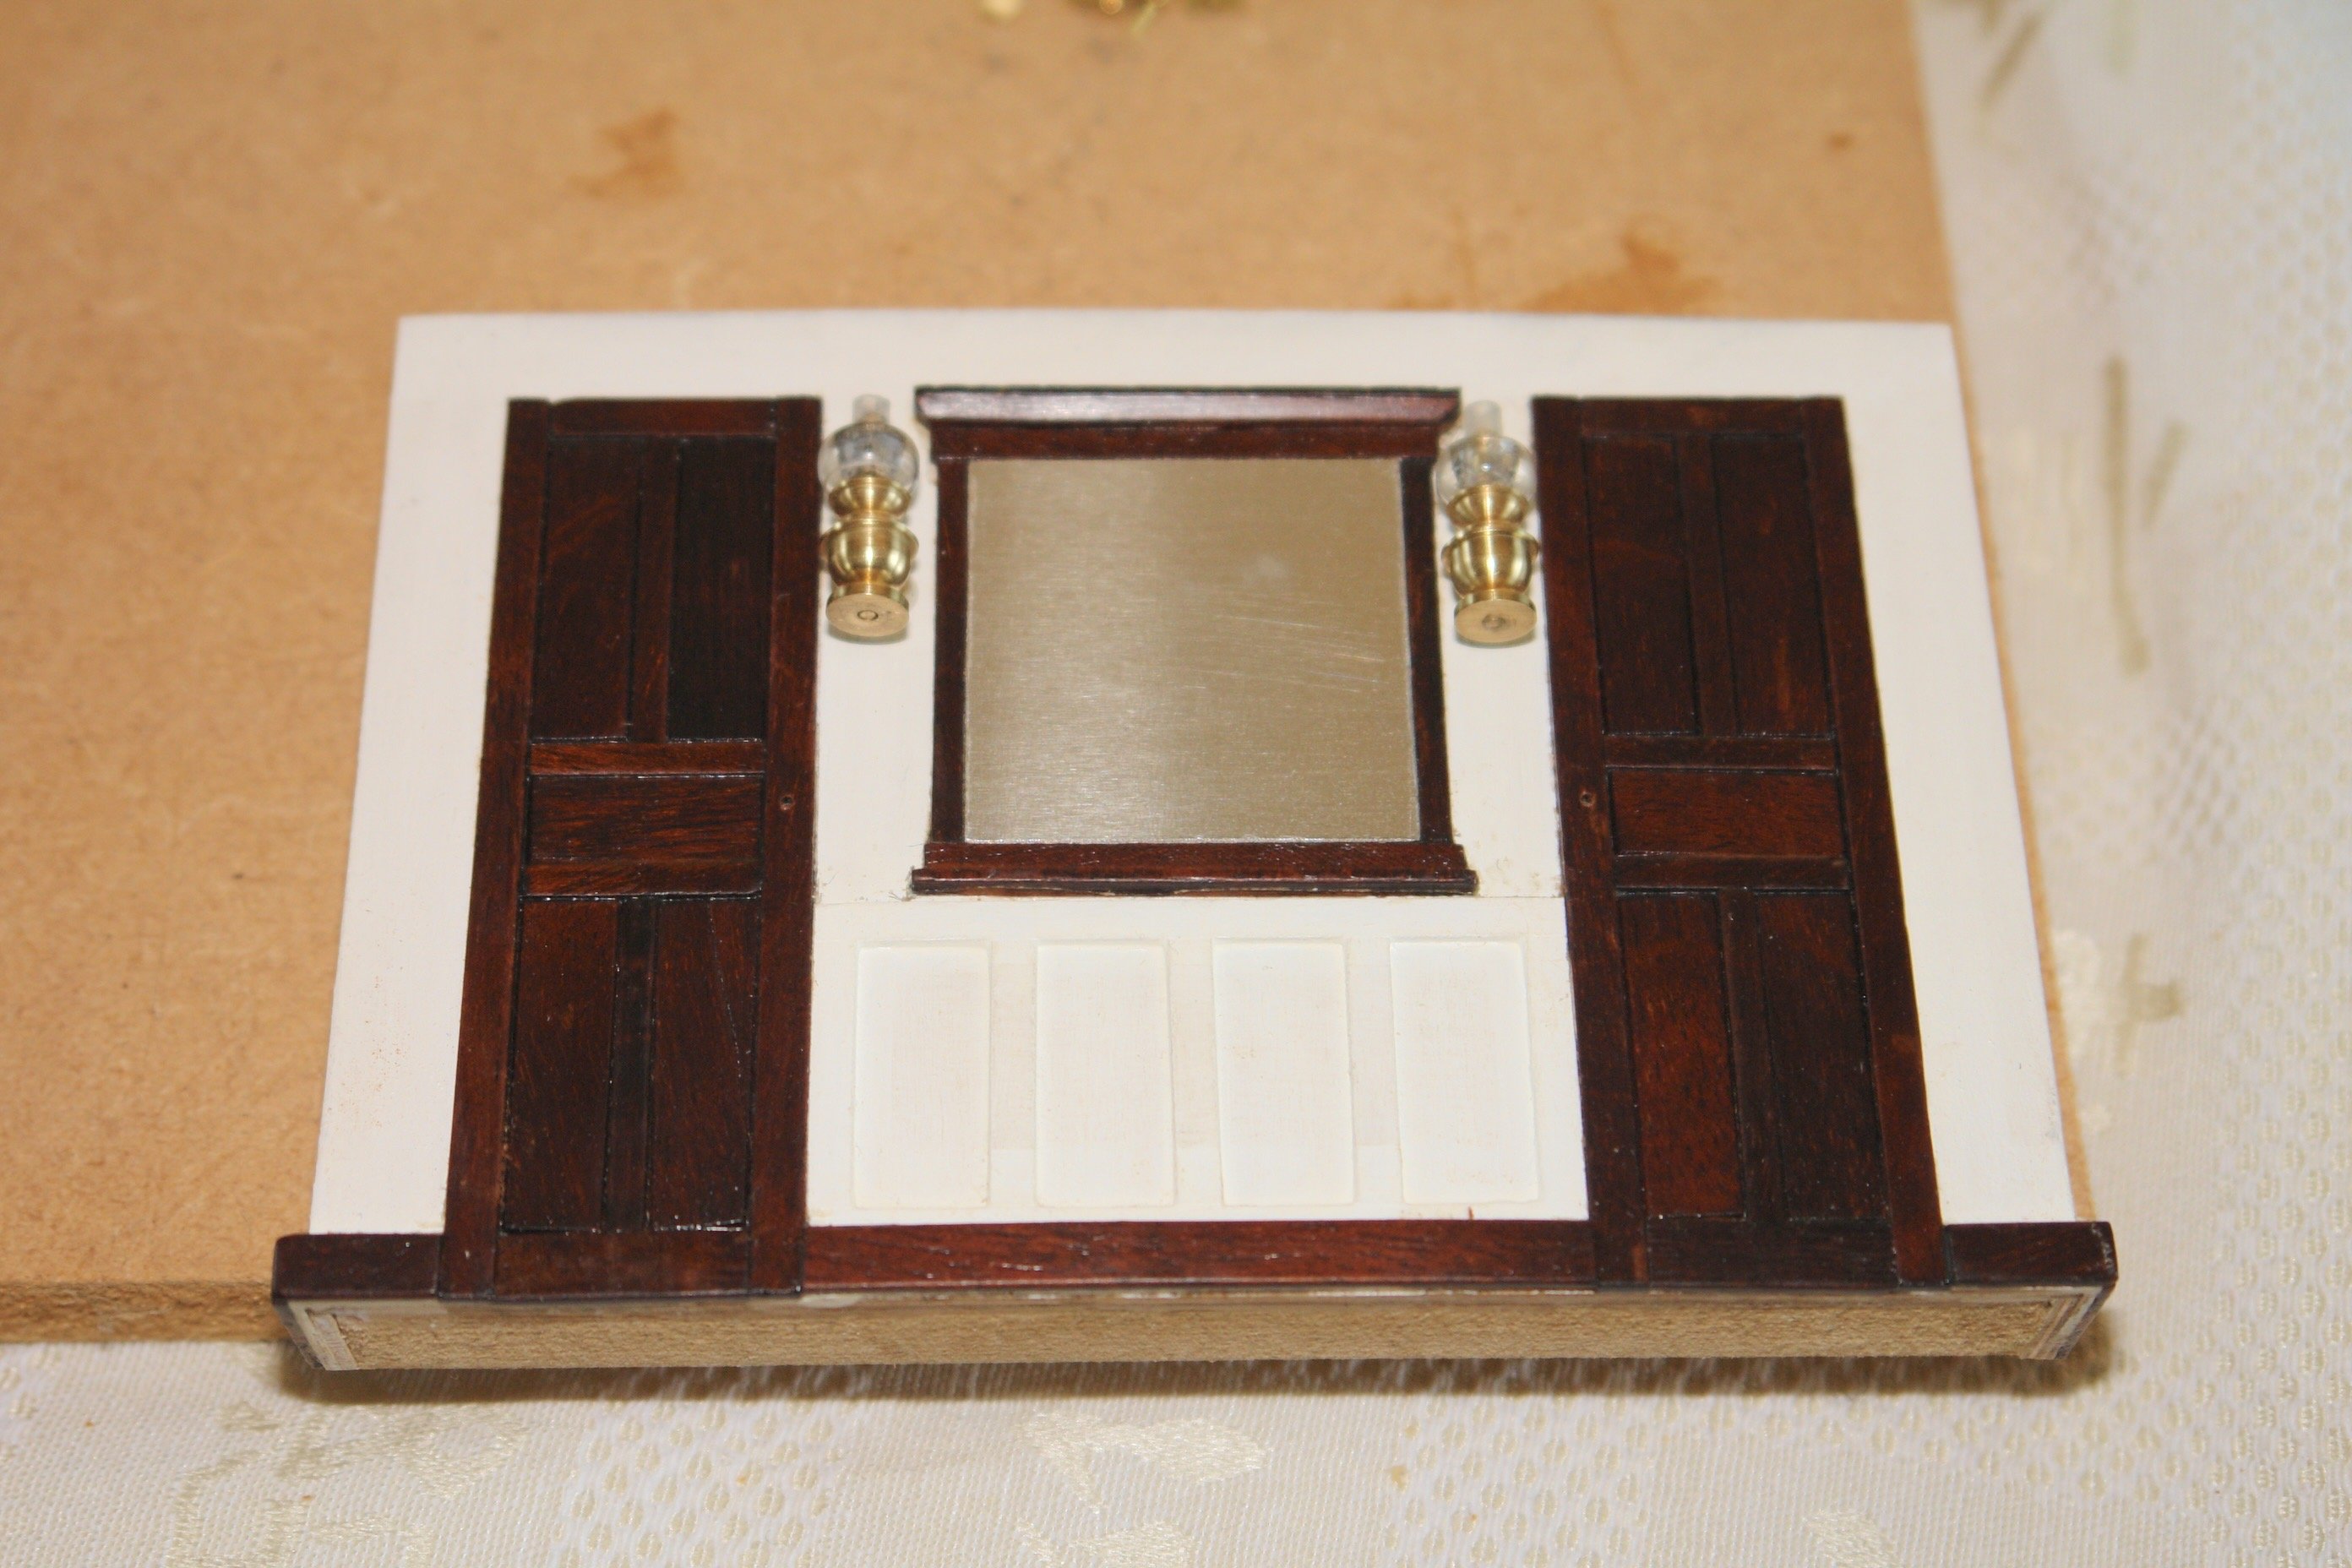
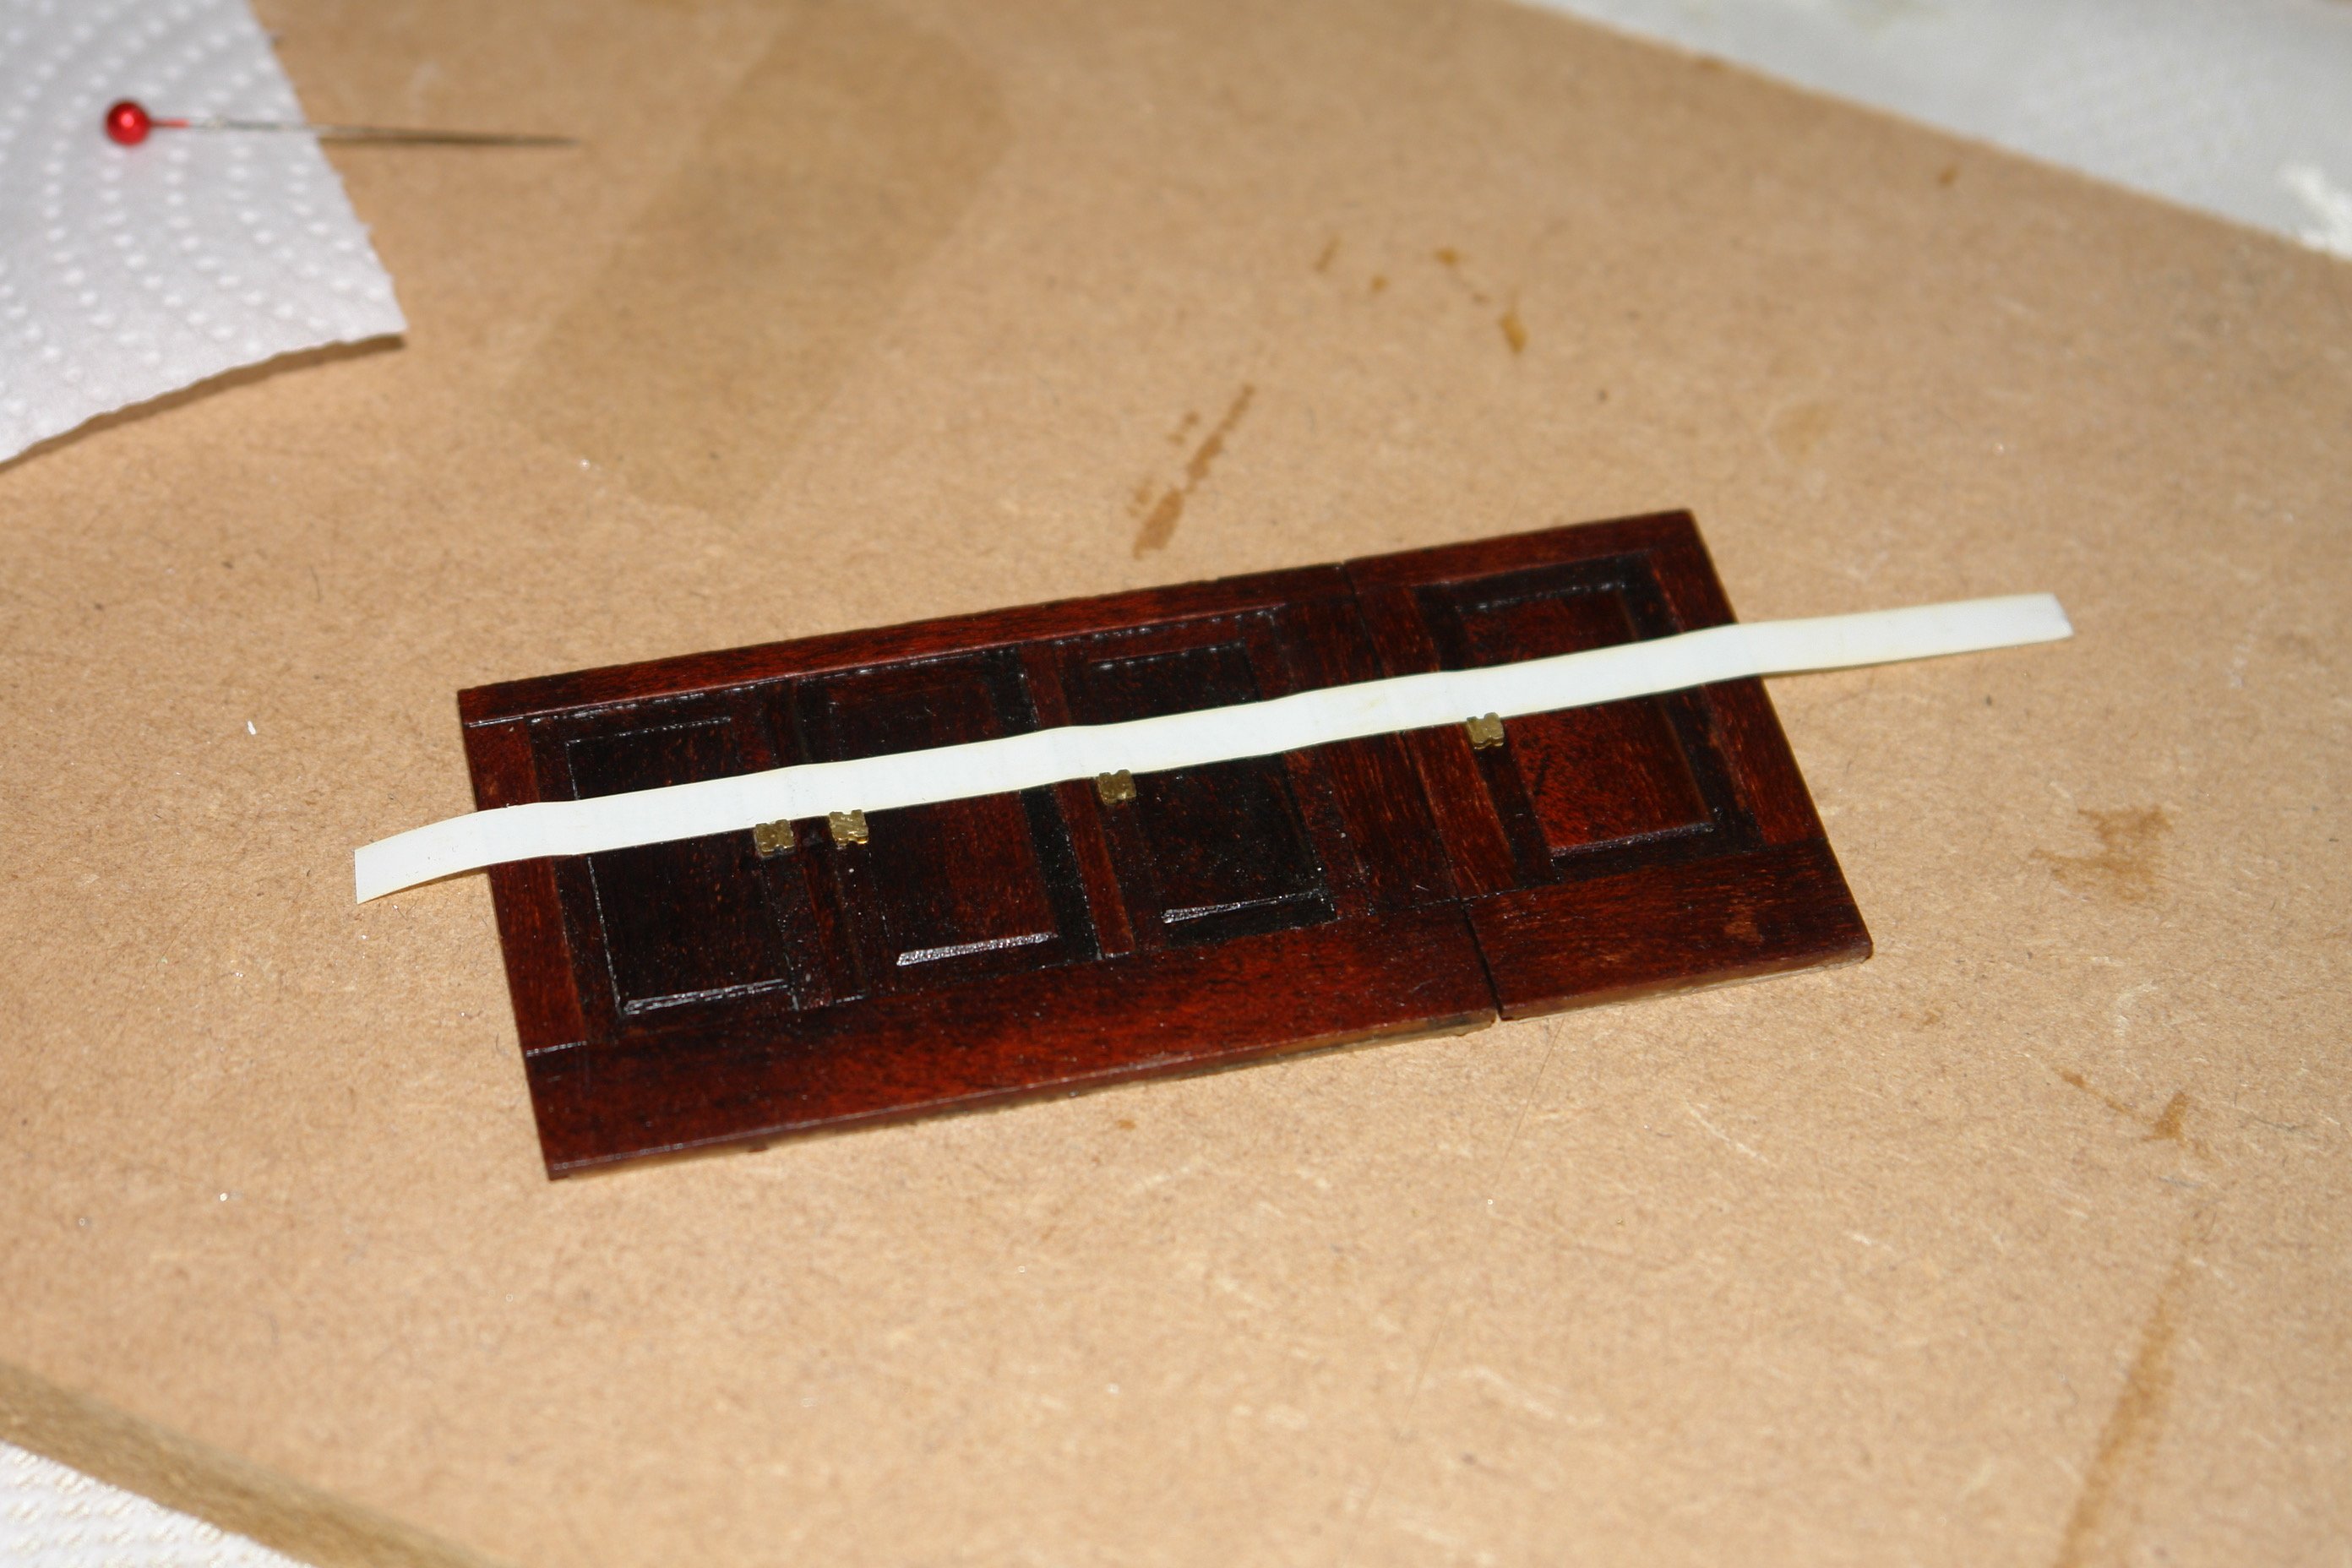
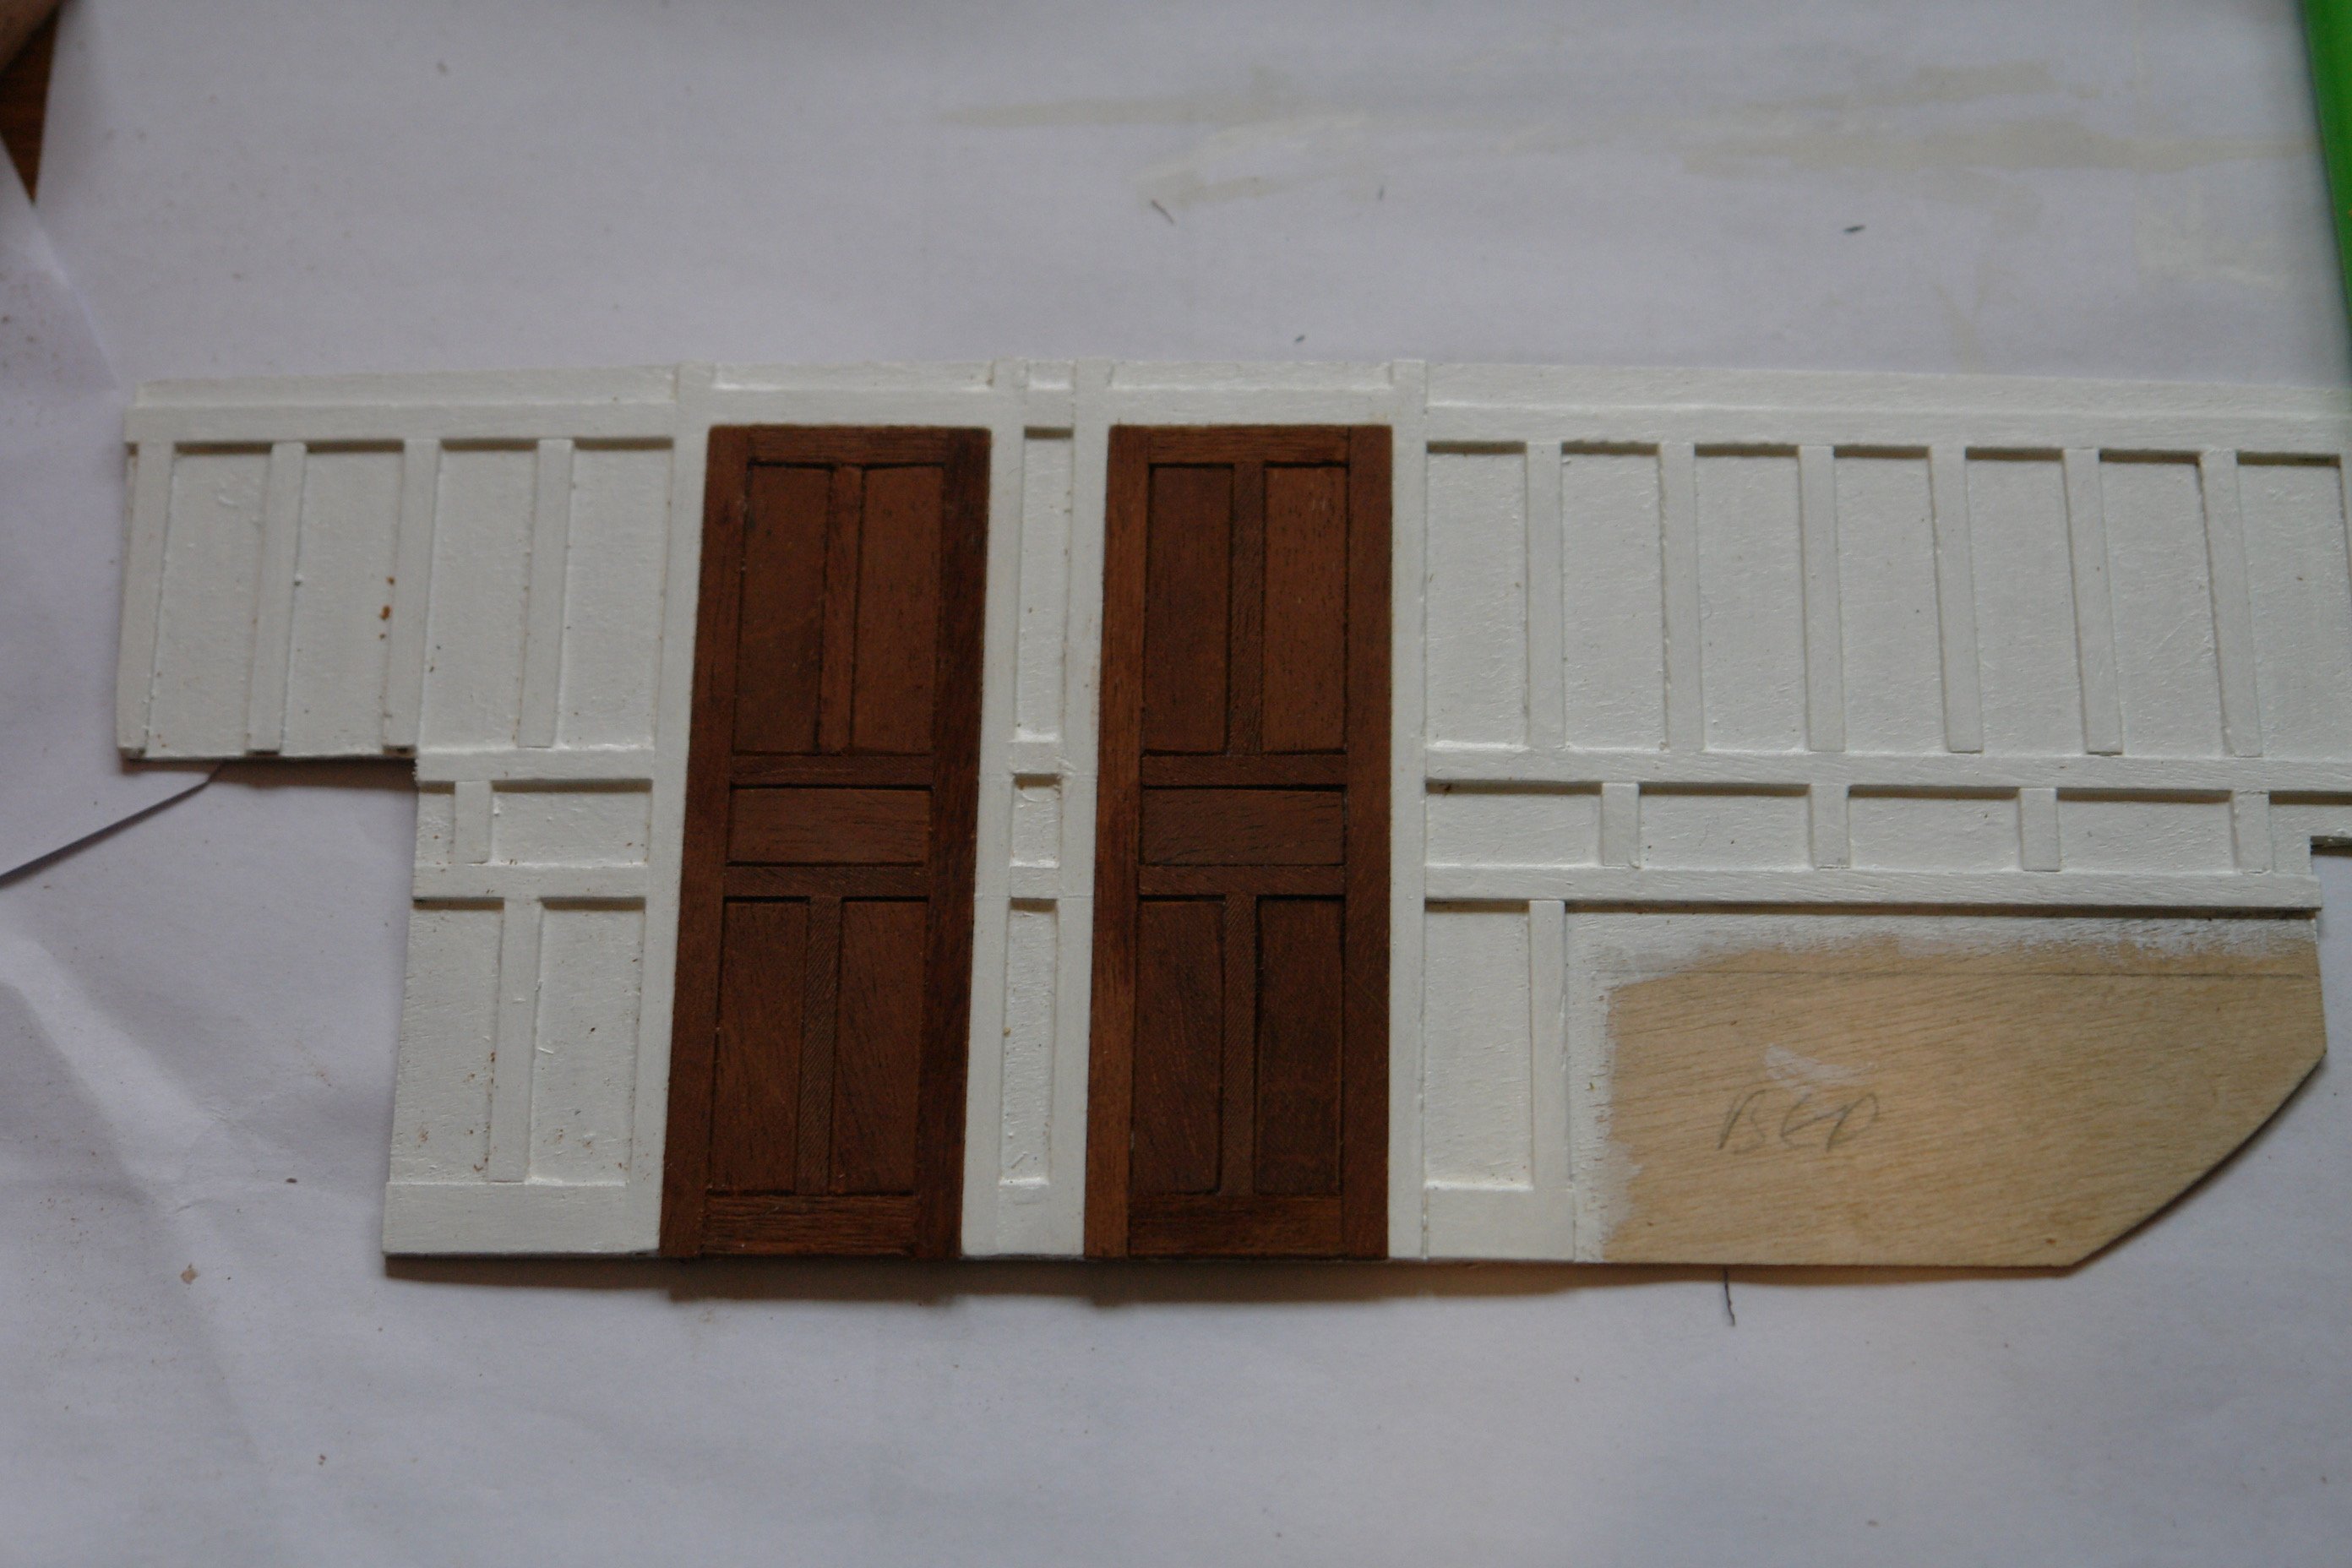
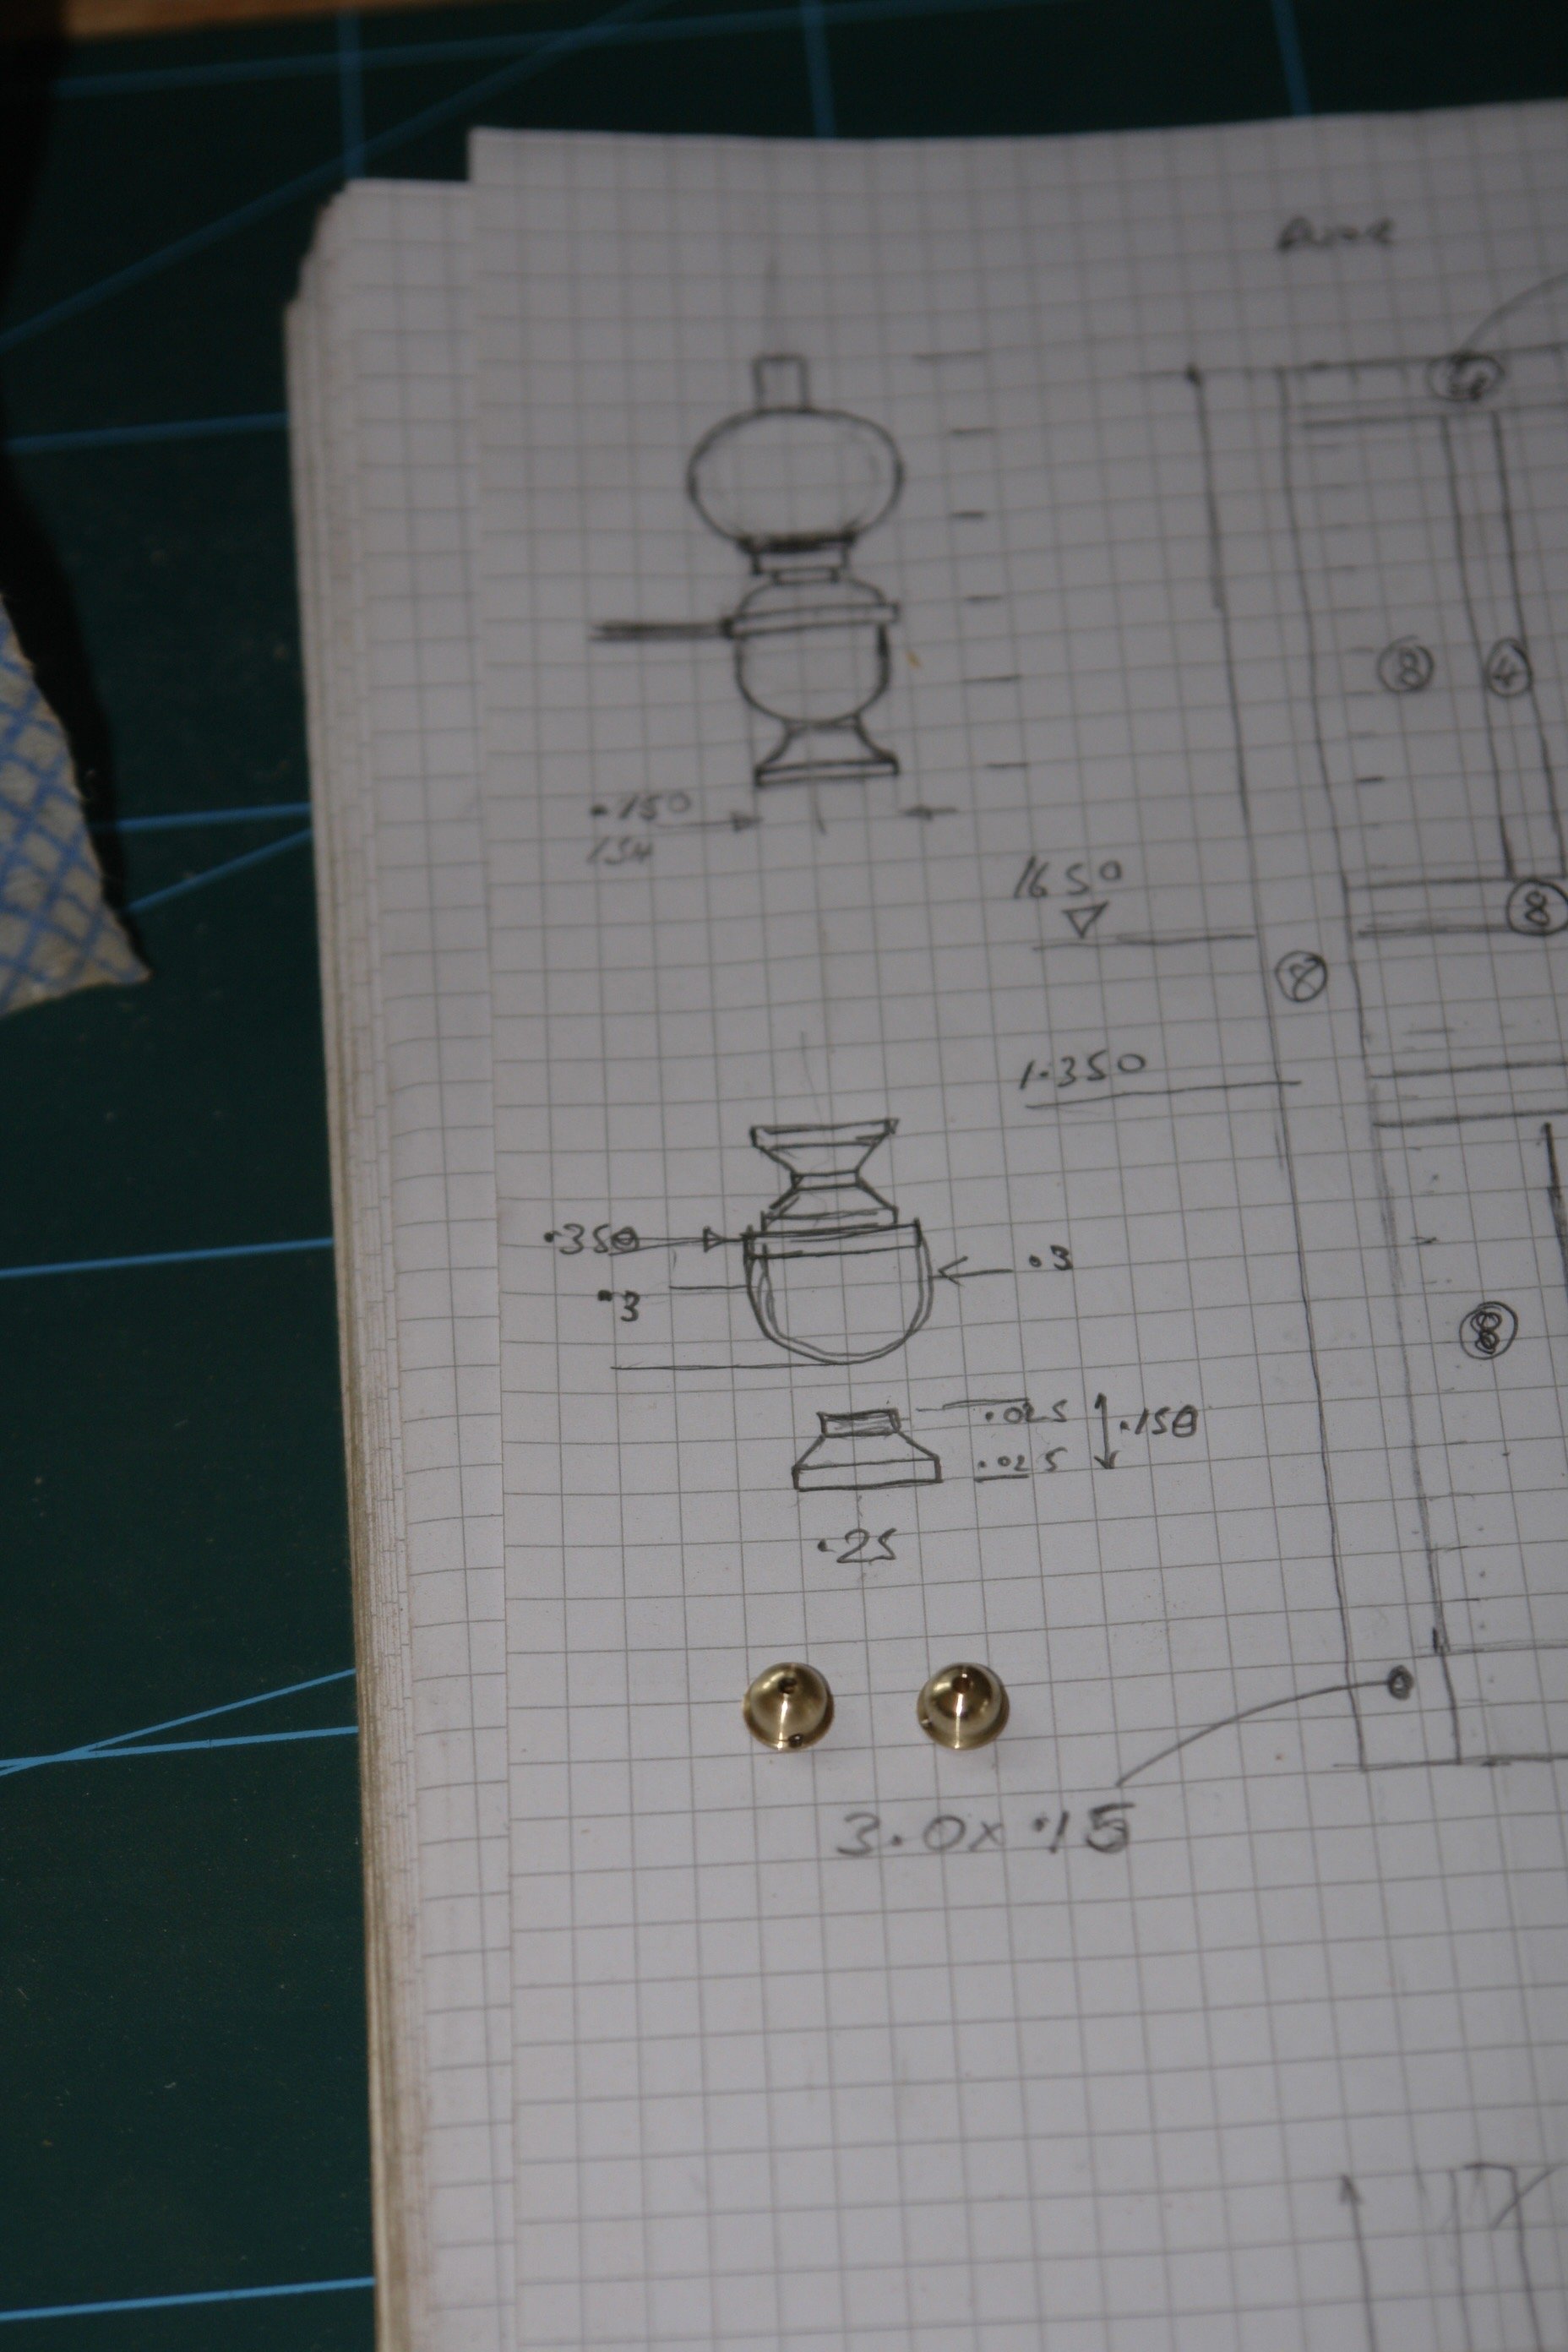
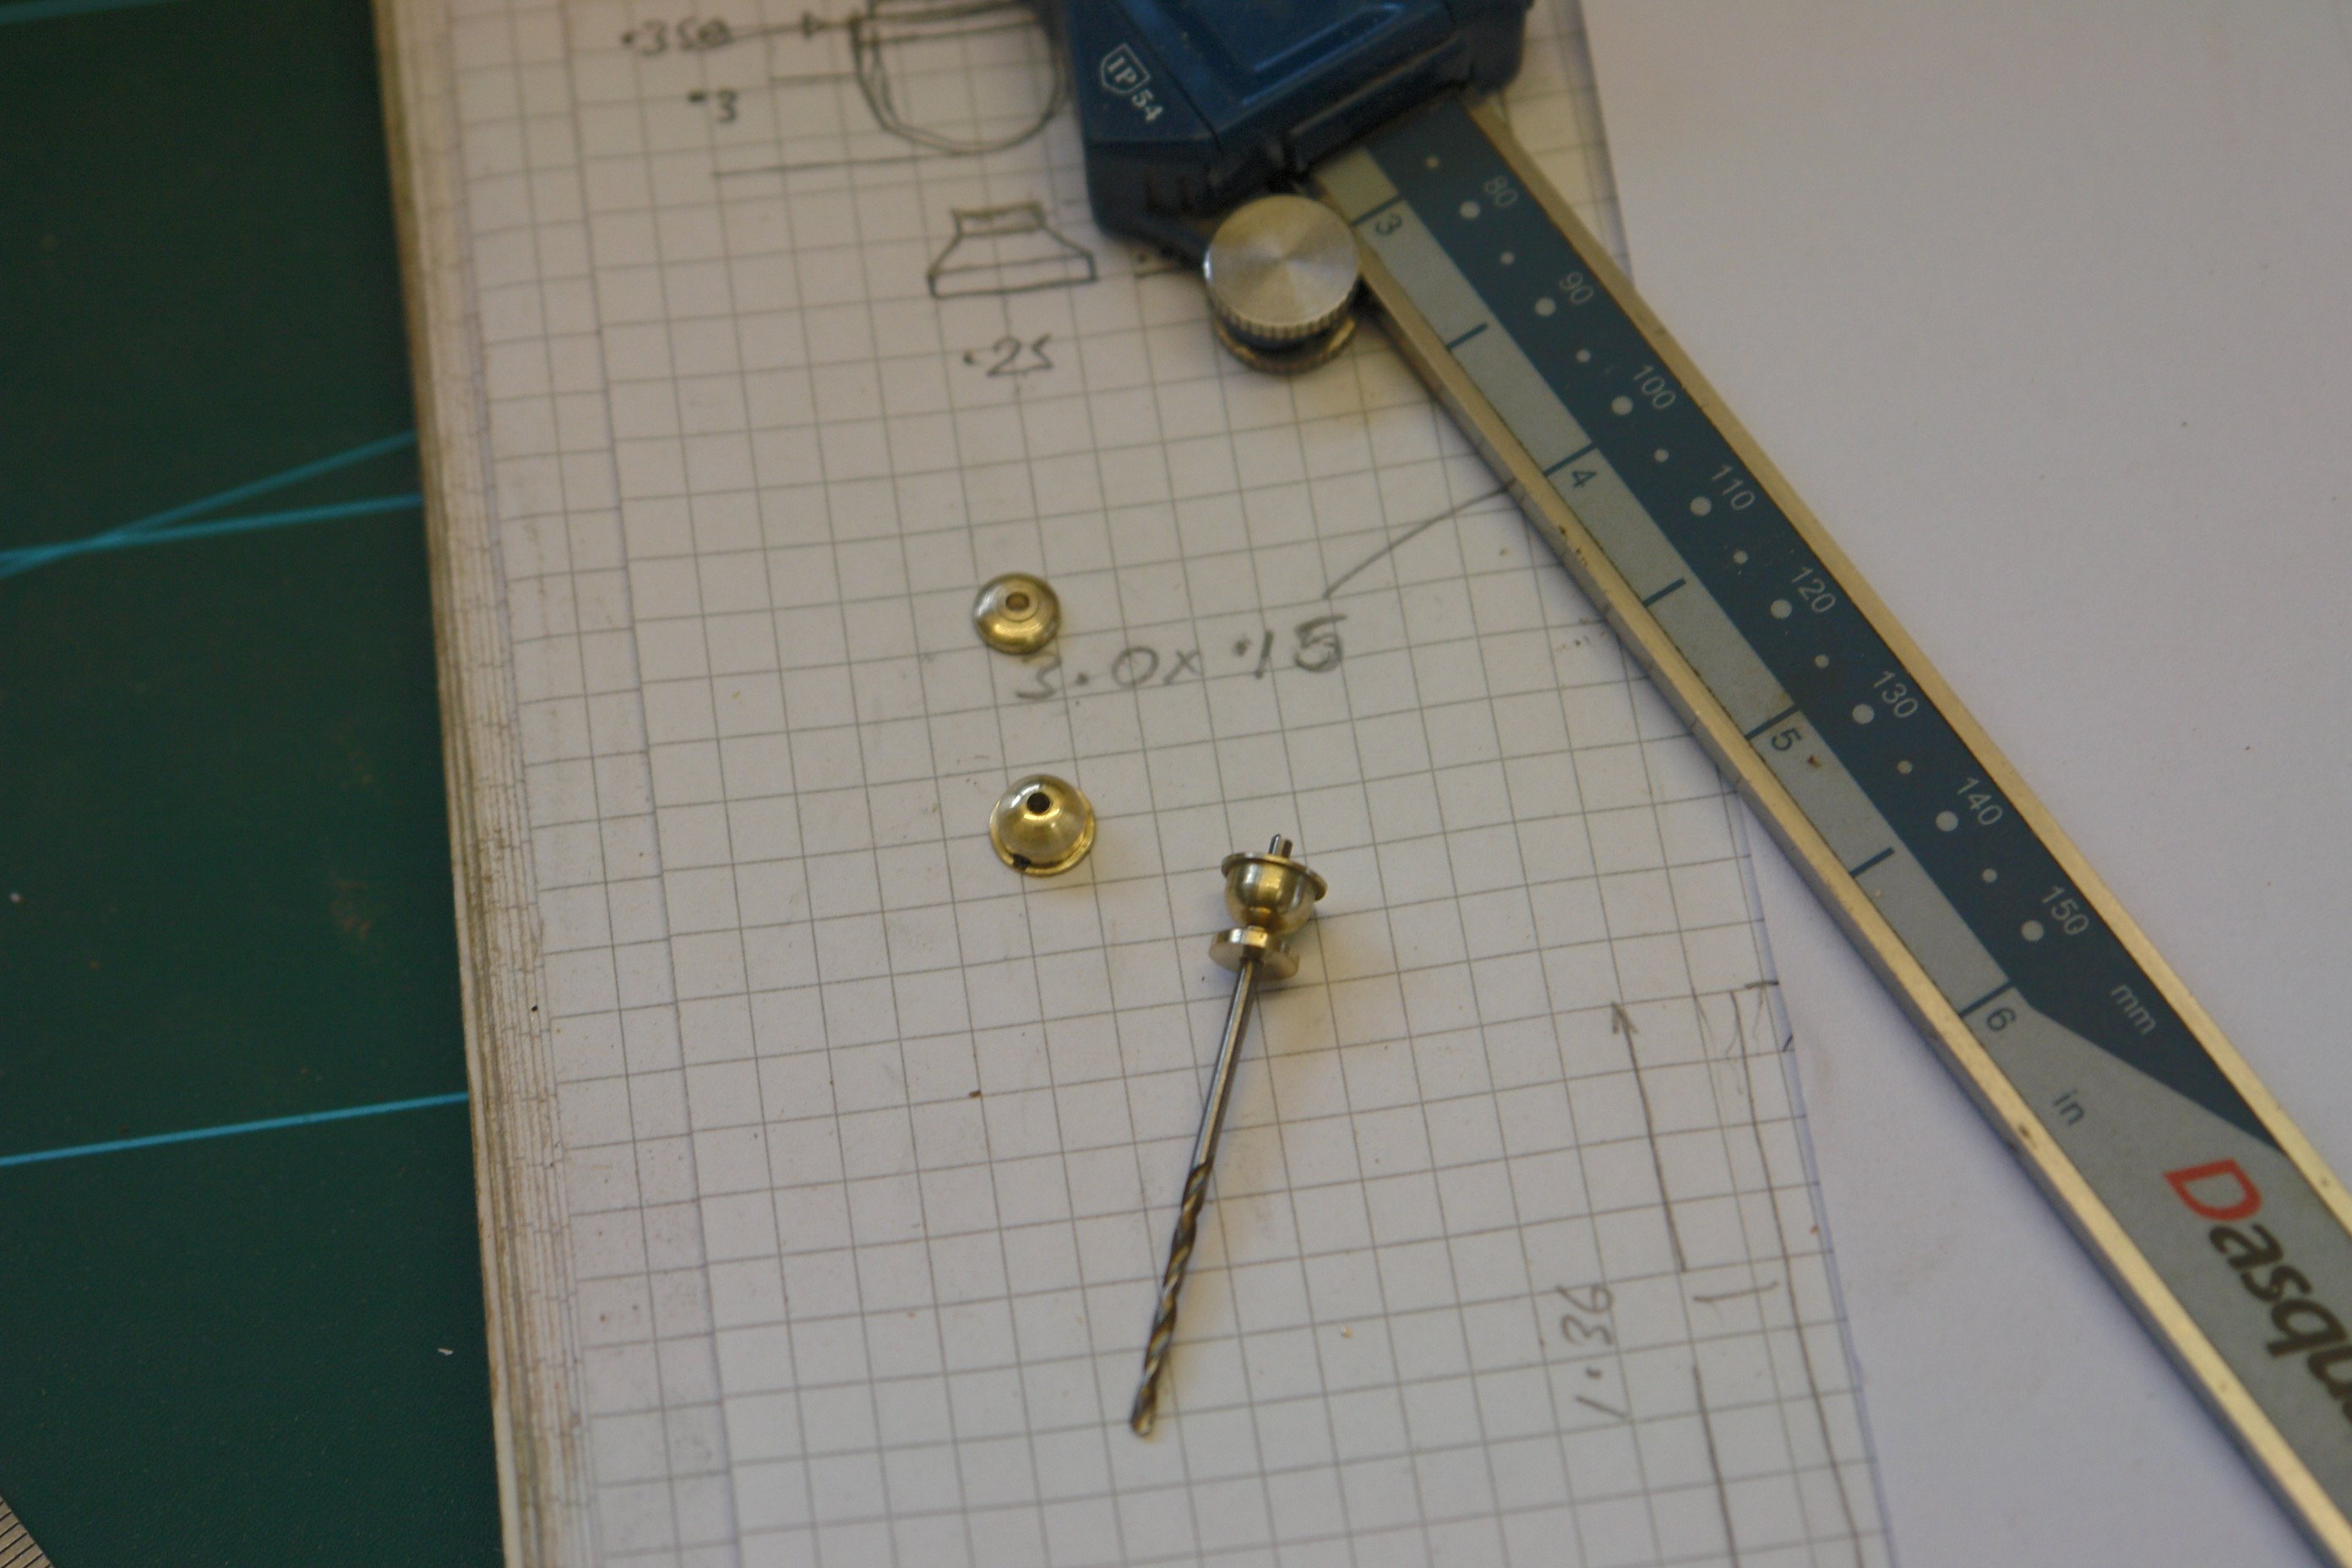
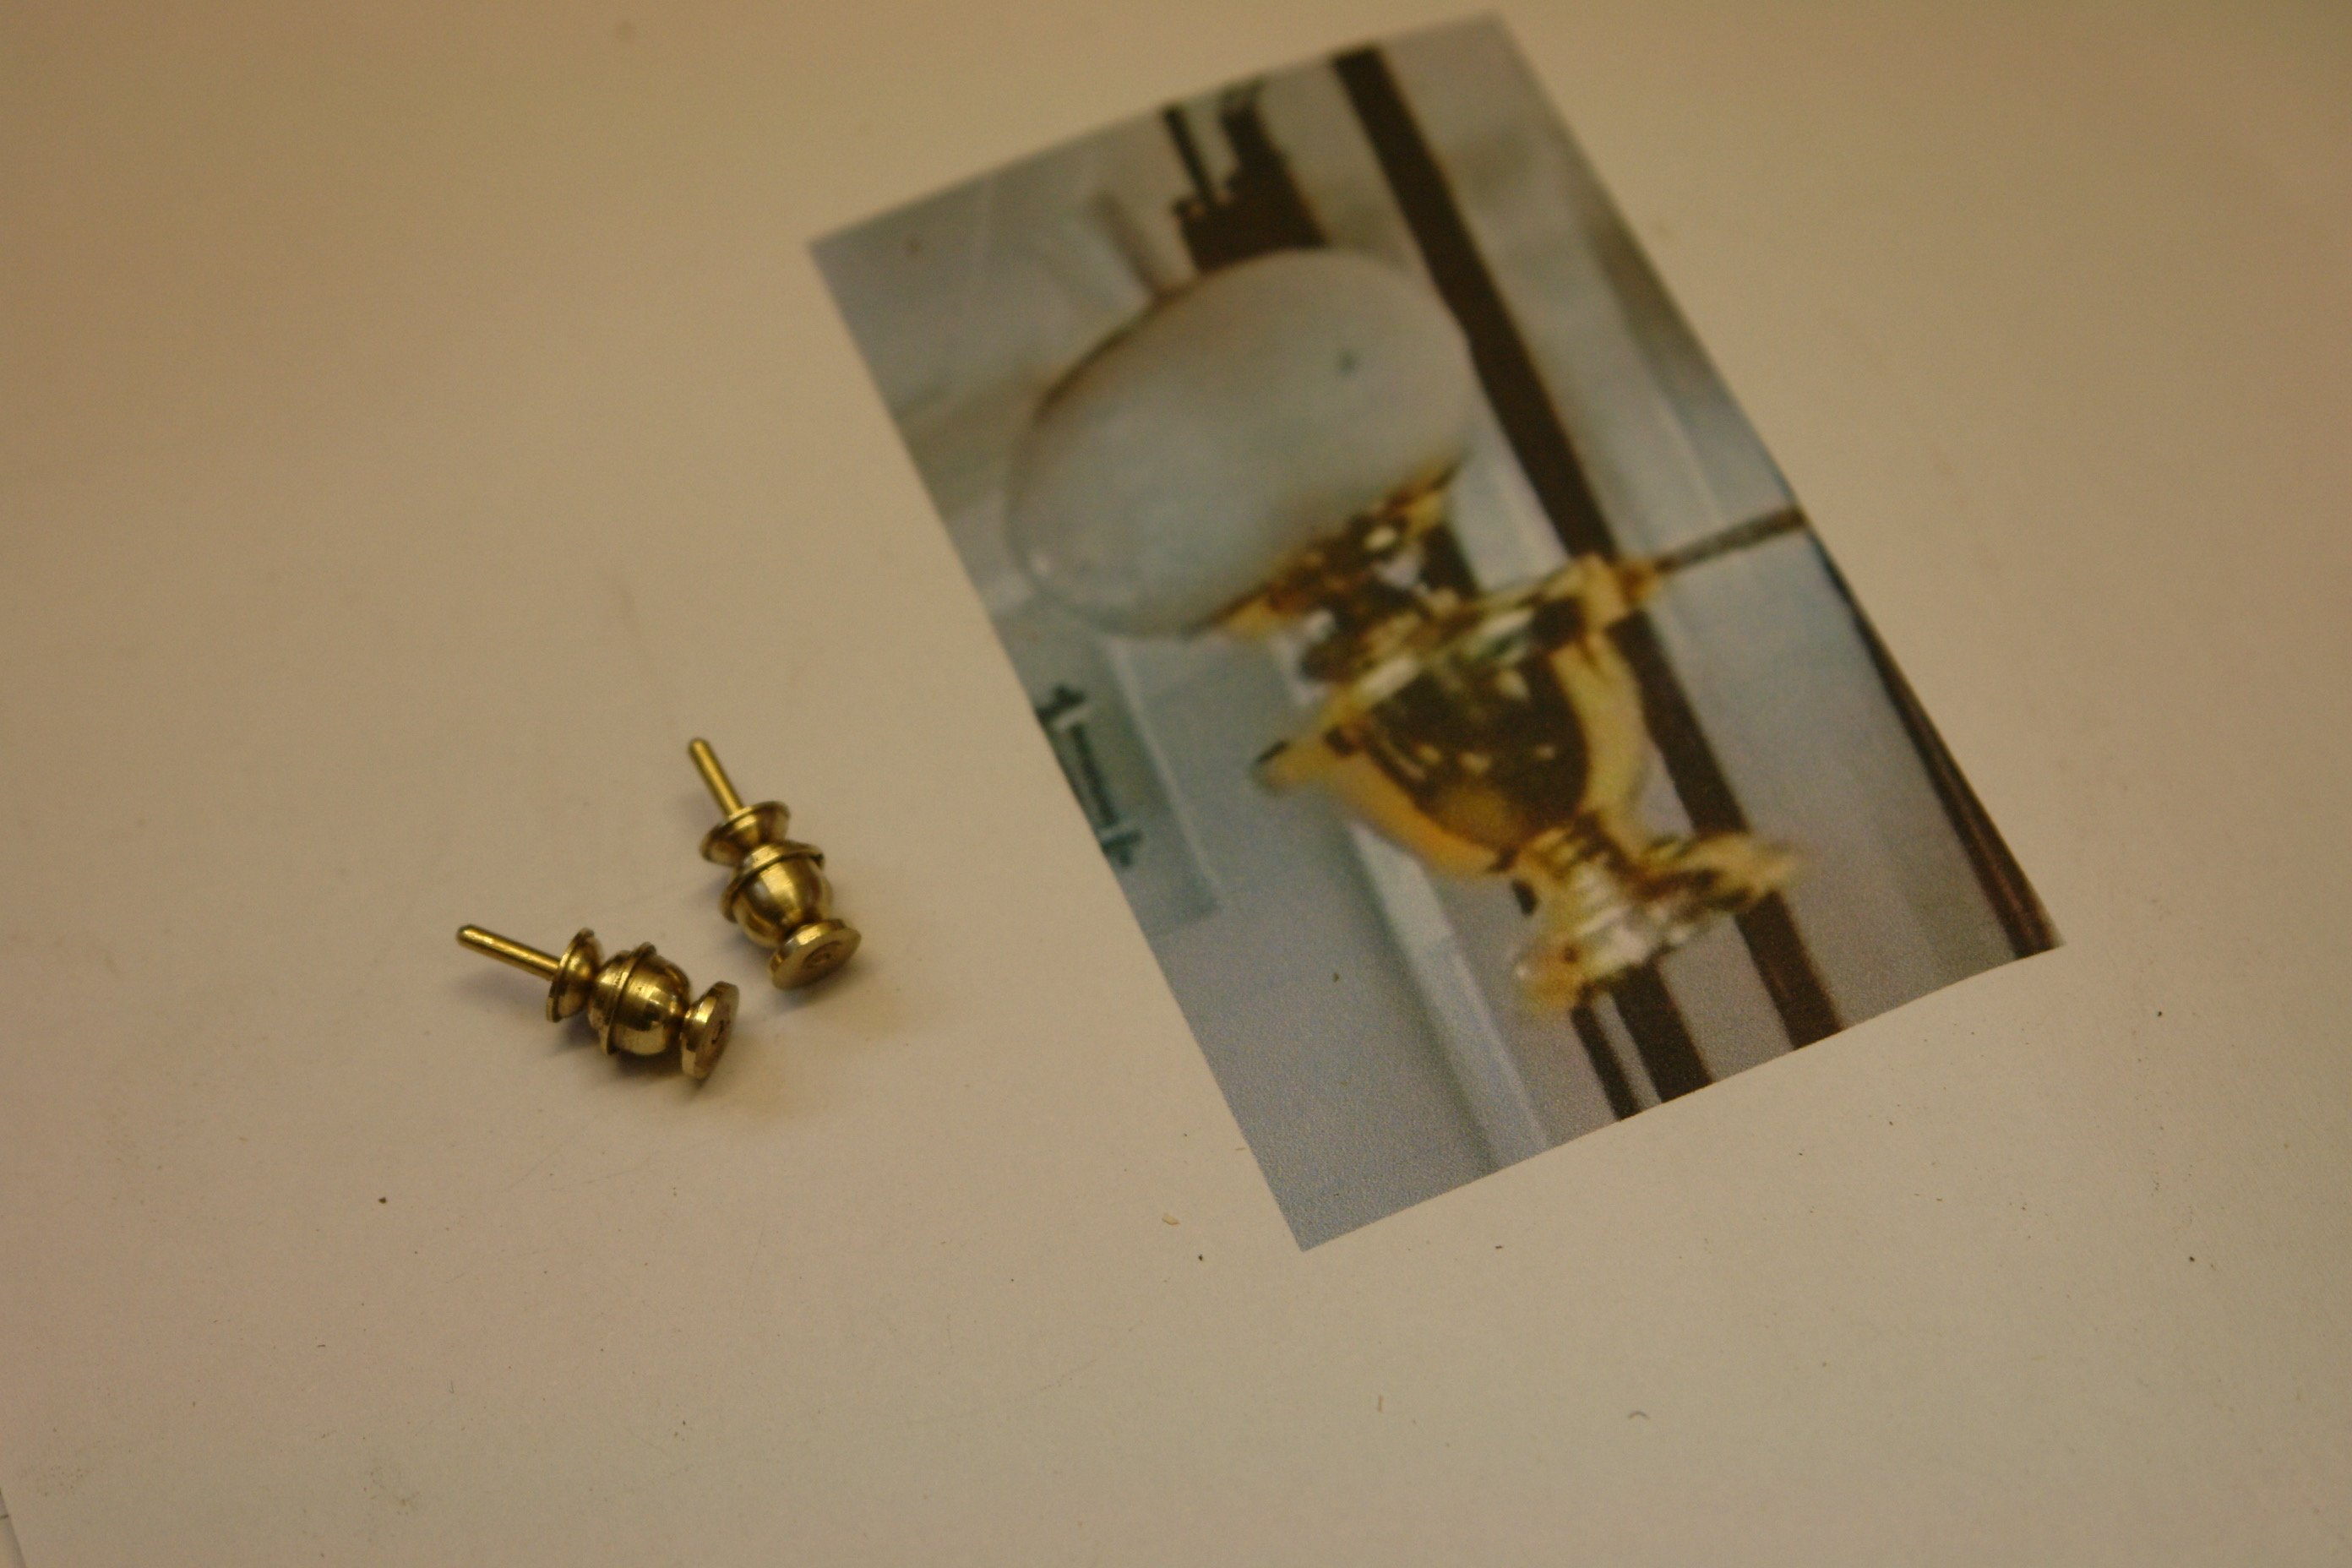
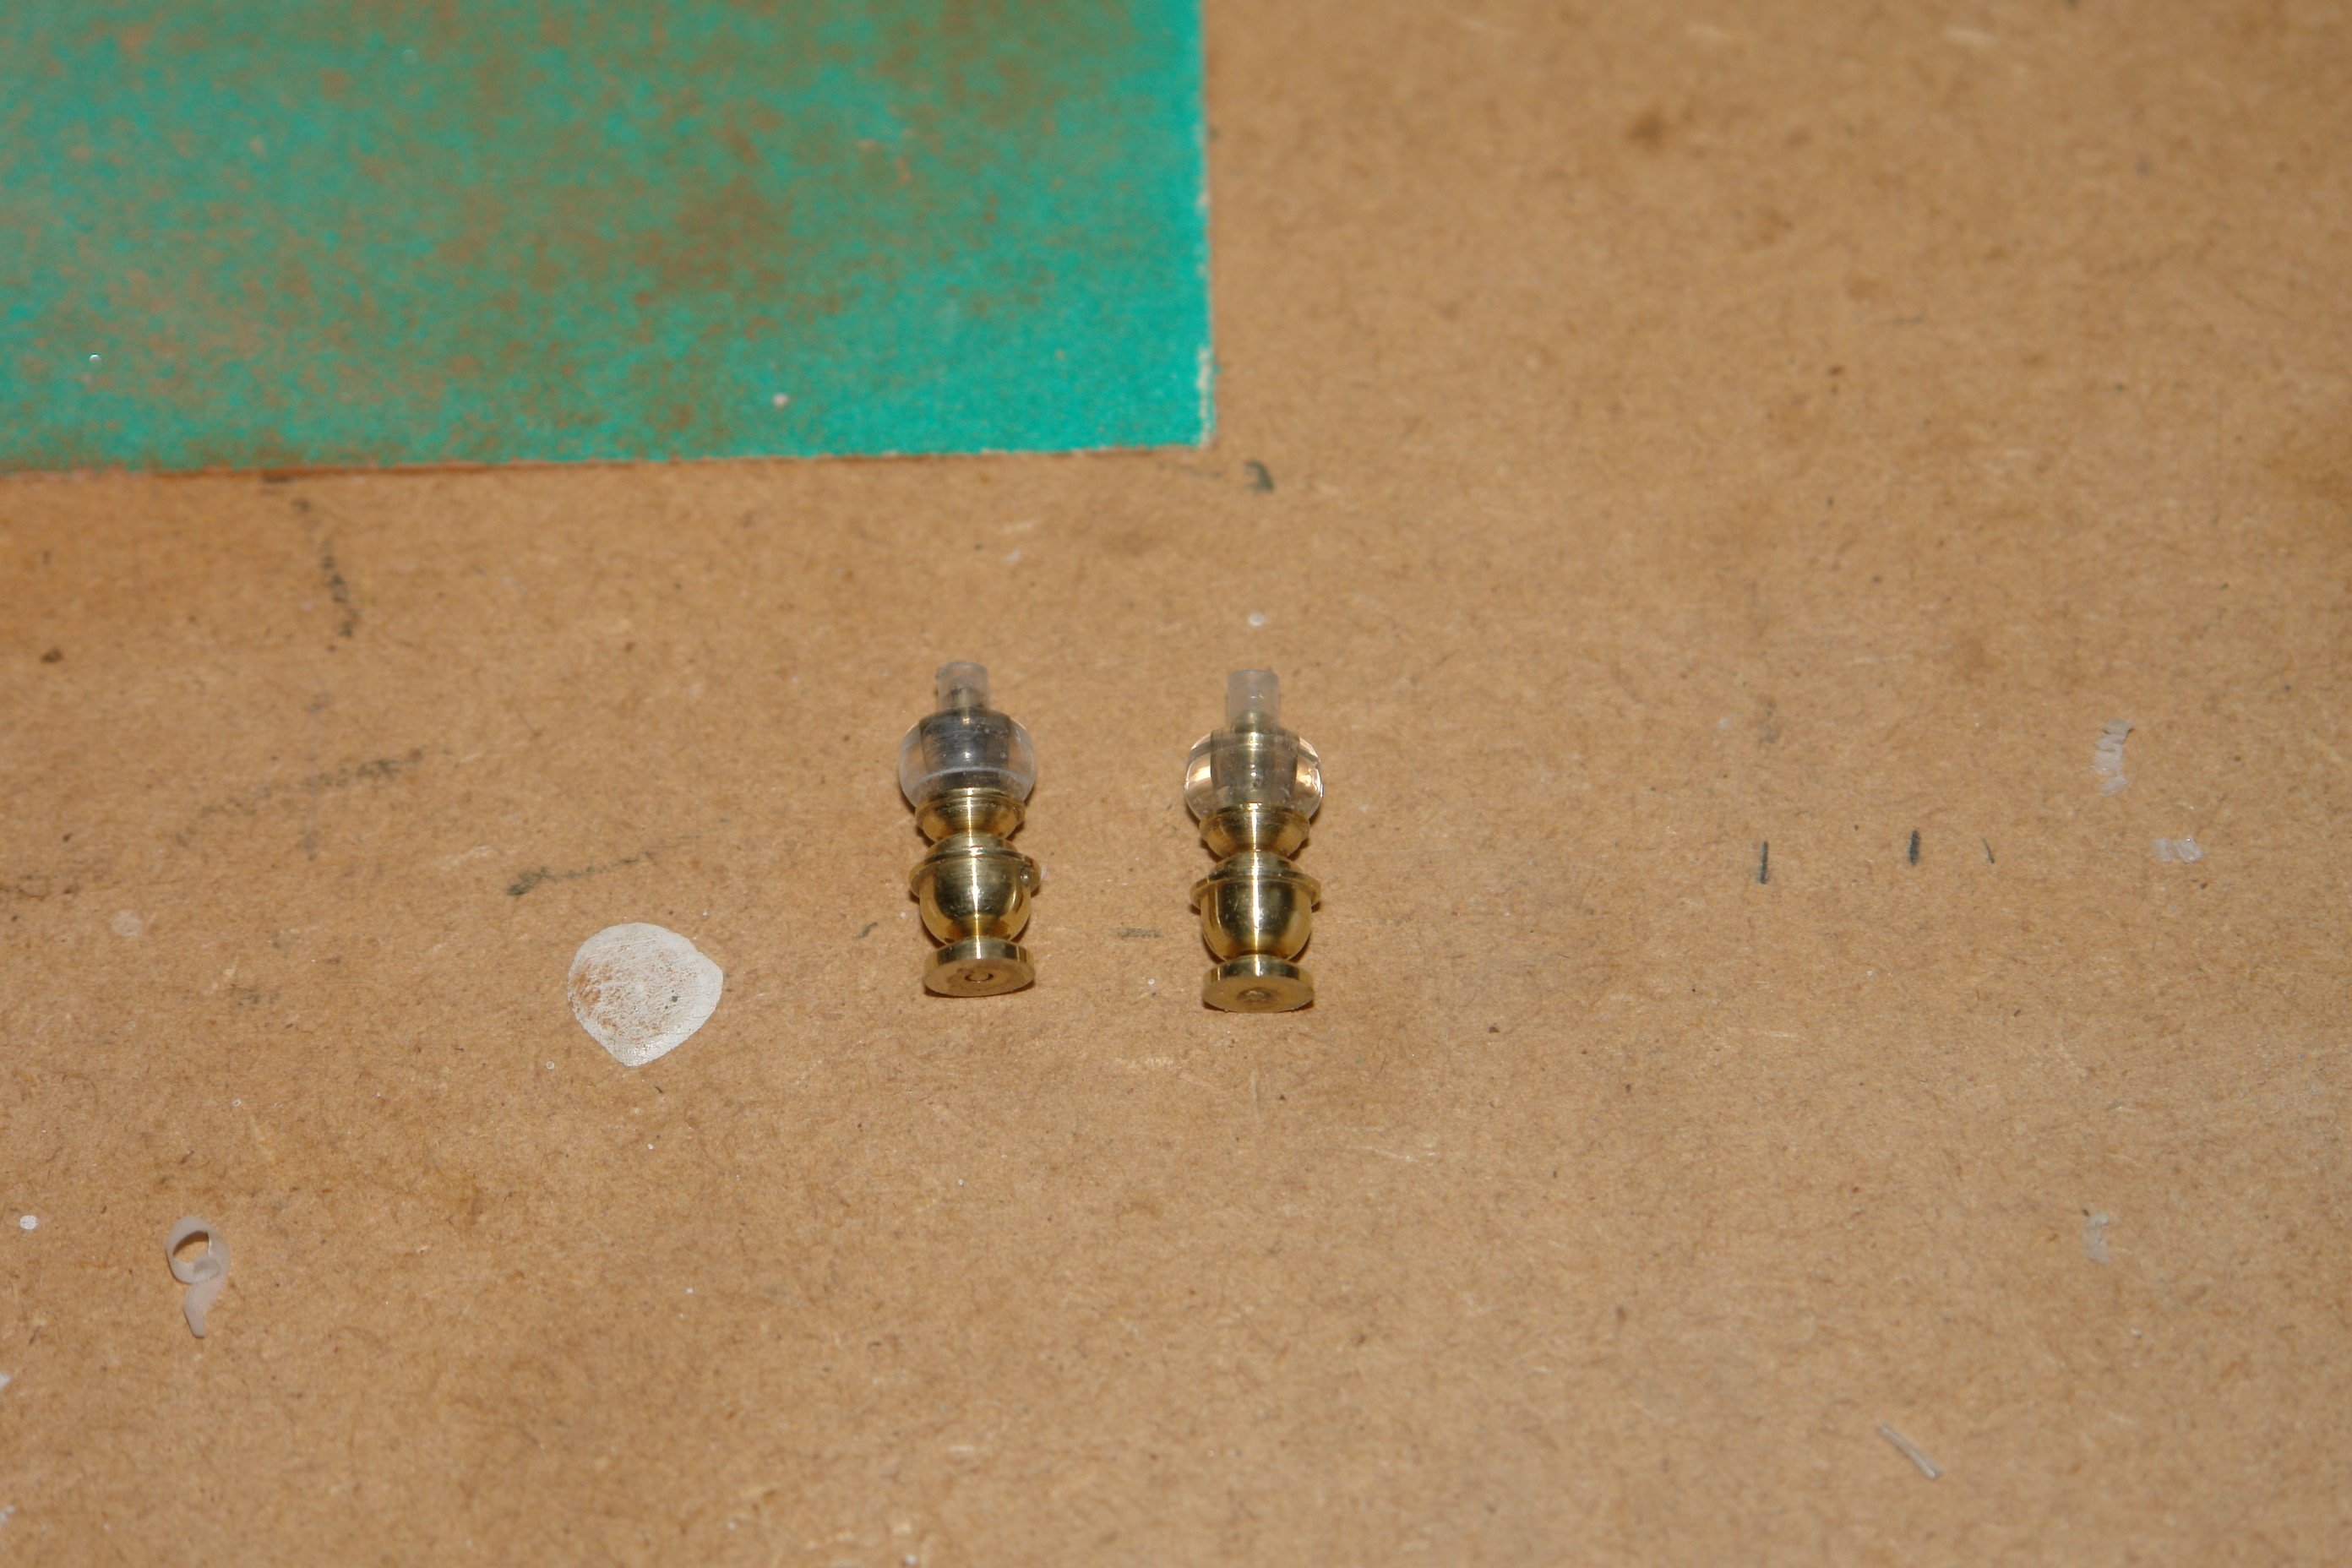
Ok back on topic:- I seem to have managed my return to the workshop to coincide with a rapid decline in ambient temperature. As late as last week we were having unseasonable warmth - circa 15c of 59f. This week it is struggling to claw its way above 5c, 41f. Not ideal for doing delicate work, painting or gluing. I started on the owners cabin by making the 4 doors 3" x 1" overall. The panels are .03" thick and the framing is .04" The full height locker wall was attempted first shown below with the wall paneling done and the doors and mirror mounted. The mirror itself is a piece of aluminium. Next the aft wall of the cabin. The right hand door is the entry door and the left hand door accesses the en-suite facilities. The wall paneling is all made from 1/32" birch ply painted with acrylic. Then a start was made on the double bed. I construct items like this against a right-angle corner to keep things square. The side panel is glued on to 1/32" ply. The next photo sows the rear wall with the embryonic bed. The wall now has skirting boards. Back to the front wall with the port and starboard section of wall paneling temporarily in place. Two nice imitation brass oil lamps are mounted between the doors and the mirror - see earlier photo. The photos of lamps are a bit fuzzy so I have a done a bit of interpretation. I decided it would be easier to make them as a series of discrete vertical sections. The drill in the next photo is .04" The shades were turned from perspex and then polished. That's it for now folk's.