KeithAug
-
Posts
3,980 -
Joined
-
Last visited
Content Type
Profiles
Forums
Gallery
Events
Everything posted by KeithAug
-
 Thank you Keith - I couldn't see it either.
- 288 replies
-
- 3
-

-
- Santos Dumont No. 18
- hydroplane
- (and 1 more)
-
Veszett - Natural wood. Although above the waterline is a little more uncertain at the moment. Phil / Keith - your passion for detail is a constant source of wonderment.
-
Veszett, they are anti shipworm anodes.
-
Shock horror - the tin is nearly empty. I spent happy hour on the web a few days ago looking for a replacement. The question is 75ml, 1000ml or 2500ml. What do you recommend noting the trend to phase out oil based paints? Thank you Vossiewulf.
-
Oh dear, you do need to take care. We young things bounce quite well but at your age it pays to be super safe. 🙂 I have enjoyed catching up, you have been such a busy boy. All looking rather magnificent.
- 732 replies
-
- 4
-
-

-
- Lula
- sternwheeler
- (and 1 more)
-
John - Yes the Robert E lee overhang is quite remarkable. Hopefully the passengers won't be running side to side to see the sights.
-
Yes - good luck George. I think you are right not to increase interview stress by being too dependant on public transport.
-
Cap San Diego by mikegr - 1/160
KeithAug replied to mikegr's topic in - Build logs for subjects built 1901 - Present Day
Yes they might look a little thin but they are quite a lot more pleasing to the eye. -
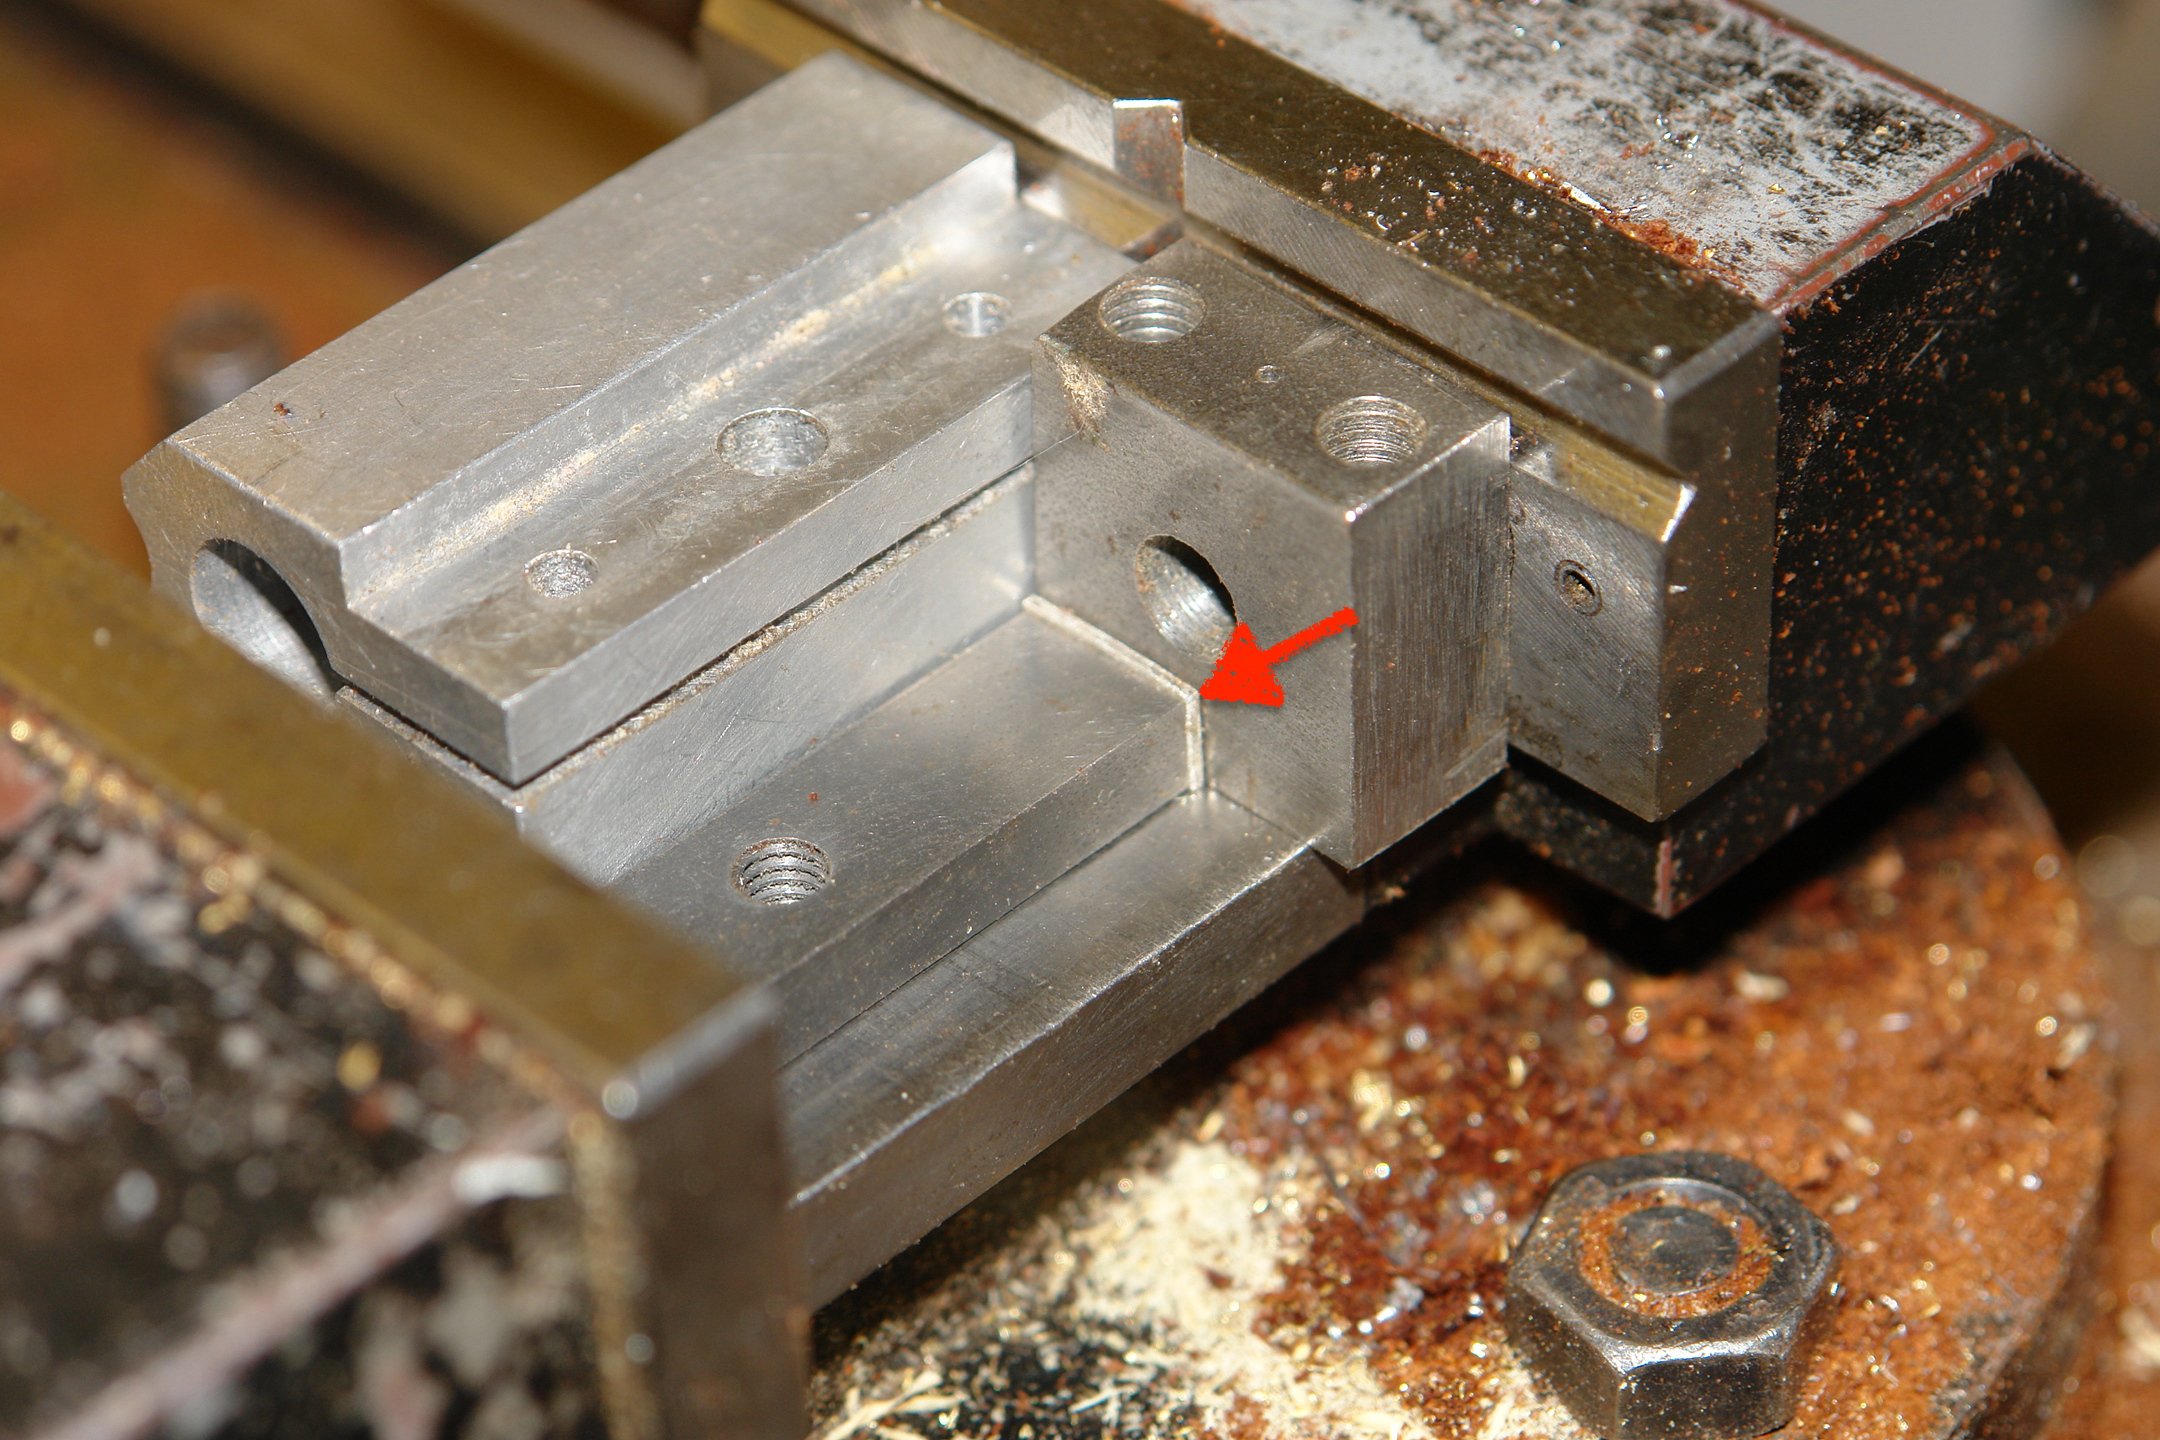
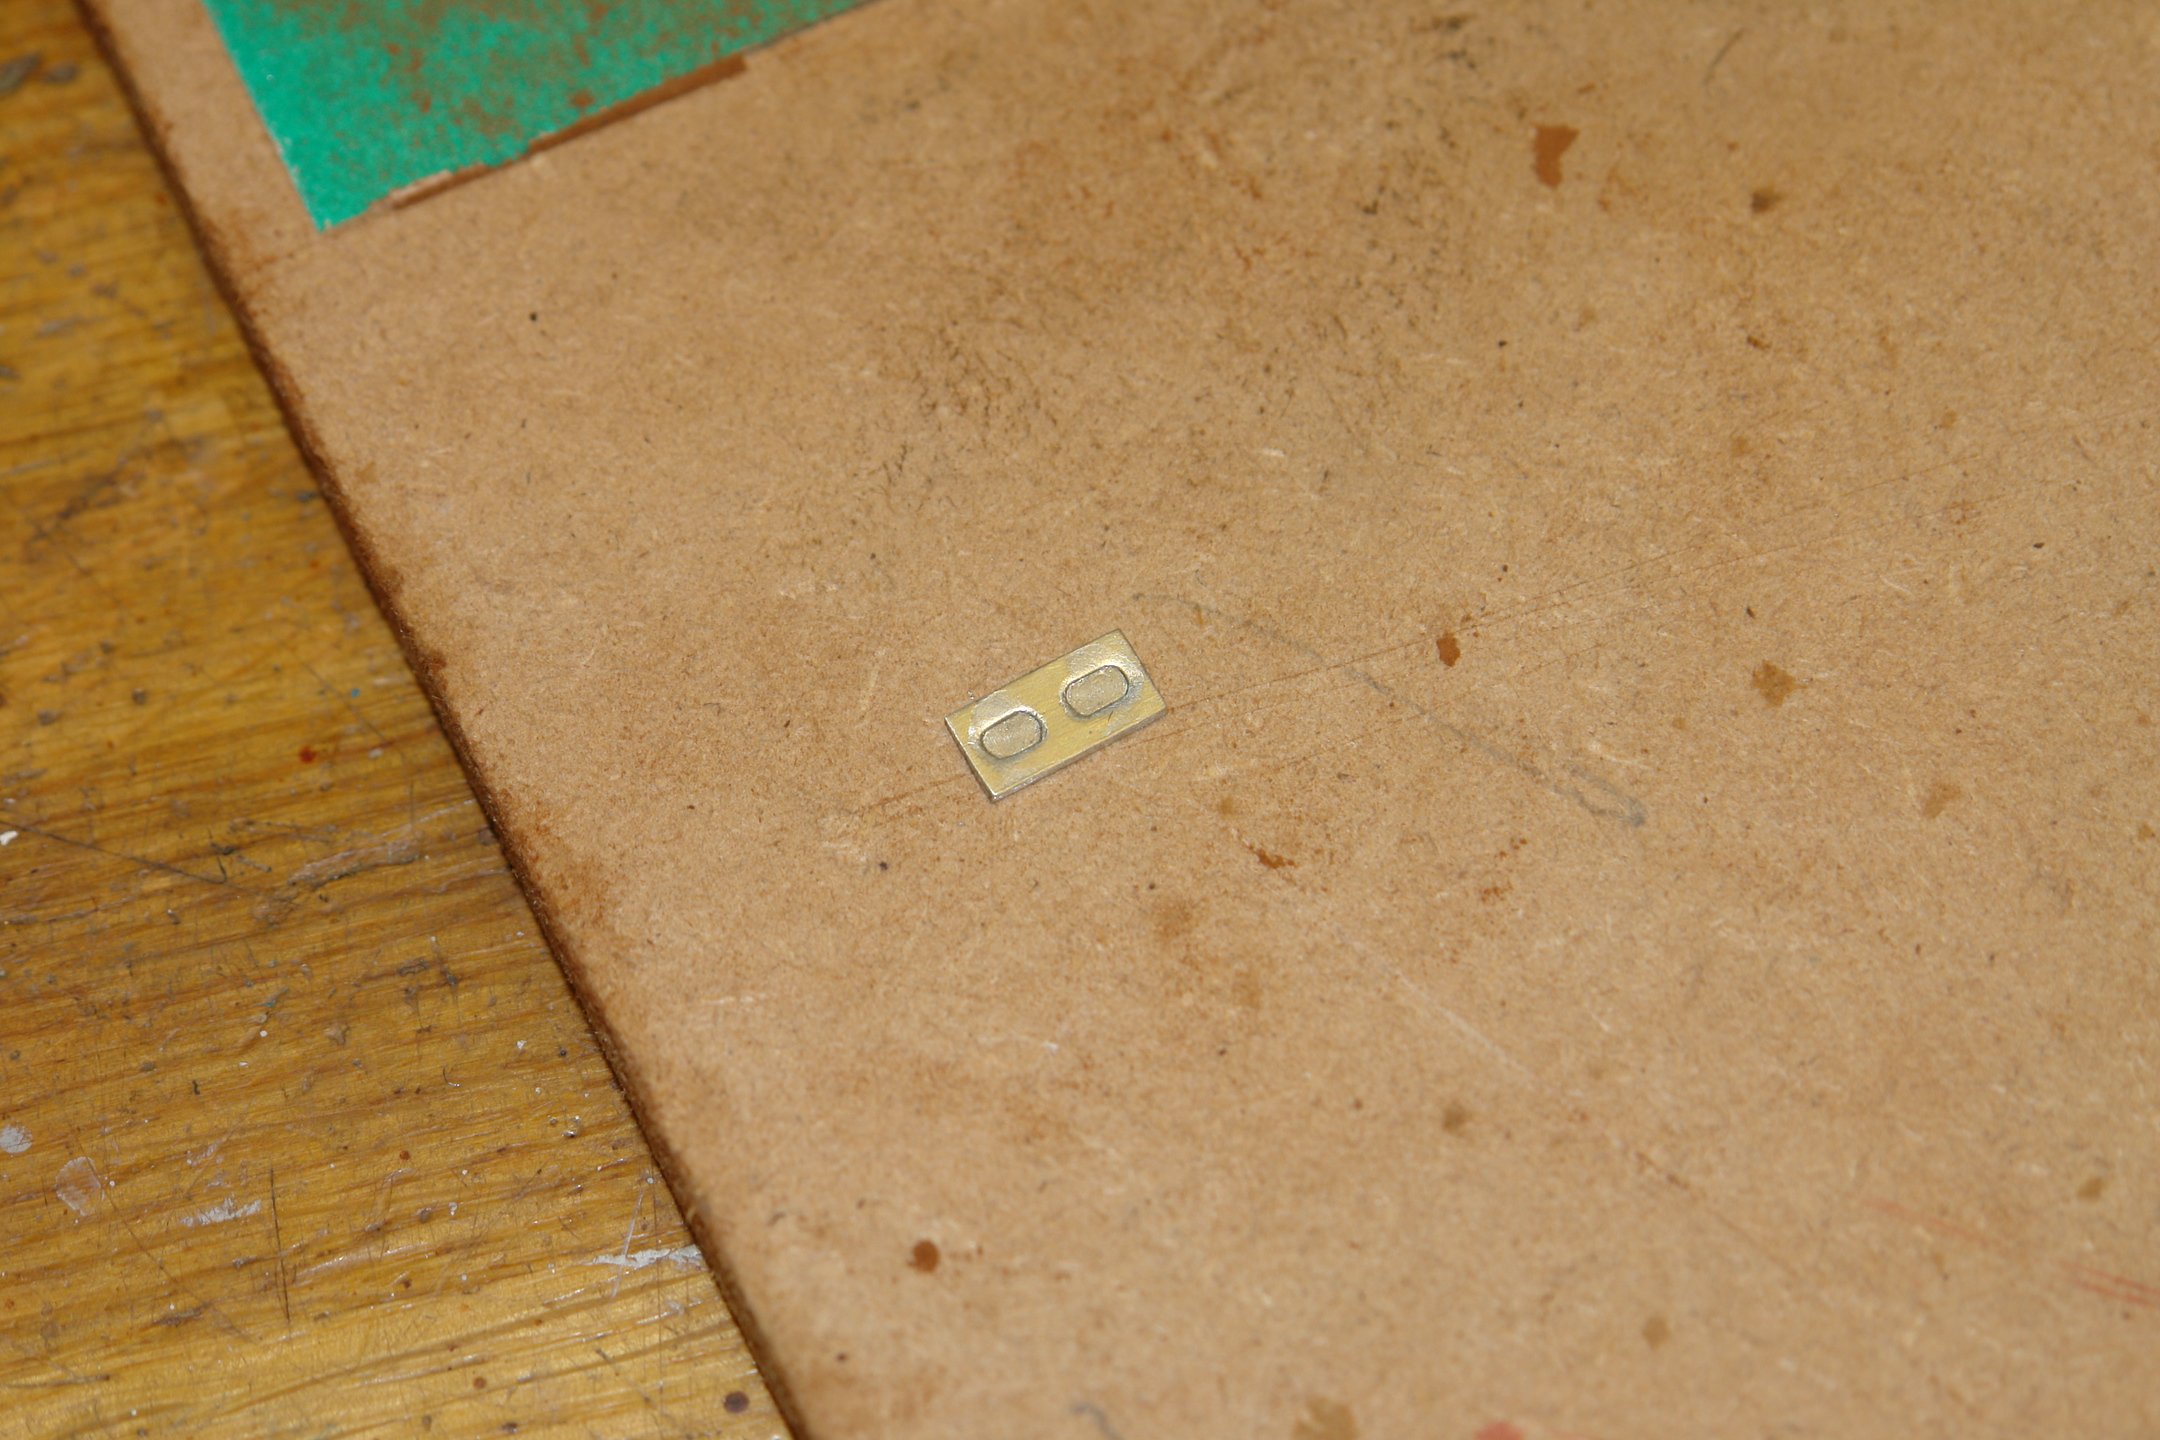
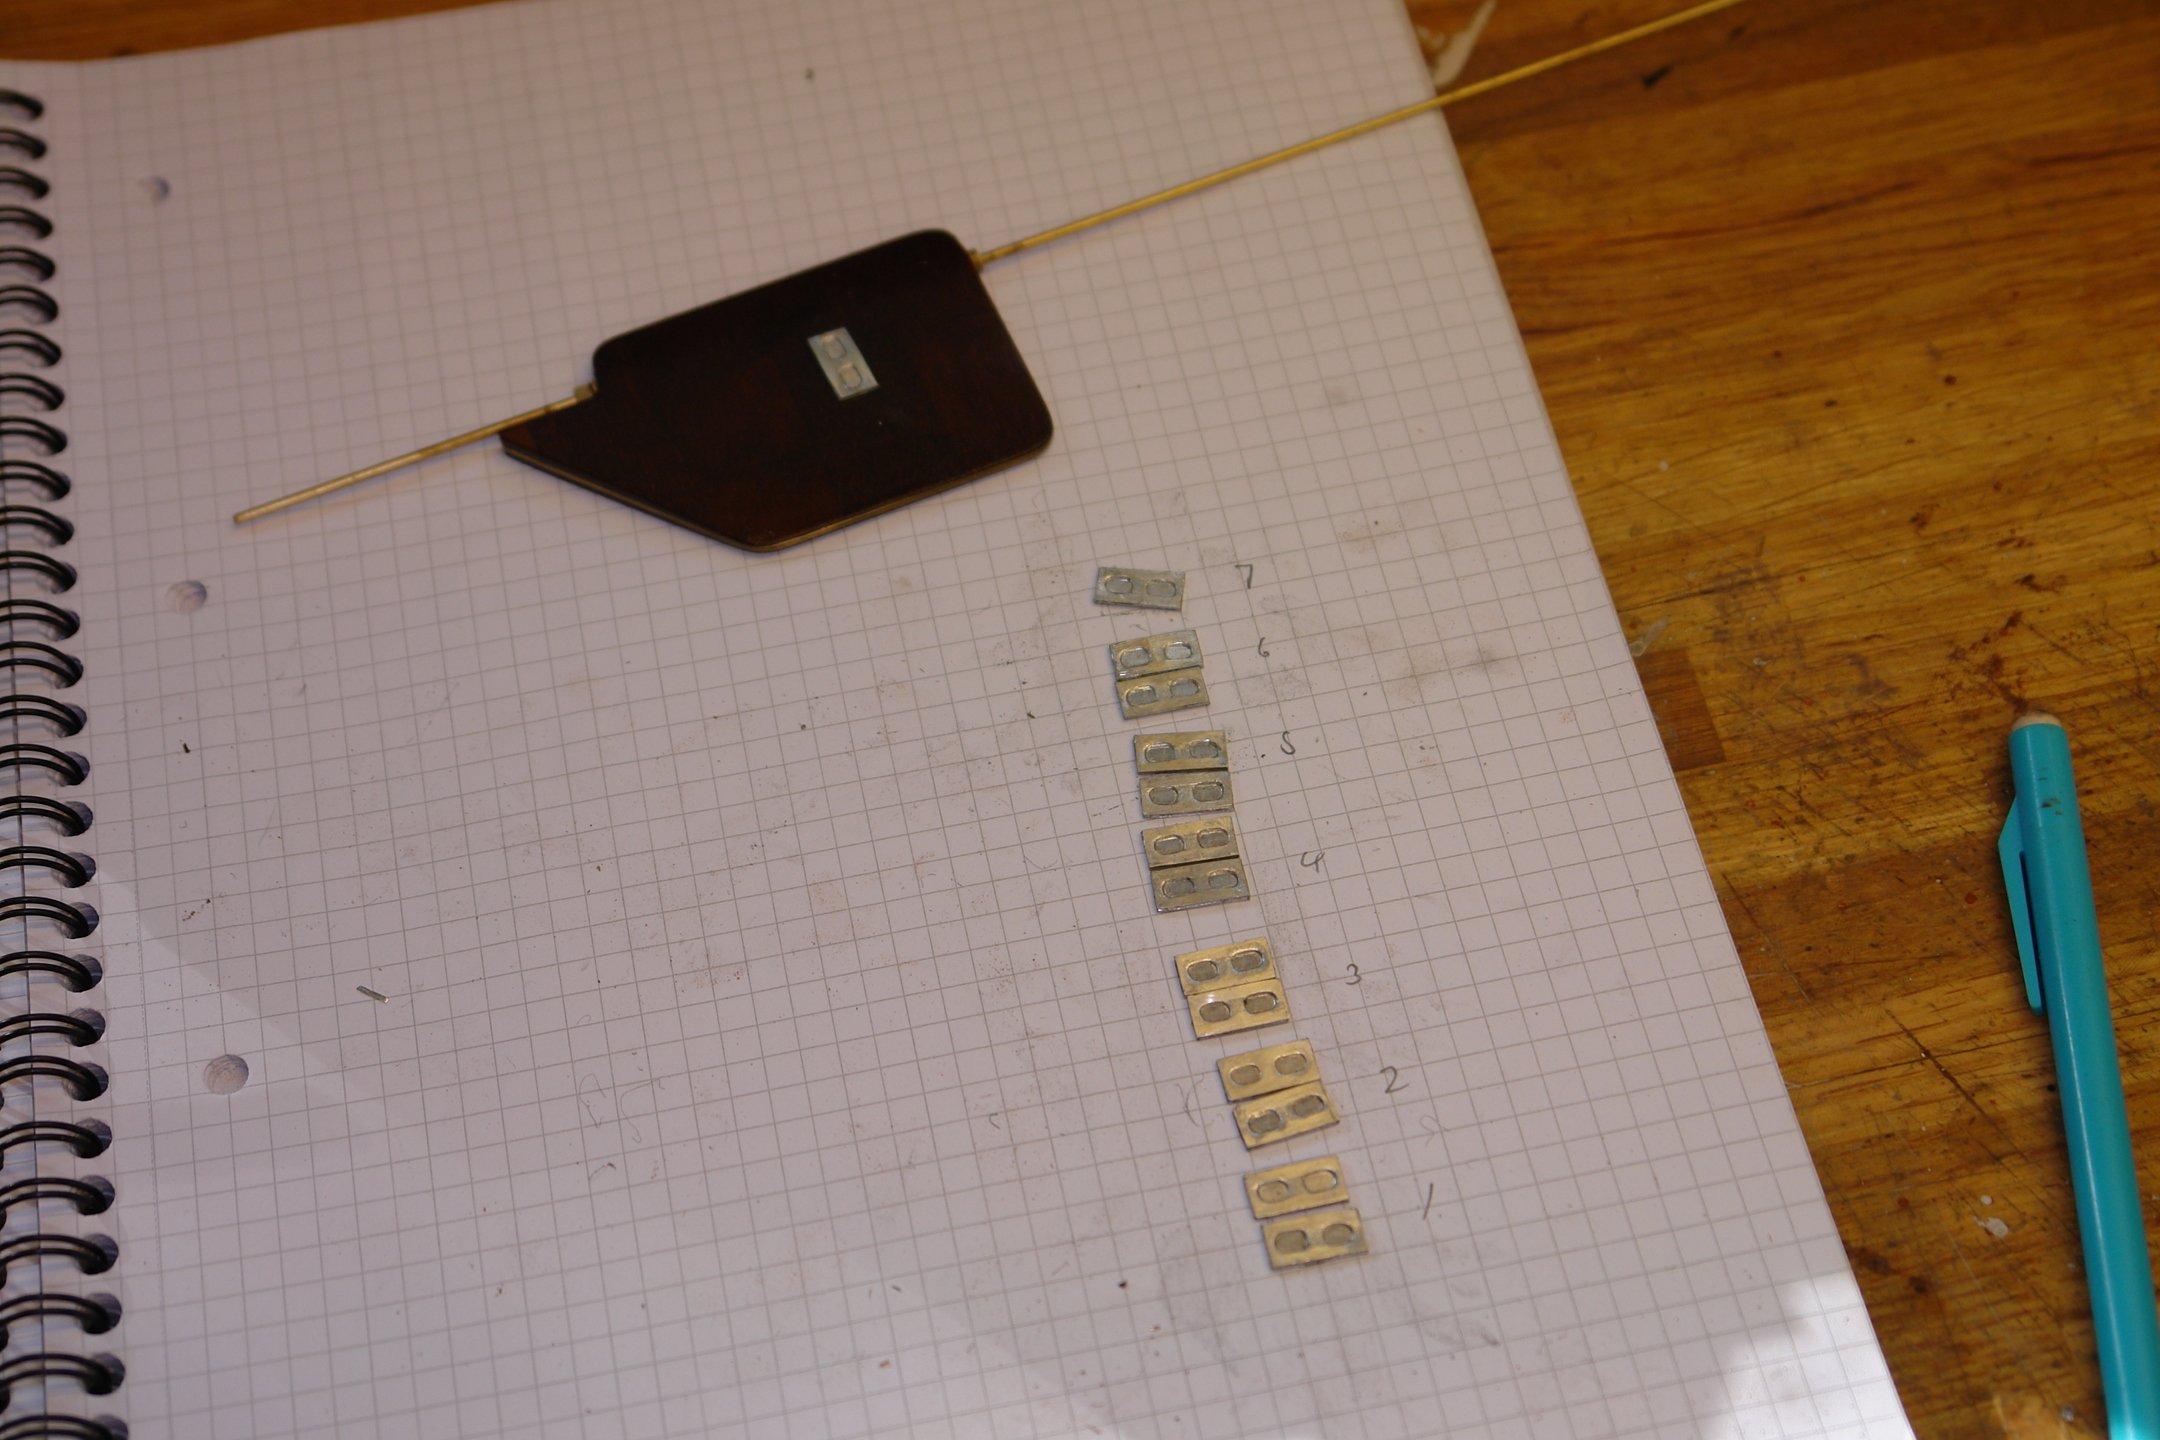
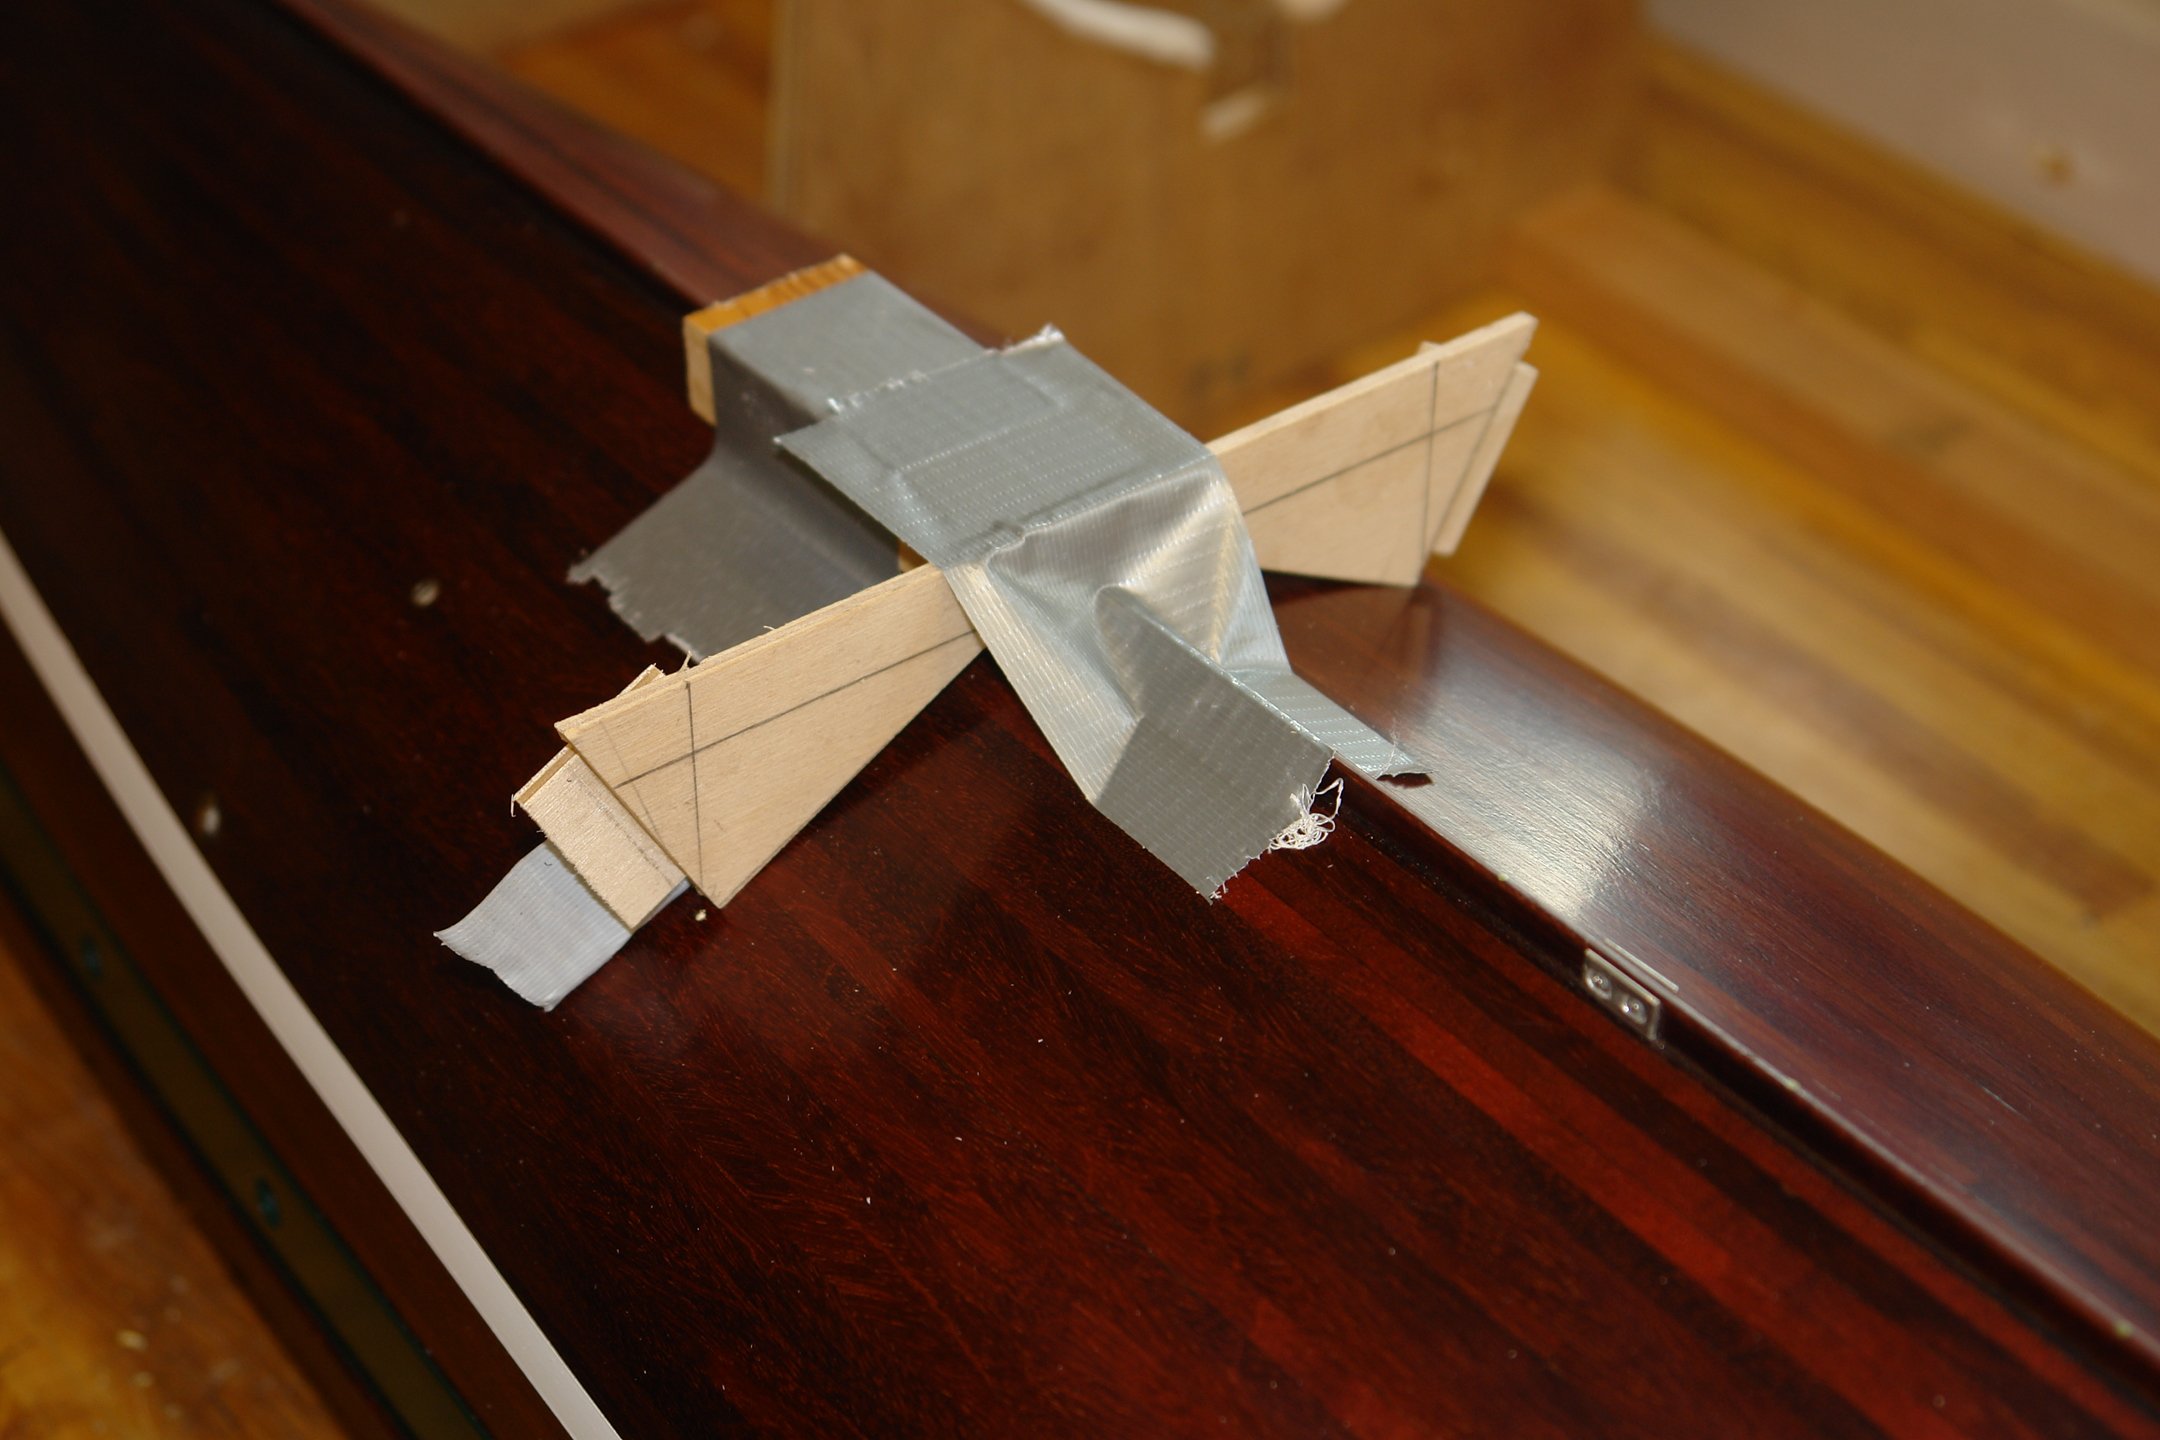
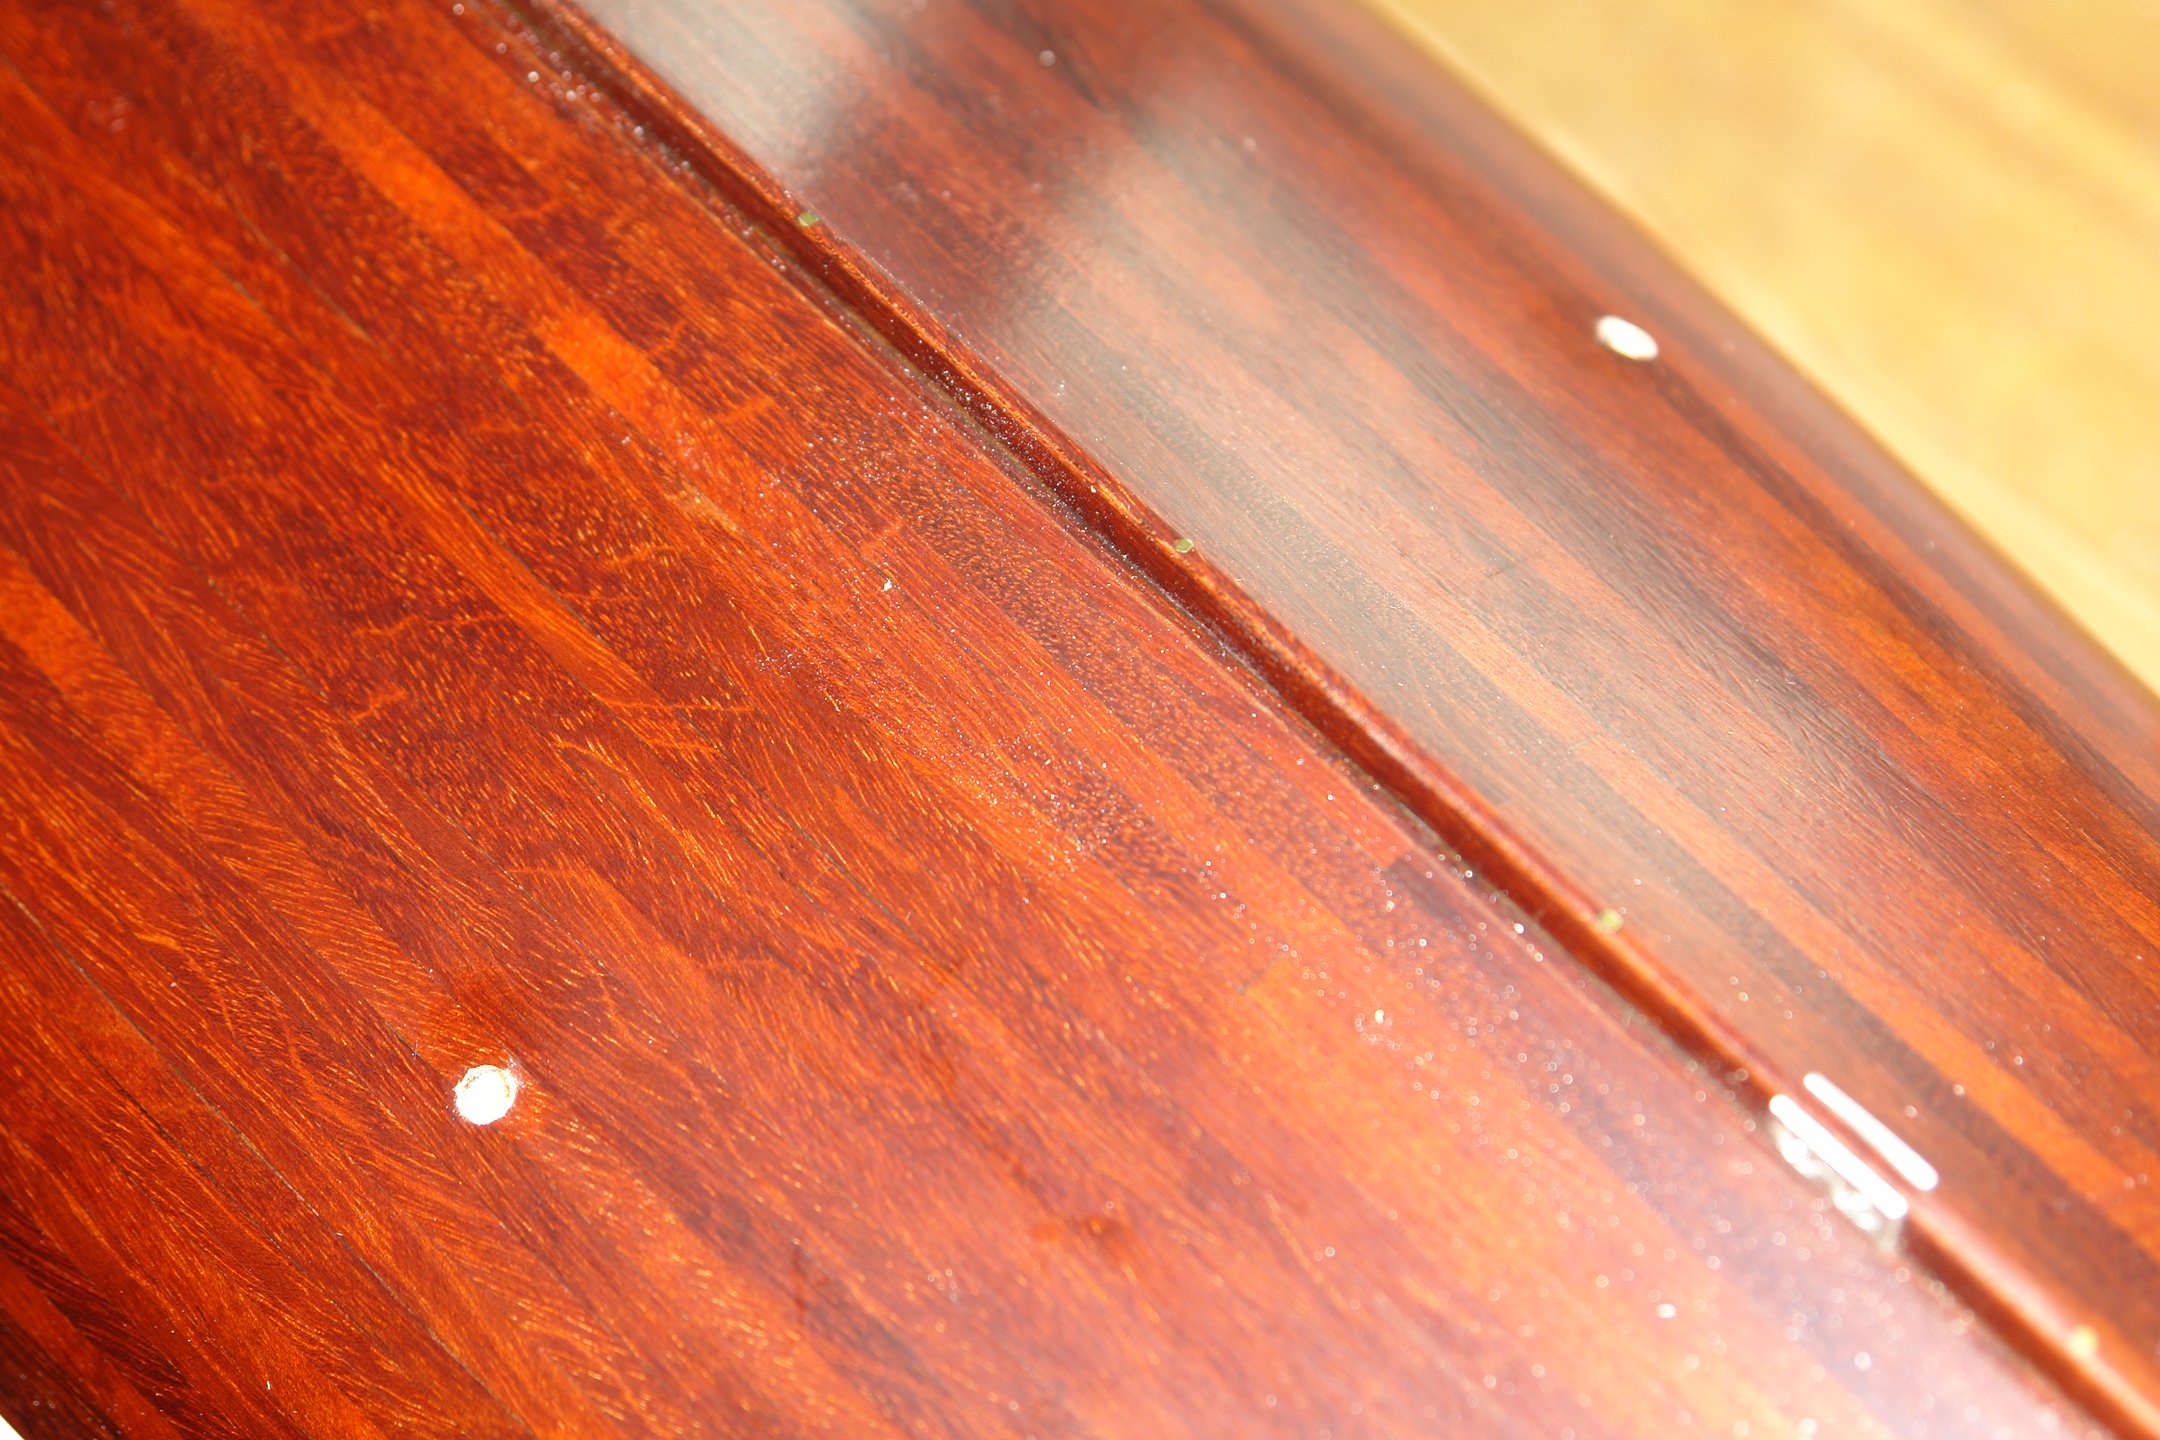
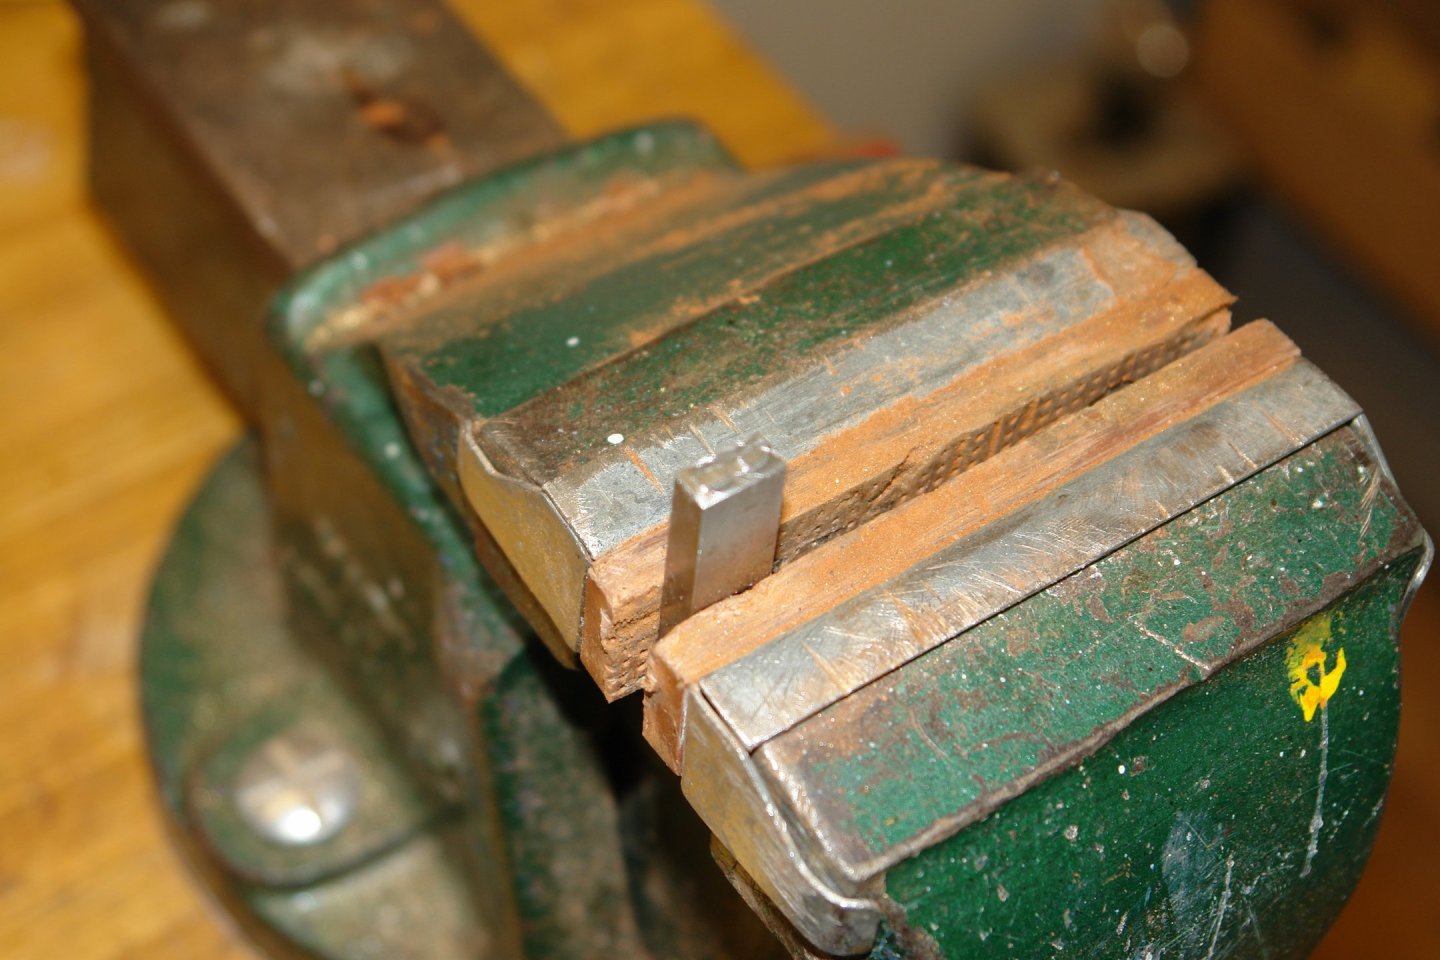
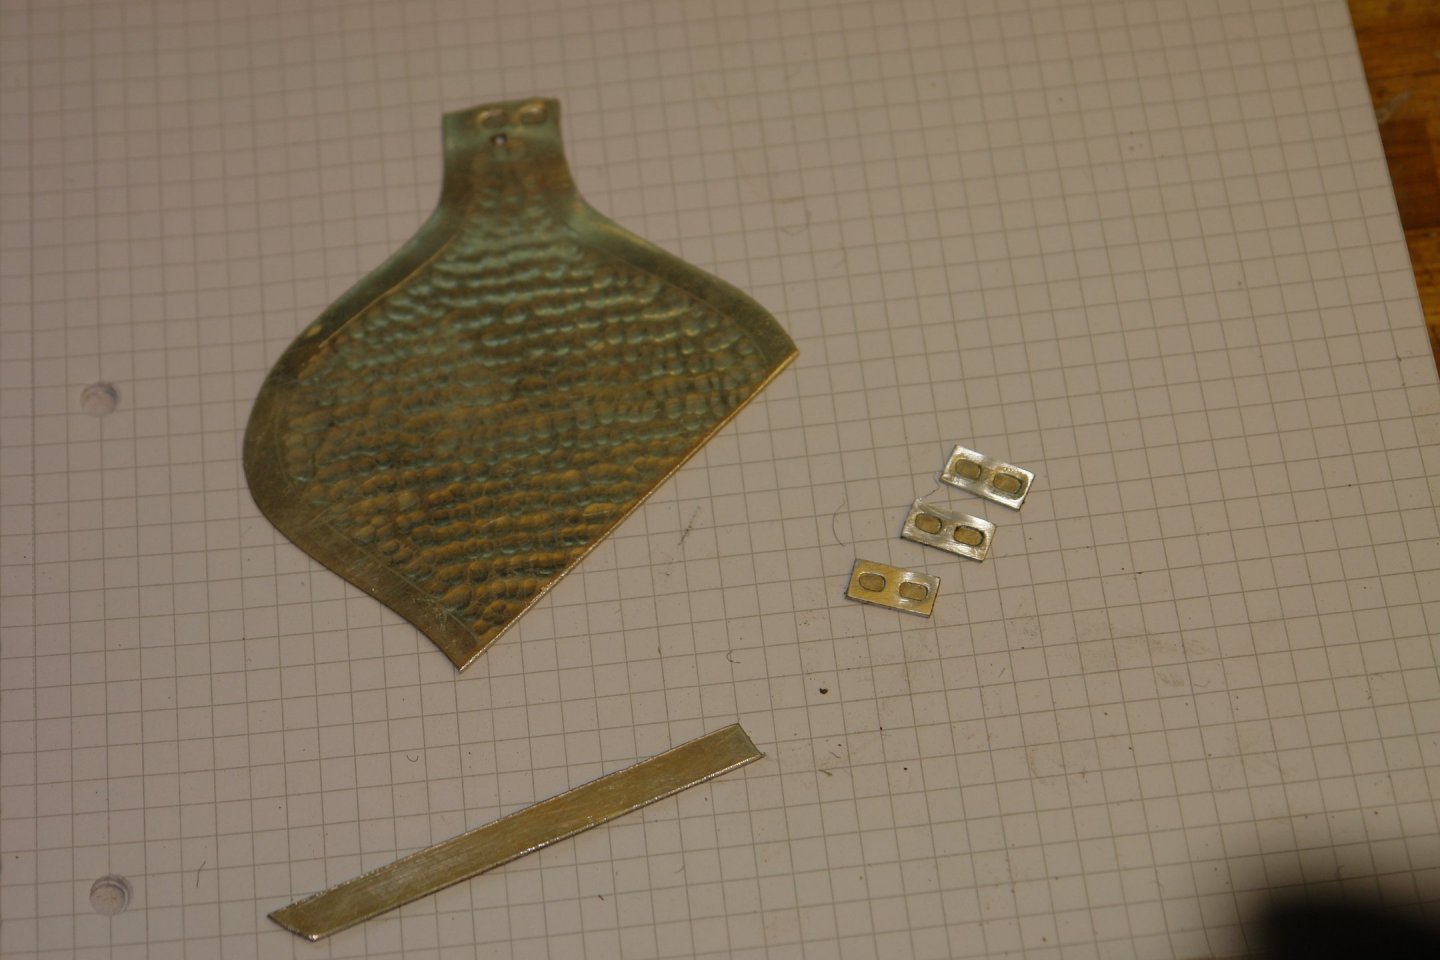
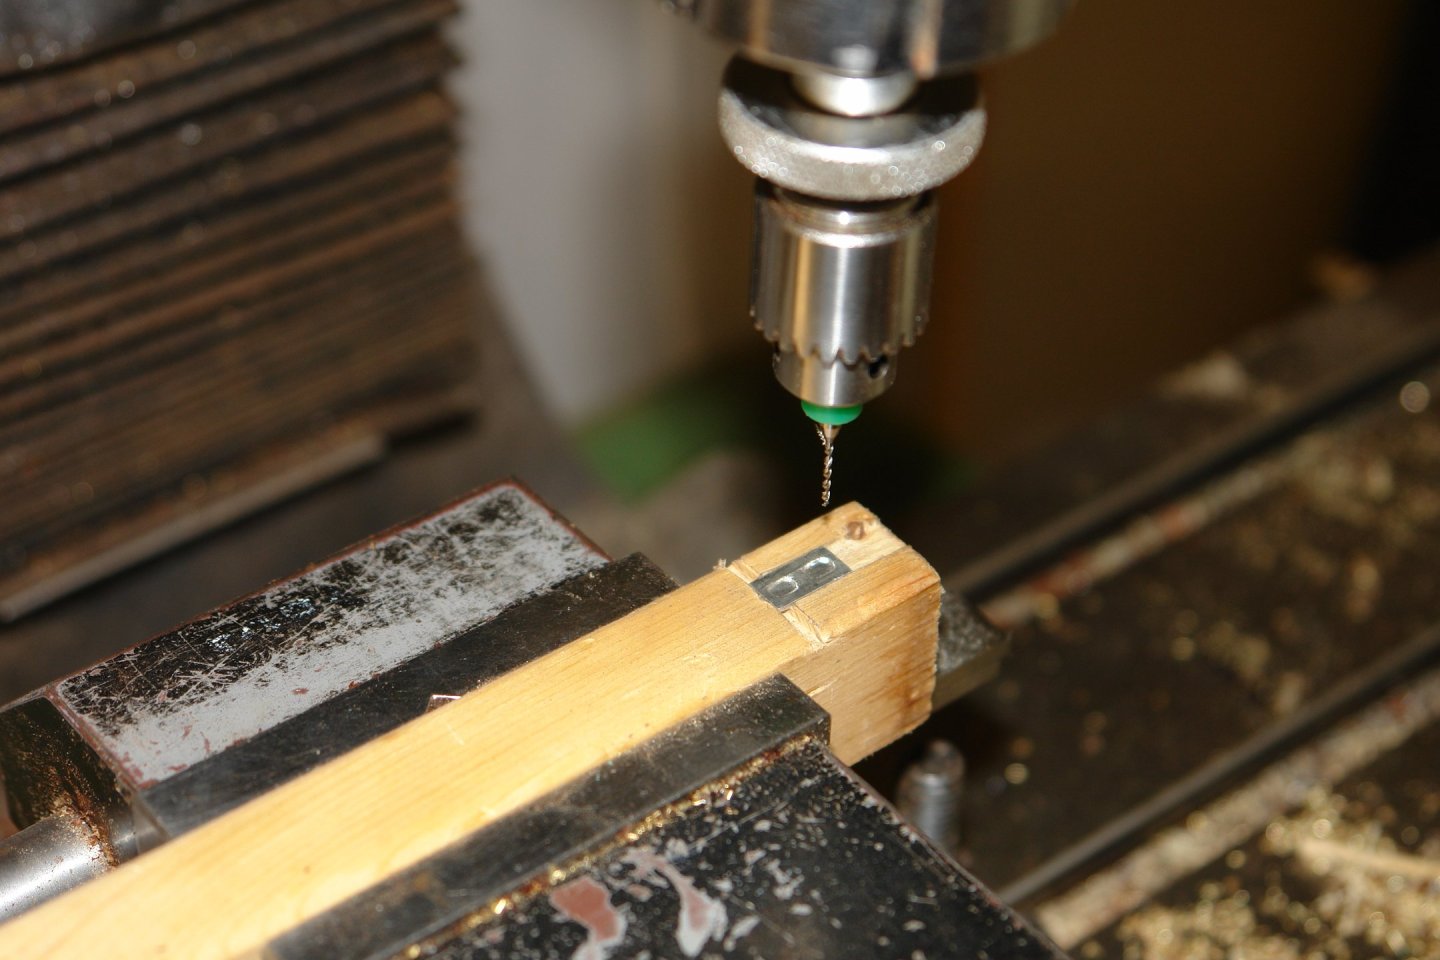
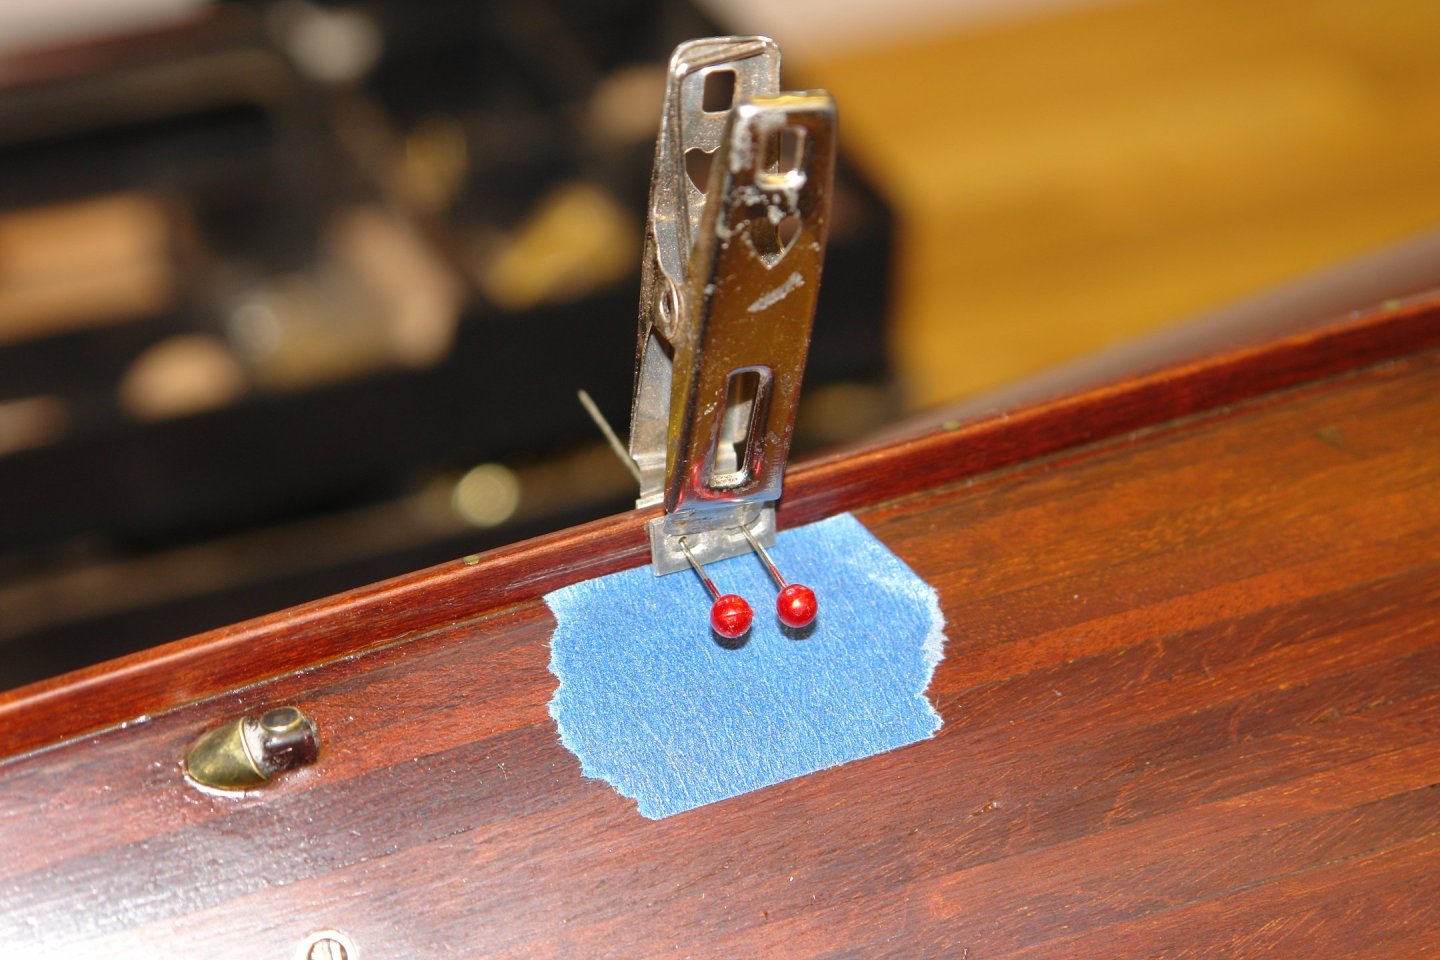
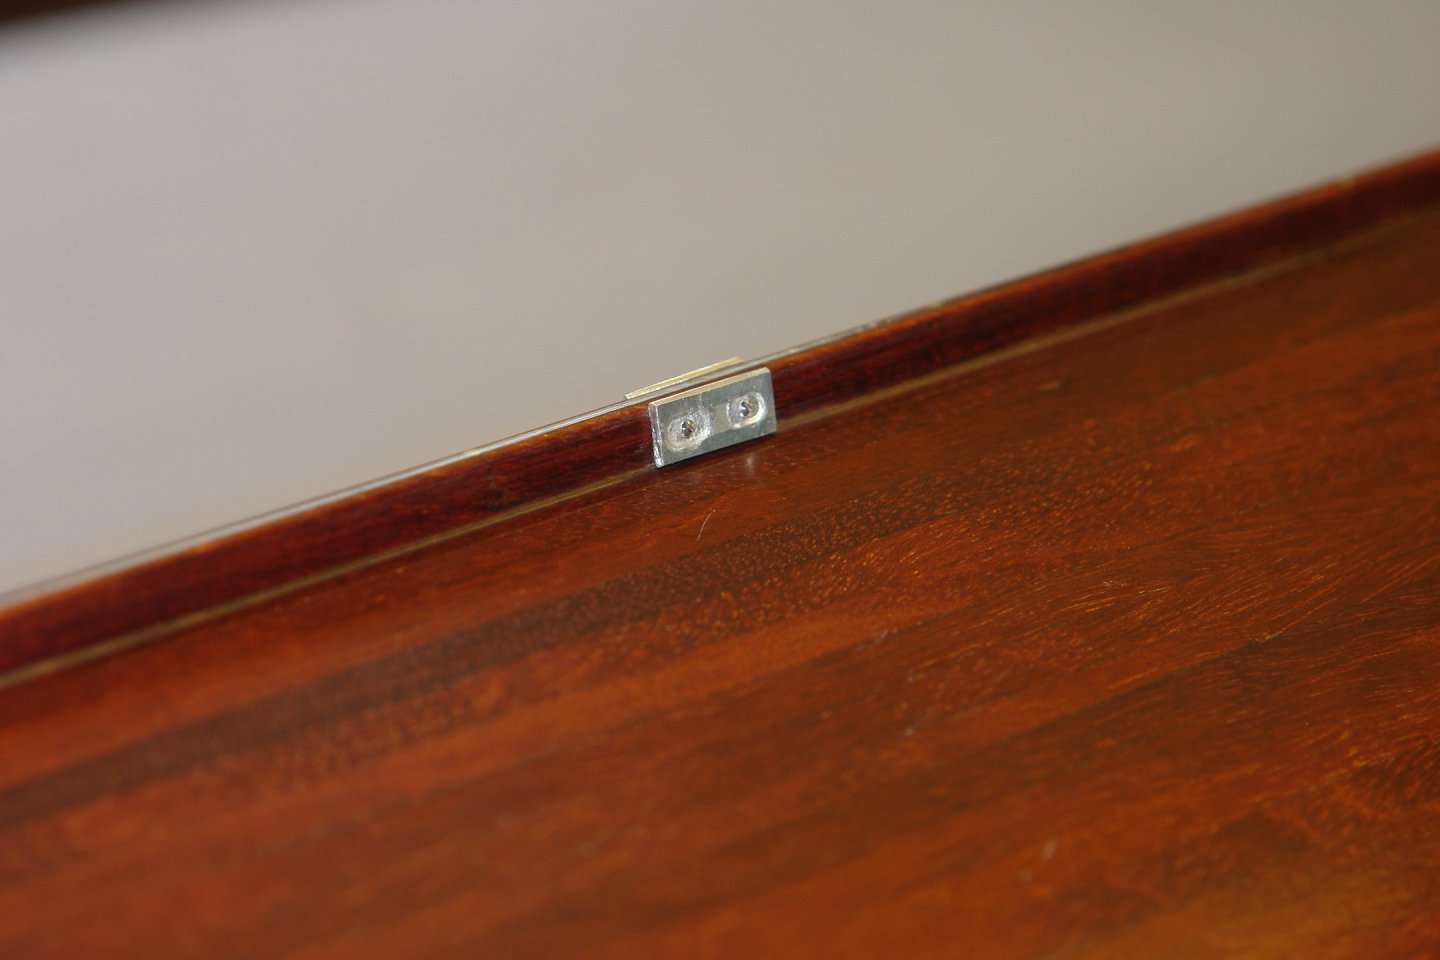
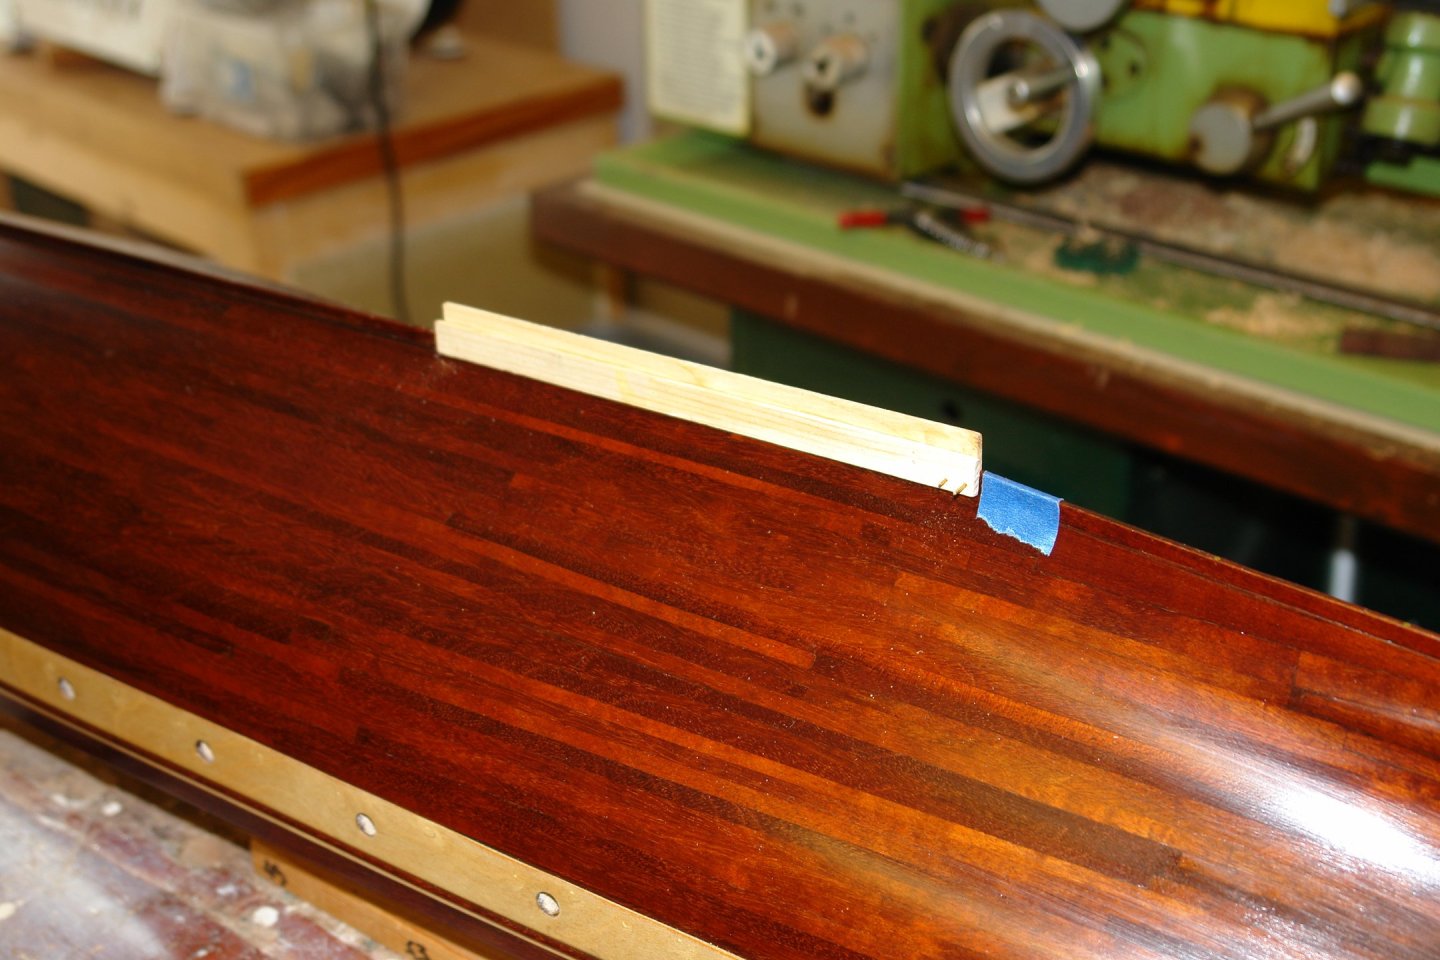
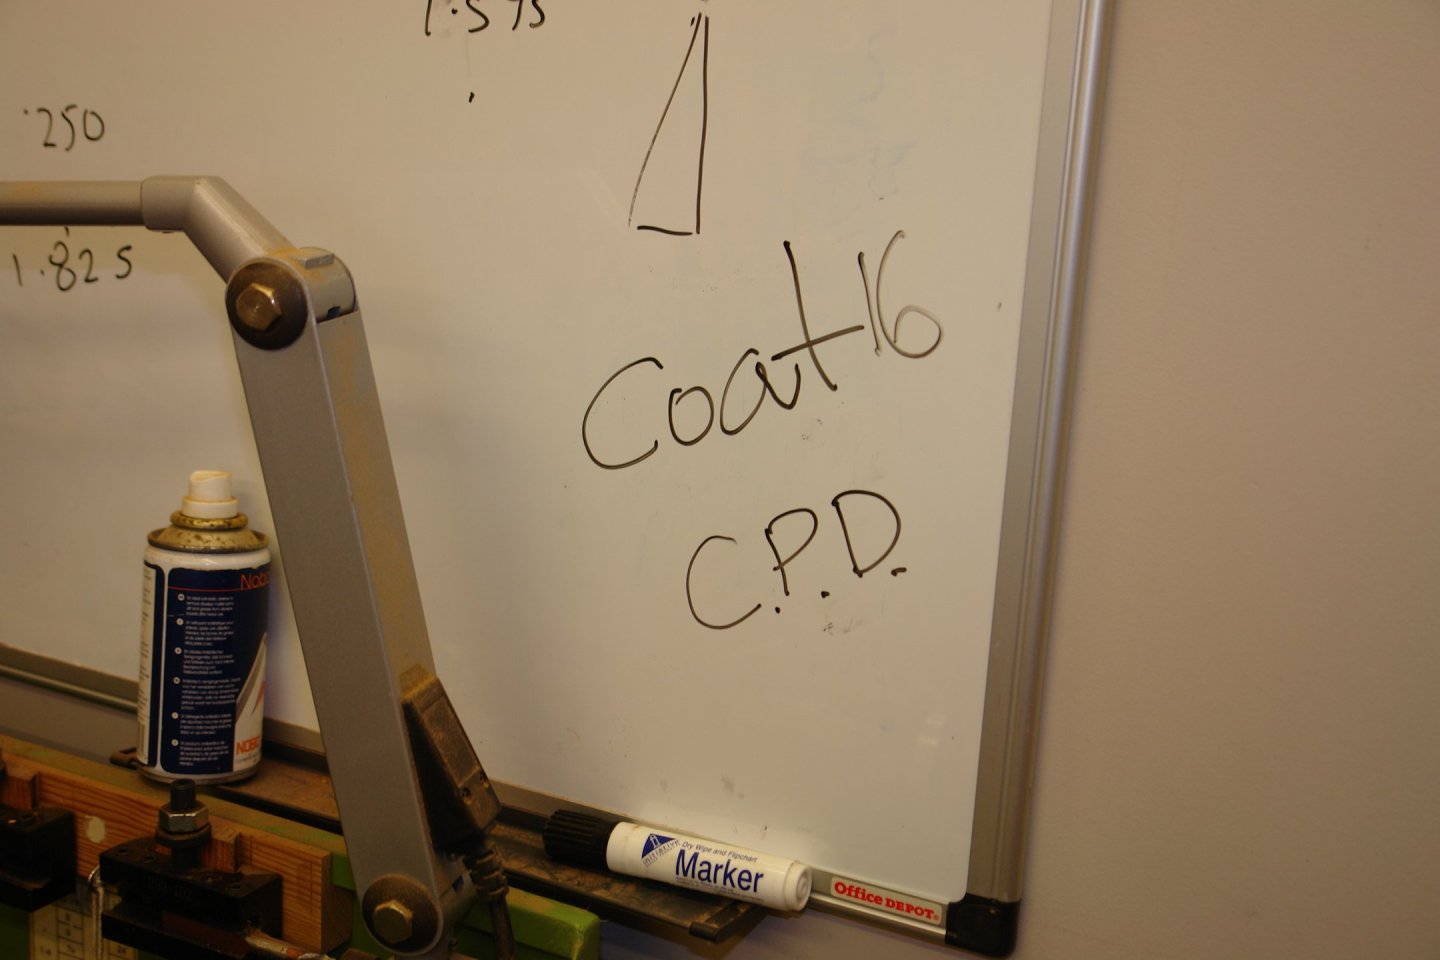
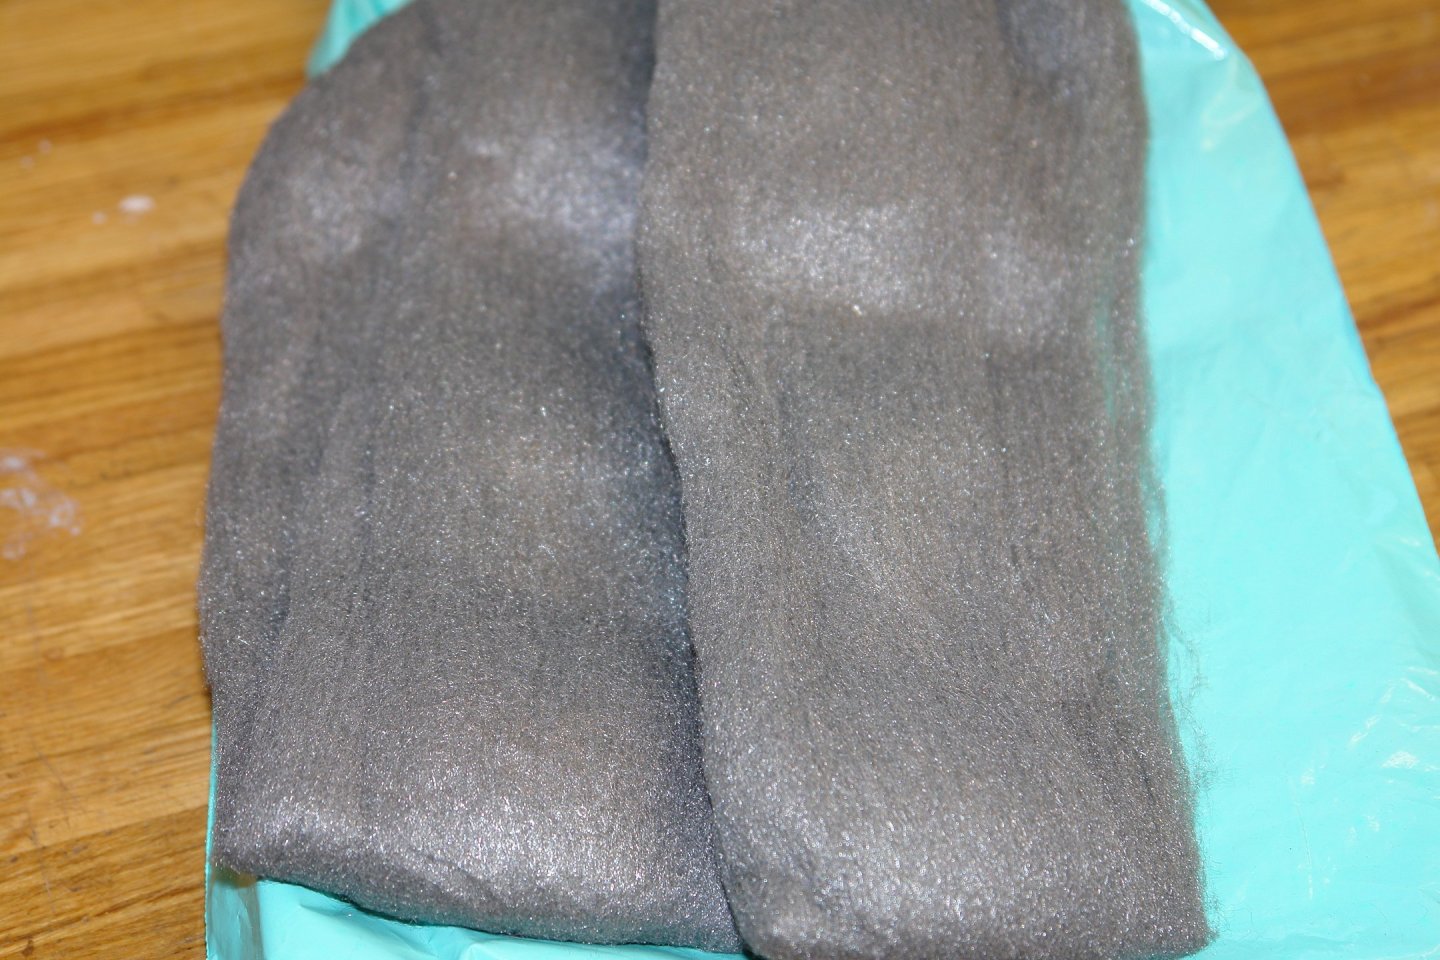
Thank you Pat, Rick, John, Keith, Druxey, Veszett and Ian - and of course the rest of you have liked my work. Yes Ian - I still use the old stinky stuff but still managed 14 coats - however see below!😬 Rick - very thin to ease cutting - about 0.010" I set about making the anodes of which Canada has 14. I wanted to give them a bit of shape so I decided to try pressing them. I started by making a press tool from mild steel. This was partially milled and finished by hand filing. I used the machine vice as a press. With a bit of cleaning up the first one turned out acceptable. The pressed metal was quite soft - it is actually an old decoration that used to be a Christmas decoration. I think it might actually be a zinc alloy which seems quite appropriate. Here are all 14. All were drilled with 2 holes to take the mounting bolts. The slotted piece of wood is a crude locating jig to make drilling quicker. The keel was drilled through to take the anodes (symmetrical on either side) Then glued and screwed in place. The anodes are spaced equidistant along the keel - so again I made a simple jig to assist drilling of the holes. I then used my previously made jig to drill the stabiliser holes. I always put off drilling holes in the hull - I think it is fear. You can see the jig has been modified to give better angular control of the drill. The Jig was taped securely to the hull and the holes were drilled with my heavy duty hand drill. All was well. Fortunately no damage to the paintwork ---------- but then ! succumbed and 2 more coats of Poly went on. Compulsive or what!!!!!! Ant then another go with the super fine wire wool. Somehow the final 2 coats seemed to help. The sheen was quite subdued and the finish was reasonably uniform which pleased me. The next job is making the stabilisers and thereafter masking up for the spray paint job. That's all for now so back to catching up with all your builds.


-
Good to see more progress Brian. 3D printing all looks just the job.
-
It looks like a wonderful Trip Mark. Not sure why you are worried about southerlies and south easterlies - they were the best winds in the Outer Hebrides.🙂
-
I am very anti 3d printing, basically because I'm too lazy to learn how to use it. If I can get over this hurdle I am going to become its number 1 advocate.🙂
-
I always think that a good bathroom is well with the effort. Are you planning on having a crew to use it?
-
Stunning result Valeriy.
-
I'm sorry the i missed this log until now. Great technical approach to the planking and fine result. Well done.
- 312 replies
-
- 4
-
-
-
- Chile
- Latin America
- (and 6 more)
-
I agree - I draw X and Y scales on the item to be printed. I then scan and print the sheet, measure the result and correct the print scale accordingly. Seems to work.
-
Excellent woodwork Hakan. Your workshop views convince me that I need a bigger space - and perhaps some heating!🙂
-
Great progress Phil and the stem looks wonderful. I too have abandoned the pencil attached to a sick method, the laser level makes it so much easier. Unlike you I have ditched the pencil altogether. I now lay the masking tape directly to the laser line. I find it works very well.
- 476 replies
-
- 5
-
-
- minesweeper
- Cape
- (and 1 more)
-
Well worth the effort Greg - they look amazing. Great progress and attention to detail.
- 288 replies
-
- 3
-
-
-
- Santos Dumont No. 18
- hydroplane
- (and 1 more)
-
All very beautifully done Gary. Well up to your usual high standard. You need a teleporter. I have one and it works brilliantly on this type of problem.🙂
-
The partly set sails look wonderful. Excellent work john.
-
Yeh! I feel for you - and the whole world seems to be going to hell in a hand cart. Maybe we should just hibernate until 2026.
-
Snap - and it is still cold enough to freeze the balls off a brass monkey in my workshop!🙂. Thank you for the catch up - great work.