HOLIDAY DONATION DRIVE - SUPPORT MSW - DO YOUR PART TO KEEP THIS GREAT FORUM GOING! (Only 24 donations so far out of 49,000 members - C'mon guys!)
×


IgorSky
-
Posts
1,841 -
Joined
-
Last visited
Content Type
Profiles
Forums
Gallery
Events
Everything posted by IgorSky
-
Hi Dimitris! I like it a lot!
-
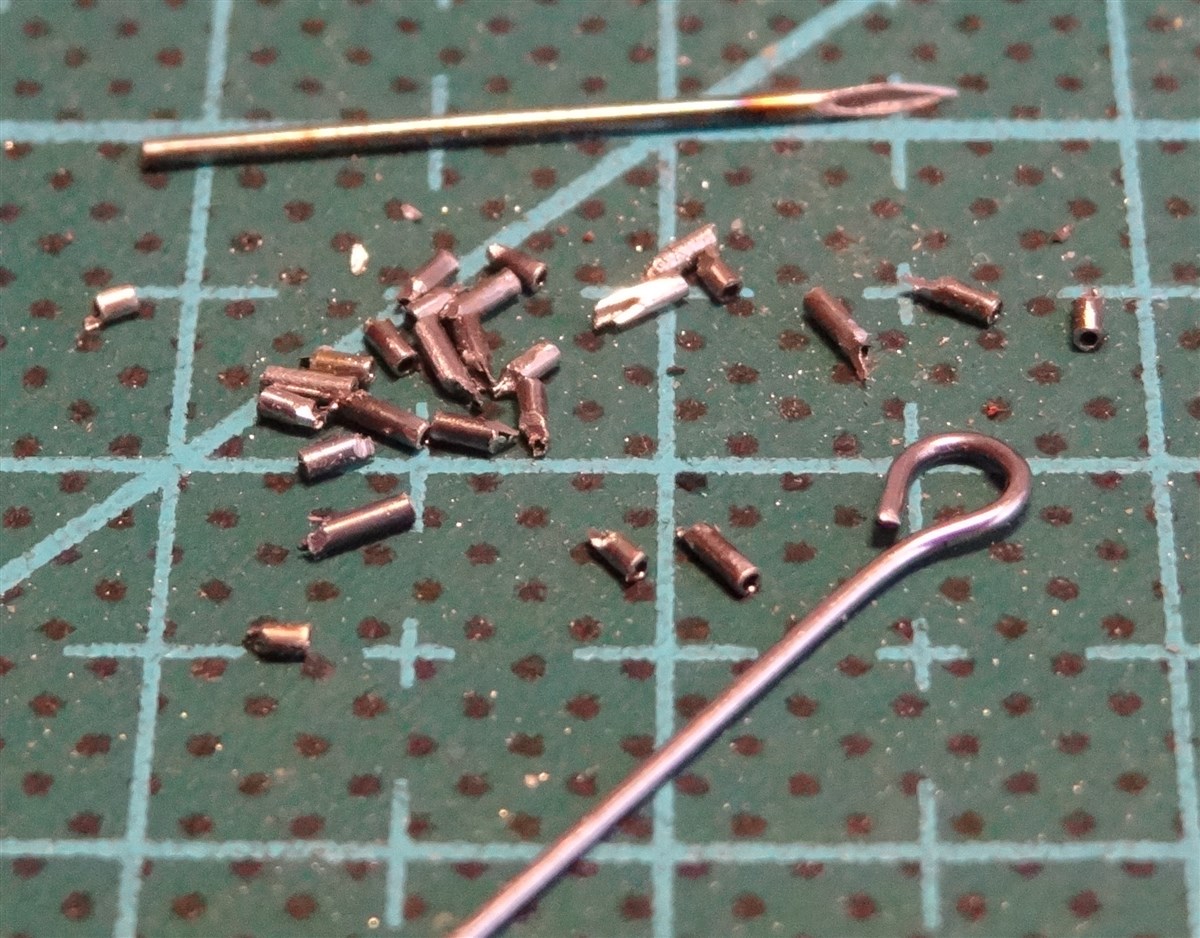
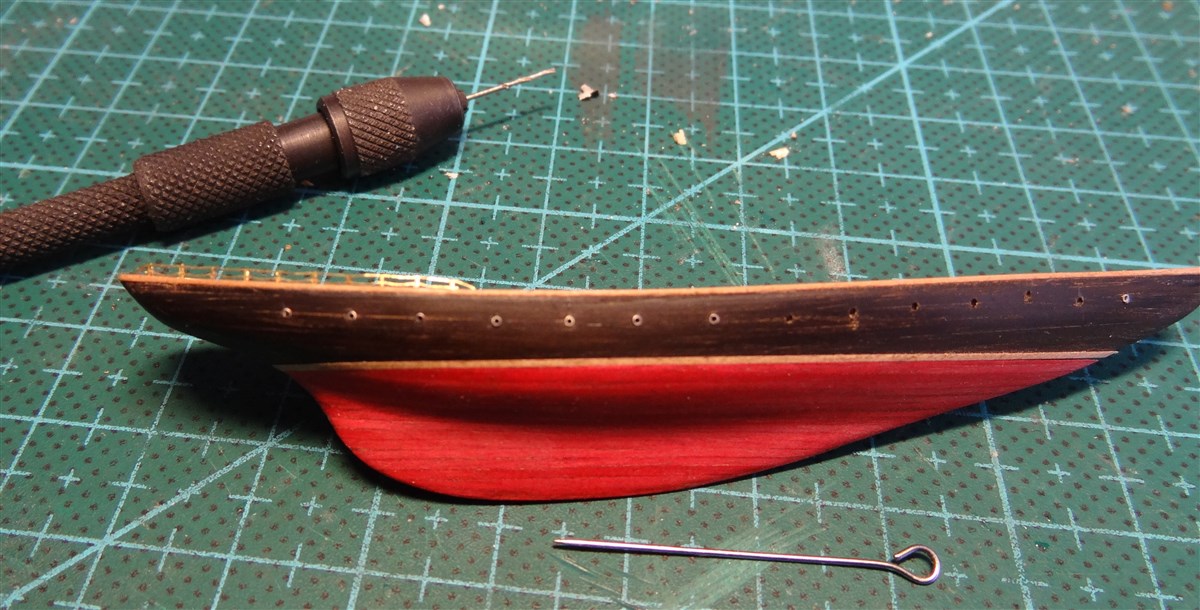
Hi Jeff, I use these needles with a diameter of 0.3 - 1.0 mm. But they can be used not only for the port holes. For example, I think the needle diameter of 0.3 mm can be used as the yards or for making cannon for the models of very small scale. It is the tube through which you can skip the thread. Best Regards! Igor.
-
Many thanks, Bob! I remember about the figure of Captain Slocum. I'll try to do it, but there is almost no free space on the desk nearI'll try to do it, but there is almost no free space on the desk near еру steering wheel Best REgards! Igor.
-
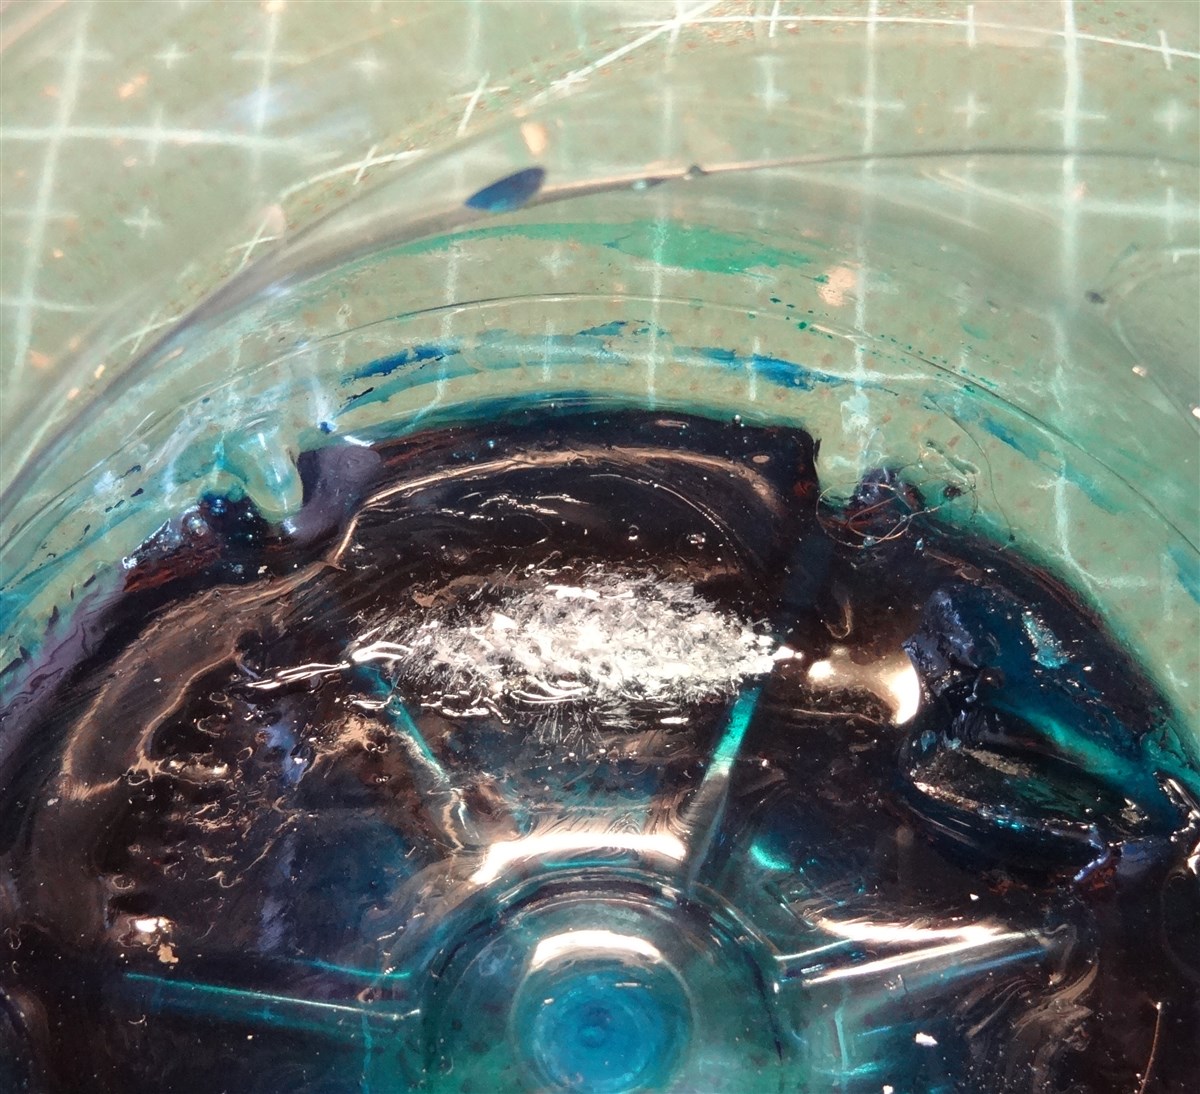
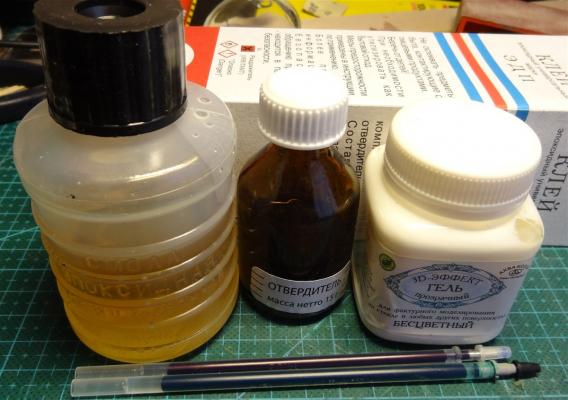
Hi Carl, Yes, it is the pigmented epoxy as a basis and acrilic gel for making of the foam. I put a little the white paint with almost dry brush before using of the gel. Best Regards! Igor.
-
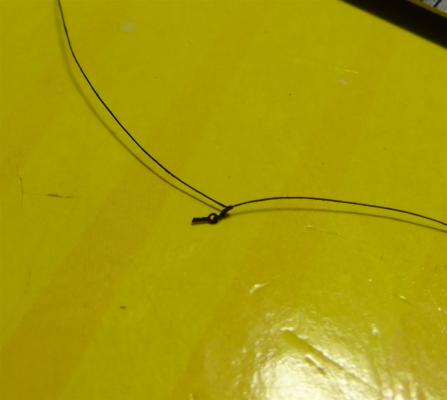
Hi Carl, Yes, there are 2 new photo tools - the pin vise and the steel pin. I magnetized the steel pin, and it allowed me to easily take the pieces of the needle to insert them into the holes.
-
Thanks, Patrick! I could not make an indentation with smooth edges. P.S. From Dykstra & Naval Architects - JH2 Rainbow 1st at the first race of the Antigua Classic Yacht Regatta! You can read more here - http://antiguaclassics.com/v1/index.php/over-the-rainbow/
- 427 replies
-
- 12
-

-
Hi everyone! Many thanks you for your words of encouragement and support! So today I started doing a sea for the yacht. Best Regards! Igor.

-
Patrick, I tried to do it with paint before. But I could not make a smooth boundary in this way.
-
Yes, Patrick, I think you found the optimal solution Once in the situation like this, I used a brass wire. I made a small recess in the hull and then I glued wire and then polished it with sandpaper. As a result, I got stripes. Best Regards! Igor.
-
Hi Patrick, Take my admiration! How you did gold cove-stripe? Is this the paint or the metal strip? Best Regards! Igor.
-
Hi Bob! Happy Birthday! And my best wishes for you! Best Regards! Igor.
-
Hi Matt, It is cool! I admire these small details each time when I watch your log. Best Regards! Igor.
- 425 replies
-
- 2
-
-
- bounty launch
- model shipways
- (and 1 more)
-
Hi Dimitris, Pleasant news in Saturday evening! It looks very nice! Best Regards! Igor.
-
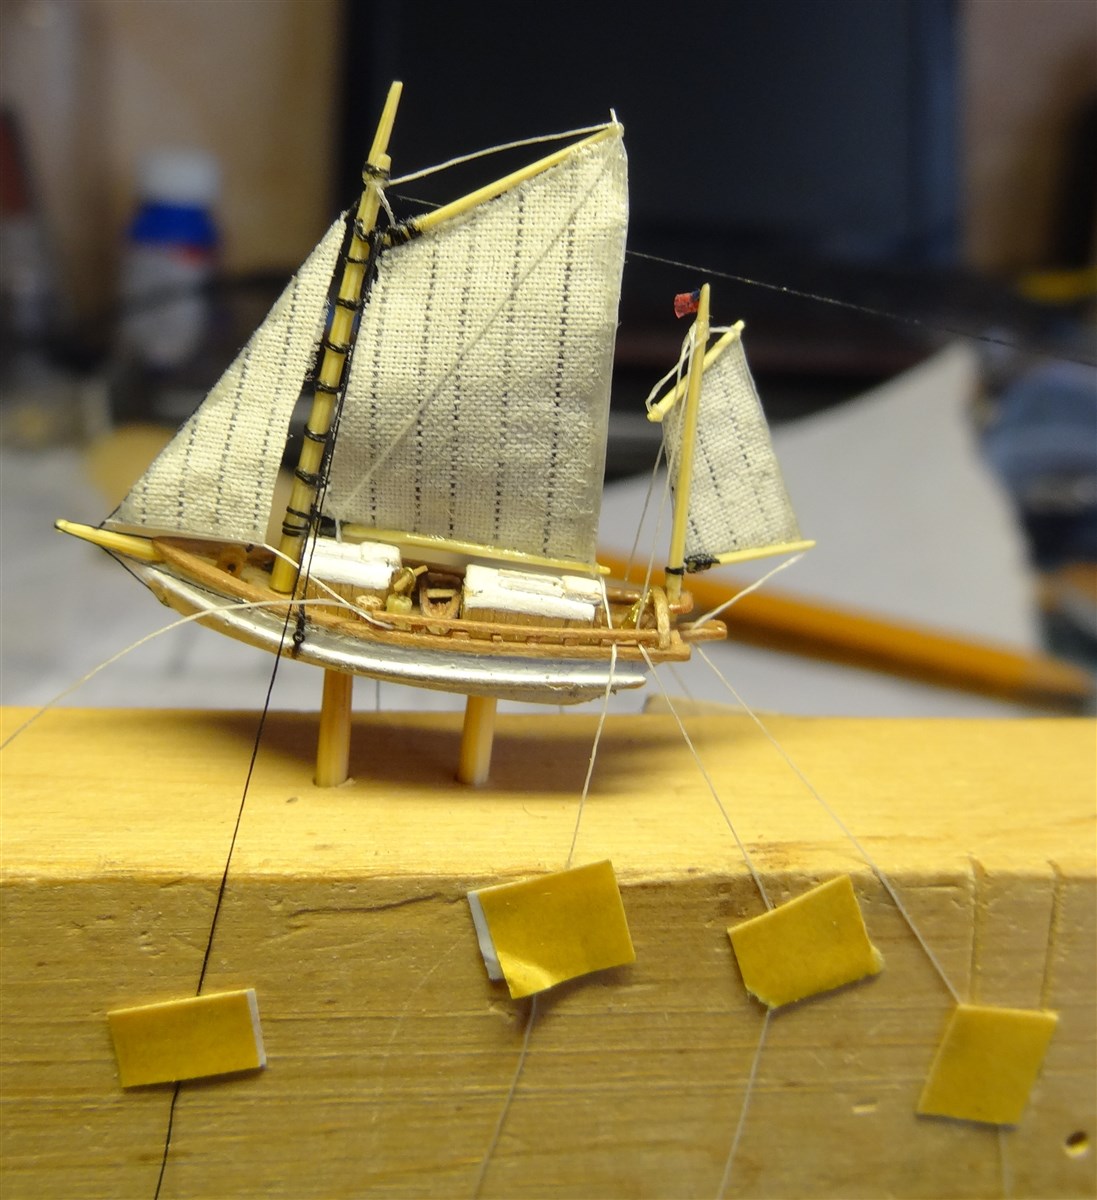
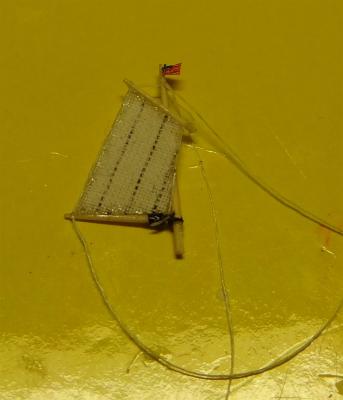
Yes, Patrick, I understood too that very difficult to represent the shading on the sail in such small scale. I tried to apply the shading with the pencil on a film about which I spoke earlier, but found that the pencil 5H scratched a covering. Now I try different options - for example, to use hairspray. I will tell later that turned out. By the way, I used the hair dryer of my wife to smooth some folds on this film. Best Regards! Igor.
-
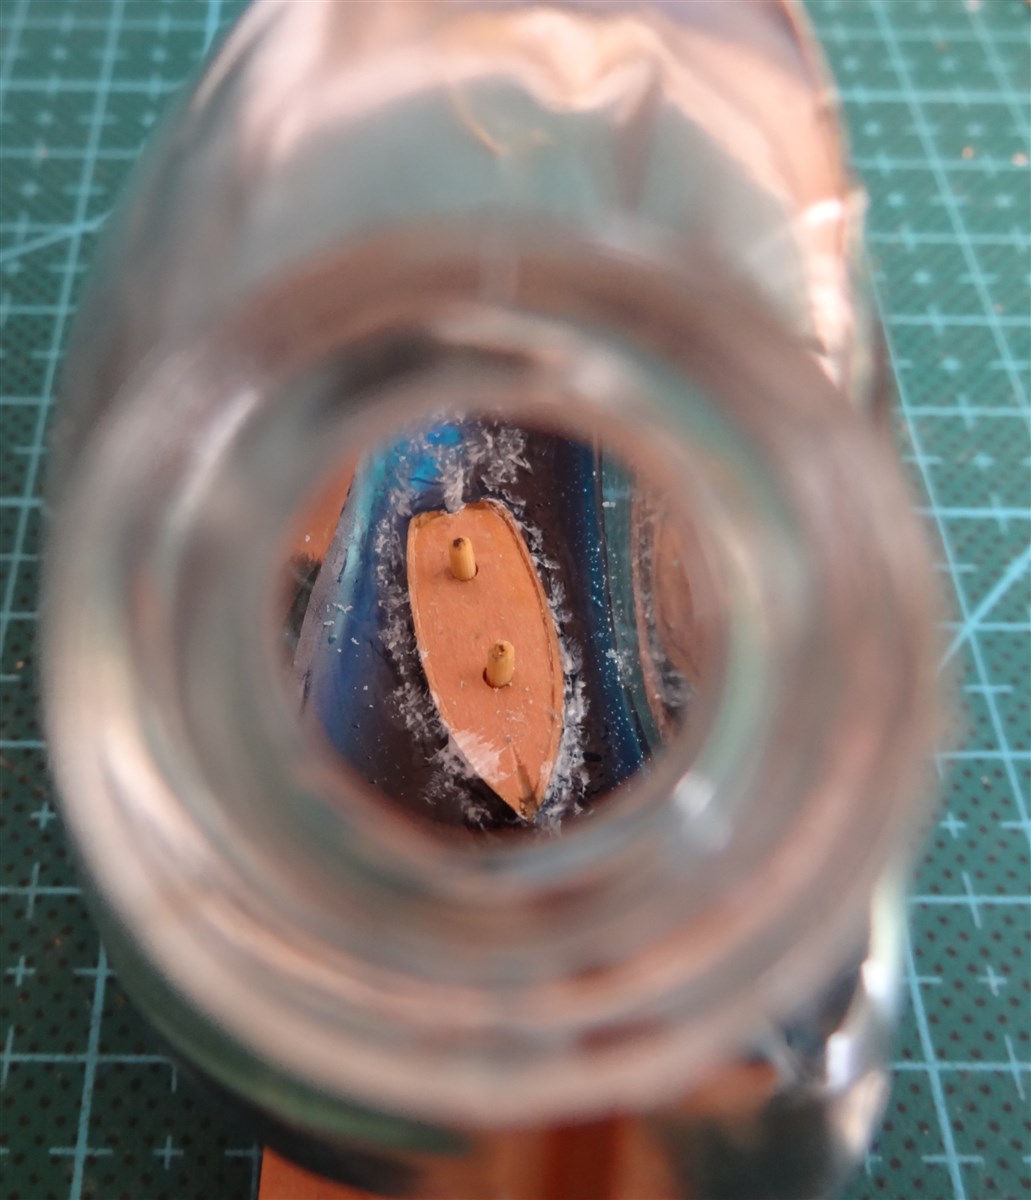
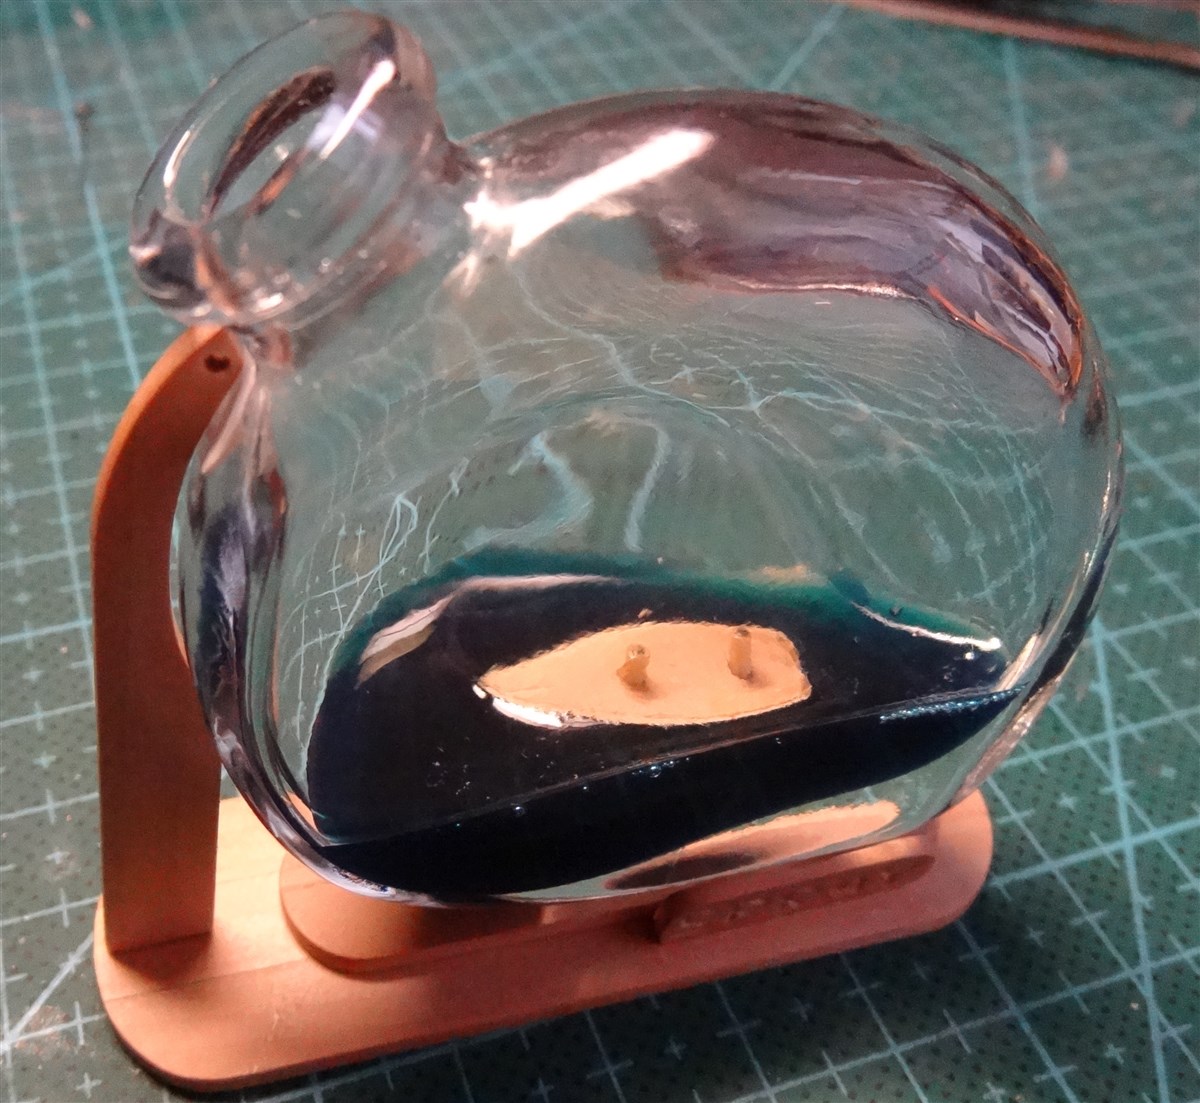
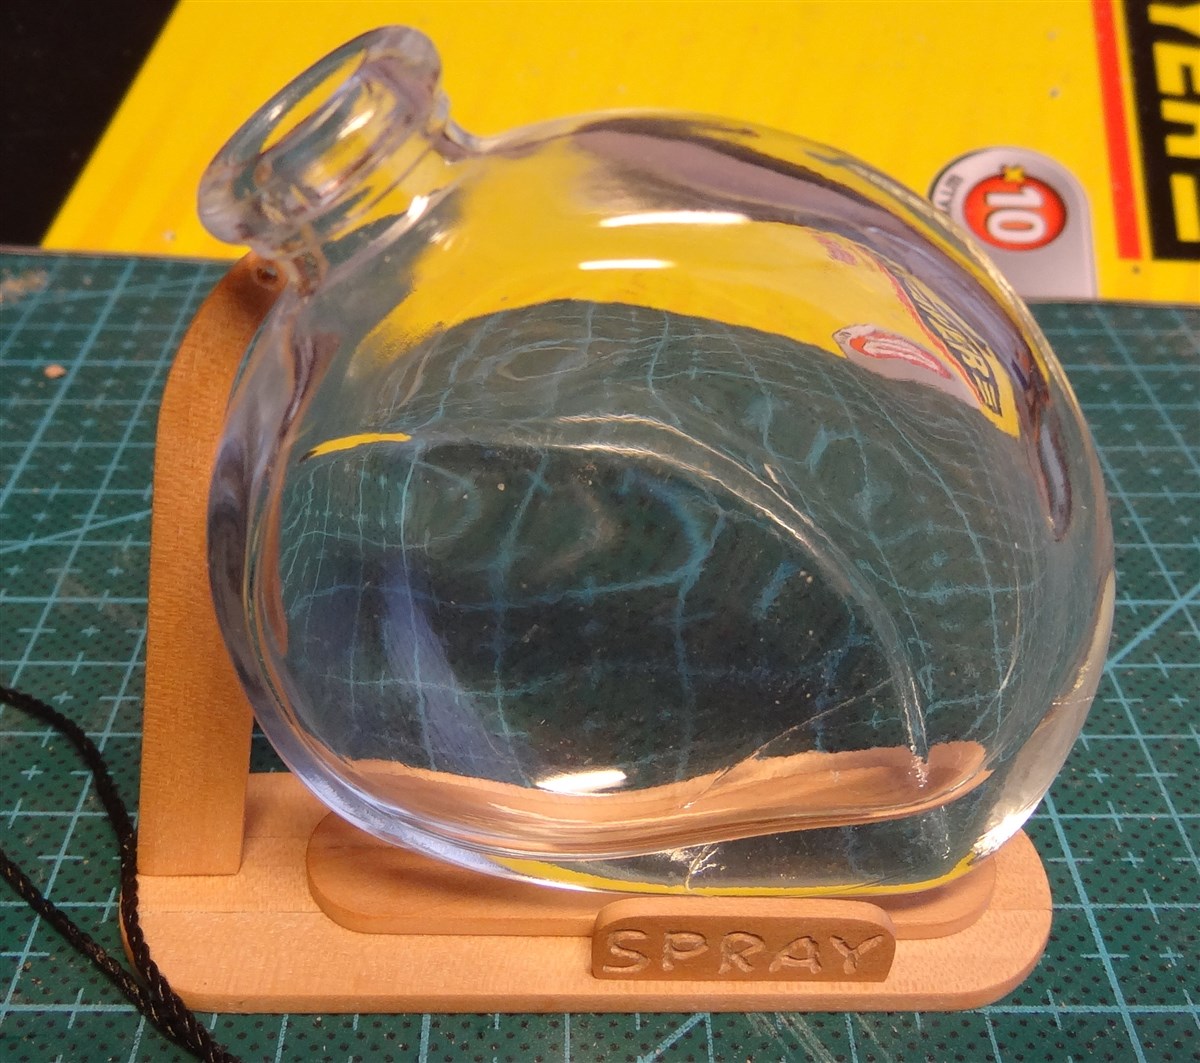
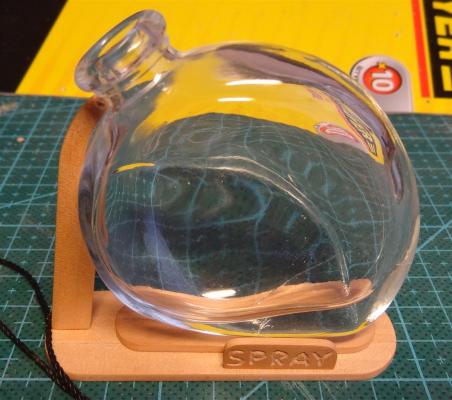
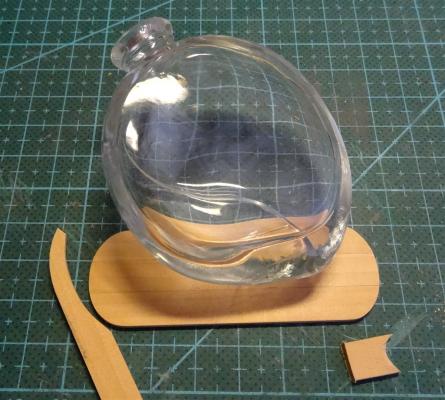
Hi everuone! Today I completted doing the support. I tried to think up something, but could make only this. Now it is time to start to try to make the sea. Best Regards! Igor.
-
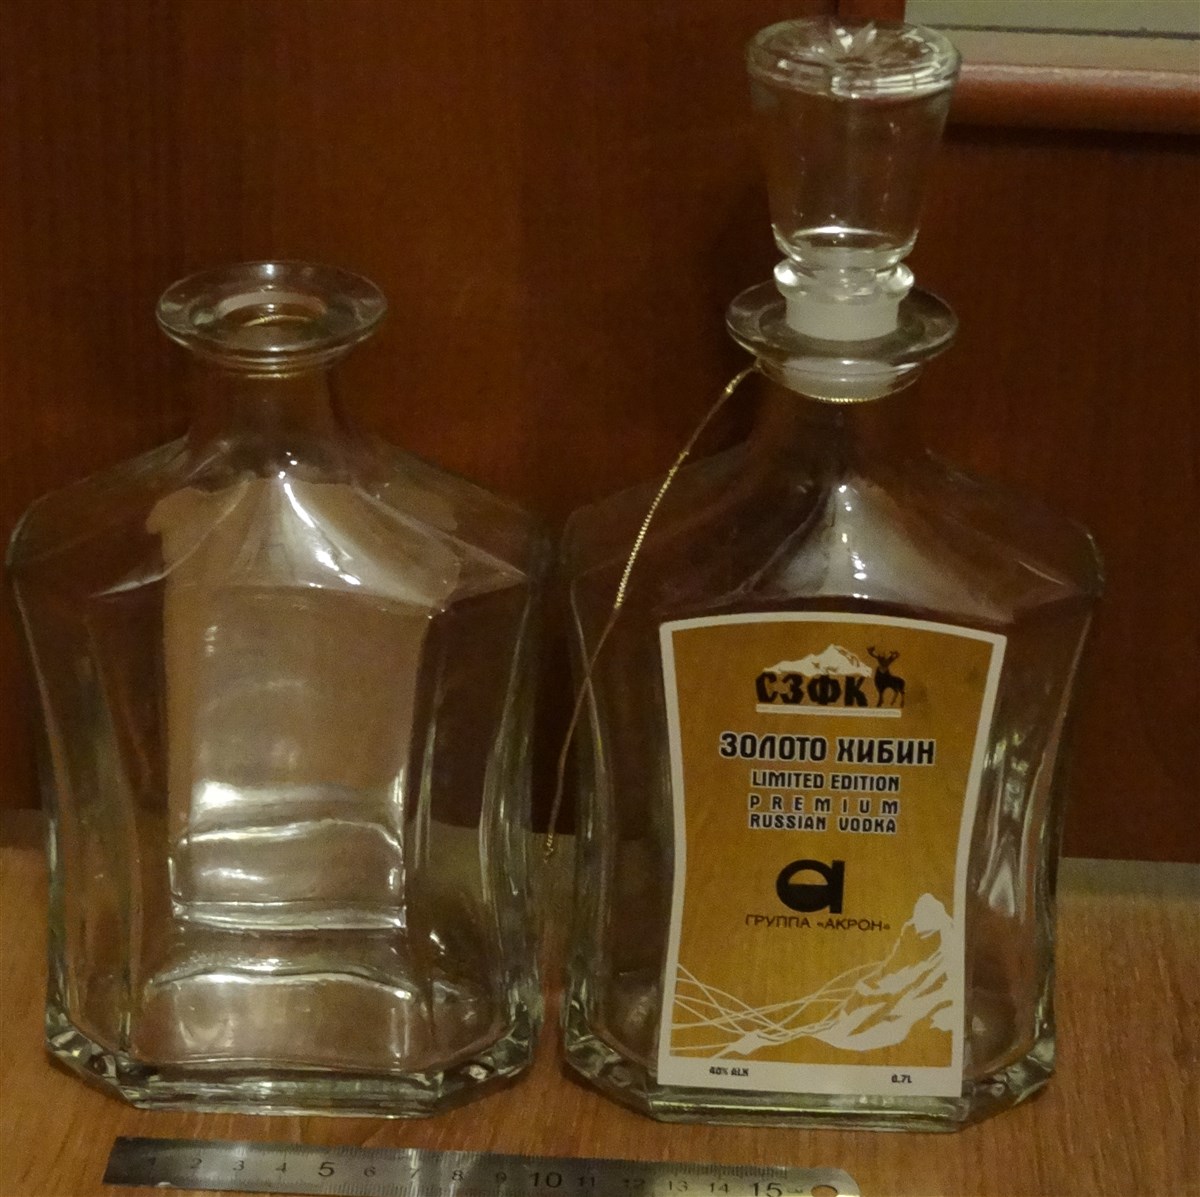
Hi Bob, Many thanks for this interesting information! I will try to find these magazines. I have the bottle with hollow stopper. The stopper has an opening of 6 mm. But I didn't solve, as I will use it. In the process of construction of this model it became interesting to me to construct other model of this yacht in bigger scale. Perhaps I will return to it later. Best Regards! Igor.

-
Oh, it explains everything! Yes, this not less important and pleasant hobby! Best Regards! Igor.
-
Hi Dimitris, We are ready to stop by every day, but where are new updates? I can't believe that you have nothing in your build to show us. I look forward new photos! Best Regards! Igor.
-
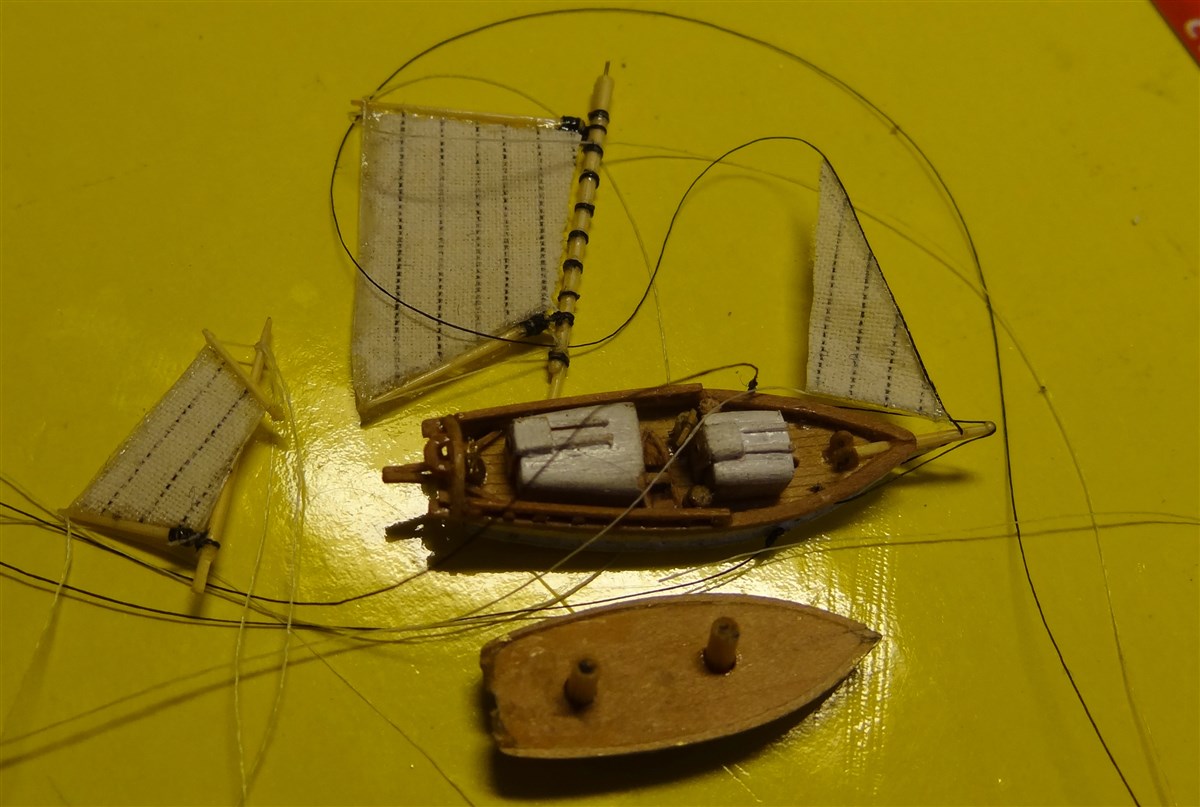
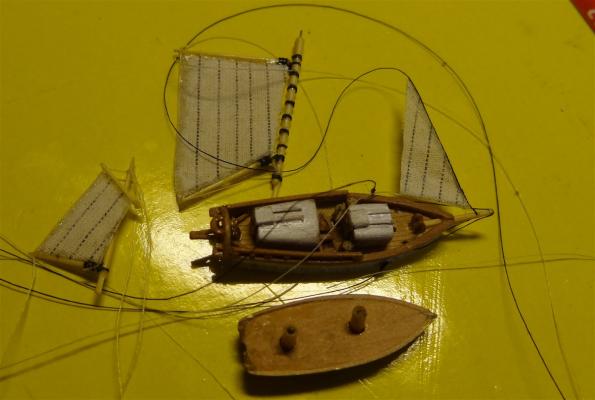
Today I added last two detailes. Now I try to think up as to fix a bottle on a support. I will be glad to any advice. Best Regards! Igor.
-
Many thanks Bob, Your opinion is also important for me, as the opinion of the captain Slocum! Best Regards! Igor.