HOLIDAY DONATION DRIVE - SUPPORT MSW - DO YOUR PART TO KEEP THIS GREAT FORUM GOING! (Only 13 donations so far - C'mon guys!)
×


Jeff-E
-
Posts
699 -
Joined
-
Last visited
Content Type
Profiles
Forums
Gallery
Events
Everything posted by Jeff-E
-
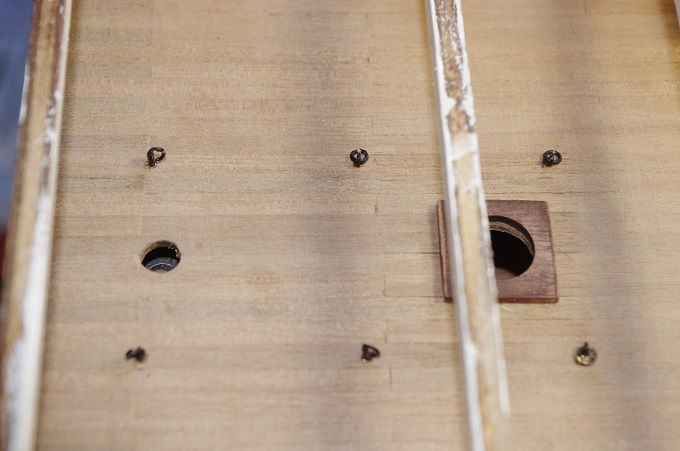
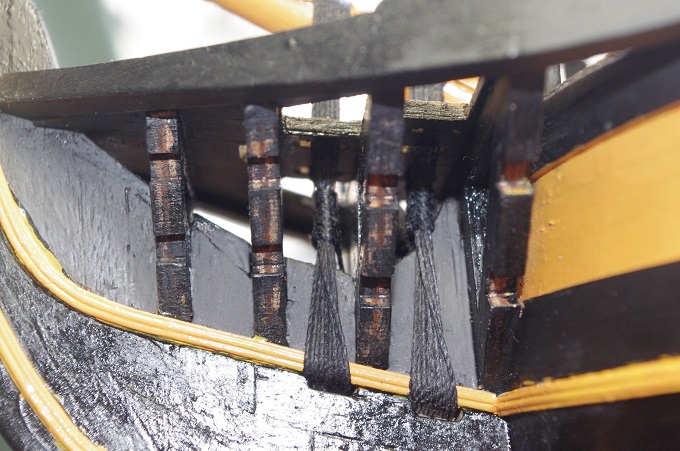
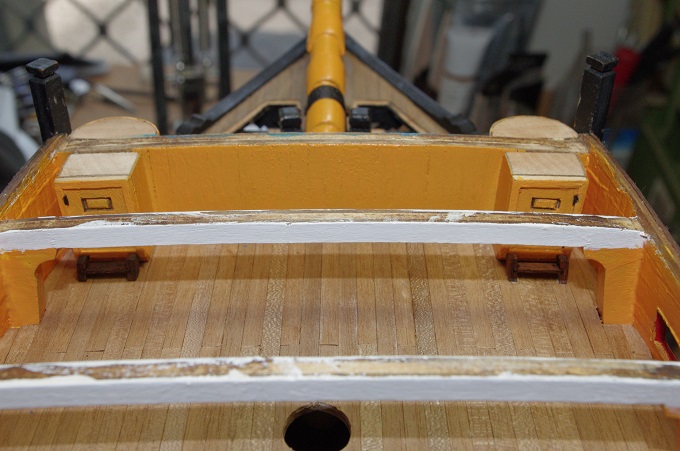
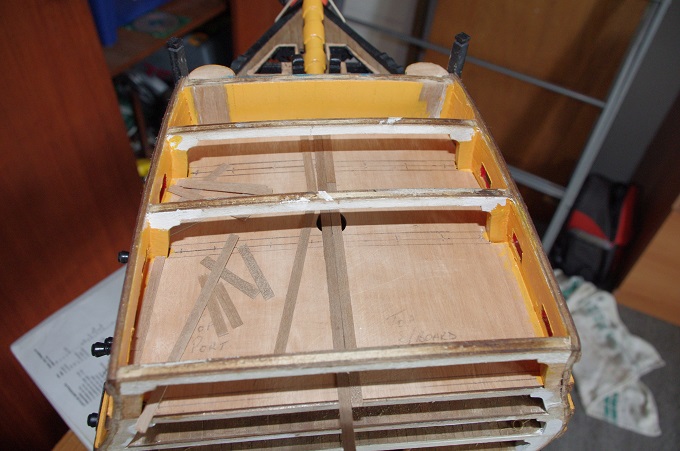
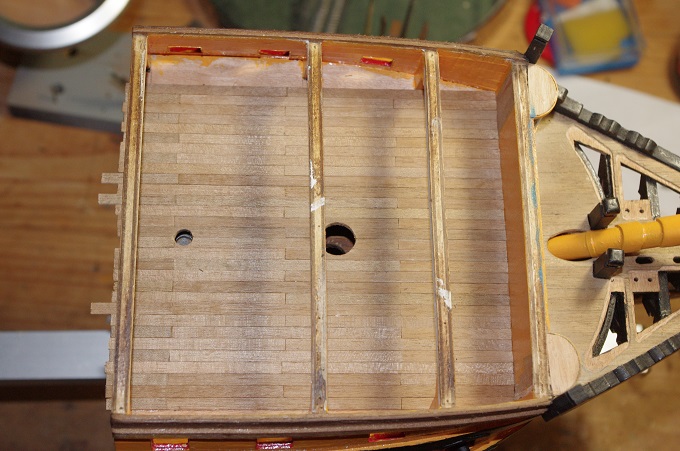
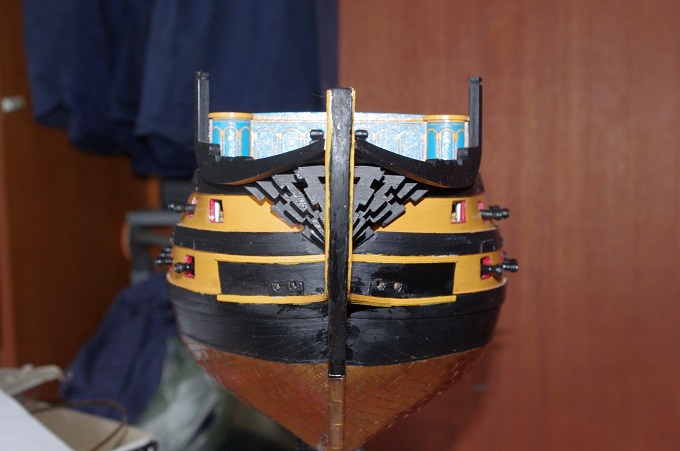
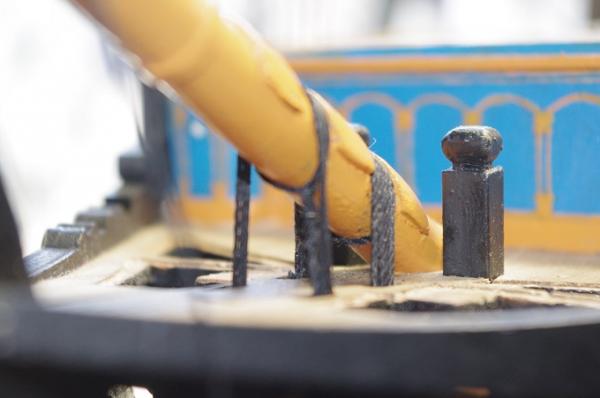
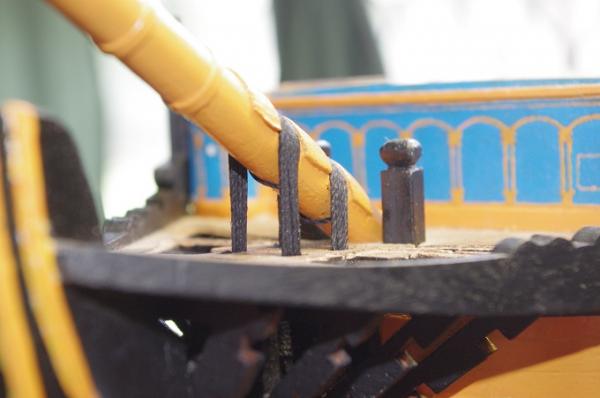
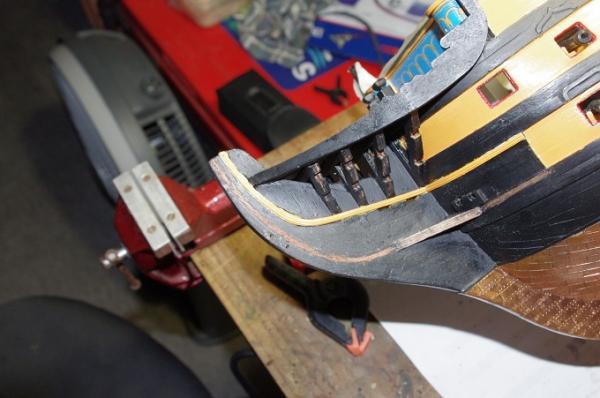
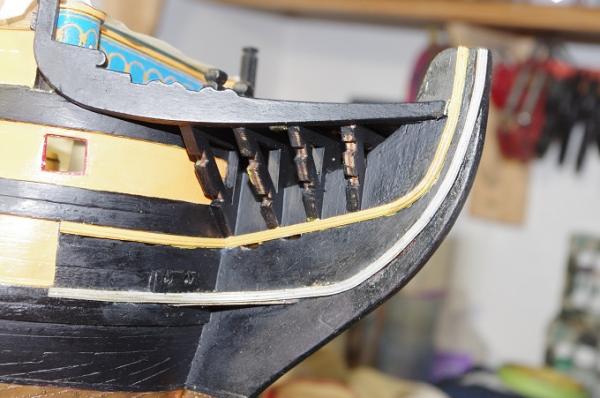
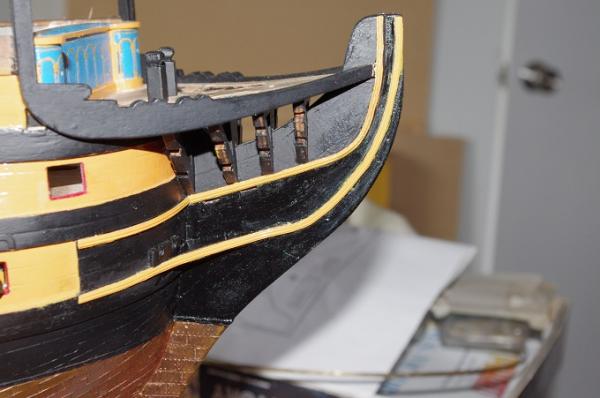
The ring bolts and the eyebolts for the gun tackle were also added to the upper gun deck, note only thee eyebolts for the gun tackle have been fitted as the eyebolts for the breech ropes will be fitted to the ropes first and then glued on. The mast partner has also been fitted.


-
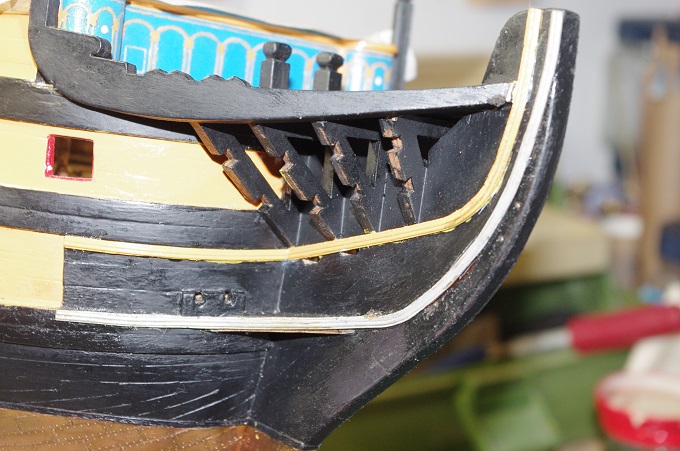
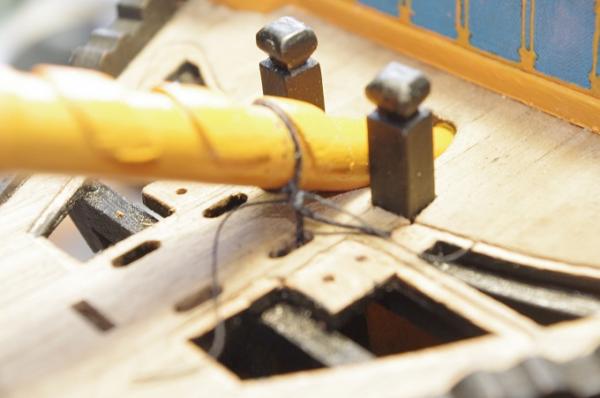
Hi All, The gammoning of the bowsprit was completed with the second set being added. After the knots had dried and were trimmed both sets were given a couple of coats of diluted PVA glue. The next job will be to make and add the rest of the head rails.


-
Hi Nigel, Very nice work on the doors and thanks for showing how they were made
-
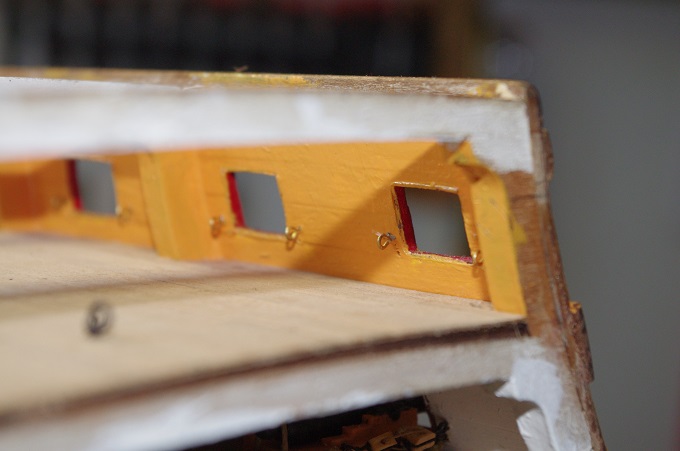
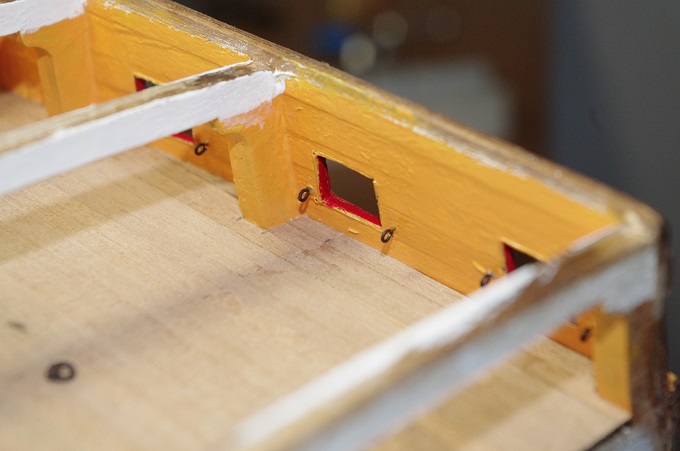
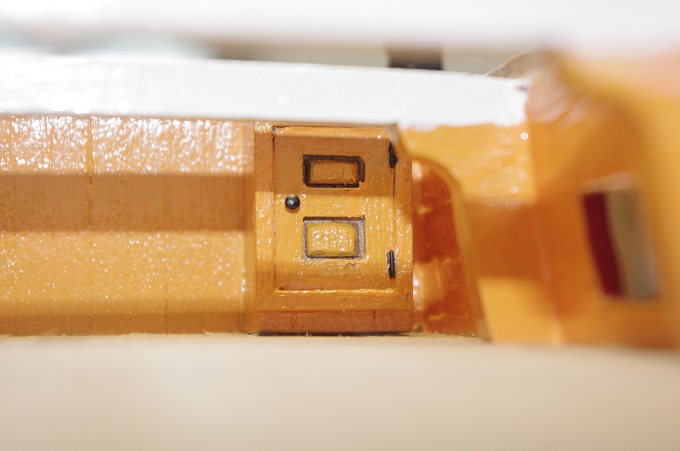
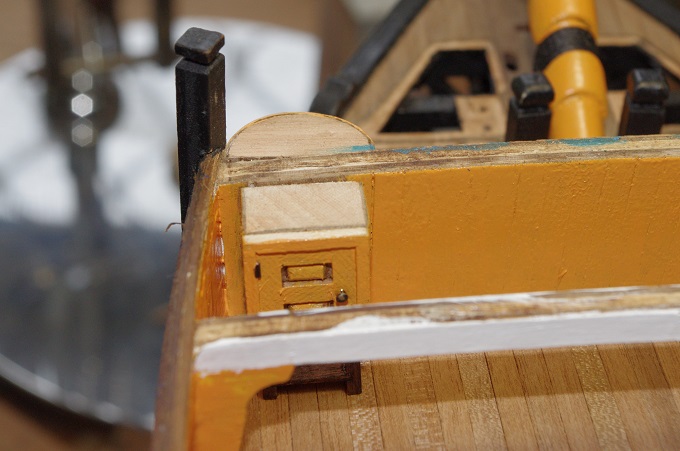
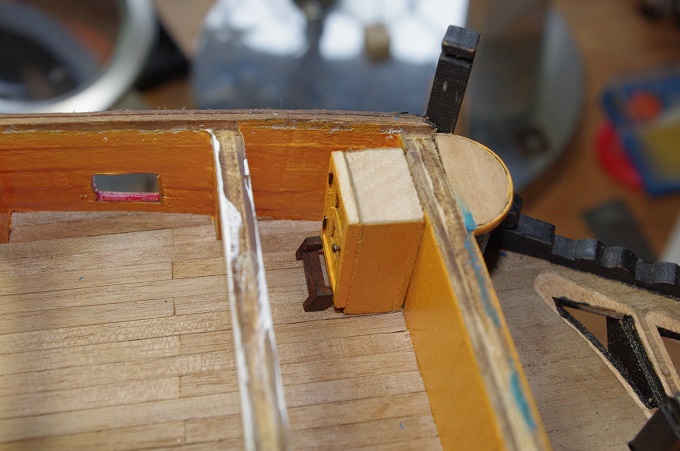
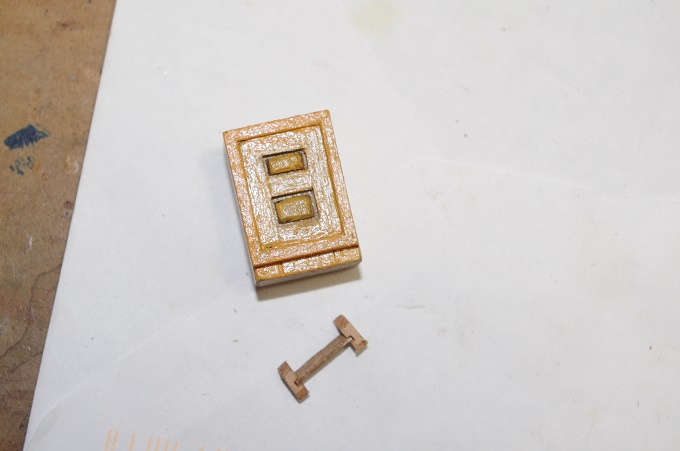
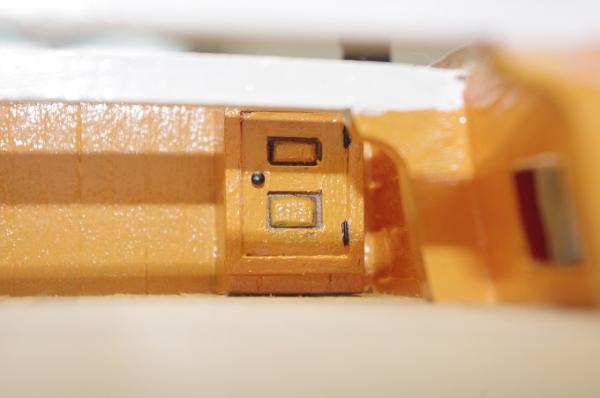
The roundhouse entry ports, after they had door handles and hinges fitted, were also fitted and the paint was touched up


-
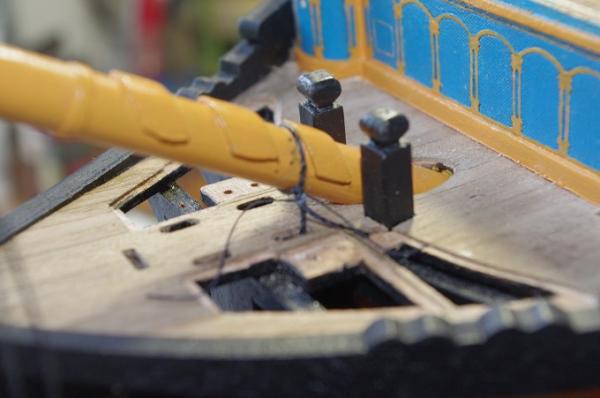
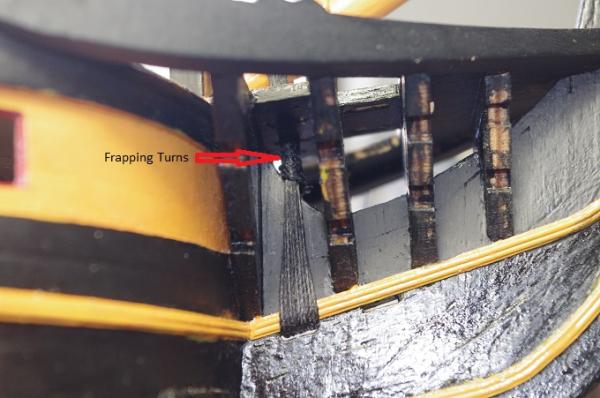
Hi All, A quick update on the gammoning of the bowsprit the first set is complete. I used 0.75mm black cord to do the gammoning it was started with a clinch knot at the heel end of the bowsprit and after the knot was dry and trimmed 9 turns of the cord were wrapped around the bowsprit and then 9 frapping turns around the gammoning in the centre, the free end was then seized to one the gammoning turns. Hopefully the photos may explain it better than I can
-
Hi Al, You are doing a fantastic job she looks fantastic. As for your query with the blocks you are right there are 5 of the '500' blocks, the 3 that hang below the bowsprit are for the bobstays and the two on the side are for the bowsprit shrouds. As for the '342' blocks the two on the cap will be for the spritsail yard lift, the others I am not sure of but if you look at your rigging plans it may give you some clue as to what lines pass through these blocks Hope this helps.
- 265 replies
-
- 1
-

-
- finished
- artesania latina
- (and 1 more)
-
Hi Bryan, Your internals look great, I think the stove and the plants turned out really well. Sorry I can't help you out with your turning as I'm still experimenting with mine but there are some good tutorials on you tube
-
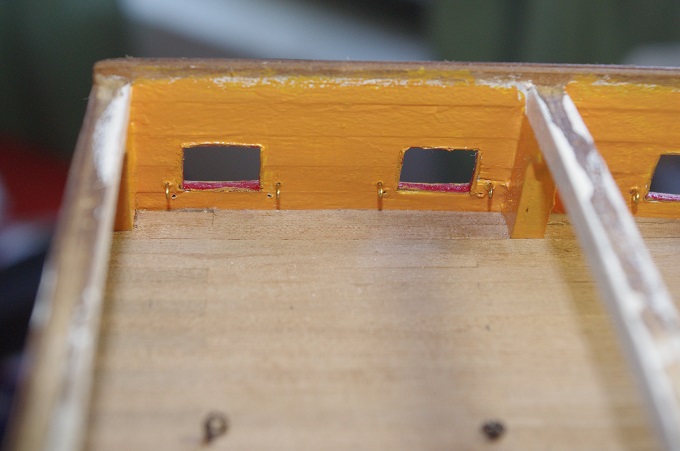
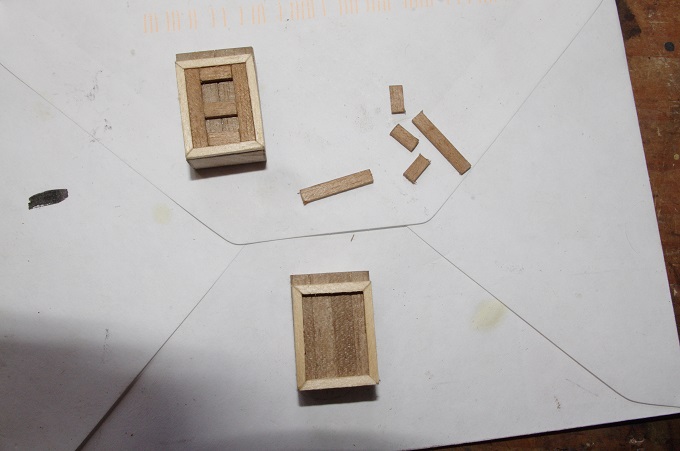
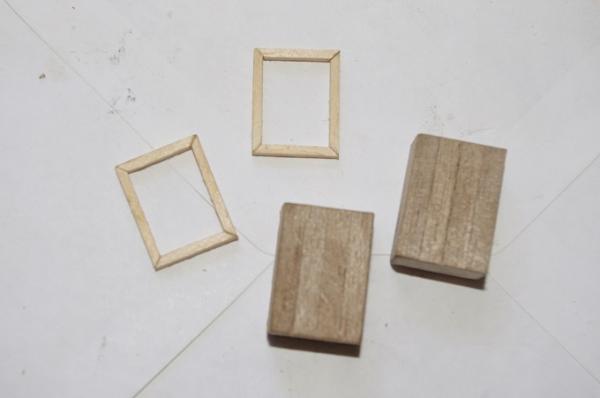
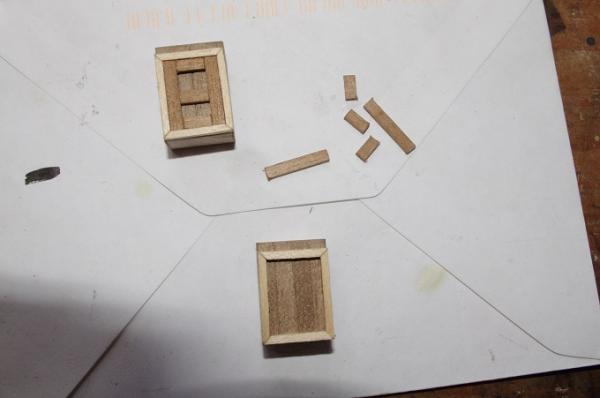
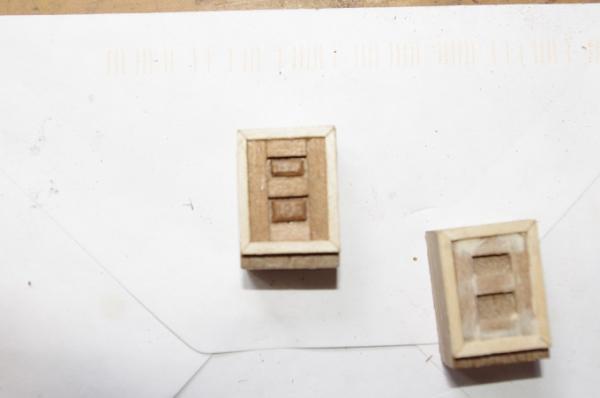
I also made up the internal entry ports for the roundhouses. I decided to make my own doors as the supplied ones were to big and looked out of place. I also wanted to make a step up to the door from the deck which the supplied doors would not allow. I made the door frames from 2mm x1mm strip and the door from 1mm x 6mm walnut trimmed down to suit. The step was made from left over ladder way from the orlop deck ladders.

-
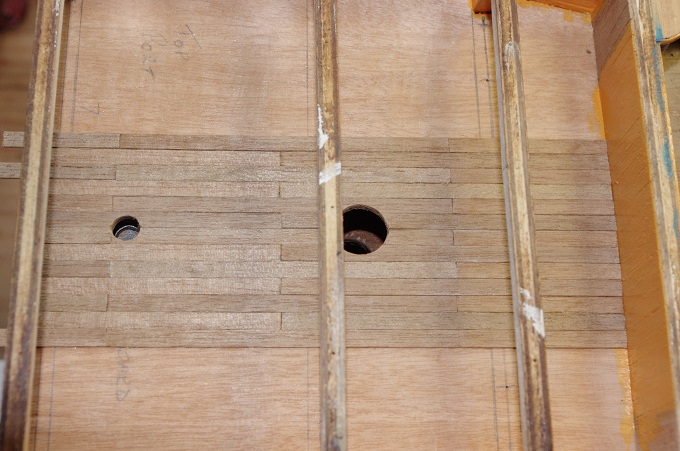
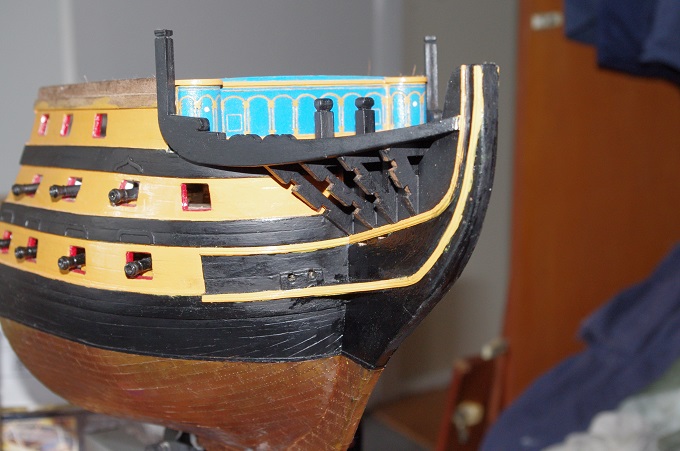
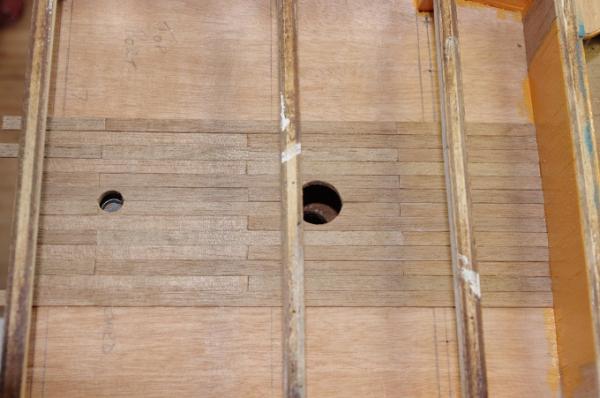
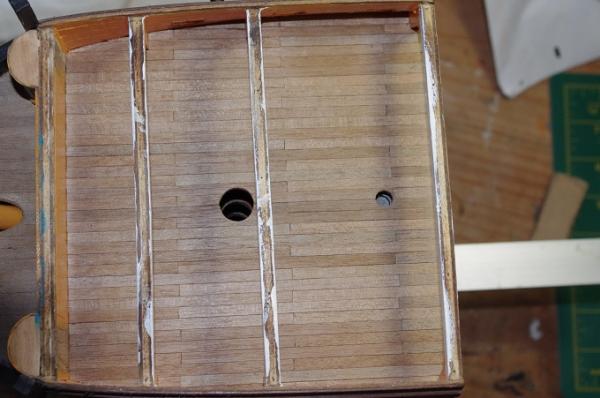
Hi All, Well back to the upper gun deck it was planked still using a two butt shift as most of it wont be seen once the forecastle deck is fitted.


-
Hi Ken, The yellow ochre is made by Mantua and yes it is the same colour used for all the yellow parts. The black is Tamiya Matt Black Hope this helps
-
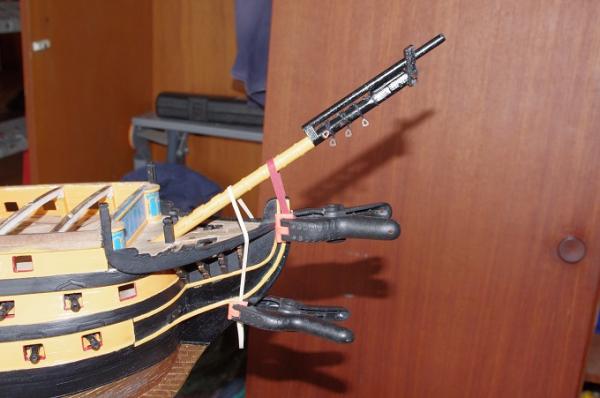
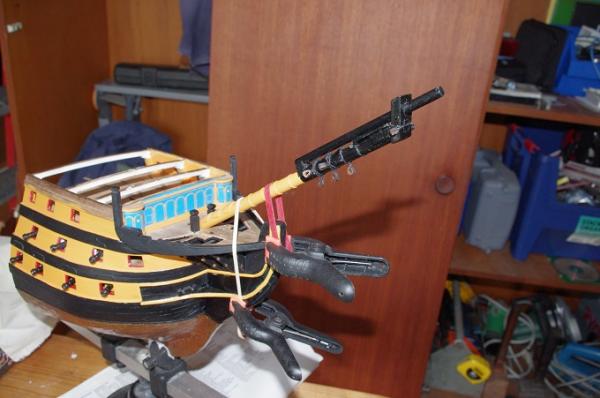
Hi All, Thank you all for the likes A quick update the bowsprit has been fitted. The gammoning and the planking of the upper gun deck will be next.

-
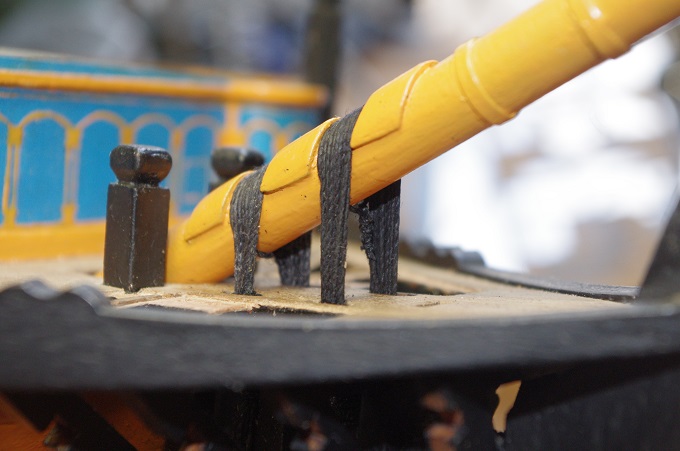
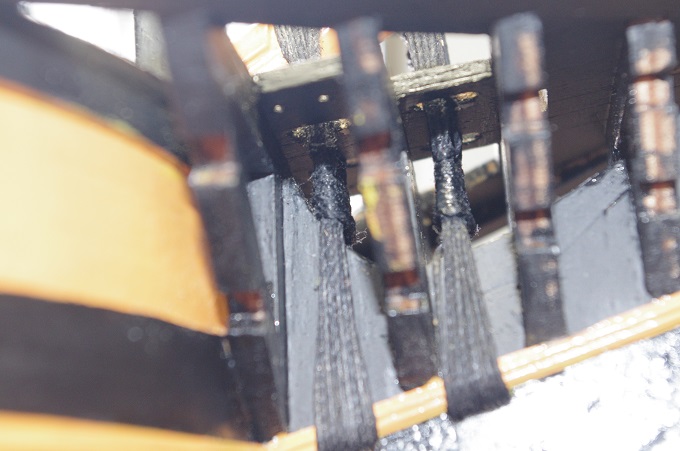
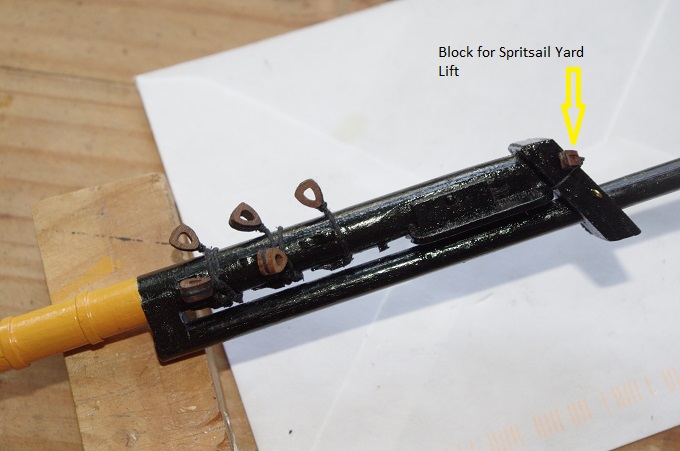
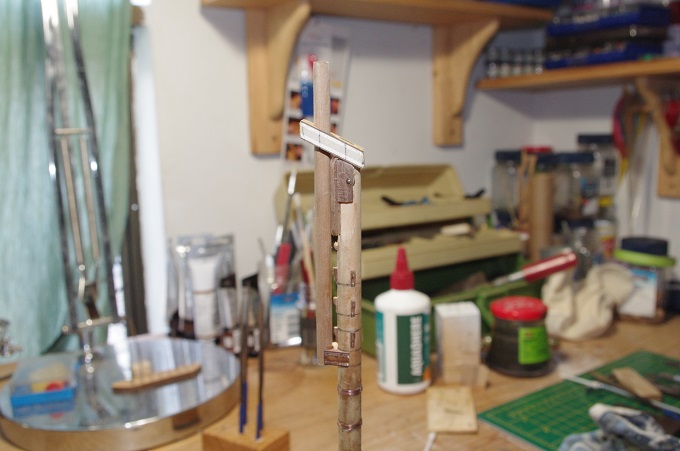
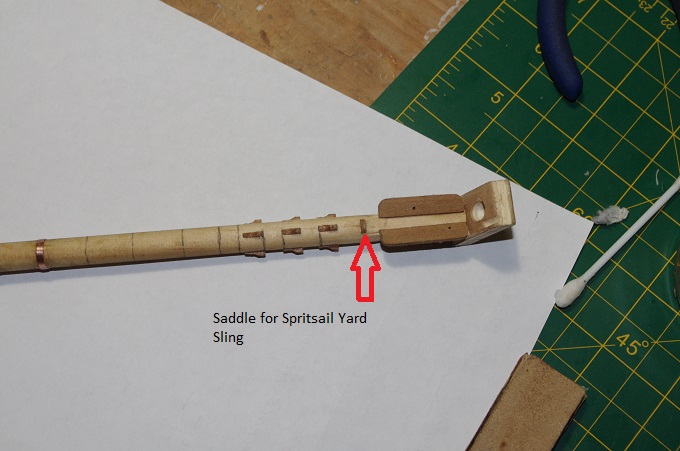
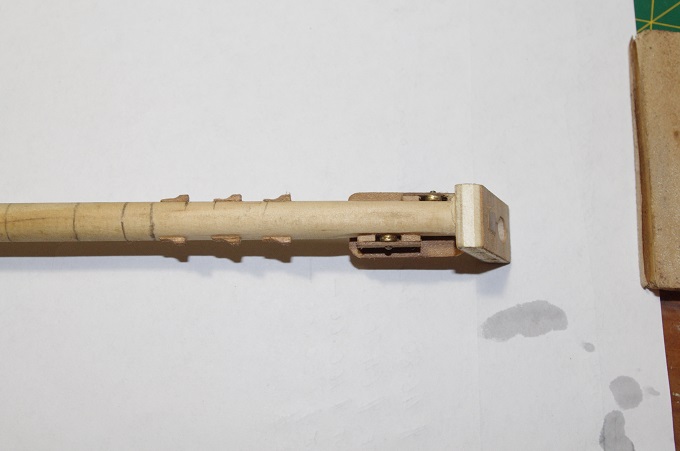
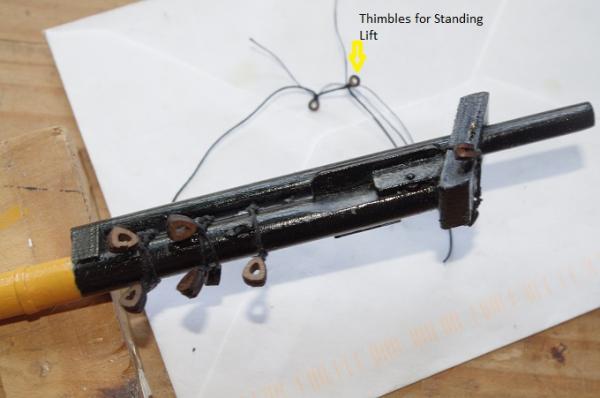
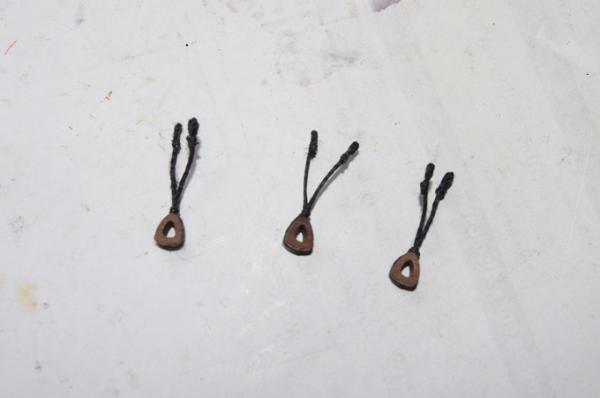
The shroud collars were then attached to the bowsprit the same as the bobstay collars. Also in the first photo you can see the blocks attached to the cap for the yard lifts, the blocks are seized into a single length of cord and then wrapped around the cap the cord is seized together where they cross each other on the outer face of the cap. In the second photo you can see the thimbles seized into their collar. the thimbles are made from a tooth pick with a 1mm hole drilled into the centre of it a groove was cut into the outer surface to take the rigging cord and then they were parted off. They are approximately 2mm wide They will be lashed on behind the bees, in front of the saddle for the yard sling

-
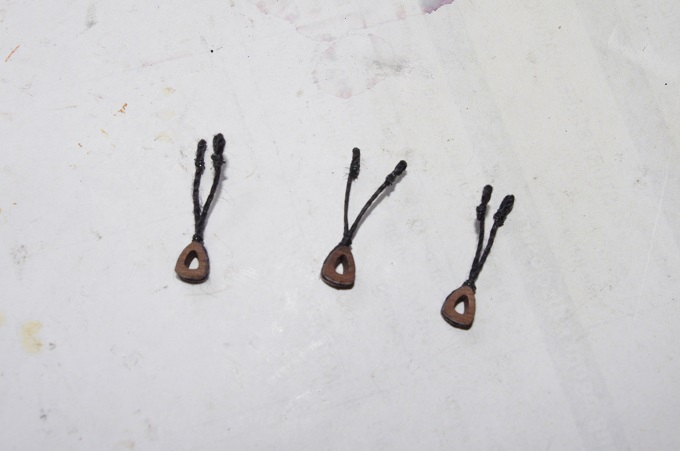
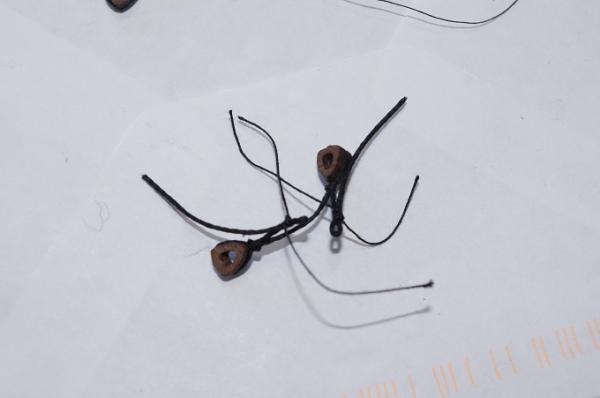
The shroud collars are a bit different because two hearts are seized into the one line so that when lashed to the bowsprit one will lay on either side of it.

-
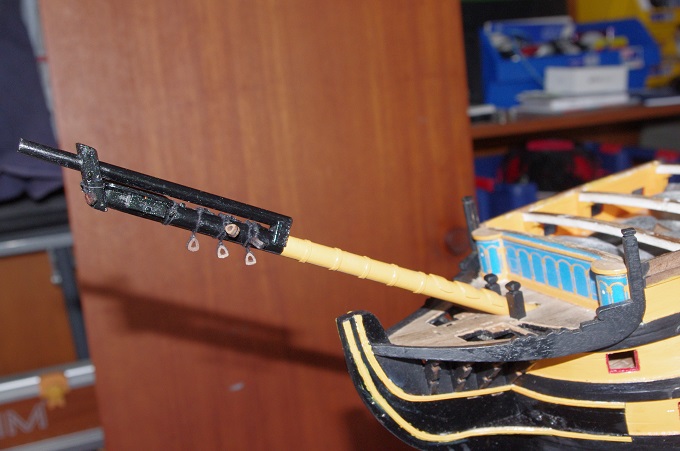
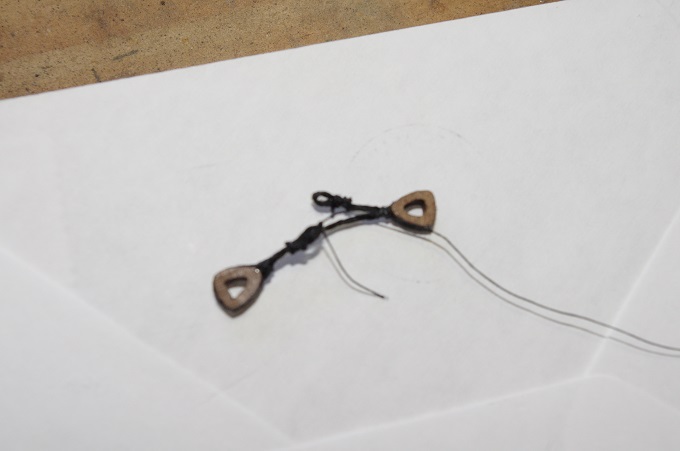
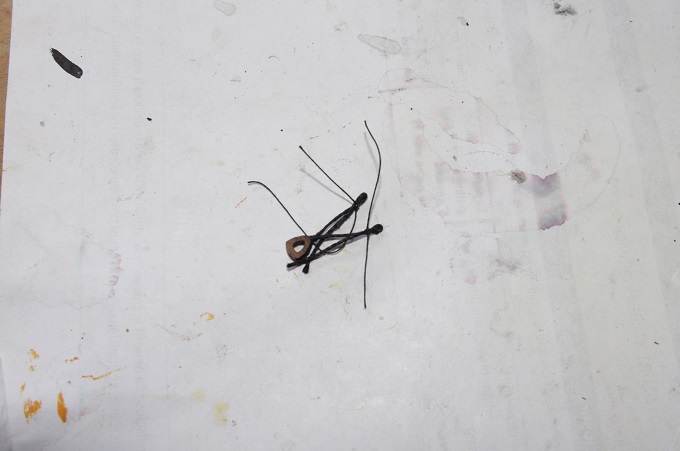
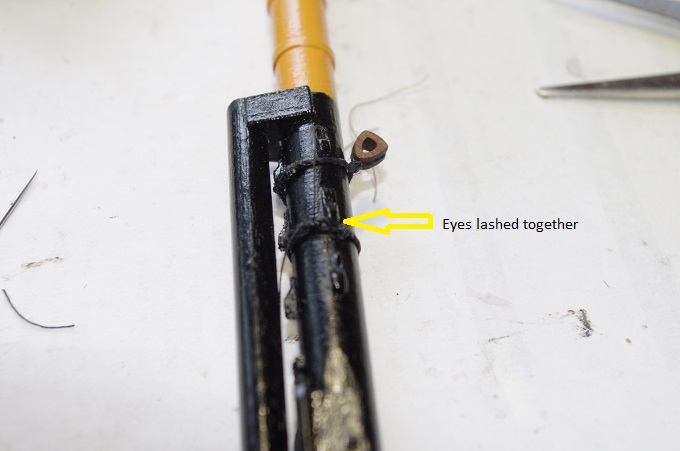
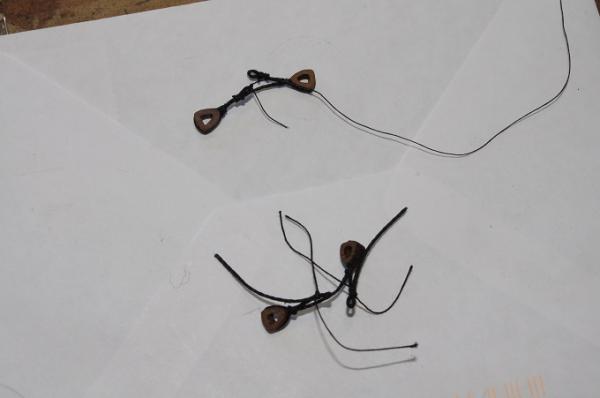
Hi All, The last things to make for the bowsprit before fitting it were the bobstay and shroud collars also two thimbles for the spritsail yard standing lift and the lift blocks which attach to the cap. I used 6mm heart blocks for the bobstays and shrouds. The collars are made from 0.75mm black cord and as I do not have a serving machine they were left natural. The bobstay collars were fairly straight forward to make as the heart block was seized to the middle of the length of cord and an eye was made in each end so that when the legs are wrapped around the bowsprit the eyes are lashed together.


-
Hi Danny, Looks like a bit of a challenge but I'm sure you are up to it and will make a superb job of her. Are you intending to redo all the rigging?
- 59 replies
-
- 3
-
-
- norske lowe
- billing boats
- (and 1 more)
-
Hi Mark , Thanks for the link and it does not look like there is any lashing on the jib boom heel. By chance today I also stumbled upon a photo gallery of the Victory by Andreas Gondesen taken in 2001 which also shows no lashing to jib boom Thank you all for your help
-
Hi Don, Just read through your log you have done a excellent job your hull planking turned out really well and I do like the painted hull and the white interior which I think is accurate for ships of this period. I have this model on my shelf and it looking likely to be my next build I do have a question did you end up double planking the hull or did you single plank it ?
-
Before the bowsprit was fitted the lower head rails were fitted as the gammoning passes over the top one on the stem. I used the supplied brass moulding to make these and let me tell you they were not easy to bend neatly. the brass strip is about 1mm thick by 3mm wide and needs to bent across both planes. The first one I made in two pieces, which made it a bit easier, but the lower one was made in one piece and to get both port and starboard pieces to sit how I wanted them took a bit of effort. I am not sure what I could have used to substitute these pieces as they are mouldings and contain complex curves I did consider using strips of 1mm square timber but in the end went with what was supplied. I don't think they turned out to badly


-
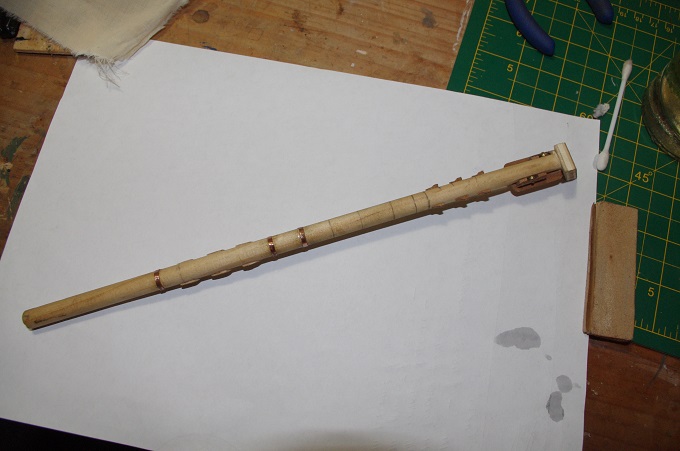
Hi All, The bowsprit has been painted as there are no other parts to be glued to it, the only things left to add to it are the bobstay and shroud collars plus a few blocks and eye pins for the yard lifts. .

-
Hi Nigel and Kester, Thank you both for your kind words . Nigel, I have looked at a lot of images but none that I seen so far show the view I'm after. but I will keep searching Kester, that might be the answer if anyone would know they would never thought of that
-
Hi Nigel, The balcony decking looks great and will be a big improvement on the grating floor
-
Hi Bryan, Looking good. Sorry to see you had to remove some of your cabins but it does make sense that they would have concealed some of the detail. Thanks for the tip on the laser cut edges. Hope your lathe turns up soon
-
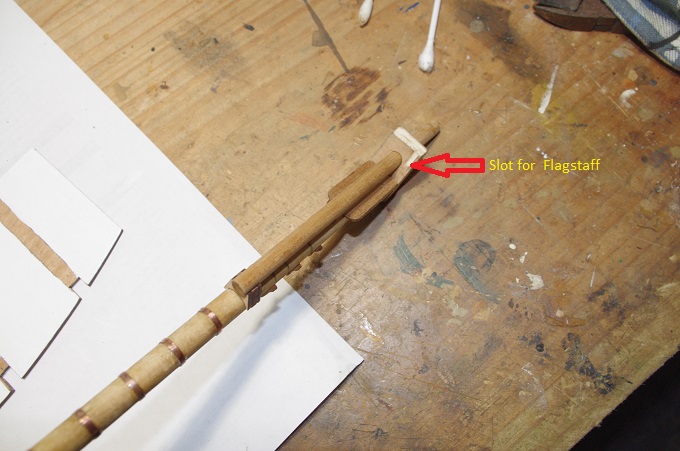
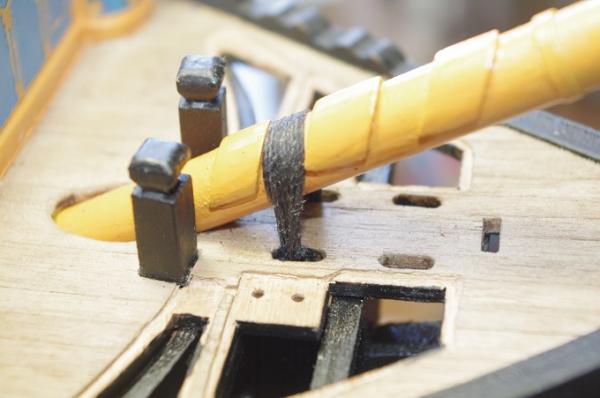
After the bands were fitted the jib boom was glued on. This brings me to a question. Was the heel of the jib boom lashed to the bowsprit? I cannot find any reference to it in any of the books I have, McKay's Anatomy, Longridge's Anatomy and Steel's Elements of Rigging. I also can't find any pictures of it on the actual ship. The instructions call for it to be put on but I don't trust them. I have left it off for now until I can do some more digging . Any help greatly appreciated.


-
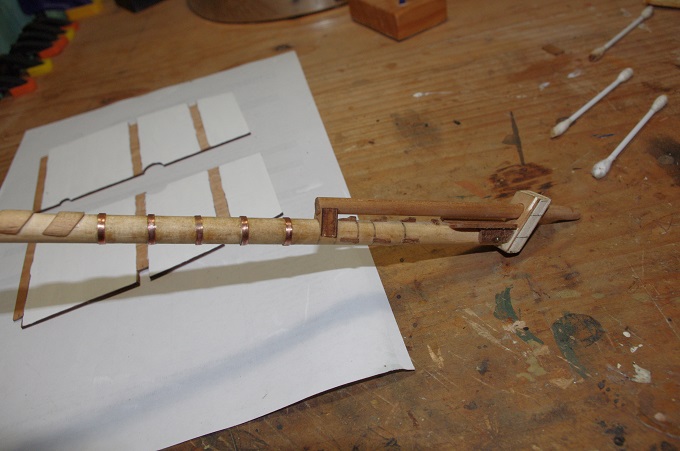
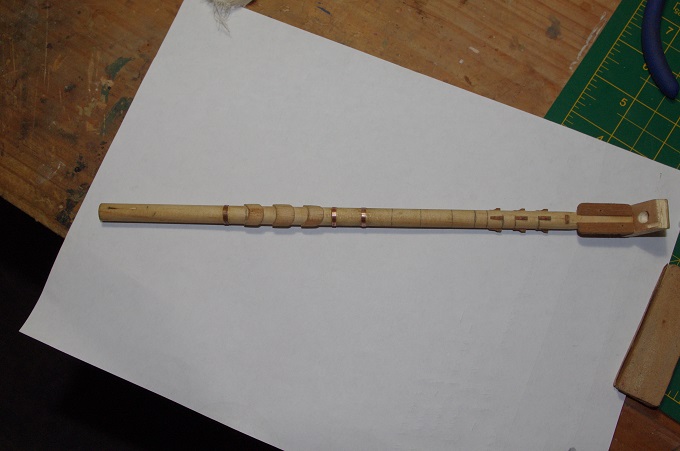
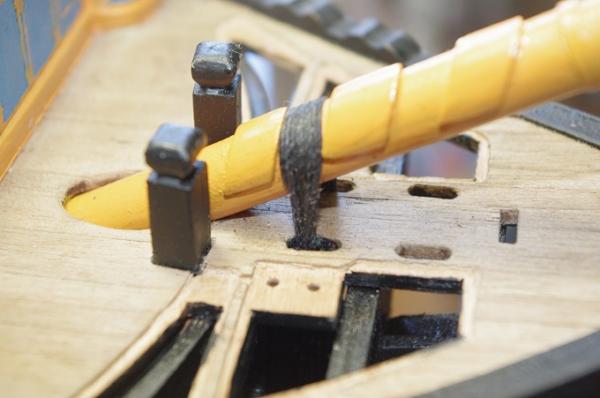
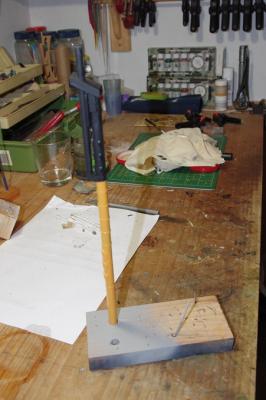
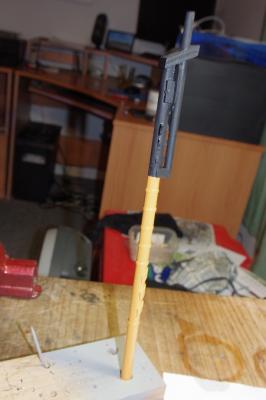
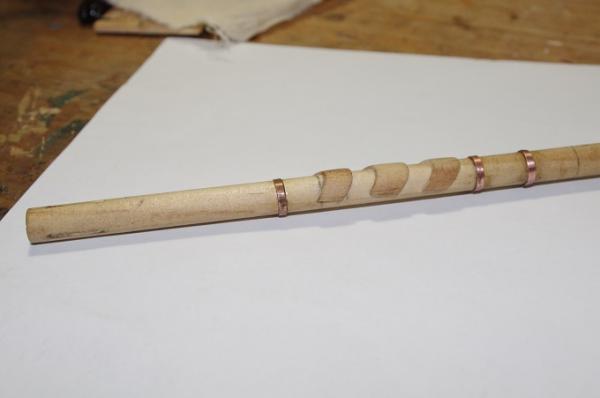
Hi All, Another update on the bowsprit. The banding of the bowsprit was done next, however in hindsight this should have been done before either the gammoning saddles were installed or construction on the front was started because it would have allowed me to size the rings and then remove and solder them and then glue them in place. The bands are not called for in the instructions and are another extra detail added. I used 2mm copper strip to make the bands ,this was supplied in the kit for the fore mast. The bands were formed around the bowsprit and glued in place using a 2 pack epoxy glue.


-
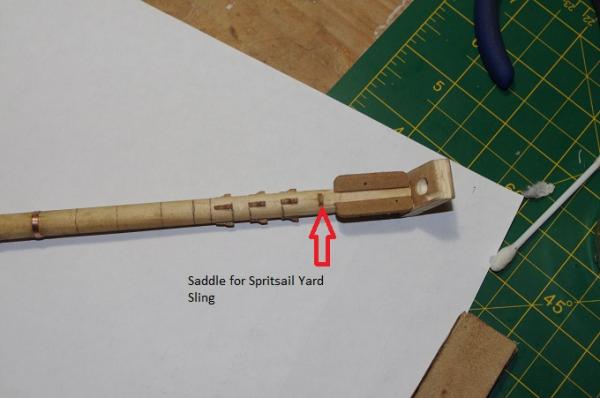
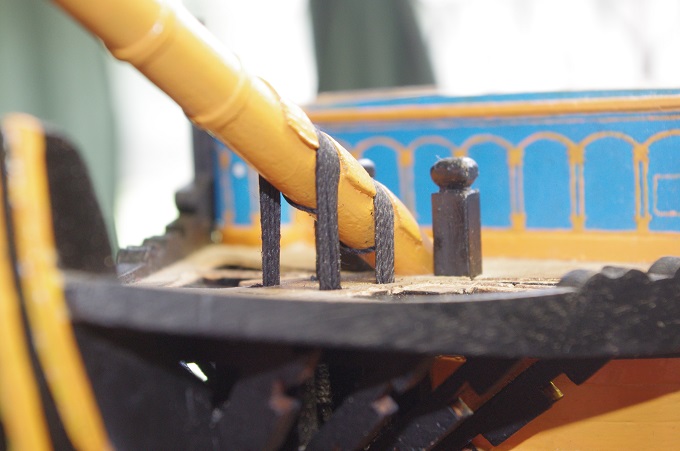
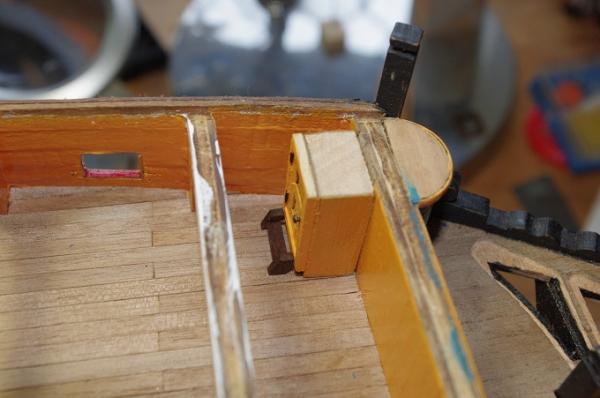
The following two photos show the bees and cap fitted as well as the saddle for the spritsail yard sling