HOLIDAY DONATION DRIVE - SUPPORT MSW - DO YOUR PART TO KEEP THIS GREAT FORUM GOING! (Only 64 donations so far out of 49,000 members - C'mon guys!)
×


Jeff-E
-
Posts
699 -
Joined
-
Last visited
Content Type
Profiles
Forums
Gallery
Events
Everything posted by Jeff-E
-
Hi Bryan, Excellent job, well-done on completing your model. You are right about the figure head being difficult to fit in the right spot it is just because it is so bulky an d out of scale, my two lower bobstays will rub on the lower part when I fit them as I could not get the lower part to fit close enough to the stem, it is one of the disappointing things supplied in what is generally a pretty good kit.
- 77 replies
-
- 3
-

-
- cross-section
- hms victory
- (and 2 more)
-
I have also made and glued on a facia board to cover the front deck and rail above the round houses, the gap I'm referring to can be seen in the first two pictures in the last post. Another update soon

-
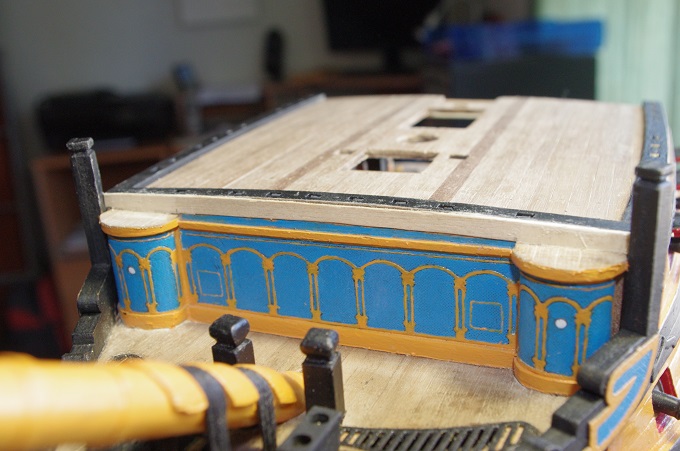
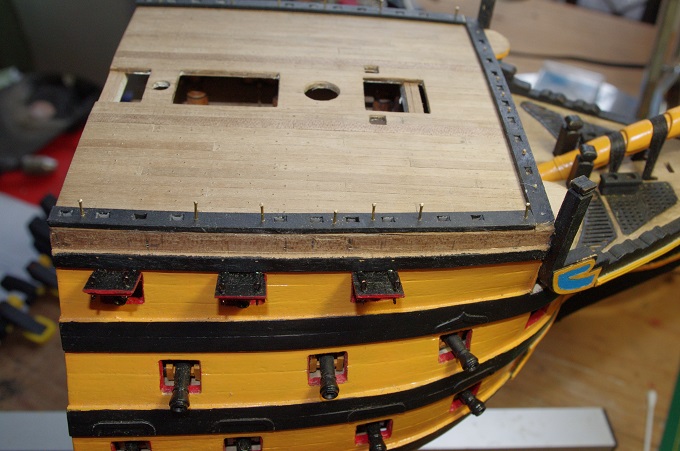
Hi All, The deck treenails were trimmed and the deck was given a complete sand with some fine paper then the lower rails were fitted, they were painted before I glued them down to avoid getting paint on the deck. You will also notice in the following pictures that the three upper gunport lids have been fitted on the port and starboard sides. I glued these on now because I want to rig them before the channels are fitted as in would be rather difficult to access them once the channels are on.

-
Hi Ron Congratulations for completing a fantastic model, great work it looks really good in the case.
-
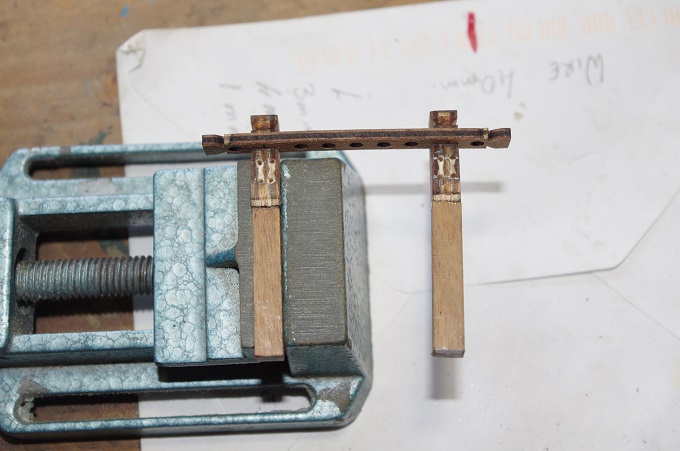
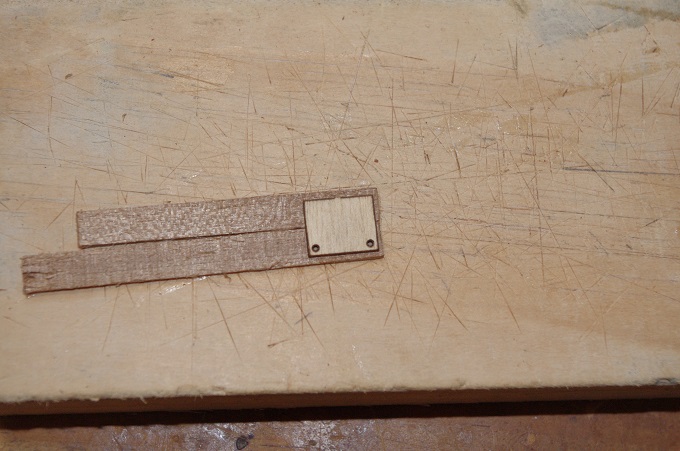
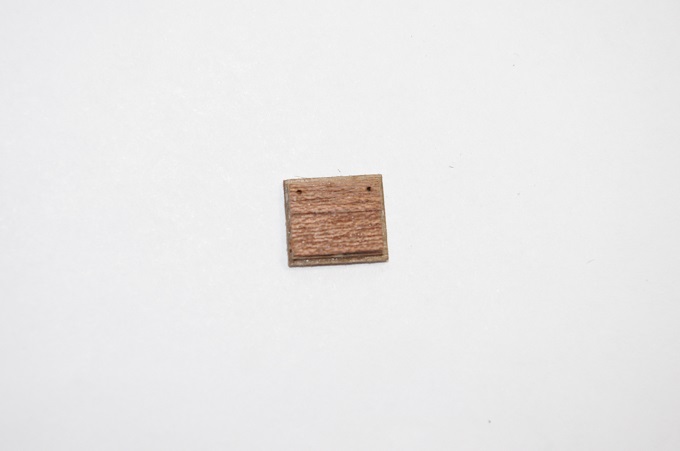
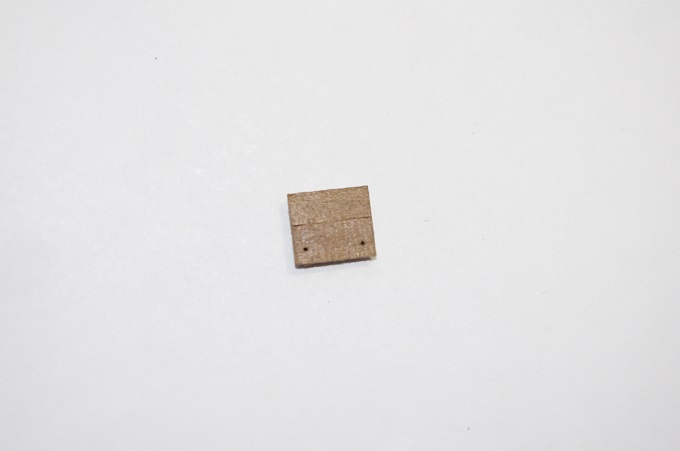
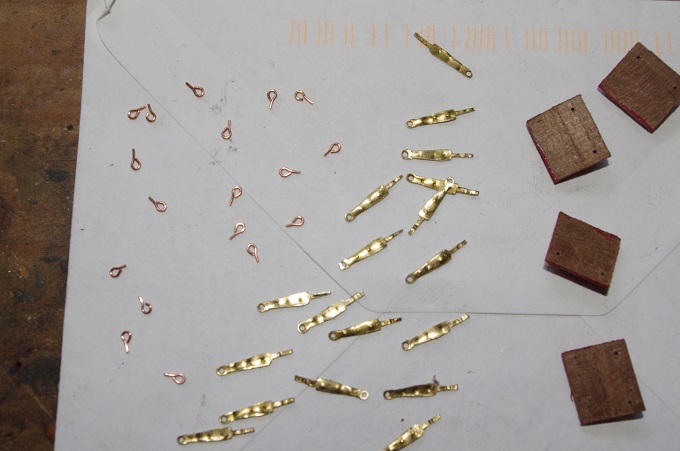
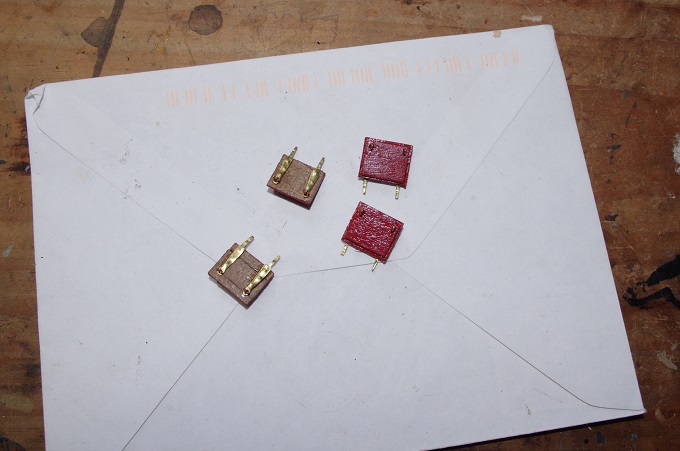
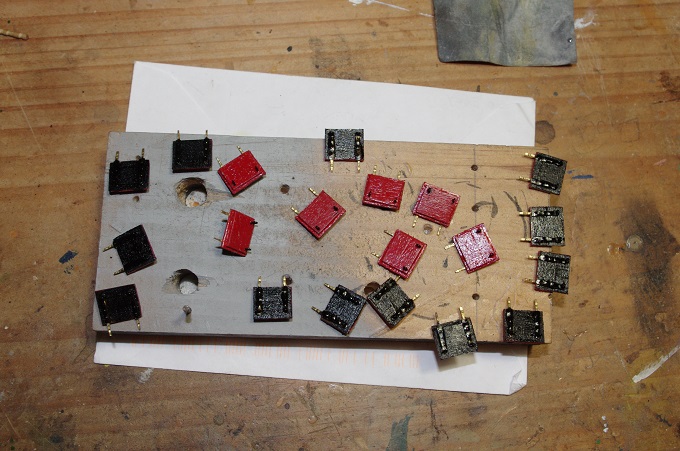
The 'pins' on the hinges will be fitted into holes drilled into the hull above the gunports and make the lids look a lot neater I think. The following photos show the construction and painting of the port lids which is fairly straight forward. I will post another update very soon
-
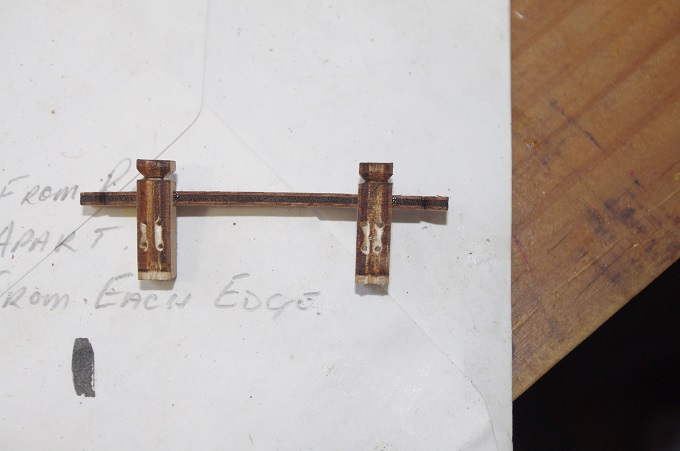
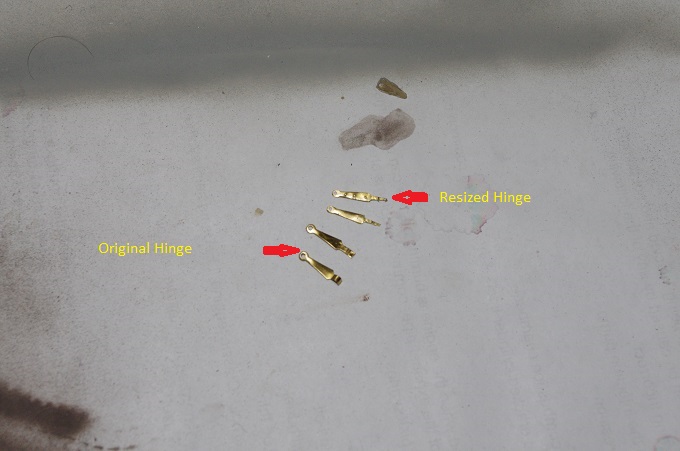
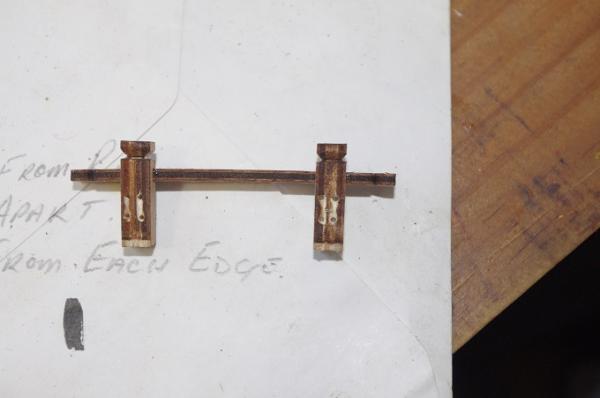
I have also made the lids for the gunports. This involved a modification to the hinges as the supplied parts would look to bulky and out of scale. The first picture shows the supplied parts and how they are meant to be fitted. I have dispensed with the hinge pins and their supports and modified the hinges by straightening out the loop and filing it down to about 0.75mm thick and also reducing the width of the main body of the hinge as it was too bulky, this can be seen in the second photo.

-
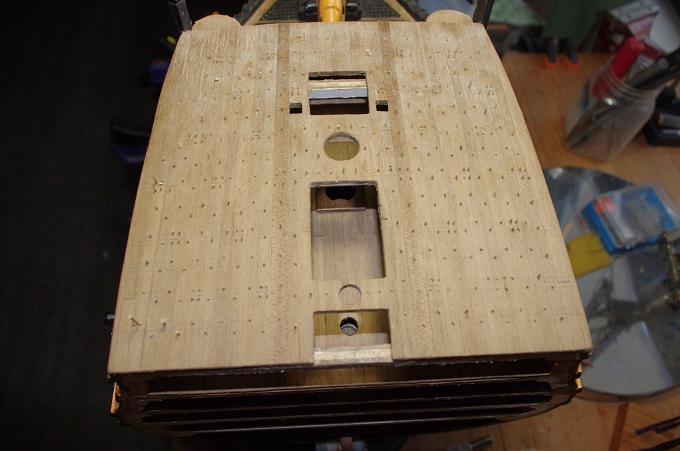
Hi All, I have not posted an update for quite some time and not much has happened to the build until last month when I got it out of mothballs and started work on it again. In the last update I was halfway through tree nailing the foredeck, this has been completed as the following pictures show

-
Hi Ciaran, First let me say welcome to Model Ship World Your model looks real good, it looks like you have made a good job of the planking. It is a shame about the twist but I don't think anything can be done about it now without major alterations. It may have been caused by a twisted false keel in the beginning. To taper your masts and yards the method I use is first cut them about 25mm longer than required, so that it can be held in a drill chuck without any damage to the actual mast, and then mark a circle on one end the diameter it needs to be tapered to. Then measure from that end back down the mast to where the plans state that the taper starts from and mark it. I use a small hand plane to carefully first square the dowel, planning from the mark to the end of the dowel, being careful to keep just outside the marked circle. I then plane the corners off making it eight sided and then plane the corners off again so I end up with a sixteen sided piece. The other end is put into a battery drill and the tapered end is smoothed down with sand paper until the correct diameter is achieved. I don't live in the UK but a good reliable supplier that I know of there is Cornwall Model Boats they have a web site and ship worldwide. I am fairly sure they will be able to help you with any supplies that you require. Hope this helps you
-
Hi Kmart, I am also sorry to hear about your loss. Glad to see you have started a build log and it looks like your build Is progressing well If you have any questions please do not hesitate to ask and I will be happy to answer them if I can
-
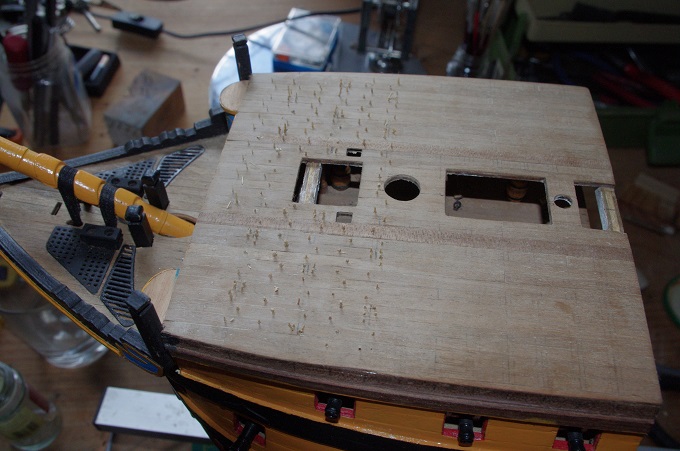
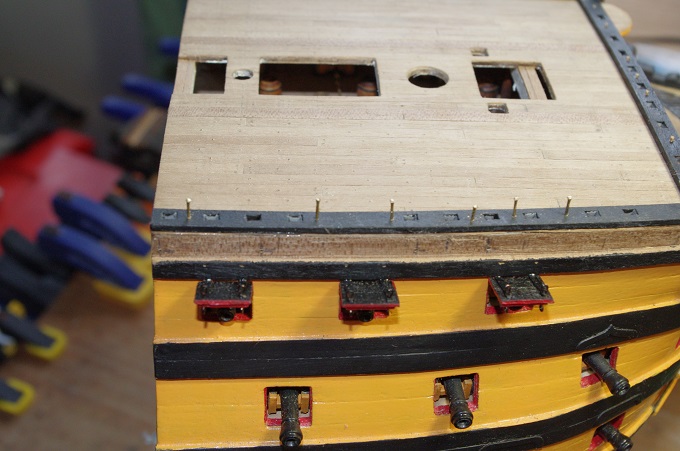
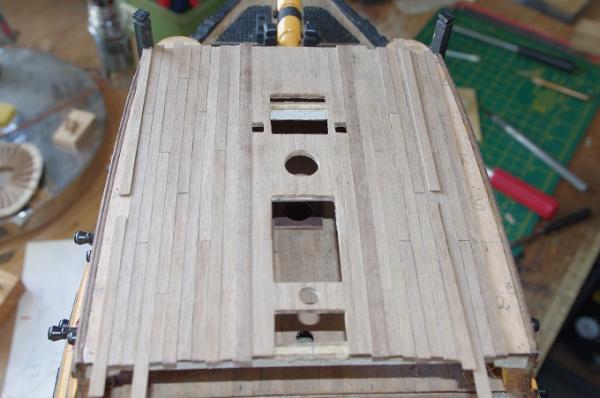
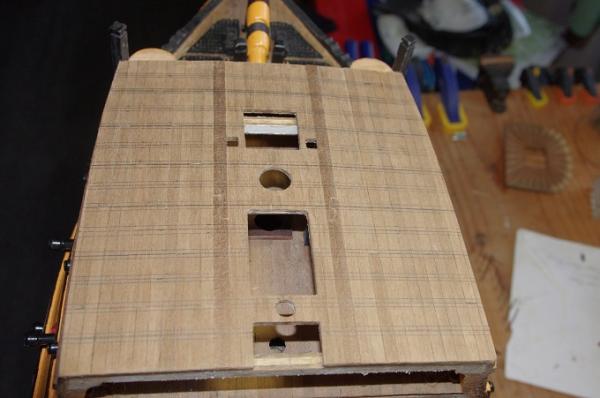
Hi All, Sorry I have not posted an update for a few days as my internet connection has been down but I am back up and running now. The forecastle deck planking was completed and sanded. The deck was then marked for tree nailing. Because the planks are only 4mm wide I did experiment with pencil marks to simulate the nails but I did not like the effect so after a bit of effort I was able to produce enough 0.5mm tree nails from a bamboo skewer, I know these are a bit oversize but I could not produce anything smaller in a reliable size or quantity and they should look OK once sanded down, I hope


-
Hi Kester, Thankyou for looking in and your kind comments.
-
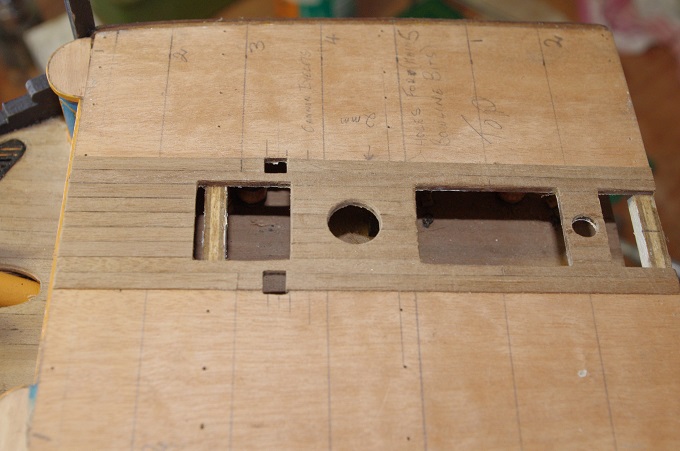
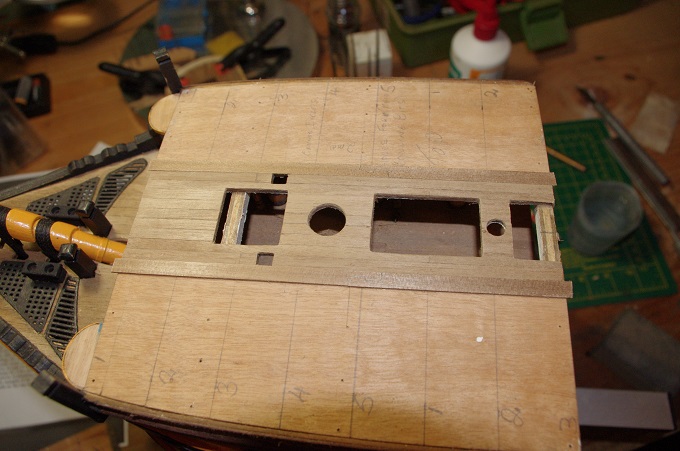
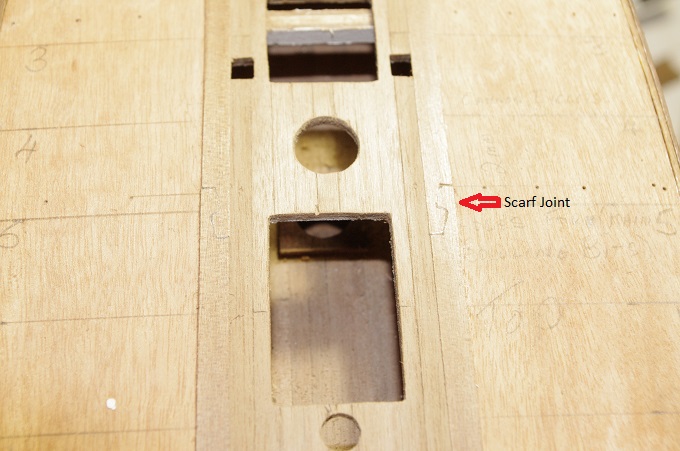
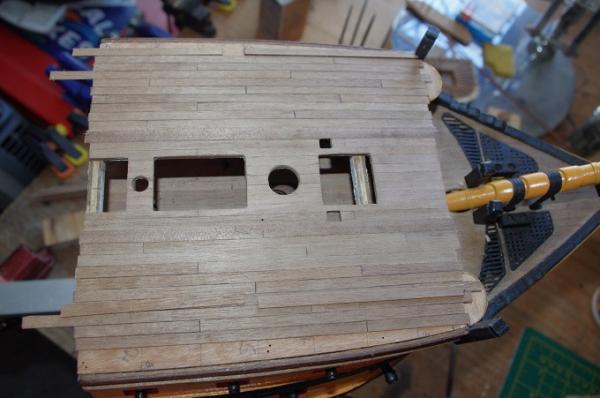
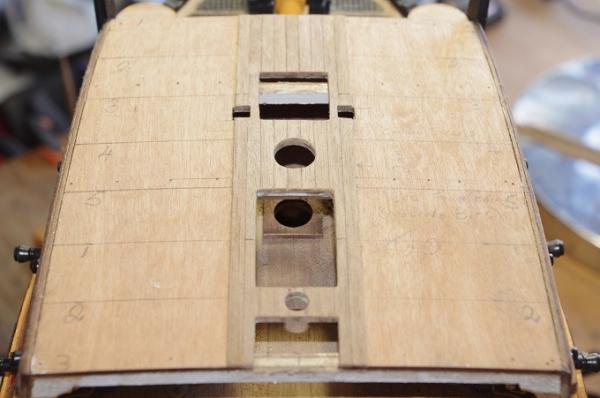
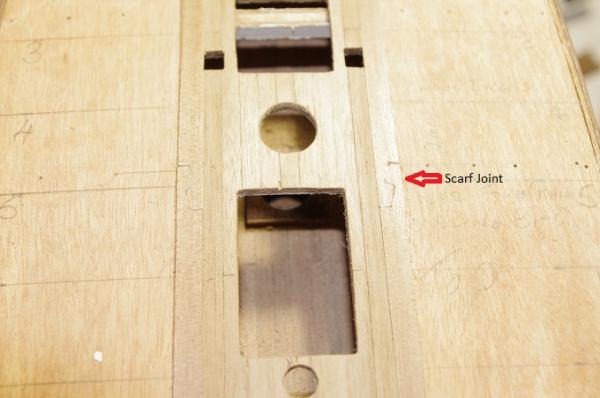
Hi All, The deck planking has begun. I have decided on a four butt shift for the forecastle deck and the deck will be tree nailed. After marking the centre line and the lines for the shift pattern the first planks were laid. Please note there is no shift pattern in between the gratings as the small distance between them would mean cutting a lot of very short planks . So the pattern will start with the first plank outside the grating. I have also added a binding strake next to this plank on each side. these were made from wider stock than the supplied deck planks of 4 x 0.5mm and a 5 x 1mm plank was used, these will be sanded down to 0.5mm when the deck planking is completed. A scarf joint was used to join them.


-
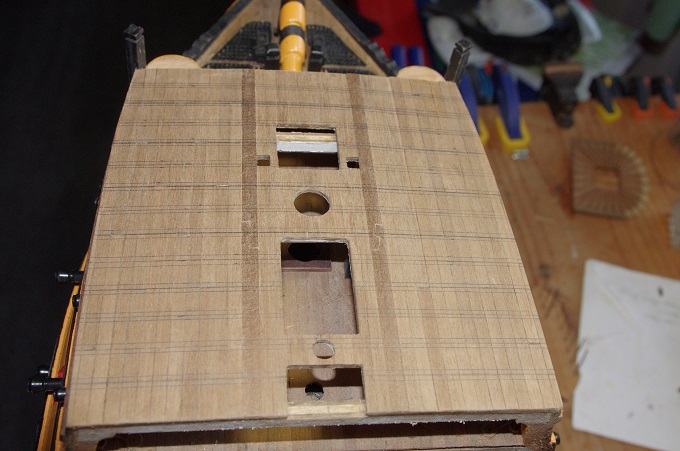
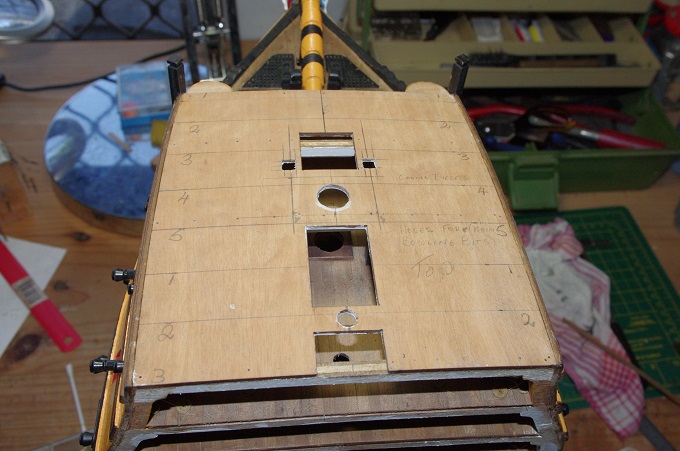
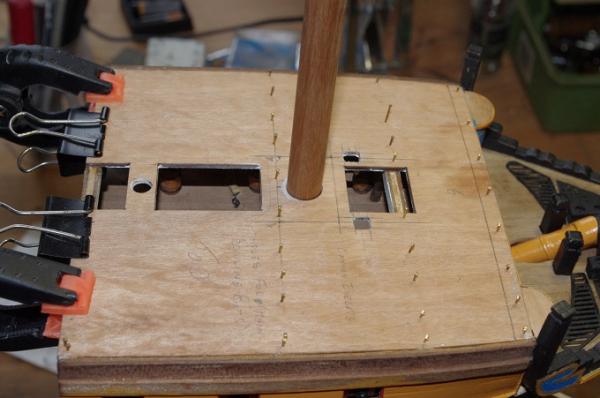
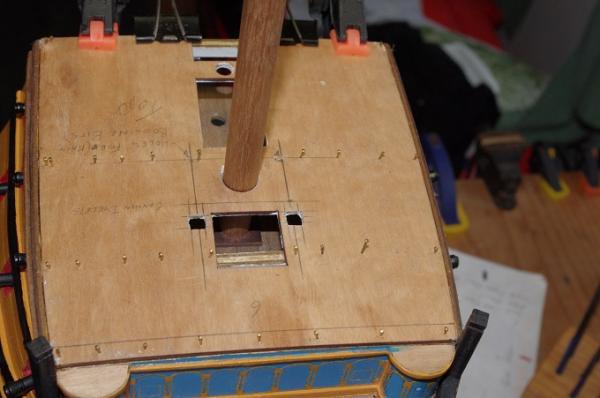
Hi All, After the underside of the fore deck had a couple of coats of white it was then fitted. The mast is only dry fitted to make sure all the holes line up while the glue dries. The next job will be to plank the deck.

-
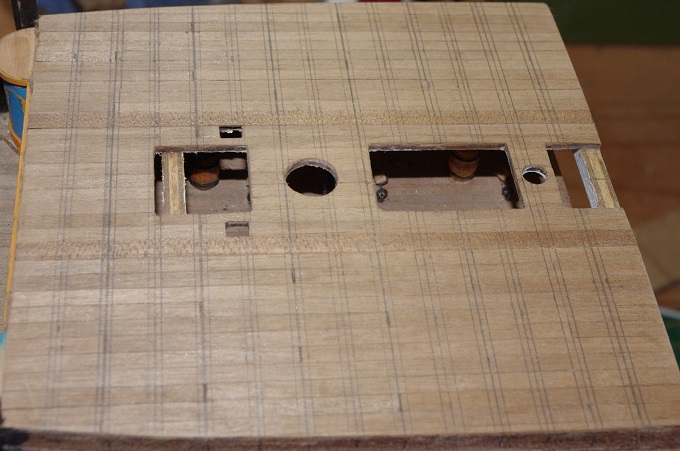
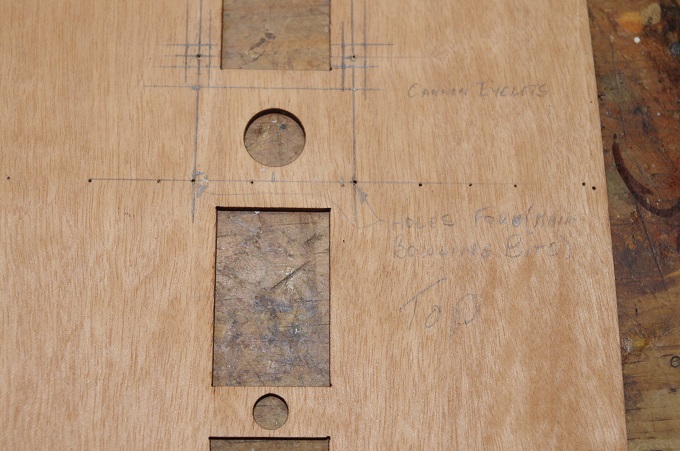
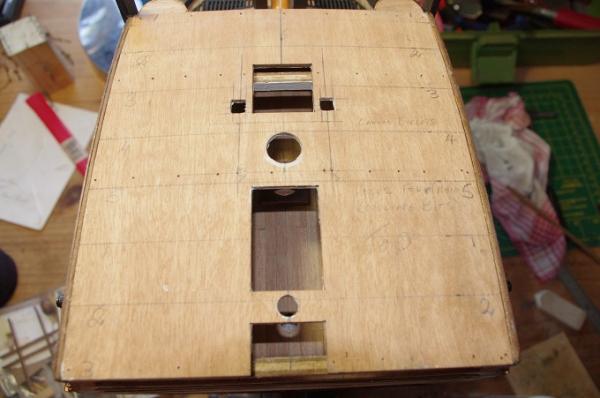
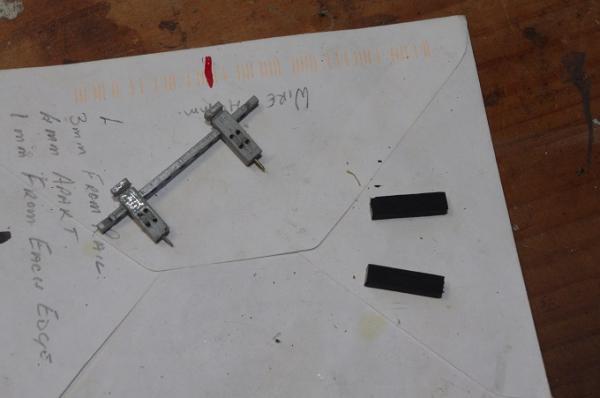
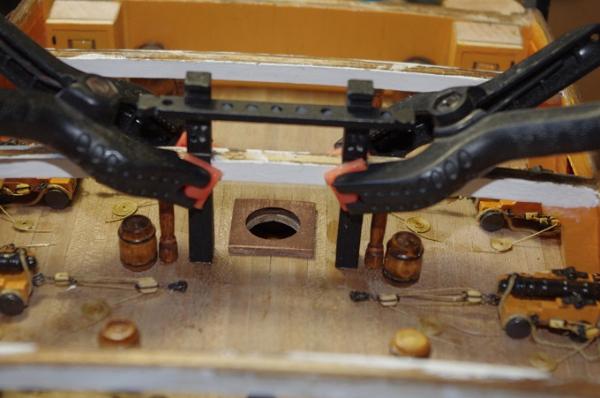
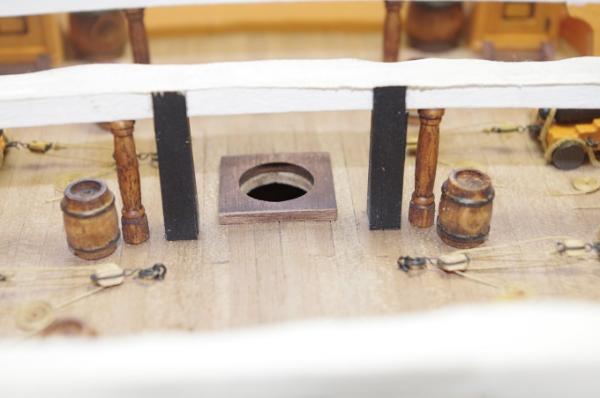
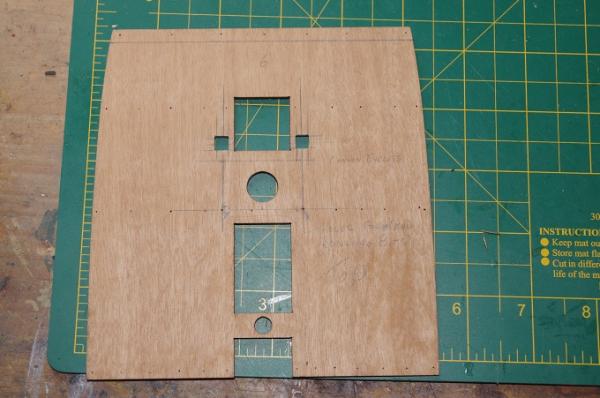
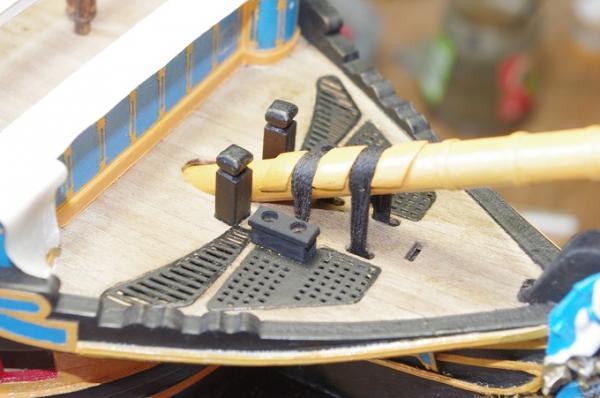
Hi All, Before the Forecastle deck could be fitted extensions had to be made for the Main Top Bowline Bits and the Fore Topsail Sheet Bits, as the kit supplied parts fit on the forecastle deck only where as they terminate on the upper gun deck on the actual ship. The Main Top Bowline Bits happened to be positioned over one of the deck crossbeam supports which I was not prepared to cut out so I cut two 5 x 5mm pieces to fit between the beam and the deck and then glued a 0.5 x 5mm strip that covered the block and the beam to give the impression that the bit was one piece. The Fore Topsail Sheet Bits were simpler to extend by just adding some 5 x 5mm legs to them. The deck was then marked out and two holes cut in it so that the Bits could pass through.


-
Hi Kester, Thank you for that bit of information about the cherubs as I didn't know that. That's what so good about this site, the tips and historical information that is shared. I don't know wether Chatham Dock will see her returned there in the foreseeable future but it is nice to that part of the original ship is there for the 250th anniversary of her launch
-
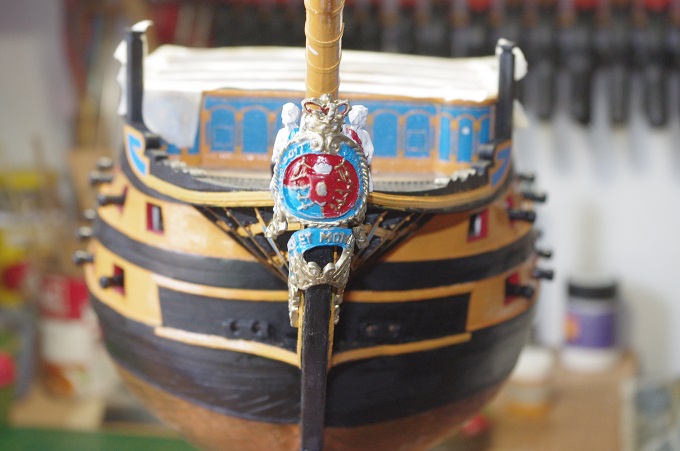
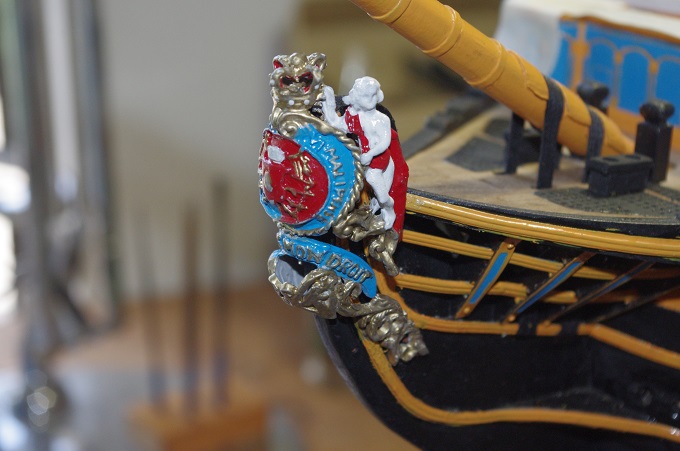
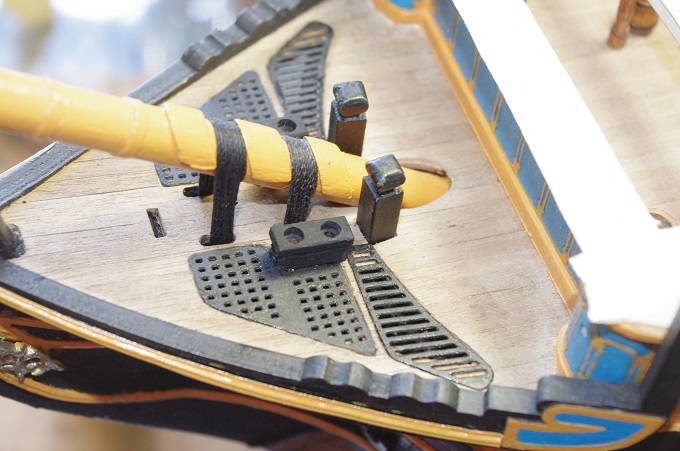
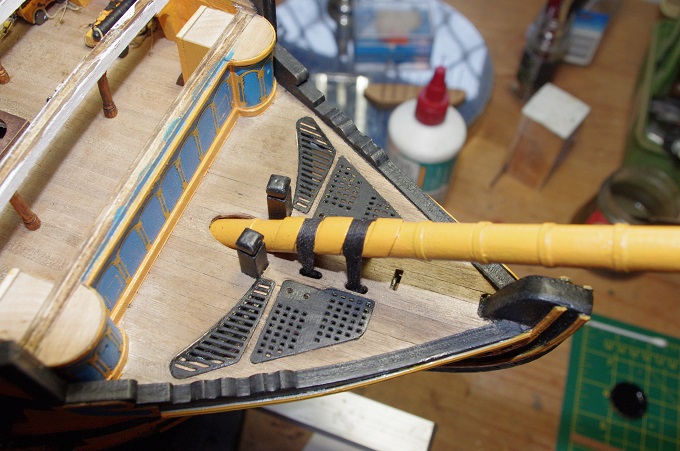
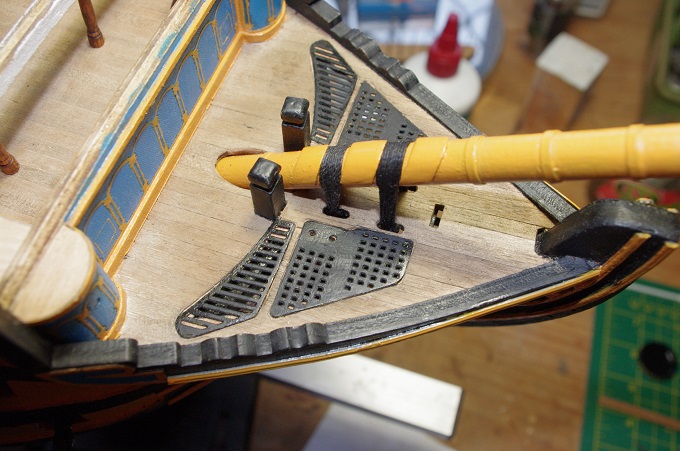
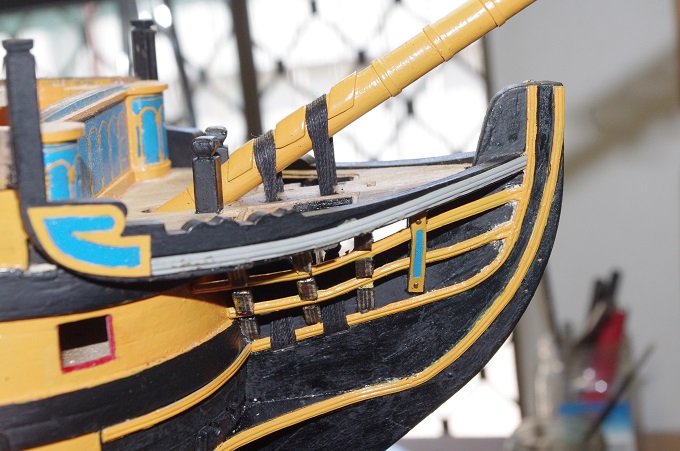
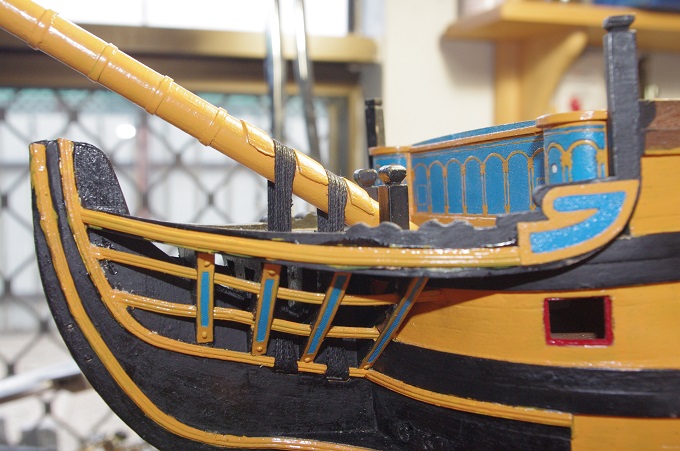
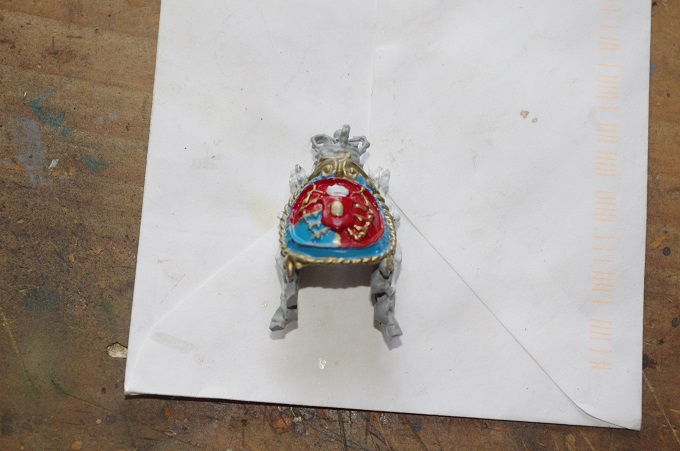
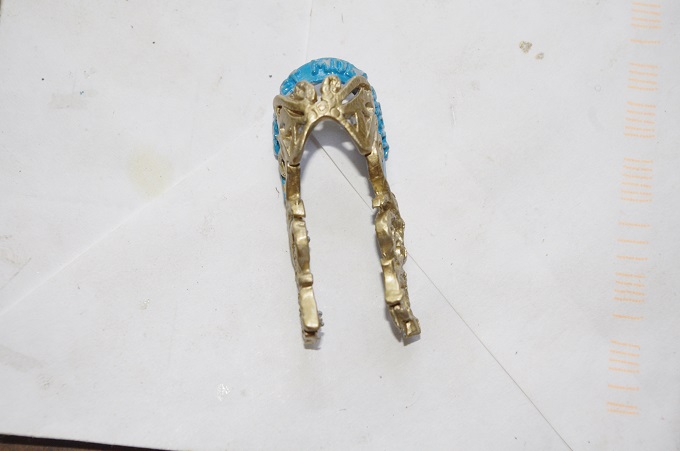
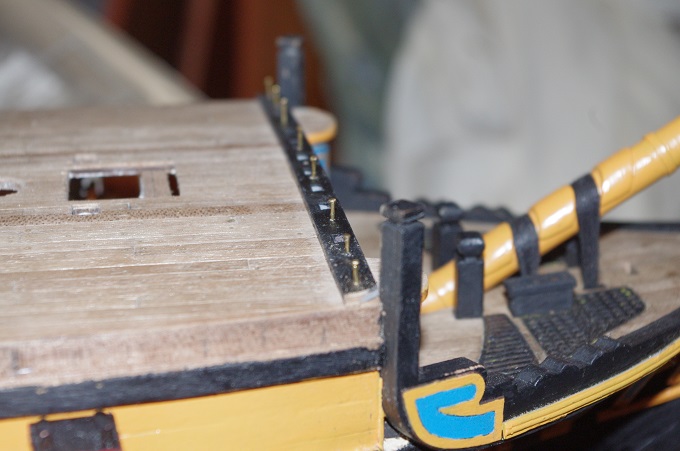
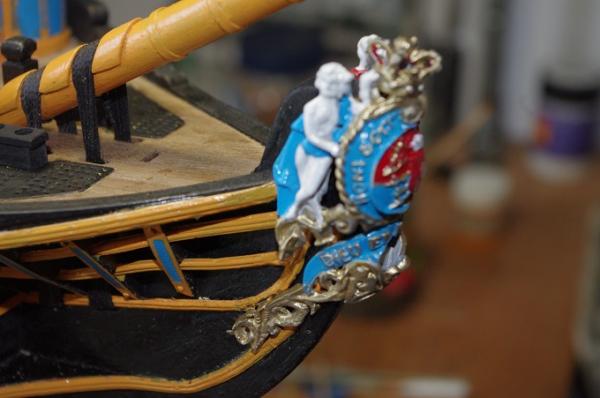
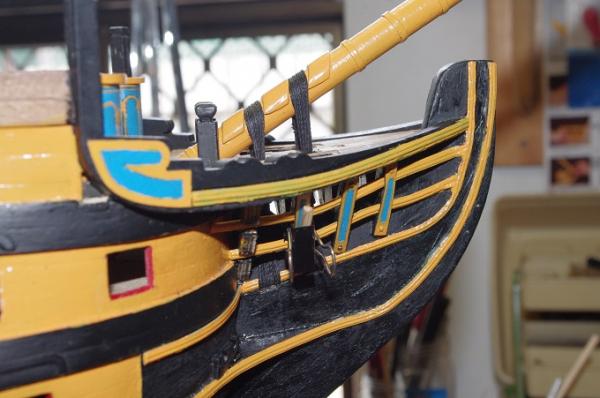
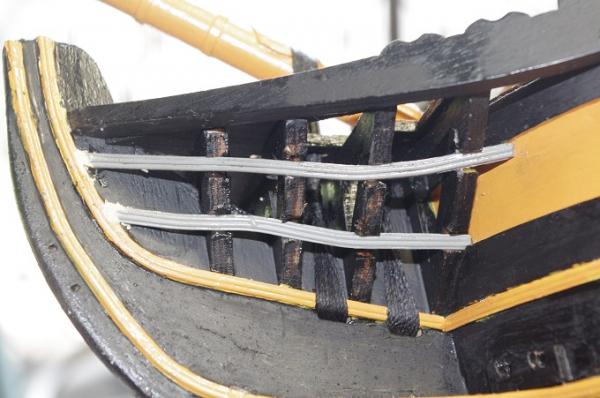
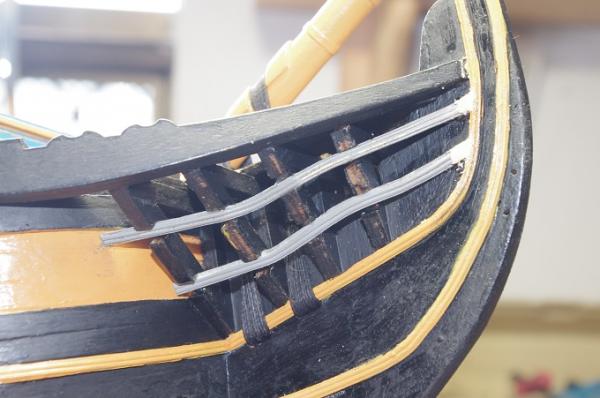
Hi All, The figurehead painting was completed and the it was fitted to the stem. I am fairly pleased with how it turned out but I should have made a bit more of an effort to fit it a bit more snuggly against the stem as the bobstays, when they are fitted will run against the lower section of the figurehead. . The 'seats of ease' have also been fitted to the beak head deck.


-
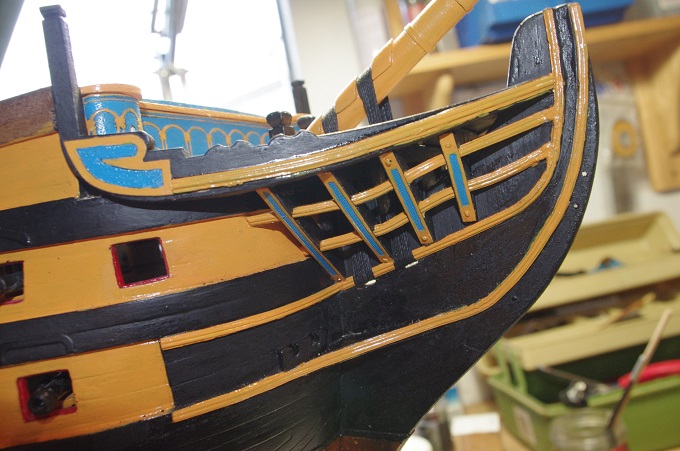
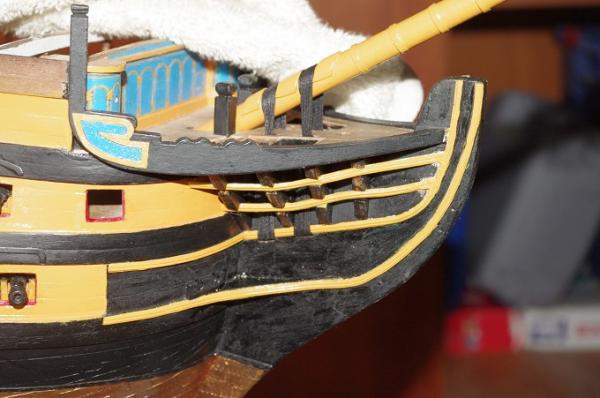
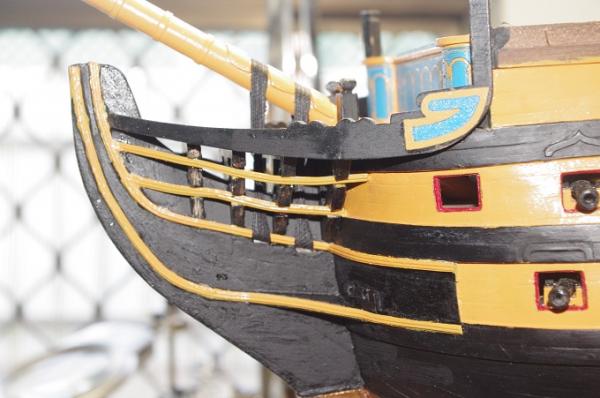
Hi All, The head rails are completed except for the second half of the top rail under the beak head deck which runs up to and over the knee supporting the catheads. These will be fitted once the catheads are installed. You will also notice that the beak head deck supports have been covered by vertical strips of etched ply


-
Hi Kester and Don, Thank you both for looking in and your kind words. Kester, I did consider buying the Caldercraft one but decided to in the end to go with this one. I probably will buy it when I start the full model as the one I have is also by Panart and has the same figurehead.
-
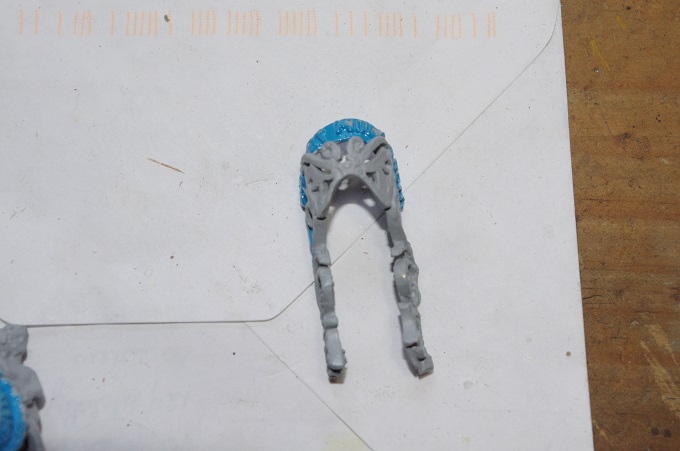
Hi All, The head rails were painted and I started to paint the figure head, anyone who has this kit will know that the figure head is fairly bulky and only comes in two parts compared to the Caldercraft one which I think comes in about six pieces. I gave both pieces a coat of metal primer and then started to paint in the colours following photos of the figurehead on the actual ship
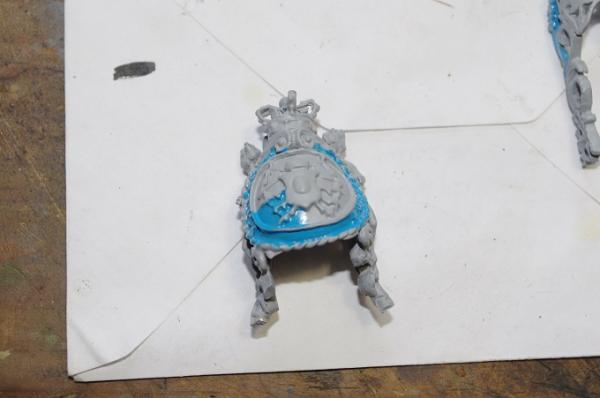
-
Work also continued on the head rails the next two were added on each side, these fitted into notches in the beak deck support timbers. Please note they were undercoated with metal primer before they were fitted.
-
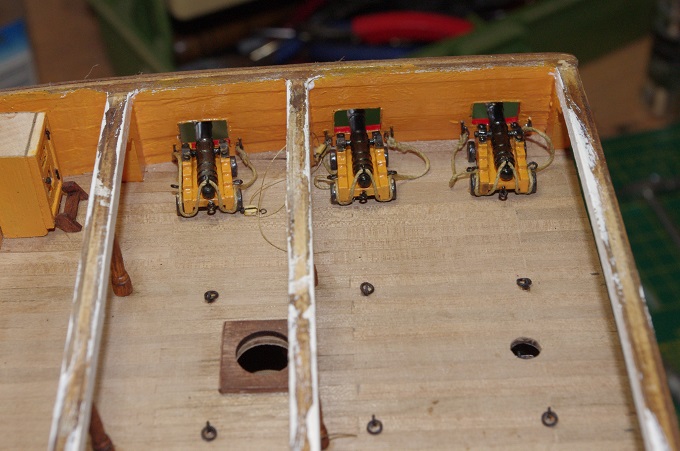
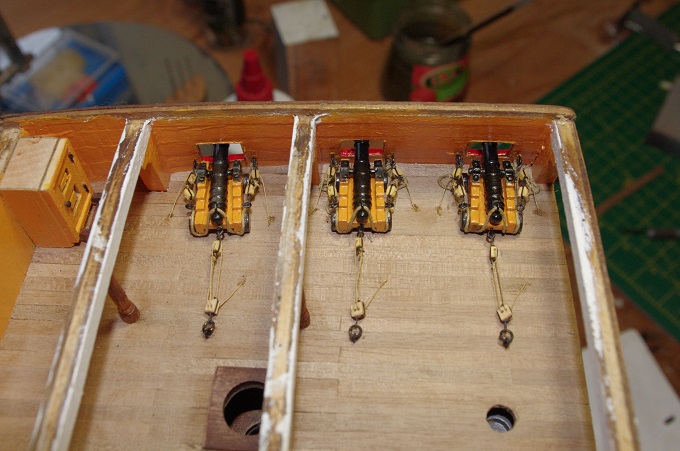
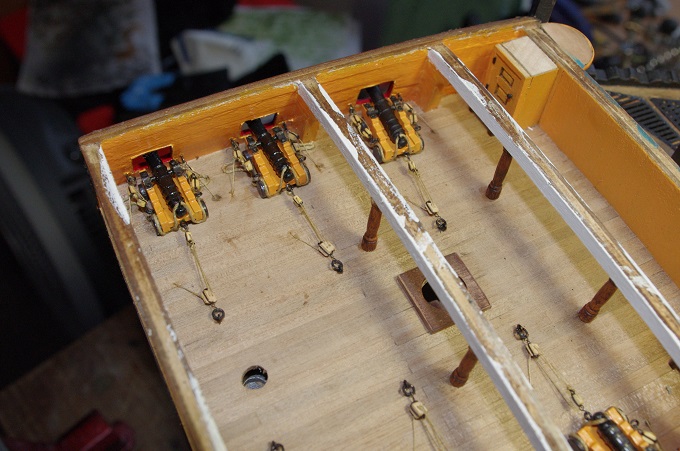
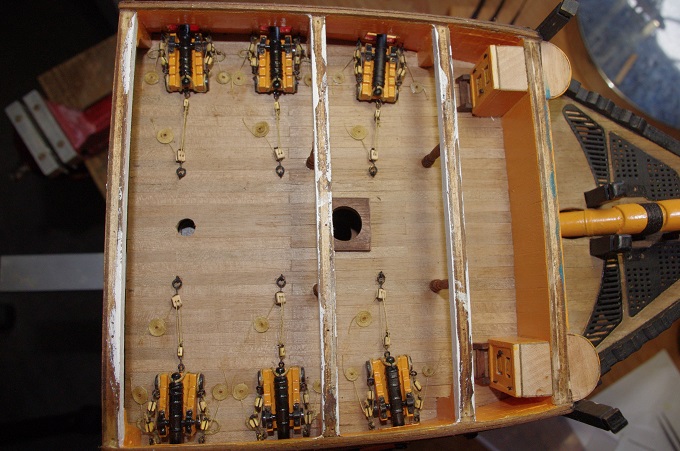
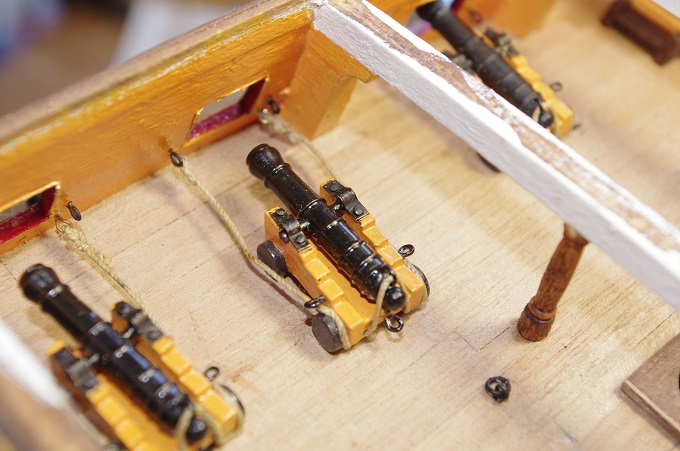
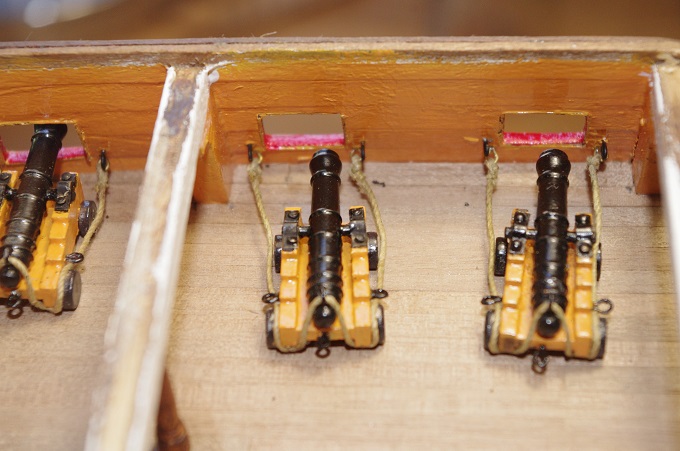
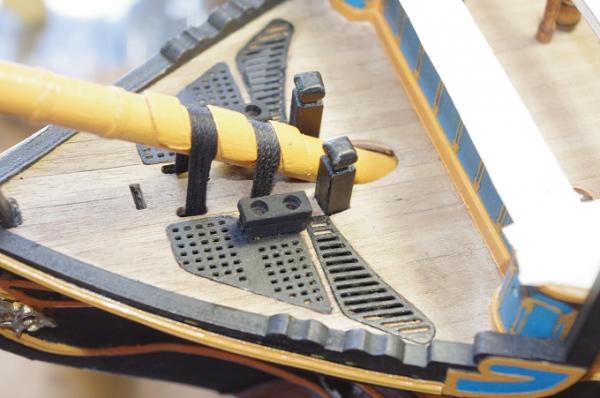
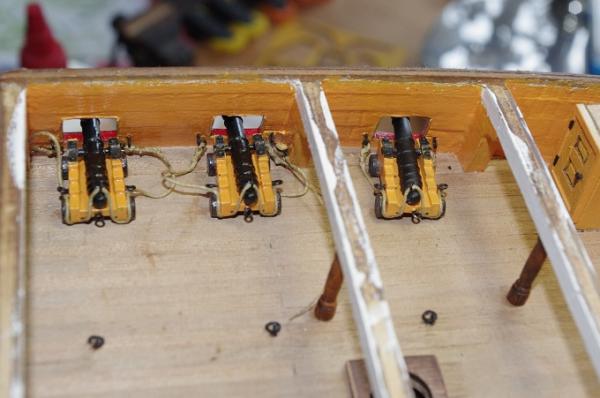
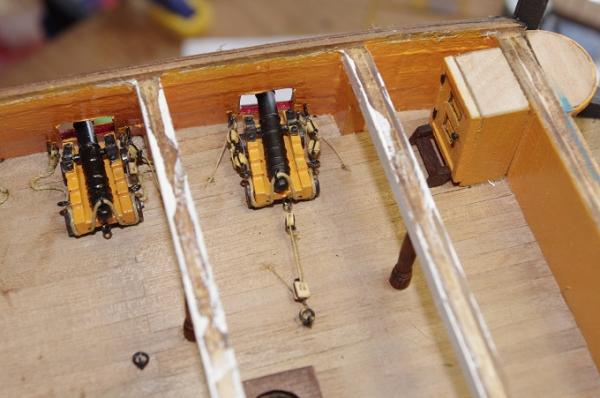
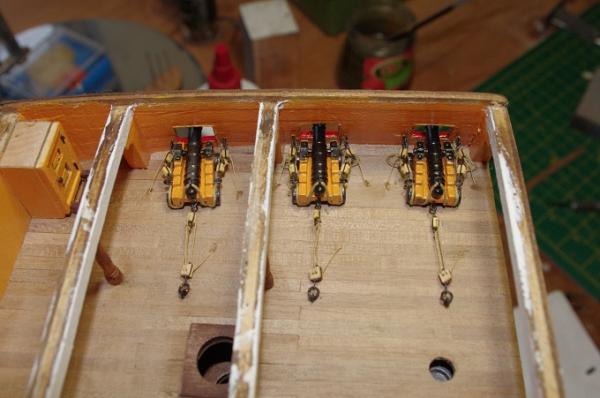
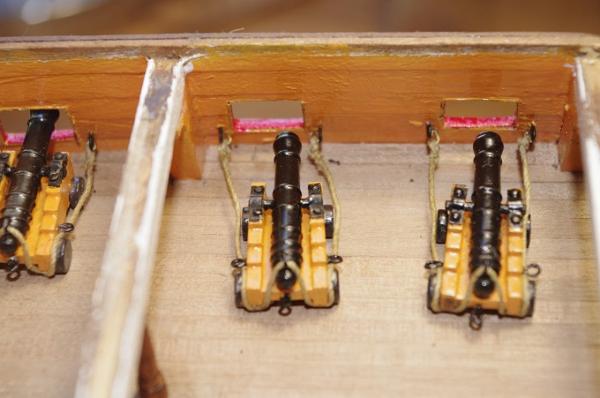
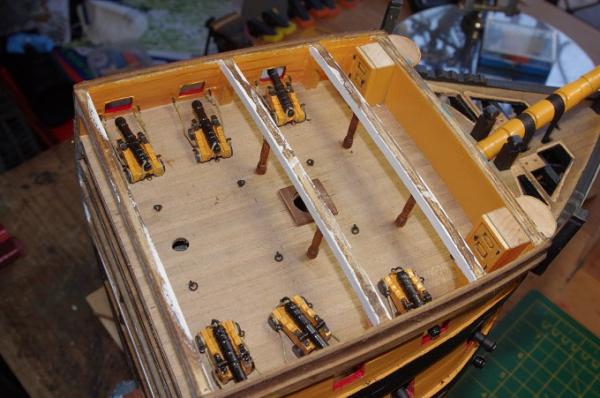
Hi All, The guns were then positioned and glued into place. They were then rigged using 2mm single blocks for the side tackle and a 2mm single and a 3mm double, trimmed down, for the train tackle. The breech ropes were also shaped and spot glued to the deck. The rope coils were then added


-
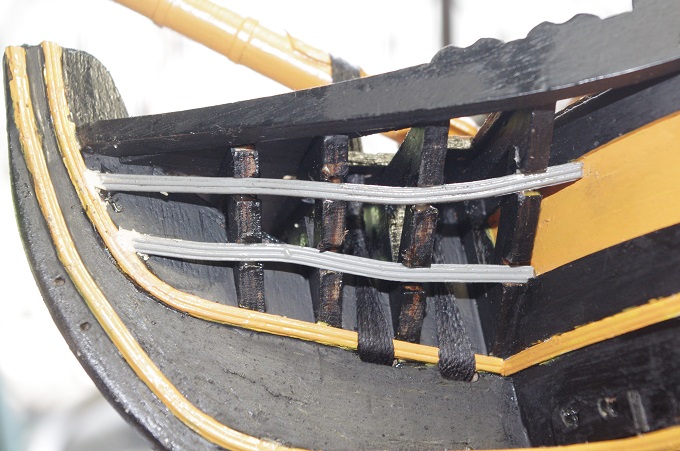
Hi All, A quick update, the breech ropes were fitted to the cannons and the eyebolts tied to them these were then glued to the walls

-
Hi Danny, She is looking a lot better now with all that rigging gone. It's a pity about the CA glue as it has added a lot of extra work for you. At least you now have a clean slate to work with I hope the decks clean up OK
- 59 replies
-
- 4
-
-
- norske lowe
- billing boats
- (and 1 more)