-
Posts
699 -
Joined
-
Last visited
Content Type
Profiles
Forums
Gallery
Events
Everything posted by Jeff-E
-
Hello All, This post covers the fitting of the fore and preventer stays and the bobstays. The forestay was made from 1.7mm tan thread because I could not find any black thread of that size to buy and I do not have the facilities to make my own. It was blackened by drawing it through some black rigging wax that I had. The mouse was made from 3mm dowel and drilled out to take the thread. A 10mm Heart was seized to the end of the stay and it was then lashed to the corresponding heart on the bowsprit. The preventer stay was made the same way as the forestay except using 1mm thread and it was also fitted to the model. The bobstays were the next piece of rigging to be fitted. There are three of them, The first two are straightforward being seized to holes drilled into the stem but the third or outer stay has two legs which run together down to the stem and then split and are anchored by a hook seized into an eye at the end of each leg to an eyebolt in the bow on either side of the stem. The above photo is of the outer bobstay. The second photo shows how the outer bobstay splits at the stem and attaches to the hull. Thanks for the likes, that is all for this post I will post some more progress soon.
-
Hello All, It has been quite a while since I posted to this site but having finished this model a couple of years ago I decided it was to time to complete this log. Looking back through the log it appears I left off just before the foremast was fitted and the rigging stage started. I thought I had taken a lot more photos of the final stages of the build than I could find but either I hadn't or if I did I can't find them, however I have found enough to show the rigging of the model and I apologise in advance for the quality and composition of some of them as they were taken in my old workspace before I refurbished it. Righto on with log, I wanted to replicate as much of the rigging that is on the actual ship so before I started the rigging I made up a list of the quantity, line size and the block size and type required for both the standing and running rigging. The list for the standing rigging is in the first photo. The foremast was glued into place and then the shrouds were fitted in pairs. They were set up with the help of two jigs made from brass wire to give a gap between the top and bottom holes in the deadeyes of 25mm. They can be seen in use in the second photo. The next two photos shows the rigging of the shrouds completed however the seizing on the lower shrouds has not been finished to allow for some adjustment to the tension, if required, after the forestays have been fitted. The next parts that were added were the fore and preventer stay collars to the bowsprit. They were made from walnut and limewood stock respectively and lashed to their collars. That's all for this post. I will post some more soon
-
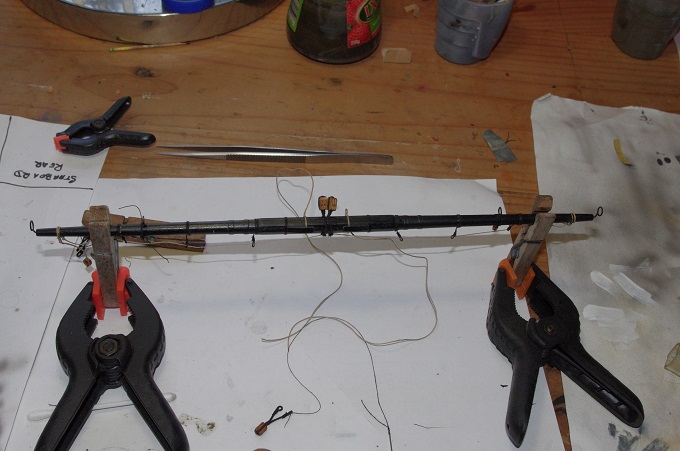
The last parts to be fitted to the yard are the stunsail booms; these are lashed to the yard just outside the sling cleats. Some of you will notice that there are some blocks missing these being for the leech and buntlines; they have been left off because these lines will not be rigged on the model as there is no place to belay them.
-
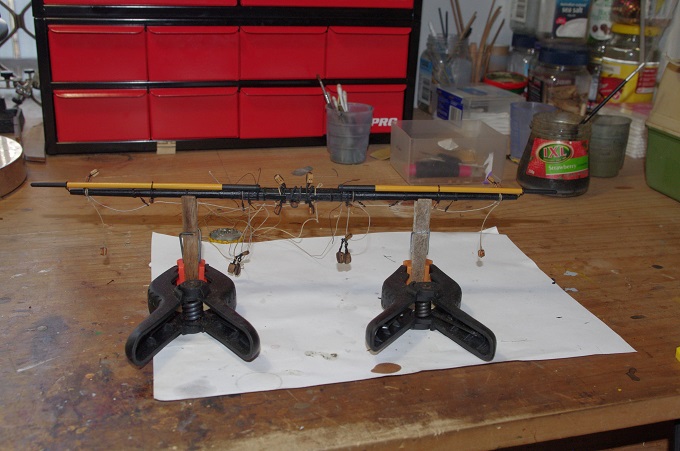
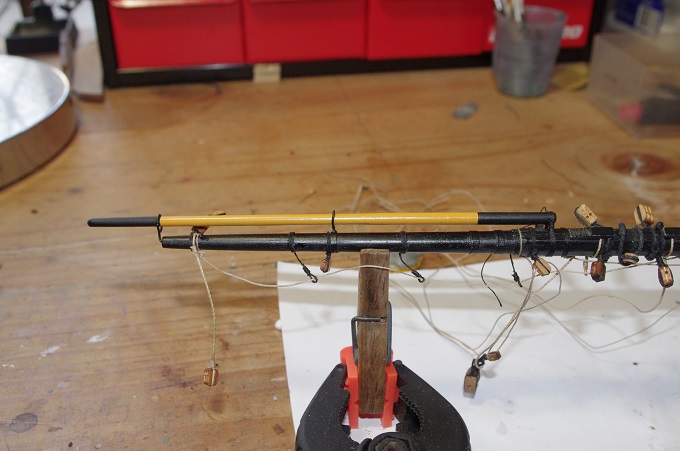
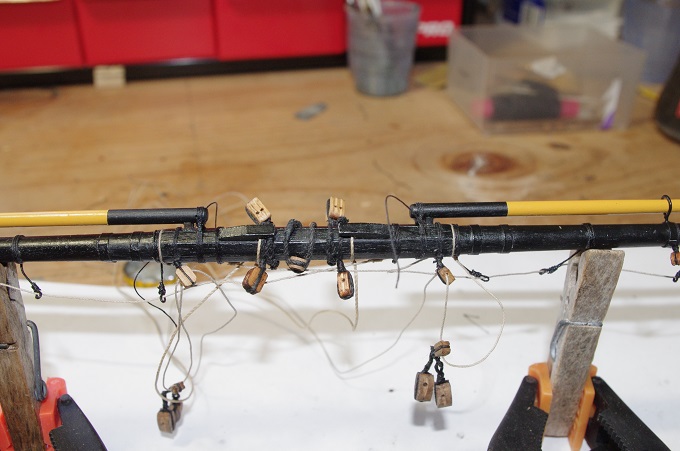
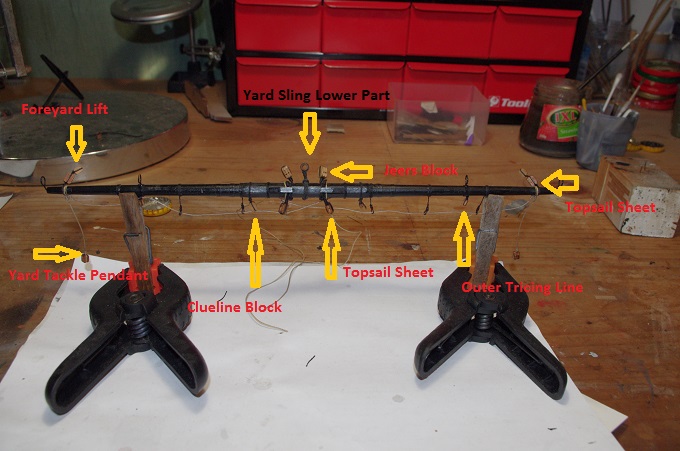
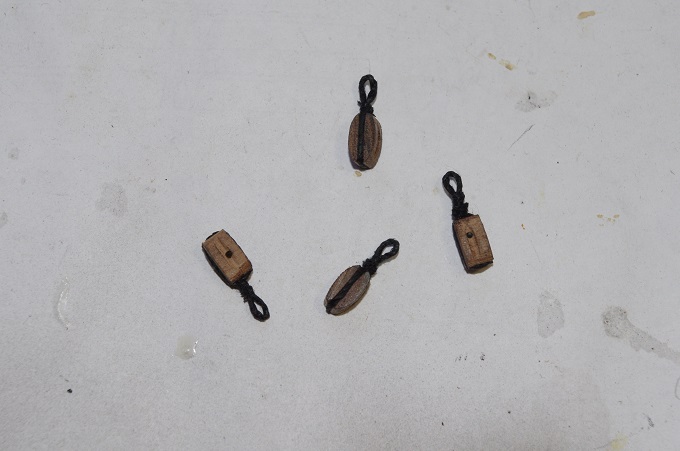
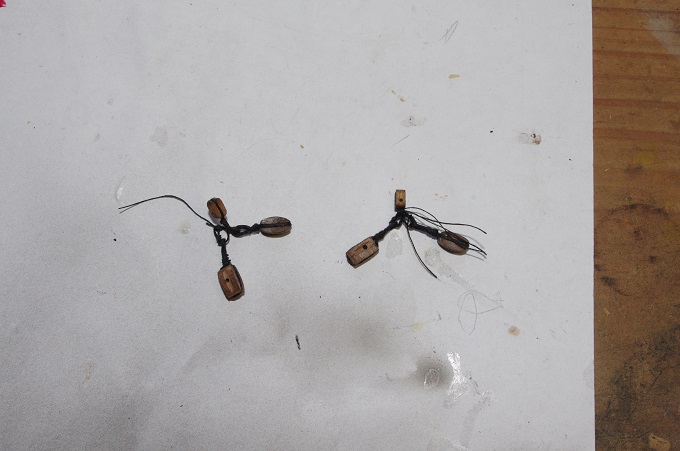
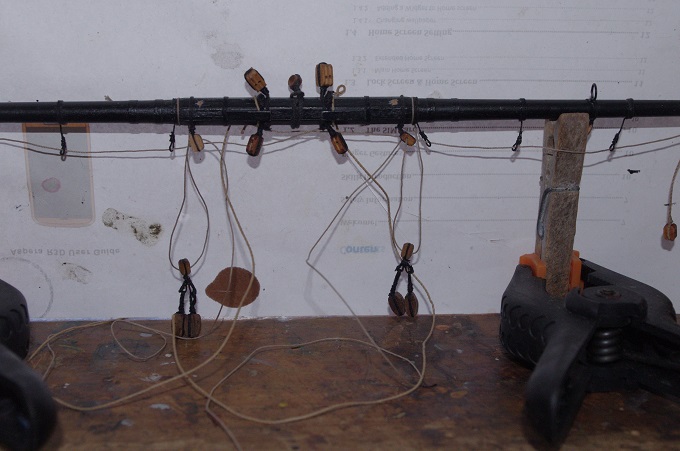
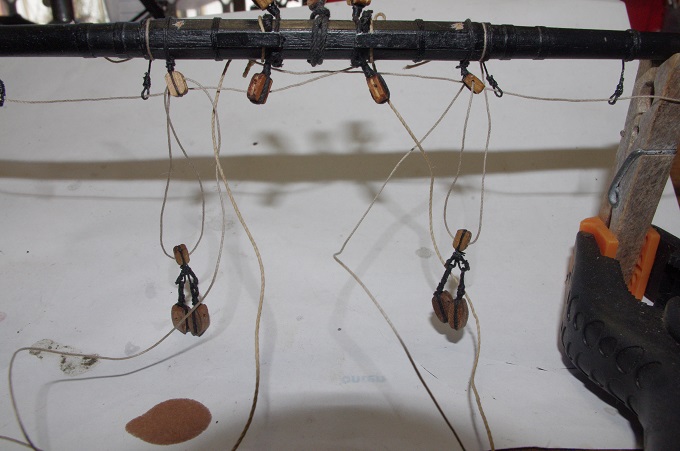
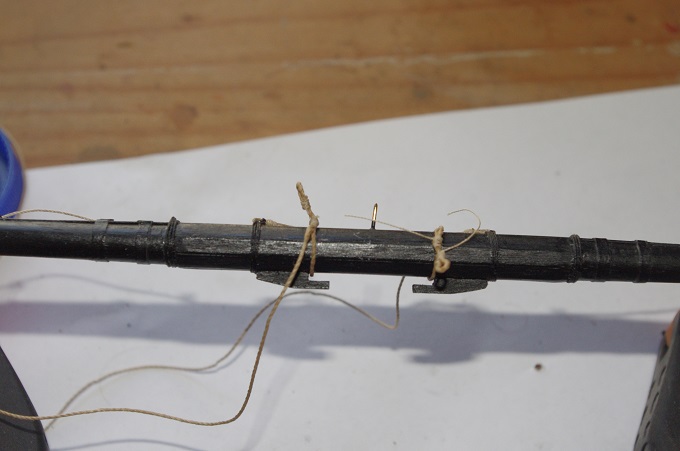
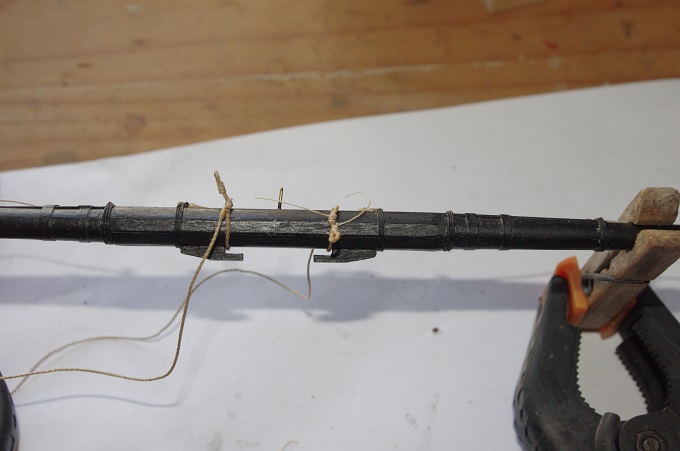
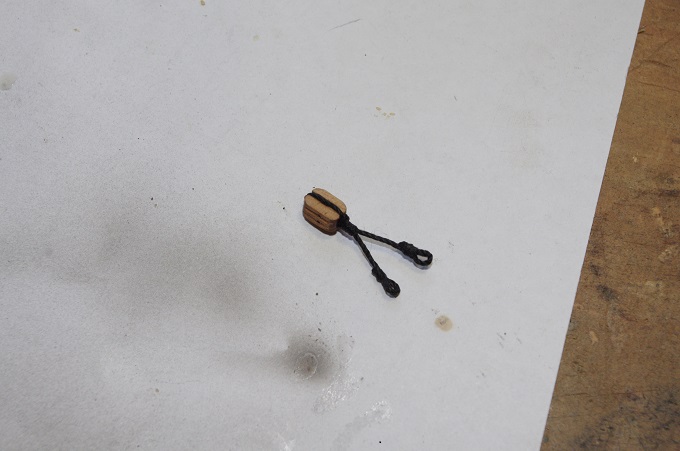
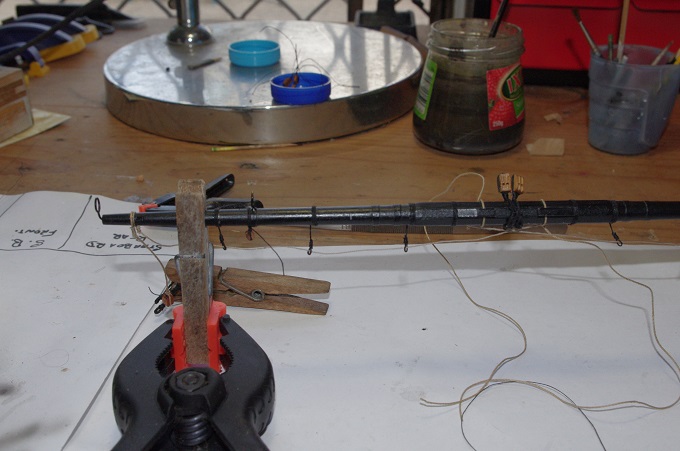
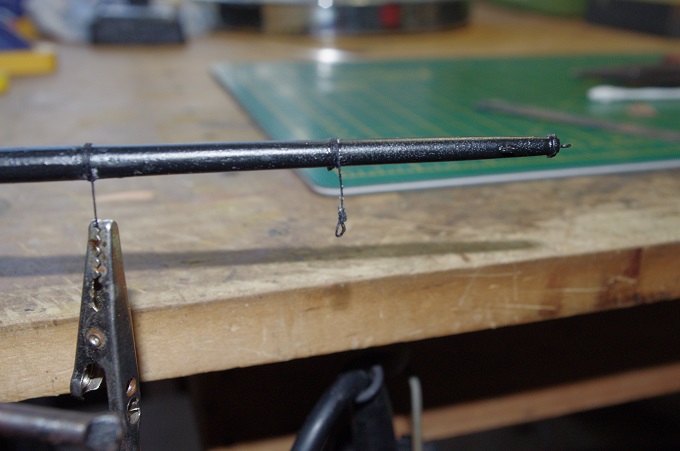
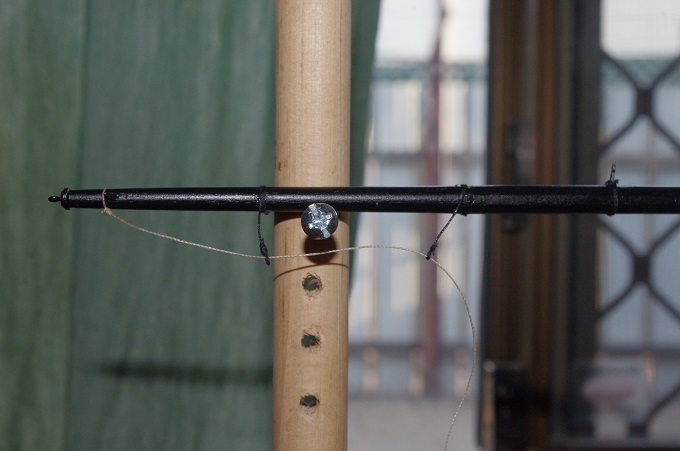
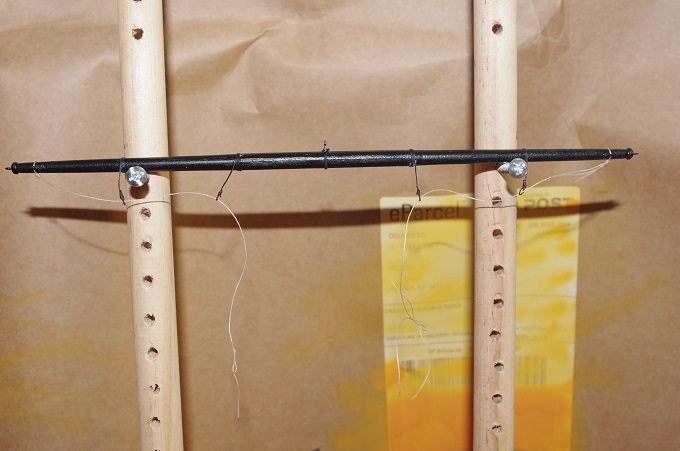
The topsail sheet blocks were next there are two on each side of the yard the outer one has the yard lift block stopped to it and fits over the yard outside the yard tackle pendant and the footrope; the inner one has a two legged sling stropped to it similar to the jeers block and is lashed to the yard between the truss pendant and the jeers block. The yard tackle pendants, as mentioned fit over the outer end of the yard and butt up against the stop cleat. The other two blocks fitted on either side of the yard are the outer tricing line block and the clue line block. The lower part of the yard sling was wrapped around the centre of the yard it has a 4mm thimble seized into it. The first photo shows the position of the blocks. The next part to make was the sheet and tack blocks these were made from 8mm dowel filed down and shaped and a hole was drilled in them for the rigging line. They were stropped with an eye so they could be attached to the lower clue line bocks. They were then fitted to the yard
-
Hi All, This update is mainly concerned with fitting all of the various rigging lines and blocks to the foreyard; doing this before the yard is fitted to the mast is much easier than trying to tie them on after. The first lines to be fitted were the truss pendants these are spliced around the yard inside the sling cleats and wrap around the mast and attach to a double block which reeves through another double block hooked to the deck and belays on the two cleats at the base of the mast. The next item to go on was the jeers blocks; these were stropped in a two legged sling which was then lashed to the yard inside the truss pendants.
-
Hi Don , Congratulations on completing a very nice model, well done. I like the addition of the fishing gear.
- 62 replies
-
- batelina
- marisstella
-
(and 1 more)
Tagged with:
-
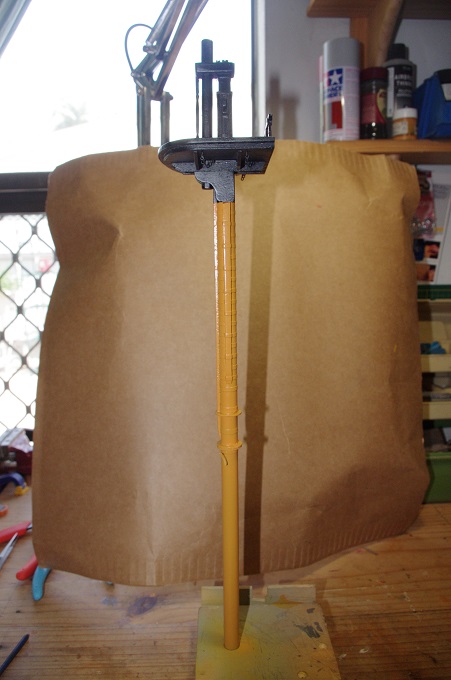
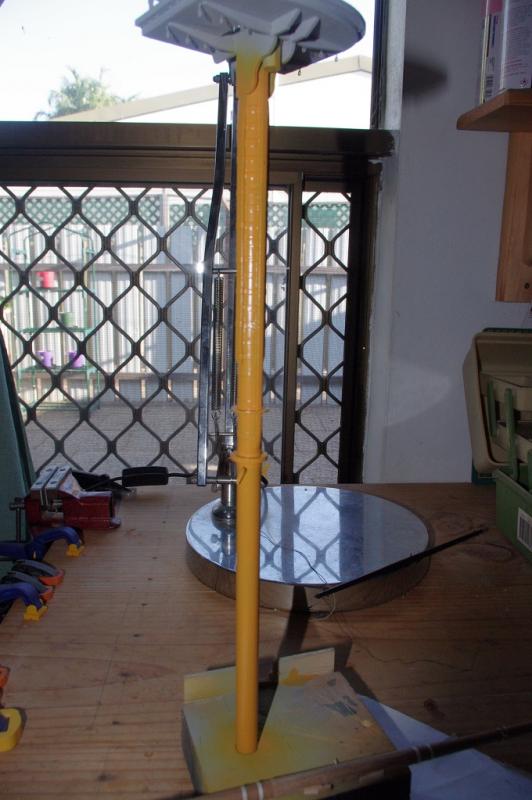
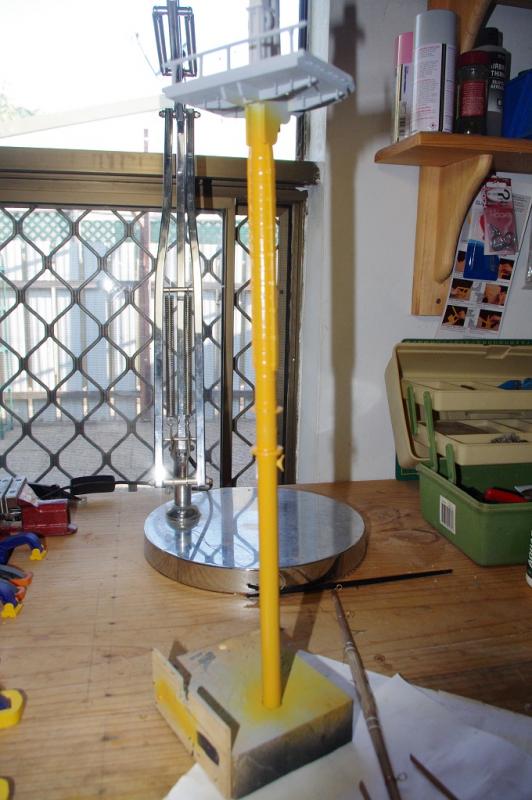
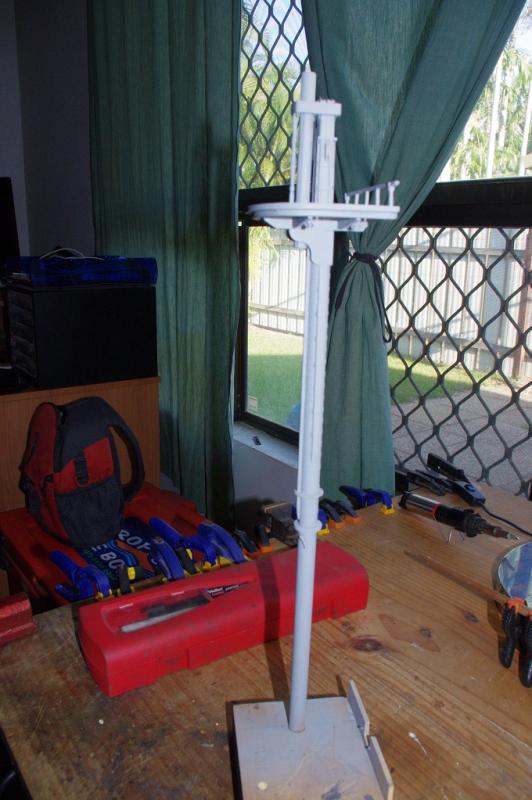
Hi Slog, Thanks for looking in. The stand is the uprights from my mast stepping jig, comes in handy for other jobs as well Thanks to everybody else for the likes
-
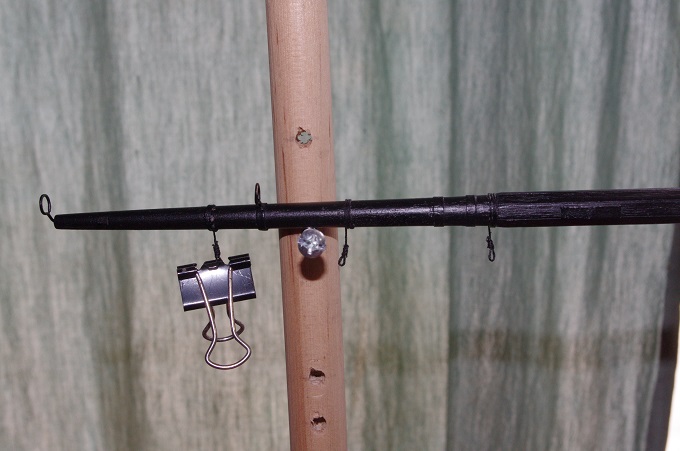
Some work has also been done on the yards. The stirrups and footropes have been started on the spritsail yard and fore yard. the stirrups were made from 0.5mm black thread on the foreyard and 0.25mm black thread on the spritsail yard. The stirrups were attached to the yard by drilling a hole in the underside of the yard a couple of millimetres deep the end of the thread was dipped in a drop of CA glue and inserted into the hole the length was then wrapped around the yard and given a coat of diluted wood glue and an eye was then seized into the end of the stirrup at the correct distance from the yard. The horses on the foreyard are from 0.5mm tan thread and the horses and Flemish horses on the spritsail yard are from 0.25mm tan thread. An eye splice is made in one end of the horses and placed over the end of the yard up against the stop cleats: it is then threaded through the stirrups and another eye is seized into the end this will be lashed to the yard outside the sling cleats I would like to mention at this point that most of the rigging cord mentioned is not supplied in the kit and was purchased as an extra; the kit supplied about 15 metres of 0.5mm thread, 20 metres of 1mm tan thread and 2 metres of 1.25mm tan thread.
-
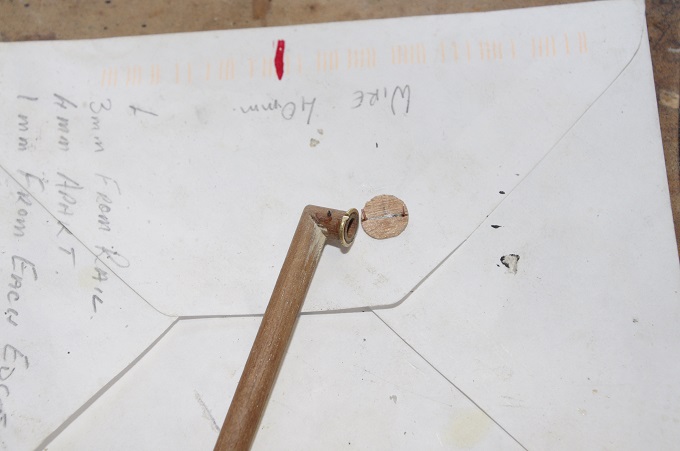
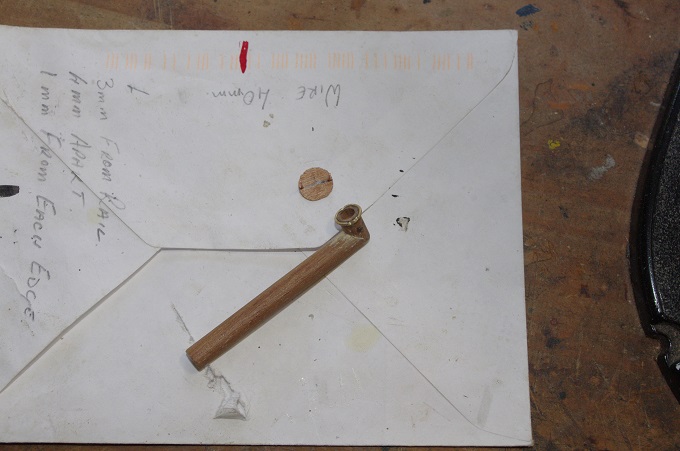
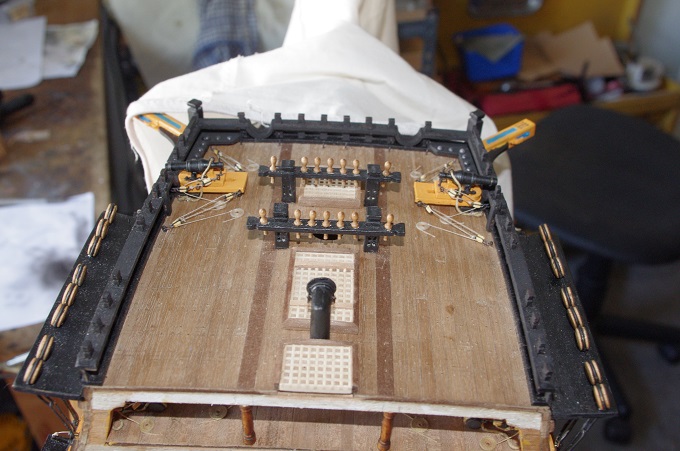
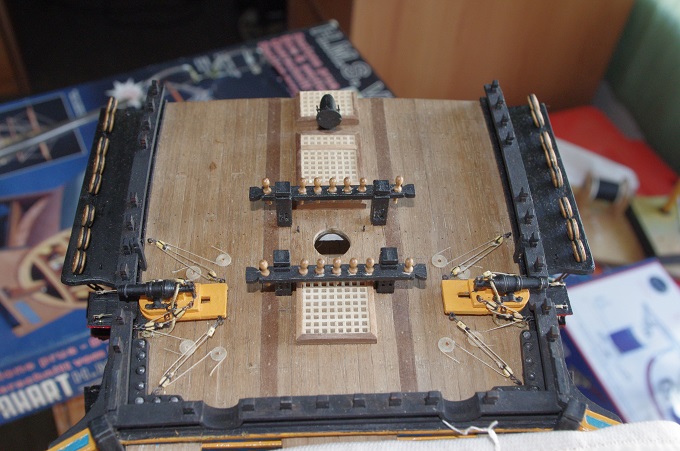
I have made the flue for the stove. It was made from 6mm dowel the end was drilled out and a cap was made from some 0.5mm ply. The ring is 1mm brass wire and the legs on the cap are made from 0.5mm wire. The flue was painted black and then fitted to the forecastle deck along with the remaining two grates. .
-
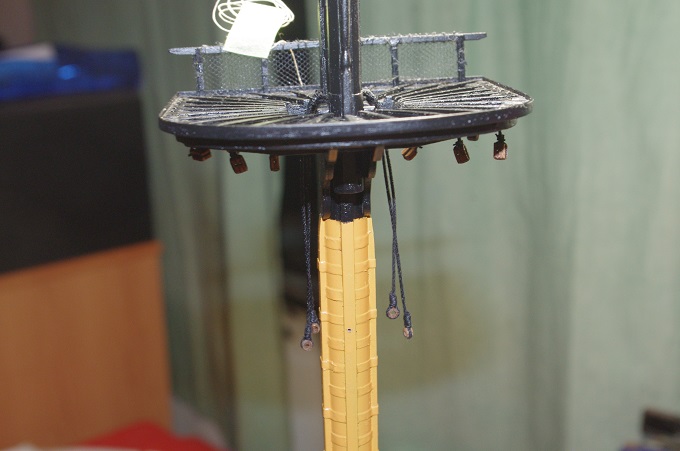
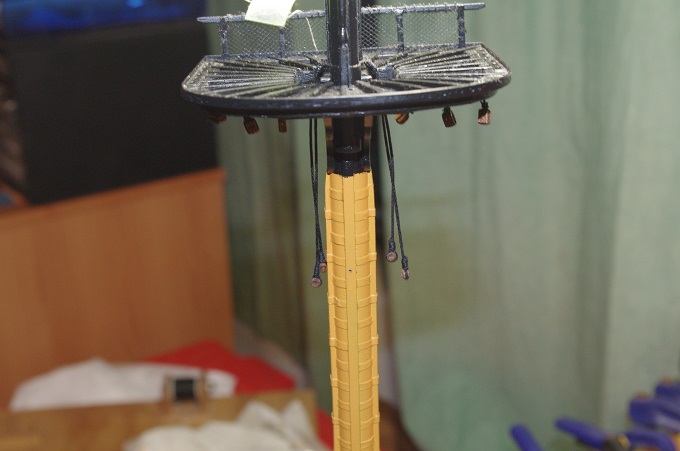
The foreyard lift blocks and the blocks underneath the mast top for the leech and buntlines have also been added as well as the netting across the handrail at the back of the top. I have also made and fitted the pendats of tackles to the mast. The thimbles in the pendants are made from 3mm dowel with a 1.5mm hole drilled through them. The pendants are made from 1mm black thread and the seizing from 0.25mm black thread.
-
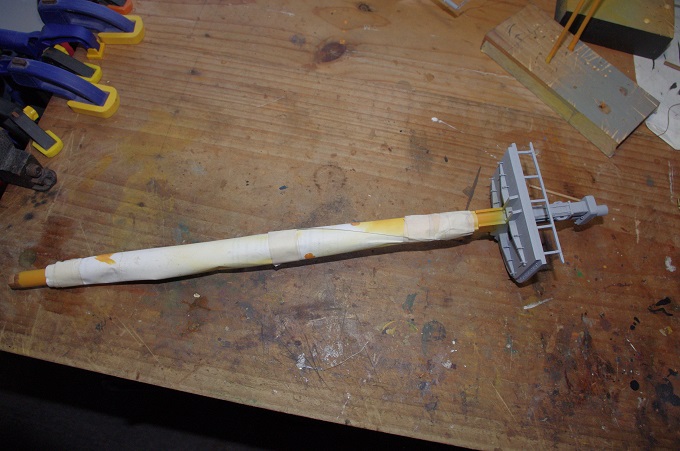
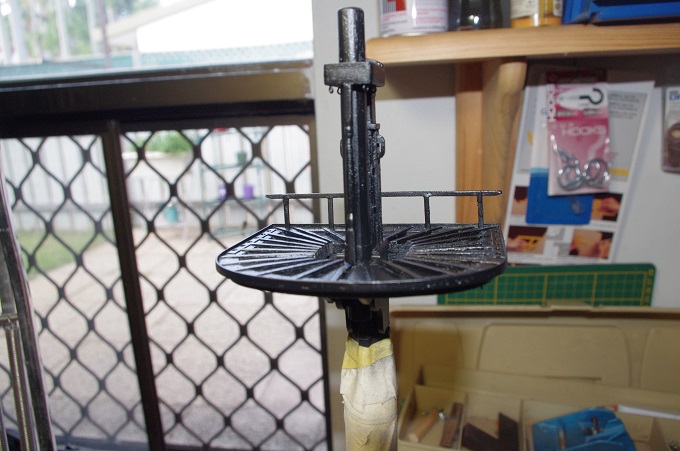
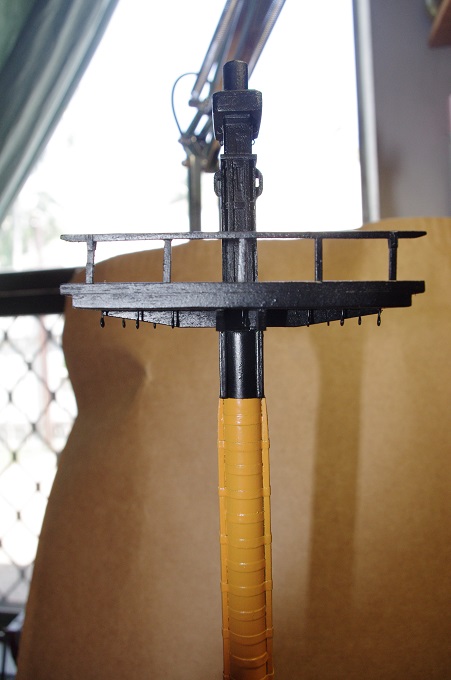
Hi All, After the lower mast had dried it was masked up and a few coats of Tamiya semi gloss black were applied to the top section
-
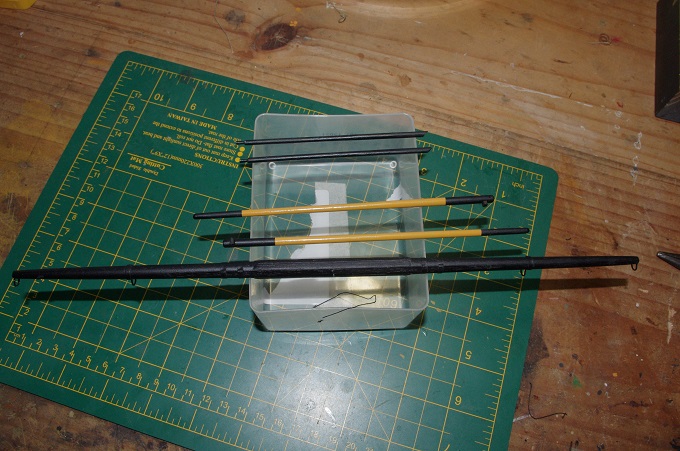
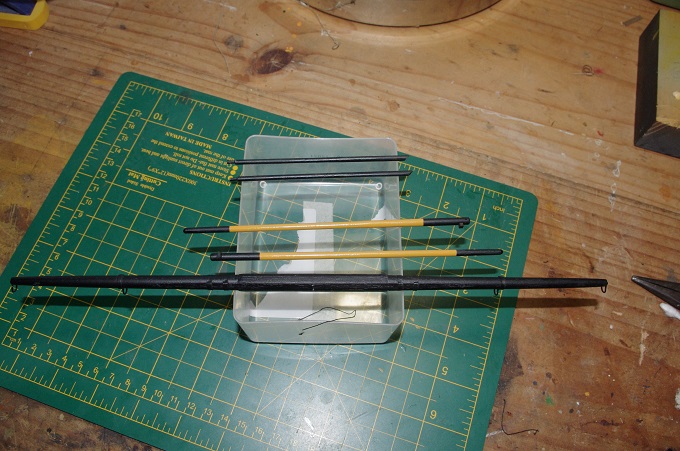
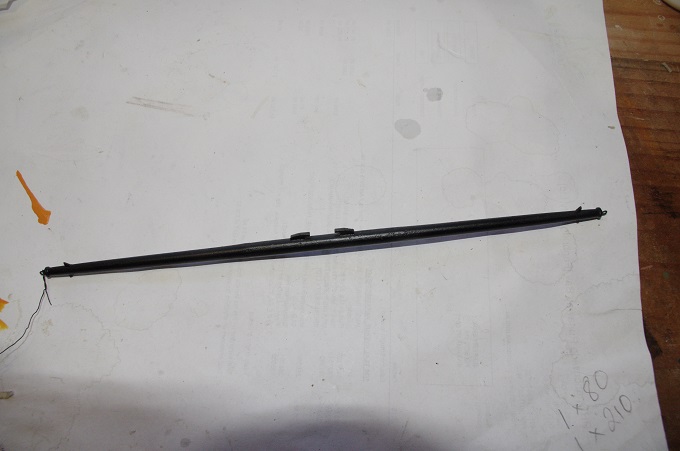
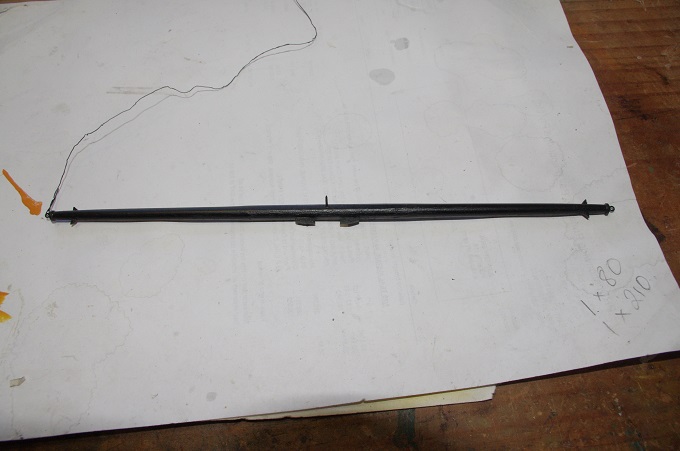
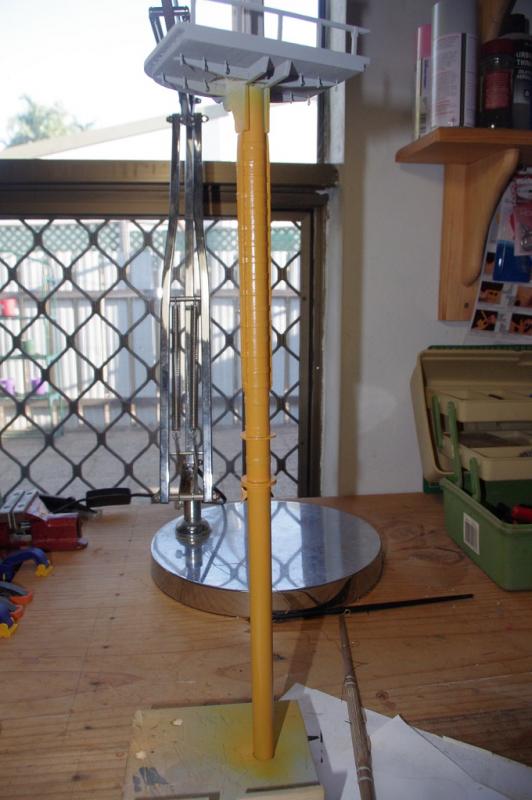
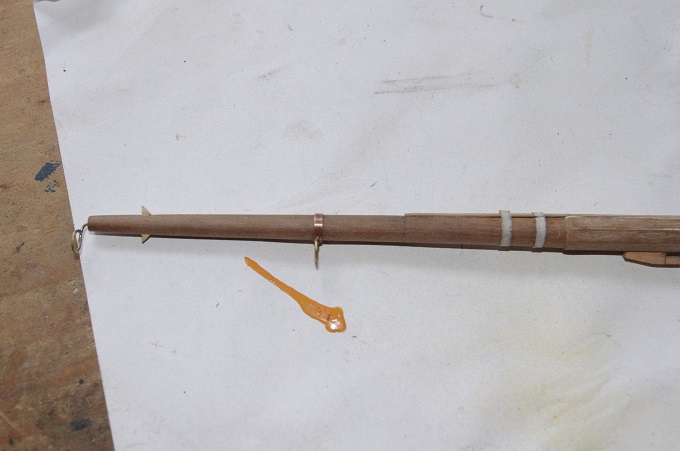
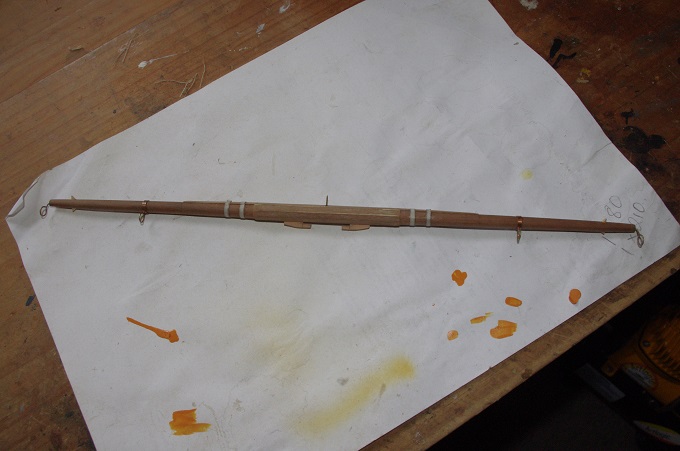
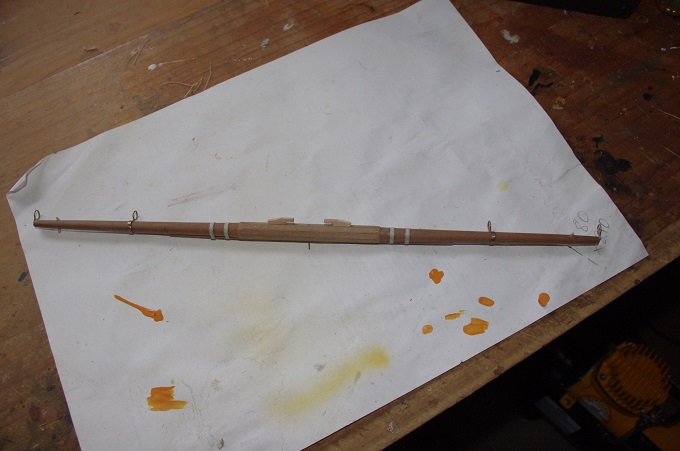
The yards were then sprayed with Tamiya Semi-Gloss black. The stunsail booms were masked and painted with yellow ochre in the middle section and then semi-gloss black on the ends. The lower section of the mast was also painted yellow ochre this was done with an airbrush. The two other parts at the rear in the first two photos are the bumpkins. That is all for now I will post some more progress soon.
-
Hi All, The quarter irons have been made and fitted to the end of the foreyard I have also made the stunsail booms. This completes the construction of the yards before painting.
-

chuck for Proxxon wood lathe
Jeff-E replied to rtropp's topic in Modeling tools and Workshop Equipment
Hi Richard, I have the same lathe as yours. I have the four jaw chuck and it adjusted by a 2mm allen key which is supplied with the chuck it cost about $70 Australian if my memory serves correctly. I do know that you can buy T-handle type allen wrenches but I am not sure if they make them that small. Hope this helps -
Hi , Fantastic build. With regard to your question about the topgallant shrouds according to Longridge and I quote "the topgallant shrouds are of 4-in rope on the fore and main mast, and of 21/2-in rope on the mizzen. the mizzen has two shrouds and the other masts have three. The first pair is doubled over in the usual manner, the third shroud goes over the mast head with an eye splice." I know this is for the 'Victory' but should be the same for this ship Hope this helps
-
Hi Don, Looking really good, I especially like how the paddle wheel and smoke stacks turned out. Great work
- 44 replies
-
- king of the mississippi
- artesania latina
-
(and 1 more)
Tagged with:
-
Hi Slog, Thanks, I am quite pleased with how the mast turned out, even with a few mistakes.
-
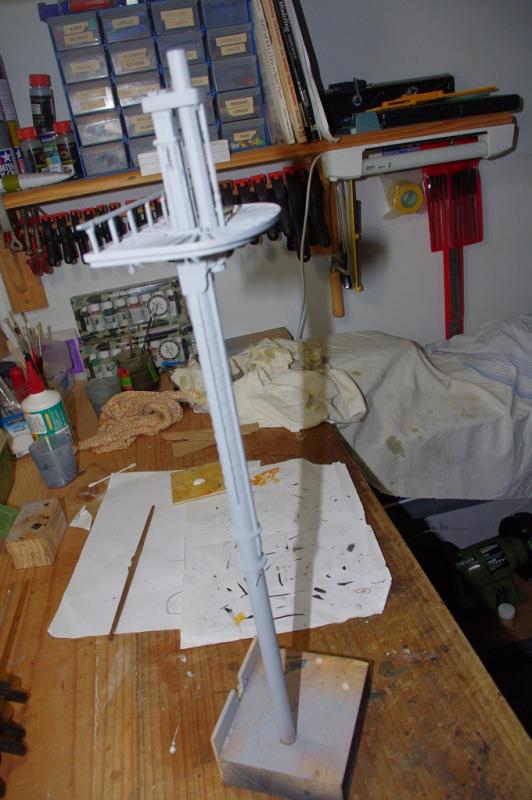
The sling cleats for the foreyard were made from 4 x 4mm lime and filed to shape two bands were also fitted either side of the octagonal section to bind the aft batten to the yard. The fore mast has also been given a coat of grey primer That is all for now I will post some more pictures soon
-
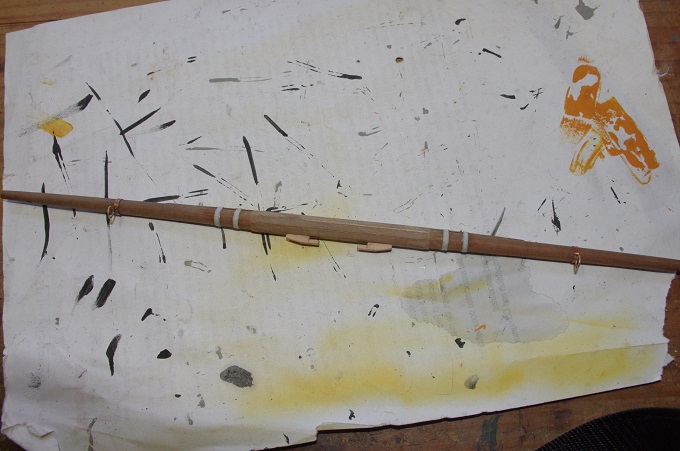
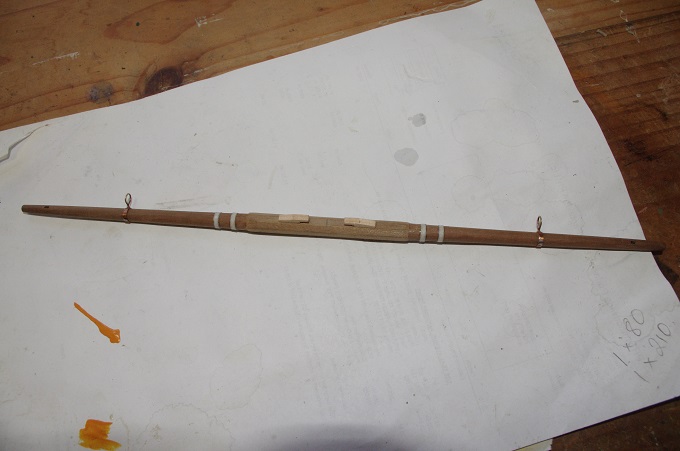
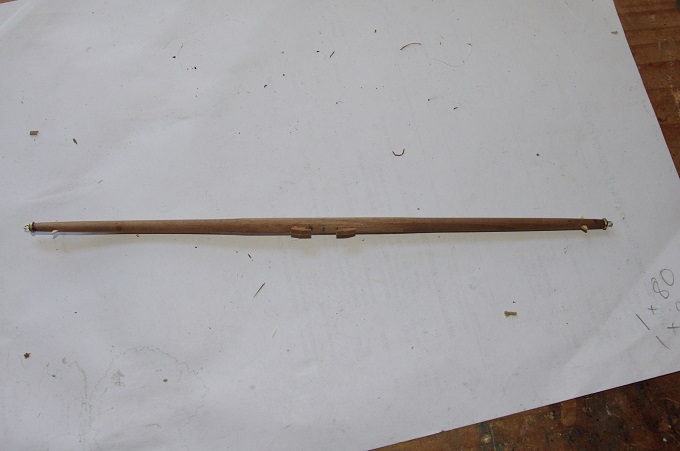
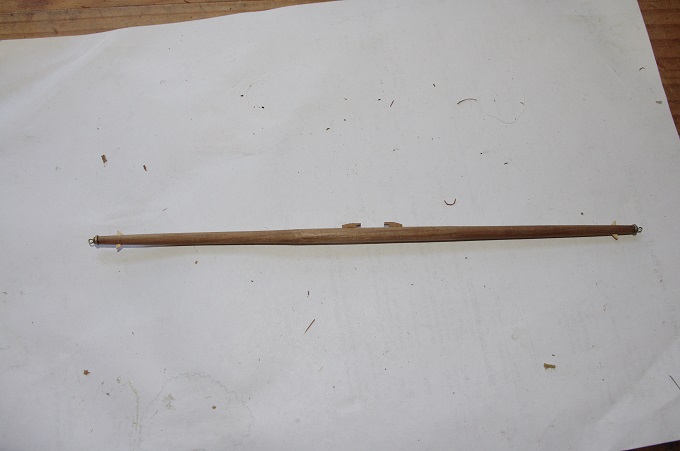
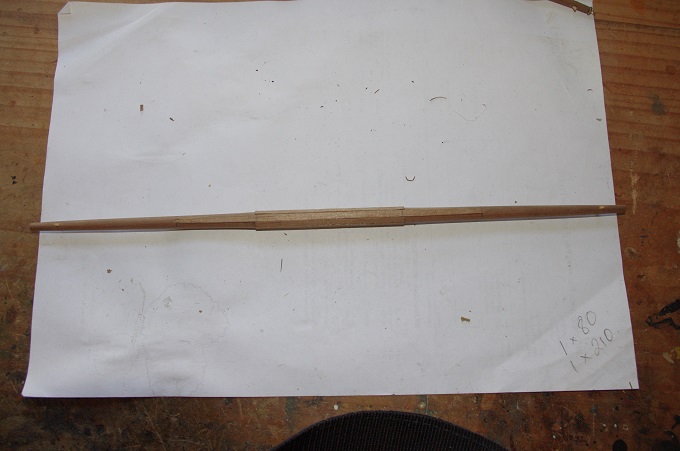
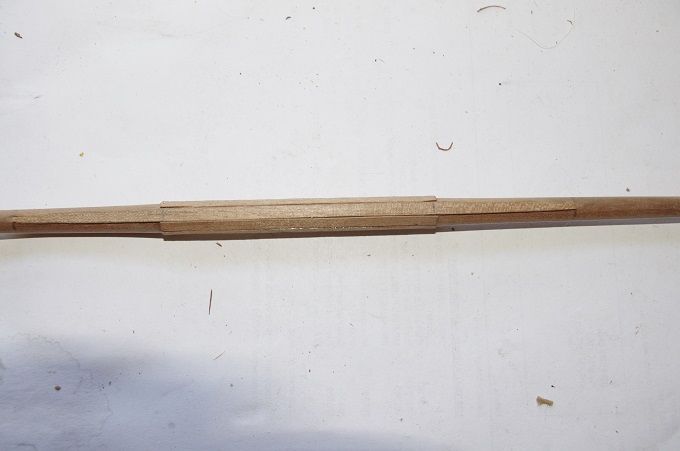
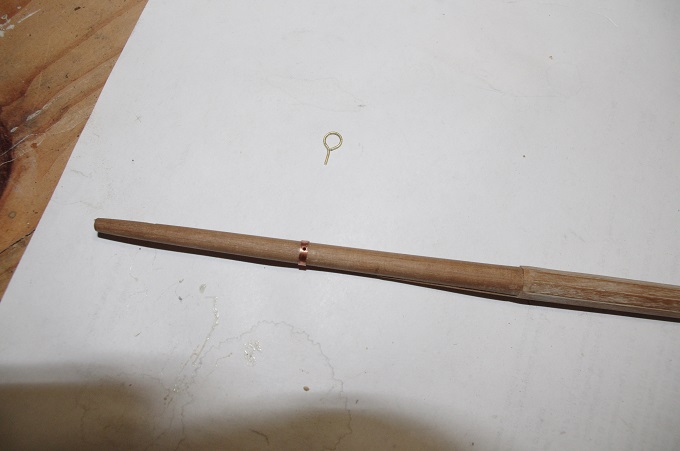
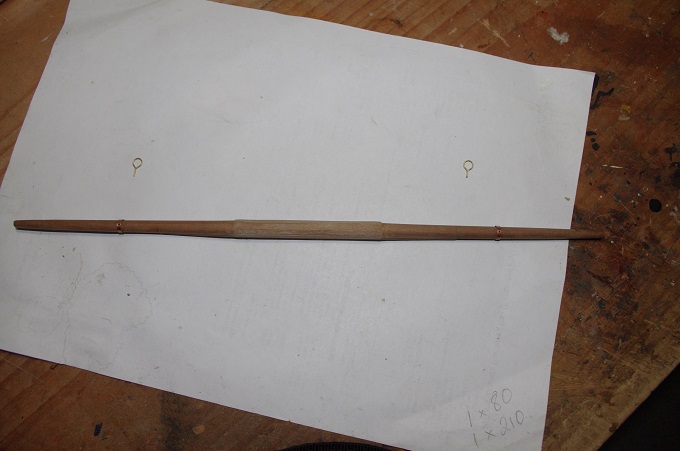
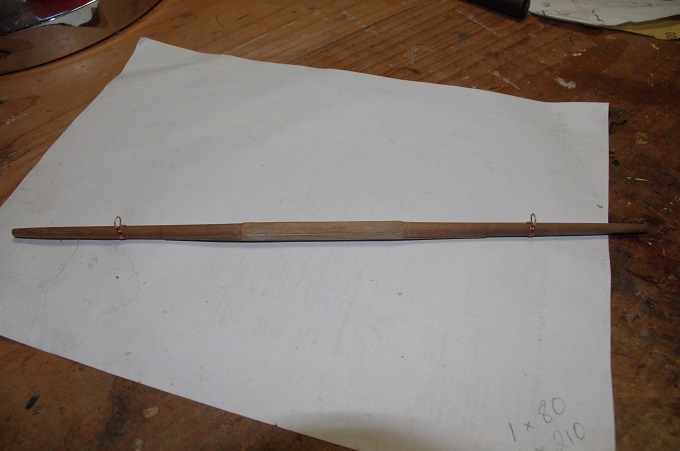
The sling cleats were shaped from2 x 2mm walnut and fitted to the yard also an eyebolt and band was fitted to each end of the yard. The centre of the foreyard was filed to an octagon for 85mm this section is then covered with battens that are the length of the octagonal section except for the aftermost one which is half the length of the yard and conforms to the taper of the yard as the picture shows. The next parts to fit to the yard were the stunsail boom irons the inner ones were made in two parts the band was fitted to the yard and a hole drilled through it into the yard and then the iron was inserted into it. The band was made from 2mm copper strip and the iron from 0.75mm brass wire.
-
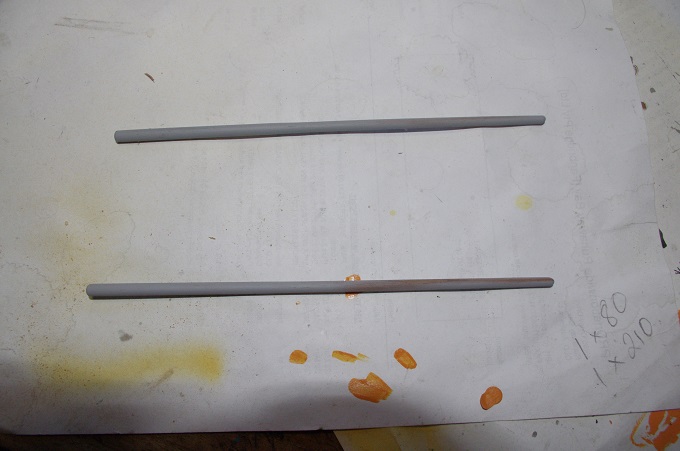
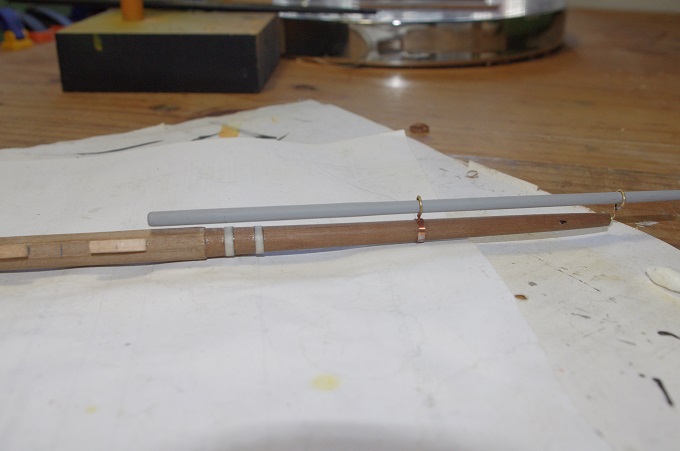
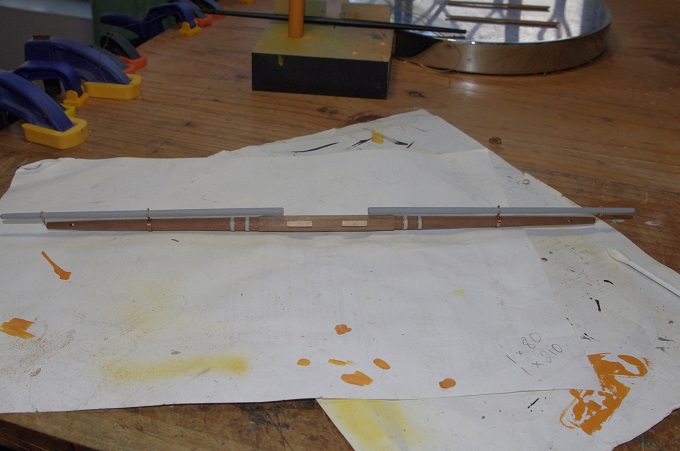
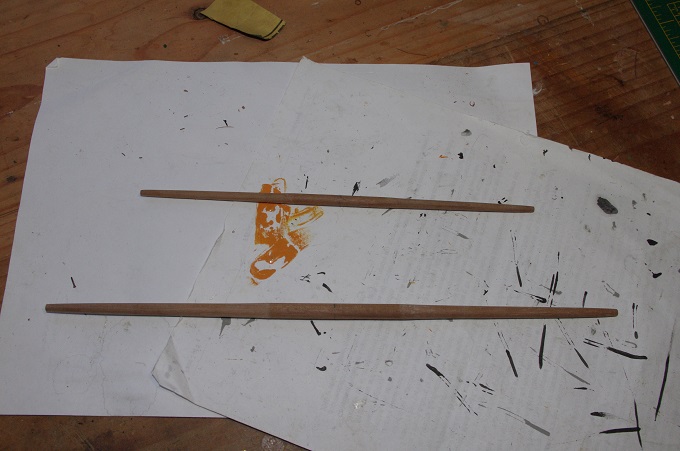
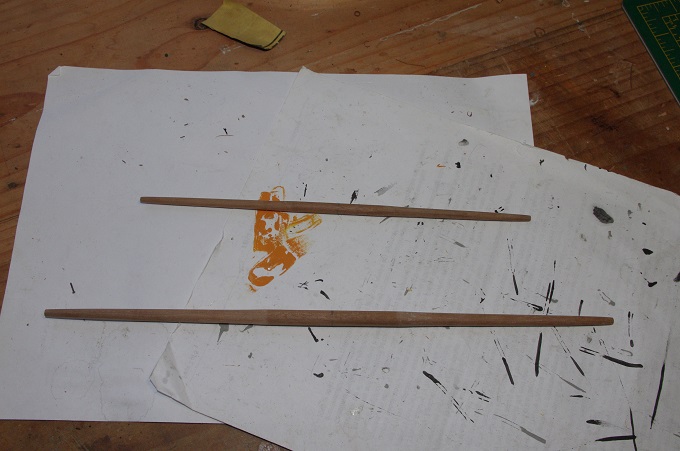
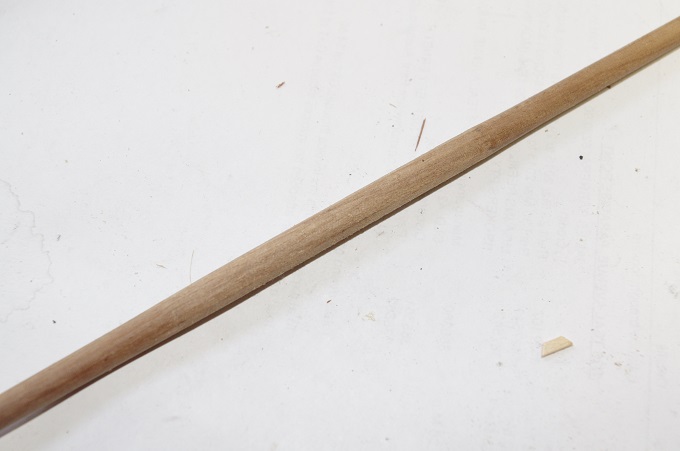
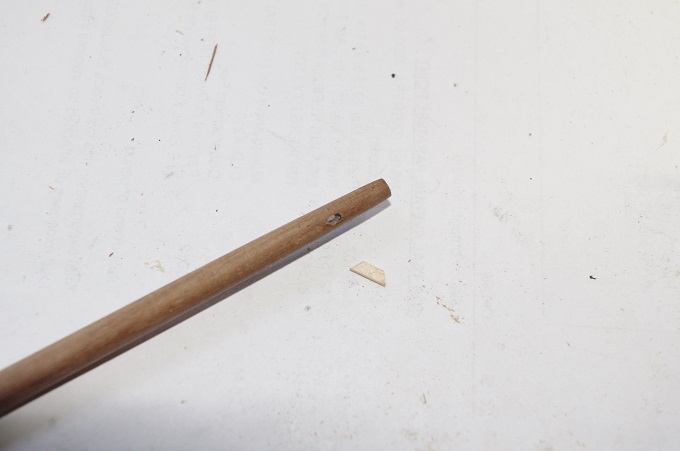
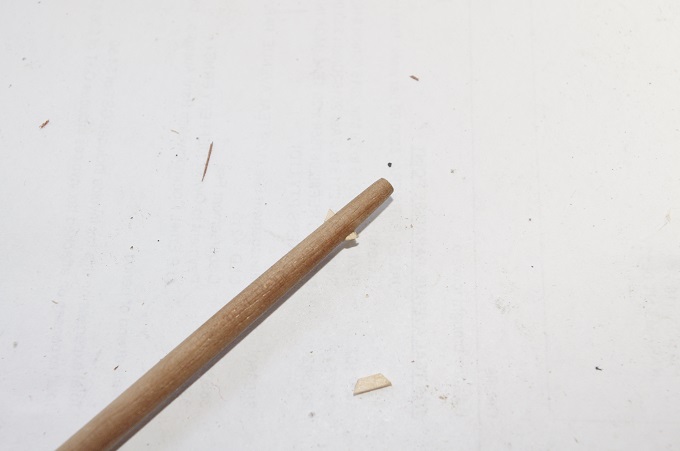
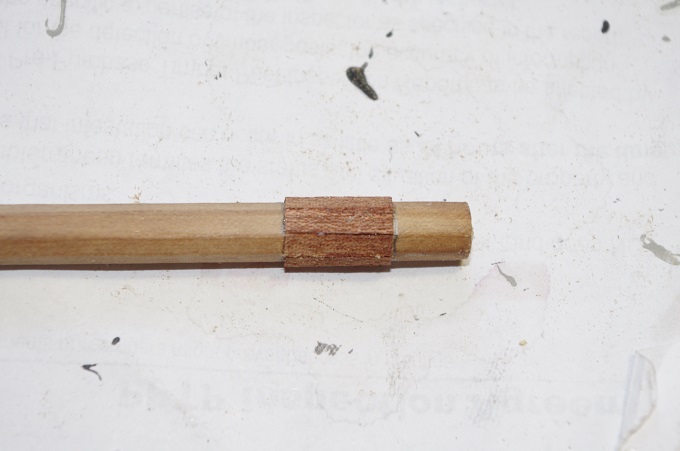
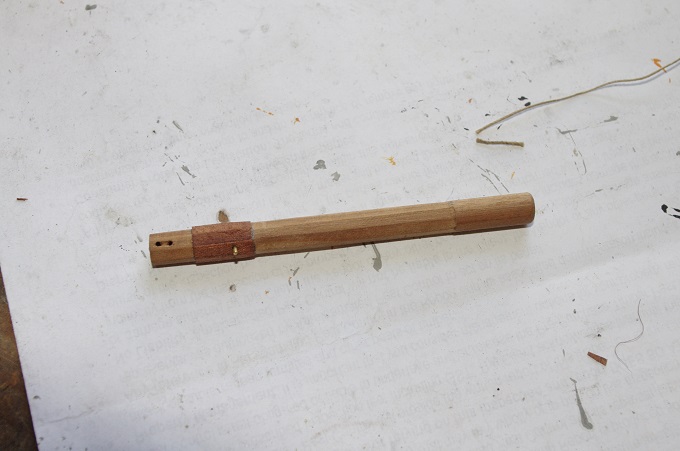
Hi All, I have been working on making the yards the first step was to taper them. I used the dimensions given by Longridge to make the yards, he gives the dimensions of the fore yard being 89 feet long with a diameter of at the slings of 21 inches and 9 inches at the yardarm. The spritsail yard is 64 feet 6 inches long with a diameter at the slings of 13 and 3/4 inches and at the yard arm 5 and 7/8 inches. These measurements were converted to millimetres at the scale of 1:78 which worked out to be for the fore yard a length of approximately 347mm with a diameter at the slings of 8mm and 3 mm at the yard arm. the spritsail yard was approximately 250mm long with a diameter of 5mm at the slings and 2mm at the yard arm. The first photo shows the yards cut to length and tapered on each end, the next one shows the centre portion of the spritsail yard filed to a 16 sided shape for about 63mm, the next photos shows the making of the stop cleats at the yard arm a hole was drilled into the yard and then filed out to form a slot into which the cleat is inserted this was also done on he fore yard.
-
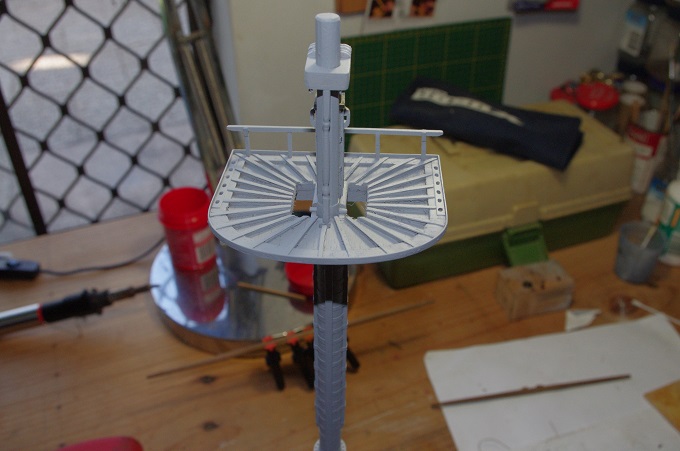
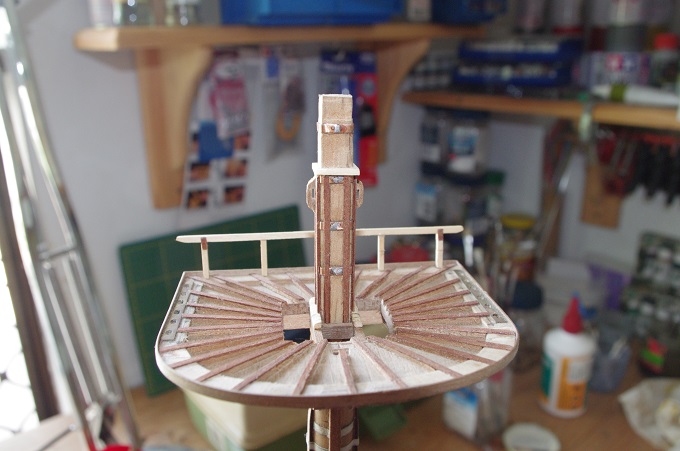
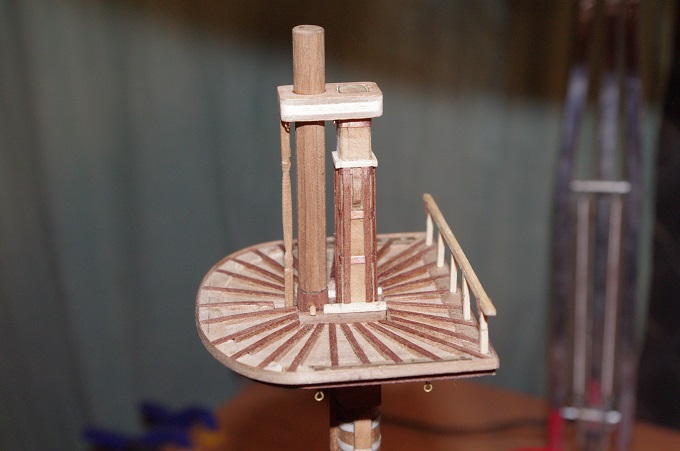
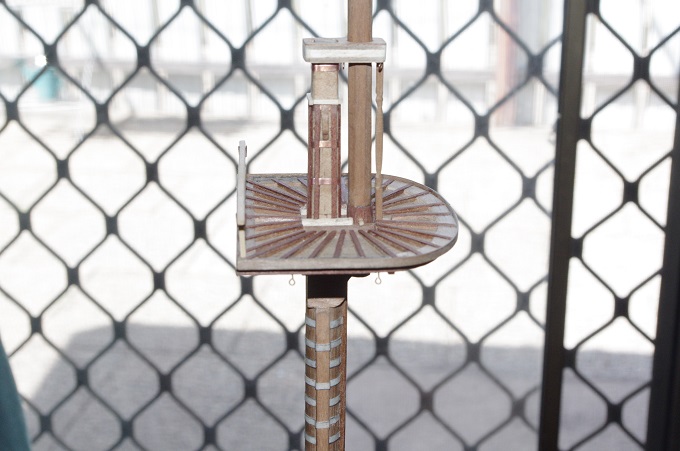
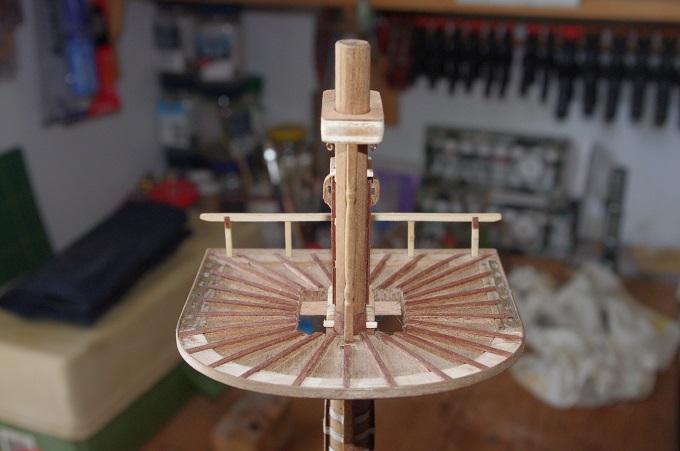
A cleat to hold the slings for the upper jeers blocks was added next and a cap rail was fitted to the top of the battens. the fore top mast and the cap were fitted next along with a scratch built pedestal to support the front of the cap. Please excuse the look of the pedestal as this was my first attempt at wood turning, but I think it looks OK. The last thing to go on were the bolsters on top of the cap for the fore yard sling and the yard lifts That completes the foremast construction it now needs a coat or two of paint. That is all for now I will post some more progress soon.
-
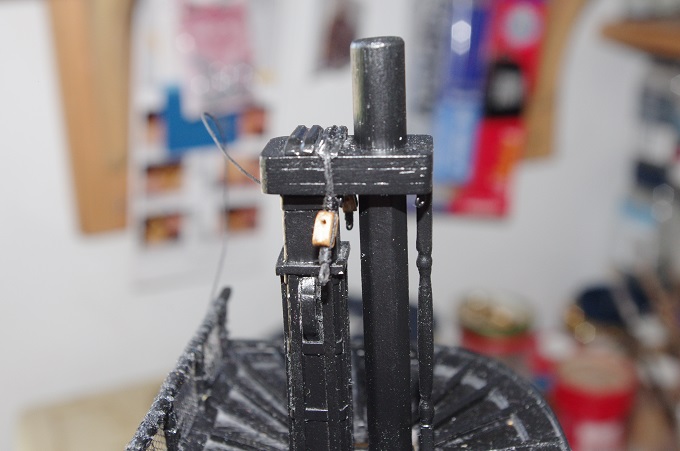
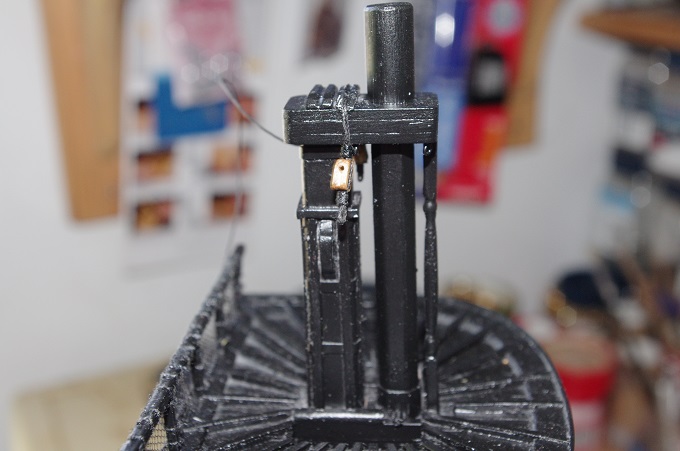
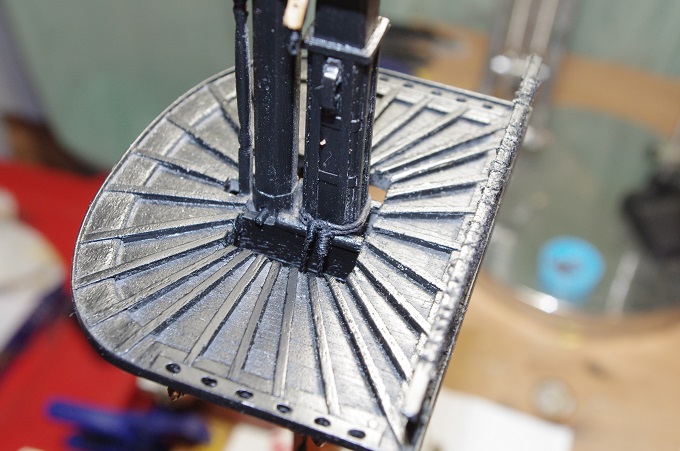
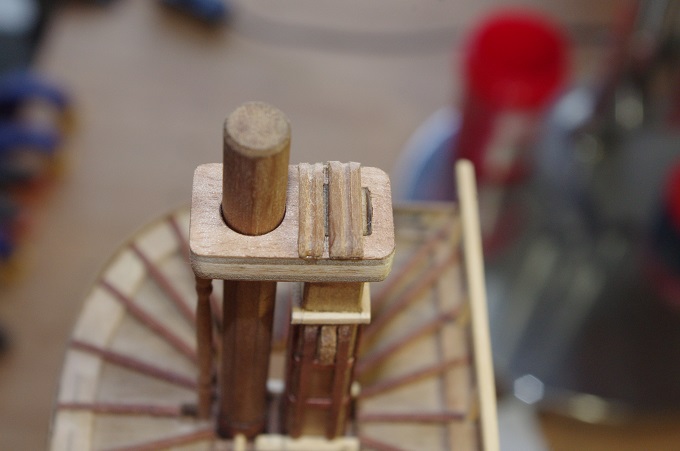
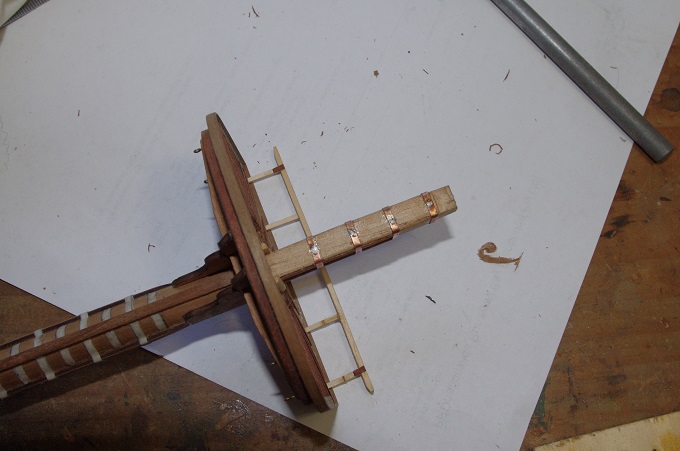
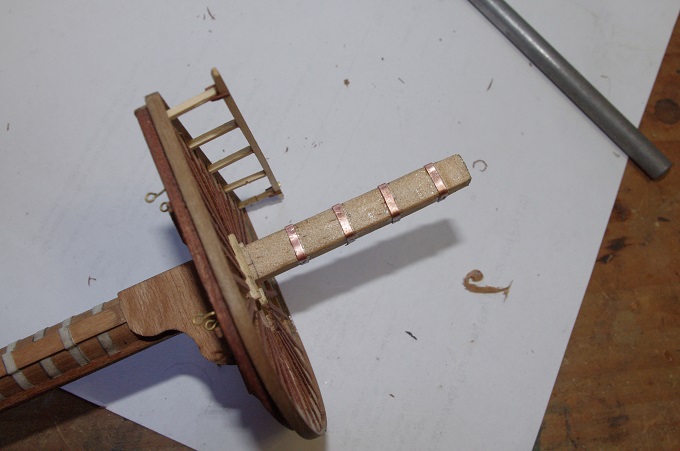
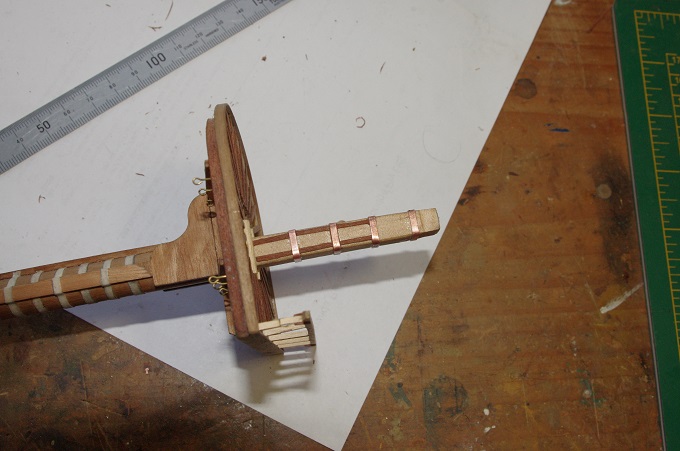
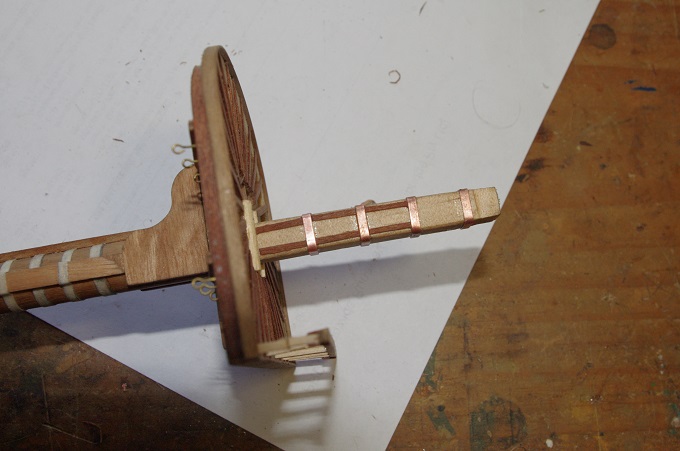
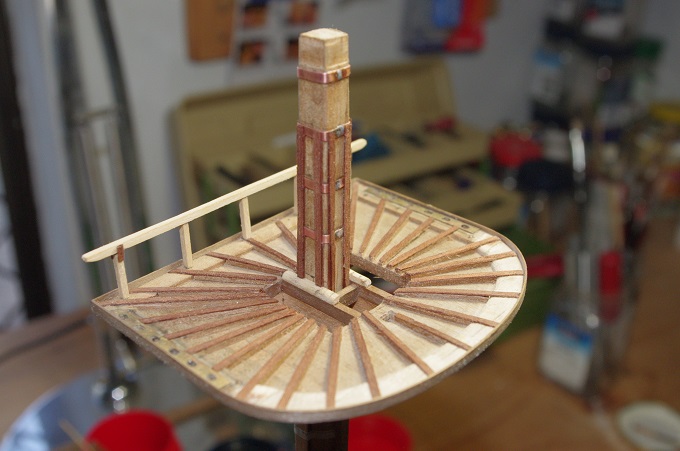
Hi All, I Have some more pictures of the fore mast construction that has been completed in the last few weeks. The fighting top was fixed to the mast along with the top square section. The next step was to make and fit four copper bands around the top section of the mast, these were made from 2mm copper strip supplied in the kit. Eight battens were then fixed, one next to each corner of the mast. these were made in two parts the first was cut to fit inside the copper bands and the second part was laid over the top of them.d
-
The fore top mast has also been made, this only being a stump. The lower part however has been detailed as much as possible. The heel has been fitted, which expands the width where it sits between the trestle trees and a sheave carved in underneath it which is used to fit or remove the mast , the fid has also been fitted and the mast was given an octagonal shape below the cap. That is all for now I will post some more pictures soon.
-
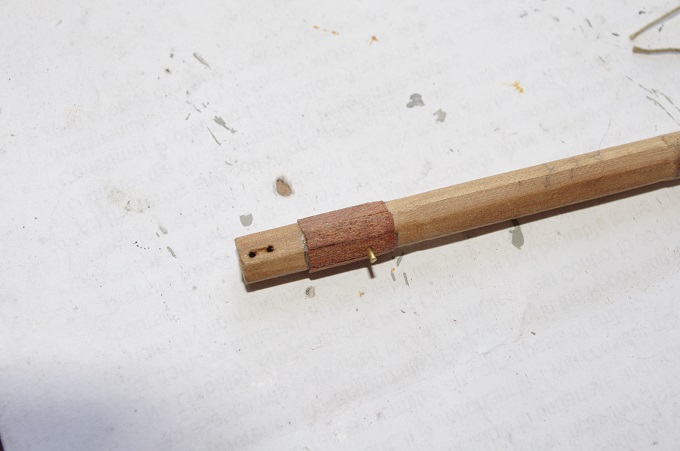
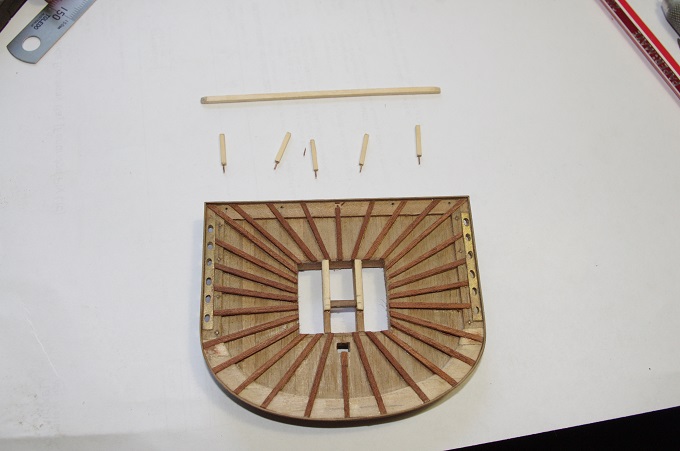
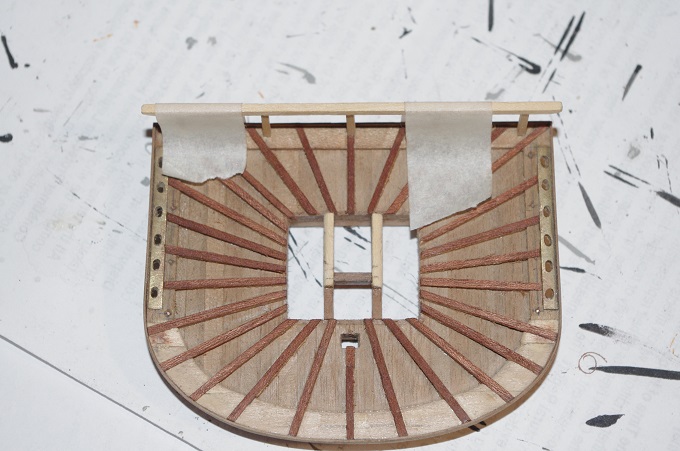
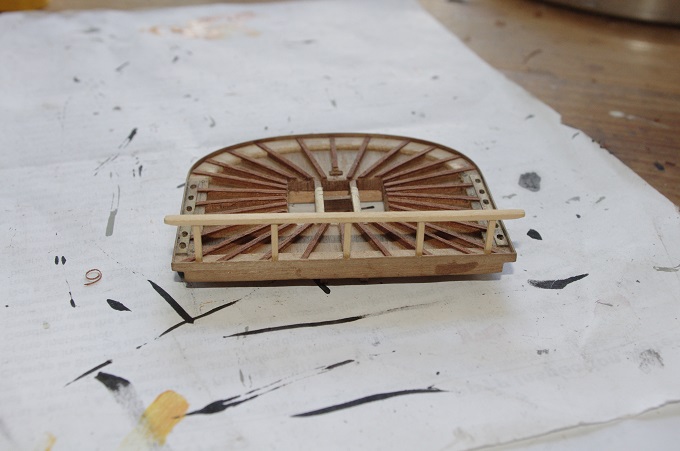
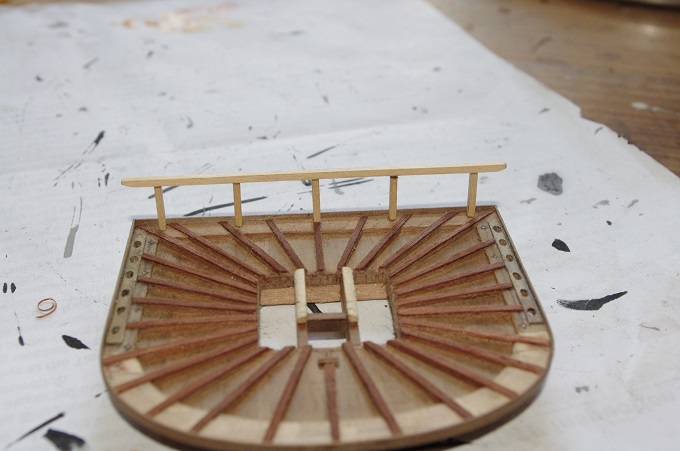
The last thing to add to the top was the rail across the back, the kit suppled version is three brass stanchions with a piece of brass wire passing through them as a rail. I did not like the look of this and the stanchions are out of scale so I made my own from the description in Longridge's book, the stanchions are made form 2 x2mm lime and the rail form 3 x 2mm lime. The stanchions have pins inserted into the base and locating holes were drilled into the top to locate them.
About us
Modelshipworld - Advancing Ship Modeling through Research
SSL Secured
Your security is important for us so this Website is SSL-Secured
NRG Mailing Address
Nautical Research Guild
237 South Lincoln Street
Westmont IL, 60559-1917
Model Ship World ® and the MSW logo are Registered Trademarks, and belong to the Nautical Research Guild (United States Patent and Trademark Office: No. 6,929,264 & No. 6,929,274, registered Dec. 20, 2022)
Helpful Links
About the NRG
If you enjoy building ship models that are historically accurate as well as beautiful, then The Nautical Research Guild (NRG) is just right for you.
The Guild is a non-profit educational organization whose mission is to “Advance Ship Modeling Through Research”. We provide support to our members in their efforts to raise the quality of their model ships.
The Nautical Research Guild has published our world-renowned quarterly magazine, The Nautical Research Journal, since 1955. The pages of the Journal are full of articles by accomplished ship modelers who show you how they create those exquisite details on their models, and by maritime historians who show you the correct details to build. The Journal is available in both print and digital editions. Go to the NRG web site (www.thenrg.org) to download a complimentary digital copy of the Journal. The NRG also publishes plan sets, books and compilations of back issues of the Journal and the former Ships in Scale and Model Ship Builder magazines.


