-
Posts
699 -
Joined
-
Last visited
Content Type
Profiles
Forums
Gallery
Events
Everything posted by Jeff-E
-
The vertical supports were pinned in place while the glue dried and then they were removed and wooden dowels were glued into the holes.
-
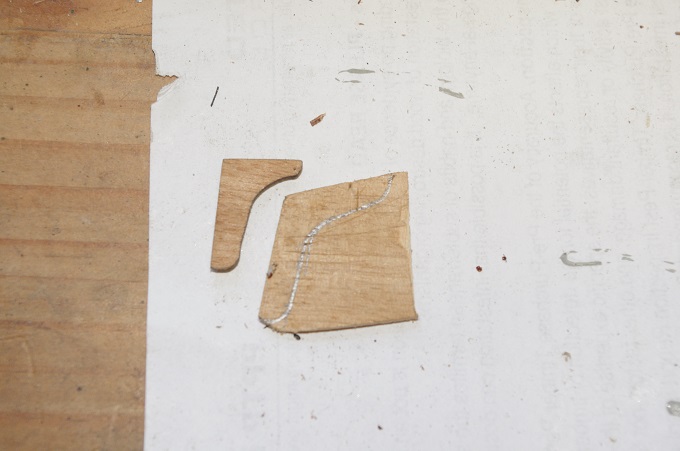
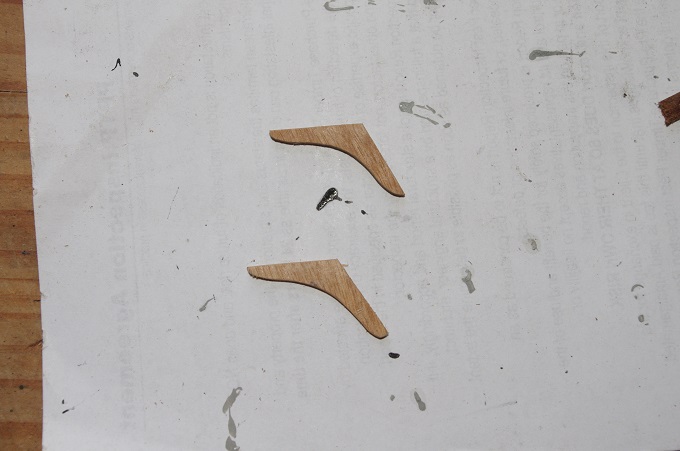
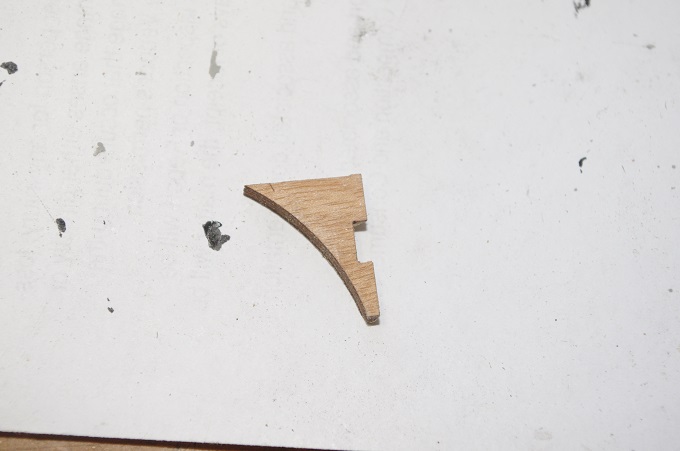
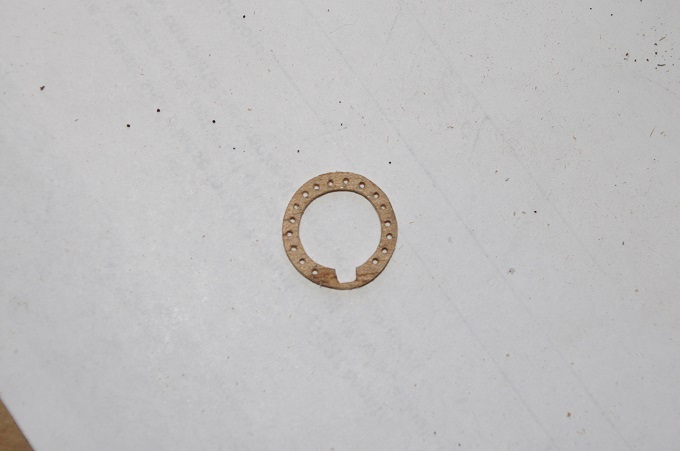
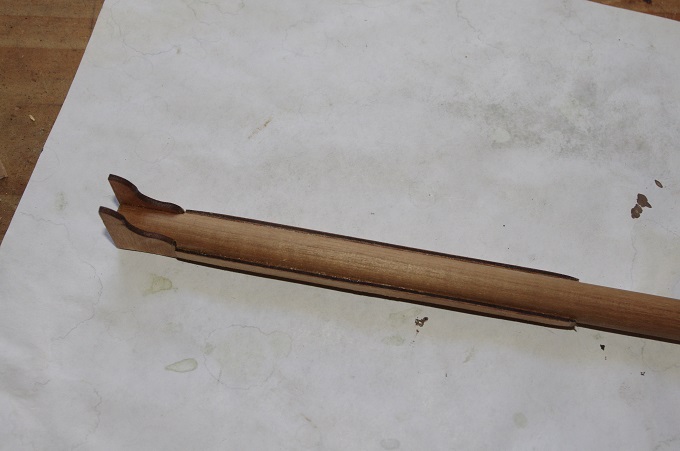
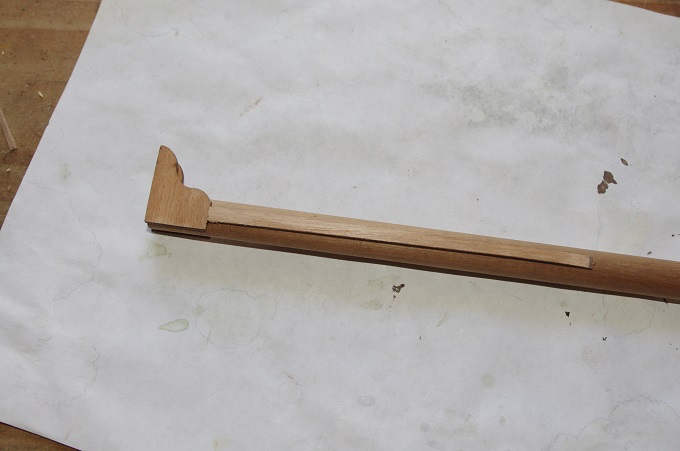
Hi All, The supports for the catheads were the next parts to be fitted, however the supplied lateral support was to short and the angle was wrong, they are laser cut parts and I don't know whether they got the anlge wrong or I have glued the cathead on the wrong angle but it is glued hard up against the main head rail post which governs what angle it is set at. So two new ones were cut from 2mm ply. The first photo shows the original part up against the new one ready to be cut out. The last two show the vertical supports. These are also pre-cut parts made form 5mm ply, they have been bevelled to sit underneath the cathead and a notch cut in them so that they fit over the wale plank.
-
Hi Slog, Glad to see you back building again . A very interesting subject , you are making good progress.
- 244 replies
-
- borodino
- dom bumagi
-
(and 1 more)
Tagged with:
-
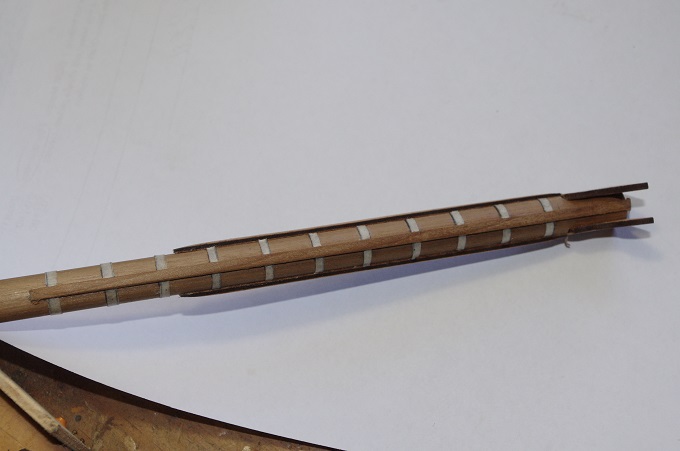
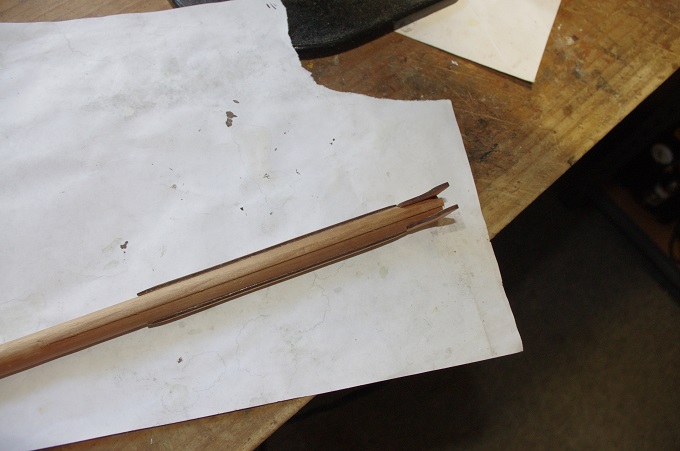
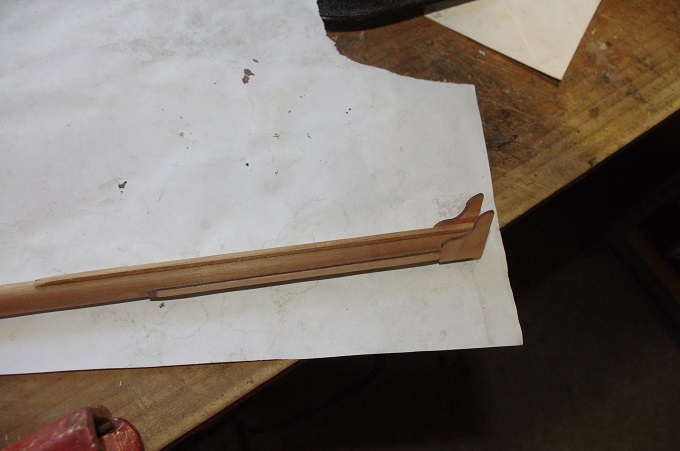
Some more progress was made on the fore mast, the bands were started. There are two sets of bands to be fitted, the first set is to bind the timbers that make up the mast together and the second set bind the cheeks to the mast. The kit provides some very nice 2mm copper strip to do this job but unfortunately not enough of it. I used it to put extra bands on the bowsprit so it would be accurate, even if I hadn't there still would not have been enough. I decided to use an alternative material, masking tape. It was cut into 2mm wide strips and applied to the mast in two layers for each band. it was then given a coat of watered down PVA glue and when this was dry it was trimmed up to look as if it were passing underneath the cheeks an the rubbing strake. When painted I don't think anyone will be tell the difference, hopefully The first two photos show the first set of bands and the last two show the start of the second set. That is all for this update I will post another one soon.
-
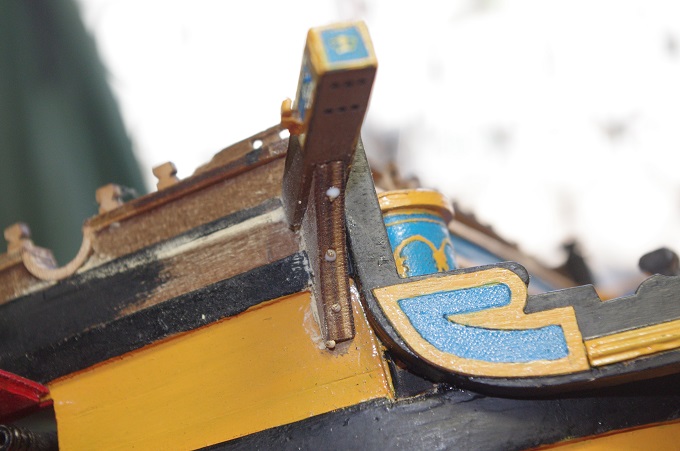
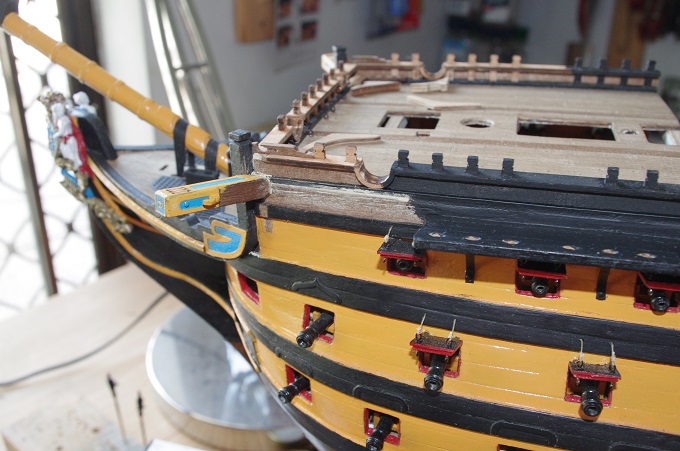
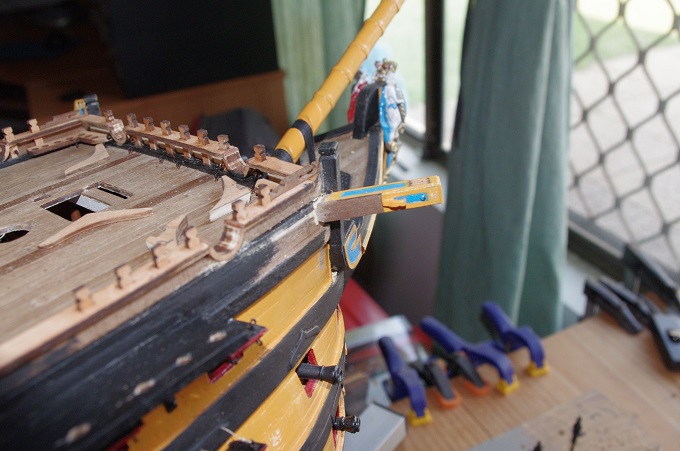
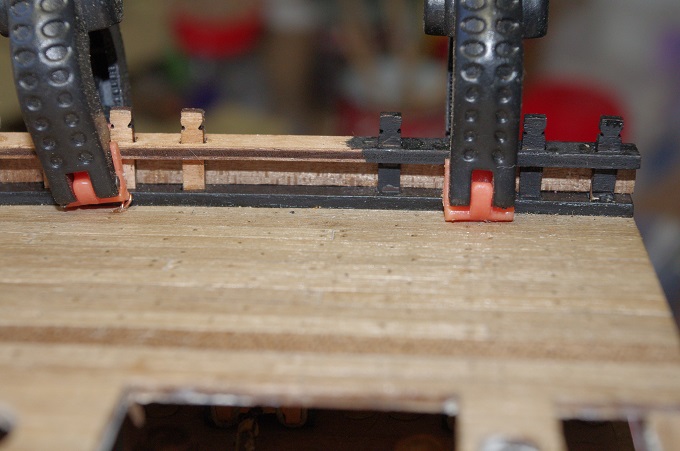
The catheads were fitted next. You may also notice in the second photo the small piece of timber attached to the lower front rail as this rail is not fully filled in. I am quite happy with how they turned out, I think the rails look better filled in than left open
-
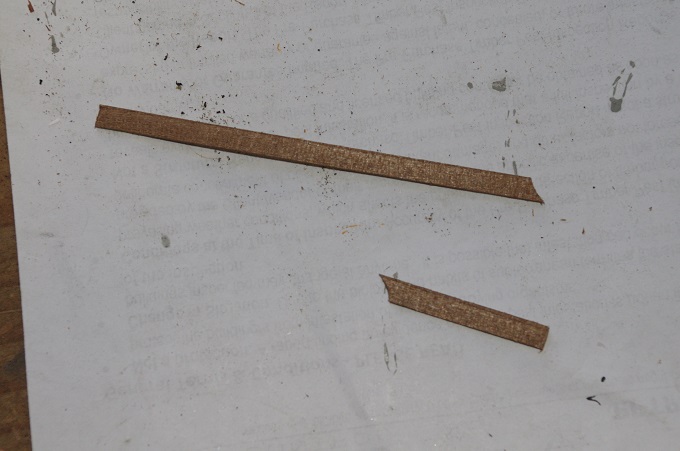
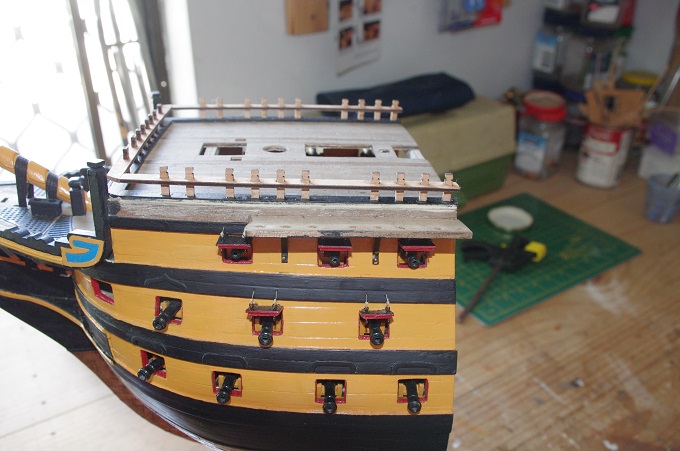
Hi All, While looking at some pictures of the Victory at Portsmouth, I noticed that the rails for the timber heads were filled in between the upper and lower rails on the port and starboard sides, so I have decide to replicate this. The planks were made from 1 x 5mm walnut and shaped at each end to fit around the ports for the carronades. The first photo shows the planks and the next two show them fitted to the starboard rail.
-
Hi Slog and JP, Thankyou both for your kind words and for looking in. Captain Slog , yes I hope this will be the last burst I hope to have her finished before the end of the year
-
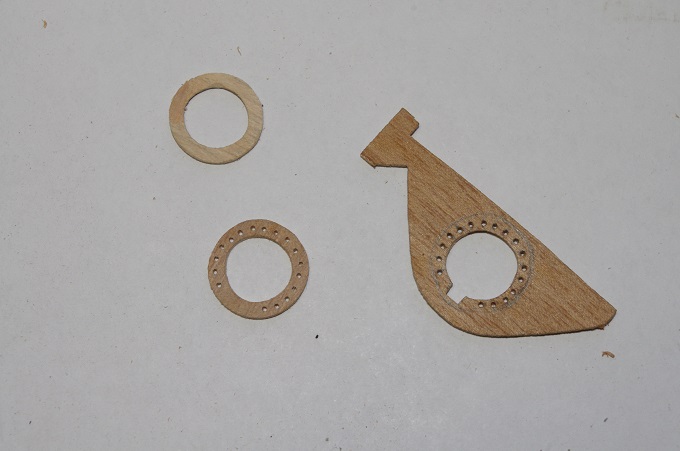
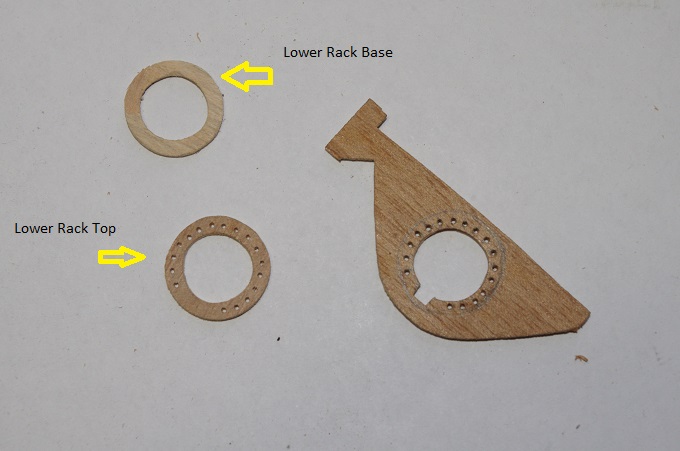
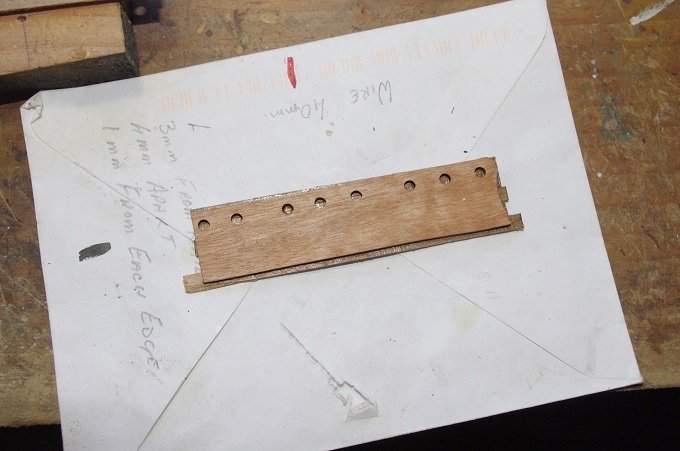
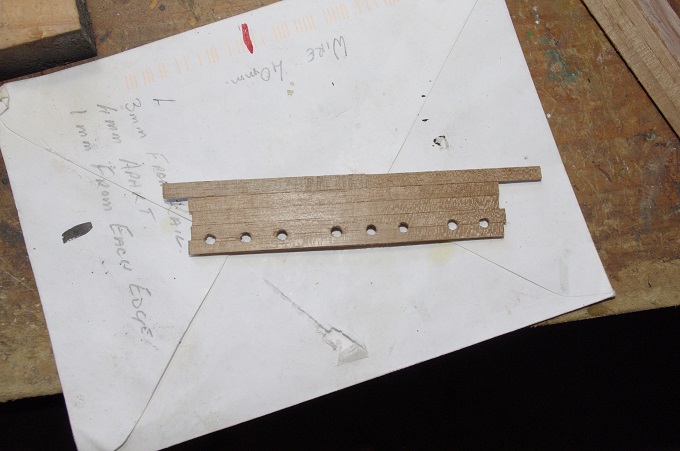
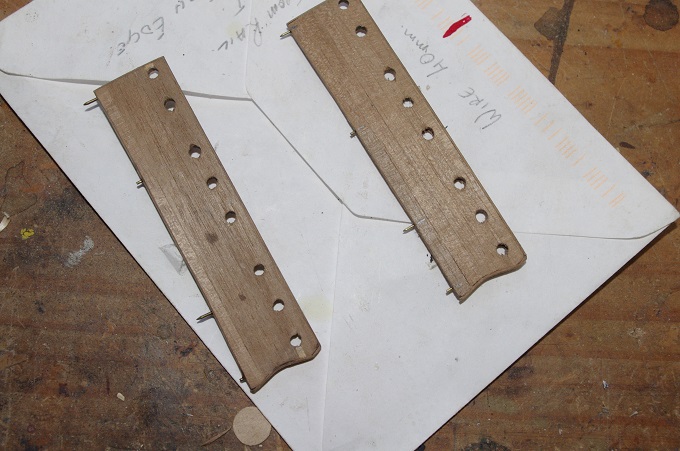
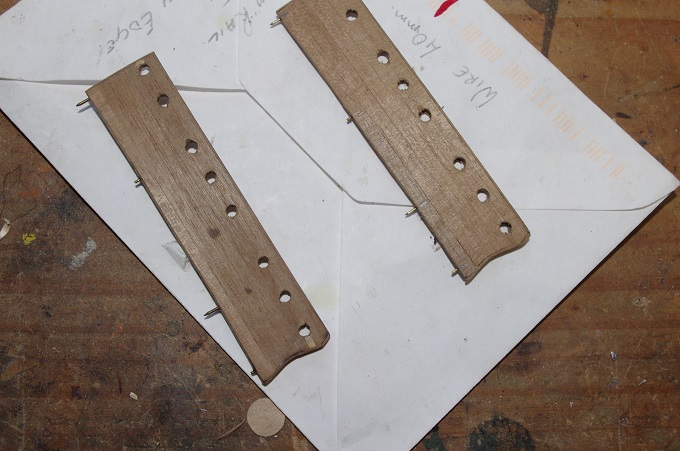
I have also done some more work on the foremast. I have made up the boarding pike racks this was yet another modification to the kit they were made from 2mm ply. The lower rack was made form two parts one without holes and then glued together so the pikes would not fall through. They were fairly simple to make and the top and bottom racks were clamped together for drilling so that the holes lined up. A slot was cut into the top rack so it would locate over the rubbing strake on the mast. The boarding pikes will be made from bamboo kebab skewer cut down and drawn through my homemade draw plate to a size of 0.5mm, the spike will be made from flattened ends of brass nails
-
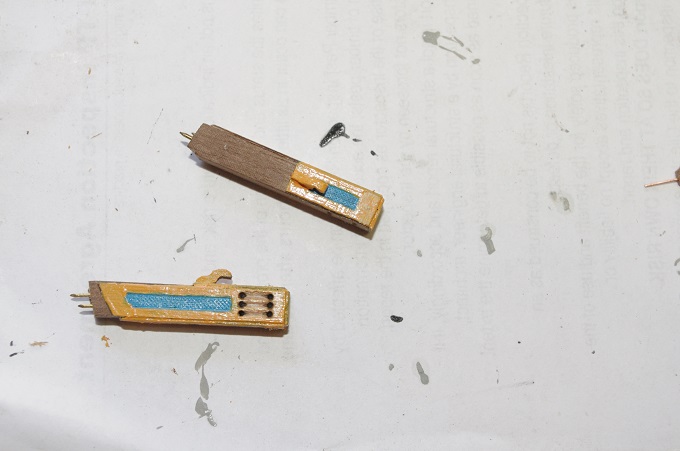
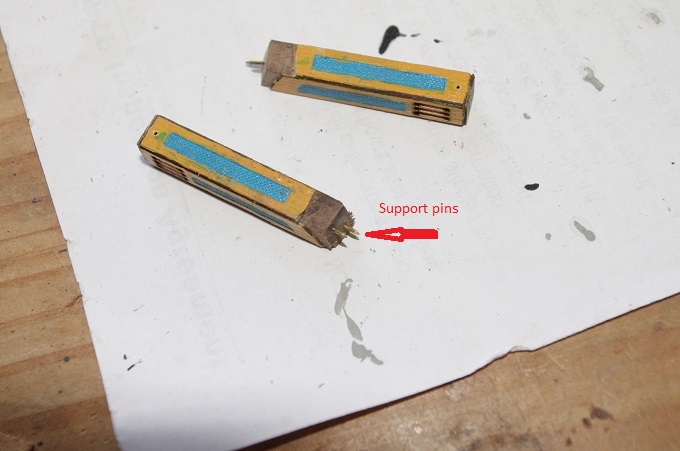
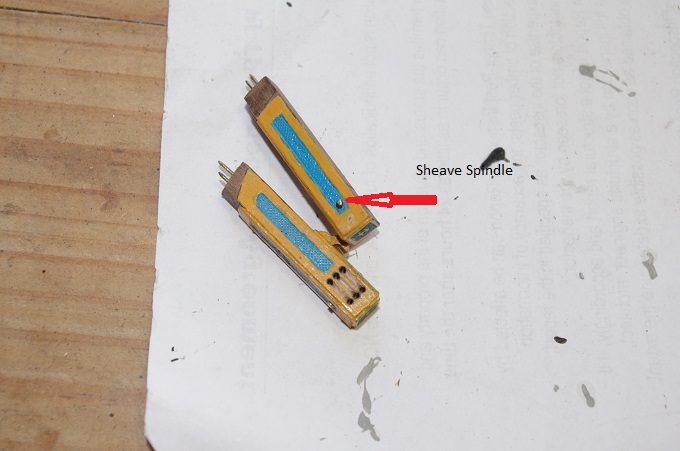
Hi All, The Catheads were the next project. They were made from 6 x 6mm walnut and as can be seen in the first two photos, etched timber pieces were glued to them, they were painted before being glued on. They also provided a template for the holes to be drilled for the rigging of the catfalls. In the third picture you can see that the sheaves have been carved out with a small file and also that two cleats have been made, these will be fitted on the aft side of each cathead. They are to secure the standing part of the catfall rigging. The next few photos show the catheads completed before being fitted including the pins in the end to add extra support when they are fitted.
-
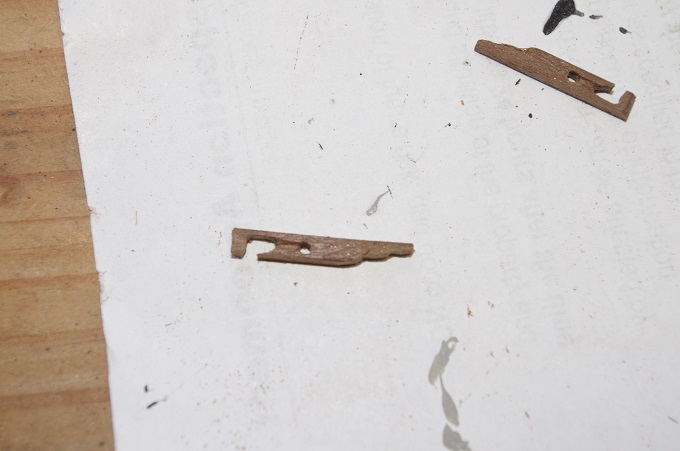
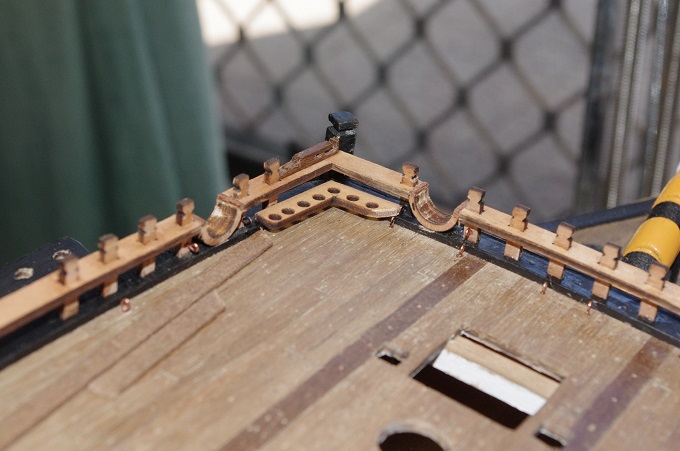
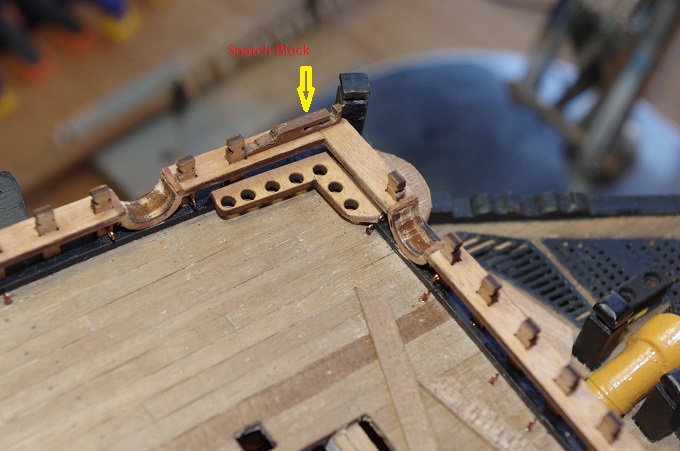
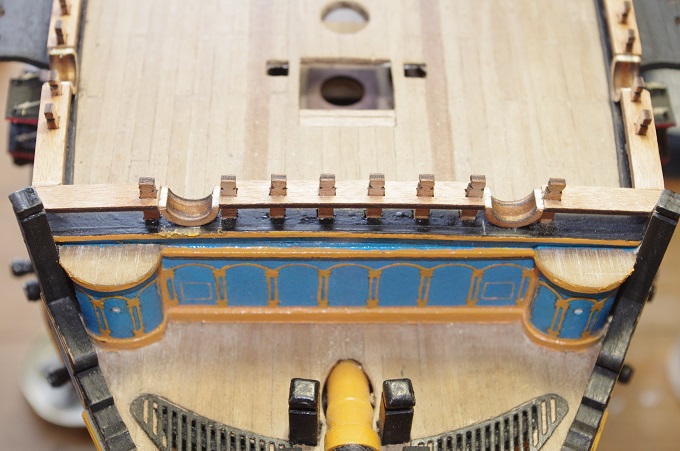
Hi All, Some more progress on the fore deck. Two snatch blocks were made, these will mount on the port and starboard rails just behind the head post of the main rail, the catfalls will reeve through them and belay on the first timber head behind them. The snatch blocks were made from 4 x 4mm walnut. I did not make a separate sheave just carved them to give the appearance of one. I think they turned out OK. You will also notice that the racks for the carronade balls has also been fitted. I will post another update soon
-
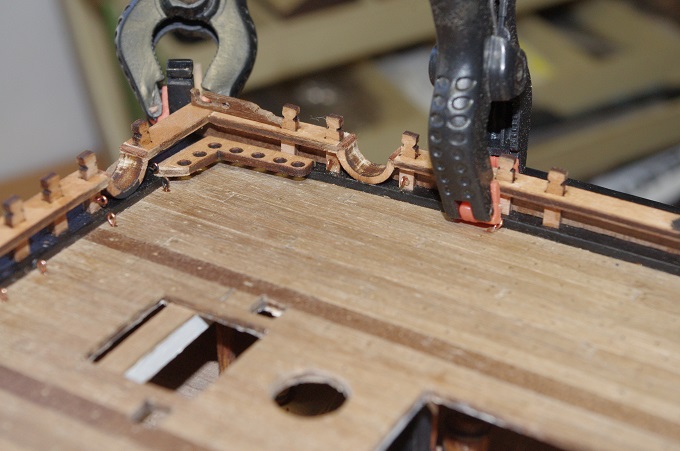
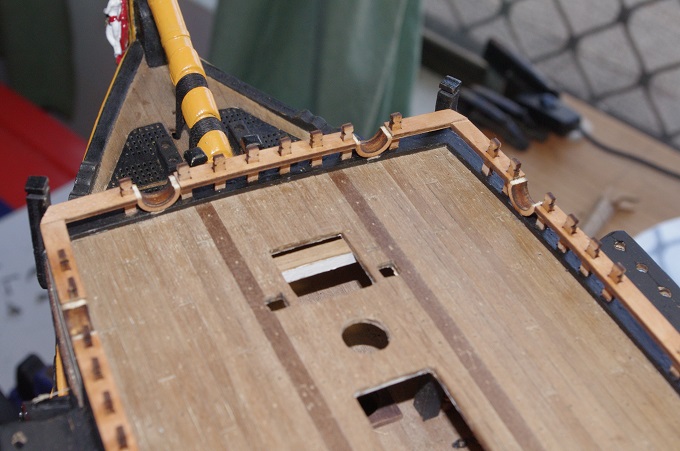
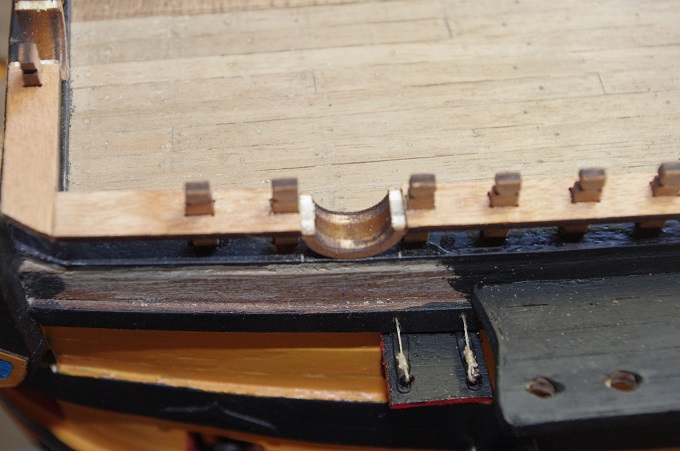
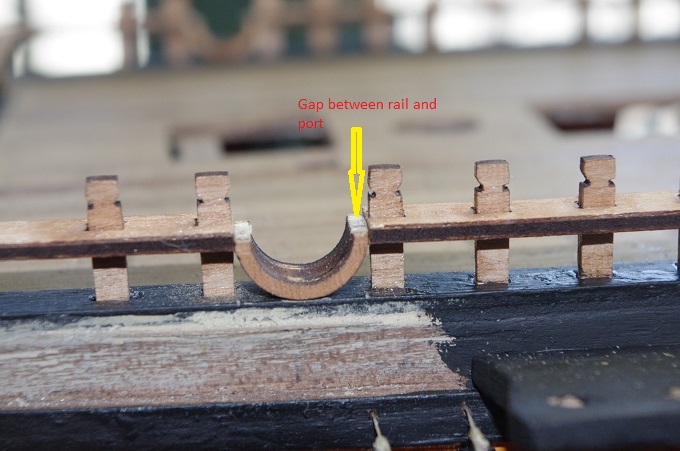
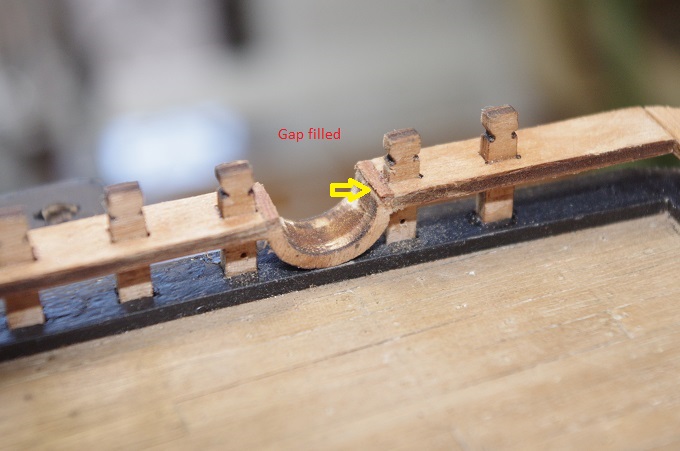
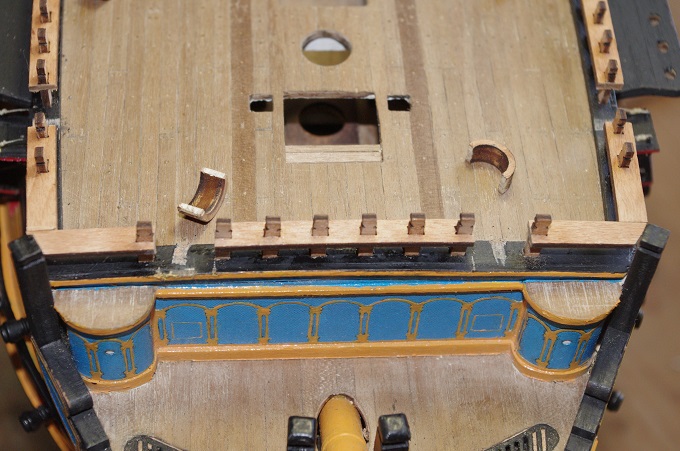
Hi All, The half round sections have been fitted to the rails. As can be seen in the photos there is a slight gap between the top of the rail and the sections, these were filled with some 0.5 x 3mm planking and sanded back.
-
A bit more work was done on the mast. the cheeks were fitted. These consisted of two pre-cut pieces that were glued to each side of the mast and then sanded to a taper at each end. Finally the rubbing strake for the yard was glued on, this was a piece of 2 x 3mm walnut strip That is all for this update I will post some more soon.
-
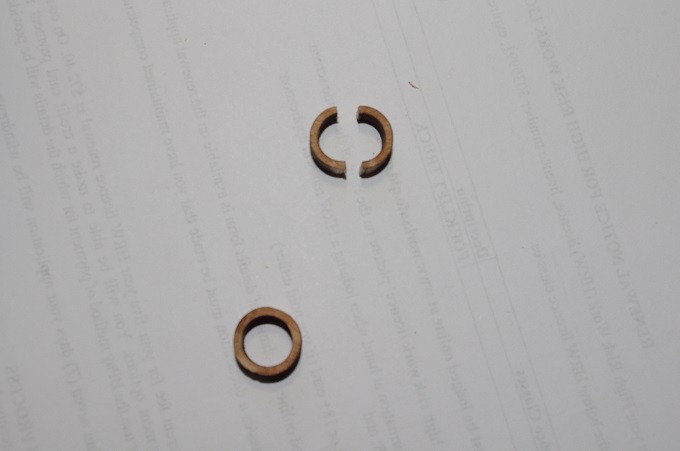
The next job was to cut the rails for the carronade half round sections to be fitted. The kit supplied two pre-cut circles which were to be cut in half and fitted into the front and side rails.
-
Hi Mobbsie, Thanks for looking in and your kind comments I will be careful especially when it comes to fitting the chains
-
Hi All, Some more progress on the model. The channels have been given a coat of paint which can be seen in the first two photos. The reason for not painting right up to the posts is that the catheads and supports are yet to be fitted and I would only have to scrape it off again .
-
Hi Don, Very nice work so far, looks like it will turn into a beautiful model
- 44 replies
-
- king of the mississippi
- artesania latina
-
(and 1 more)
Tagged with:
-
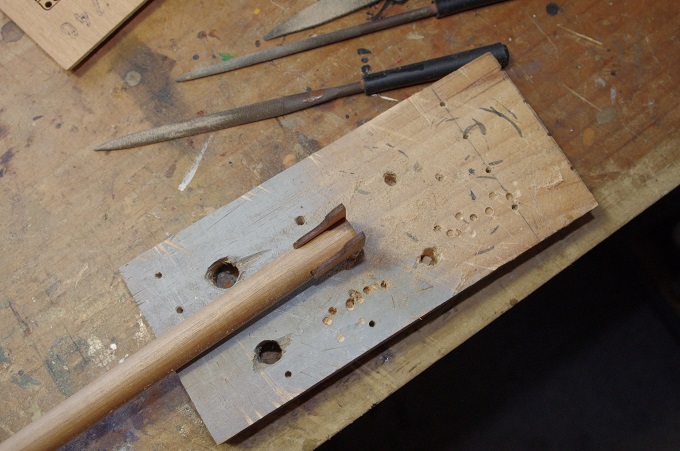
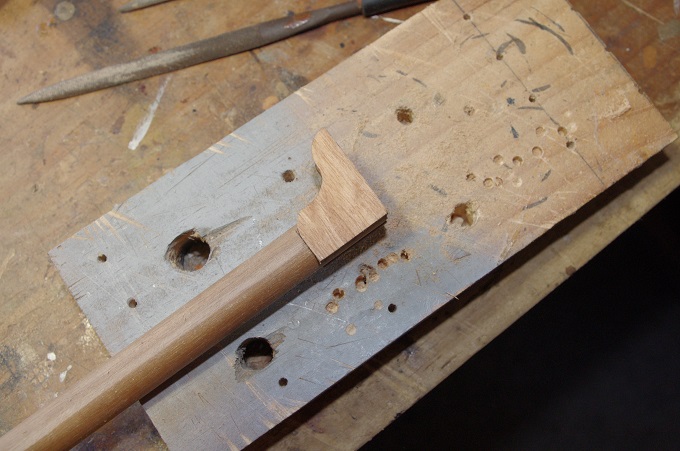
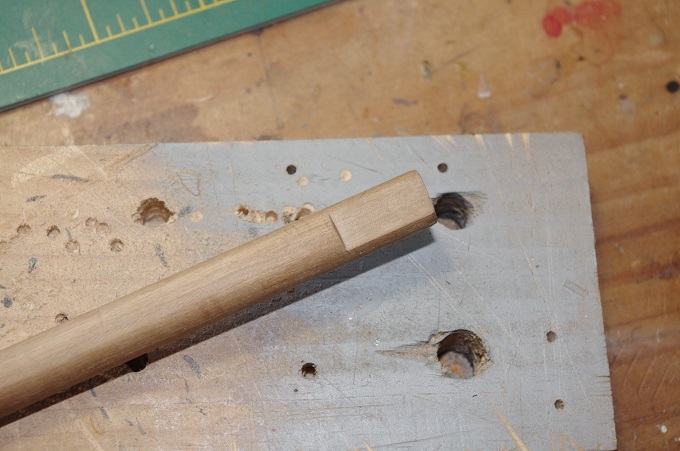
The bibs were then glued on, these are the supplied pre-cut parts. That's all for now I will post another update soon.
-
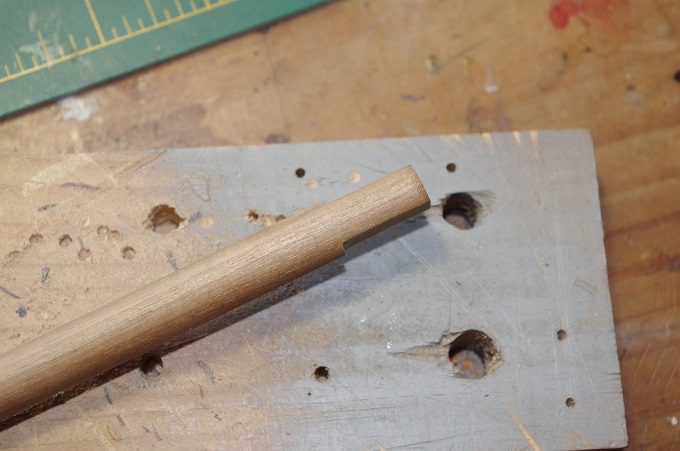
I have also started work on the foremast. I have decide to use Longridge's method and make it in two sections, those being the mast and the mast top which is the squared section above the trestle trees. A hole will be drilled into the mast and a pin machined onto the mast top so they can be joined together. As Longridge says this makes the mast much easier to construct and also allows for any fine adjustments which may need to be made that would be impossible to do if the mast is made out of one piece of wood. After the hole was drilled into the centre of the mast two flats were filed at the top to take the bibs which support the trestle trees.
-
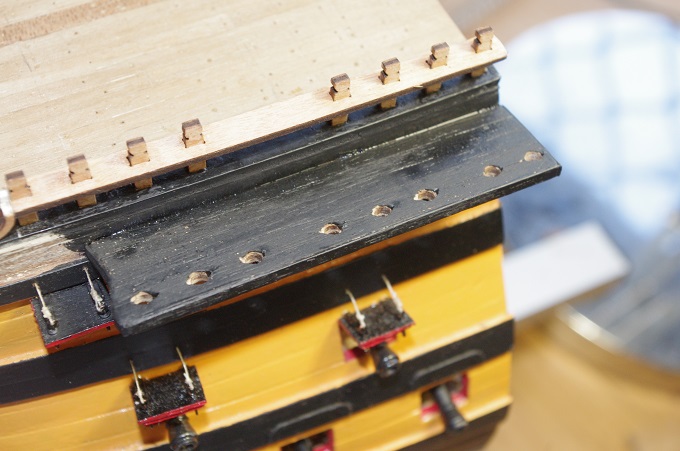
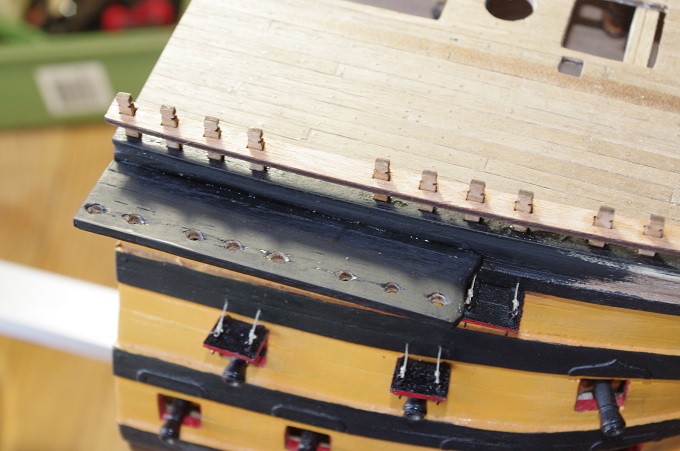
The support brackets were then added, these are supplied parts already bent to shape, but they did require a slight tweak to rest against the hull nicely and holes drilled into the upper part so they could be pinned to the channel. after these were assembled they were given a coat of black paint on the underside and then fitted to the model.
-
Hi All, While the rails were drying construction of the channels was started this was a straight forward task of planking the pre-cut channels with 4 x 0.5mm planks, the only modifcation to this section being the four brass pins added to each channel for extra support when fitted to the hull. The long pins that can be seen in the last two photos line up with the frames while the short pins just go into hull planks.
-
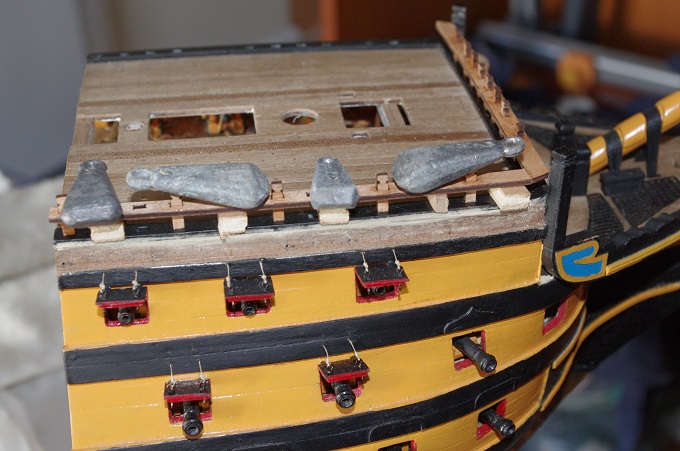
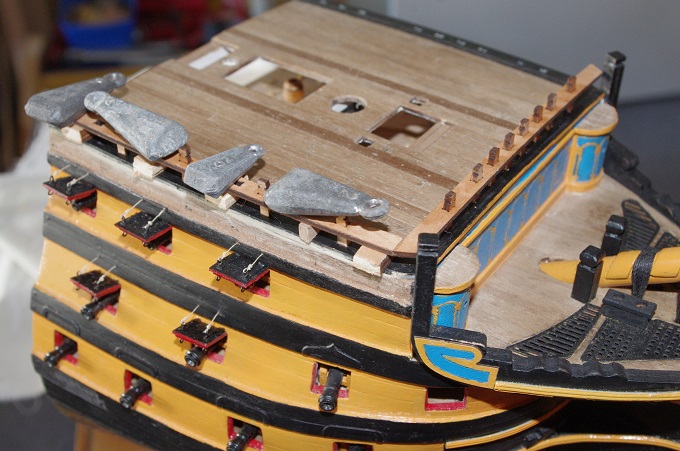
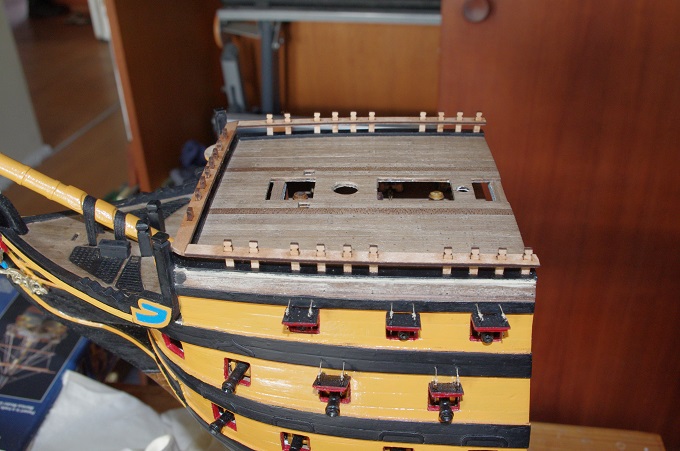
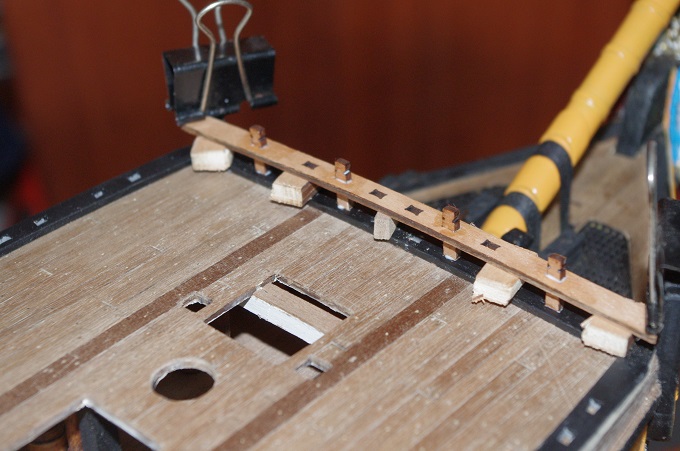
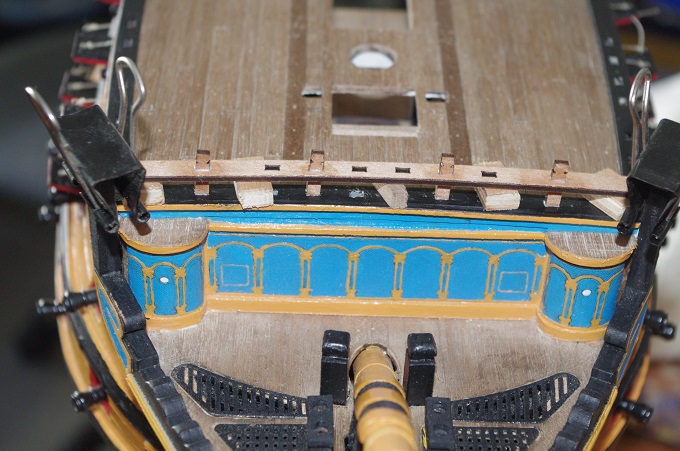
The top front rail was fitted next it was fairly straight forward, as the rails and timber heads were all laser cut parts, so only a few adjustments were required to fit them inside the head rail posts. 5mm blocks were used to space the rails while the glue dried. The port and starboard rails were fitted and the rest of the timber heads were fitted after the glue had dried.
-
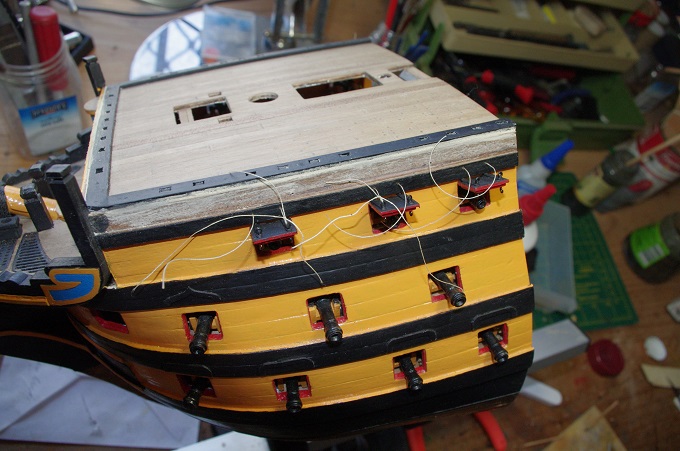
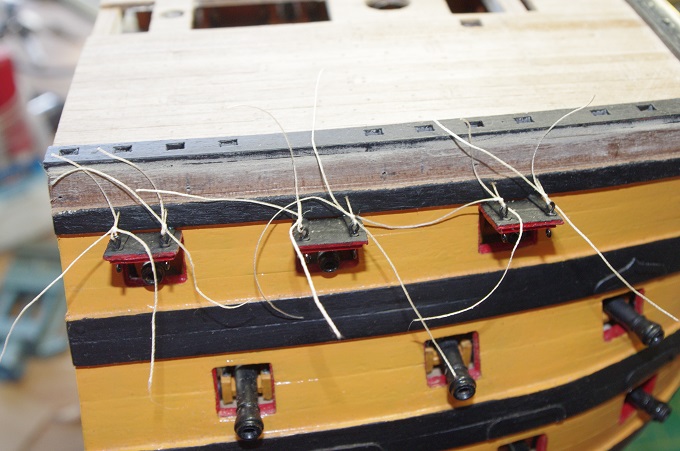
Hi All, An extra piece of trim was required on top of the facia board to create a border the inside of which will be painted blue and the trim will be yellow ochre. The trim was made from 2 x 2mm square section Samba from my stash of timber. The tops of the round houses were masked off to prevent them being painted, as the first picture shows, and the facia was painted. I have also rigged the top gunports this was done with 0.10mm rigging cord and the seizing was done with some fine beige cotton which will be in the next post
About us
Modelshipworld - Advancing Ship Modeling through Research
SSL Secured
Your security is important for us so this Website is SSL-Secured
NRG Mailing Address
Nautical Research Guild
237 South Lincoln Street
Westmont IL, 60559-1917
Model Ship World ® and the MSW logo are Registered Trademarks, and belong to the Nautical Research Guild (United States Patent and Trademark Office: No. 6,929,264 & No. 6,929,274, registered Dec. 20, 2022)
Helpful Links
About the NRG
If you enjoy building ship models that are historically accurate as well as beautiful, then The Nautical Research Guild (NRG) is just right for you.
The Guild is a non-profit educational organization whose mission is to “Advance Ship Modeling Through Research”. We provide support to our members in their efforts to raise the quality of their model ships.
The Nautical Research Guild has published our world-renowned quarterly magazine, The Nautical Research Journal, since 1955. The pages of the Journal are full of articles by accomplished ship modelers who show you how they create those exquisite details on their models, and by maritime historians who show you the correct details to build. The Journal is available in both print and digital editions. Go to the NRG web site (www.thenrg.org) to download a complimentary digital copy of the Journal. The NRG also publishes plan sets, books and compilations of back issues of the Journal and the former Ships in Scale and Model Ship Builder magazines.


