HOLIDAY DONATION DRIVE - SUPPORT MSW - DO YOUR PART TO KEEP THIS GREAT FORUM GOING! (Only 13 donations so far - C'mon guys!)
×


Jeff-E
-
Posts
699 -
Joined
-
Last visited
Content Type
Profiles
Forums
Gallery
Events
Everything posted by Jeff-E
-
Hi Frederica, A nice start to your new build . I will watch your progress with interest.
-
Hi Mobbsie, Just catching up on your log. You have made a lot of prgress since I last looked in. She is looking fantastic you are doing a wonderful job with a great attention to detail. Keep up the good work
- 1,279 replies
-
- 1
-

-
- agamemnon
- caldercraft
- (and 1 more)
-
Hi Leanne, You Have made a nice start to your build. You have done the right thing removing the deadwood at the stern this will allow the planks to end up the same width as the stern post and or rudder, with minimal sanding, when it is fitted. It is called the bearding line
-
Hi Richard, I've just caught up with your build, excellent work, you will be finnished in no time the way you are going. I've had to put my build on hold as I am doing renovations to my house I hope to get back to it soon
-
Hi Slog, It has been a while since I looked in on your log you are making great progress. Your steering gear looks excellent, as does the ensign staff
-
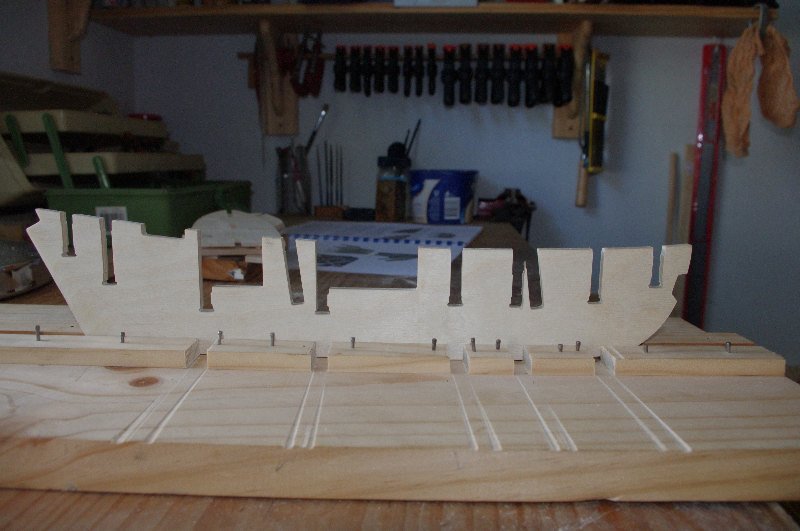
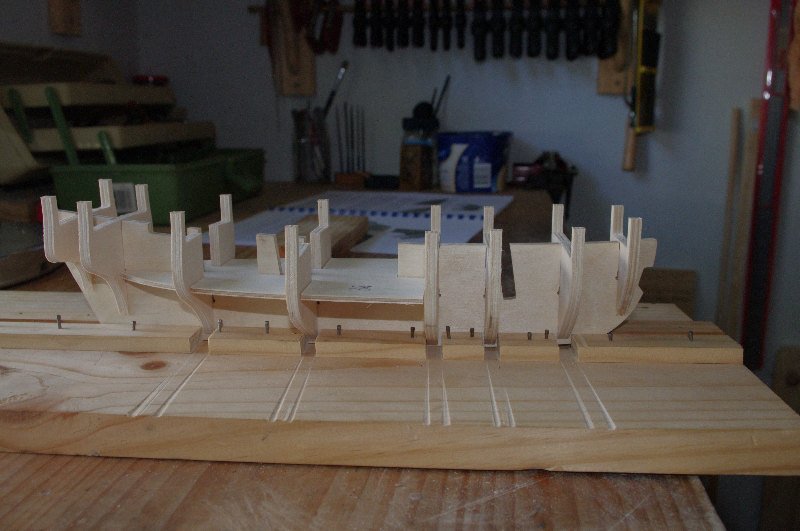
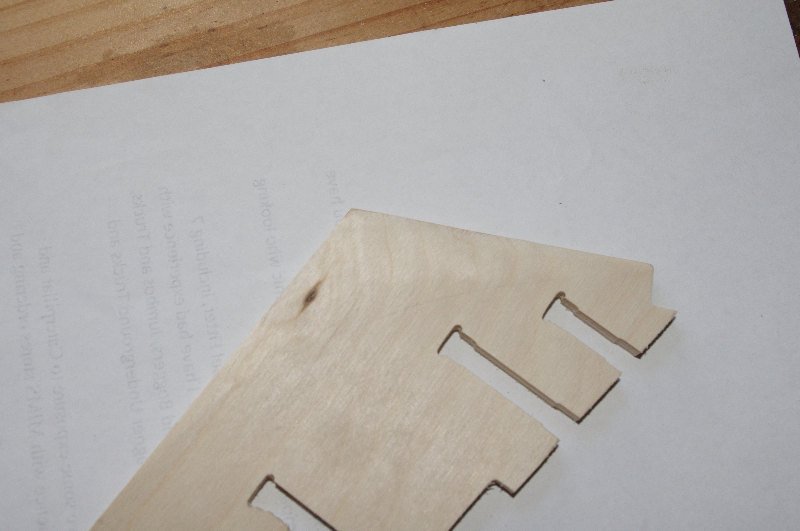
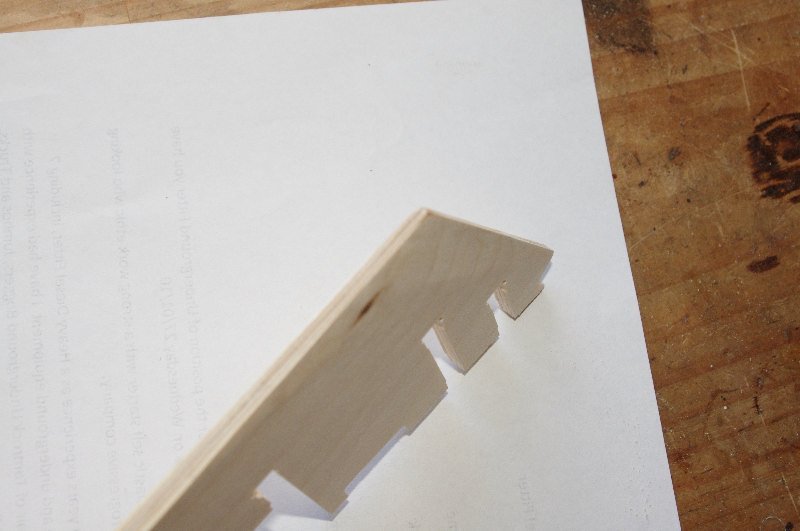
The next step in the instructions is to fit the stempost and keel, however after some deliberation I am thinking of fitting the bulkheads and plank termination patterns first as this will make it easier to fair them, especially in the bow stem area without fear of accidentally damaging the stem post or keel. Any input on this theory would be greatly appreciated. I have constructed a building board, or rather modified one I had intended for use on another model, and have cut out all the frames and dry fitted them to the false keel. The lower false deck has also been cut out and dry fitted. I still need to check the frames for symmetry and as most of them are a loose fit on the keel to add some small filler pieces to make them fit a bit tighter on the false keel. That is where I am up to at the present moment I will post some more as I make progress

- 86 replies
-
- 2
-
-
- pickle
- caldercraft
- (and 1 more)
-
Hi Meredith, Just looked through your log, excellent work so far on the hull your planking looks terrific . Looks like a nice kit to build. What scale is it ?
-
Hi Richard, Thank you for watching and welcome to this build. I am looking forward to having lots of fun with this kit and I hope I don't loose any of those tiny parts .
-
Hi Meridth, Thank you for looking in from a beautiful part of the Territory, I hope you enjoy watching this build. Happy Territory day for tomorrow
-
Hi Brian, Thank you and welcome to this log, I hope you enjoy it.
-
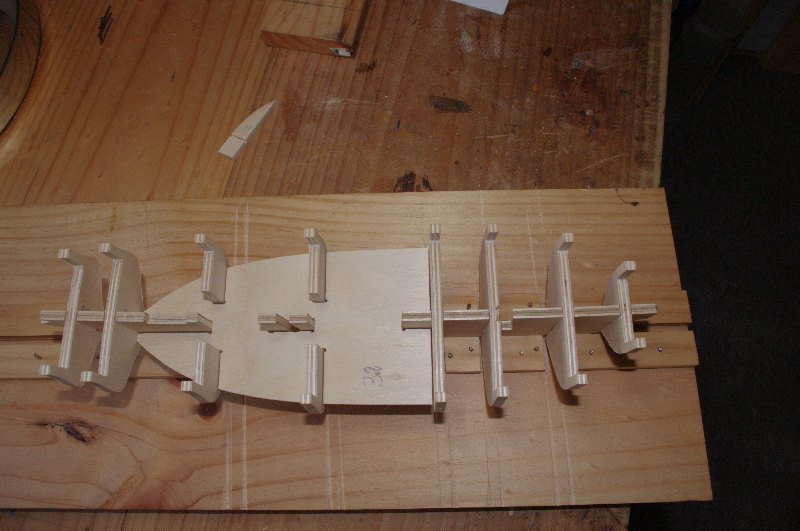
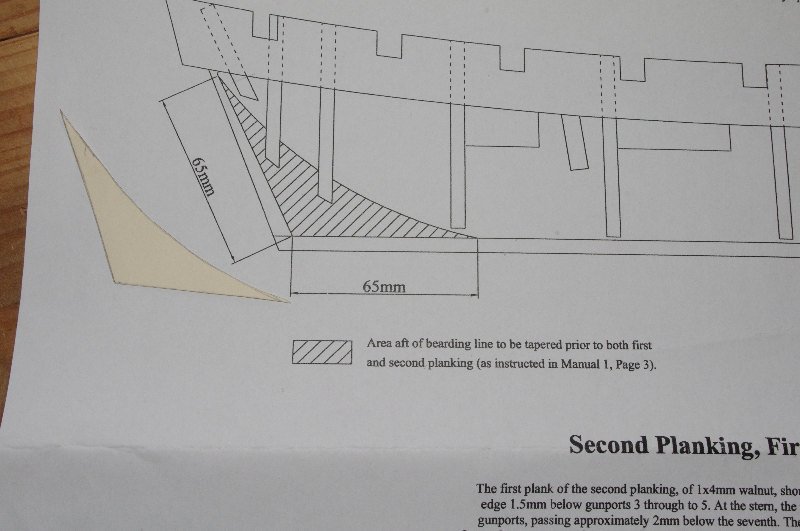
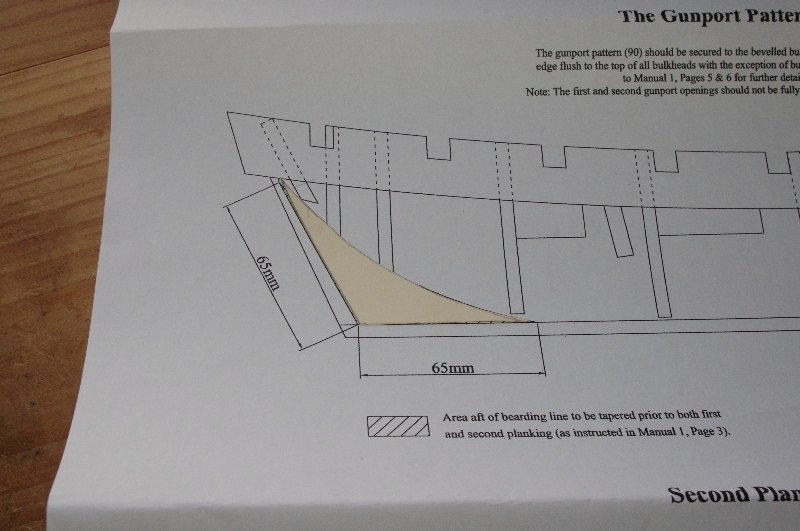
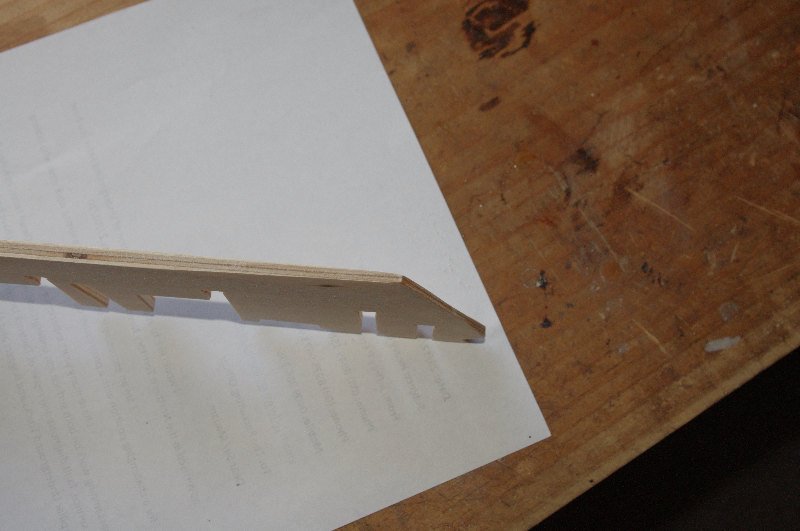
So now down to the build. The first thing to do was to sand the Bearding line on the false keel. The measurements and profile of this are found on plan 1. They instruct you to sand the keel down from 5mm at the start of the bearding line to 3mm at the stern thus when the first layer of planking is laid it will again be 5mm at the stern post. After the first planking has been laid you are then to sand the first layer of planking, following the same bearding line, again to a width of 3mm at the stern. This does present a slight problem as the first plank strakes are only 1mm thick so to sand them down to a width of 3mm at the stern means there would be no plank left .To overcome this I have decided to sand the first planking down to a width of 4mm at the stern and then sand the second planking down to the finished width of 5mm. So only taking 0.5mm off each run of planks. To assist me so that the line remains the same through each stage I made a template out of thin cardboard Then I marked the line on the false keel and sanded it back
- 86 replies
-
- 1
-
-
- pickle
- caldercraft
- (and 1 more)
-
Hi Greg, Thank you for looking in, I hope you enjoy watching.
-
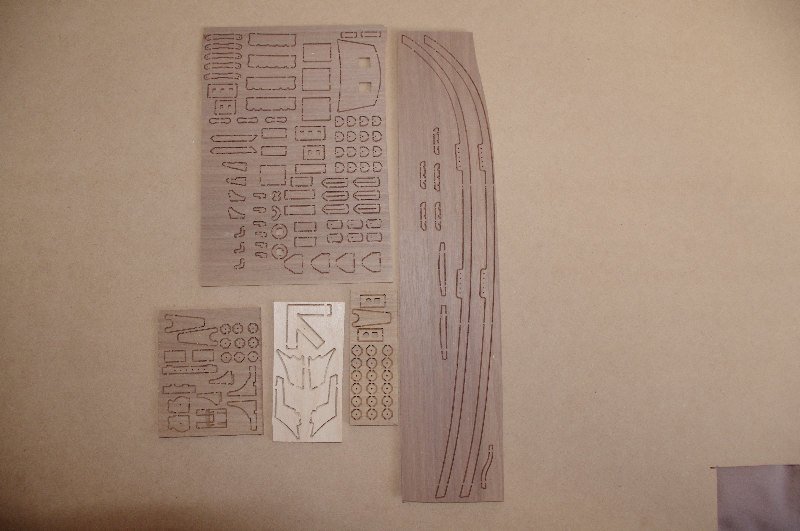
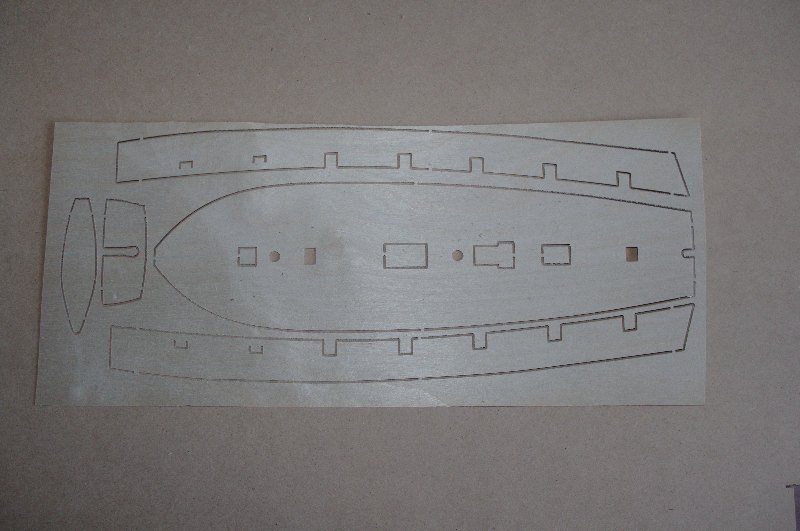
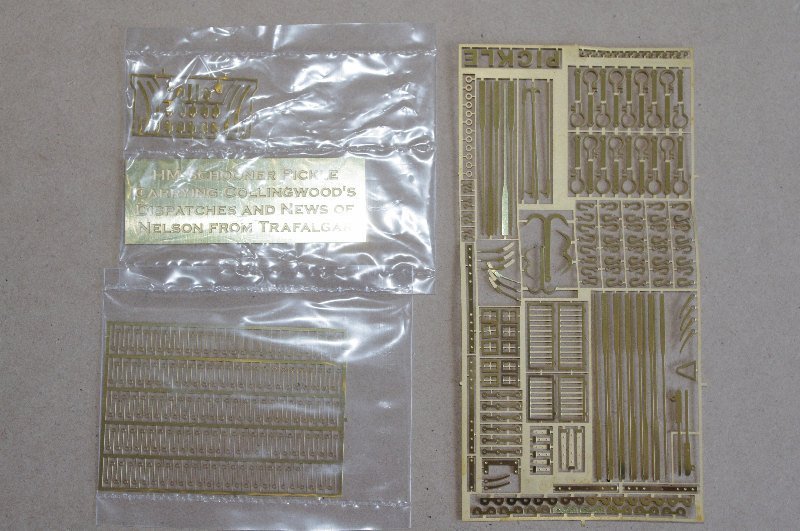
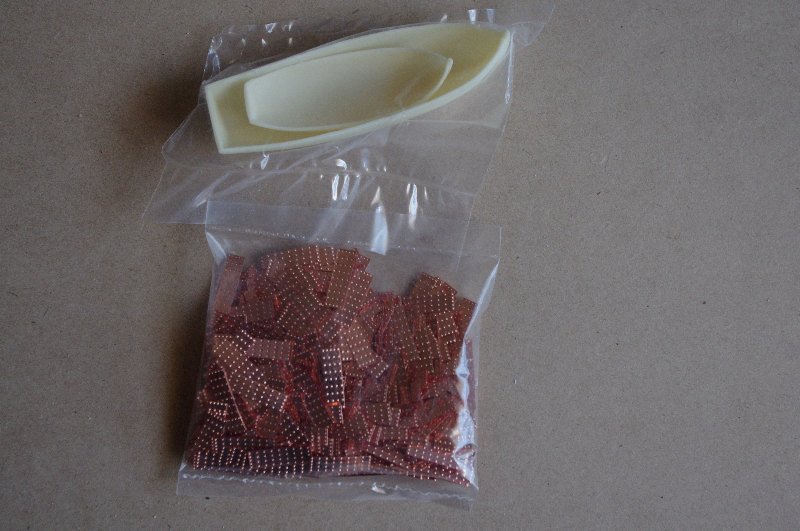
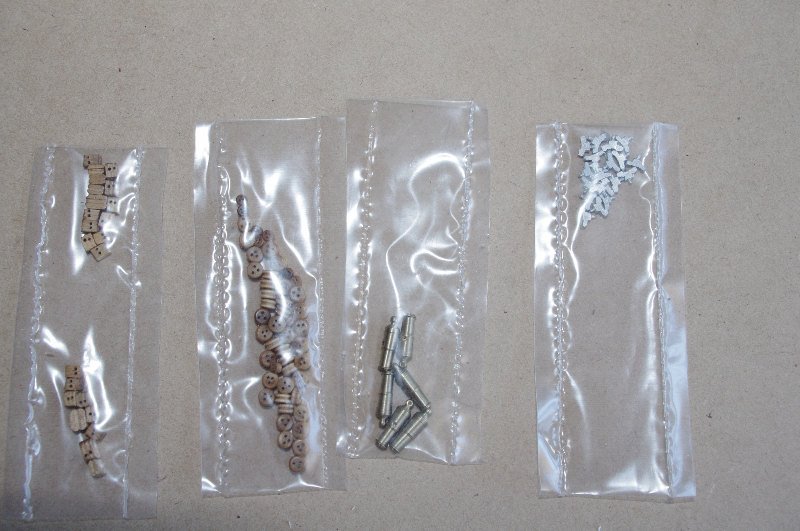
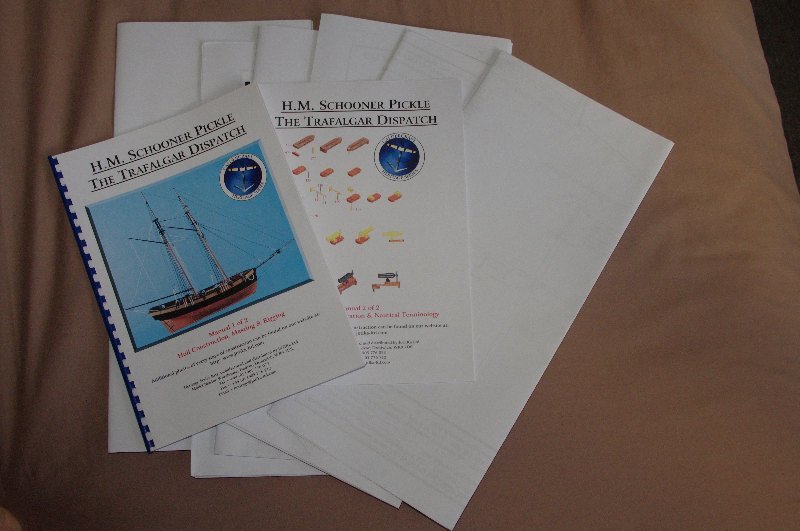
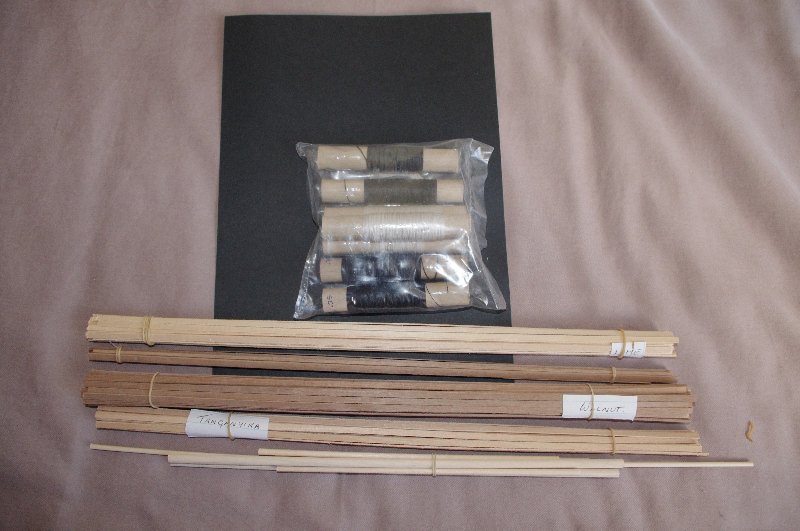
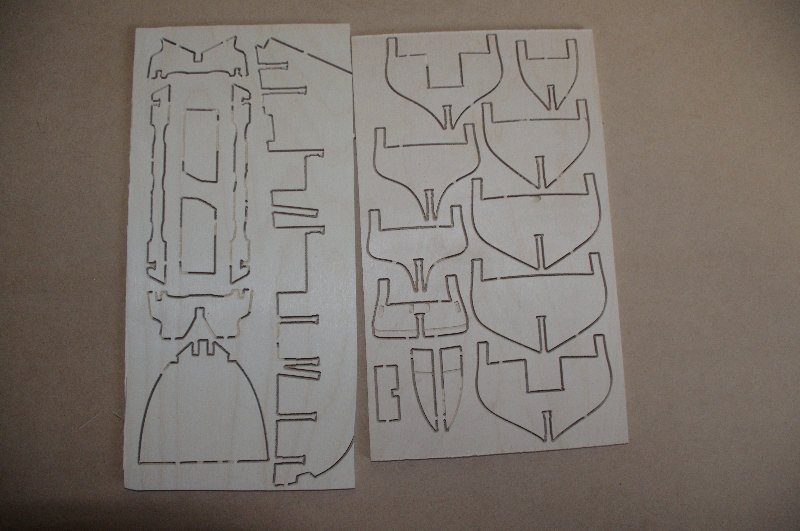
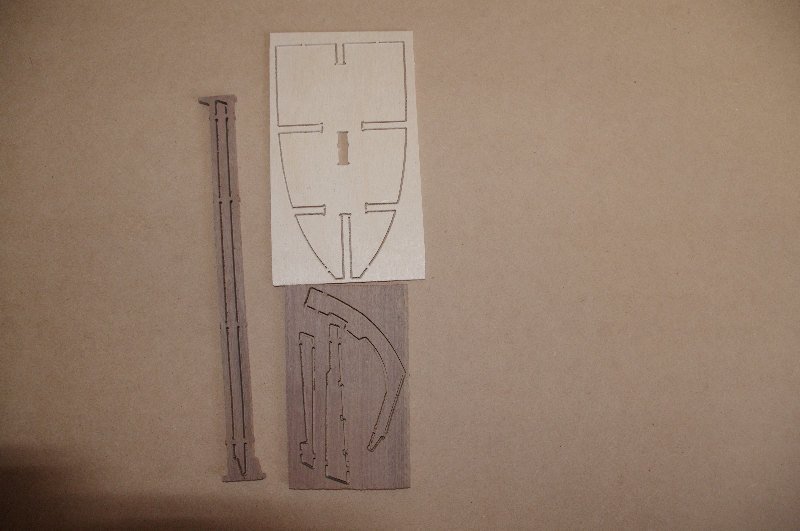
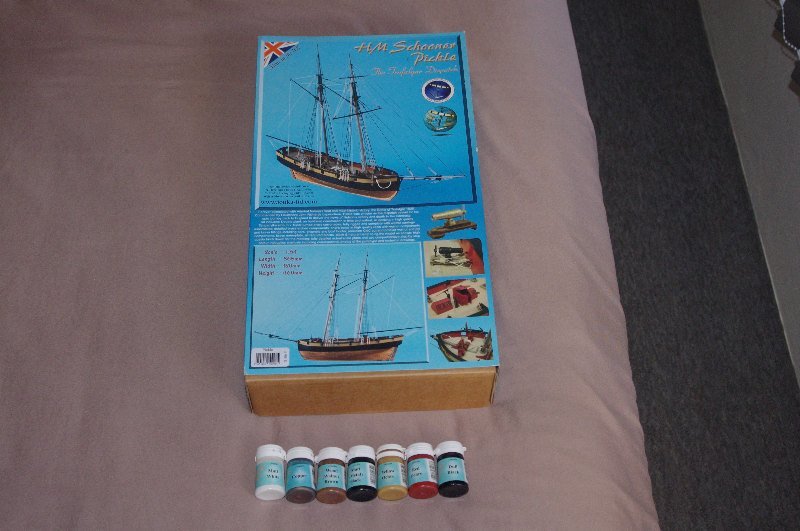
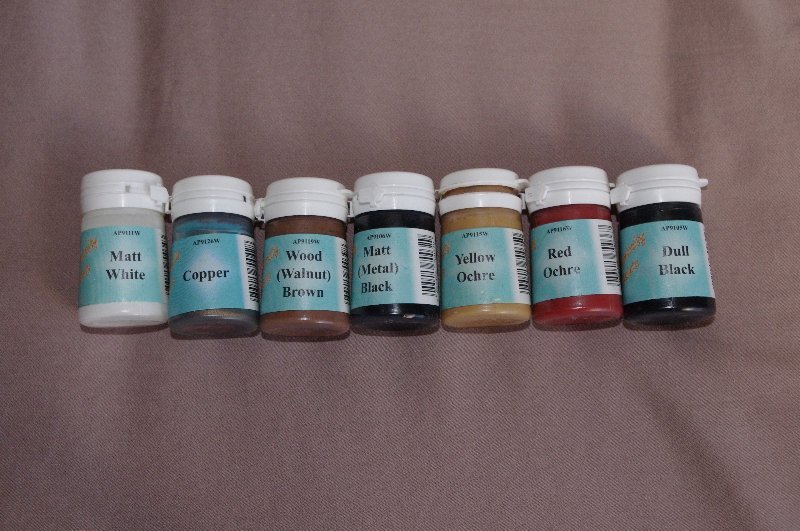
Hello Everyone, Welcome to my build log of The Schooner Pickle and I hope you enjoy it. Most of you will know the history and significance of 'Pickle ' and it has been told in detail in other logs of this build, so suffice to say that she will always be famous for carrying dispatches from Admiral Collingwood detailing the Victory at Trafalgar and the news of Lord Nelson's death to England. On the 28 of july 1808 Pickle was grounded off Cape Santa Maria on the Chipiona Shoal on her approach to Cadiz. Pickle sank quickly but all her crew were saved. I also intend to keep an up to date time log of the build. The kit itself is I think of good quality, however their pre cut sheets seem to have been milled out instead of laser cut but they do seem quite accurate. the supplied timber is of average quality and a sample bunch of the lime strakes I measured varied from 3.7mm wide to 4.1mm, they are supposed to be 1mm x 4mm . The brass etched parts and the other parts, rigging blocks,pins, carronades ect are all of excellent quality and the plans and instructions are both detailed and comprehensive . I think this kit will be a good challenge for me firstly because of the scale, I did not realise how small some of the parts are and also because it is a bit more complex than the two other kits I have completed. This will be a slow build so please be patient with me. The instructions reckon it can be built in 4 to 6 months of evening work but my estimate for me will about 12 months of part time work. Following are some pictures of the kit itself and then I will post where I am up to at present I intend to paint this model so I also brought the recommended paint kit
- 86 replies
-
- 1
-
-
- pickle
- caldercraft
- (and 1 more)
-
I concur with all of the above, Danny absolutely excellent work
-
Thank you Danny and Brian for your quick response
-
Hi All, Brian, now you mention it the flag dosn't look that good Slog thankyou for your kind comments . I also started my time log on the computer and it died part way through the build and while it was away getting fixed I did not keep up the log. I only restarted it after I started building again these last 5months Mike thankyou for your kind comments and the link I did not realise the flag was incorrect. I will see if I can get one locally Danny thankyou for your kind words and advice. Two questions what is Silkspan? and where would I get it?
-
And the last lot Oh and I almost fogot the most important crew member, Trim the cat If anyone would like any other photos of a specific area please ask and I will post them. And now it's on to my next build the Pickle (hope to make a start on the weekend)


- 98 replies
-
- 2
-
-
- norfolk
- modellers shipyard
- (and 1 more)
-
Hi All, Well she is finnished there are a few errors and a couple of things I think I could have done better but overall I am very happy with how she turned out For those who are interested it took me approximately 400 hours to complete, approximately because I did not keep an accurate time log in the middle stage of the build I intend to keep an accurate time log for the next build I would also like to thank everyone who has looked at this log for their words of encouragement and advice I hope you enjoyed looking at it Some pictures


- 98 replies
-
- 2
-
-
- norfolk
- modellers shipyard
- (and 1 more)
-
Hi Slog, Just catching up on your log, you have made a lot of progress since I last looked in. The dead lights came up great and your decision to use the cleats instead of the eyebolts I think was a good one as was making making the tiller it looks much better than the supplied one which does look a bit bulky at the head of the rudder. You have done an excellent job with the deck furniture and it looks good in place
-
Hi Richard, Thankyou. I can't wait to start building her I'm really looking forward to it
-
Hi Mobbsie, Congratulations on an excellent job finnishing your copper plating. Glad to read there was no great damage to your Aggie or you in the process
- 1,279 replies
-
- 1
-
-
- agamemnon
- caldercraft
- (and 1 more)
-
Hi Mathew, Thanks for taking a look and for your kind comments. My next build is going to be the HM Schooner Pickle by Caldercraft. I hope to start building her next weekend